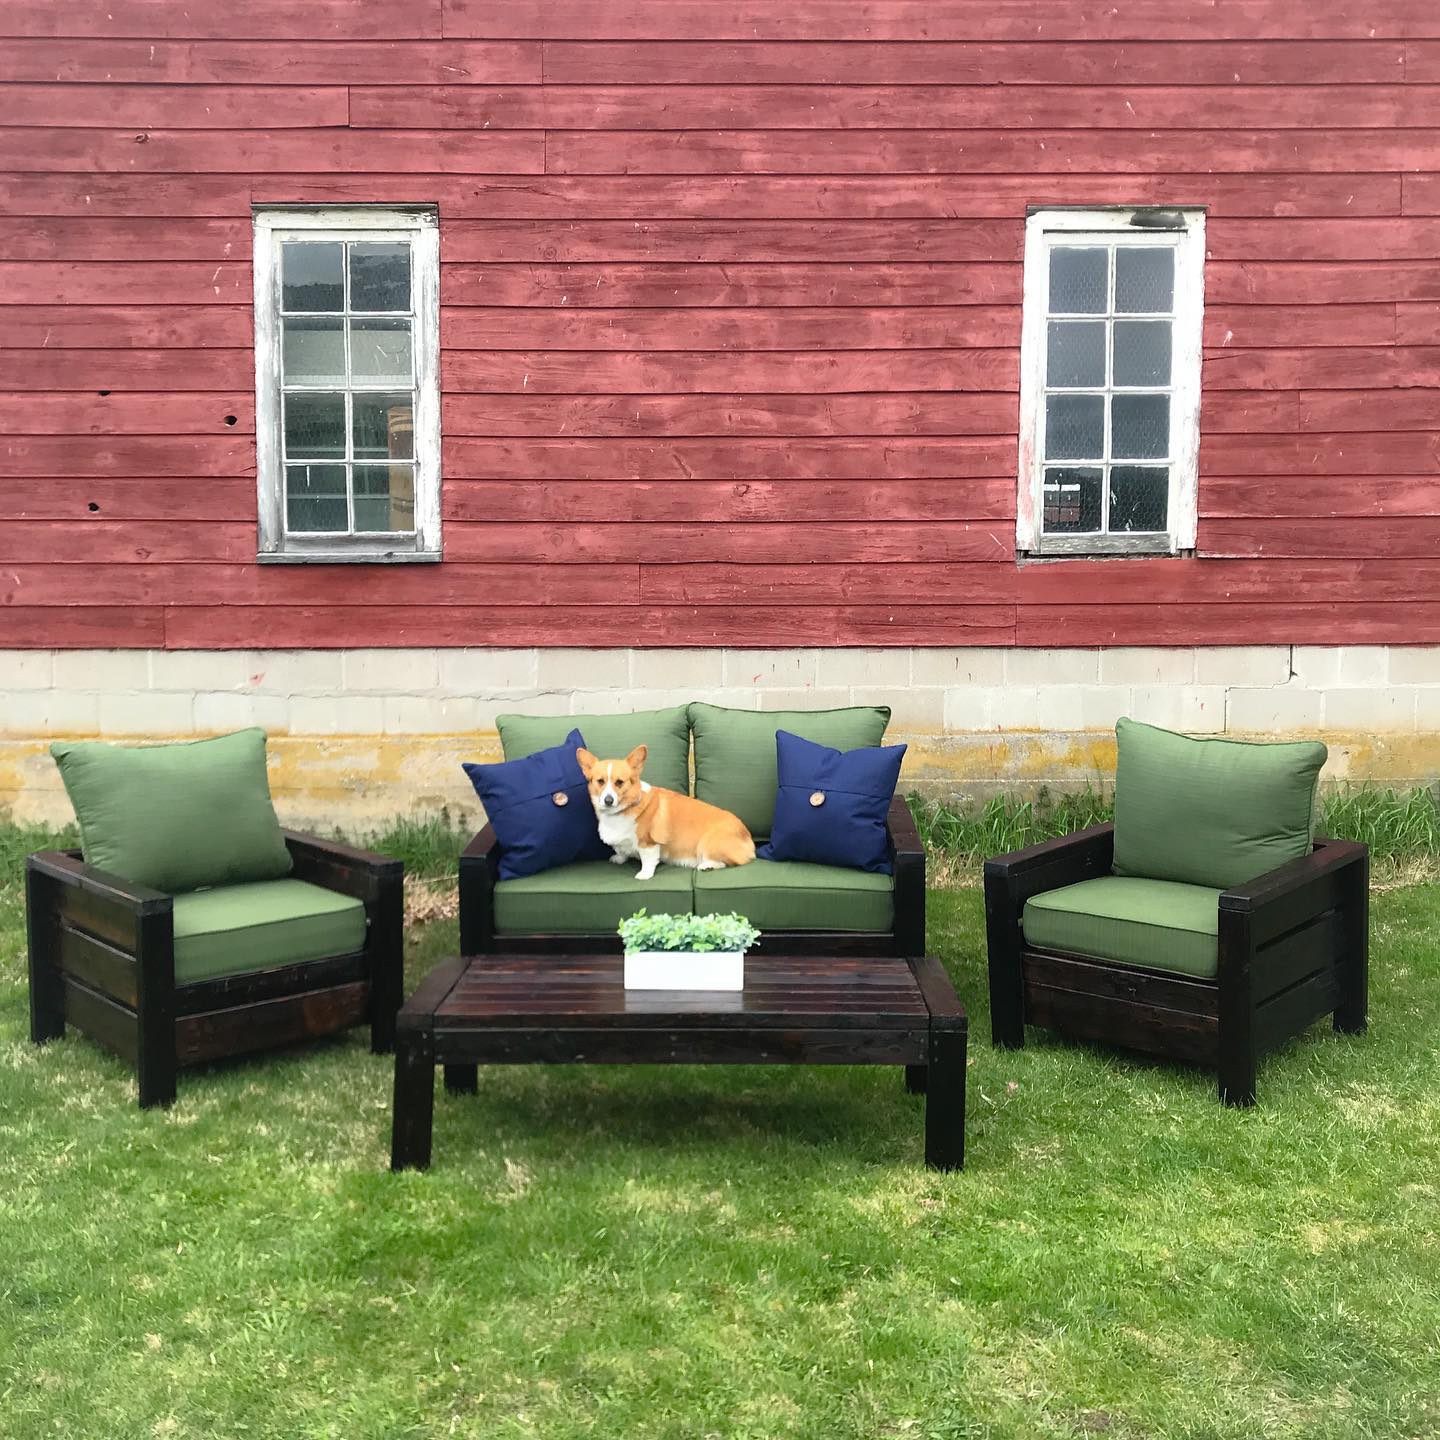
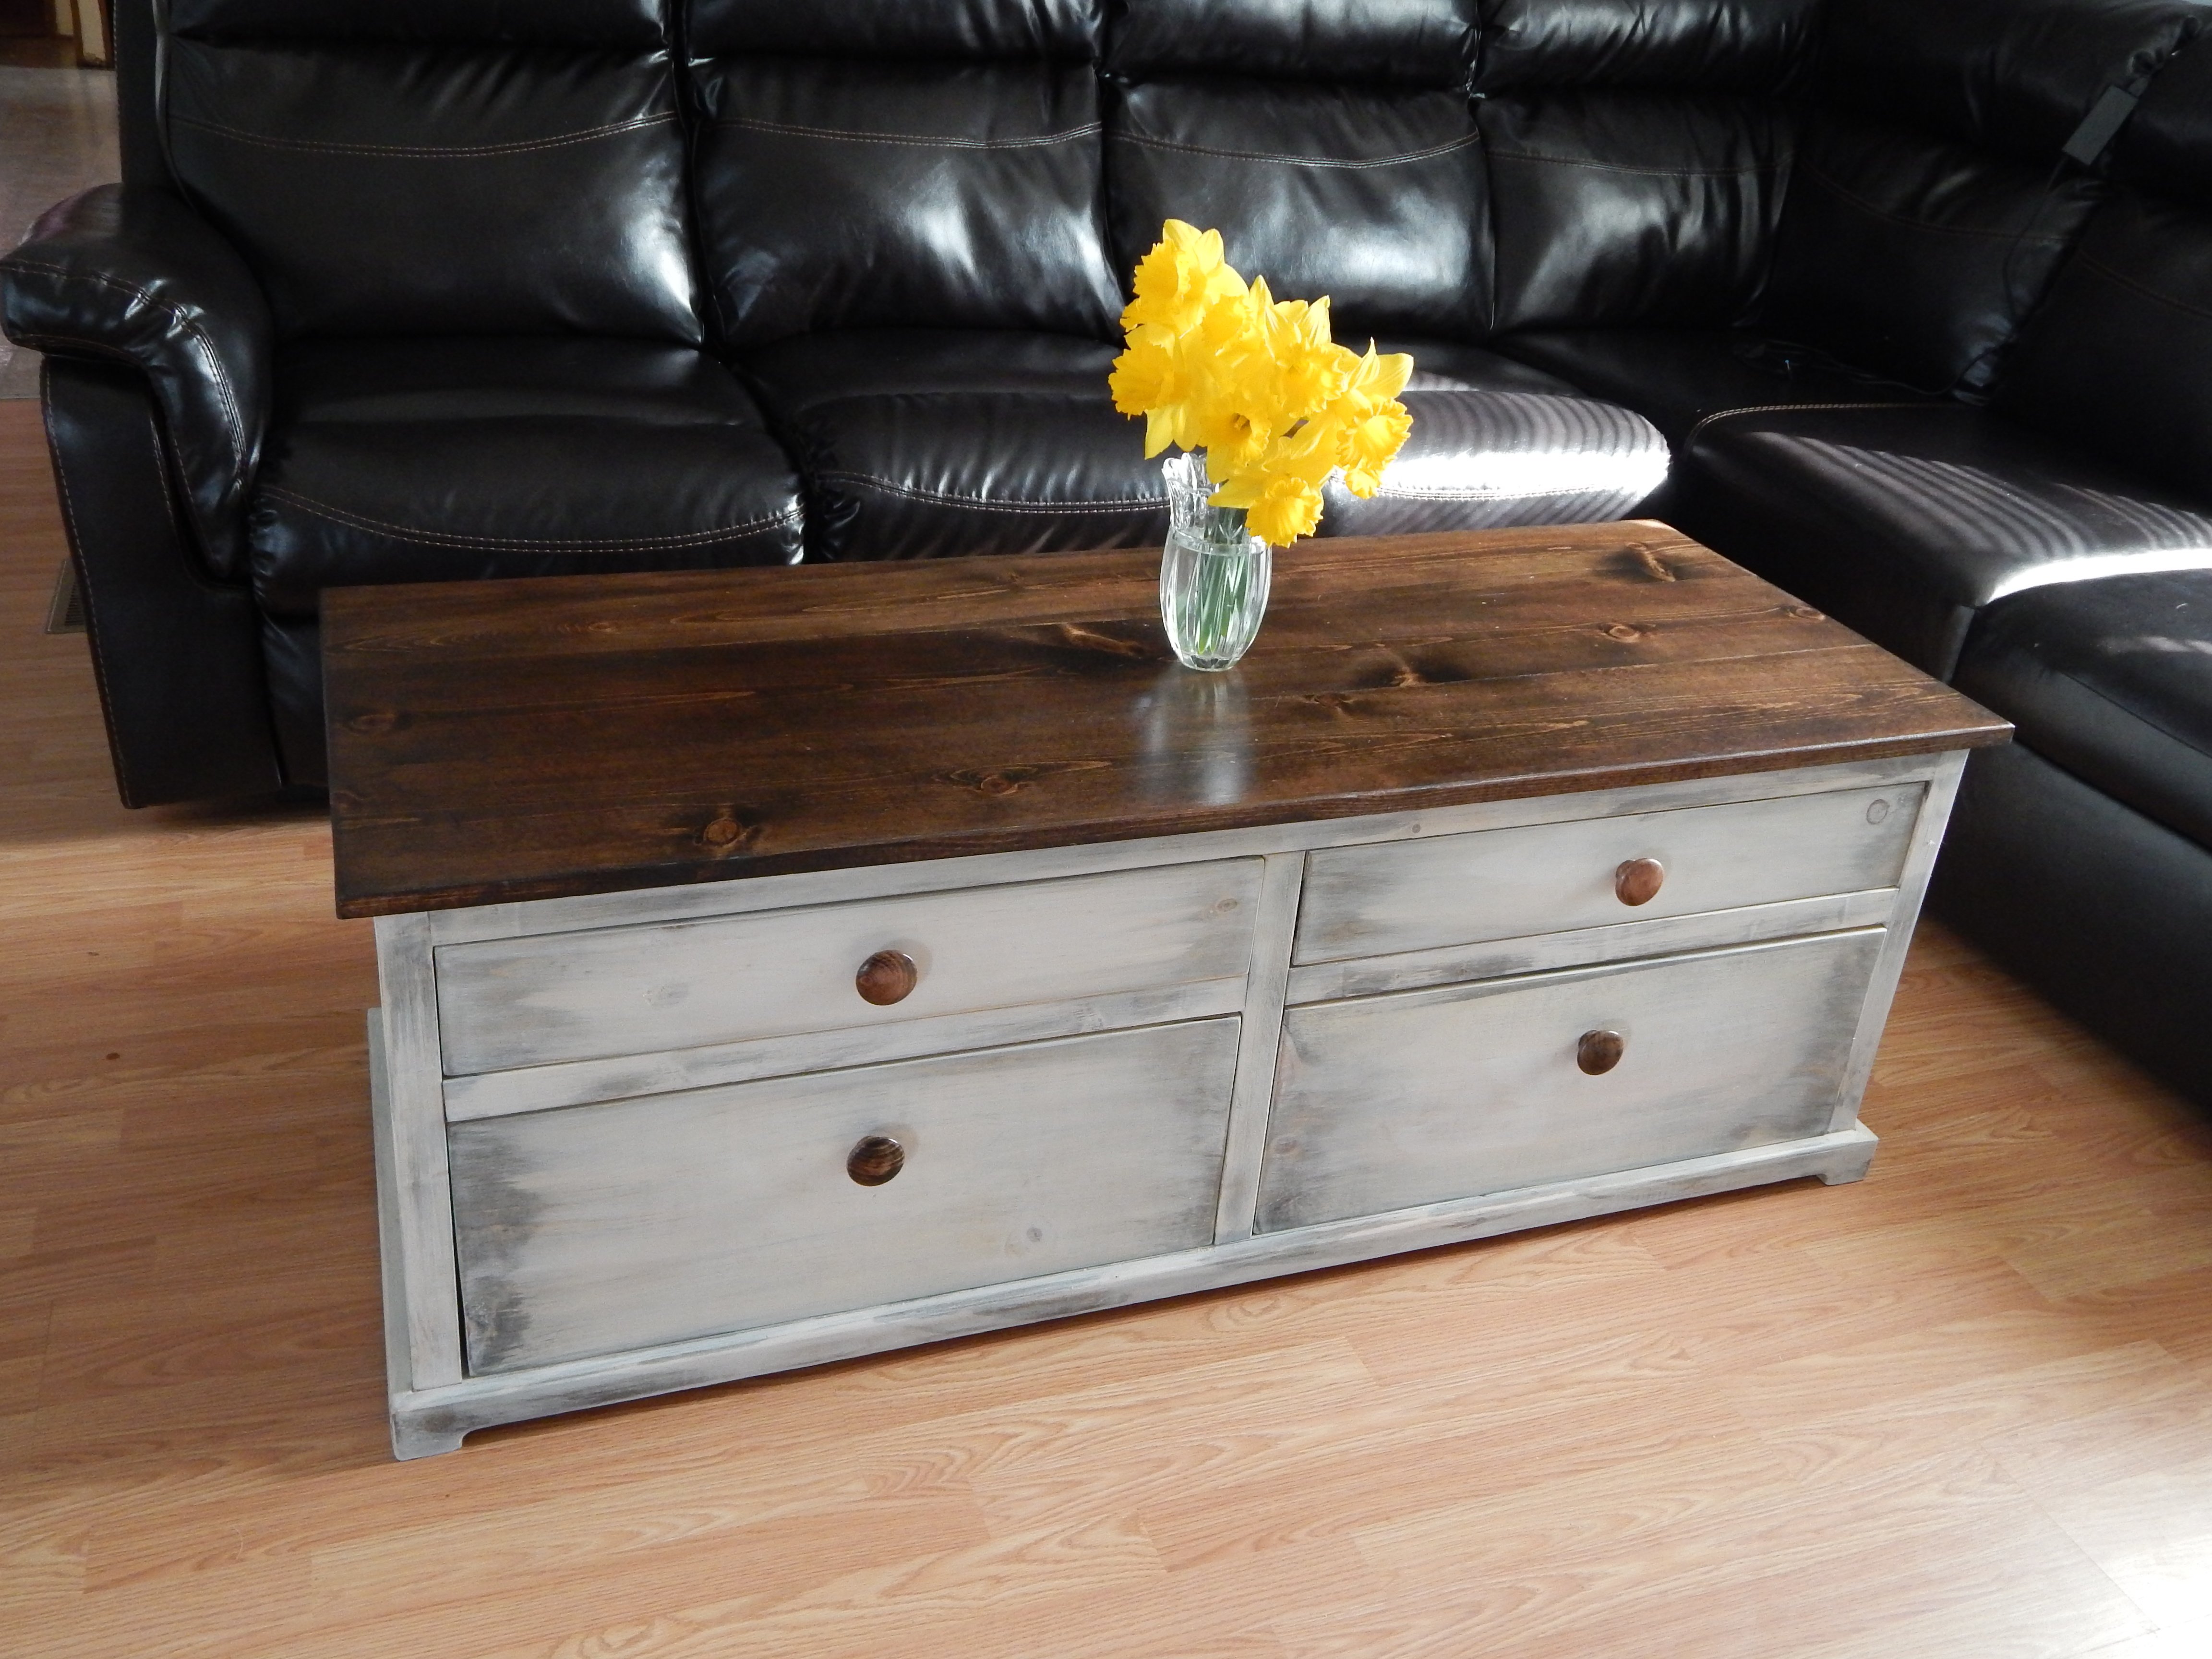
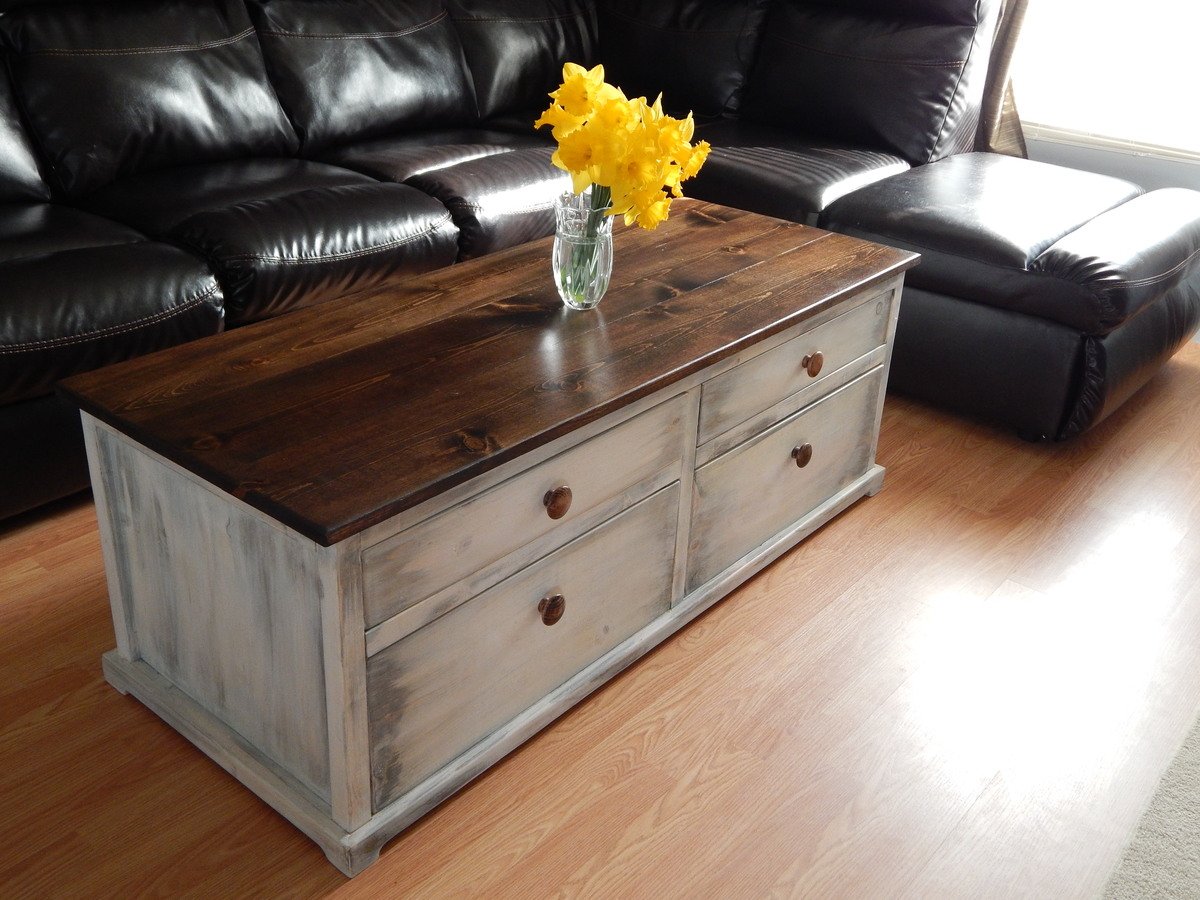
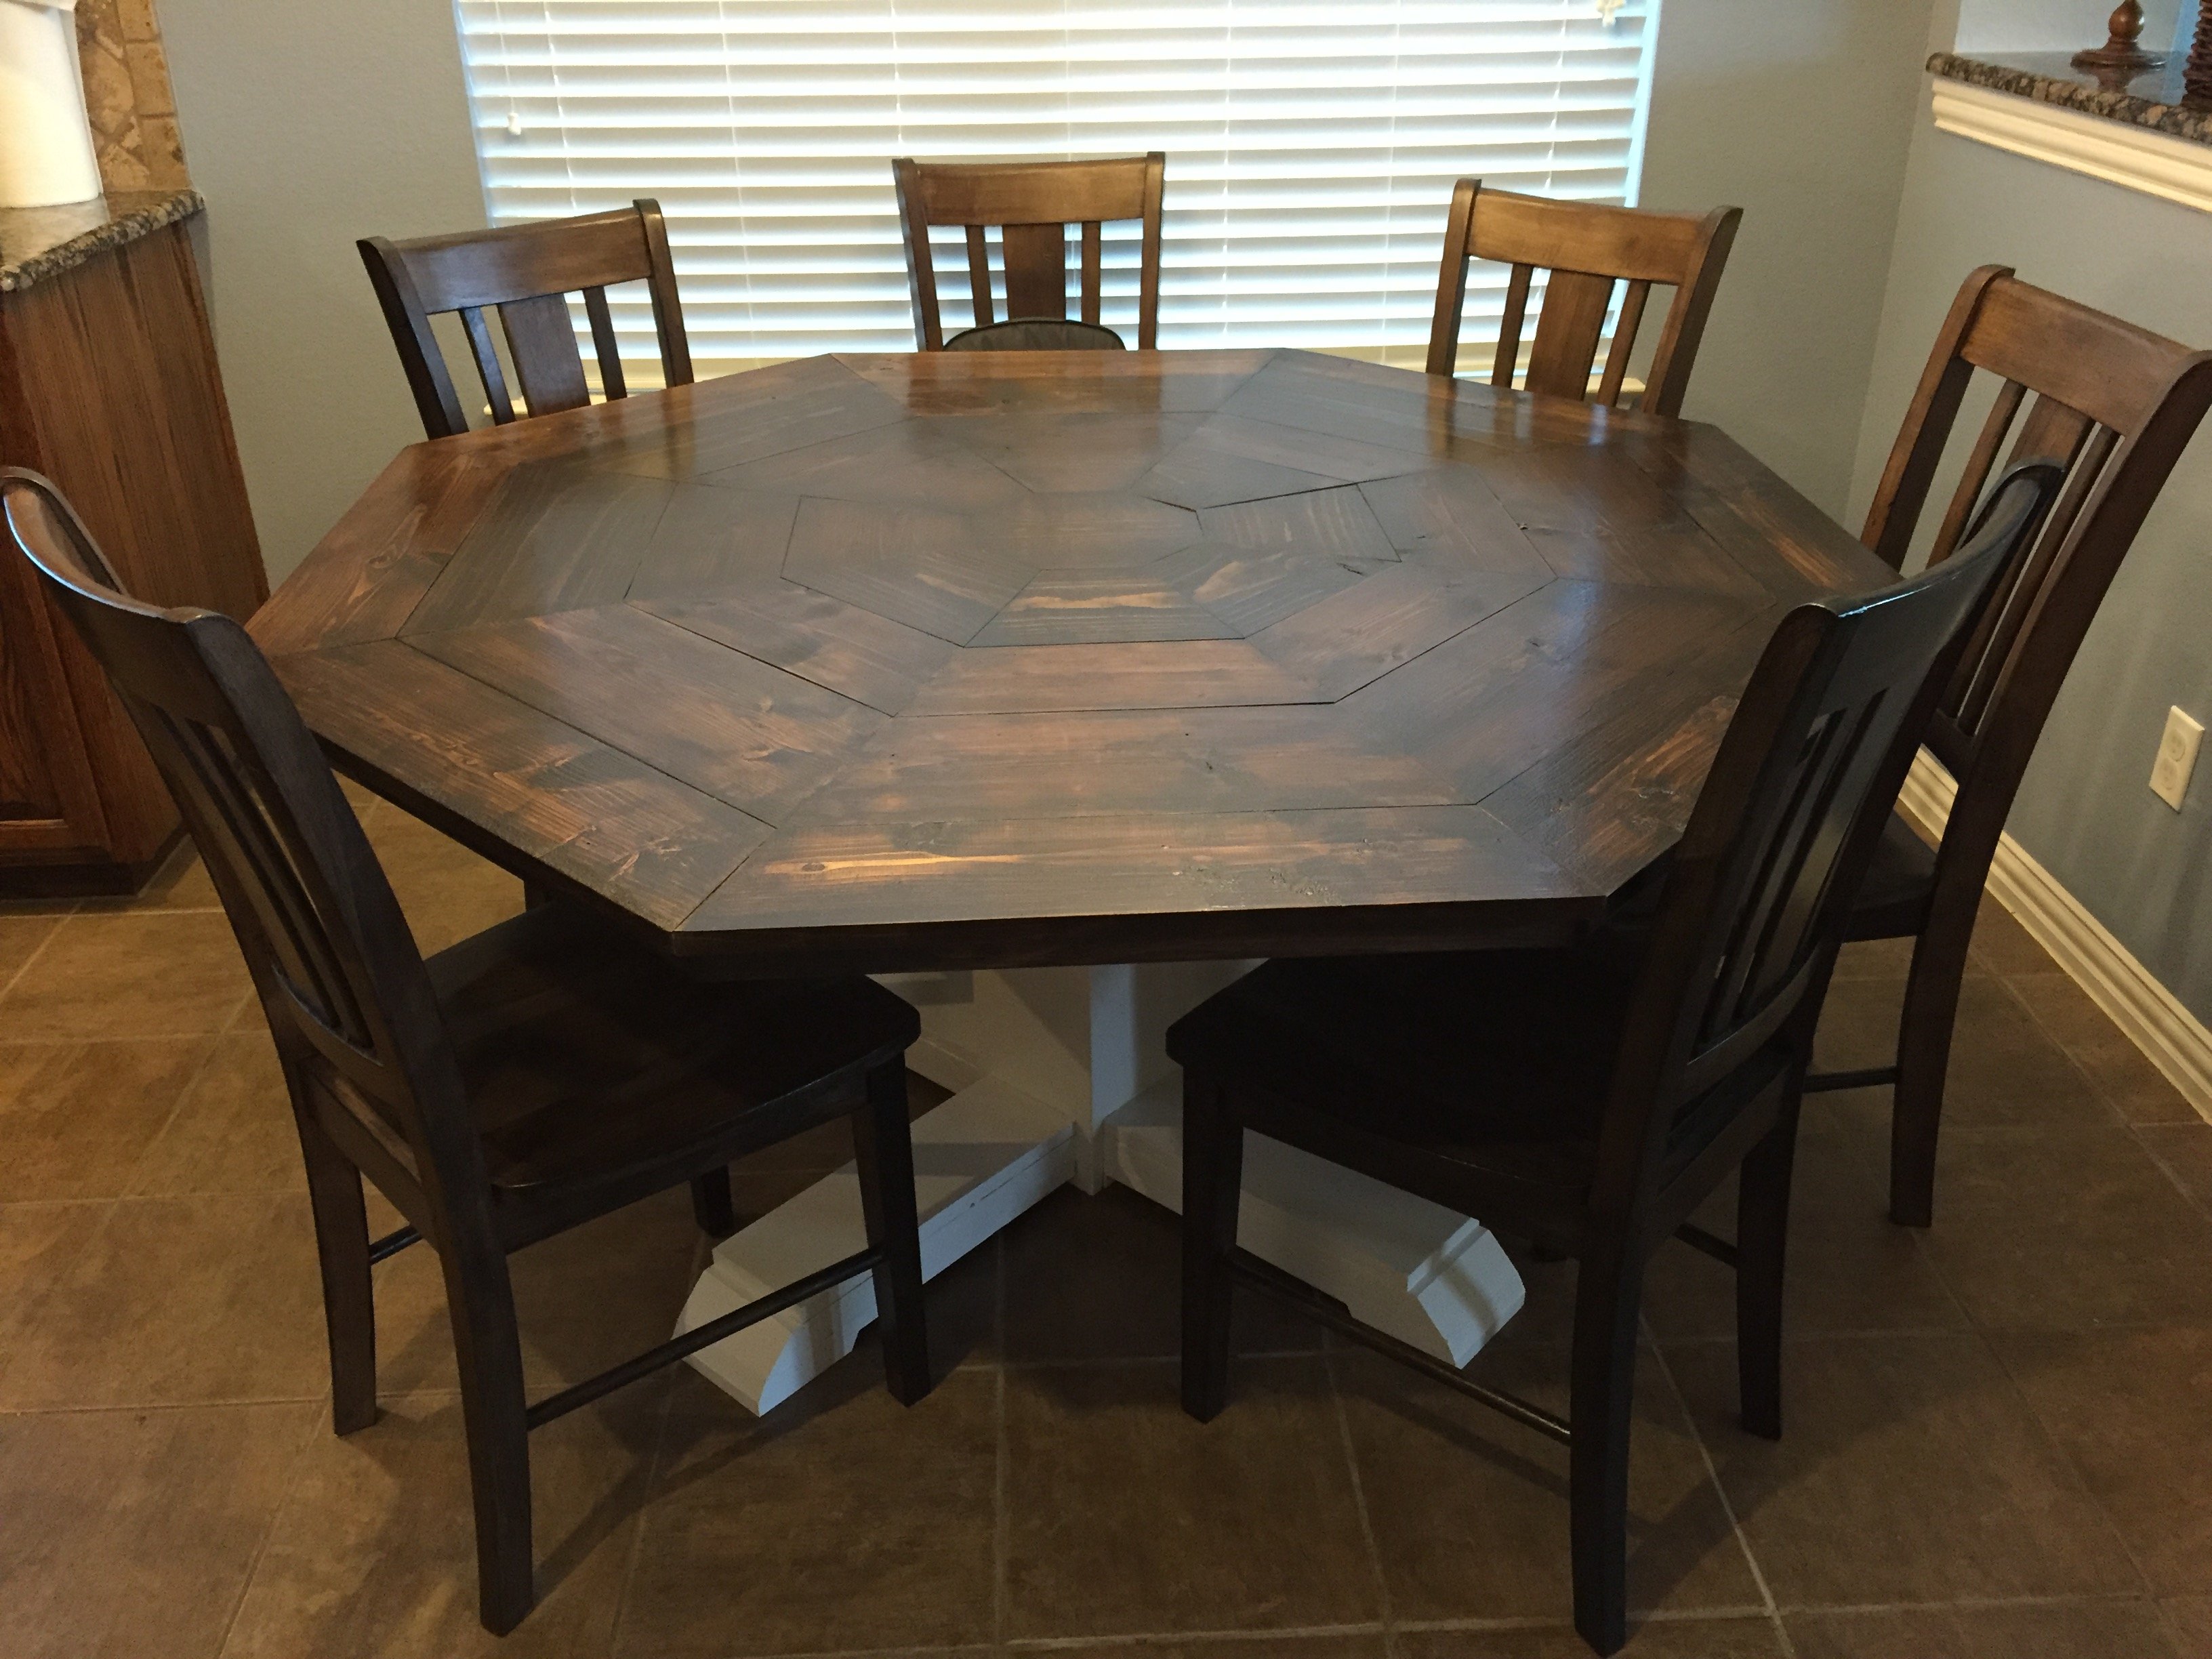
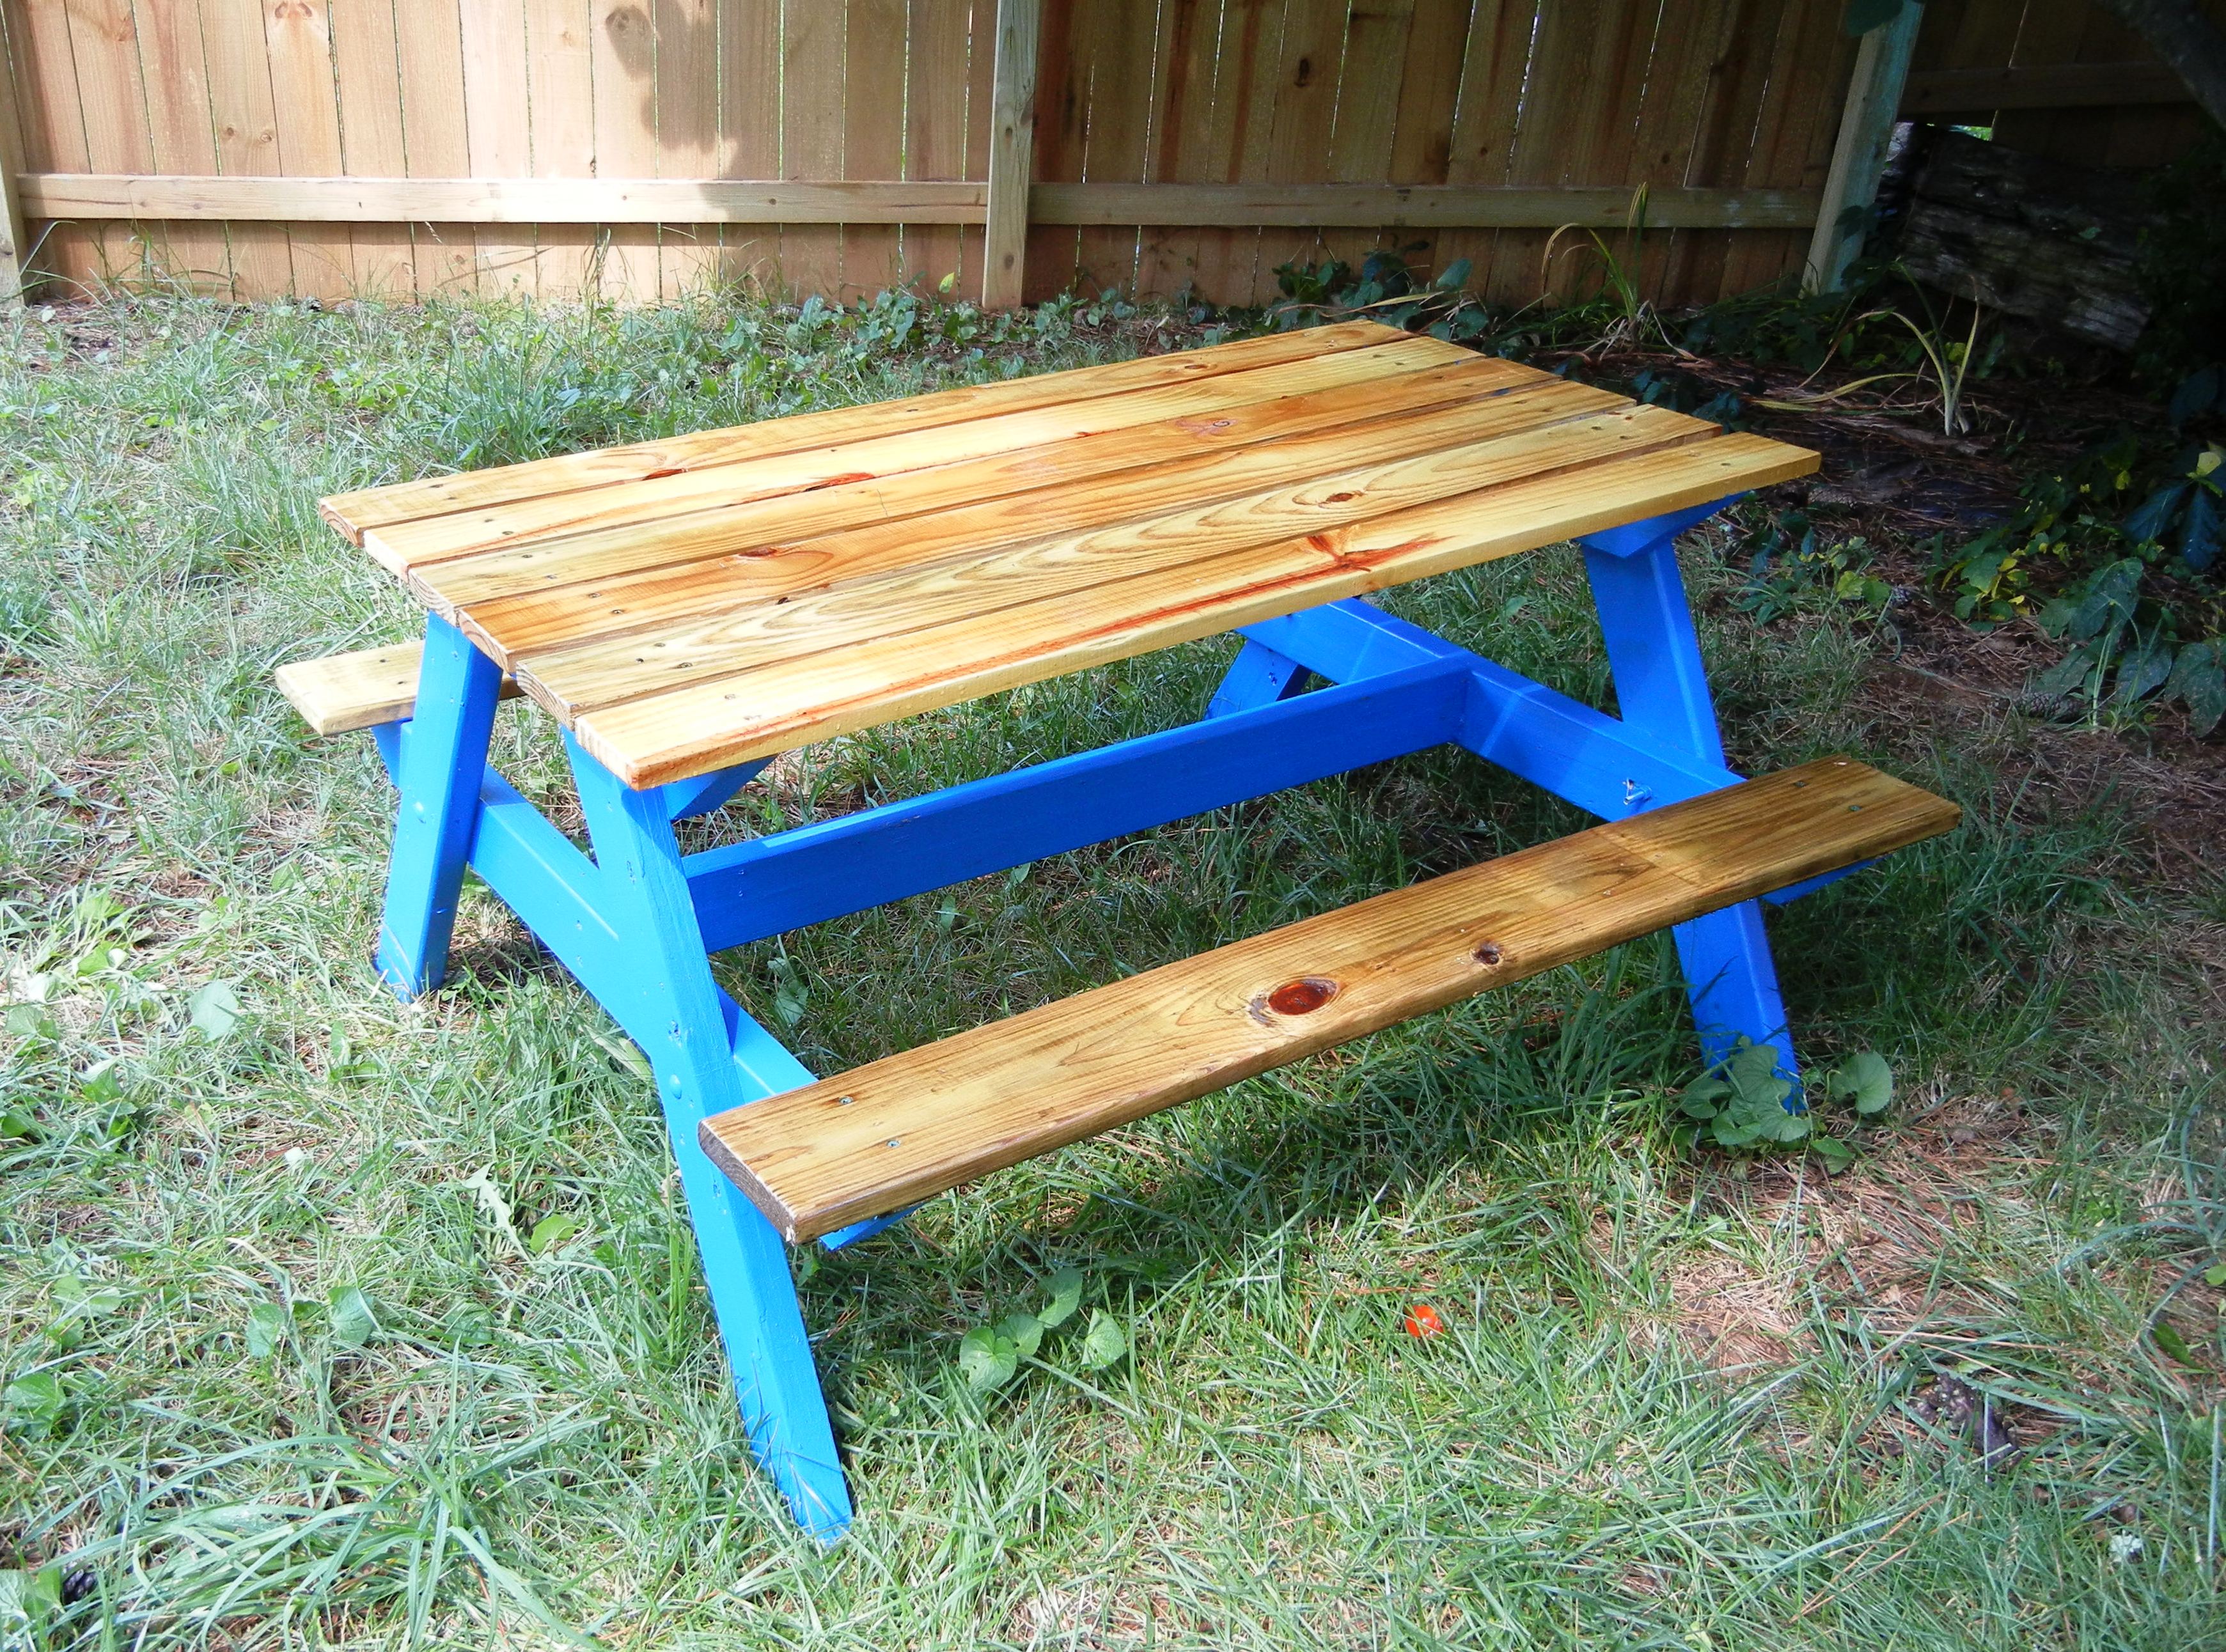
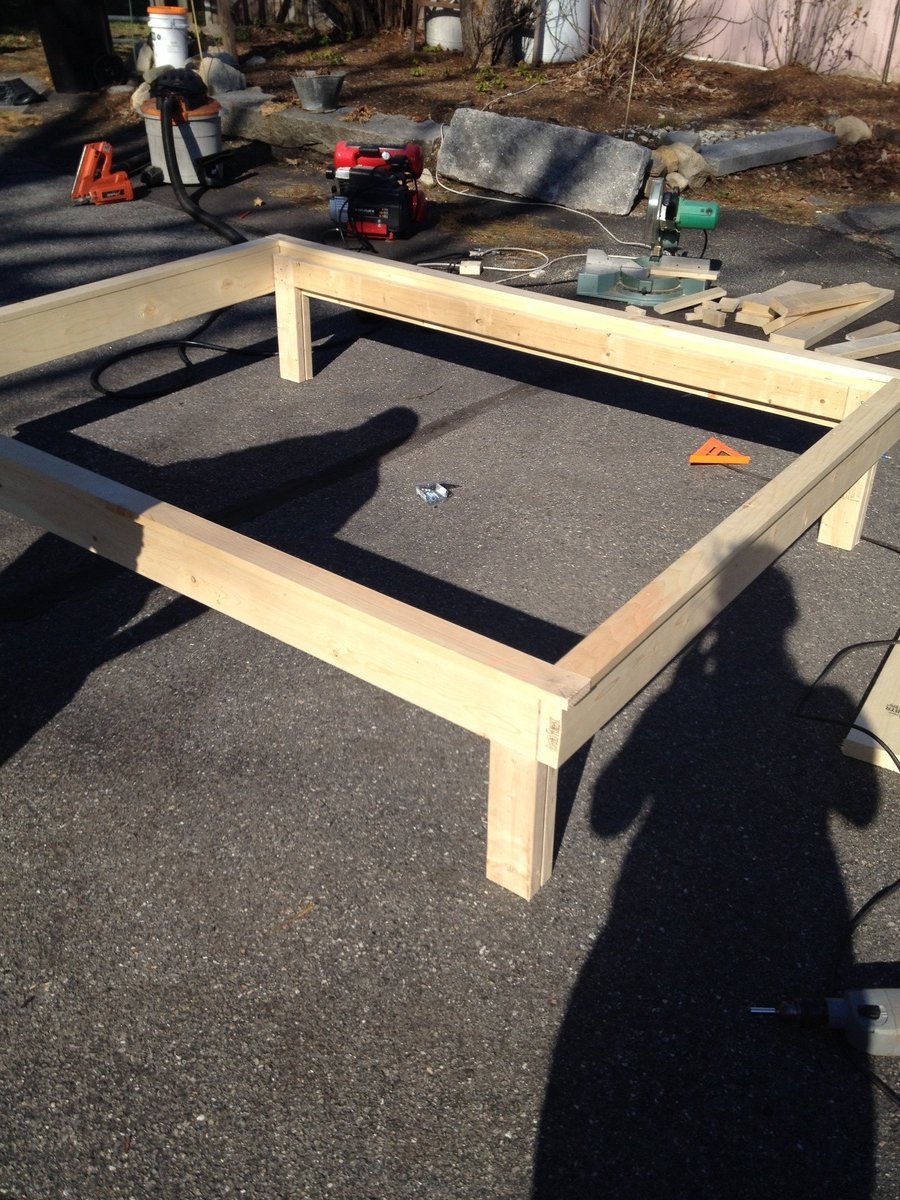
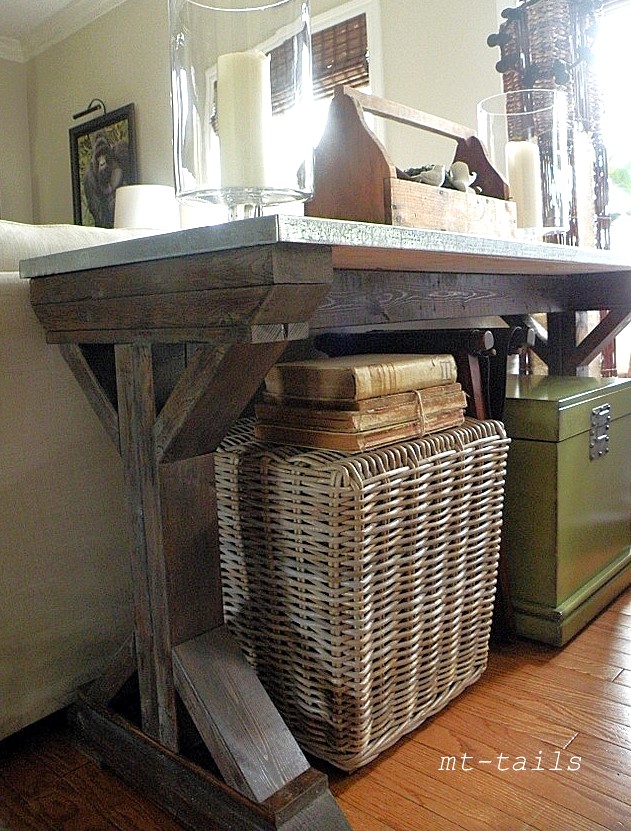
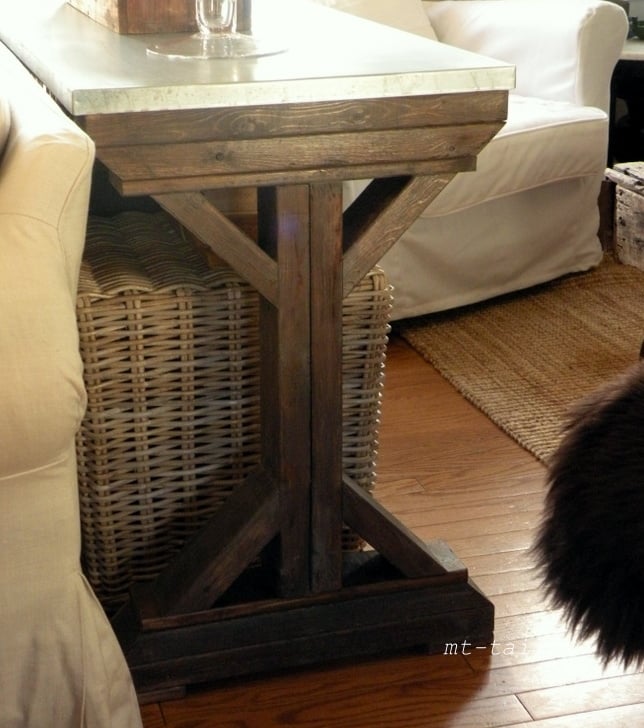
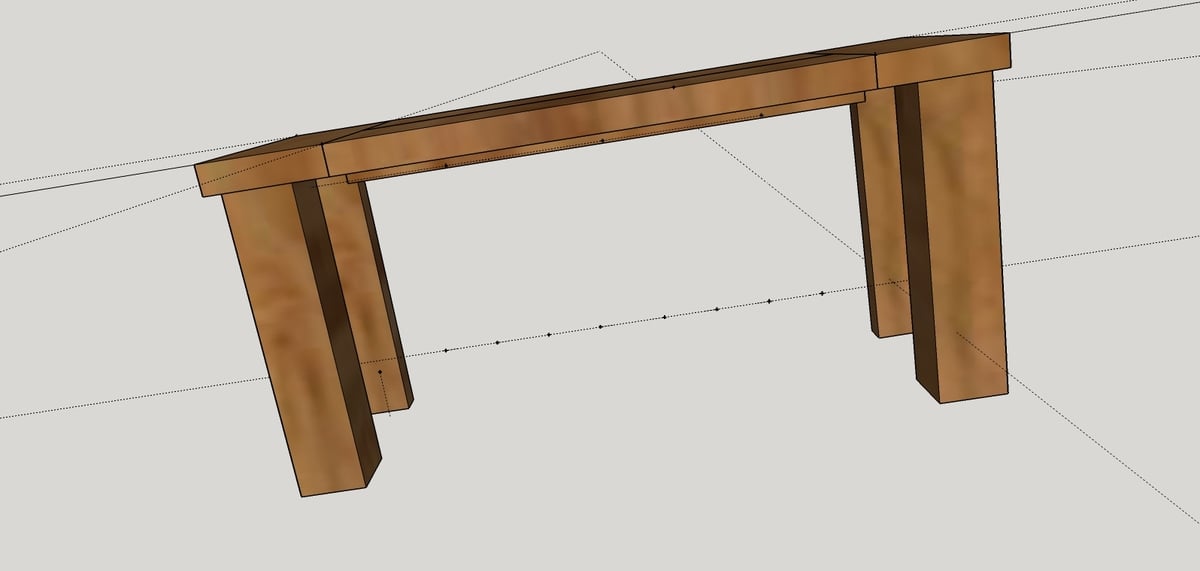
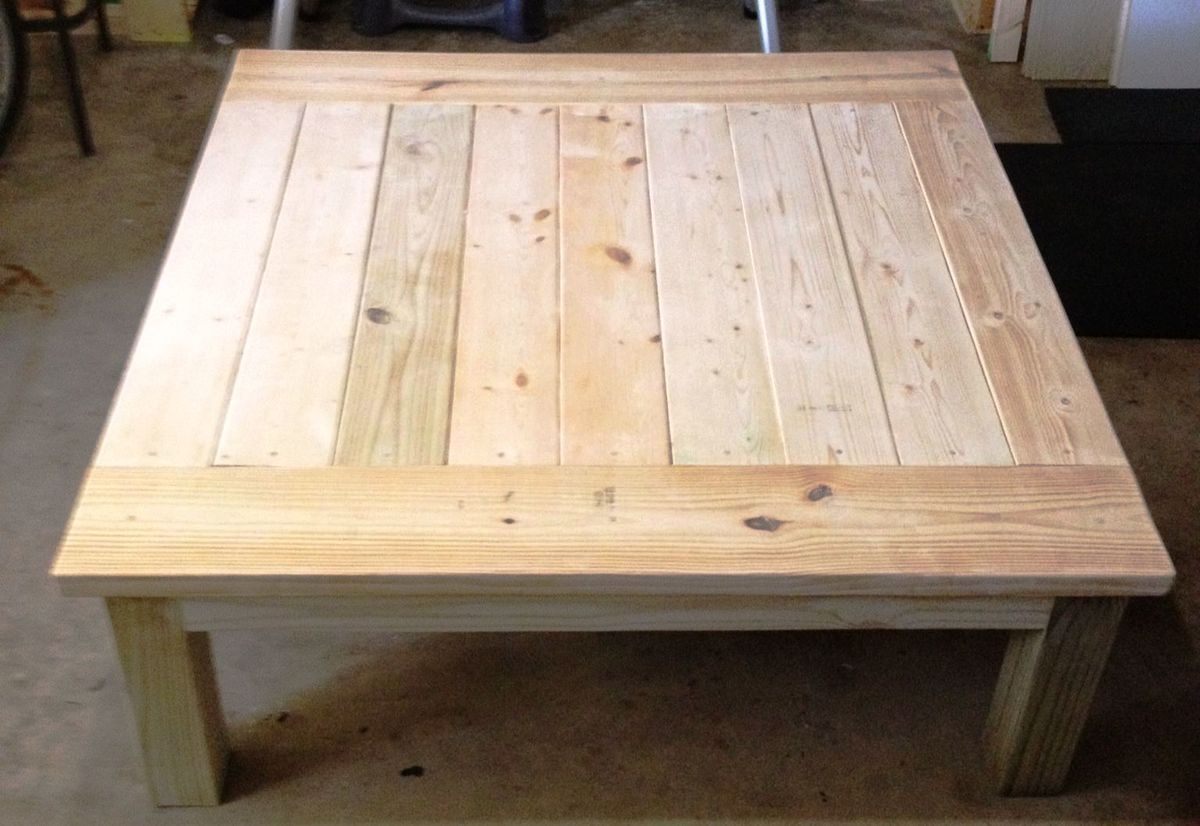
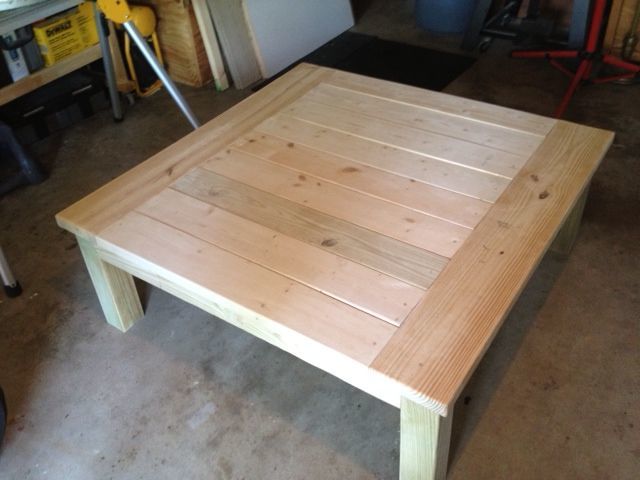
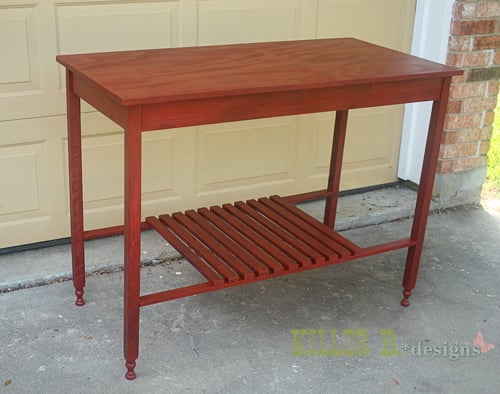
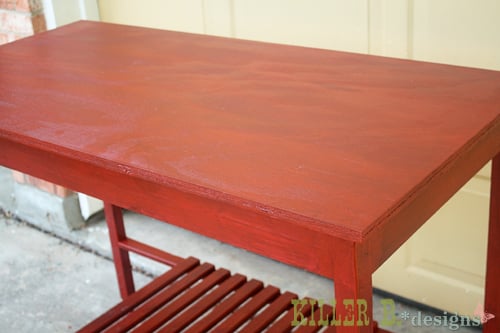
Community Brag Posts

2+ Cubic Foot Raised Planter Box

Submitted by B.W.Martin on Mon, 05/11/2020 - 09:29

This is a cedar and treated lumber raised planter that holds over two cubic foot of potting soil and has a built-in drain out the back so your feet do not get wet. The treated lumber is used only for the frame, no dirt or water touch any wood.

The inner dimensions are 12"x12"x32", and it stands 24" tall. There is a seamless double layer of 4 mil plastic that opens into the drain only and is siliconed. There is also a seamless black mesh inside to keep the soil and nutrients from washing away.

Estimated Cost
$30
Estimated Time Investment
Afternoon Project (3-6 Hours)
Finish Used
No finish used, left cedar rough.
Recommended Skill Level
Intermediate

Surface Mount Fireplace Accent Wall

Submitted by Anonymous (not verified) on Mon, 01/08/2024 - 09:44

My wife and I wanted to do something with our surface mounted . Then came up with this design.

Bob Cousineau

Comments

Adirondack Chair for dolls

It was a fun project and it went well.
It took me longer to make than Ana, but I am still new at this!
The girls love it and my daughter is very pleased.

Built from Plan(s)
Estimated Cost
$10 with the cost of spray paint
Estimated Time Investment
Afternoon Project (3-6 Hours)
Finish Used
lagoon spray paint
Recommended Skill Level
Beginner

Farm house queen/ crate storage

Submitted by Mathcky on Mon, 04/21/2014 - 10:50

Started with the farm house queen bed and changed the plans. I made the head/footboards 3 inches taller and took the panelling on the footboard all the way to the floor. I made storage underneath the bed and night stands. I'm using old apple crates for the storage. I made the night stands with the crate in it too to match the bed. I used a single piece of 18x18 ceramic tile for the top of the nightstand. The set is stained Minwax classic grey. I used a mixture of wood. Oak and pine, surprisingly it stained good and matched up. The crates aren't in the pictures yet. We have an older house with small rooms so the storage is perfect. The grey finish looks good for the old wood look with newer wood used

Estimated Cost
$100.00
Estimated Time Investment
Weekend Project (10-20 Hours)
Finish Used
Minwax classic grey
Some pieces were stained more then once to get an even,matching color
Recommended Skill Level
Intermediate

First thing I’ve ever built

Submitted by Nick.Olson on Tue, 05/12/2020 - 10:27

I stumbled across your videos via YouTube and I saw the video to make this coffee table. I was just browsing for things to do to keep busy during this pandemic. This is my first project and I could of done a lot better but I learned a lot from doing it. Thank you for your videos. I have since went on a shopping spree at Home Depot and Lowe’s Lol. I’ve bought Kreg jig, Miter saw, Makita drill set and circular saw and a Makita sander. I was like a kid at a toy store. I’m going to build your narrow console table next. Thank you for sharing your inspirational work. Nick Olson

Estimated Cost
$40
Estimated Time Investment
Afternoon Project (3-6 Hours)

Comments

Modern Farm Bench with a Twist

Submitted by GrahamD on Fri, 07/06/2012 - 20:22

I am new to furniture making and my neighbor and Friend showed me this website. I wanted a piece a bit more modern looking with a rustic flair so I picked this bench for the ease. I did however change the dimension of the bench to accommodate a Fallow that I shot last year and had tanned. I look forward to building the next piece.

Built from Plan(s)
Estimated Cost
65.00
Estimated Time Investment
Day Project (6-9 Hours)
Finish Used
2 coats primer
2 coats black paint
2 coats poly
Recommended Skill Level
Starter Project

Comments

Boys Dorm Bunks

Submitted by moonprysm on Wed, 04/23/2014 - 09:26

For starters, I apologize for the quality of the photo - the bed is so large and my sons' room so small that I had to splice together 4 different pictures to get a picture of the entire thing. Now, onto the project!

I found the details lacking in the instructions quite often. I definitely recommend having sketch-up installed on your computer so that you can turn the pieces around and see them from both sides - in many parts you're layering wood and attaching pieces on different sides. So being able to rotate the pieces in sketch-up was a huge must for us.

It took myself and my girlfriend about a week or so of working several hours a day to finish this up. Since most of the bed is made in sets of 2, the second set always went faster than the first, since we knew what we were doing.

I also found we needed different size materials than the instructions suggested. 1 1/2" screws were just long enough that they came out of the other side if they were countersunk at all, so we ended up switching to 1 1/4". The plans call for 32 3" bolts and 4 2 1/2", but we needed 32 2 1/2" and 4 2" - when we first put it together we had 1/2 of bolt hanging out of all of the holes - obviously not ideal for 3 little boys running around.

All told this project cost us somewhere between $250 and $300. I had to run out for new 2" screws at least twice, so make sure you buy a lot. We got lucky with the paint and found this super bright yellow/orange in the oops bin for $7, and decided to do a wash instead of painting so we could still see the wood grain. (And my 8 year old promptly took a marker and wrote each boys' initials on their beds - kids!).

All-in-all I'm incredibly happy with the bed - it fits the exact need we had, and unlike the only other plan I found online for a set of 3, it doesn't attach to the wall (which is important as we rent) and will be fairly easy to disassemble when we move.

Built from Plan(s)
Estimated Cost
$250-$300
Estimated Time Investment
Week Long Project (20 Hours or More)
Finish Used
Mixed paint 50/50 with water, brushed on thin layer with sponge brushes
Recommended Skill Level
Intermediate

Garden sofa

Submitted by Anonymous (not verified) on Sun, 07/24/2016 - 14:50

Hi.   I'm I the uk.  I saw your video on how to make this sofa.  I showed my hubby. He said ( you'll never be able to do that).  Red flag to a bull. Ha ha. I. So proud of myself.  It was really easy your plans are very easy to follow . I bought the cushions from ikea . Just one problem . The gray British weather.  Rain Rain  and more rain.  I'm looking into something to protect the feet from the wet. 

Stephanie Harvey. Age 61

Estimated Cost
About £80.
Estimated Time Investment
Weekend Project (10-20 Hours)
Finish Used
Outdoor paint
Recommended Skill Level
Beginner

My new Chicken coop

Submitted by cgerrells on Fri, 05/15/2020 - 13:58

My chicken house from plans

Estimated Cost
650
Estimated Time Investment
Weekend Project (10-20 Hours)
Recommended Skill Level
Intermediate

Comments

rockraptor5

Sun, 05/17/2020 - 11:41

I'm in the process of building mine without the planter box, extended the coop to the full 5'. I have it mostly built out but seeing yours is helpful.

Is the PVC going down from the planter bed a feeder? Mind sharing how you did that?

T-Shaped Countertop Island

Submitted by funtodiy on Sun, 01/14/2024 - 19:07

So I made a 4ft and a 6ft put them on casters joined them like a “T” shape, it is a moveable kitchen island dining table! The top has epoxy in the middle with flowers to give it some pop! Everyone loves it that comes over! Thanks for all your ideas on your site; it was my inspiration!!!


Comments

Craft table from Michaela Island

I needed a new island for my craft room, so we used the Michaela's Kitchen Island plan and modified it to be 30 1/2" deep. First time with drawers...they were a booger!!

Built from Plan(s)
Estimated Cost
$125
Estimated Time Investment
Weekend Project (10-20 Hours)
Finish Used
Top stained in Dark Walnut. Painted with Behr Mermaid Treasure and distressed and glazed with stain.
Recommended Skill Level
Beginner

Comments

Small dog crate

Submitted by Annklem on Fri, 04/25/2014 - 08:36

This plan was modified for a small dog. The measurements are 18w x 19h x 24L. I added pocket holes to all the boards around the top of the base so I could easily attach the wood top. It took me 2 days but only about 6-7 hours total.

Estimated Cost
$70
Estimated Time Investment
Weekend Project (10-20 Hours)
Finish Used
Vintage Market & Design Chalk Furniture Paint for the base & Rustoleum Dark Walnut stain on the top. Black hinges and latch.
Recommended Skill Level
Beginner

Comments

TV stand

My husband loves this piece. I built it just for him ;) It had nothing to do with the fact that I had a great dislike for the glass/metal unit that he had when we merged our things together...wink wink!

I modified this plan in order to have shelves for the dish console and the dvd player. I also left the bottom shelf open for display, instead of placing the wine rack there.

Built from Plan(s)
Estimated Time Investment
Day Project (6-9 Hours)
Finish Used
Special Walnut by Minwax
2 coats of semi-gloss poly
Recommended Skill Level
Intermediate

Comments

Tool Storage Sideboard

My family and I are constantly looking for ways to save space and still enjoy the look of our 1500 sq/f apartment. Due to all of our different intrests and hobbies, along with a lack of storage solutions, i do a lot of building on the patio.

Tools for all of these projects always seem to scatter throughout the place, so my lovely wife decided it was time for a little storage project. So that's just what I set to work on.

The Planked Wood Sideboard was perfect for this!

There is one major deviation from the plan on the site. Rather than hinge two doors for the center area, I made one big panel with trim and plywood, held in with two cabinet magnets, that removes completely.

Built from Plan(s)
Estimated Time Investment
Week Long Project (20 Hours or More)
Finish Used
I Tea Stained the sideboard to get at the distressed wood look. Easy stuff and basically no cost. Dont forget to sand and clean all dust from surface.

Make a jar of sun tea (a couple of tea bags in a jar of water out on the patio for the day).

Put a steel wool pad in a 3/4 full jar of vinegar and let sit for at least 10 hours. The longer it sits the darker your project can look.

Brush or wipe on a coat of tea and let dry completely.

Brush on vinegar mixture and let dry. Different woods have different results!
Recommended Skill Level
Intermediate

DIY storage shed with mower ramp and steps

Submitted by lookitsash on Thu, 07/28/2016 - 15:29

I used ideas on your site for inspiration for my current back yard shed.  I did a lot of research before choosing one.  If you've never built a shed before from scratch, it can be a little daunting, especially if its a larger shed.  I also documented my whole process from the laying the foundation to putting the last nail on the shingles.  Here's the link for you to my blog post:

http://www.justmeasuringup.com/blog/the-shed-project-phase-1

It was a lot of fun for me, and a huge wow factor to impress my friends ;)  I store everything in there from my riding mower to all my patio furniture in the wintertime.  It's such a useful thing to have.

I spent around $1500 and it took about 2 months to complete (working on it while having a full time job - otherwise would have finished a lot faster)

Estimated Cost
$1500
Estimated Time Investment
Week Long Project (20 Hours or More)
Finish Used
Used T-11 siding with several coats of exterior primer and paint
Recommended Skill Level
Intermediate

Comments

lookitsash

Sun, 07/31/2016 - 17:44

Thanks!   I looked at a bunch of different door trims online and found this pattern that I liked.  The mitre saw made quick work out of it, and it only took about 10 minutes to cut and install.

Outdoor Sectional

Submitted by spiceylg on Fri, 07/13/2012 - 18:41

We chose to use 2x4 construction because we simply needed a sturdier build. Enough said. :) I wanted to use cedar, but when we went to the lumberyard, they didn't carry 2x4s in cedar, just 1x4 and said it was hard to find. Being that I had wanted this built by Labor Day and it was already July, we bought the pressure treated wood. I know, I know, chemicals galore. We worked on it a little at a time. We modified it for a higher back, but now I wonder if that was needed, because although the cushions are deep they do go down some when you sit on them. Ah well, we are still happy with it. Because of the higher back, we opted to just use the armless section on the end, however we might build a modified arm later on. We'll see how it goes.

Estimated Cost
$358 = $148 wood, $210 cushions (Costco)
Estimated Time Investment
Weekend Project (10-20 Hours)
Finish Used
Not sure what brand or color. It's from Menards.
Recommended Skill Level
Beginner

Comments

Debbie Gregory (not verified)

Sat, 07/14/2012 - 08:04

So proud of my talented sister. Love to see more. My cat Keko is still loving his bed

Full Size Farmhouse Bed, all recycled wood!!!!!

Submitted by leenmarie on Wed, 04/30/2014 - 22:31

I live in a very old house with very little storage space (only 2 tiny closets!) so i made the bed higher and am going to build the trundle drawers on casters for under the bed. I also liked the version i saw with the higher footboard panel. Though i kept the original height measurements for the headboard posts (because it actually ends up to be the same height as the fireplace mantle, which adds a nice design harmony to the room) the headboard panel is shorter to make up for a bigger space under the bed.
The panels are made from weathered fencing and the 4x4s are discards from a sign company that i pass by on a regular basis. So my only monetary investment was for the long screws and a new drill bit. ! I have not decided on a finish yet, i'm going to sleep on it a while. (grin)
i started out with everything just a little bit bigger because i knew that discrepancies in old wood are better off being trimmed to square rather than assuming everything will fit.
I love how the raised grain of the weathered wood creates such dramatic abstract organic designs; i went over it ever so lightly with a sander. This is the second bed i have built, but the first one that cost me virtually nothing.
There's still plenty of fencing left and i am planning a dresser and a desk. :)
Thanks so much for your inspiration and influence on the world!

Built from Plan(s)
Estimated Cost
$20.00
Estimated Time Investment
Week Long Project (20 Hours or More)
Finish Used
none yet. going to do some samples with clear laquer or poly, milk paint, and stains before i decide.
Recommended Skill Level
Beginner

DIY Shitty on purpose coffee table I made for my tough little man.

Submitted by Anonymous (not verified) on Tue, 08/02/2016 - 09:09

My son needed a coffee table to help him with his physical therapy. I didn't want to buy some plastic piece of shit from the store so I made him one. He loves toy cars, and in addition to the custom stain work I added a feature that will hopefully encourage him to stand and play. It can be removed when he grows up and he'll have something hand built to remember my love for him.


I did a step by step and posted to Reddit. Here's the link =)

https://www.reddit.com/r/DIY/comments/4vhbyl/diy_shitty_on_purpose_coff…

Built from Plan(s)
Estimated Time Investment
Day Project (6-9 Hours)
Finish Used
Minwax ebony and grey 50/50 mix
Recommended Skill Level
Beginner

Farmhouse Coffee Table

Submitted by Johno1826 on Sat, 05/23/2020 - 11:34

Great plan. I could not get the X right (terrible carpenter). A neighbor suggested I trim where they join for a flush fit. One turned out great, the other I cut a little too much. This was for my Daughter, she liked the natural color, I finished with Tung Oil so it took a while for the finish to dry completely.

Estimated Cost
$60
Estimated Time Investment
Day Project (6-9 Hours)
Finish Used
Tung Oil
Recommended Skill Level
Beginner