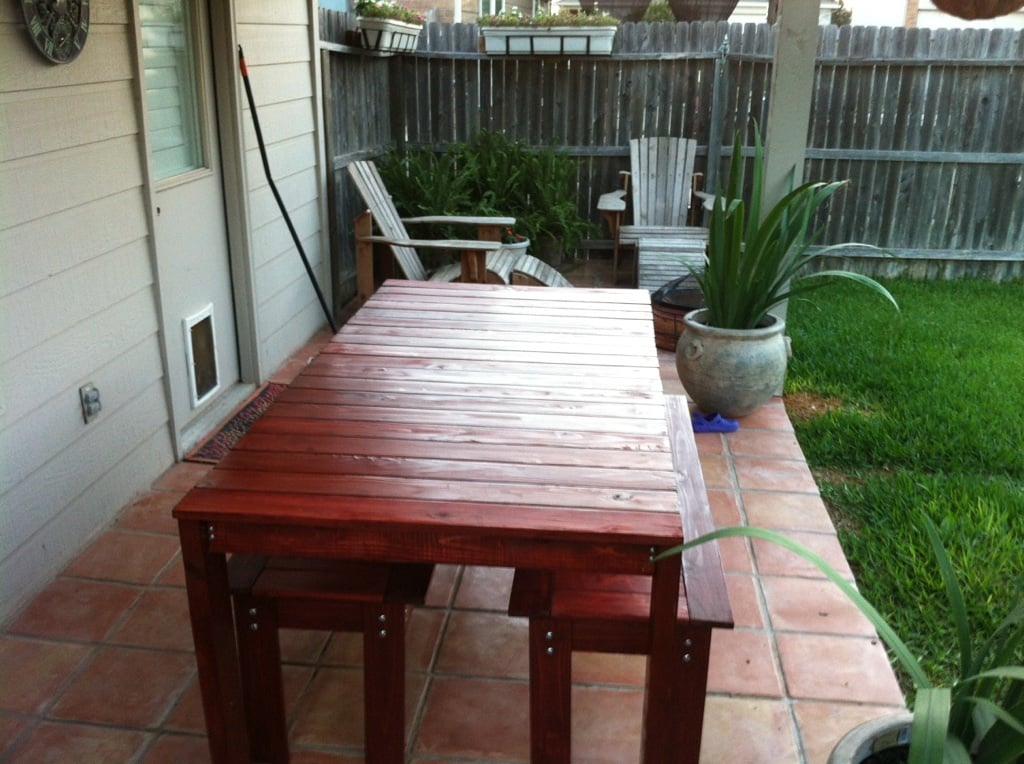
Simple Outdoor Dining
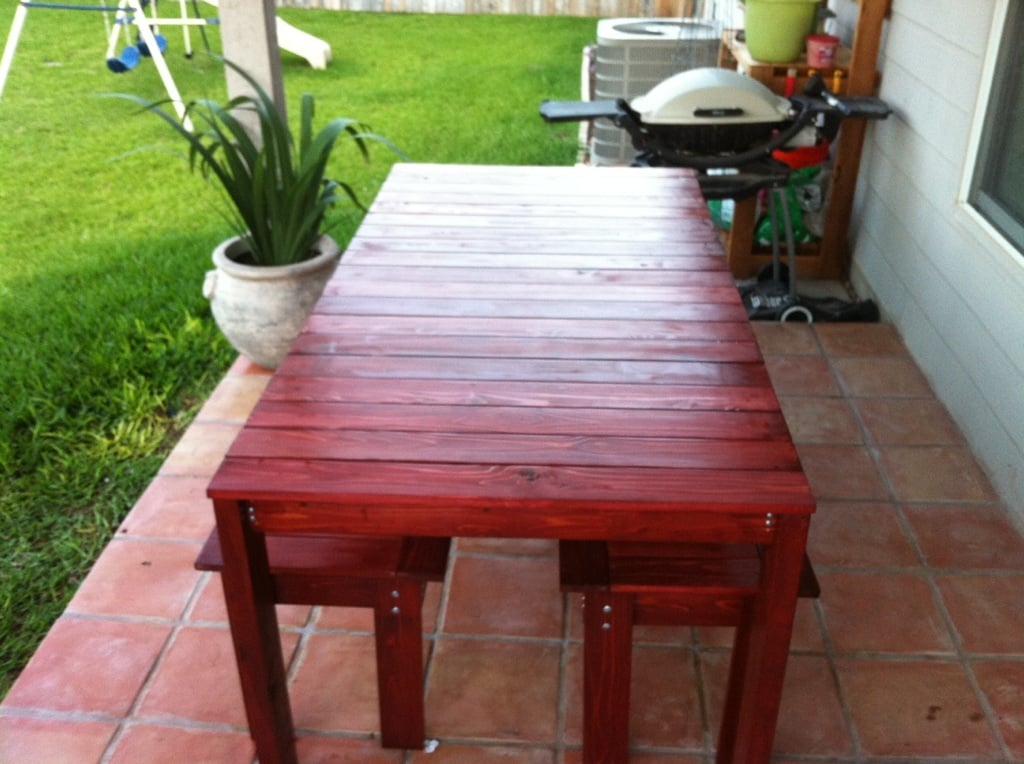
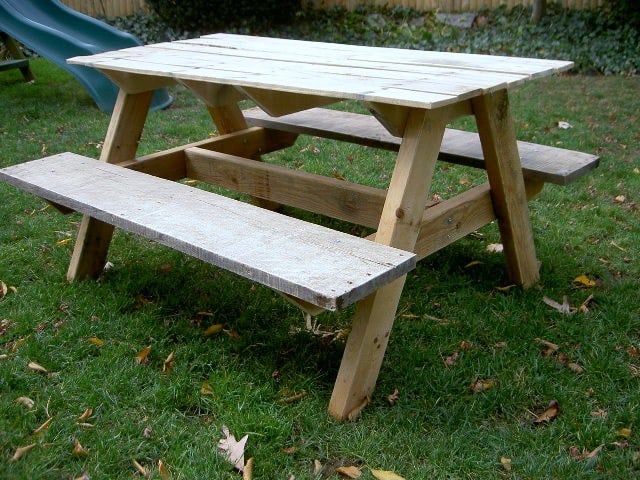
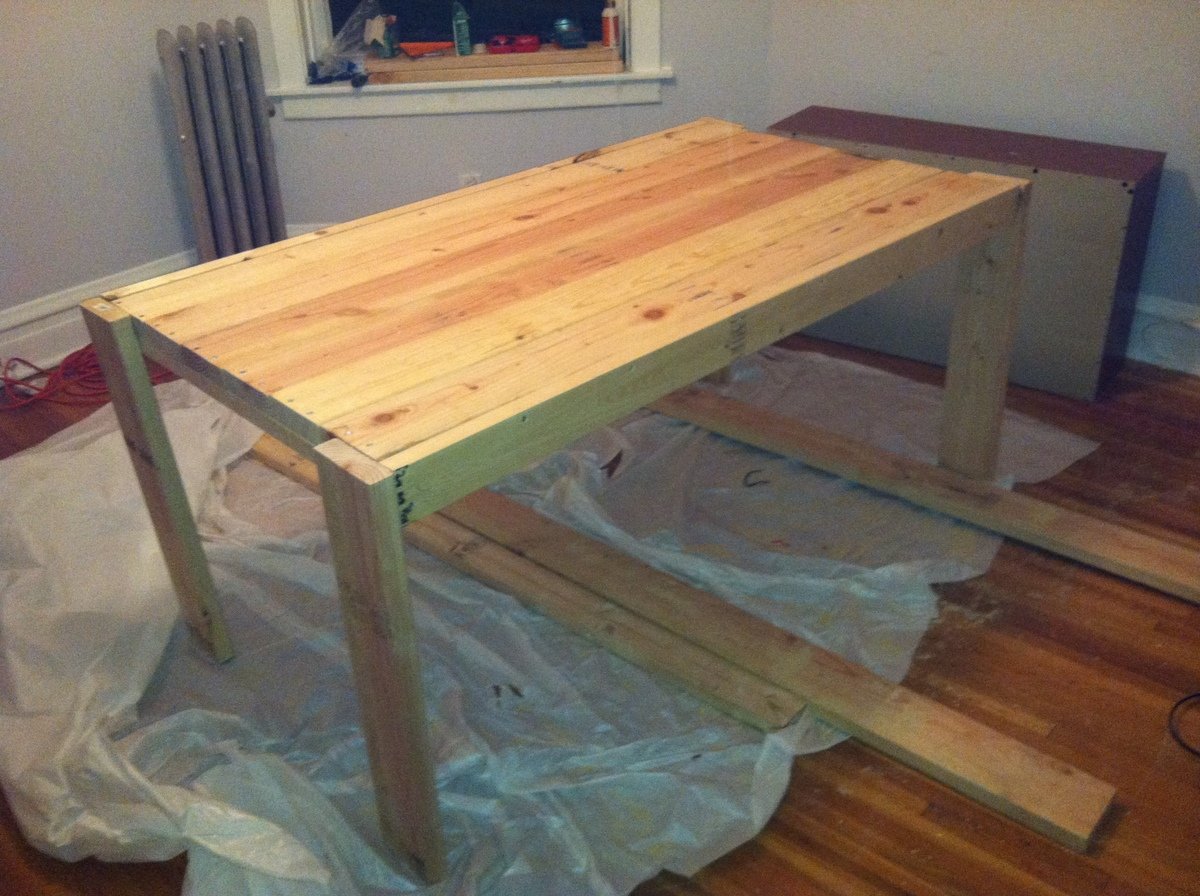
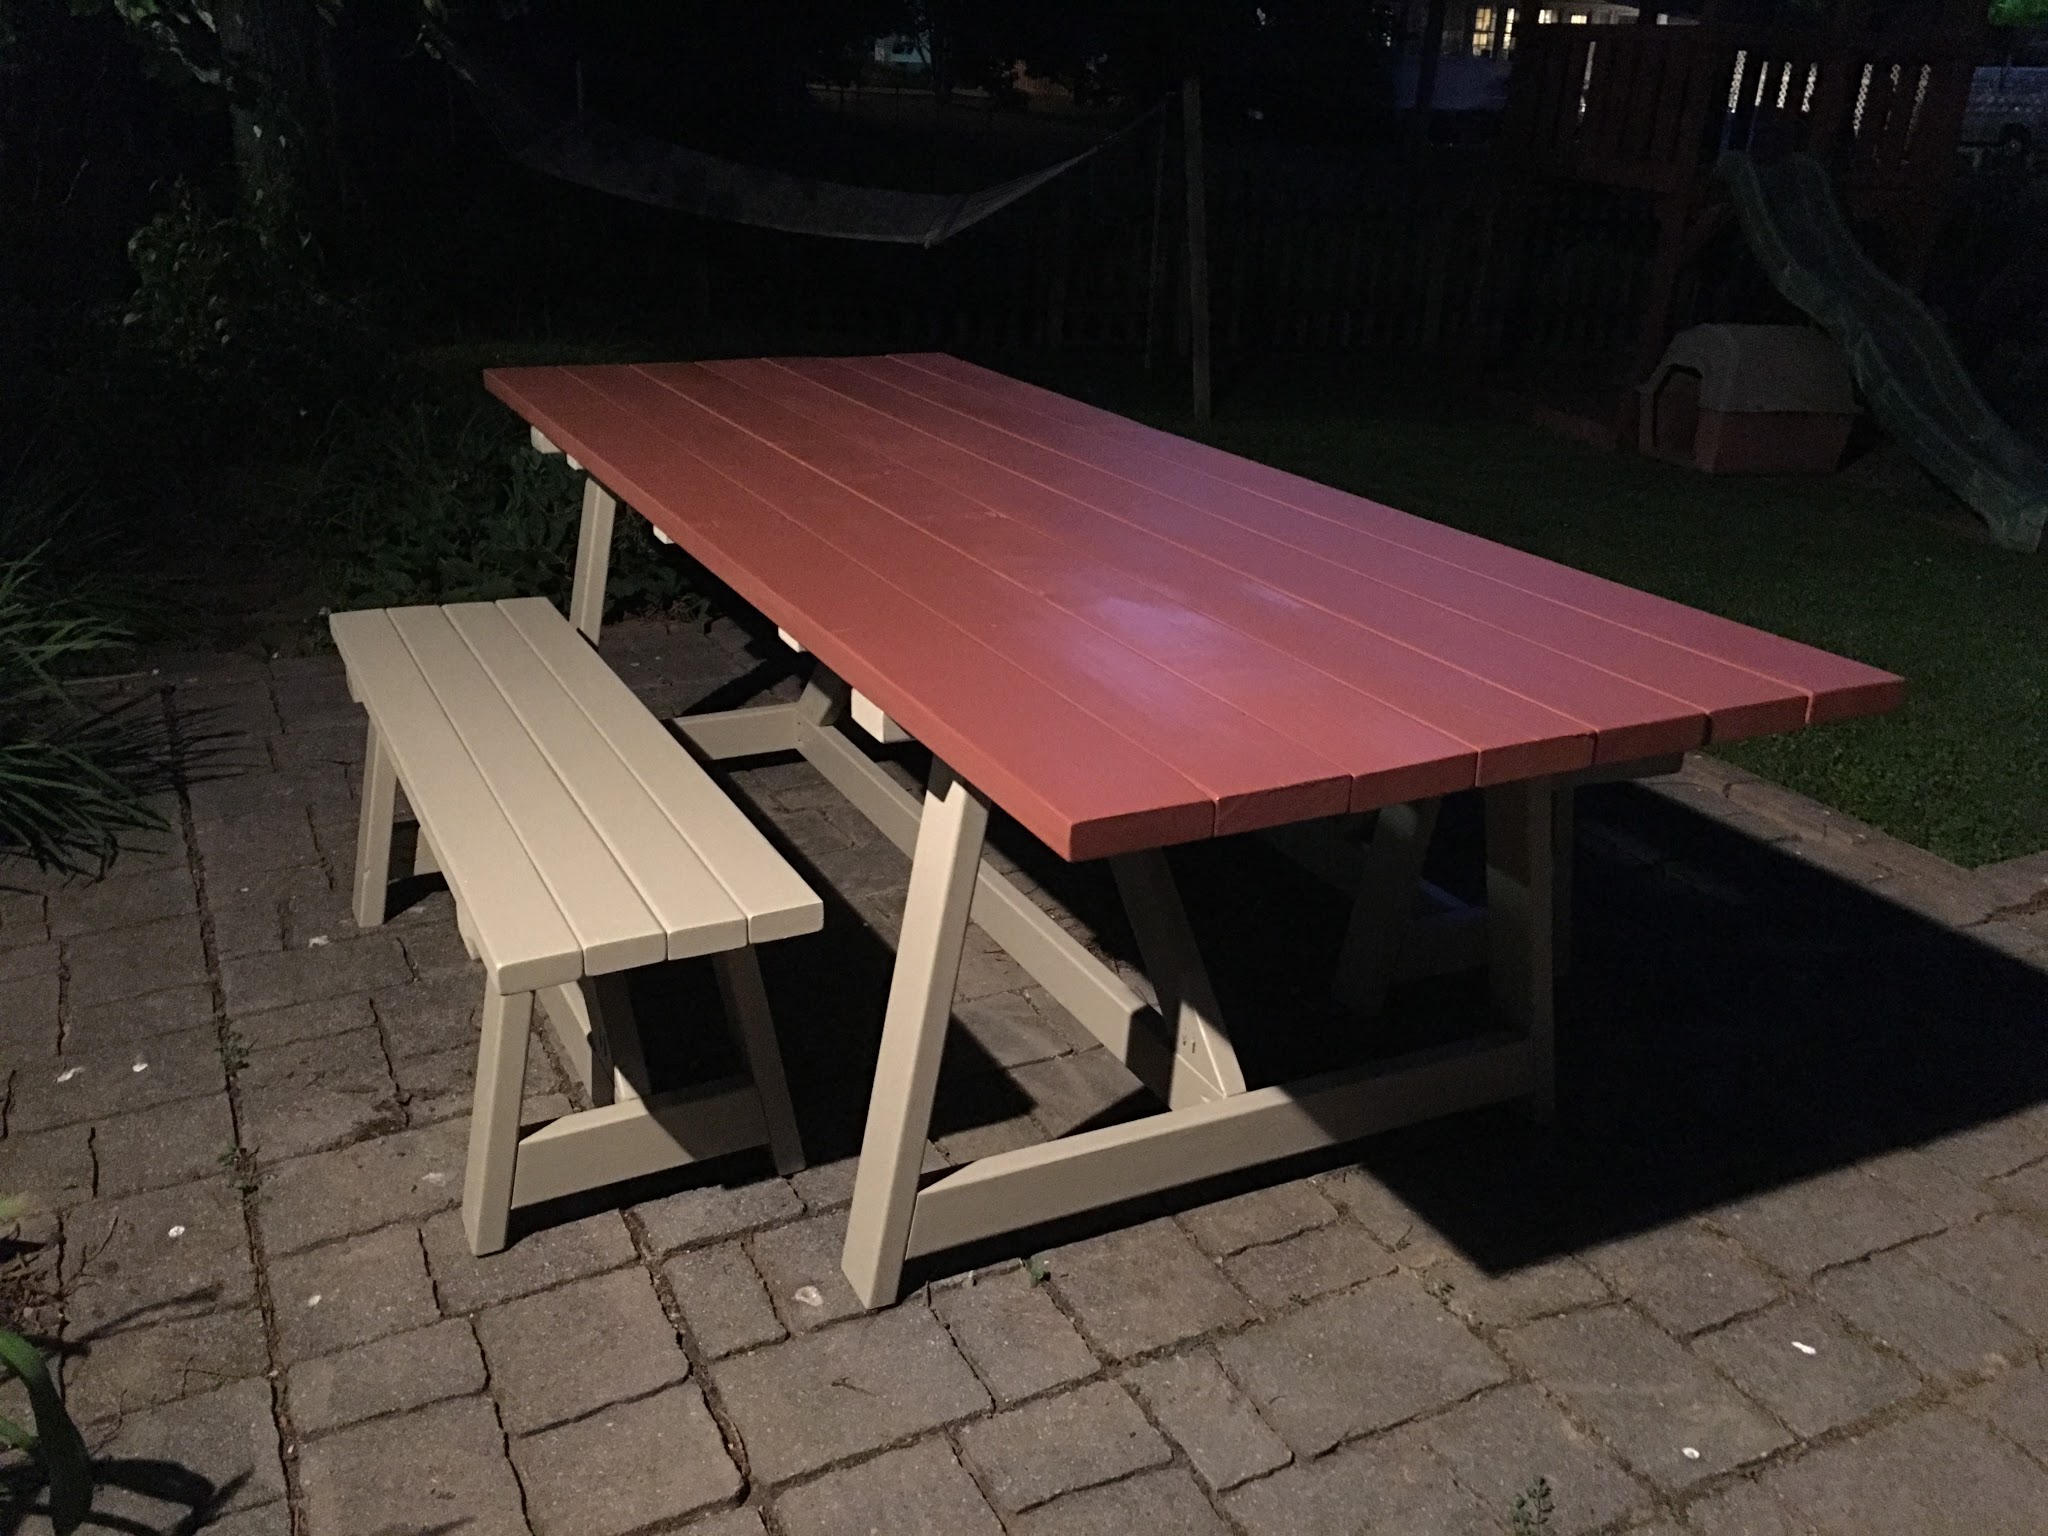
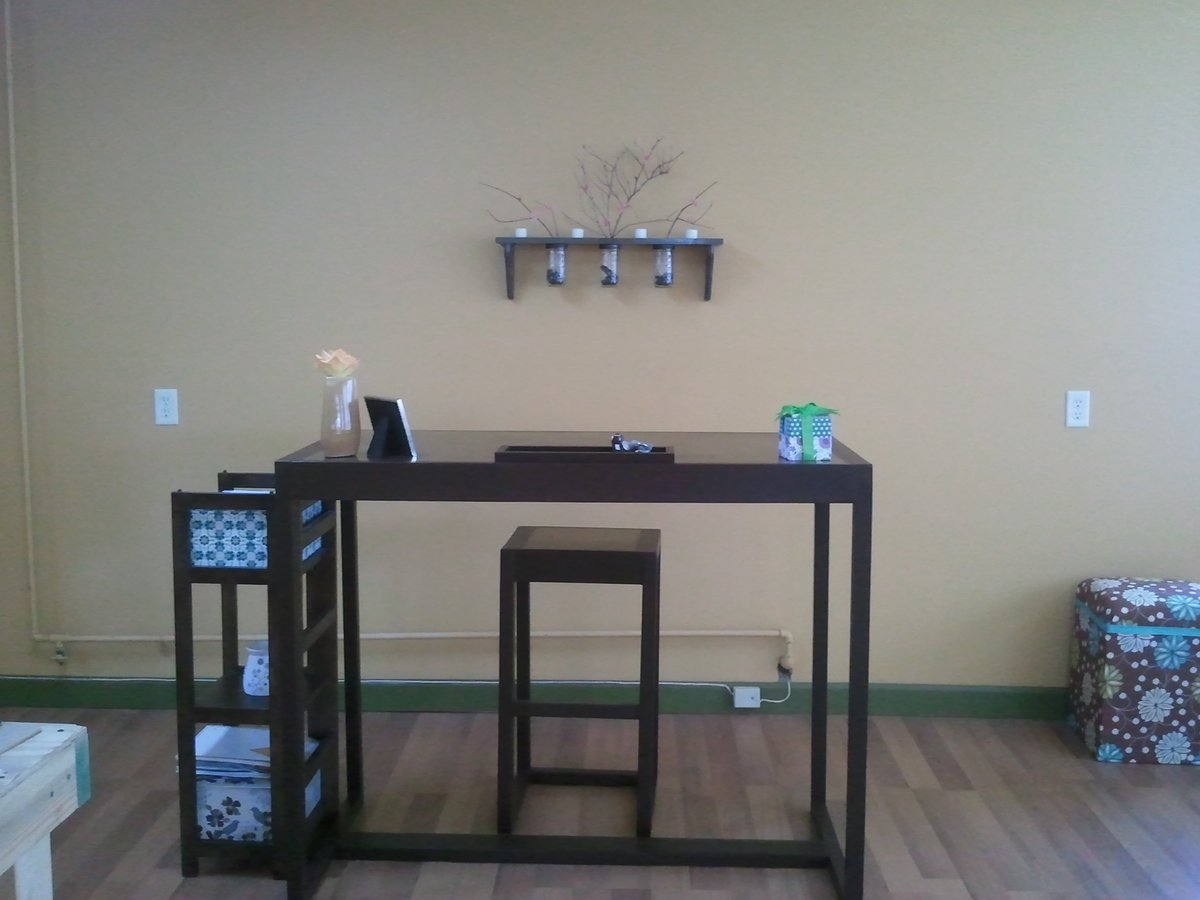
I am enamored by the Simple Outdoor Table that is usually featured on the homepage. This was my second project, and in hindsight, I it took several weeks to finish working at night because I made several mistakes that required some problem solving. Naively, though, I studied the plans, borrowed a saw and got to work.
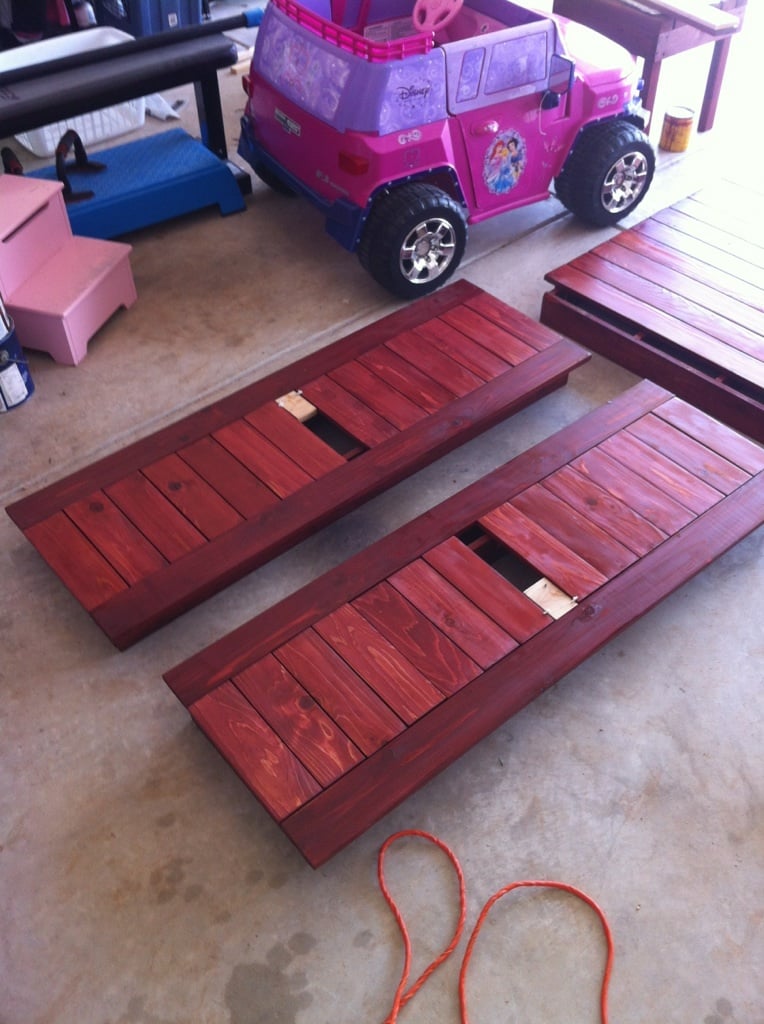
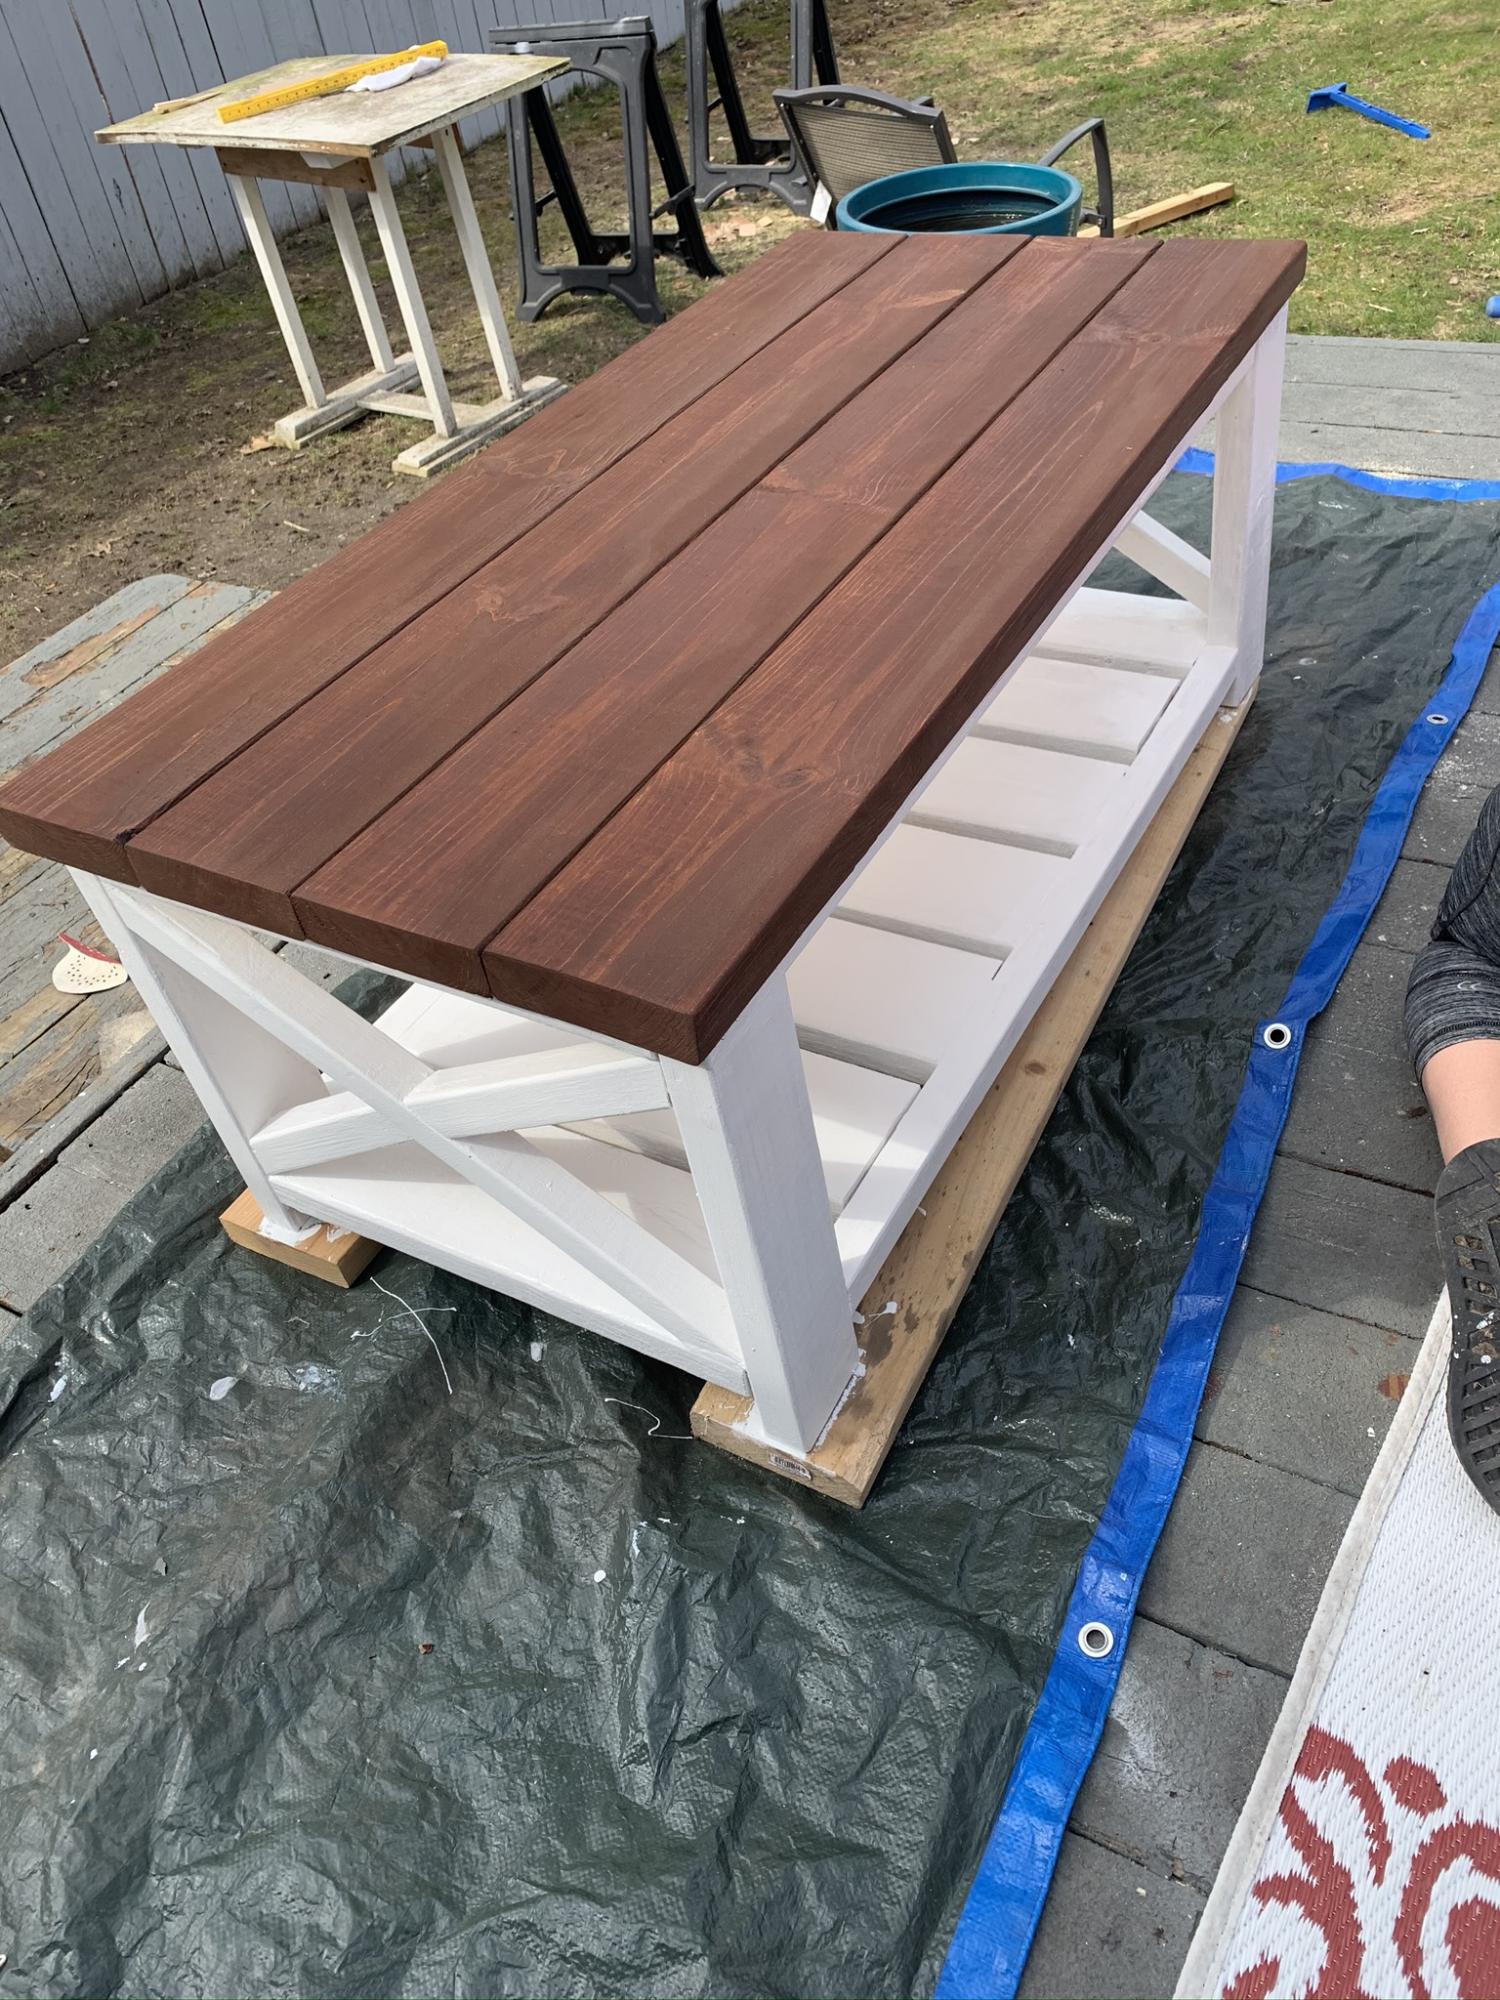
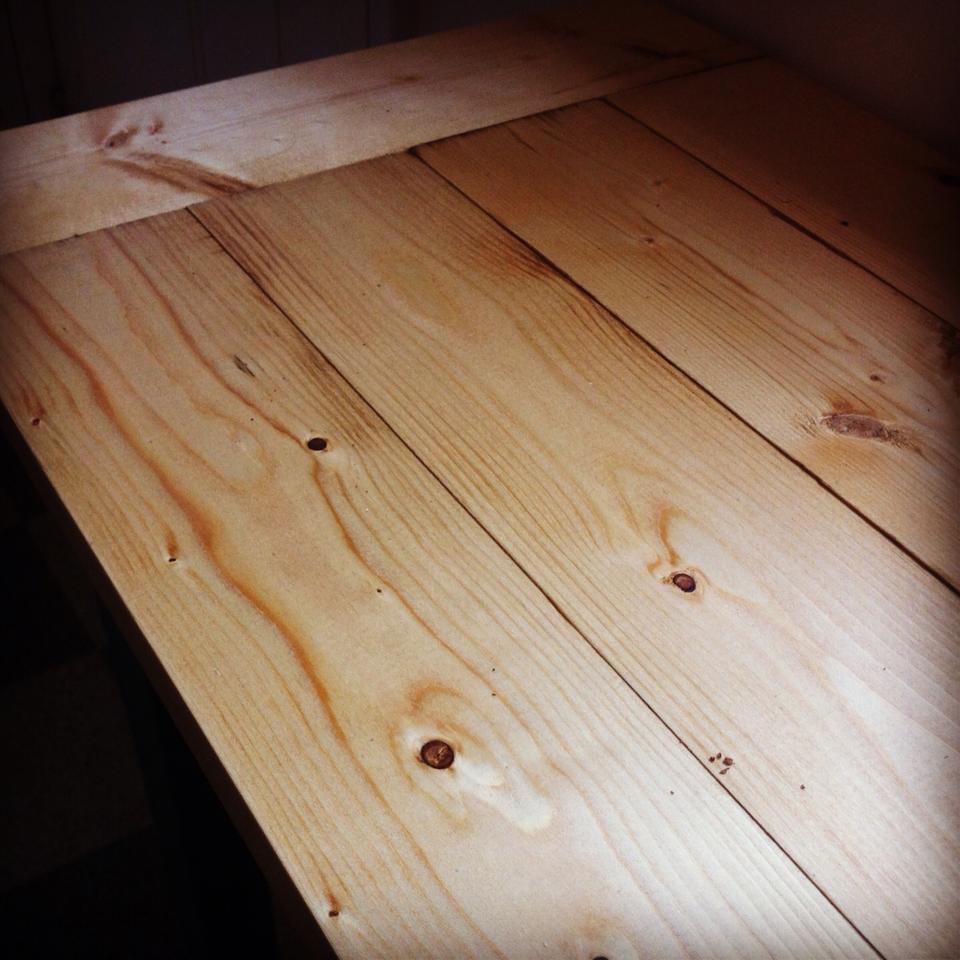
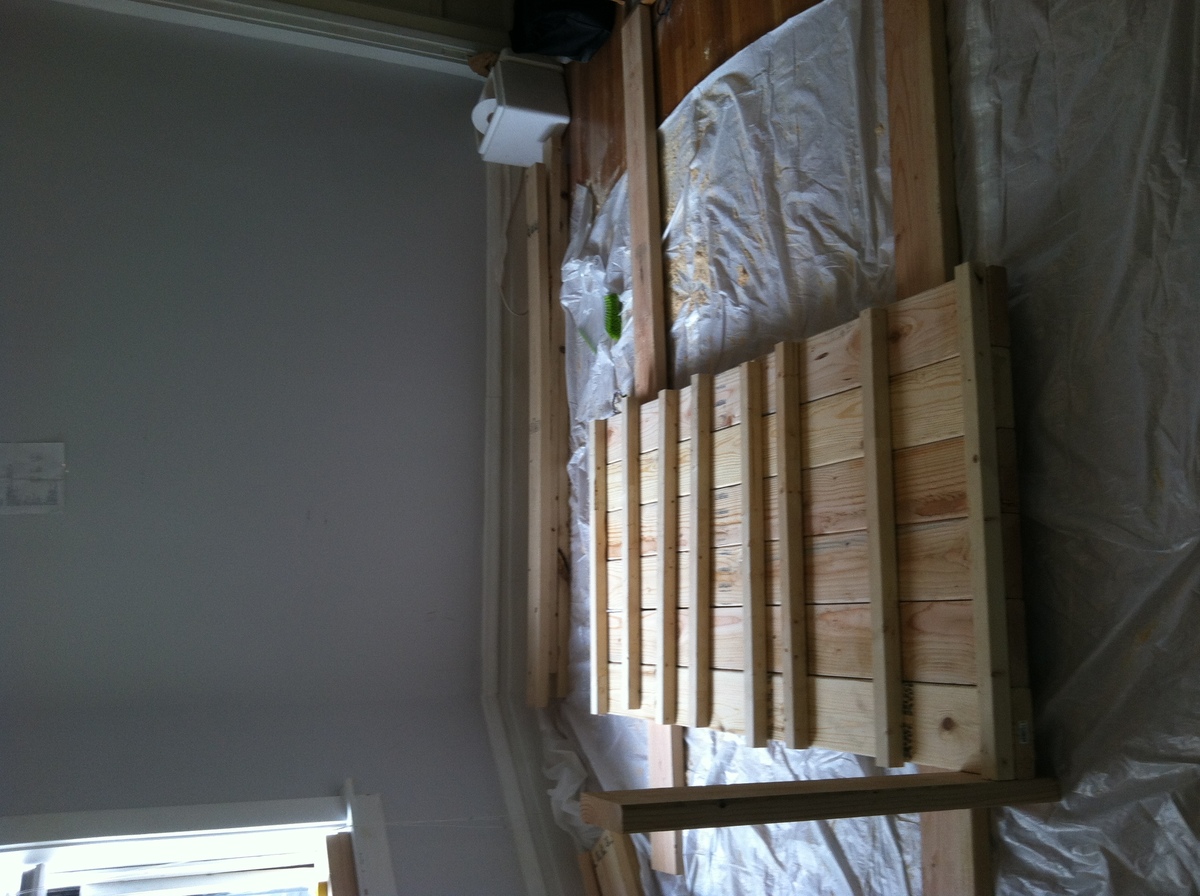
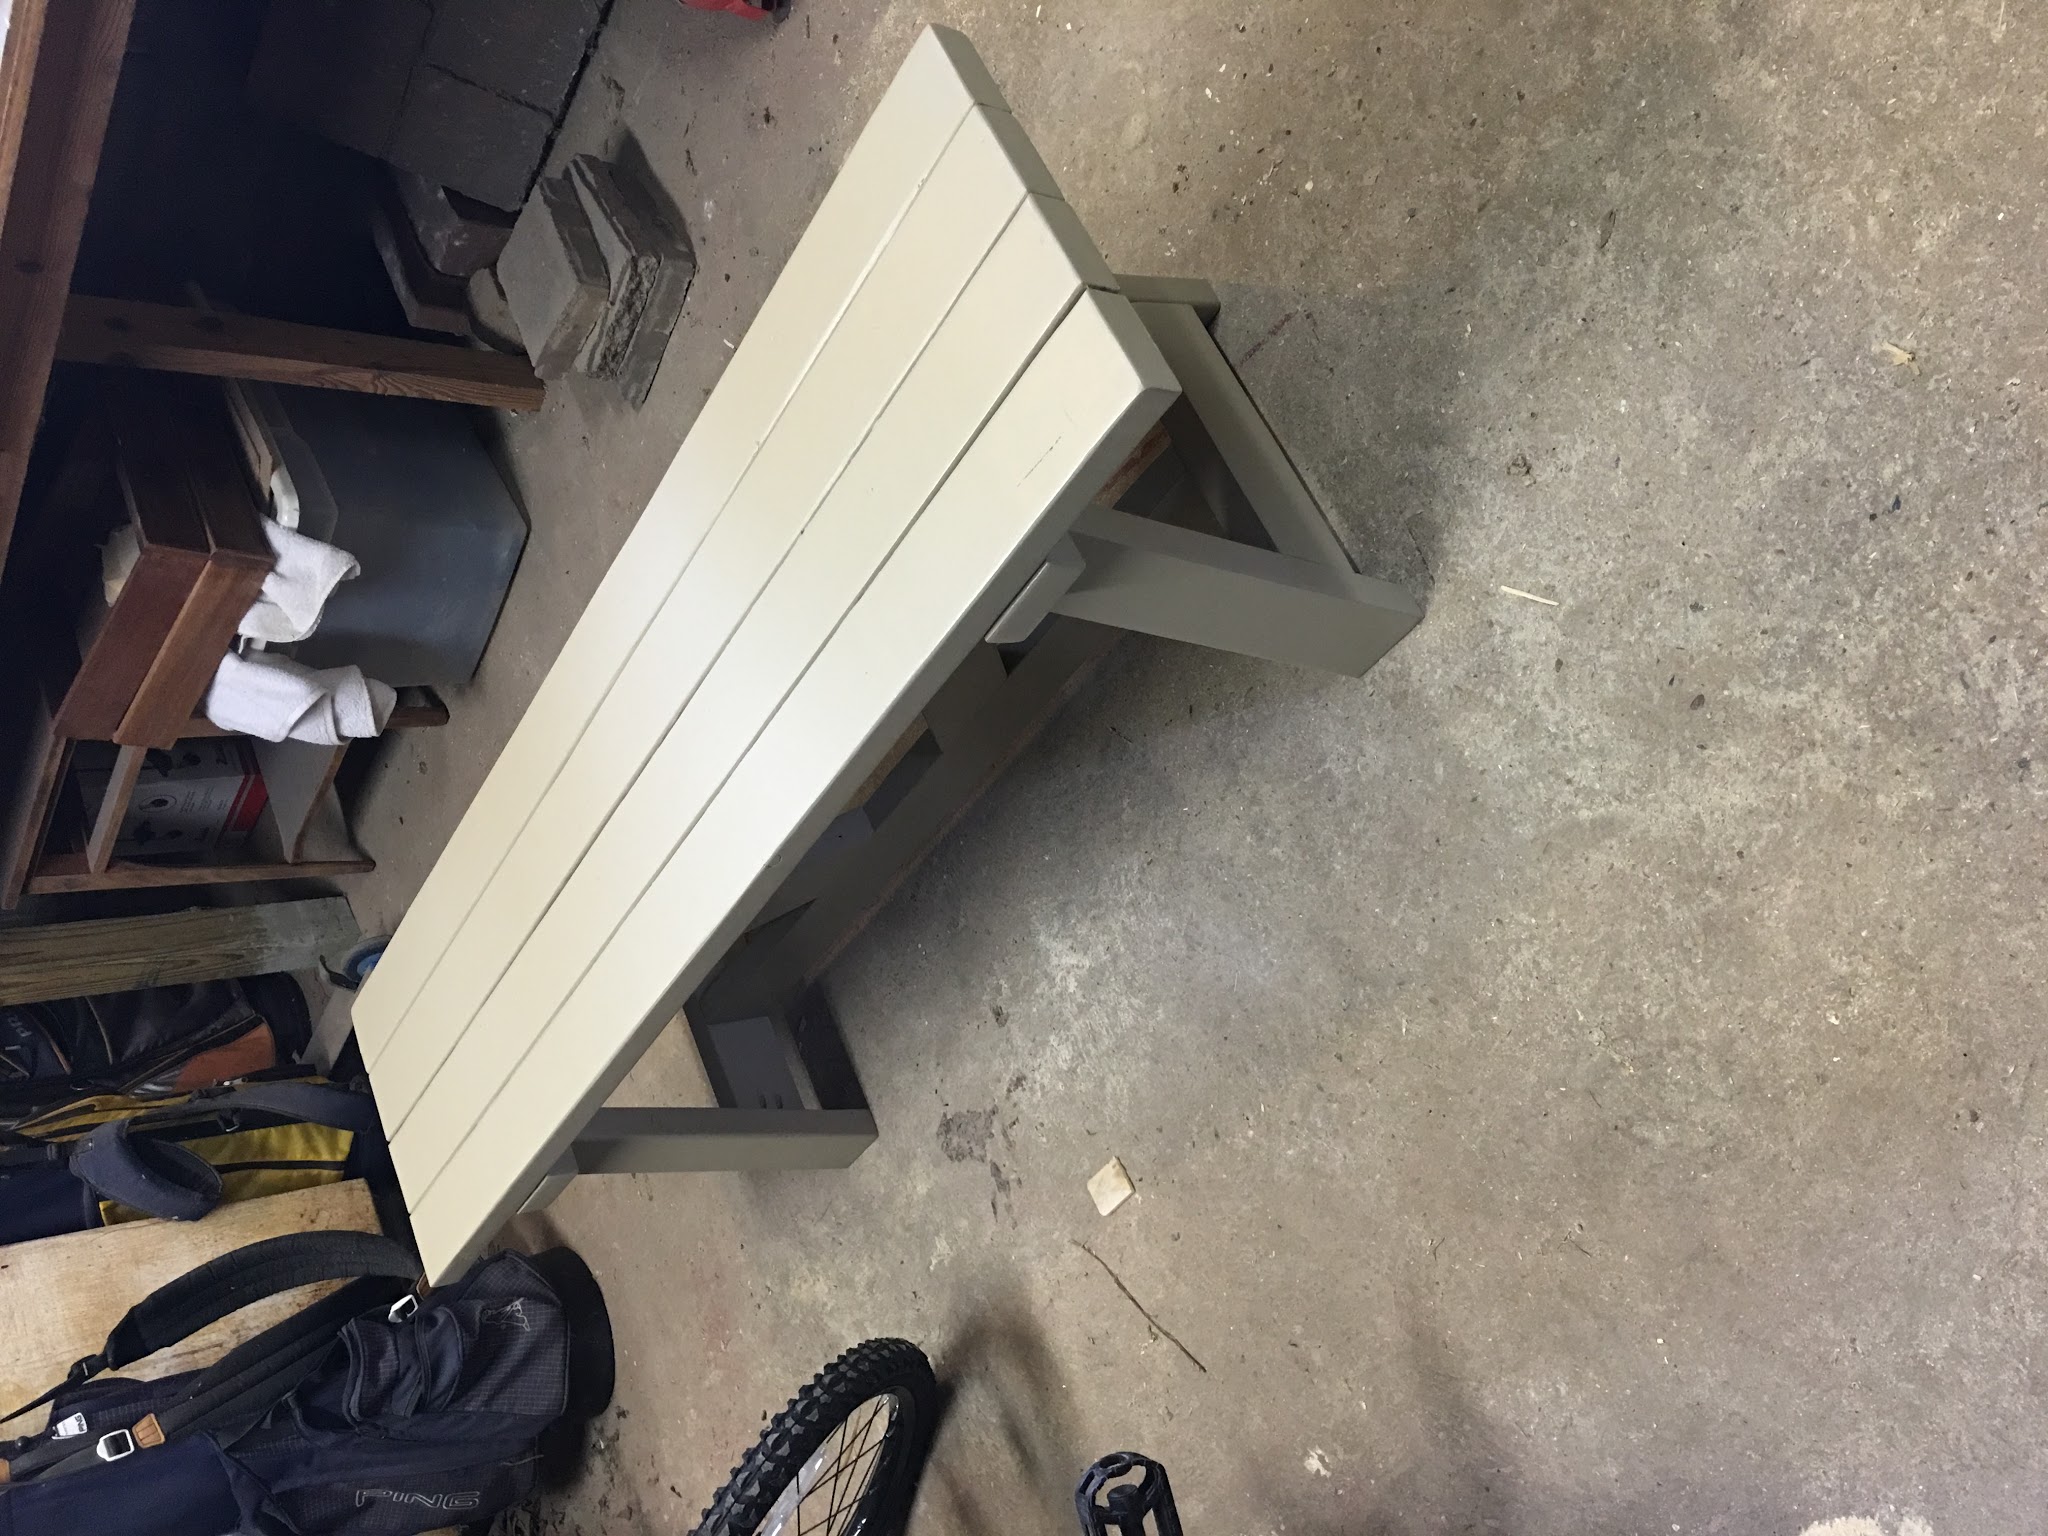
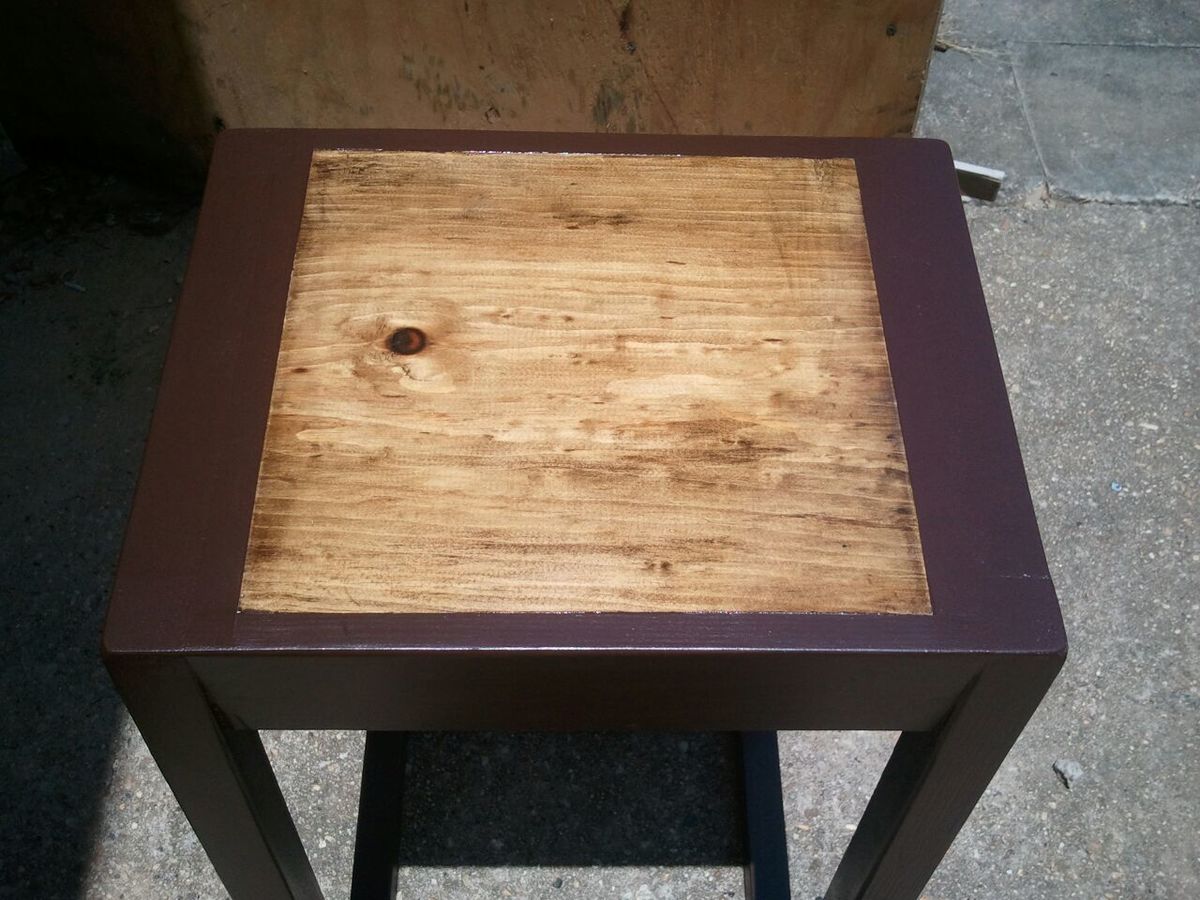
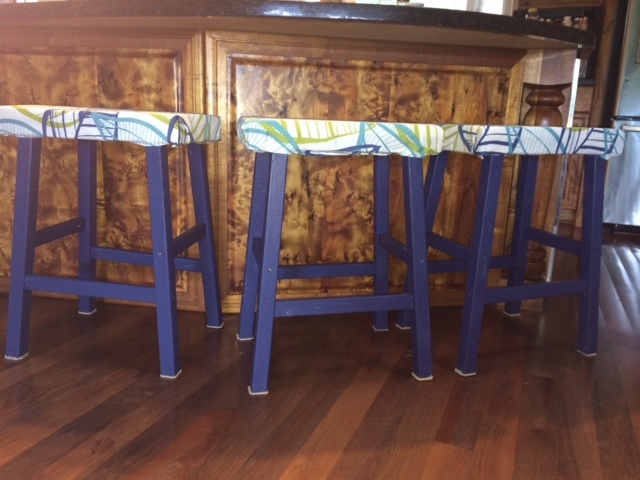
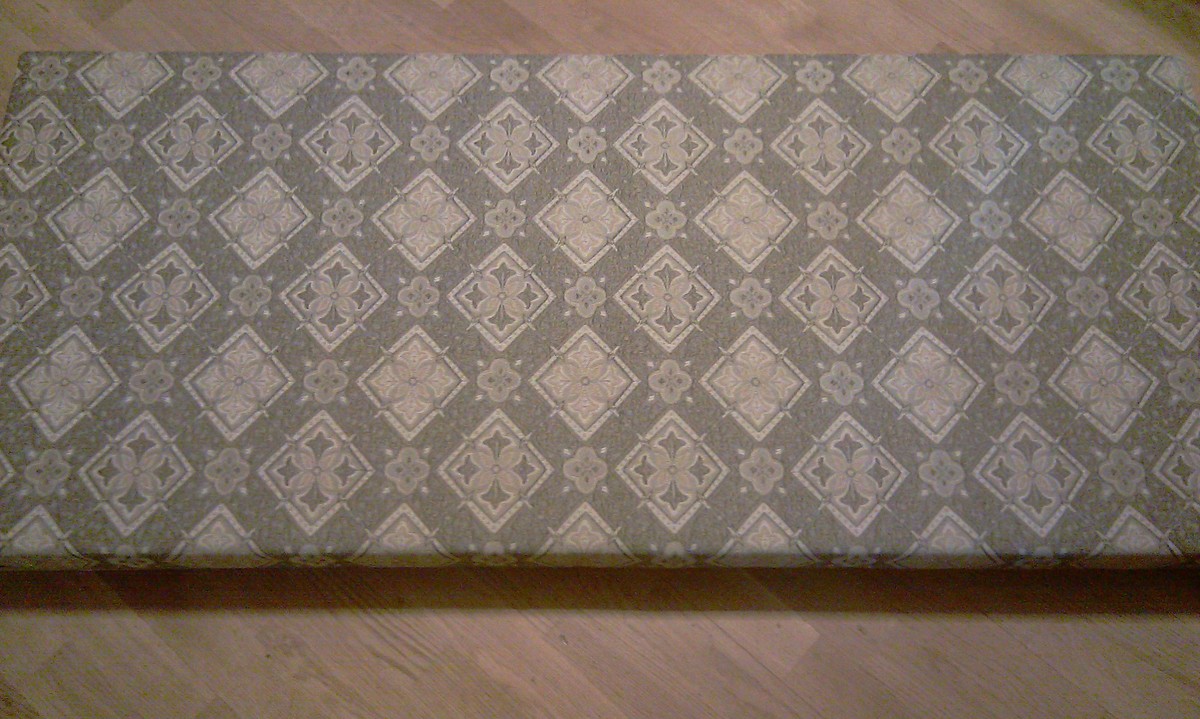
I opted for two benches to save space on the patio when not in use. As you can see in the picture of the bench tops, I opted for a smaller spacer (1/16")because it improved the looks dramatically, but that left me with a gap. There will be a skinny slat in the middle of each bench.
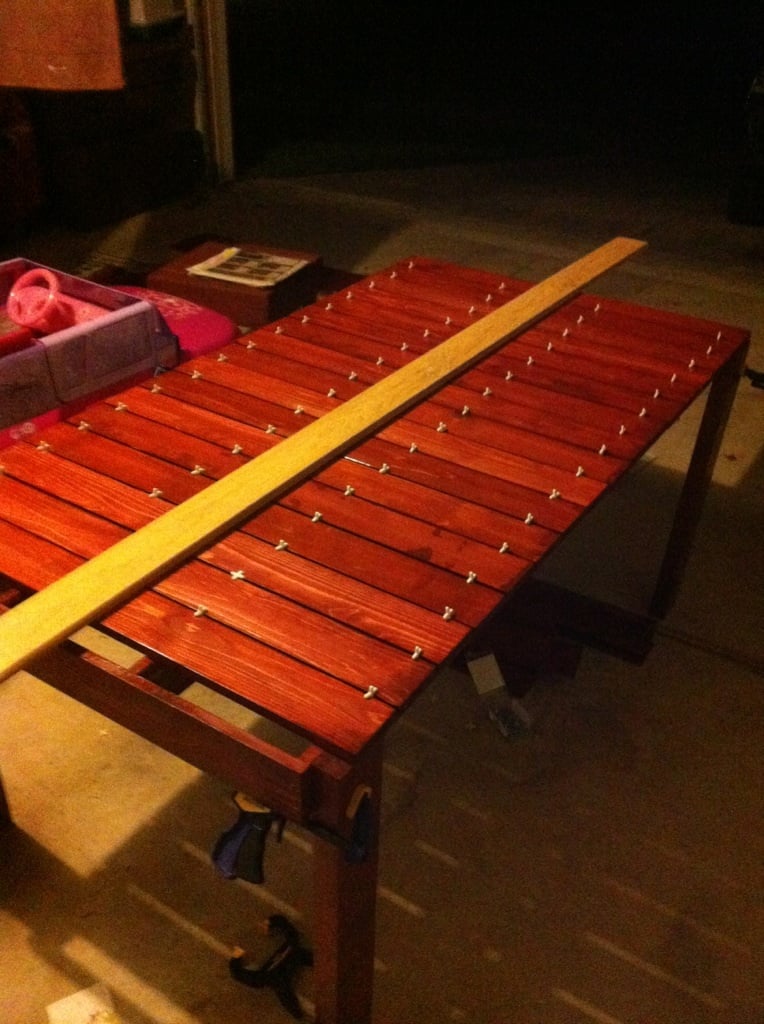
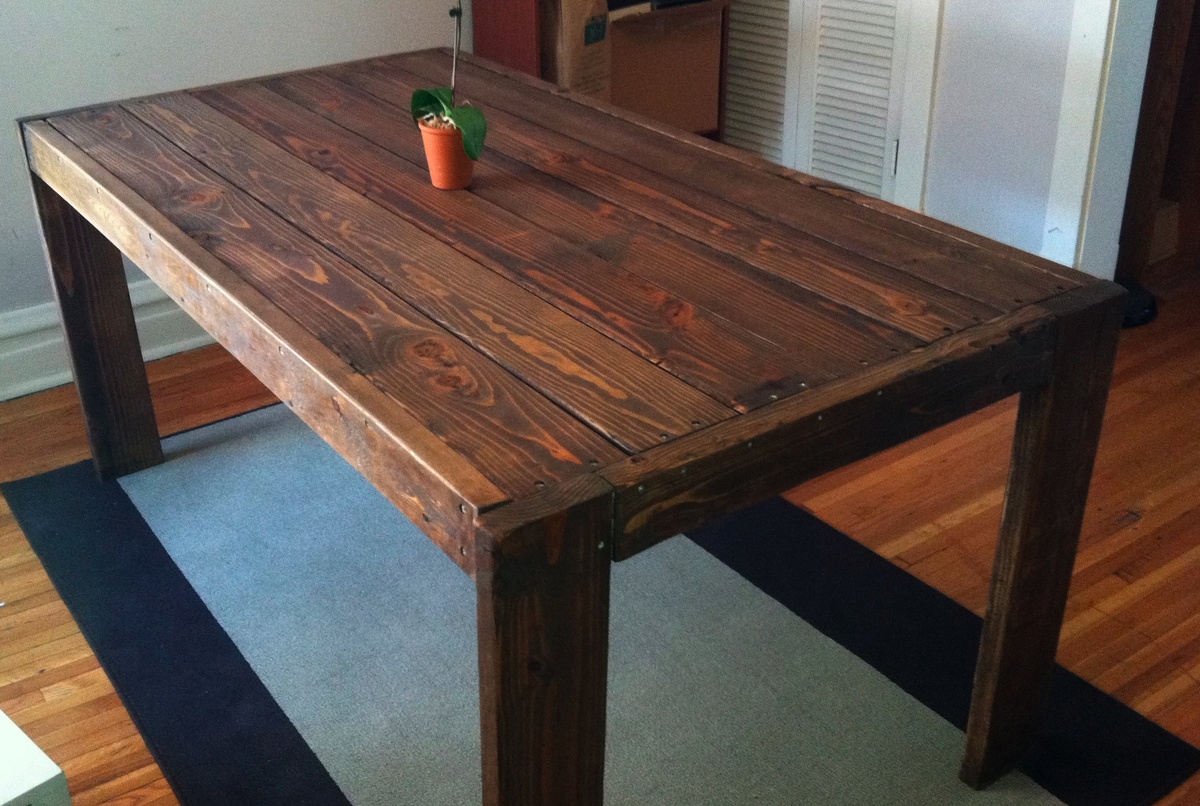
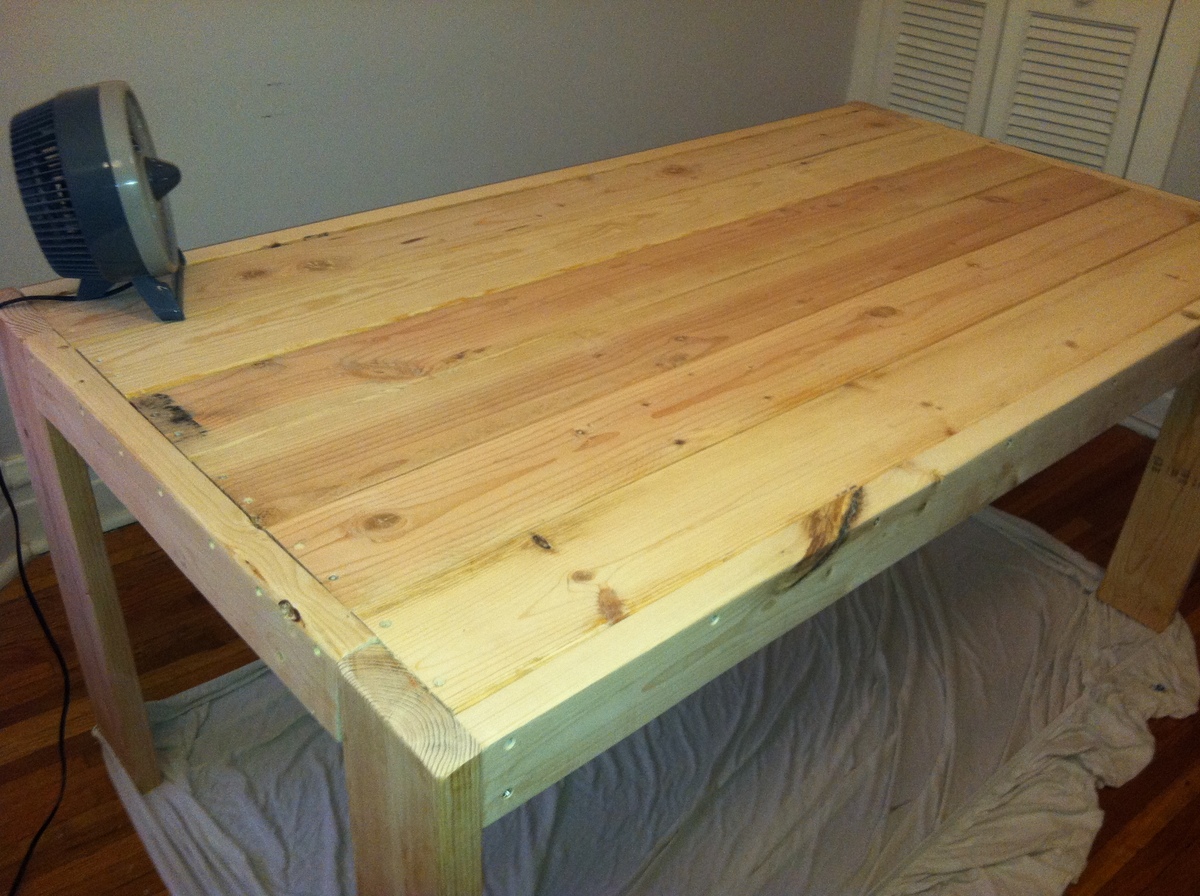
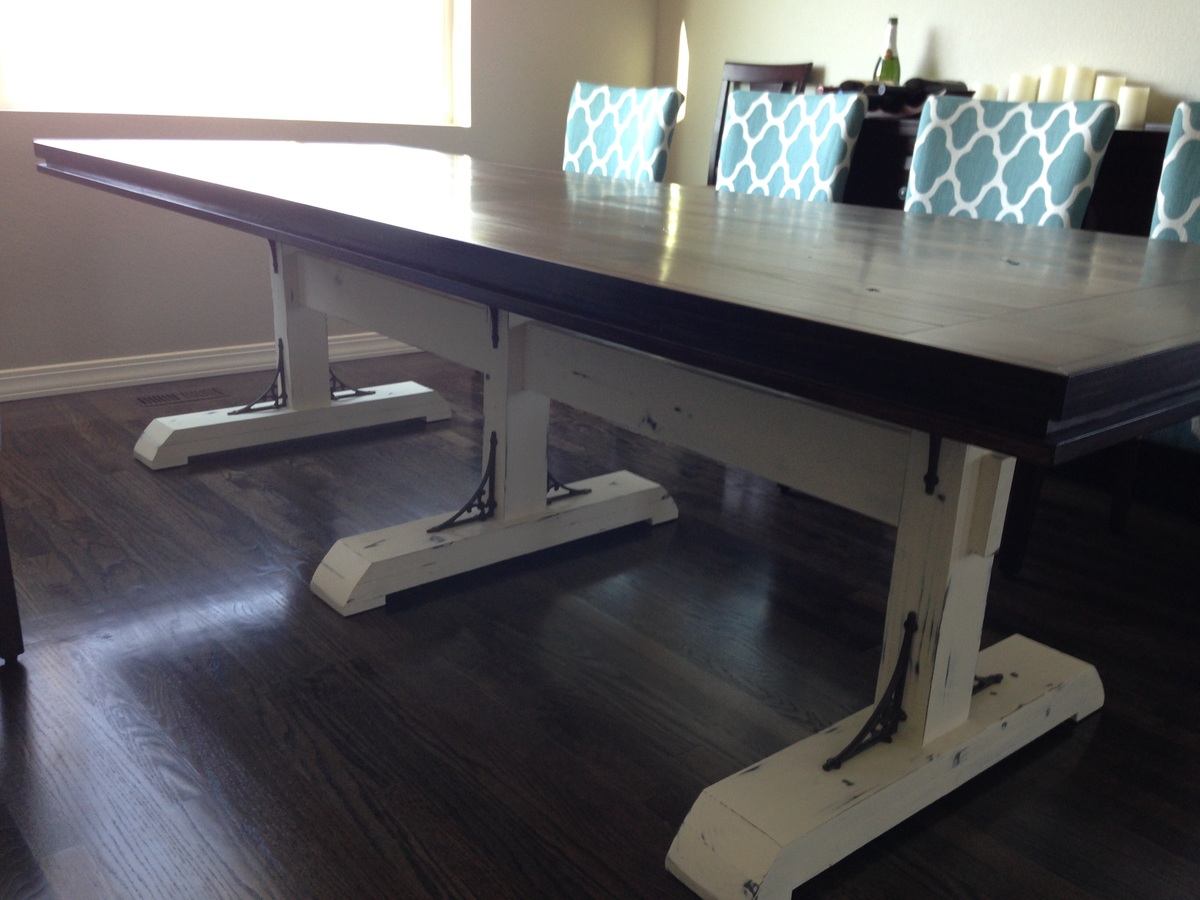
I also opted for 3/16" spacers on the tabletop which required one more board than was scripted. That is much easier to account for on the table then the benches.
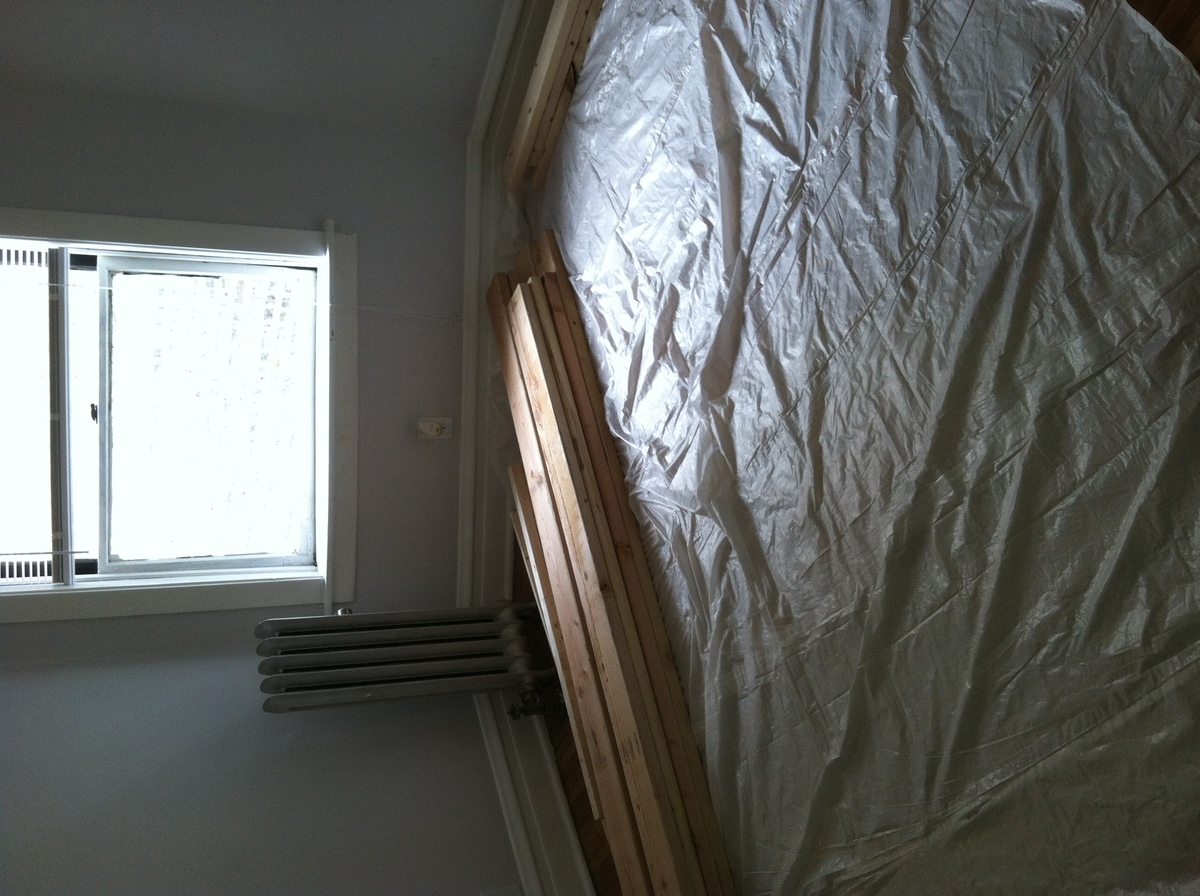
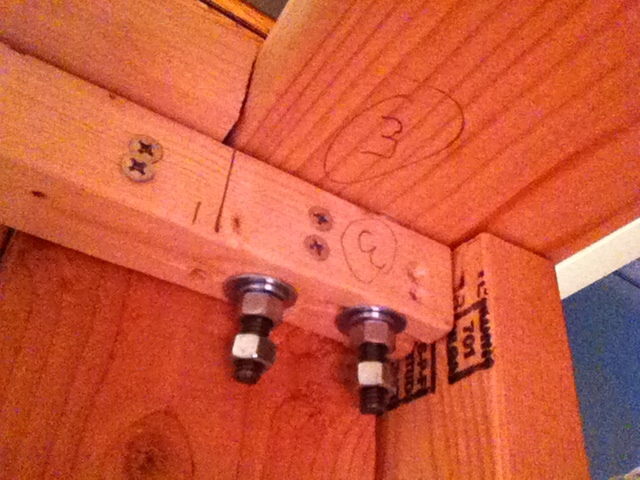
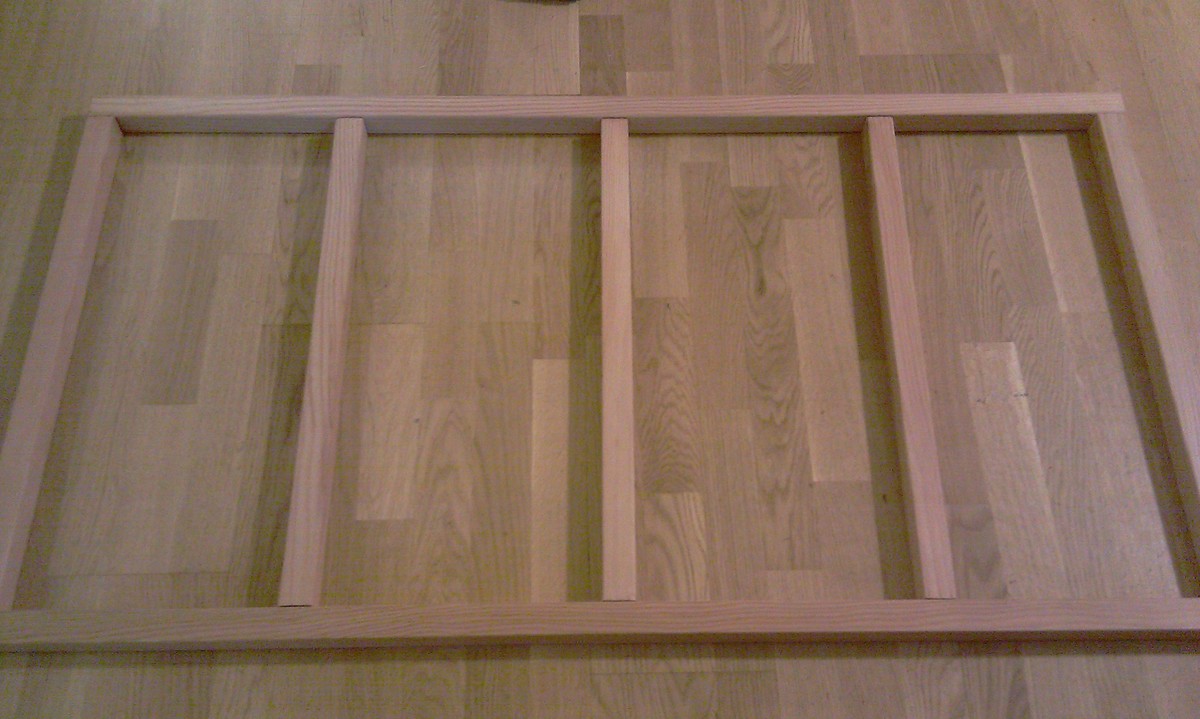
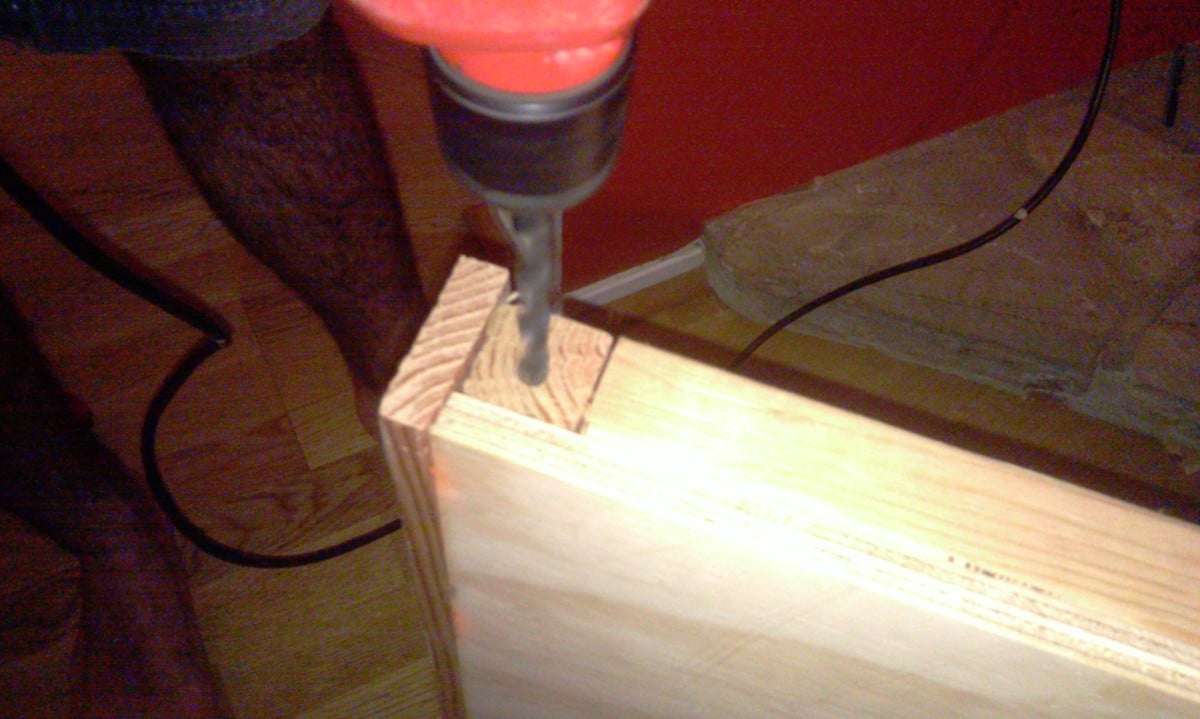
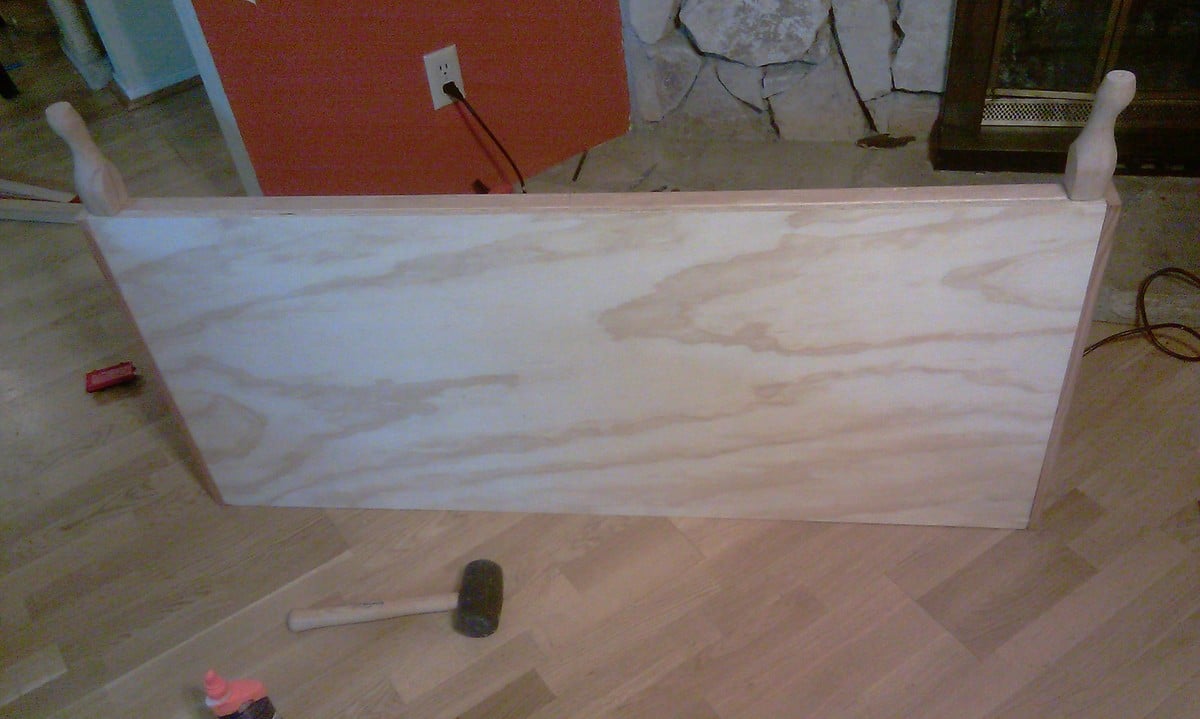
You can see from the stacks of lumber in the garage, assembling is the easy part! I hope to never see the words, sand, stain, and seal in sequence again. I also learned a few difficult lessons when it came to using the Kreg Jig, which was new to me.
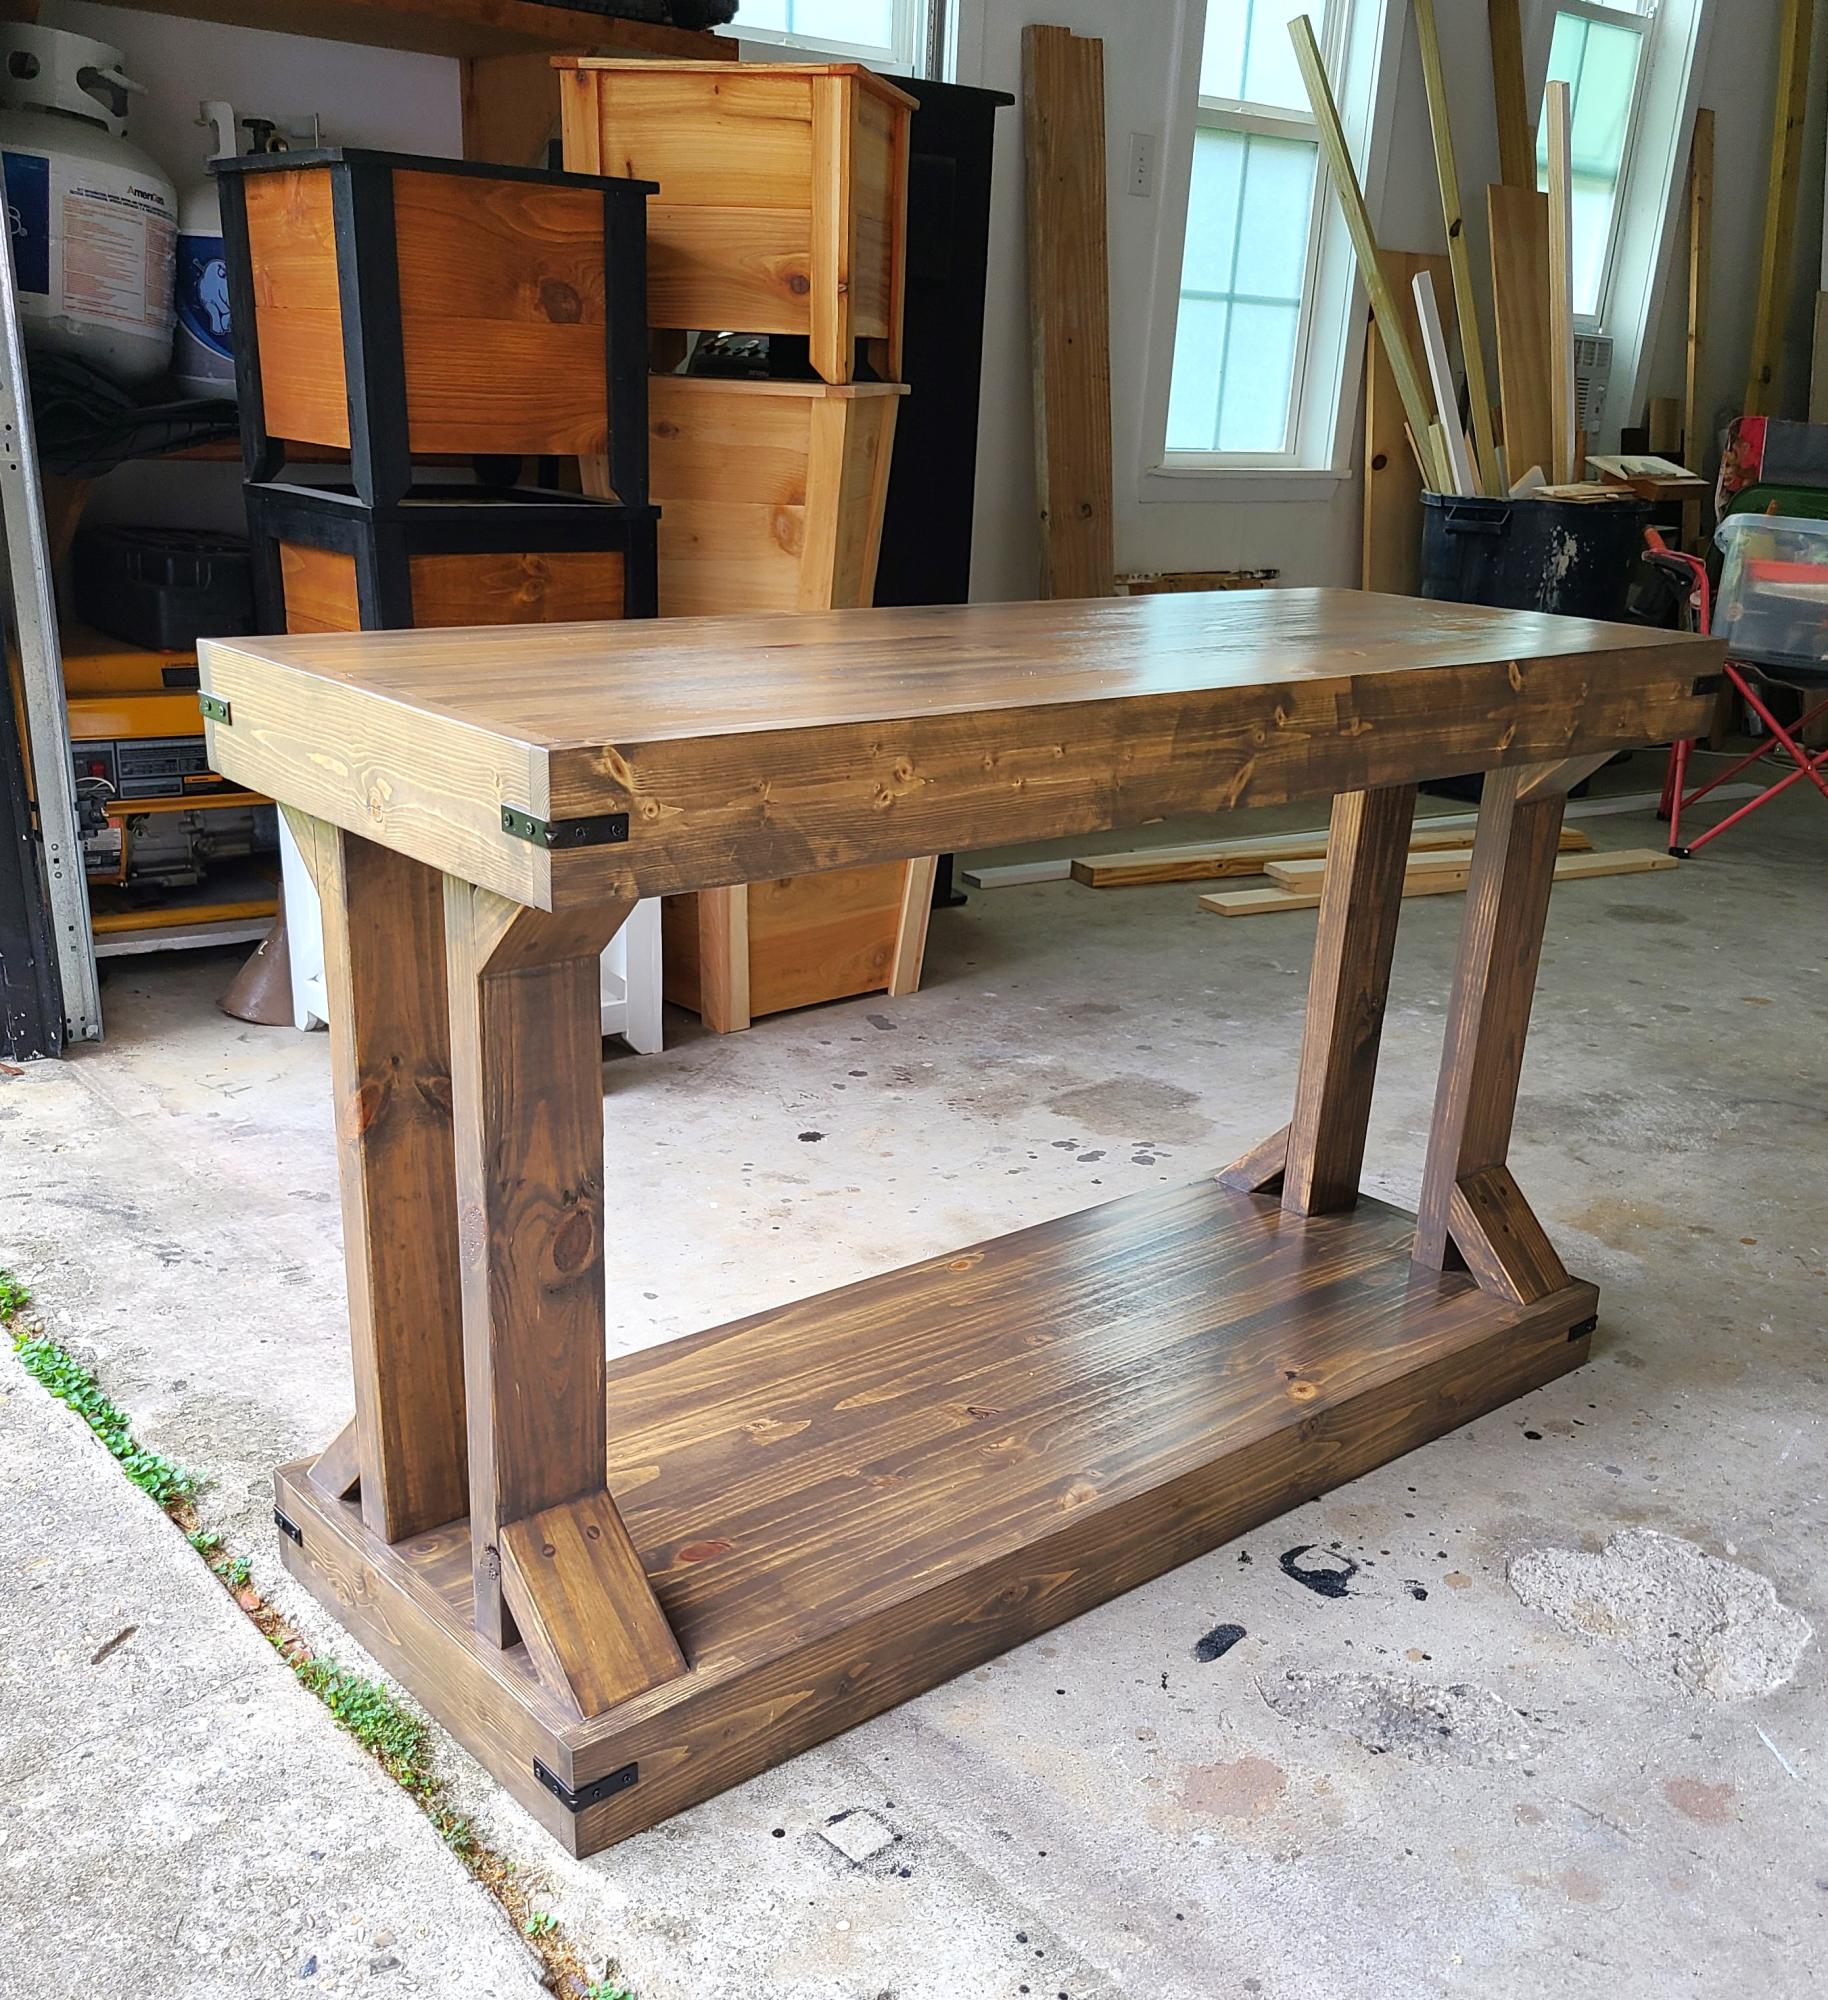
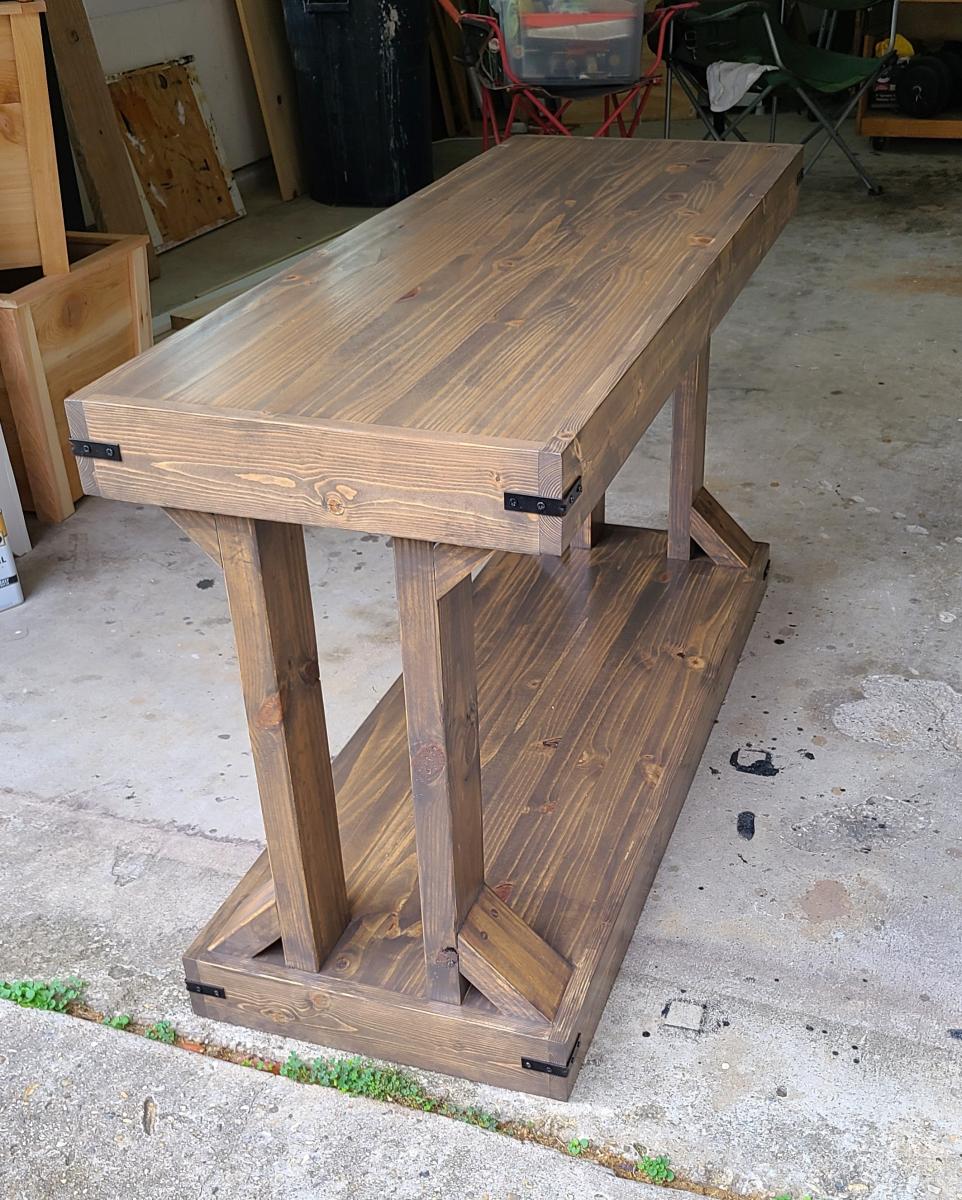
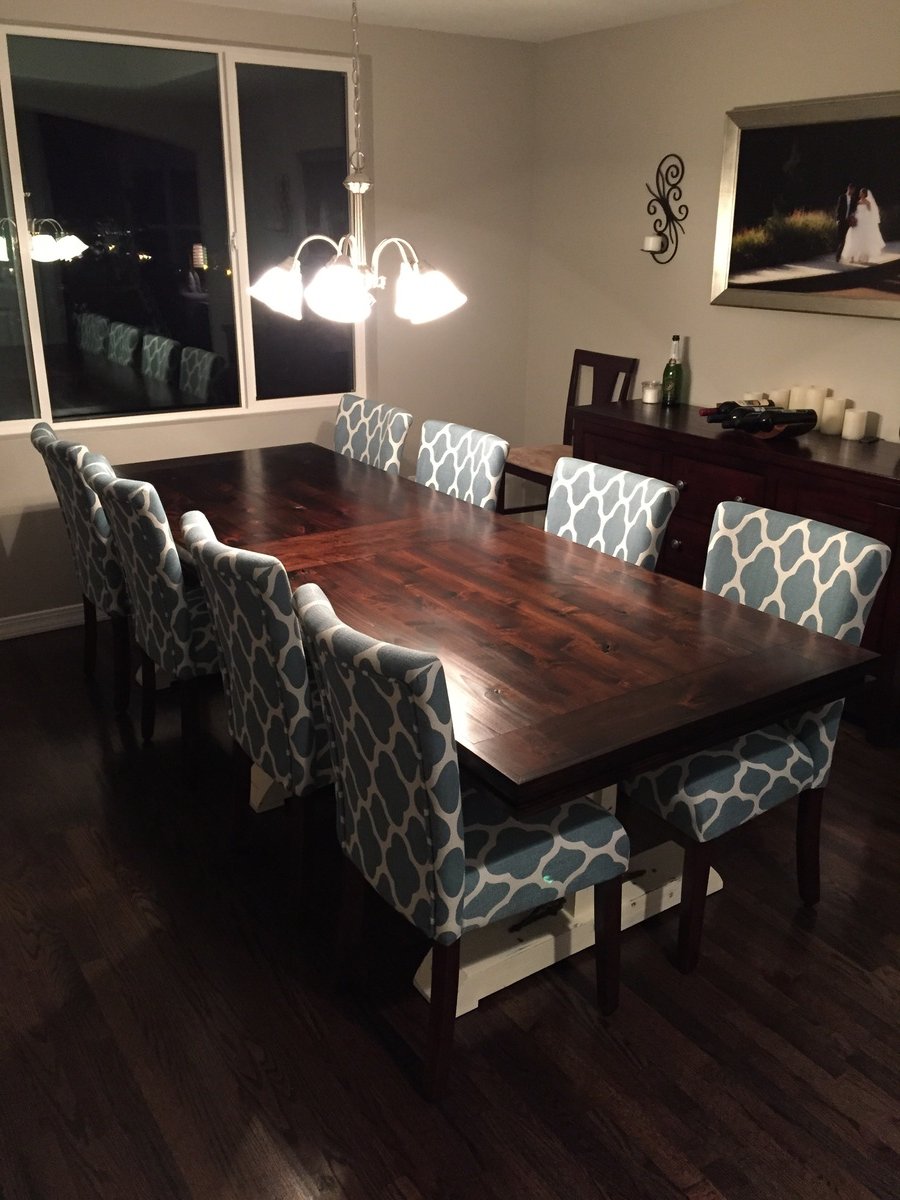
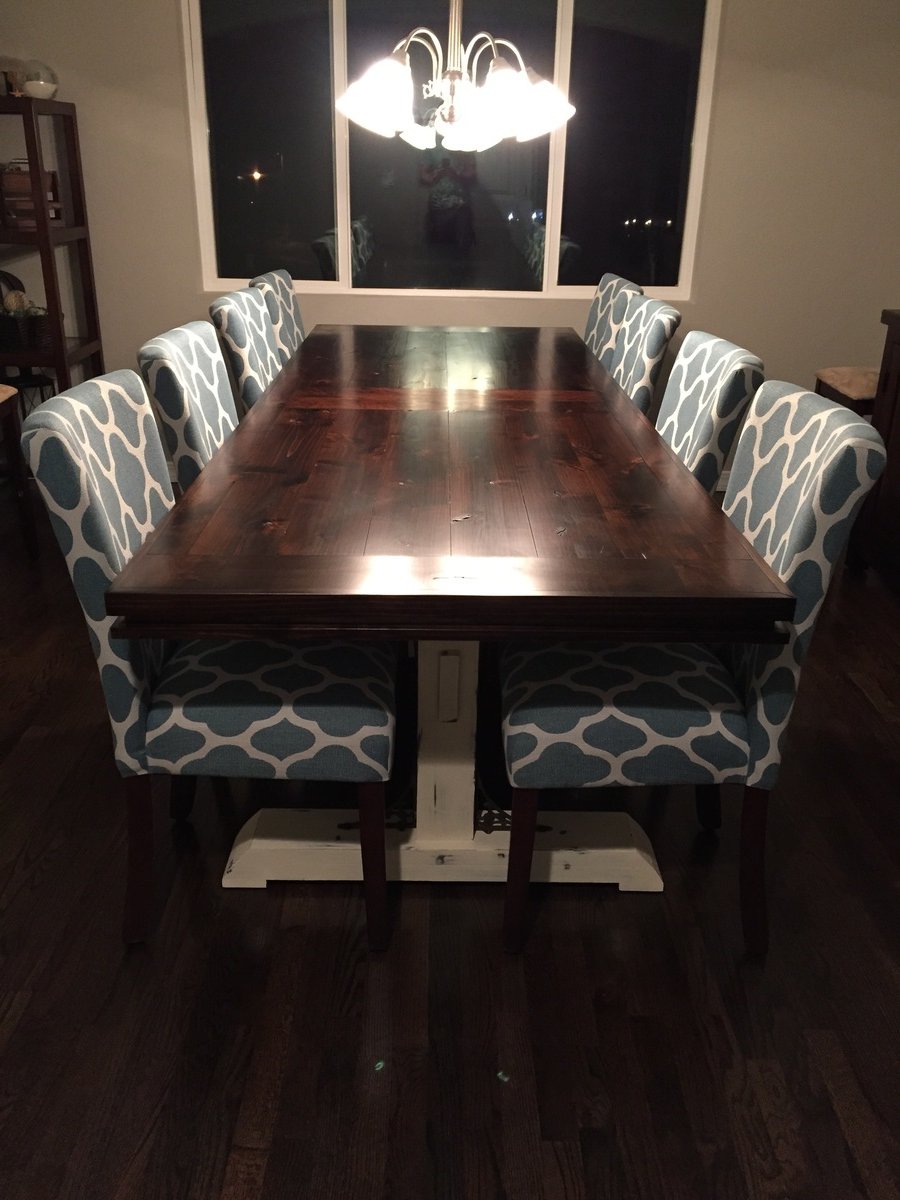
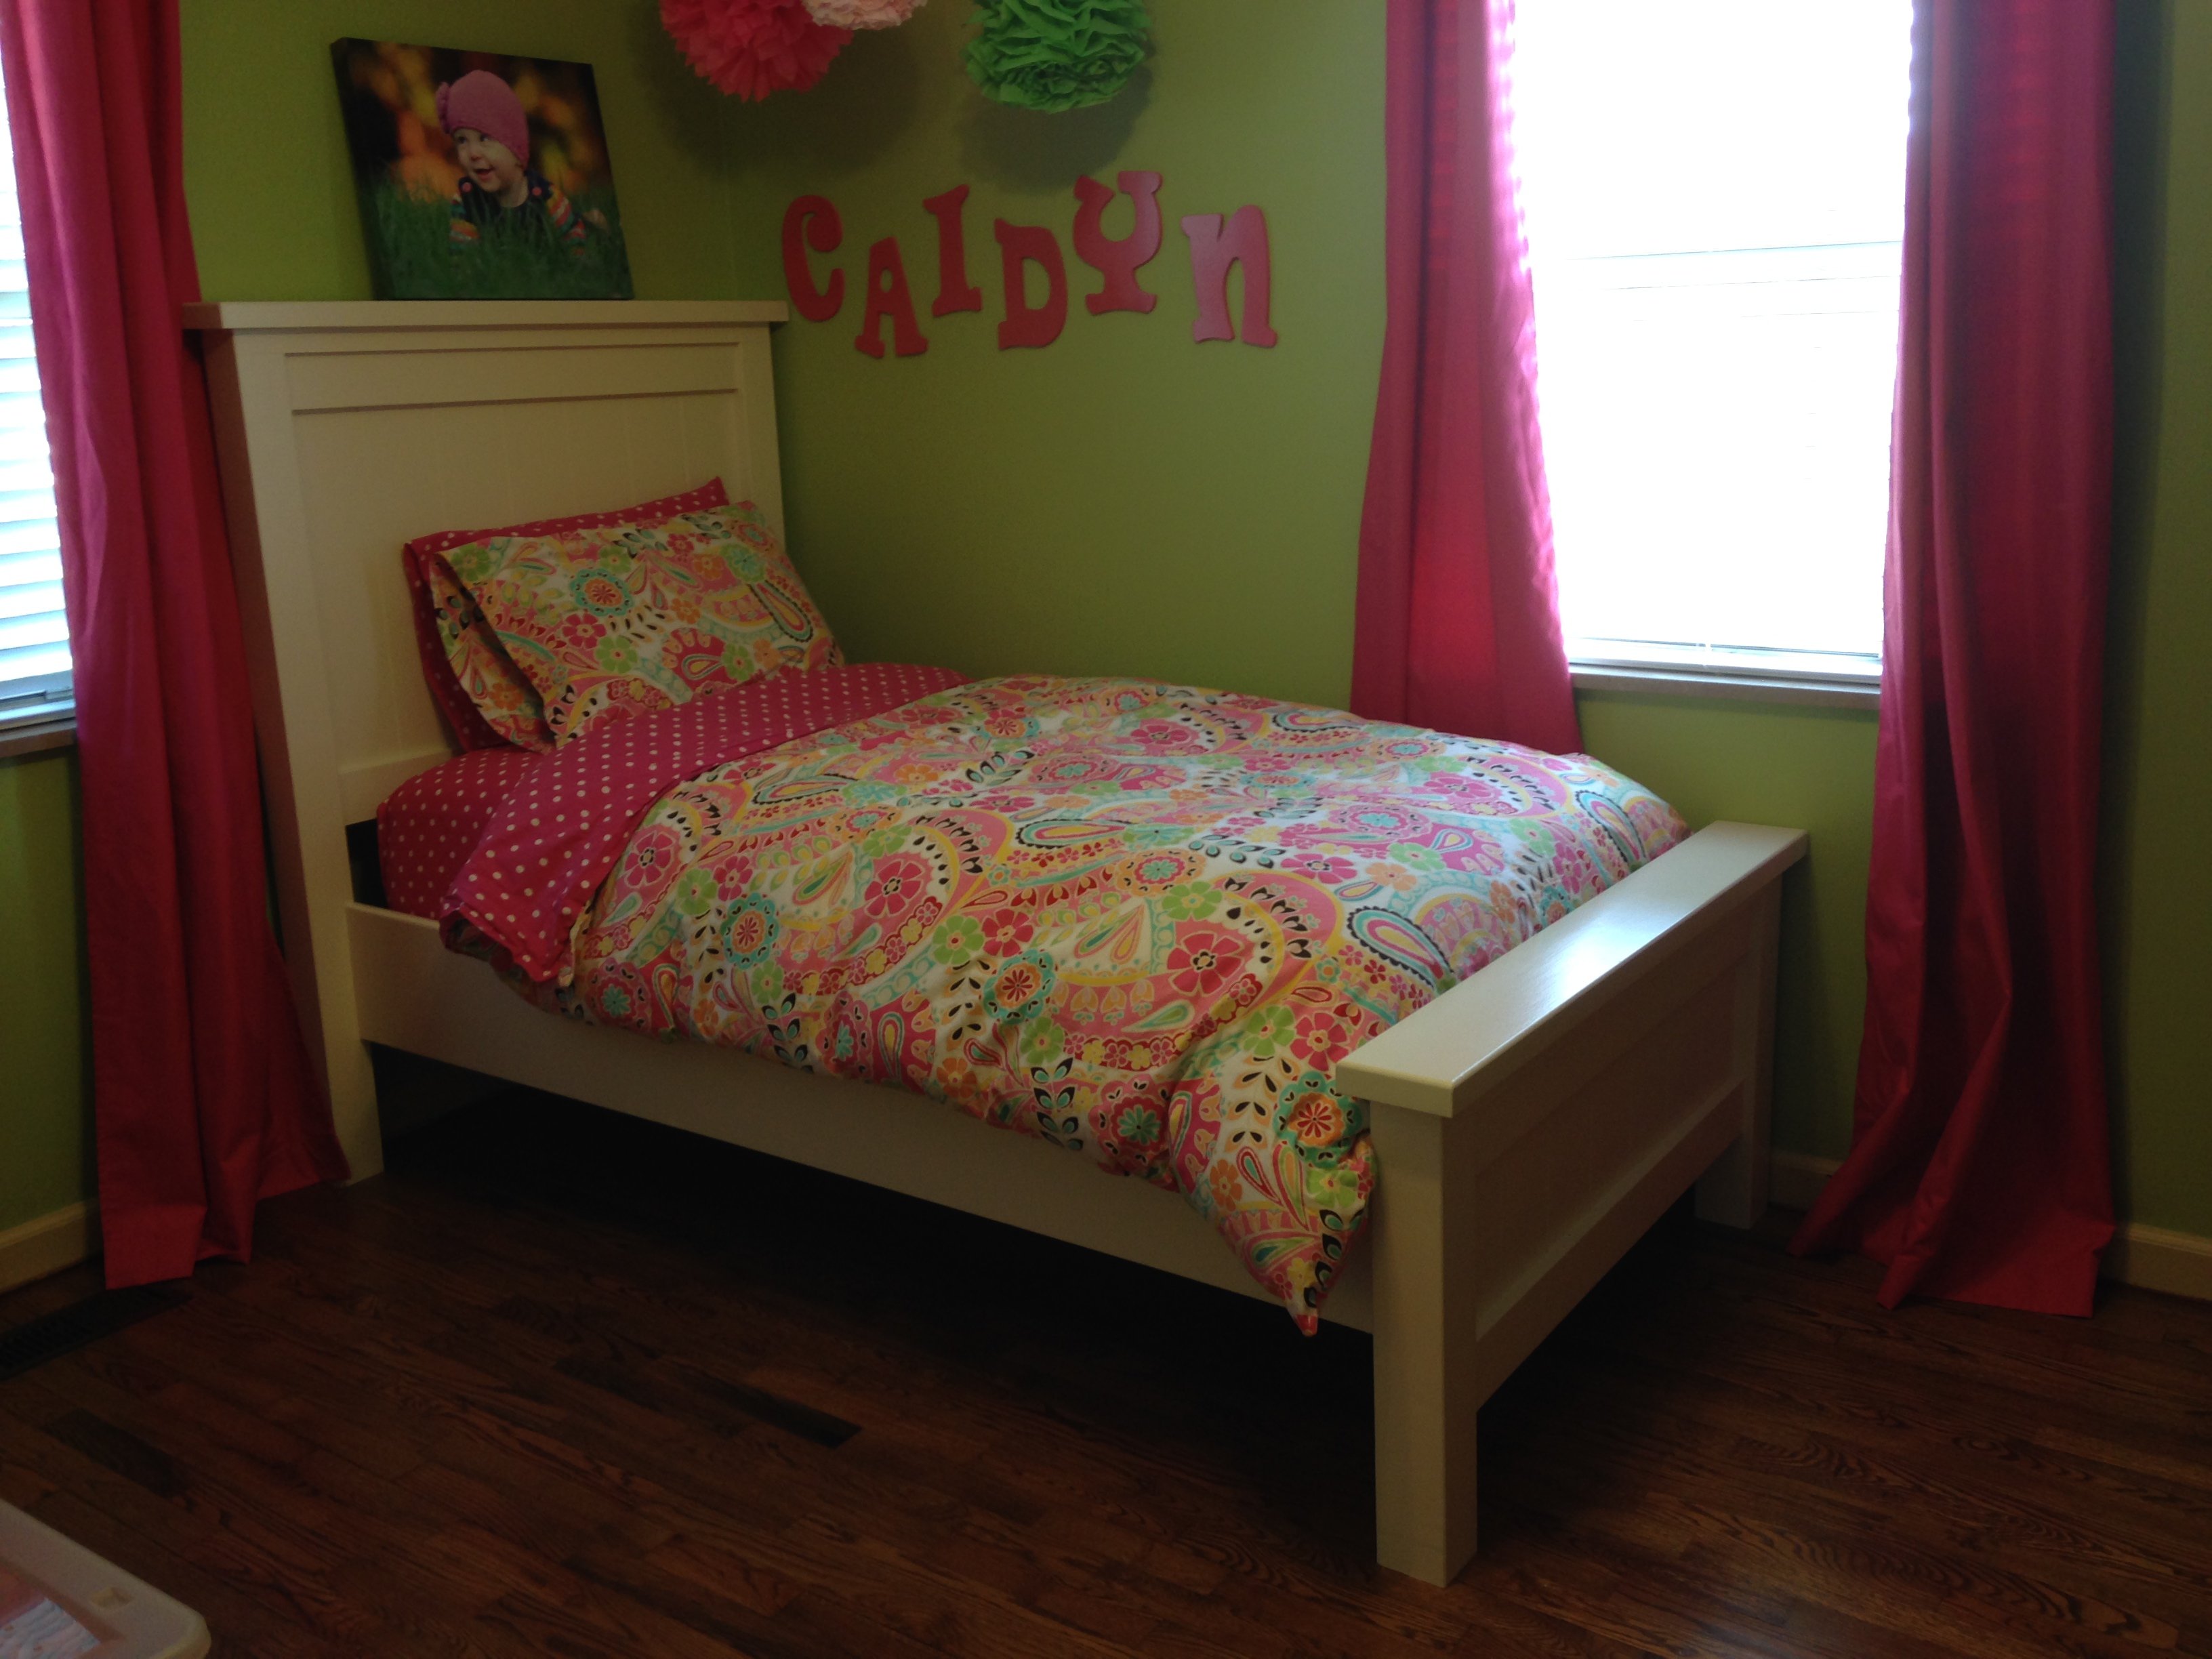
Now that it's done, though, I am very proud of the outcome.


Comments
Andrew Spearns (not verified)
Thu, 07/26/2012 - 13:24
Finish
Hi - Table looks great. What did you use to stain and seal?
Thx
Andrew