Community Brag Posts
Modified console table

I'd been looking for a similar table for months but couldn't find one that I liked and that would fit at the bottom of my stairs. I found this pattern and changed the dimensions by removing just one of the top boards so that the final depth is 10.5" deep rather than 14". It's exactly what I wanted and get to brag about it!
Estimated Time Investment
Weekend Project (10-20 Hours)
Recommended Skill Level
Starter Project
Christmas Chalkboard
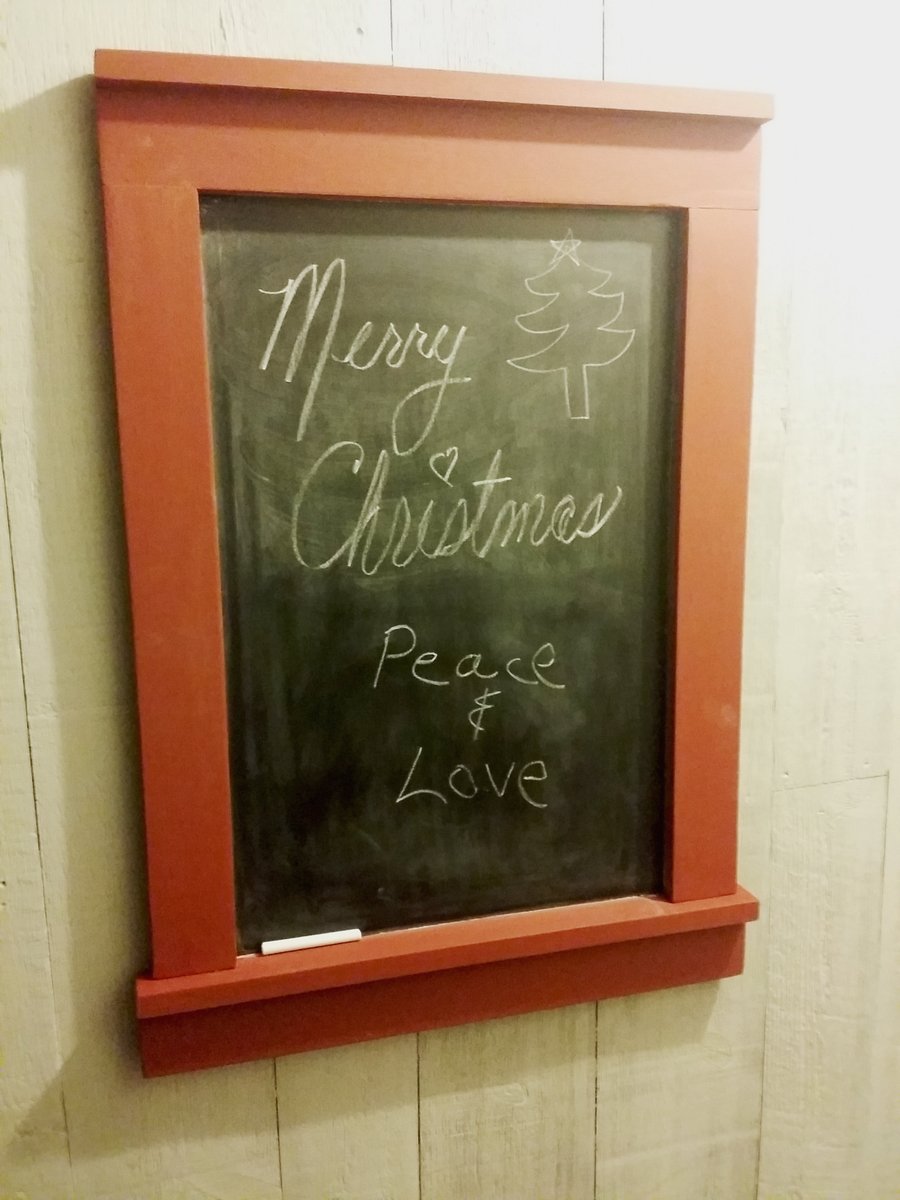
I made this craftsman frame to fit a 16" x 24" chalkboard. I followed the plan, using 1x3's and 1x2's, attached with a Kreg Jig which made it easy. Oh, and glue. I usually buy full sheets of plywood and paint them with chalkboard paint but time was short and I used a 24" x 48" prepainted panel. I cut three 16" x 24" chalkboards from this panel.
I allowed 1/2" all around the inside dimension in order to glue and staple the chalkboard to the back of the frame. I decided to paint them all with a barn red paint sample. Cheap enough and they're going under the tree to three family members!
Built from Plan(s)
Estimated Cost
$35 for all three
Estimated Time Investment
Afternoon Project (3-6 Hours)
Finish Used
Behr Barn Red Sample Interior Latex Paint
Recommended Skill Level
Beginner
Tall Wood Planters
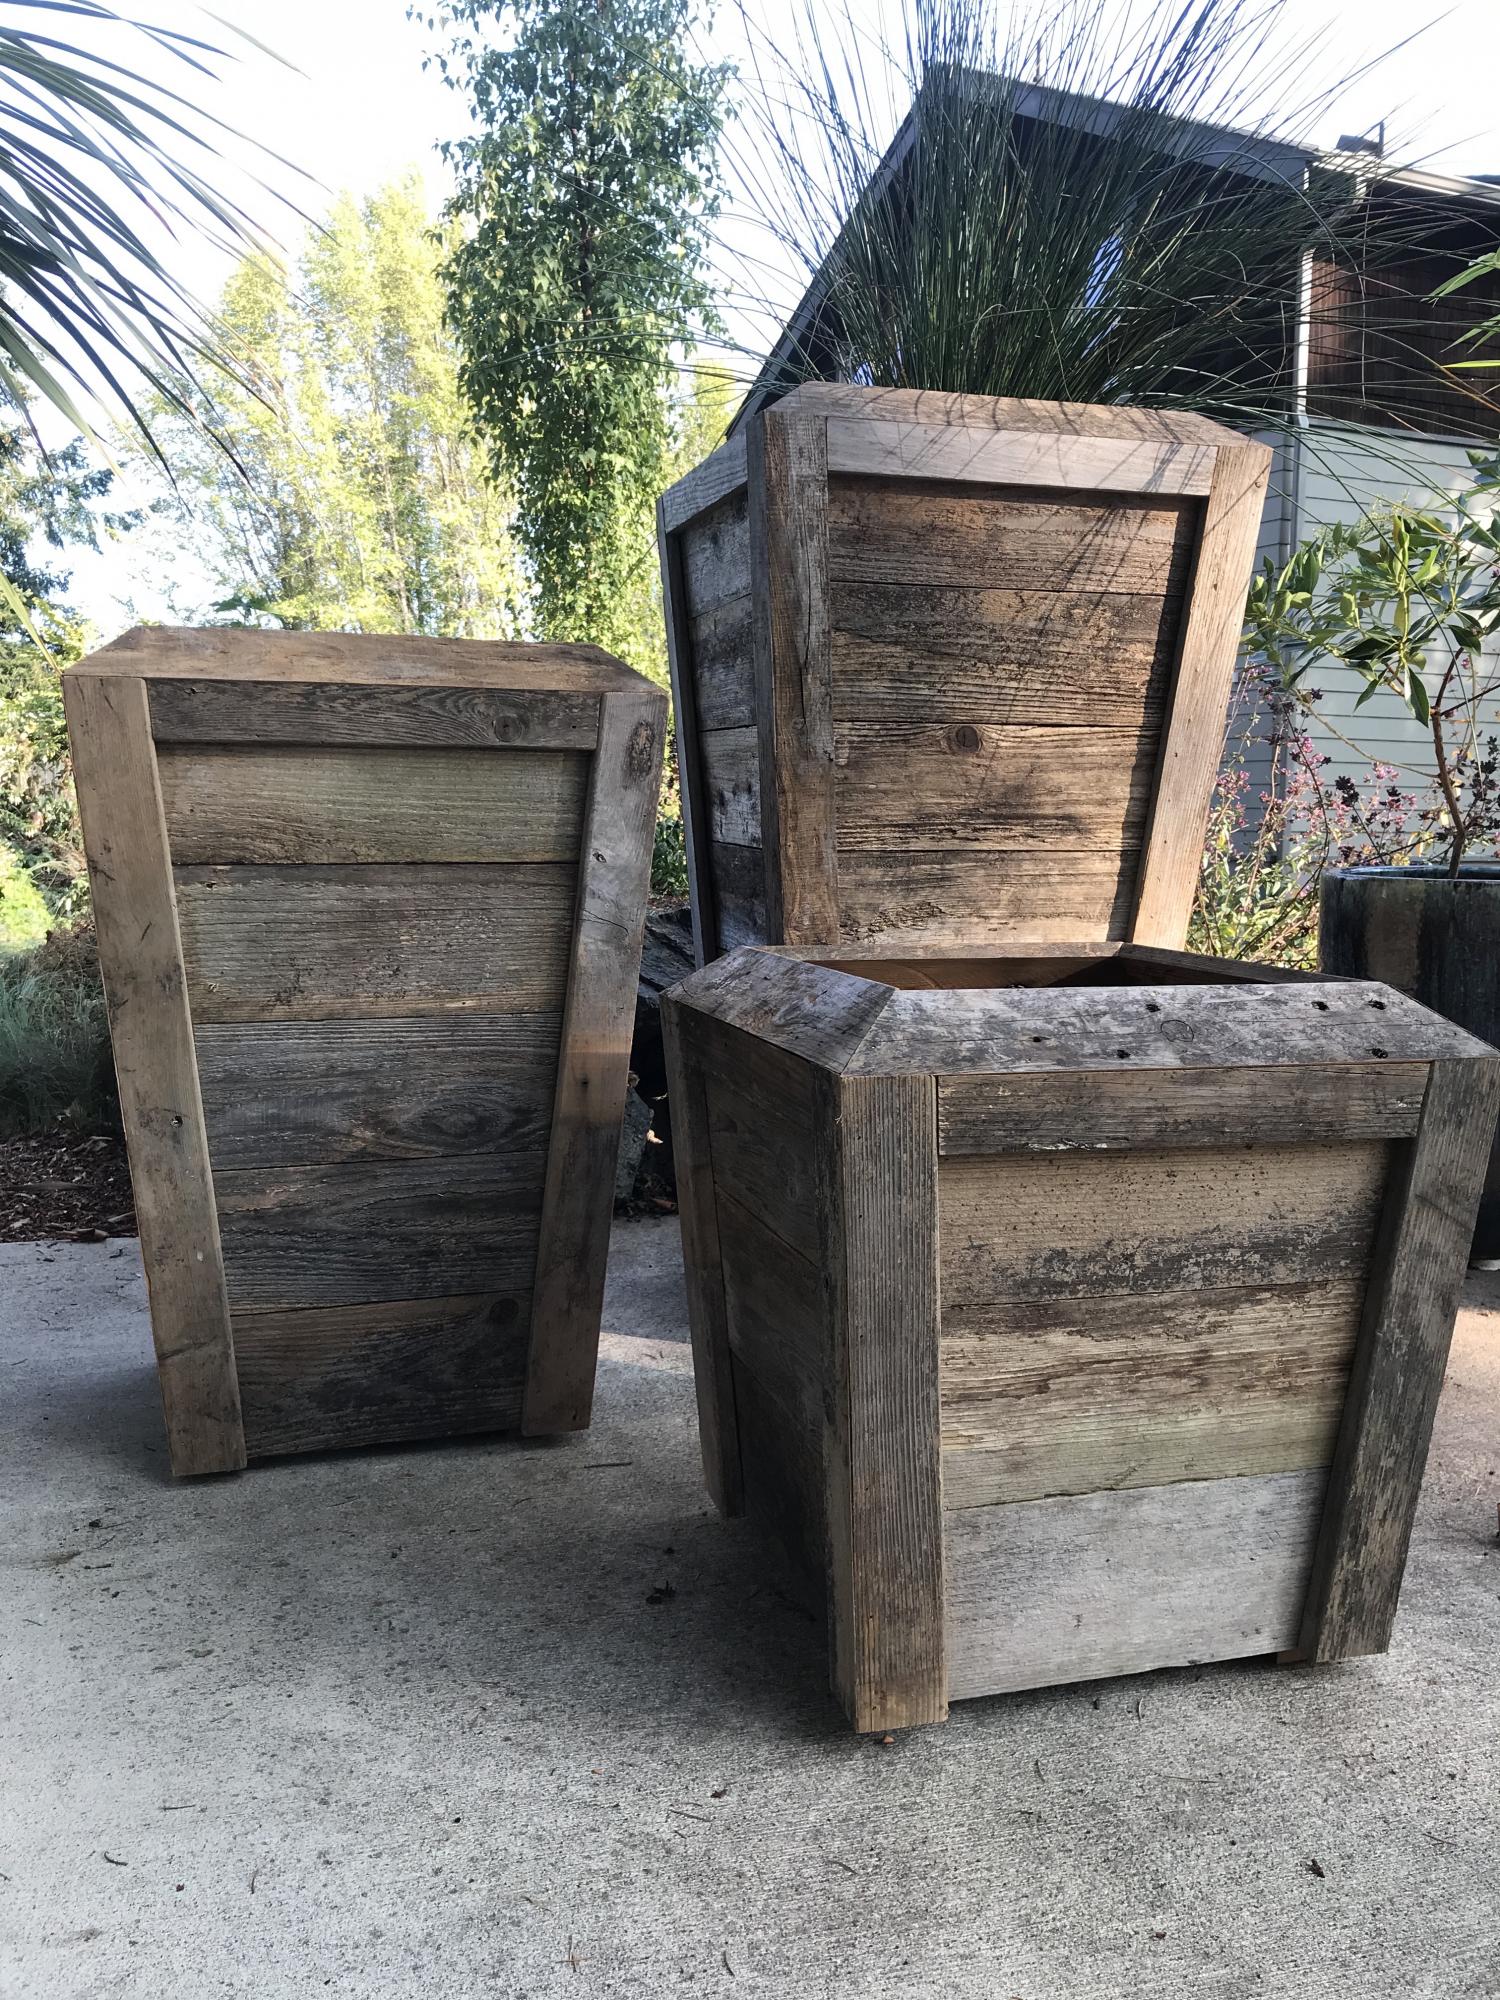
Very good plans to work from, and very adaptable! I modified the plan to add a sloping lip, which I think finishes the look. I was using old weathered cedar, so I contrasted that with cabinet style joinery (all mitered joints). I like the difference between the old distressed wood and the more refined joints. I set the skill level at "advanced" due to the compound mitered cuts required. I would be happy to supply the miter and bevel angles if anyone is interested.
One small suggestion: I found the diagram of the cuts for the sides to be confusing because the diagram of the piece of wood, which is rectangular, looks slanted in the perspective view. I would project the rectangle flat (all right angles) so that the angled cuts are clearer, and not confused with the "angles" of the sheet itself.
Thanks for a great idea!

Estimated Cost
$20 (wood already in hand)
Estimated Time Investment
Weekend Project (10-20 Hours)
Finish Used
None
Recommended Skill Level
Advanced
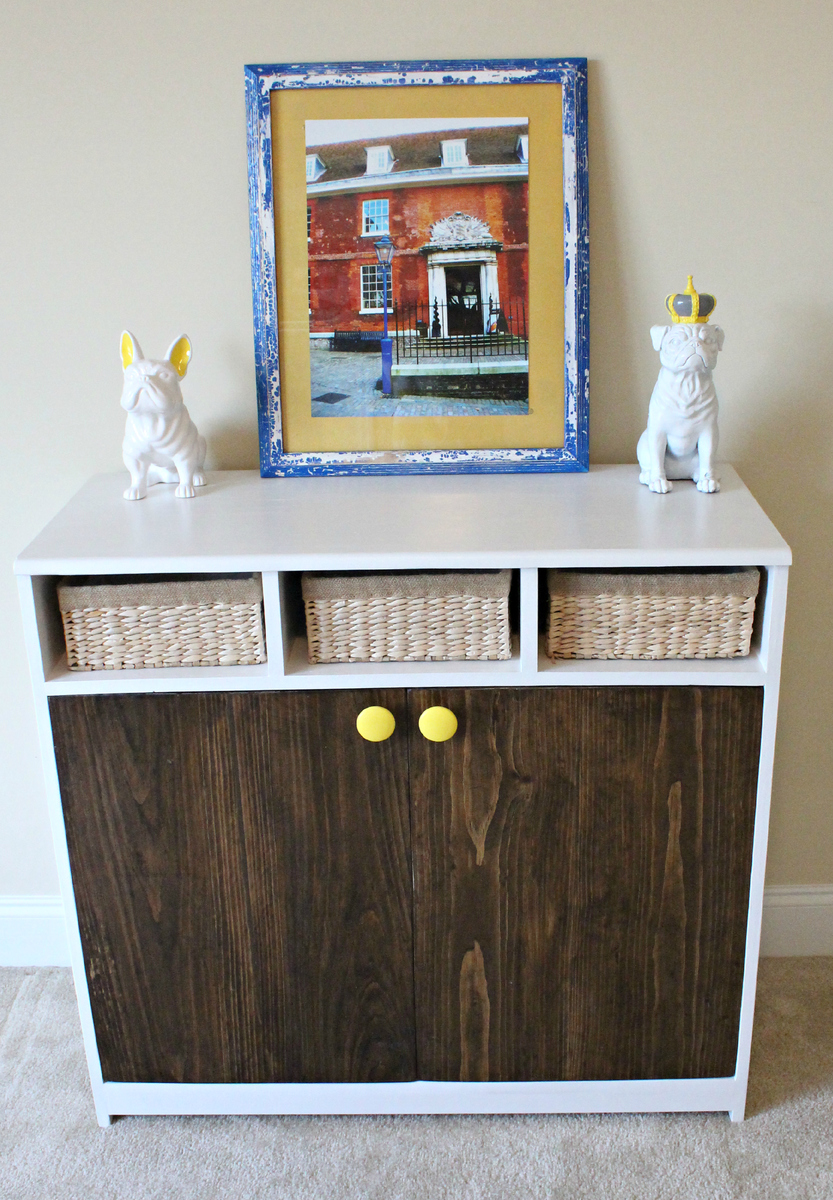
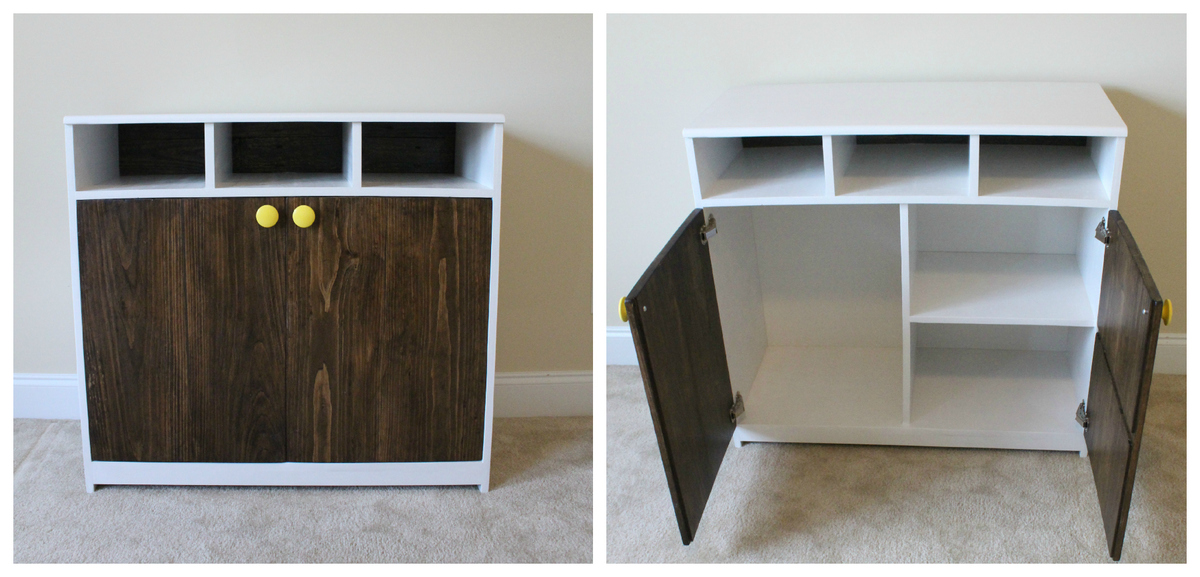
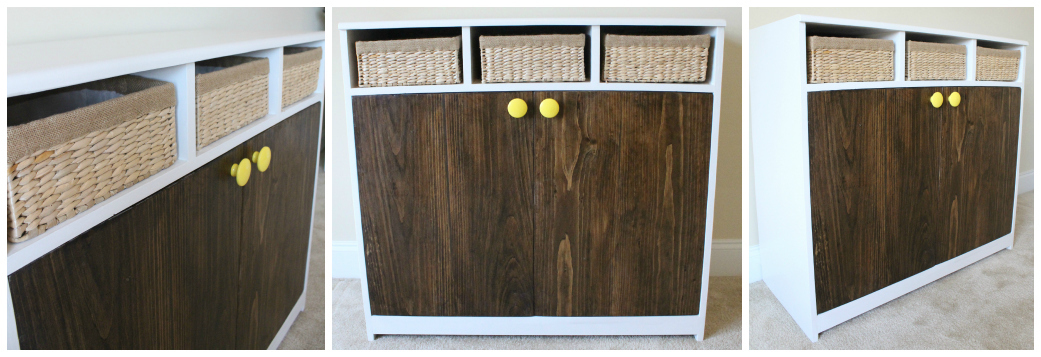
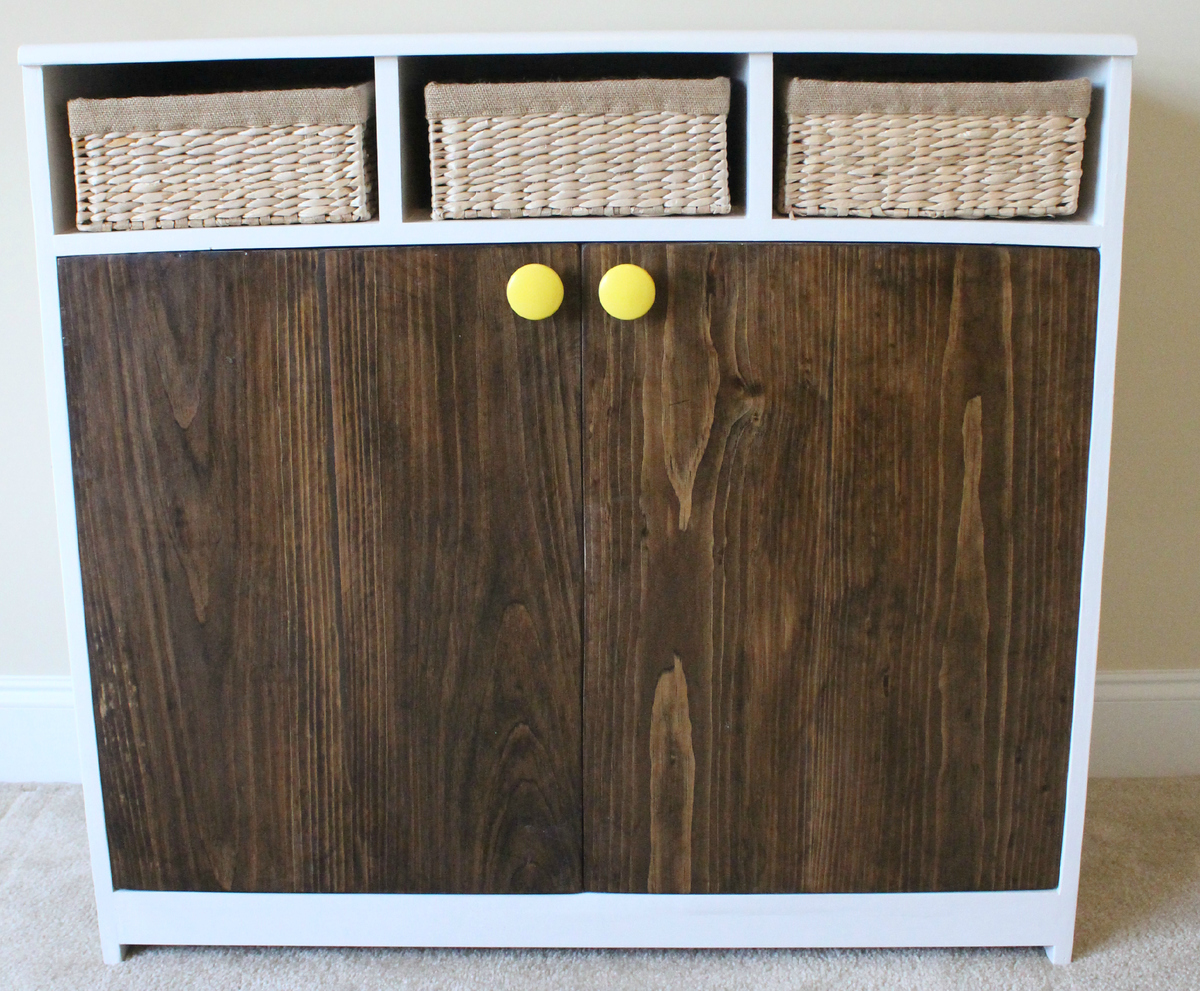
Madeline Changing Table Center Base
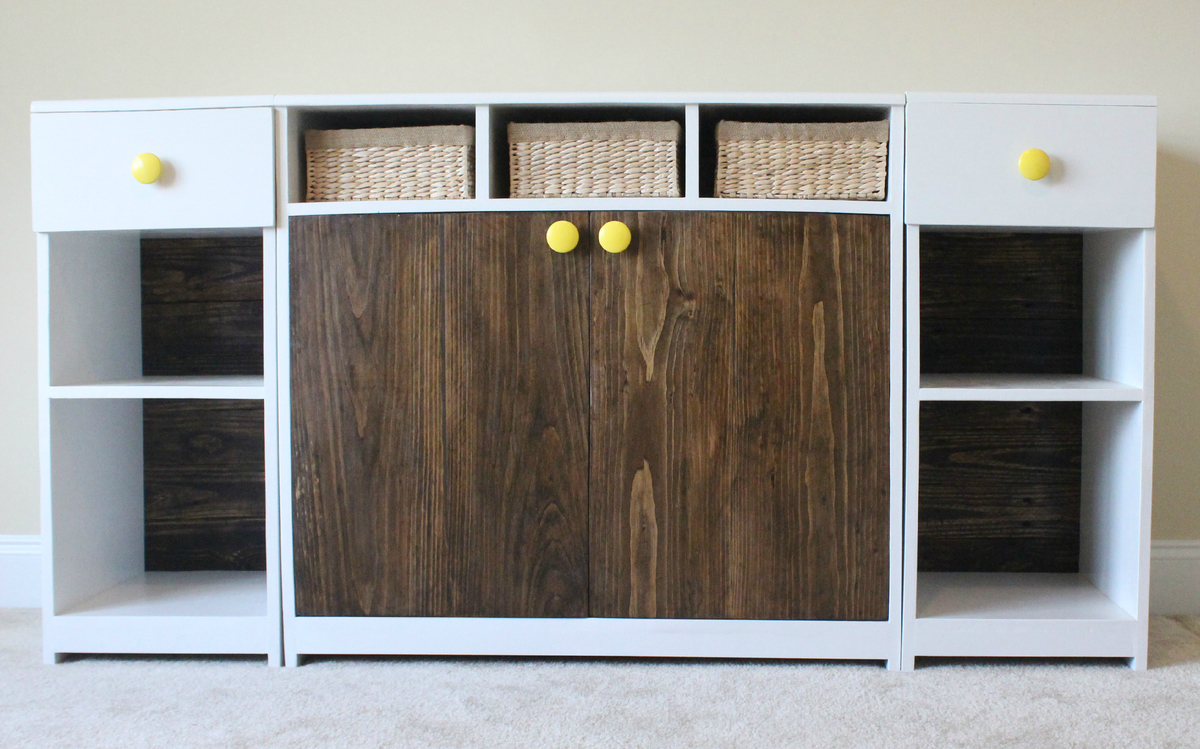
We made some significant changes to the shelves/cupboards. Since we were on a bit of a time constraint with the impending arrival of our little bundle of joy, we decided to nix the drawers all together and instead make three open face shelves. This made the larger cupboard and door face area a little shorter than in Ana's plans. We made most of these changes on the fly while sitting in the garage..
We have a big move coming up and probably won't put the hutch, center base, and side bases together until after the move. We'll post pictures of everything put together once we get settled.
Oh, and for some reason I've been calling this the Madison Changing Table. . When it is actually called the Madeline Changing Table.. whoops!
We wrote up general directions with pictures here: http://thehuth.blogspot.com/2012/11/madison-changing-table-part-3-cente…
Built from Plan(s)
Estimated Cost
$75
Estimated Time Investment
Weekend Project (10-20 Hours)
Finish Used
Behr Irish Mist, Minwax Dark Walnut Stain, Polyurethane (on pallets) Polycrylic (on painted surfaces)
Recommended Skill Level
Beginner
Kids Picnic Table
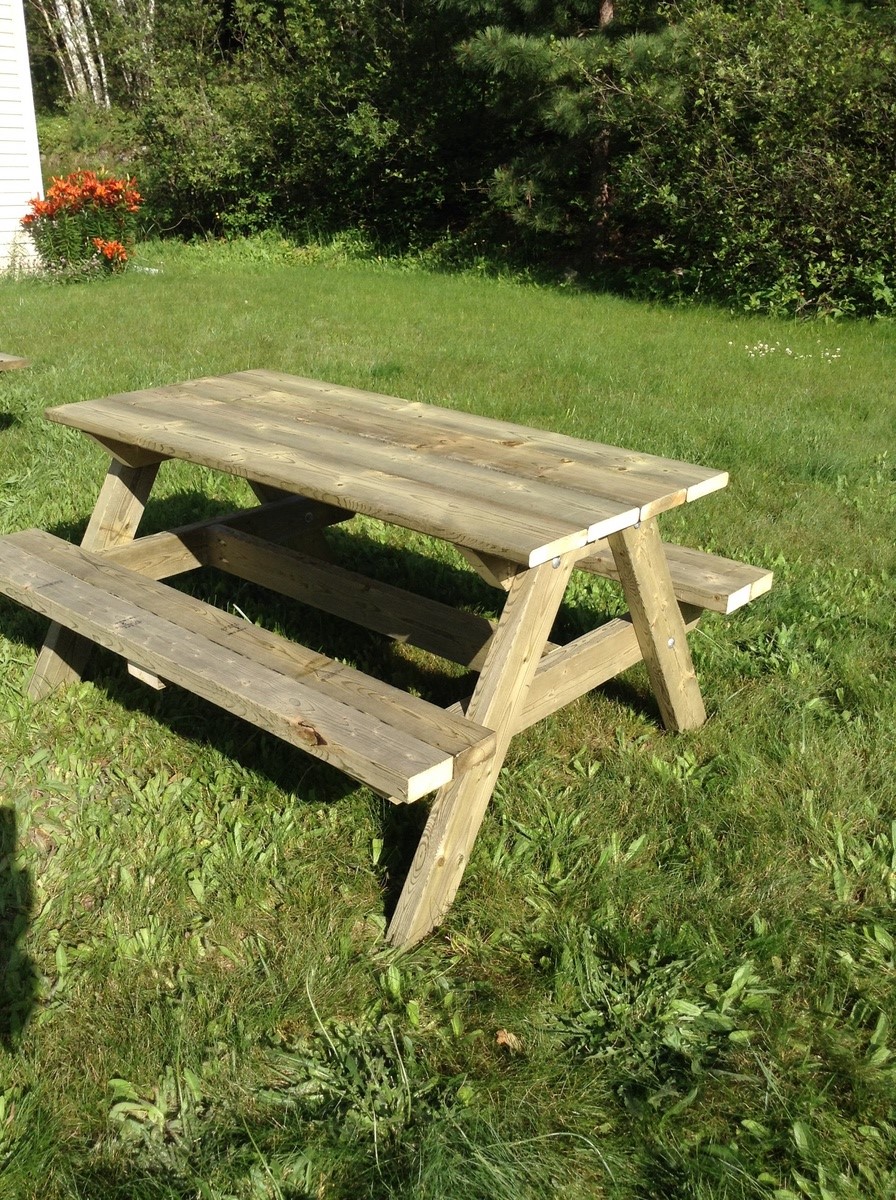
Excellent plans, fit my 15 month old nephew and 8 year old daughter! Easy to follow plans
Built from Plan(s)
Estimated Cost
$40
Estimated Time Investment
Afternoon Project (3-6 Hours)
Finish Used
None as yet
Recommended Skill Level
Beginner
Grandy Sliding Door Console
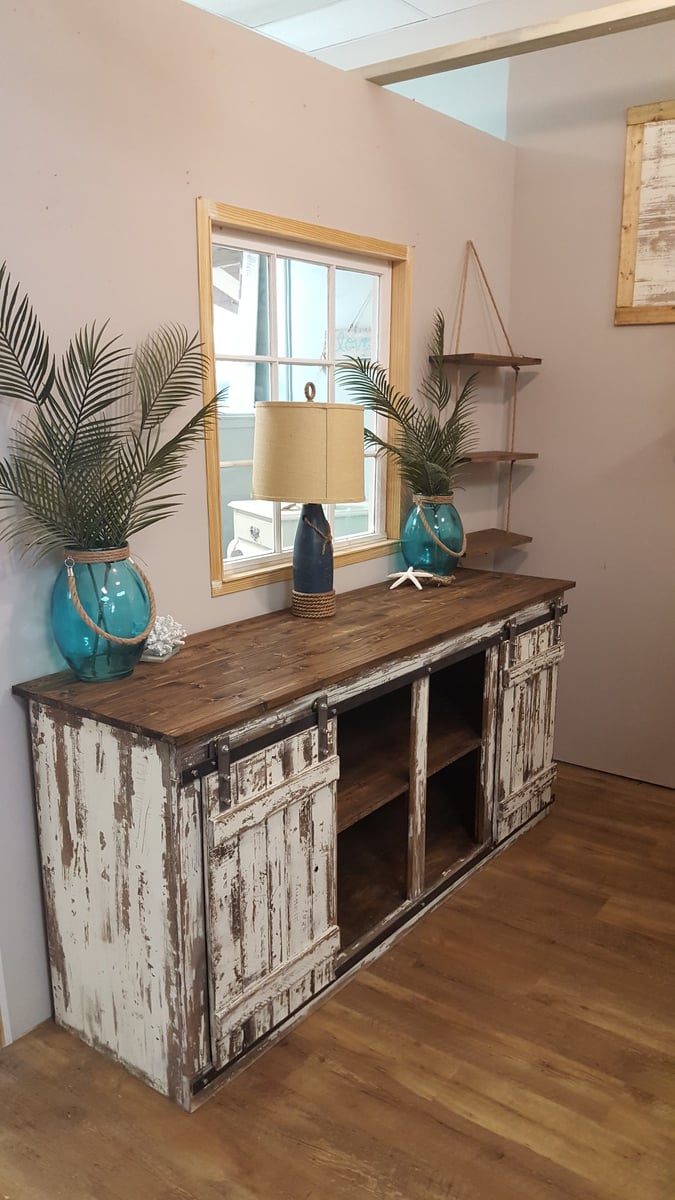
Sliding door console built by Kathryn and Scott Winkler of K & S Coastal Home Furnishings. Kathryn added her own unique chippy finish to set this piece off!
Estimated Time Investment
Weekend Project (10-20 Hours)
Finish Used
Chippy Finish
Recommended Skill Level
Intermediate
Planter
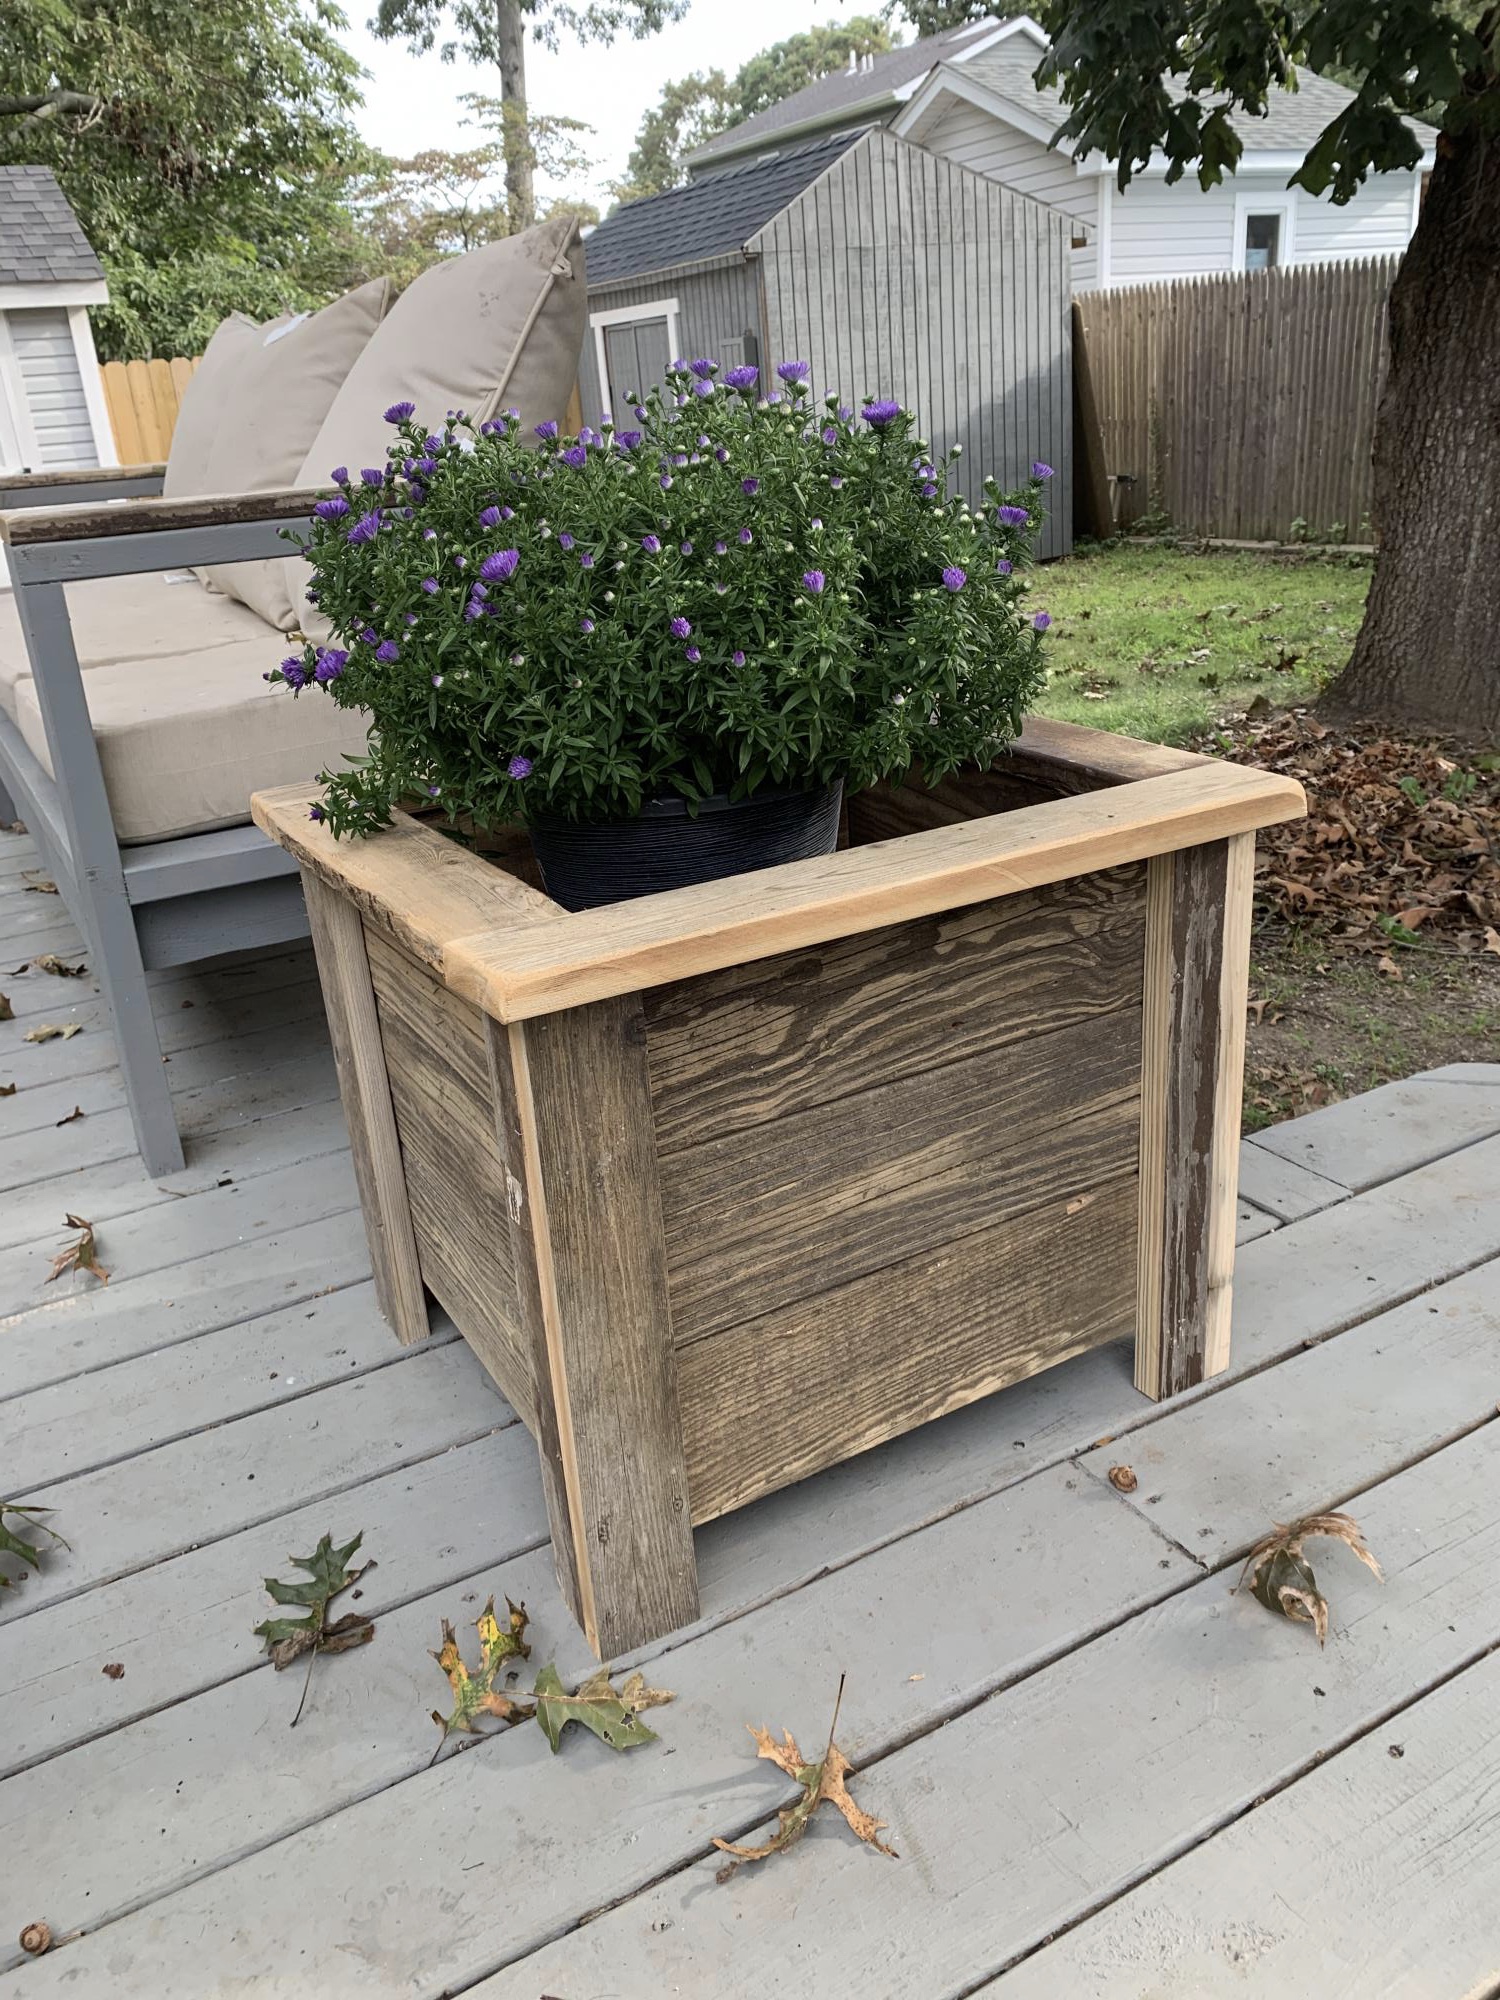
Like Anna's white planter she made with cedar, these repurposed from my old deck
Built from Plan(s)
Playhouse for Christmas...almost done!
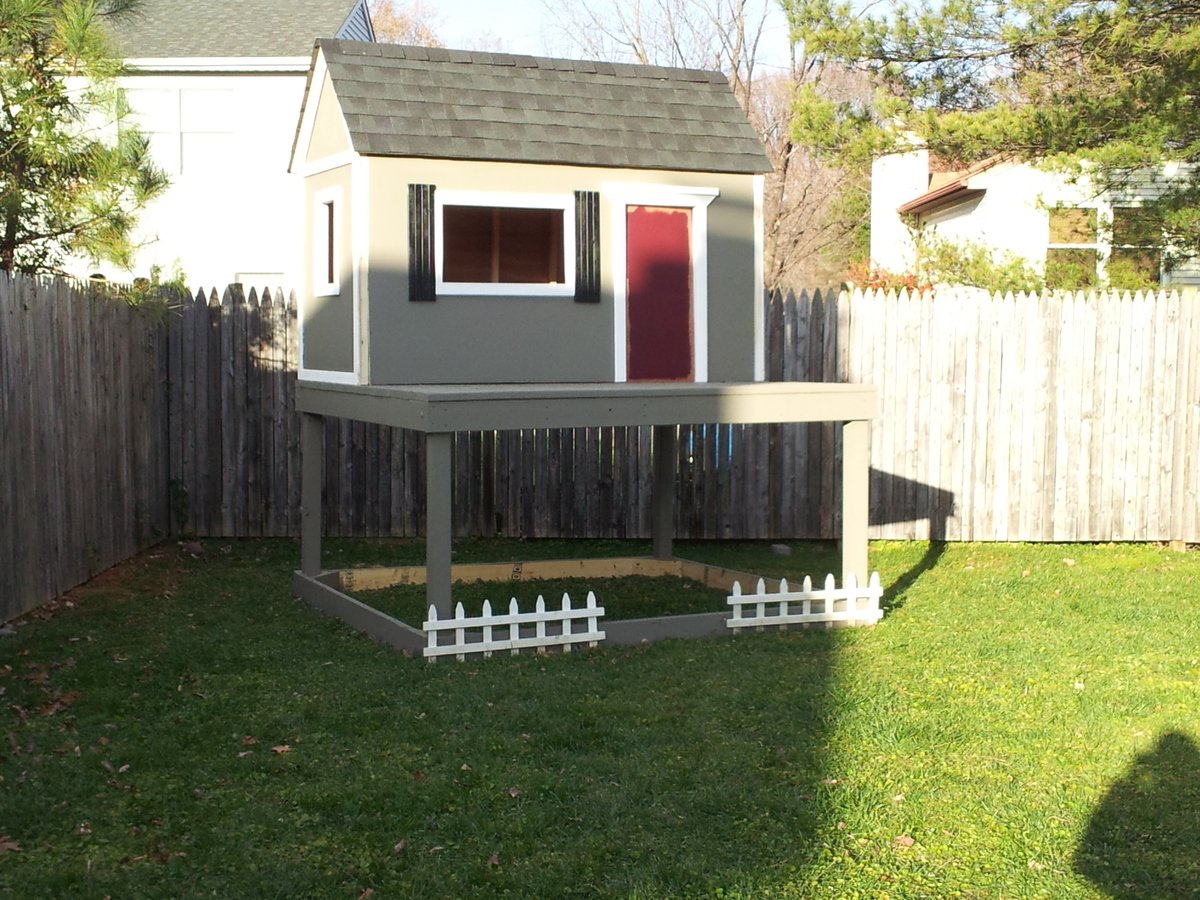
My husband and I used our Thanksgiving break to build this playhouse and deck, using Ana's plans. We are NOT builders...this is very doable for beginners with the right tools. Read the plans thoroughly before starting. Total cost (including all lumber, hardware, and paint) was under $600.
We still have door and house trim to complete, a little painting, and a handrail/ladder.
Santa may bring a slide and some other fun accessories!
Thanks Ana!!!!!
Built from Plan(s)
Estimated Cost
$600
Estimated Time Investment
Week Long Project (20 Hours or More)
Recommended Skill Level
Beginner
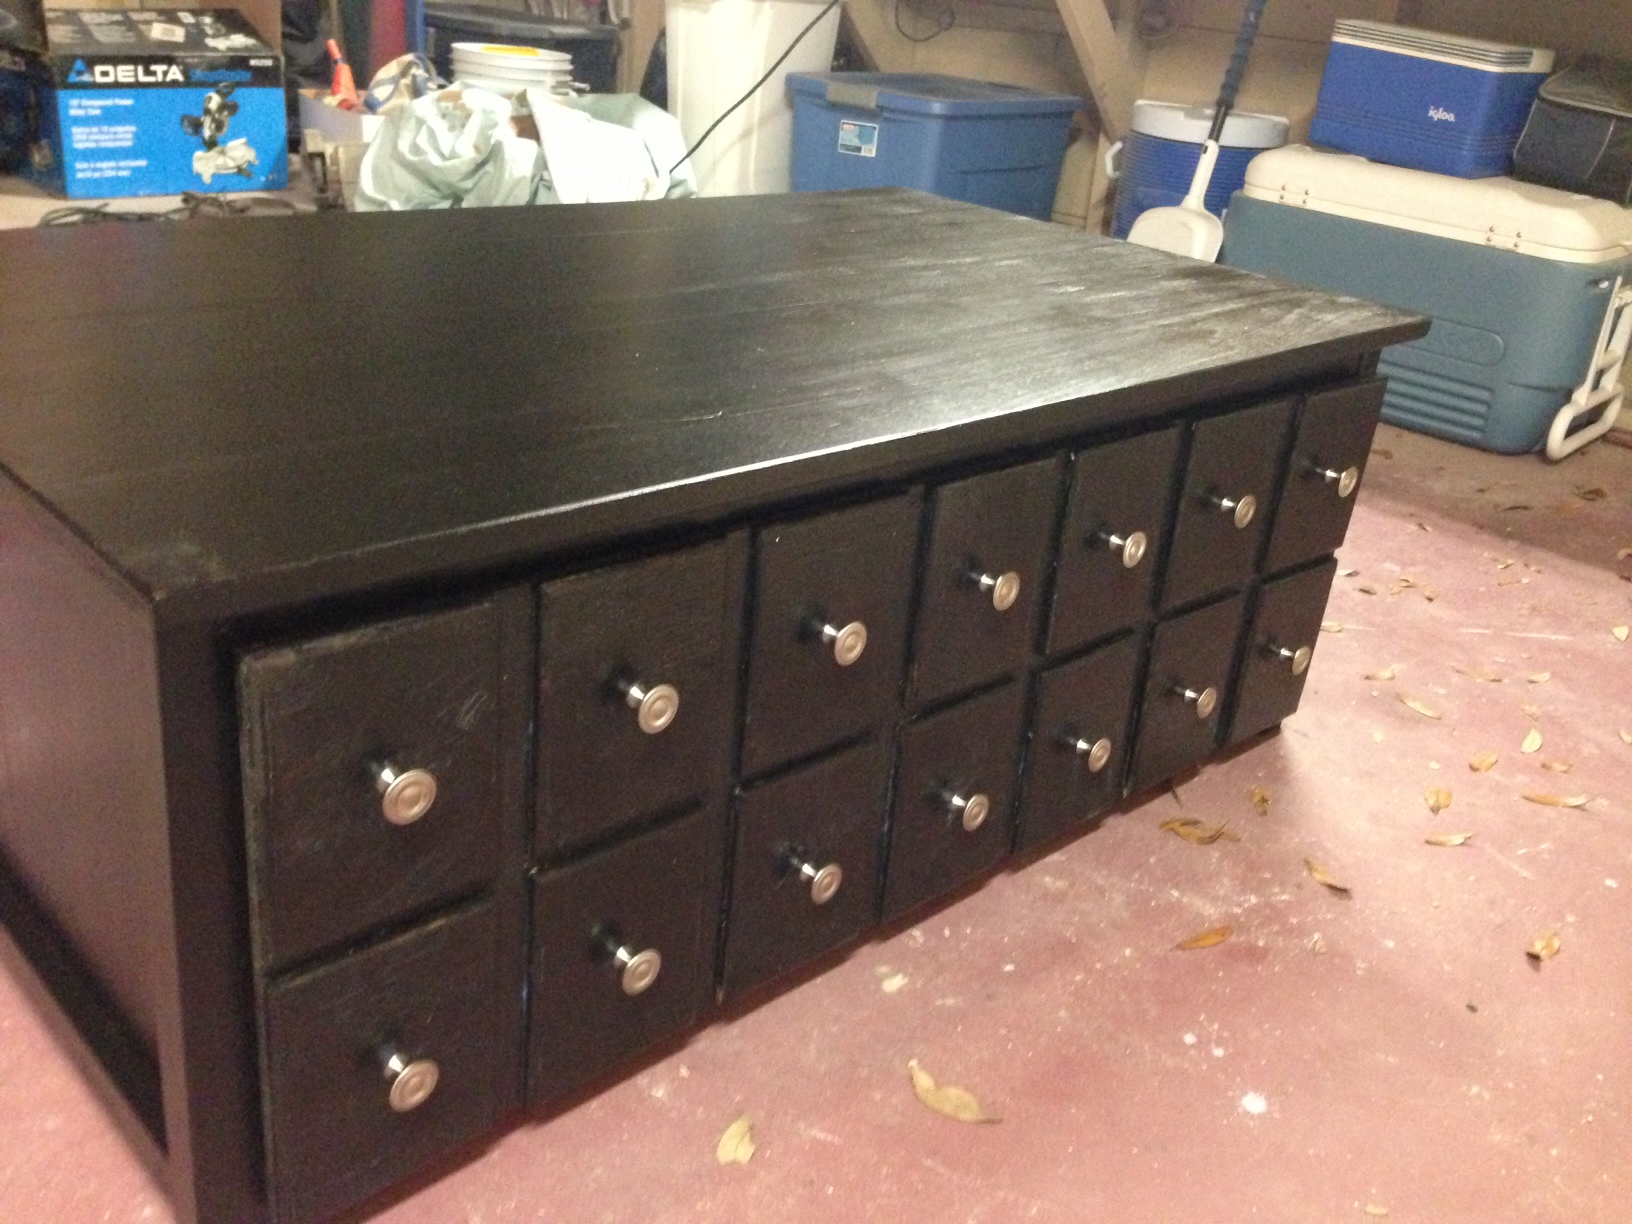
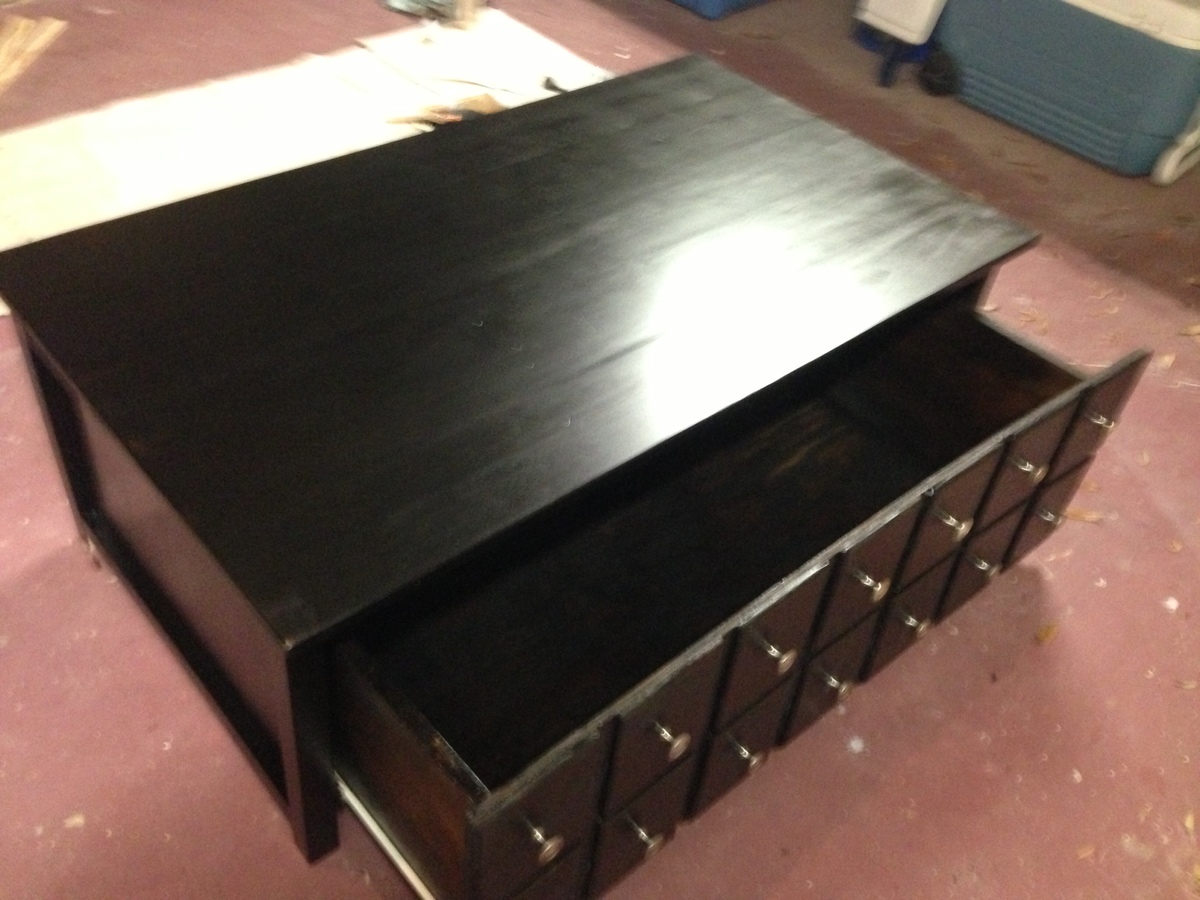
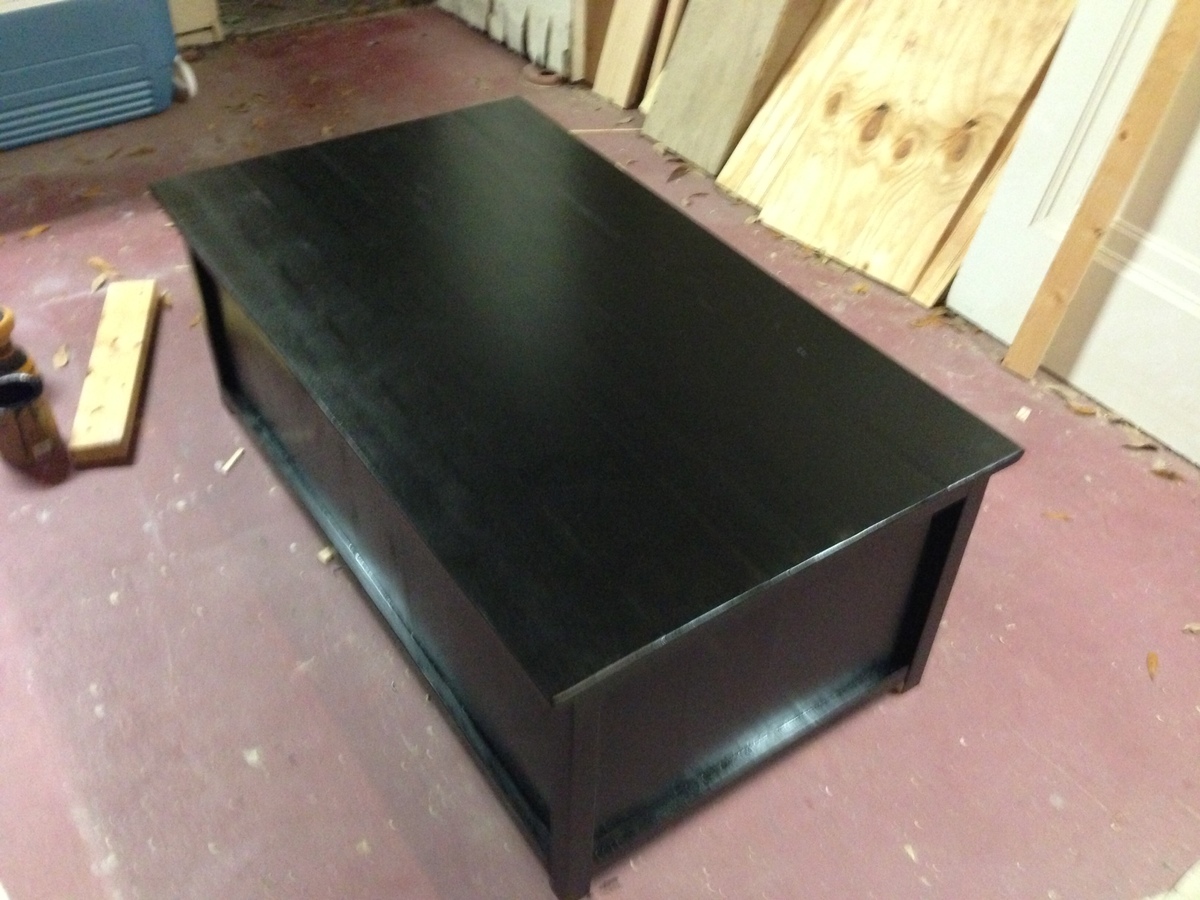
Coffee Table
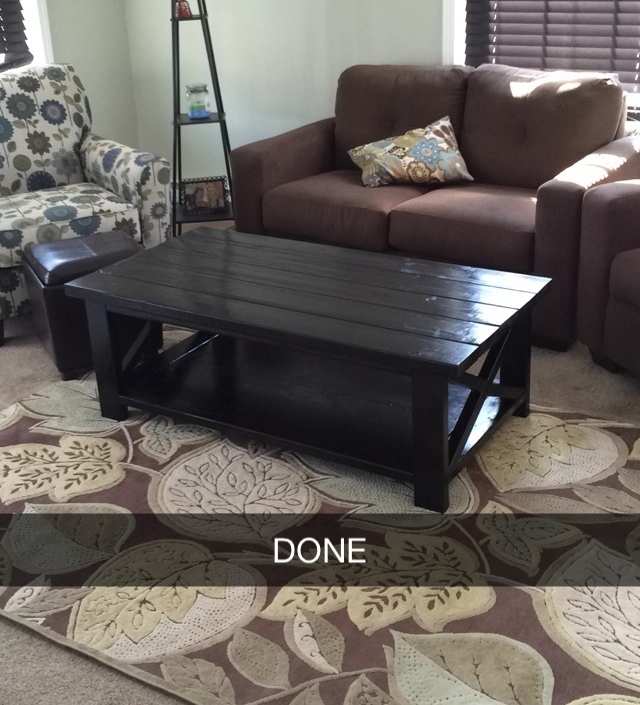
This was my first project and it turned out way better than I expected. One of the most time consuming parts was finding pieces of wood that were not warped from Home Depot. The Xs really make the table look amazing, and even though mine are not perfectly symmetrical, I think I did pretty well since my compound miter saw will only cut up to 45 degrees. I had to use a jig saw for the 60 degree cuts, which was kind of a nightmare.
Built from Plan(s)
Recommended Skill Level
Beginner
Comments
Tue, 09/09/2014 - 09:46
60 degree cuts
MBuckson, nice job on the table, it looks great. A 60 degree cut is the same as a 30 degree cut, cut backwards. Because Miter saws work with a straight line (180 degrees) the middle postion is 0 (90 degrees) depending on which way you flip the board your are working with. So the 45 degree postions are half of the 90 degree (0 postion). If you want a sixty degree cut add fifteen degrees to the 45, which you would actually subtract the 15 to get 30 degrees since you are flipping the board and cutting it backwards. Or atleast that is how I understand it.

Wed, 09/24/2014 - 16:37
I used the 2x2 with the max
I used the 2x2 with the max length of the opening and just scribed it after clamping it down. I then duplicated it 3 more times (which included the half pieces for the X) for for the same length. I then scribed two that would be cut up... found it easier to cut the mini X pieces in half for easier handling on the mitre saw. Jays version works well also.
D
Modified this to fit my bunny!
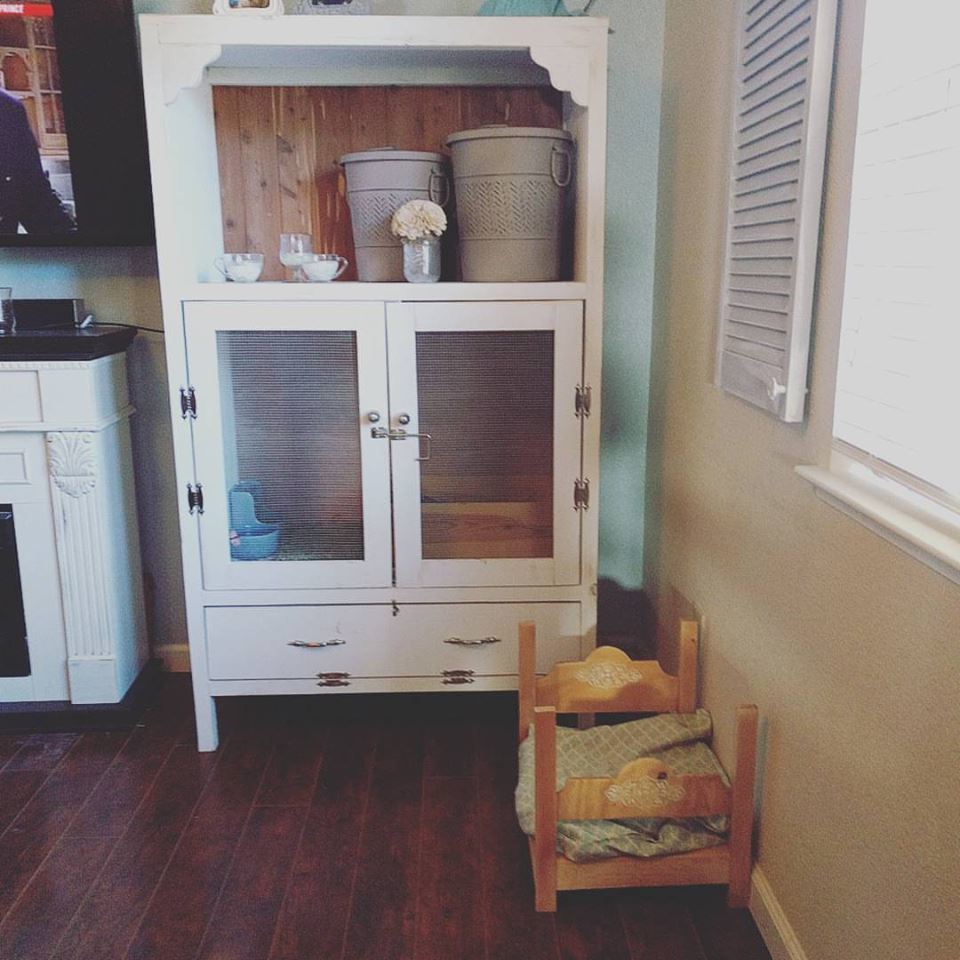
I used Ana's plans, but switched things around a little as I went. I wanted something fancy for my bunny to hang in when I'm not home. The biggest modification I made for a bunny was the bottom. I wasn't happy with the stability of the chicken wire even though my bunny is just a few pounds. I used a more solid plastic called plaskolite ( you can find it in the lighting section of Lowes) We are planning on adding levels for the bunny as well as a cloroplast tray to fit the bottom since bunny poo can get stinky. We took about 2 weeks to complete this project and it was definitely a learning experience! We also tried to cut costs by getting some of the wook and backing from Habitat for Humanity!
We also made the little bed with the leftover wood from this project :-)
Built from Plan(s)
Estimated Time Investment
Week Long Project (20 Hours or More)
Finish Used
We used a chalk paint and painted everything BEFORE we added the doors and hardware. Then we distressed it a bit with some sandpaper.
Recommended Skill Level
Intermediate
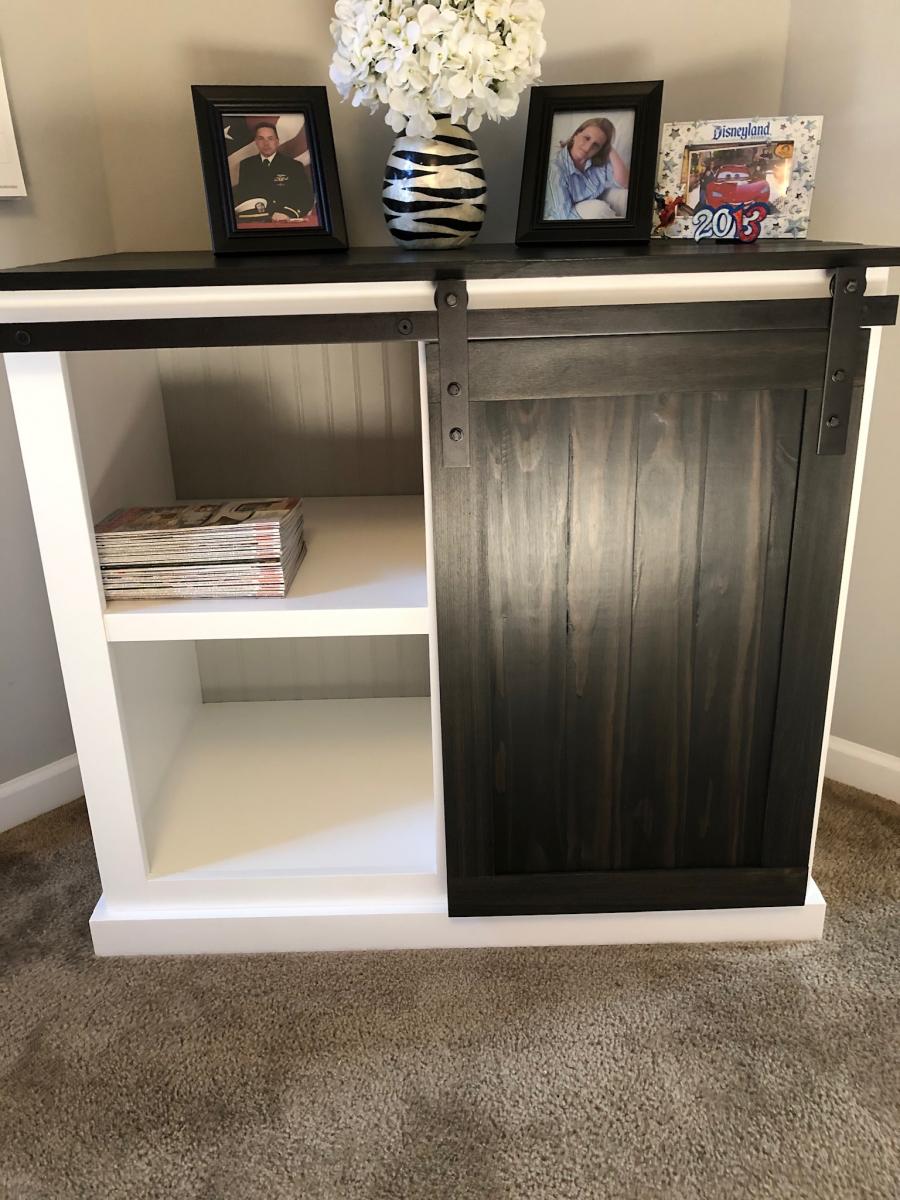
Office Credenza
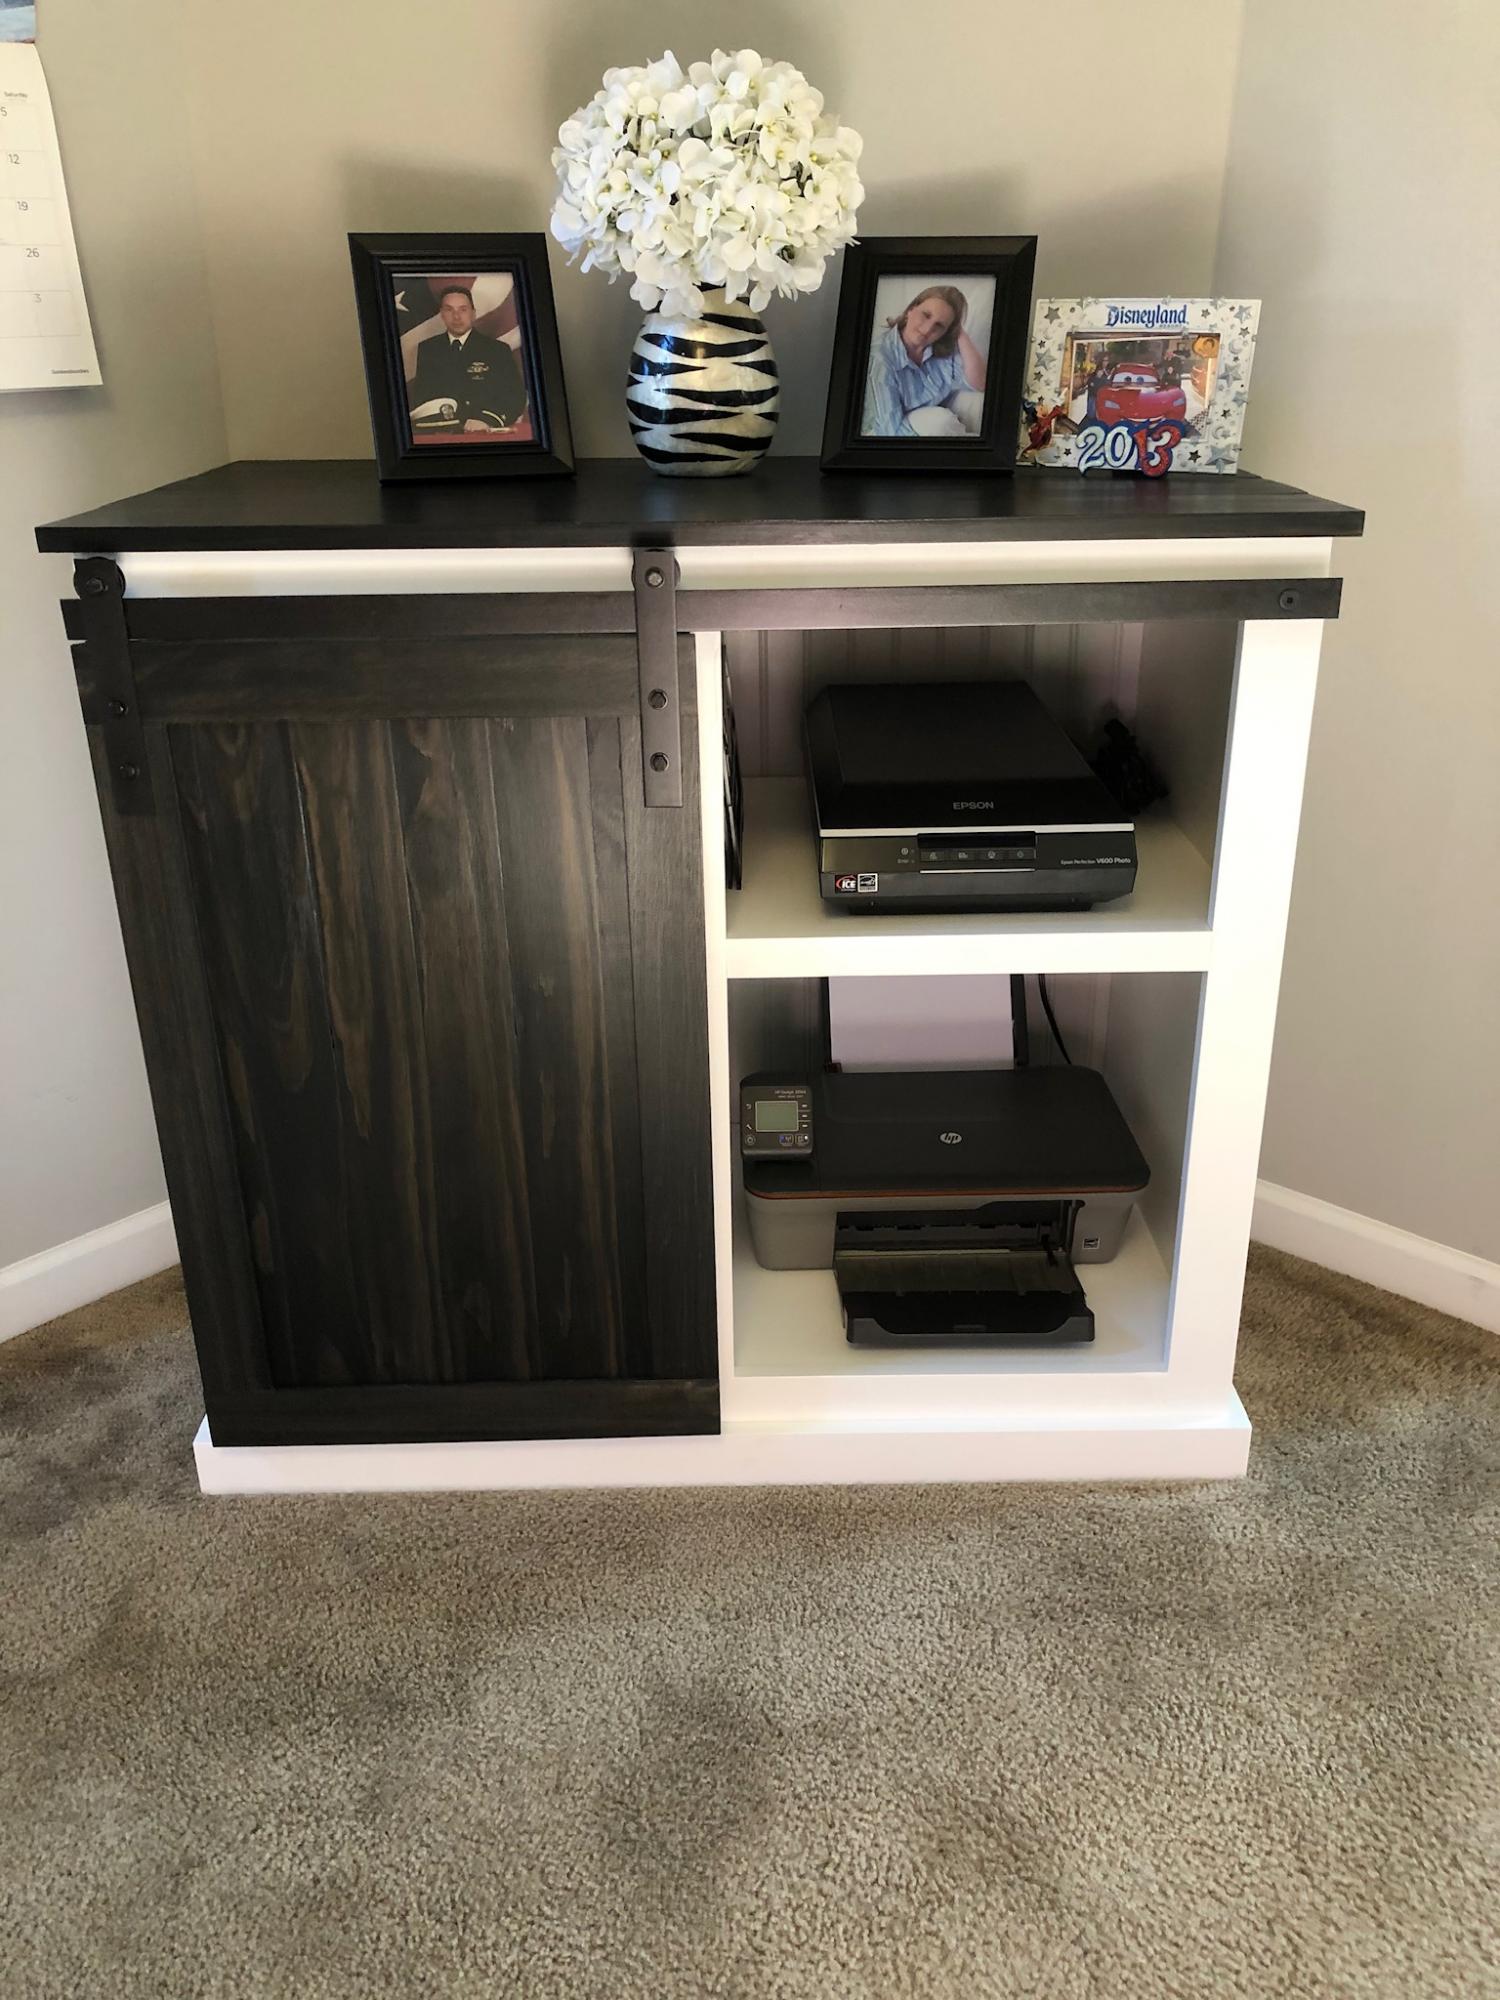
My husband and I built this credenza using Ana’s Barn Door microwave cabinet as inspiration. Thanks for all your awesome ideas and for sharing the plans!
Built from Plan(s)
Estimated Cost
150-200
Estimated Time Investment
Week Long Project (20 Hours or More)
Finish Used
We used Valspar Bright White for cabinet. True black stain by minwax for top and door
Recommended Skill Level
Intermediate
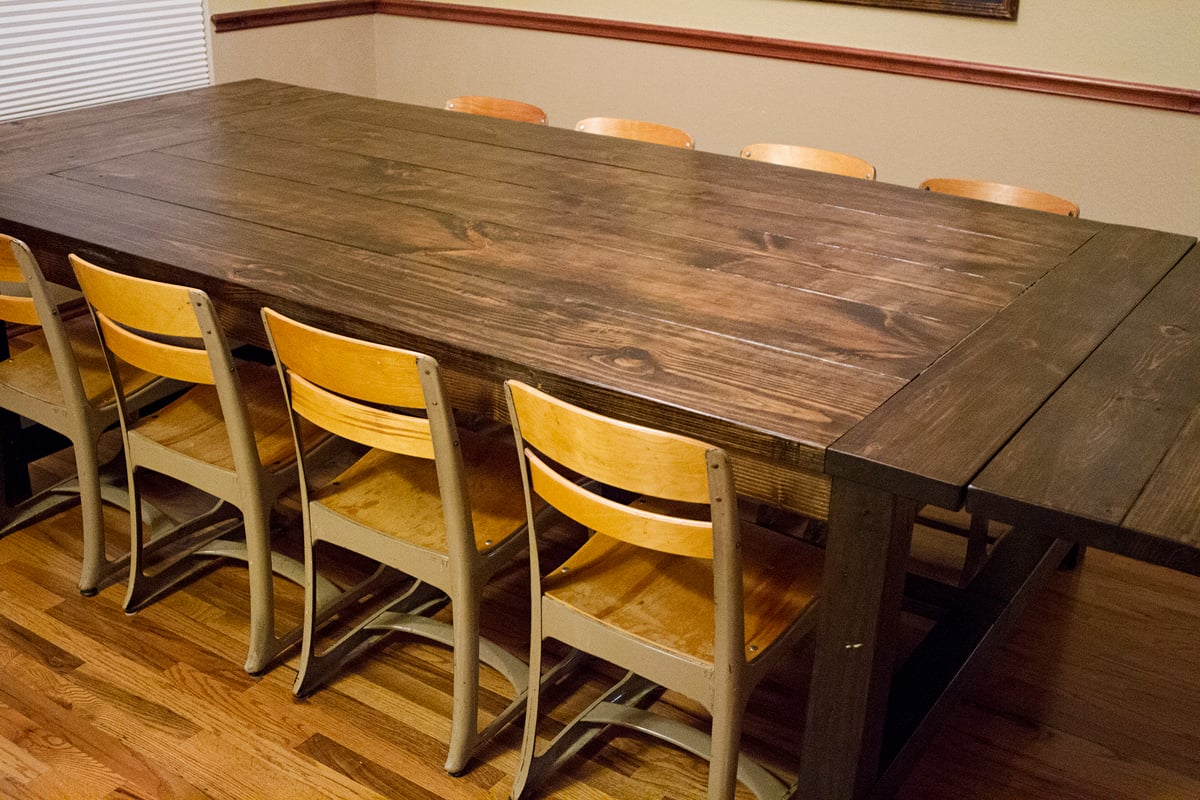
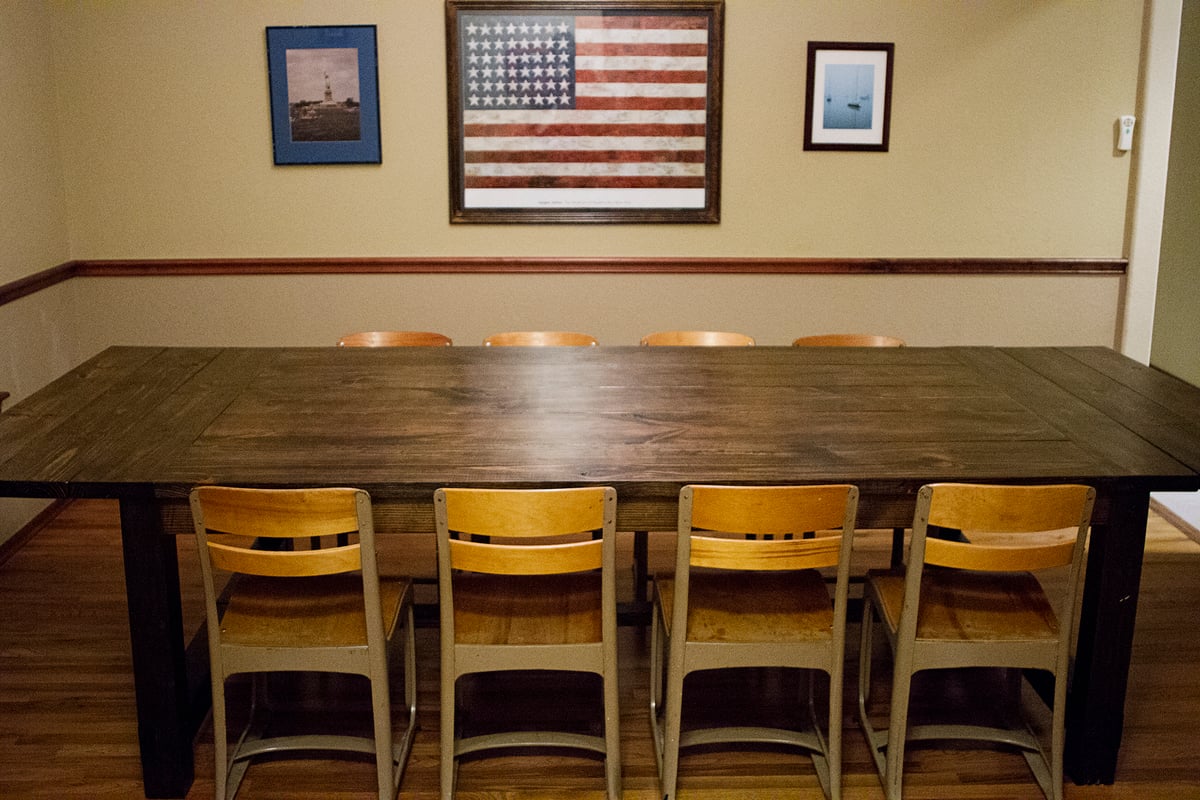
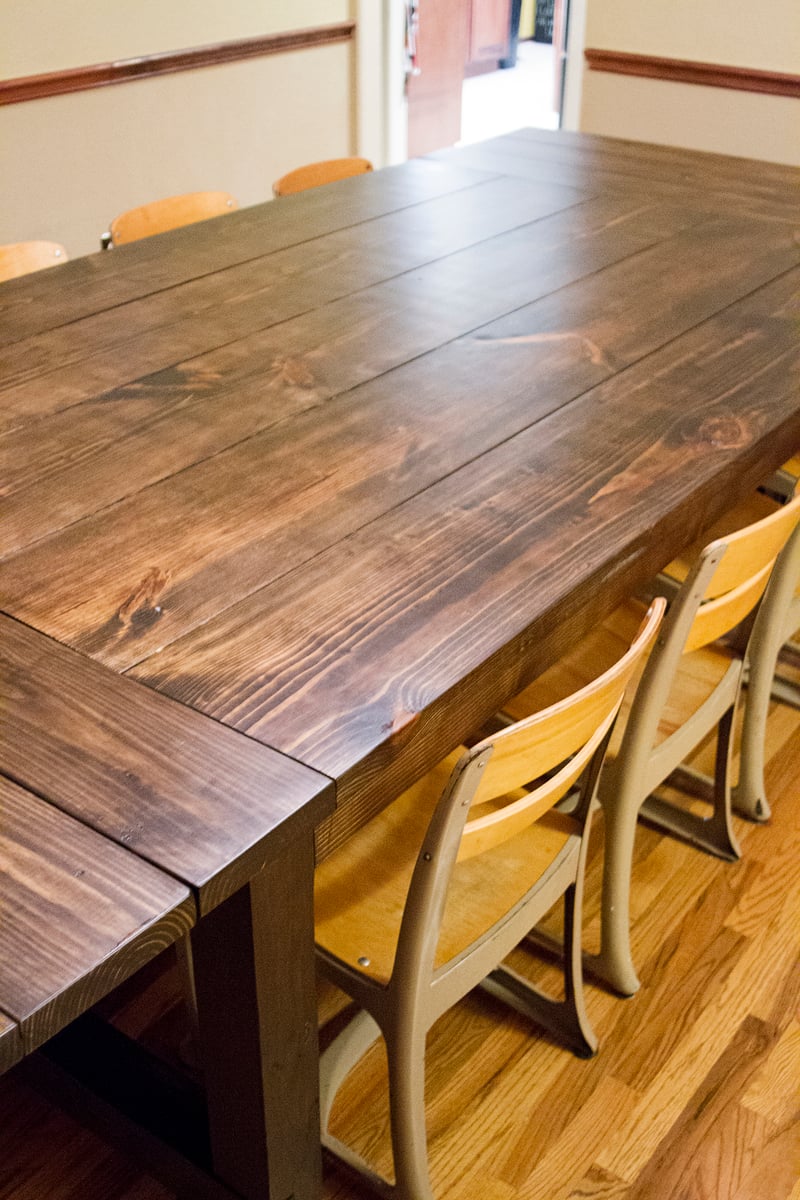
Farmhouse Table

This is a massive Farmhouse Table. It measures 126" x 56" with the extensions on, as show. It is 96" x 56" without. The table top is 2x12's with 2x8 breadboards and it has 4x4 legs and end stretchers. It was modified from the farmhouse plan here on ana-white.com and from tommyandellie.com.
Built from Plan(s)
Estimated Cost
approx $225
Estimated Time Investment
Week Long Project (20 Hours or More)
Finish Used
We used 1 coat of Miniwax Dark Walnut and 2 coats of Poly in a satin finish.
Recommended Skill Level
Intermediate
Comments

In reply to Chairs! by brookifer86
Fri, 11/30/2012 - 14:09
We lucked out on those. A
We lucked out on those. A family member's church was giving them away a few years ago and we scooped them up for free. I will get their info so that you might search them out and reply again for you.
In reply to Extensions by rjdavidson
Mon, 05/27/2013 - 17:53
Extensions
The extension idea came from tommieandellie.com. The extensions are each made up of 2 beadboards each cut to the width of the table, 56" here. They also consist of a 2"x2" crossmember of 30" here and 2-2"x2"s 38" in length and cut on a 45 angle on on end. The beadboards are joined by pocket holes. the crossmember is centered on the beadboard that will be closets to the table, it is here to provide support for the last 2 pieces. These last 2 pieces are pieces that will slide into notches cut in the end apron and inside apron. They are placed with the angled edge about an inch from edge of the what will become the most outside end when the extensions are slid into place. The extensions slide into notches cut 1.5"x1.5" end apron and inside apron pieces 30" apart and centered. A lot of words that I am sure didn't explain anything. Mine are just modification of the plans on the referenced site.
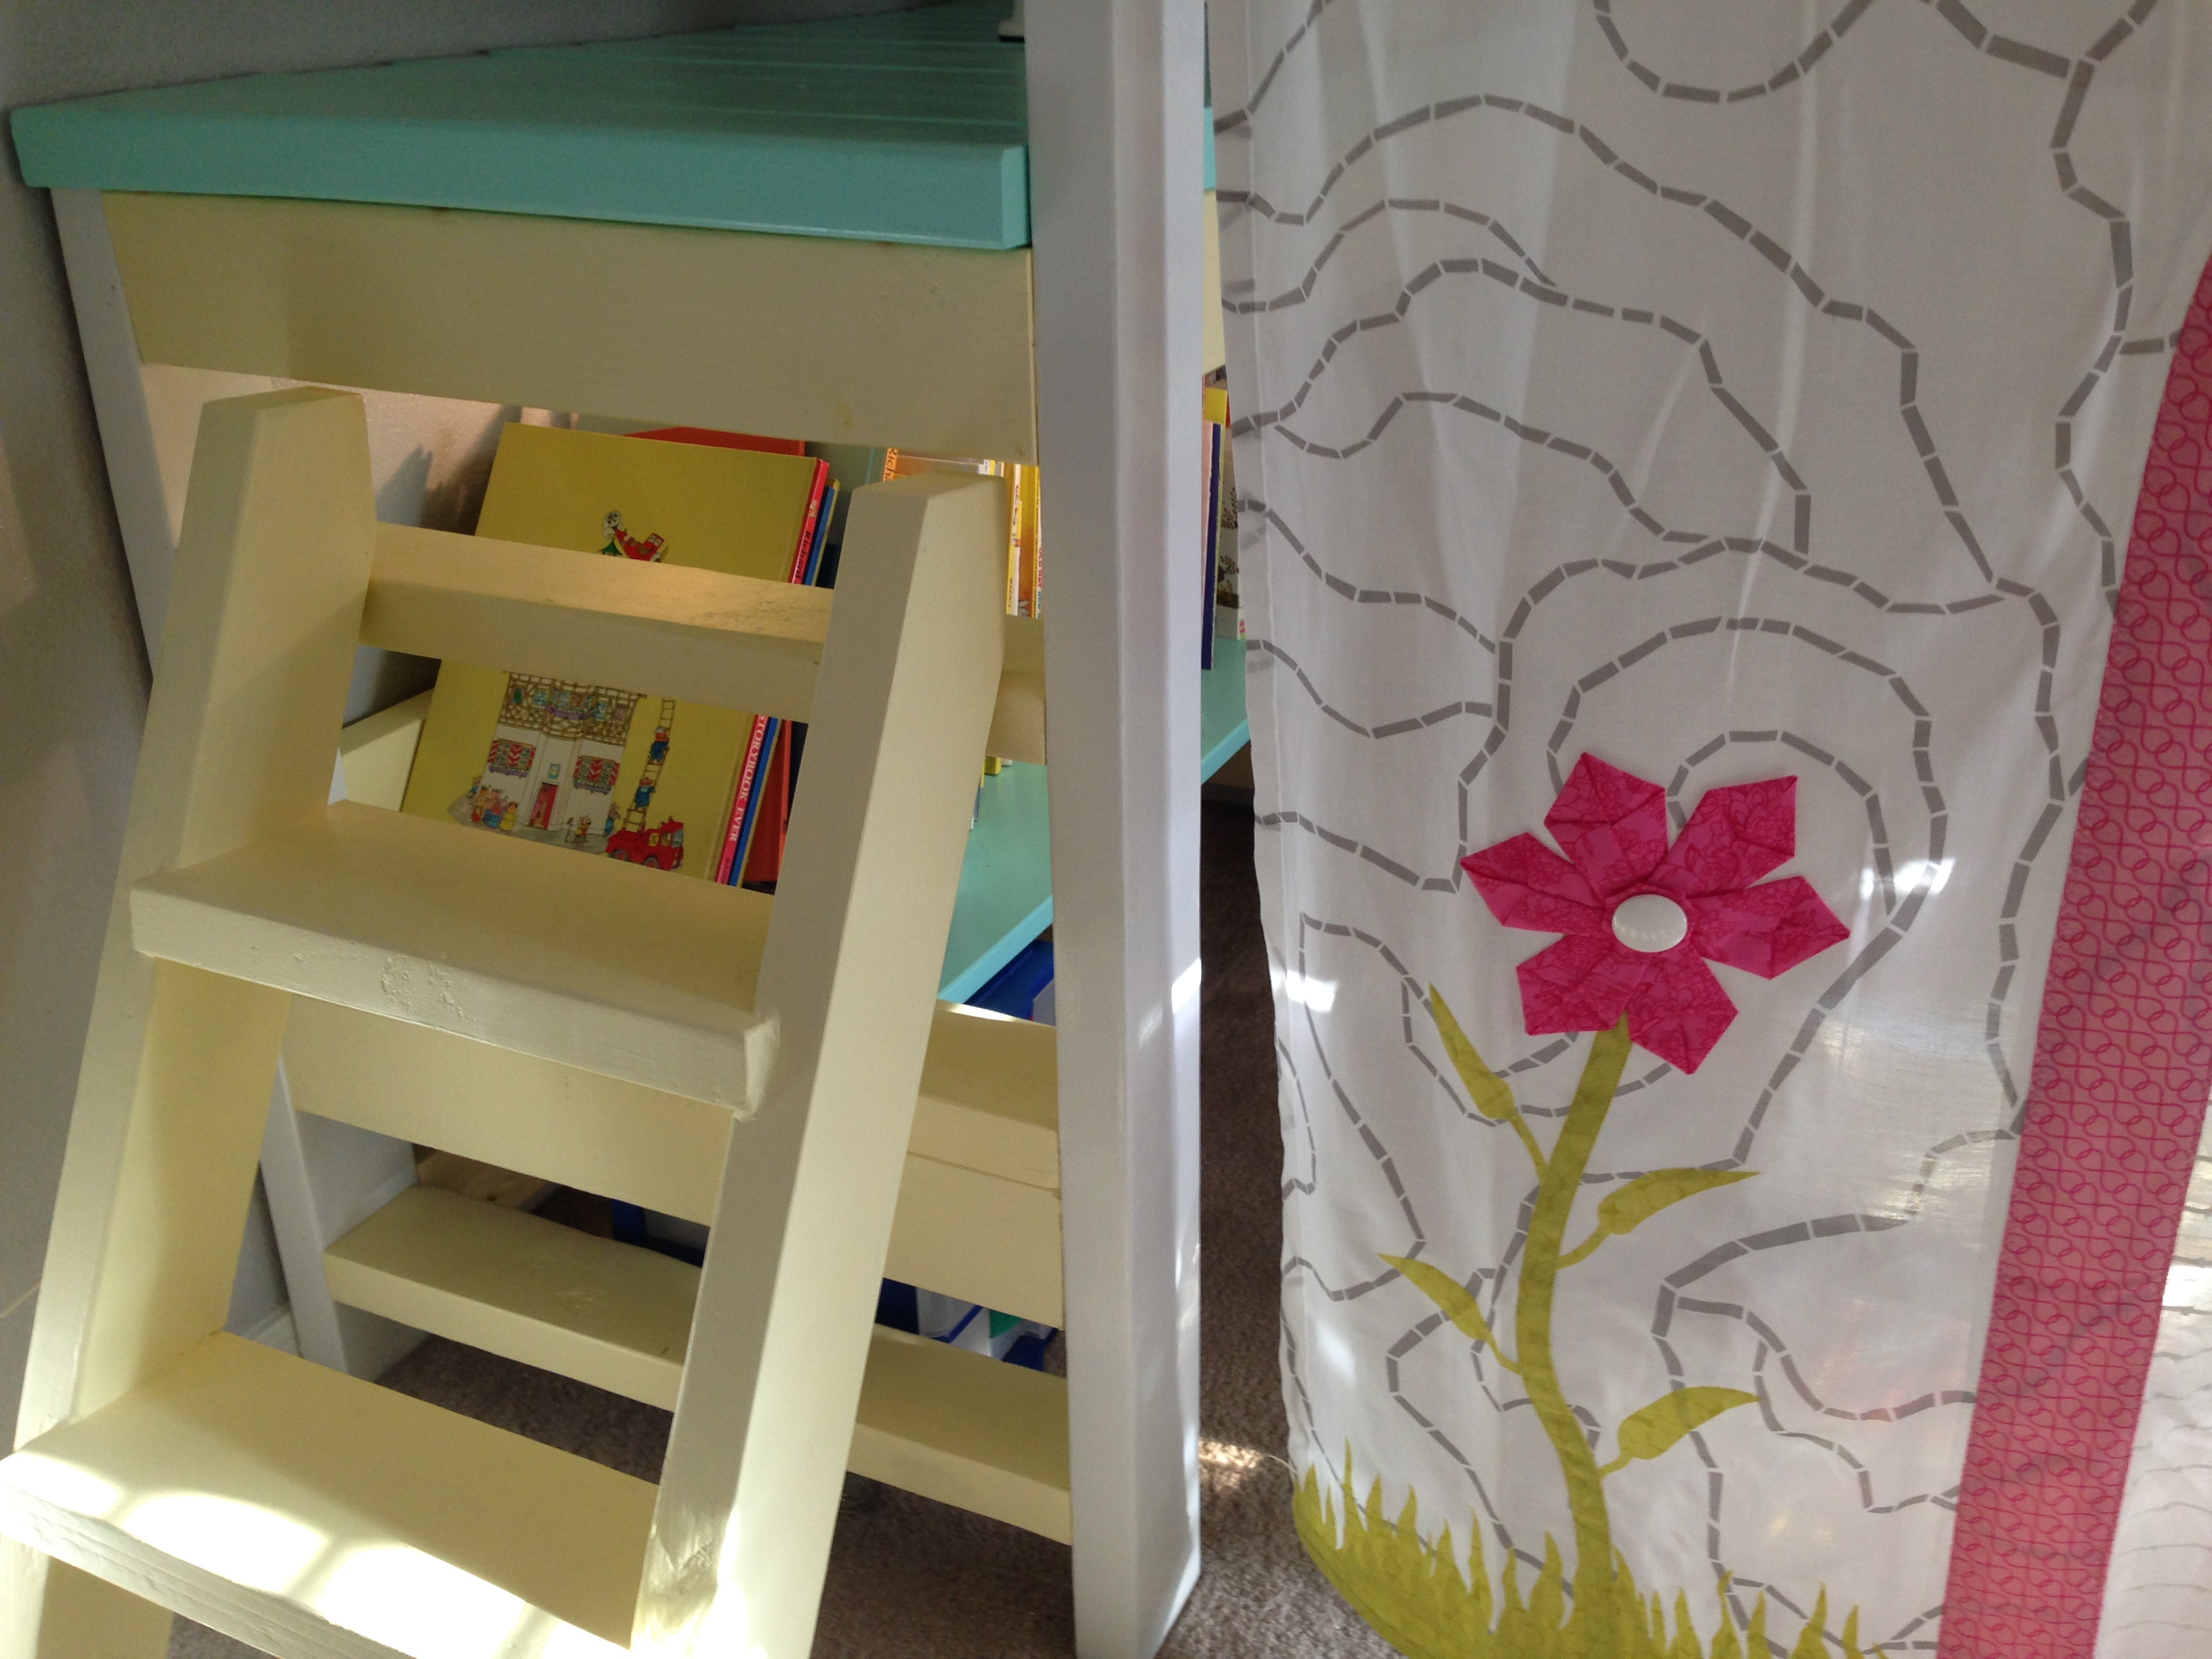
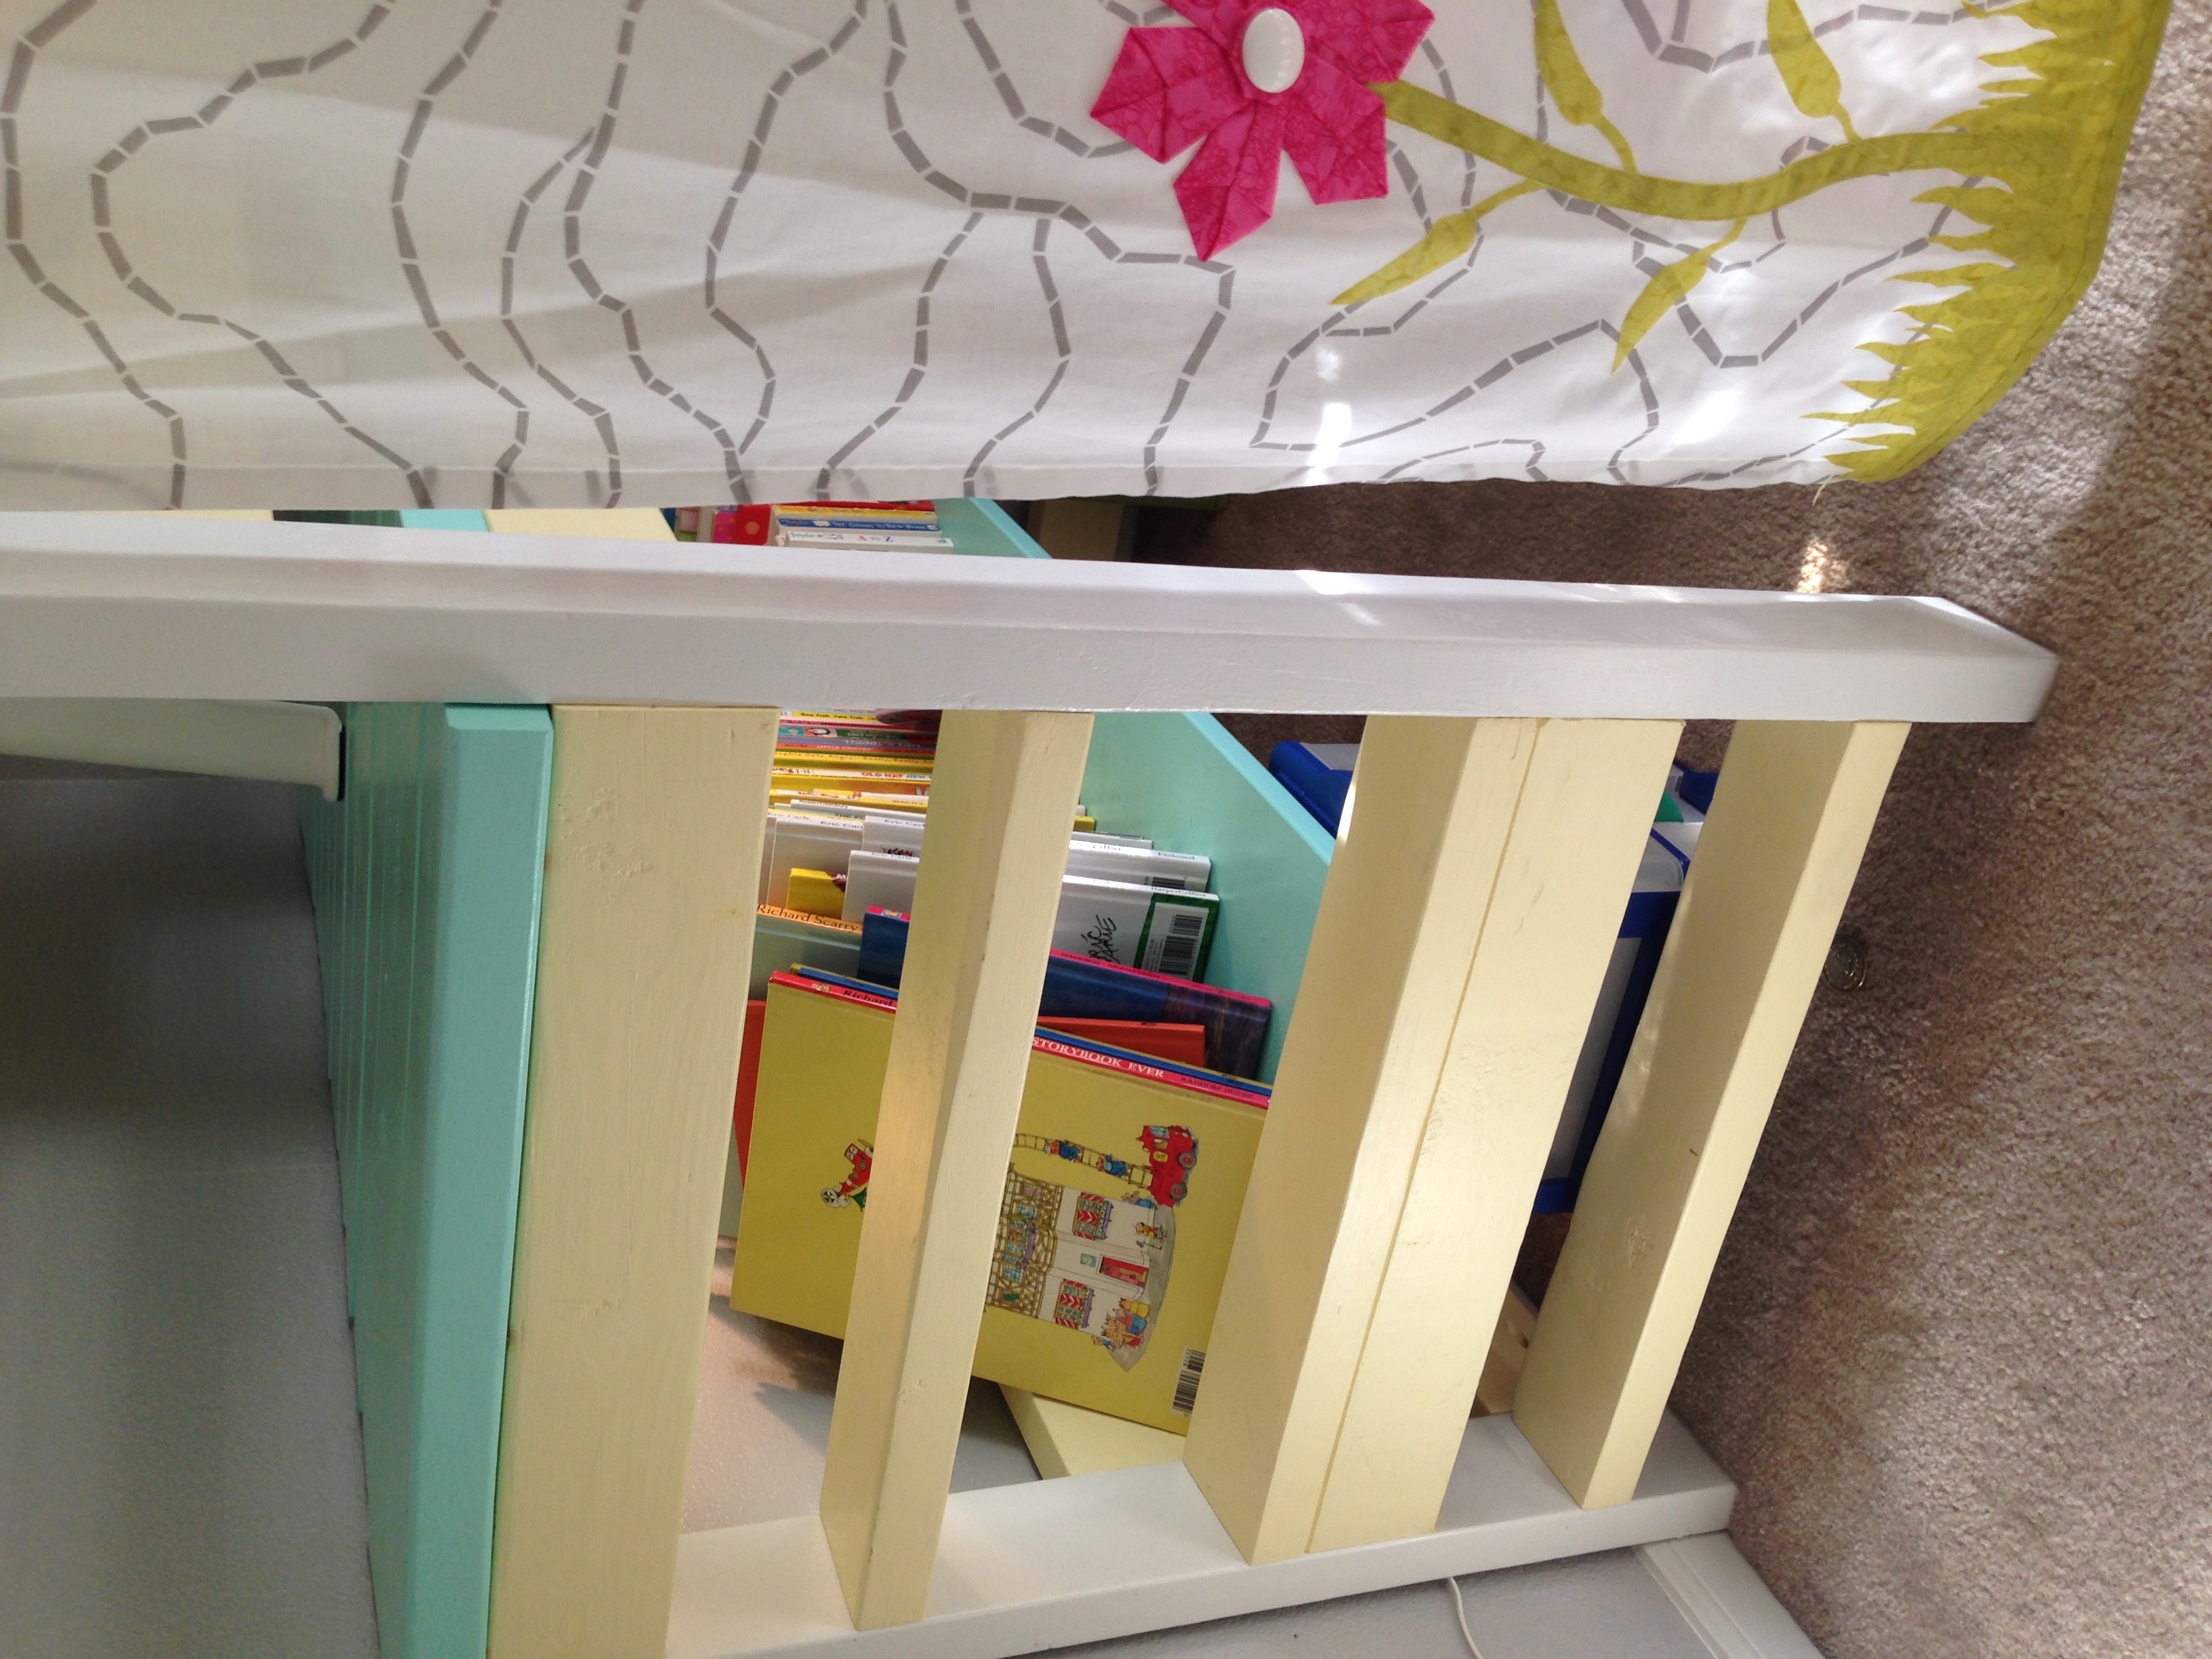
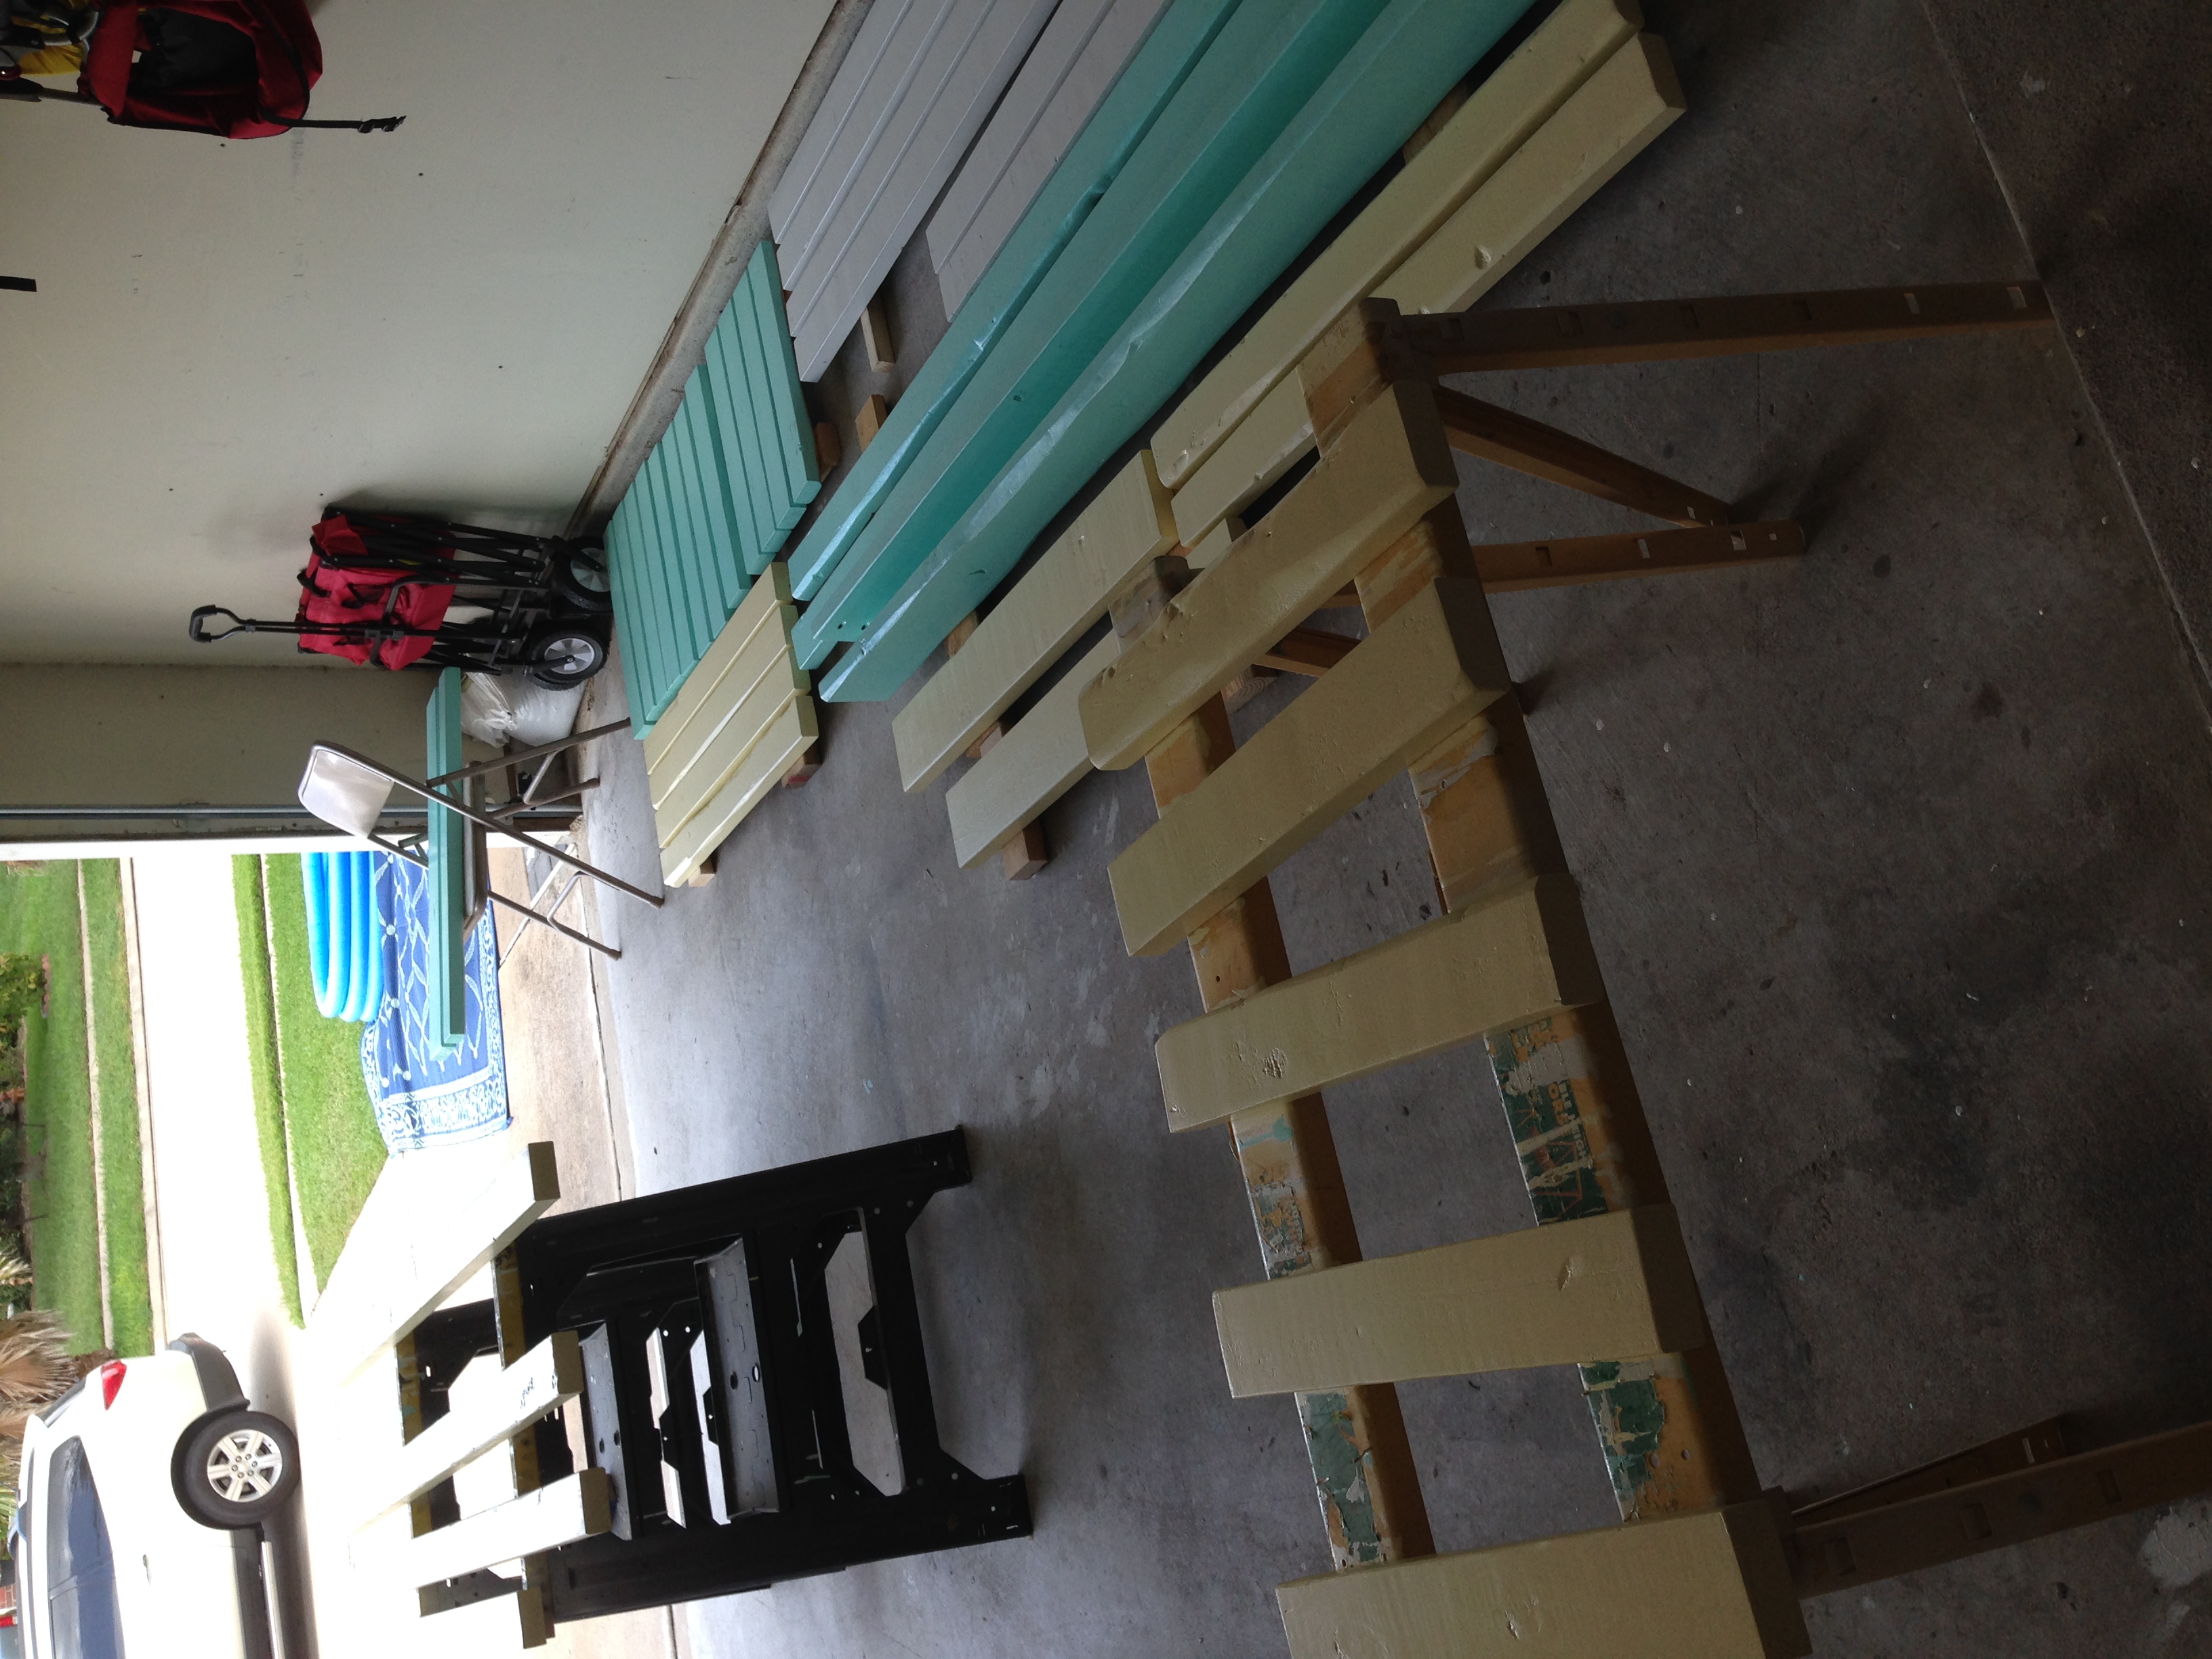
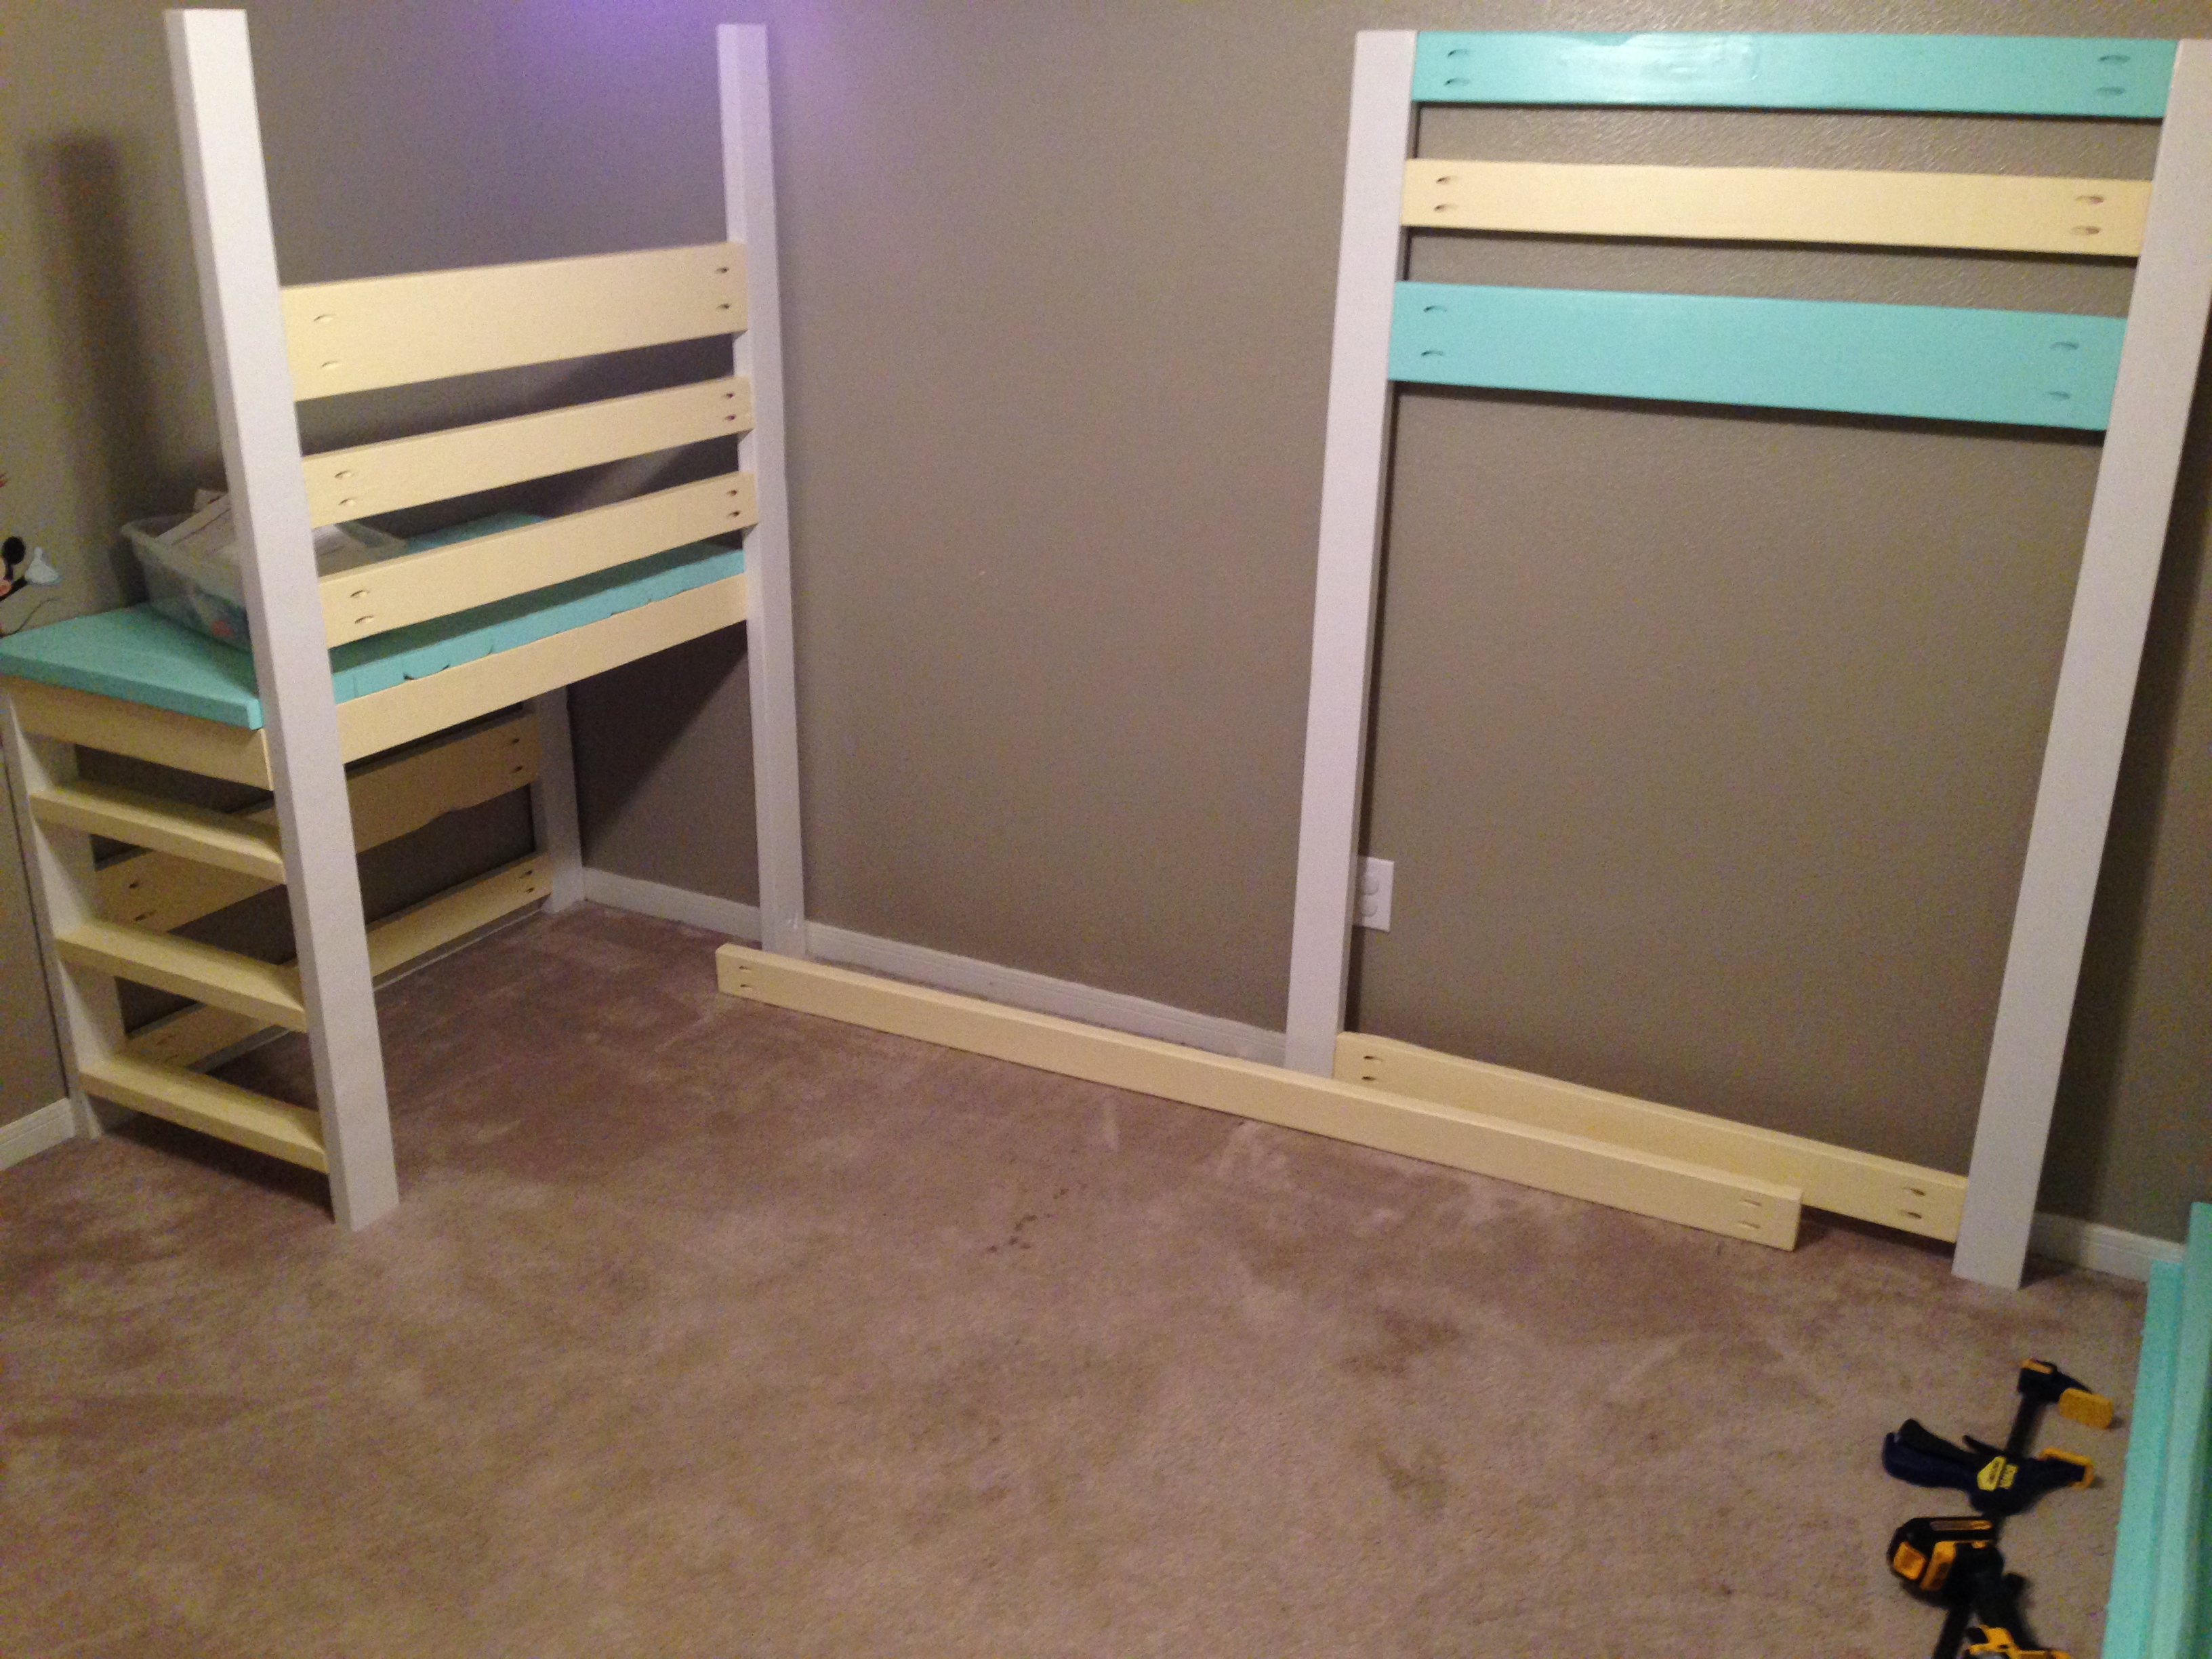
Daughter's Loft Bed
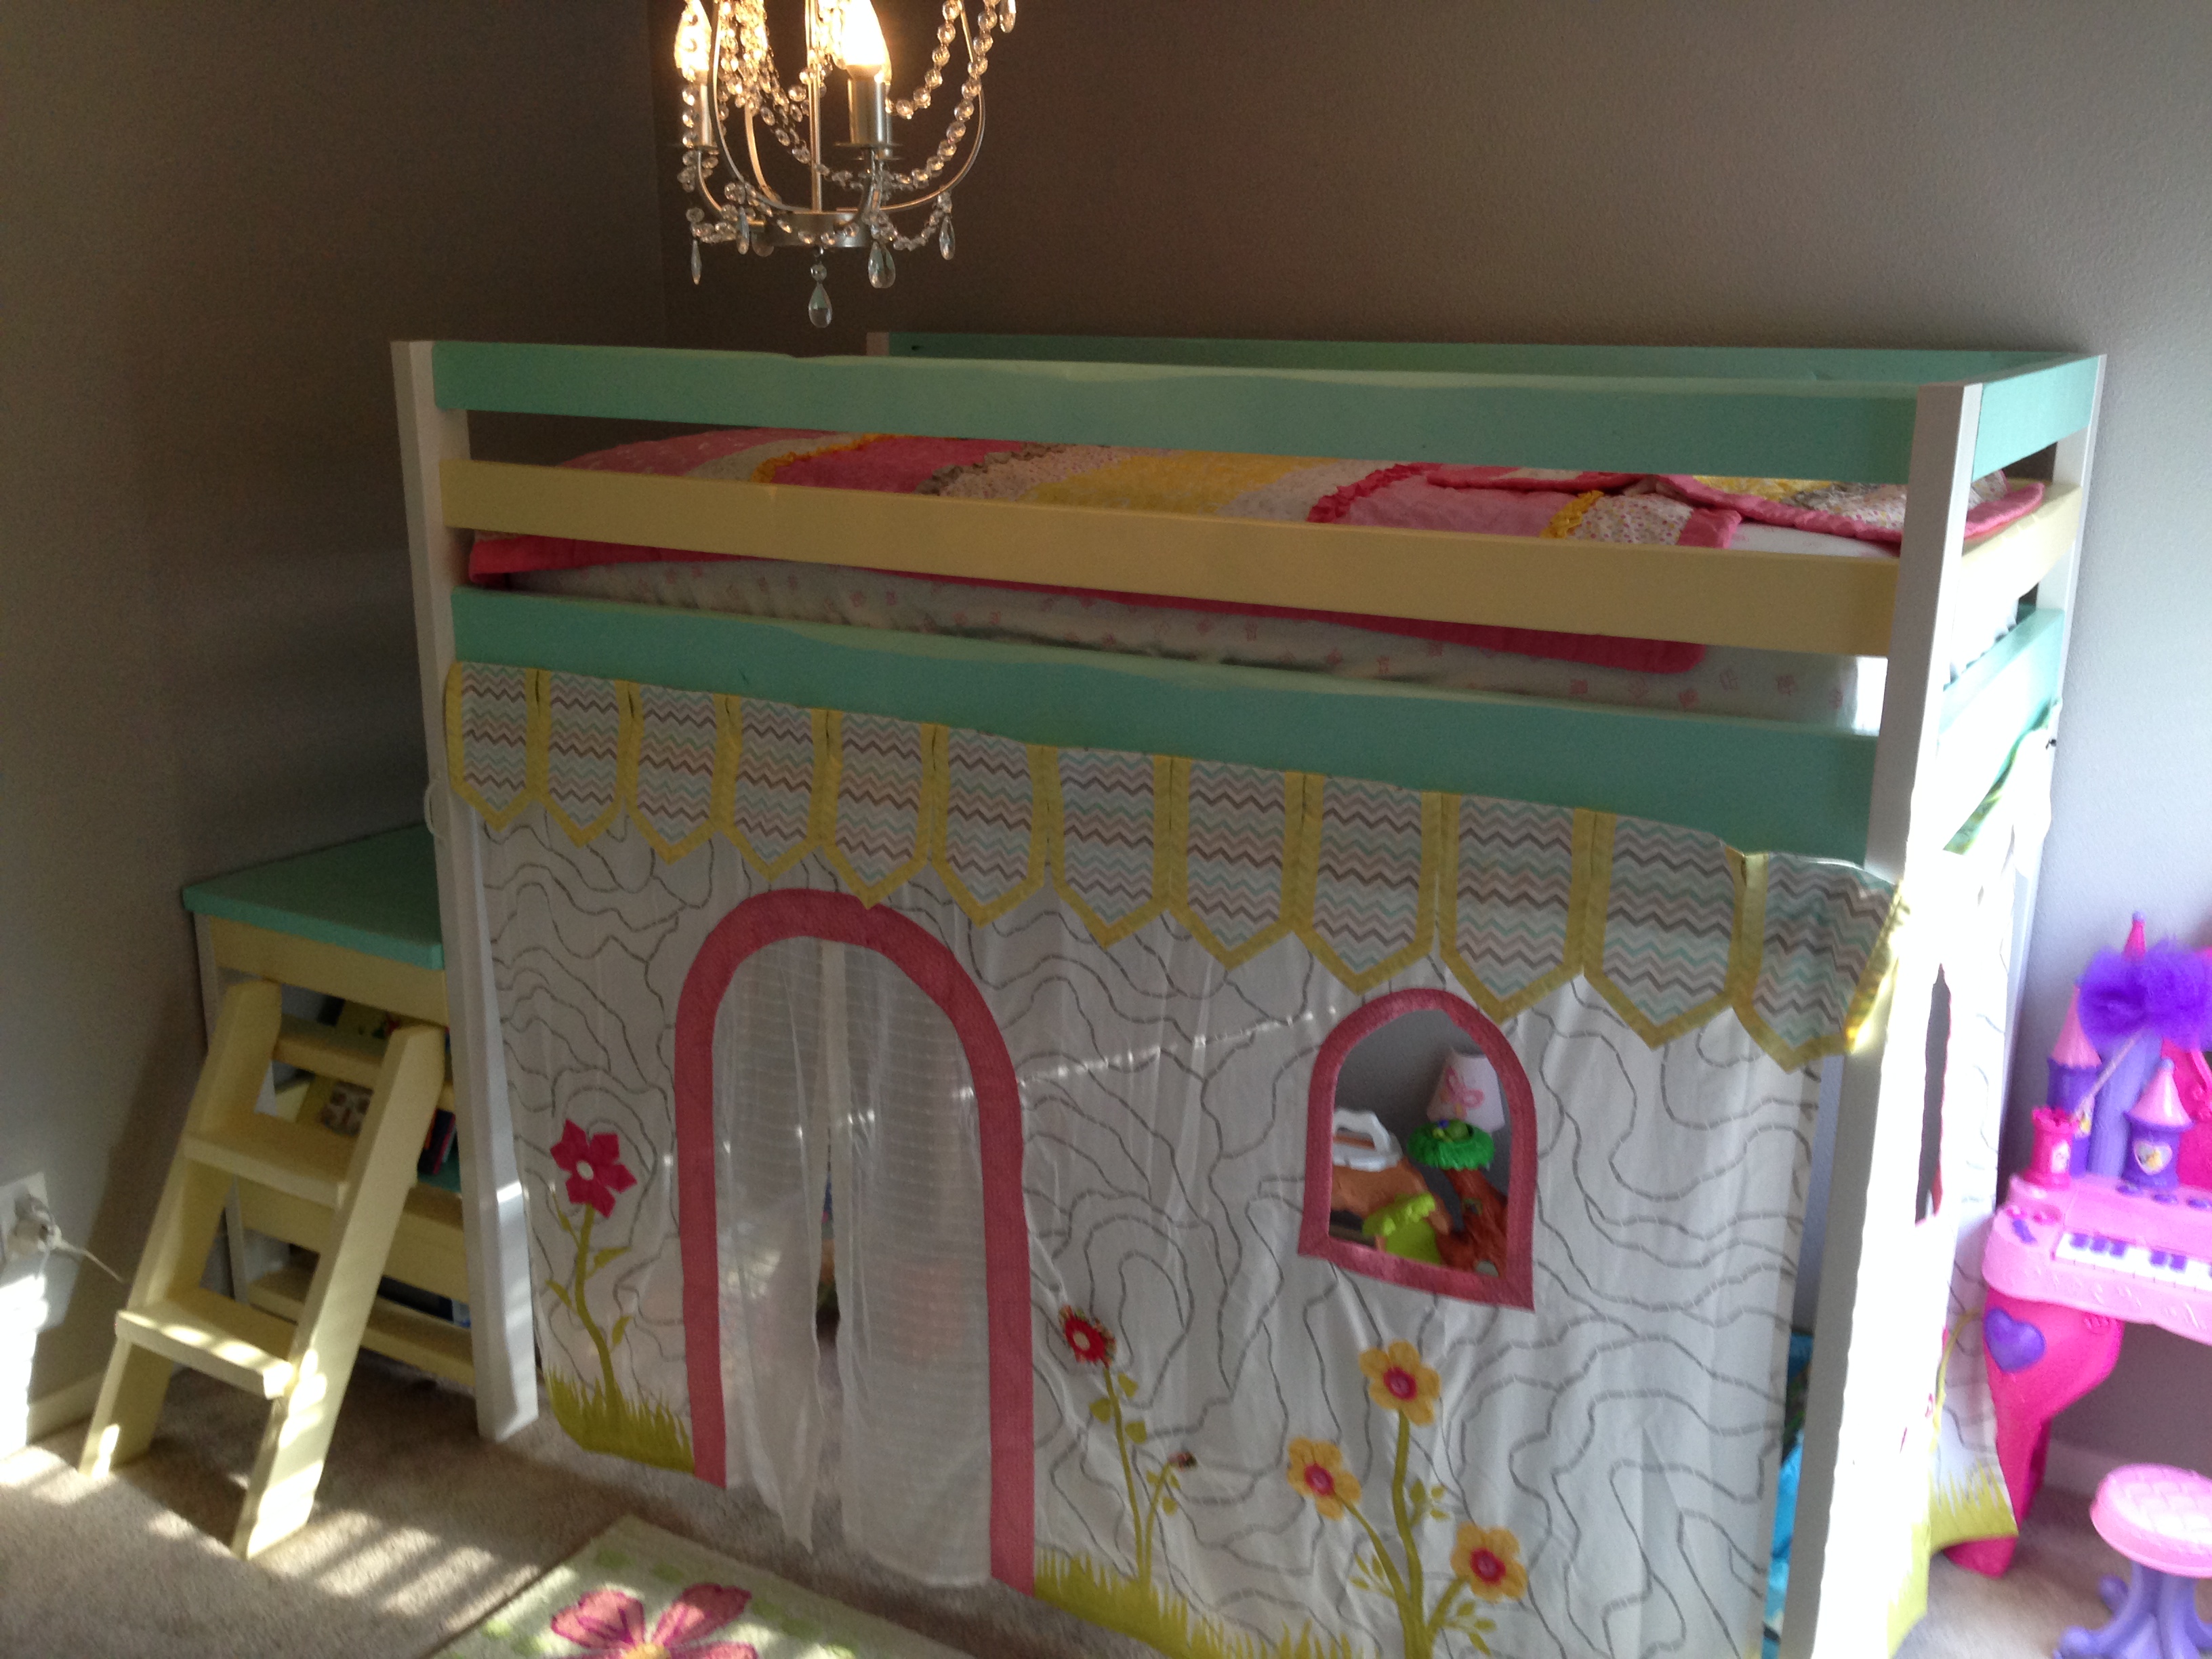
This is my first big Ana White project!! I built this bed with the basis of the Camp Style Loft Bed for juniors, but decided against the large stairs and reused some stairs i had built for our pop-up trailer. They were smaller and took up less floor space. I used all reclaimed wood from a house construction site (trash) except for 5 2x4s and the book shelf 1x8. Because of this the project took significantly longer than her 'weekend' plans called for, but it was fun. I spent probably 6-8 hours sanding/cleaning the wood. You can see all the dimples or angles in the boards which give it a pretty cool look in my opinion. I wanted to stain the wood to see all the pretty grain and knots, but my wife wanted a princess castle  so she won out.
My mother help sew the super cute castle wall curtains. We used Ikea lighting for under the ledge, and Ikea chandelier, and Ikea curtain rods to keep the project cheap. Hope you like it.
Built from Plan(s)
Estimated Cost
lumber would have been $60-70
kreg screws $5-10
Ikea accessories were about $60
Curtain - priceless :)
kreg screws $5-10
Ikea accessories were about $60
Curtain - priceless :)
Estimated Time Investment
Week Long Project (20 Hours or More)
Finish Used
paint (I'll need to look up the colors)
Recommended Skill Level
Starter Project
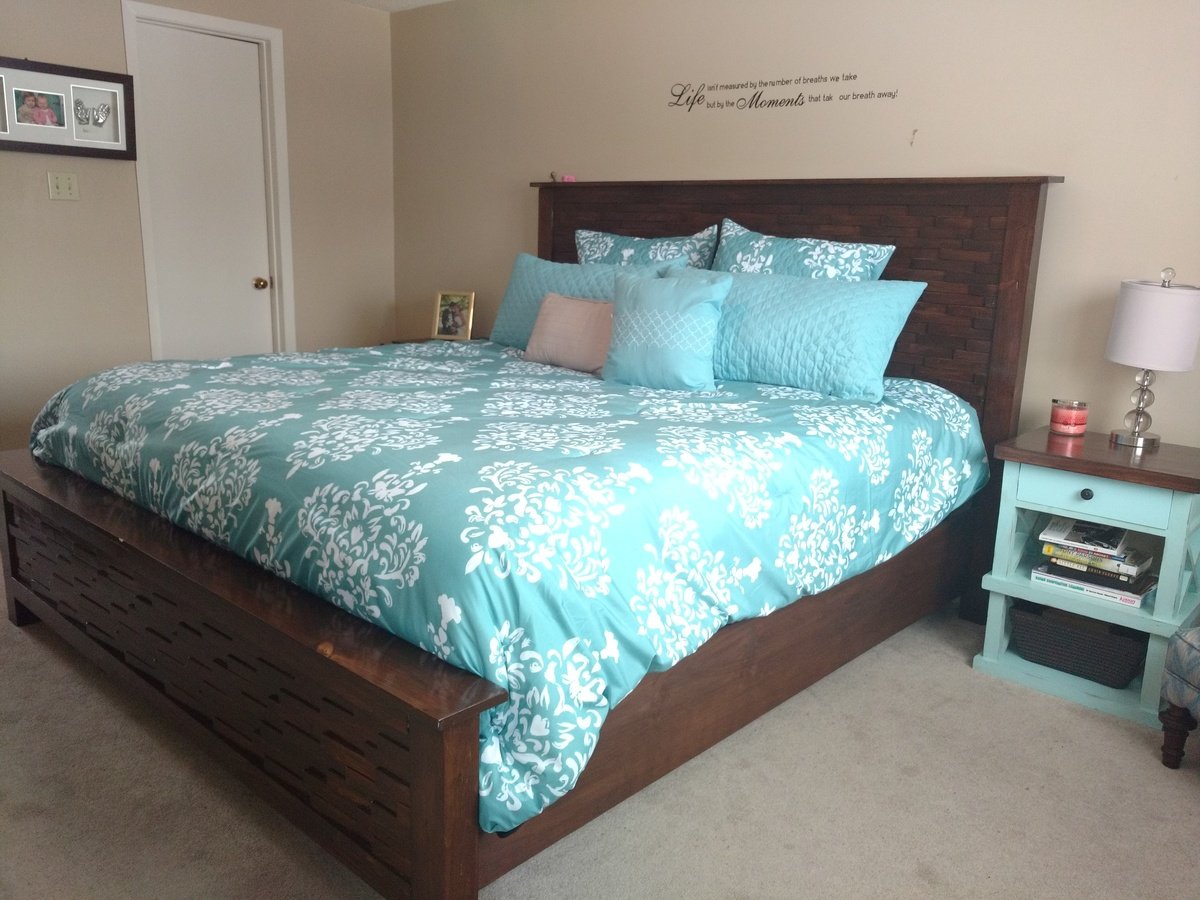
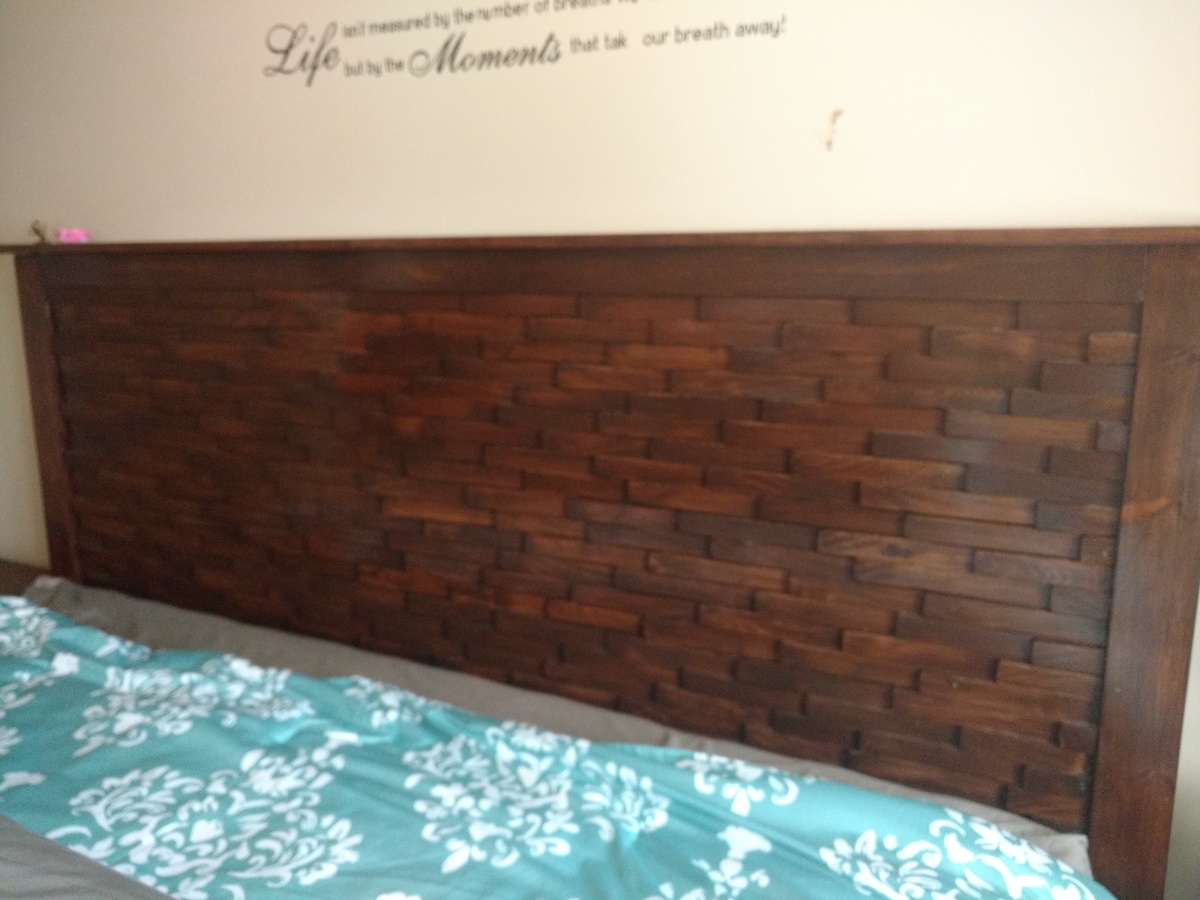
Cassidy king bed

My first grown up furniture, I didn't start small lol...The picture is not great, but I love it! I took advice from other comments, I sanded and stained each shim individually. Took ages!!!!! But well worth the effort.I used a gel stain and a glossy finish. I made matching nightstands as well using plans from another site.
Built from Plan(s)
Estimated Cost
$350
Estimated Time Investment
Week Long Project (20 Hours or More)
Finish Used
Minwax gel stain 606
Glossy varnish
Glossy varnish
Recommended Skill Level
Intermediate
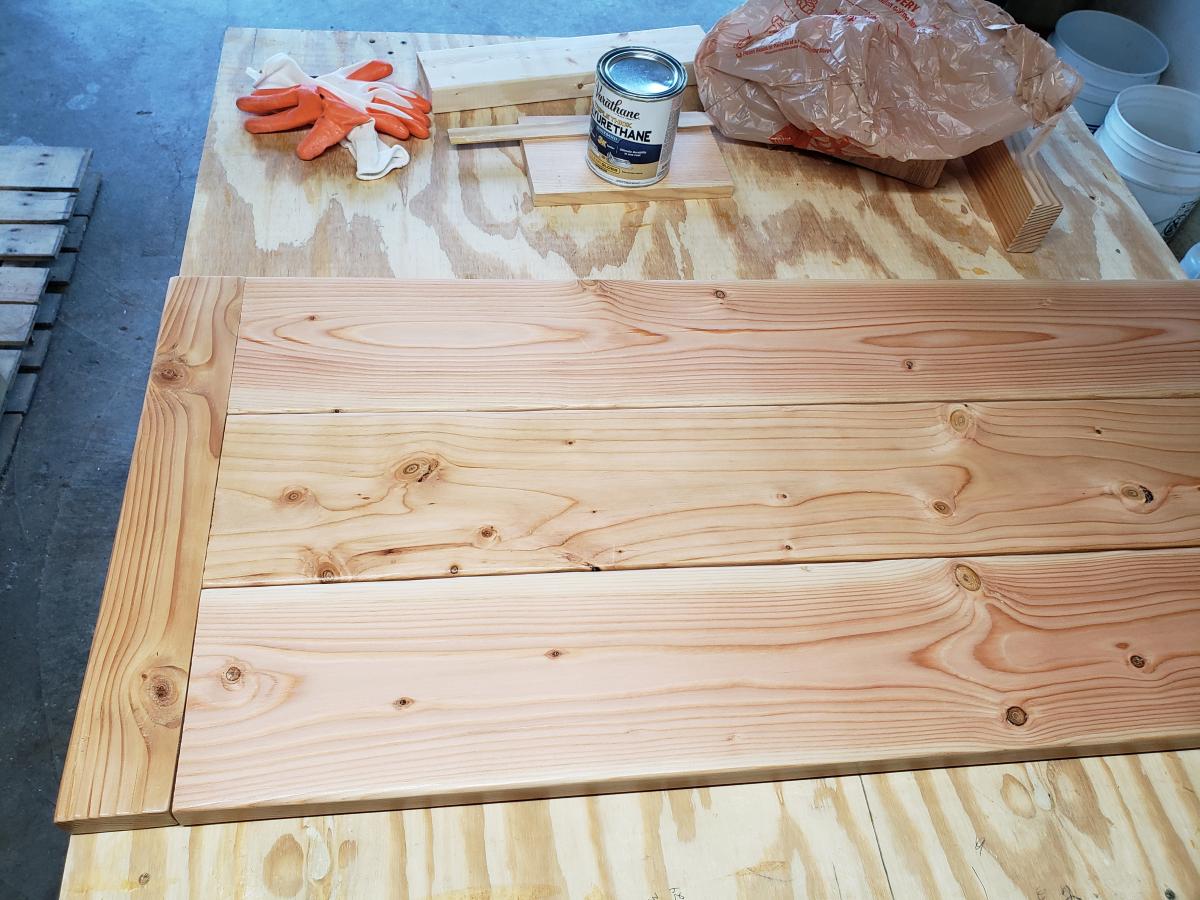
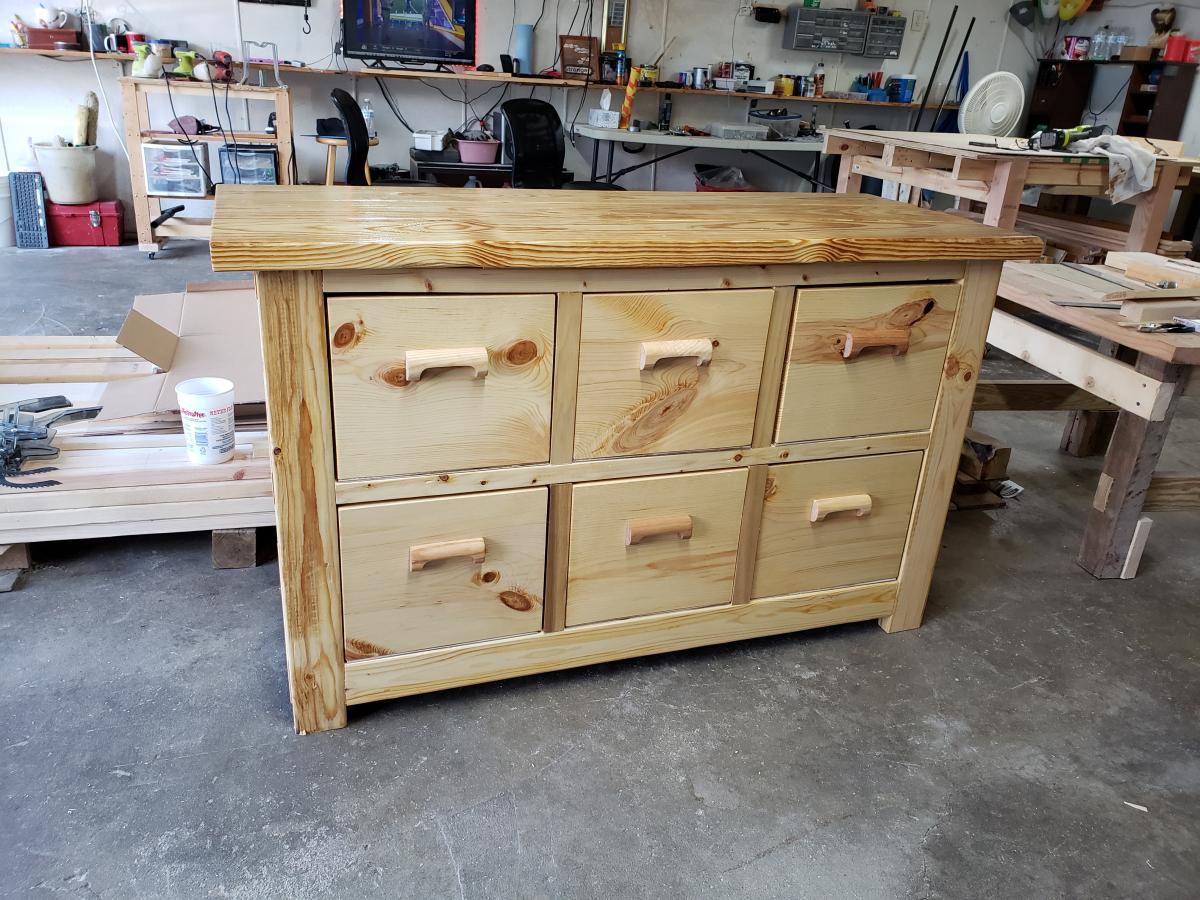
I Built the Dumpster Dresser
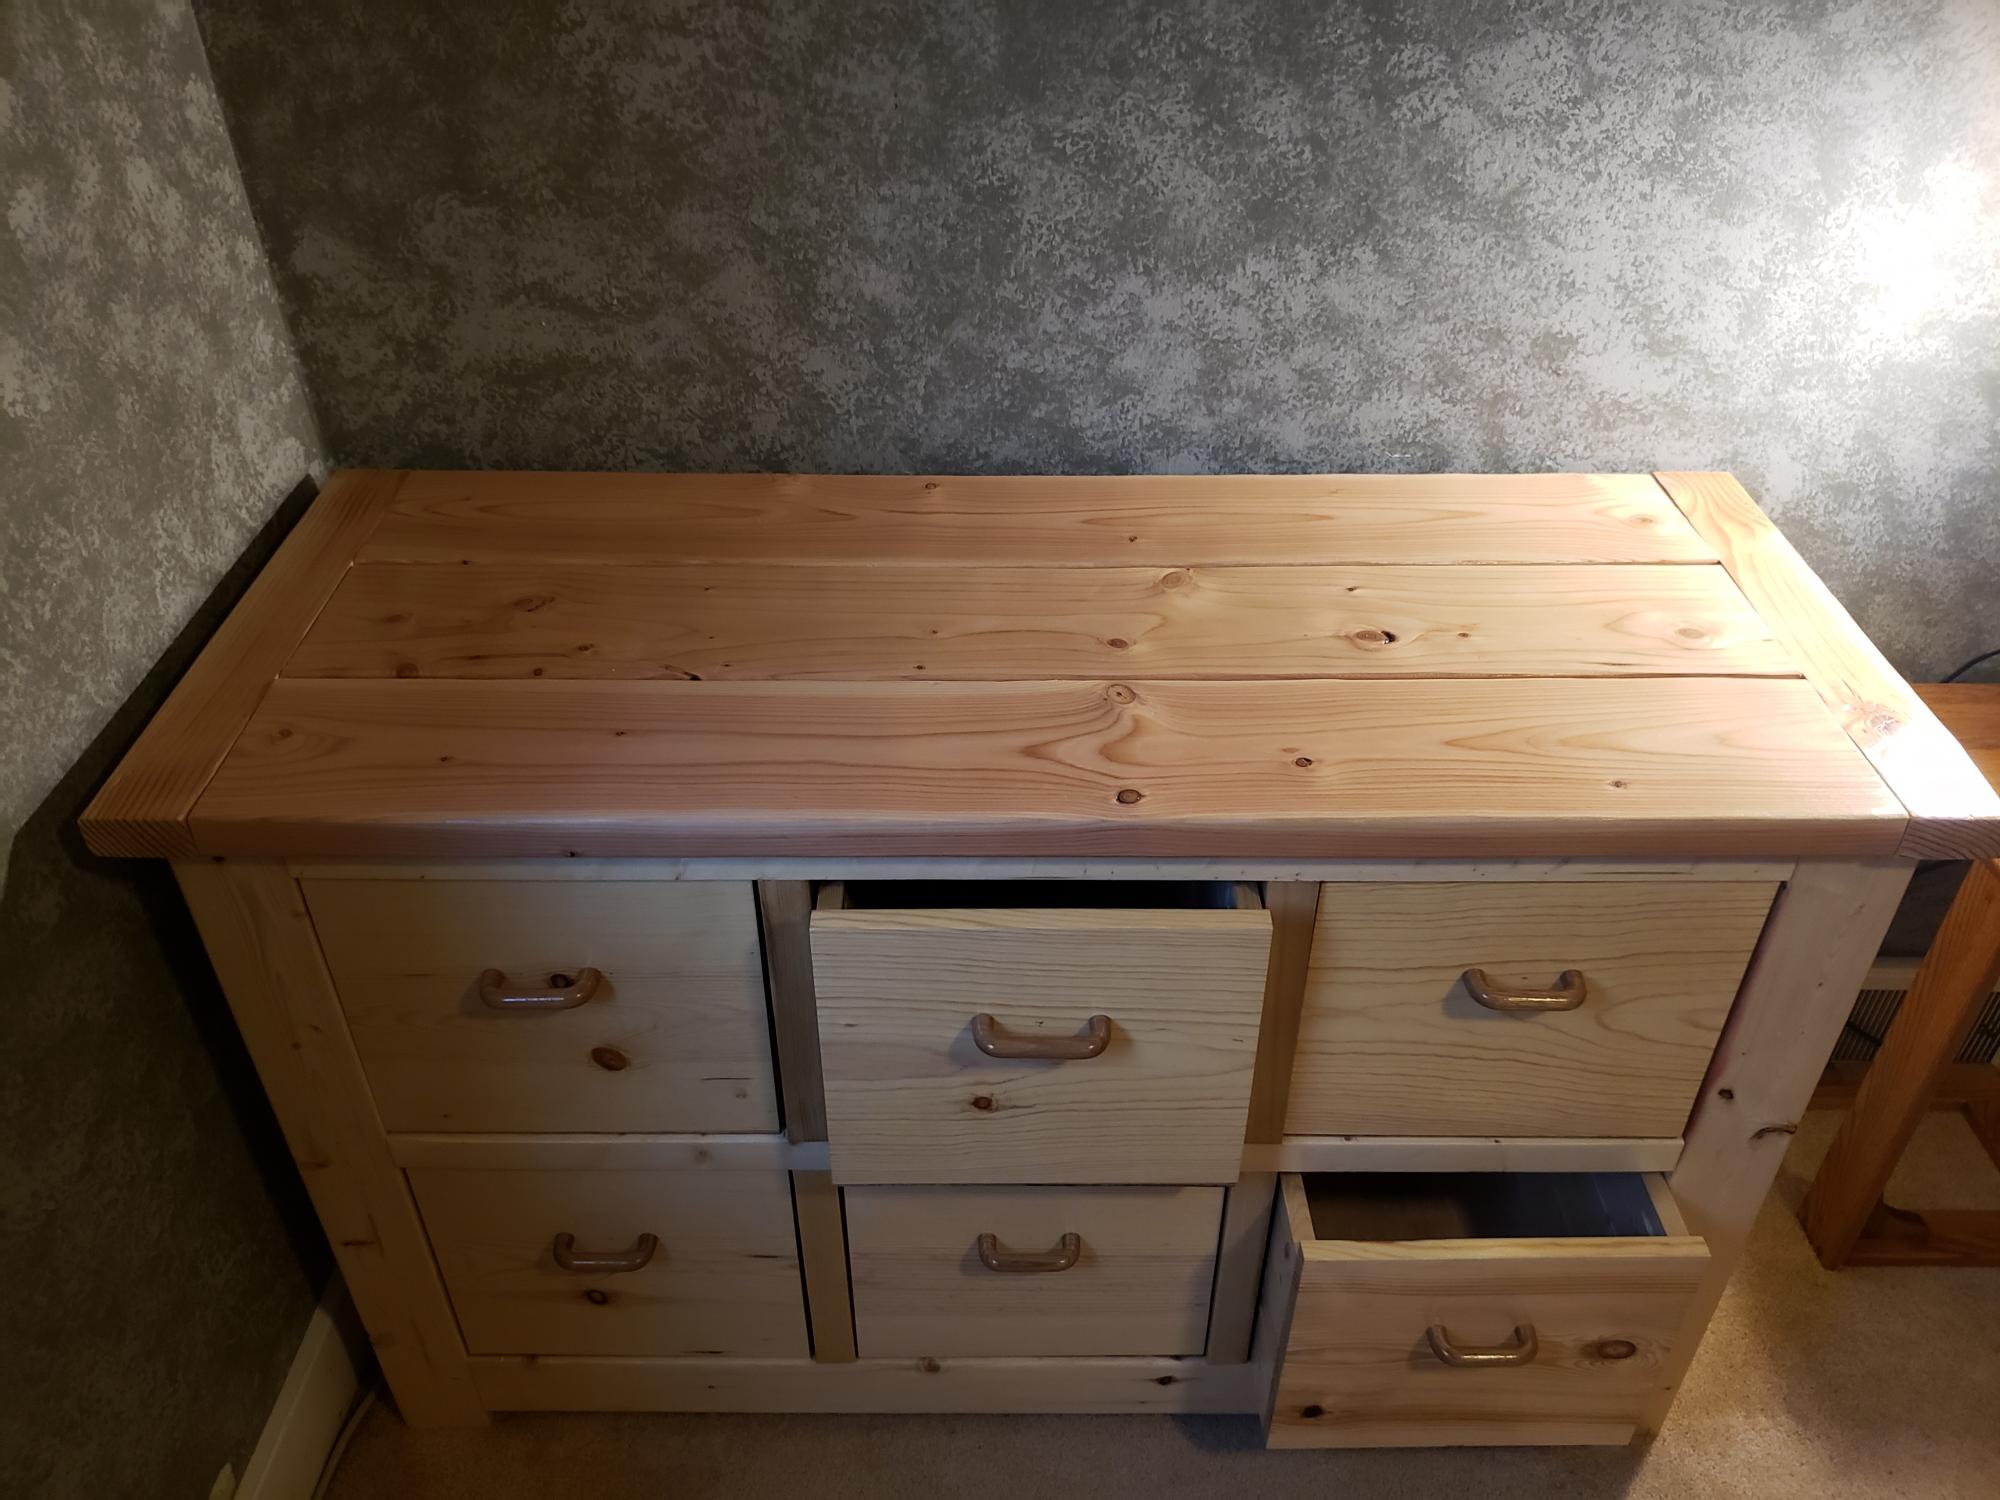
I had fun building this dresser I'm building a second one. I built the second one already

Estimated Time Investment
Week Long Project (20 Hours or More)
Finish Used
Minwax One Coat Polyurethane, Gloss, Clear, 1 Quart
Current Price$13.94
Minwax Wood Finish, Natural, 1/2 Pint
Current Price$9.85
Current Price$13.94
Minwax Wood Finish, Natural, 1/2 Pint
Current Price$9.85
Recommended Skill Level
Advanced
Doll Daybed with trundle
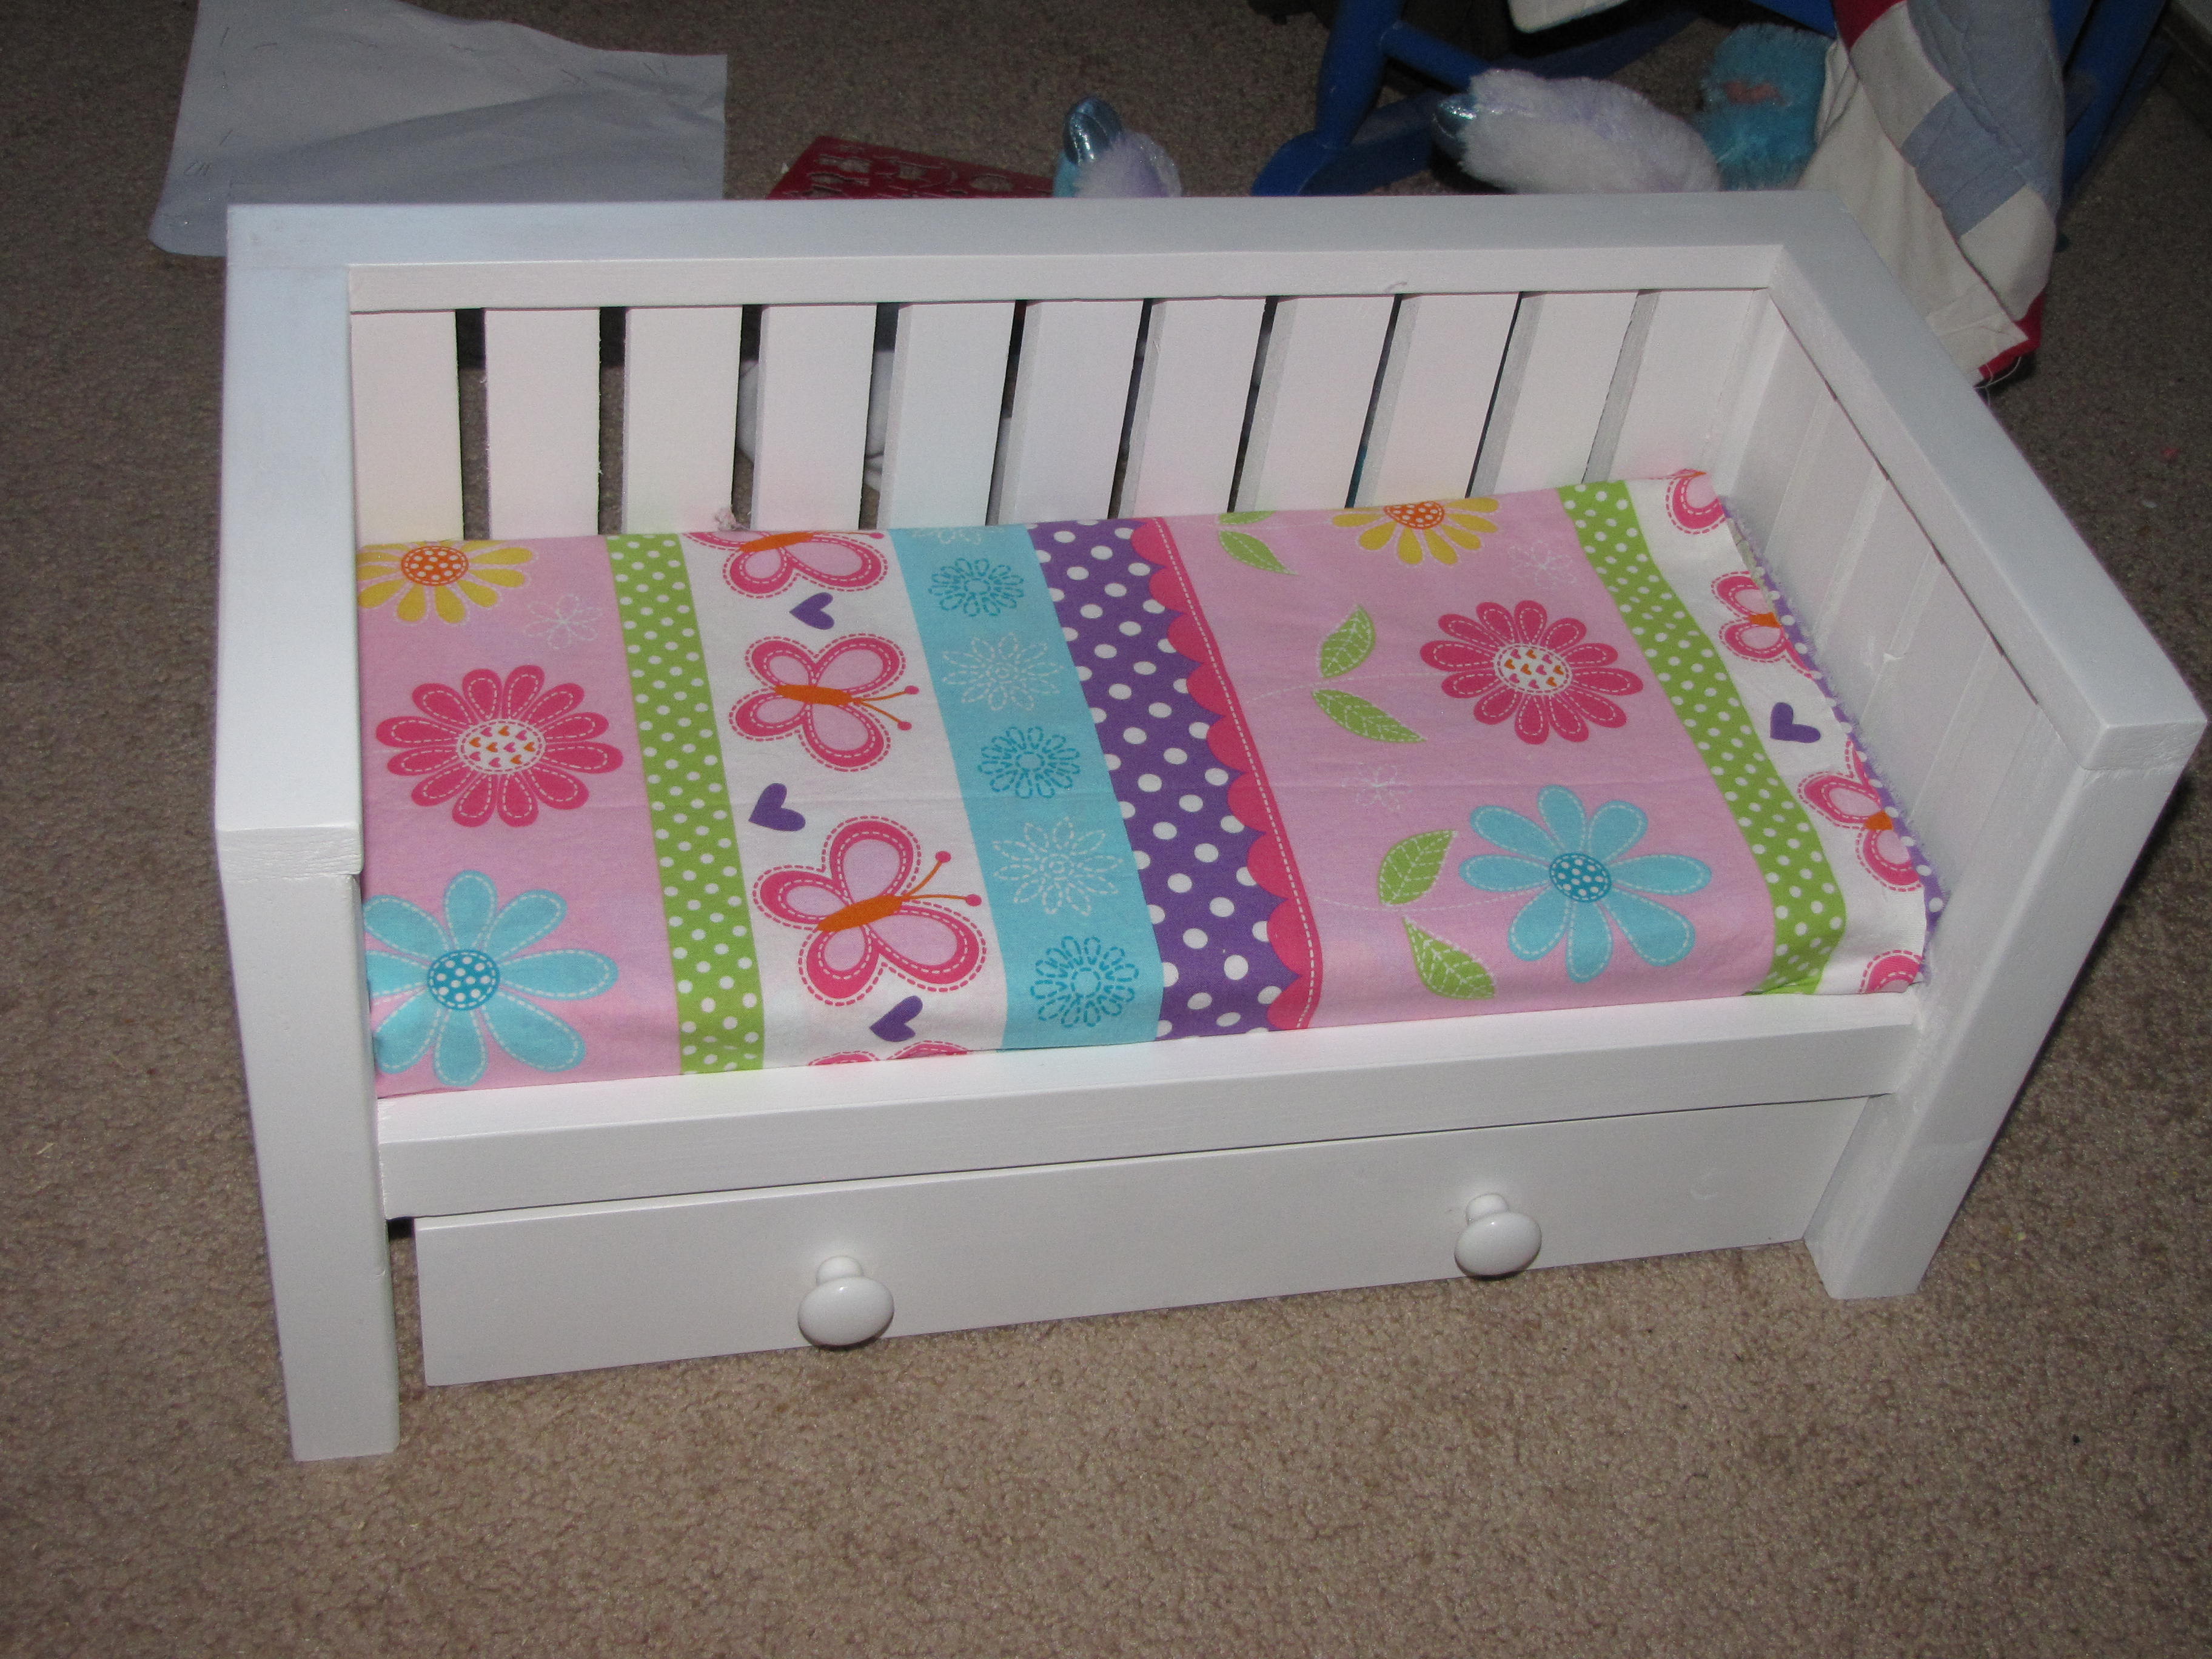
Created this bed for my niece for Christmas. My son was so excited to put pieces of fabric for the sheets on it so I was able to take a great picture. I didn't make plans since I was winging it as I went, however I did kind of follow the simple day bed plans and doll bed trundle tips.
Built from Plan(s)
Estimated Time Investment
Afternoon Project (3-6 Hours)
Finish Used
White paint
Recommended Skill Level
Beginner
Comments
Tue, 09/01/2015 - 08:02
Anyone have plans similar to this?
I would love to make this for my friends daughter for her birthday, but I am not skilled enough to "wing it"! Please help! Does anyone have plans for this?
Child's Bench with Arbor
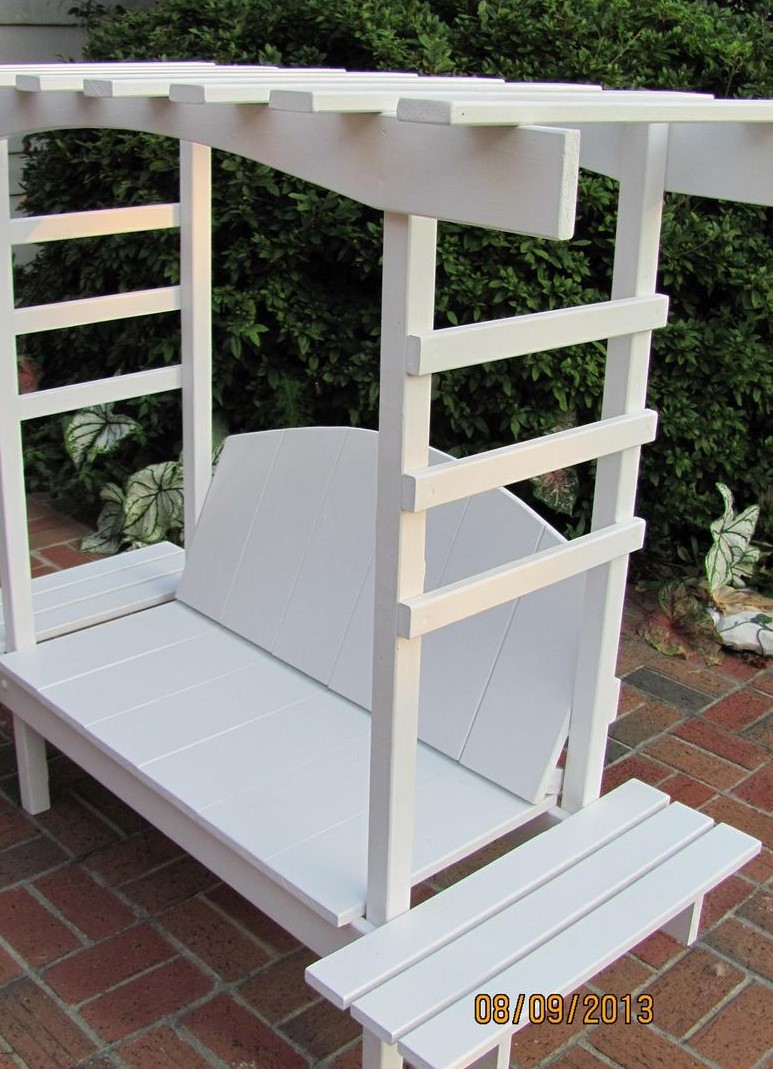
This was a weekend build made from plans right here on Ana-White's site. There were a few changes made to make it sturdier since several (older) rambunctious toddlers were going to be using it. If anyone is interested in how much weight it can hold, two adults sat on this and it held up great. We have had this in the back yard for over a year now and it looks just as it did when it was first built.
Built from Plan(s)
Estimated Cost
Under $100. Not sure about actual cost since we had wood, primer, and paint on hand.
Estimated Time Investment
Weekend Project (10-20 Hours)
Finish Used
Primed and painted with exterior paint.
Recommended Skill Level
Intermediate
All by myself!

This project took a few days longer than anticipated. I was having an issue with my screws and stripping the heads. After EIGHT trips to Lowes I found out that I needed a drill with torque and mine didn't. Total costs: pipes & screws= $150.00. Wood and stain = $170.00. 2017 pricing! Amazing closet! And for the record...I am a complete novice!
Estimated Time Investment
Weekend Project (10-20 Hours)
Recommended Skill Level
Beginner
Play Table Stool

Used the plans of the play stool, then used the kreg jig to attach three 2x6 boards to make a thicker stool top. Jig sawed around the edges after tracing a design and used a Dremel to create the animal design border Turned out super cute and goddaughter loved it!

Built from Plan(s)
Estimated Cost
50
Estimated Time Investment
Weekend Project (10-20 Hours)
Finish Used
Fruitwood and Polyurethane gloss
Recommended Skill Level
Beginner
Comments
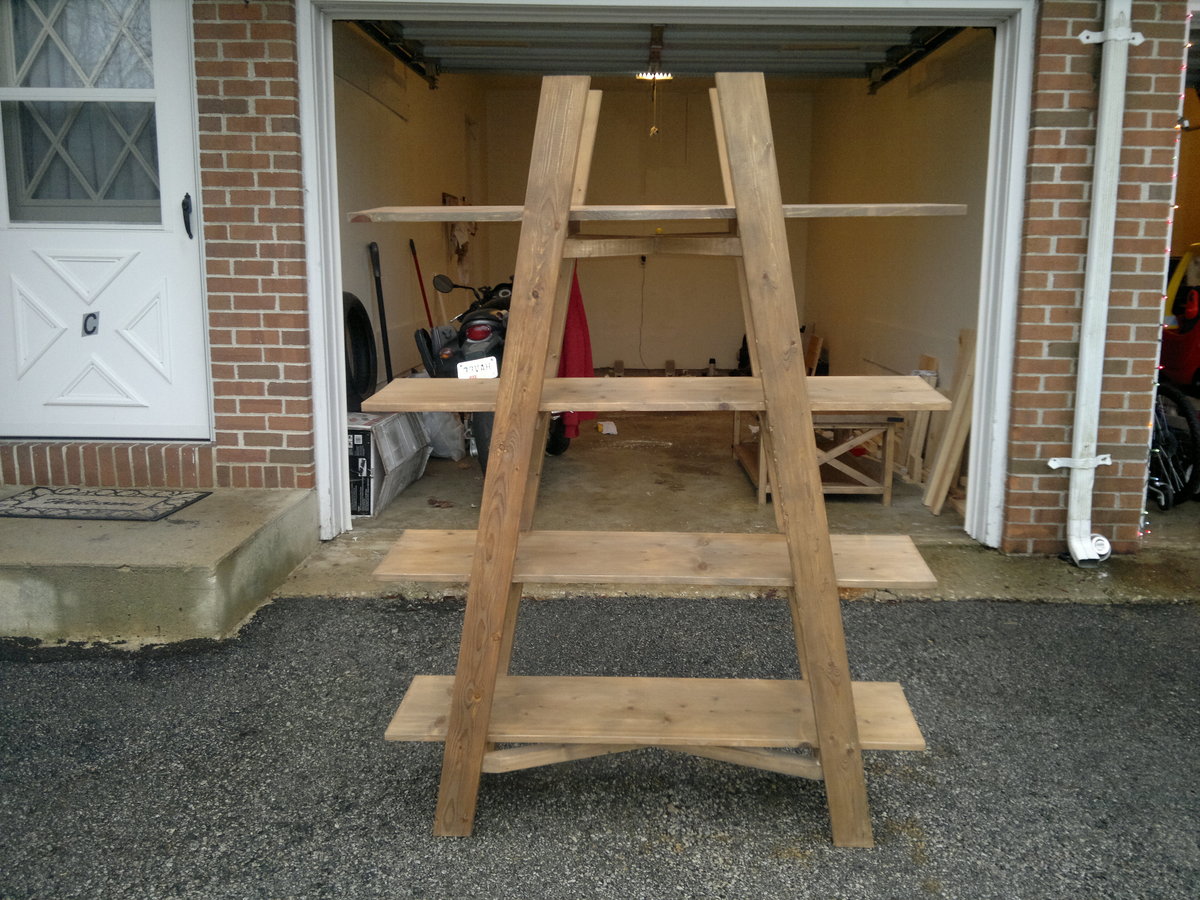
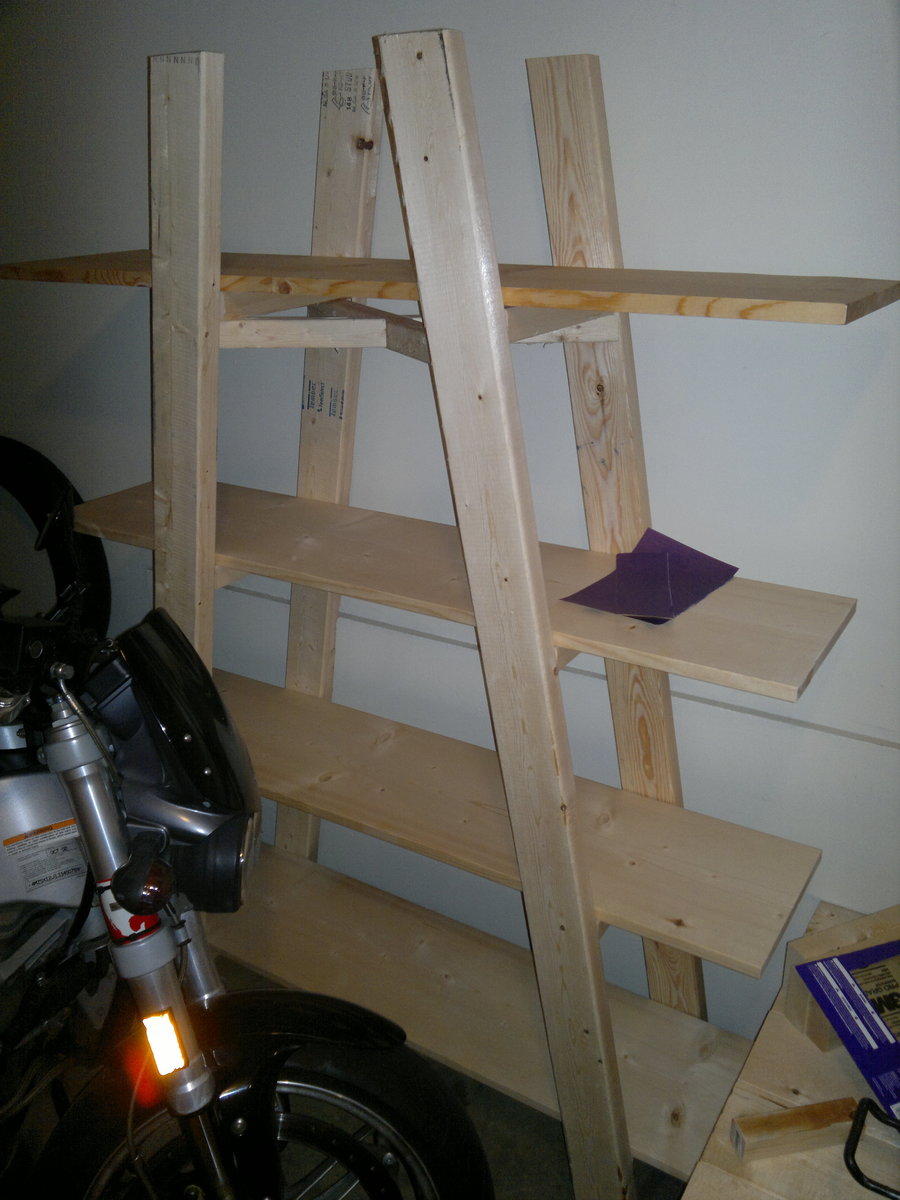
upside down V bookshelf
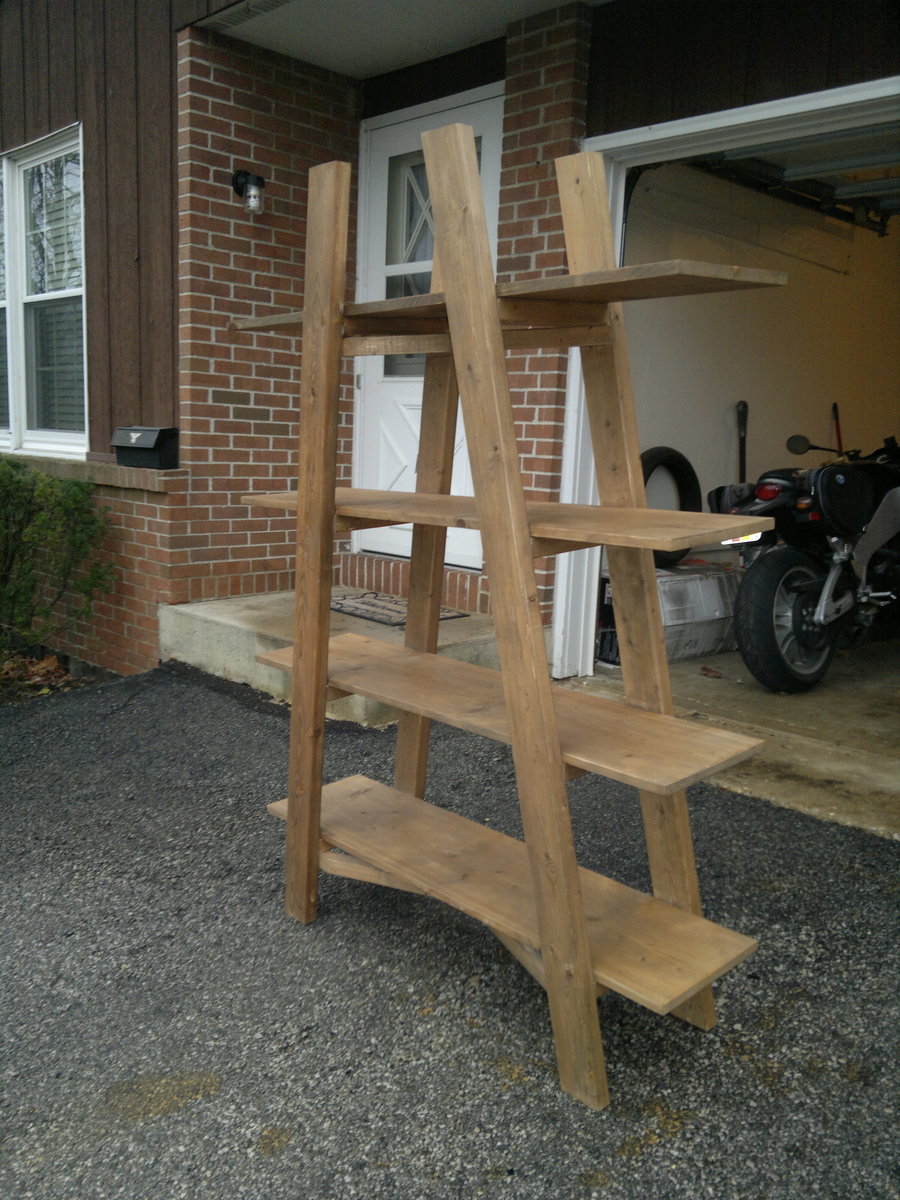
This project took several months of off and on work but I am very happy with the results. Followed the plans on this website and they were great. The only change I made was to add x cross braces for added support. They were necessary because this thing is wobbly as it is. Got the wood from the local lowes and the hardware from Ace Hardware. Used the Kreg Jig pocket hole system to hide the fasteners which makes a big difference.
I made some other furniture from plans on this website so I used the same rustic stain on this piece. The stain was great, really easy to make and stains really well. I covered the stain with the recommended wax which gives it a really nice shine and is very smooth.
Huge thanks to this website!
Estimated Time Investment
Week Long Project (20 Hours or More)
Finish Used
"Hillary's oxidized finish"
Recommended Skill Level
Beginner