Modified Farmhouse Dining Table
![](/sites/default/files/151F639F-1FD1-41D5-A7C9-3954AF73E60C.jpeg)
Had to make modifications for size, errors, and personal preference, but we love this table! Still deciding on all white paint or a 2-tone finish. Also- first time using a Kreg jig. What an amazing tool.
Fancy turned leg dining table.
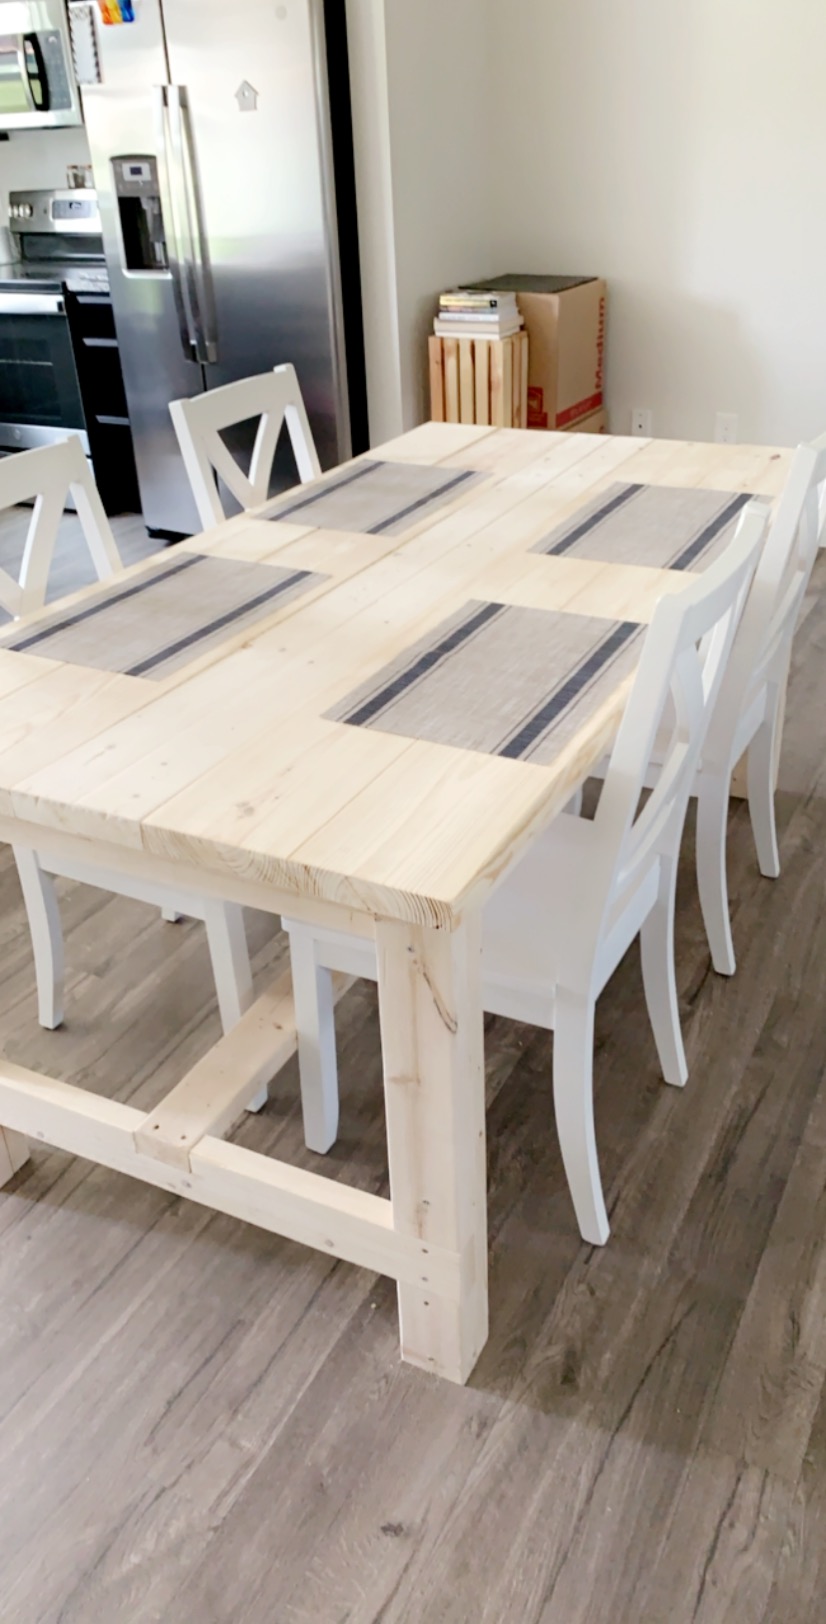
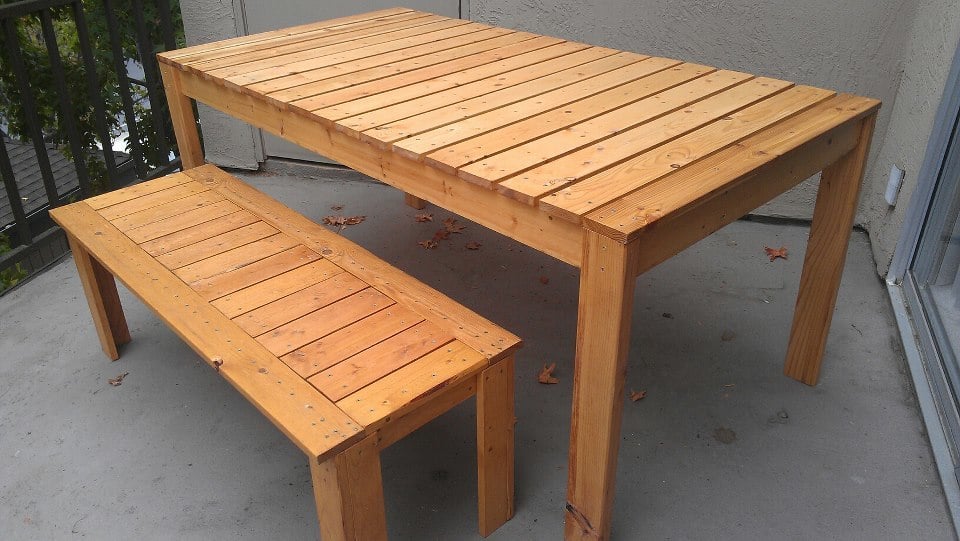
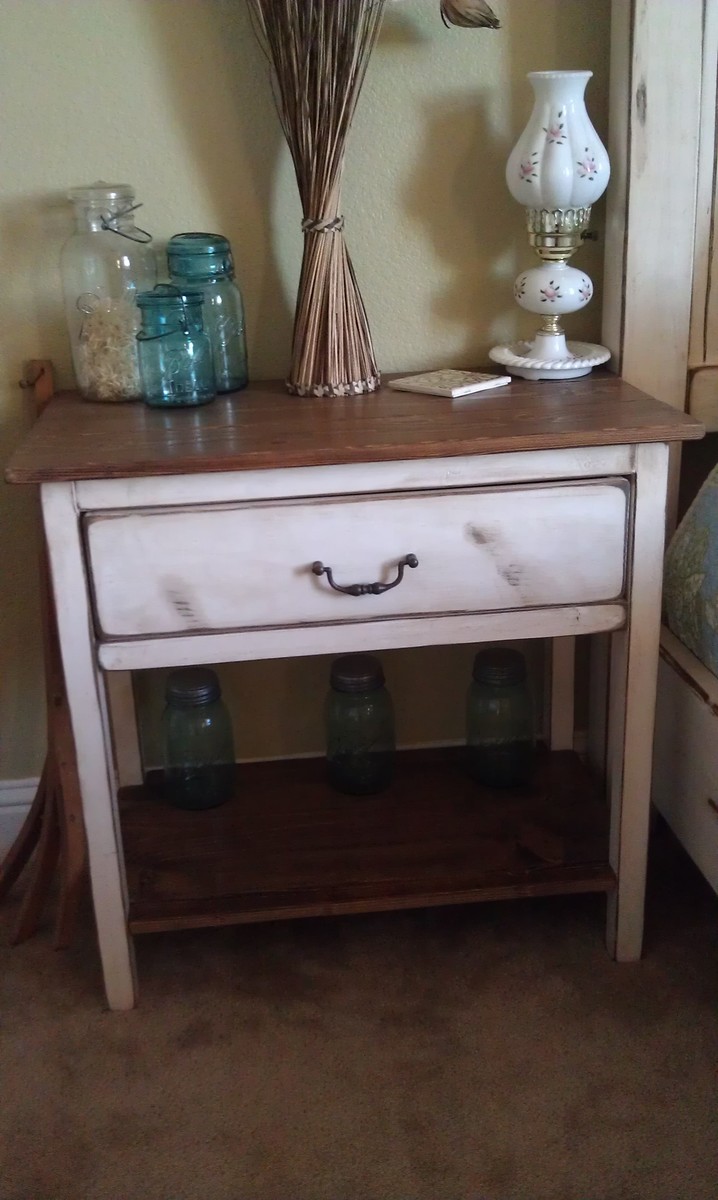
We are in so in love with this finished piece! We made some modifications to the original plan to fit our needs. We made the top wider - 24" wide like the Pottery Barn original. We also used 4X4's for the legs and widened the distance between the legs to sit the shelves inside the legs.
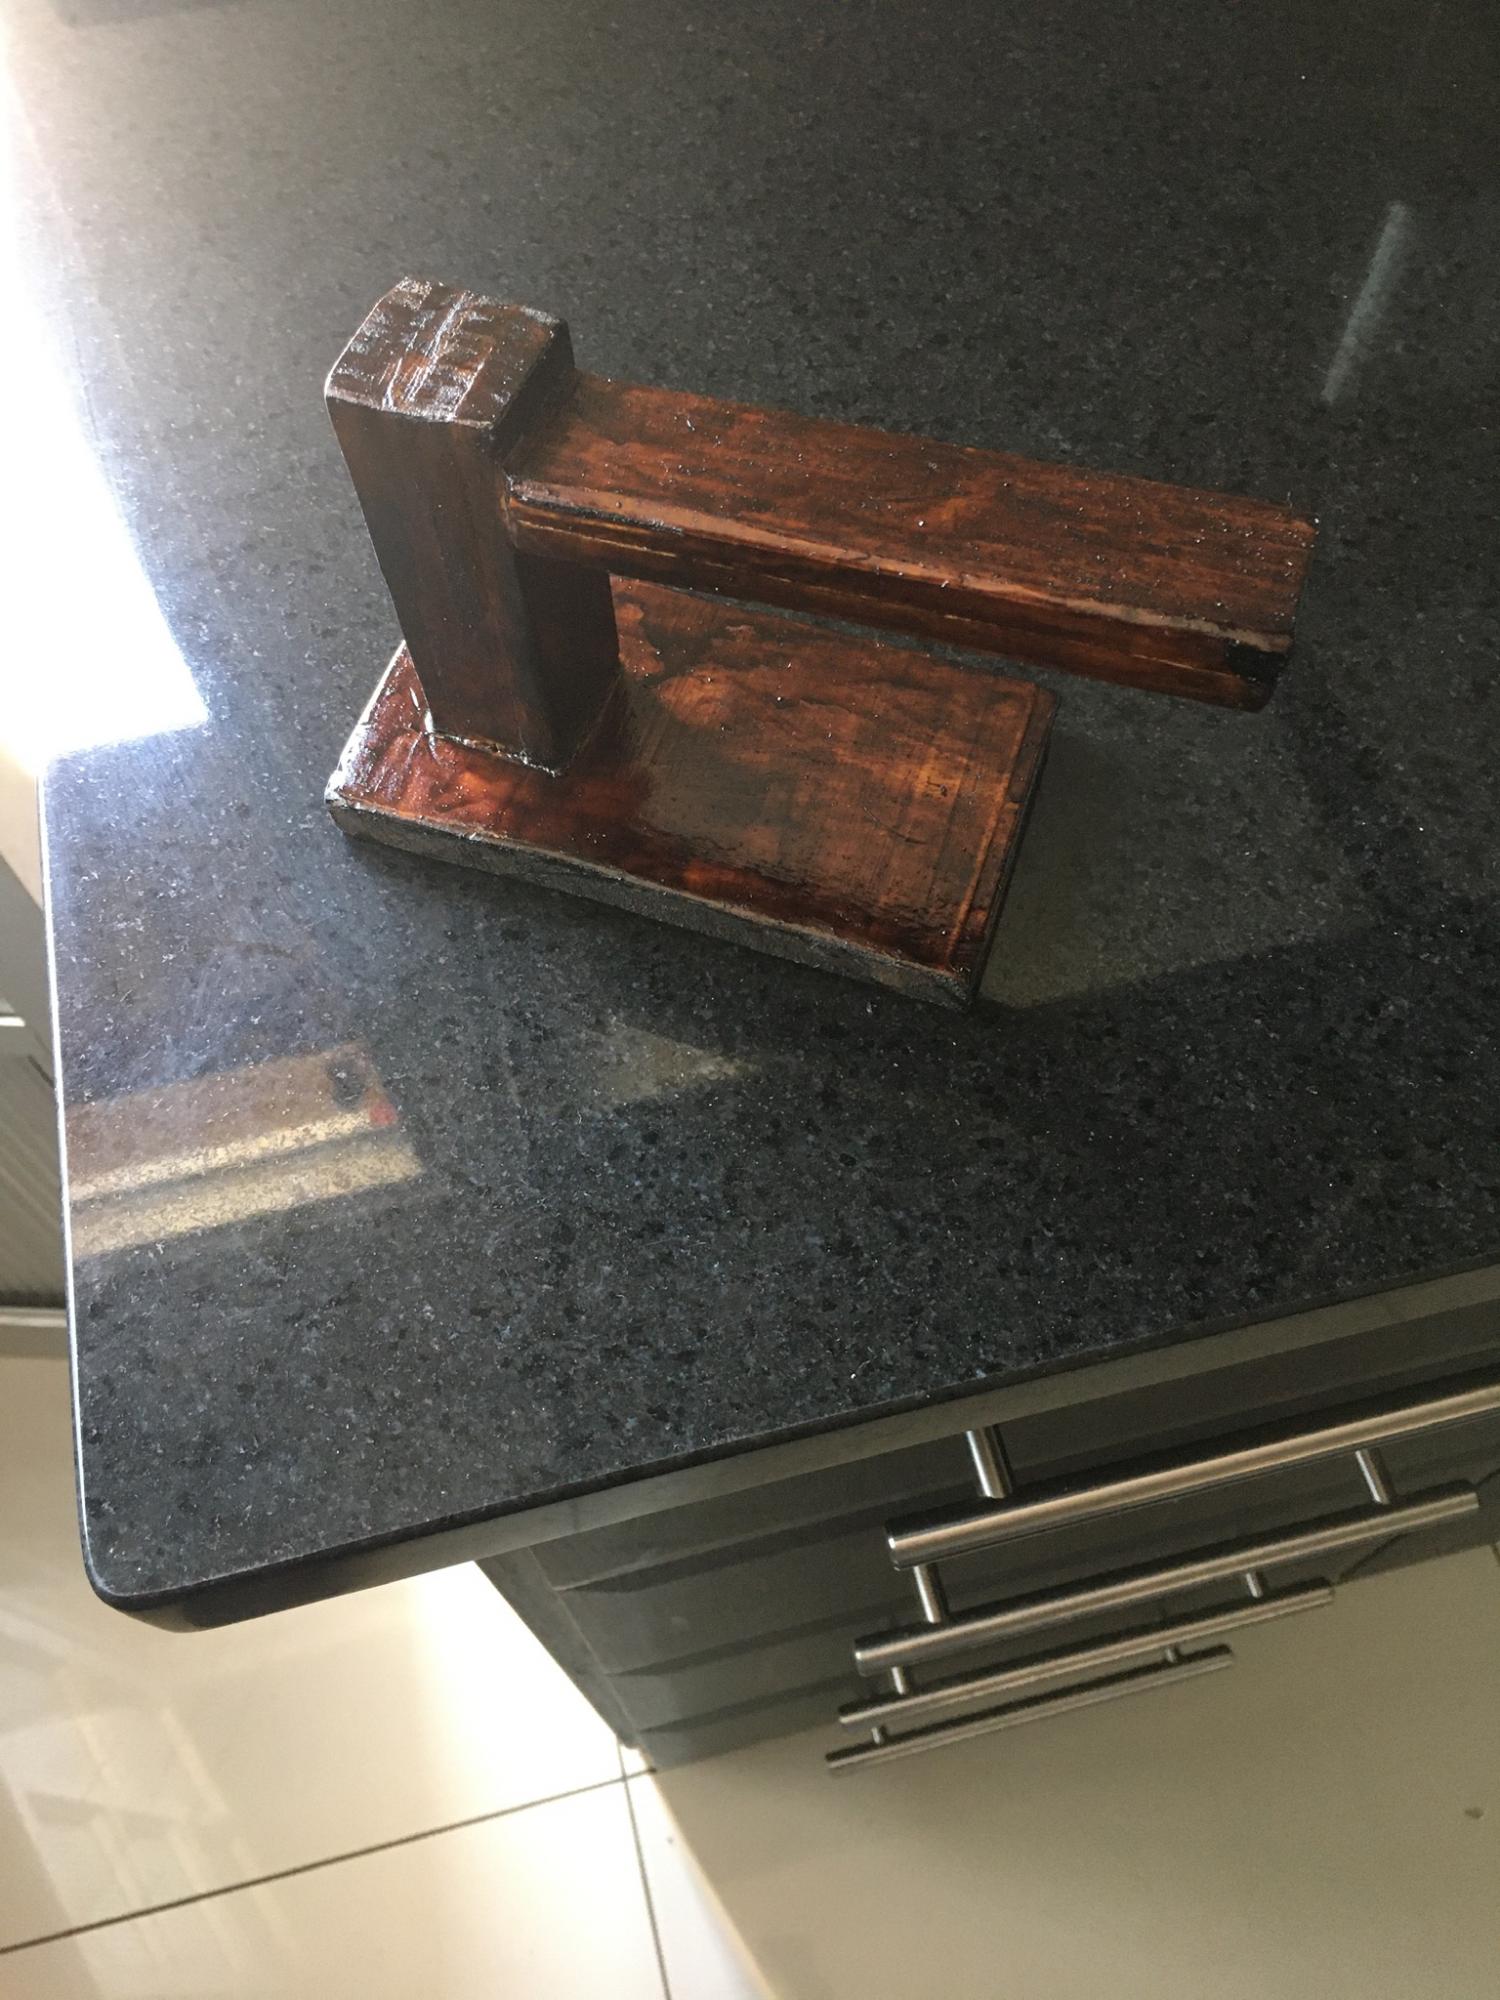
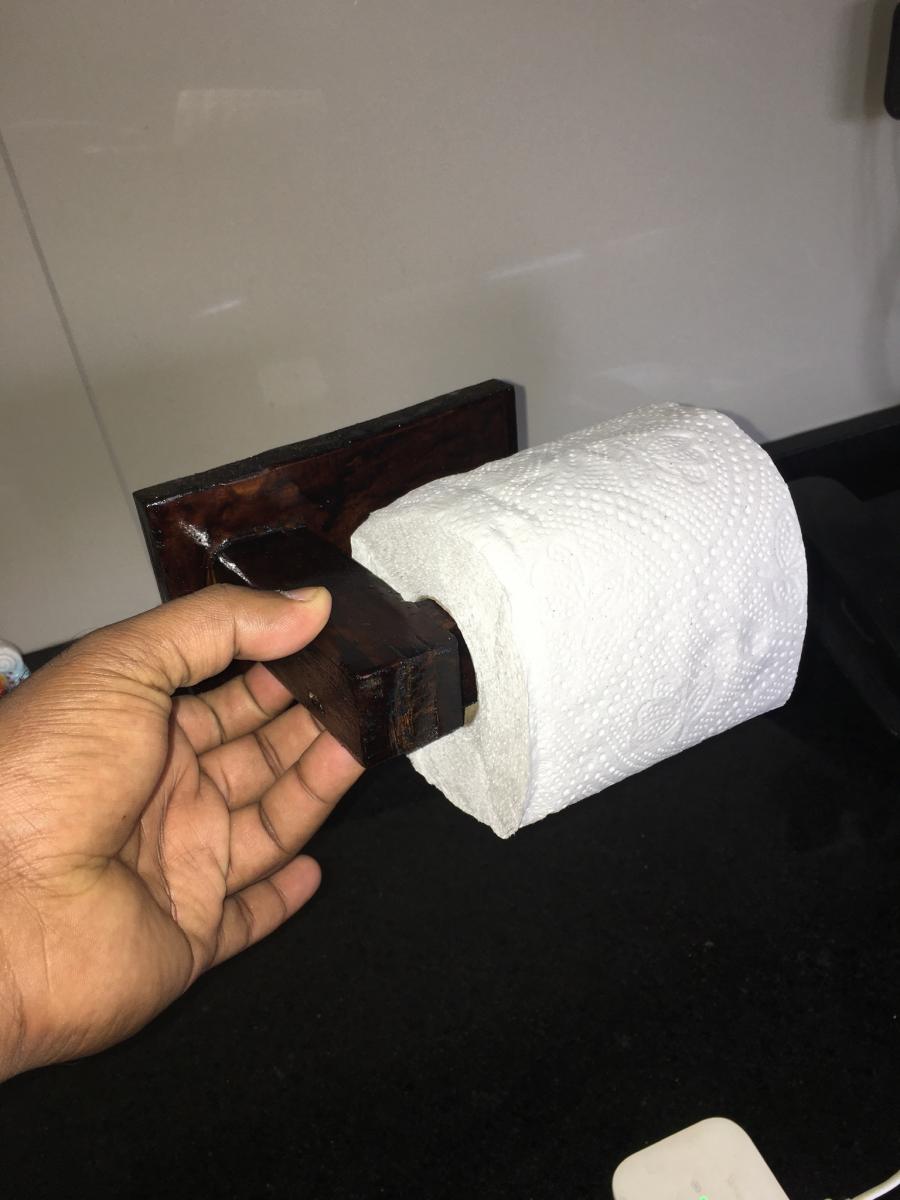
We also built the second shelf. We created the second shelf to hold wine, so we modified the front of the shelf to allow for the wine bottle necks to rest. The handle was made from plumbing hardware. We got this wonderful idea from one of the posters on this site, I need to find their name to give proper credit, but it worked beautifully.
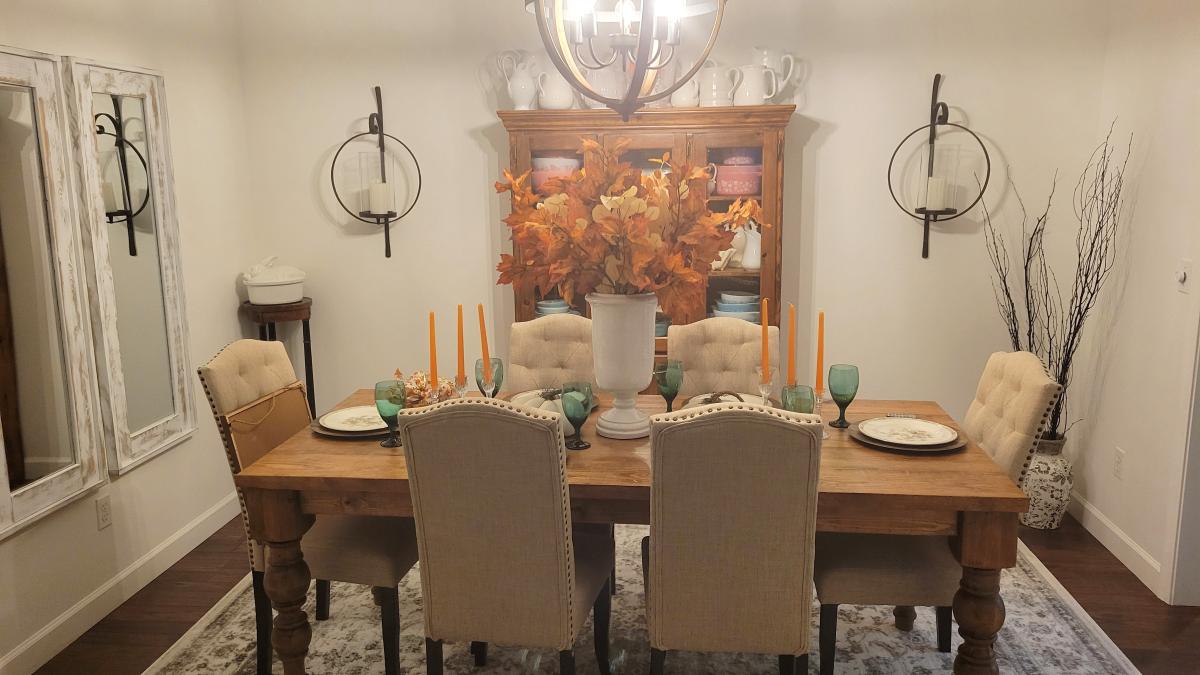
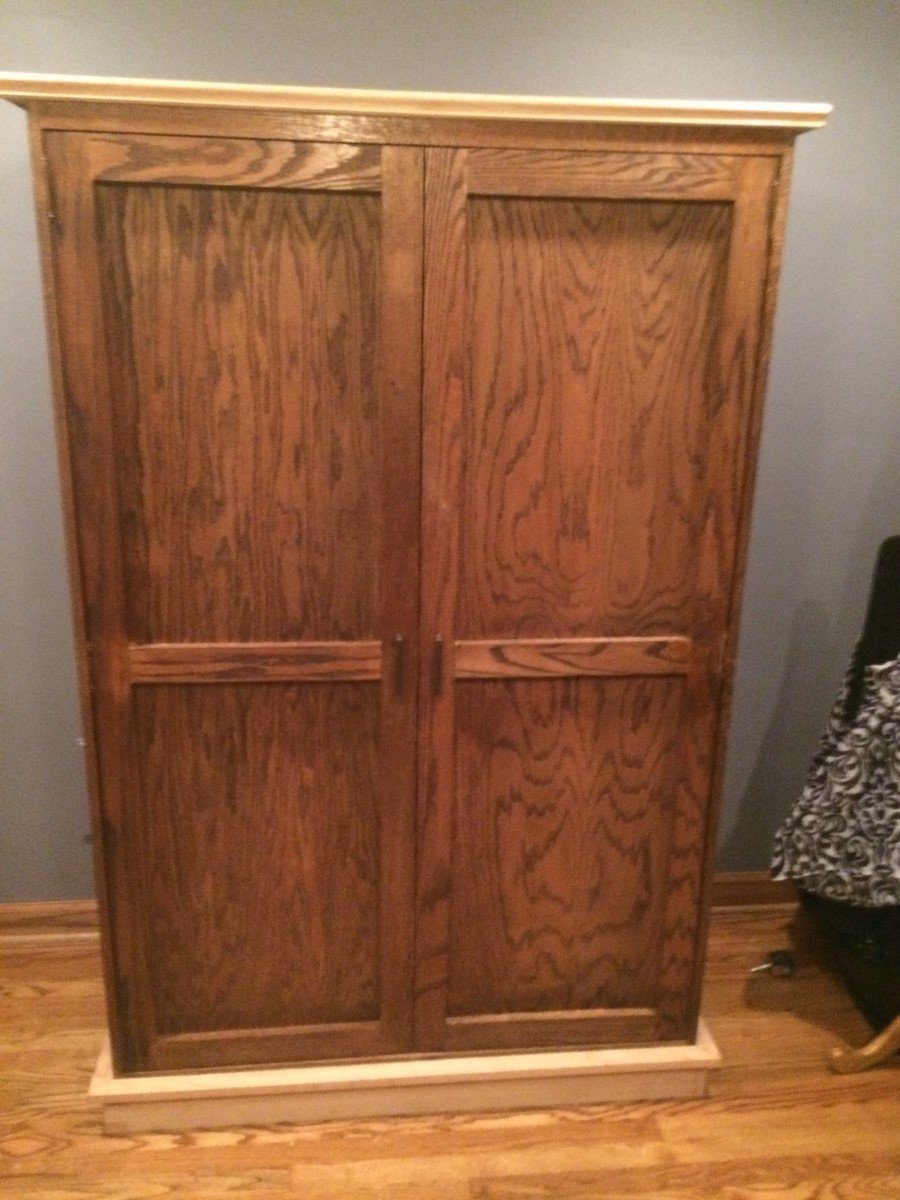
For the hutch, we also made modifications for our needs. We made it taller by 4" (so 40" tall). We used 1 X 12's for the shelves for a deeper shelf. We also raised the bottom shelf up to accommodate our Keurig coffee maker. We did not divide the middle shelf to leave a tall opening for some items we wanted to display. We also left a gap at the bottom of the hutch for cords.
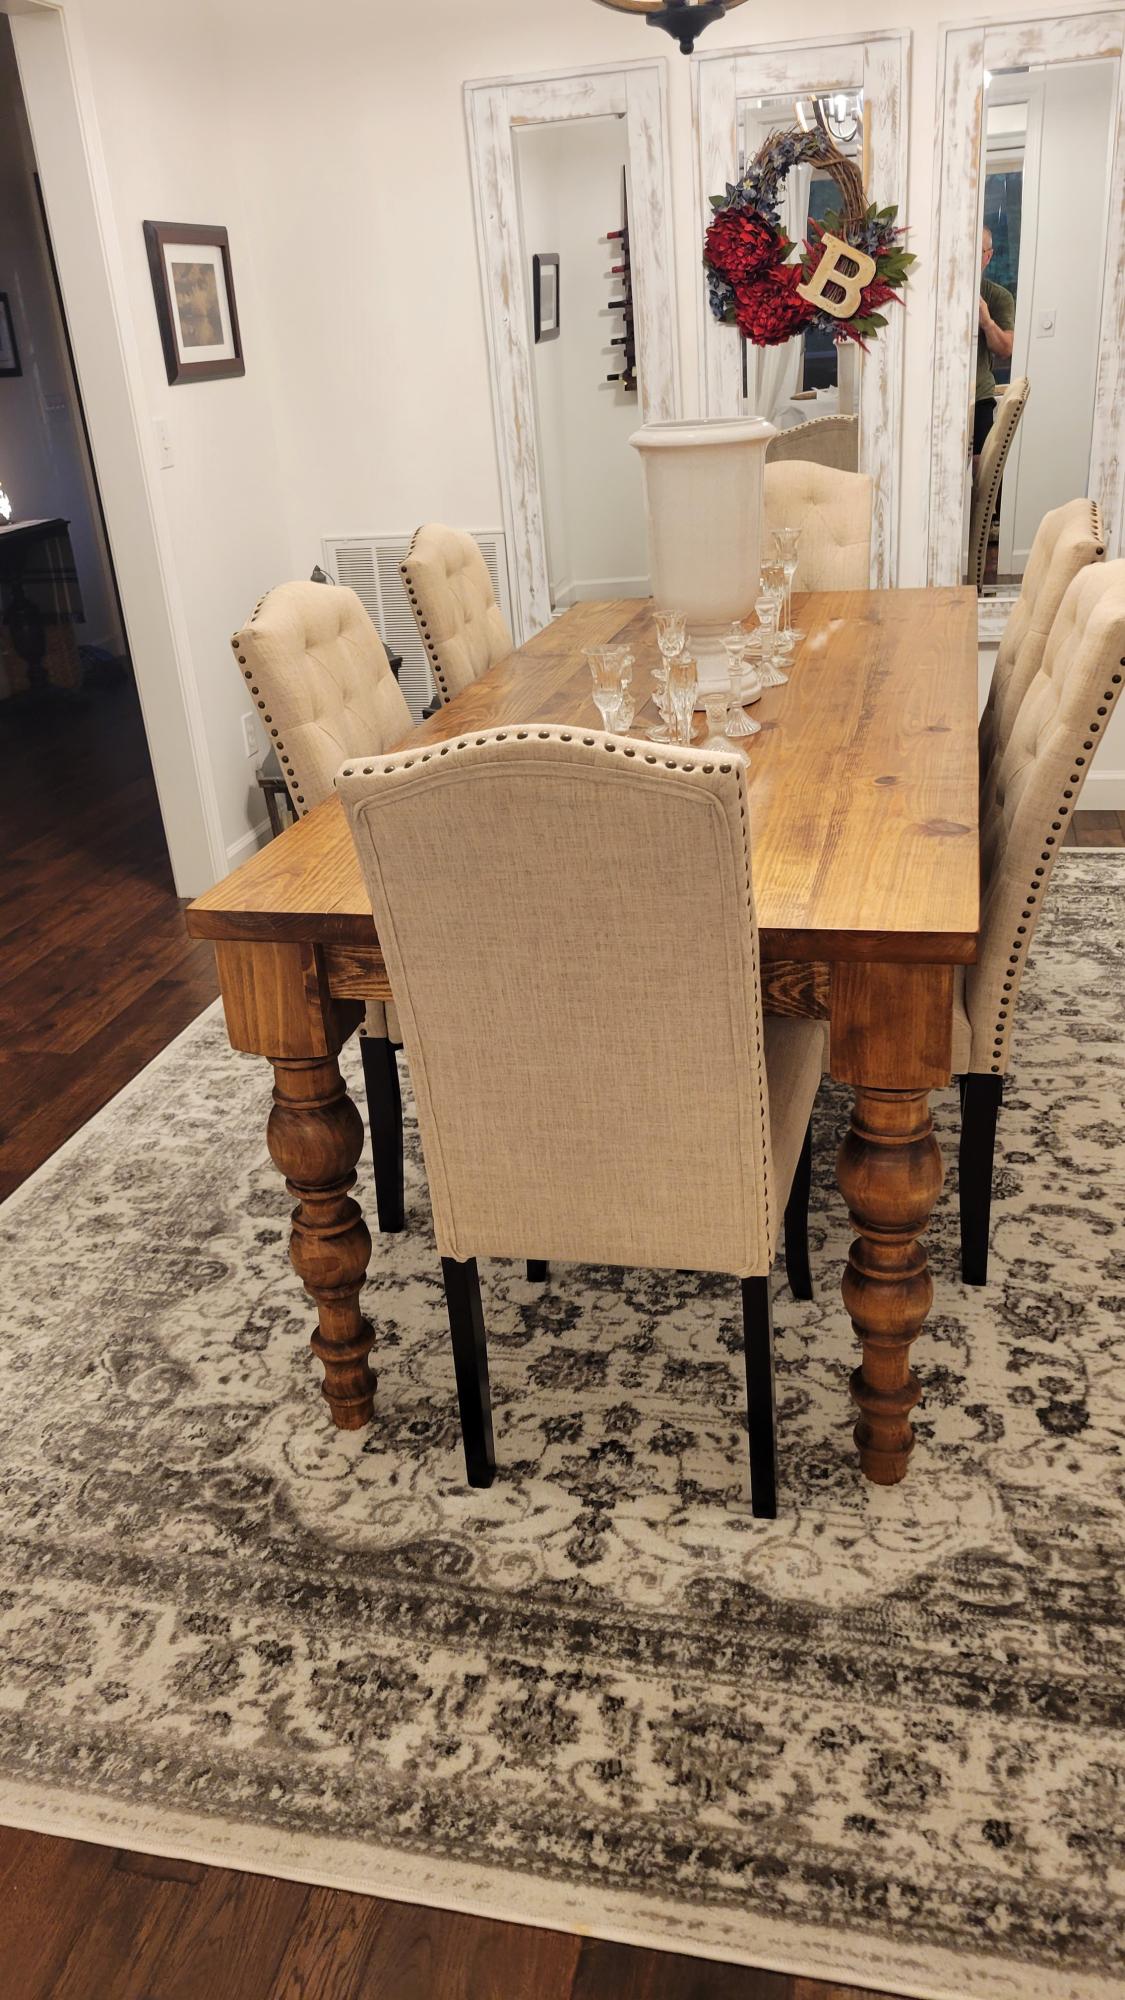
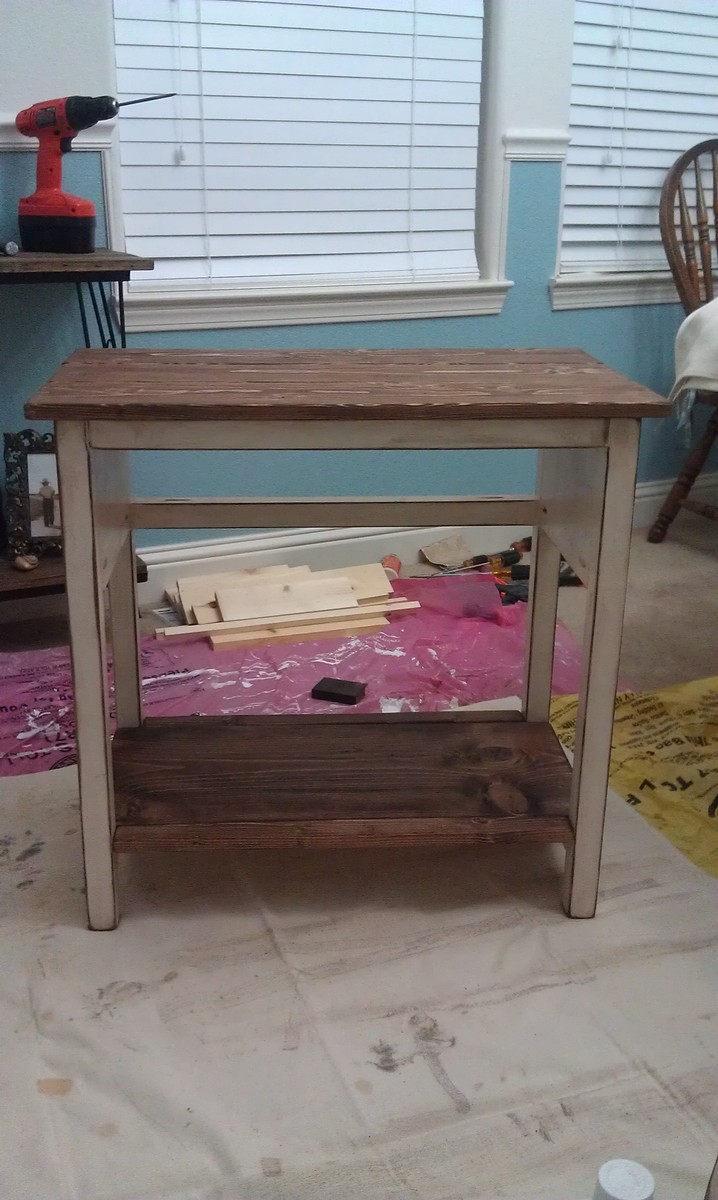
Once built we distressed the entire piece, then stained with Provencial stain, and finished off with a semi-gloss poly.
The best thing, it cost about 10% of the price of the original!!
Fri, 09/21/2012 - 06:43
This is so awesome, and nobody will have one anything like it! I love how you totally modified it for your space. The gap for the cords was brilliant-that would be something I would of thought of after I was completely done! This is very inspiring. Thank you for sharing.
Child's chalkboard as a birthday present. "Frozen" inspired color theme. Received feedback that it would also work very well as a boutique store sidewalk sign.
I am one of Ana's biggest fans. I have been building furniture using Ana's plan for a year in a half now. This is my first time ever posting though. I built this lego themed kentwood bed for my 5 year old son who loves legos. The lego house is built with left over scrap wood I had laying around. I love how it turned out and my son also loves it! Thanks Ana!!
Thu, 10/27/2016 - 14:56
Love the added lego decor! Beautiful build, with great colors and finish!
Toil paper holder
Took your bench and used center to hold the mini cooler ,u-type frames fastened to 2x4 in bench frame underneath. all 2x4 with the exception of flip top which is 2x4 cut down on either side then the remainder cut again and sanded to give rounded edges. Mitre saw, table saw, 18 gauge brad nails around edges of top bench side and to fasten straps down covering cooler.
This was my very first project. I cut the wood during the week, to have it ready for the weekend. I intended this to be my summer project. I had so much fun, i completed building both chairs in a day and a half!!!!! I then ordered the foam which took a couple weeks. I ordered the fabric online. I had two large pillows which I covered and used them for the back cushion. The total cost for BOTH chairs was under $250.00. Looking forward to my next project. :)
Mon, 09/24/2012 - 18:05
Where did you order the foam from and did you have to cut it or did it come in two pieces?
Very easy project!
I loved this easy project, and I made it even easier by using a solid pine panel for the top. I also added a bottom shelf to allow for storage. Please see my blog post for details on our size customization, cut list and modifications.
I built this bench for a church. They wanted it 8' long so I had to add extra support in the middle
Shiplap tv & fireplace with shelving and cabinets.
Cindy Hutchison
I'm slowly working on building the whole Simple Outdoor Dining Collection.
When my Mom and I moved into our new apartment, we spent all our money on new indoor furniture, and we have this really huge porch with a nice view and nothing to put on it. So as a surprise after we moved in, I made her the bench. She loved it so much that I decided to make the matching table for her birthday. The stack-able chairs will be her Christmas present, so stay tuned for that if you'd like to see how they turn out.
-The bench was about $20 for lumber, a total of $40 or so with stain and screws and everything.
-Table was about $60 for lumber since I couldn't fit the the 12-footers in my car. I probably spent a good amount extra on a bunch of 8 footers instead. Also wasted a lot of wood that way, but I will find a use for it. Definitely get the 12 footers if at all possible. No need to buy the rest of the materials again if you have left-overs from the bench.
I didn't modify anything on this set at all, it was pretty much perfect the way it was designed. Although I did add some 1x3's to the legs on the bench to make them sturdier- notice the corner leg rather than just a 1x4 by itself. Thanks for these plans Ana, you make me look good!
I increased the size of the original pLan per the customers request. 45" wide x 72" high x 22" deep. Had to build it in my garage and the dismantle it and build it again at their house as it wouldn't fit up the stairs all together.
More than happy with how this turned out. Hoping to do the headboard soon after a few orders. Decided to use ash and match a dresser I made. Used pine 1x6s and attached ash 1x6s on the outside for the frame. Used ash for the trim, as well. Assembled with pocket holes and wood glue. Decided to raise the legs 1" and turn then on the lathe. Used 4x4 douglas fir for the legs instead of a 2x4. Attached the legs with carriage bolts. Not shown are plugs to cover the bolts. Finished with a golden oak stain and semi-gloss polyurethane.
Not a great pic. Made two to go on Bunkbed. Plans were perfect. I did not use buttons as there is a 13 month old eating machine in the house, but instead used heavy craft thread and sewed an X in eight spots, leaving a small tuft of cut thread. Worked just fine.
I wanted a nightstand to match my farmhouse bed. I used the cheapest pine boards I could find to build this and it turned out great!
When I first built it I just used a scrap of fabric tied in a knot for the handle but added a real drawer pull when I built the matching dresser.
(sorry the pictures are crappy cell phone shots)
Really enjoyed making this. It turned out to be a perfect Entertainment Center. Will be using the same idea to make a bar piece that will accompany this in our recreational room.
Mon, 11/07/2016 - 12:36
Love the mods with the opening, looks sharp! Thanks for sharing:)
I'm a beginning wood worker enthusiast. I've been slowly collecting plans, tools, supplies and I'm certainly not efficient when it comes to projects- even "beginner" projects like this.
While there's still more finishing to do, I cranked these out over the weekend with a myriad of interruptions - so it's hard to say how long these would really take. I didn't have 12" boards, so glued 1 x 6" pieces together into the shape I needed. Then assembled each with 1 1/4" screws, routed the sides, sanded and cleaned them. The kids will paint them their favorite colors and then I'll put a clear coat on top to finish them up. Once painted and ready, I'll add hands to each side as well as rubber runners to the bottom for stability. These are really nice for toddlers to use while they put on or take off their shoes and put into the storage bin.
This is my first build ever! I skipped the X accents and white washed it with traditional paint making it easy to paint over if I choose a different color in the future.
Laura G