Community Brag Posts

Texas size wooden cooler

I have used one of your cooler plans to create this one of a kind piece. Love your website - Thank you !

Built from Plan(s)
Estimated Cost
$60
Estimated Time Investment
Weekend Project (10-20 Hours)
Finish Used
orange/red solid stain
Recommended Skill Level
Beginner

Comments

Jody Knowles

Mon, 06/01/2015 - 12:20

Been thinking about making one of these. As a Texan this one definitely appeals to me !

Great job, it looks really nice.

Easy Build Planked Wood headboard

Submitted by cooperjd on Thu, 05/28/2015 - 06:49

This one was very straightforward and pretty easy, and it gave me an excuse to finally buy an air compressor and finish nailer. i did the building, and my wife did the staining to give the new wood an older look. it turned out great we think.

Estimated Cost
150
Estimated Time Investment
Afternoon Project (3-6 Hours)
Recommended Skill Level
Beginner

Comments

Play kitchen

Submitted by SoCalMom on Fri, 12/22/2017 - 15:32

This was my first major build and while not perfect and I was little clunky building along the way, I’m happy with how it turned out and I think the girls will love it for Christmas. We are beach dwellers and surfers, but I’m also a former (always) a farm girl as well, so we put a surfing pig on it too. I wanted to keep it whimsical a bit so put starfish knobs for the burners. Took me a long time and more money than average probably because of learning curve as well as having to sneak work on it between working, toddler and infant. I got a Kreg and more tools for Christmas, so I am looking forward to more building! 

update: My little destroyer broke the door within 10 minutes because it was too big for her to work around. So I “remodeled” it and made the door just the top half so that is her oven. MUCH BETTER. Now she can use it far easier and it isn’t dropping to the floor. 

Estimated Cost
for actual used materials, somewhere around 125
Estimated Time Investment
Weekend Project (10-20 Hours)
Finish Used
Paint and contact paper
Recommended Skill Level
Beginner

Live-Edge Coffee Table

This is a special order for a life-long friend. This beautiful coffee table features a live-edge pine slab with metal legs and a removable lower shelf. The finish has a light burn and pecan stain and finish. It fits in nicely in its new home and compliments the other side table with metal legs. Love having my creations in the homes of friends and family!

Comments

Modish Adirondack Chair

Submitted by imatt86 on Sun, 04/17/2011 - 09:07

I built this in an afternoon and painted the next day. It was quite fun. BIG TIP!!! Paint BEFORE you build!

Built from Plan(s)
Estimated Cost
$60
Estimated Time Investment
Afternoon Project (3-6 Hours)
Finish Used
Primer + Paint all in one
Recommended Skill Level
Beginner

Easy, Inexpensive and Super Strong Movable Work Bench

I needed a nice work bench or table for my new 12" Ridgid miter saw. This thing is a beast so it needed to be super strong and I also wanted it to be moveable so we can optimistically be able to park in the garage some day.

I had a 2 x 4 and a few 4 x 4 posts. I went and bought a sheet of mdf and some lag screws and here is what happened.

It's super strong, moveable and works like a dream. Plus there is plenty of room to add removable boxes on each side to hold up large lumber.

For around $15, you can't beat it!

Estimated Time Investment
An Hour or Two (0-2 Hours)
Finish Used
au naturale
Recommended Skill Level
Beginner

Christmas tree shelf

Submitted by Anonymous (not verified) on Sun, 12/26/2021 - 12:34

I love the Christmas tree shelf! It was so easy and fun to make!

Built from Plan(s)

Comments

Farmhouse table and benches

Submitted by krclovesme on Wed, 04/20/2011 - 13:55

Took a couple of weekends to complete table and benches. As a sidenote, Orange was definitely the least expensive between the 2 box stores. They also had a much better selection of inexpensive wood. We made the table and benches for the same price we made our reclaimed wood king headboard (supplies purchased at blue).

Wood conditioner then one coat of dark walnut stain and poly. Top of table and benches got 3 coats of poly with light sanding between each coat. 

A word to the wise: DO NOT CUT THE END, PERPENDICULAR PIECES OF WOOD FOR THE TOP UNTIL THE LONG, 2X4S ARE ATTACHED. Just cut it to fit at home. We found the cut list is a little off in that regard and had to get a little creative so we wouldn't have massive 2x4 overhang,as the 1x6 cut was too short for us. We just cut to fit when building the benches and found it was much easier!

Estimated Cost
$150 for everything, used leftover stain and poly
Estimated Time Investment
Week Long Project (20 Hours or More)
Finish Used
Miniwax dark walnut (one coat) and clear poly (one coat all around and 3 coats on top surface).
Recommended Skill Level
Beginner

Rustic X Console - The Schorr Thing

We followed the plans for this table that will sit behind our sofa in the main room. We've never really built furniture before, but this wasn't too difficult to make and I love how it looks. Plus it's super heavy and sturdy, so it will be perfect to store items and decor for the main room.

Built from Plan(s)
Estimated Cost
$60
Estimated Time Investment
Afternoon Project (3-6 Hours)
Finish Used
Minwax water base stain in slate, homemade whitewash, sanding
Recommended Skill Level
Intermediate

Comments

faux raised panel door

Submitted by brittanyj on Thu, 06/04/2015 - 10:43

Can I be real with you here? This projects was a pain. I love the way it turned out, but getting there was a horrendous process. Blisters, cuts, sore muscles and exhaustion contributed to an overall very distasteful experience for me.
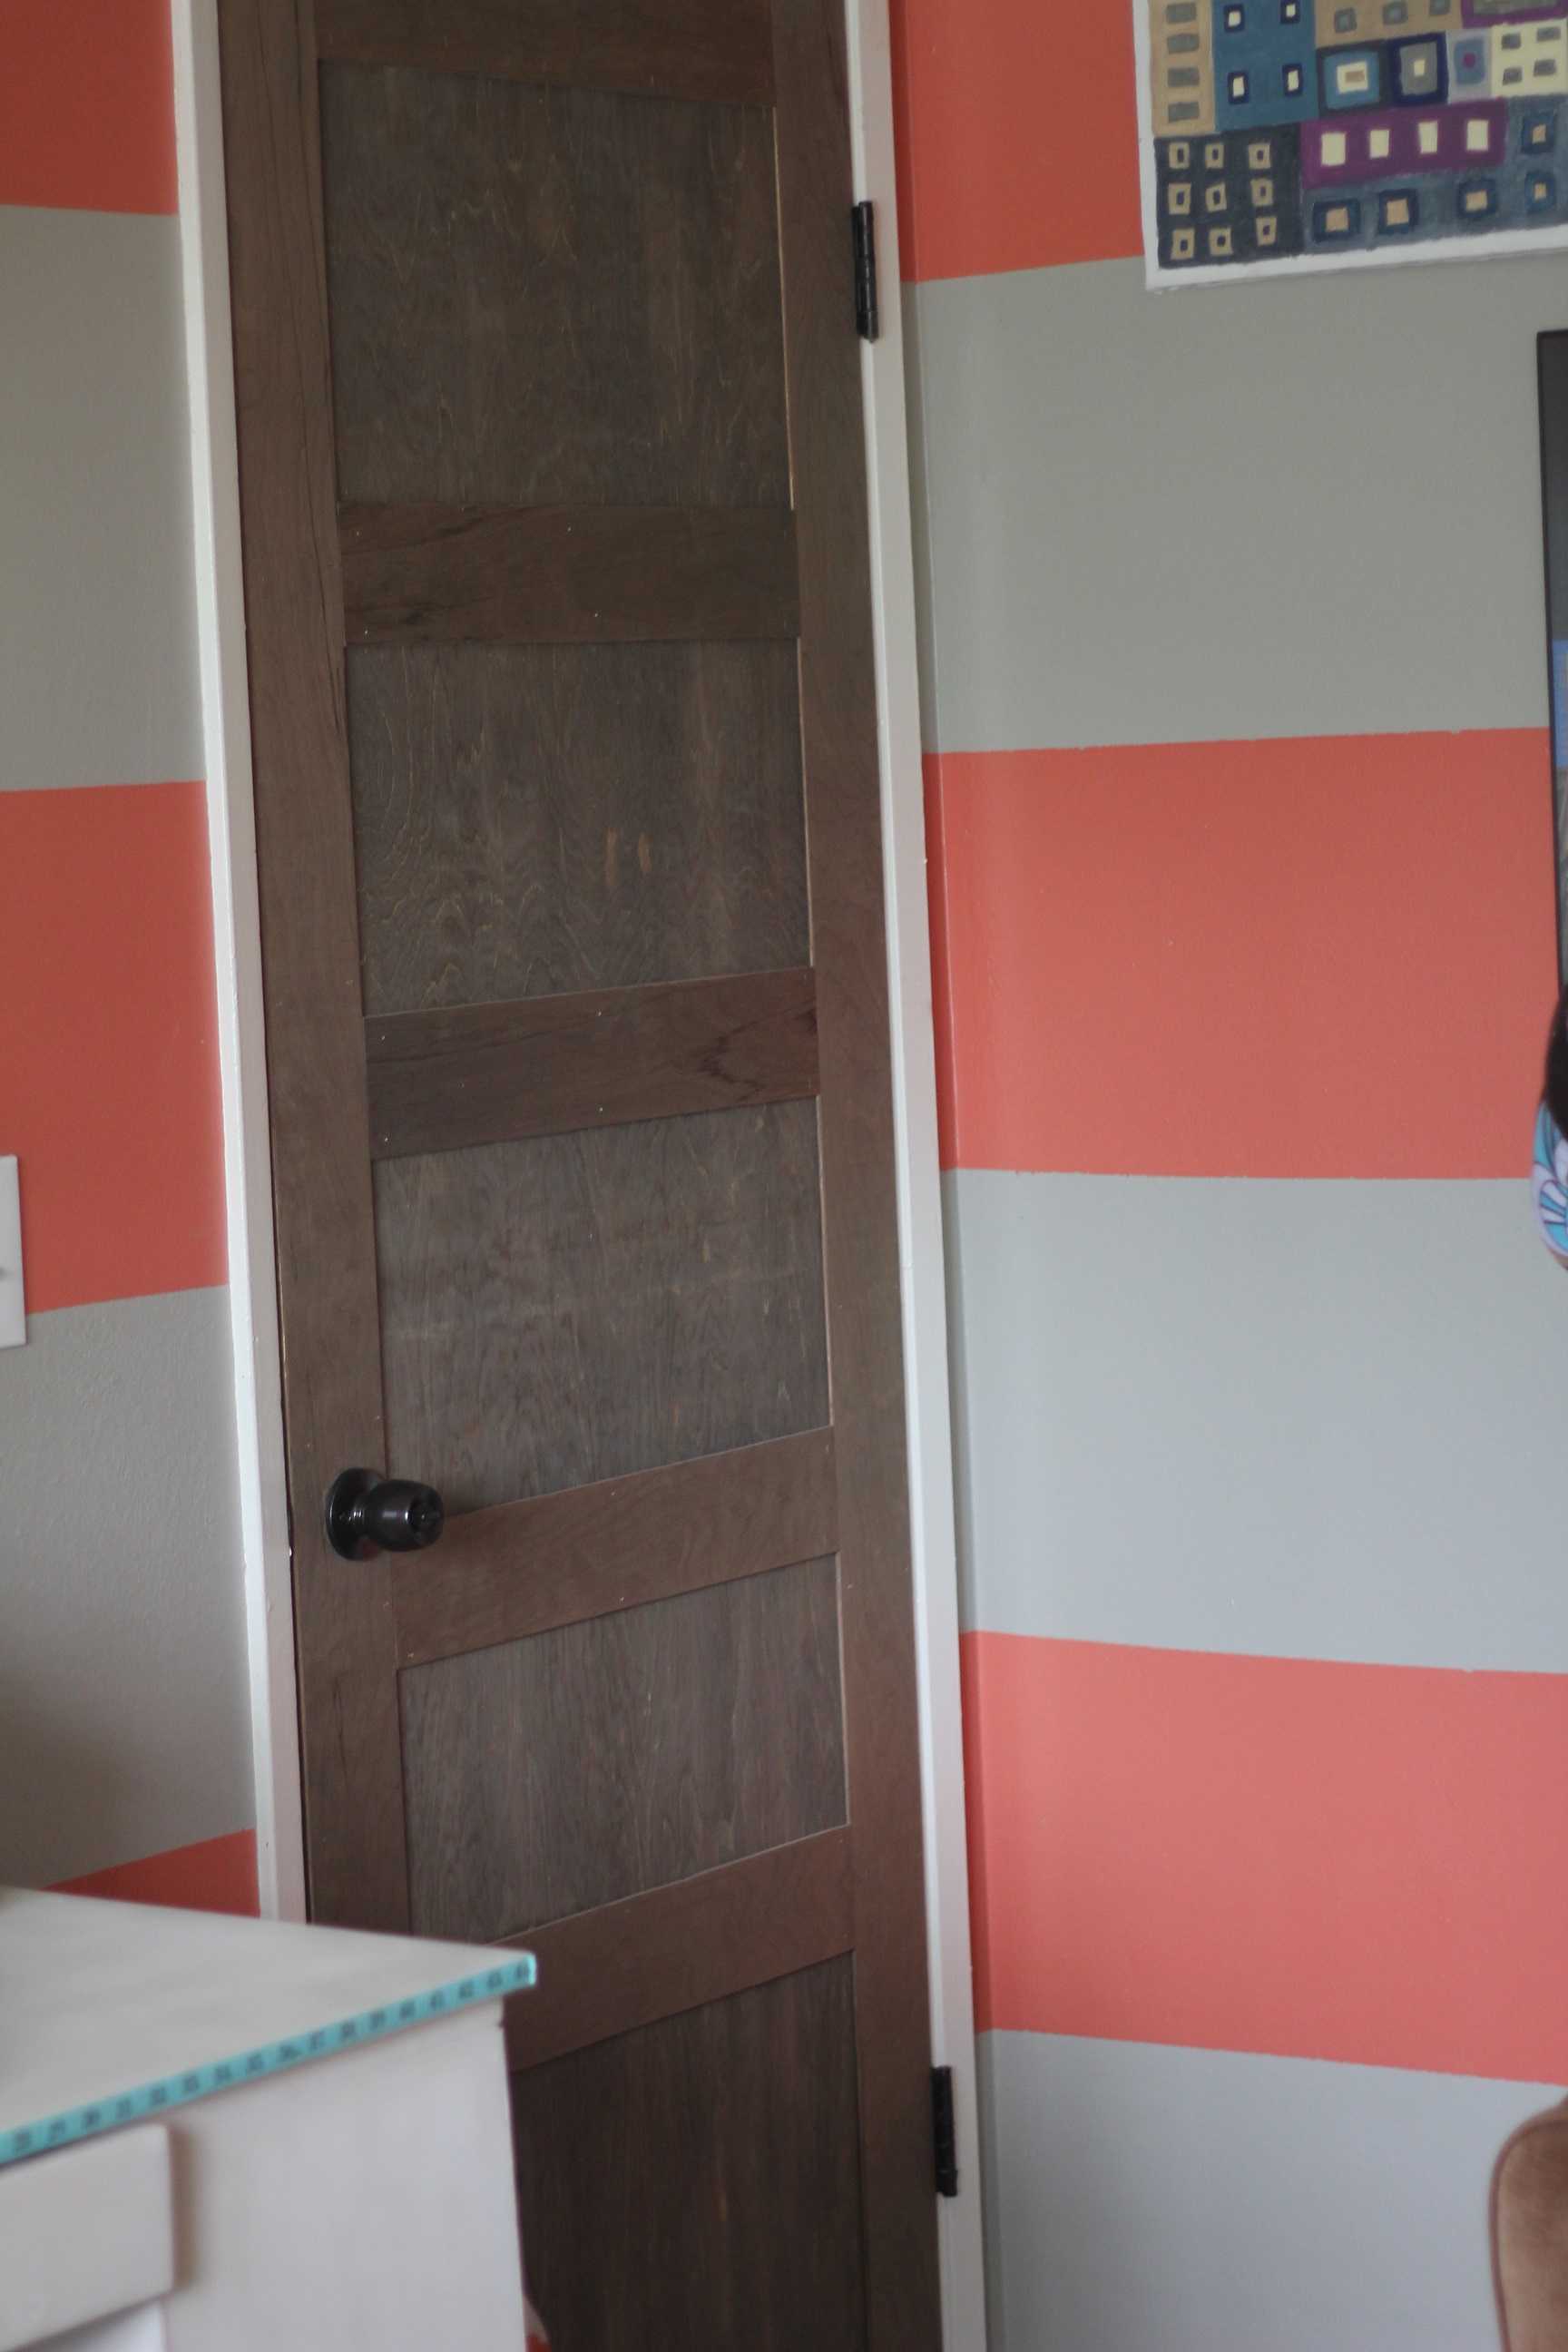
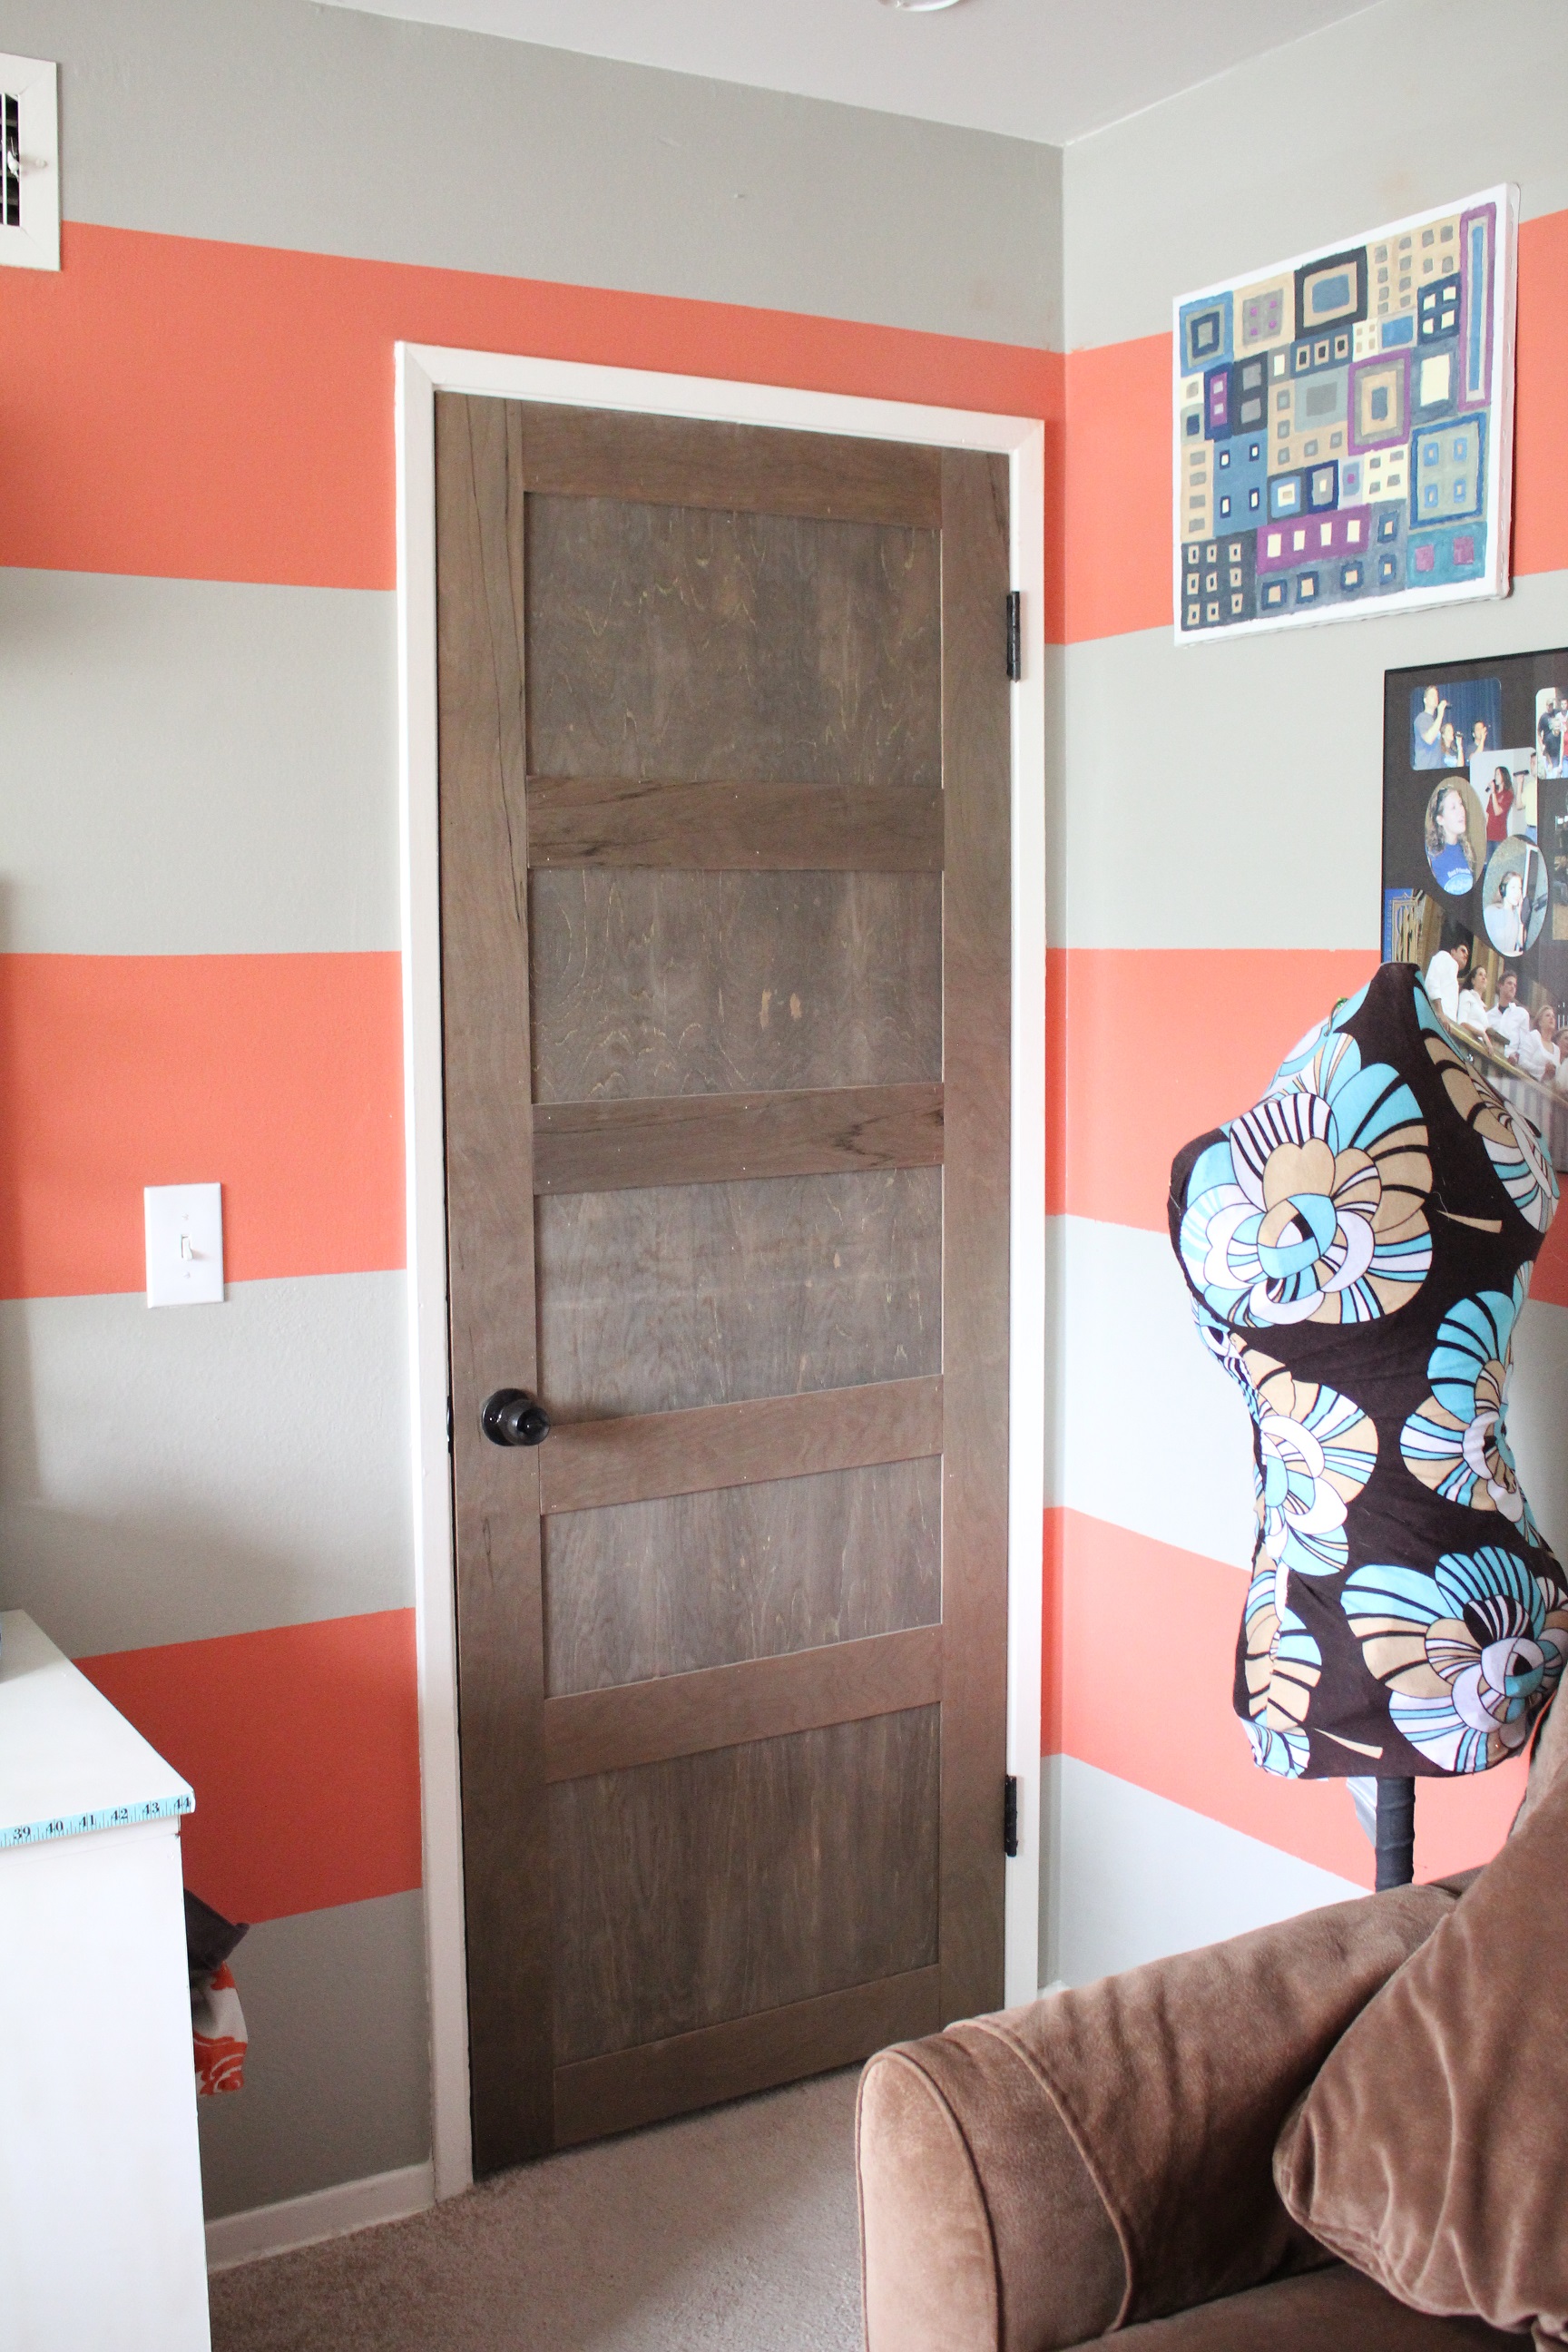
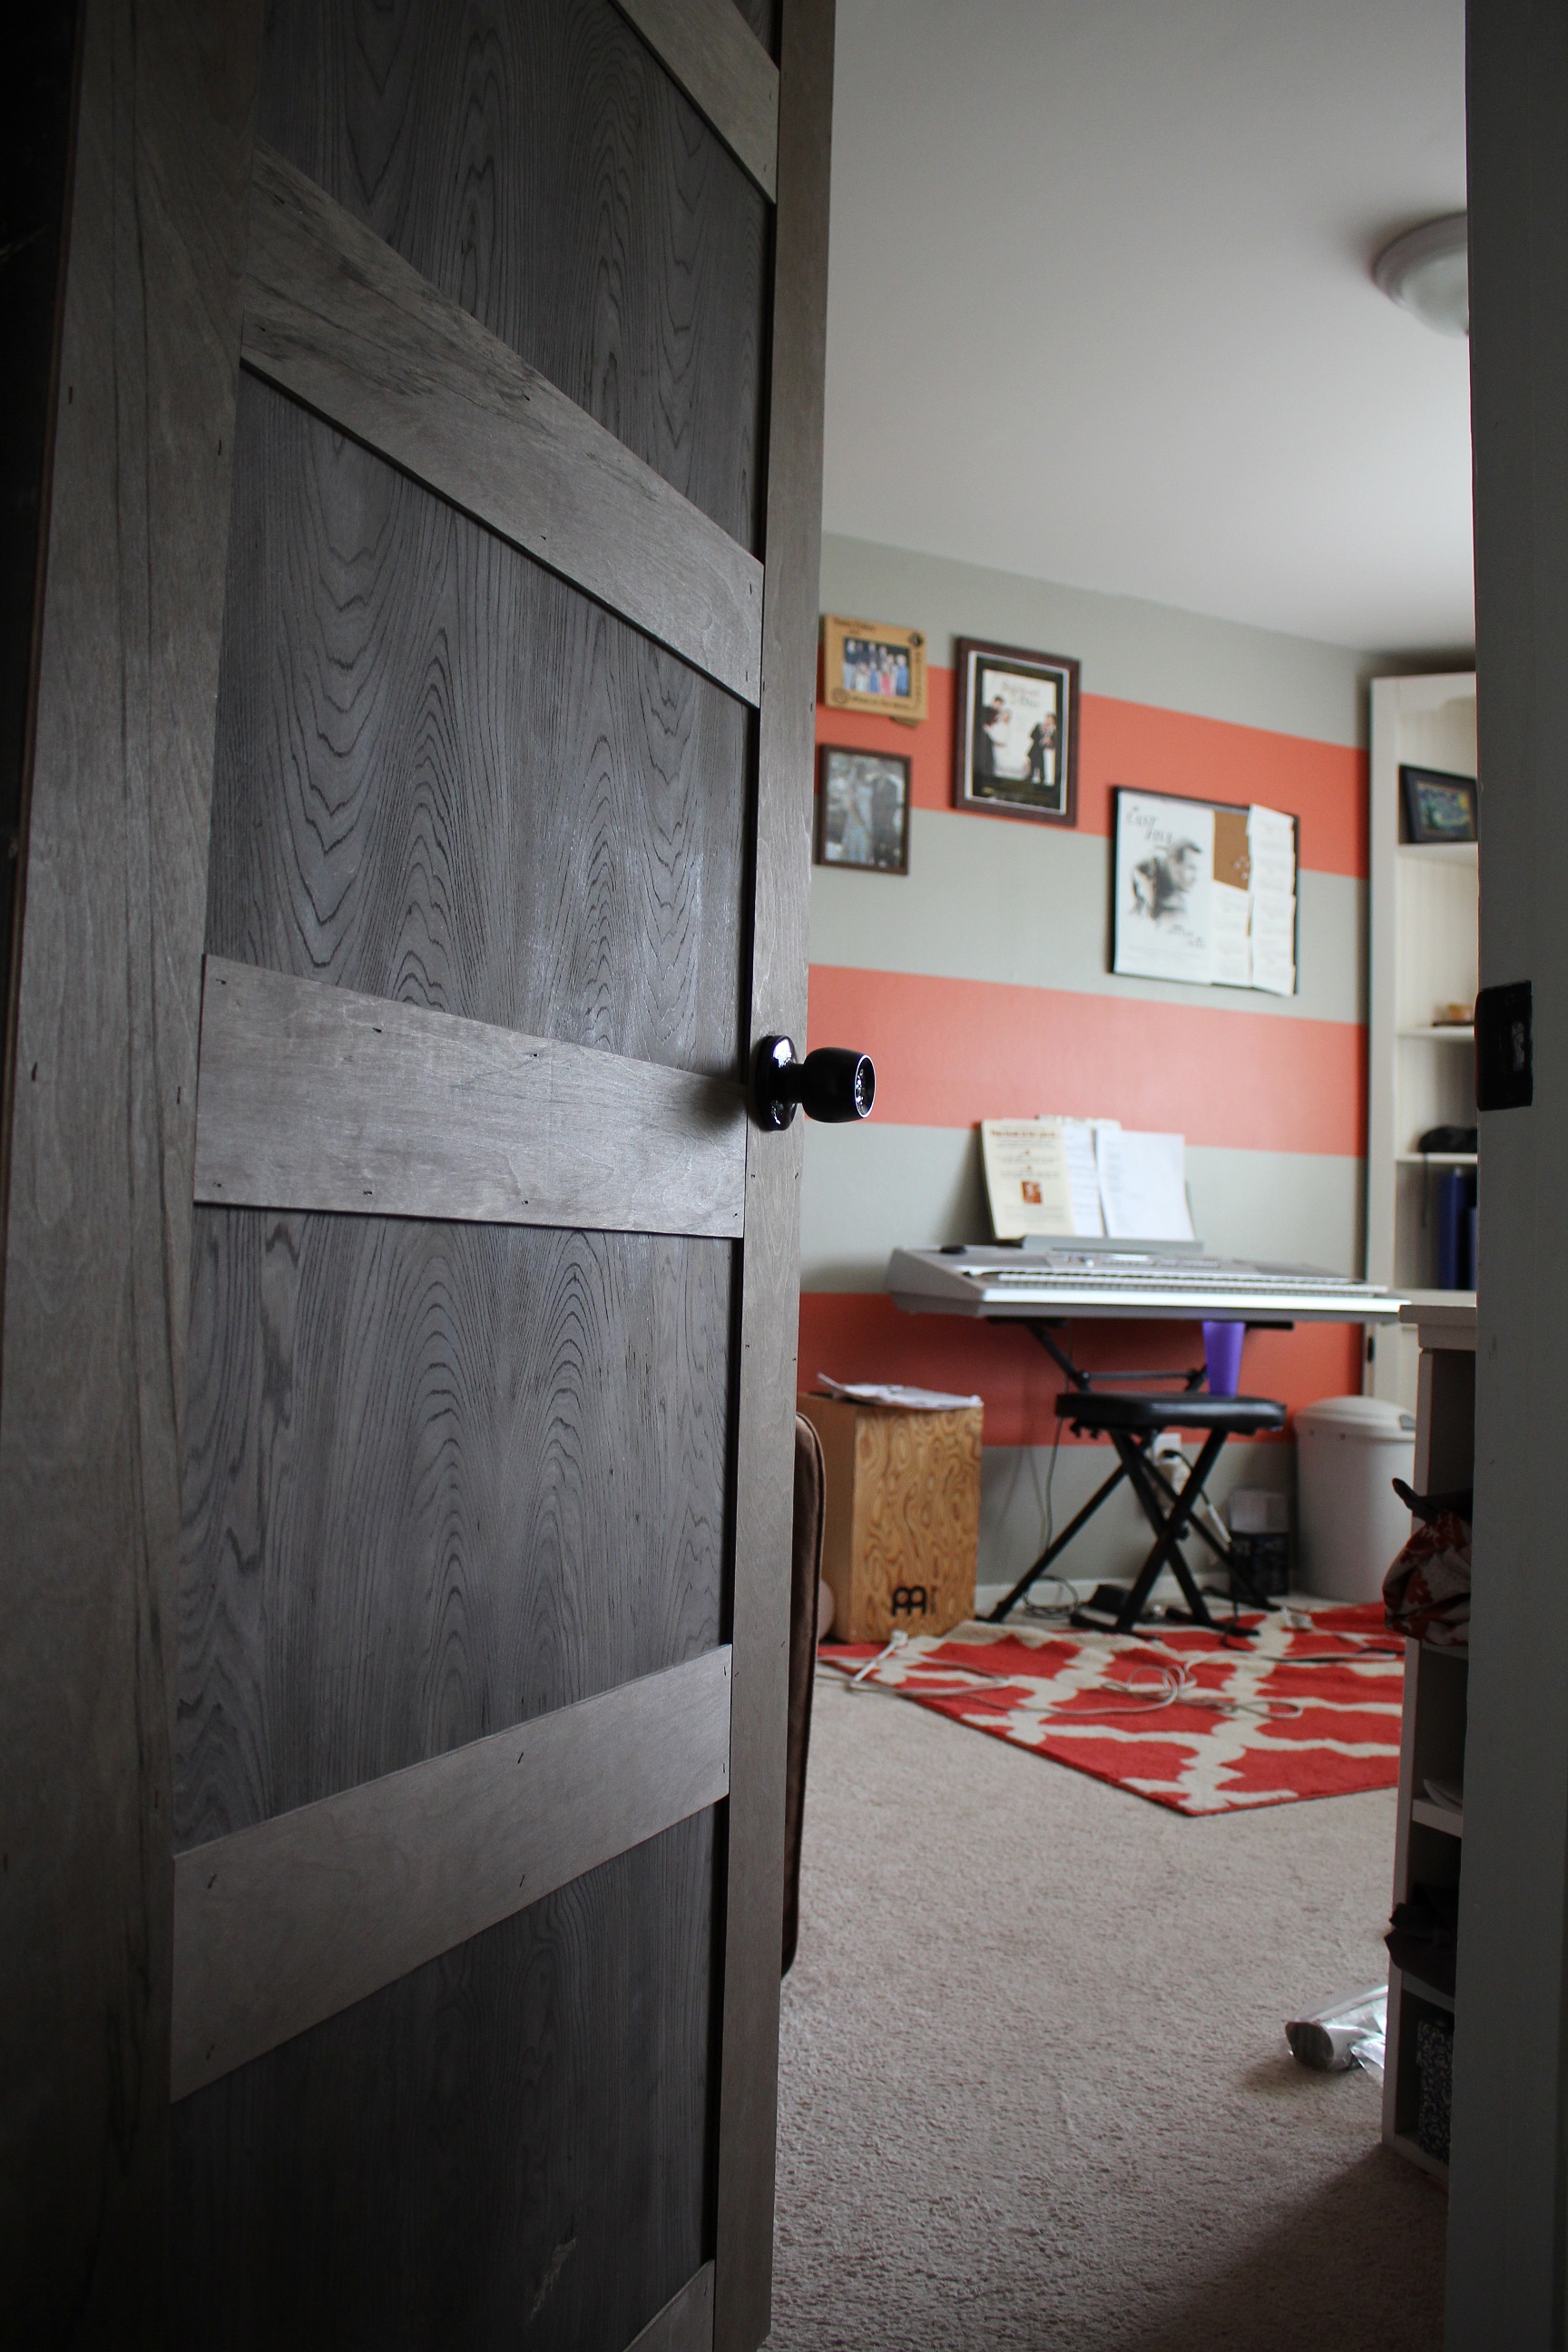
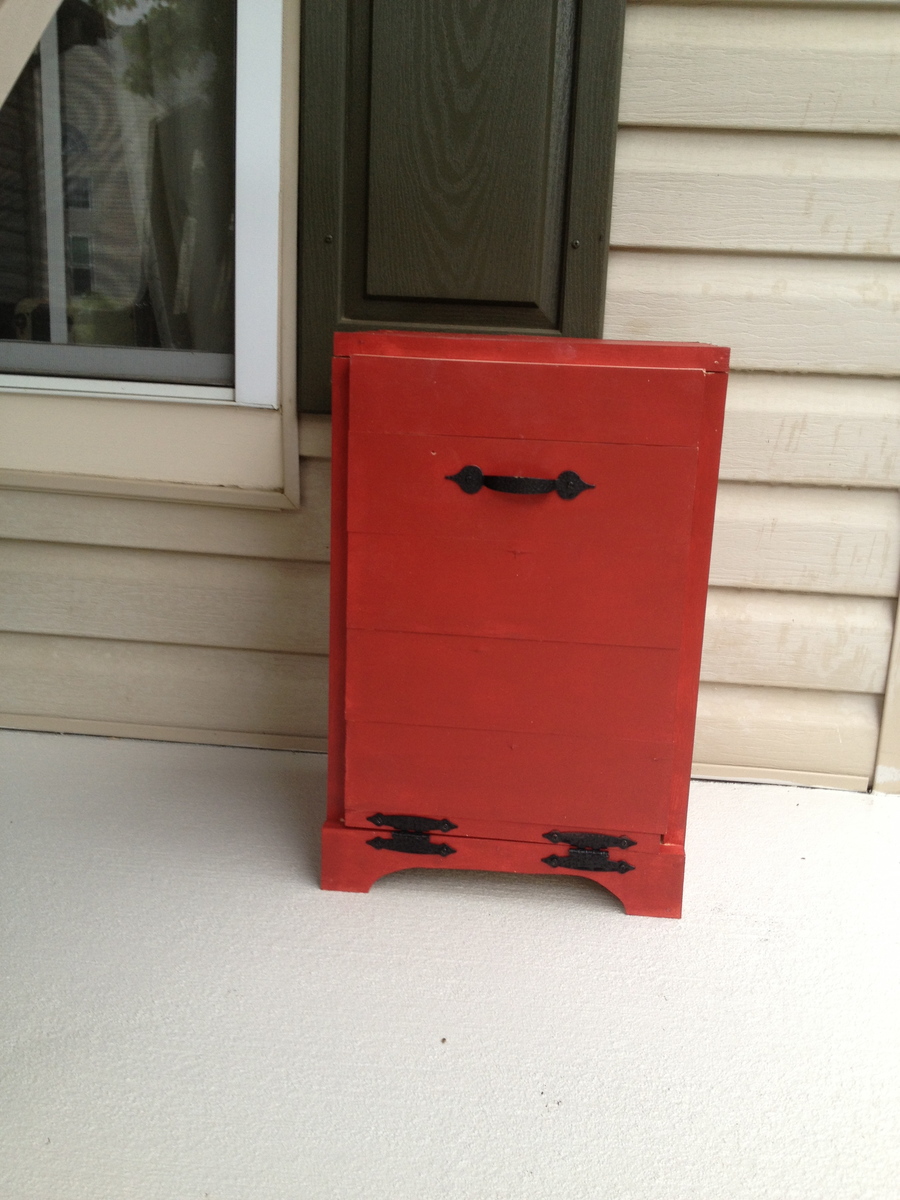
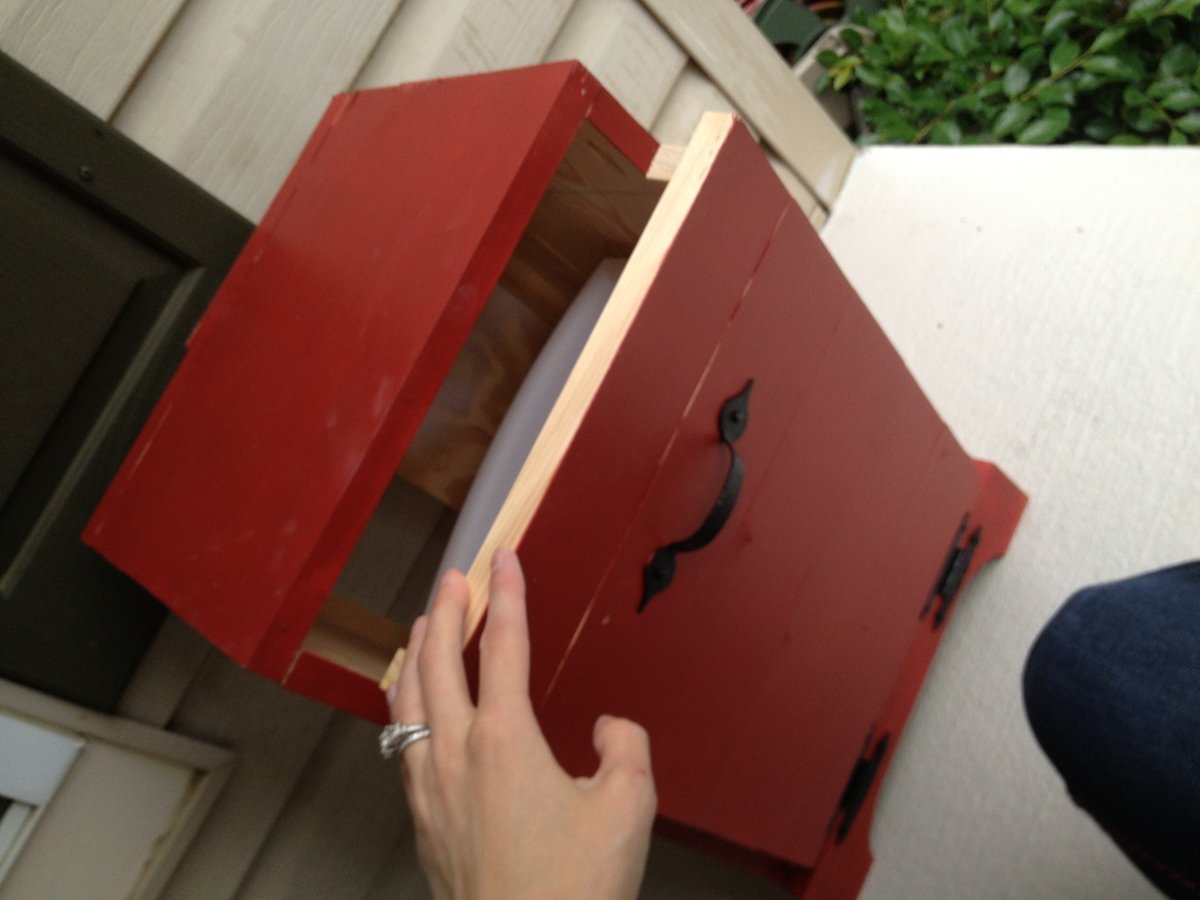
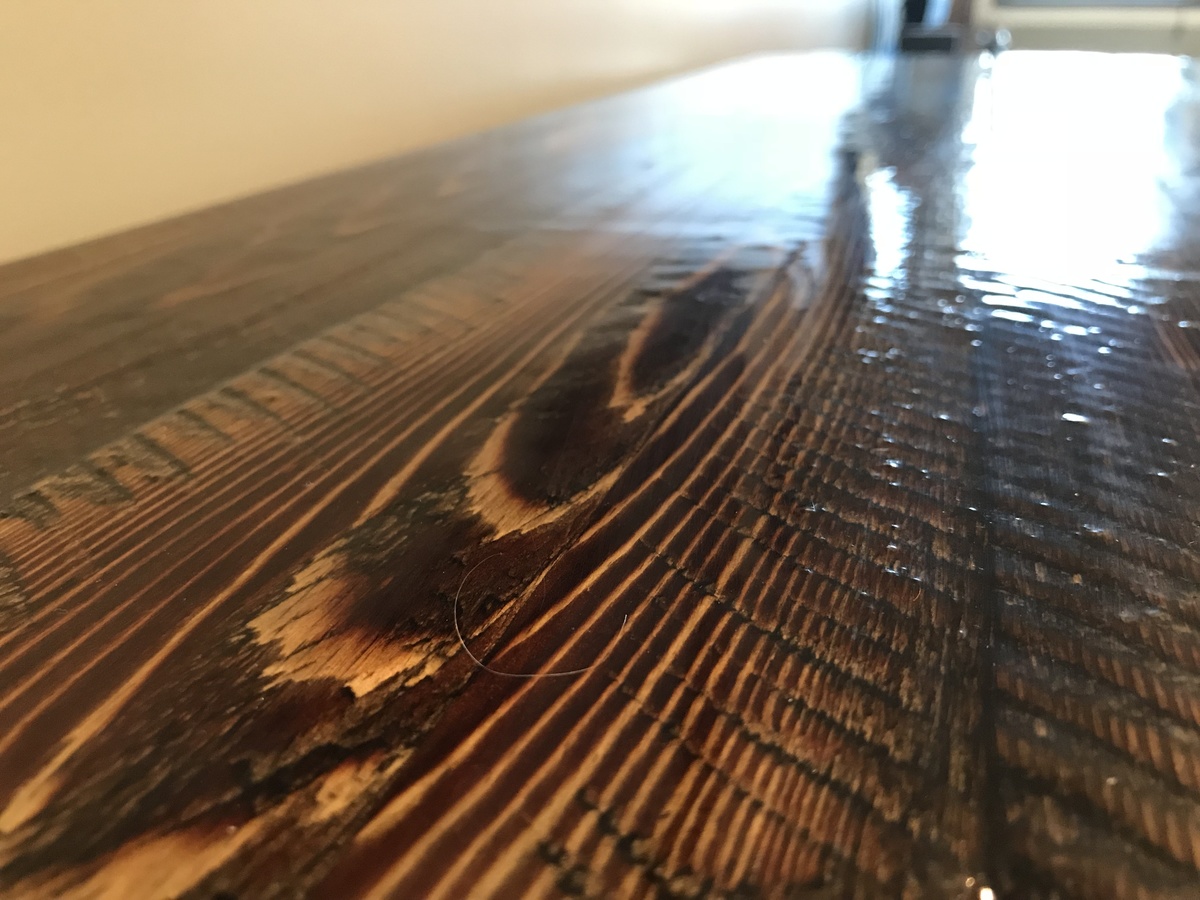
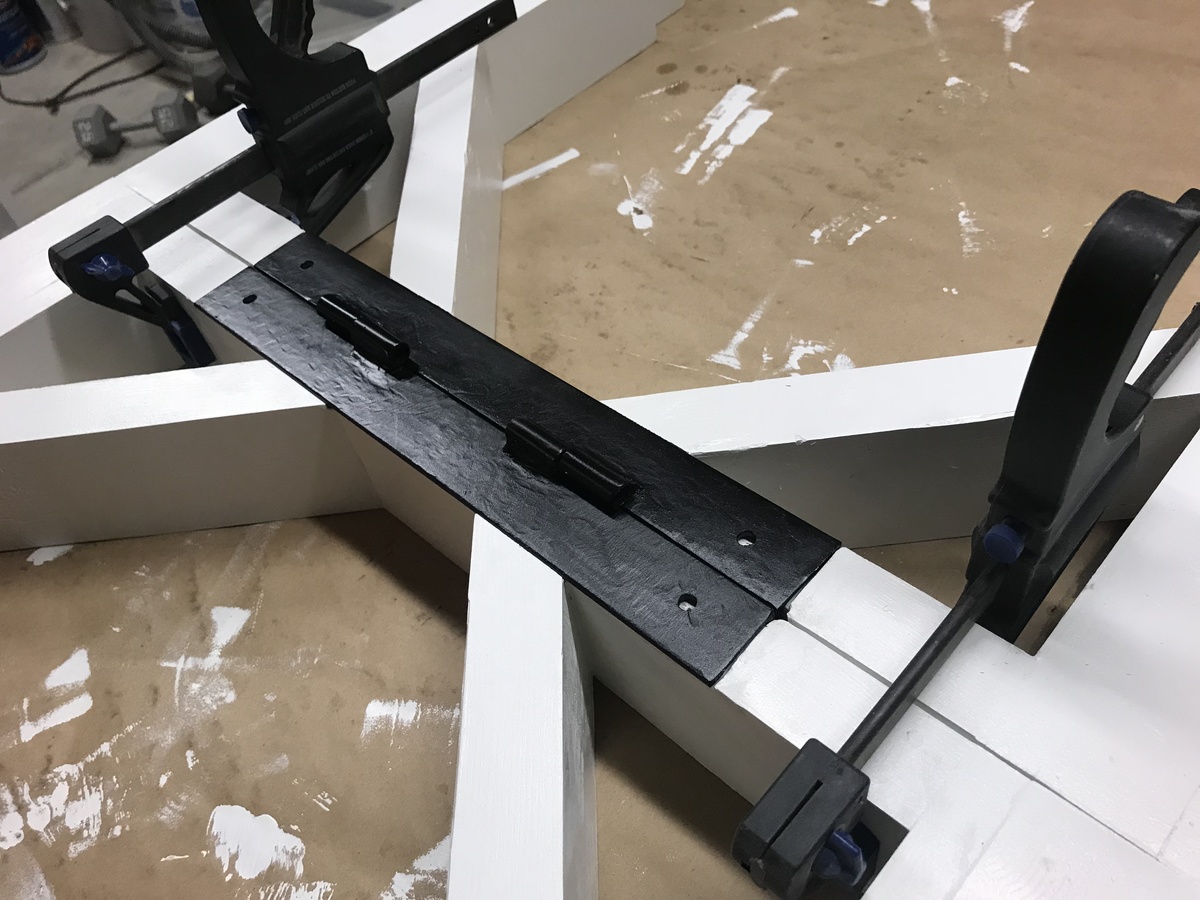
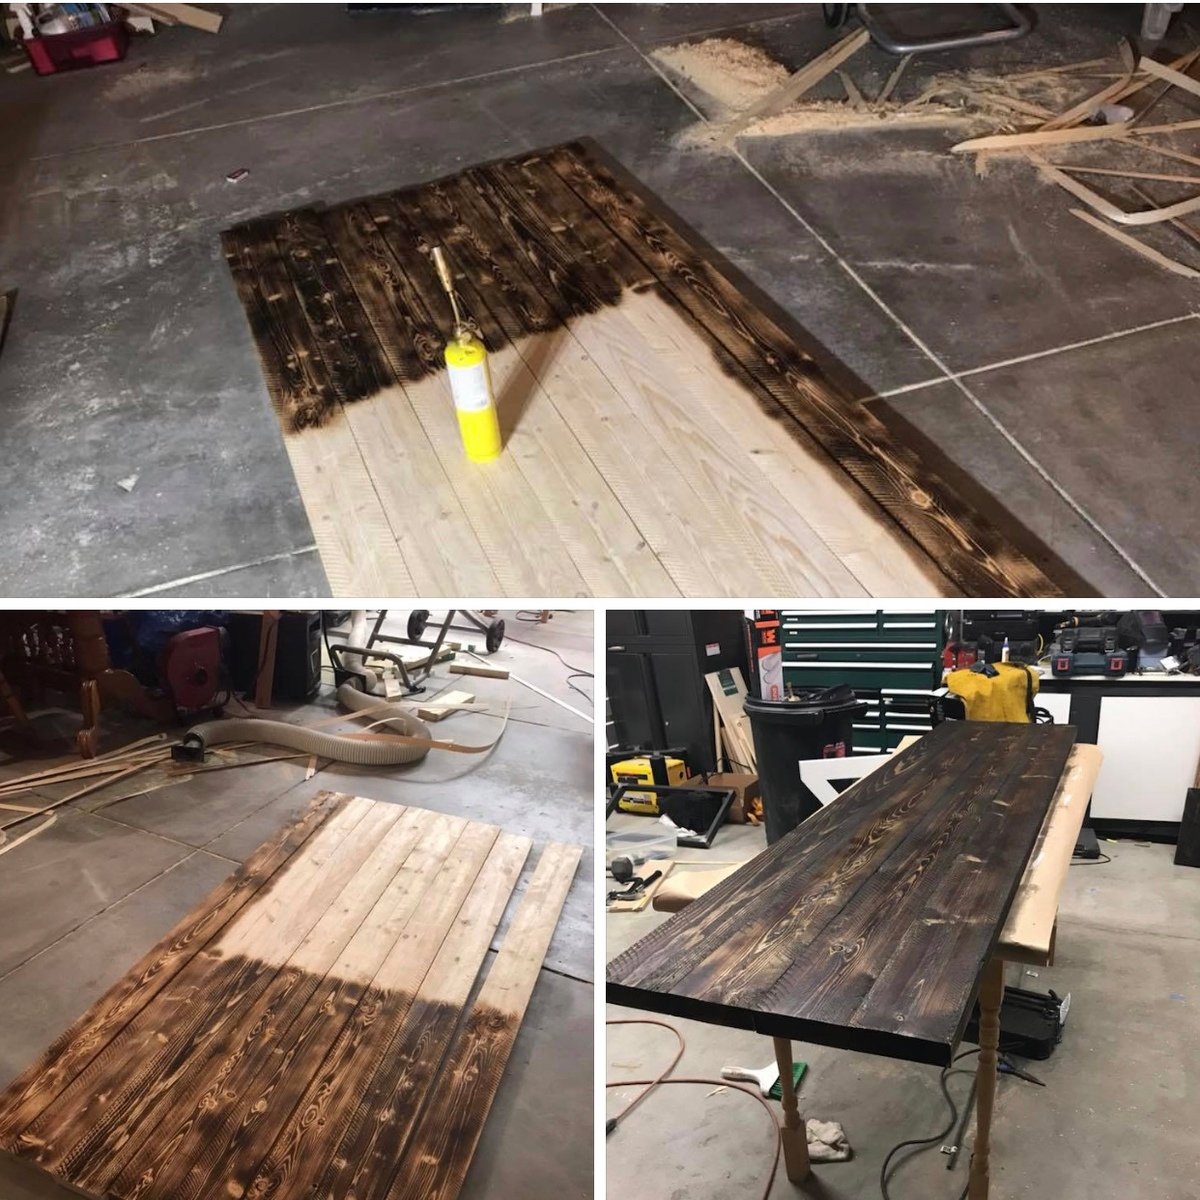
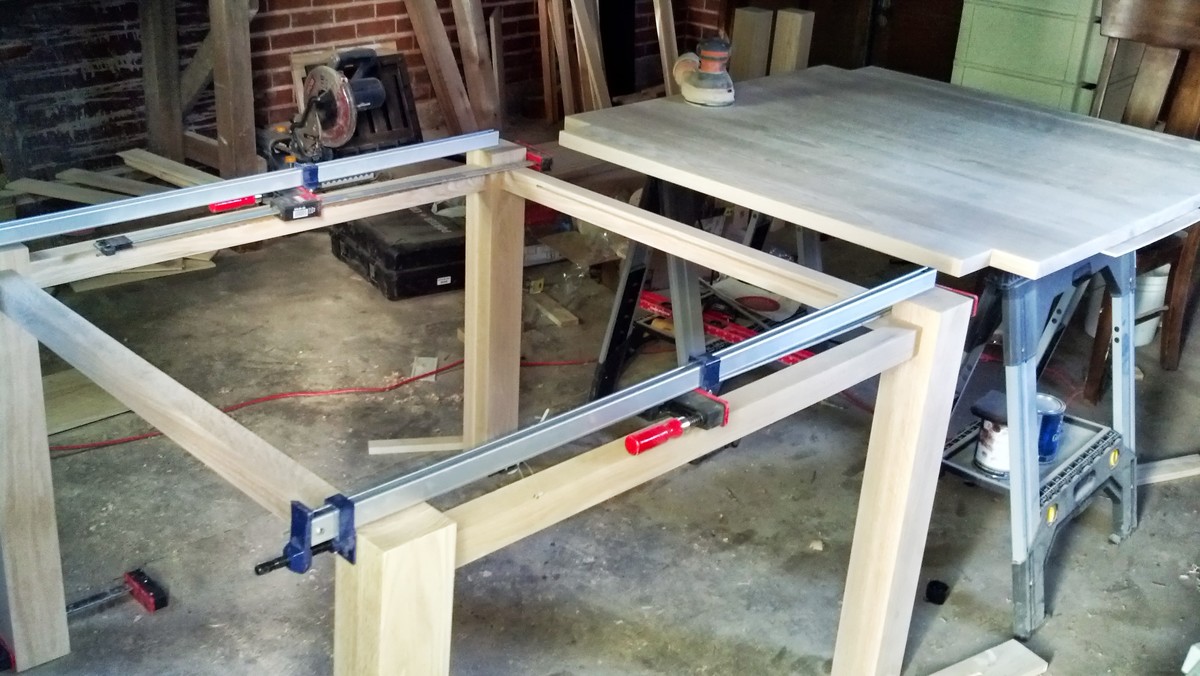
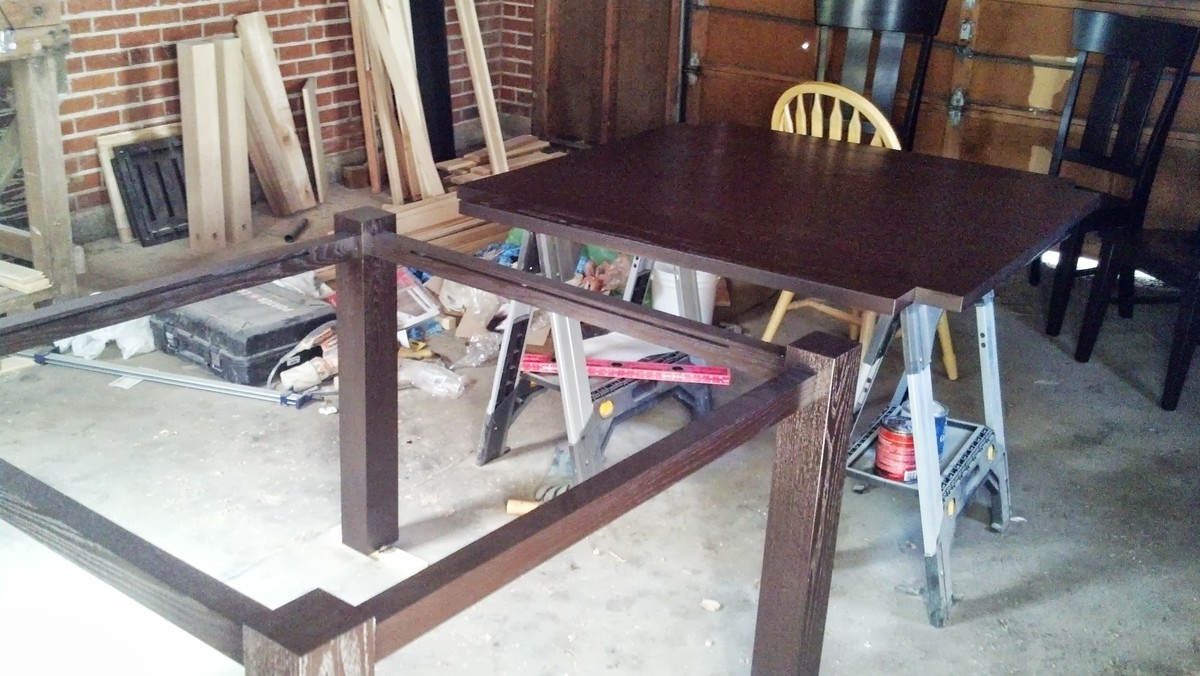
We have cheap hollow core doors throughout our house that are slathered in what turns out to be 12 layers of paint. Getting that paint off was torture. Paint stripper, painters tool, steel wool, wire brush, mineral spirits and a belt sander all did their part over 4 days to get this paint off. Afterwards, when I sanded the holey, splintered mess of a door, it actually looked like I could make something of it. I stained it, and cut strips of 1/8" ply, nailing them to each side. I ORB sprayed the knobs and hinges, moved the casing (breaking the casing, of course, and having to buy new casing) to fit the new width of the door, and installed it all in place.
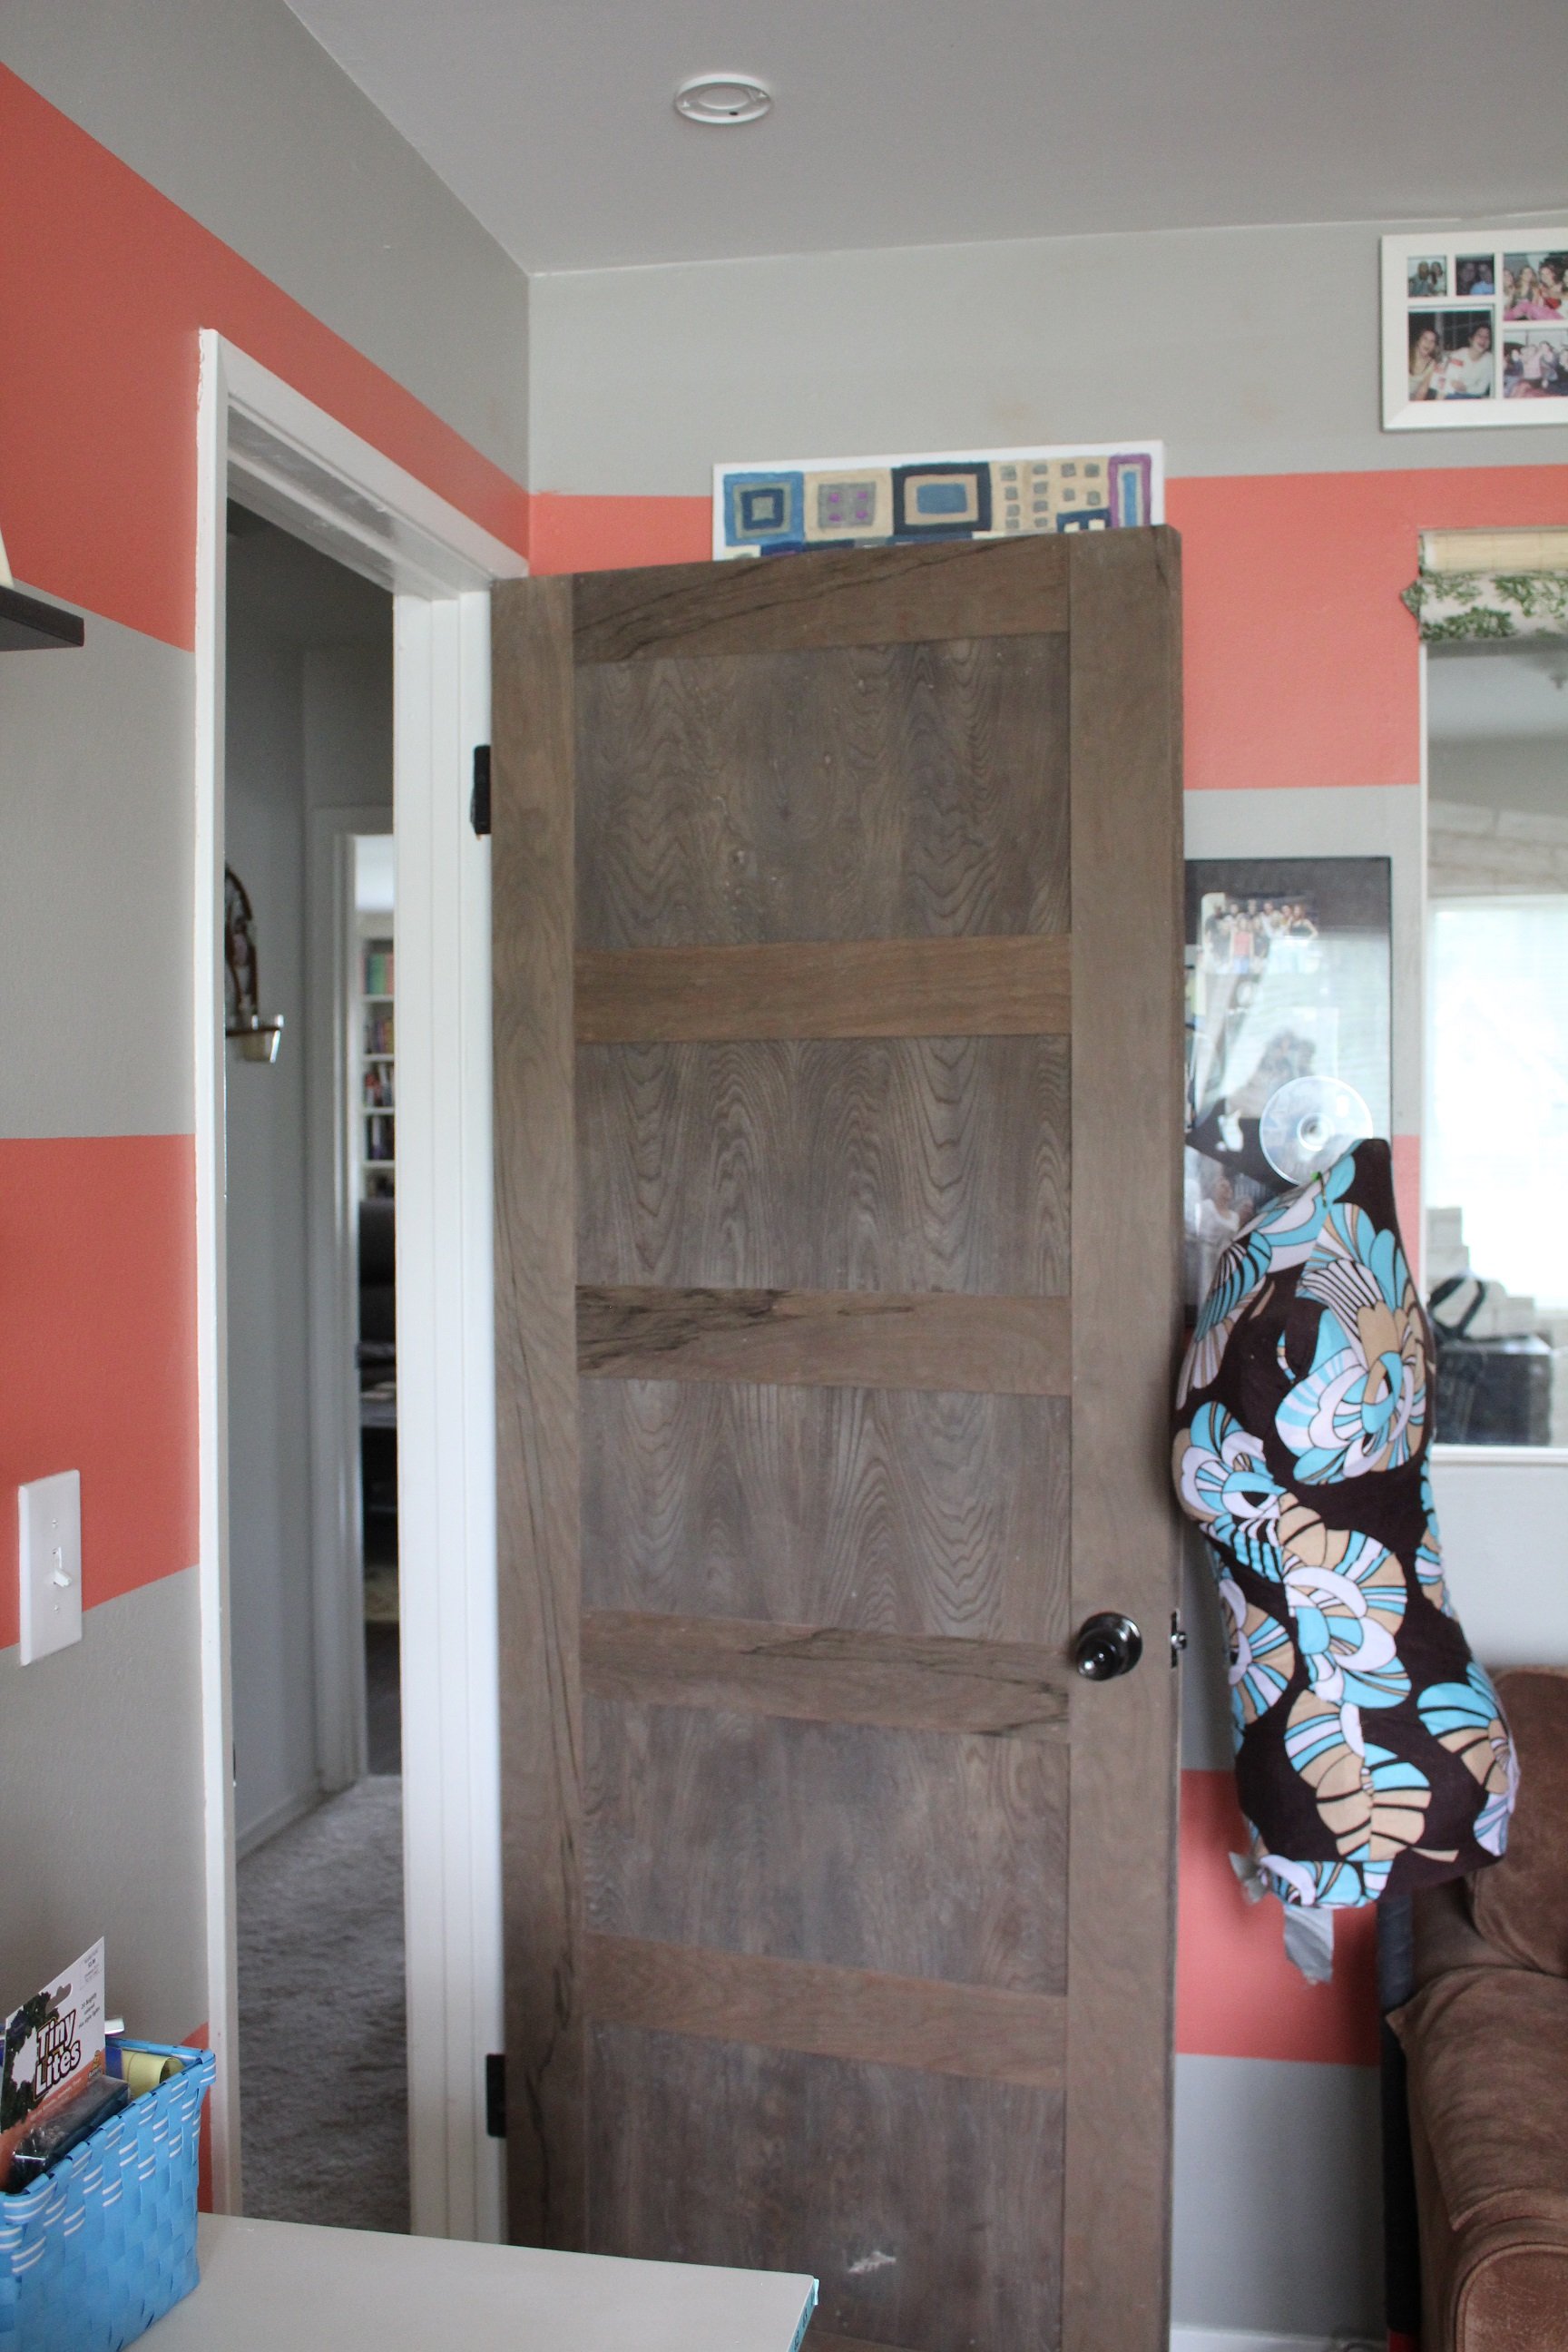
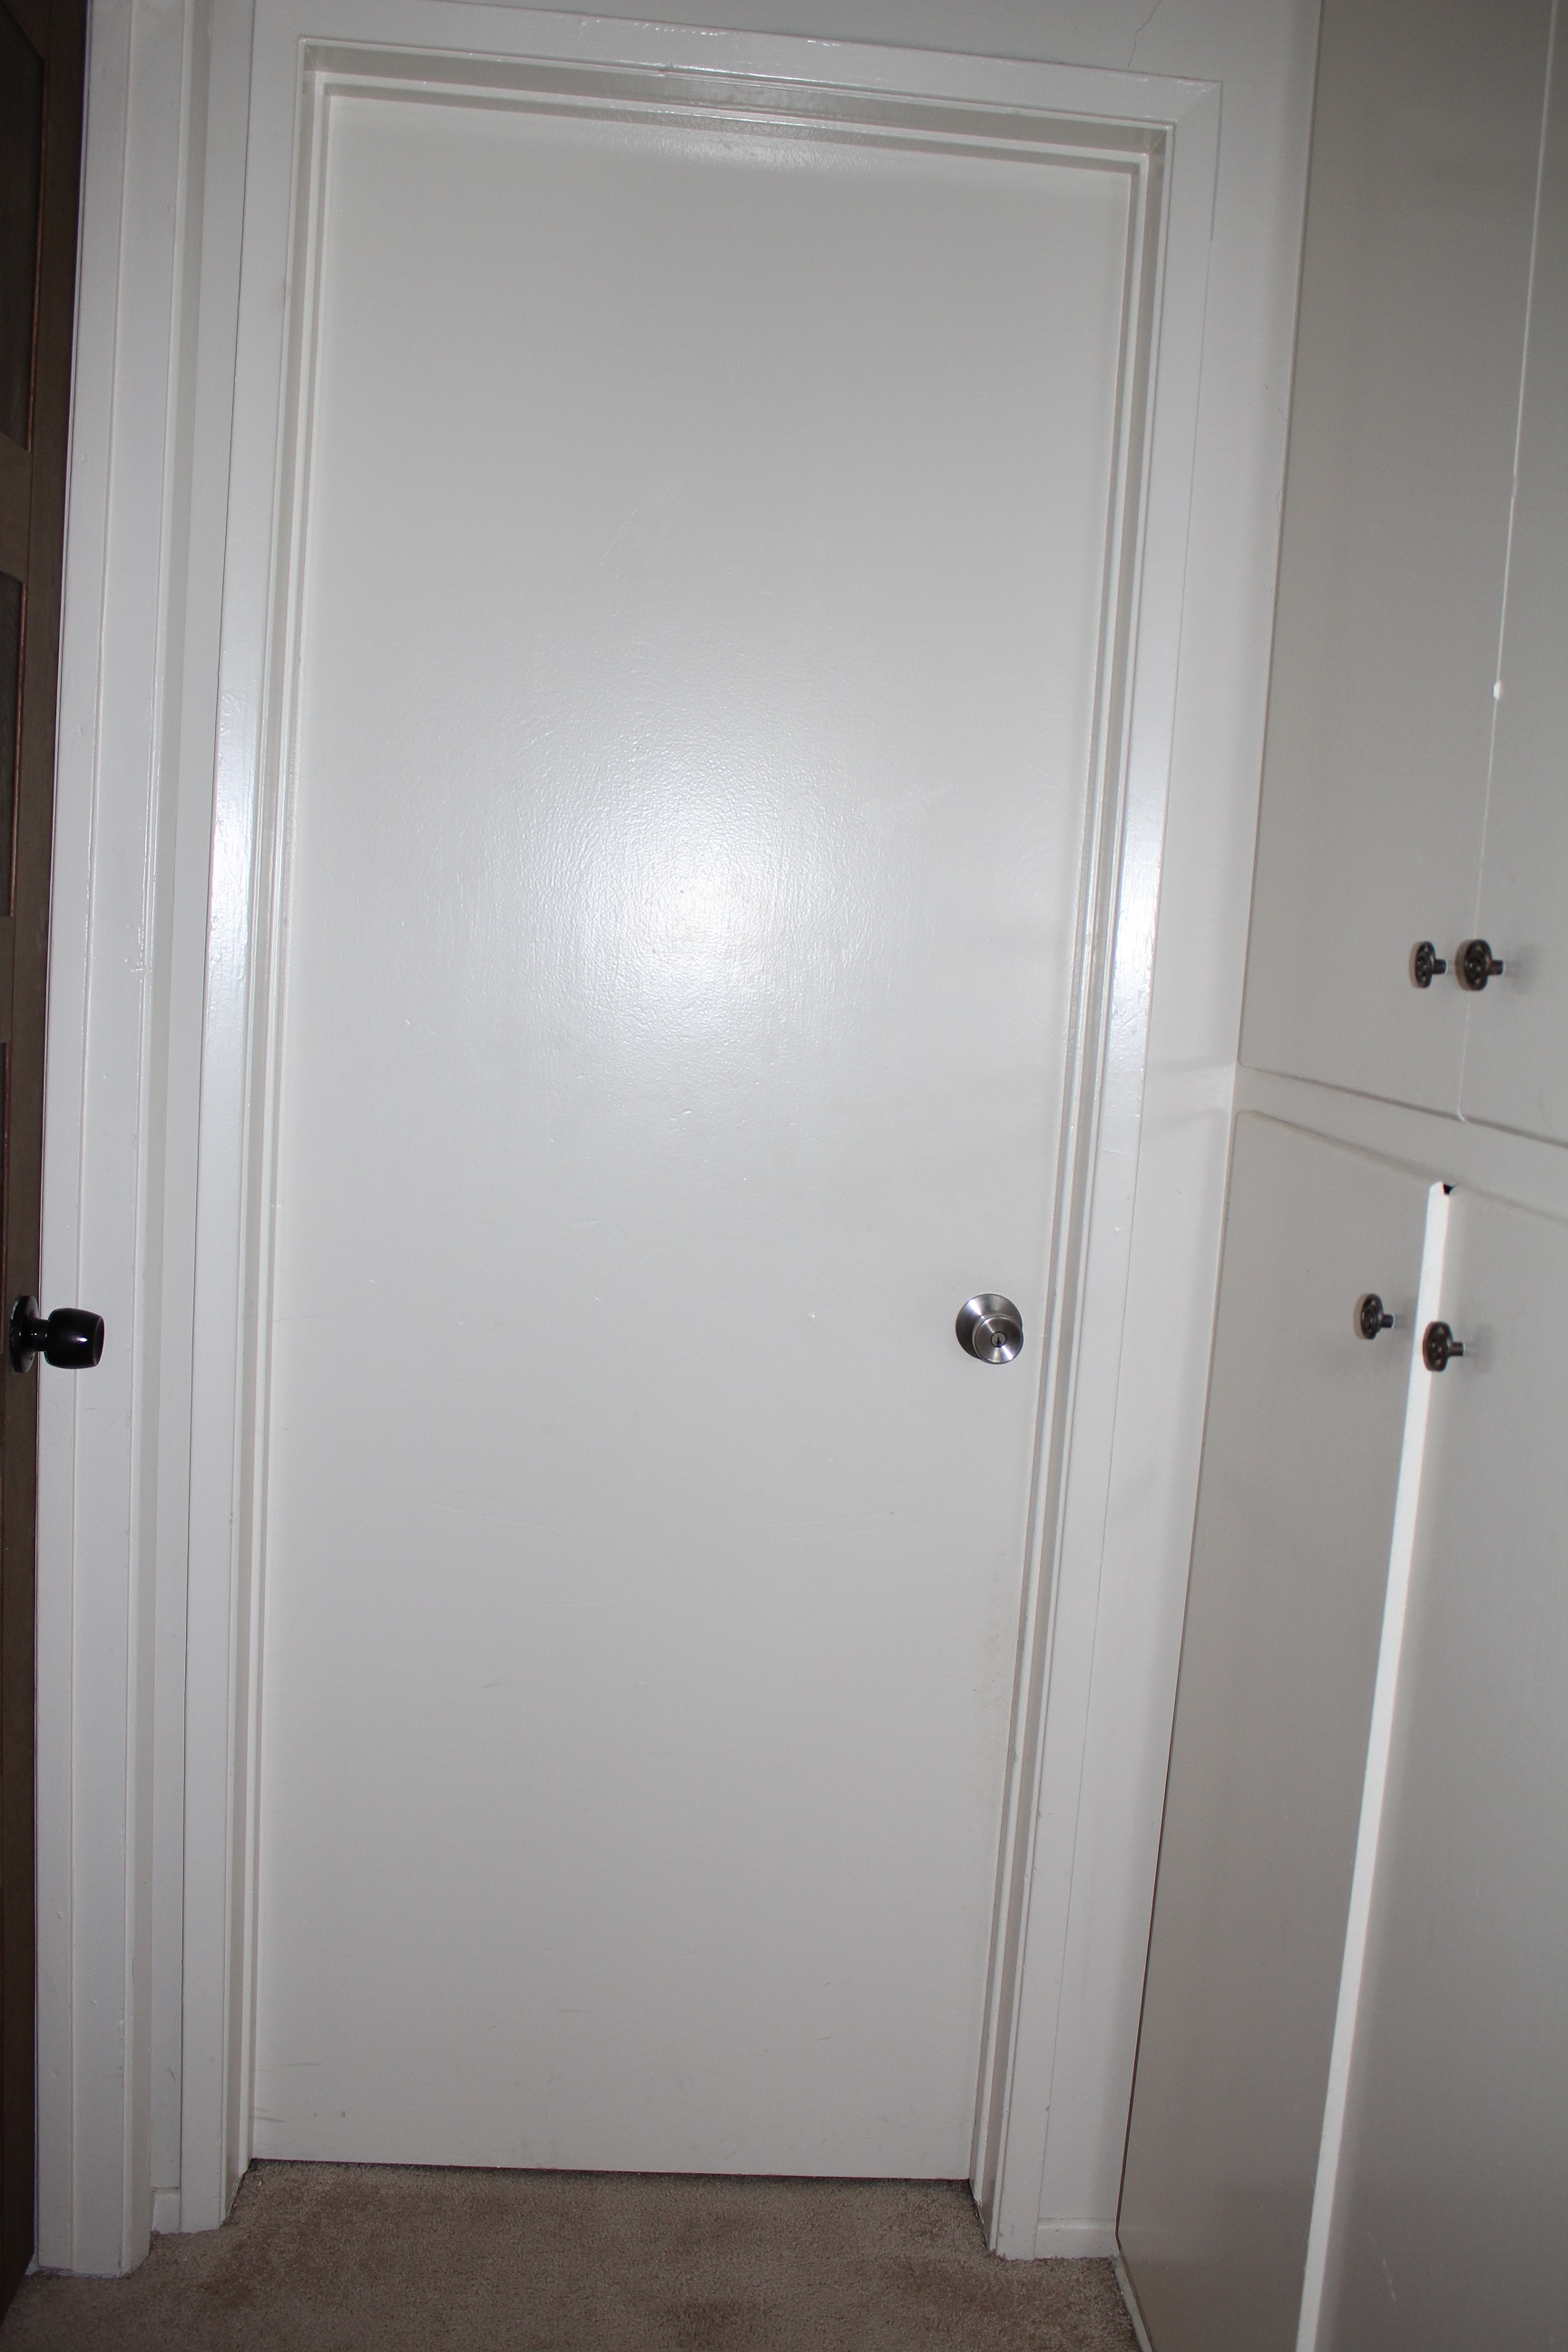
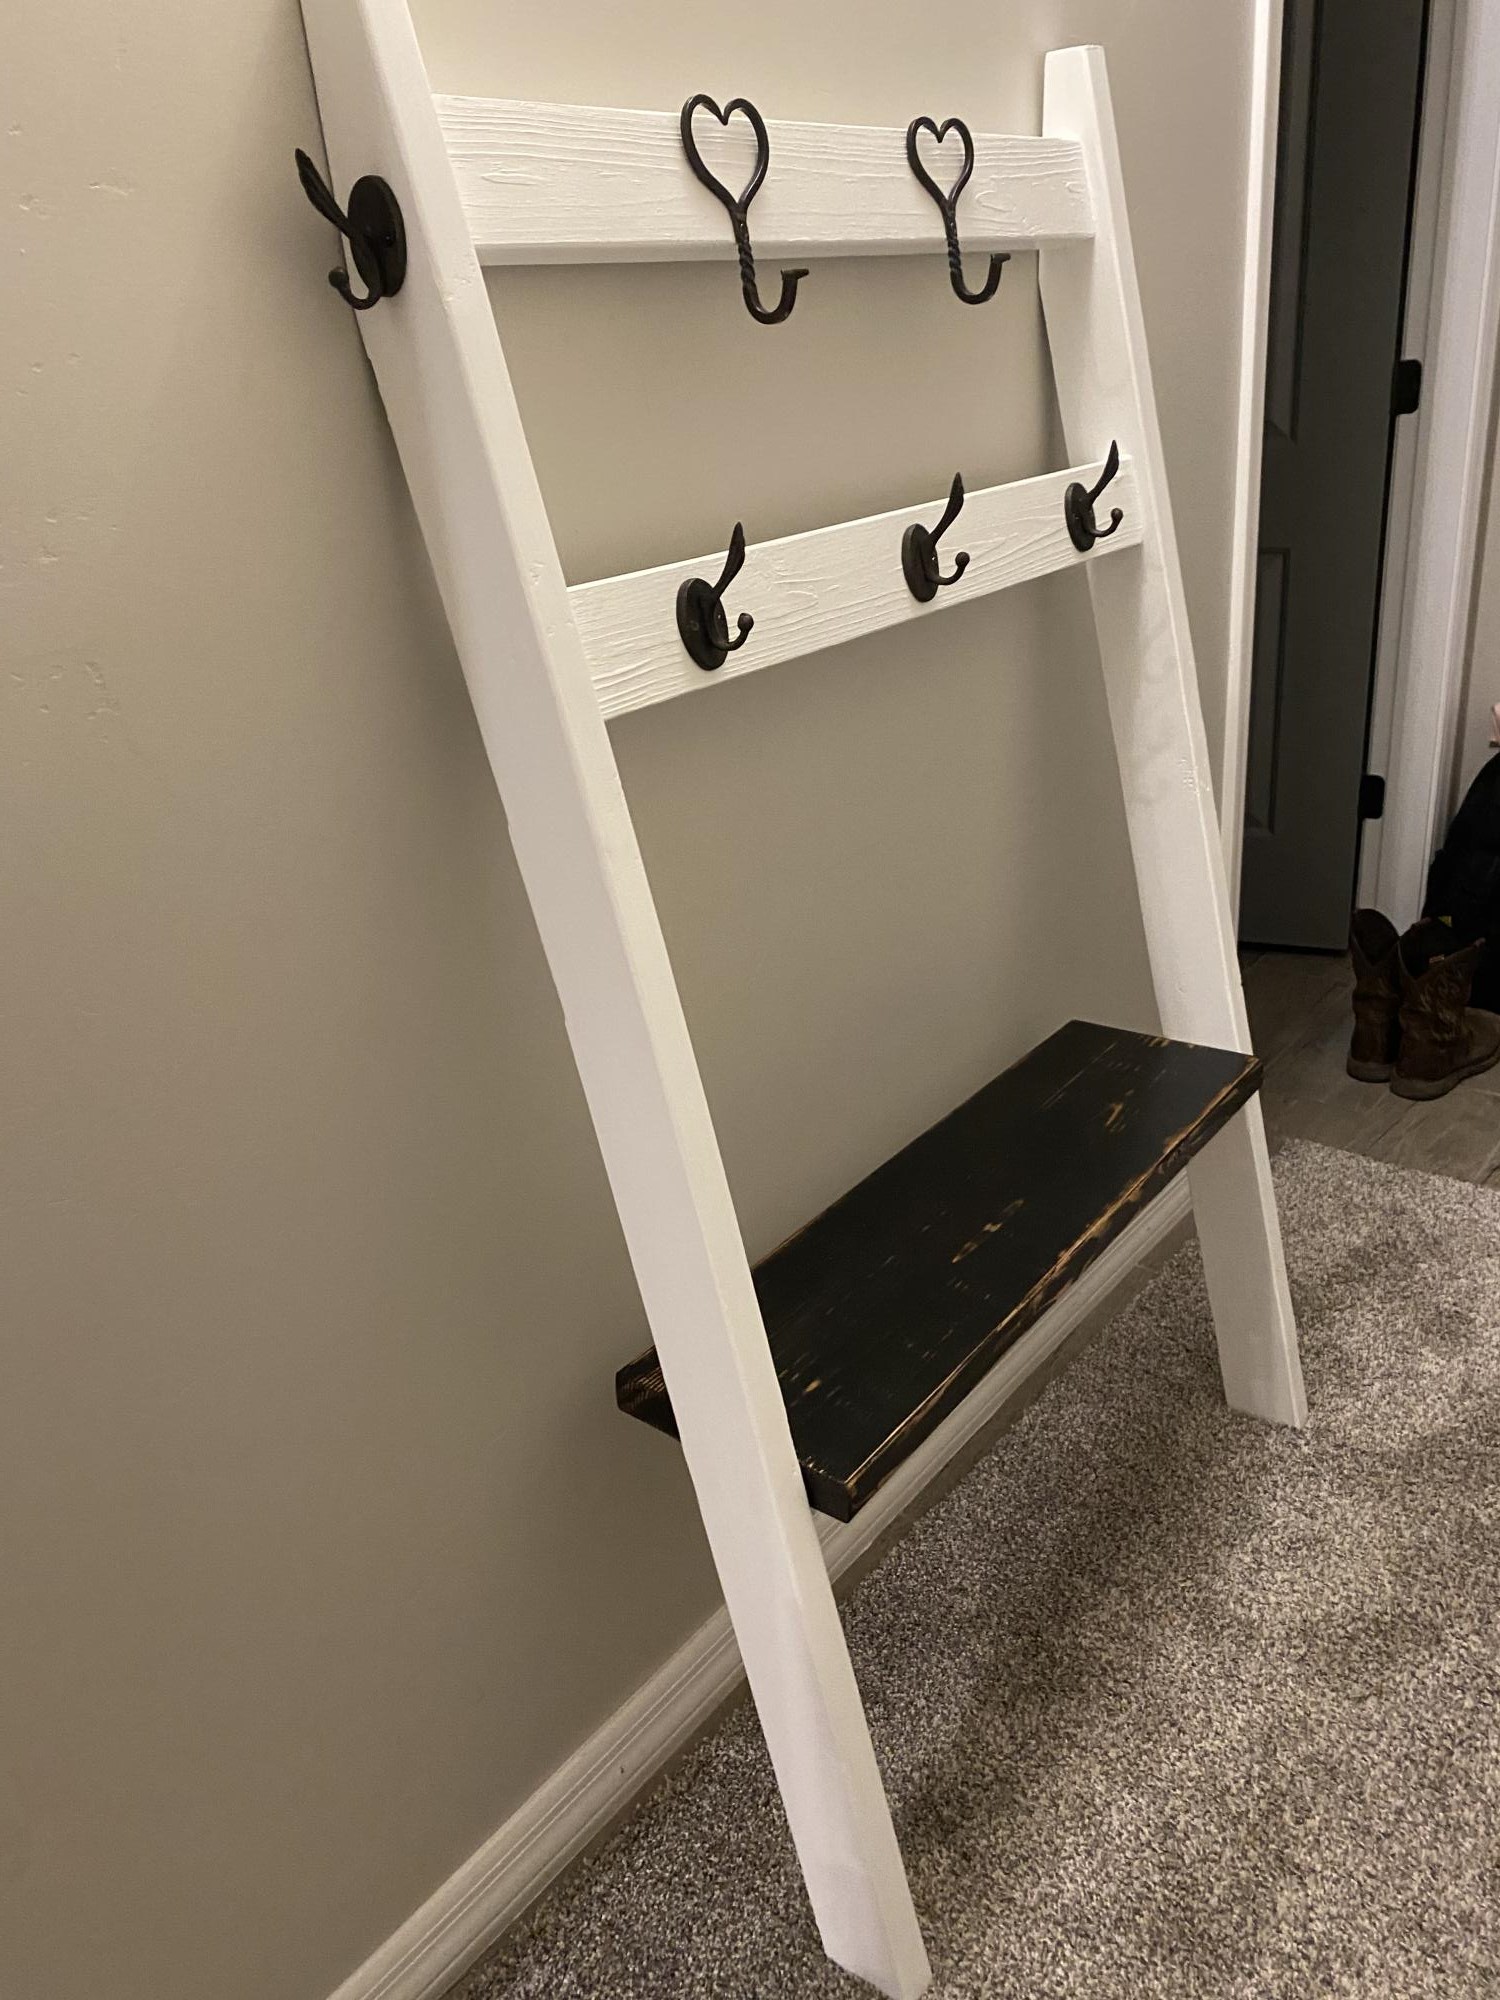
As I said, I love the results, but boy was it a chore. The white door is a before door.

Estimated Cost
$30
Estimated Time Investment
Weekend Project (10-20 Hours)
Finish Used
steel wool and vinegar stain, black tea
Recommended Skill Level
Beginner

Comments

Trundle Doll Bed

Submitted by Anonymous (not verified) on Sun, 12/26/2021 - 14:04

A few tweaks to your plan. Bedding by grandma (a quilting instructor). And, a thrilled 5 year old girl on Christmas morning!

Comments

Easter Caddy's

Ahhh Storage Caddy's - who can have enough of them!!! I wanted something special for the 7 kids that were coming of to my house (all under the age of 5!). So Friday I got building and painting - I think I got it all done in about 3-4 hours total. Once you get an assembly line going - it doesn't take too long. I am SO happy with how it turned out!!!! Be sure to check out my blog post for more pictures - I seriously couldn't stop taking pictures of these caddys!!!

Estimated Cost
$2
Estimated Time Investment
Afternoon Project (3-6 Hours)
Finish Used
Sanded, primed, spray paint
Recommended Skill Level
Starter Project

Trash Can (For the dogs!)

I made a smaller version of Ana's trash can for outdoor use. I used scrap wood that I joined with the Kreg Jig but I think it would have been easier to buy the size she recommends (but this was free!) We are always walking our dogs and then stuck with bags of poop and no where to put them. They end up in a pile near our door (GROSS.) so I built this to 'house' the dog poop until trash day. It's enclosed so there's no odor when you walk past it, and it looks much better on our front porch than poop bags. I painted it to match our front door so it looks like it 'belongs' up there. Ahhh, much better.

Estimated Cost
scrap wood
Estimated Time Investment
An Hour or Two (0-2 Hours)
Finish Used
exterior paint
Recommended Skill Level
Intermediate

Cassidy Bed with Herrinbone Design

Submitted by koneill99 on Mon, 06/08/2015 - 11:45

I'm so excited to have finished my 1st woodworking project!! Not sure why I thought a King Bed would be a good start but I LOVE how it turned out. I used the Cassidy Bed plans and Jennajustfine's beautiful herringbone design as inspiration. The headboard and footboard insets are 1x3's that I stained using 2 different colors and varying coats. I am completely addicted to working with wood now!

Built from Plan(s)
Estimated Time Investment
Week Long Project (20 Hours or More)
Finish Used
Minwax Bombay Mahogany and American Chestnut
Recommended Skill Level
Beginner

Comments

Farmhouse table

This is a simple design that any can build. The only thing I added was the wooden nut and bolt on the bottom strecher. This allows the table to be taken apart.

Recommended Skill Level
Beginner

Split Farhouse Table

Submitted by jgaedke on Wed, 01/03/2018 - 14:04

We have a smaller house and wanted a dining table as well as a table behind our couch.  So, we got the best of both worlds with this minor customization.  I simply split the two legs and tabletop in half, added additional feet, and built two supporting braces instead of one.  For an added touch, I welded tubes to steel angle iron to make a hinge-style locking mechanism with steel pins.  This locks both halves together (when using as a full table) and adds a little rustic black metal to the overall look.


For the tabletop, I cut the sides off the lumber to get the square look.  I then bent one tooth in my tablesaw and quickly cut the face of the lumber to give it a rough sawn look.  I then belt sanded it all to smooth out the really rough spots.  Then I shou sugi ban (burned) the top to burn off the splinters and make the grain really pop.  I added a little stain to smooth out the light spots.  Lastly, I put about 64oz of epoxy and lightly sanded with 0000 steelwool after it set. 


Please excuse the floor trim or lack therof.  I just installed the new floor and decided our table was the higher priority.  :P

Built from Plan(s)
Estimated Time Investment
Week Long Project (20 Hours or More)
Recommended Skill Level
Intermediate

Hall Tree and House Number Plantr

Submitted by tpsully225 on Sun, 12/26/2021 - 17:52

Hi Ana, I recently made two of your posts. First, the 2”x4” hall tree and then the house number planter. We found some unique hooks at Hobby Lobby for the hall tree. This is great to keep the kids’ backpacks off of the floor. On the house number planter I stained it with Antique Beige, but is more gray than beige. I then put 3 coats of spar urethane on it to protect from the TX sun.

Comments

Big Ur (Sur) Table

Submitted by cchandler on Fri, 06/28/2013 - 21:24

I love the C&B Big Sur dining tables and was excited to come across these plans. I tackled making a copy of the Big Sur dining table using Ana's plans as a starting point with some modifications and custom dimensions (4' x 4' x 31"). This was my first major woodworking project and I wanted it to be as nice and strong as possible so I tackled joining the rails of the frame to the legs with mortise and tenon joints. The main reason I did this was because I used 1 1/4 and 1 3/4 red oak for the entire table and I just wasn't convinced screws could handle the weight of the top on the frame. I also wanted to learn how to make those joints. I used my plunge router to cut both the mortises and the tenons and it worked out reasonably well. Now that I have a table saw I will be using that with a dado blade for tenons in the future. I sanded to 320 grit and finished with four coats of General Finishes Gel Stain in Java followed by four coats of Minwax spray on polyurethane. The last step was to apply paste wax using 0000 steel wool and then buff with a clean rag. I love the way this came out and am now planning on making a bar cabinet with wine bottle holders in the same style. The total cost of the table was on the higher end than I'm used to because the wood was pricey but it was still so much less than the C&B Big Sur price tag. I'm lucky that I have a hardwood lumber supplier just a few minutes down the road that does custom milling of 100's of different species.

Built from Plan(s)
Estimated Cost
$300
Estimated Time Investment
Week Long Project (20 Hours or More)
Finish Used
General Finishes Gel Stain in Java and Minwax spray on polyurethane.
Recommended Skill Level
Intermediate