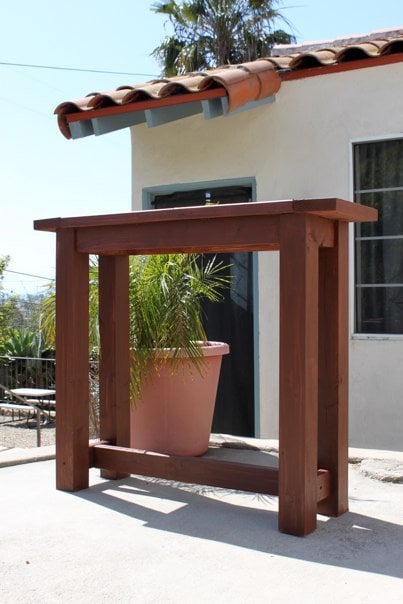
Adirondack Side Table
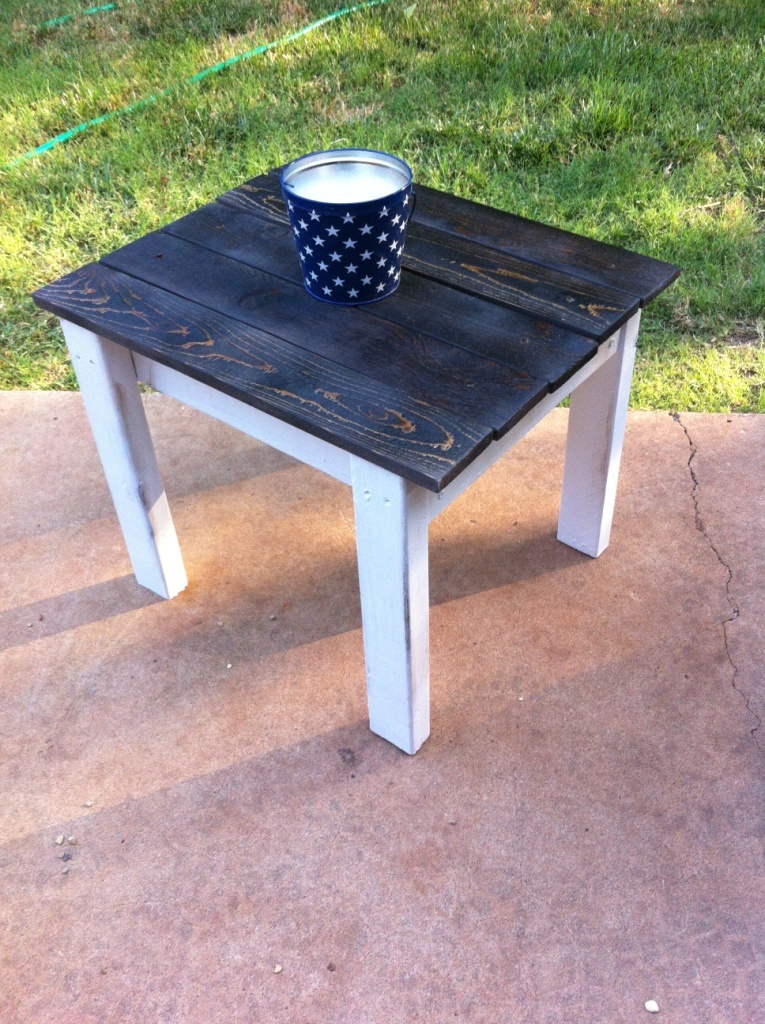
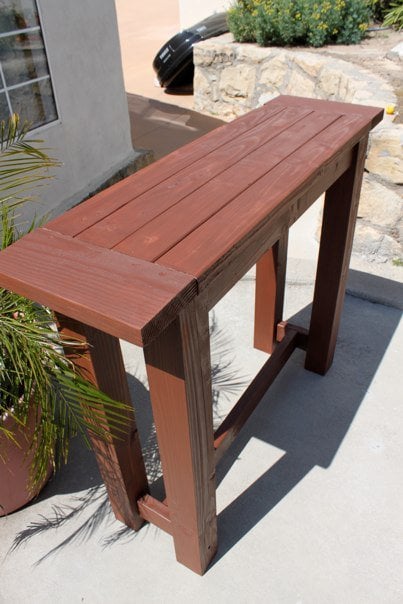
Adirondack Side Table made from leftover 2x3 pine and two cedar fence posts. Stained with Minwax Dark Walnut and sprayed with Minwax clear matte sealer.
Built from Plan(s)
Estimated Cost
$10
Estimated Time Investment
An Hour or Two (0-2 Hours)
Finish Used
Minwax Dark Walnut. Minwax clear sealer, matte. Leftover white paint for base.
Recommended Skill Level
Starter Project