Aphotecary console pallet wood top
Built from scratch whith fake drawers, 3 big doors with shelves inside
reclamed palletwood top plained and sandered, finished with Osmo hardwax.


Built from scratch whith fake drawers, 3 big doors with shelves inside
reclamed palletwood top plained and sandered, finished with Osmo hardwax.


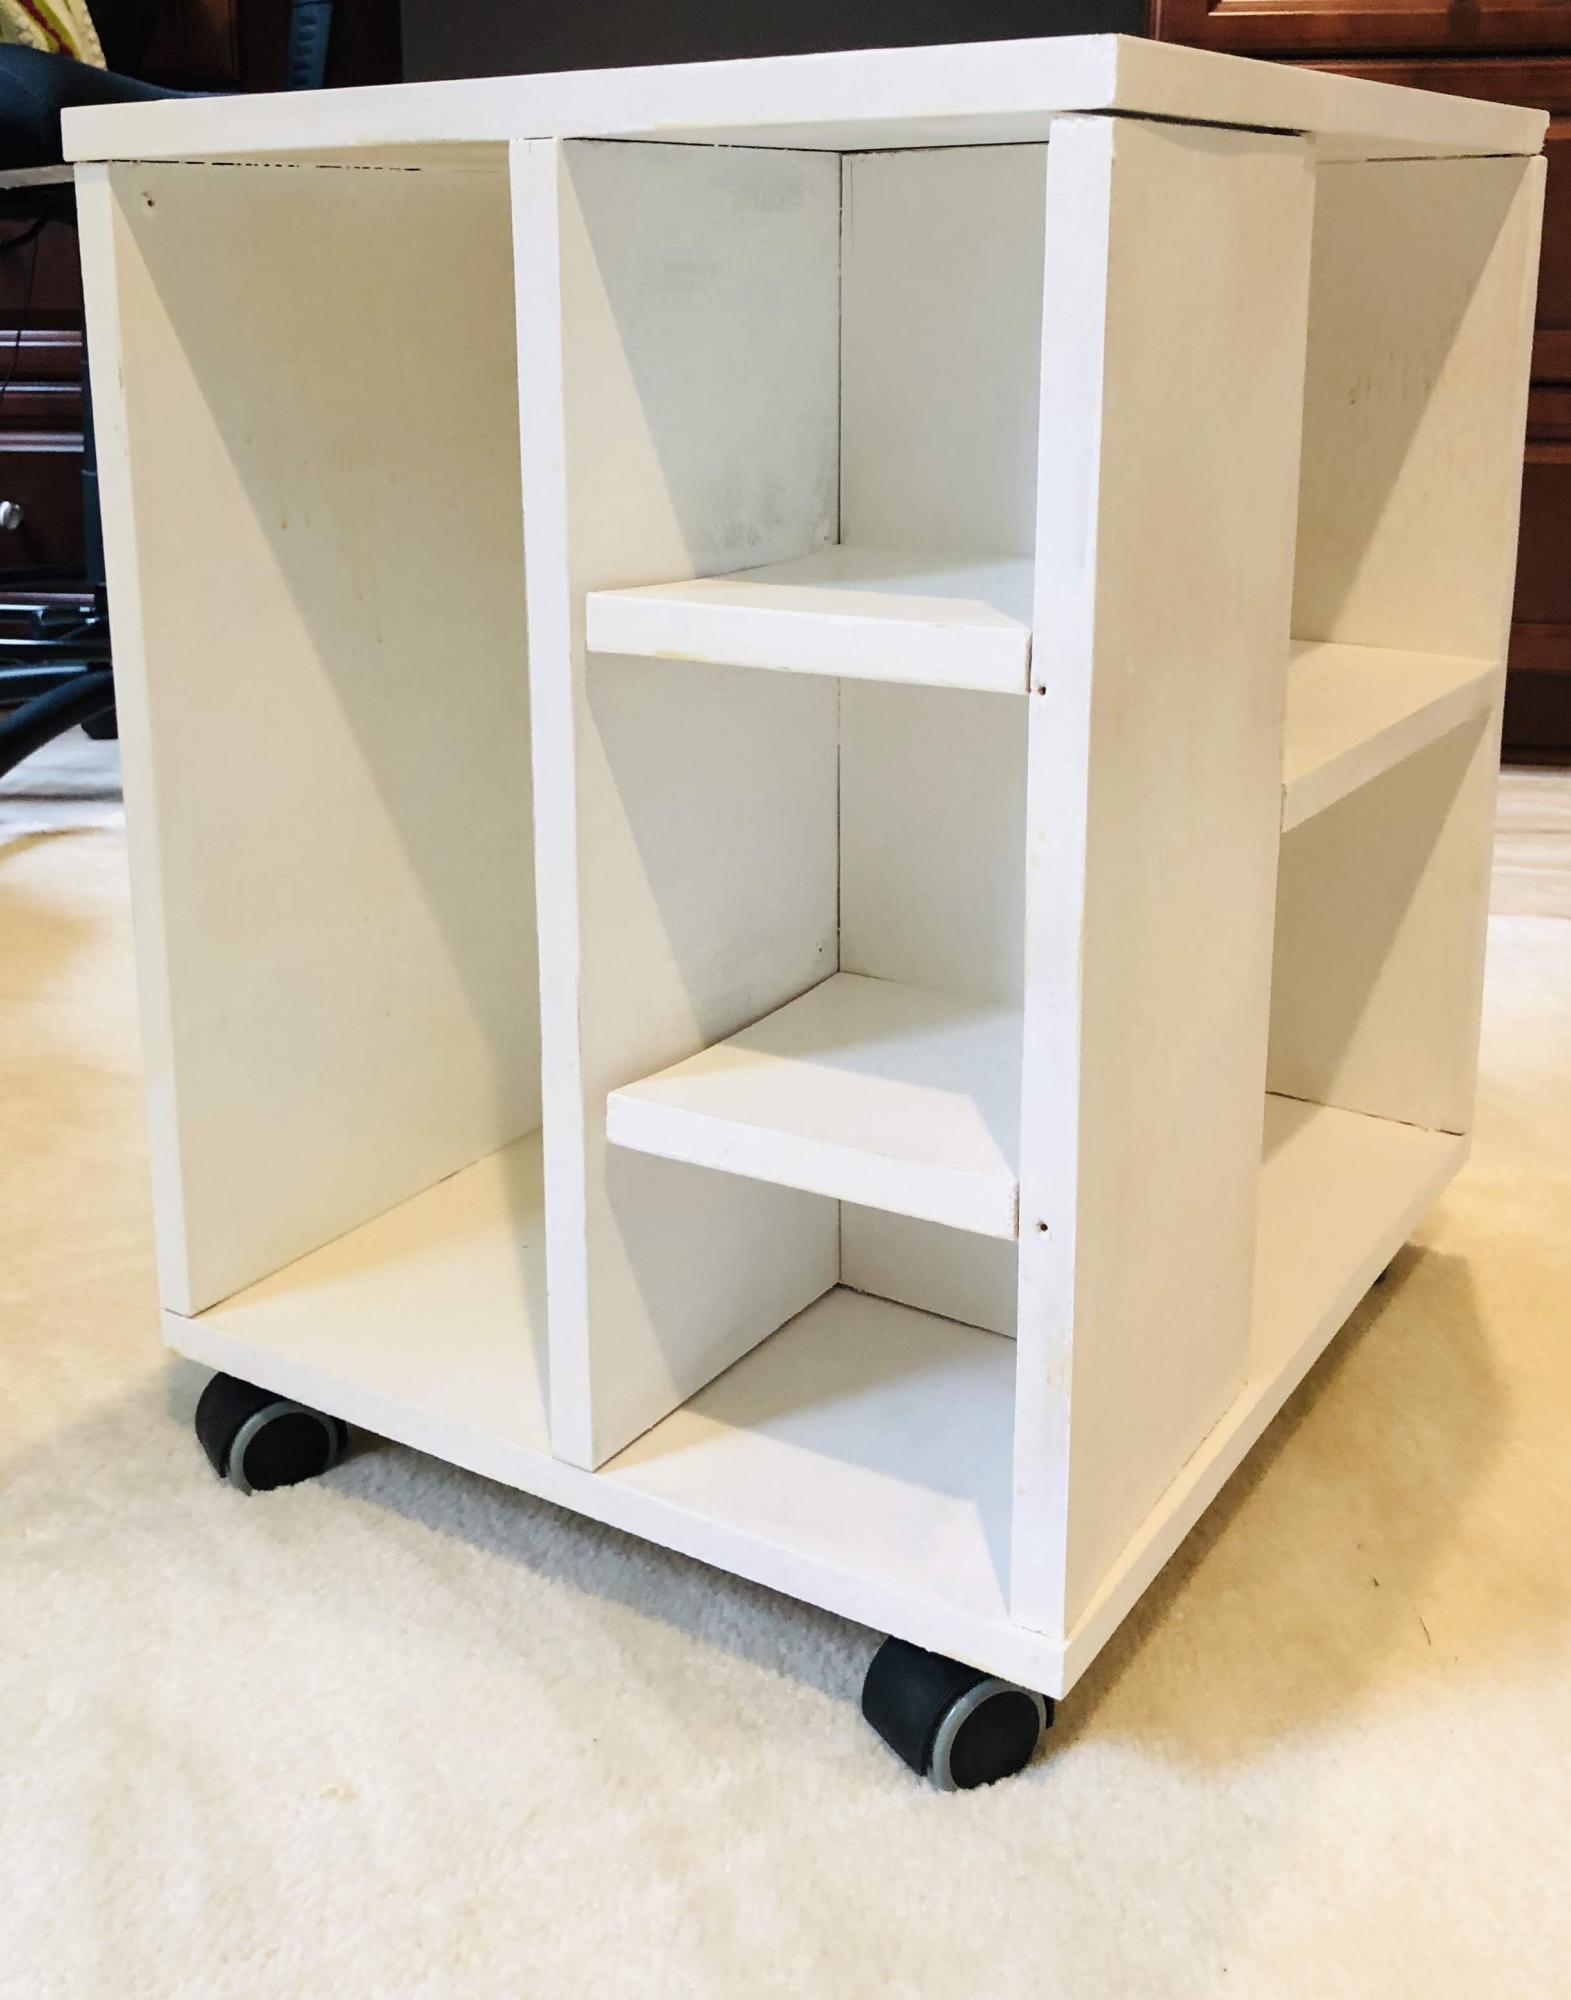
I built the Cube CPU Cart plan to make this cart for my wife's crafting materials. It was a good beginner project and my first working with MDF. The MDF was heavy and cutting it produced more sanding dust than sawdust. Finishing the MDF - sanding, painting, varnishing - was more involved than working with plywood or wood also, but the finish was much smoother - if you take the time to sand the primer, paint, and varnish. I purchased inexpensive 1x8" boards for the shelves. Next time, I'll invest in some better wood for the shelves though since the generic board I got didn't stay flat. Cutting and construction was a day project. Sanding and finishing took an additional 1.5 days to let coats dry. It was a fun project and now I have a request to make a second one for my daughter! Thanks for sharing the plan.
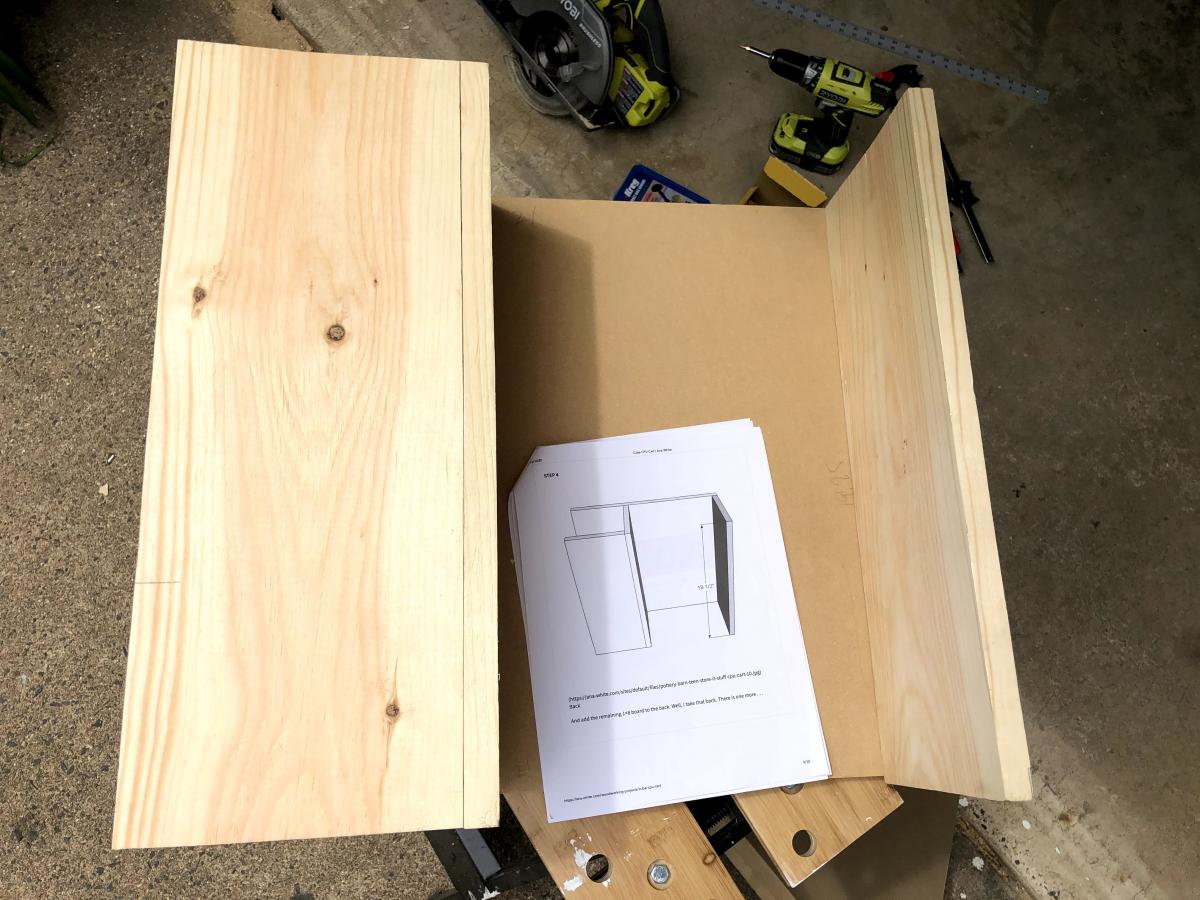
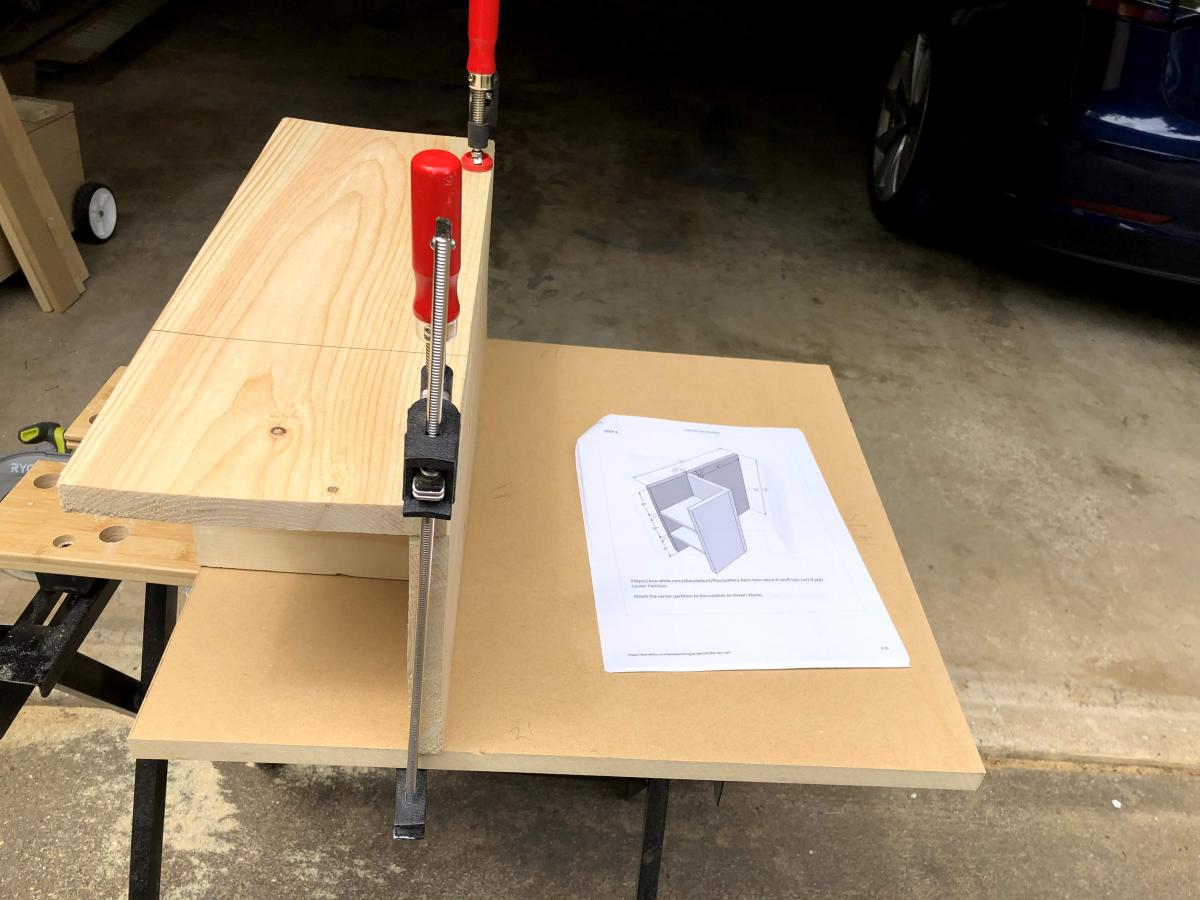
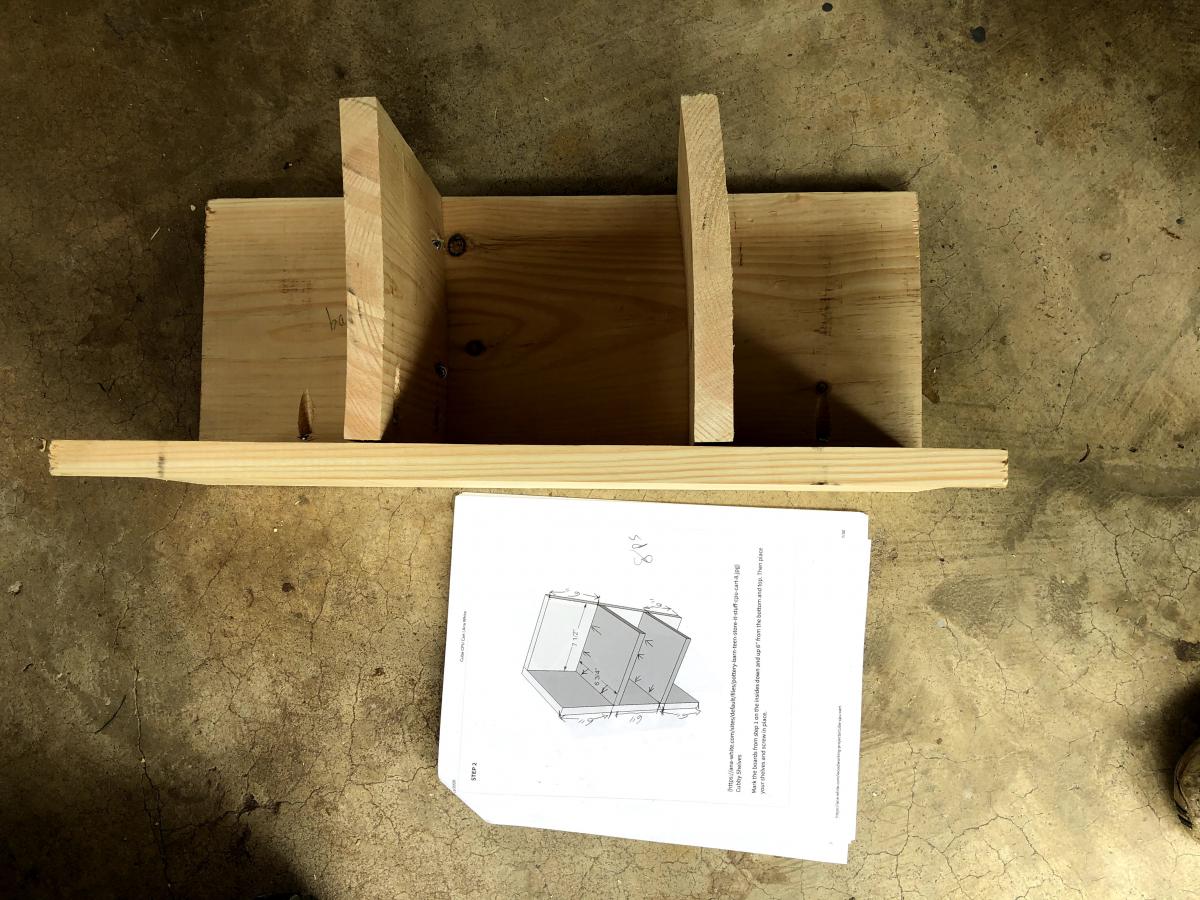
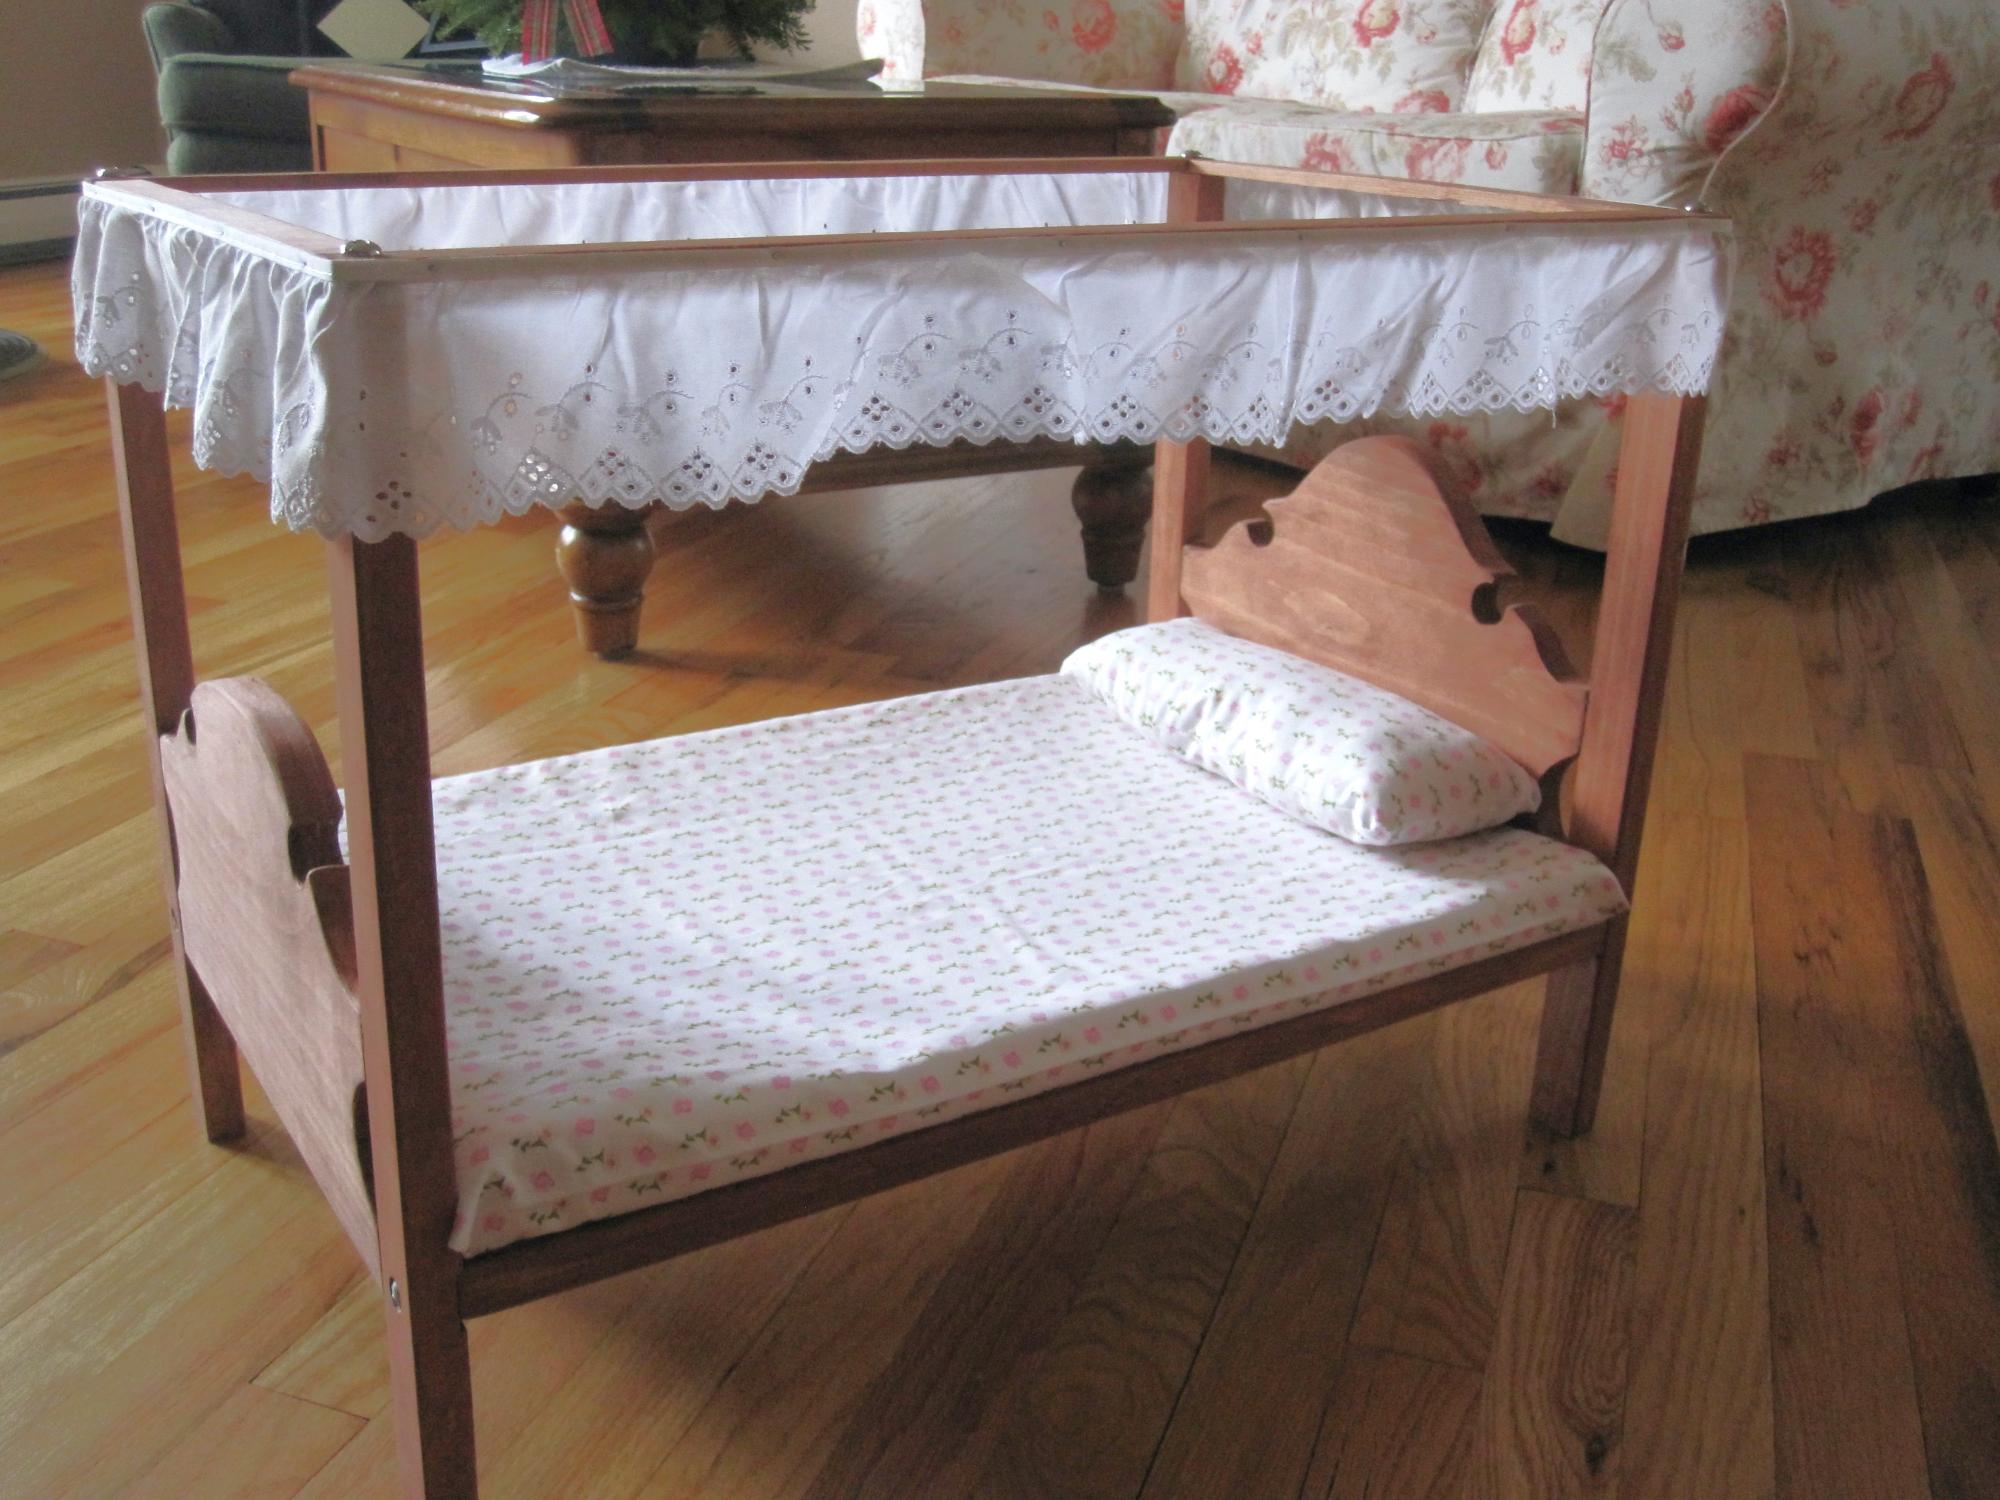
Our 1st granddaughter wanted doll crib so this is what I made for her. It has survived over the years and has been used by her two sisters.
Found this awesome project but decided to add on a rock climbing wall and an underslung Hammock to upgrade it to full Birthday present levels. My son now calls it his "Epic Bed" and absolutely loves it!
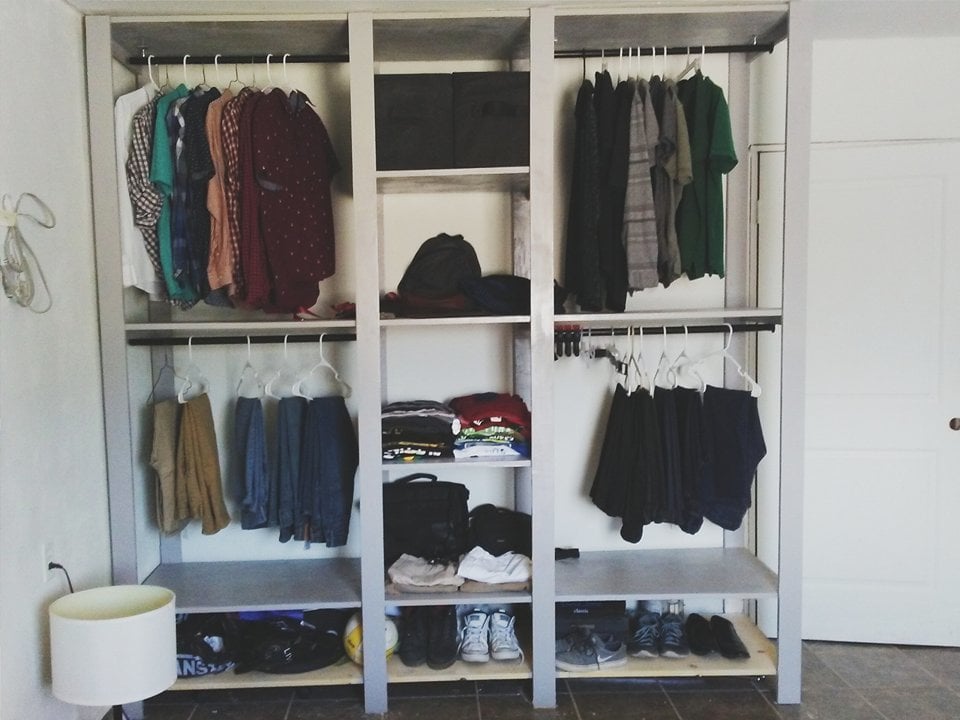
My dad and I built my closet based off your plans but did a little modifying. we made four instead of two spaces to hang clothes and the very bottom part will have doors to make them into drawers.
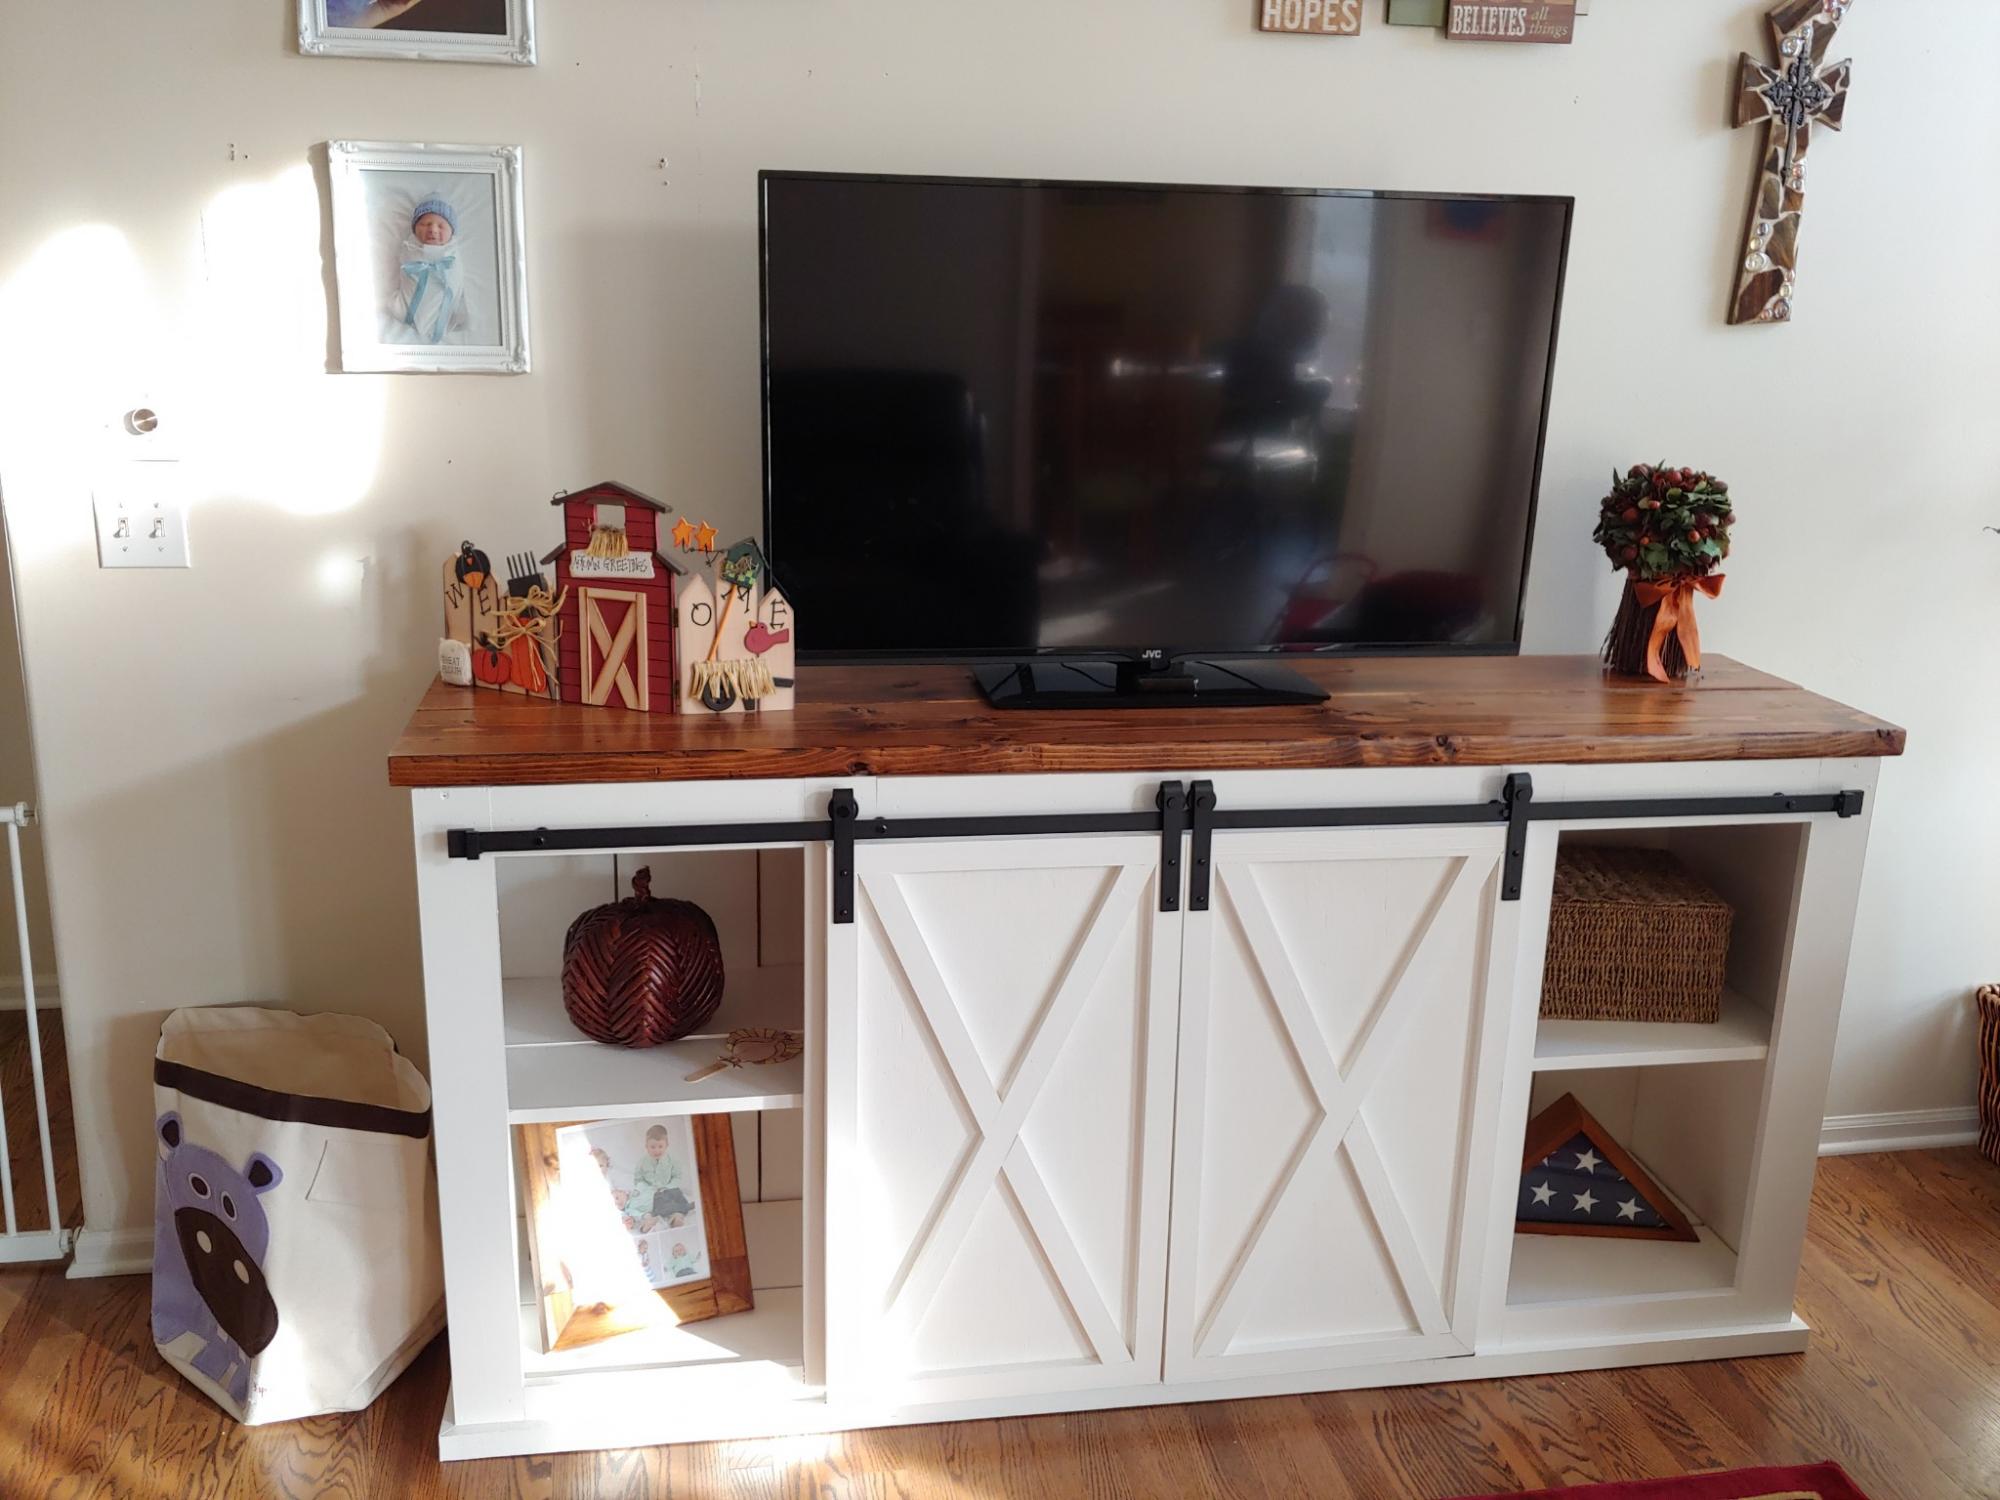
This took me a while since I had pretty minimal free time with my 3 kids. I had to wait until the days my husband was off to watch them. It was also my first real project, so there were of course the "stupid" errors. I'm pretty happy with how it turned out and I learned a lot!
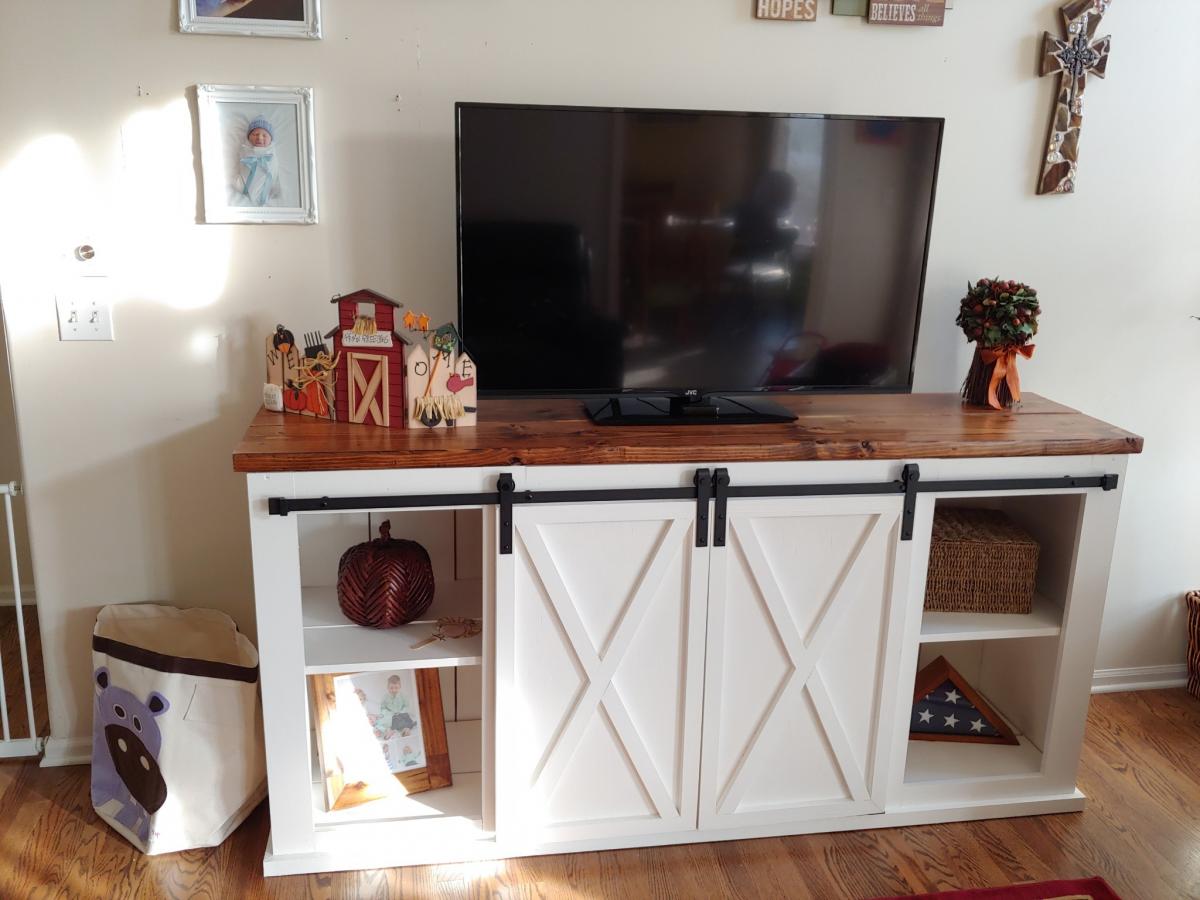
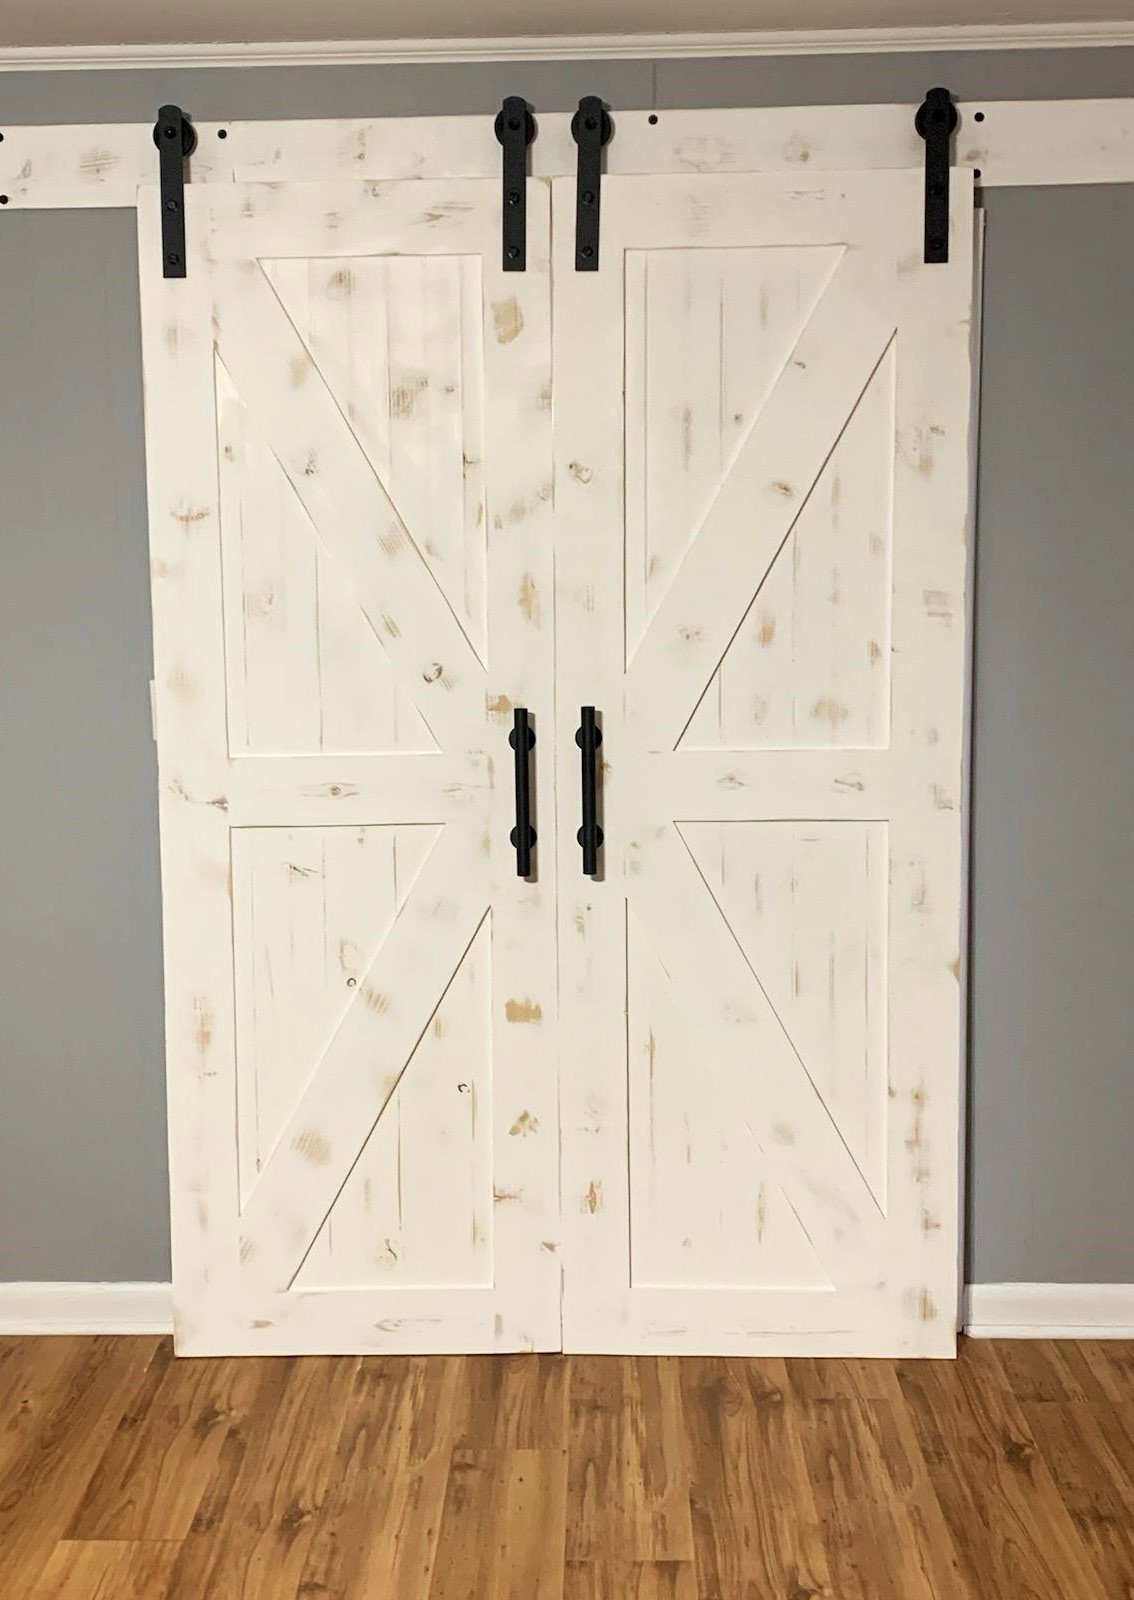
Made some sliding barn doors for a friend.
Allen Clark

These were my first set of full size Adirondack chairs. I have several of the kids version. A friend of mine was moving and wanted some to set on her new patio. They were fairly simple to make but the painting was a little time consuming. All in all, I loved the way they turned out and she was pleased :)
The Flickr gallery for this project is at https://www.flickr.com/gp/akutz/86502i/.
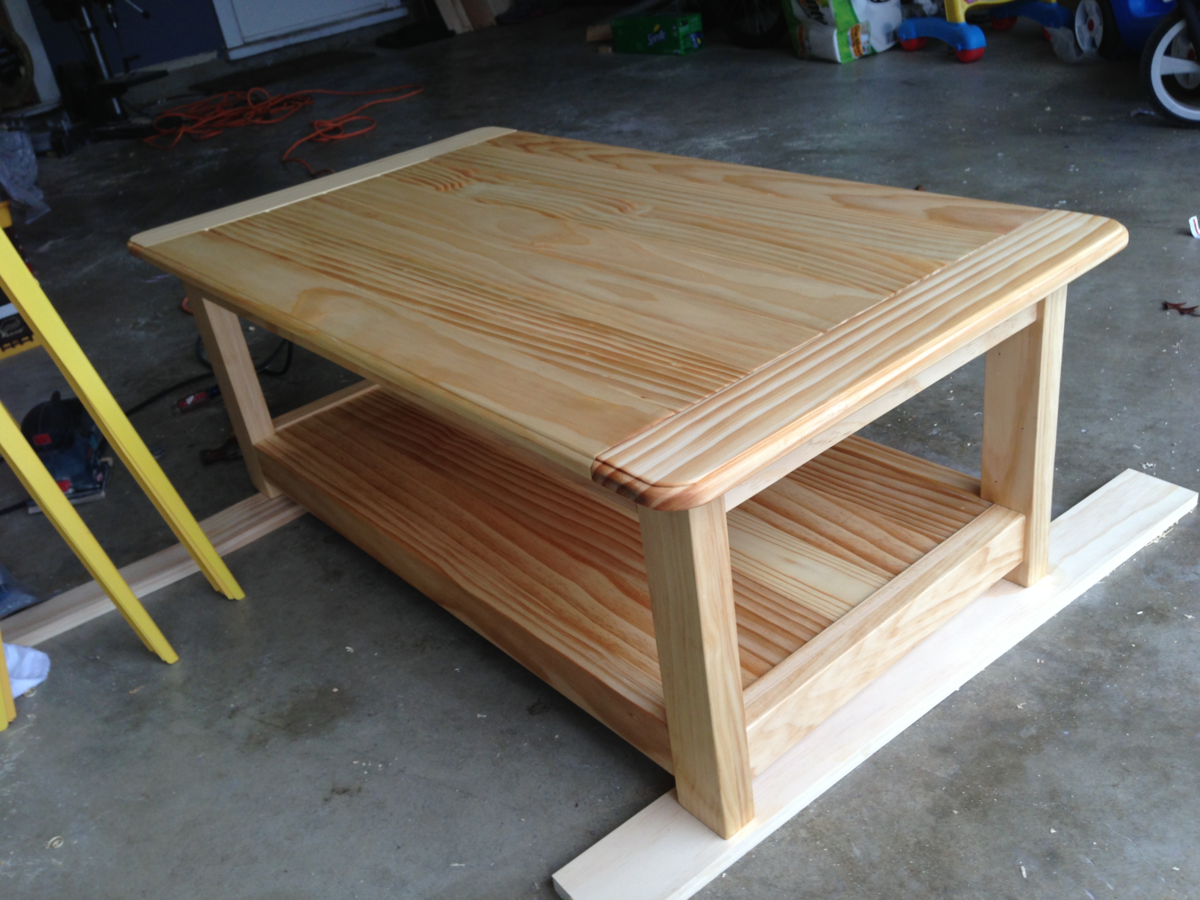
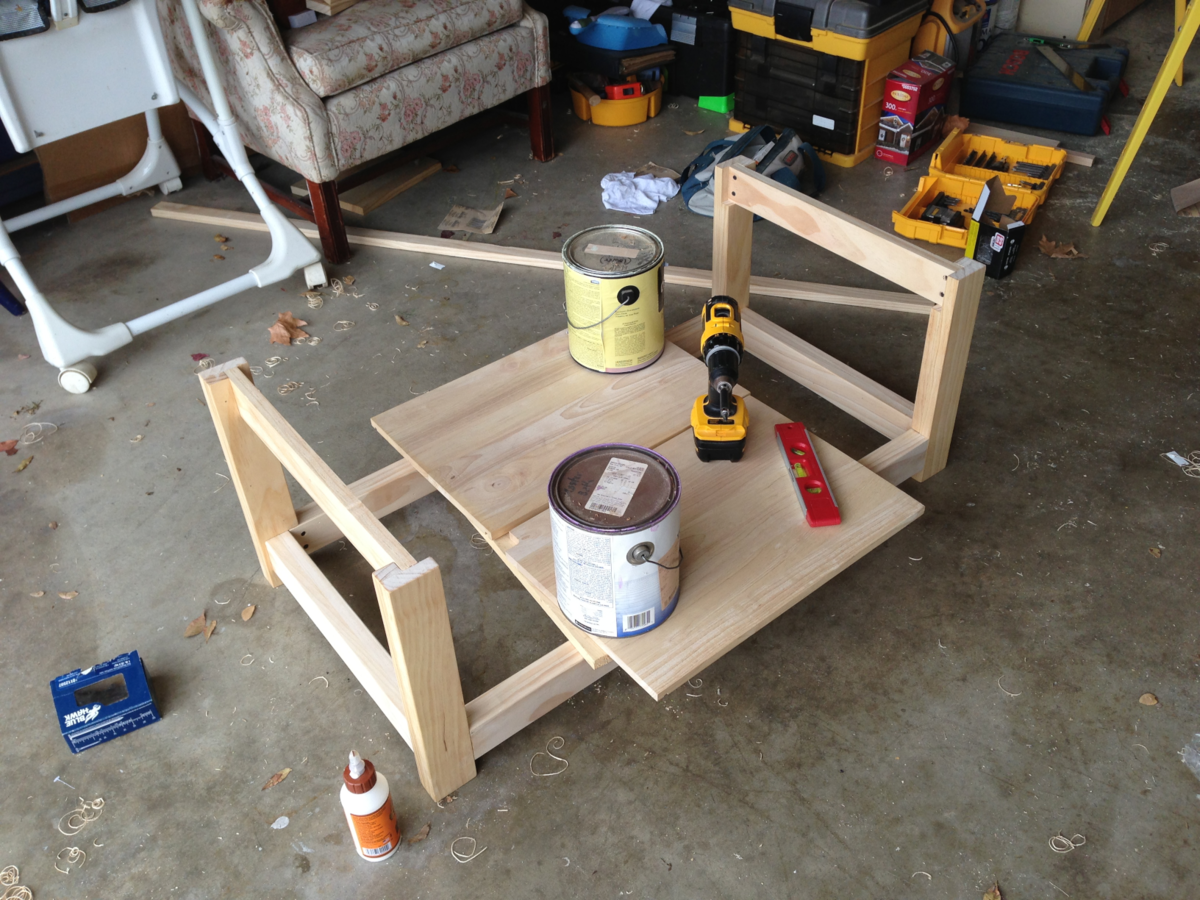
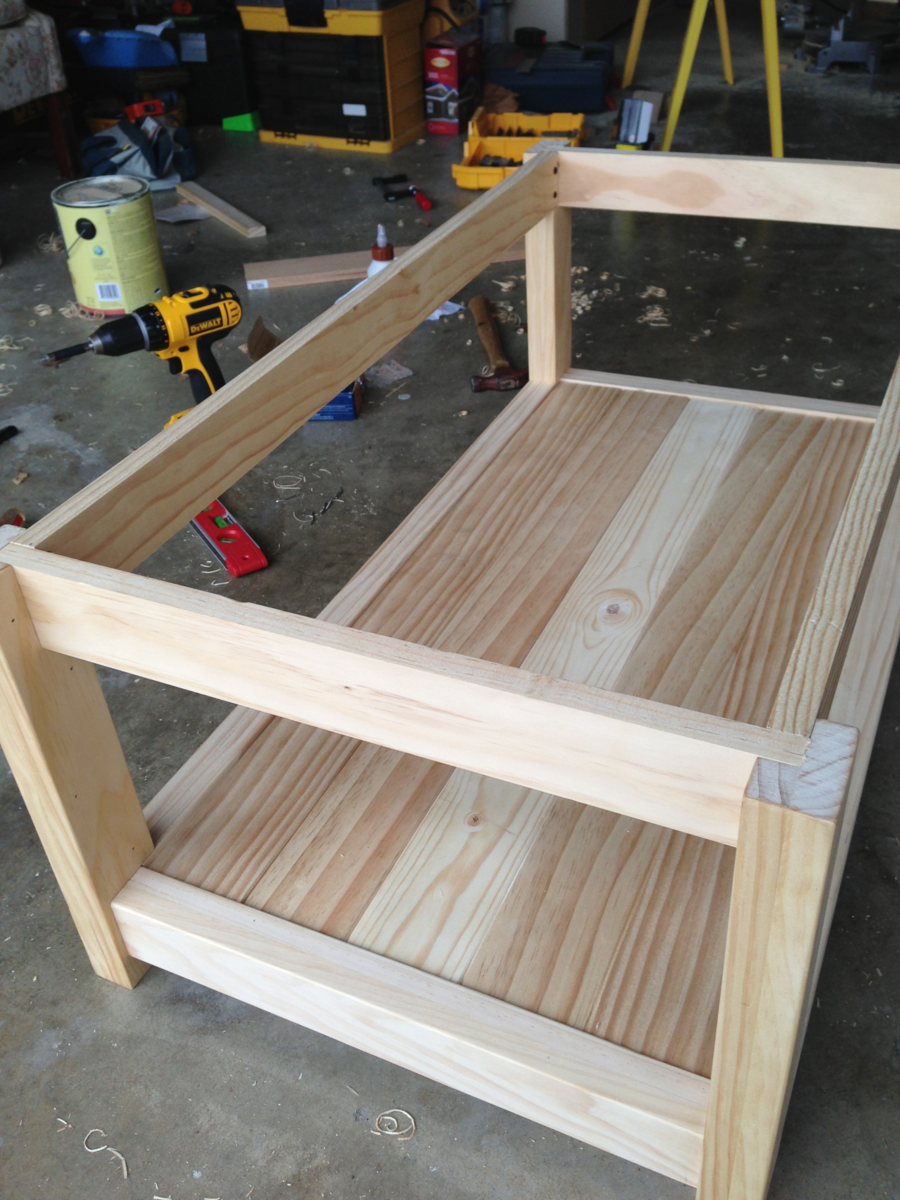
A friend of mine asked me if I'd build her a farmhouse table per the plans at http://ana-white.com/2009/12/plans-farmhouse-table-knock-off-of.html. Sadly I still haven't gotten around to building her one (sorry Jennifer!), and that's partly because even after practicing my skills on smaller projects, a full-sized table still seemed like a big job. Around the same time my two year old daughter was walking all over the house, and our coffee table presented a constant threat of head-banging and side-hurting danger. Then I realized I could build a miniature version of the farmhouse table as a coffee table, and in the process round the corners to make it baby-safe!
Unfortunately I'm not disciplined enough to write down the exact measurements, or at least not keep them since I never think anyone will be interested in these things later. I take pictures just to show friends and family. However, since these plans came directly from the aforementioned link of the farmhouse table, it should be easy to figure this out. The only differences were that I created the outer dimensions based on the space the unit would be taking up in my living room. And with a couch with a chéz, it was important to stick to those.
Also, as you can see, I added a second level to the table so that we could place things on it, but also for stability. This was not difficult to do since I just created an internal shelf to place the planks across the bottom.
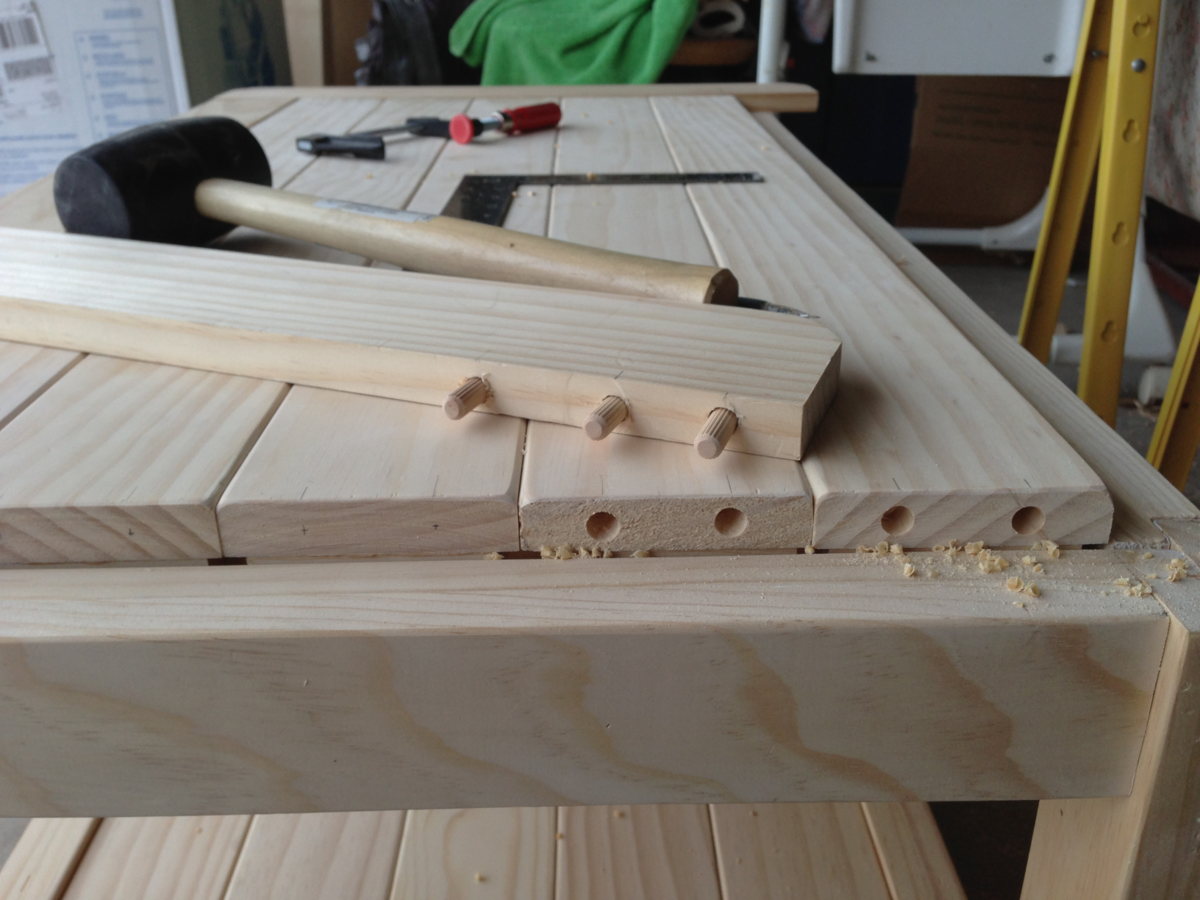
Since my father is a master carpenter, and I explained to him what I was doing, he also recommended that I not fasten the upper or lower planks to the outside with any single piece. He said that due to weather-caused expansion and contraction throughout the year, if I fastened the planks together at the ends with the bread boards, there would be much cracking. That's why you see the bottom supports fastened to the underside of each plank with an individual block of wood, and not with one long piece. That way the planks can move independently of one another. that's also why they're not fastened together long-ways.
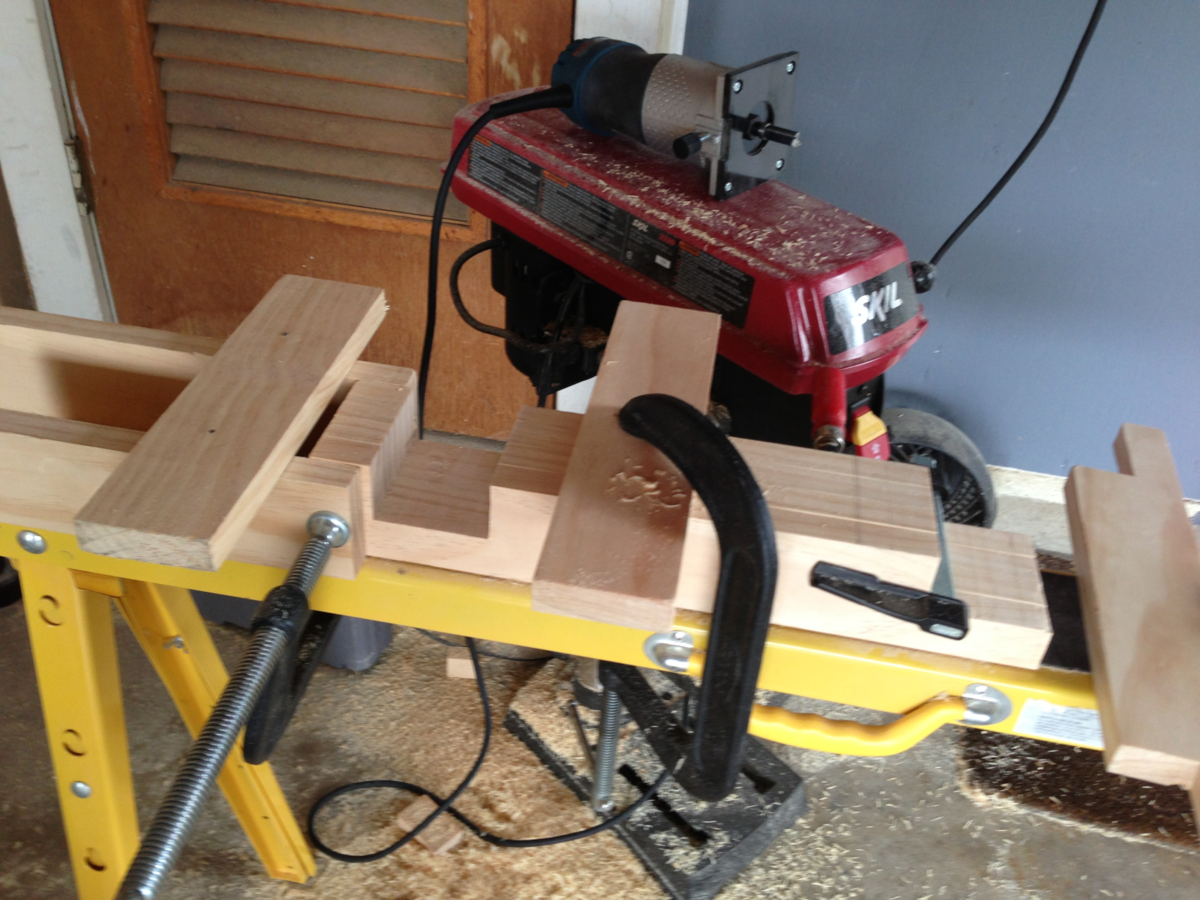
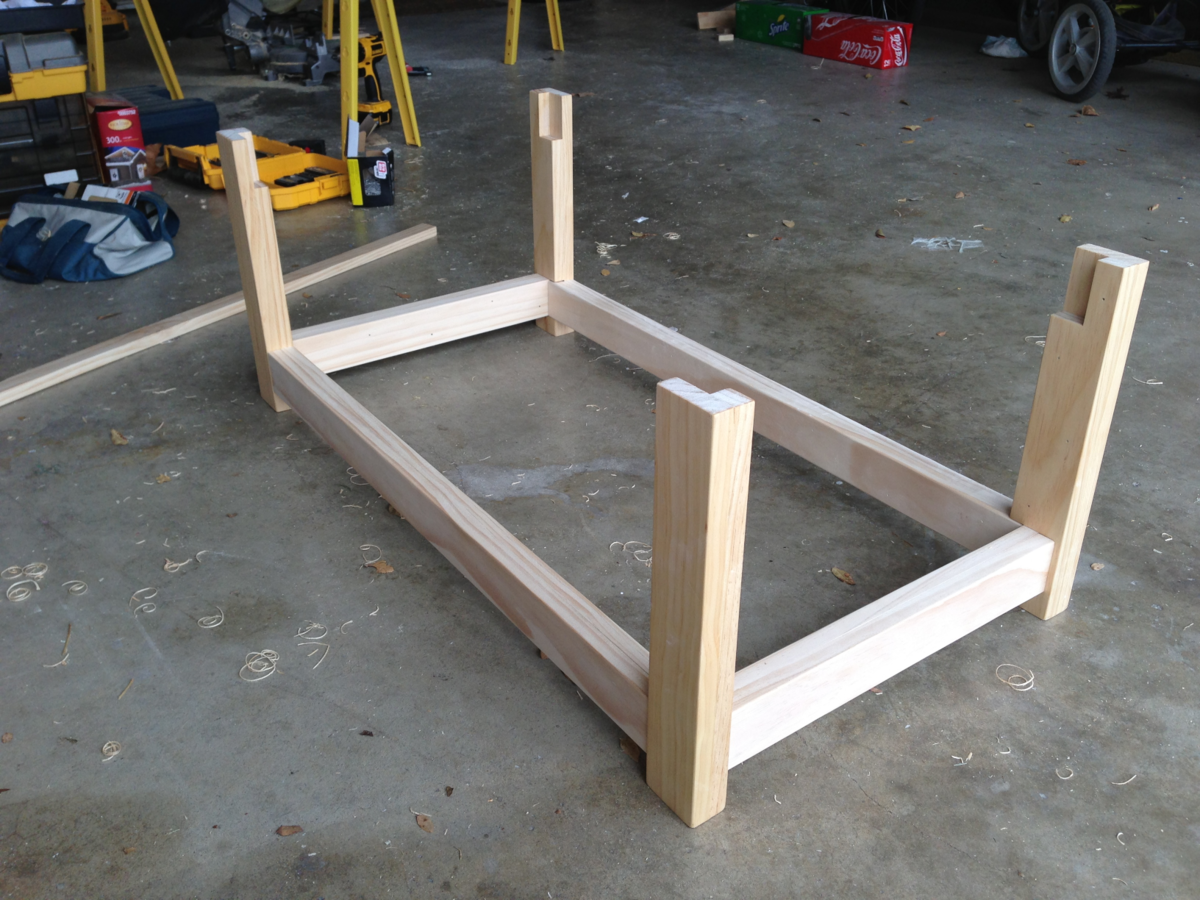
One last note. I built those legs several times. The only way I was ever able to get them correct is when my father told me to buy a long router bit, clamp the legs together, and route them all with guides. He said getting cuts in four separate posts even like that is one of the hardest thing to do if you don't make the cuts at the same time. He was right, and with his approach the table was perfectly level!
This didnt take long at all 2 - 3 hours at most. Really easy and turned out great.
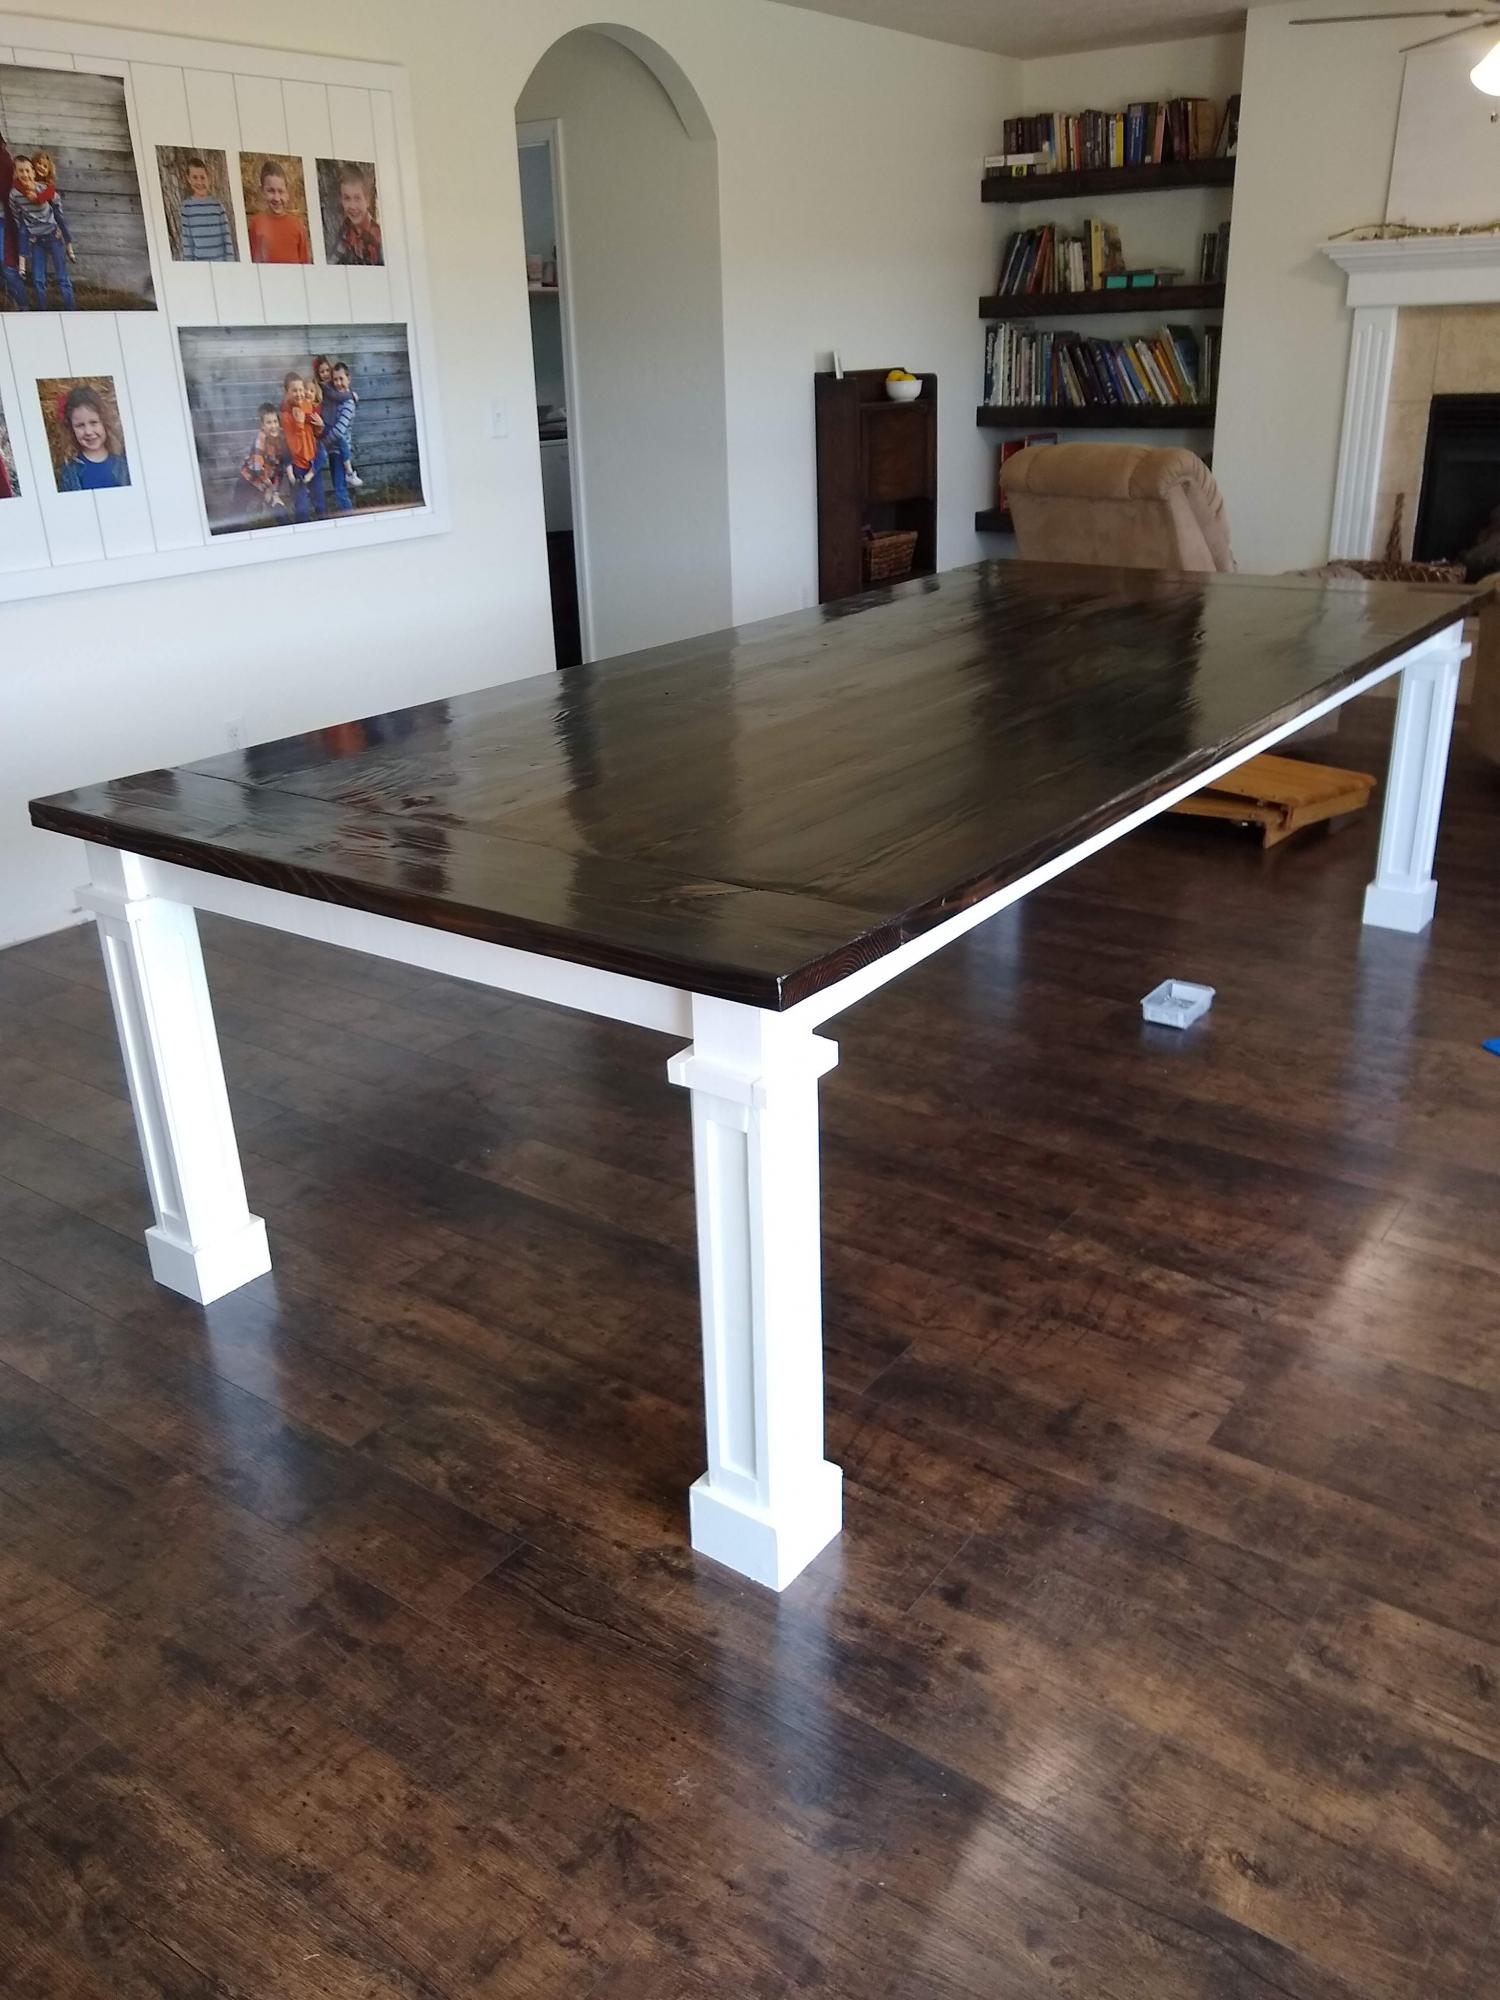
This was such a fun project! We changed up the dimensions, removed the stretcher so that we could put chairs on the ends, and added these fun craftsman removable table legs! I put tons of information of my blog!
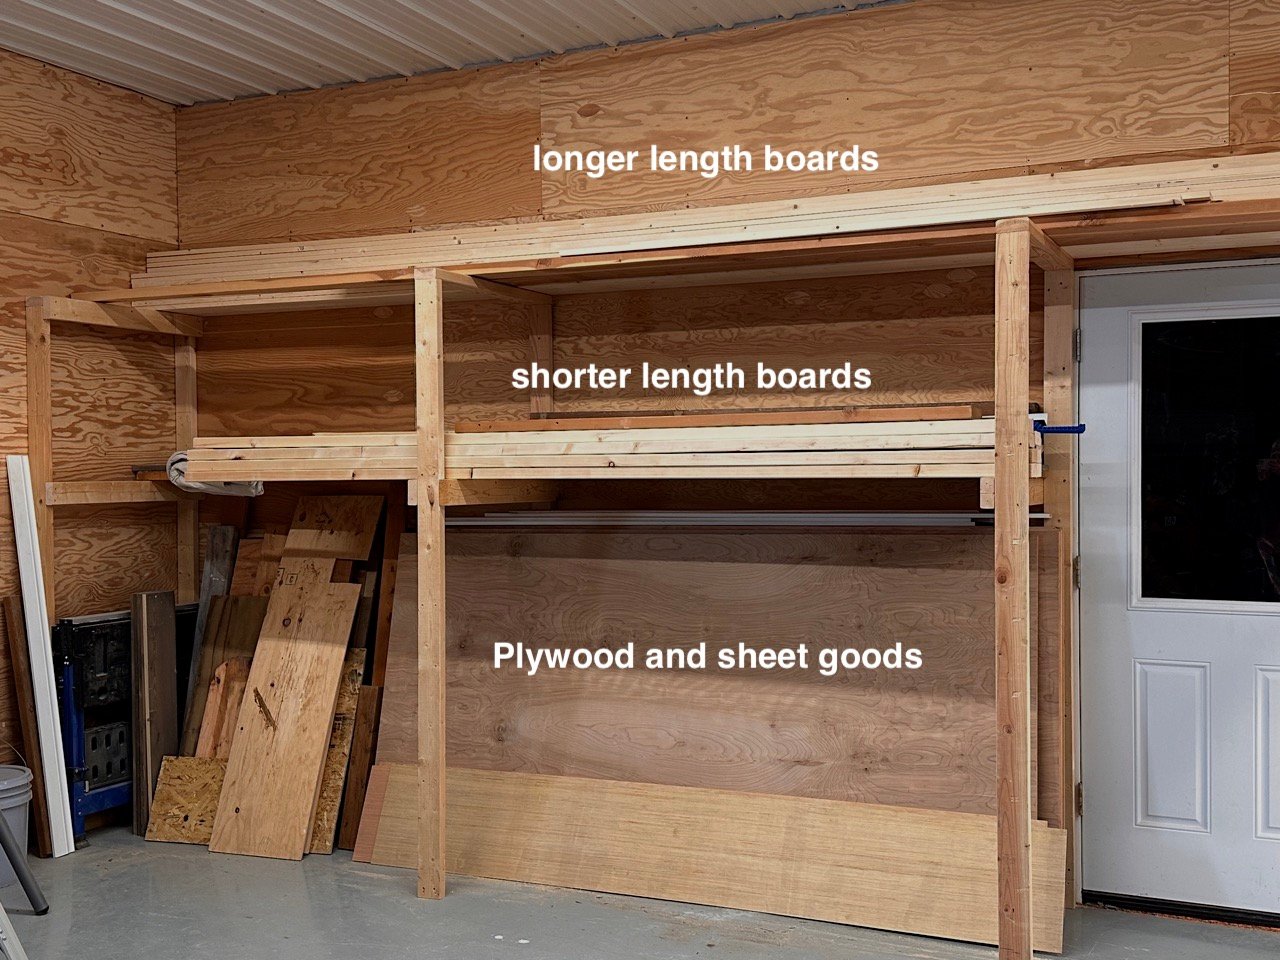
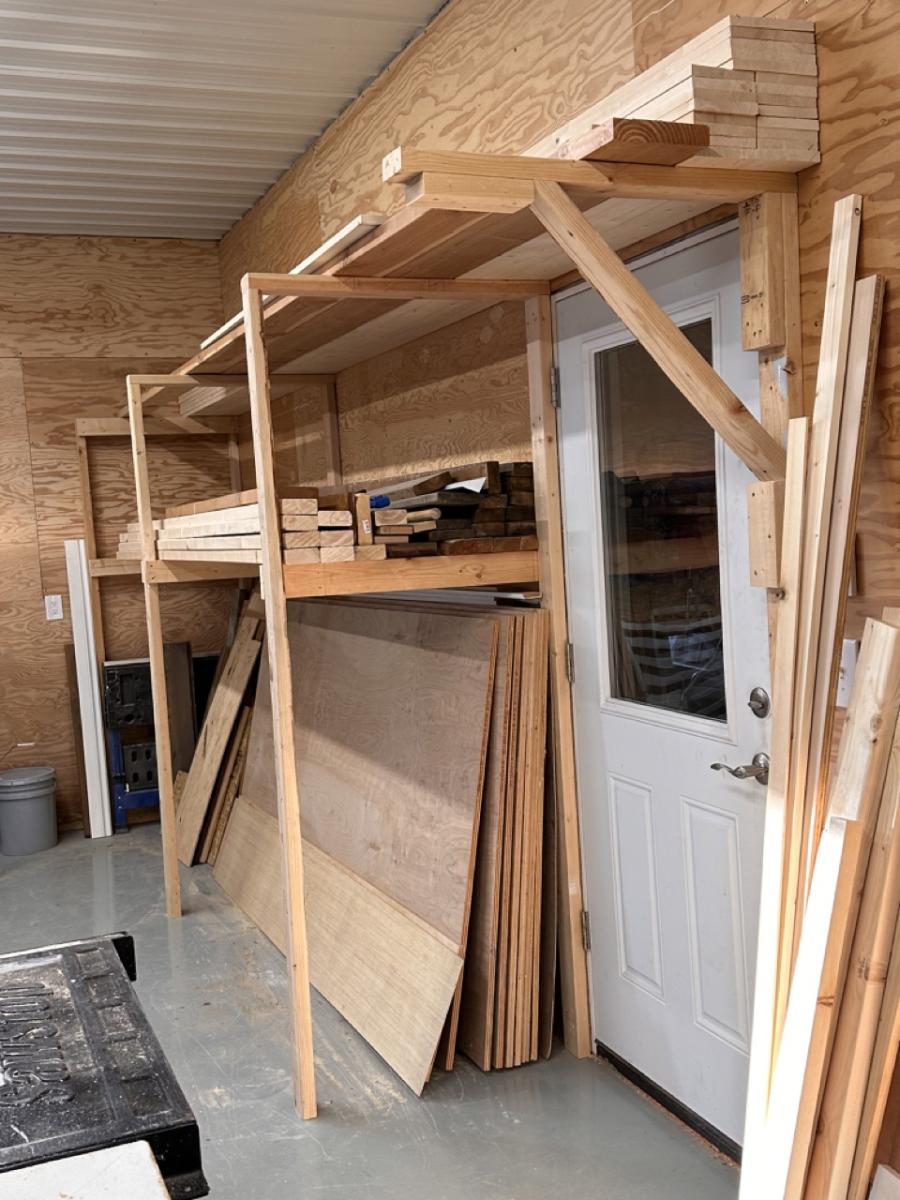
We needed to store 16' long lumber as well as plywood and shorter lengths of lumber, but didn't have 16' feet of wall. So we used the 2x4 garage shelving plan to create the frame for a lumber rack. We did screw the "ladder" parts of the shelving to the wall. This is working really good for us and was inexpensive and easy to make.
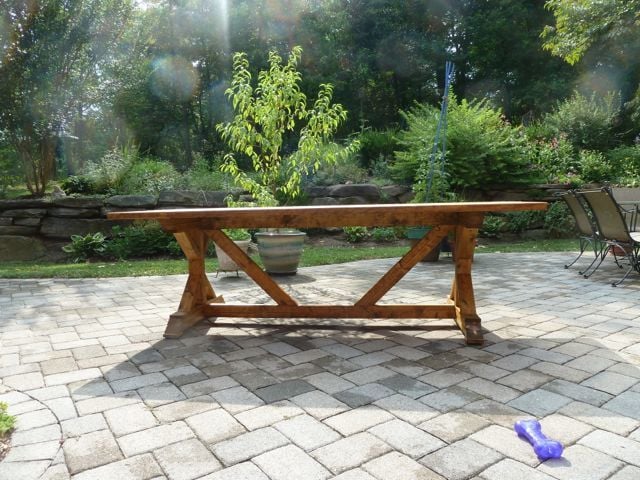
My 19 year old son made this for me in an afternoon. I did the finishing and used an oil based outdoor stain. I would try a different finish next time. One coat did not seem enough, and two coast were tacky. I love the finished table though. We will use it outside on our patio. I am considering having my son build another using better wood for the kitchen.
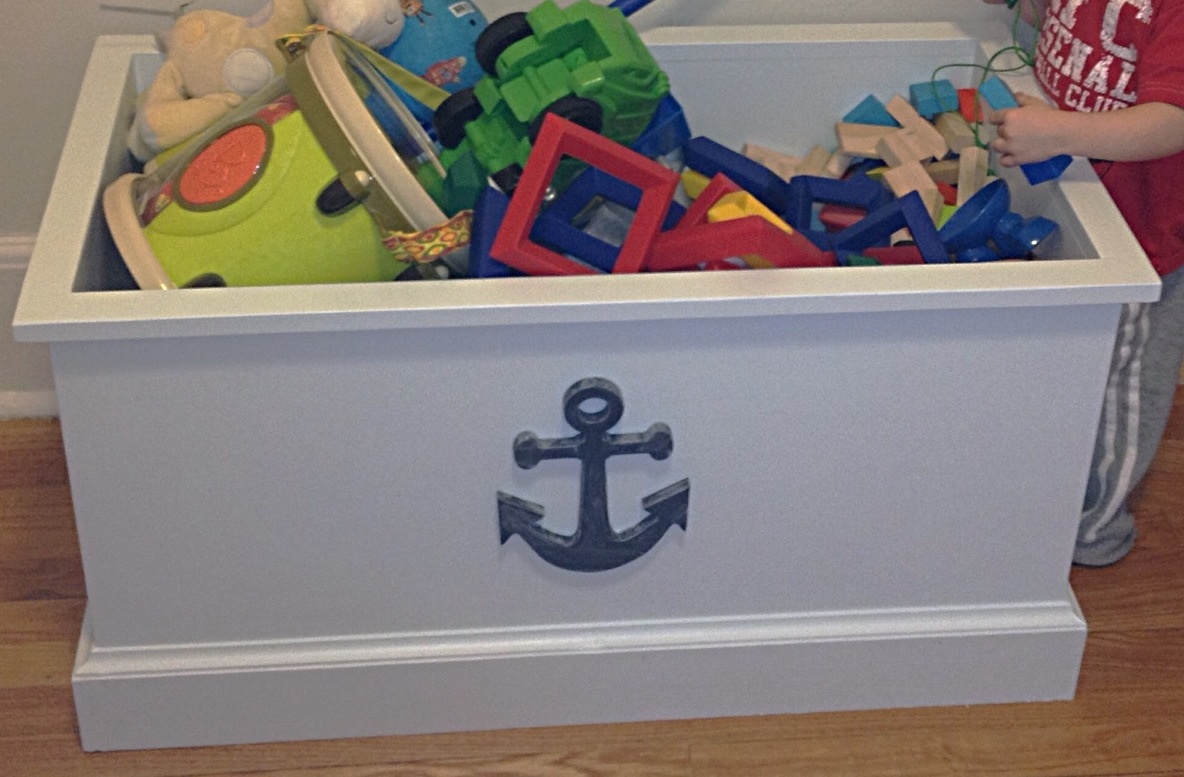
This took me almost a week as I'm 8 months pregnant and have a very busy toddler! I love the way it turned out, and so does he :) I was able to consolidate a toy bin, a small box of toys, stray toys, and a small bench toy chest full of toys all into this one, huge toy box!
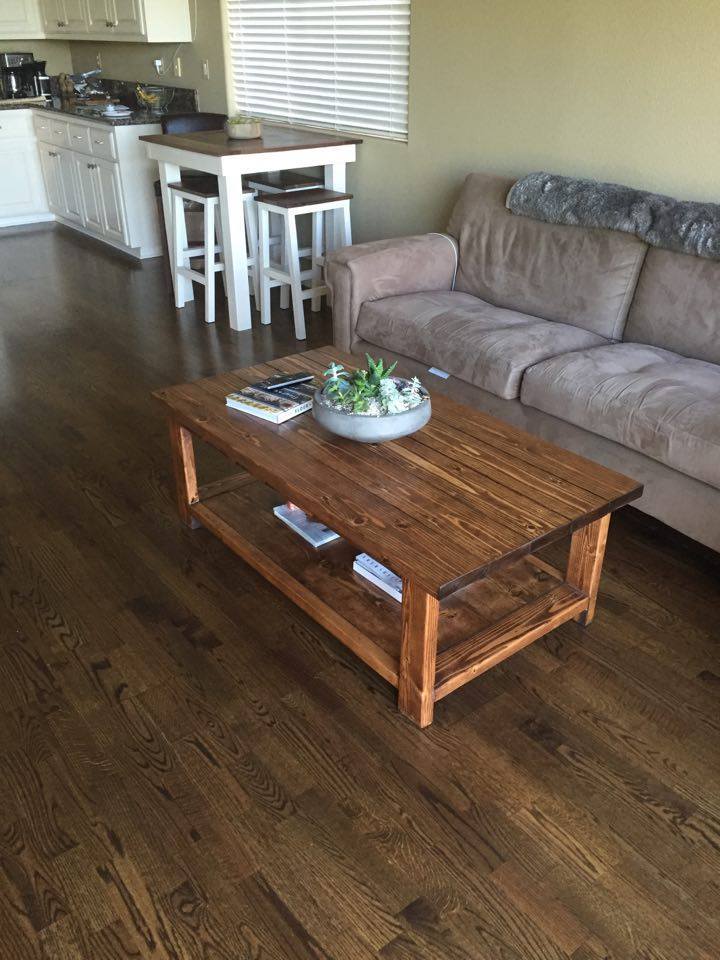
This is a coffee table built out of pine, doug fir and redwood. I mistakenly bought redwood for the top, but I think it came out pretty nice! I had the "x" but decided I liked the look better without it.
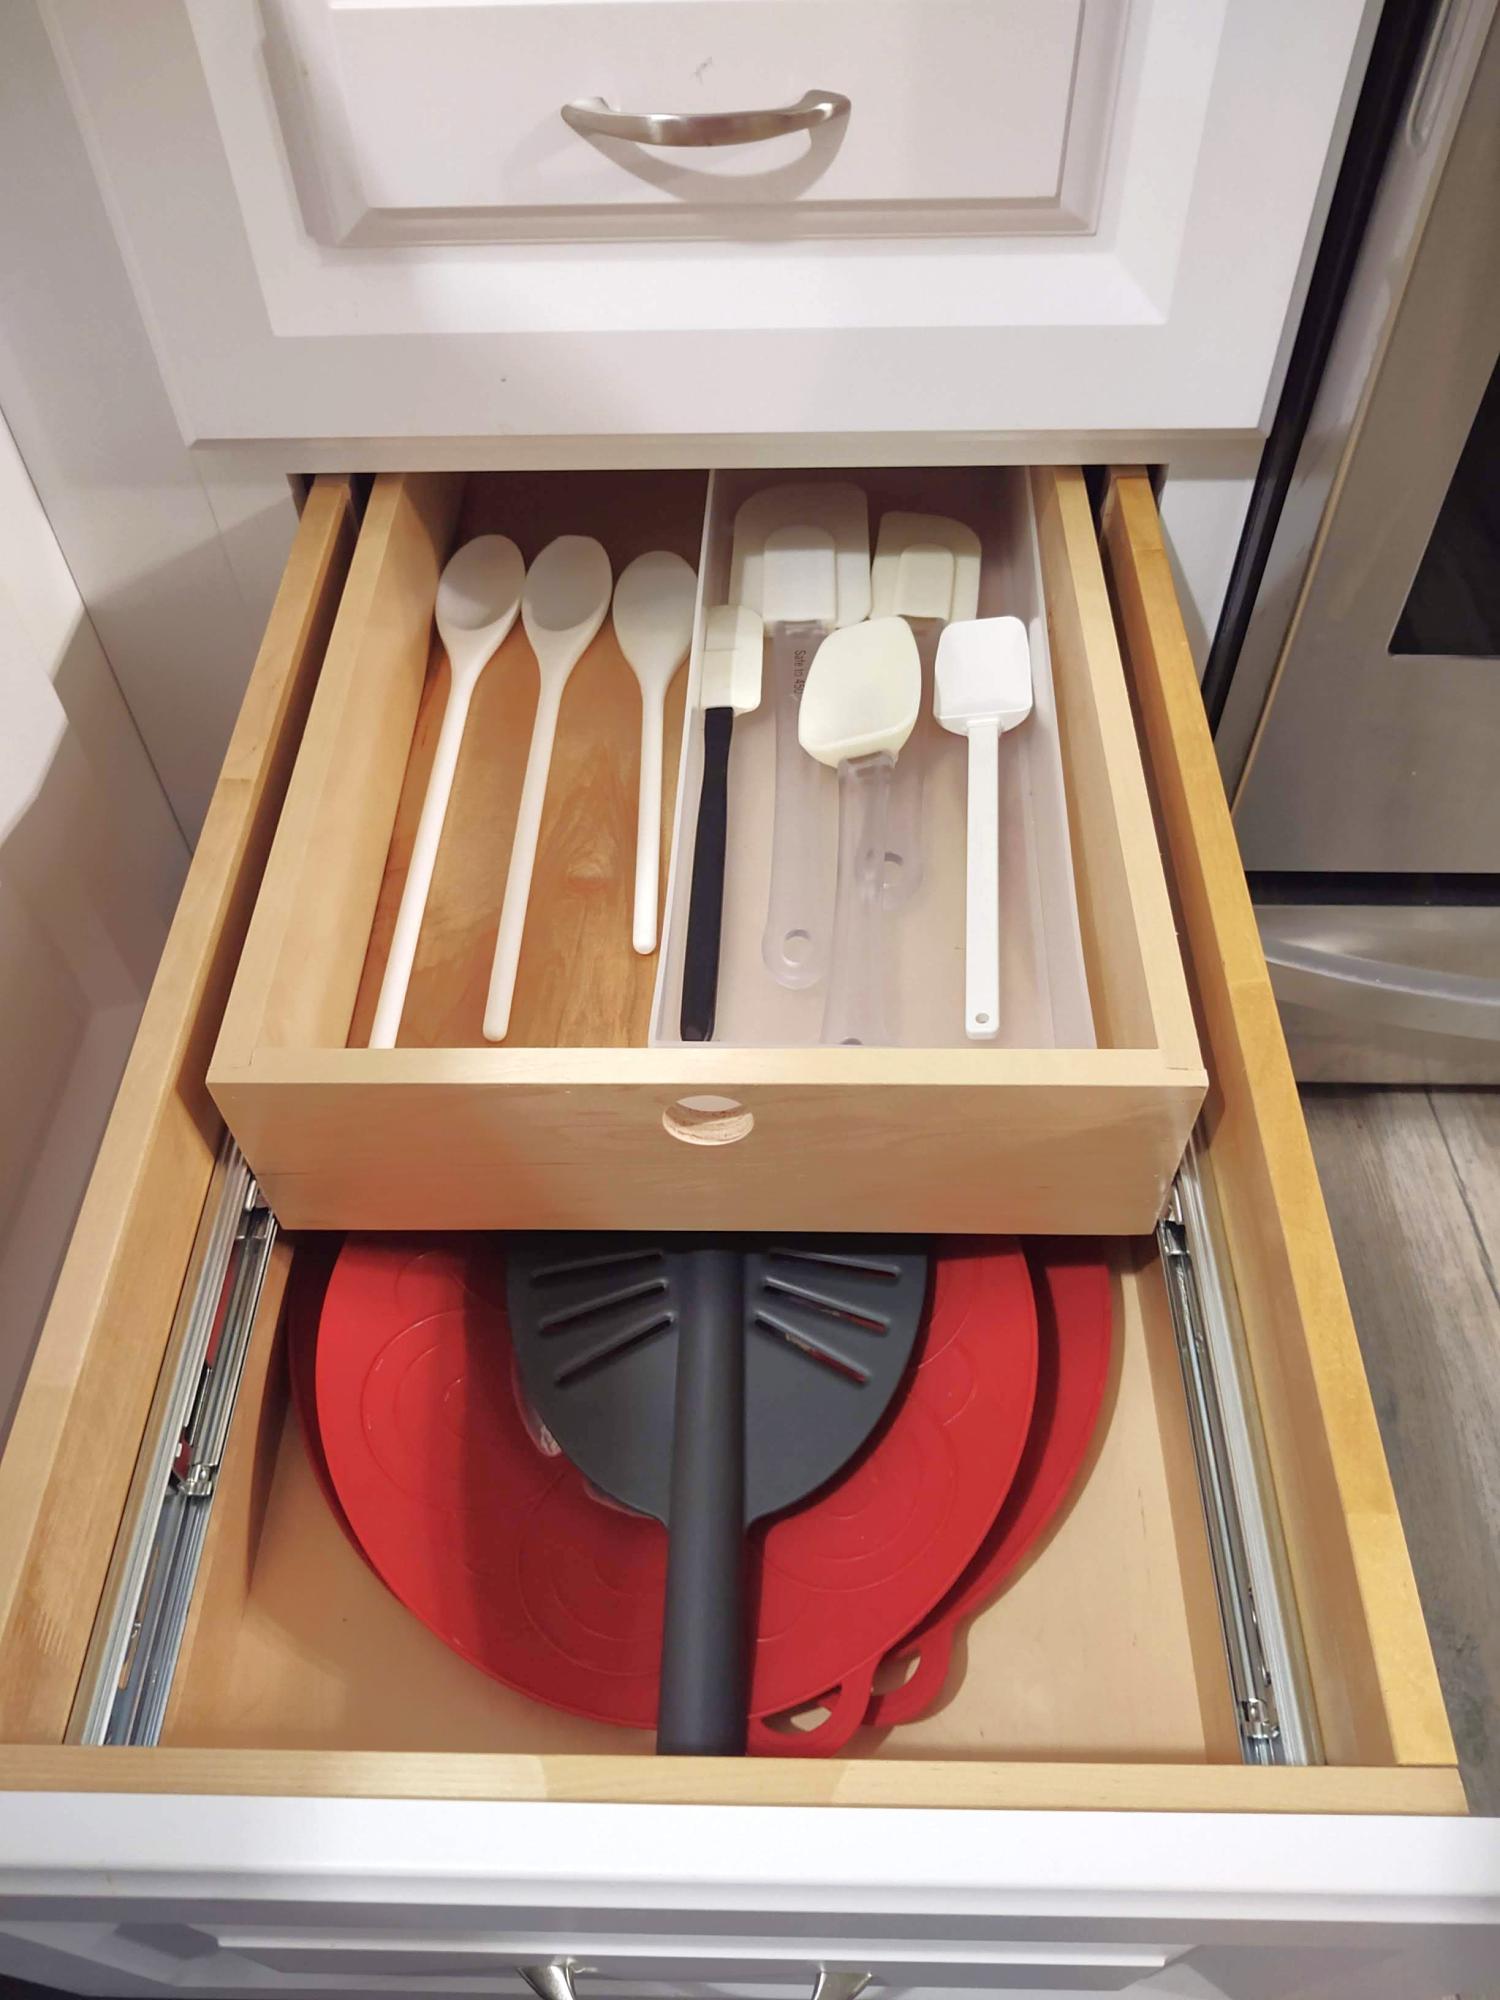
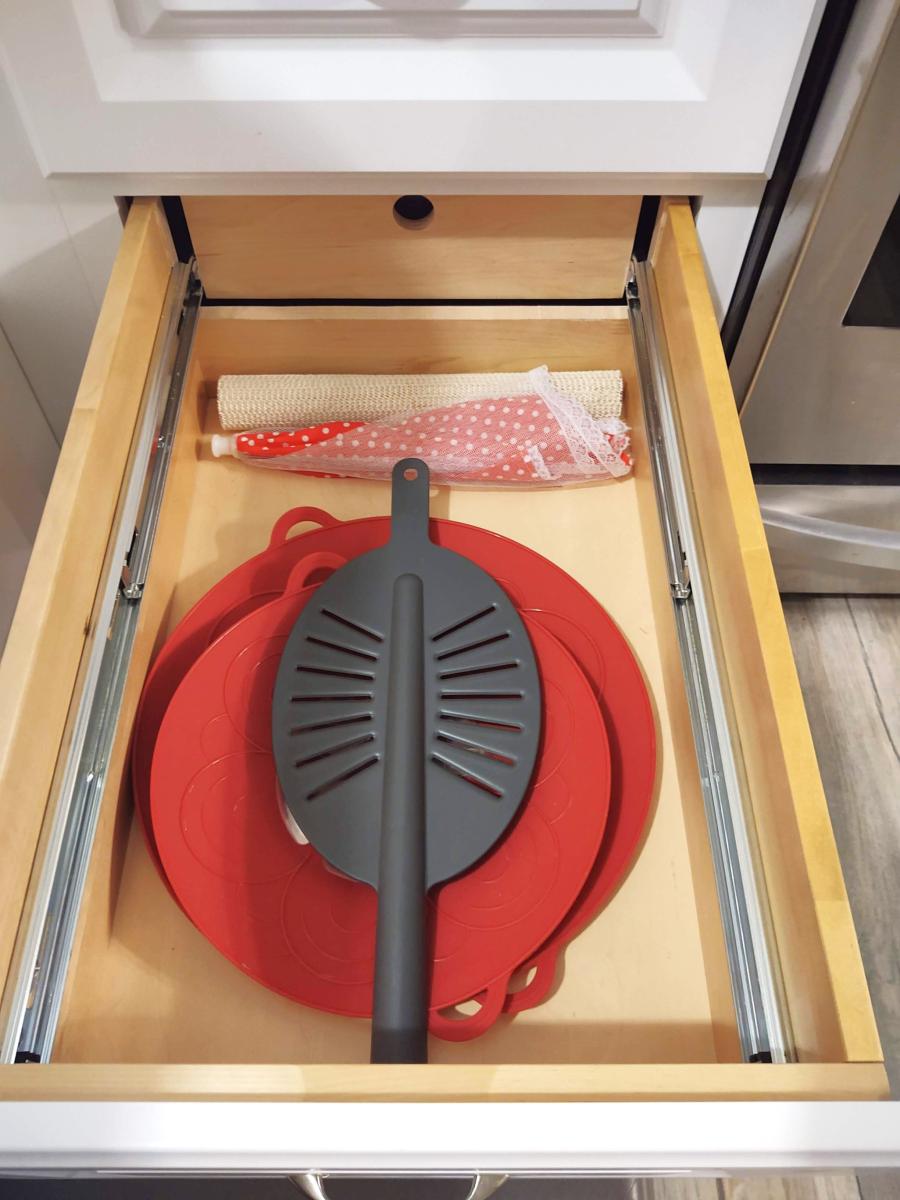
I had a friend who does cabinets, complete two drawers for me from your example. And he did two for my sister's place (one being a double decker slider because her drawers are deeper). Thank you for the inspiration!!
Michelle R.
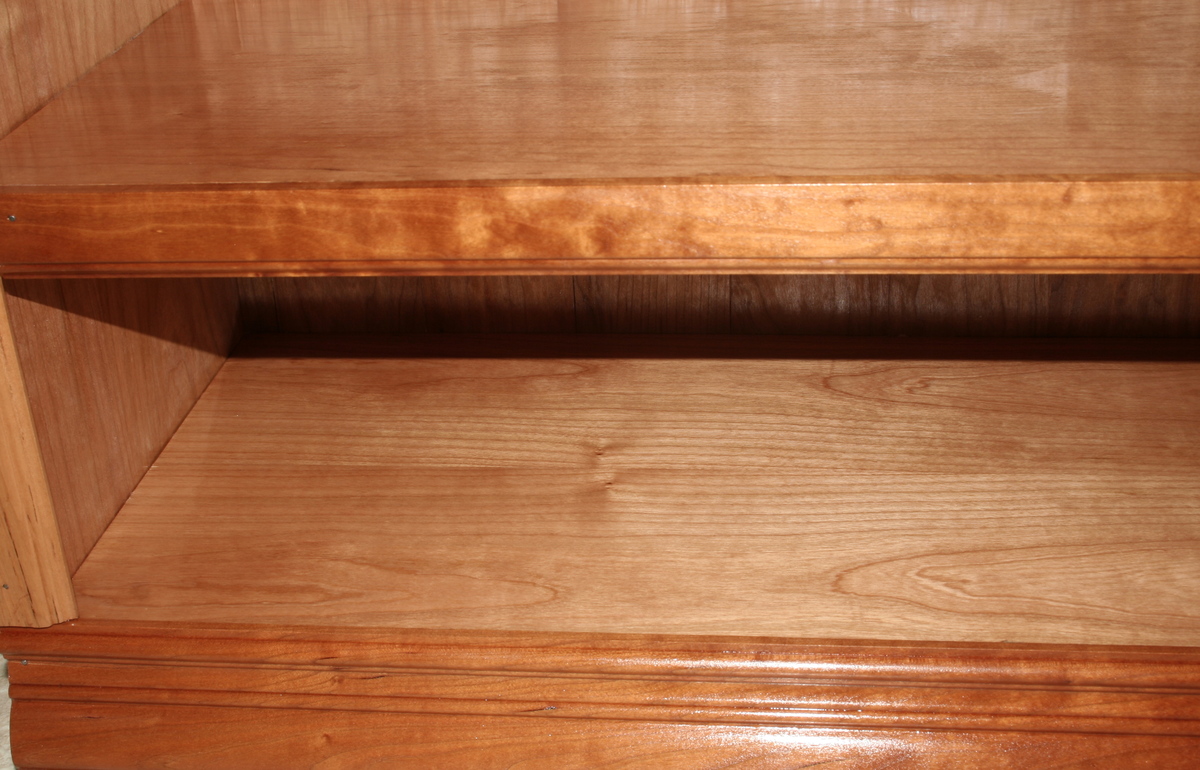
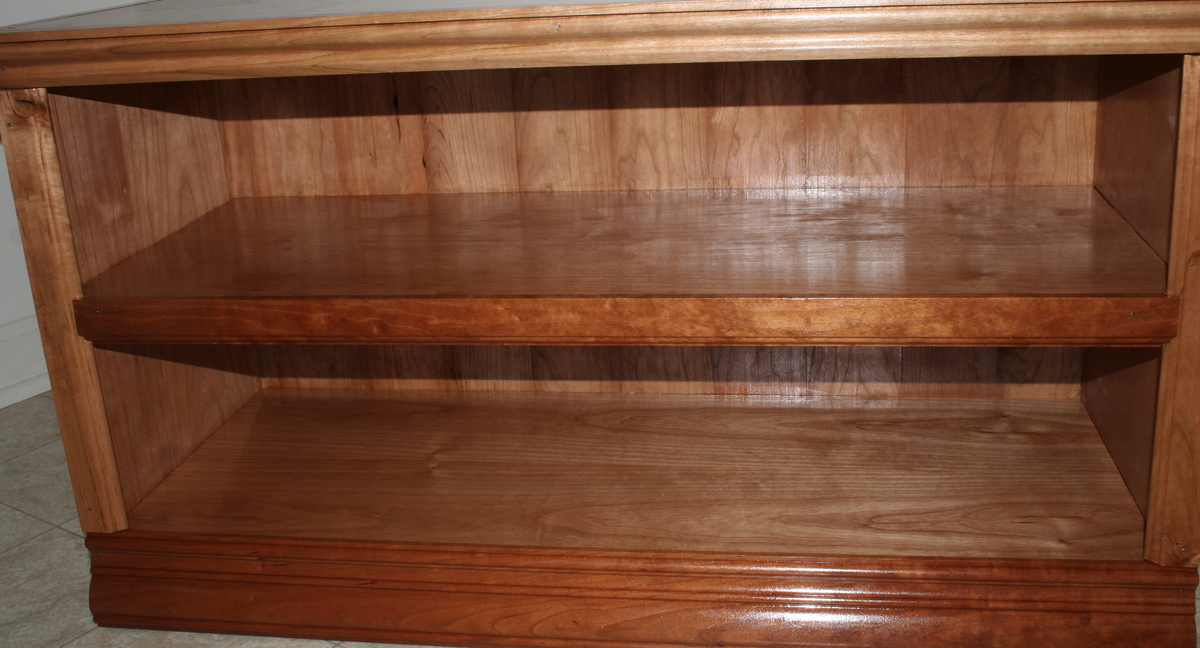
This is the mini version of the Tommy Bookcase. I am using this piece as a storage bench in the bathroom. I loved what we did with the Tommy Bookcase, so we made a mini and used the leftover trim and moulding to make this piece. I love cherry wood, but it can be very pricey. We used cherry plywood to save on costs.
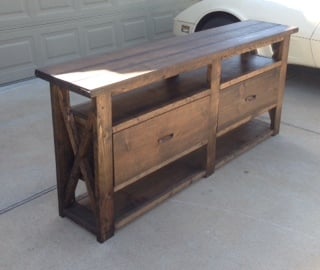
The one with the extra shelf is 3" taller than the one in the plan and I also took 3 inches from the bottom shelf as well as lowered it. The X's for the taller one were very challenging but turned out pretty good and I chose to use wood guides underneath instead of purchasing metal ones. the drawer fronts are 1x12's and sides are 1x8's. I used my router to cut a grove to hold the plywood bottom and added a support in the center. I have a dovetail joiner but haven't learned how to use it (hopefully will learn soon).
Overall I am very pleased with the way these turned out. I plan on making some with single drawers with the left over wood!
Thanks Ana I couldn't have done any of this had it not been for your site!!!
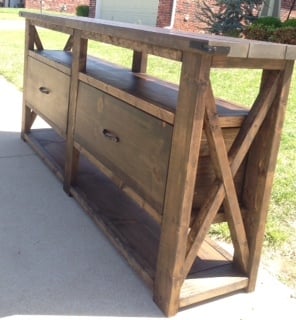
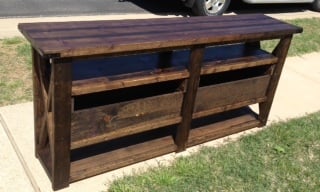
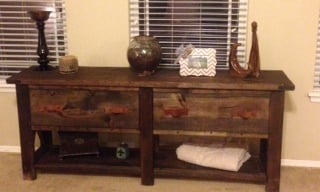
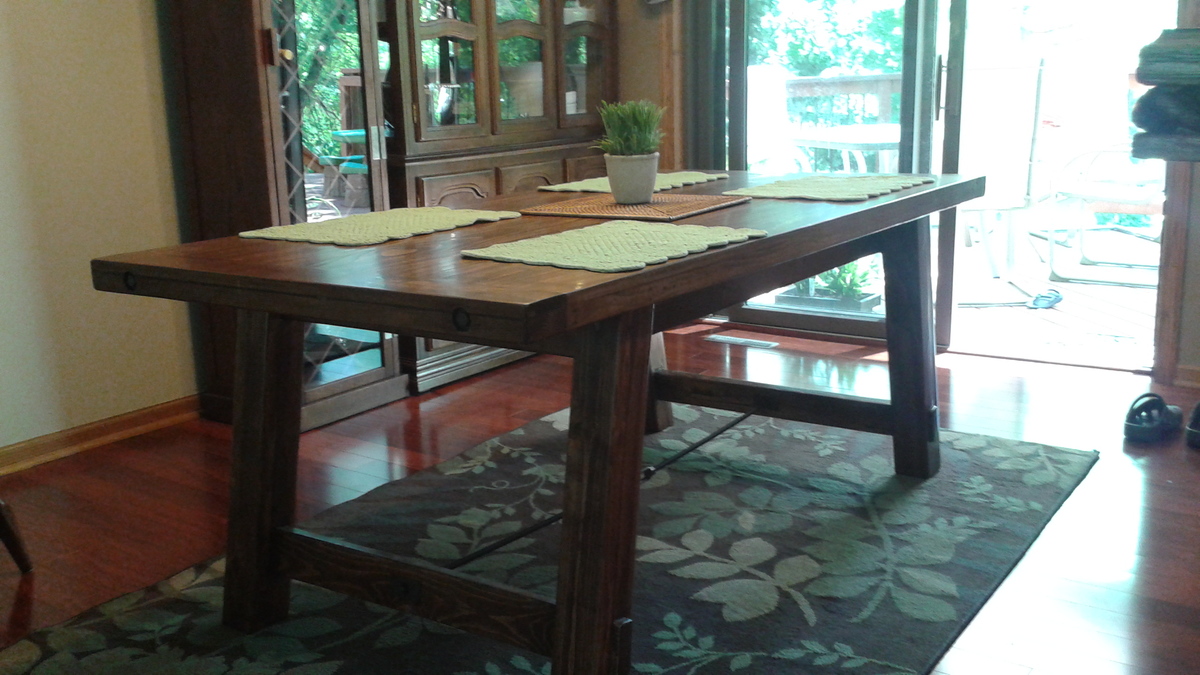
Put together mostly in accordance with the Ana plans, but this one is one 1x6 wider than the original plans with aprons, legs, breadboards, etc. widened as necessary. Also, the table-top is connected all from the bottom so I could avoid having to patch a bunch of nail holes on the top (lots of screws and pocket holes to pull it all together that way). I'd highly recommend a Kreg jig for the table, as it allows for most of the screwed connections to be hidden.
We're moslty just happy to have a rock-solid table that's easy to clean with our 3 and 5 year old boys. The table this is replacing was a hand-me-down antique that was quite shaky.
The matching benches will be coming along as well, but most of my stuff is put together after the kids go to sleep, so takes some time.
I didn't use wood conditioner prior to the stain - as I read from a good source that the gel stain will essentially do the same as conditioner + traditional stain, and somewhat wishing I would have, as there are a couple blotched areas I'm not happy with, but I'll probably notice them more than anyone else.
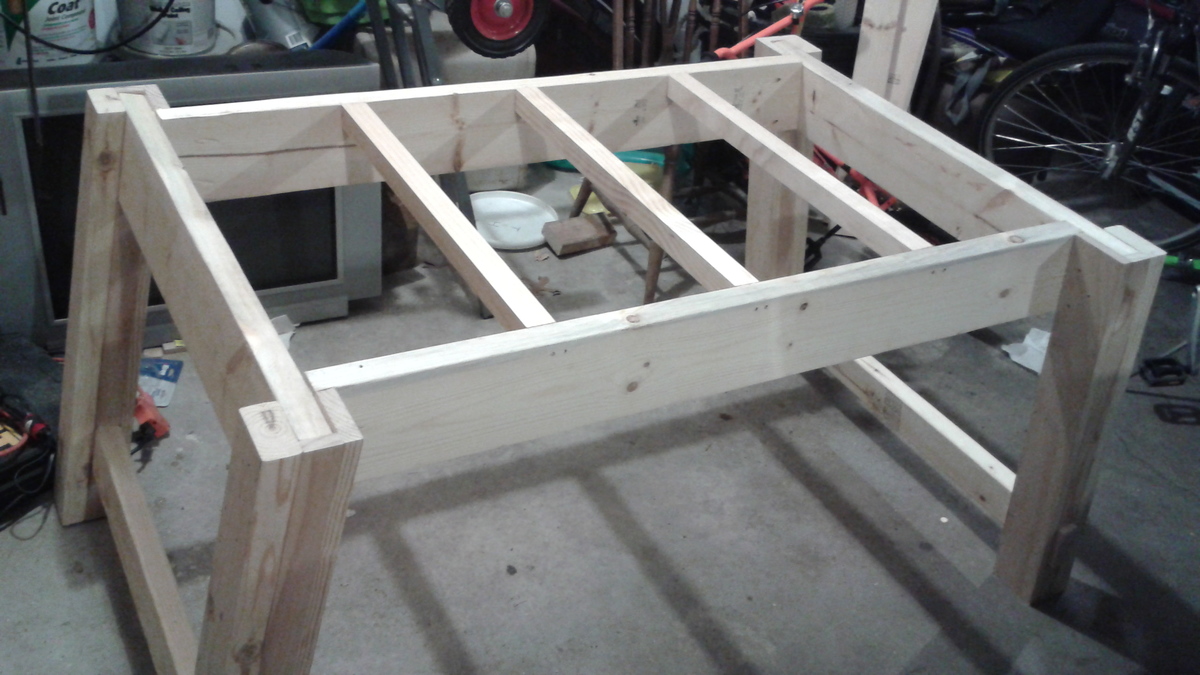
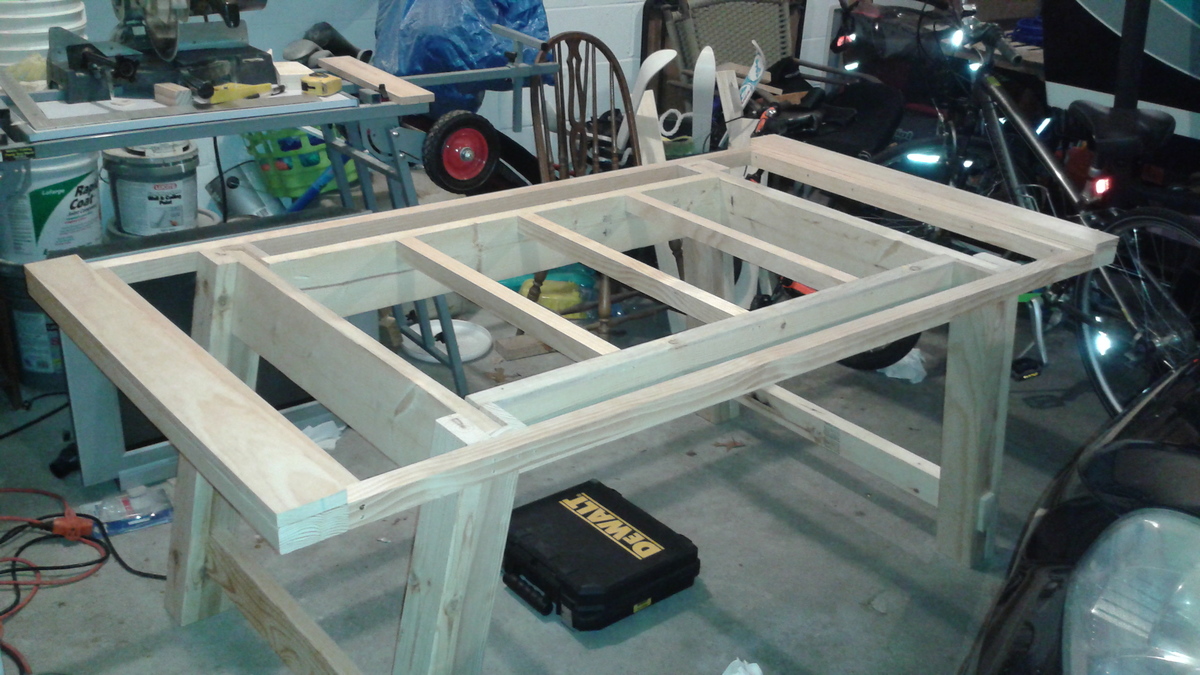
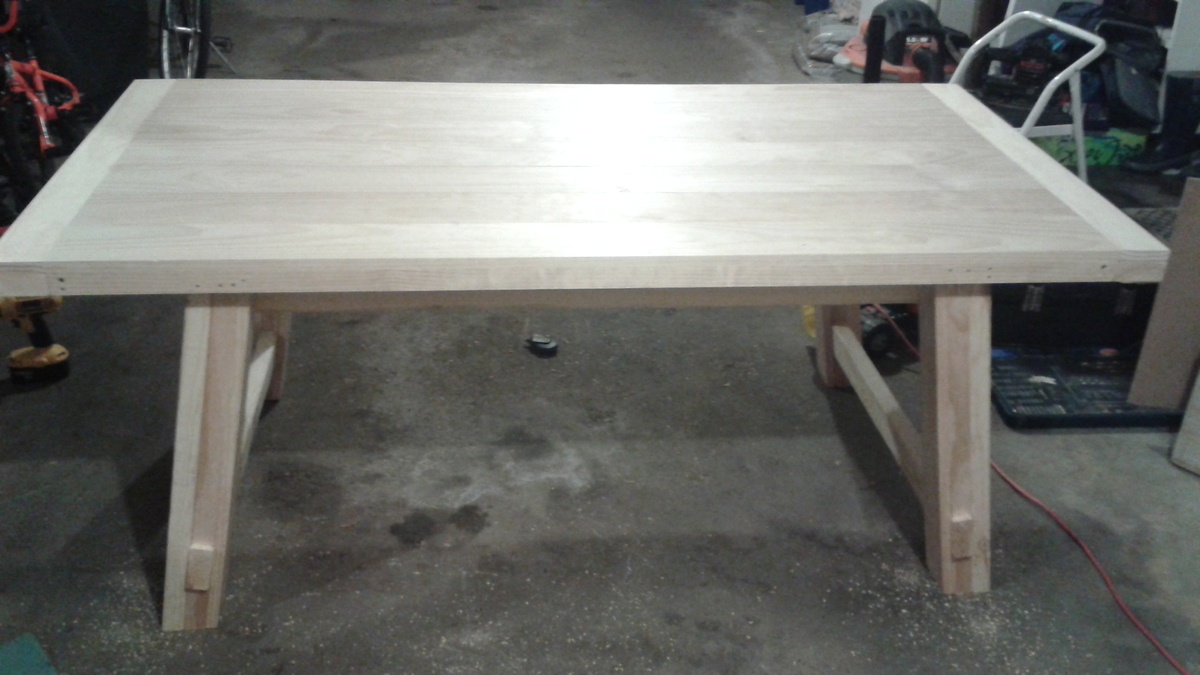
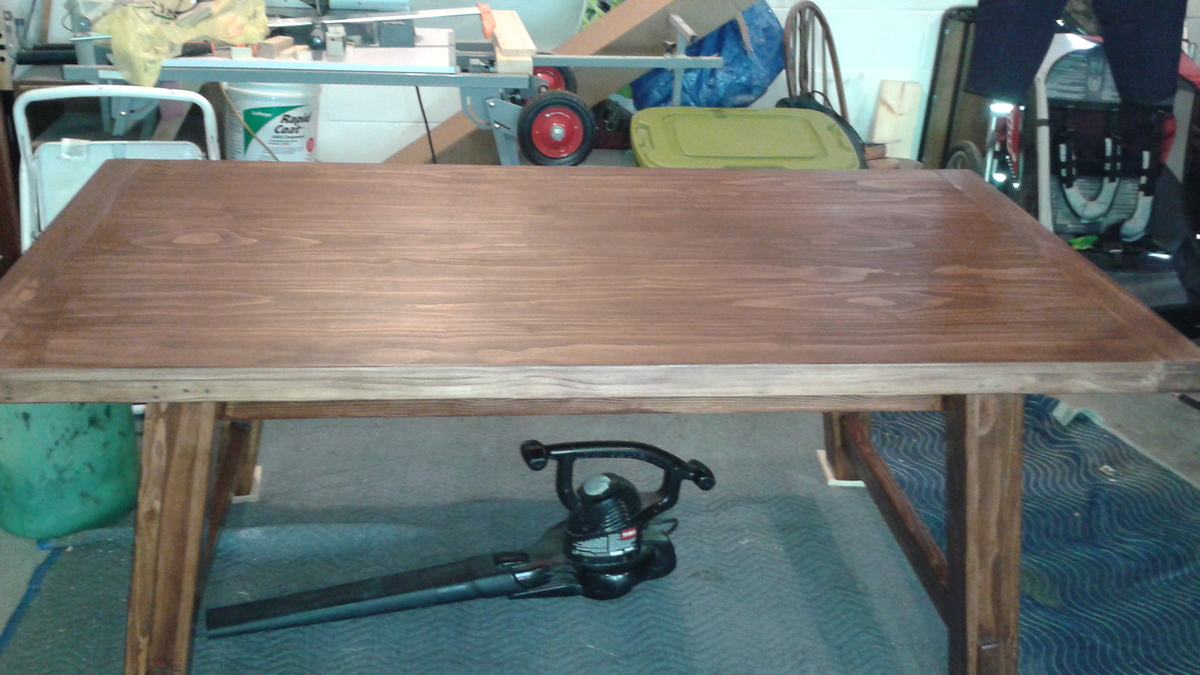
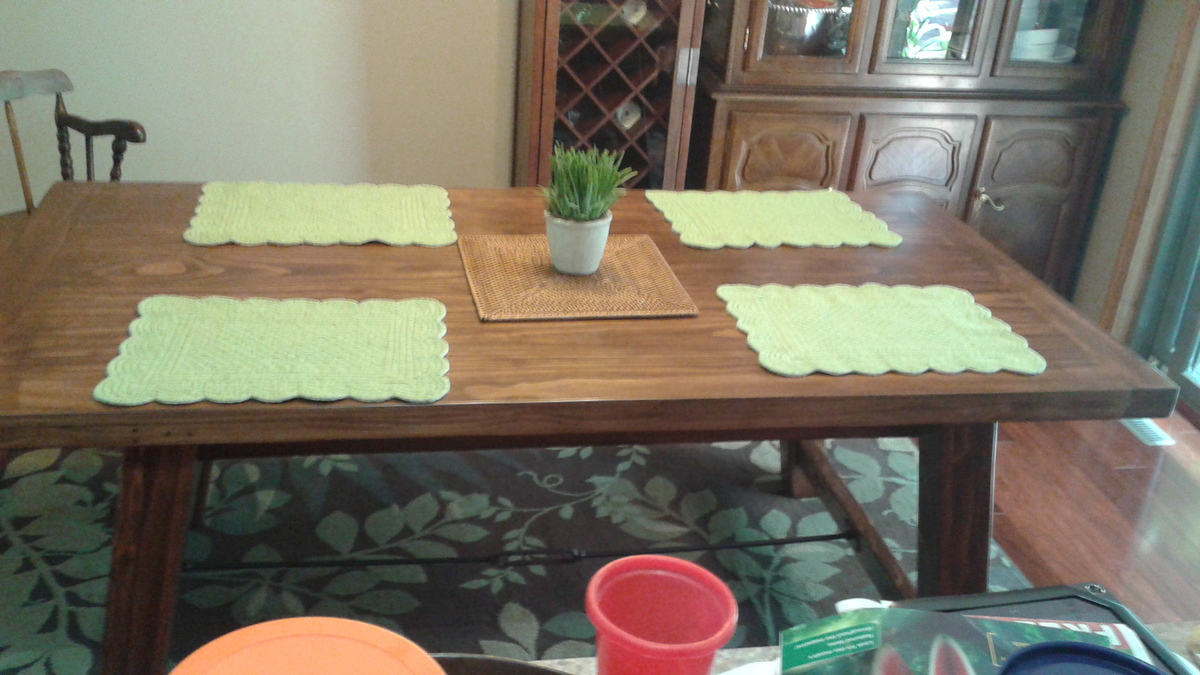

This was a great first project, I now feel more confident to make more beautiful wood pieces, thank you for sharing the easy to follow plans!
Ayse
Comments
Ana White Admin
Fri, 04/25/2014 - 10:59
Very Nice!
Love this Build!