Simplest Stool (as a water dispenser stand)
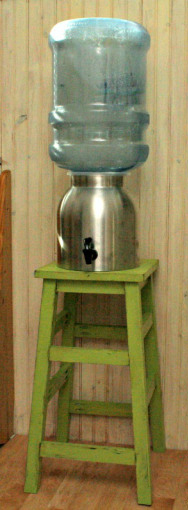
I needed a quick project that could easily be modified for my height needs and would make a good temporary base for my new water dispenser. This was perfect!

I needed a quick project that could easily be modified for my height needs and would make a good temporary base for my new water dispenser. This was perfect!
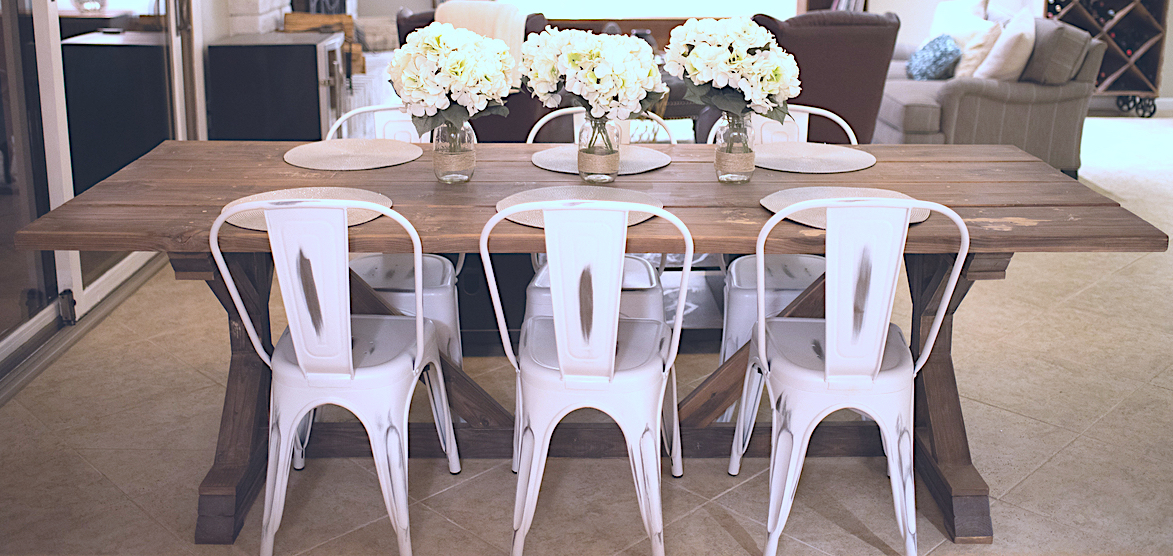
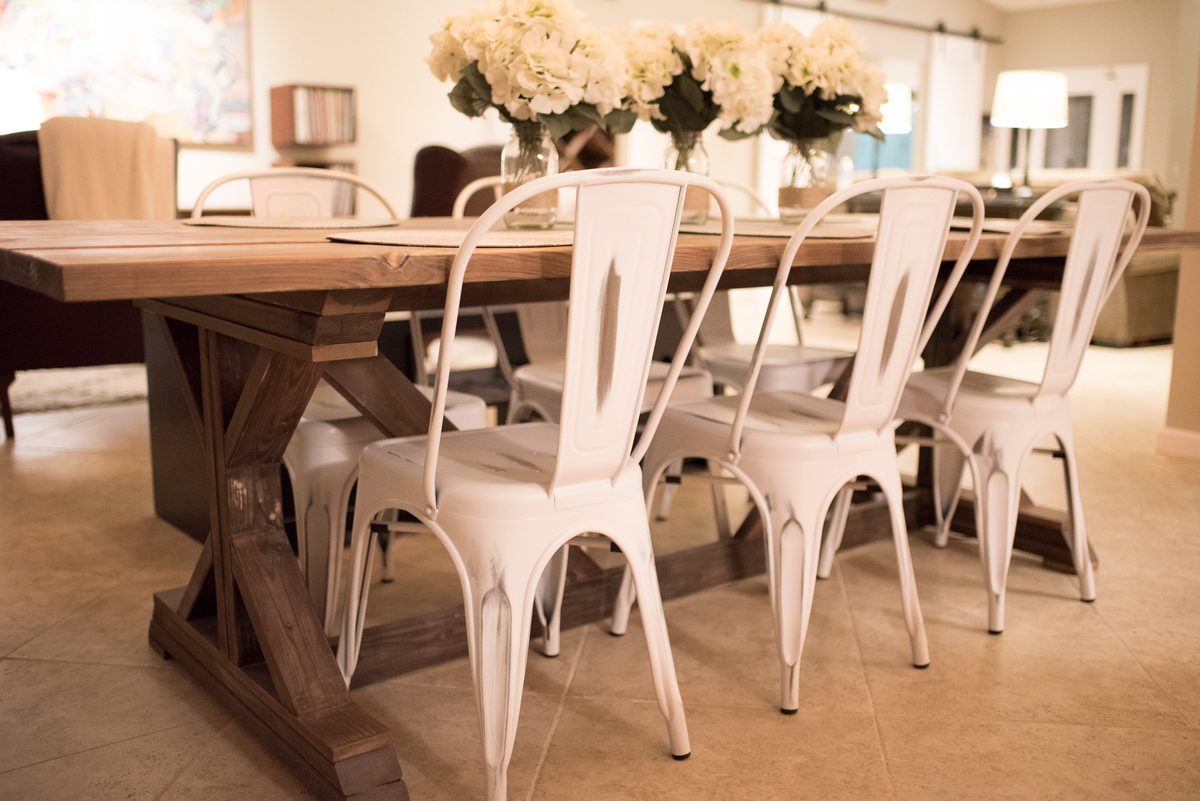
We were looking at buying this table at Restoration Hardware but couldn't get over the price. I love the look of the table but didn't want to take out a mortgage on it. Once I came across this plan, it was game over. Went out, got the supplies, and had it built before my wife knew what I was doing. It is built like a tank and even my kids can't hurt this! We get so many compliments on it , thanks!
Mon, 04/11/2016 - 07:56
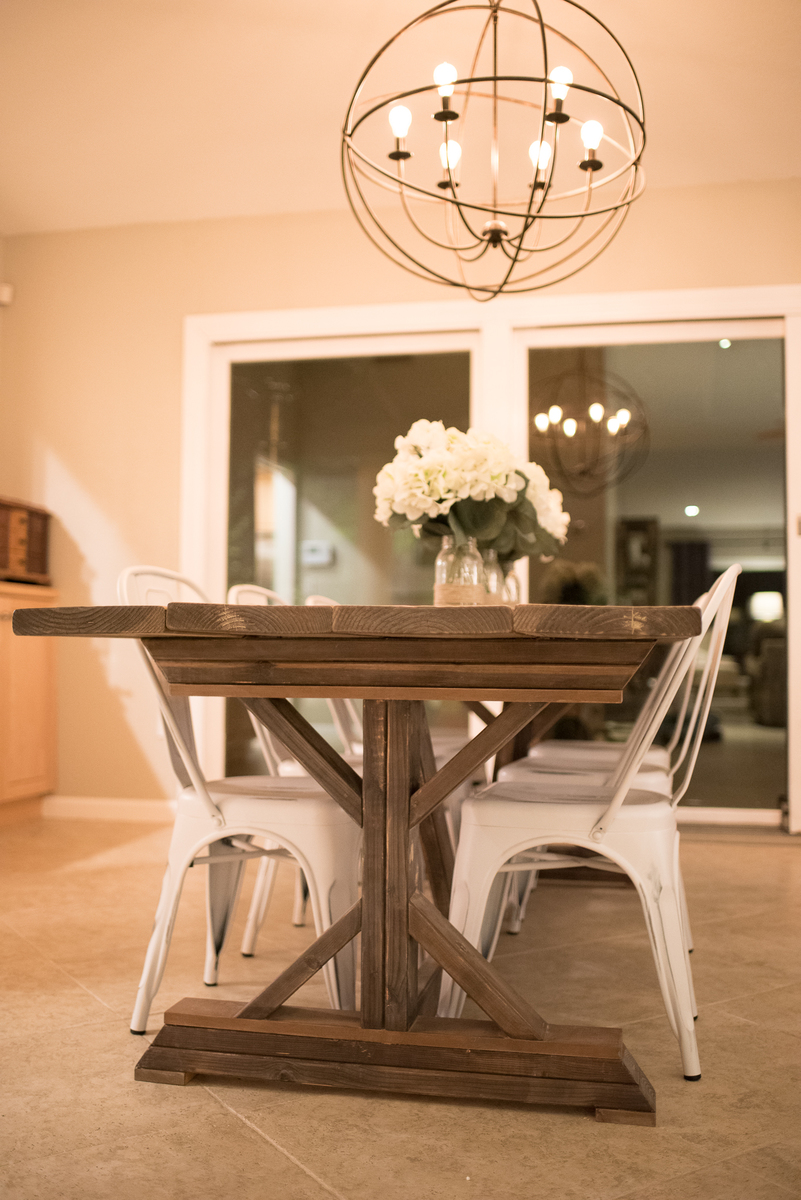
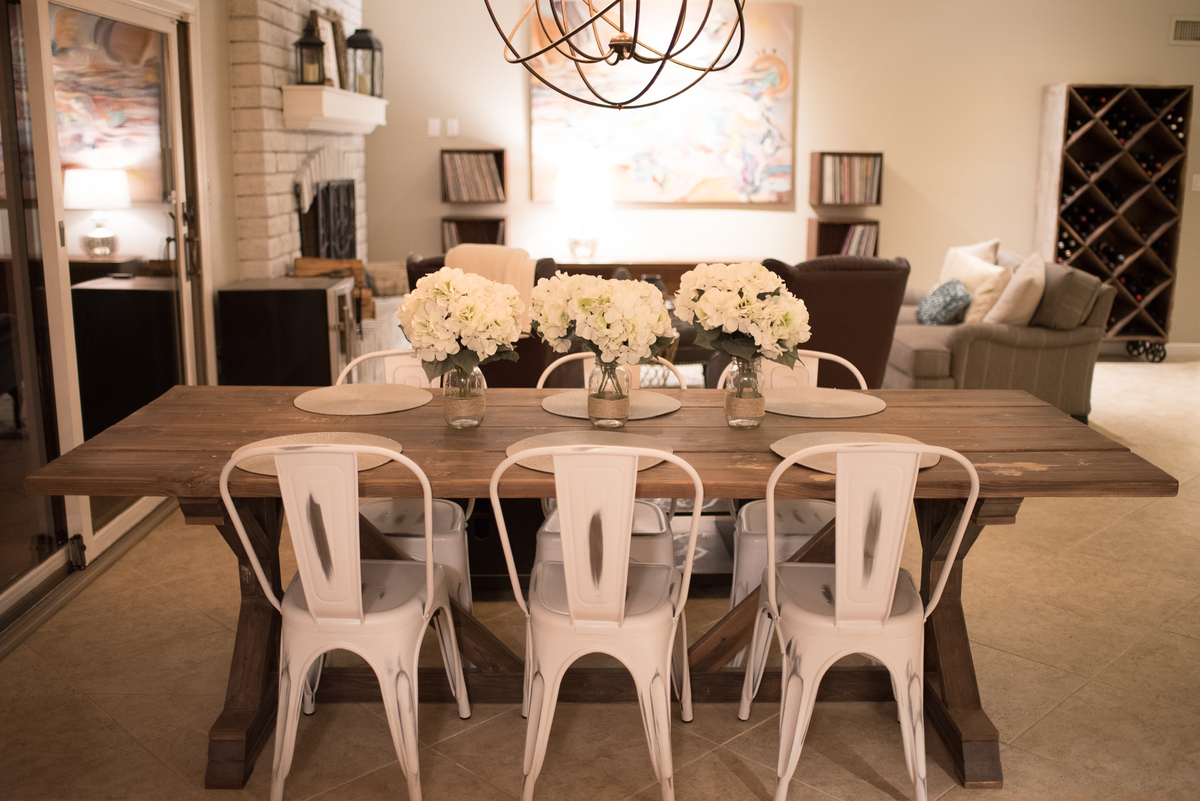
Beautiful!! The chairs go perfectly with the style!
And BTW, what about that wine rack on wheels?!? Did you make it, too? Love that! :) Would love to see a plan for that!
Mon, 04/11/2016 - 12:48
Thanks! We found that wine rack at a store here in Phoenix. I thought about making one from scratch but I definitely was in over my head. We love it though
Tue, 04/12/2016 - 10:48
Thanks for the info on the wine rack! Maybe Ana can add it to her list to make and add a for us! Hint, hint, Ana! :)
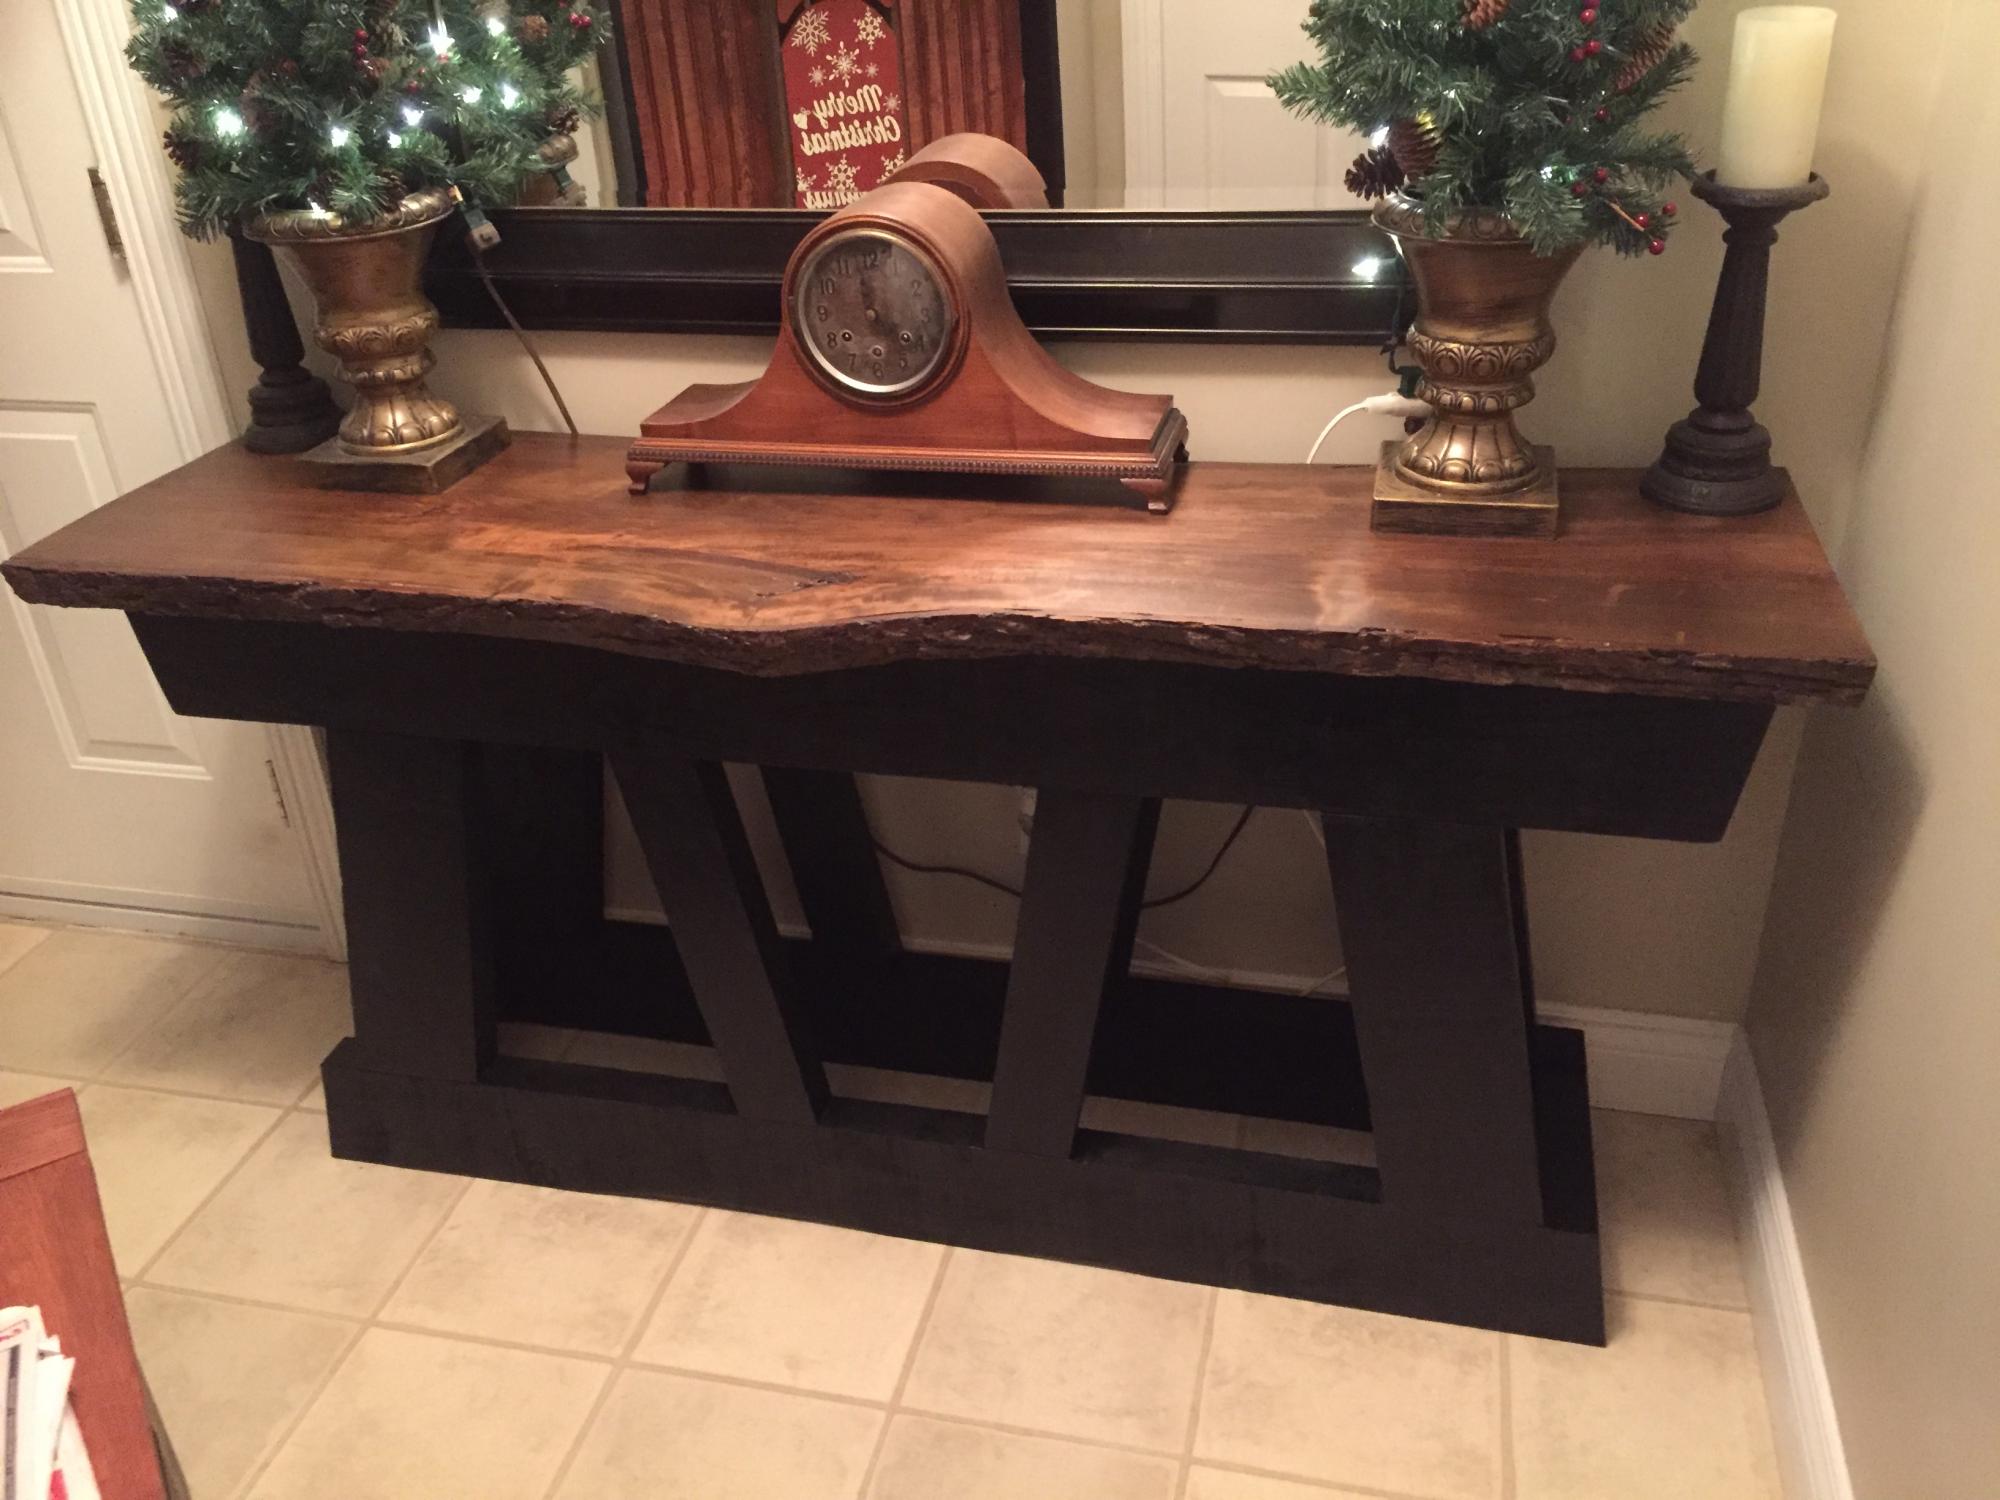
Just completed my version of the “DIY Slim Truss Console Table”. The base is made from 2” Rough Pine and the top from a nice Piece of Live Edge Maple.
Had a great time building this and just in time for Christmas.
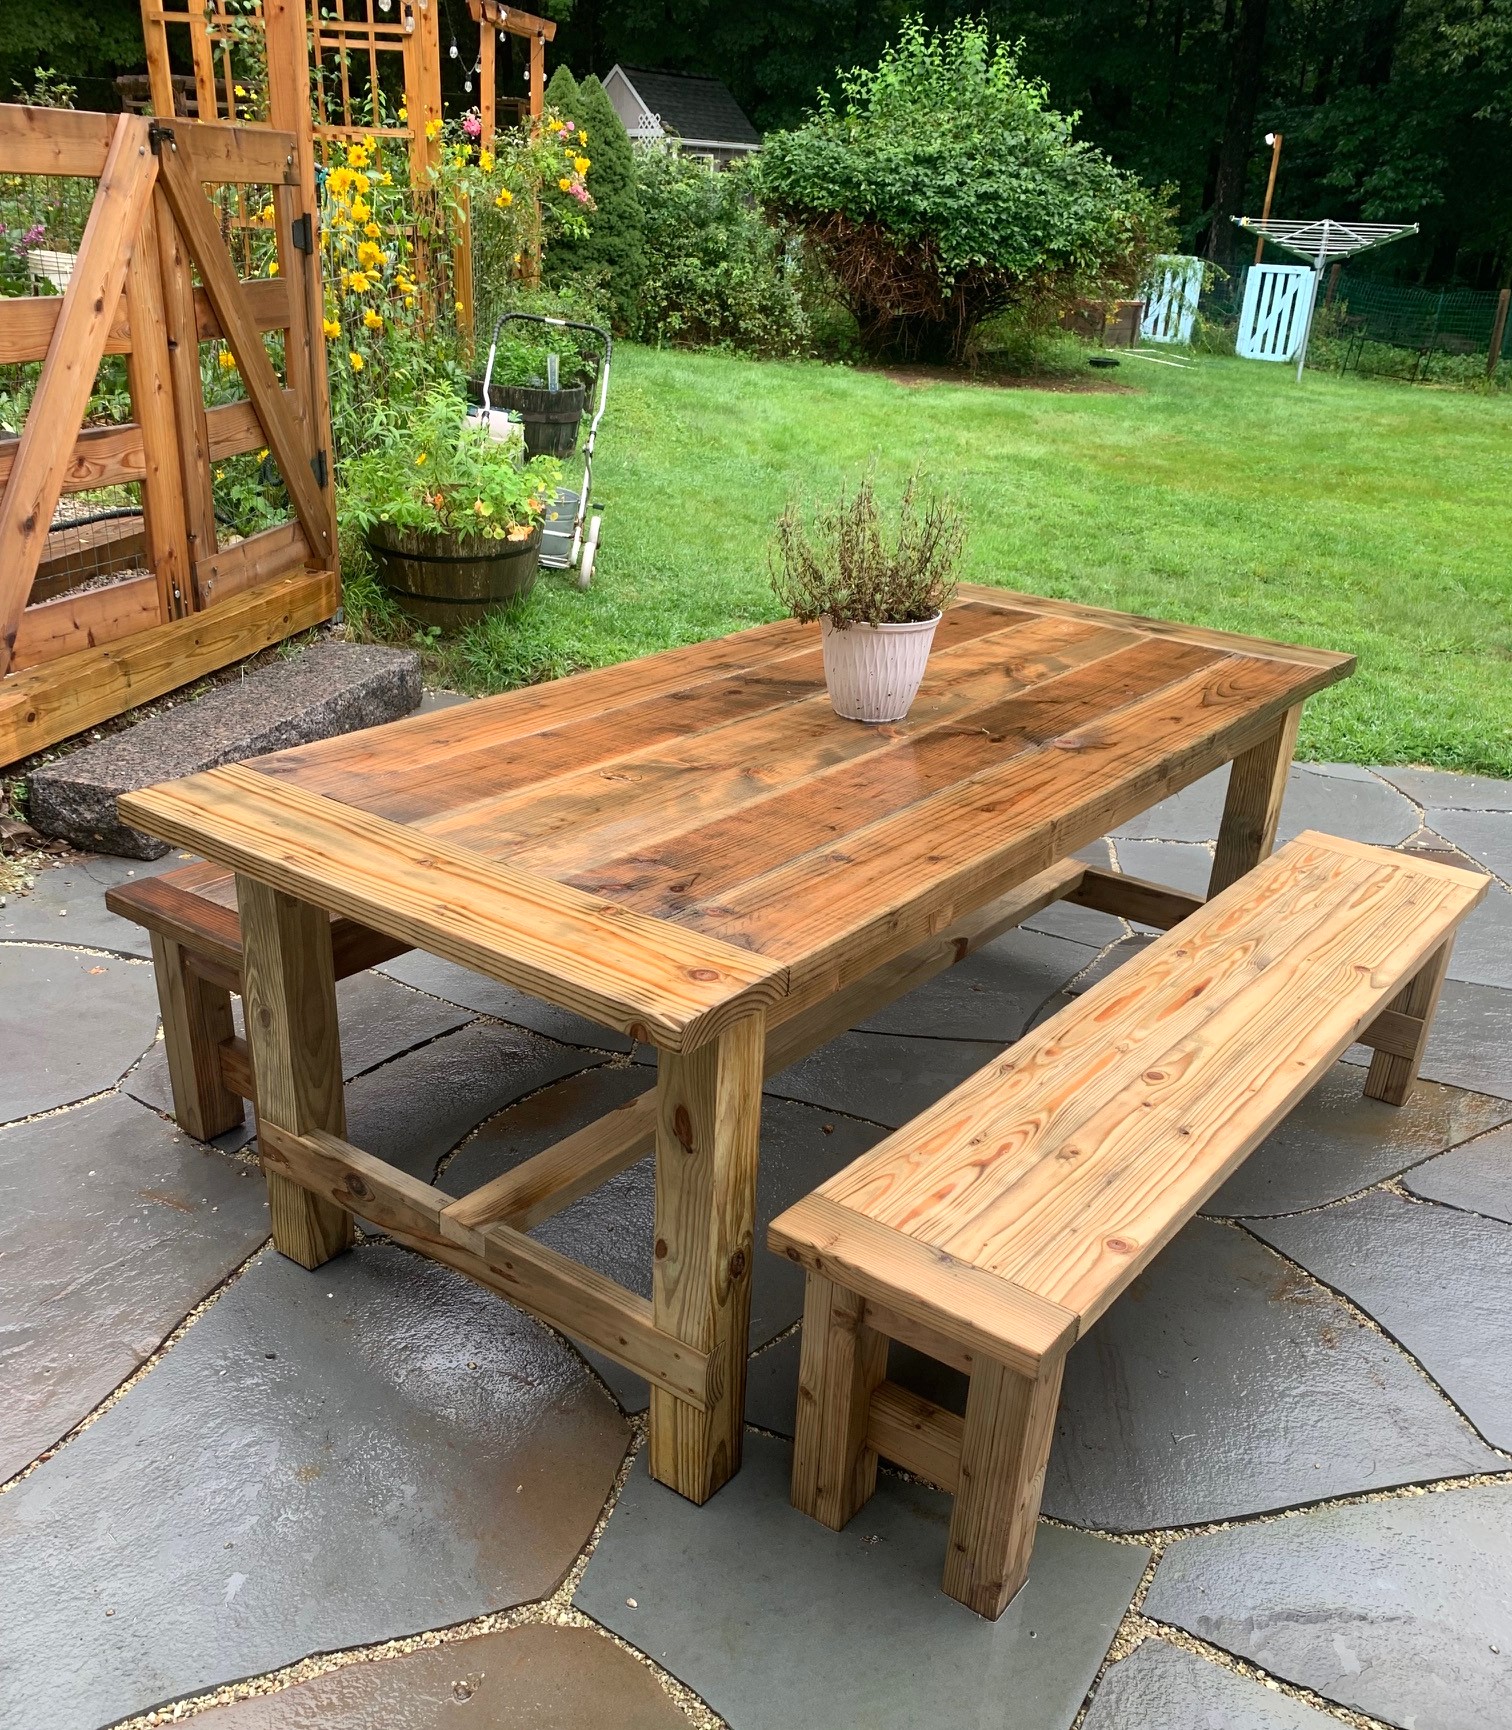
Outdoor table and two matching benches. Easy peasy, albeit the table is pretty heavy to move. Stained with ECO.
Mark N
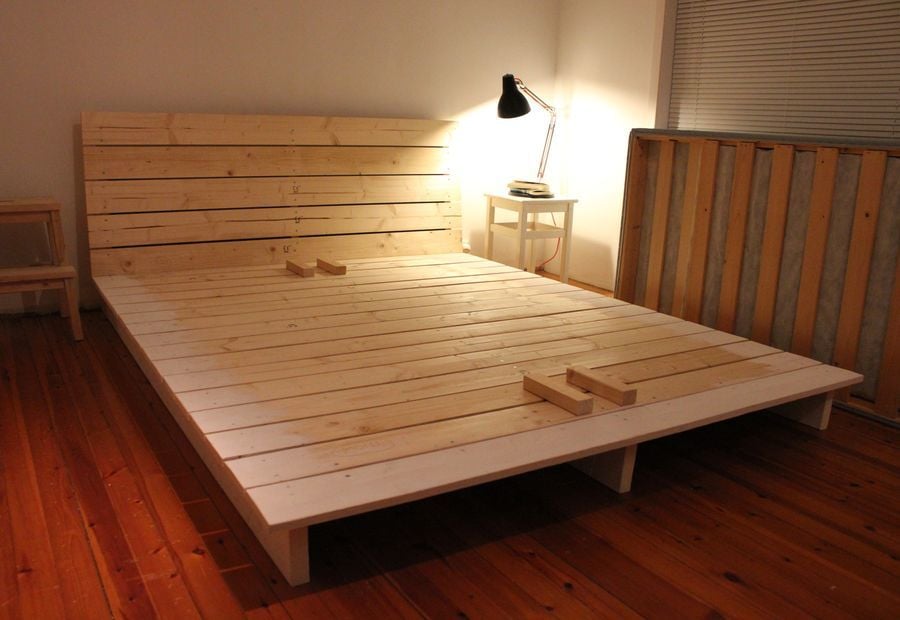
Inspired by Ana!
Thu, 04/05/2012 - 14:01
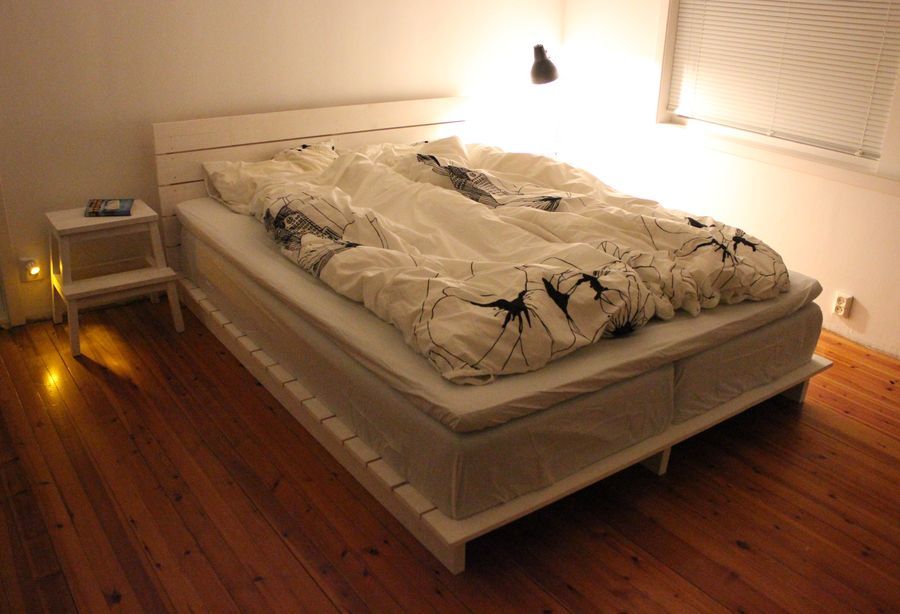
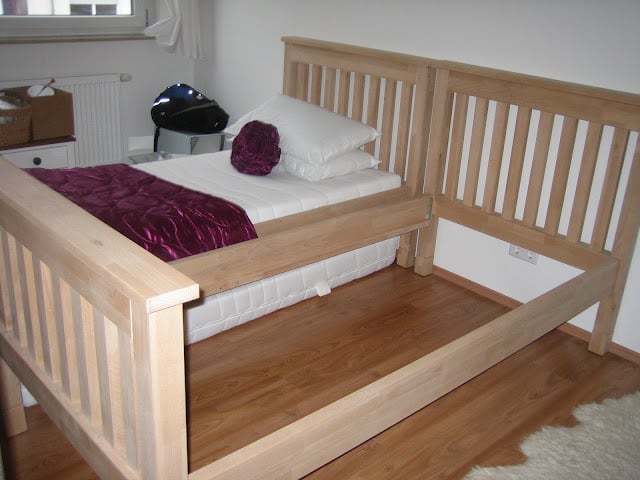
The bed has two matresses, the blocks are there to keep the matresses in place.
Tue, 04/17/2012 - 11:21
Now this is my kind of project! Looks easy but polished. Do you have plans for this?
Tue, 04/17/2012 - 12:03
Platform bed measures:
- Deck: 18x120 mm, width = matress width + 10 cm, length = matress length + 5 cm.
- Headboard: Height 80 cm, width = matress width + 10 cm.
- Beams bed: 36x150 mm, length = matress length - 5 cm.
- Beams headboard: 36x150 mm, height = headboard height - 5 cm.
Thu, 04/11/2013 - 23:04
I would love to make this but I would require plans in order to build it. So if there is any way I could get plans you would make me quite happy.
Fri, 01/15/2016 - 17:11
It looks simple enough, but the headboard looks like it may be tilted. Can you provide instructions on the attachment of that? Thank you
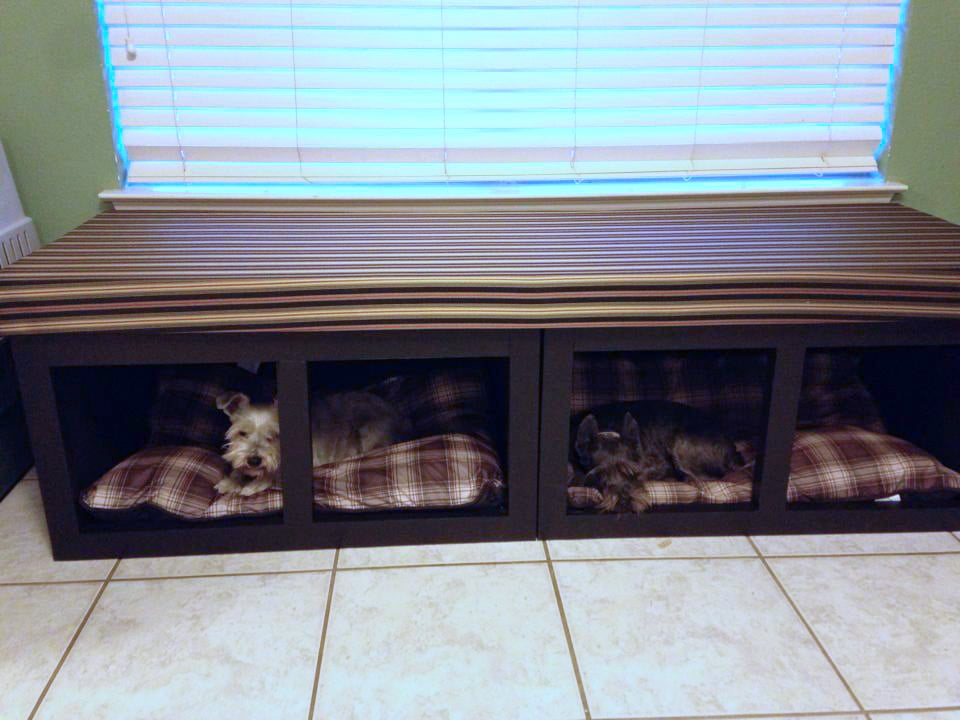
I wanted a place for our dog beds, without just having them all over the floor (we have 2 big dogs and 2 little ones. I decided to build a window seat in front of the large window in our dining room which could double as dog beds/kennels. While the base plan was off the large wood pet kennel end table, it had to be modified significantly to be wider, shorter, and sturdy enough to sit on. I am also still trying to decide if/how i want doors on here. This is actually 2 kennels next to each other (not 4) Next will be to build 2 actual kennels for the big dogs to place on either side of this.
I created this based off the Grandy Style Console. However I used an actual cabinet style with adjustable shelves. Loved making it!
Follow me on Facebook or instagram!
www.facebook.com/four8zero
www.instagram.com/four_8_zero
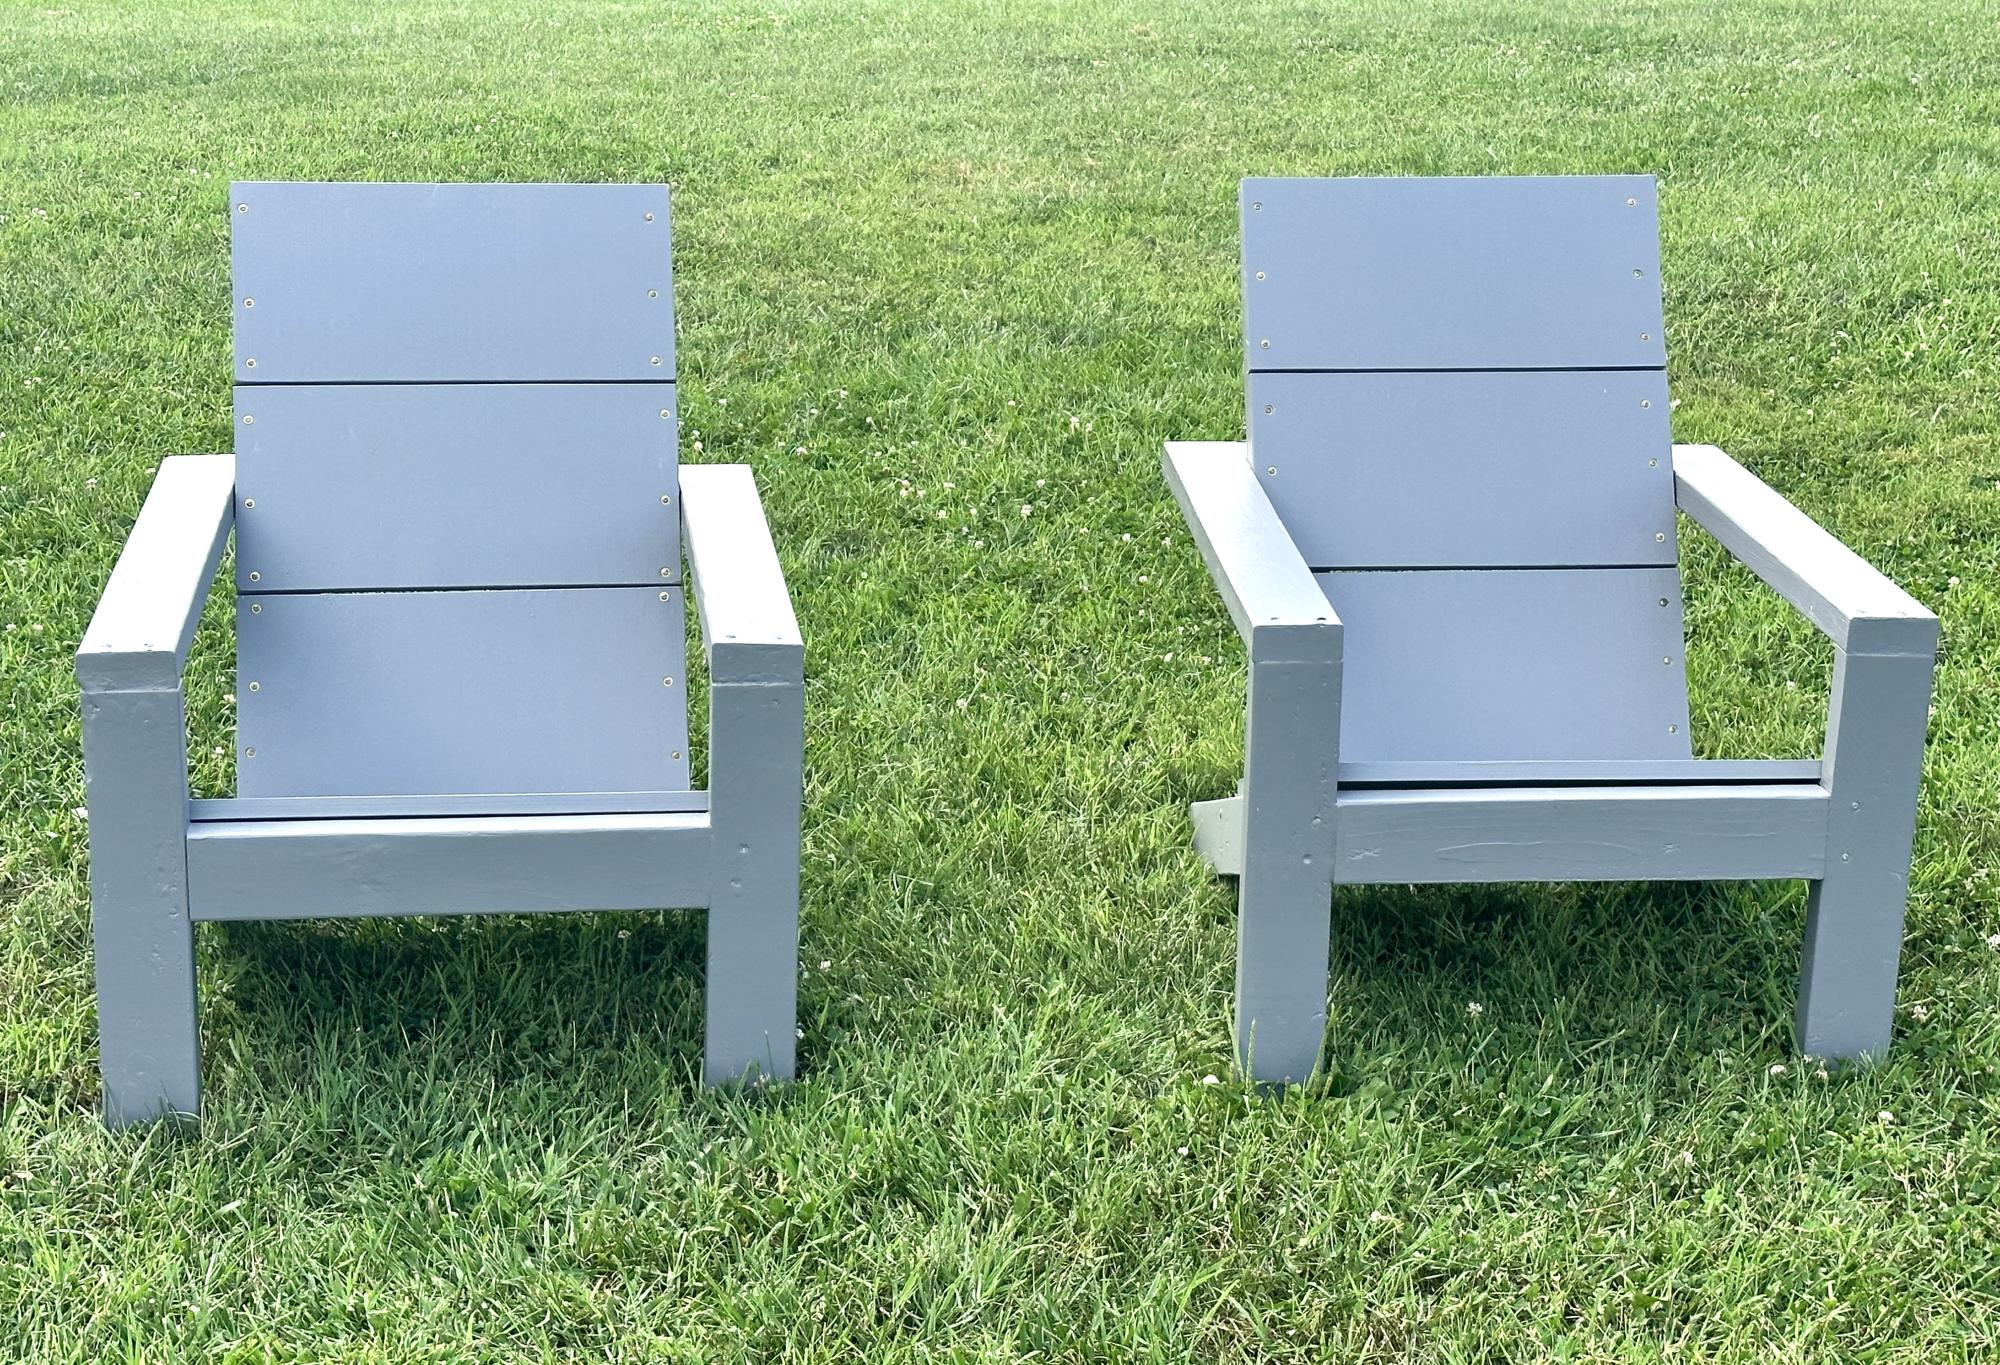
Adirondack Chairs
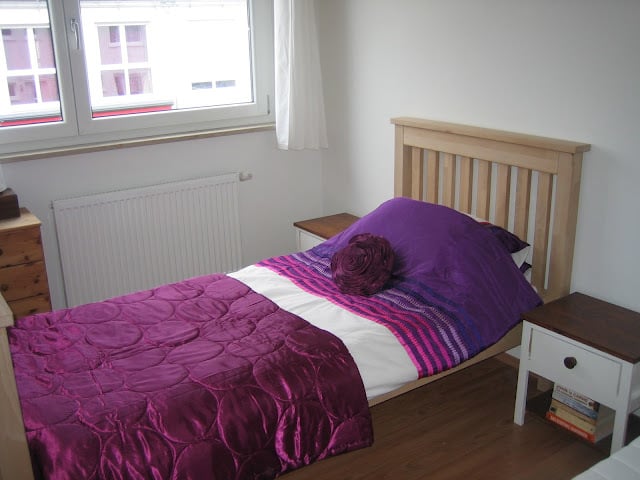
I used the basic design for this bed but altered it quite a lot to make the joins stronger, the edges smoother and the whole thing generally easier to take apart and put back together.
I used beech wood and completed the project at a woodworking club, so it's quite hard to estimate the time taken, as I only did it one evening a week and spent most of the time bringing the wood out, putting it away and clearing up each time I was there!
I am still undecided whether to give it an oil finish or to paint it white with chestnut wood stain on the headboard and footboard tops.
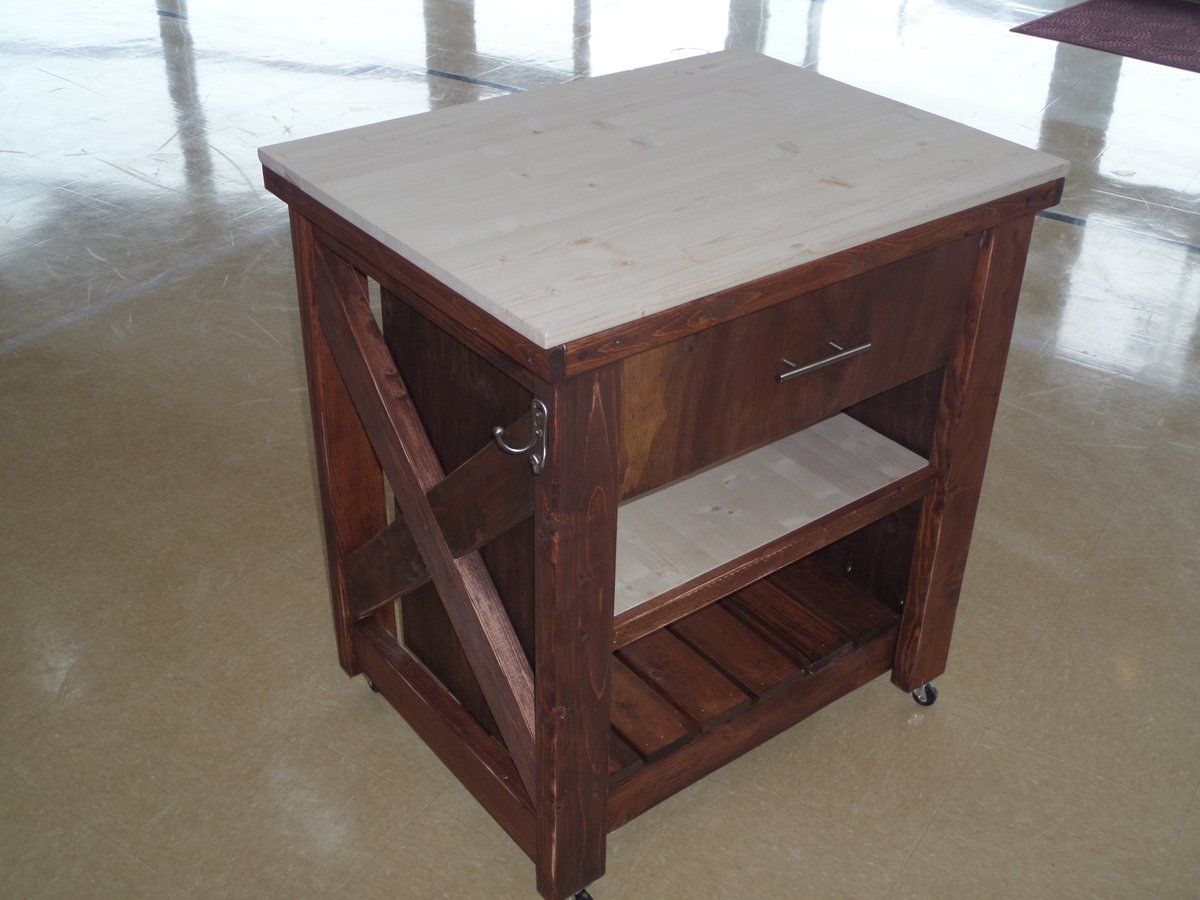
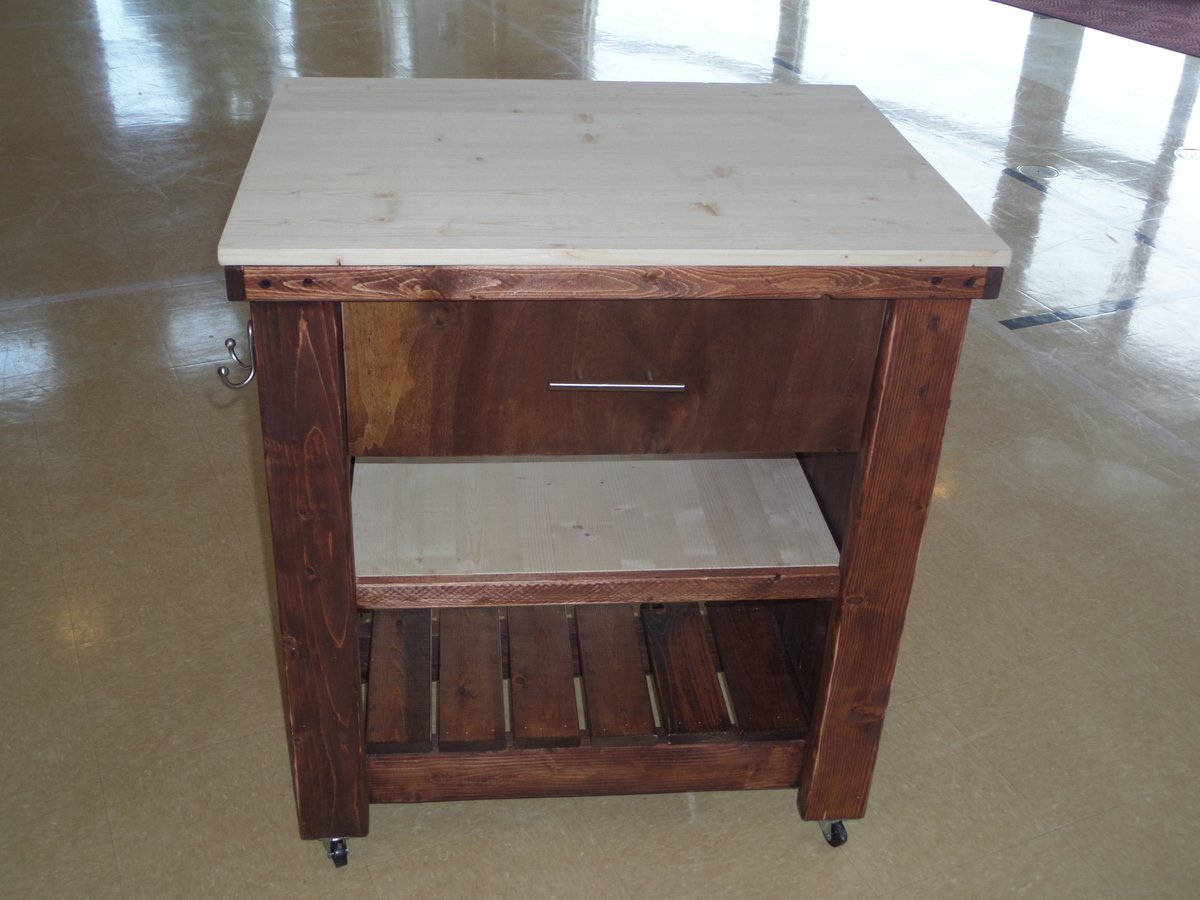
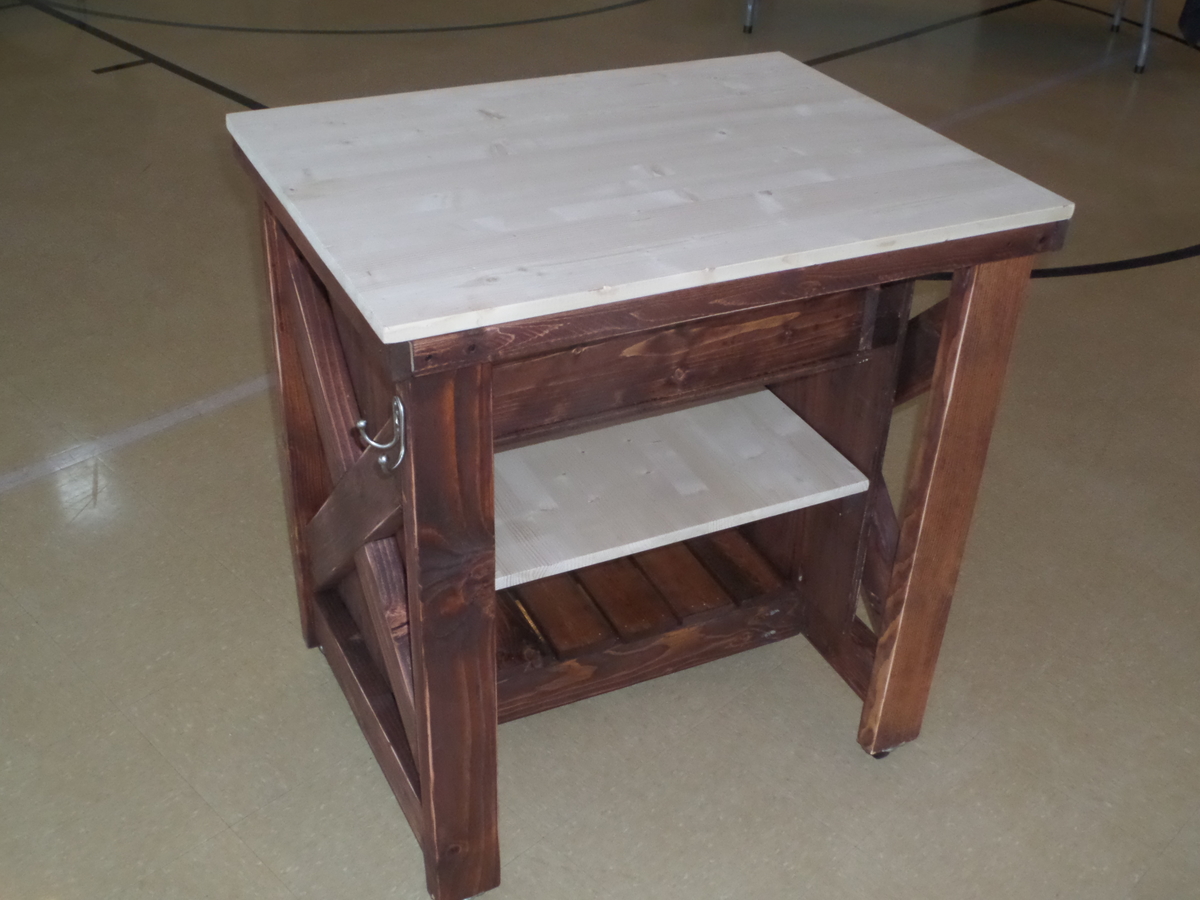
Just copied the plans from ana, we built it for an auction to support a group home. it was easy and quick. the project panel was big enough to also use as a shelf when cut down for the top, we loved how the top and shelf matched. we built a bigger drawer to have a more chunky look.
Thanks for the plans, Ana!
Completed this about a week ago. As usual, I went with the "--" instead of the "X", but it still turns out great.
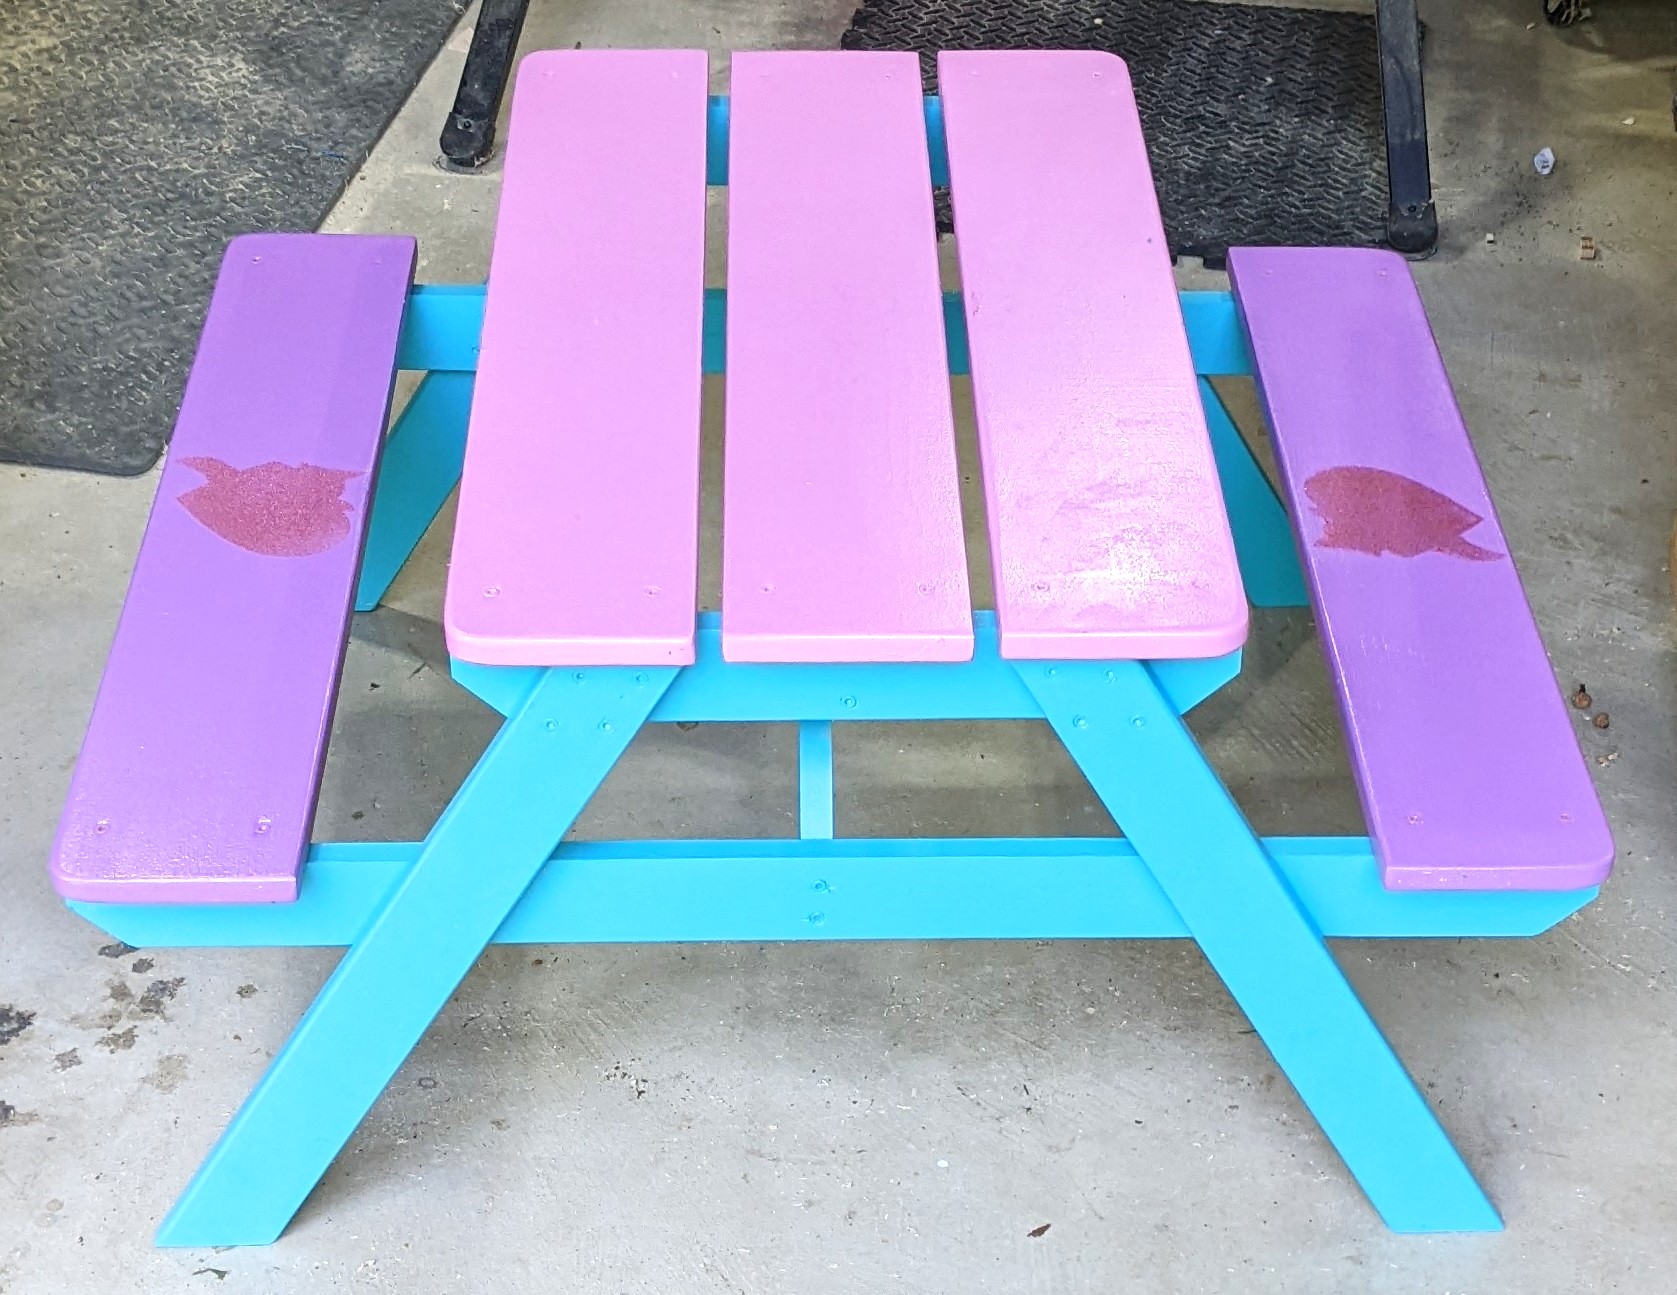
Small kids picnic table (from Ana's plan)
Pa pop
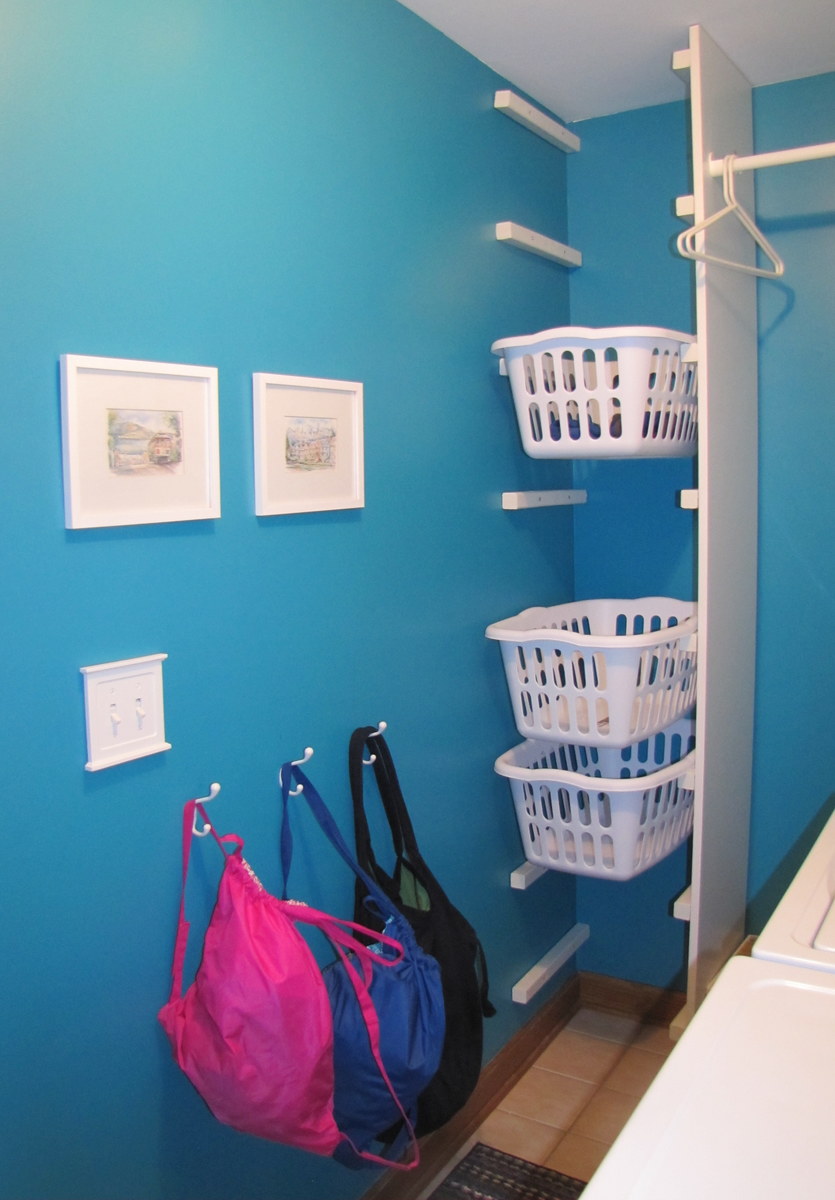
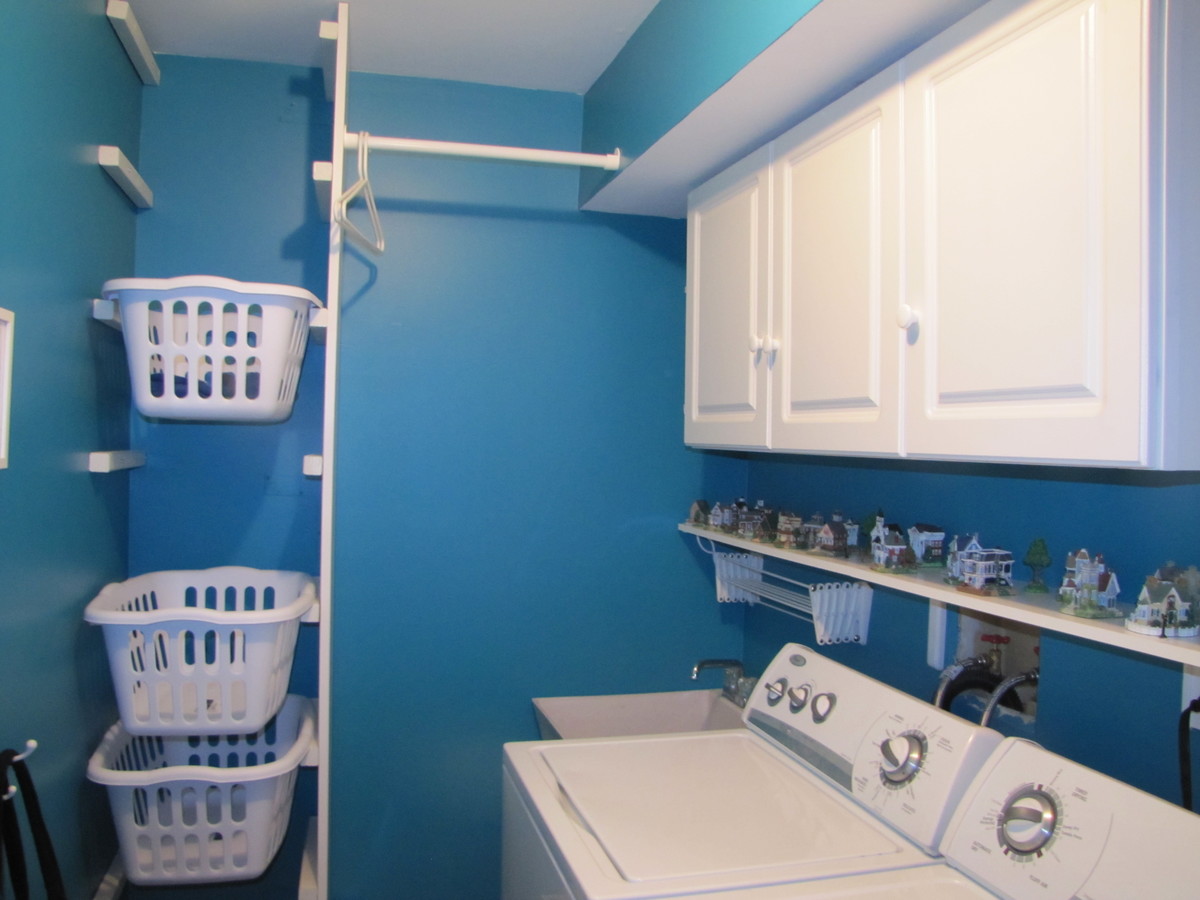
I modified the laundry basket dresser that you made. Here's the end result :) I allowed the baskets to hang out farther that the side due to limited space for the built in "cabinet." You can not see it in the photo, but we then wrote "dirty" in red on one end of each basket so that I know easily which baskets contain clean unfolded clothes and how much laundry I still need to do. Each person has their own "hamper" basket in their room that gets put into here when it's full and they replace it with an empty one from the rack. It's been working like a charm!
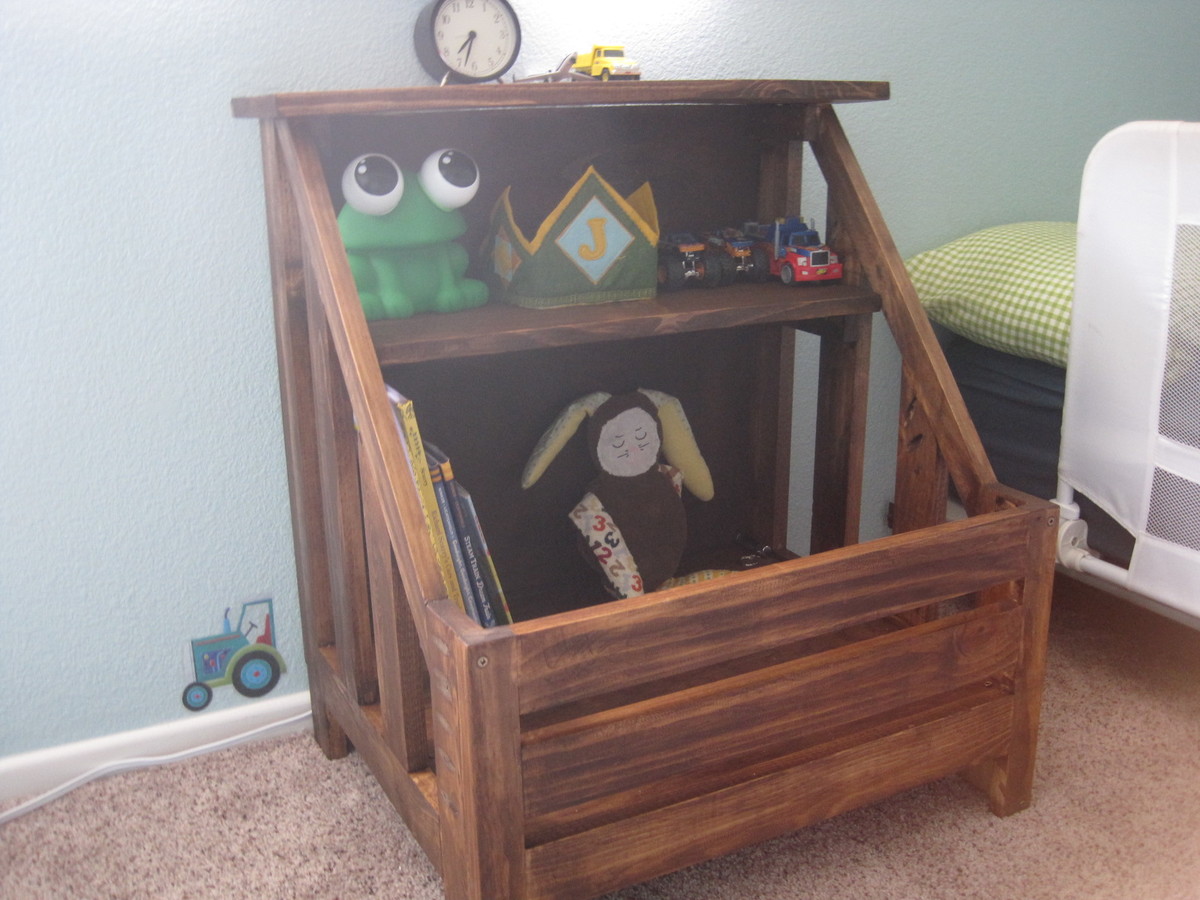
This was my third "solo" build - my husband has built several of Ana's plans, and I built a book caddy and a stepstool earlier in the month. I have always enjoyed sewing and fixing up our new-to-us house, but until 2014 I was afraid to try building so I left it up to my husband. No more! I brought both kids to the hardware store, selected my lumber, and got to work. We bought a mitre saw which has been AWESOME, so I've been using that and a jigsaw to make cuts. I would love to figure out the circular saw someday soon.
I had some issues with this plan here and there, but I can't be sure if it was an issue with the cut list or with my assembly. It wasn't anything I couldn't work around, though, and I'm really happy with the end result. I wasn't sure how to use the Kreg Jig on angled cuts, but once I figured that out the sides were very easy to assemble! Love that Kreg Jig.
Mon, 01/27/2014 - 13:13
Mamamea33, I think you are the first person to build this night stand! And it turned out GORGEOUS! Great job hauling the kiddos to get lumber! Glad you're hooked!
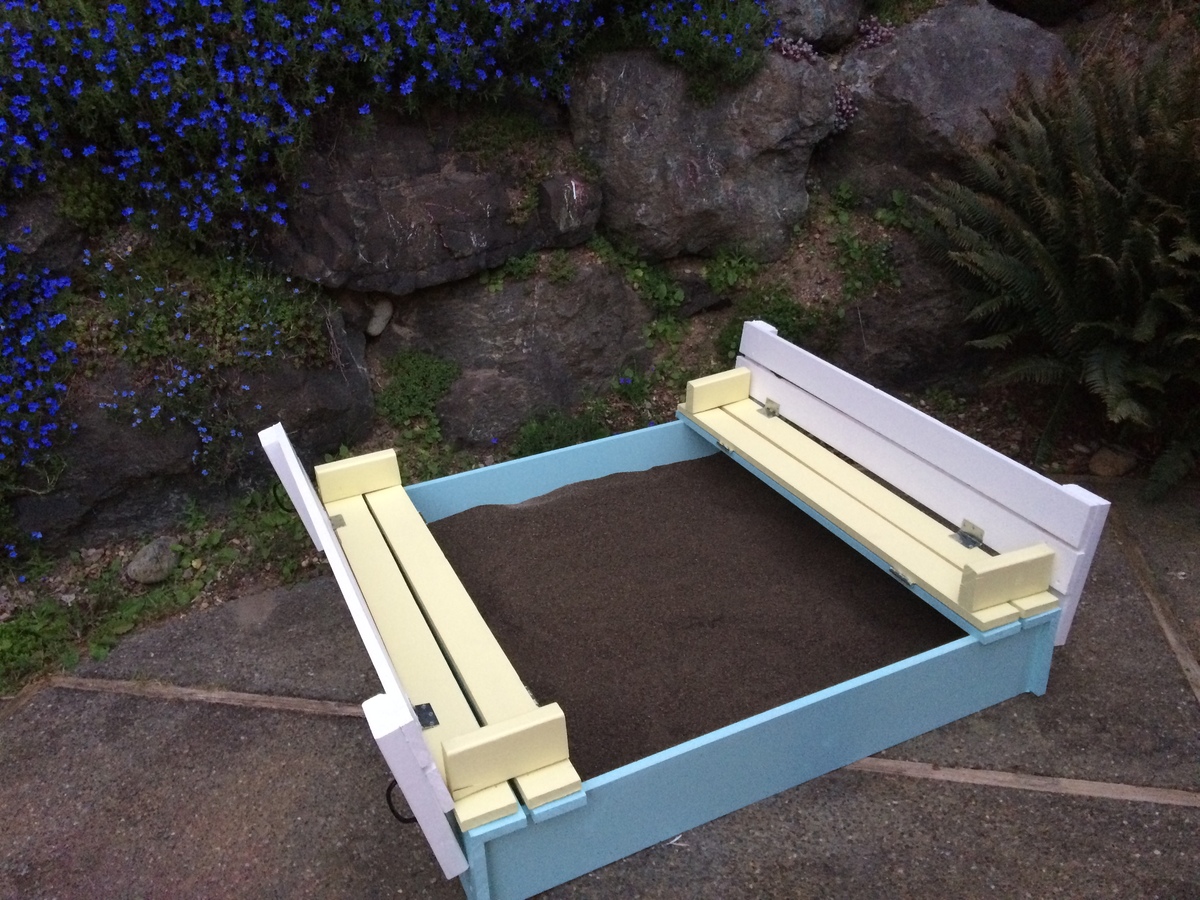
Sandbox with built in seats
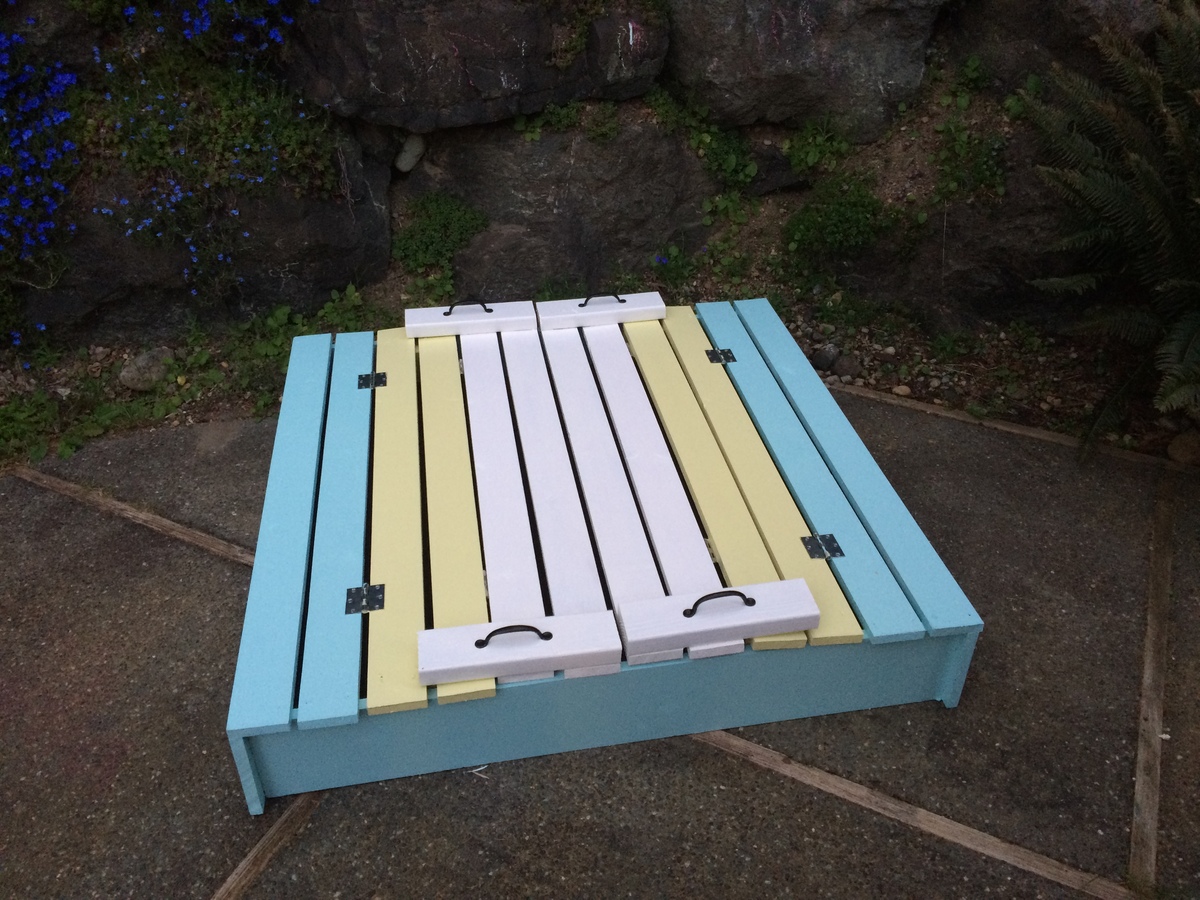
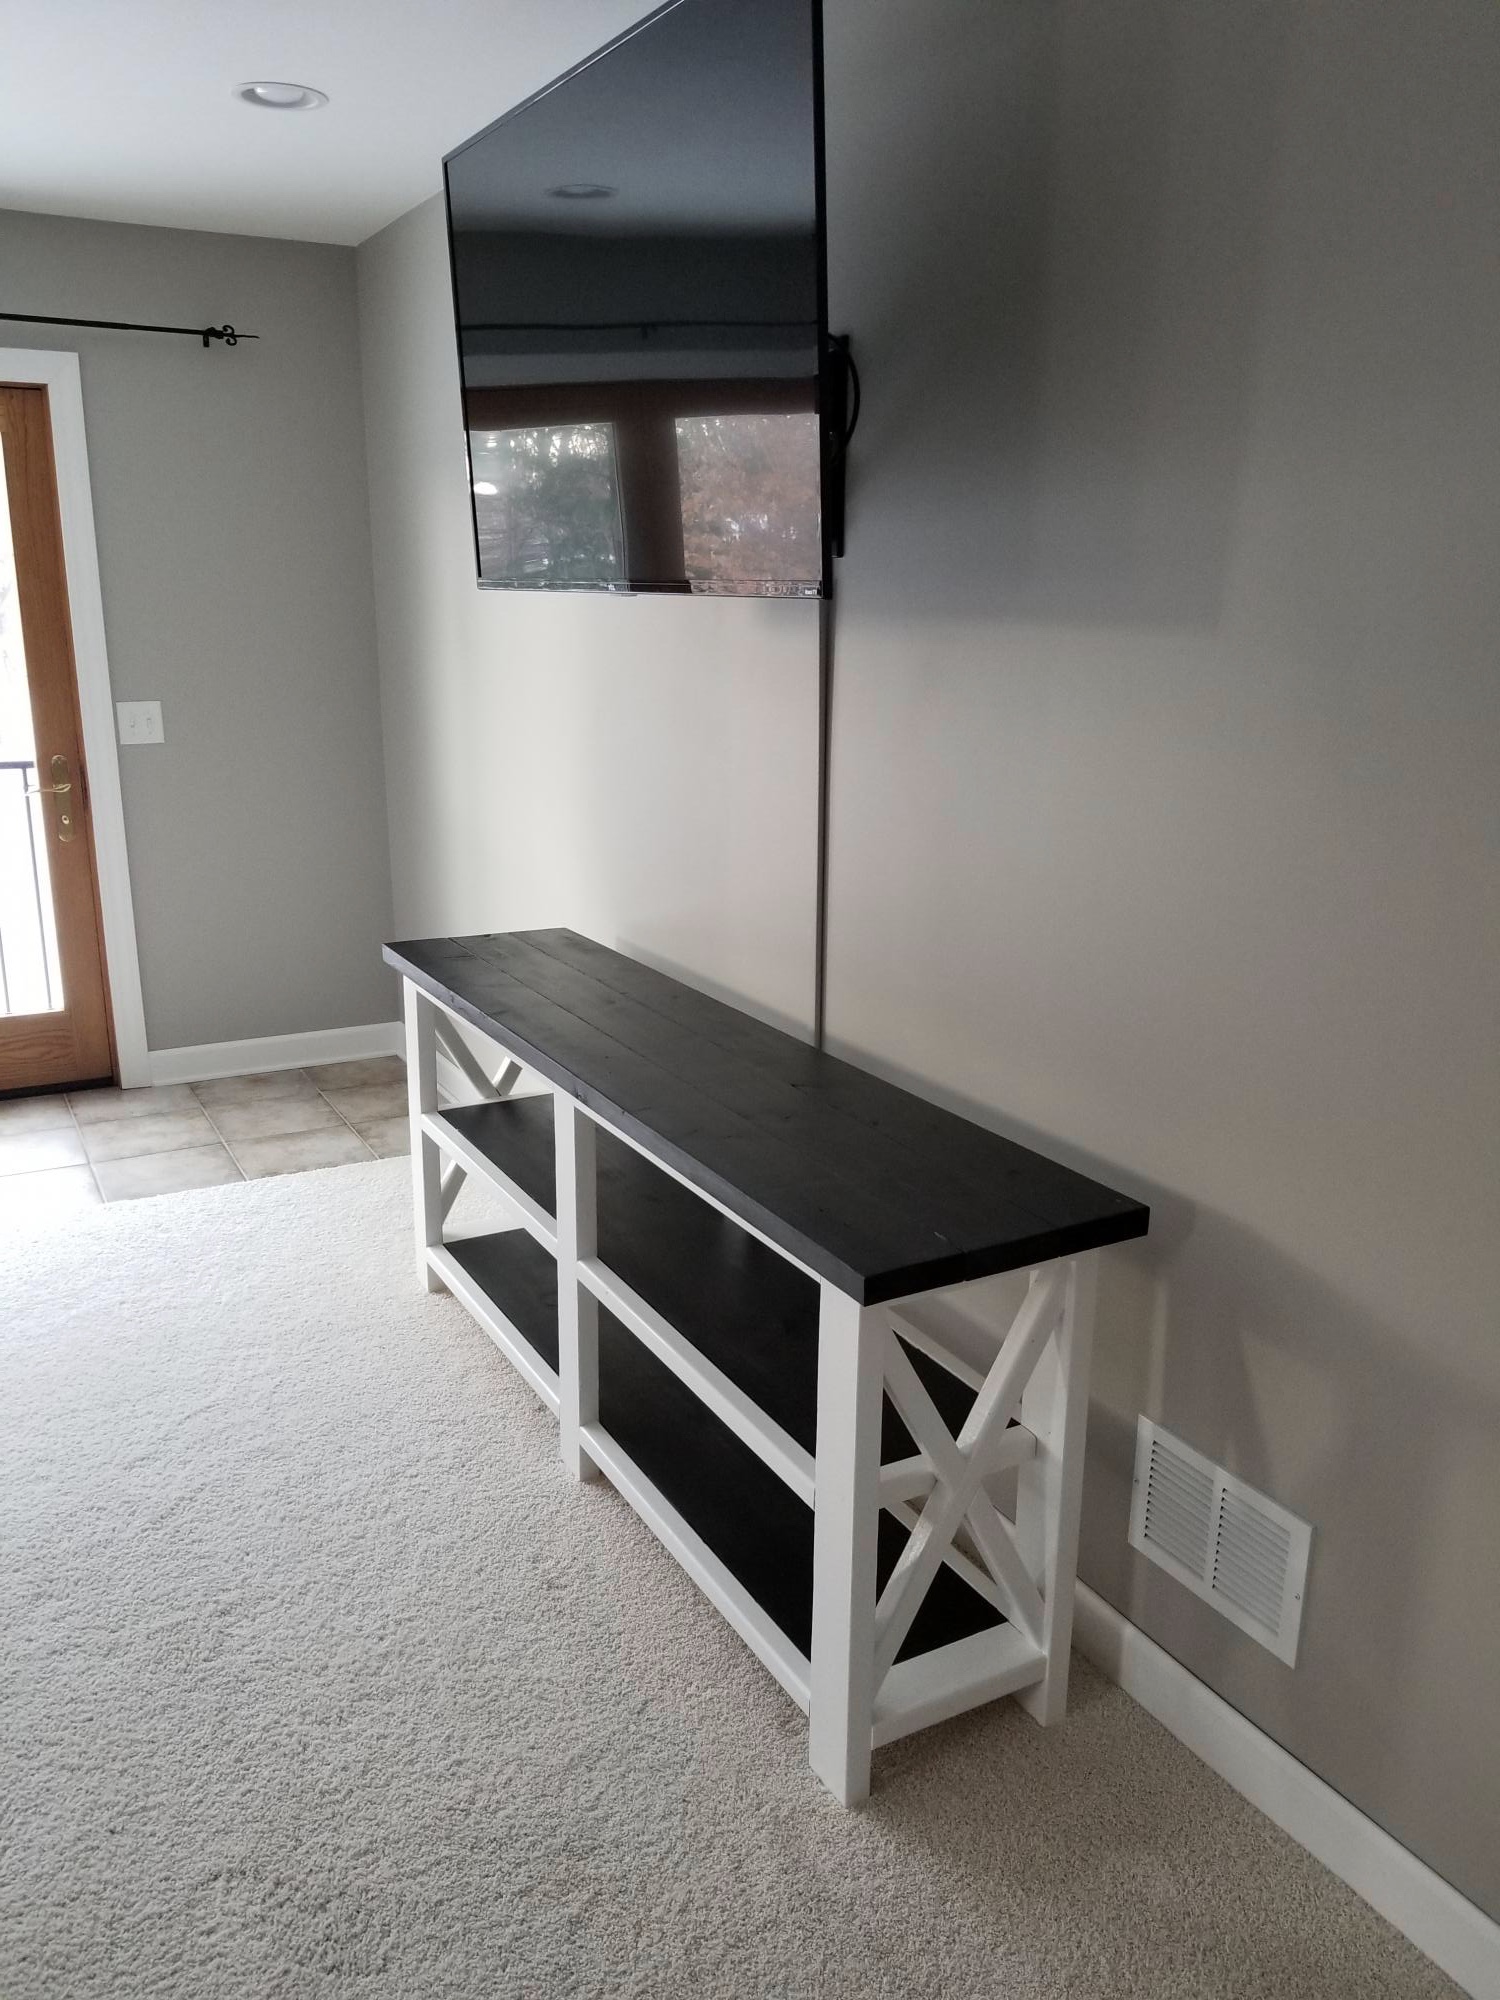
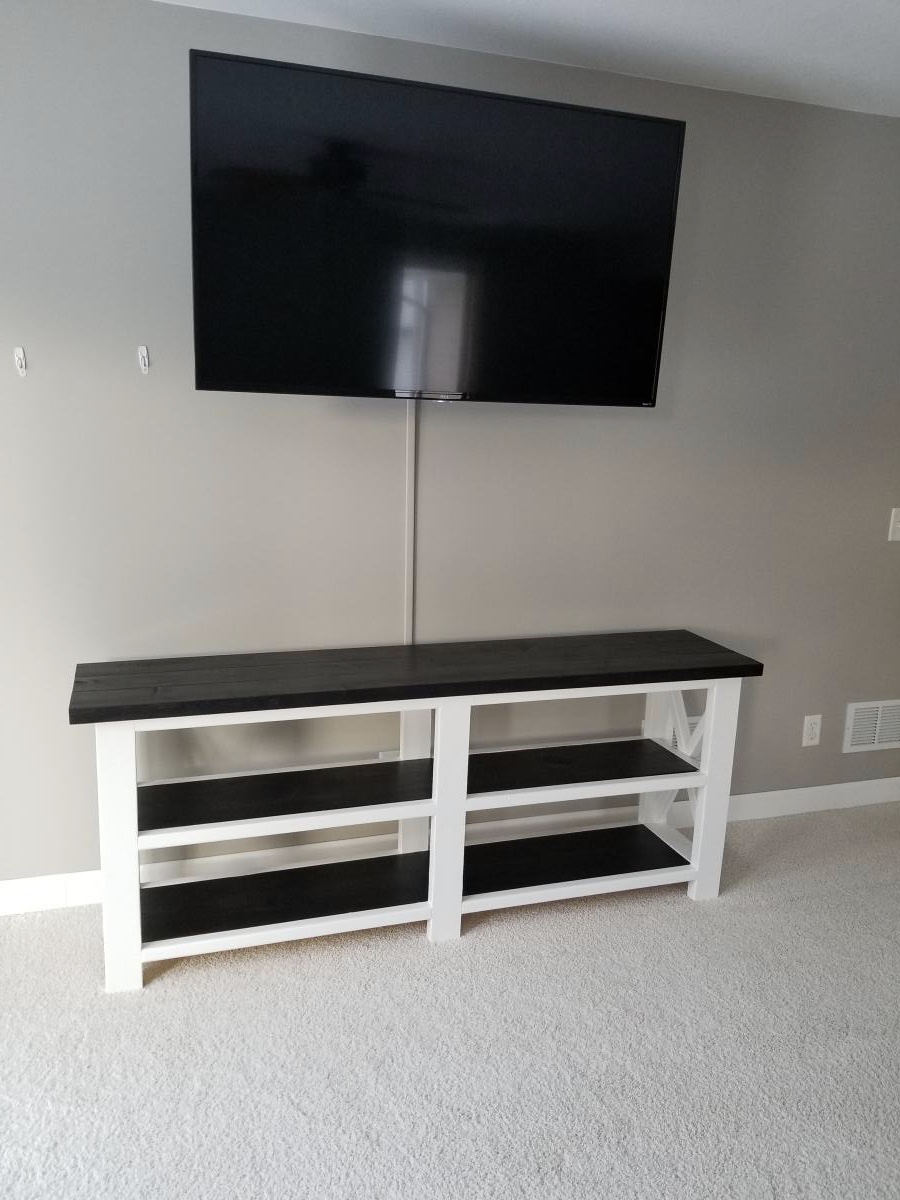
This was based on the Rustic X Console Table plan
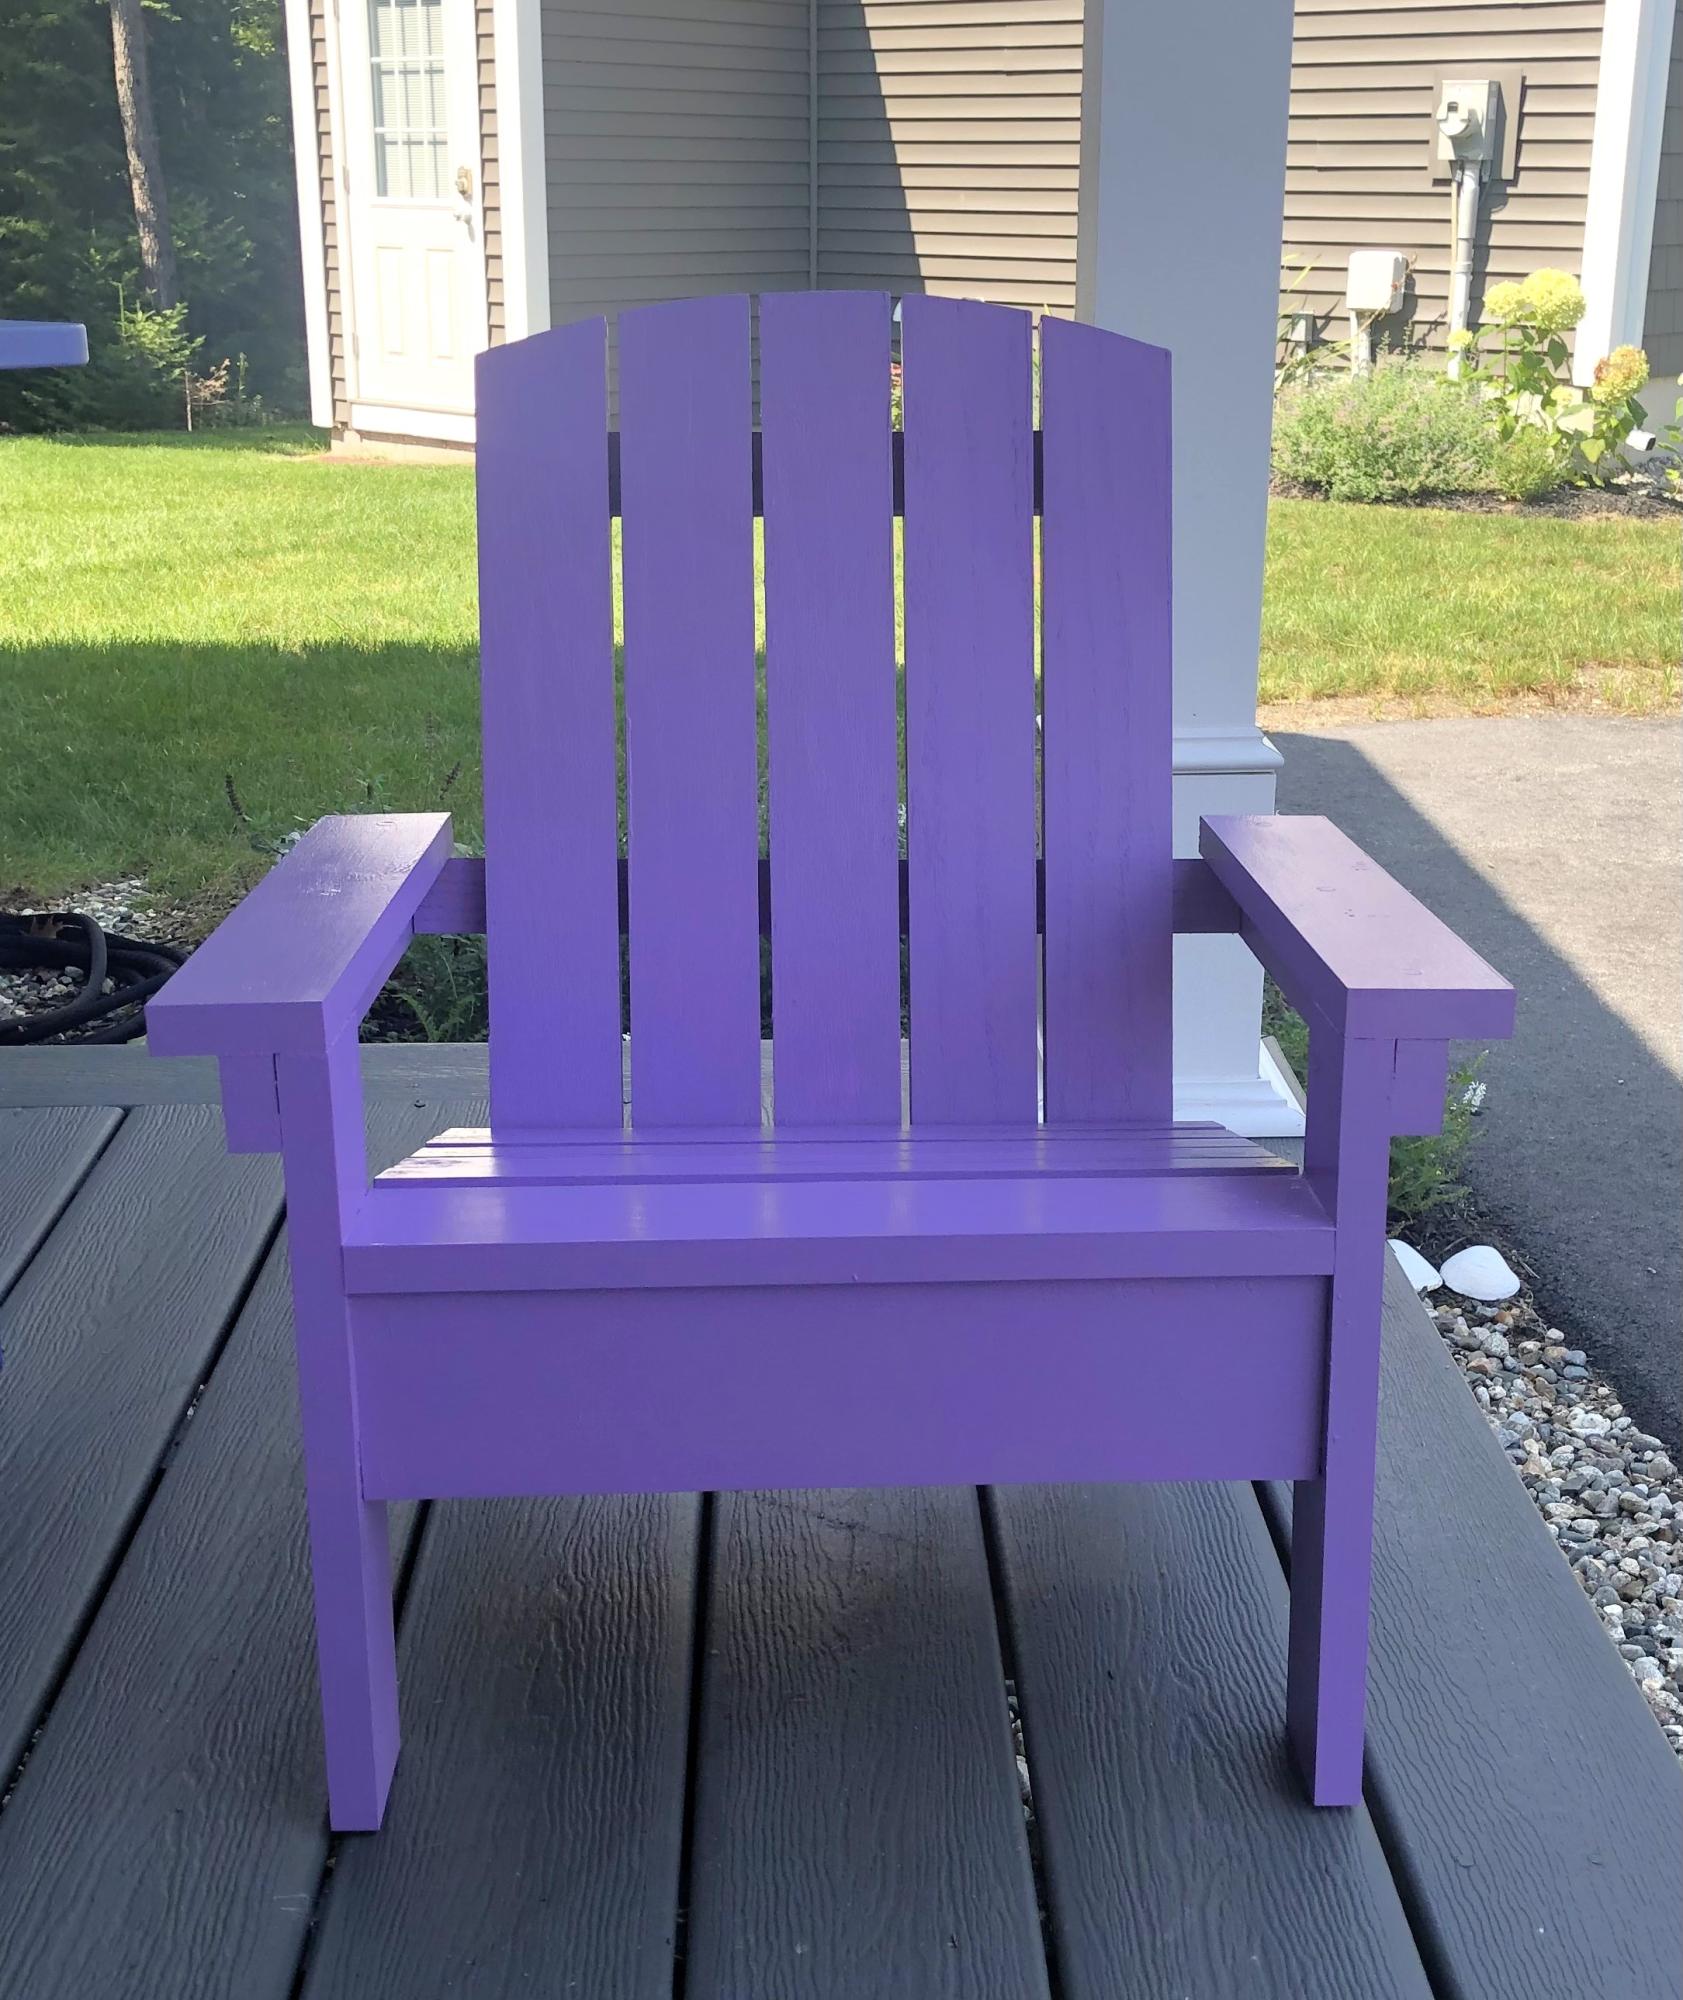
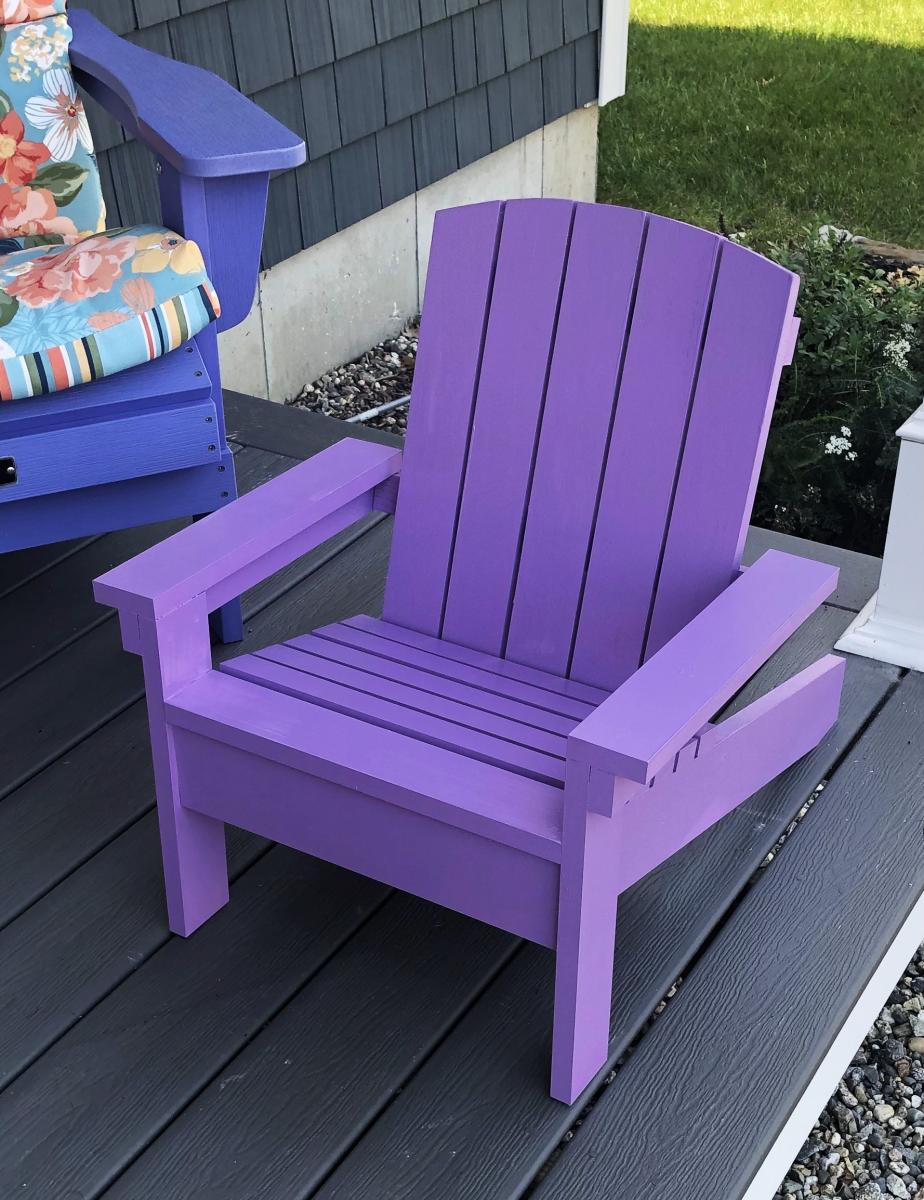
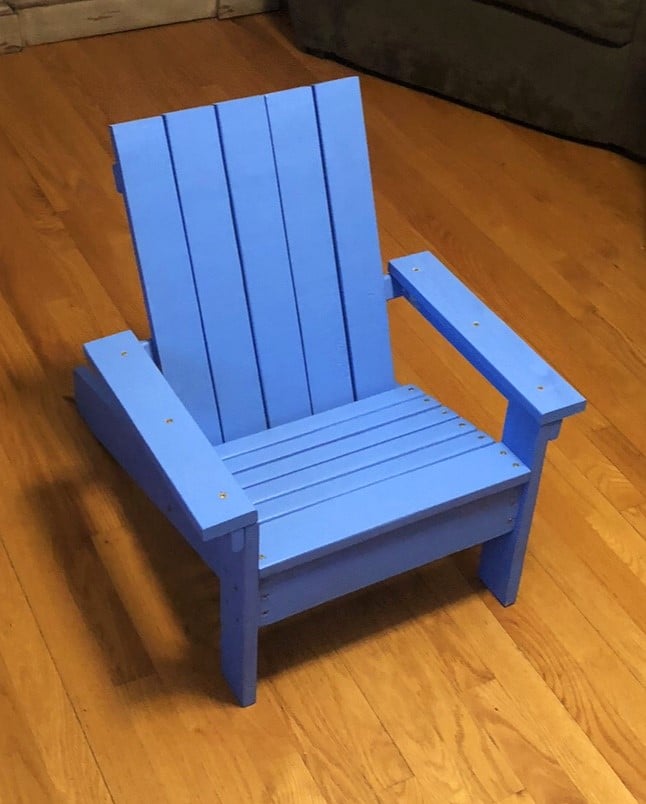
I made the blue chair first for our oldest granddaughter, I thought I wanted to curve the top, so I did for the next one for the younger granddaughter. Great plans, easy to follow. Thanks so much!
Bill Devereaux
Fri, 09/08/2023 - 09:32
I bet they are just thrilled with their own chairs, thanks for sharing!
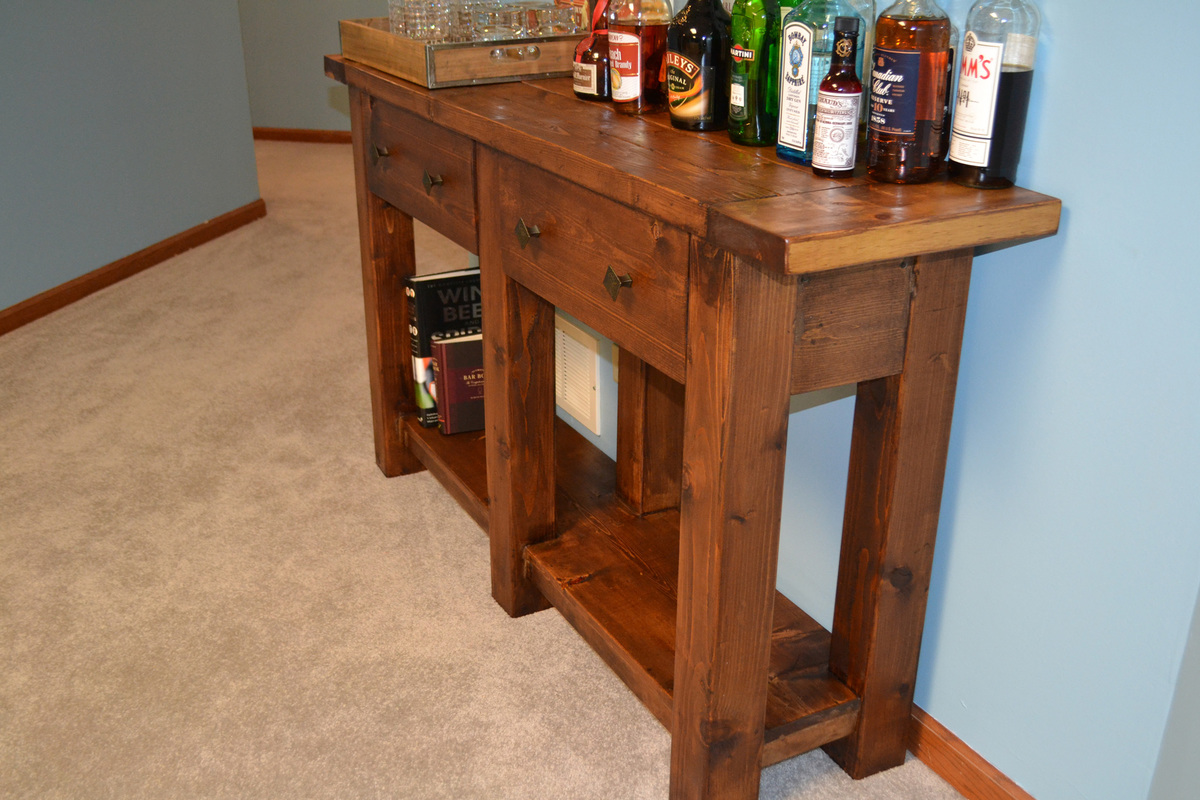
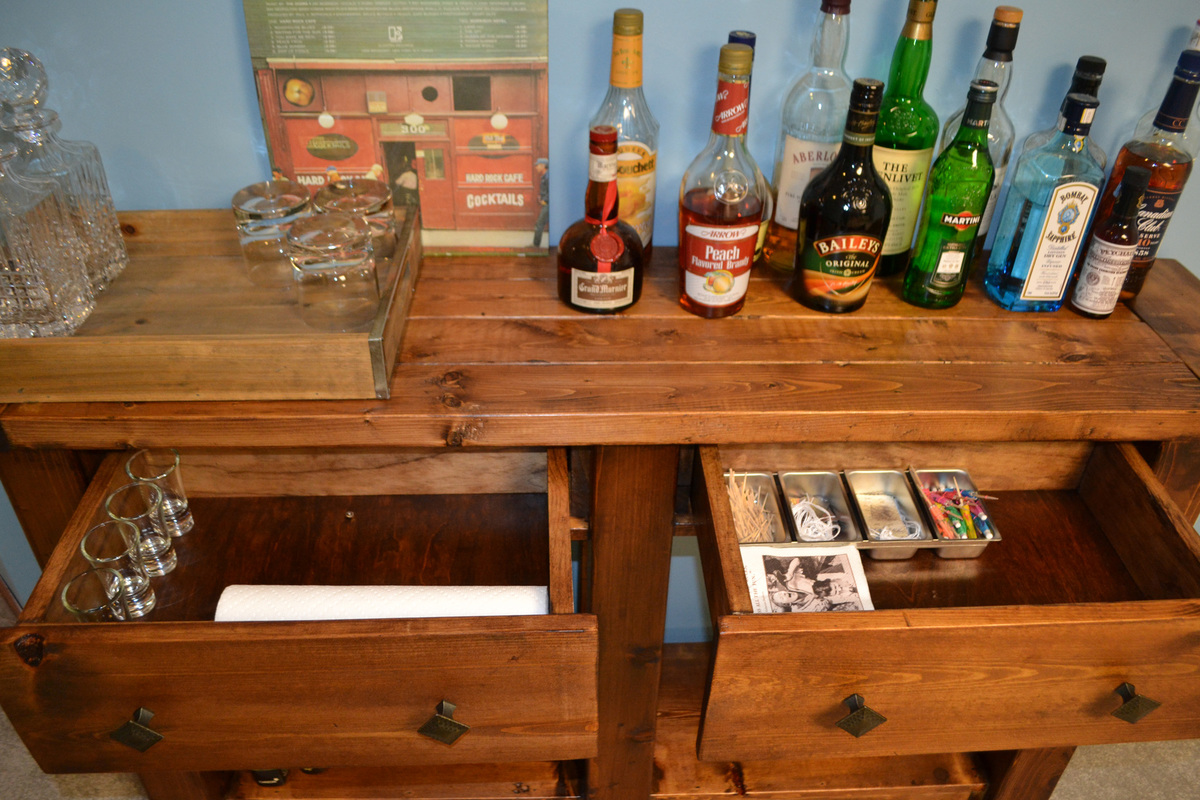
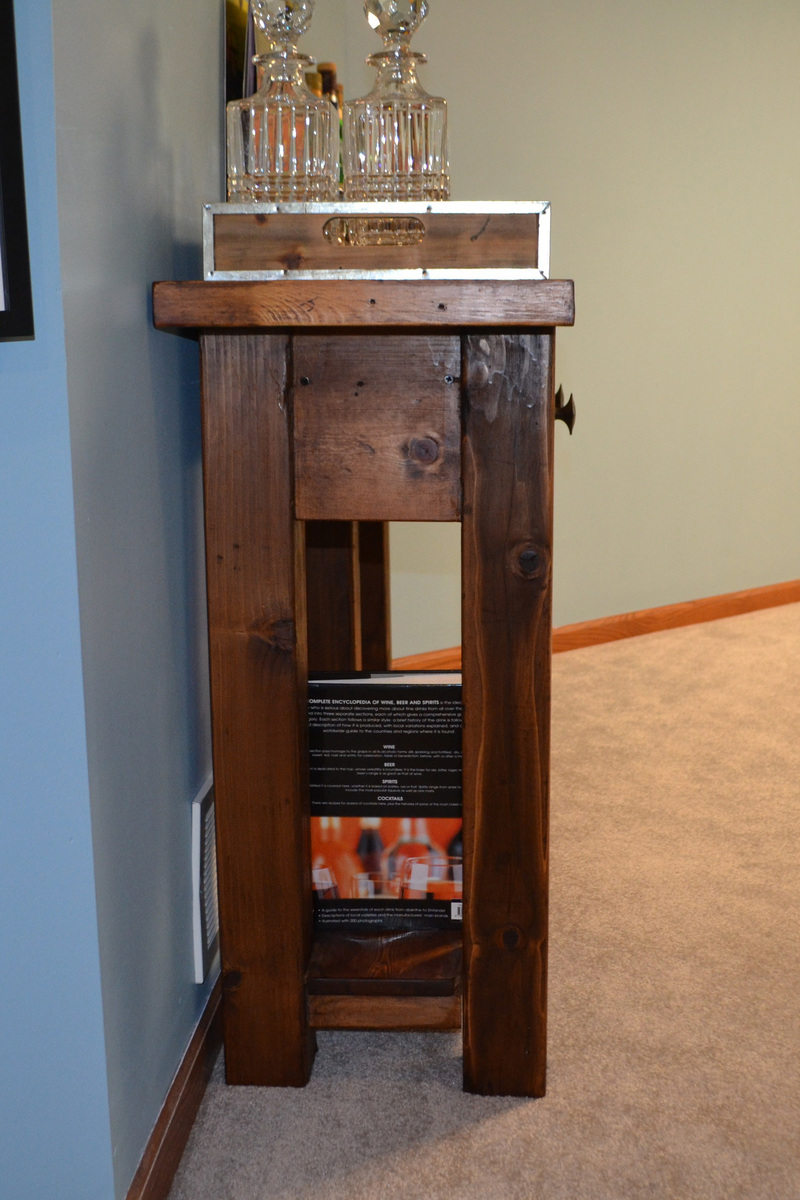
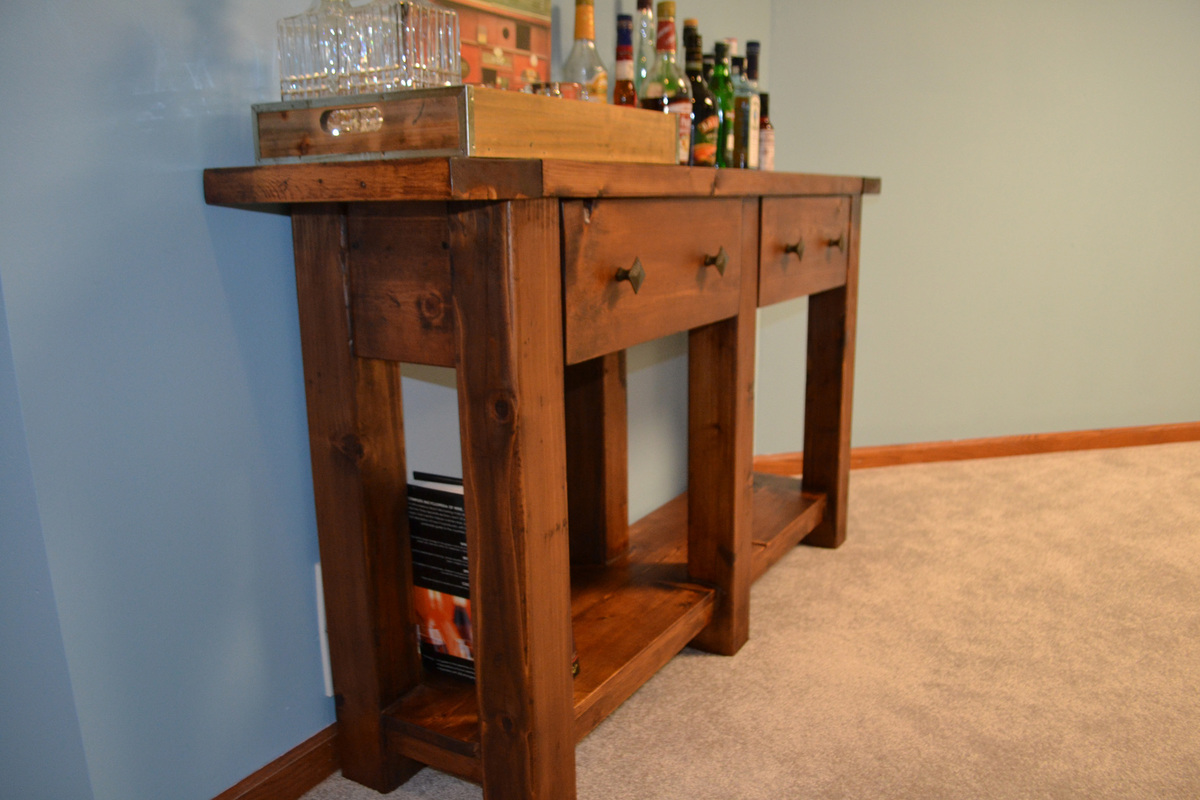
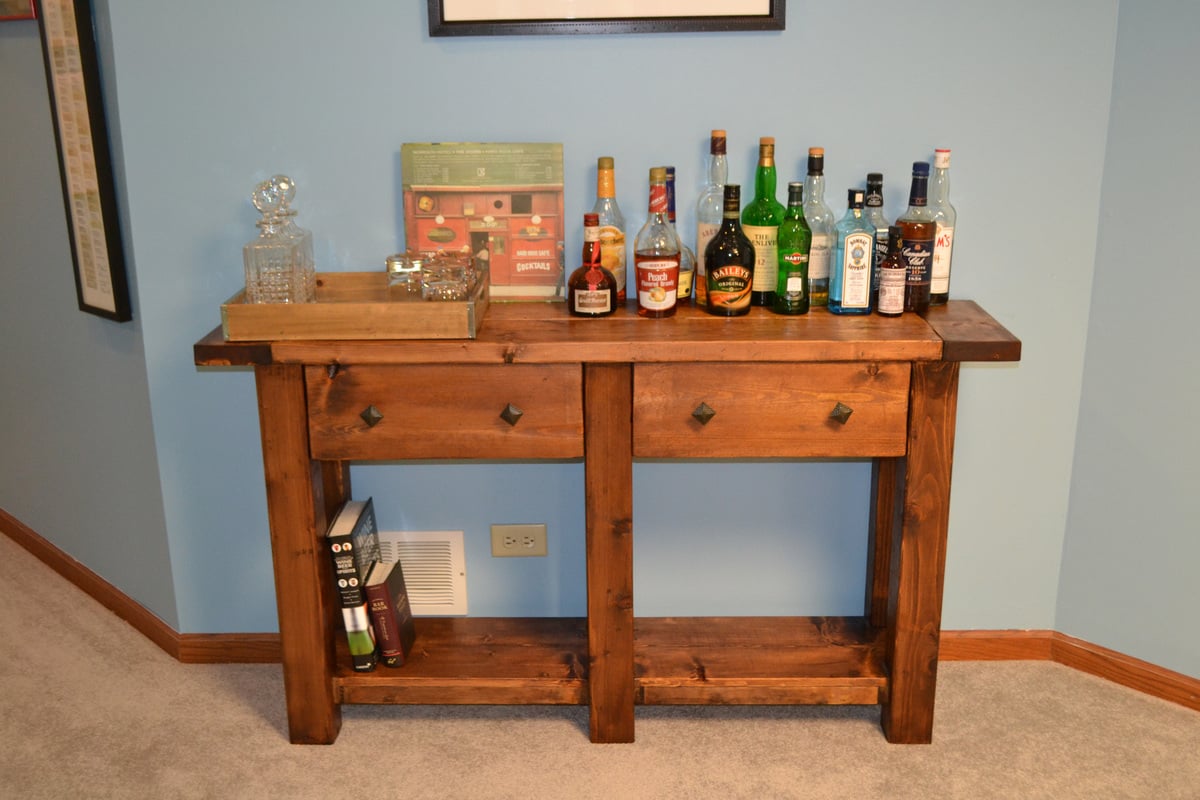
Unfortunately, I just finished building this console table two weeks before Ana and Jim's plans went up on the web site! What I wouldn't have given for the plans! Without the plans, my dad helped me modify the Tryde Console Table to look more like Pottery Barn's Benchwright Console Table, but it was definitely a labor of love (and took me three months to complete, primarily due to lack of motivation and bad weather in Chicago). But I am so pleased with the final result! Because my console table is based off the Tryde project plan, I used 4x4s for the legs, and 2x2s/2x4s for the top. Some of the wood came from other projects, including the loft bed my dad built for me nearly 15 years ago! The bottom shelf is a 1x12 that has been cut with a jigsaw to "perfectly" fit around the posts. I say "perfectly" because I definitely had to use some wood filler around three of the posts! The drawers were the hardest part, and where I really could have used a plan! They are much smaller than they appear from the outside - I used 1x2s for the sides, then attached a 1x6 face to match the sides and back of the console table. Both drawers are firmly held in place by metal drawer slides, which means I don't have to worry about the drawer falling out because it's been overloaded with glassware (as you can see, the console was a late holiday present for my partner, who is using it as his bar). I should have used a thicker piece of plywood on the bottom, because as you can see, the screws attached to the drawer slides protrude. It's nothing we can't live with though! We really wanted the piece to look older than it is (hence why we purposely chose knotty boards), and with some many reclaimed boards, I knew the stain would have to be dark. We chose a Red Oak Minwax stain and applied it once to the legs (pine) and twice to everything else (mostly whitewood). Two coats of Deft later, and we love the result. It looks exactly the way we hoped it would and we love the mix of dark and light shades.
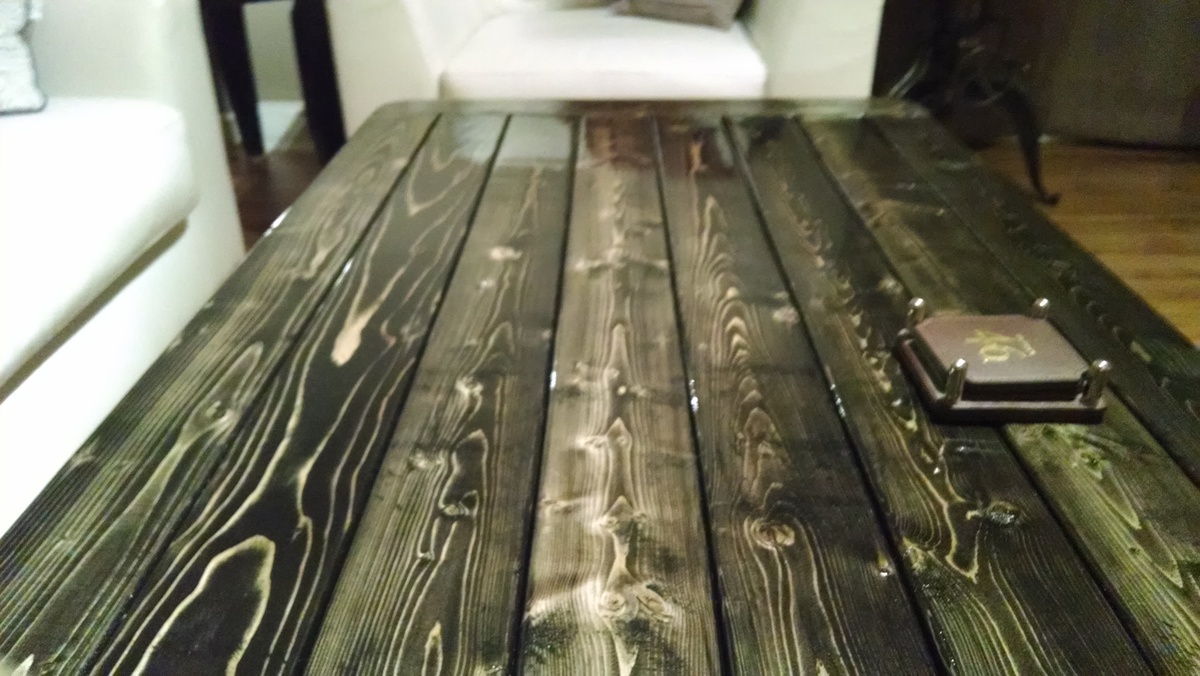
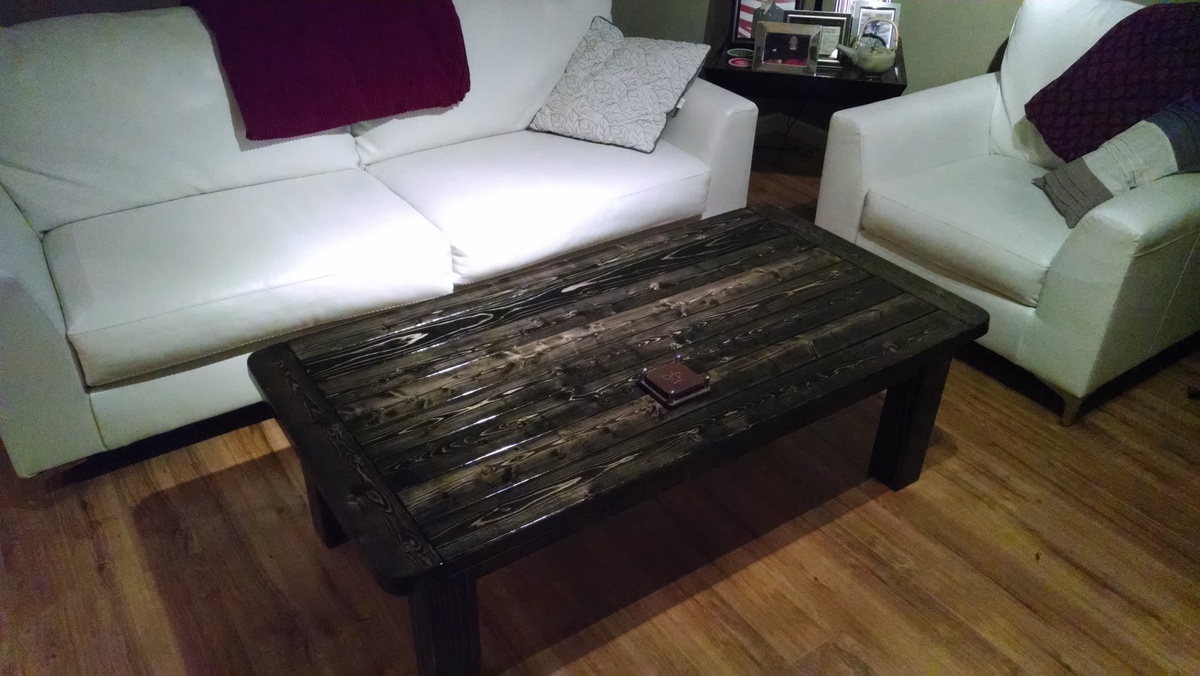
Less than $40 and fun with a Kreg jig.
Wed, 01/29/2014 - 06:36
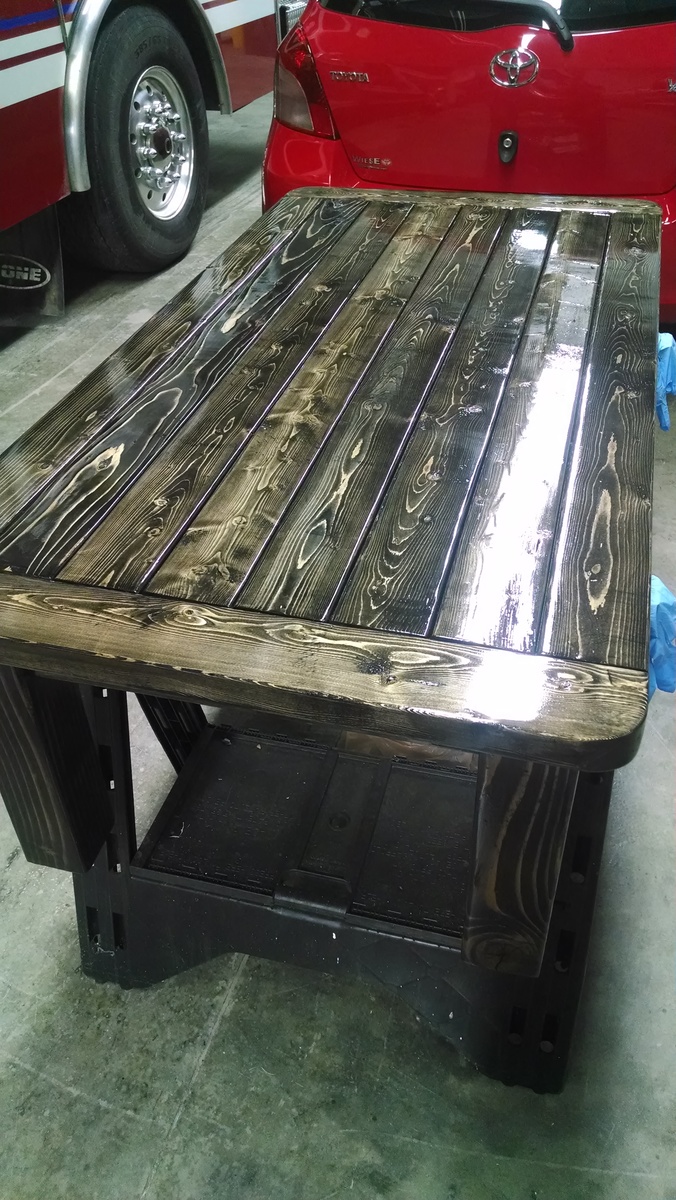
I used the Minwax poly/stain mix. Two coats of black and then two additional coats of clear gloss poly over that. It was meant for a friend, but I liked it so much in my living room... Well, lets just say I have to build her another one.
Wed, 01/29/2014 - 06:37
Oh yeah, I also rounded the edges of the corners to avoid keep from bruising my shins everytime I walked into it.
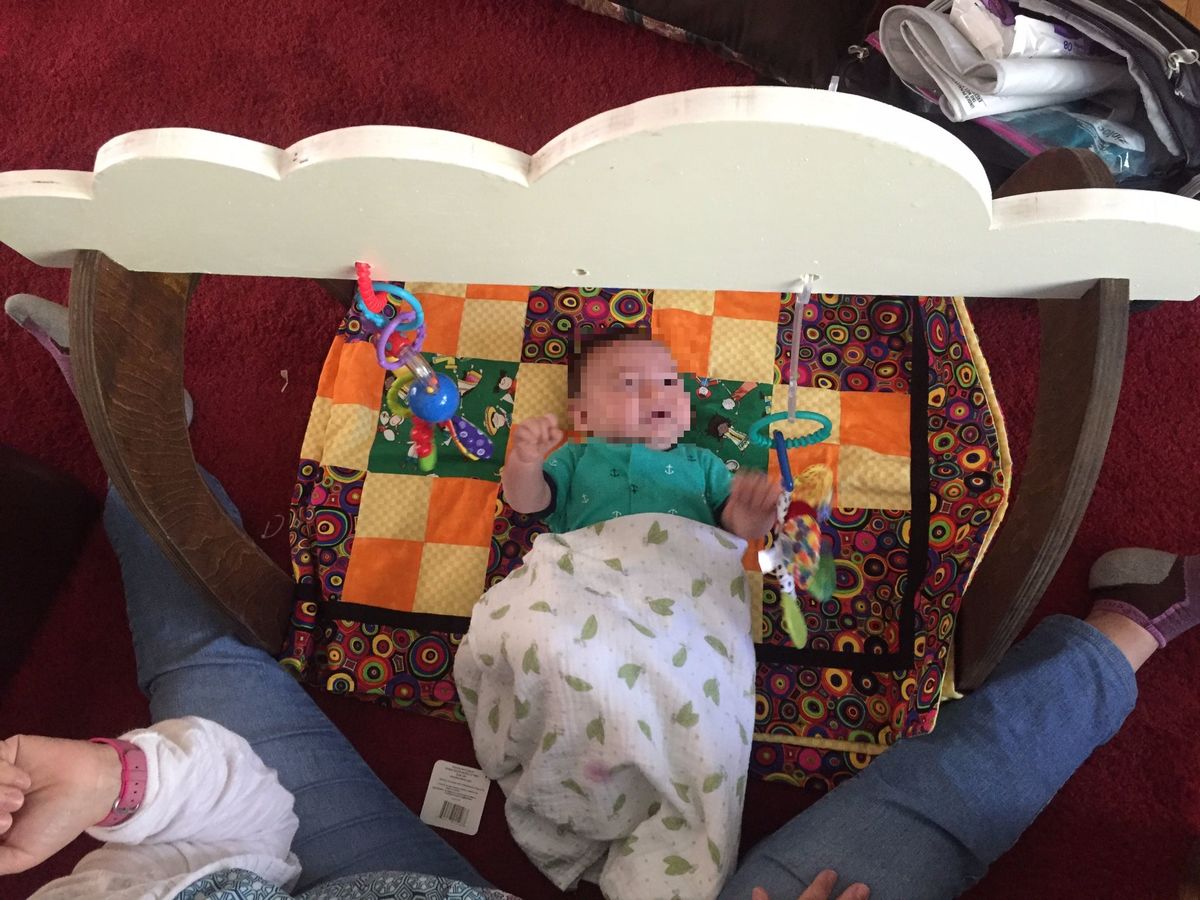
I based the side pieces on Ana's plan's measurements, but I was inspired by a different baby gym I had seen to make the top piece look like clouds. I also wanted the pieces to be able to disassemble. Instead of screwing the three pieces together, I cut notches with a band saw (could also use a jigsaw) so that they would fit together but still feel sturdy. I recommend drilling the toy holes close to the bottom edge so that this is compatible with store-bought toys.