This was our second project (though I'm proud to say that I was able to put the bulk of it together all by myself...and that's because of the miracle of the Kreg Jig pocket hole kit!)
First I had to modify the plans so that the sideboard wasn't as deep (about 16" deep...so just a couple/few inches off the original plans). Then we bought the wood. My husband helped me cut most of the pieces, and then I started drilling pocket holes. It felt like it took forever! But once that was done, I was able to put it together so quick...like an IKEA furniture! BUT! I really should have checked for SQUARE better than I did, b/c once it REALLY started coming together, things were a little off kilter... Thank goodness my husband had the patience to SAND THE HECK out of the bottom of the poor thing to level it back out. :P
The door fronts took forever...and the drawers took a while to fit in correctly (all of which my hubs did). We had left our lumber on the patio, and the second day it got rained on. It might have helped if our lumber didn't get wet (to help keep things straight and square).
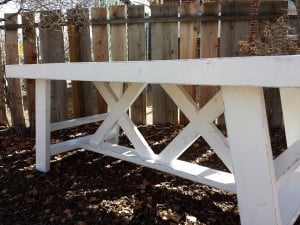
The things that took the longest: squaring, leveling, doors and drawers, and the base molding (I ended up using a 2x4 and 1x2 to build my own base along the bottom...we wanted to stain the wood instead of paint it, and didn't want to pay the $$$ for paintable molding).
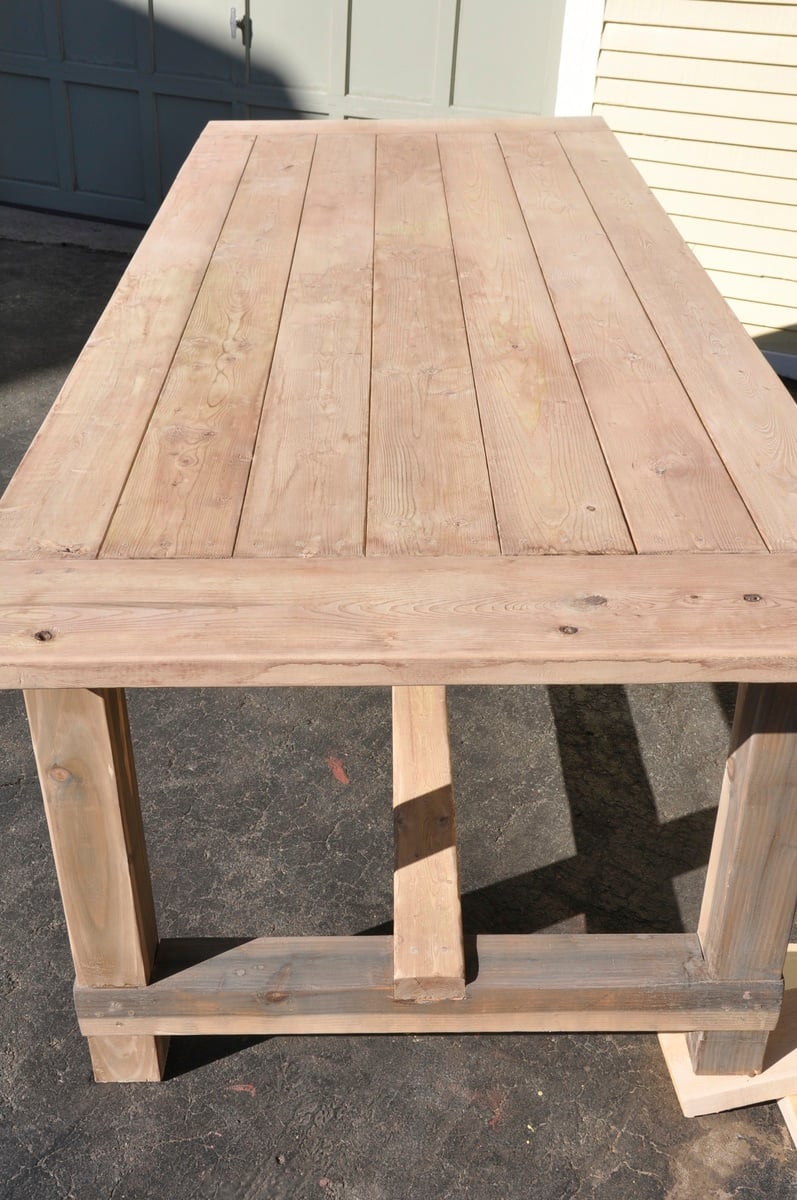
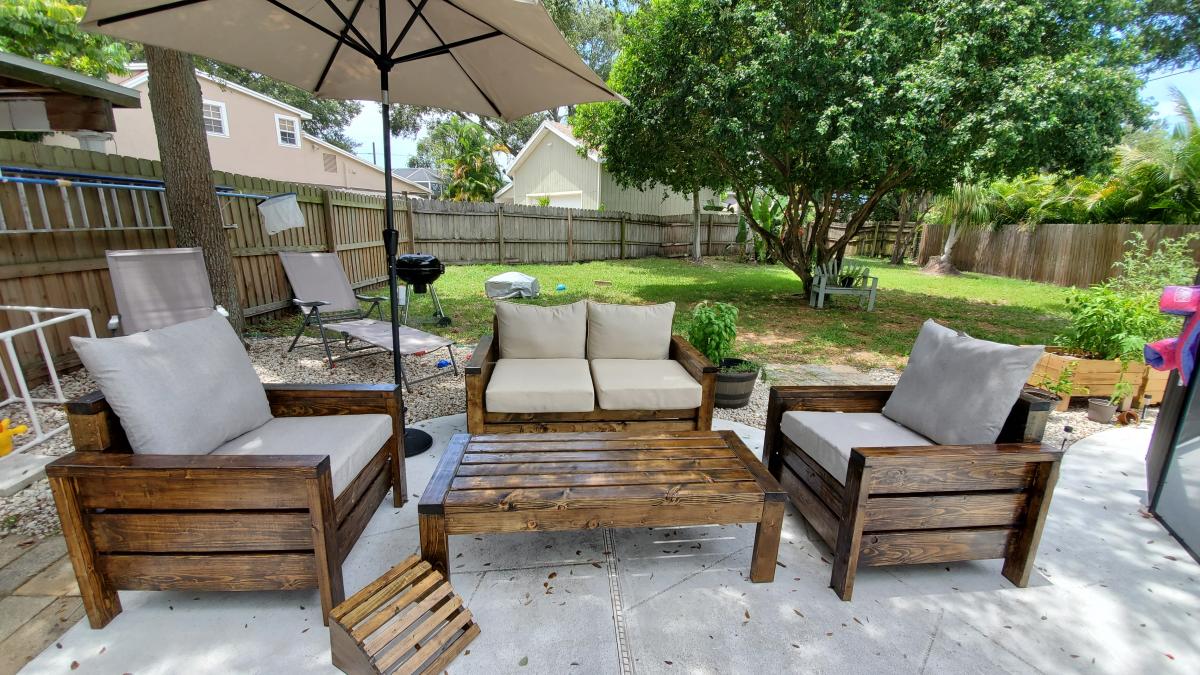
I used the same Rustoleum Dark Walnut stain that I had used on our Farmhouse Table...but I didn't shake it enough before using it, then left it on longer than I should have, so it is much darker than our table. Eventually may want to paint over it since it was so hard to get stain in all the nooks and crannies.
I didn't think to stain the inside of the doors. I will have to go back and paint it someday. We used particle board for the bottom and inside shelf (much cheaper than plywood). I tried staining the bottom piece, but it just soaked in the stain. So I used some dark brown spray paint instead. Worked like a charm. Planning on painting/covering the shelves one day, too.
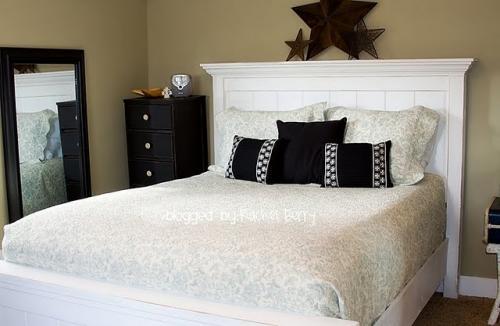
OH! AND, I couldn't find the wider "bead board" (or whatever it is that everyone else used on their sideboards), so we used plywood as a backing, then attached some thin Poplar boards on the front for the appearance of planked boards. VERY painstaking. Would recommend a different method for that part.
(Timing: We started building this around the beginning of November, brought it in and used it before it was finished...then finished it a couple days before Christmas. Just the other day I added some drawer liners).


Comments
HappyAnnika
Tue, 07/02/2013 - 15:39
Curtains
How did you attach the curtains? Very nice work.
In reply to Curtains by HappyAnnika
btsmith76
Wed, 07/03/2013 - 06:33
Curtains
I used 2 wooden dowels cut to 77" (length of bed) and attached 4 cup hooks (link below) to hold dowels.
http://www.lowes.com/pd_330634-37672-491035_0__?productId=3192589&Ntt=h…
Marie320
Fri, 07/19/2013 - 11:47
plans
I saw your post on the full size loft bed. I've only seen the plans for a
twin size. what are the plans or how do I modify to a full size? really want
to keep my sons mattress. and I love the flat panel on the side by the way
and the curtain
In reply to plans by Marie320
btsmith76
Thu, 08/08/2013 - 07:32
Full size bed dimensions
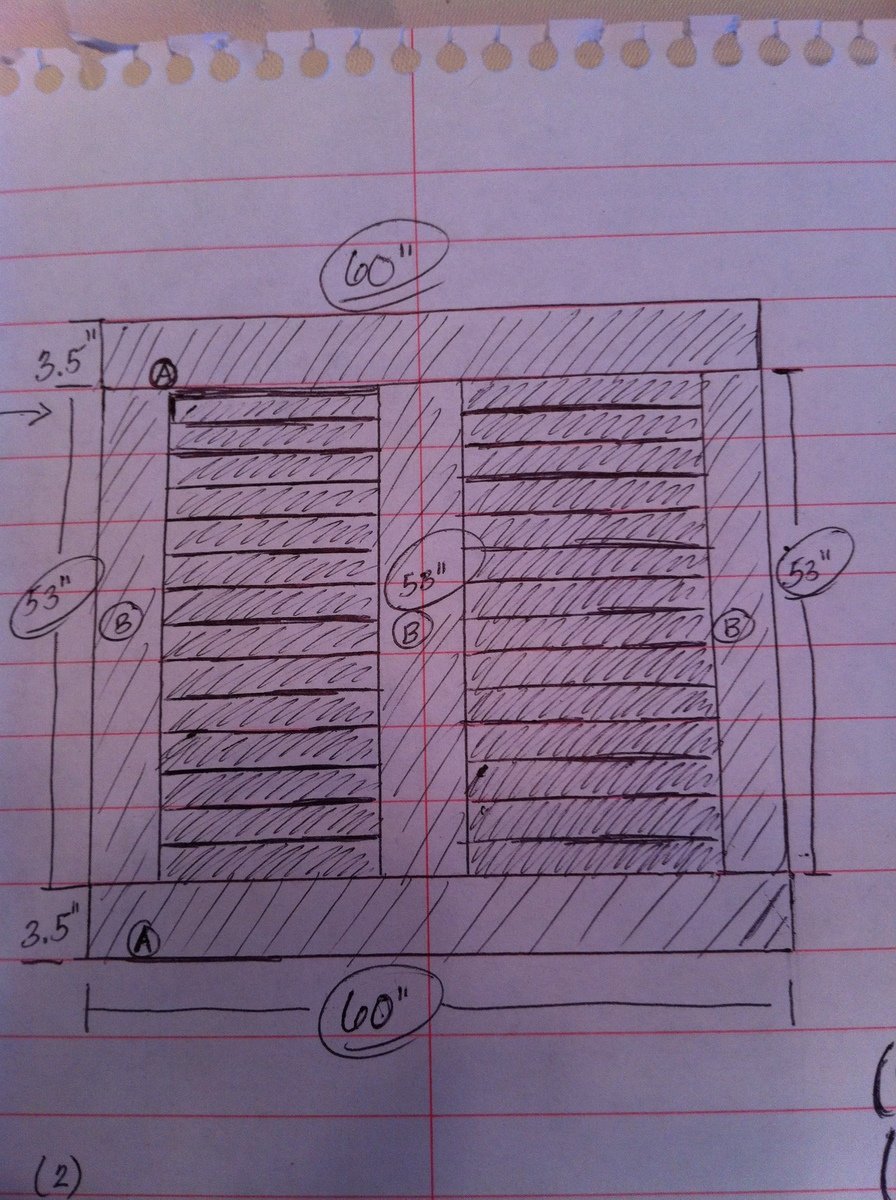
The original plans show a 44 1/2" width for a twin size mattress. I modified the width to 59 1/2" to fit the full size mattress. The original length of the bed was 75", I extended this to 77". Also, keep in mind the overall height of the loft bed. The mattress we purchased is 12 1/2" in height/thickness. So I also modified the overall bed height from 65 1/2" to 72" and 45" clearance underneath. Hope this helps.
ldulitz
Wed, 08/07/2013 - 16:59
height of bed
i like how you have the extra 2x6 at the top. did you lower the height of the overall bed to do this? how high to you have it, and how much space did you leve between the "rows"?
In reply to height of bed by ldulitz
btsmith76
Thu, 08/08/2013 - 07:37
I actually added more height
I actually added more height to the bed. The original plan bed height was 65 1/2", I modified that to 72". I added that piece because of the mattress height. We purchased a mattress that was 12 1/2" in height / thickness. The space between each row is 3".
bhoppy
Thu, 01/02/2014 - 14:03
Aquarium wall
I love all the modifications you made. Do you mind answering a few questions? What width of wood did you add to make the aquarium wall? Is it 1/4 inch plywood or thicker? I also noticed that you did not add another cross piece on the back, is that because the wall added stability and you didn't need it? Also I noticed you added 2x4's under the front side 2x6. Was that for stability as well? I want to make the full size version as well and appreciate your help:-) Thanks
In reply to Aquarium wall by bhoppy
btsmith76
Fri, 01/10/2014 - 06:41
Aquarium Wall
I used 1/4 inch plywood for the aquarium wall. The cross piece in the back was not needed. This is where our daughter gets in and out of the bed. The 2x4's in the front are just for aesthetics. They are not needed for stability. I used them to hide the end of the curtains. Hope this helps and good luck.
roccaburro
Sun, 03/02/2014 - 16:17
Plans
Do you happen to have a copy of the plans with your modifications done to it? Just I am trying to figure out how to convert the plans for a full size bed just not having an easy go with it LOL
btsmith76
Tue, 03/04/2014 - 08:12
Loft Bed plans
I'm sorry I do not have the plans anymore. The original plans show a 44 1/2" width for a twin size mattress. I modified the width to 59 1/2" to fit the full size mattress. The original length of the bed was 75", I extended this to 77". Also, keep in mind the overall height of the loft bed. The mattress we purchased is 12 1/2" in height/thickness. So I also modified the overall bed height from 65 1/2" to 72". Hope this helps.
skooter31
Sun, 11/09/2014 - 11:03
buying list
Did you buy the same wood on the list or did you need more?
missybean13
Fri, 04/01/2016 - 11:11
I cant even find the plans
I cant even find the plans for the original twin bed. Am I missing something lol?
missybean13
Fri, 04/01/2016 - 11:11
I cant even find the plans
I cant even find the plans for the original twin bed. Am I missing something lol?
missybean13
Fri, 04/01/2016 - 11:11
I cant even find the plans
I cant even find the plans for the original twin bed. Am I missing something lol?
missybean13
Fri, 04/01/2016 - 11:11
I cant even find the plans
I cant even find the plans for the original twin bed. Am I missing something lol?
missybean13
Fri, 04/01/2016 - 11:11
I cant even find the plans
I cant even find the plans for the original twin bed. Am I missing something lol?
missybean13
Fri, 04/01/2016 - 11:12
sorry I did not mean to post
sorry I did not mean to post that so many times.
debduhadway
Wed, 04/13/2016 - 17:48
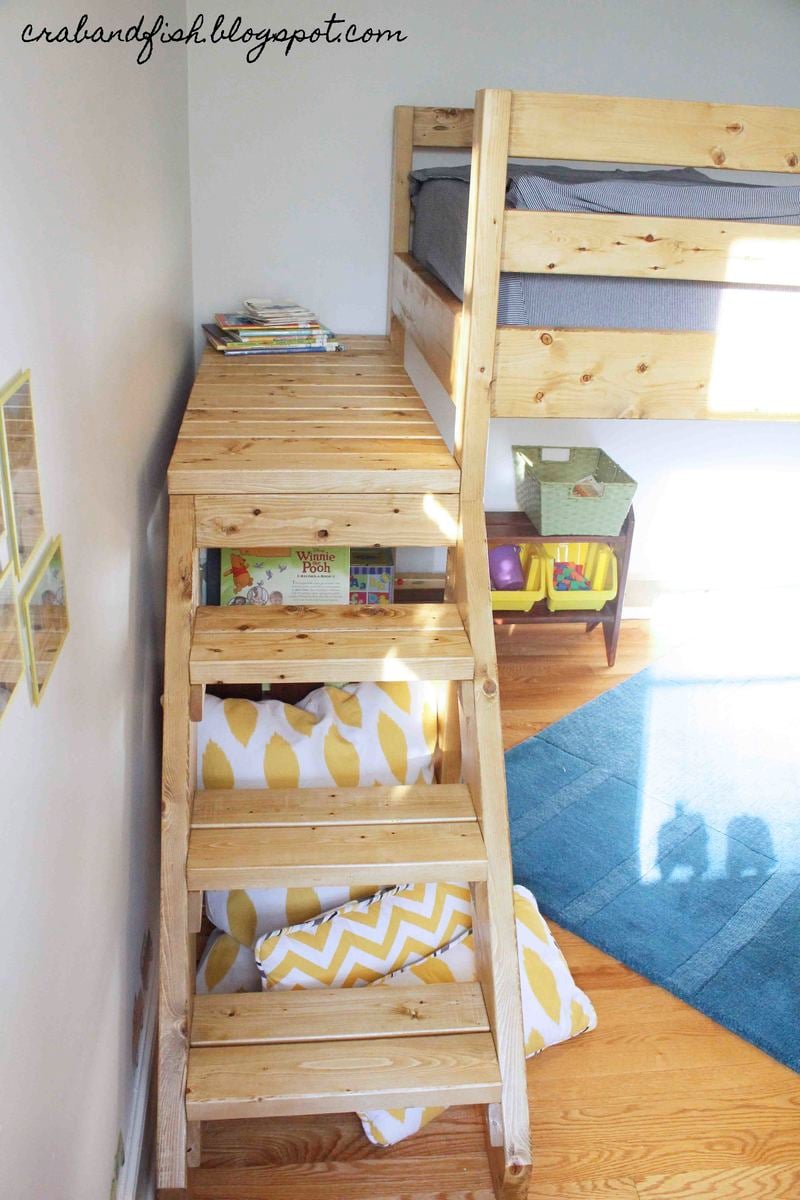
steps
Do you think there is a way to make the steps double hinged so they could fold up on the landing?