Adirondack chairs
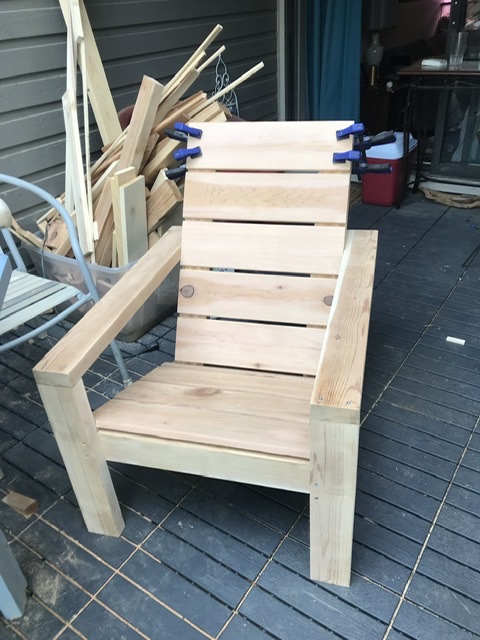
I made a pair of these
and my friends arrive early so they can have one to sit in. The other is mine!
Built from Plan(s)
I made a pair of these
and my friends arrive early so they can have one to sit in. The other is mine!
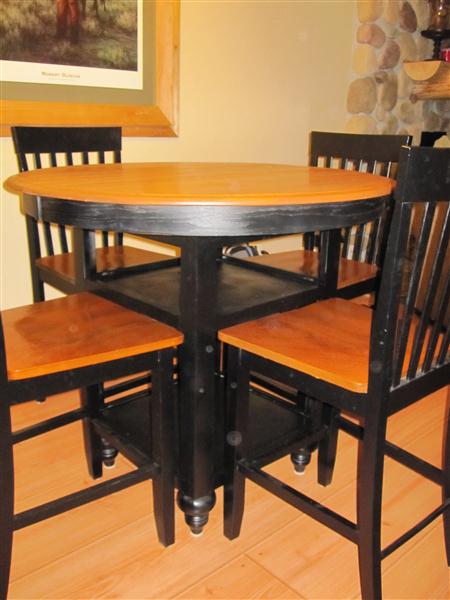
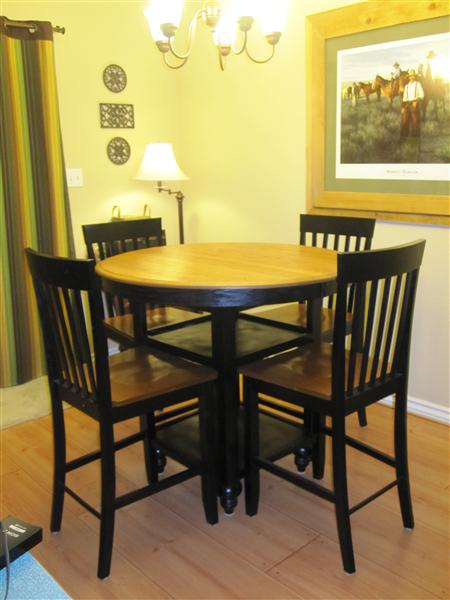
We used a $35 craigslist table top with a leaf some 50 cent cull MDF pieces and about 80 in screws, paint and wood and got a beautiful counter height dining table! Loved getting to know my Kreg Jr.
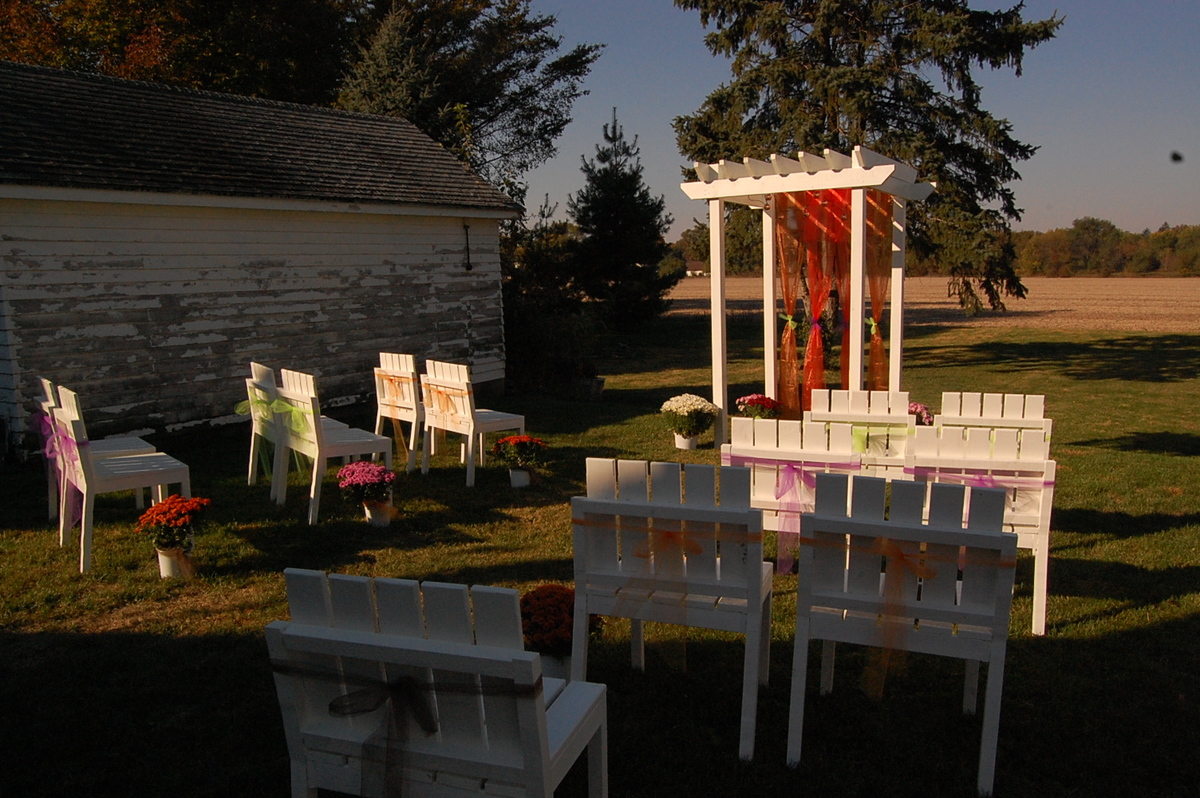
For our wedding we wanted to make seating for our guests. We ended up making 16 chairs total over several weekends. We also made the pergola.

Sun, 07/07/2013 - 16:27
These are so lovely! Congrats on your DIY wedding, the setting is beautiful. Popped over to your blog, your new siding and floors look super too. :)
In reply to Beautiful chairs! by JoanneS
Sun, 07/07/2013 - 18:30
Thank you so much. It has been a labor of love. Being able to have our wedding in our backyard made it so much more special.
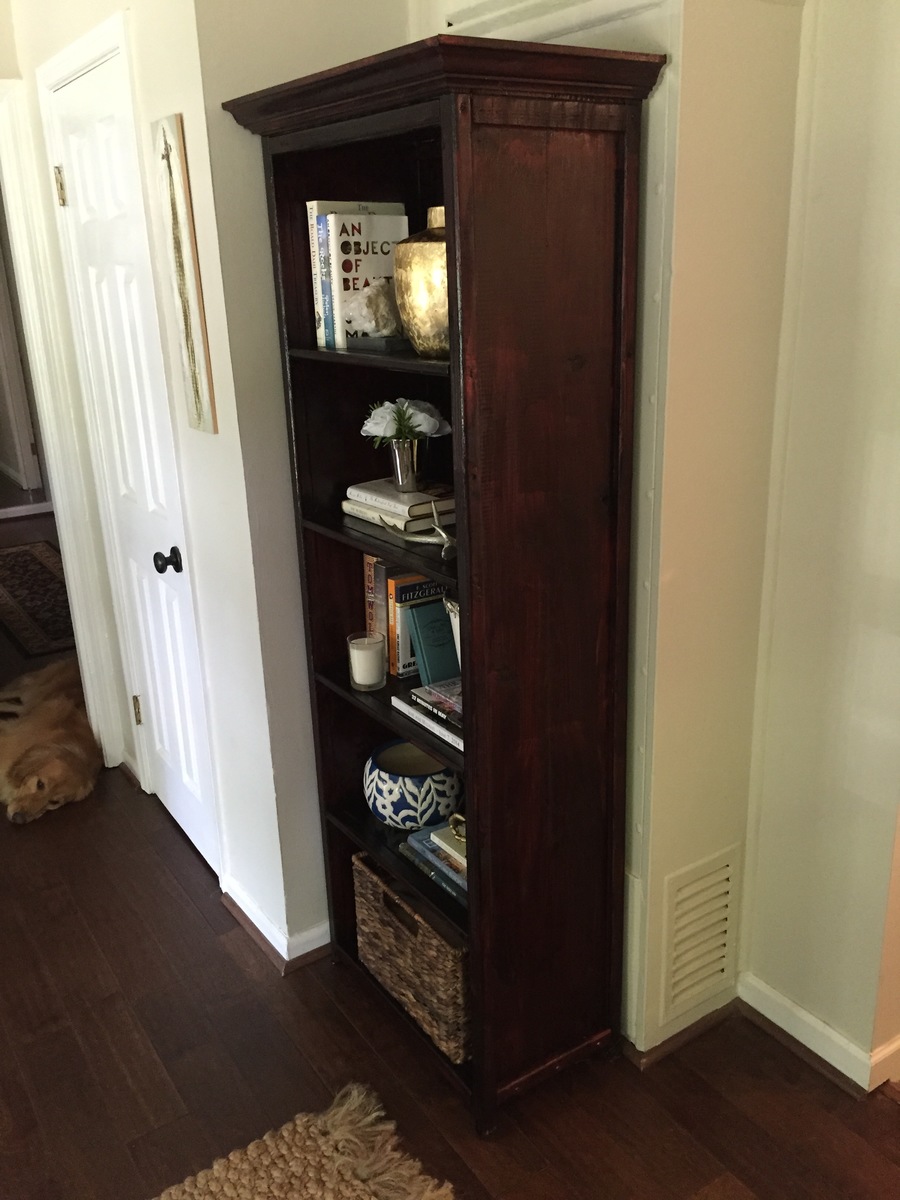
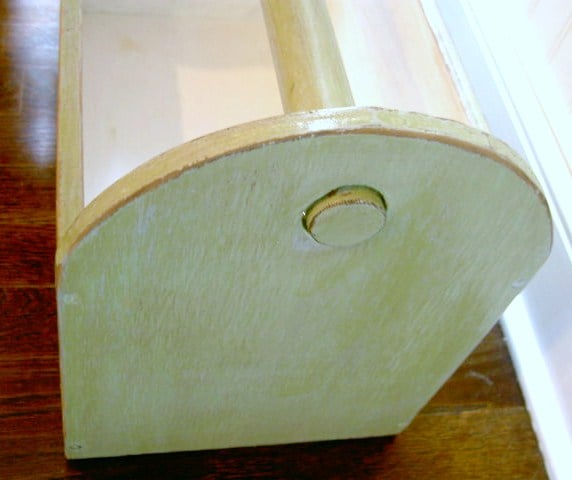
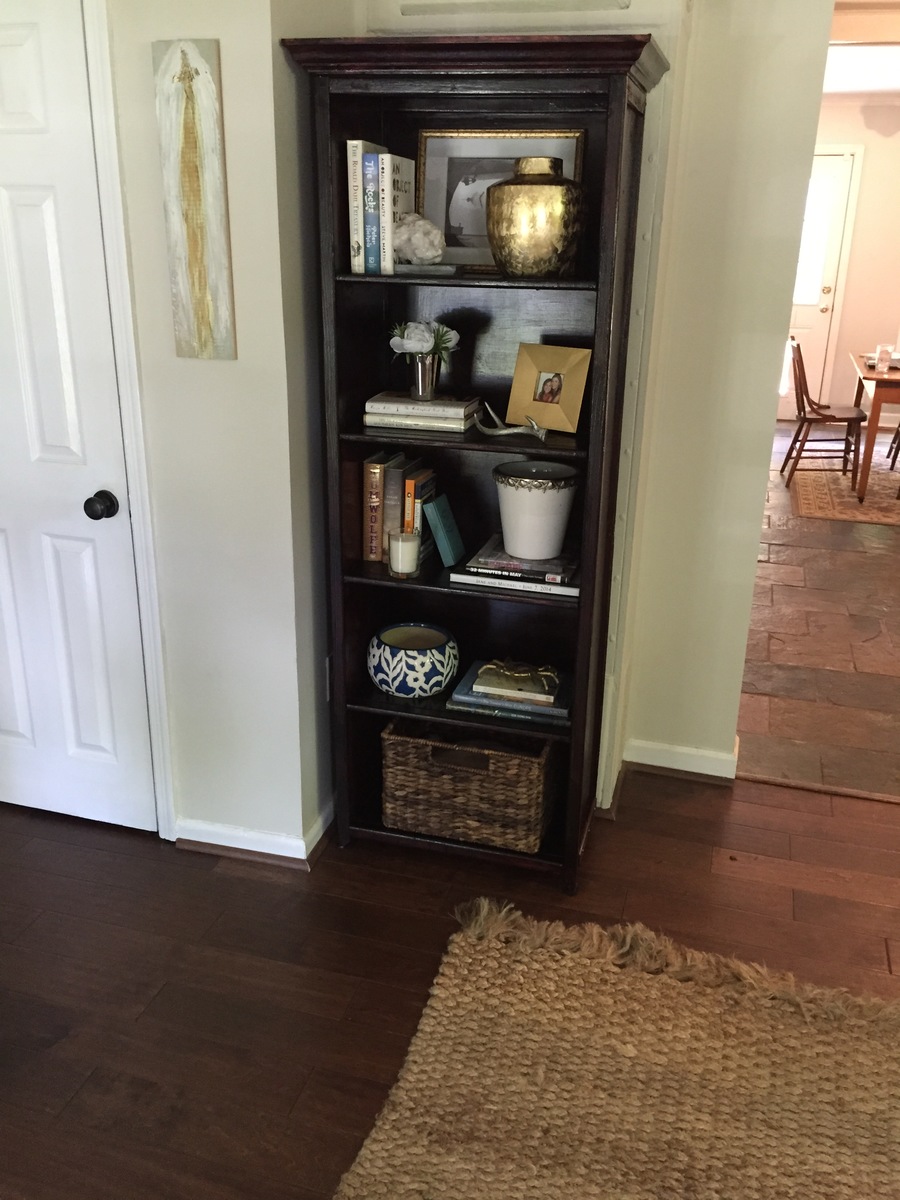
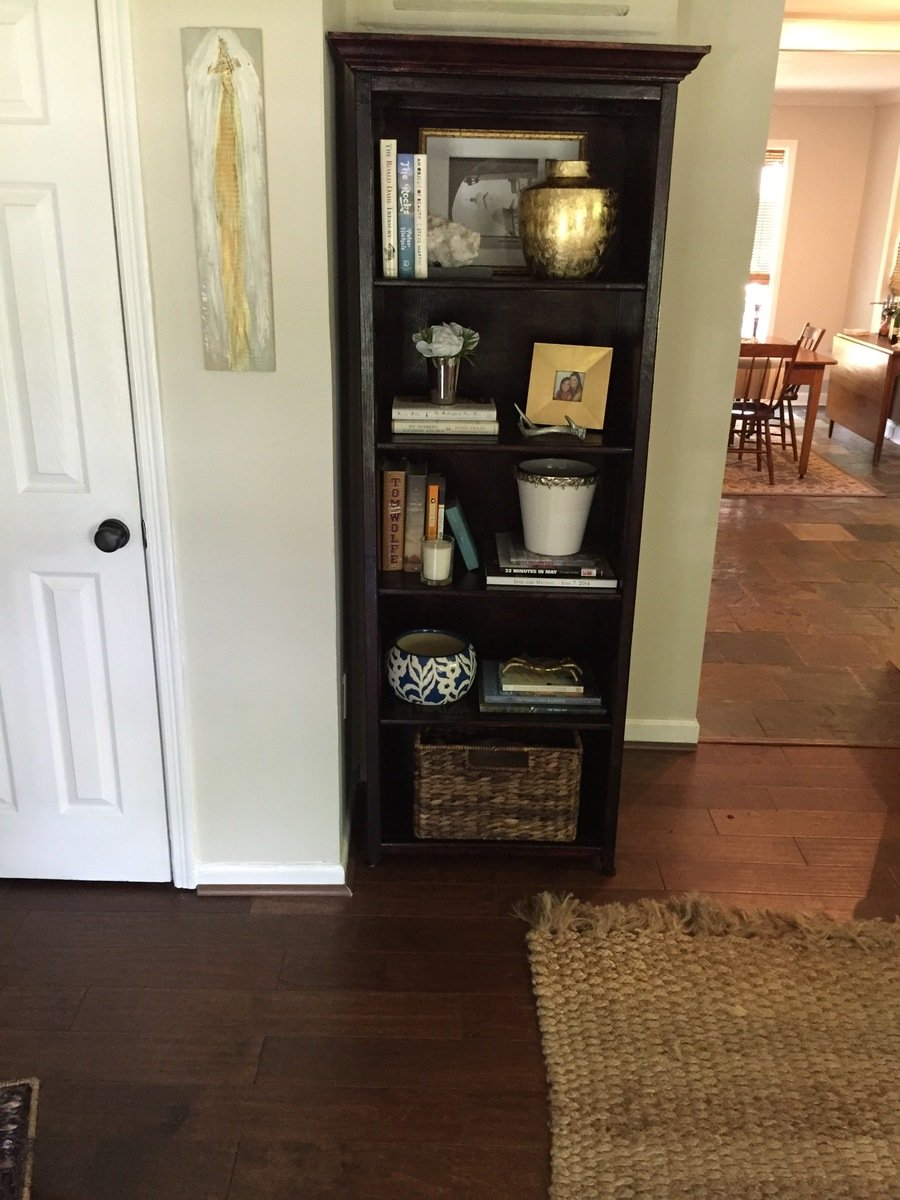
We needed a bookcase to fill a void in our living room and this was it. I altered the dimensions to increase the height to 72.5". I also added crown molding to the top which turned out nice. I used the same Bombay mahogany stain suggested by a previous post.
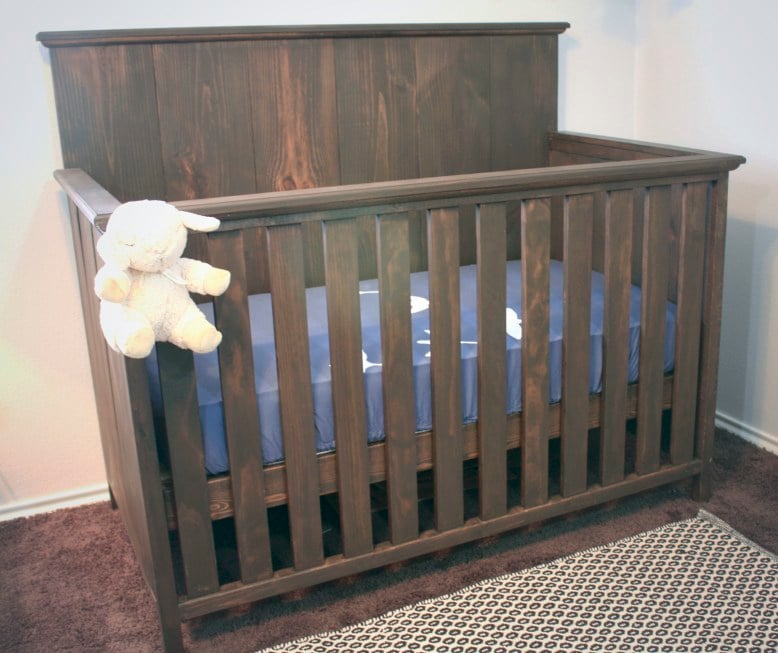
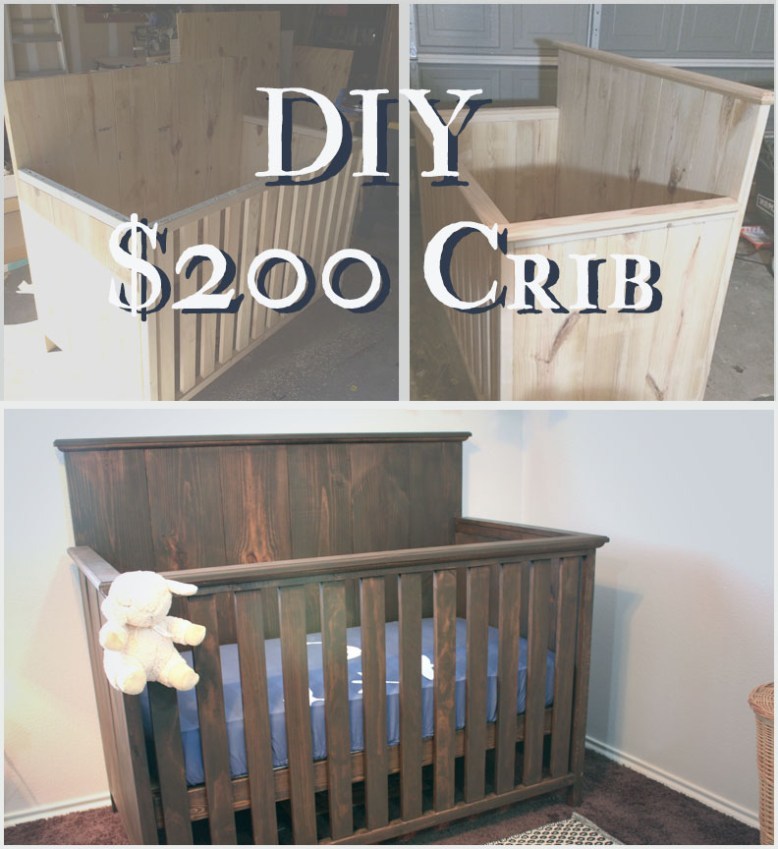
Hey yall! This is Sara from OnHouseandHome.com with plans for my favorite build ever: my son's baby crib for less than $200. This is a super simple design that is fairly easy to build. It's built from pine and poplar, both available at Lowe's or Home Depot, and I only used basic tools like a table saw, drill, kreg jig, and router to buil this. The crib has survived a move to a new house and is currently housing my 2nd son so I can promise it's just as strong as it is stylish!
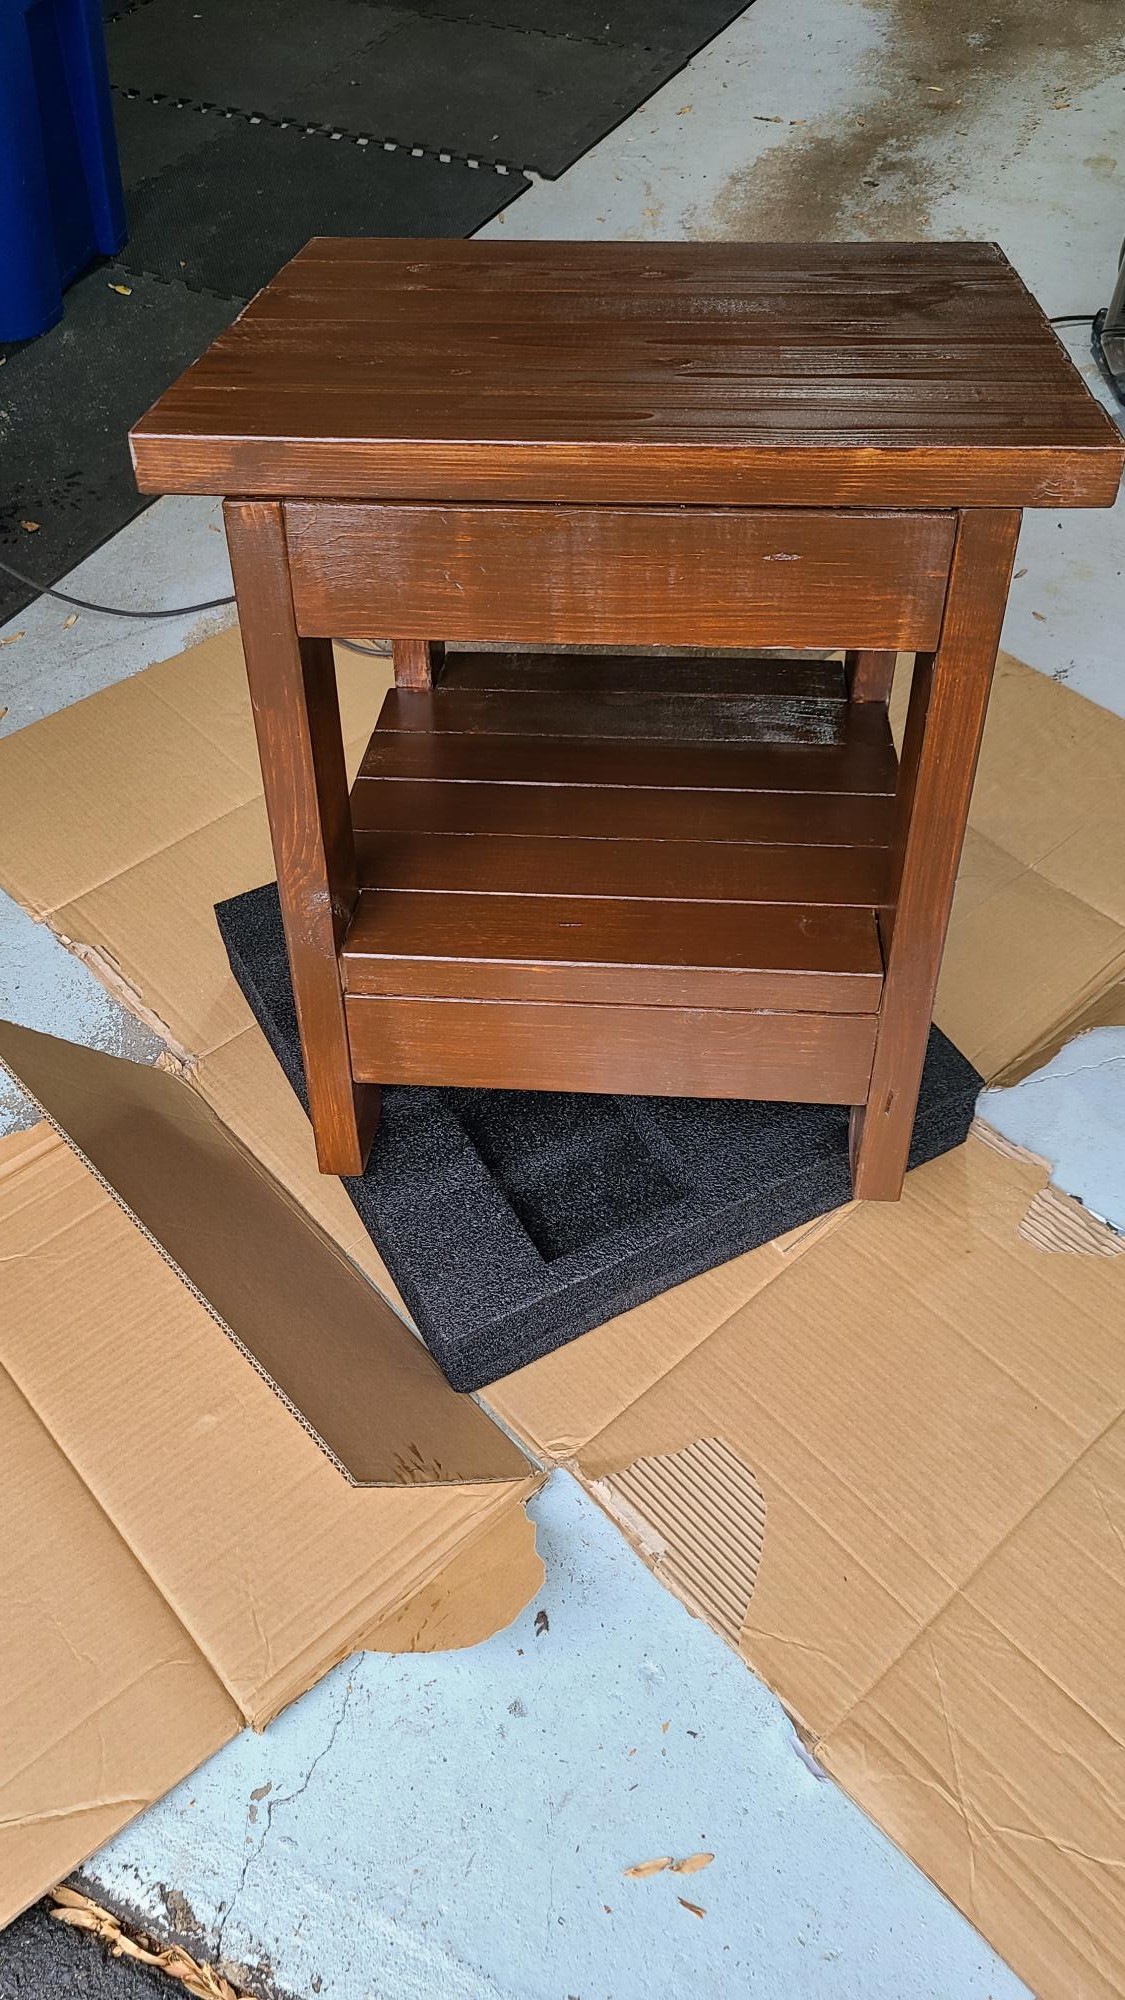
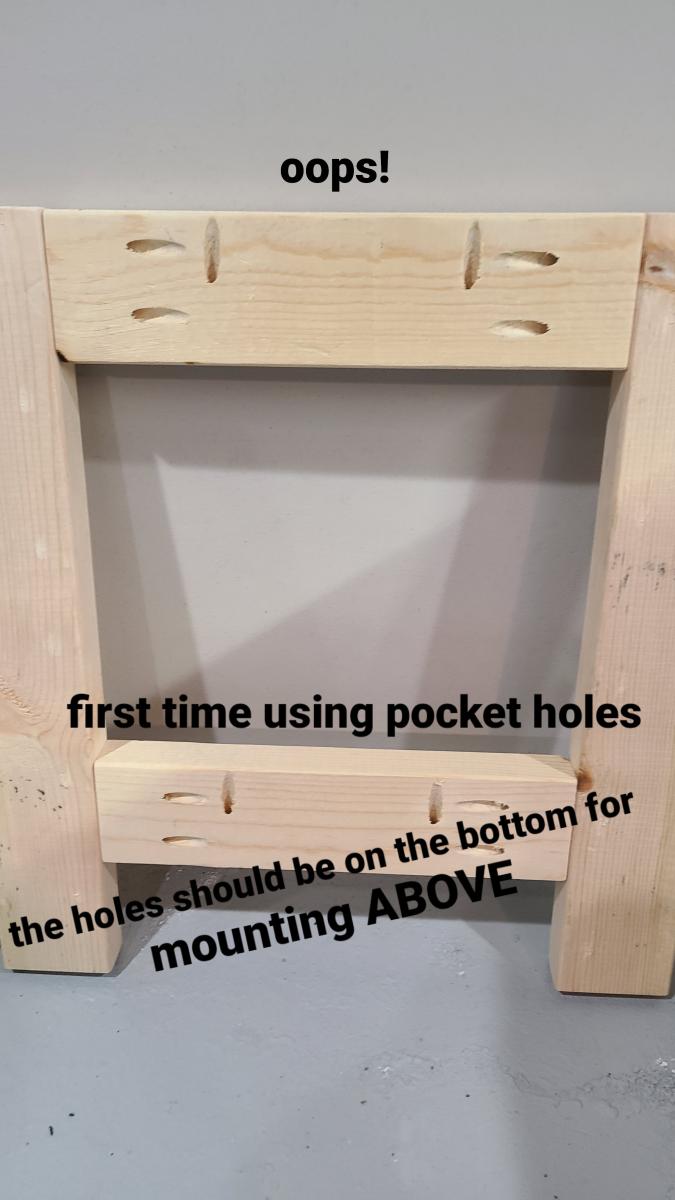
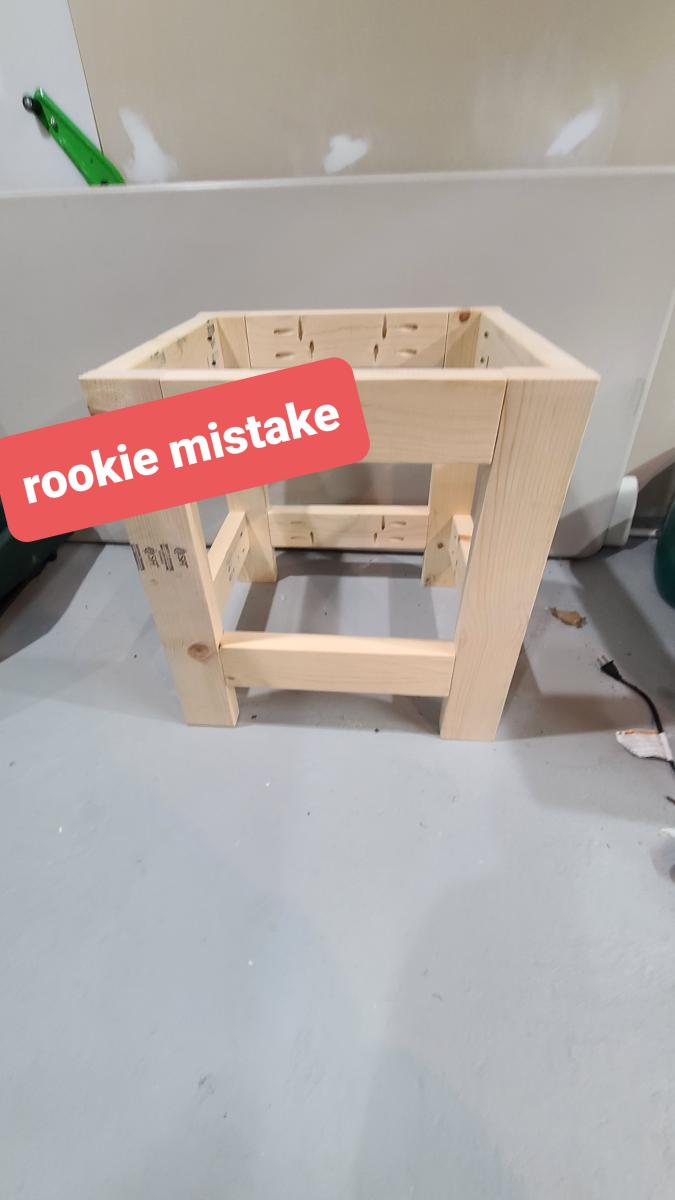
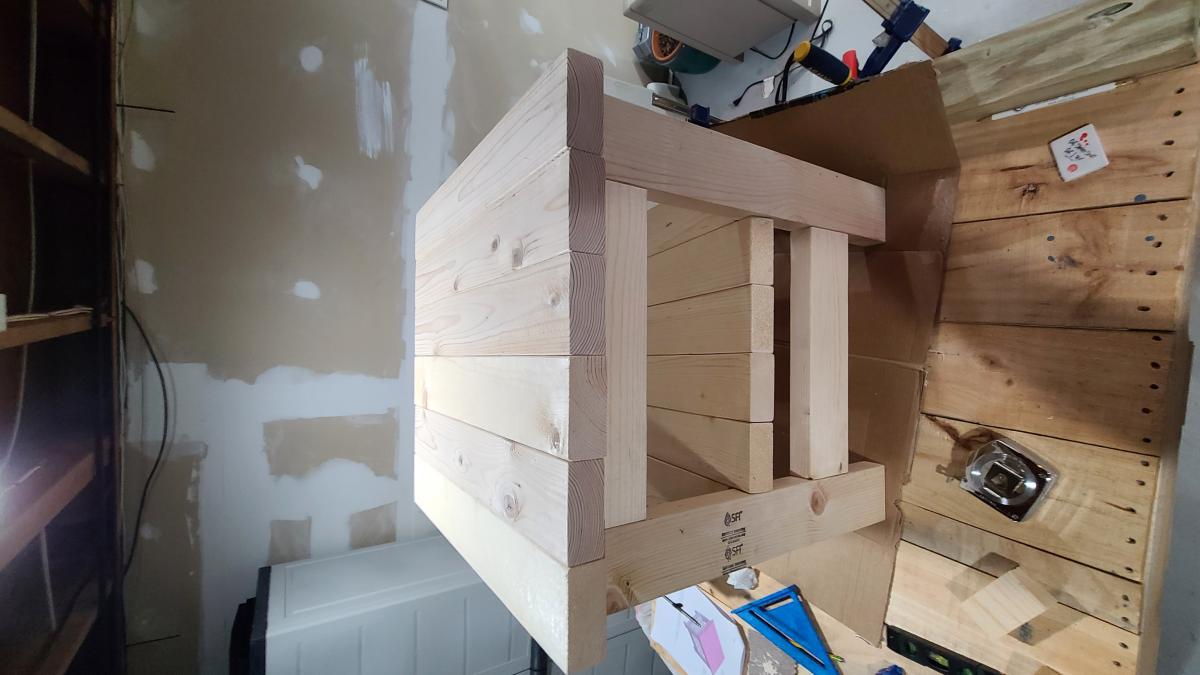
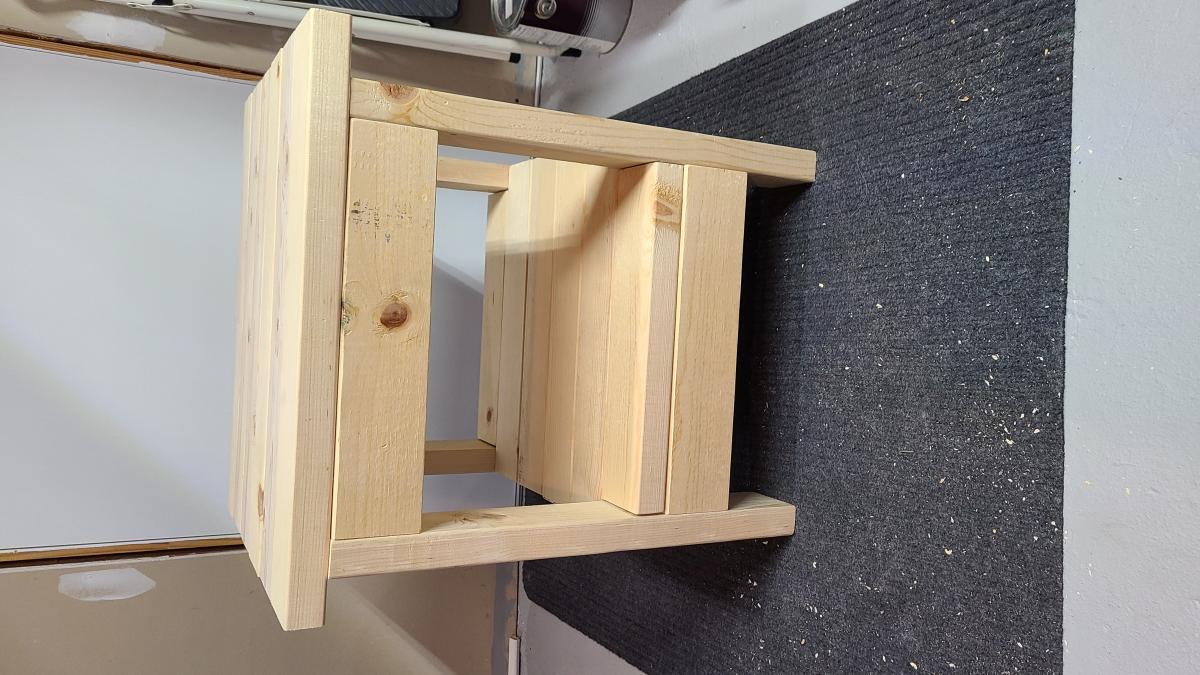
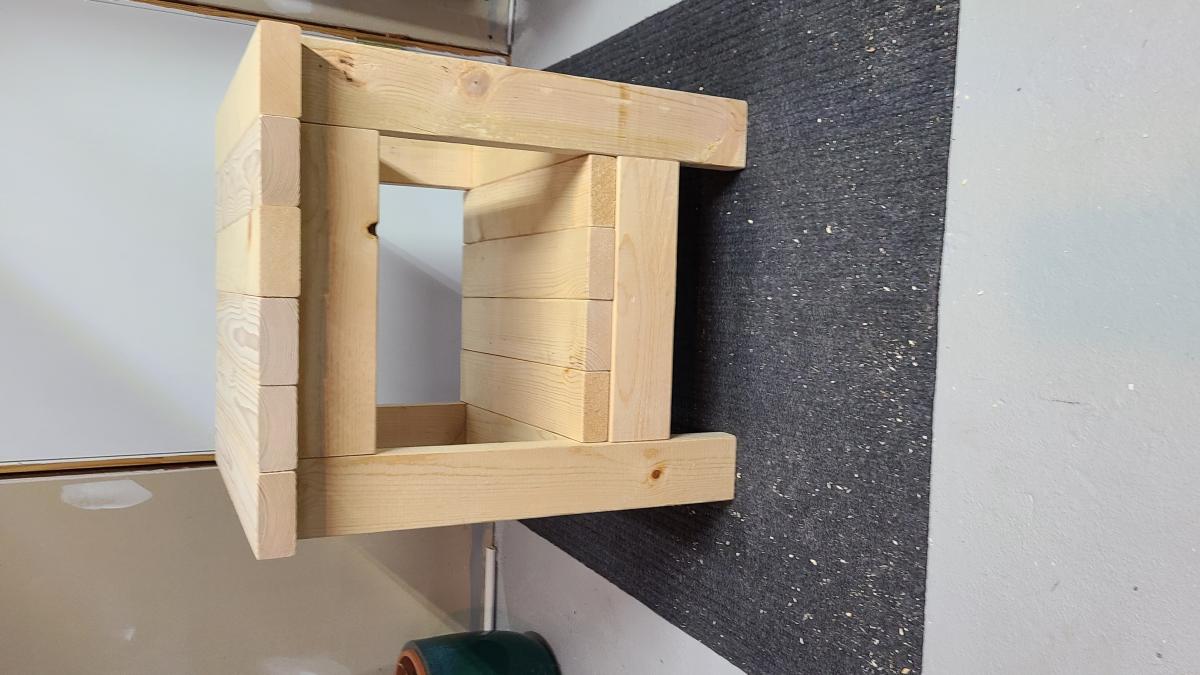
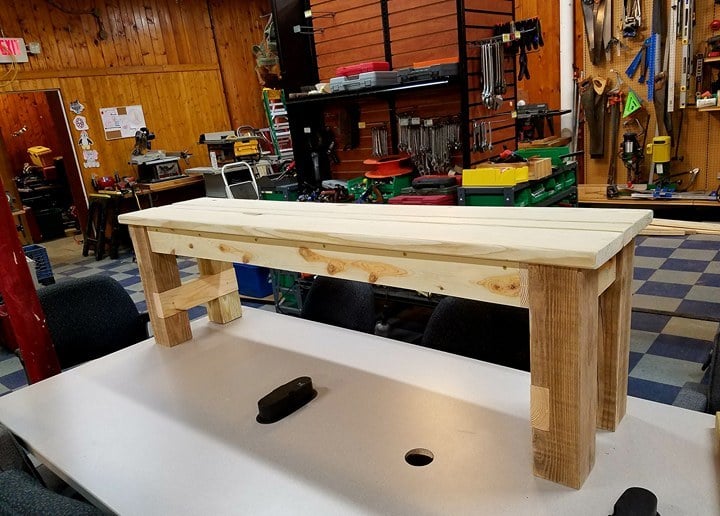
This end table was the second woodworking project I have completed. The first was a doghouse that came out pretty well but was definitely not "furniture grade," so this time I knew I needed to up my game. For the most part, I think I did do that. It was not a completely seamless process, but considering my newness and the number of new skills involved (e.g., pocket holes, staining and polyurethaning) I like how it came out. It also showed me how I can continue to improve my skills so that the next projects will be even better still. The pine 2x4's were very easy to work with and dried out nicely once I got them home to reveal a nice grain. Clearly I have to learn how to cut boards to the same length, but that's part of what gives the project it's character (If you believe it then it's not a lie.). I also need to figure out how to sand polyurethane without scraping it and the stain all off. Thanks to Ana for developing this great page and for all the really nice plans on here. It made the whole process far less intimidating. (sorry for the sideways pics)
Sat, 01/01/2022 - 18:22
Way to go, lots of great learning here and it looks pretty and functional! Thanks for sharing!
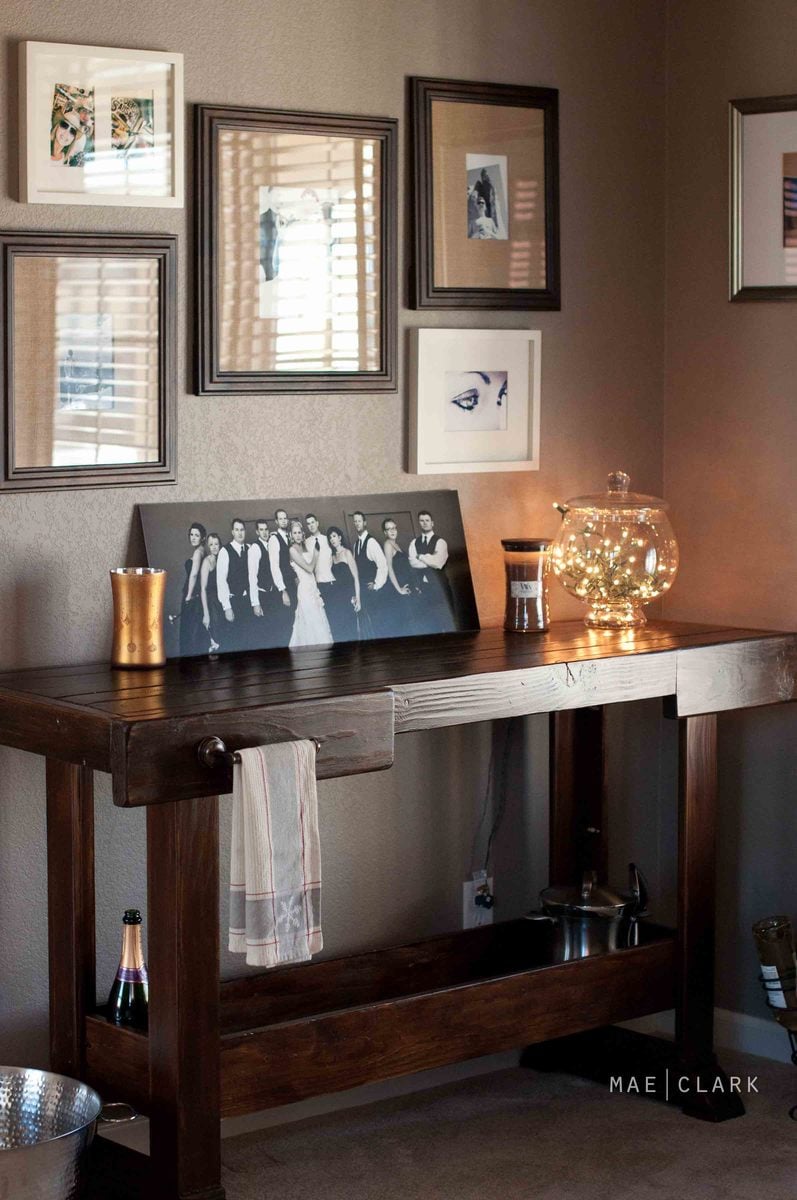
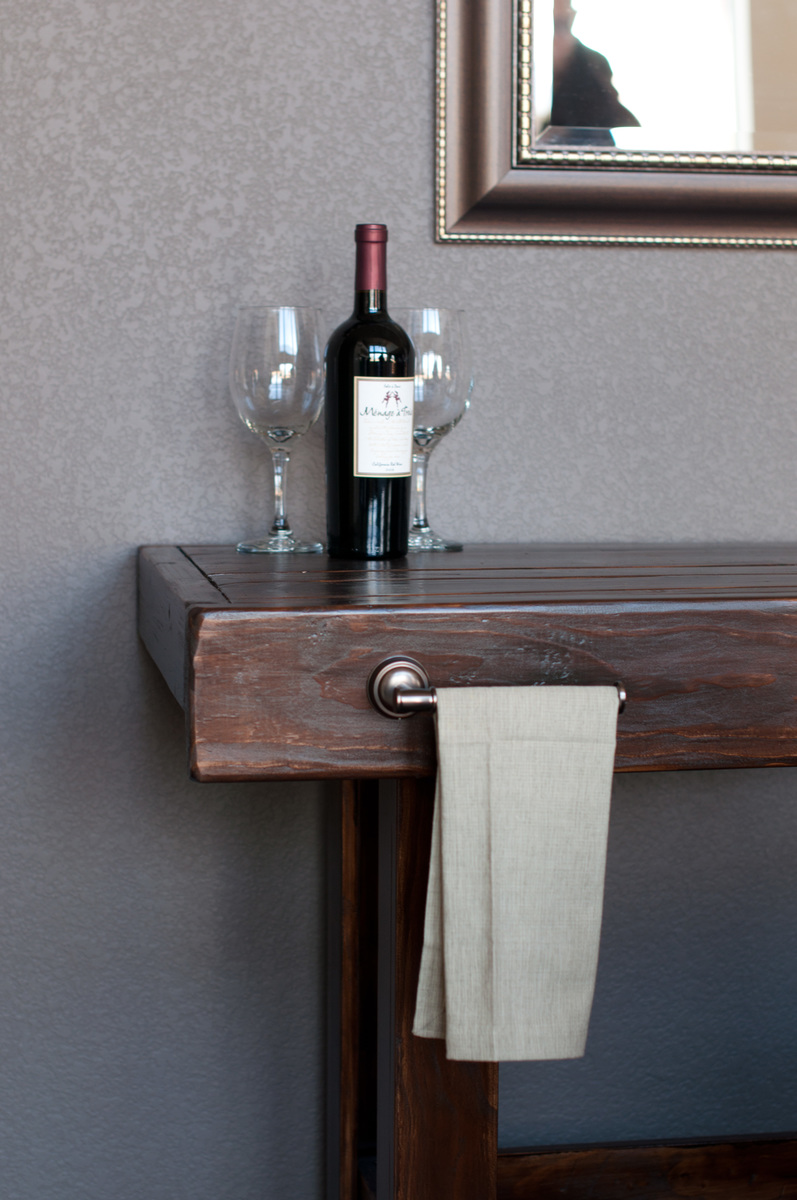
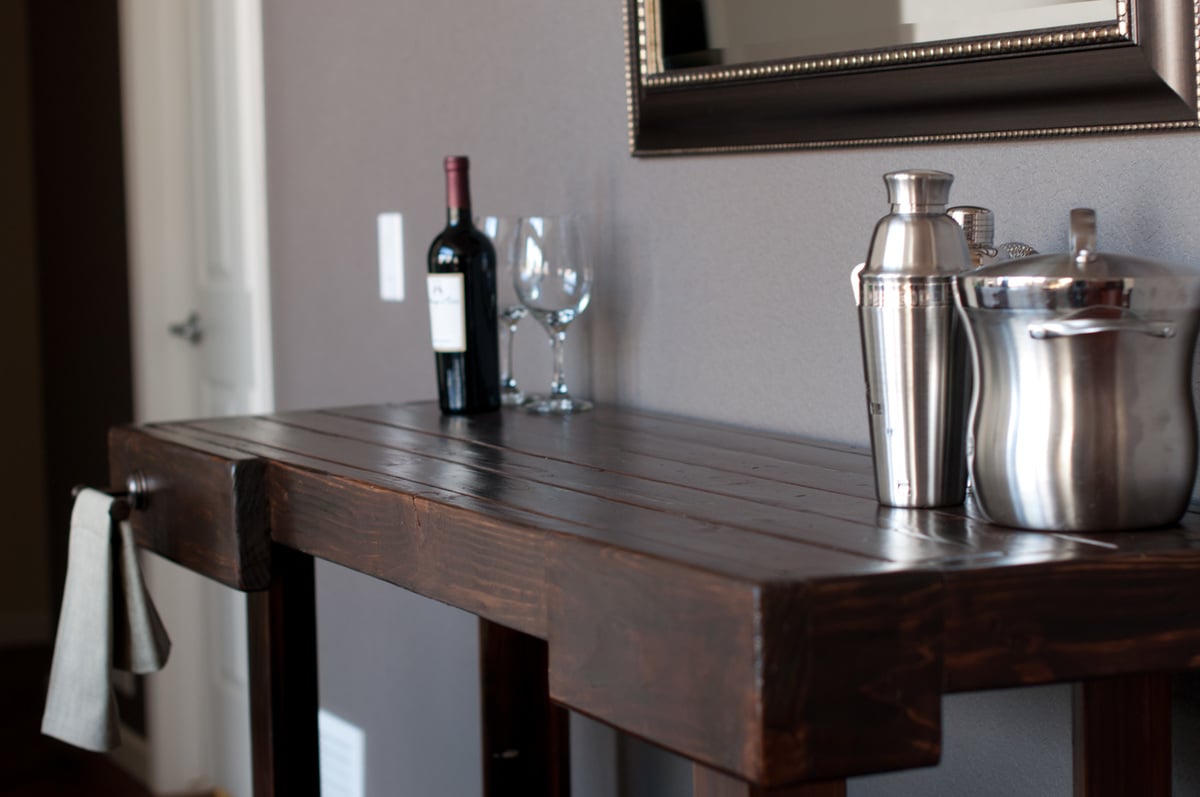
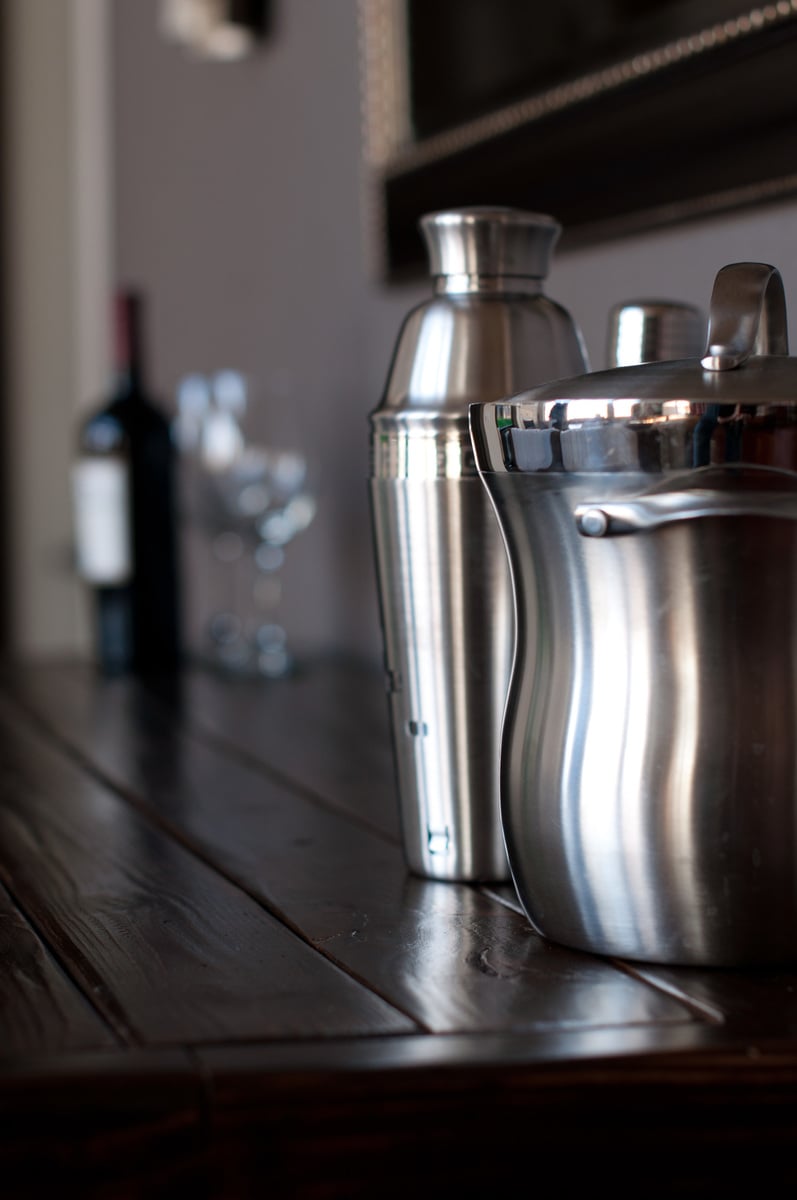
Saw this bar in the PB catalog and loved it! SO excited when I found it on Ana's site... This project was a little more time-consuming than the others I've done. A ton of 2x4's are used, and we bought stud grade 2x4's...definitely got our money's worth out of our palm sander. The table top gets pretty heavy so I couldn't have done it without a hand from the hubbs. We built four separate pieces - the table top, the lower shelf/box, and the legs. We stained everything, then assembled the pieces. Finished assembling this the morning of my work Christmas party, which we were hosting. The perfect drink station!
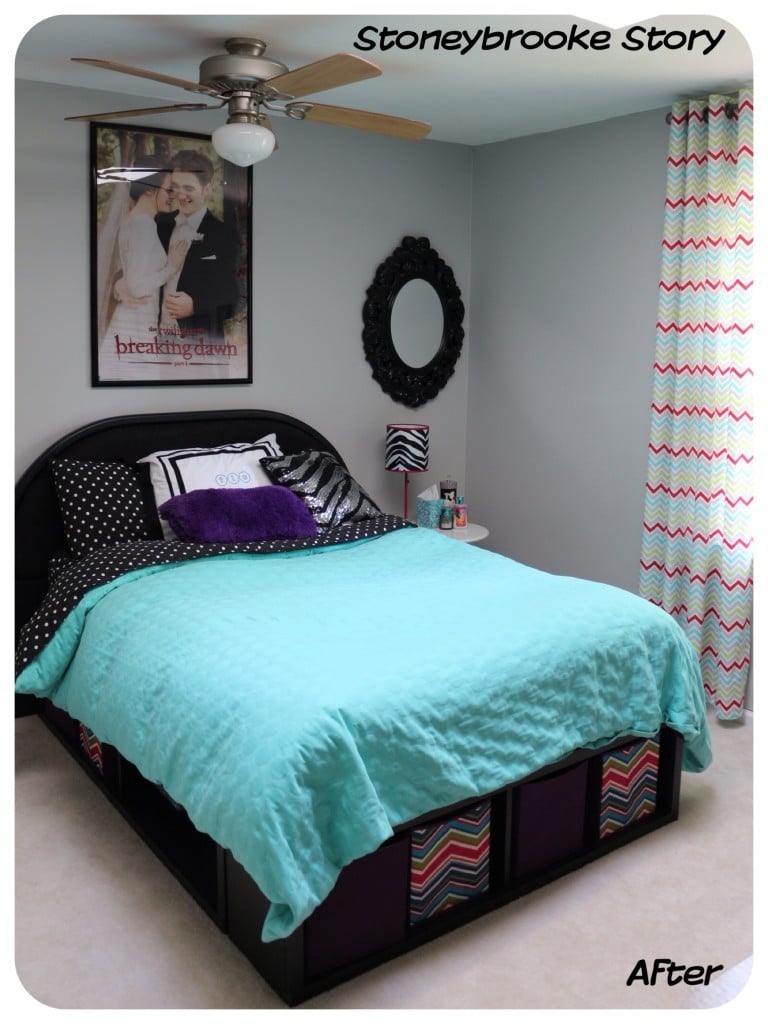
Our niece recently moved to Virginia to live with us. I may or may not have been pinning ideas to a Pinterest Board http://pinterest.com/stoneybrookesty/teen-bedroom/ non-stop day and night from the moment I found out because I was so excited to get to decorate a “fun” room. Her only requests were that it include animal print and bright colors. After looking through dozens of inspiration pictures and taking a trip down the paint aisle at Lowes, she decided on bright pink (Valspar “First Kiss”), green (Valspar “Parakeet Green”), lavender (Valspar “Berries Galore”) and teal for her color scheme.
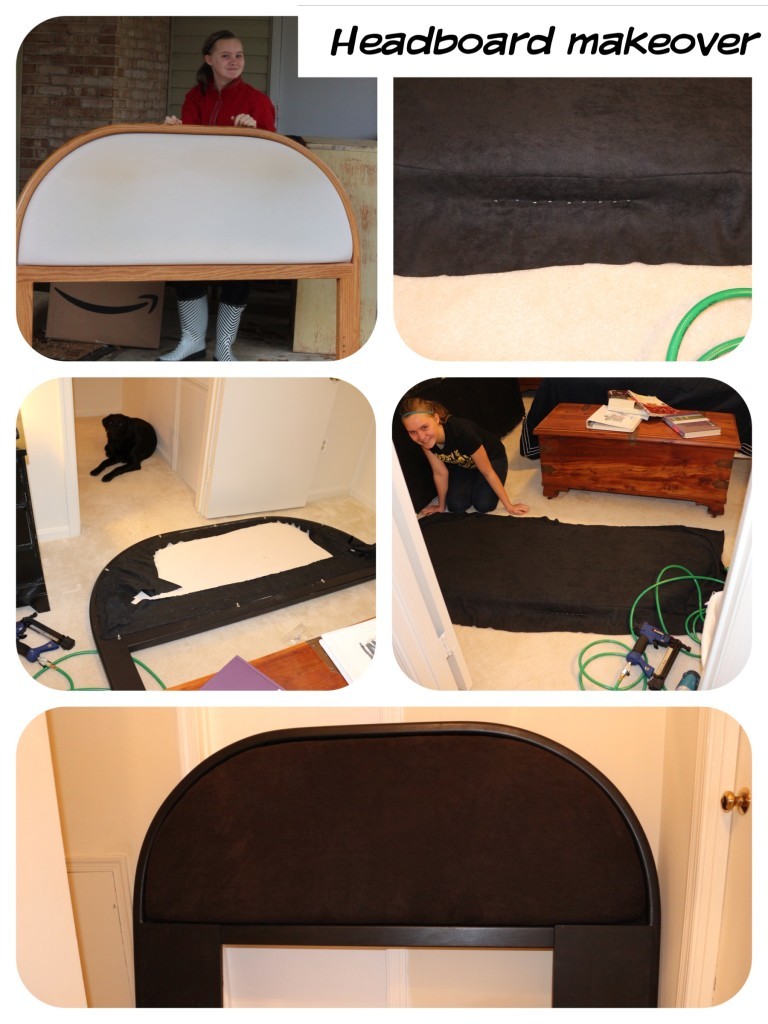
The headboard we scored for a cool $15 at the Habitat for Humanity ReStore and it just needed a coat of paint and a 1.5 yards of Nu-Suede fabric. We didn’t realize until we had the headboard home that it was sized for a queen and not a full so we had to do a little improv on the legs and attached a 12 inch section of 1 x 12 pine. These were leftover from the frame were no added cost.
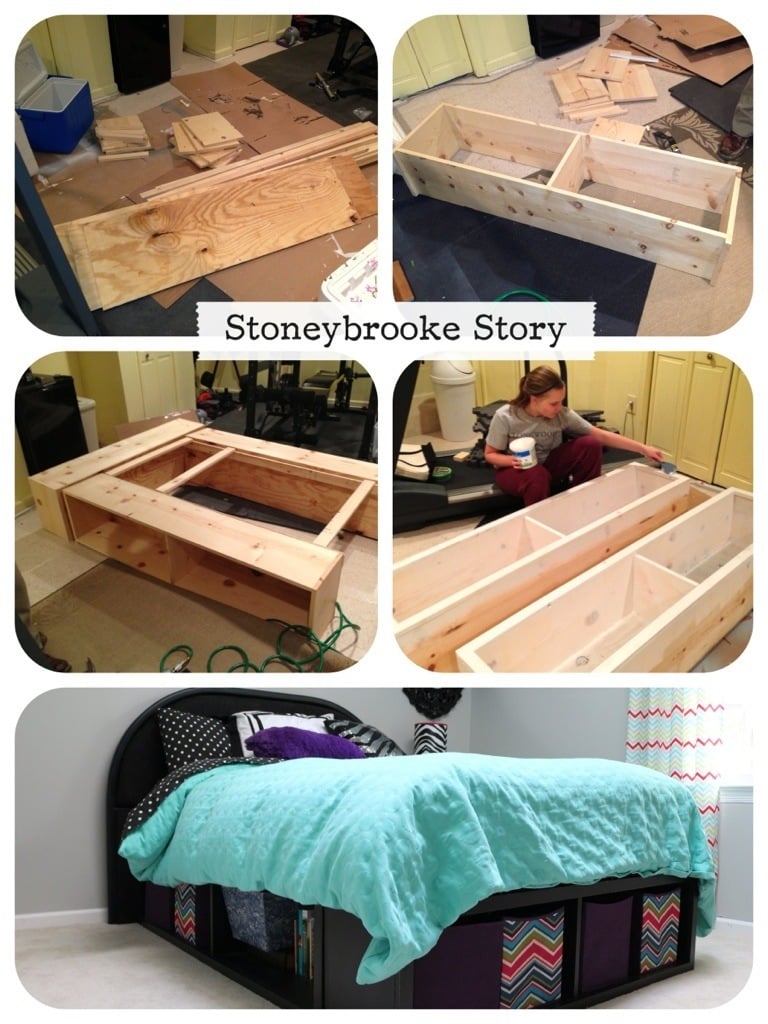
We chose to make the Captain's storage bed from the Ana White plans because I wanted to make sure Tiff had plenty of room to put away all her books and make it easier to keep her room clean. The chevron storage bins are from Lowes. Which happened to have cheapest bins in fabric we liked and that fit when we were looking. We also found lots of good options at Target.
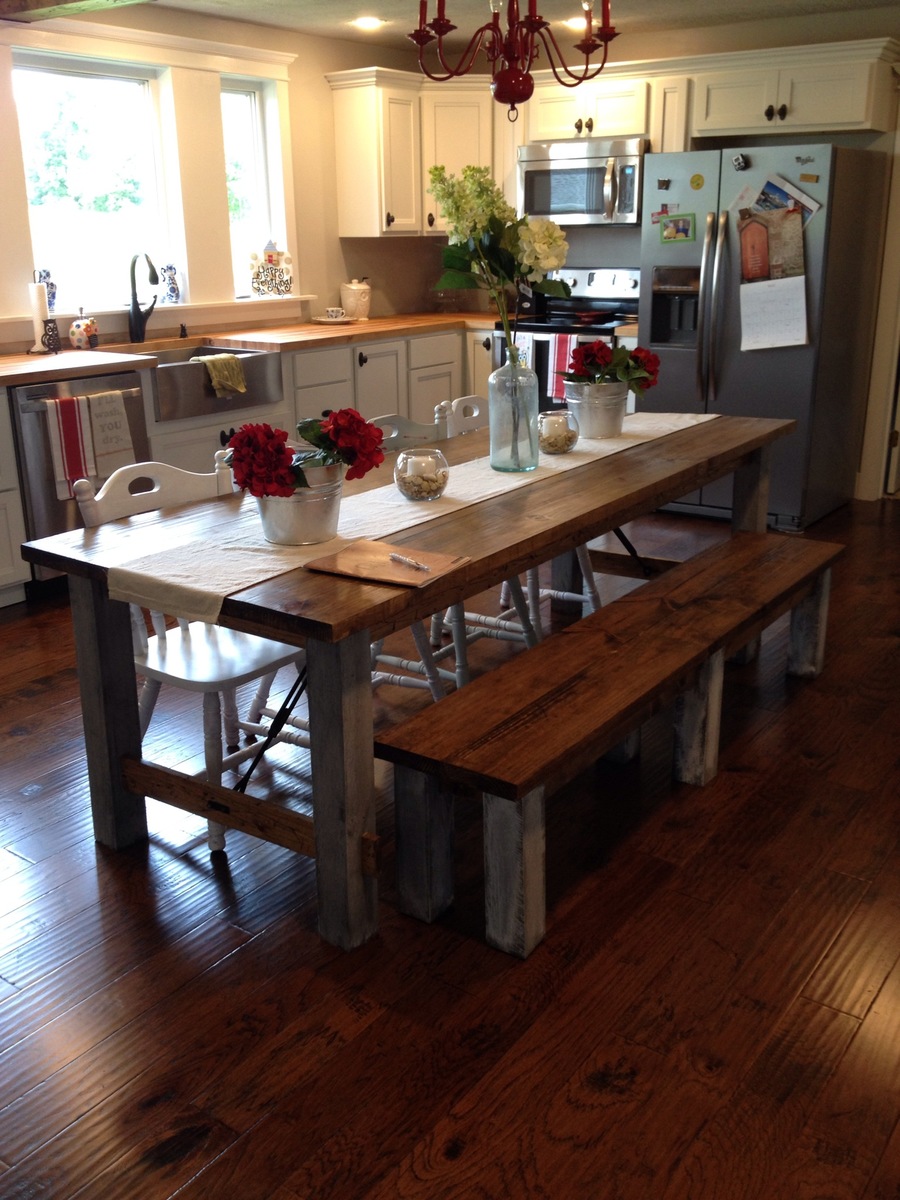
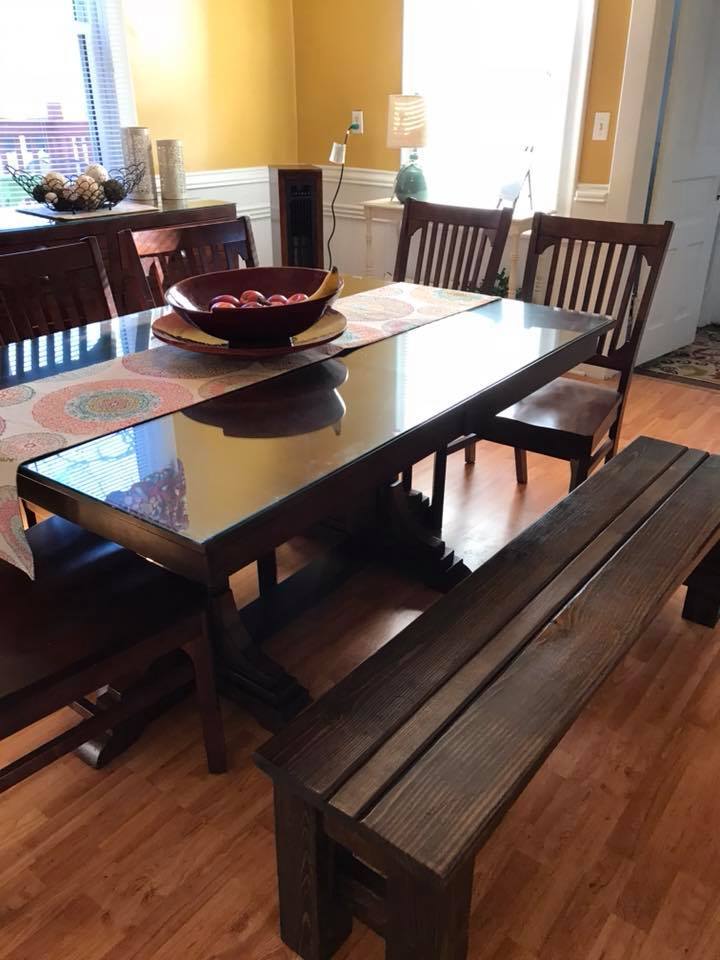
This 8ft dining table and bench was created with inspiration from Ana White (with a few modifications). It was made with all scrap wood except the table top. Full details of the table build (and kitchen remodel) can be found at www.chasingadreamblog.wordpress.com.

I had been wanting a trestle table for months but couldn't swallow the outrageous pricetags that came along with the tables. I was also dealing with a small space, so the table had to be just the right size.
Thu, 09/29/2022 - 13:55
Love the two tone finish and it looks perfect in your space! Thanks for sharing.
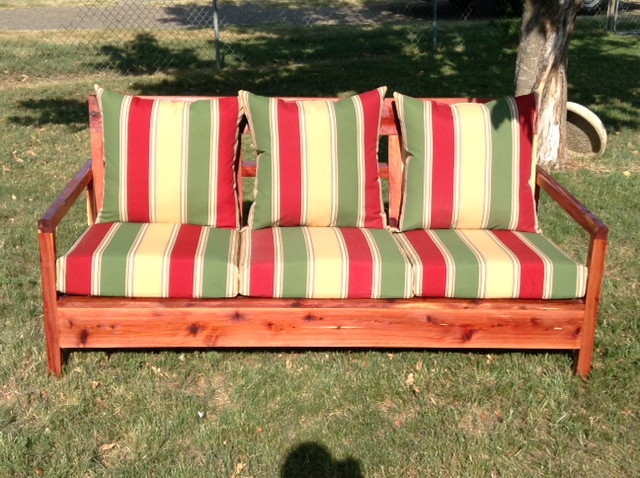
This is from the simple white outdoor sofa plans, they were very easy to follow and came out great. I built it out of cedar for my mom's birthday that is her favorite wood. The cushions came from Wal-Mart on sale for 70.00 for the set. There is about 140 total in everything.
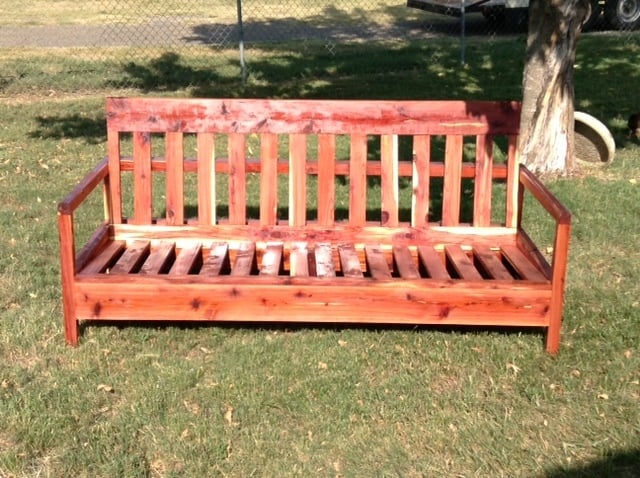
First time actually following a plan and not making it up as I go along! Turned out pretty nice :-)
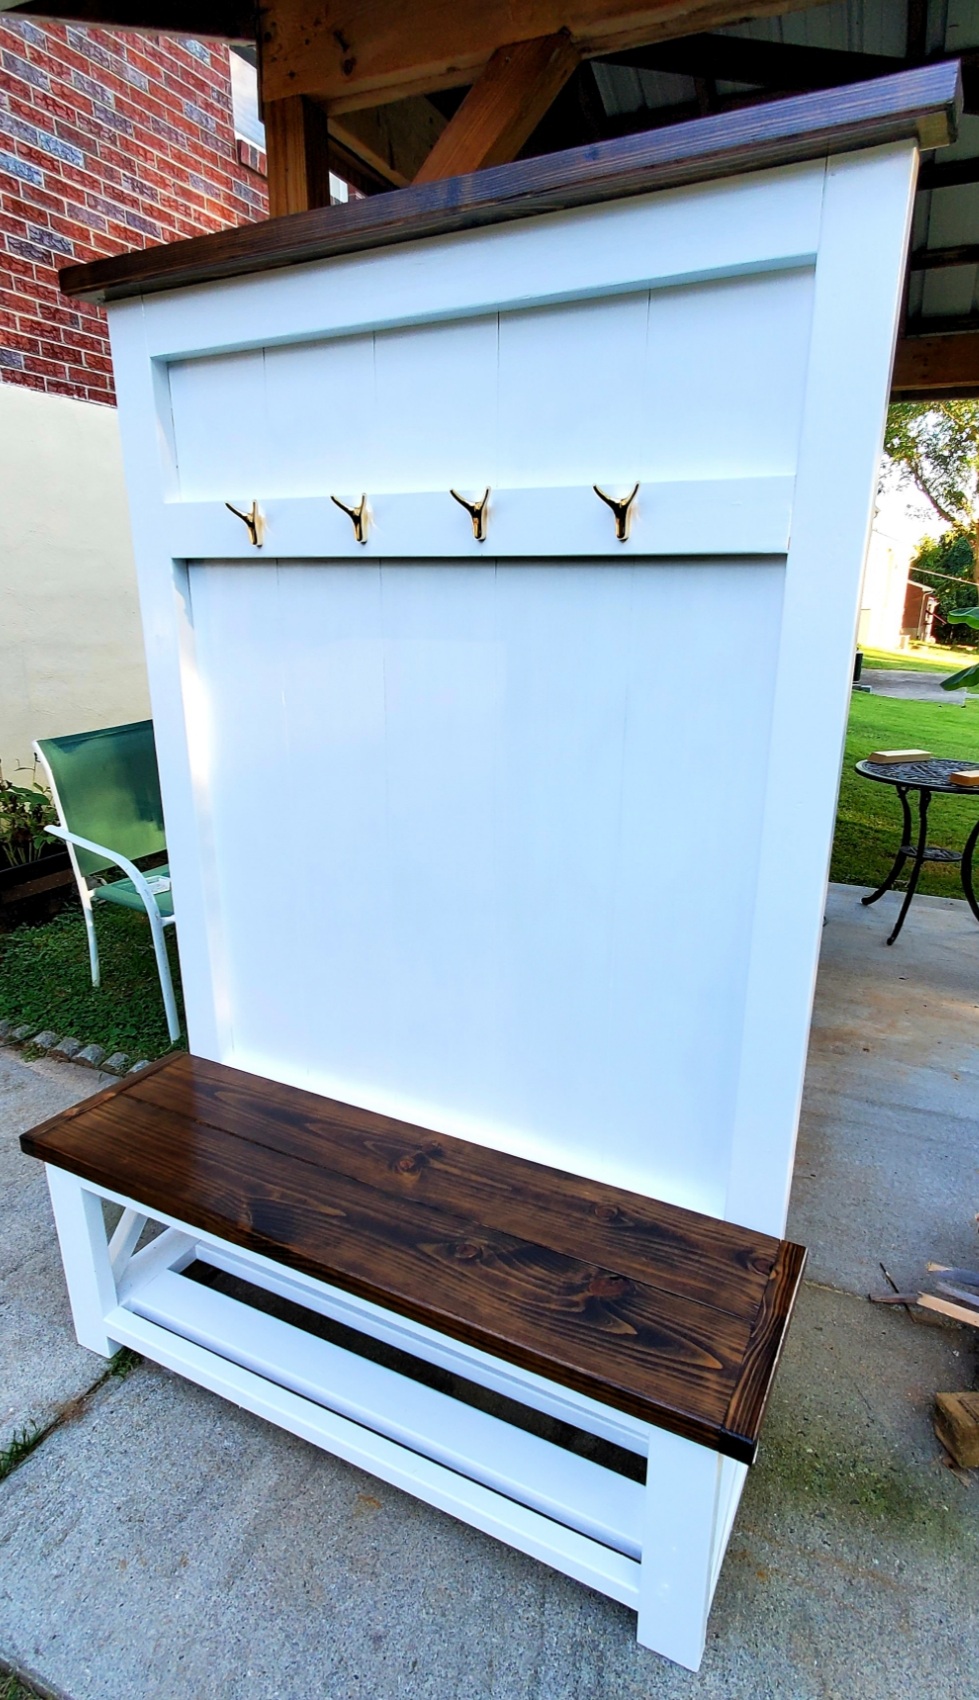
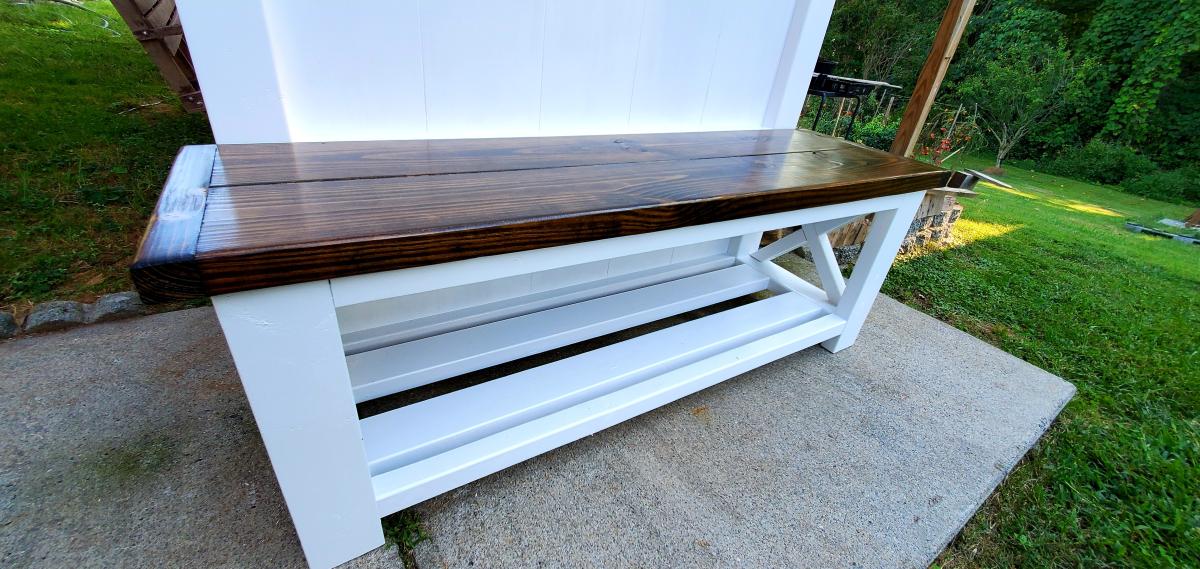
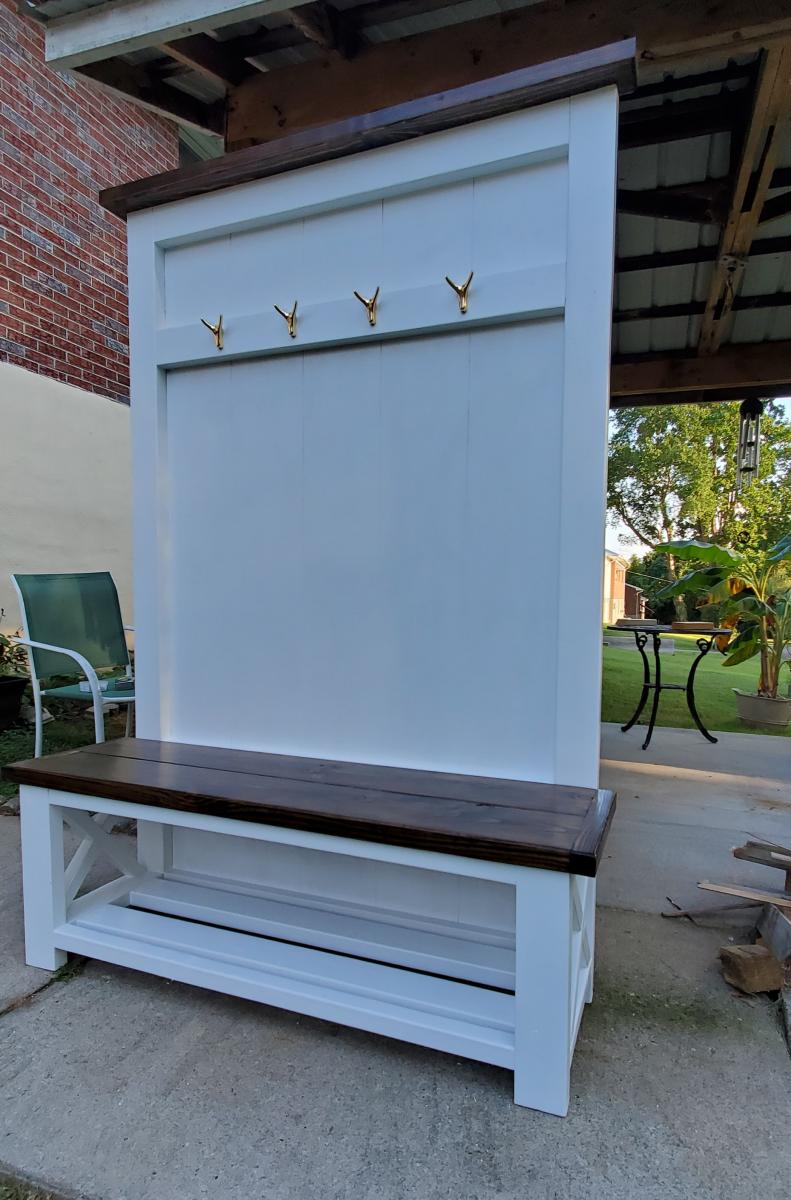
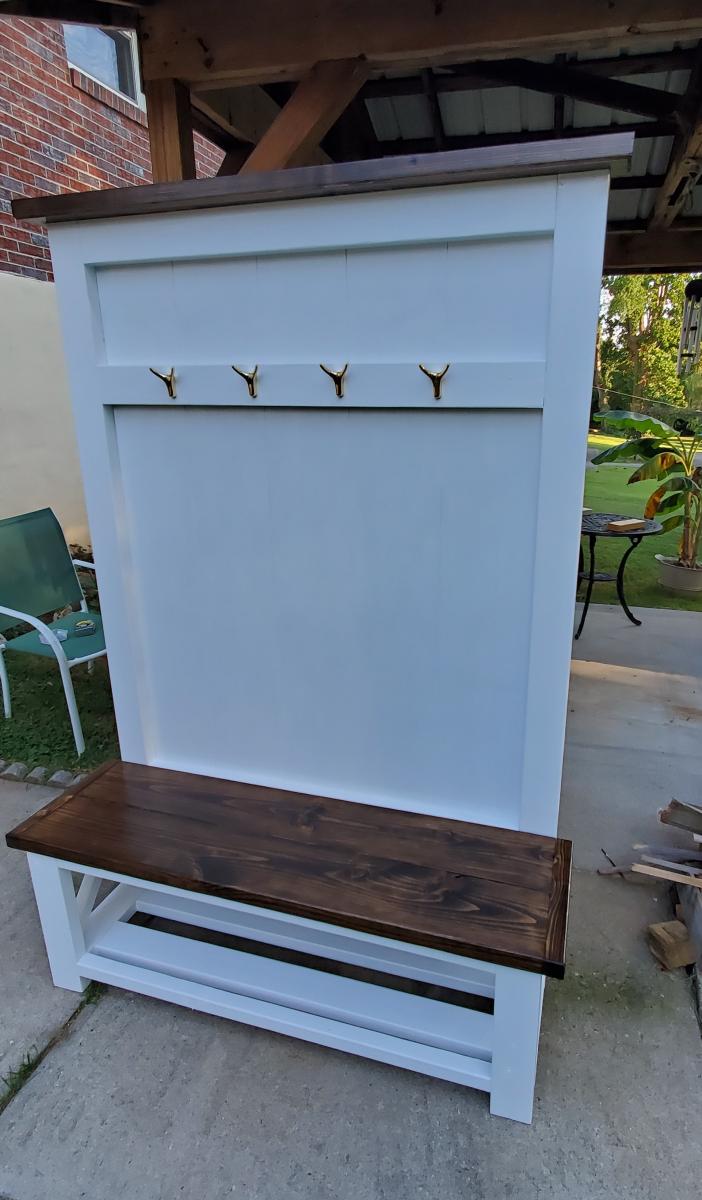
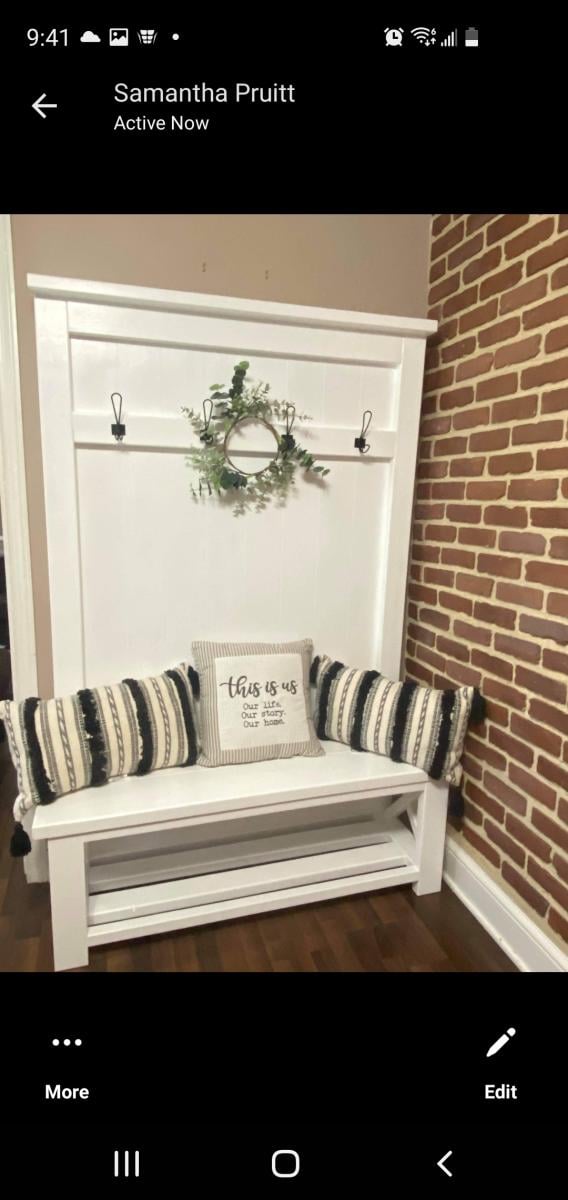
Hi, I'm Kevin, (Kevin's Woodkraft) I've made 4 of these so far and really enjoy building them. I decided to cut vertical grooves to make the back panel more like paneling but also going vertical instead of horizontal it allowed me to space the grooves perfectly symmetrical.
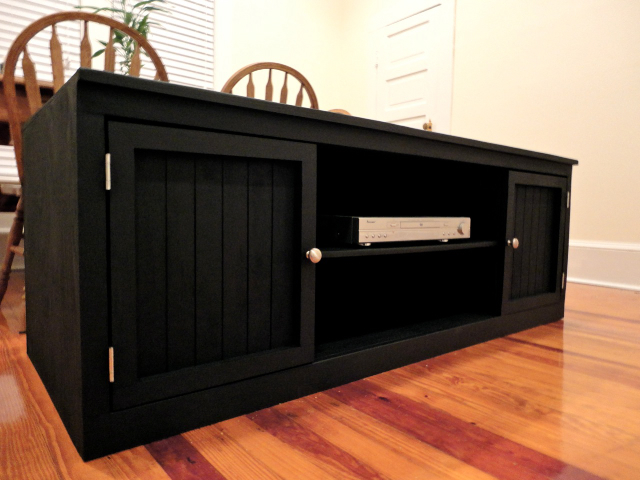
I built this for my sister for her 30th Birthday. She loved it!! It took me 4 days to make this. I took my time and put 3 coats of paint on it before assembling it. I am very pleased with the outcome...Thanks Ana for the plans!! :-)
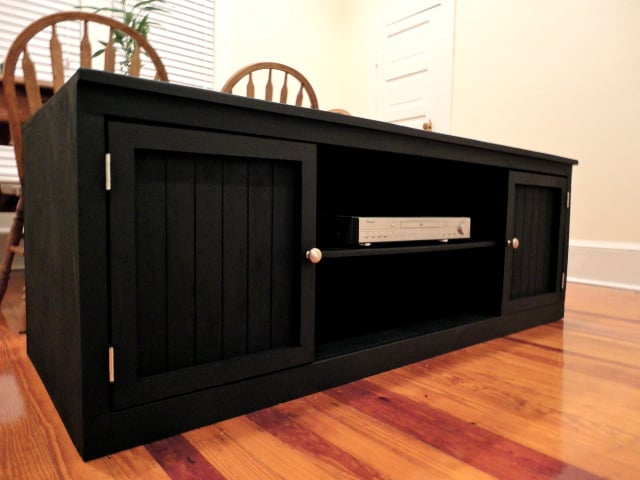
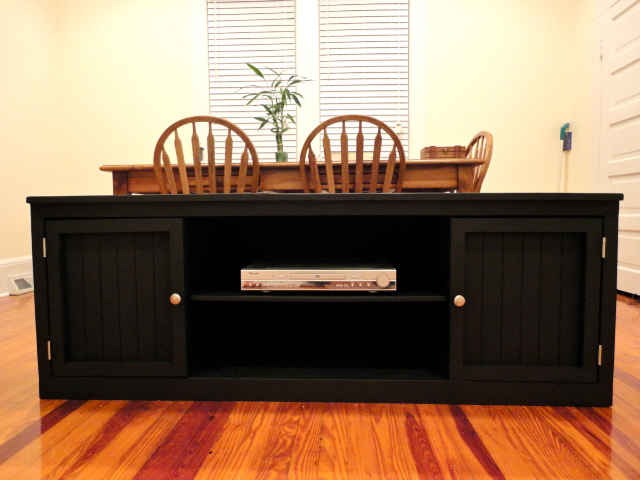
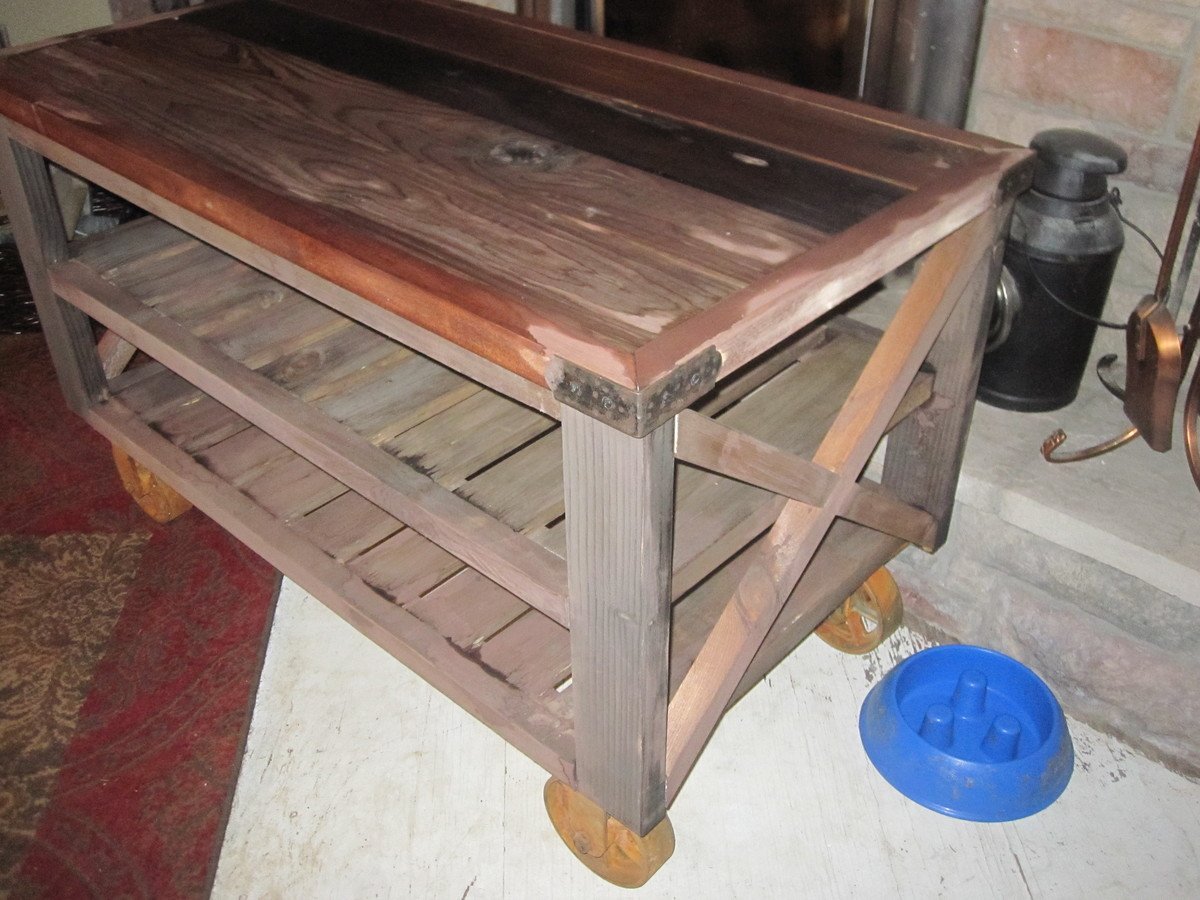
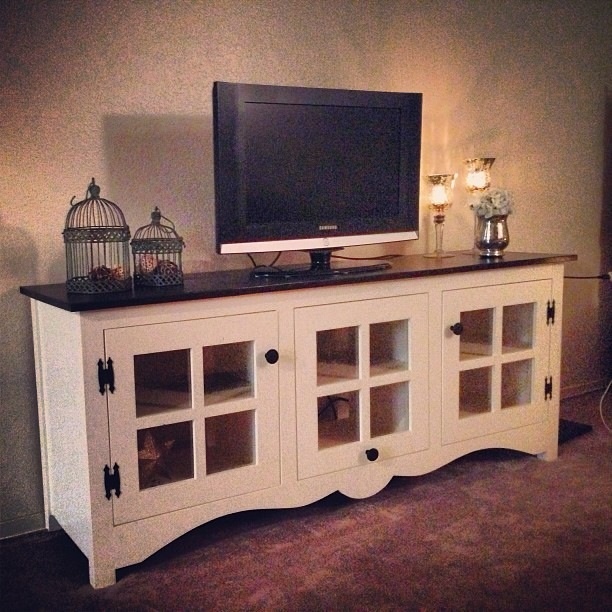
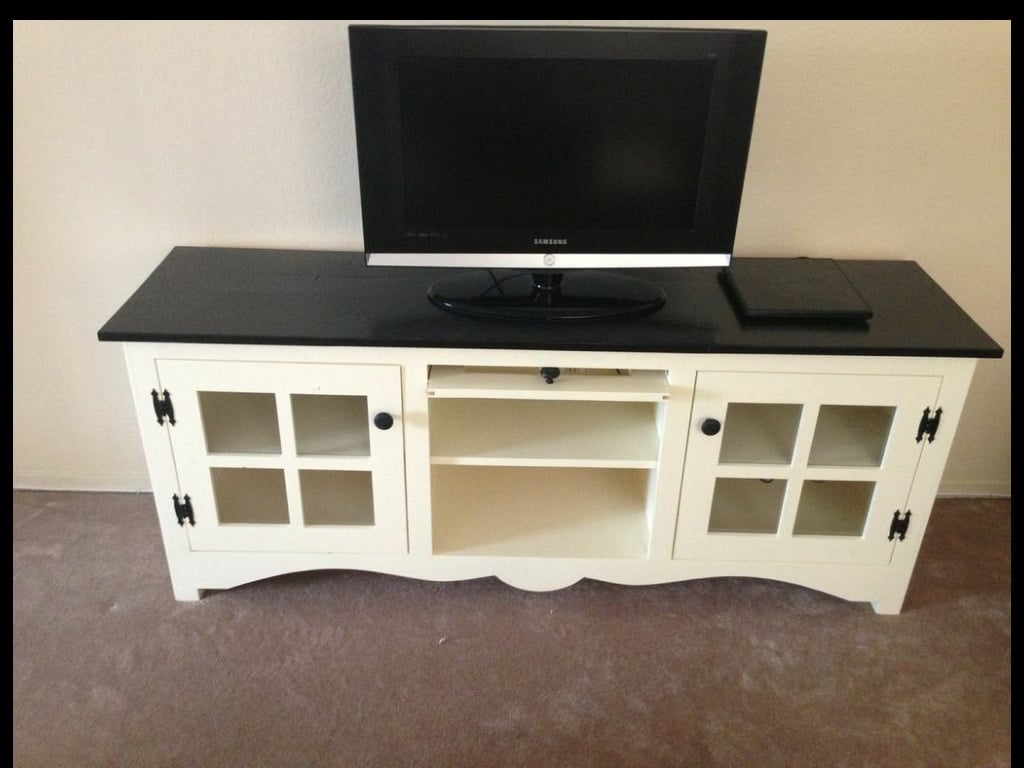
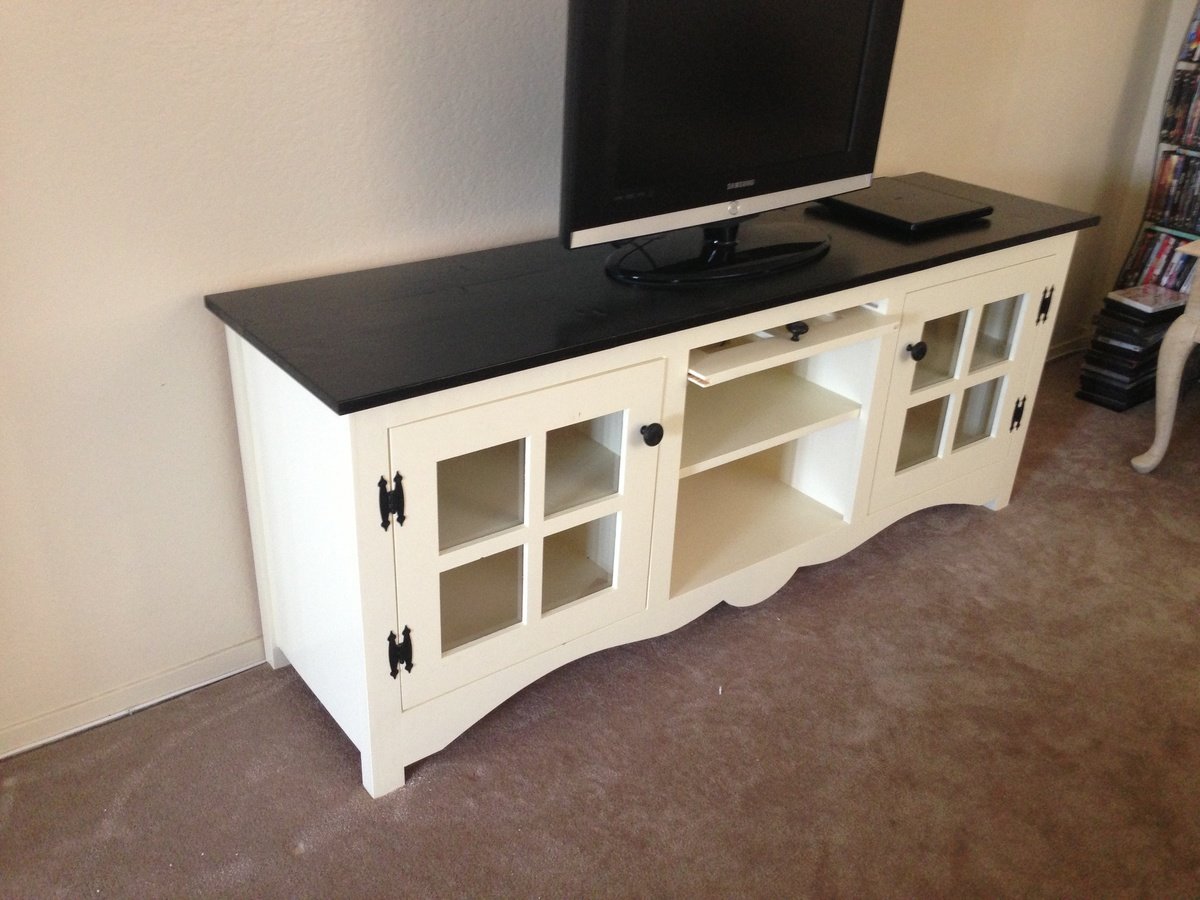
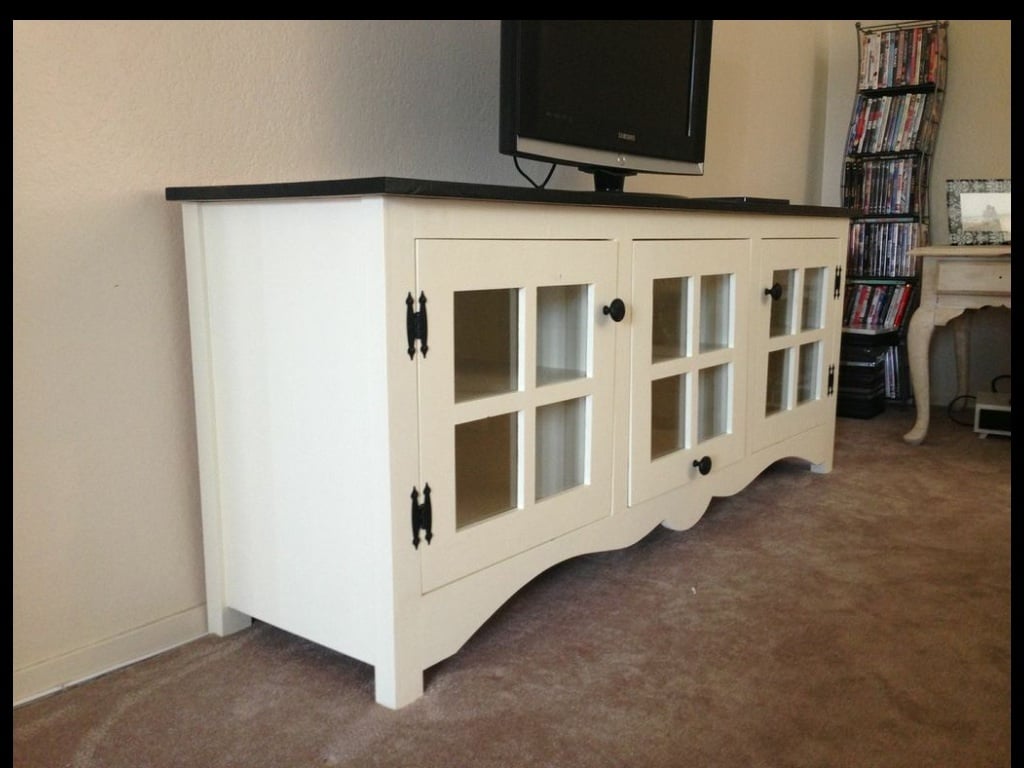
This tv stand was my second project I made. It wasn't too difficult, but I'm definitely glad it's done and I can reclaim my kitchen counter!!
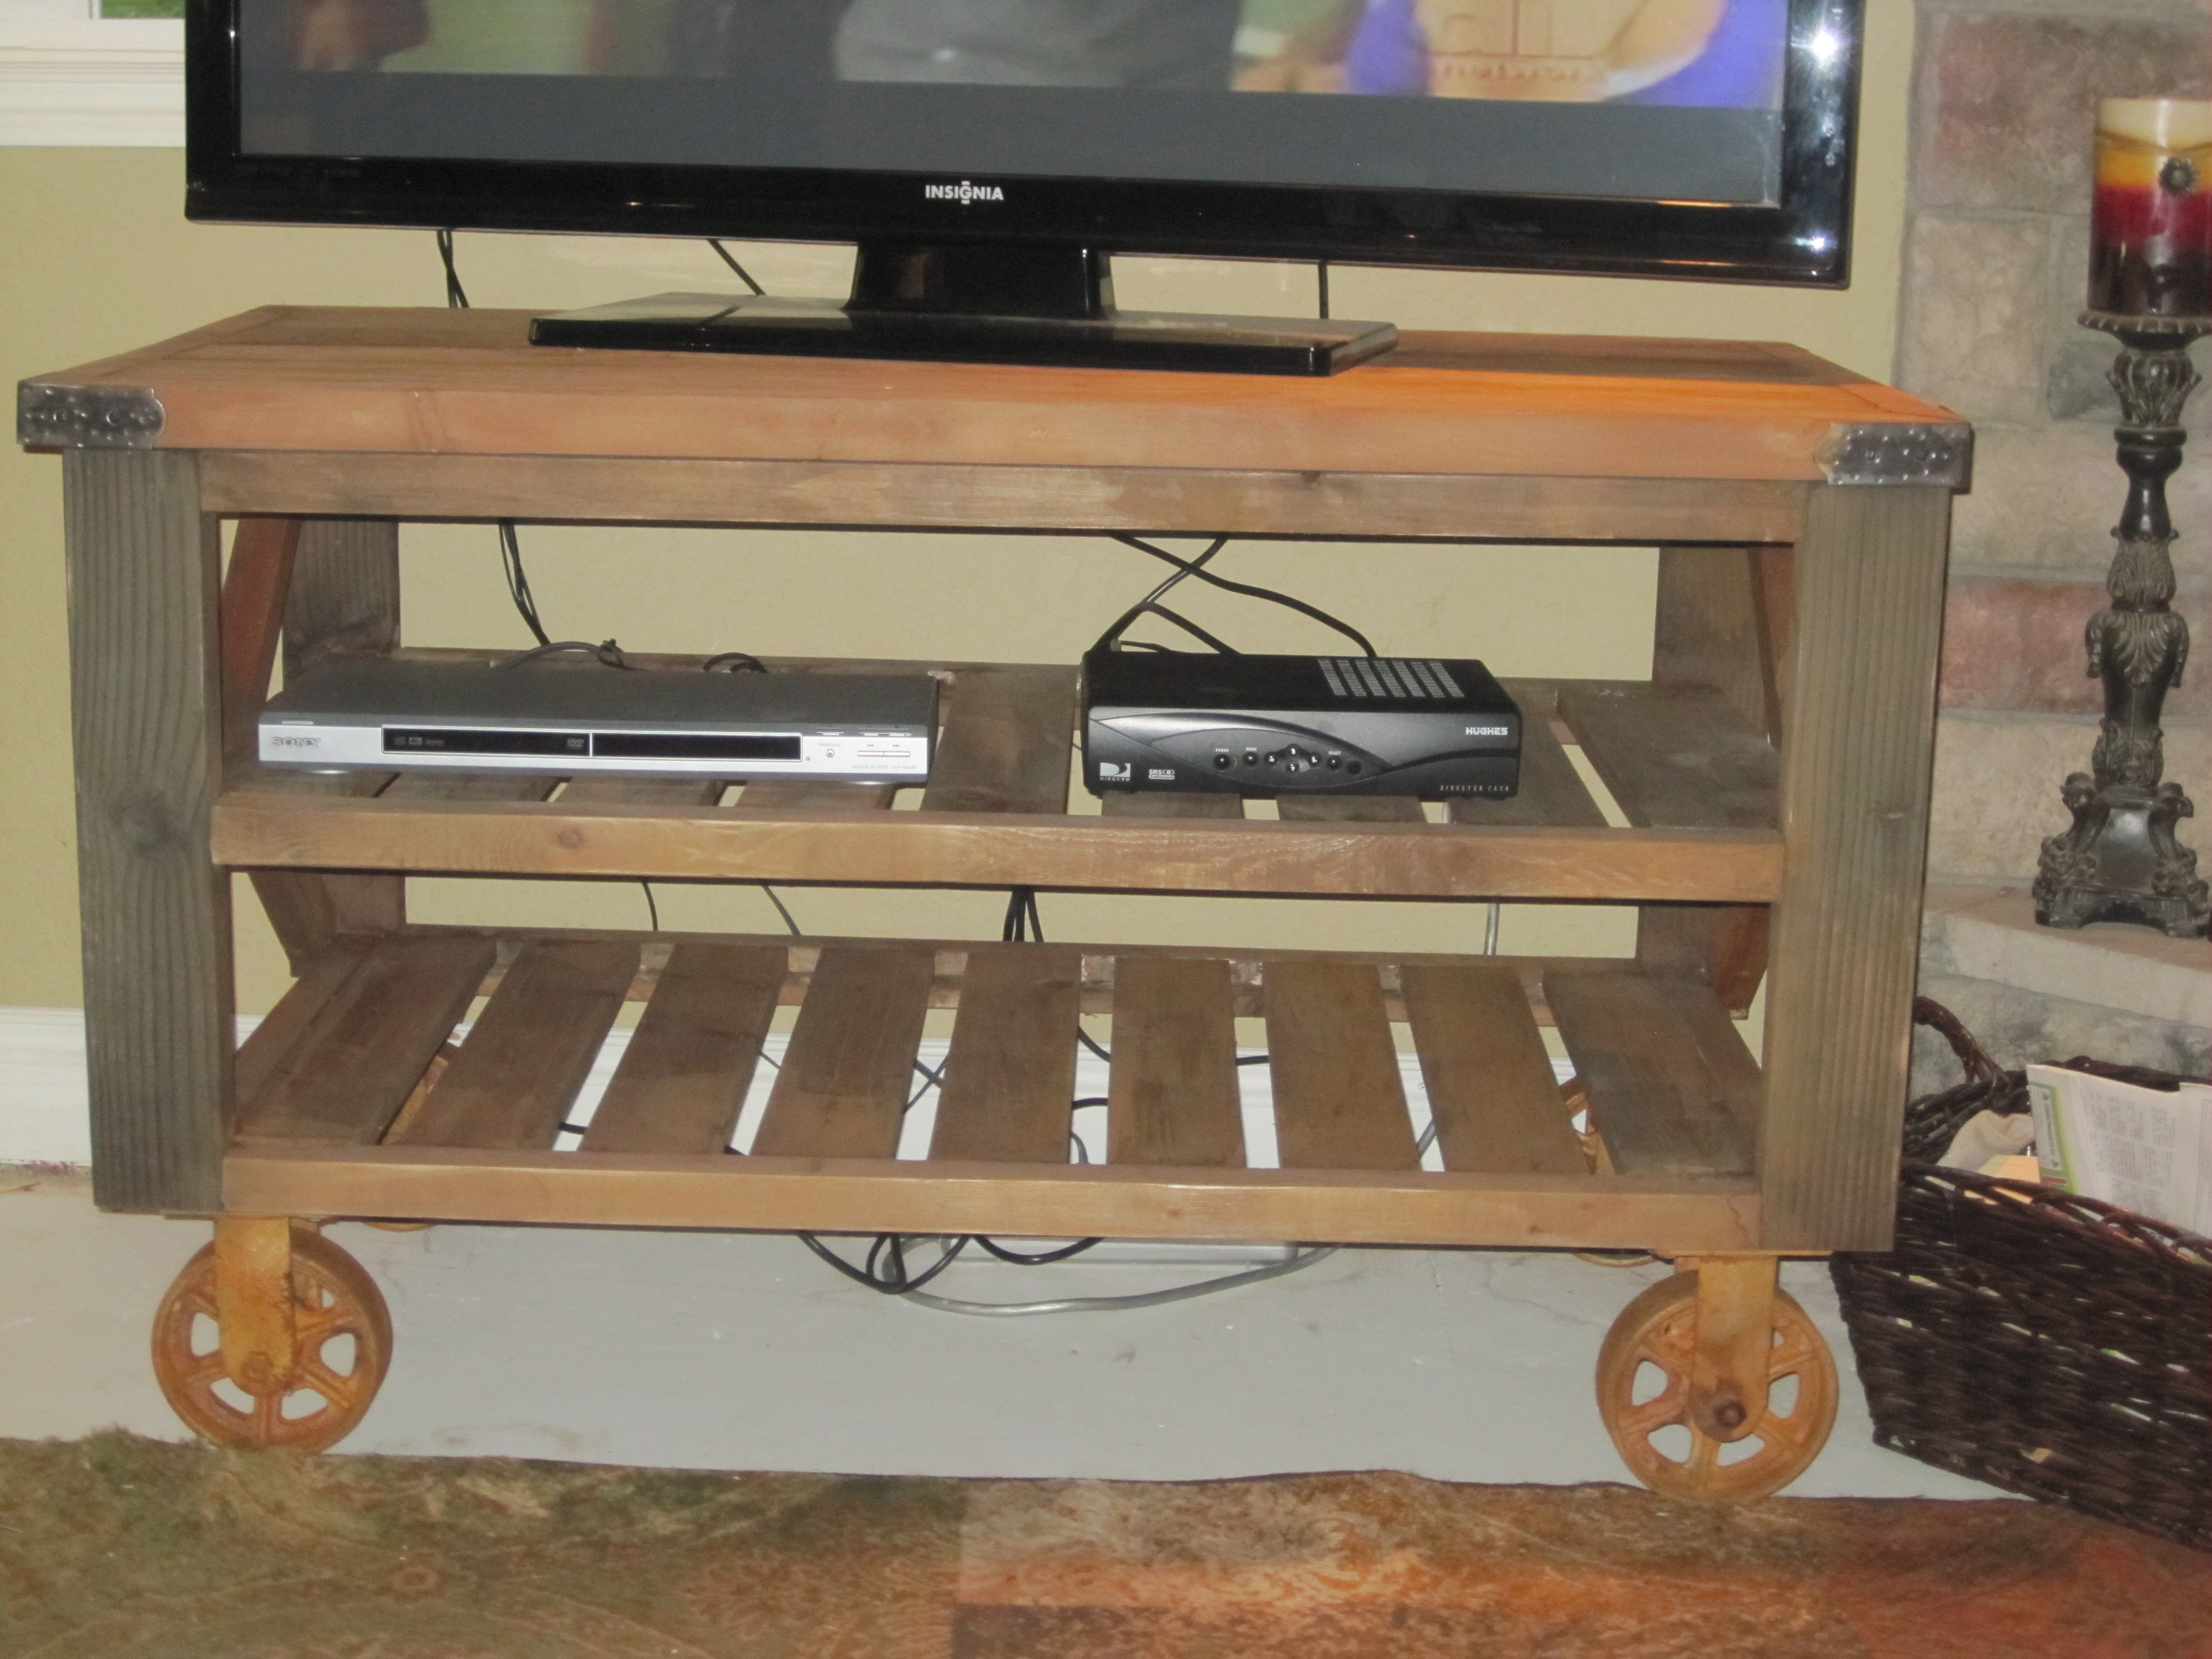
I designed this myself, gathering ideas here and there from different stands I saw. The tv stand I really wanted was this one from Wisteria.com. http://www.wisteria.com/Recycled-Pine-Console/productinfo/W4180/ I've been wanting it for years, and it was about $1200. So that's where I got the idea for the slatted shelves, and the industrial wheels.
The hardest part were the "x's" on the sides, and finishing it, getting in every nook and cranny. Not sure how I feel about the finish, so I'm going to live with it for awhile.
NOTE* Casters were bought BRAND NEW a week ago on amazon.com. I soaked them in muriatic acid for 24 hours, and then dipped them in baking soda and rinsed. Then I did minor touches with a propane torch. Didn't turn out how I expected, but I like how they turned out. PLEASE do your homework on muriatic acid before using it!!
The corner brackets on the top were found on wildwesthardware.com.
The lumber for this project was only about $80. But the corner brackets were $17 each (they are hand forged) and the wheels were $100 for the 4, (after shipping). Still better than $1200!!!
**On the 2nd and 3rd pic, the steel wool juice hasn't dried completely, that's why it looks splotchy.**

Fri, 07/12/2013 - 21:25
OOPS! I also took the 2x4 idea and the "x's" on the side from ANA'S RUSTIC CONSOLE!!!!! Also forgot to mention that this was my first project using the kreg jig. LOVE LOVE LOVE that thing!!!
Fri, 07/12/2013 - 21:26
OOPS! I also took the 2x4 idea and the "x's" on the side from ANA'S RUSTIC CONSOLE!!!!! Also forgot to mention that this was my first project using the kreg jig. LOVE LOVE LOVE that thing!!!
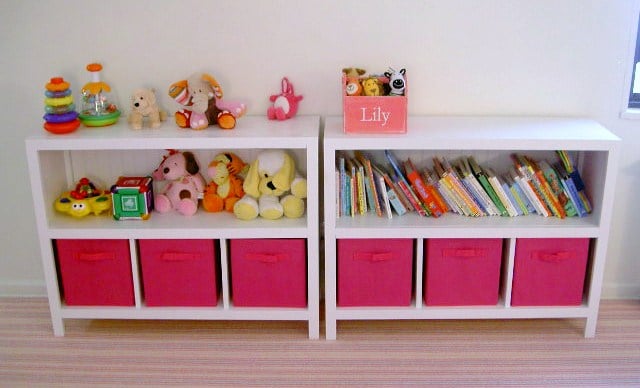
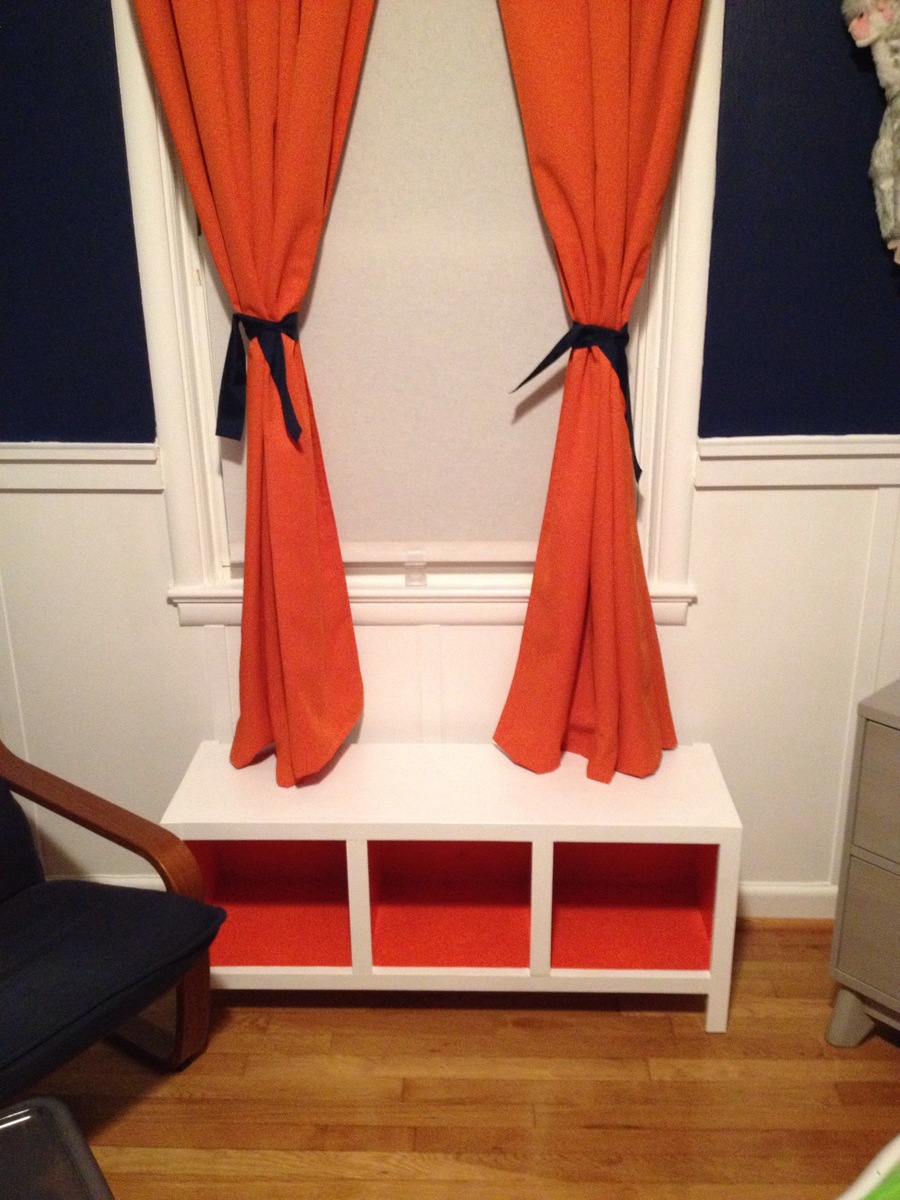
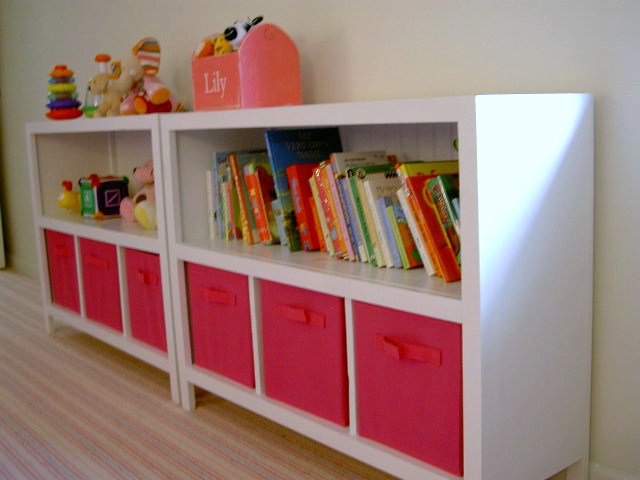
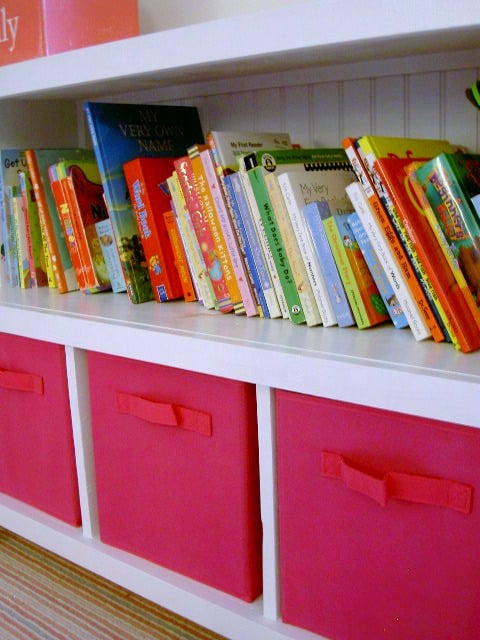
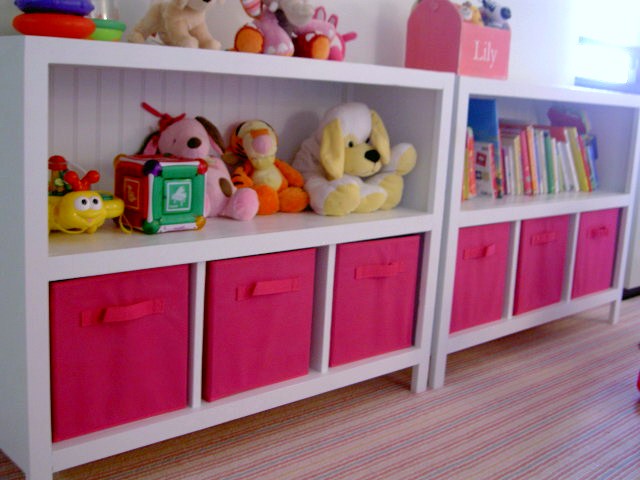
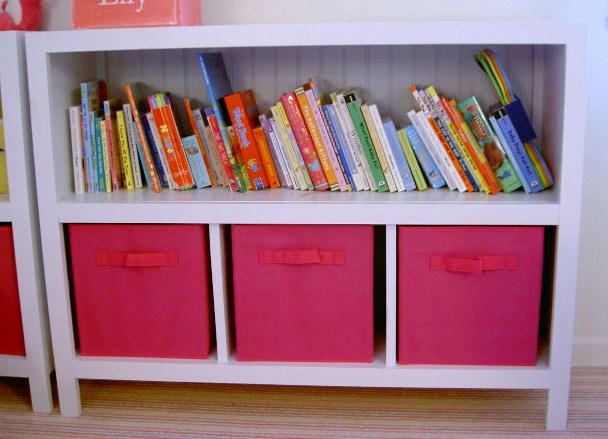
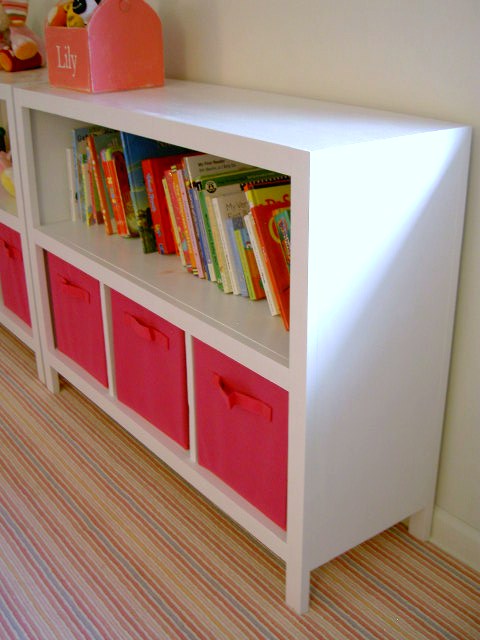
cube bookshelves modified to have one open shelf and 3 cube slots
Farmhouse media console. Made out of pine, maple plywood and the top is made from reclaimed lumber. The center door is a roll-up barrister door.

Sun, 07/14/2013 - 13:36
Beautifully built. :) Did you use pocket hole screws, or another method for making your joints?
i'm so grateful for all of ana's projects and plans!! we recently bought a new house and have decided to make much of the furniture so that every piece will be customized to fit the space... i'd rather spend hours in the garage making the perfect piece than spending days/weeks (and money!) to find something that "could work"...
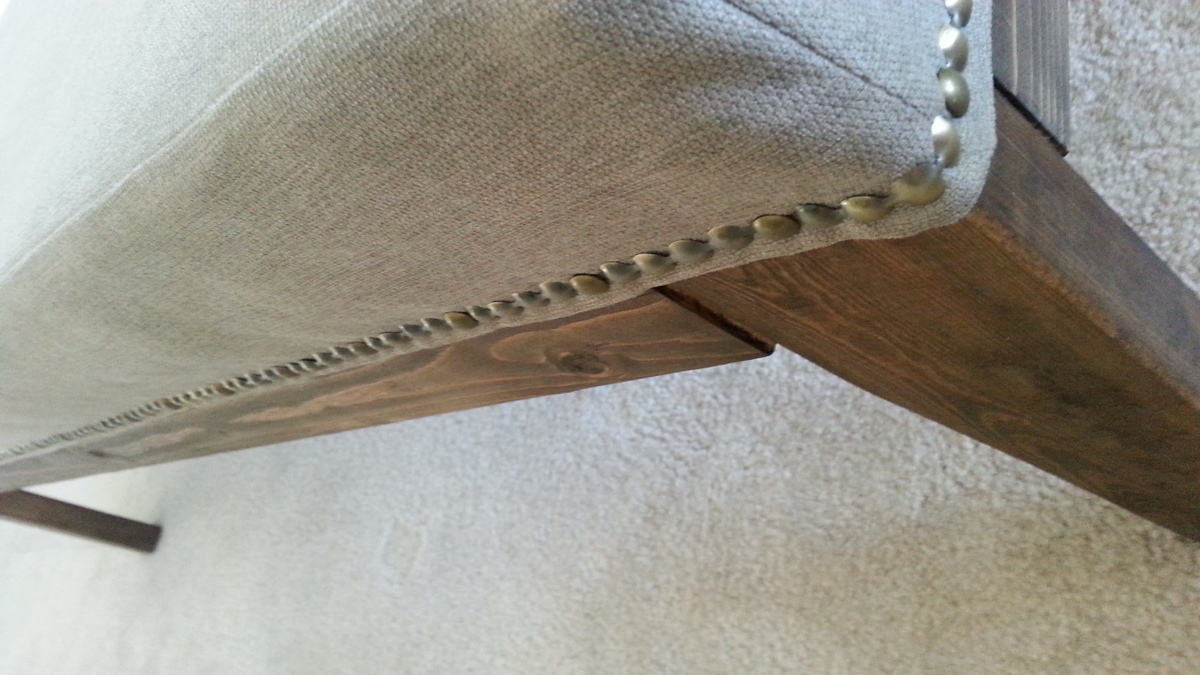
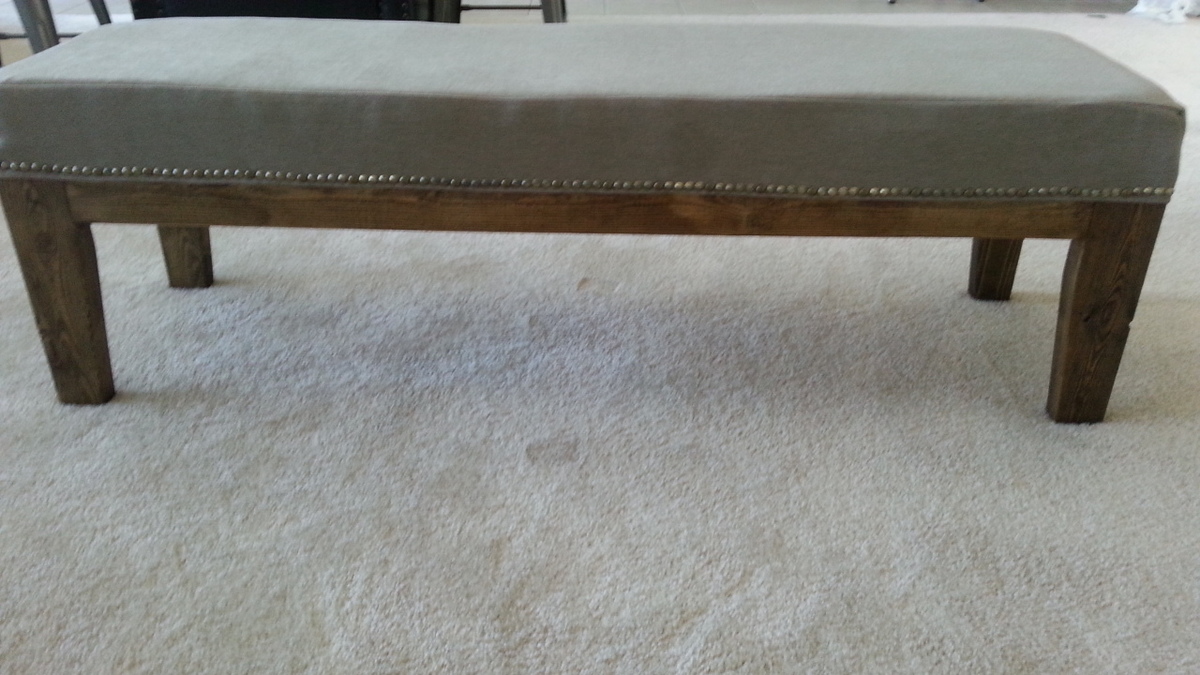
i just finished my latest project from an ana white plan, easiest upholstered bench... and it WAS easy! the hardest part, for me at least, was the sewing.... but even that was straight lines, so not too difficult... and i'm so happy with the way it turned out...
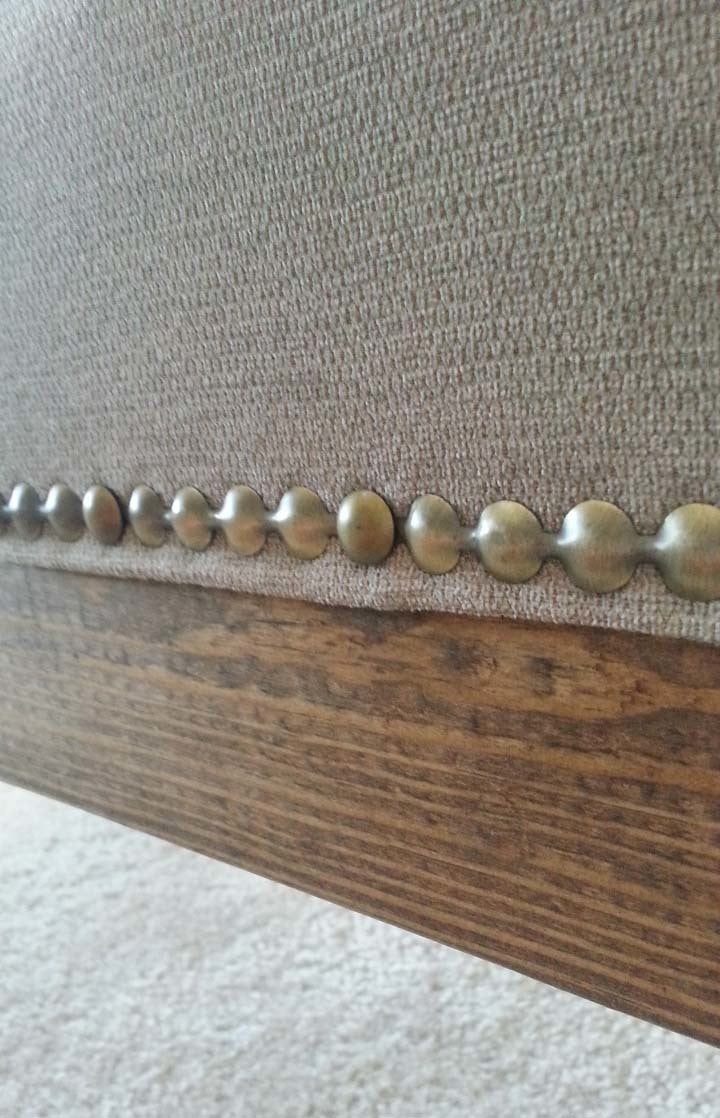
a couple things i did differently from ana's plan were attaching the cover to the bench with nail heads... i like the idea of the slip cover for cleaning purposes... but it was getting "messy" every time we sat down and stood up... it just wasn't laying nicely... so i hemmed the bottom and attached the nail heads... i absolutely love how it turned out... this was my first time using those - and it was super easy... they came on a roll and every fifth "head" has a center hole for you to tap in a real nail head... the other four are just faux nail heads... the only issue i had with the nail heads was that the color was slightly off between the real ones and the fake ones... i read reviews about them and people mentioned a lot of the nails bending, but i didn't have that problem... so, overall, i was pleased with using the nail heads to attach the fabric to the bench...
the other change i made was to the foam... the foam at the fabric store was crazy expensive... and i had heard that getting the foam from home depot was much cheaper... but i couldn't find it at my home depot, so we bought a foam mattress cover for a twin bed... it was $24.99 - which is about 1/3 of the cost of 3" foam from the fabric store! the mattress foam was only 1.5" thick, but it was wide enough that we just cut two pieces and stacked them on top of each other...
other than that, we kept the dimensions of the bench the same as the original plans... it was already the perfect size for what we wanted... and we love it!

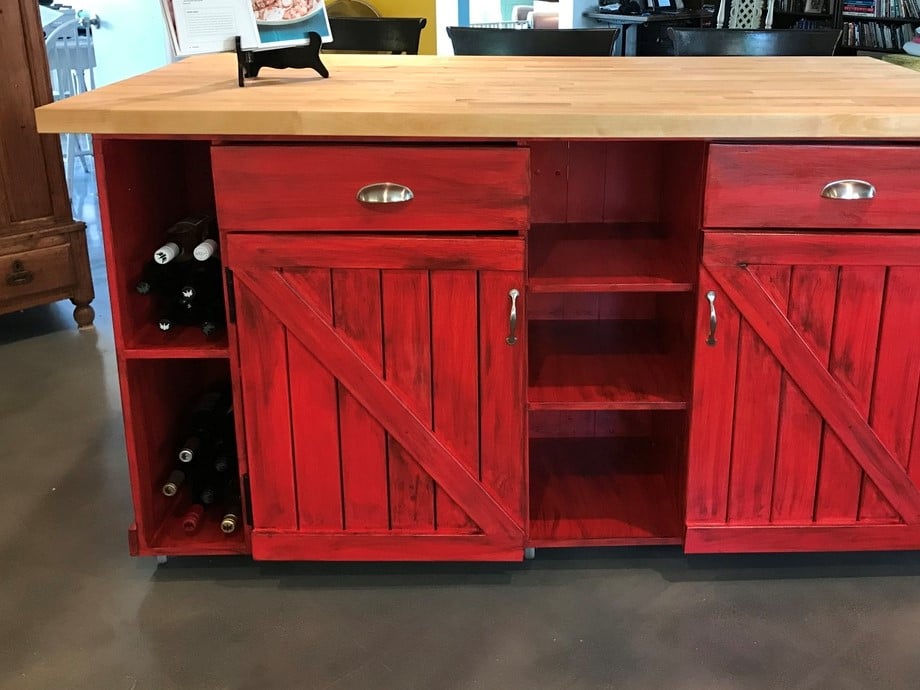
We modified the plan and made many changes along the way and here’s our finished island. We’re thrilled!

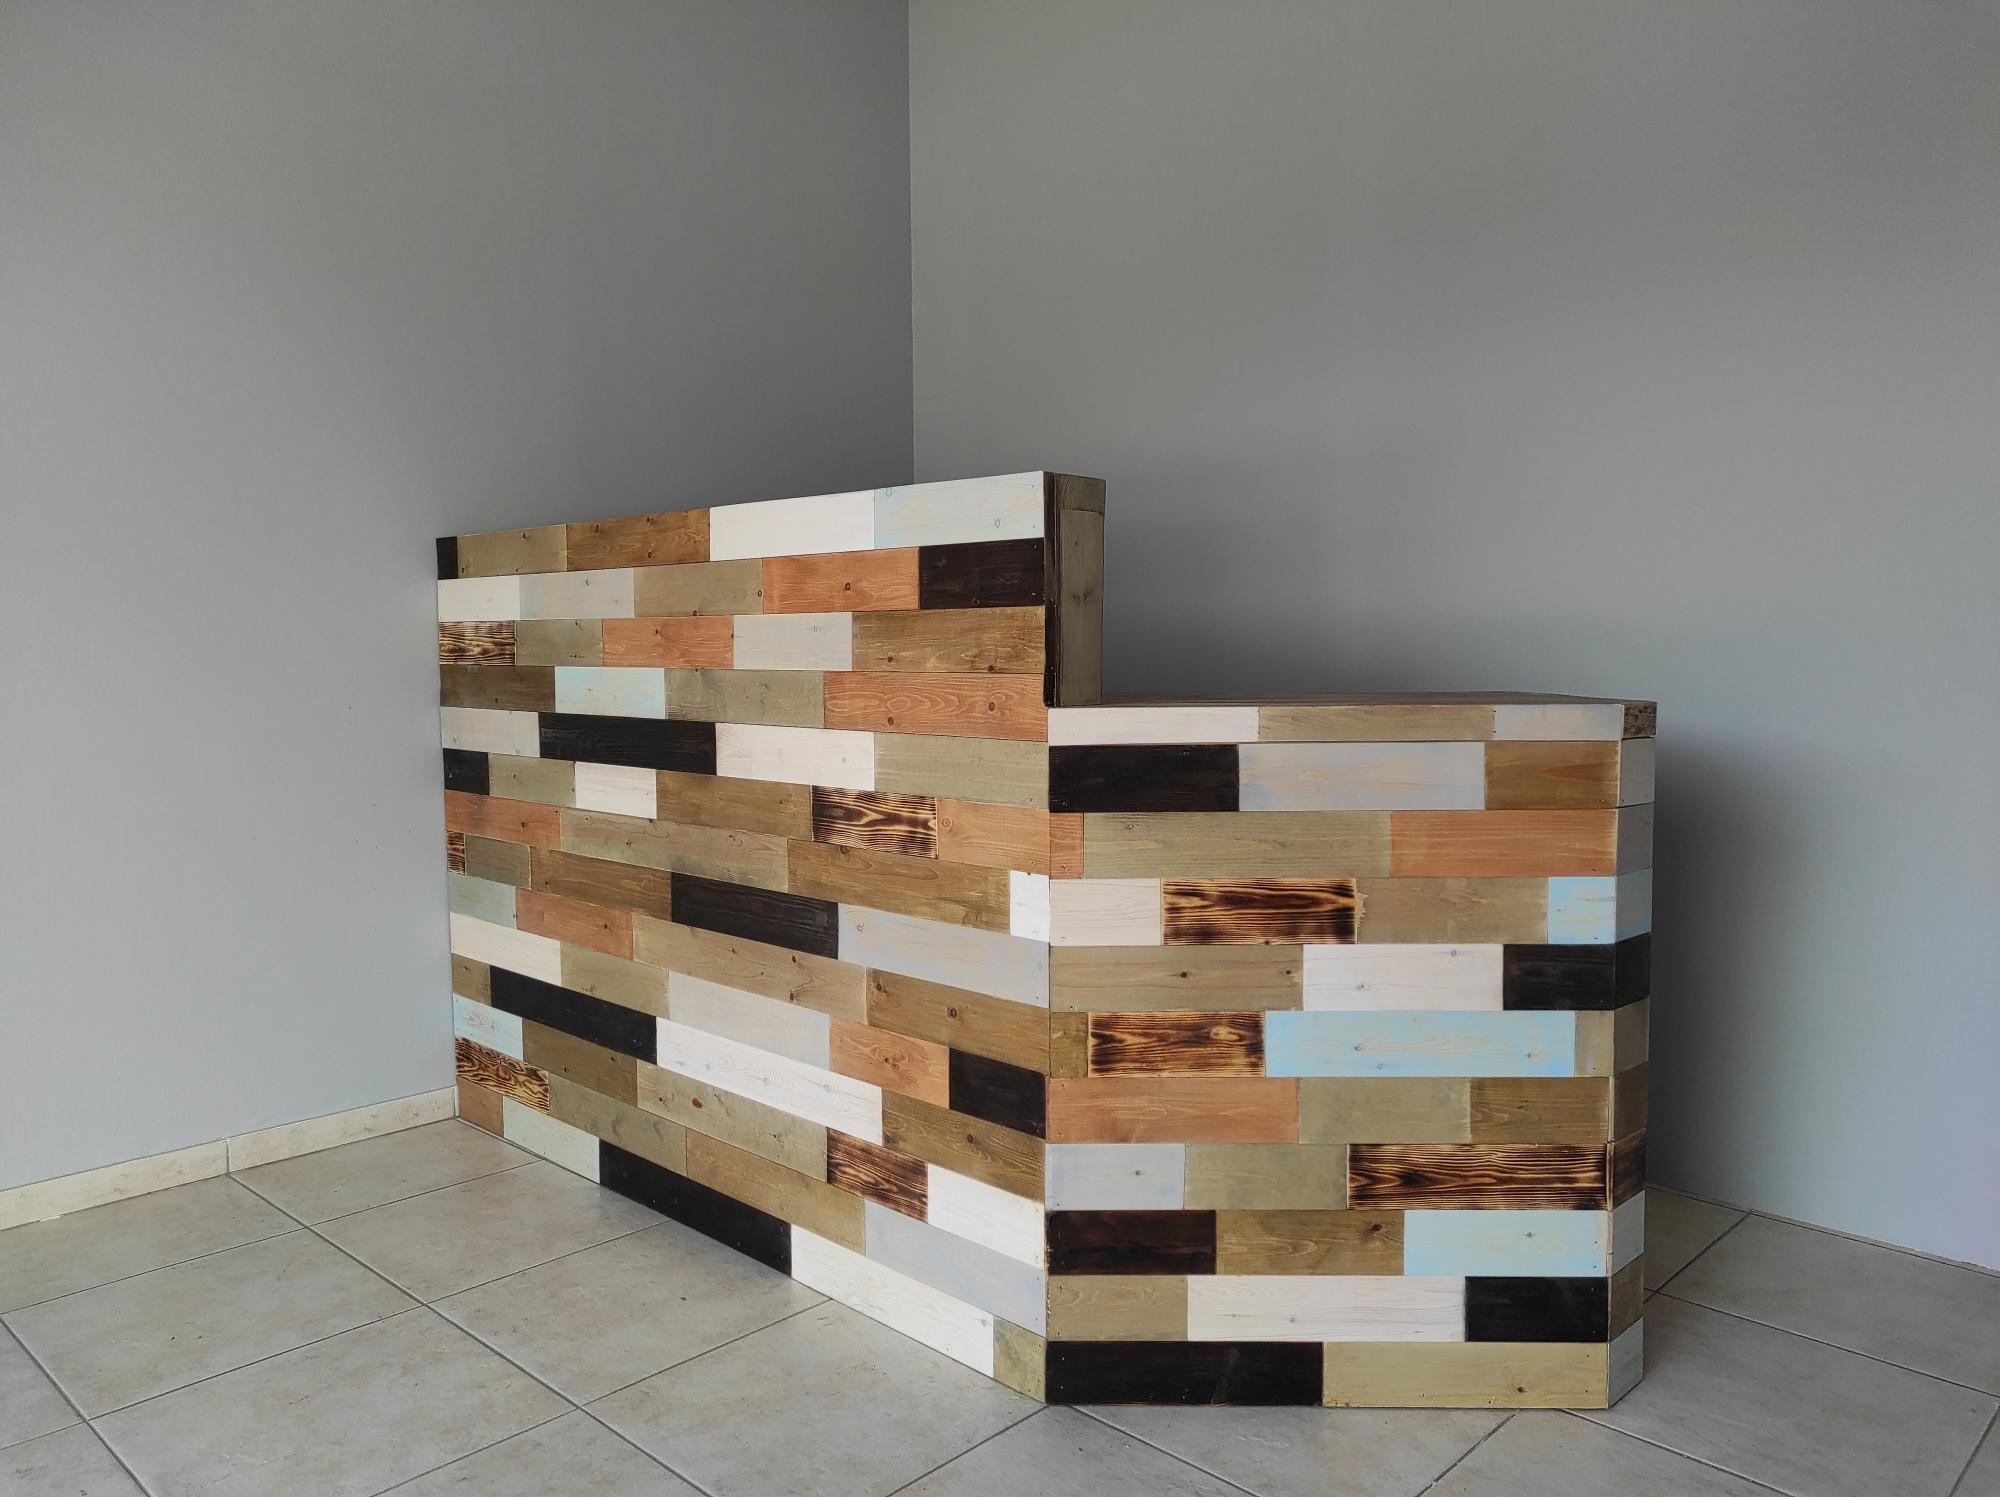
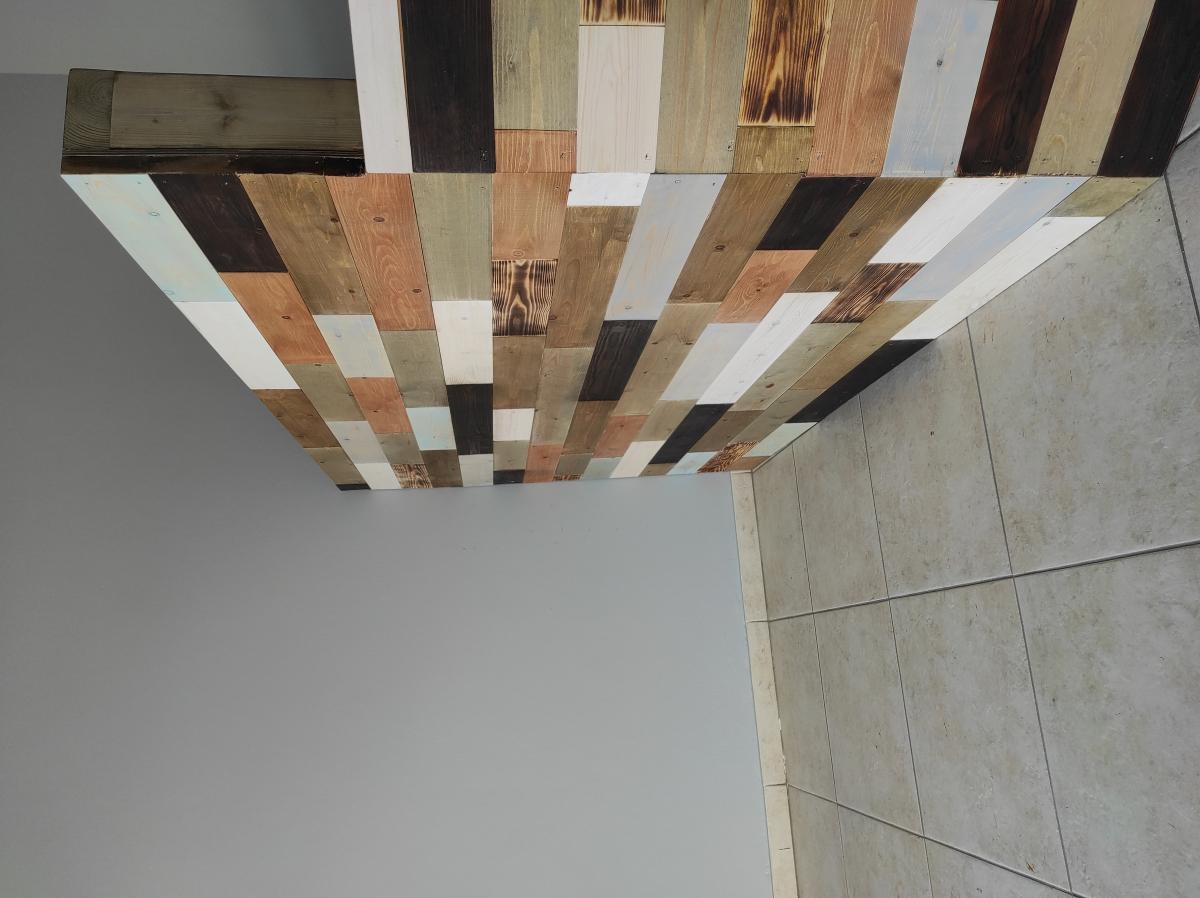
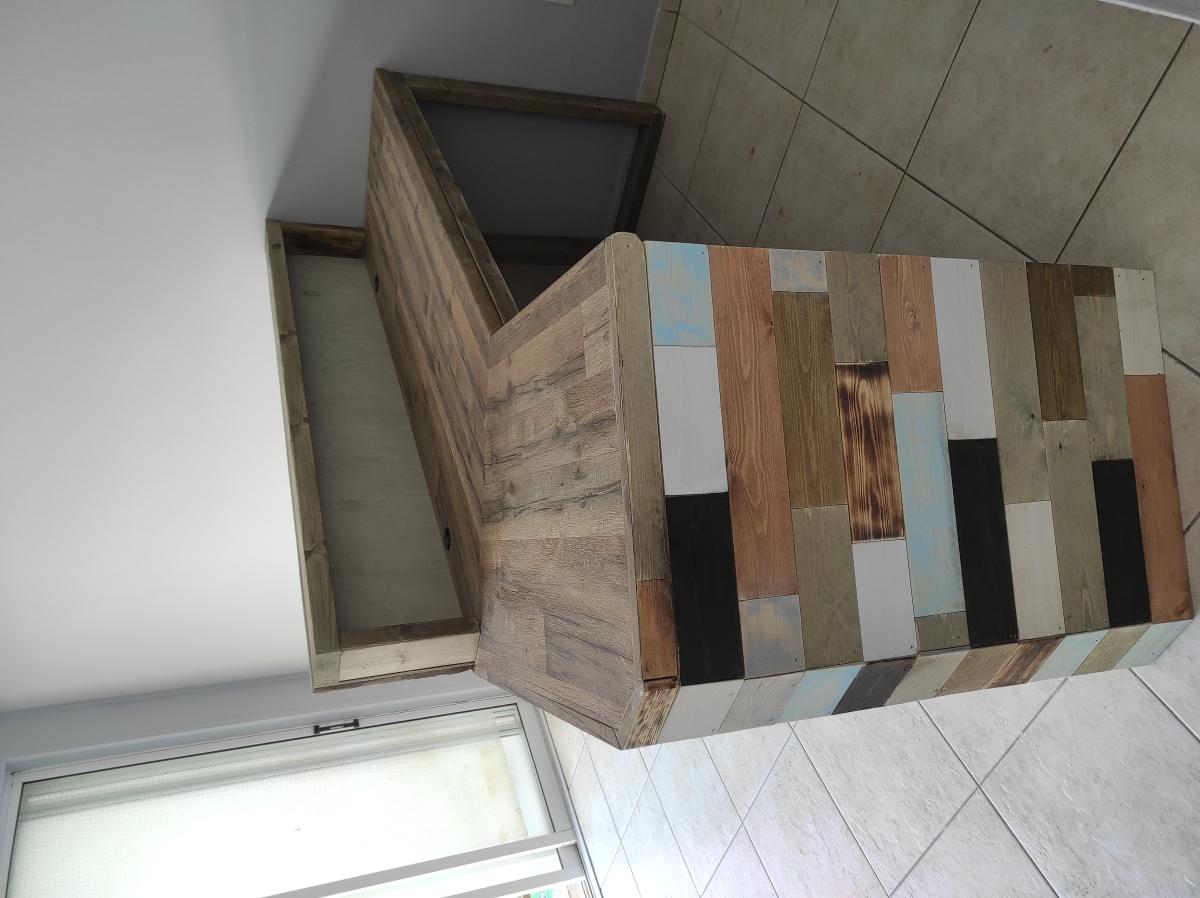
A friend is opening a new tattoo parlor up and wanted a rustic looking reception desk making up.
Using reclaimed wood wasn't an option so we opted for 25mm t&g boards and randomly cut 1/4 way through it to give the appearance of individual boards. The main carcas is made with 2x4's clad with Baltic birch ply to give it a cleaner appearance from behind and, to give additional surface area to attach the boards to.
To finish inised a combination of forced aging with a solution of WWV, iron sulphate and black tea + coffee, varying degrees of Charing, the walnut and oak stains were by V33 and the whites and greys by French chic.

Tue, 02/08/2022 - 15:12
Awesome build, I am sure it will get many compliments! Thank you for sharing!
Comments
Ana White Admin
Wed, 12/29/2021 - 12:08
Nice work!
It looks fantastic, thanks for sharing!