Community Brag Posts
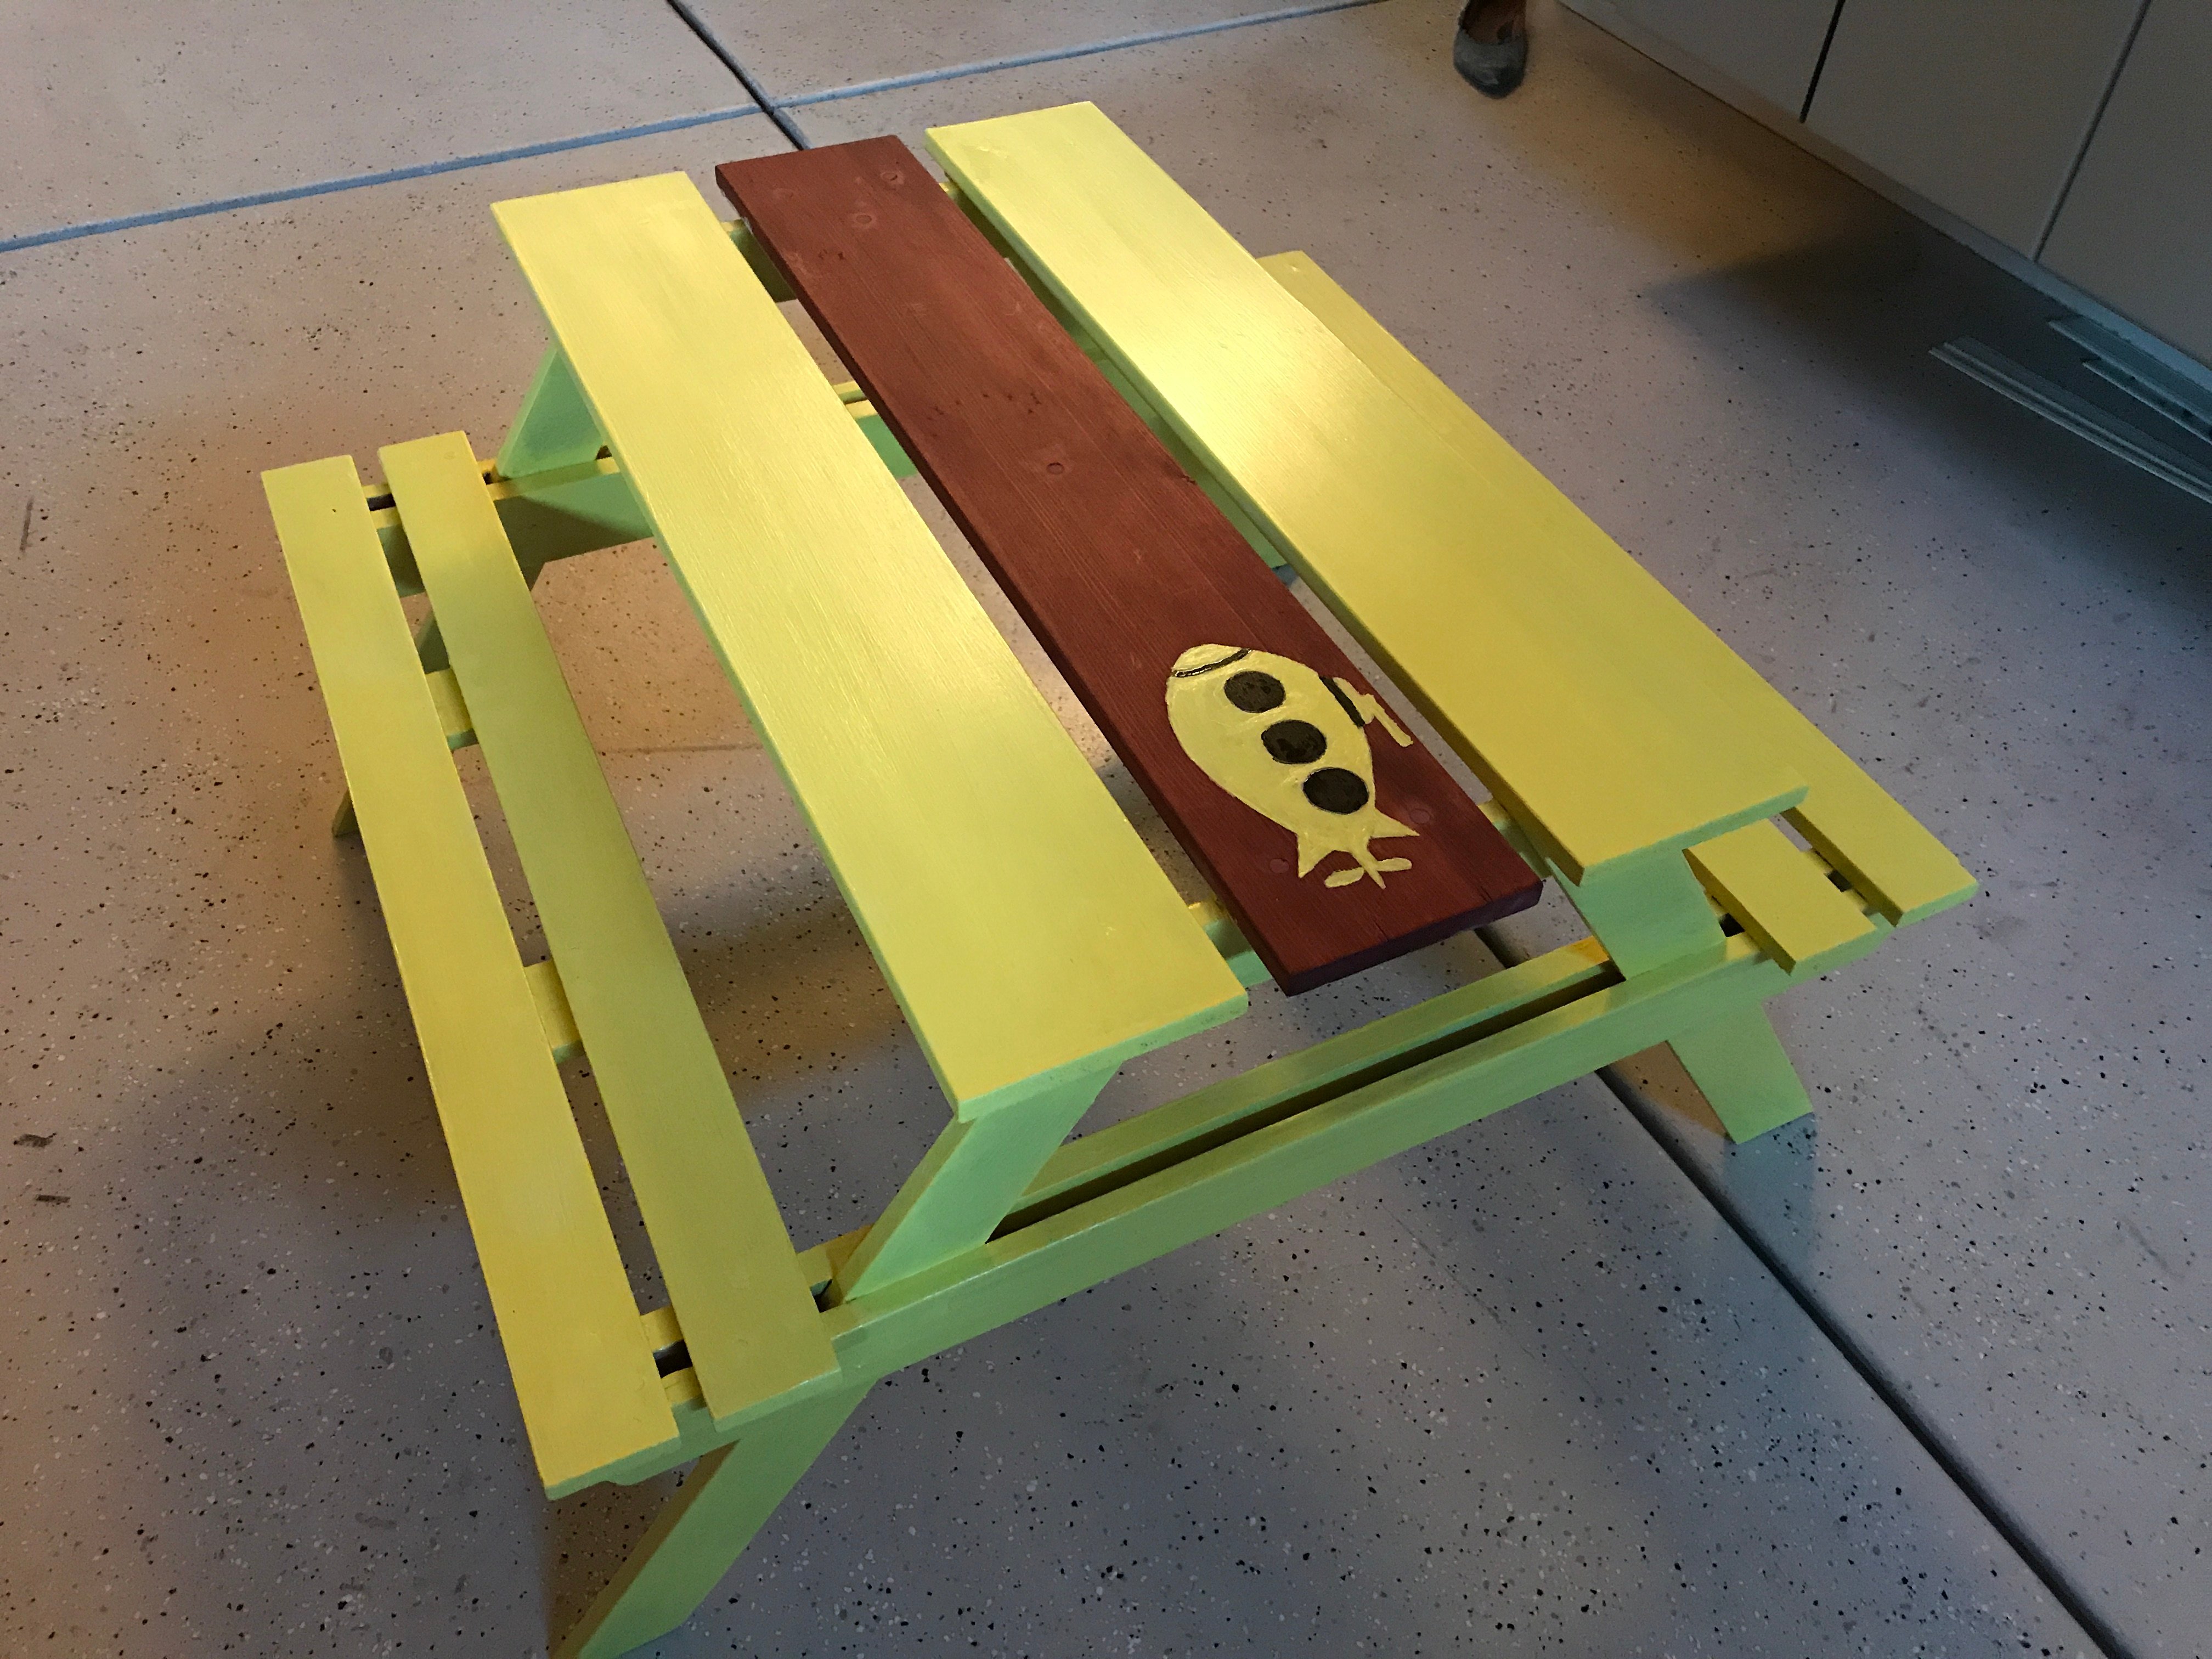
Patio chair
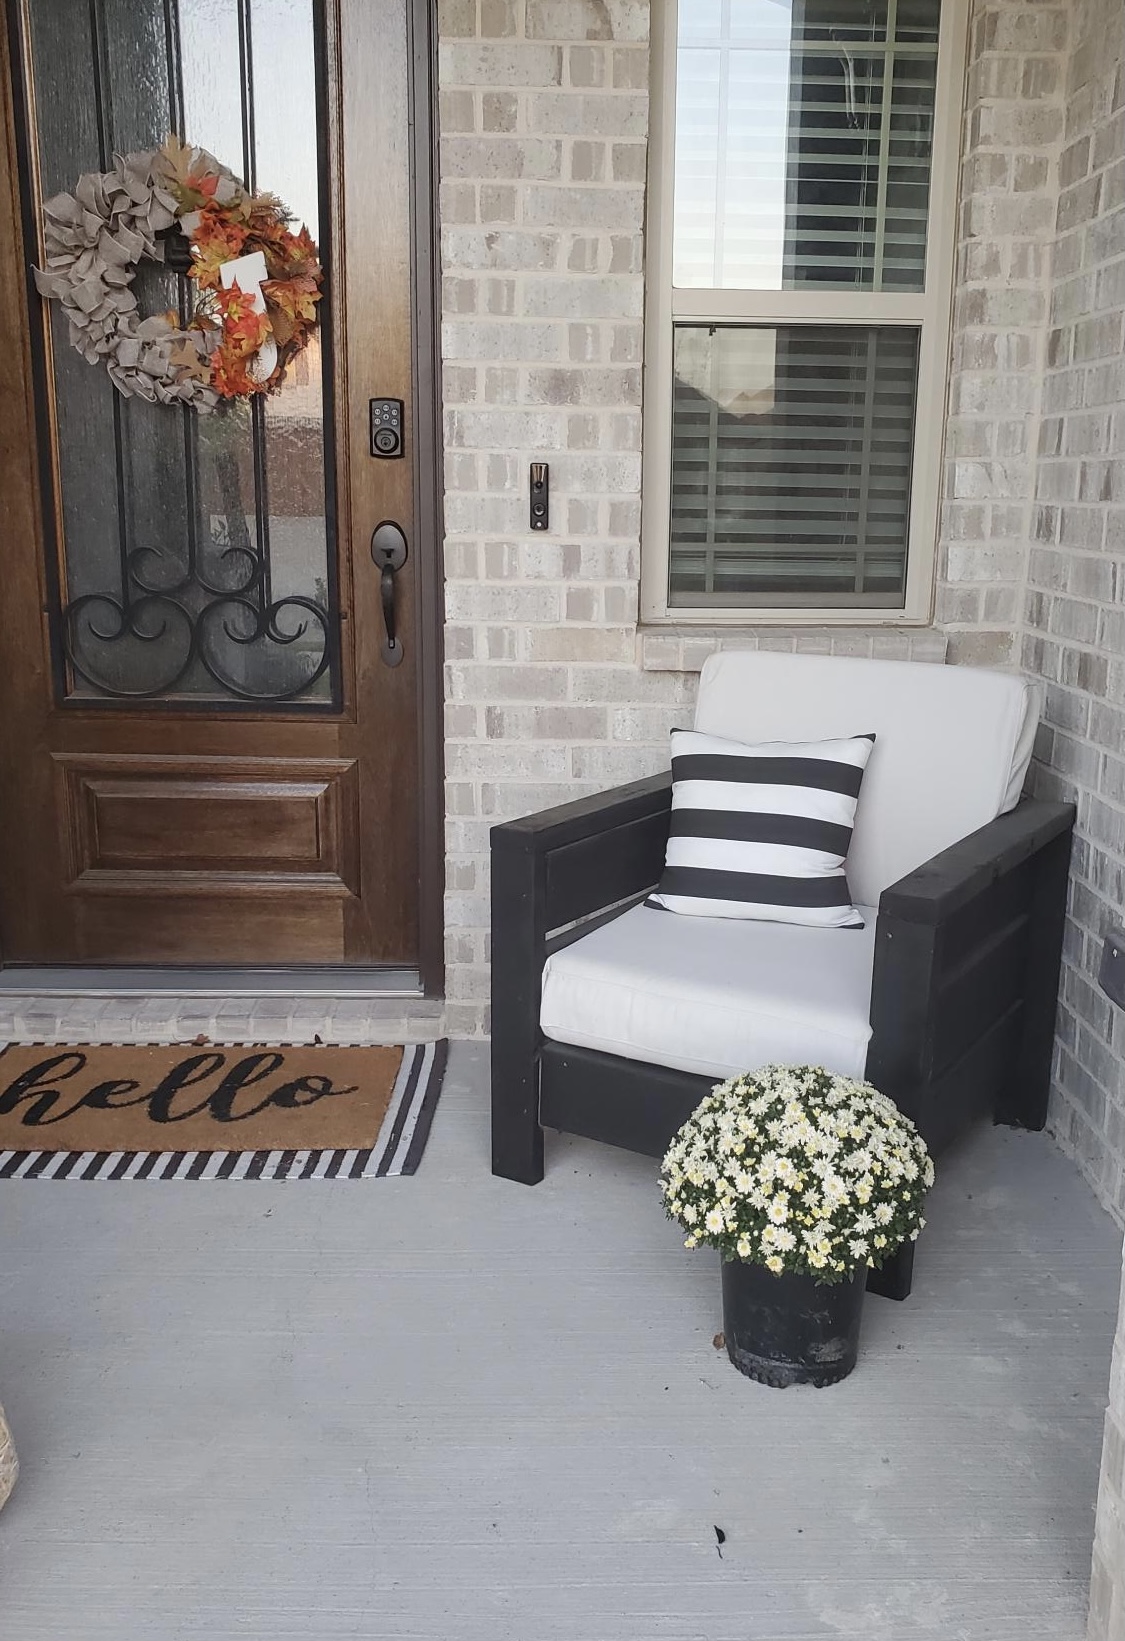
I chose to make the chair which came out great although the plans were only for one chair I thought it waa easy to do.
Built from Plan(s)
Comments
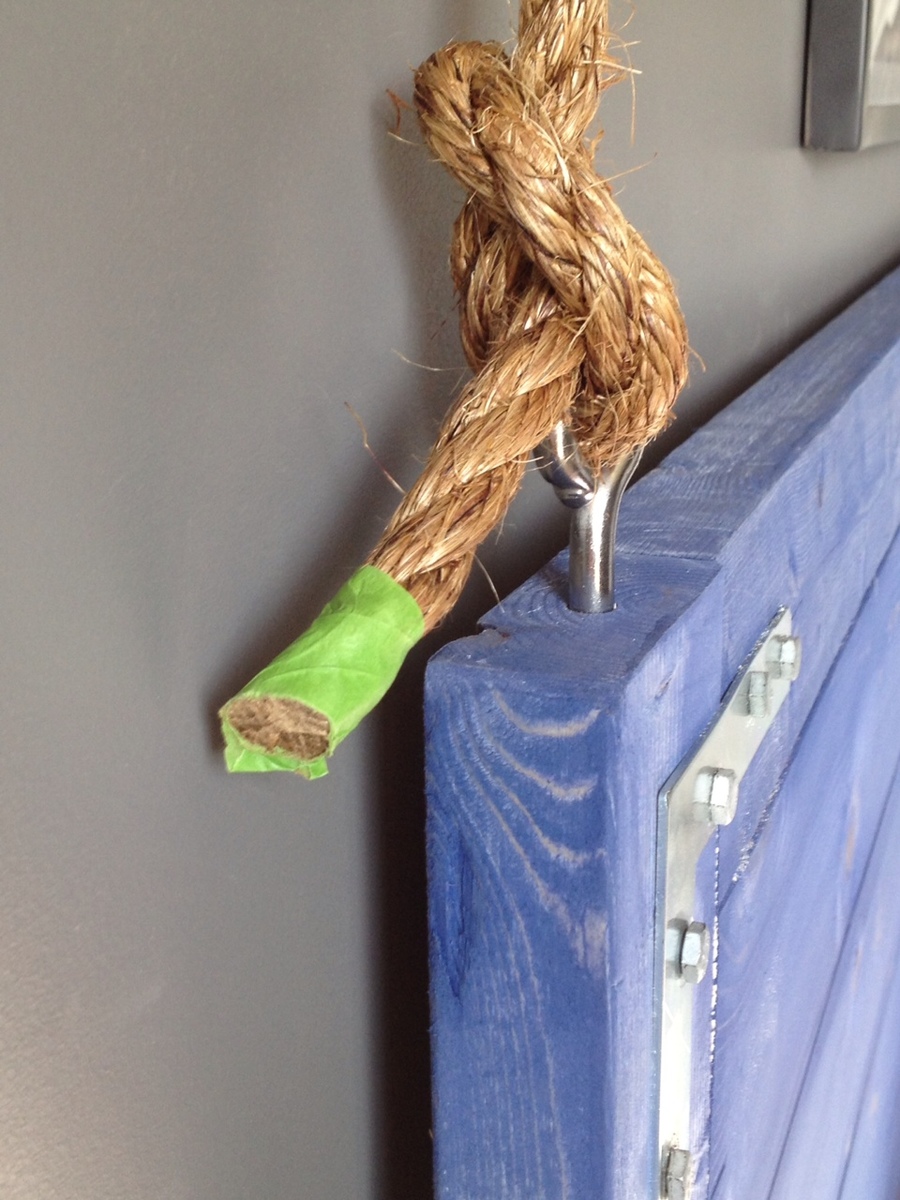
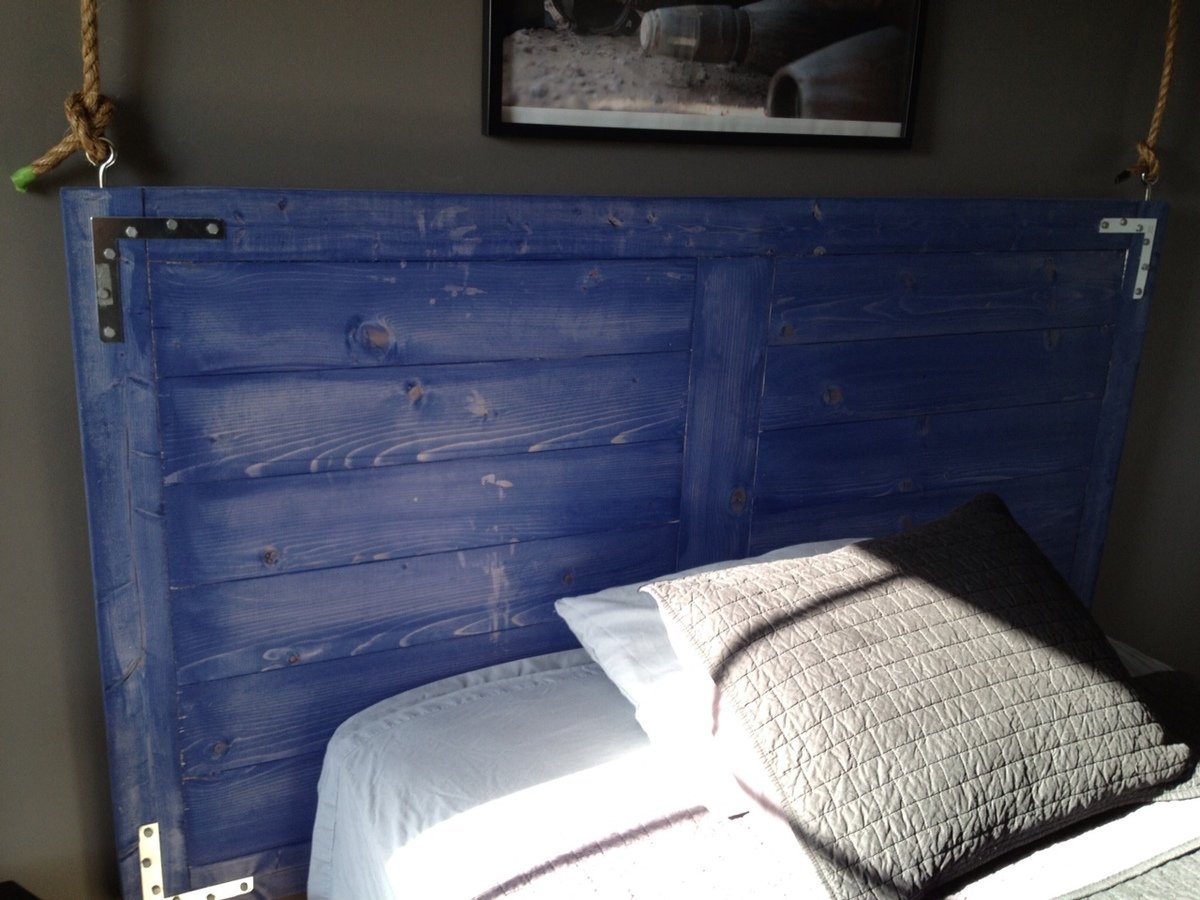
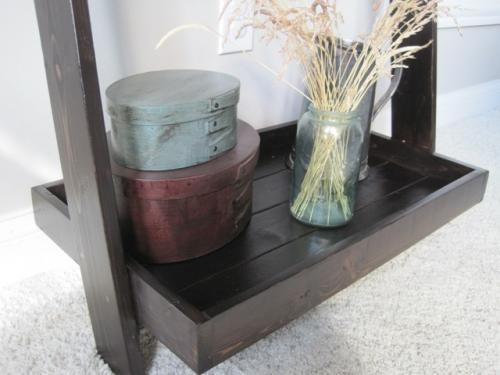
Hanging Headboard
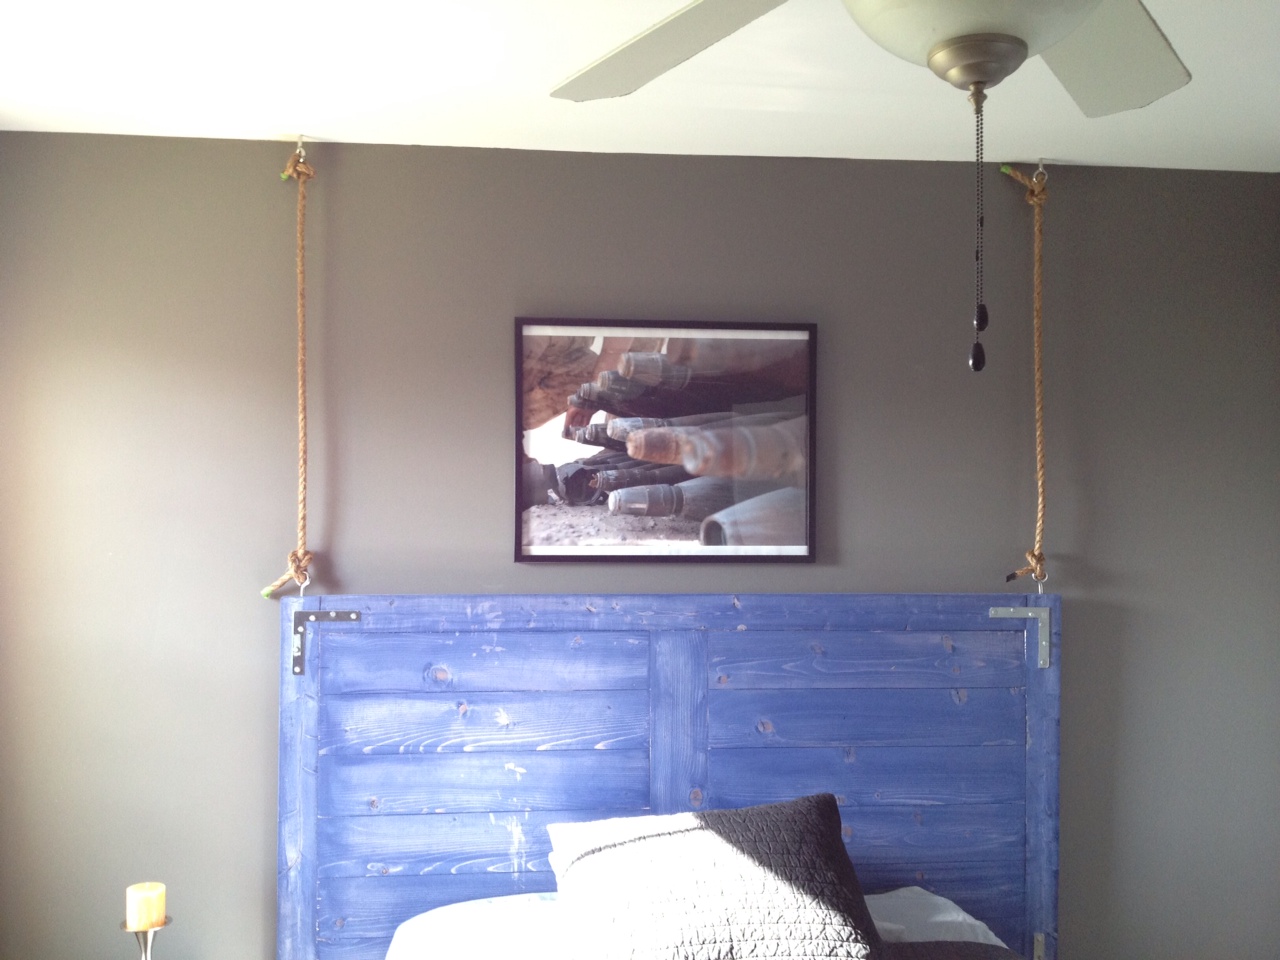
This was supposed to be a table top, however I screwed up a corner so we stained it and turned it into a headboard. We decided to add eye bolts and make it look like it was suspended from the ceiling with rope.
Estimated Time Investment
Afternoon Project (3-6 Hours)
Finish Used
Minwax blue stain
Recommended Skill Level
Beginner
Comments

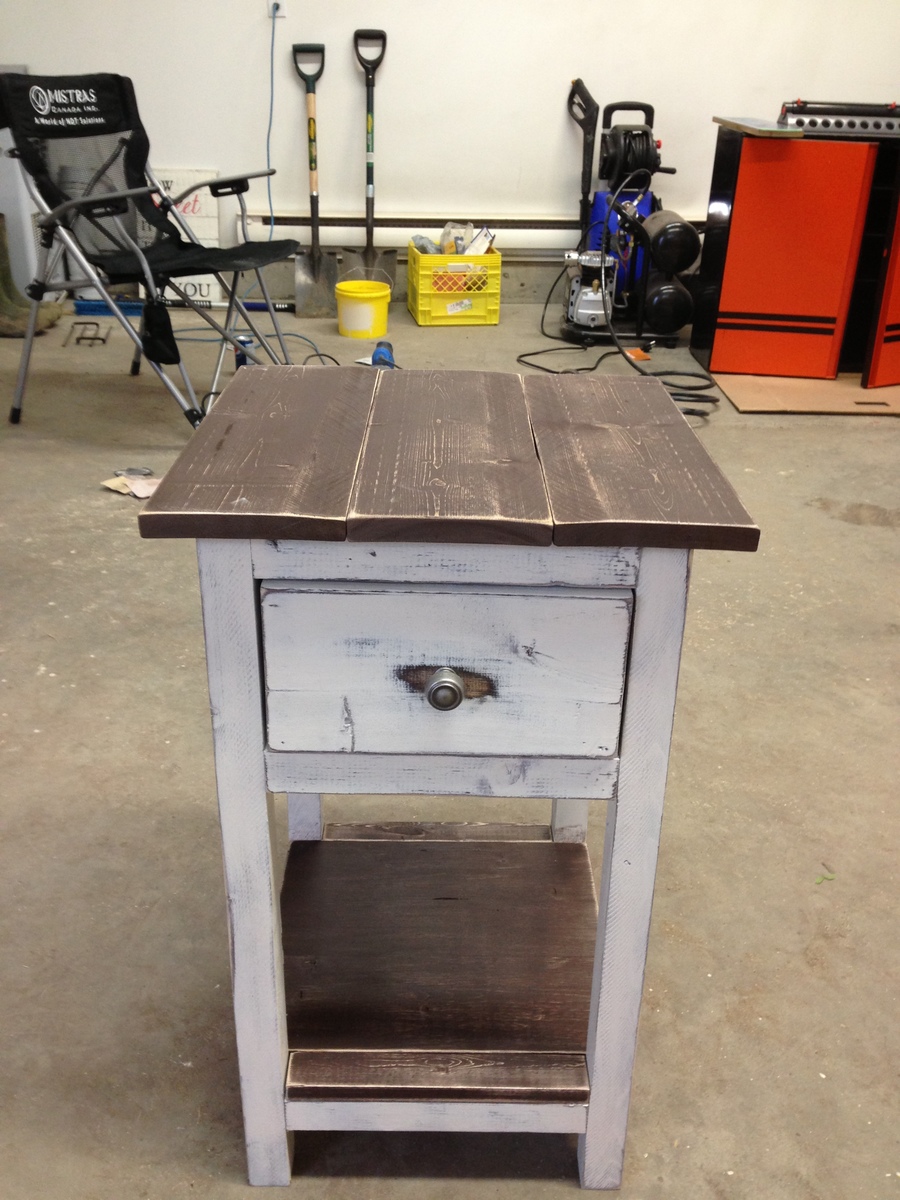
Modified Apothecary End Table w/ Shims
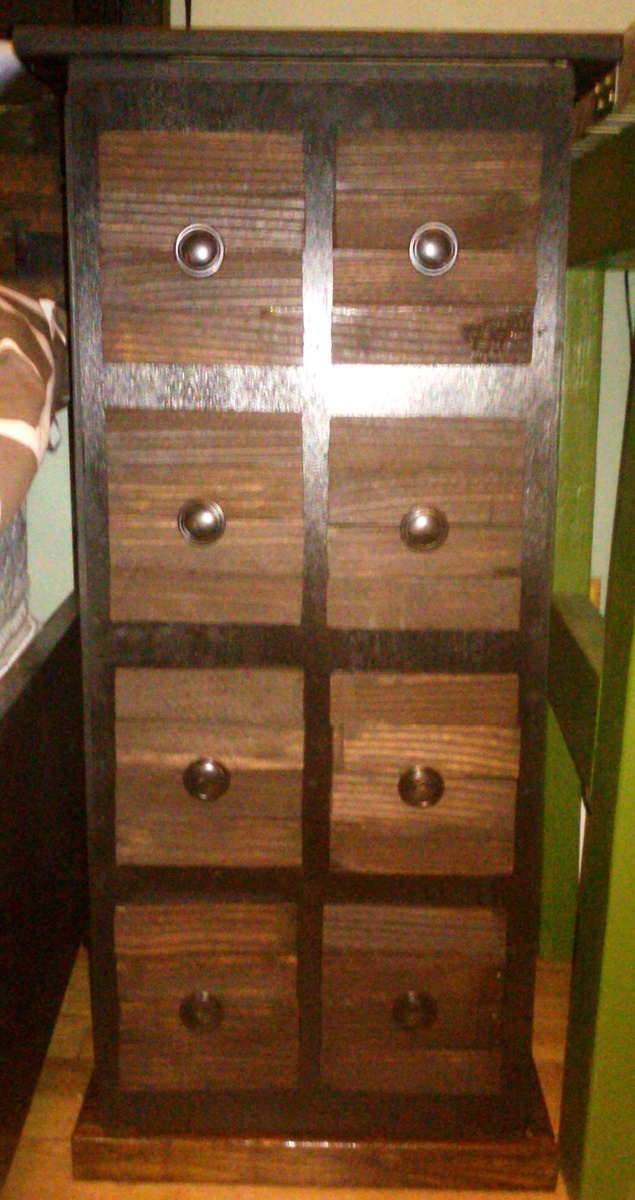
I made the shim bed a long time ago and really liked the look and height of the apothecary side table. I can put all my books and stationary and the stuff I want stashed next to my bed. I modifyied the plan slightly to have shims make up the front panels so it has a slight rustic feel to it and matches my bed. Thanks to Ana's plans I am starting to make my own bedroom set for under $300 bucks and completely to my taste.
Built from Plan(s)
Estimated Time Investment
Day Project (6-9 Hours)
Finish Used
Flat black paint and kona stain
Recommended Skill Level
Beginner
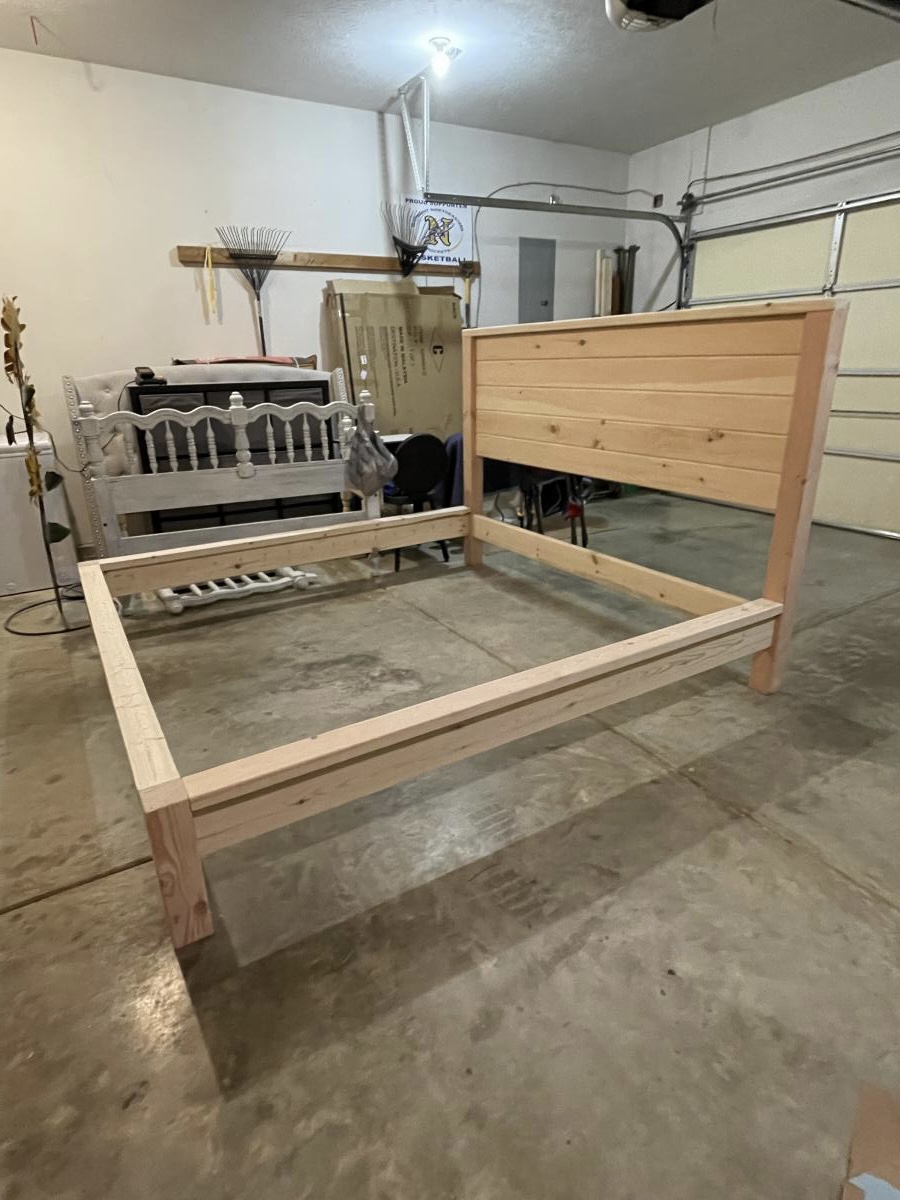
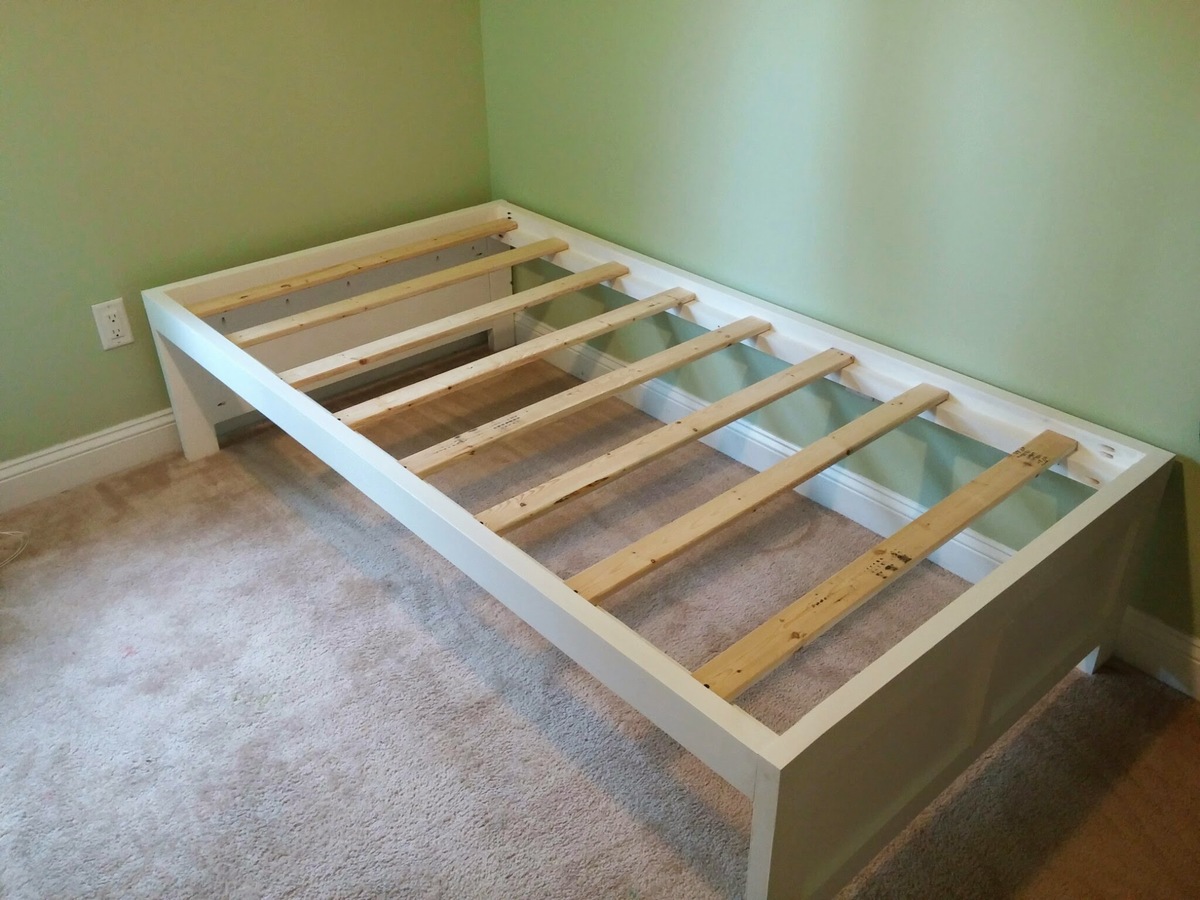
Birthday Bed
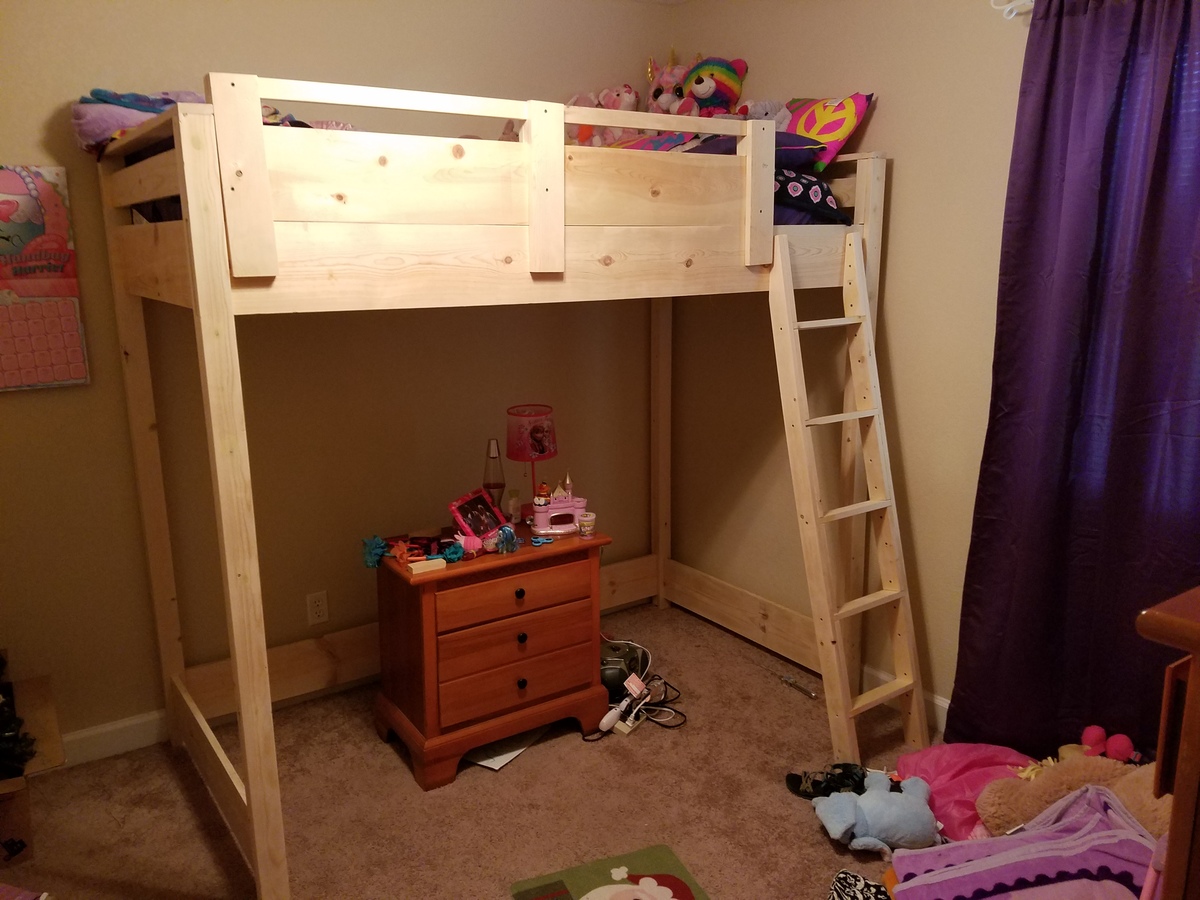
I told our daughter I would build her this bed for her birthday. She is still choosing what colors to paint it. Overall cost was $217 using white pine. She is's in love with this bed. started it Saturday morning and had it all put together by Sunday afternoon. I changed up the guard rail. Instead of screwing it in, I added a second set of 1×3s on the back side, so it is easy to slide on and off to make the bed.
Built from Plan(s)
Estimated Cost
$217
Estimated Time Investment
Weekend Project (10-20 Hours)
Recommended Skill Level
Beginner
Modern Farmhouse Bed
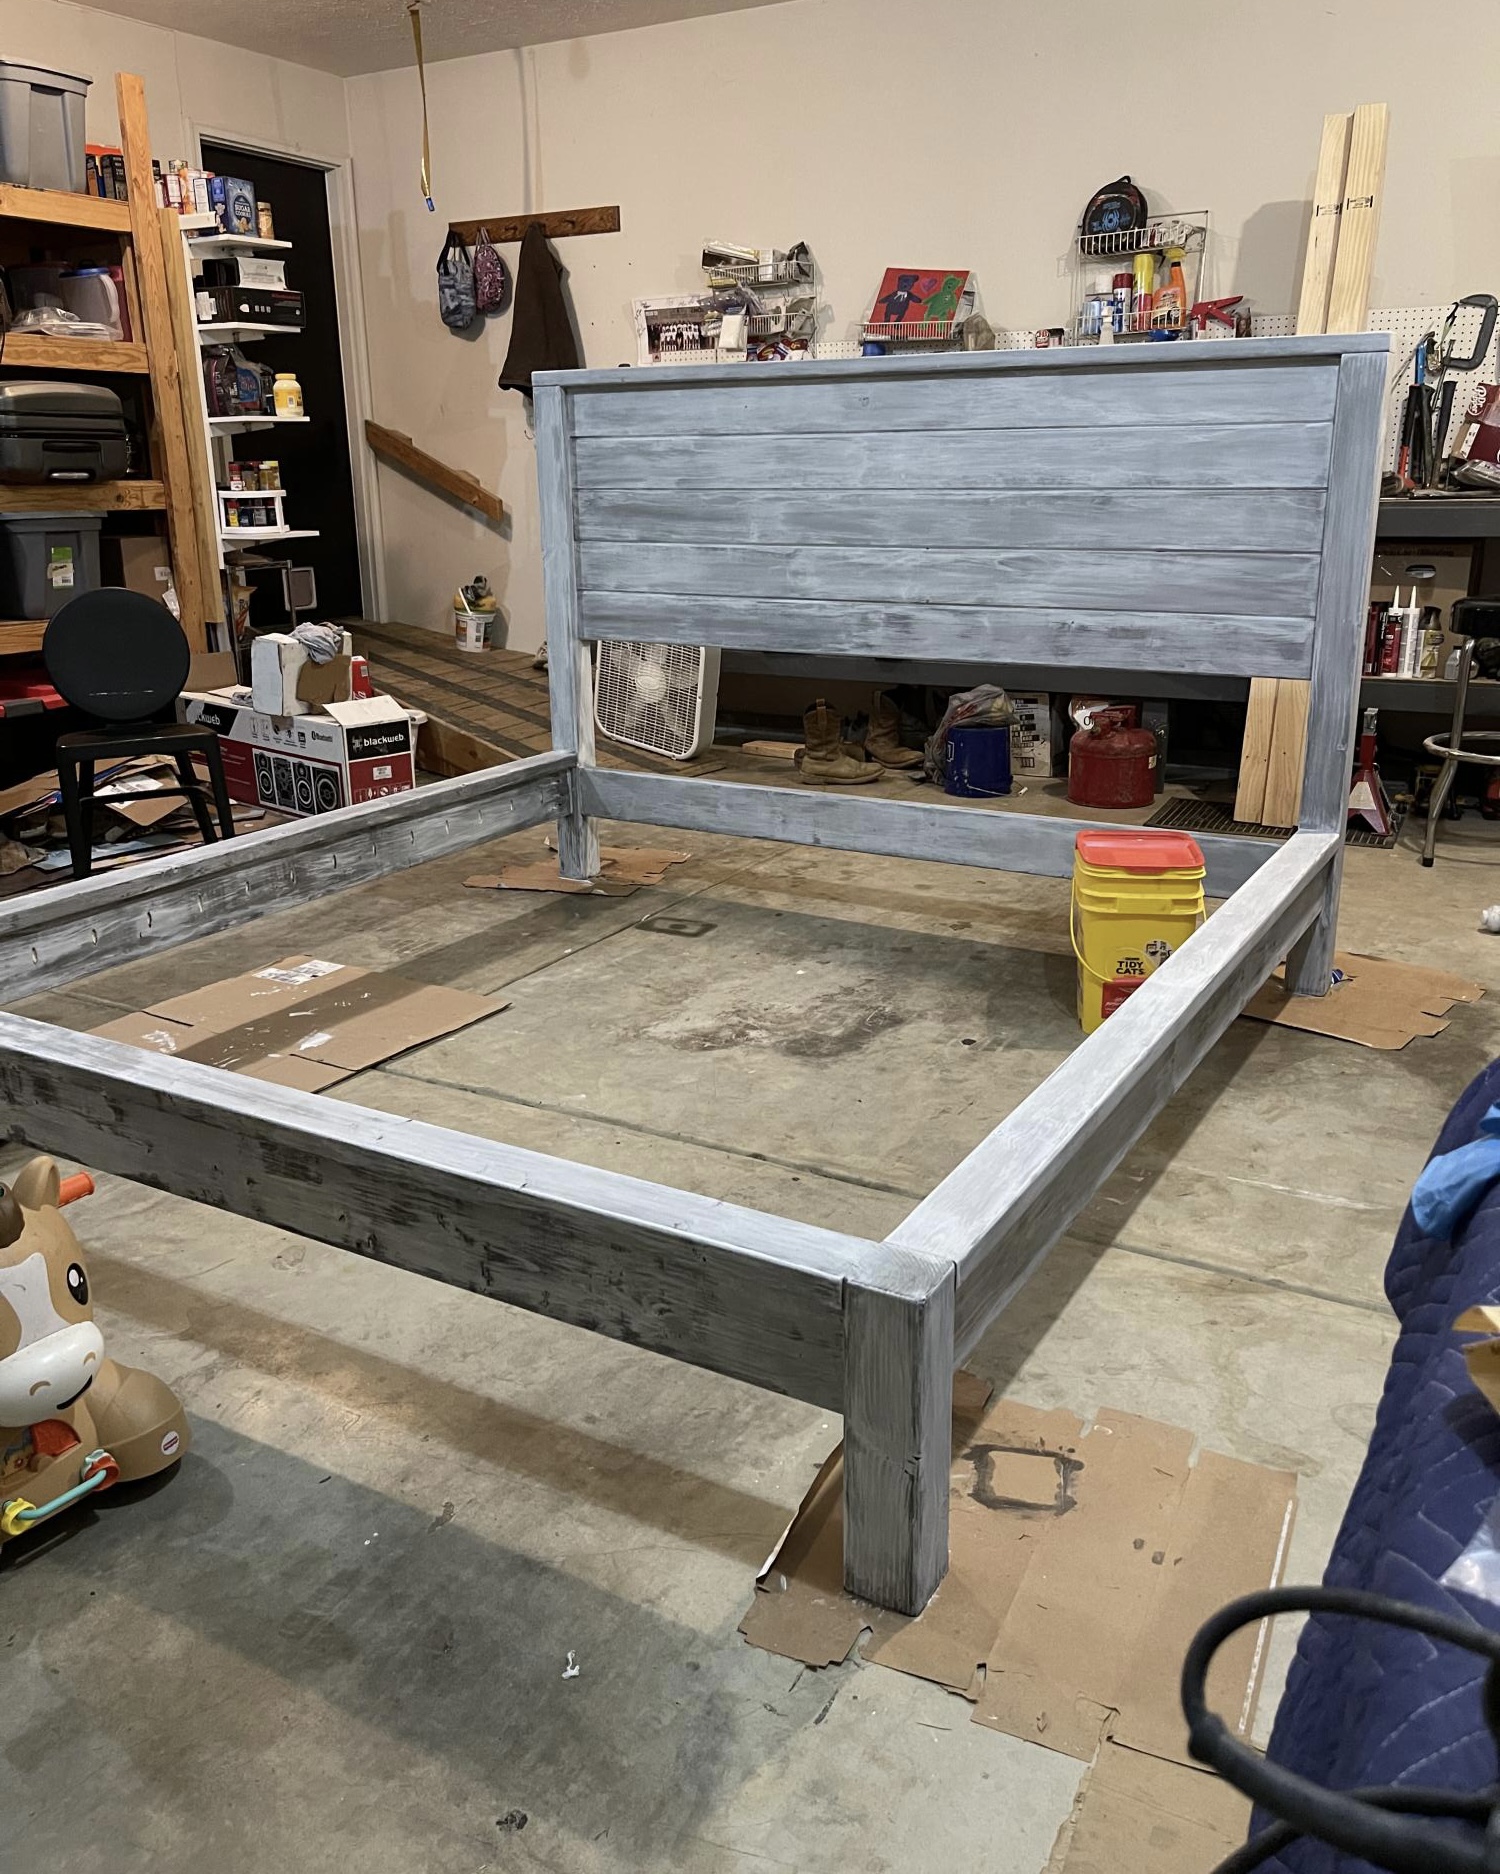
My husband and I made this for our son and daughter-in-law. They absolutely love it!
The project took about two days to build, and about three days for the finish (stained and weathered). The photos do not show the slats that support the mattress.
Built from Plan(s)
Comments

Sun, 10/10/2021 - 21:43
Modern Farmhouse Bed
*Edit to original post*
The only thing I wish we had done differently with this bed, was to count how many “tongue & groove”panels to attach to the headboard. We used 5 as stated in list, but 6 would have been preferred.
Solid bed for certain.
Closet Organized!
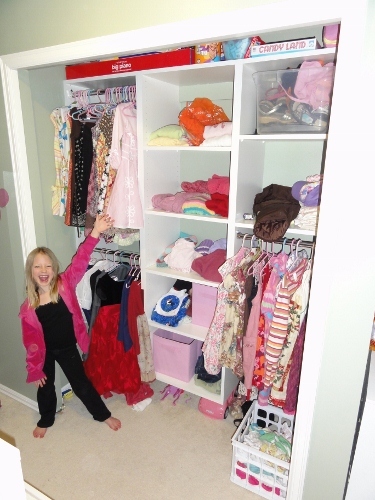
I used Ana's 'Simple Closet Organizer' plan as a starting point and then went a little nuts. :) If you read the comments below the plan, a wonderful, professional closet designer gave some fantastic tips and then another person shared EasyClosets.com.
So I plugged all of the dimensions into the Easy Closets website and used the plan I drew up based on its recommendations and my daughter's needs. :) She has three usable walls.
This was also my very first time using my Kreg Jig. I got it for my birthday months ago, but wasn't sure which project to "learn" on. :) I did quite a few tests on scrap before starting. Melamine coated particle board is SLIPPERY stuff so have LOTS and LOTS of clamps or your joints will not be square. Wow!
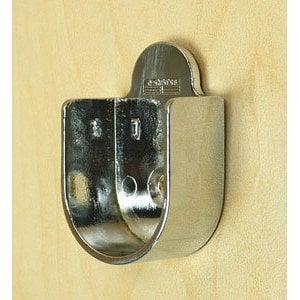
I got these chrome closet rods at The Container Store – so cheap and they'll cut them to size for you! Like $3~ a rod!? In the photos below, I'm using large, plastic closet rod flanges that I found at Orange, but I have these pretty chrome (peg-friendly) flanges ordered from Amazon. They're really cheap too! They will fit the 1-inch diameter rods I bought much better than the plastic ones and are made specifically for the pre-drilled 32mm closet boards. :) Yay!
Only other thing I did differently was use 1x4 boards to square the closet boxes up. I just cut them to the same width as the shelves and pocket-screwed them into the very top and very bottom of each box. Then I painted them to match her purple wall color.
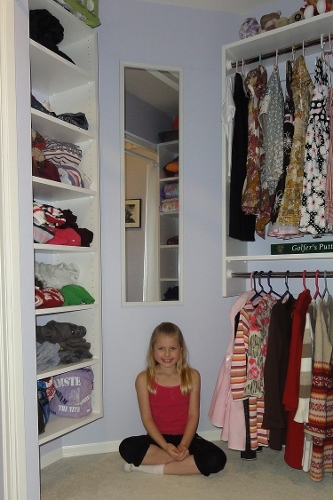
I was so happy with how it turned out that I did my other daughter's closet that next weekend! I used the same website to design it too. LOVE IT!
Anyhoo, here are the finished closets for both of my daughters! Thank you Ana! I would never have done this if you hadn't have posted that plan! Totally inspired me! Can't wait do do our master closet! EEEK!


Estimated Time Investment
Day Project (6-9 Hours)
Recommended Skill Level
Beginner
My Coop!
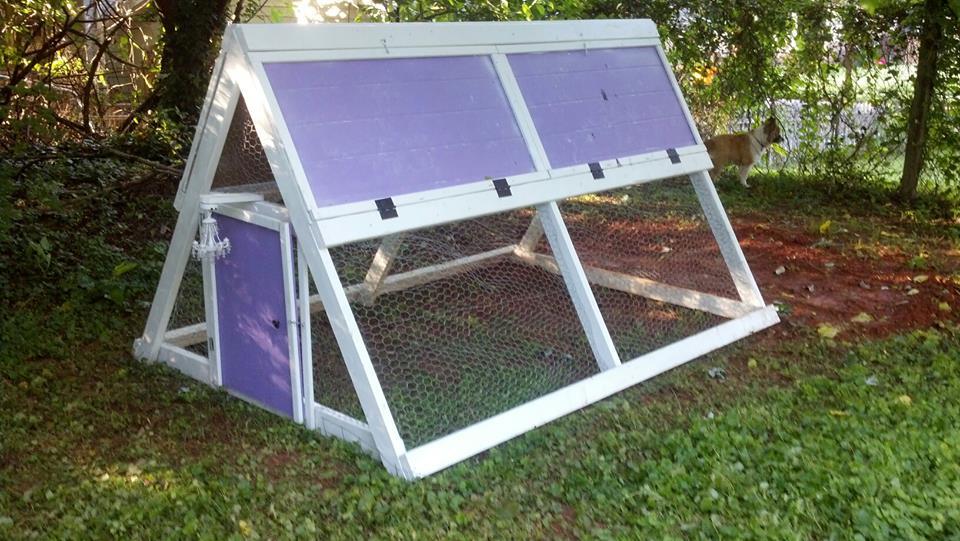
We're adding our chickens this weekend!
Built from Plan(s)
Recommended Skill Level
Intermediate
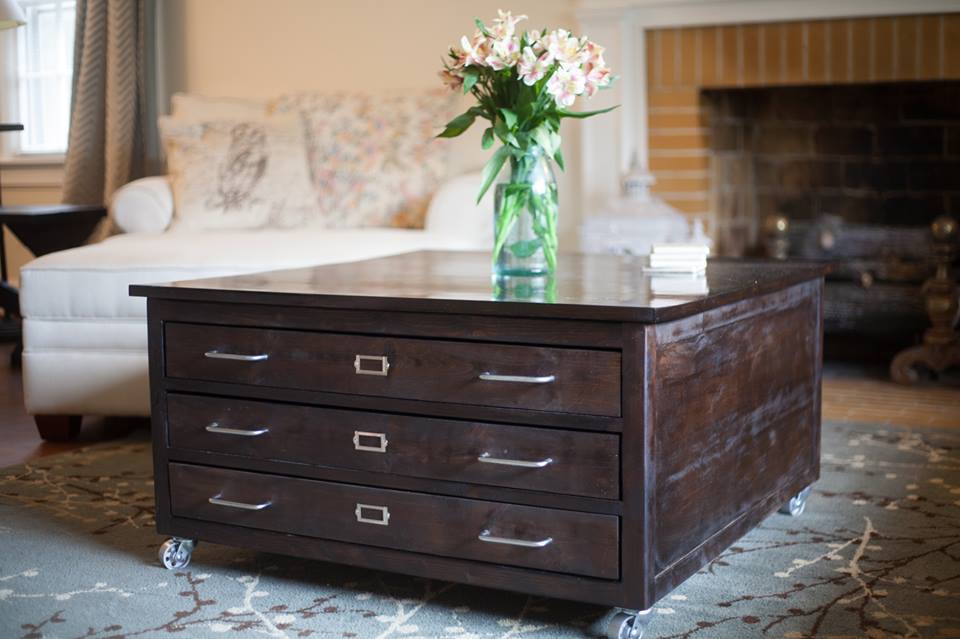
Deck Pass Through Console Table
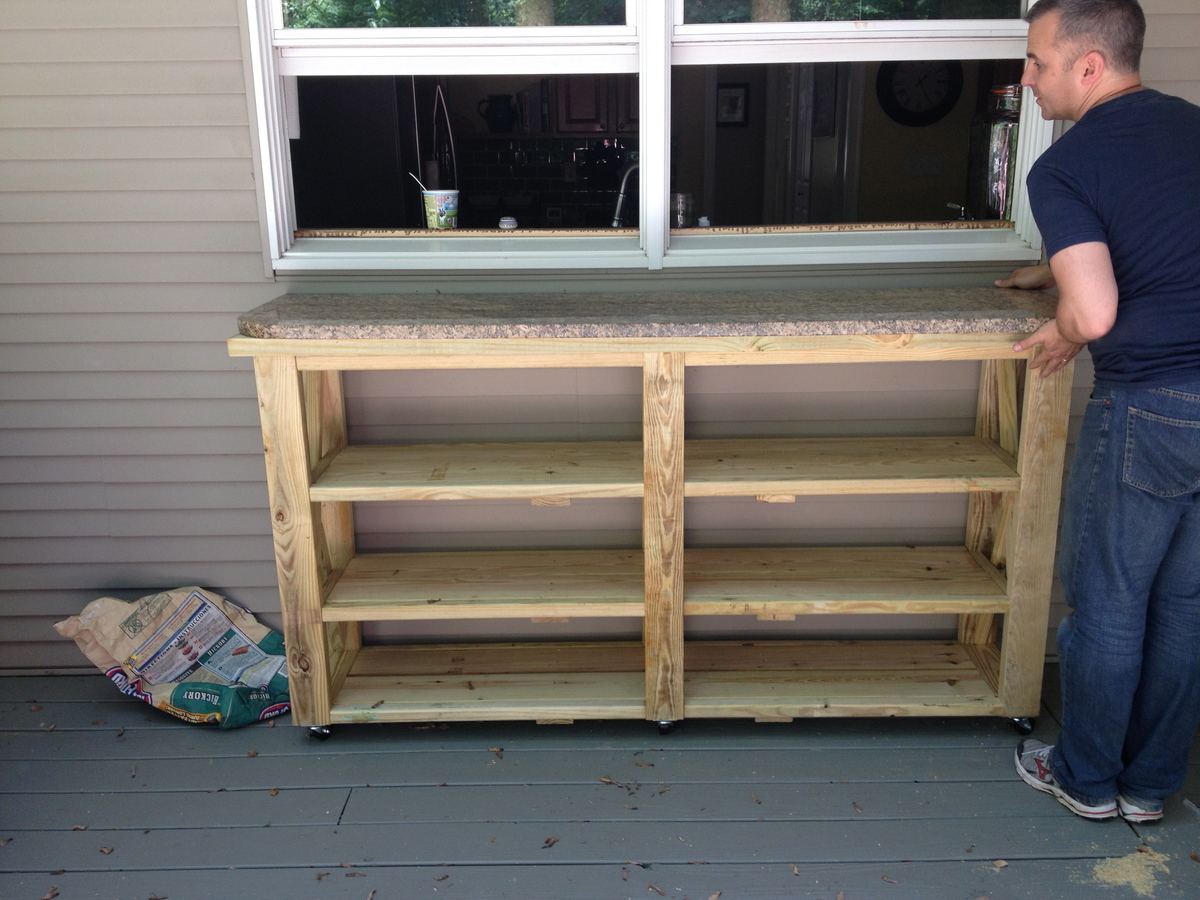
When we remodeled our kitchen we had a piece of leftover granite which was previously used as a bar top. Rather than having it go to waste, my husband used the plans for the rustic x console table and modified it to add another level. The goal was to use this as a pass-through from the kitchen windows to the deck. We also added wheels to the bottom of the table to make it portable, to be used as a bar or a grilling station.
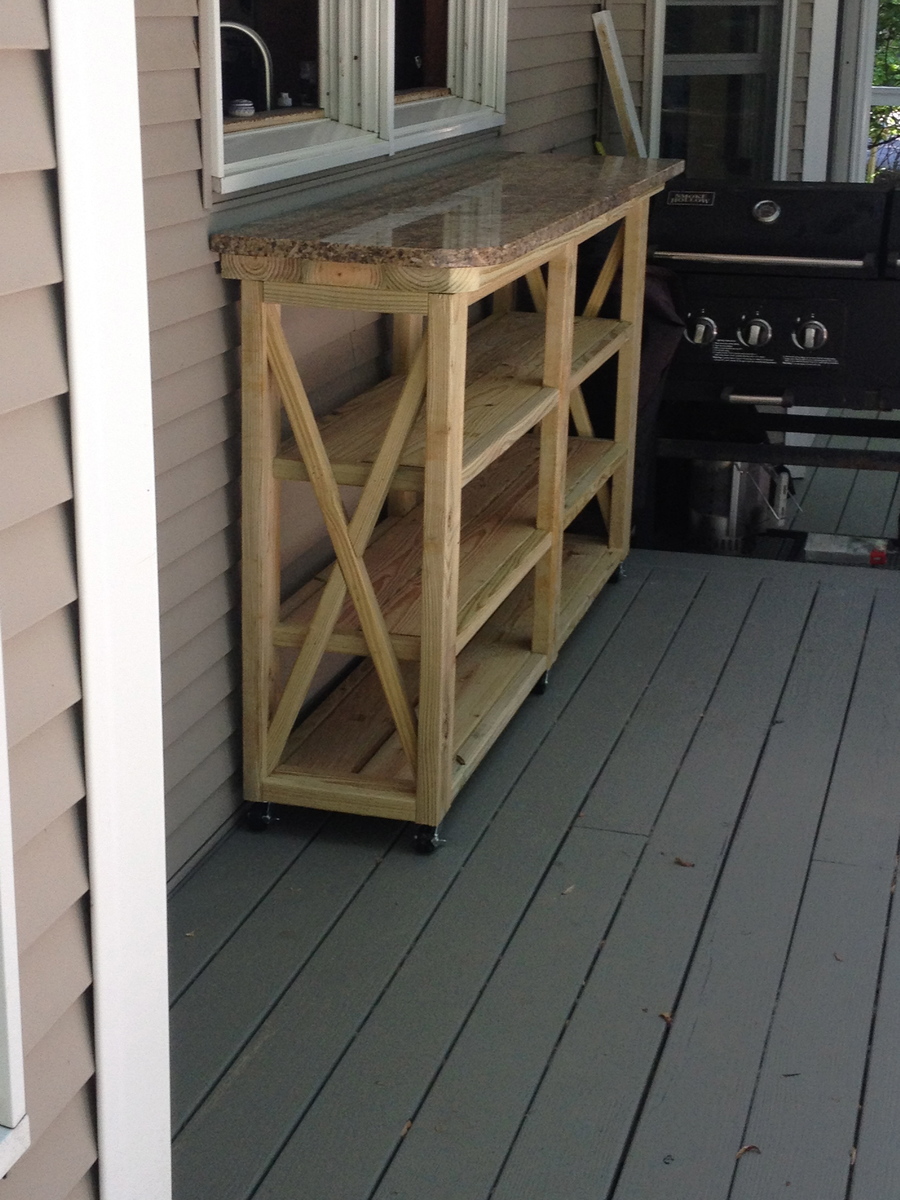
Built from Plan(s)
Estimated Cost
$100
Estimated Time Investment
Afternoon Project (3-6 Hours)
Finish Used
None
Recommended Skill Level
Beginner
Comments


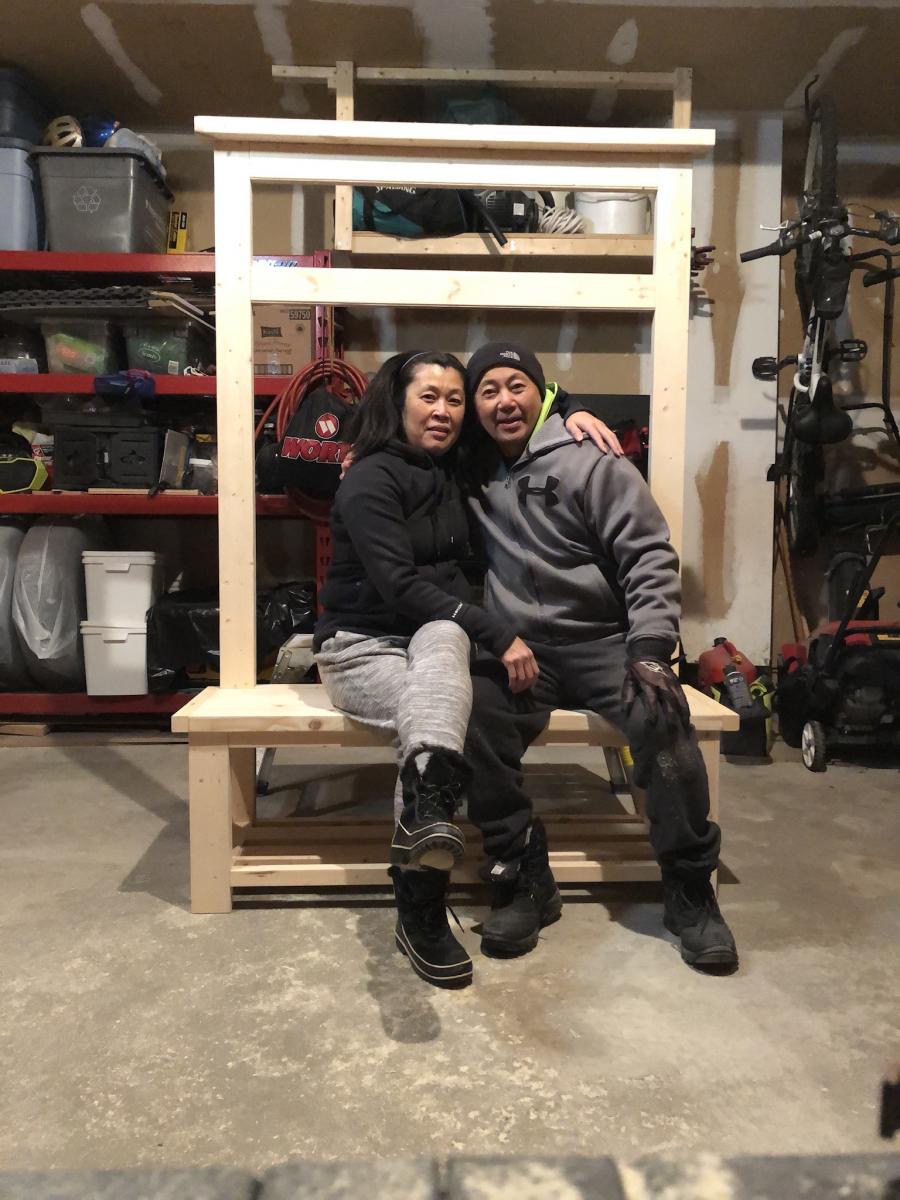
Mud bench
My husband and I love to build together as our hobby so we always look to Ana White for different plans.
It all started originally when I came across Ana’s closet organizer a few years ago and we haven’t stopped! Thanks Ana!
Built from Plan(s)
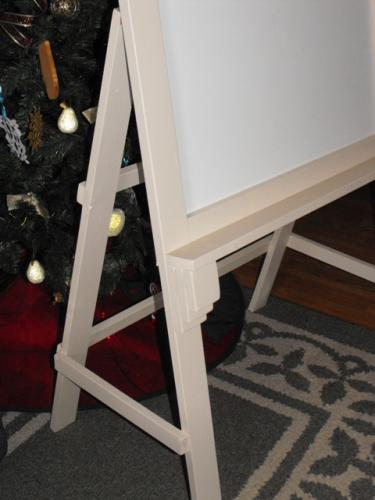
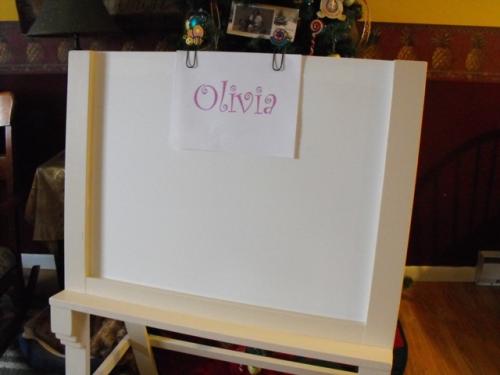
Child Sized Stand Easel
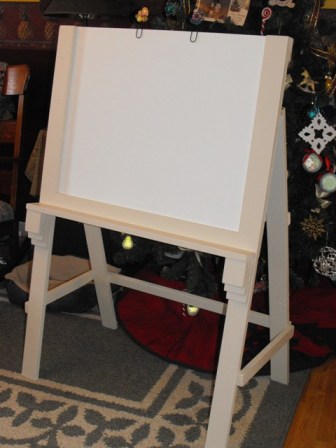
I made this easel for my 5 year old niece. It was tweaked from another Ana plan. I used dry erase board and added oversized paper clips at the top to hold sheets of paper. It has turned into a very loved possession.
Estimated Cost
$20
Estimated Time Investment
Day Project (6-9 Hours)
Finish Used
Two Coats of a creamy oops!
Recommended Skill Level
Beginner
Truss Bookshelf
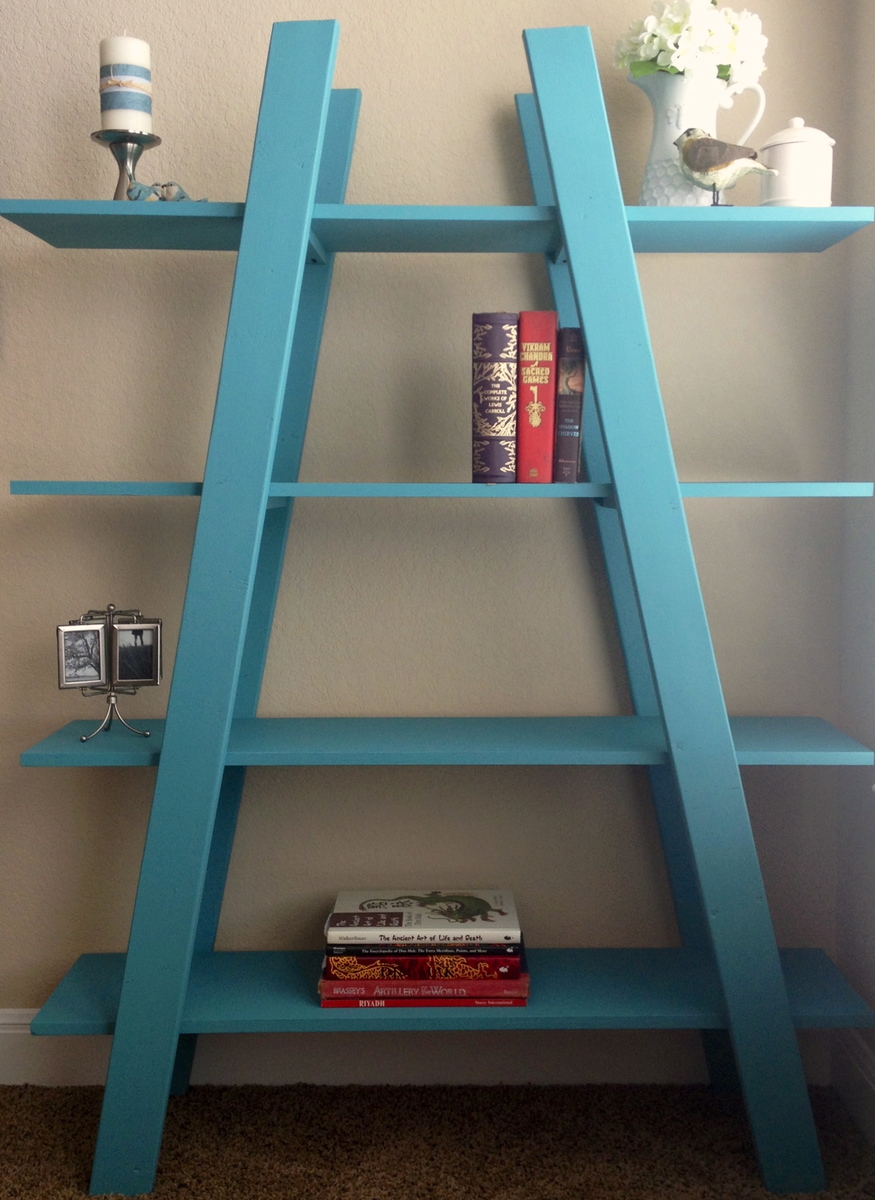
This was my first project and it turned out great!
https://www.etsy.com/listing/150638354/truss-bookshelf-pick-up-only-48-…

Estimated Time Investment
Weekend Project (10-20 Hours)
Recommended Skill Level
Beginner
Butcher Block Kitchen Island
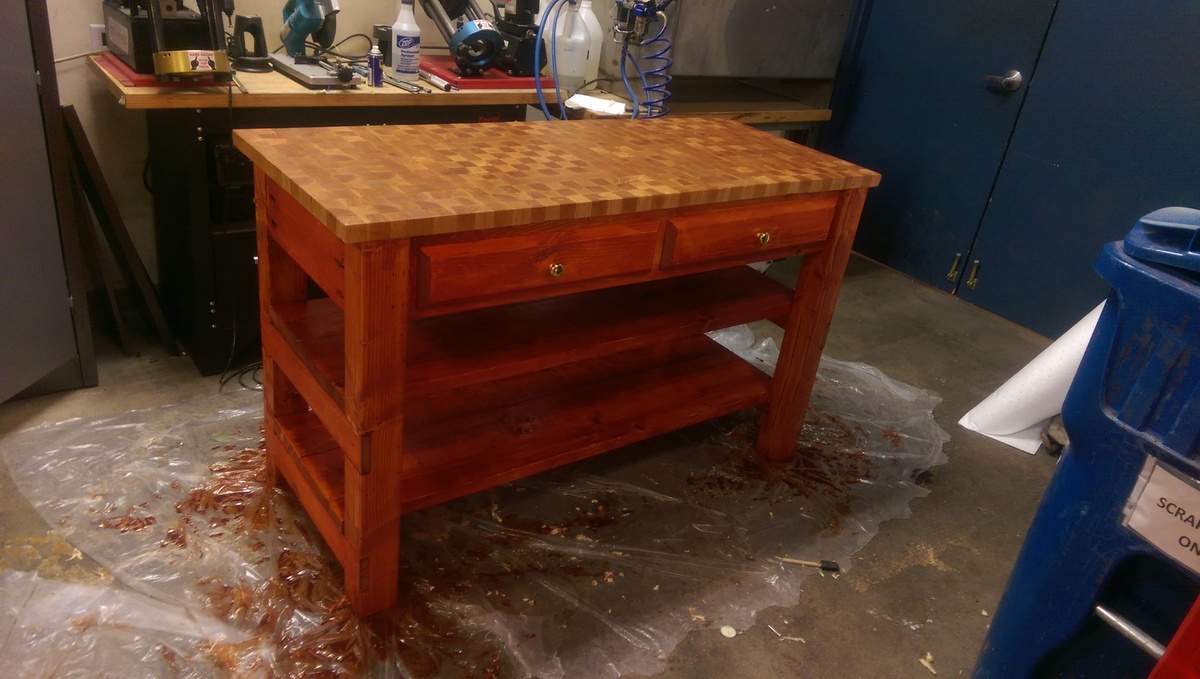
A spin on the original design. Made an end grain butcher block table top out of cherry and red oak. 3 applications of minwax gunstock stain on the pine.

Built from Plan(s)
Estimated Cost
$250
Estimated Time Investment
Weekend Project (10-20 Hours)
Recommended Skill Level
Intermediate
Comments

Tue, 04/21/2015 - 01:44
Wow! Gorgeous!
What a gorgeous butcher block top! Wow! Beautiful work. I love the details you put on the drawer fronts as well, and the finish color is lovely!

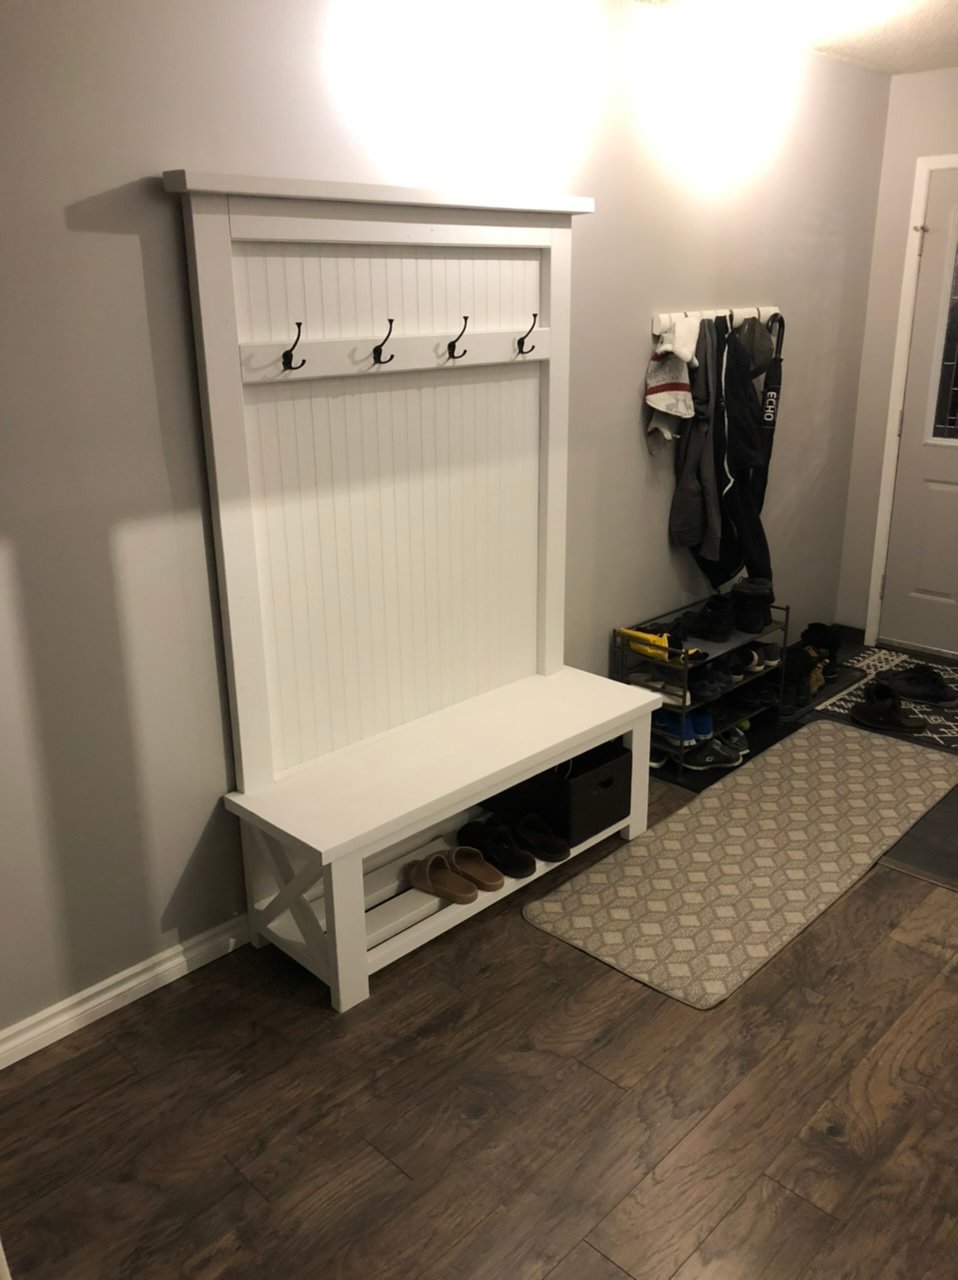
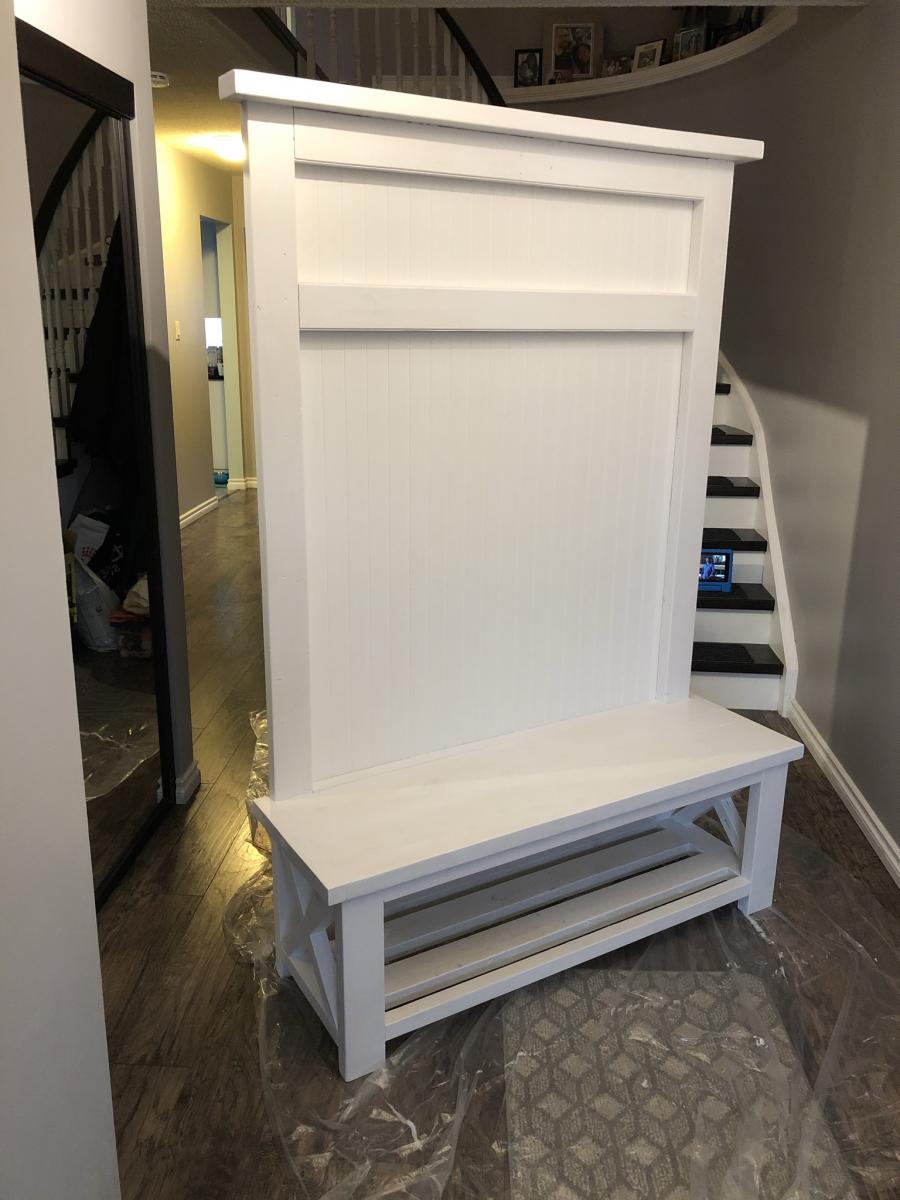
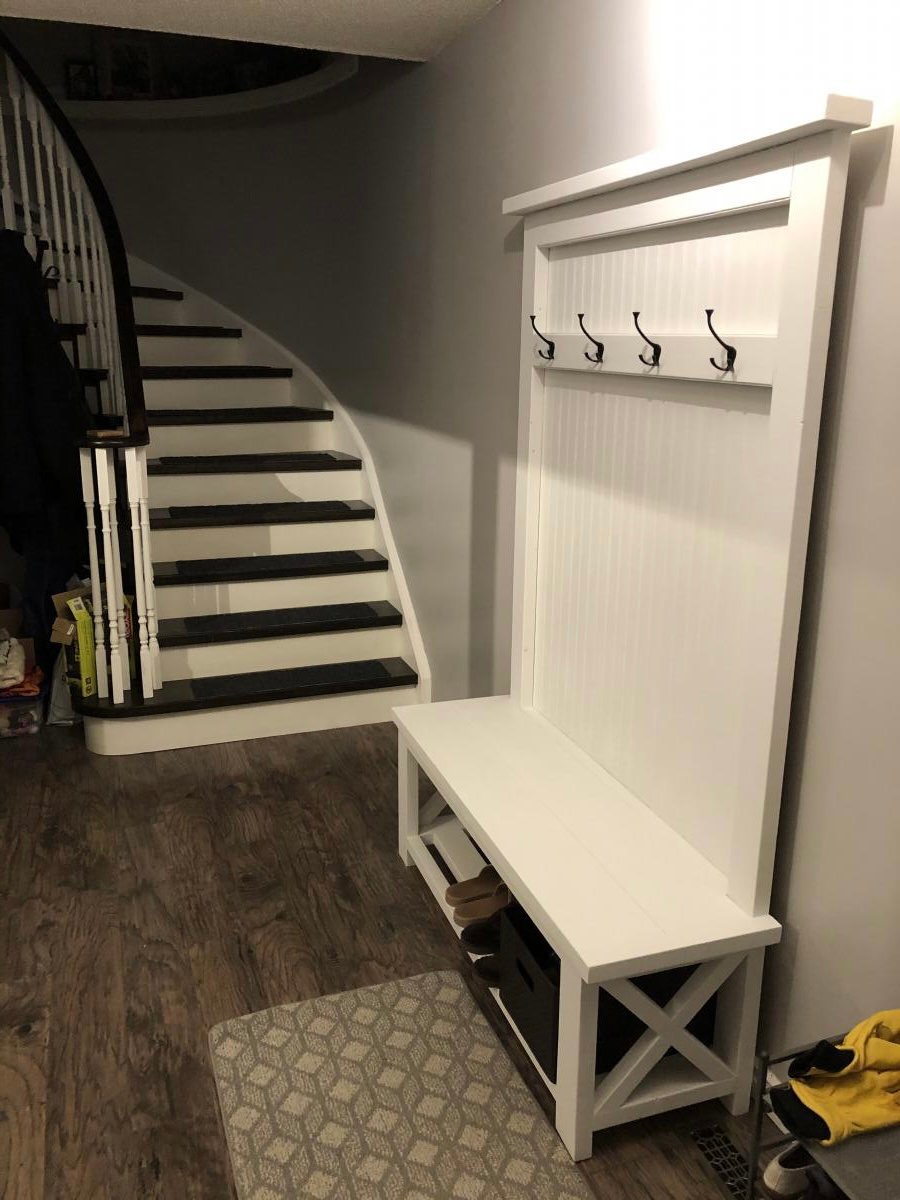
Entry way bench and storage
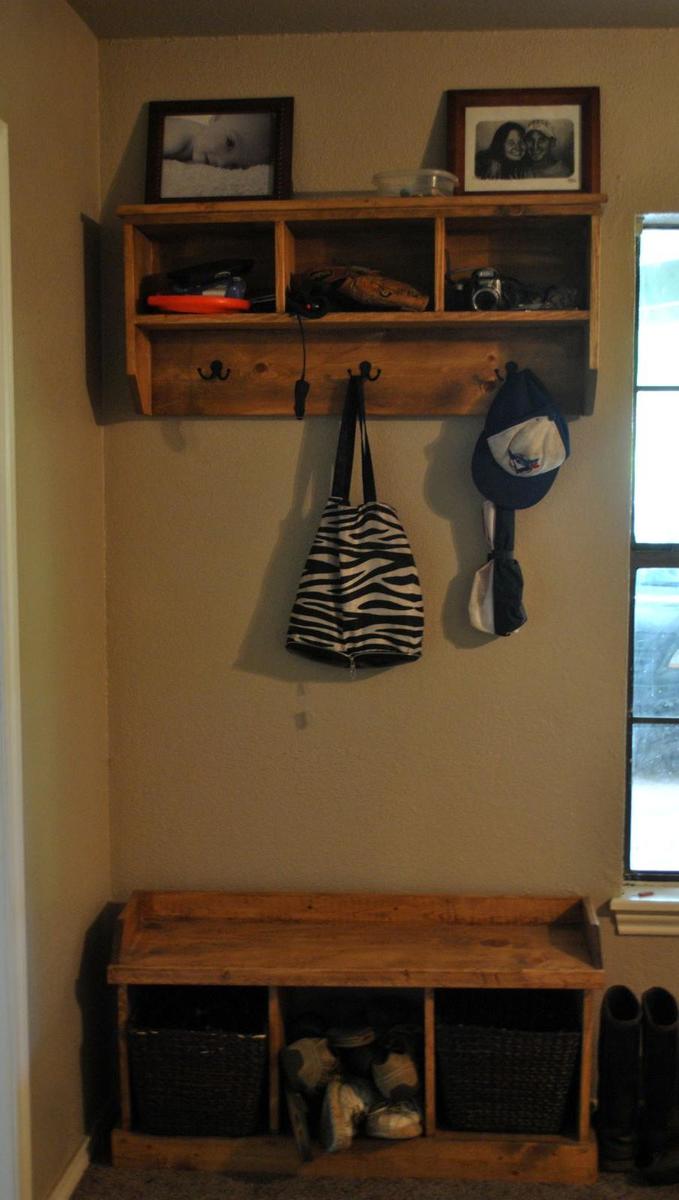
This is perfect for our front room- (most) shoes fit in the storage baskets, and the hooks are perfect for scarves and coats in the winter, towels and life jackets in the summer. The top cubbies hold gloves and hats, as well as sunglasses, umbrellas and sun screen.
Built from Plan(s)
Estimated Cost
$30
Estimated Time Investment
Afternoon Project (3-6 Hours)
Finish Used
Early American
Recommended Skill Level
Beginner
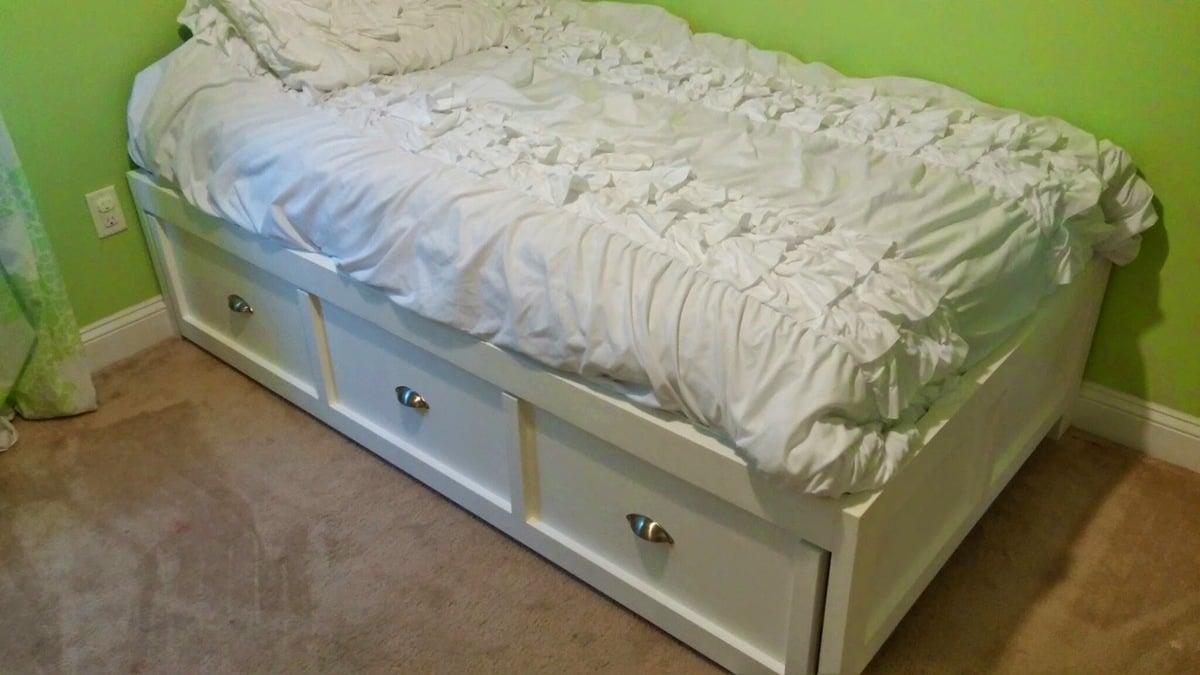
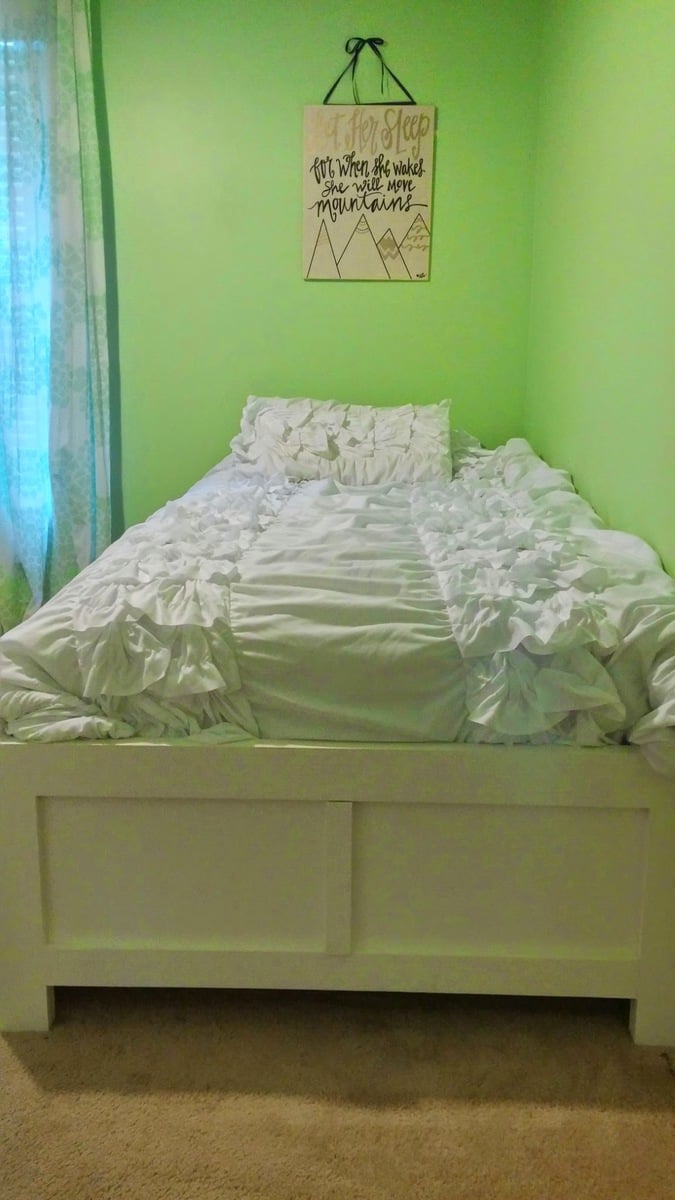
Daybed with storage
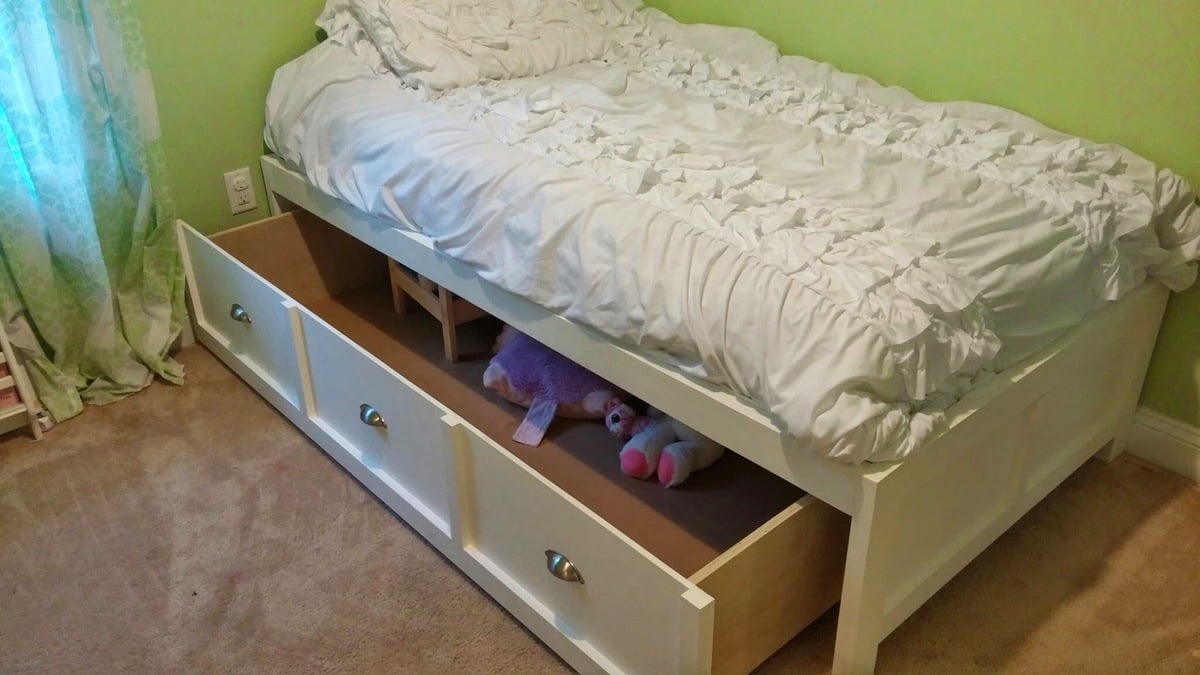
We wanted to build my daughter a smaller bed with lots of storage. I really liked the Daybed plans on here, so we used those and made a few minor adjustments. First, we wanted the bed to sit inside the frame of the bed, instead of just sitting ontop the frame. This will prevent the matress from sliding around. We did this by adding 3 inches on both the length and width of the bed. After building the bed you probably only need to add 1-2 inches, but it still turned out fine. I glued and screwed strips on the side rails a few inches down and then attached my 3" strips to the rails. I also increased the height of the bed slightly by addinga few inches to the 2x4 sides. Also, instead of using 1x12 boards for the construction of the bed, we used 3/4 plywood. This let me make the sides and drawer taller than 12" and also saved a lot of money. I was able to make the whole bed from 2x4s and one sheet of plywood, plus I bought a sheet of MDF for the bottom of the main drawer. This brought the entire cost of the bed to around $150 in materials.
For the bottom drawer we wanted one large storage area instead of 3 seperate drawers. The main reason for this is so we would use it as a trundle in the future if we wanted to. I build the drawer bottom out of a large piece of MDF, and maded the sides out of 3/4 plywood. I cut a 1/2" rabbit on the bottom of the drawer sides so the bottom sits flush. My main reason for doing this was because the boards are different colors (MDF and plywood) and I knew I was not going to be painting the drawers. The drawer sides and attached by pockethole screws which are hiddle. The front pocket hole screws are hidden by the front drawer face and the rear screws could only be seen if you look behind the bed.
I used homemade chalk paint and put about 4 coats on the entire surface. The finish was done with a high quality paste wax which was put on, let dry, and then buffed. I put 3 coats of wax on the finished project.
The bottom of the drawer has 6 straight casters on the bottom for easy pull out.
The contruction of the bed was done in about a day, but the finishing took longer due to the multiple coats and letting the wax dry.


Built from Plan(s)
Estimated Cost
$150
Estimated Time Investment
Weekend Project (10-20 Hours)
Finish Used
Home made chalk paint. 1/3 cup of plaster of paris mixed with 1/3 cup of water. Mix that with 1 cup of white latex paint. Make small batches at a time as the chalk paint can not set out for a long time after mixed. Chalk paint goes on thick and will need 3-4 coats for a perfect finish. A wax must be used to seal the paint as poly will yellow the color. 3 coats of wax will work fine. When putting on the wax, use an old shirt to apply the wax generously, then wipe off the excess before you leave to dry. Let the wax dry 8-12 hours before each coat, and buff in between coats and on your final coat.
Recommended Skill Level
Intermediate
Bench and Coat Hooks
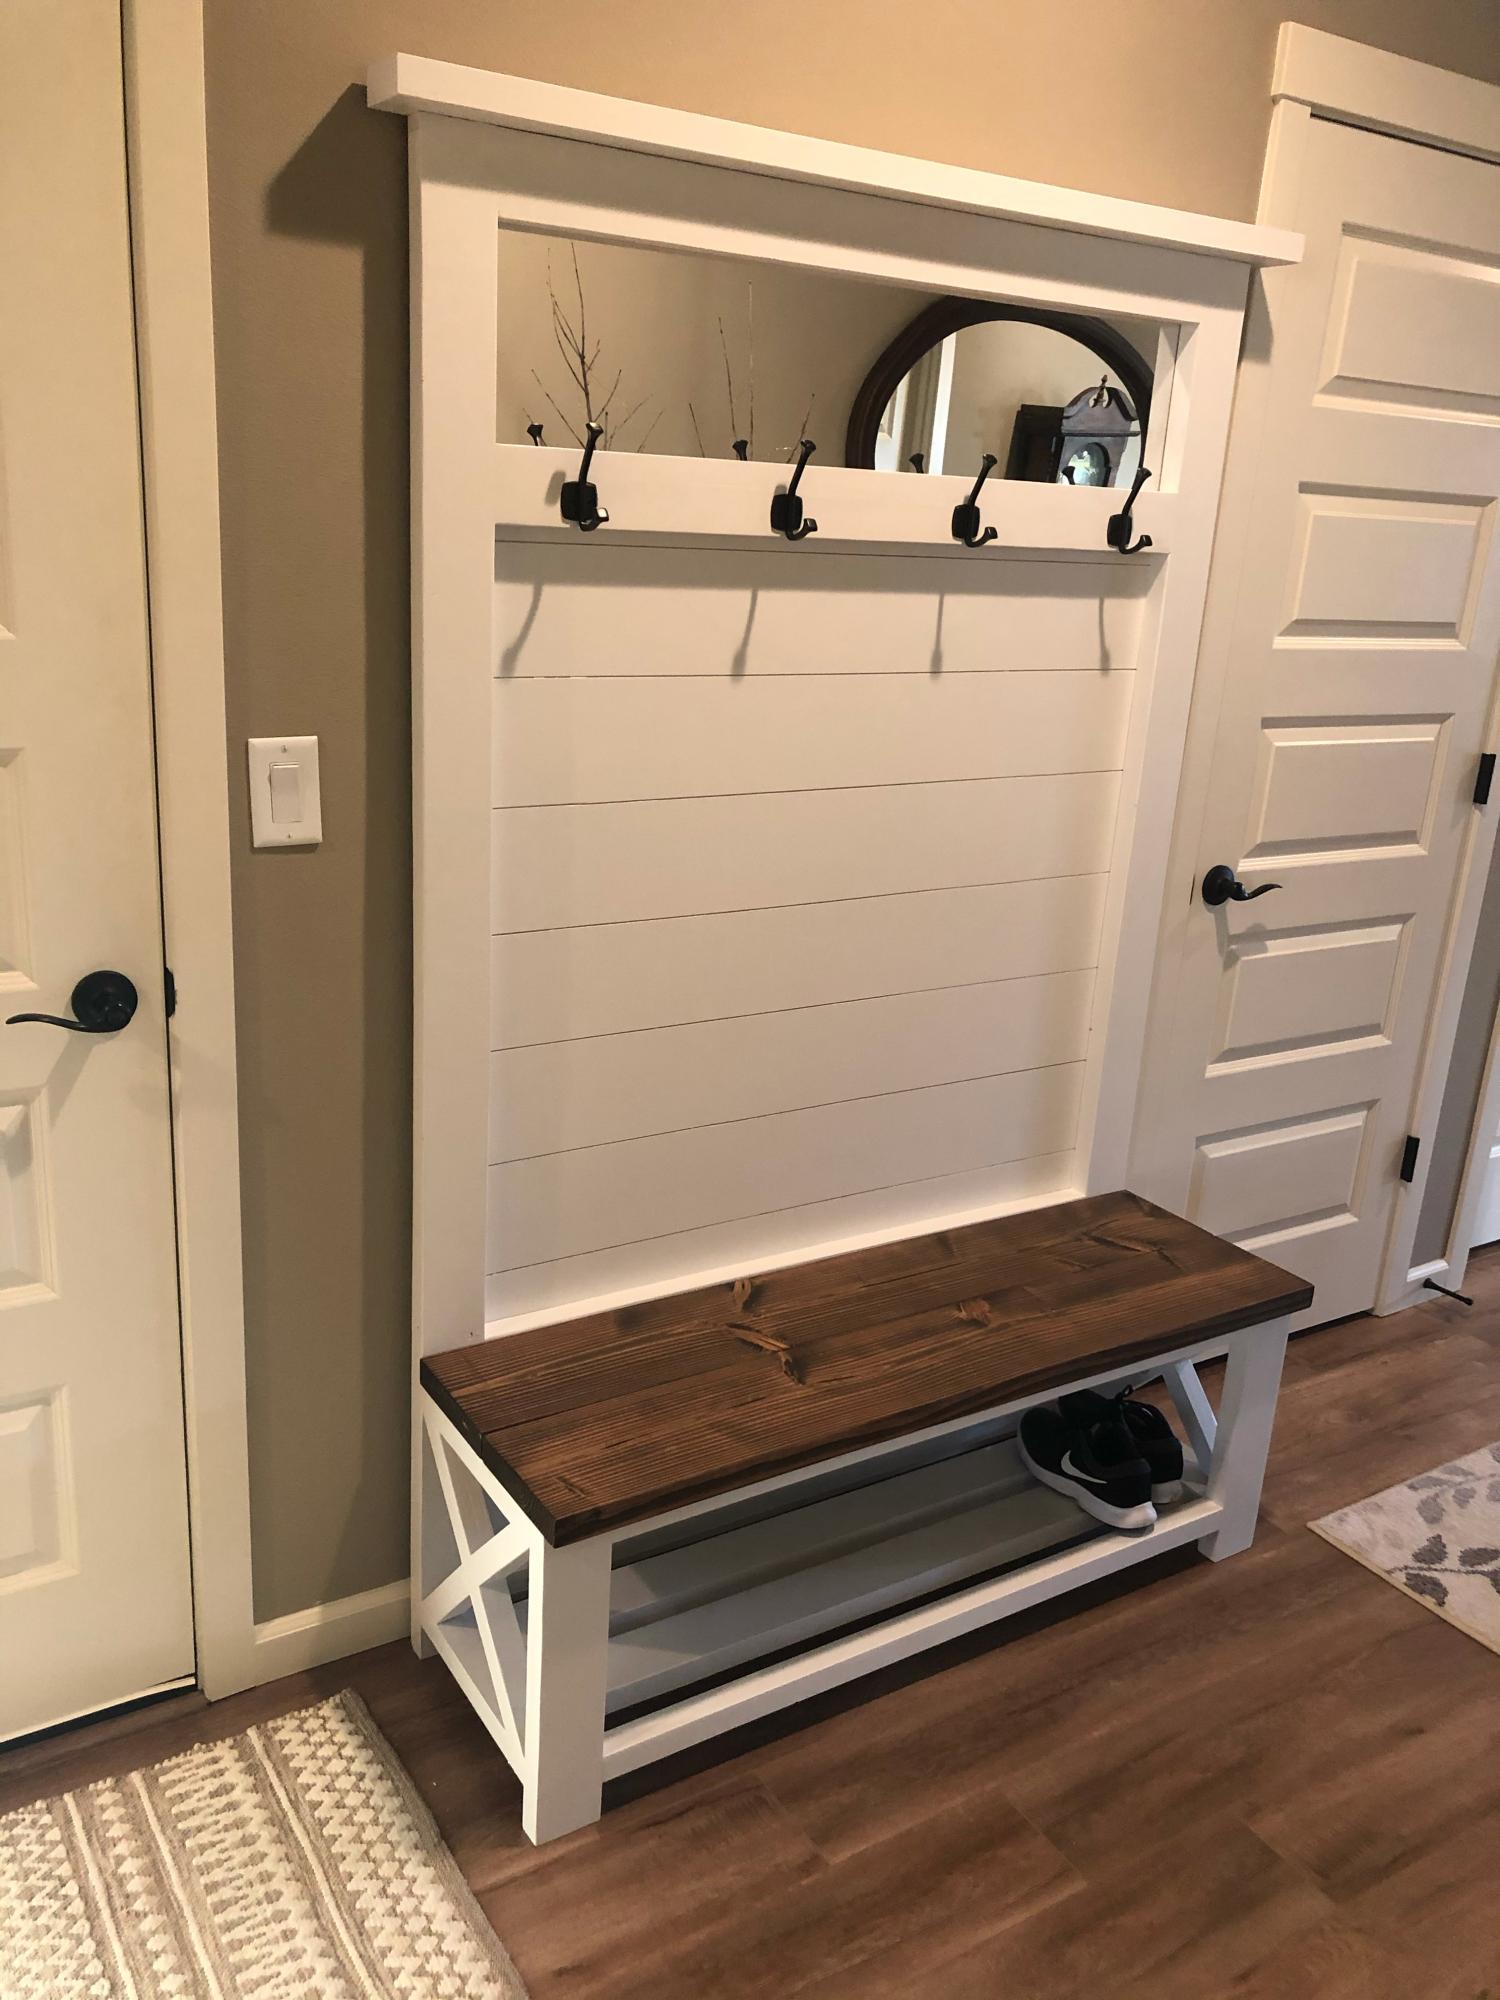
This was a fun, fairly quick project. We use it all the time!
Comments
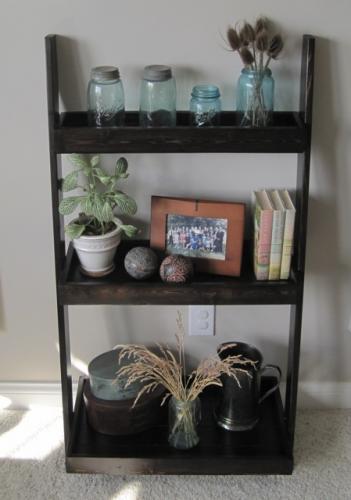
Leaning Wall Shelves, A Little Bit Smaller
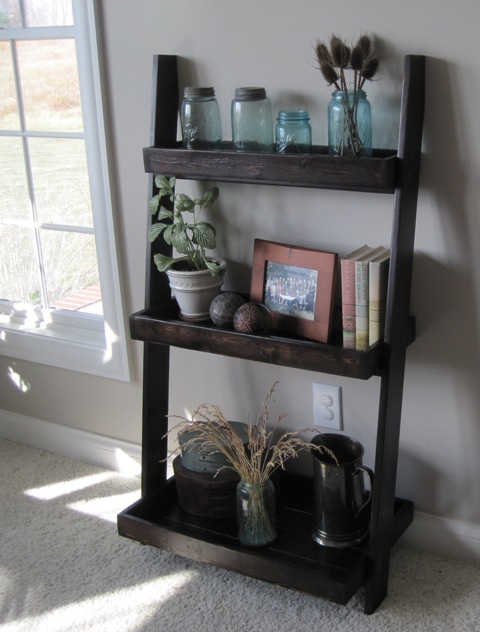
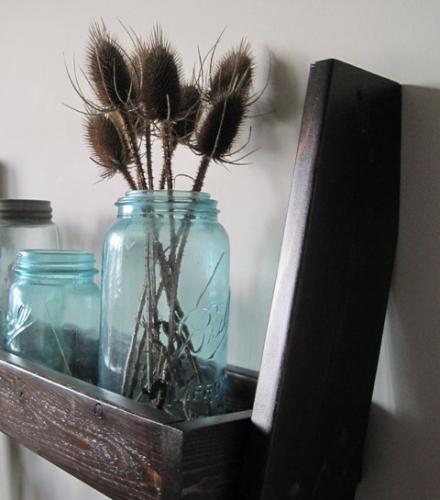
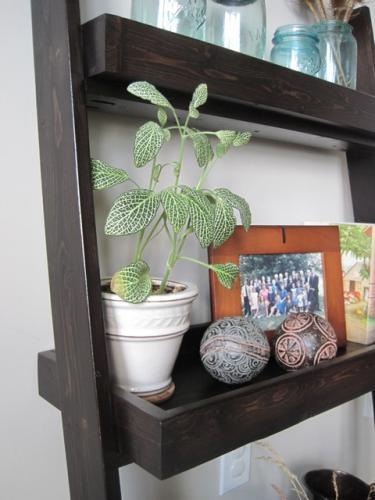
This was my second Ana White project and with this project I really began to feel like a builder. I did modify the plan to make it less tall to fit in the space I needed it for. I also added a front to the shelves because ultimately these were going to be used for starting plant cuttings and I want the front to cover up the plastic pots they are growing in.
The cost of the project is for 2 of the modified shelves and does not include the screws, putty, etc. Also, the time needed would change if you chose better boards than furring strips. Those take a lot of time to make nice at the start of the project. This would also go together quicker if you are only building one shelf instead of two (obviously!).
I'm very happy with the end result! I wrote 9 blog posts on building this project for a more in-depth look at this build.
Estimated Cost
$40 just for the wood (2 of these in the modified, shorter version)
Estimated Time Investment
Weekend Project (10-20 Hours)
Finish Used
General Finishes water-based stain in Espresso. Topcoat is General Finishes High Performance Water-Based Poly in Satin.
Recommended Skill Level
Beginner


Comments
handmadewithash
Tue, 04/07/2015 - 20:39
again, awesome job on your
again, awesome job on your builds! :)
Ana White Admin
Wed, 04/08/2015 - 10:38
Stunning!
Great build from top to bottom!