Dog Crate Side Table
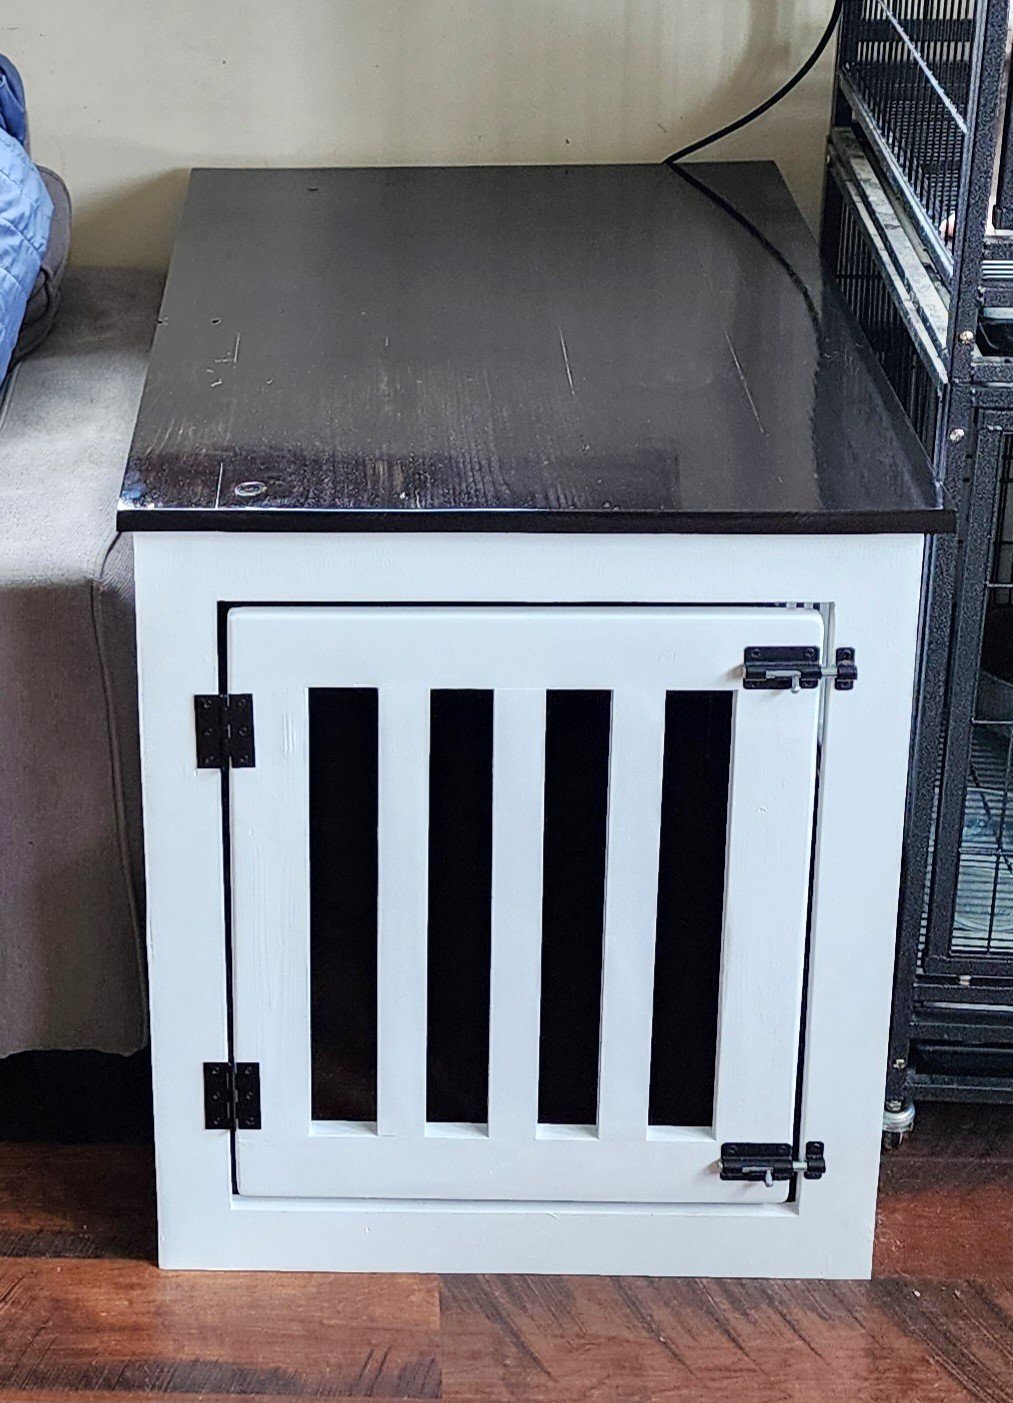
Made this out of free wood I got from my workplace.
A. Clark
Built from Plan(s)
Made this out of free wood I got from my workplace.
A. Clark
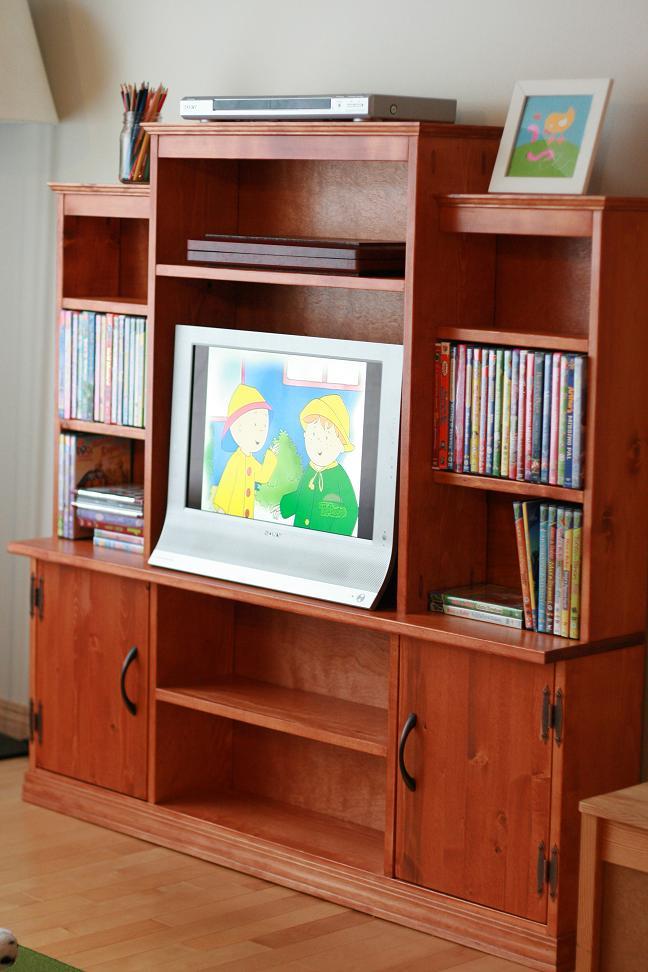
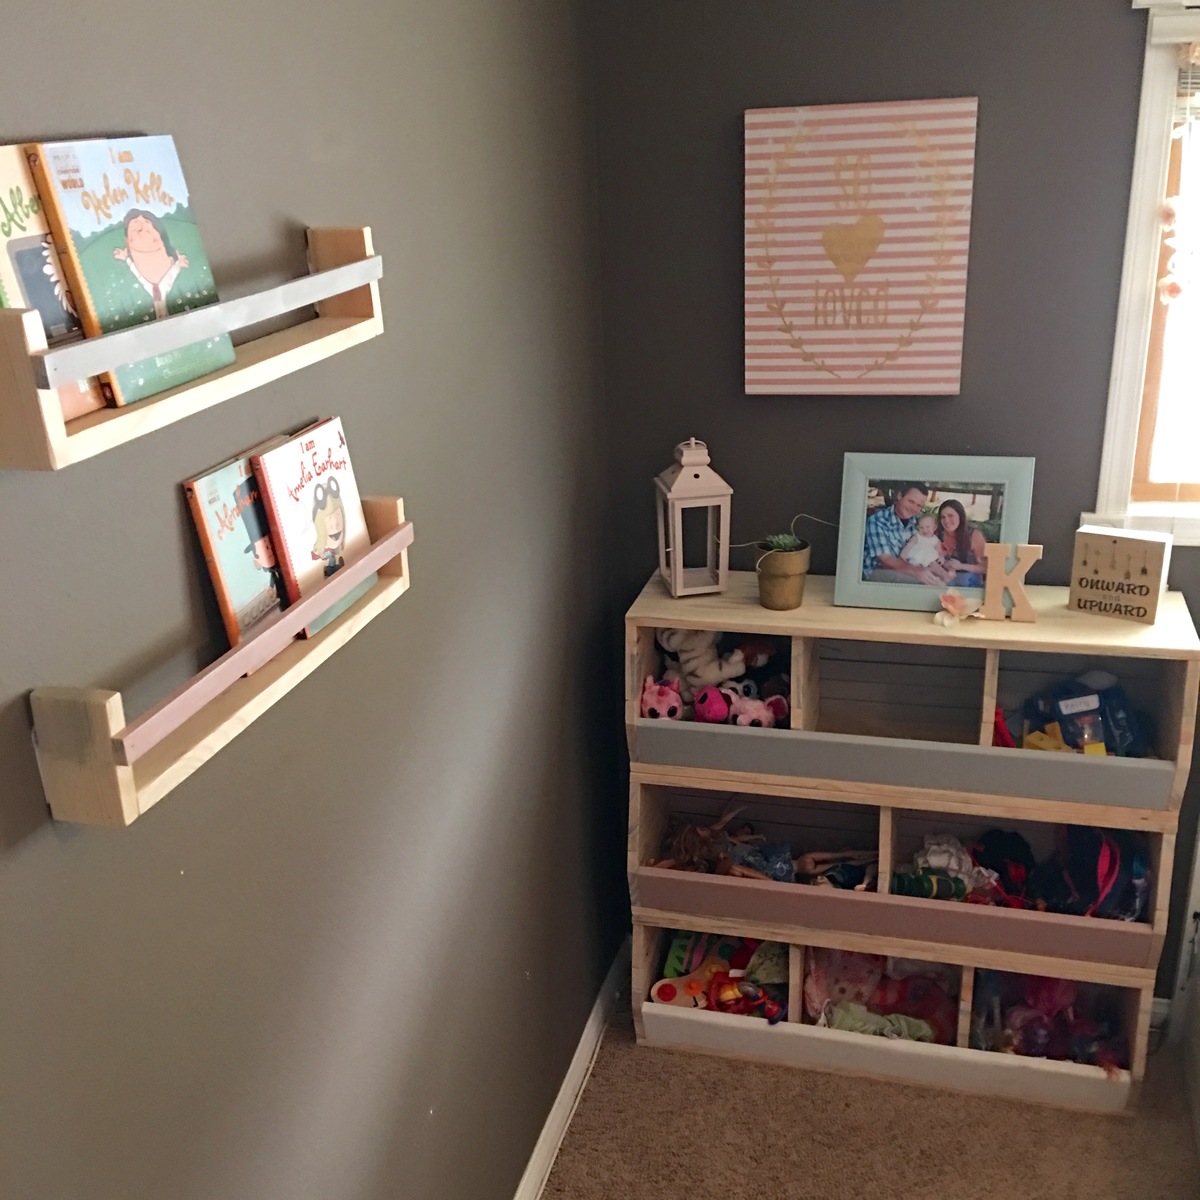
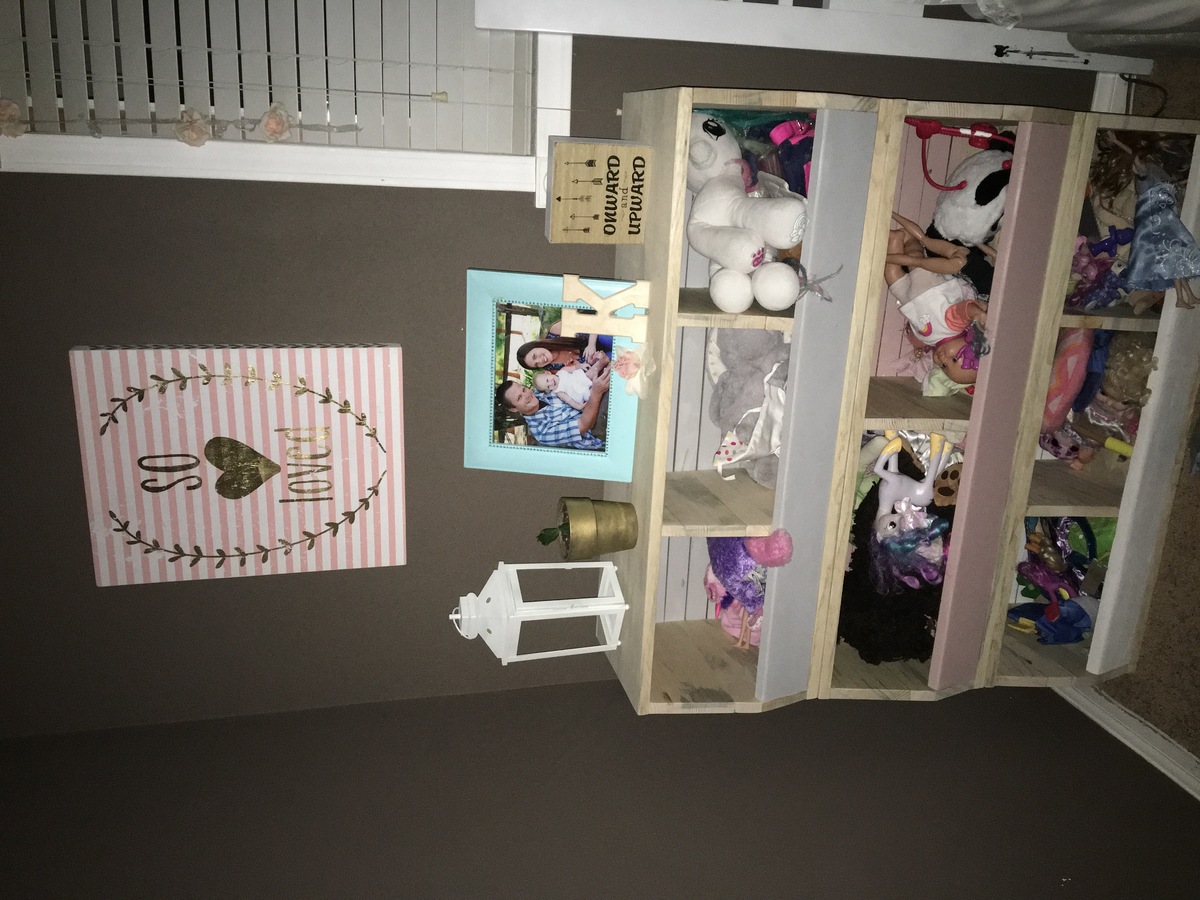
The minute I saw this mini media stand I knew that I would have to make it for our playroom. I tweaked the measurements slightly since my wood sizes were slightly different from Ana. This was a pretty easy build for me and I would consider myself a beginner.
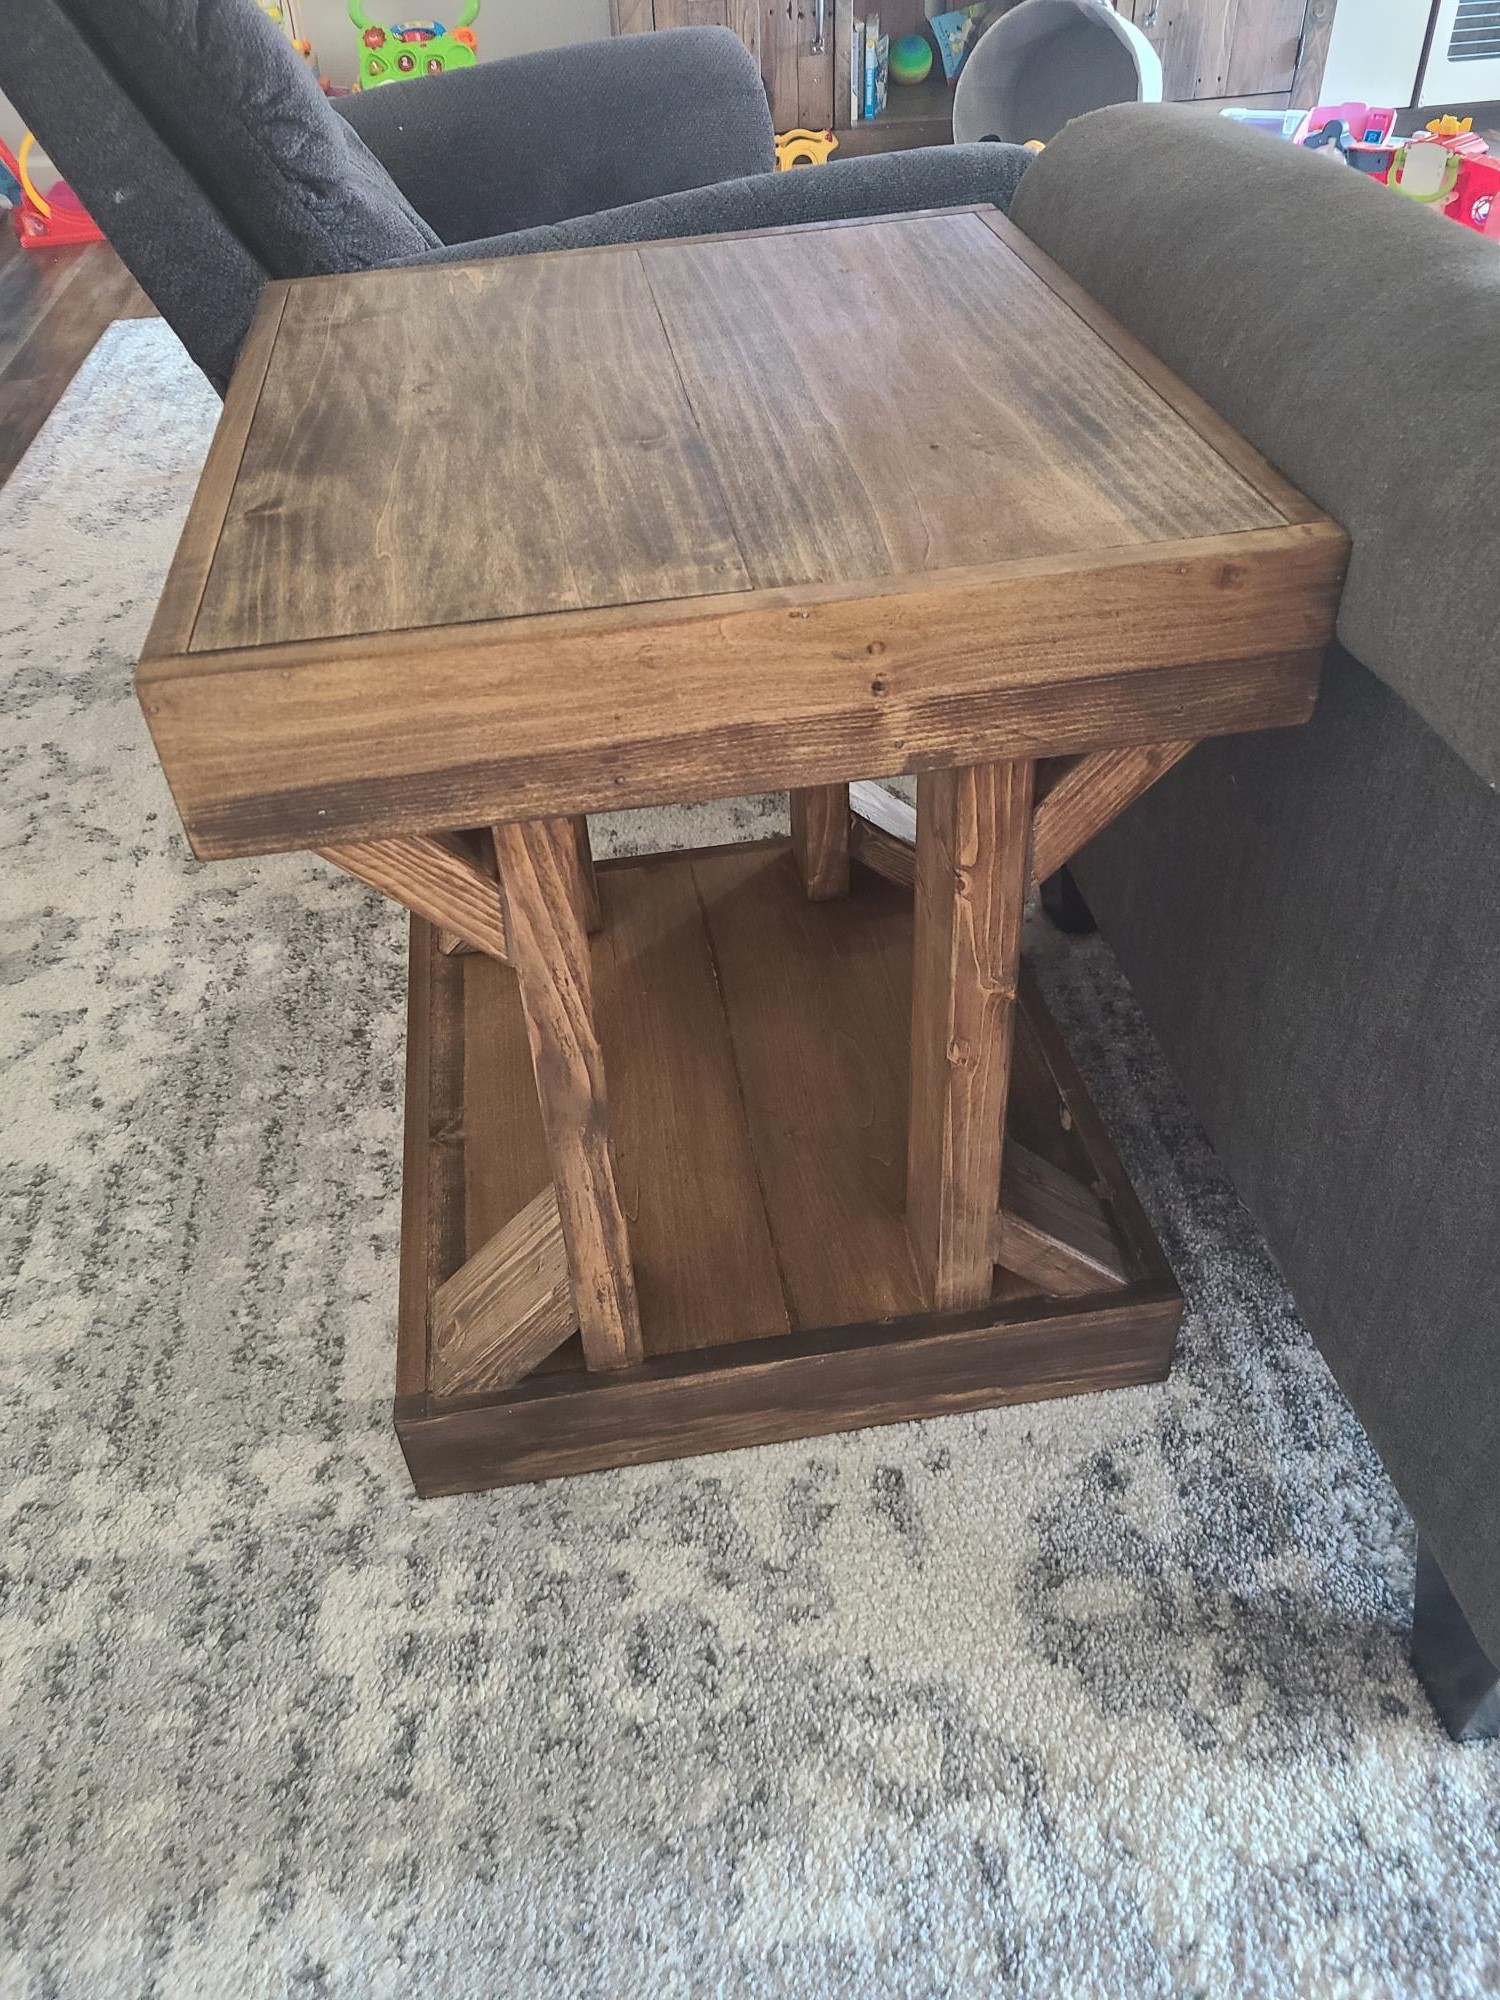
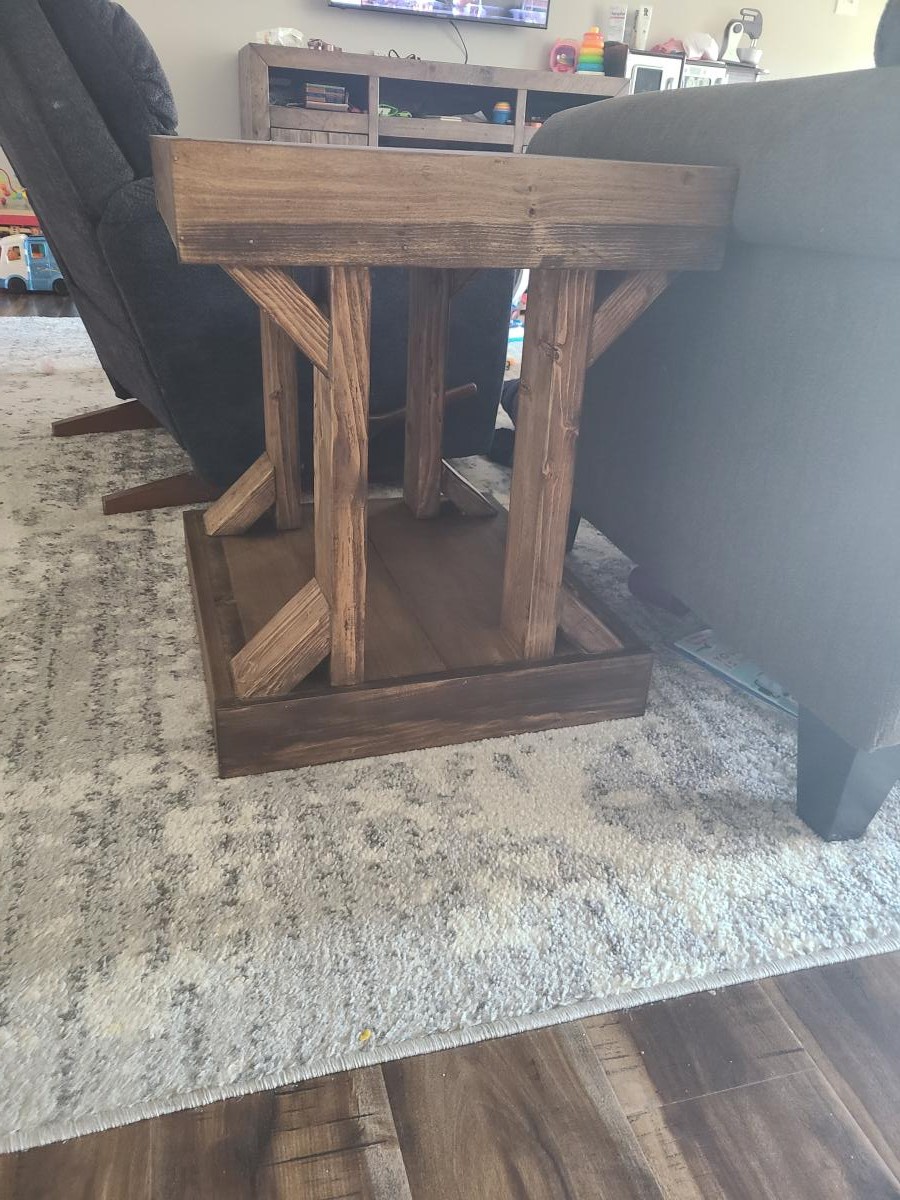
My first project since getting a miter saw! I'm so proud of how they turned out. We needed sturdy side tables so our toddler can't pull them down onto herself & these fit the bill. I dont have a brad nailer so had to pound in the nails by hand, which made it take a lot longer.... overall for me was a week & a half long project with 2 littles to care for at the same time. I used walnut stain, 2 coats. Can't wait to do another project!
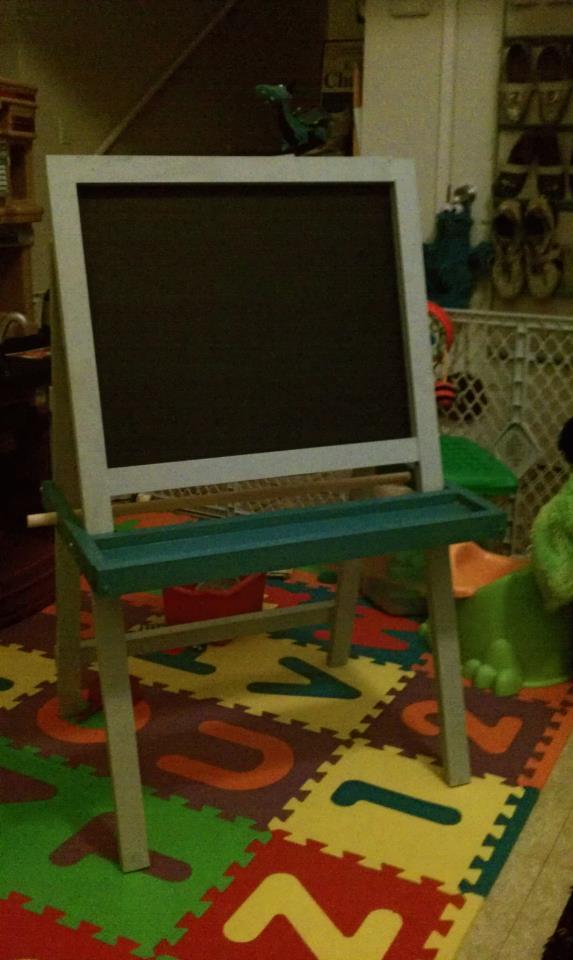
This was my very first woodworking project. It took me longer than it should have due to my unfamiliarity with power tools. Overall I would say that this project is a pretty easy build. The plans were clear, and I only made a few changes/additions. I increased the overall height of the chalkboard by 4" and attached the back legs with a hinge rather than screwing straight into the back of the chalkboard.

Sun, 08/26/2012 - 04:00
This really came out nice and welcome to the community. Love the idea of the hinges; smart idea! If you painted directly onto bare wood, without applying primer first, that would be a cause of the paint not taking evenly. The bare wood can be like a sponge so primer helps with it adhering to the wood.
Tue, 08/28/2012 - 22:53
Thank you spiceylg for the help. I should have applied primer first, but the spray paint I used said that no primer was necessary. After the first coat didn't take I should have went back and applied a primer coat.

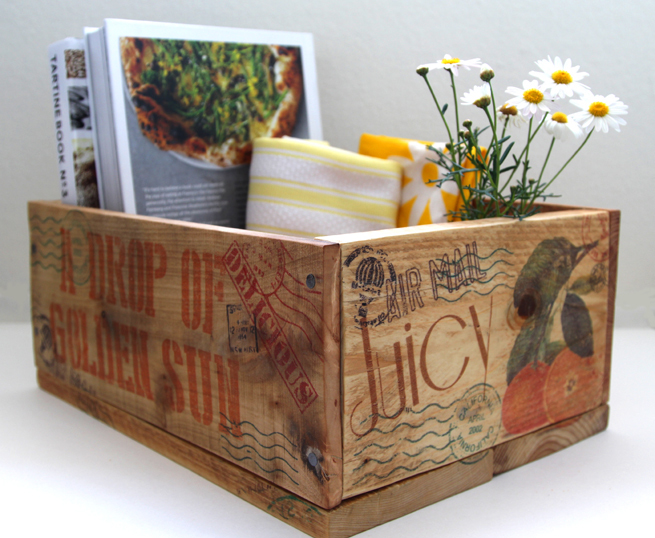
These crates are inspired by vintage farm and orchard crates, made from discarded pallets, and personalized with a
easy image transfer method using only wax paper and inkjet printer. At
the end you will also see some fabulous diy failures so you can get a
more consistent result with this technique. Also included is a nice homemade non-toxic furniture wax recipe to finish the crates! You can find the full detail tutorial here- http://www.apieceofrainbow.com/diy-pallet-wood-crates-easy-image-transfer/


Thu, 06/19/2014 - 21:44
Pinned and bookmarked! Thanks for sharing. I will definitely be using this info to make cool stuff!
In reply to Pinned and bookmarked! Thanks by Pam the Goatherd
Thu, 06/19/2014 - 22:22
thank you! have lots of fun pam! =)
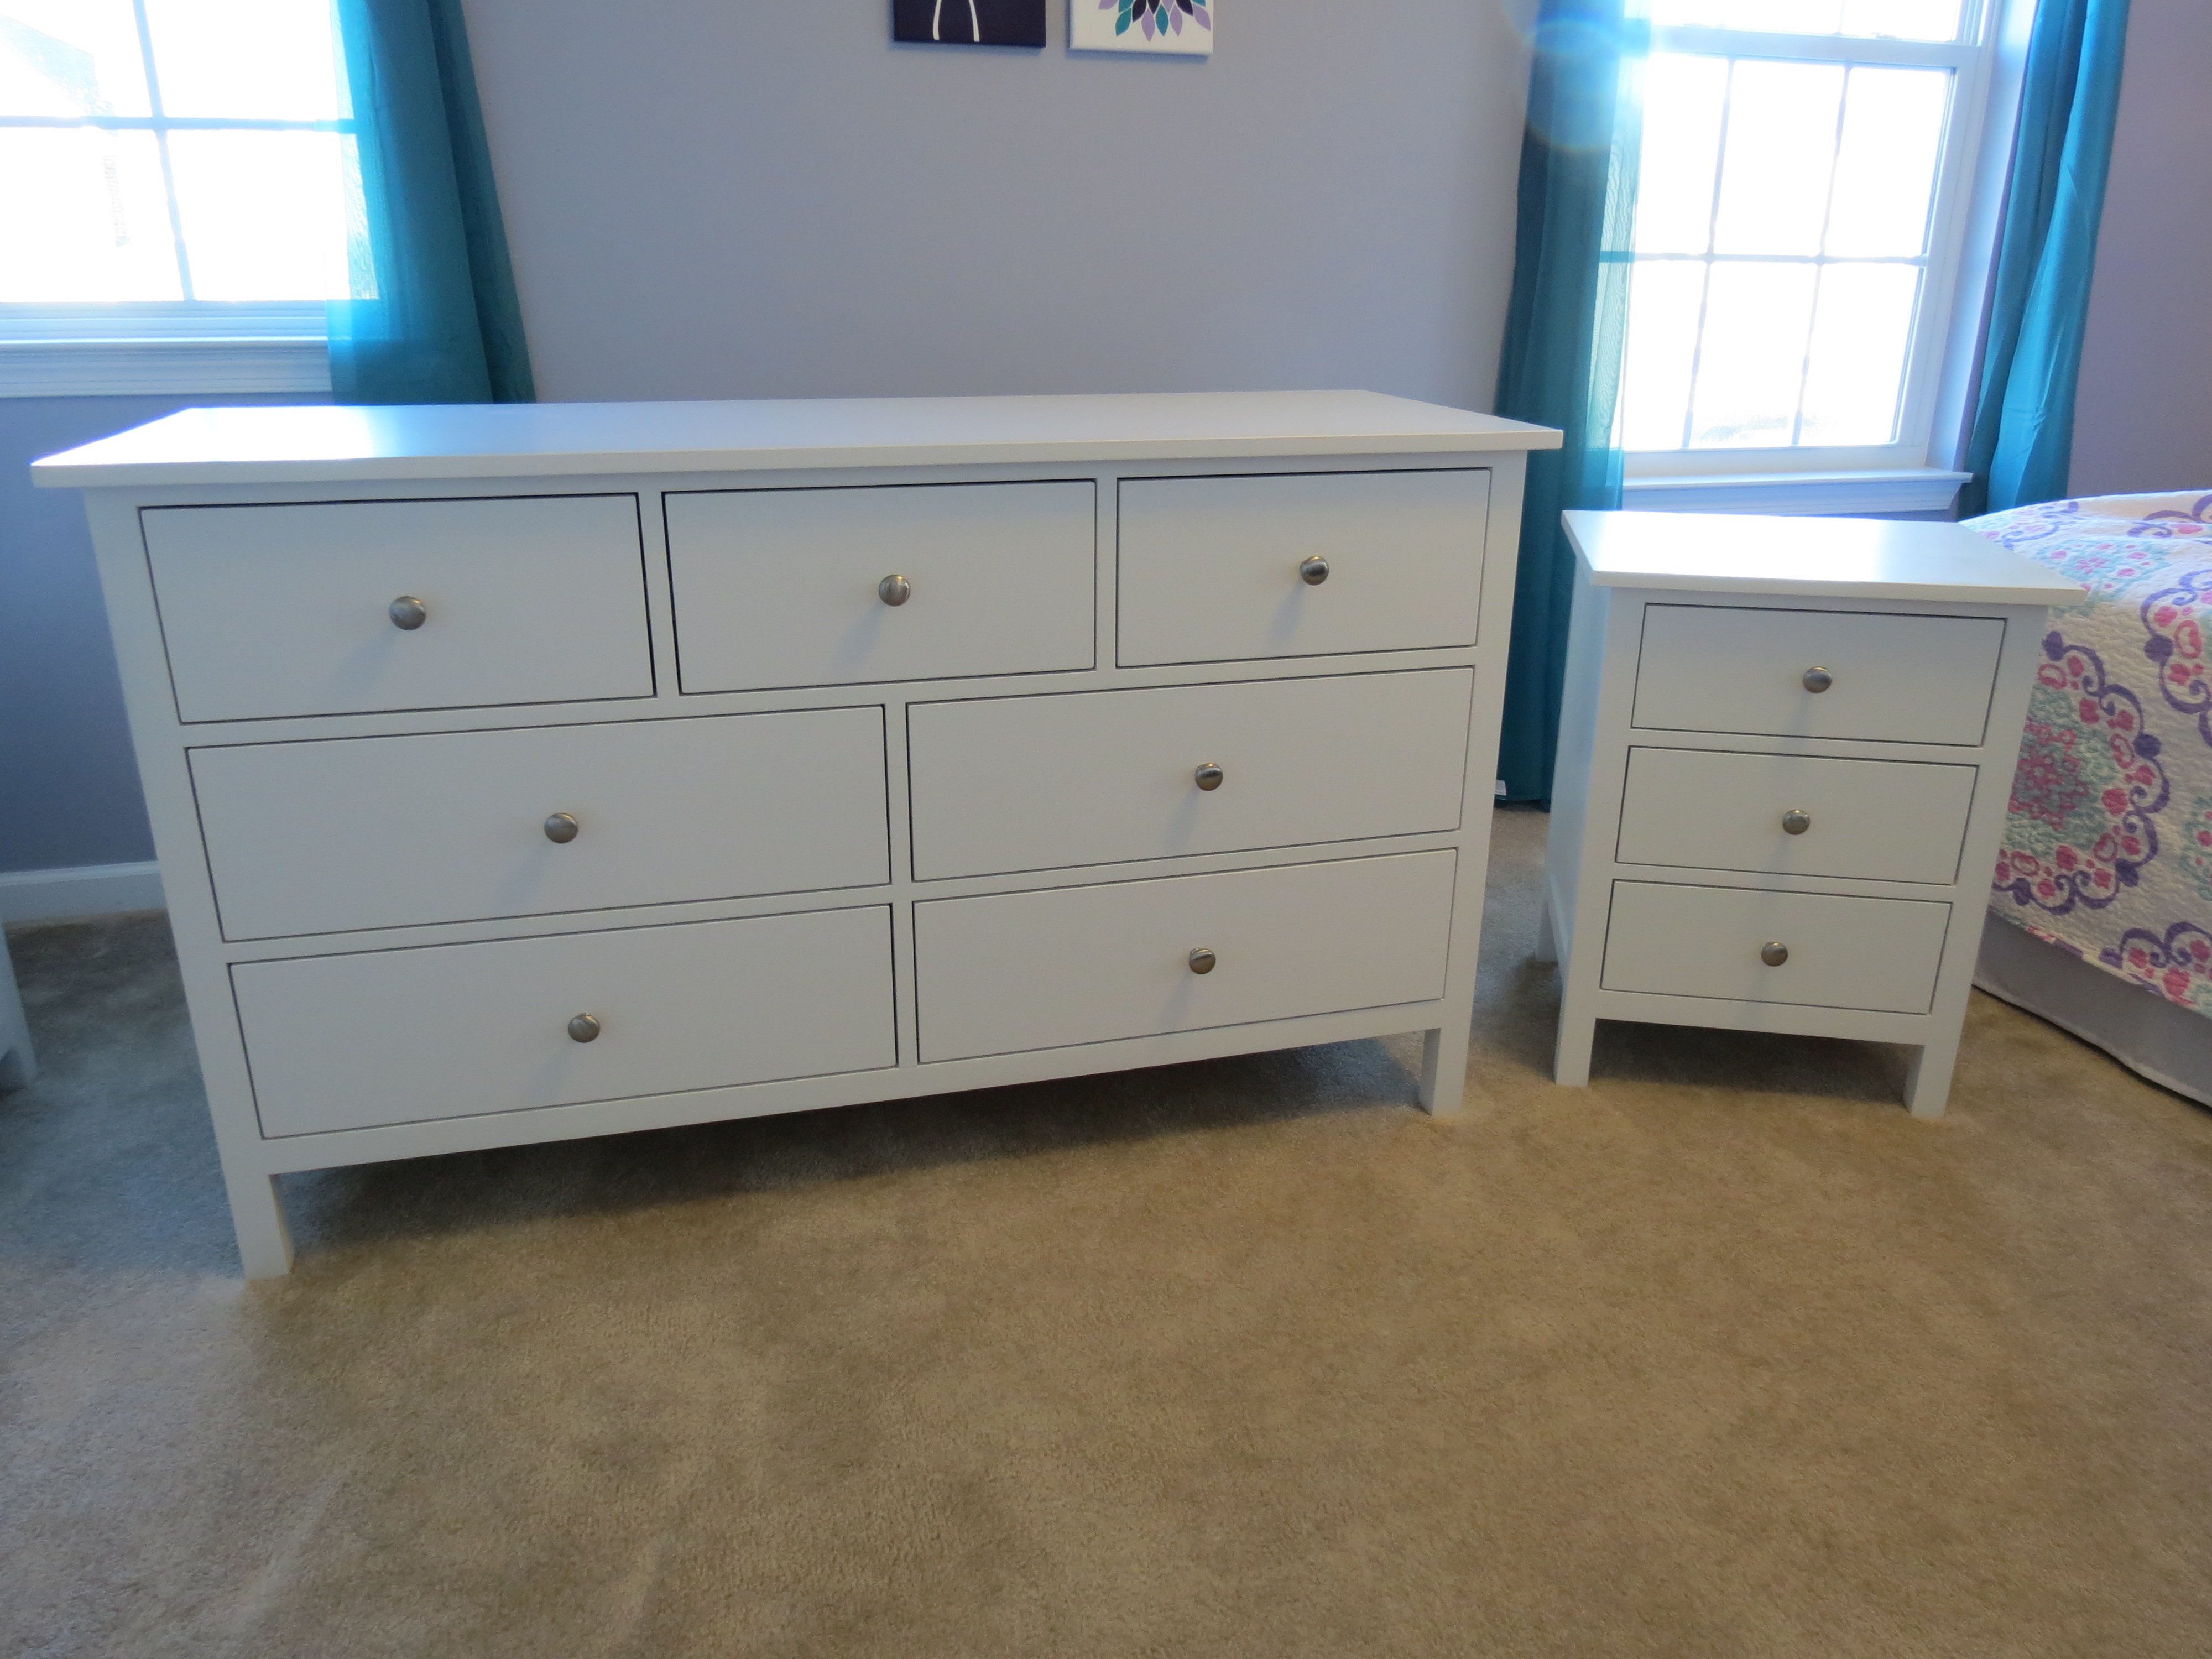
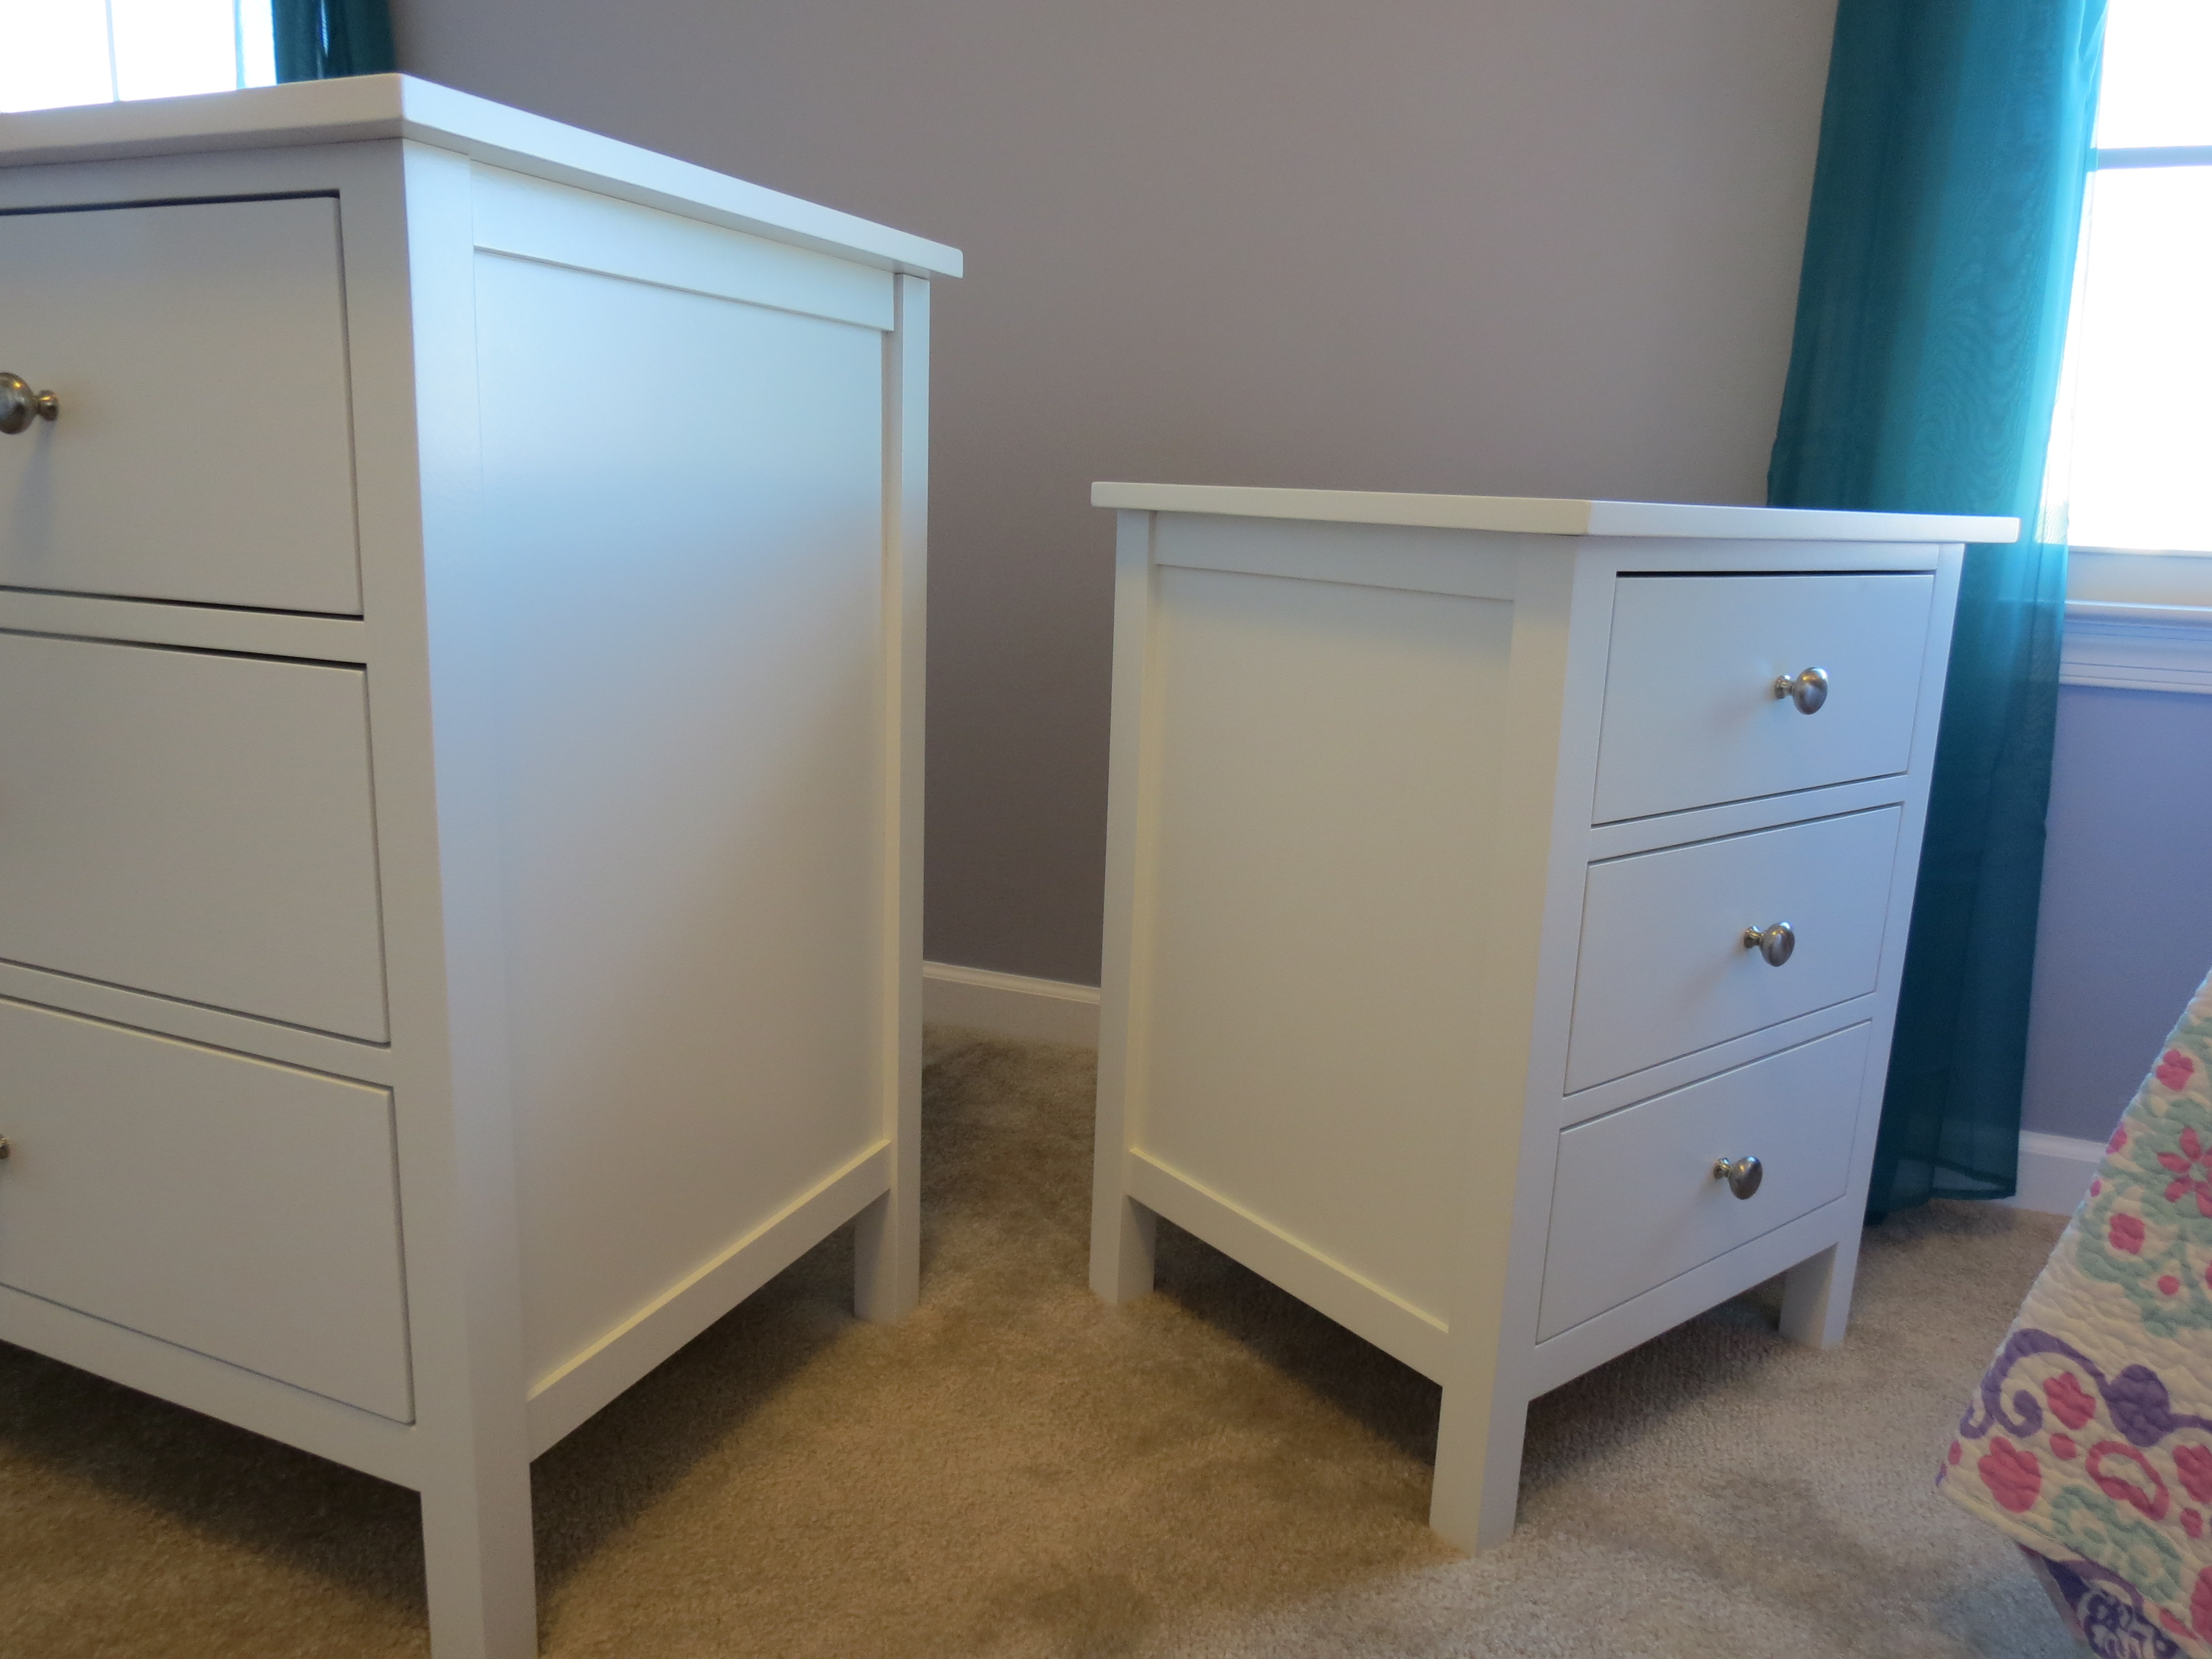
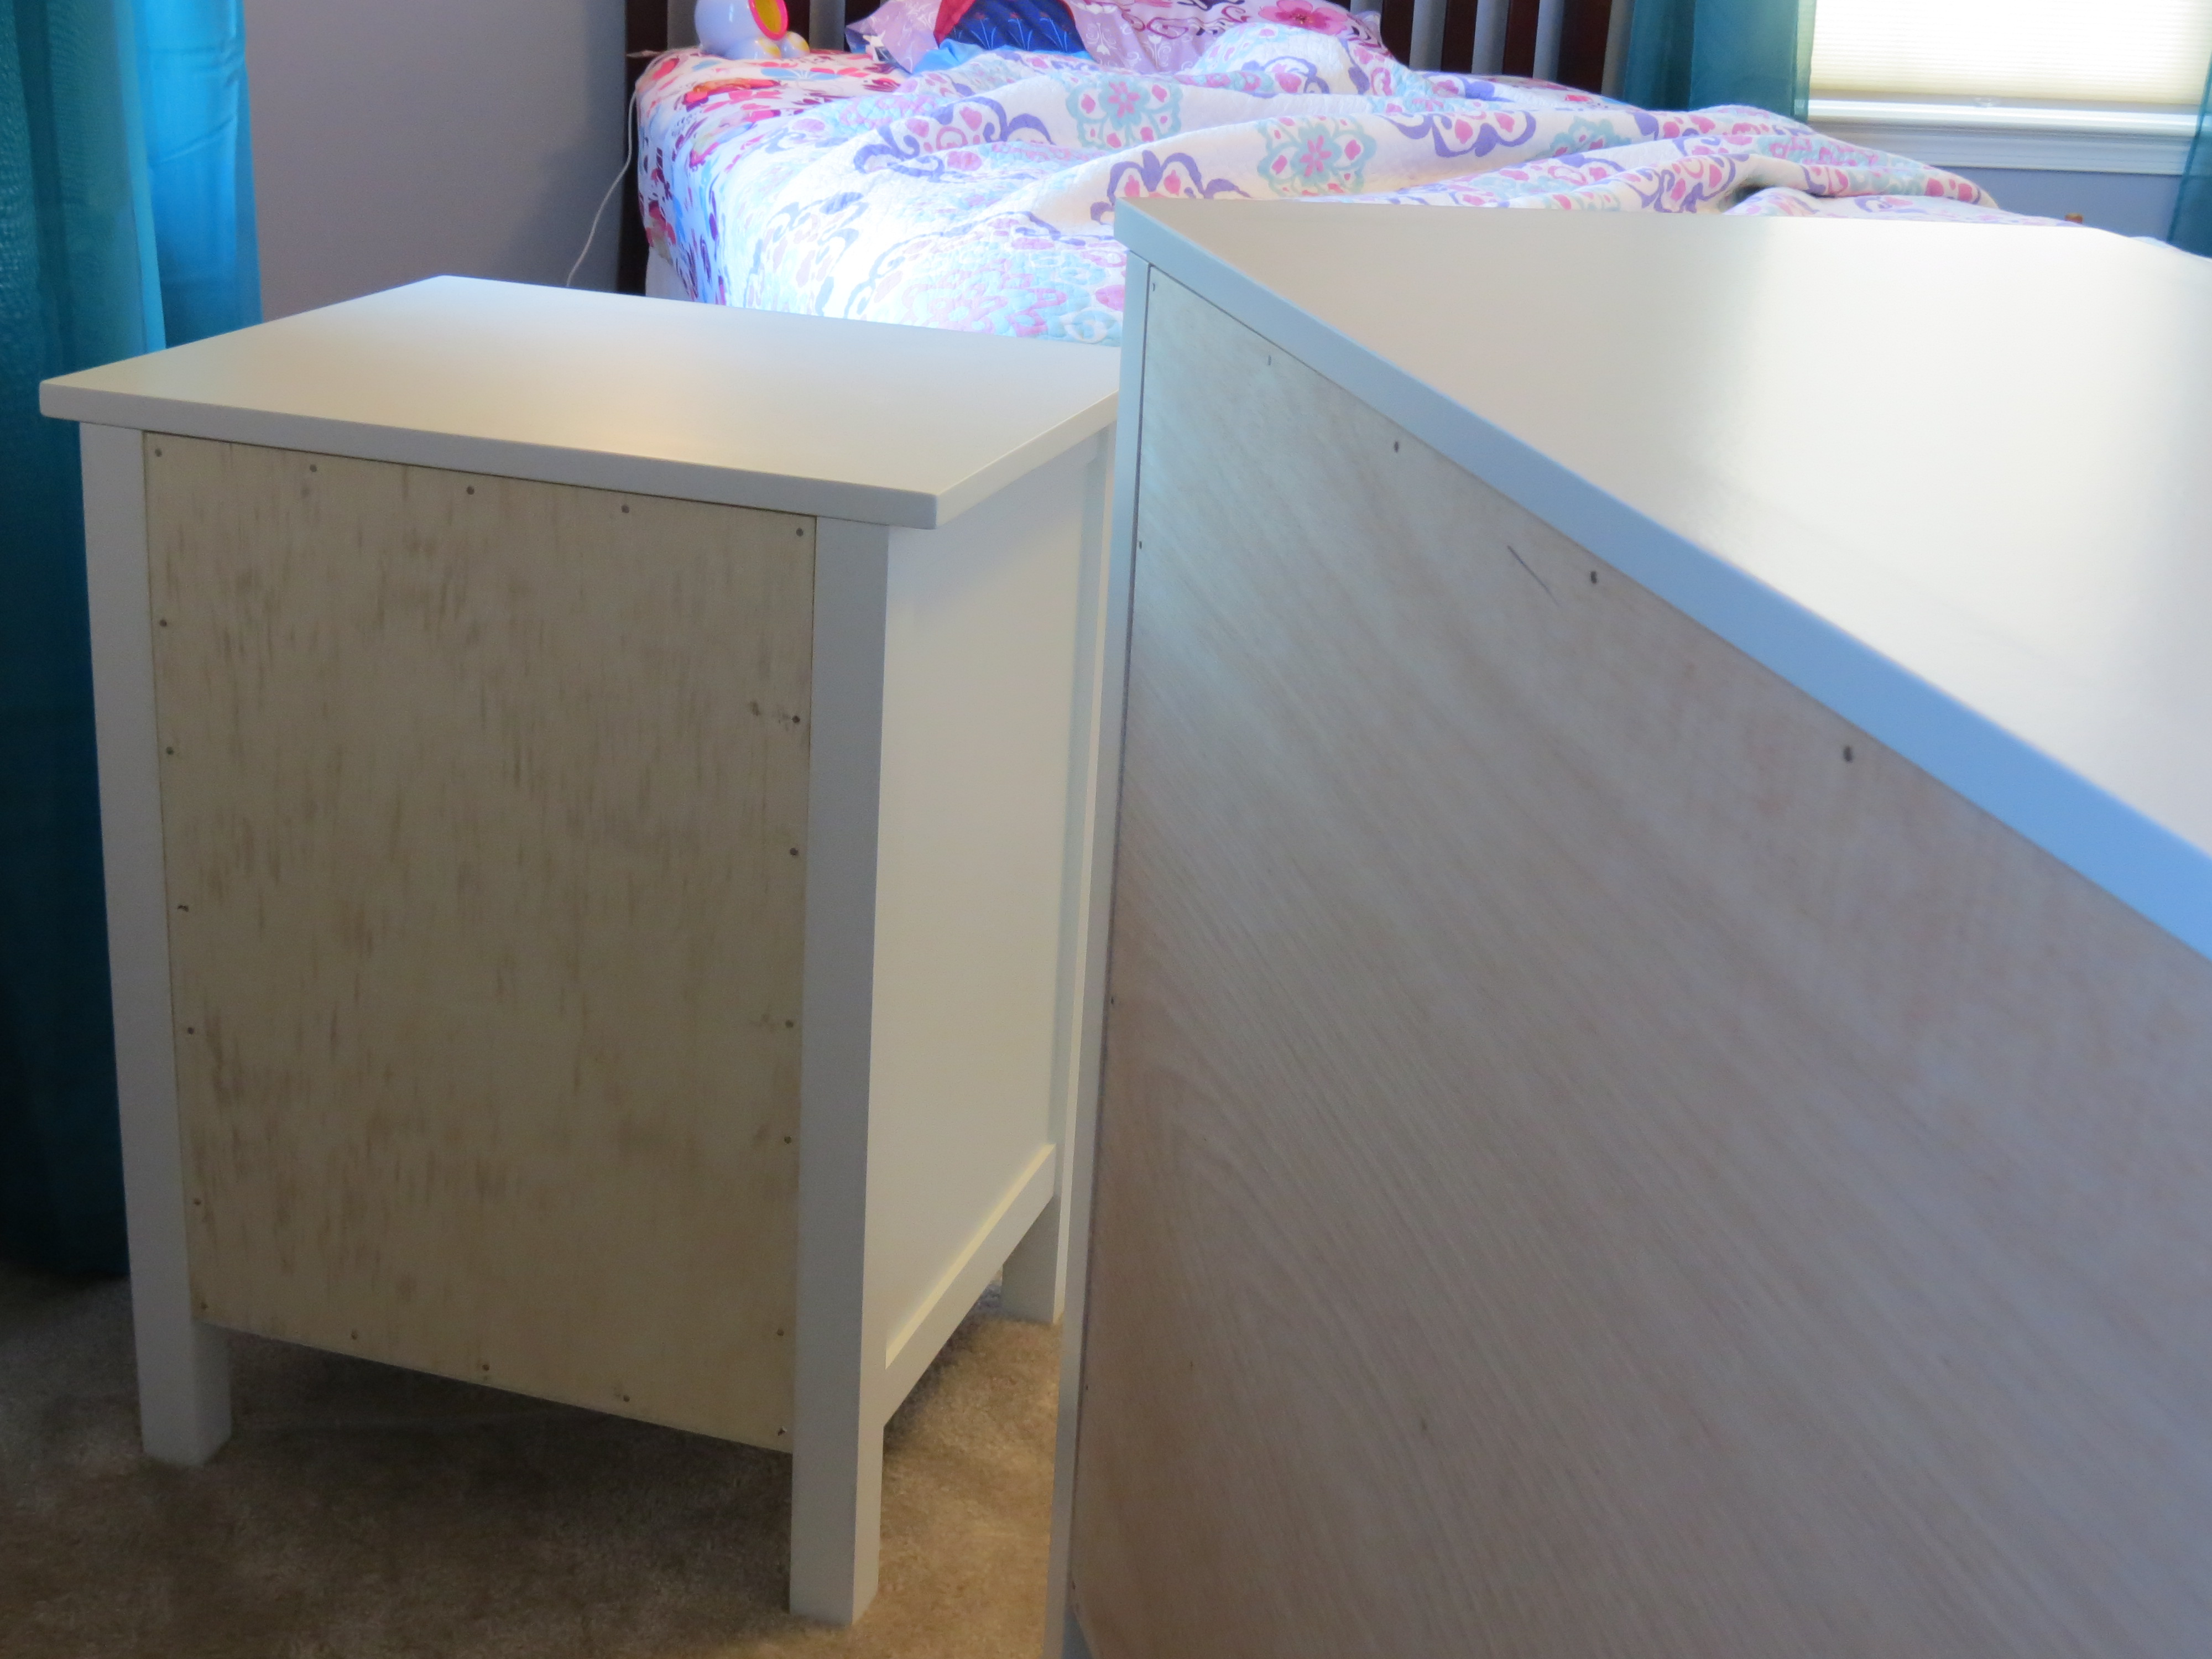
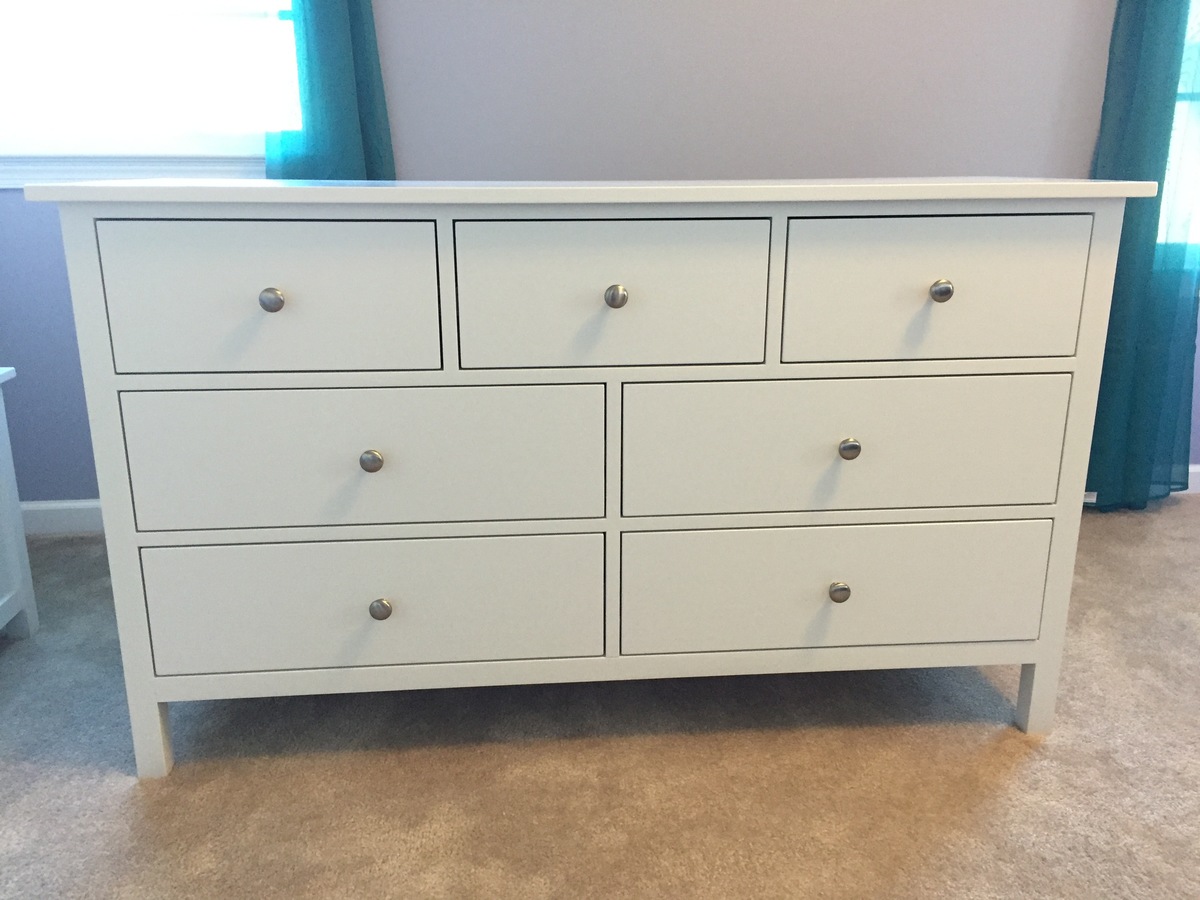
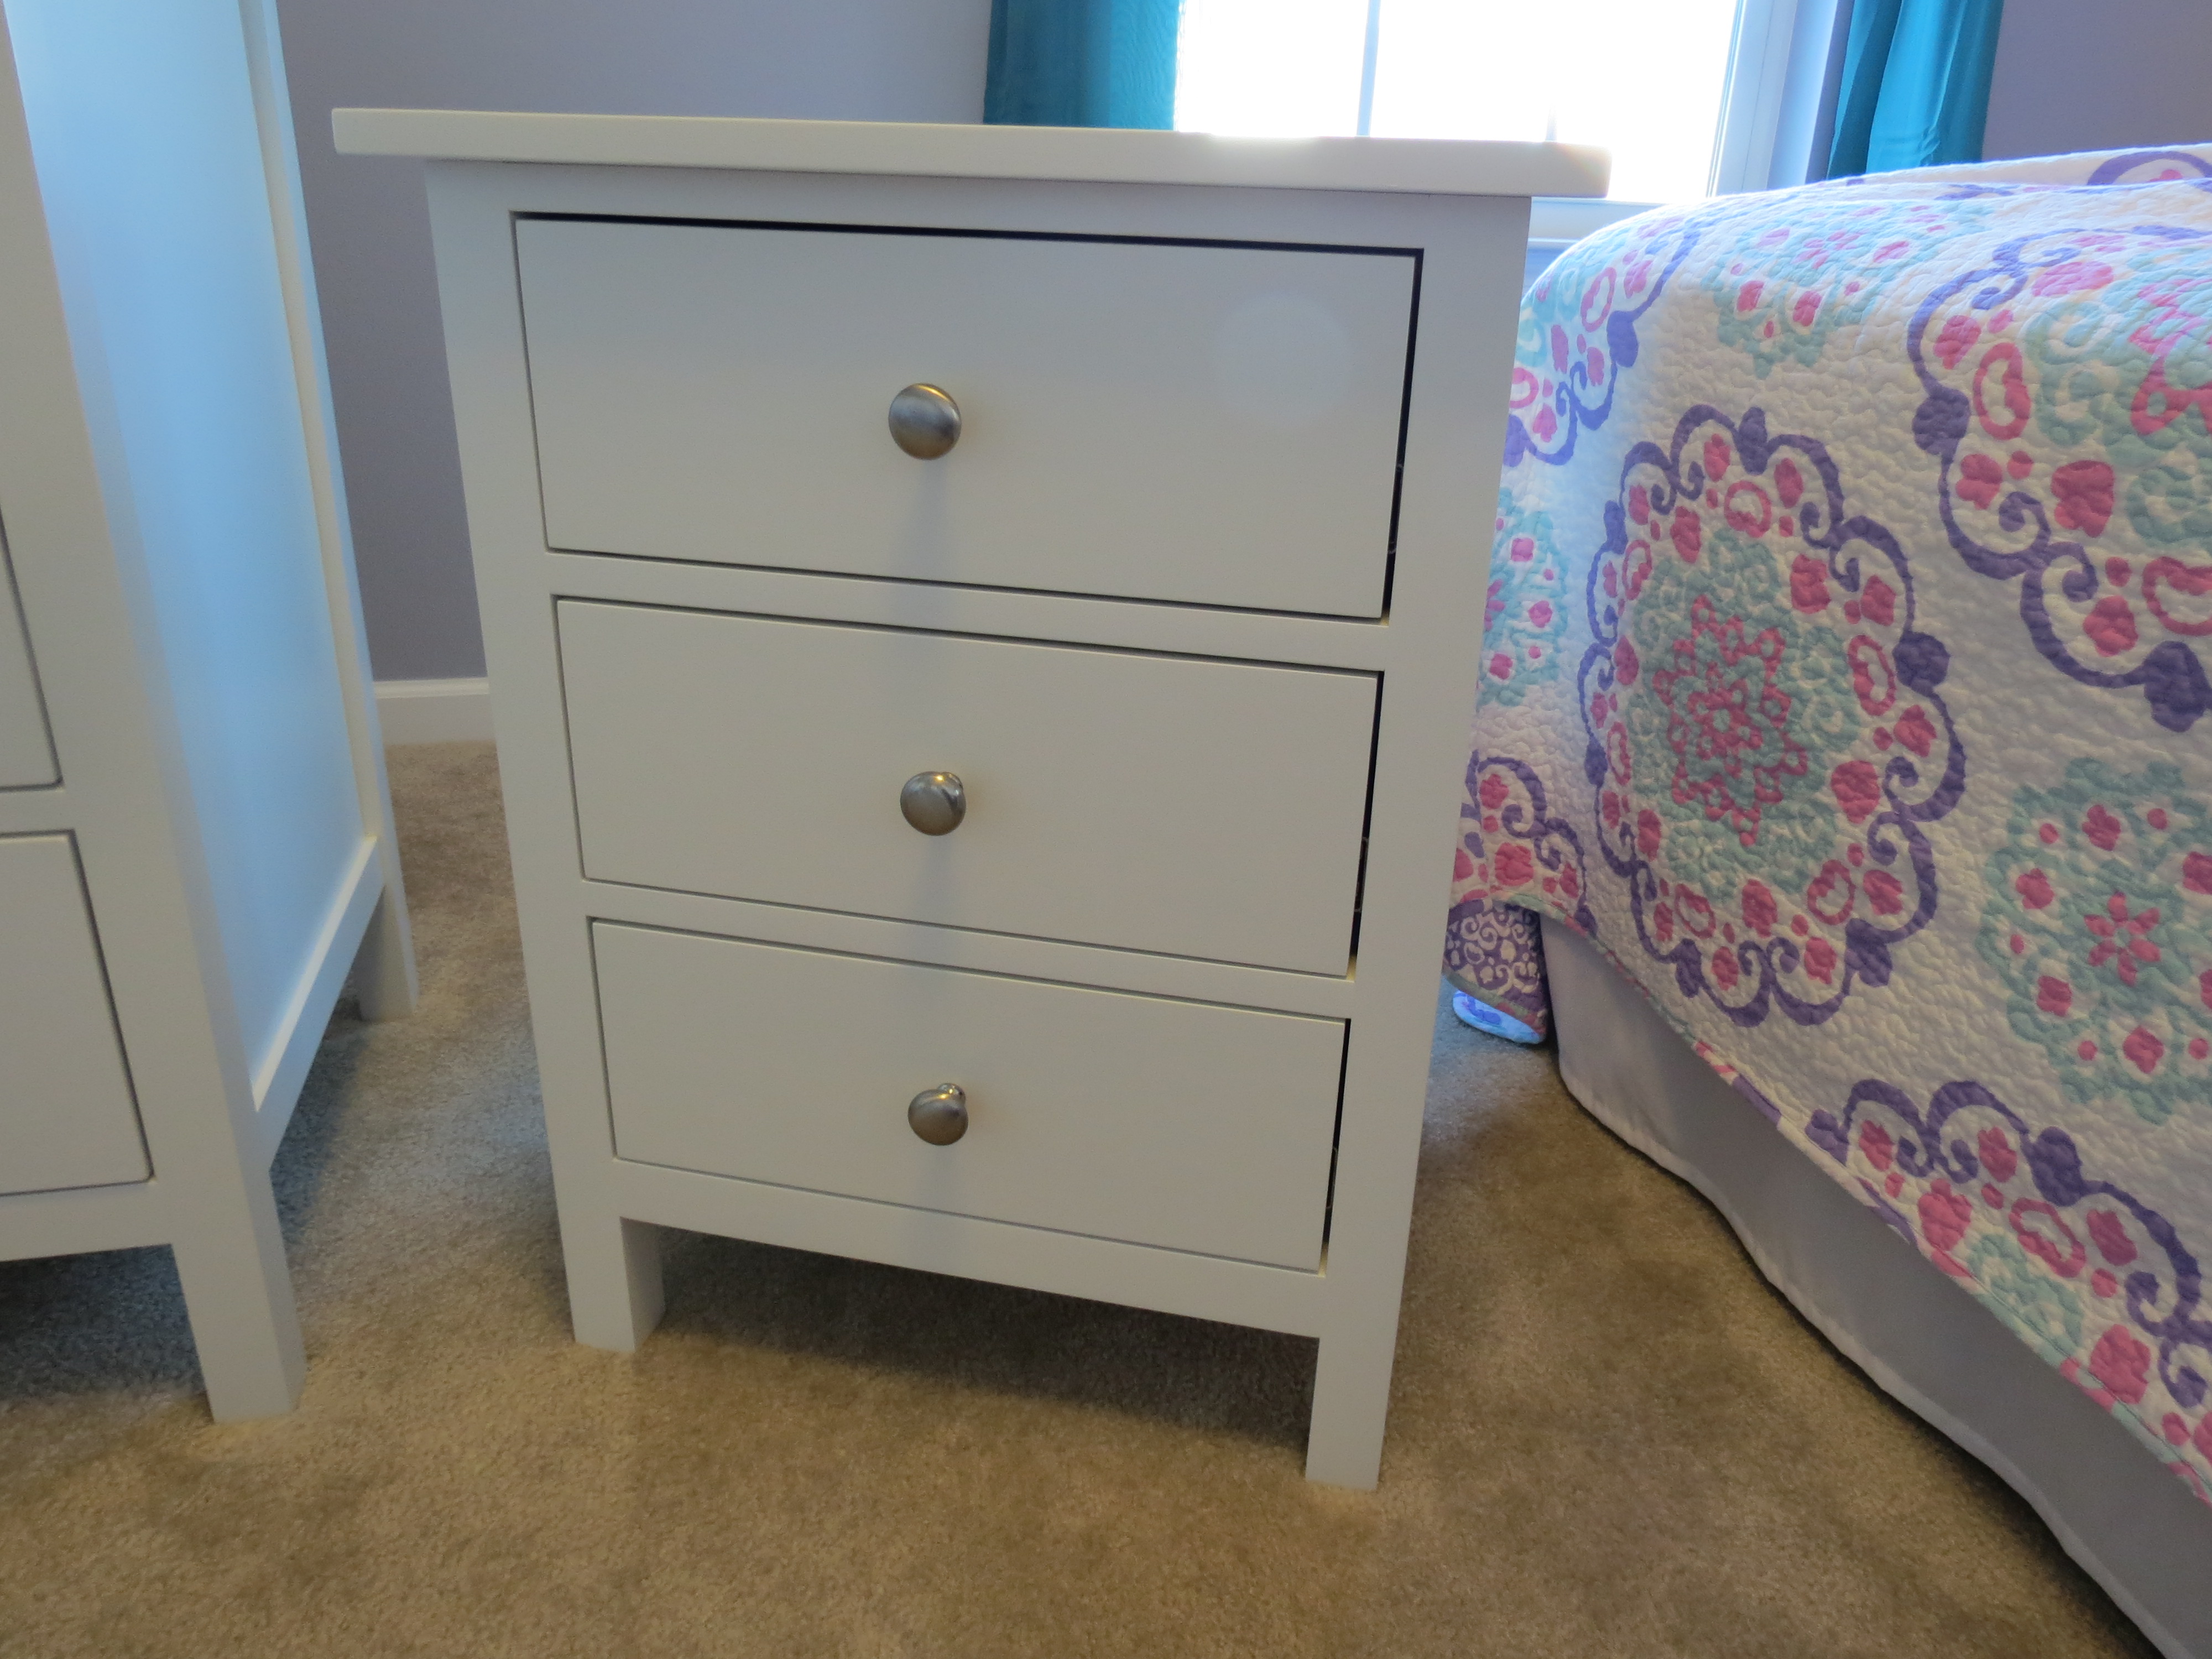
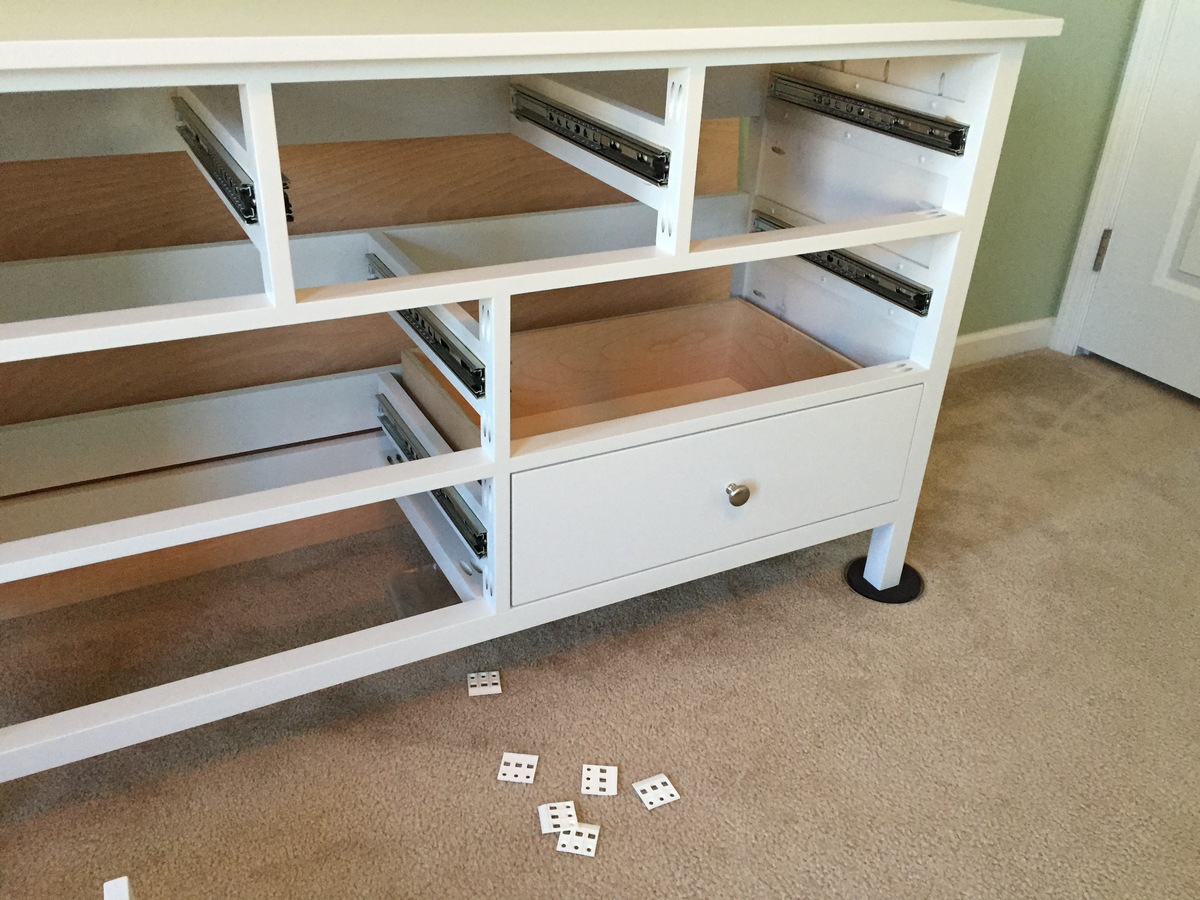
I made this dresser and nightstand for my oldest daughter when we moved her into her "big girl" room, as we were expecting a second daughter who would take the nursery. I ended up modifying the design a bit with the side panels to have them more closely replicate the multi-layered look of the actual Pottery Barn dresser. I wanted to add a nightstand to have another matching piece for more storage. I ended up taking some average dimensions from other kid's nightstands online and designed and built it in the same style and manner as the dresser.
The overall project took WAY more time than i thought it would but I'm very happy with the way it turned out. This was the first time that I used a router to cut grooves in the drawer box pieces to slide in and lock the drawer bottom in place. Also, this was my crash course with an HVLP sprayer as well. Hopefully, these pieces will be able to handle all of the abuse my 3 year old daughter will surely give them. Thanks to Ana for the wonderful plans! Also, thank you to Ed for his detailed write-up on his modifications, http://www.edhart.me/2015/05/how-to-build-a-kendal-extra-wide-dresser/.
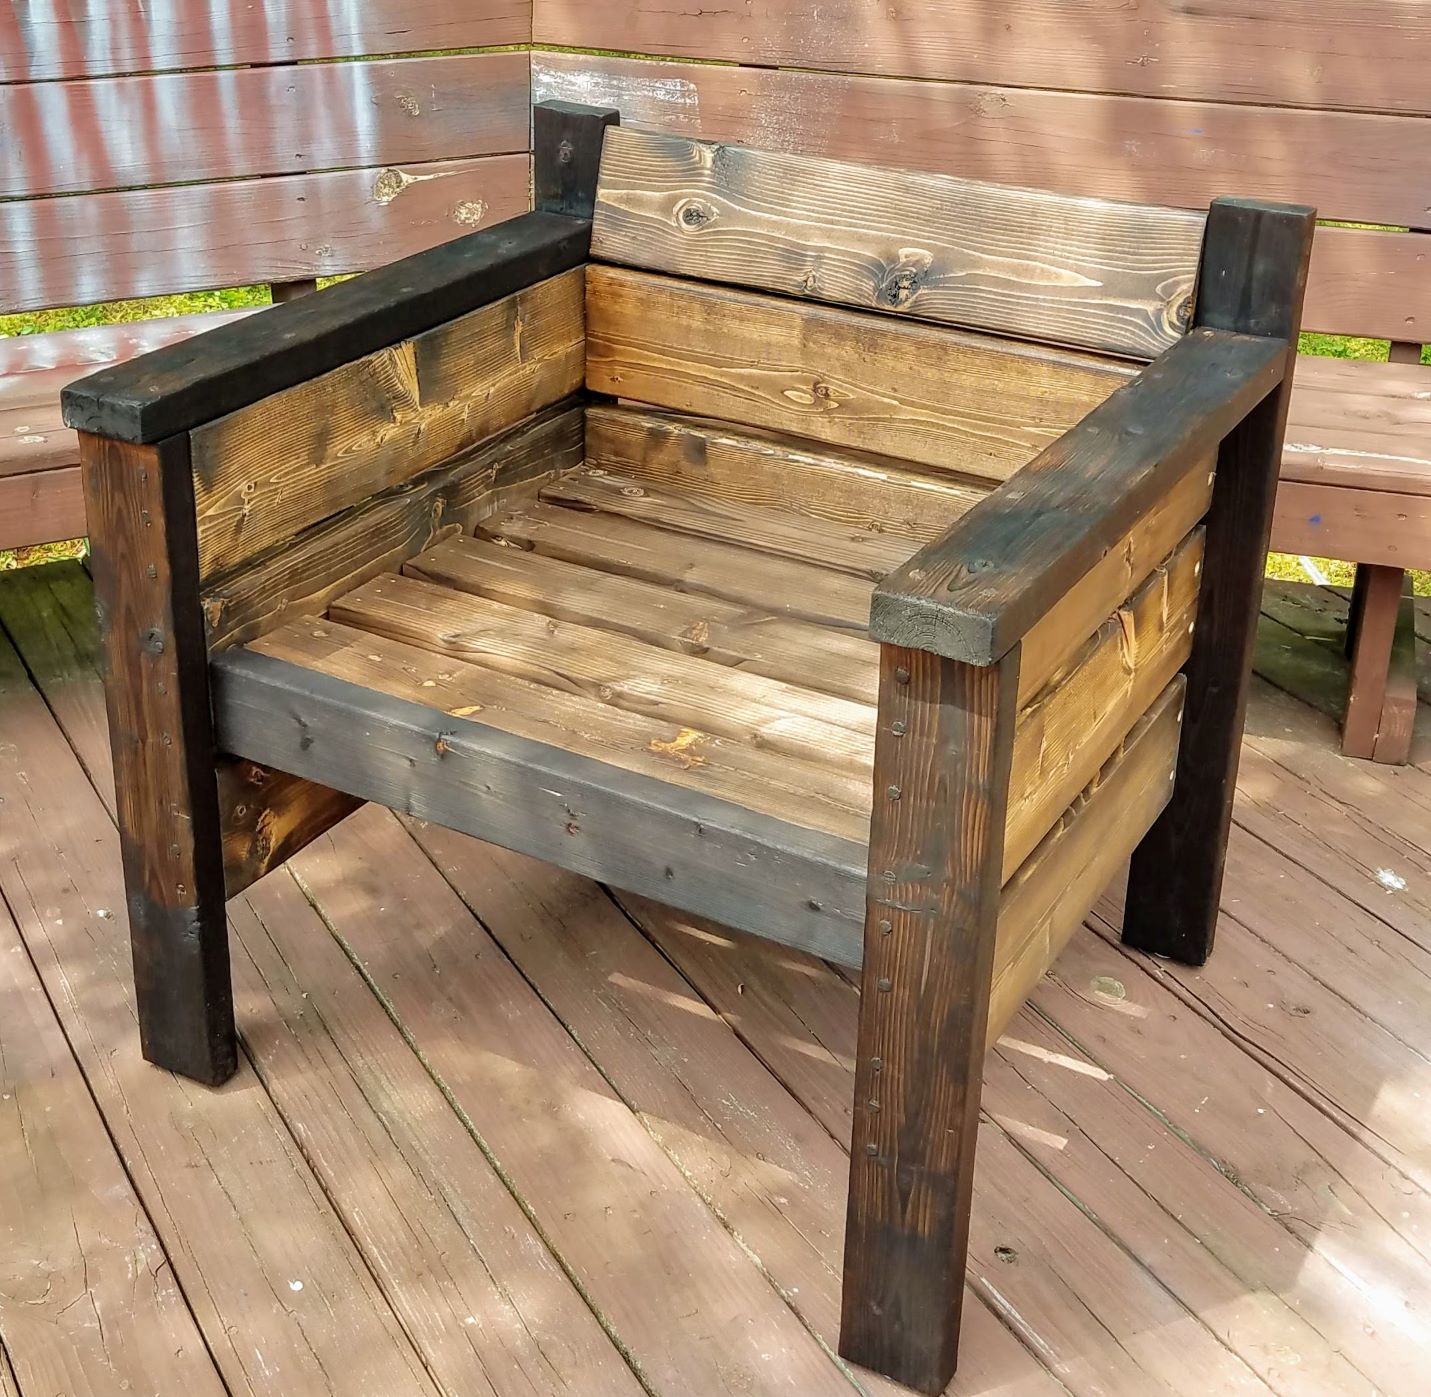
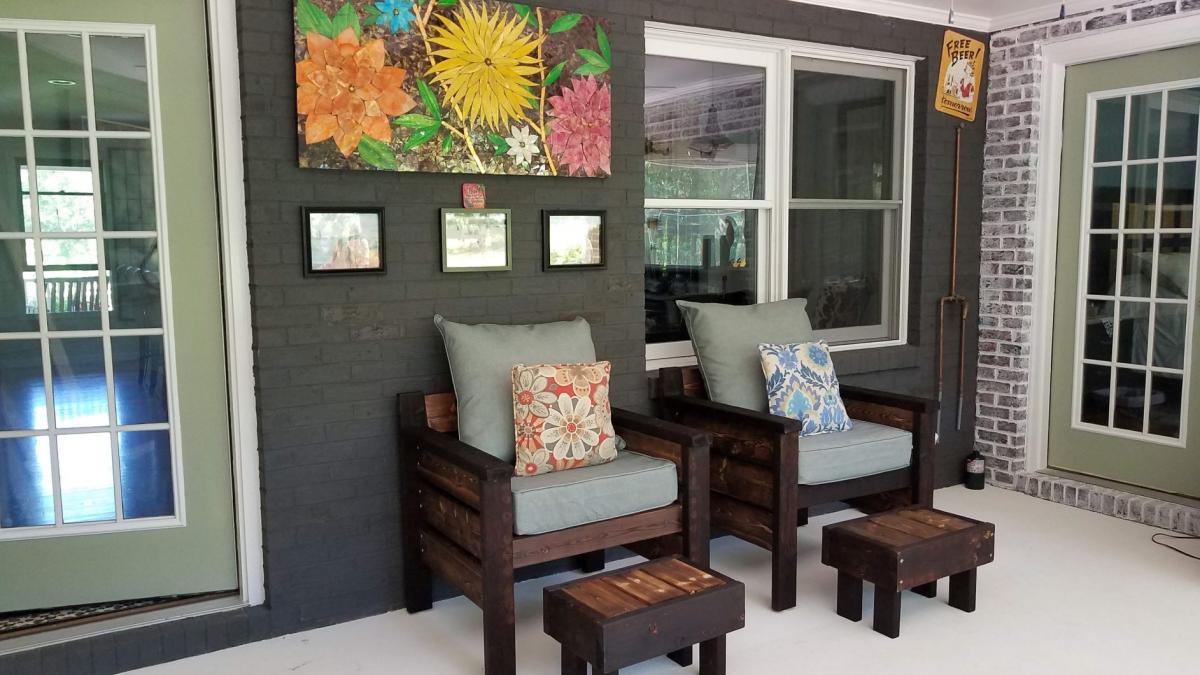
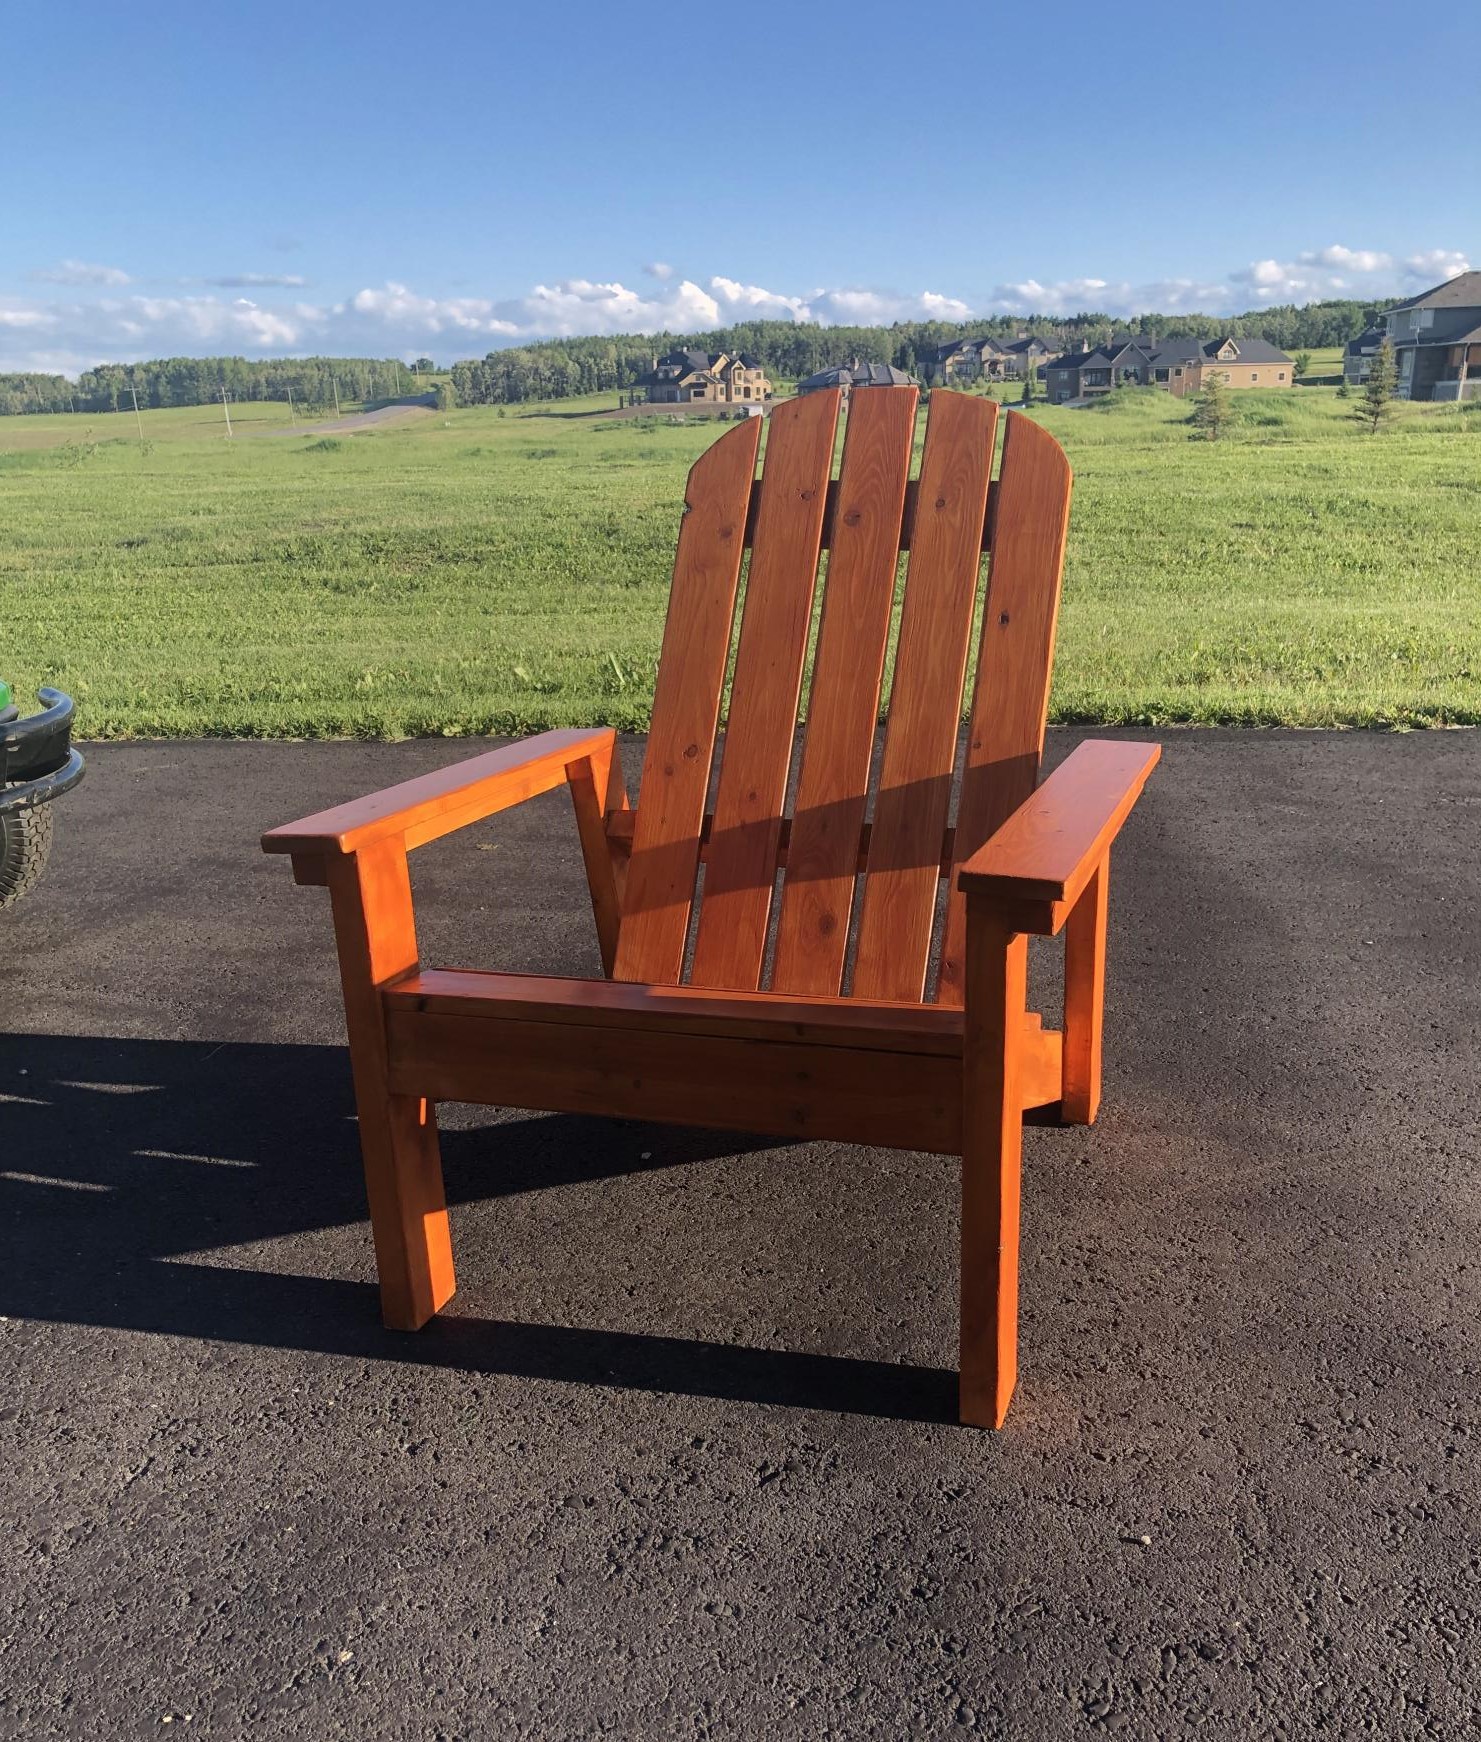
After renovating our screen porch at the onset of Covid, I searched online for an indoor patio furniture. As you probably guessed , with my limited budget, I couldn't find "affordable" and "quality" in one product . ALAS! Ana White's website and her Modern Chair Plans appears in my search. After reviewing her easy to use plans, my husband and I were confident we could tackle the project. With a few modifications, we are very pleased with results. Modifications: Added one additional 2 x 6 providing a higher backrest ; increased the chair height 3"(for us, making it easier to get in and out of the chair); and, used dowel rods to fill screw holes. Also with the extra leftover material, my husband made ottomans that under the chair for easy storage.
We love the results and use them daily! Thank you Ana for sharing your plans!
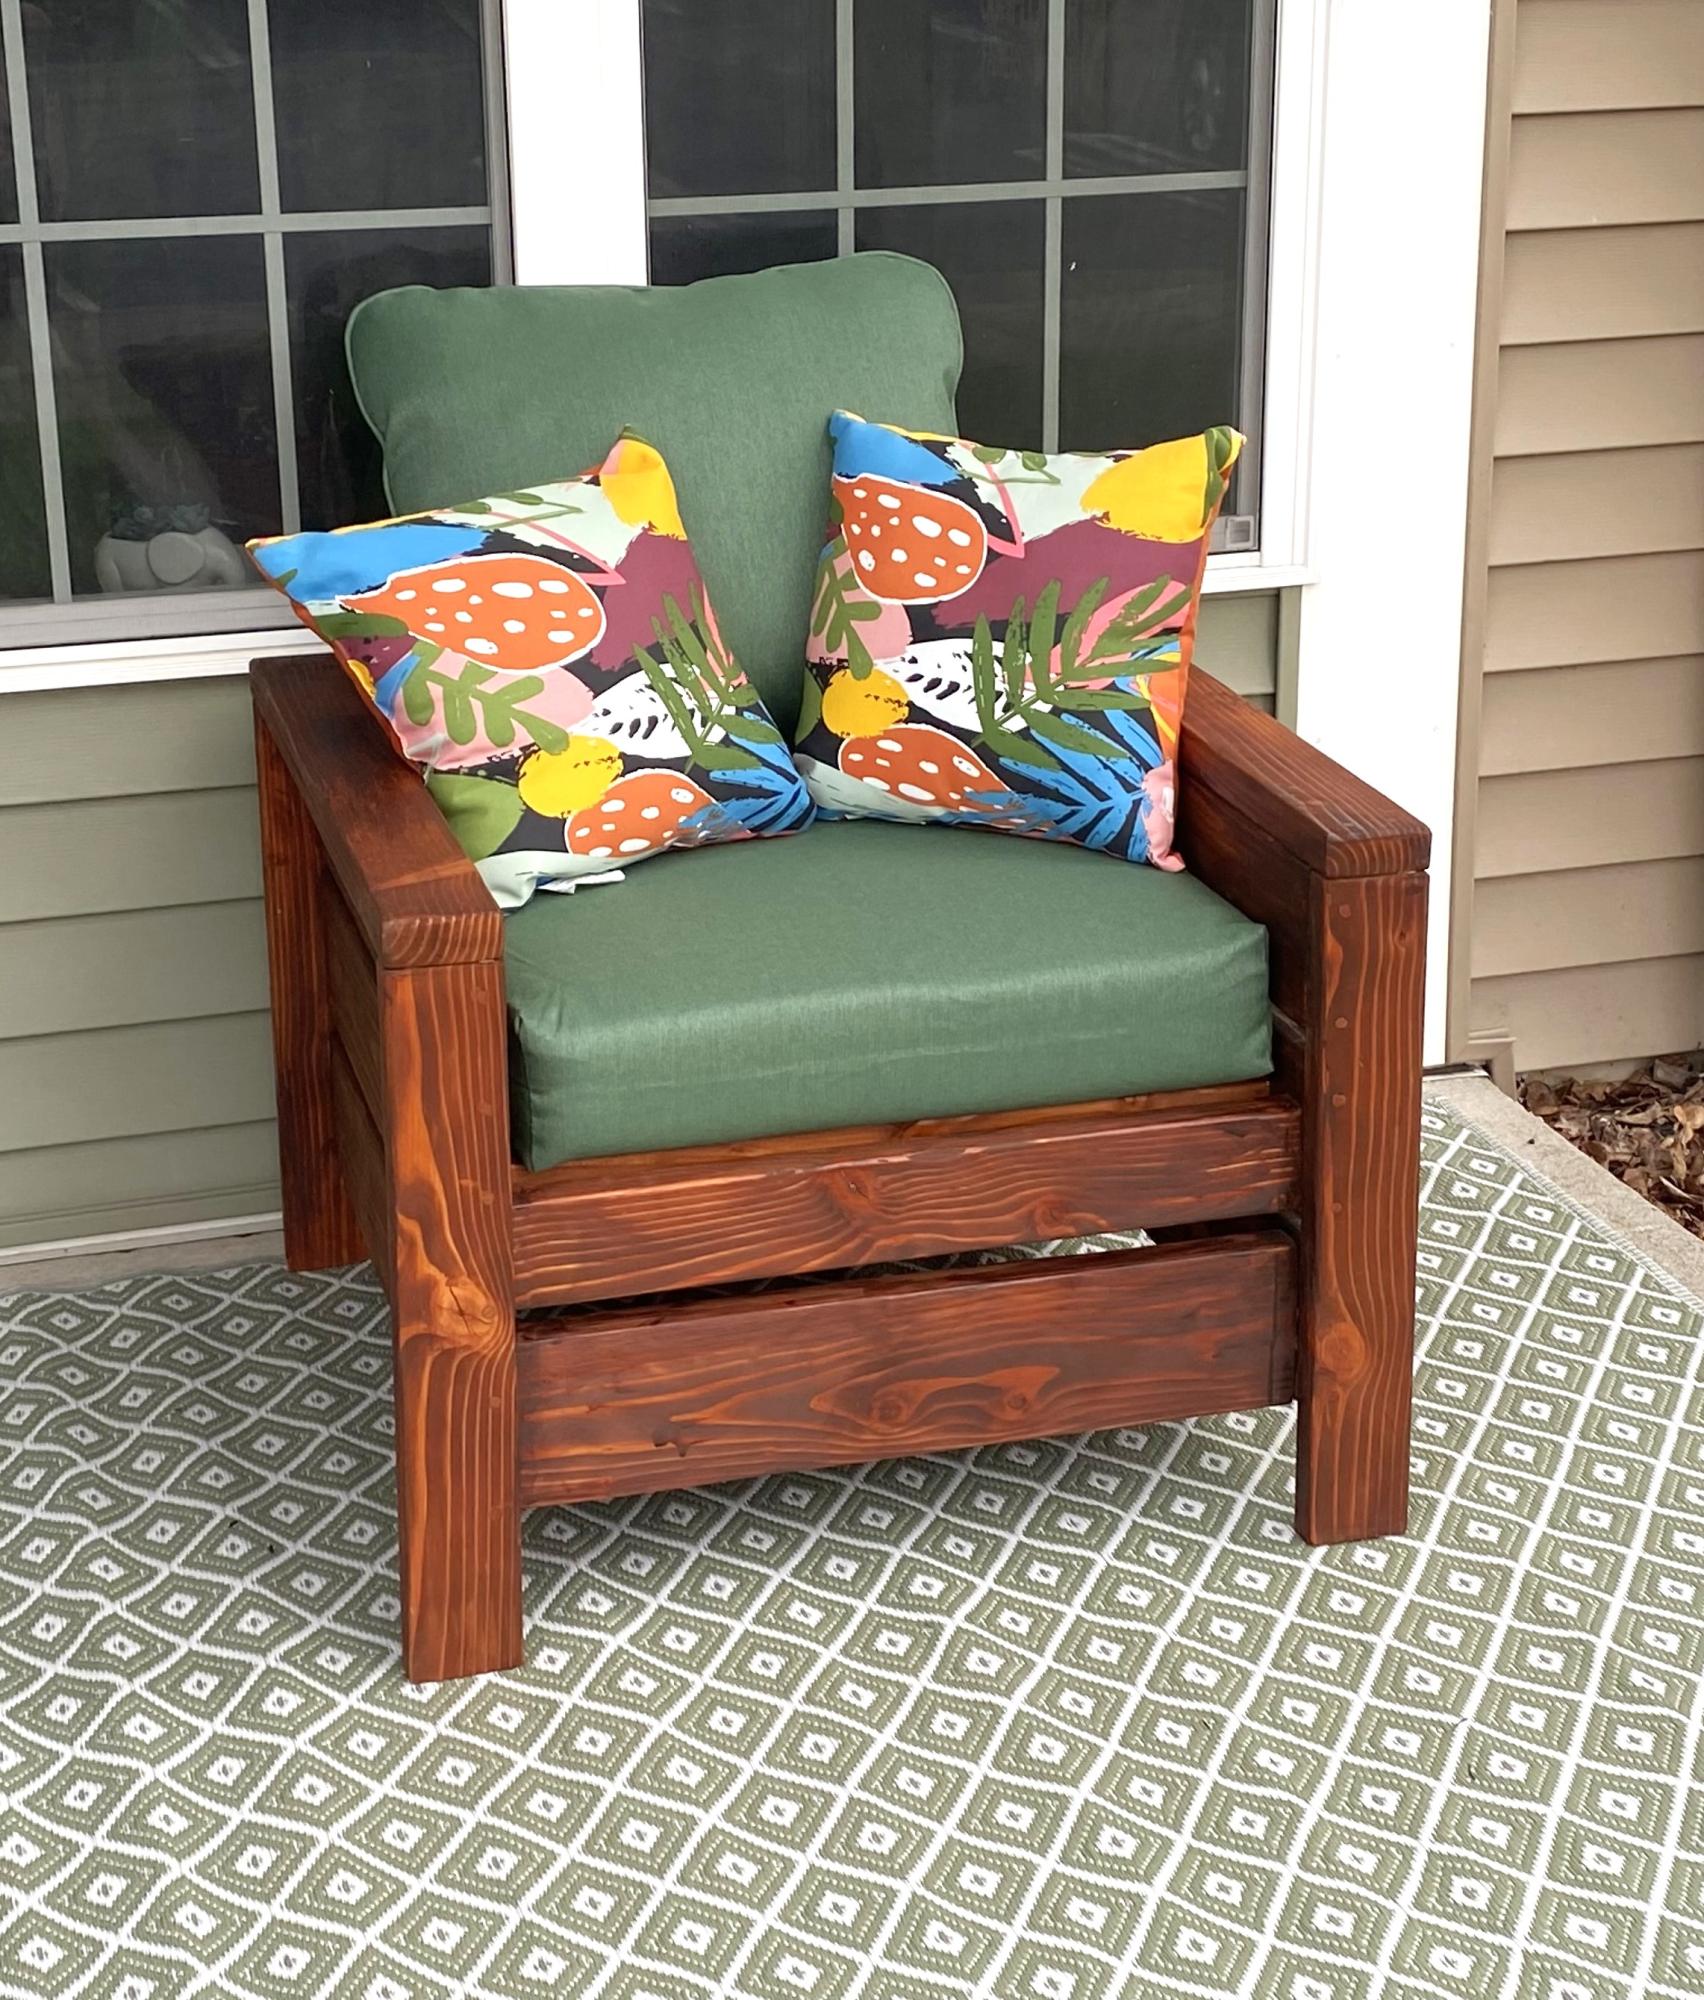
I used dowels in the screw holes.
Mike Kimble
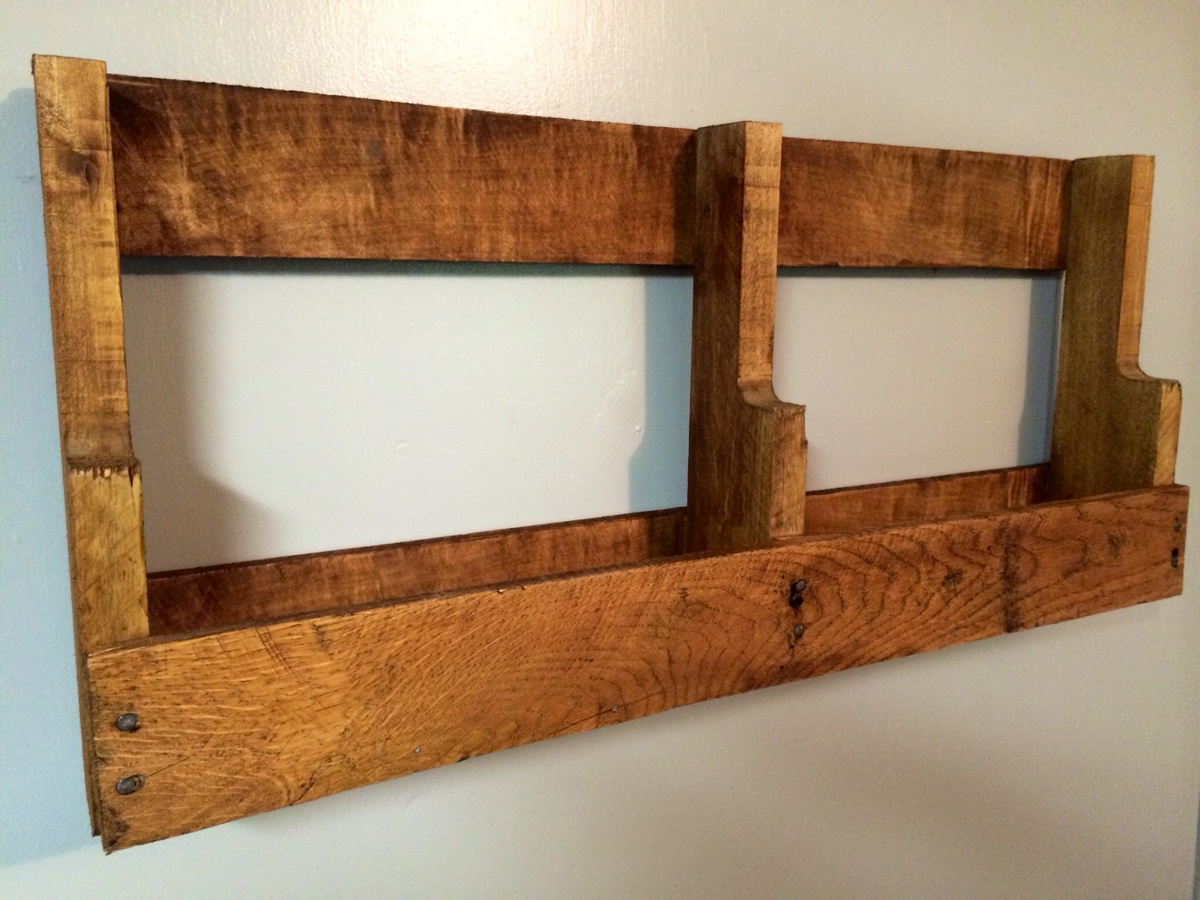
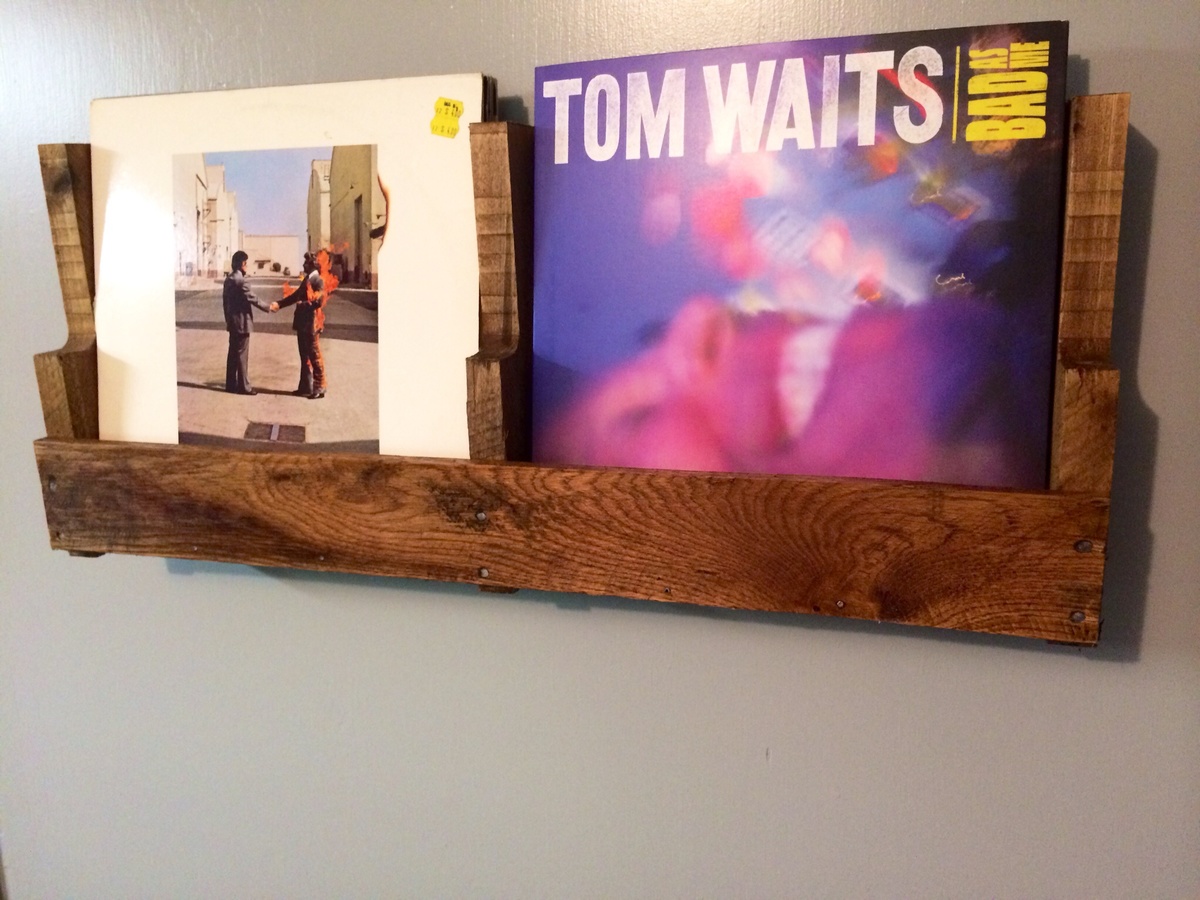
Free, quick, and easy!
Mon, 06/23/2014 - 05:47
Very cool shelf and record holder for my mom cave. Free, easy, and stylish.

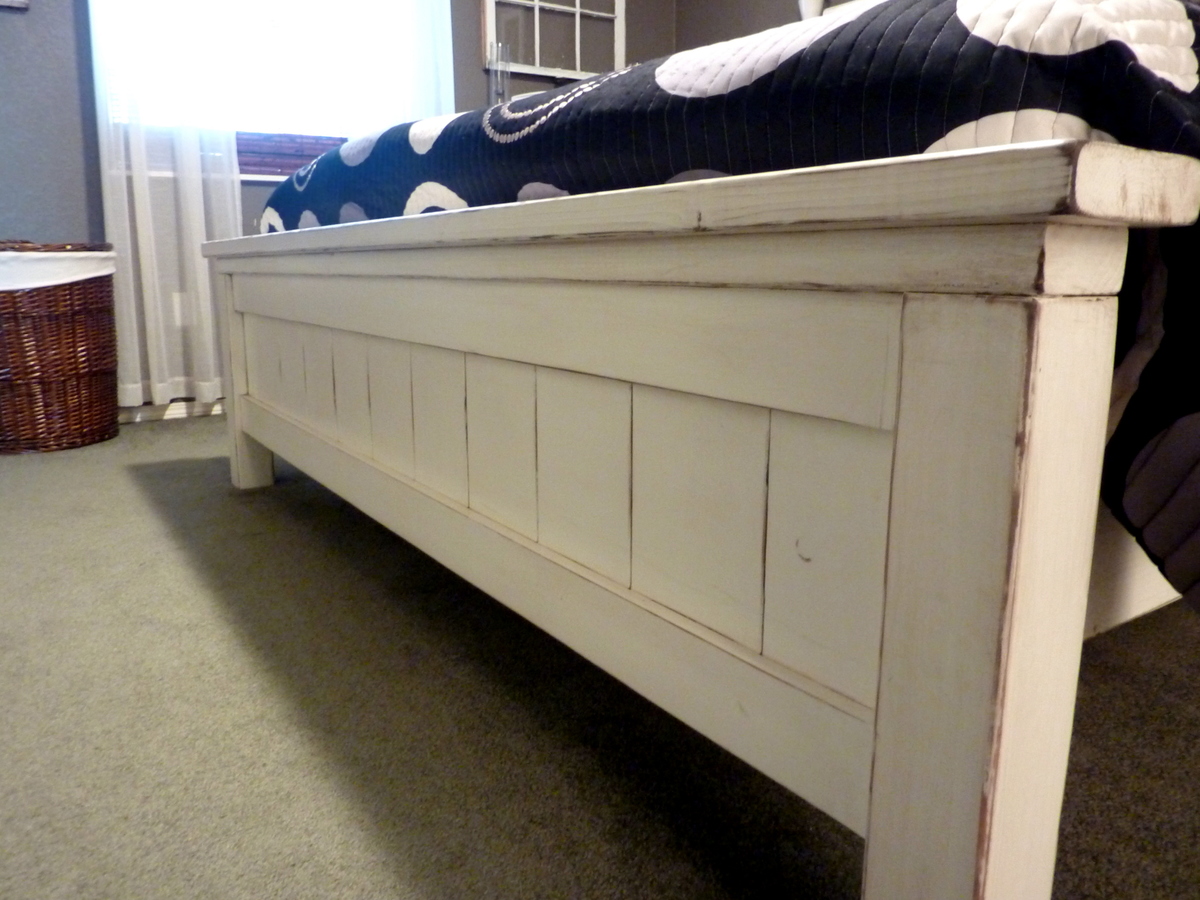
We used these instructions for this project. This is for our king size bed. We used premium pine wood from Lowe's and Home Depot. The boards weren't 100% perfect, so on the back side we had to attached a piece of wood vertically and centered to straighten them out. For the stain we used Minwax Honey 272 and applied a coat of polyurethane (clear satin).
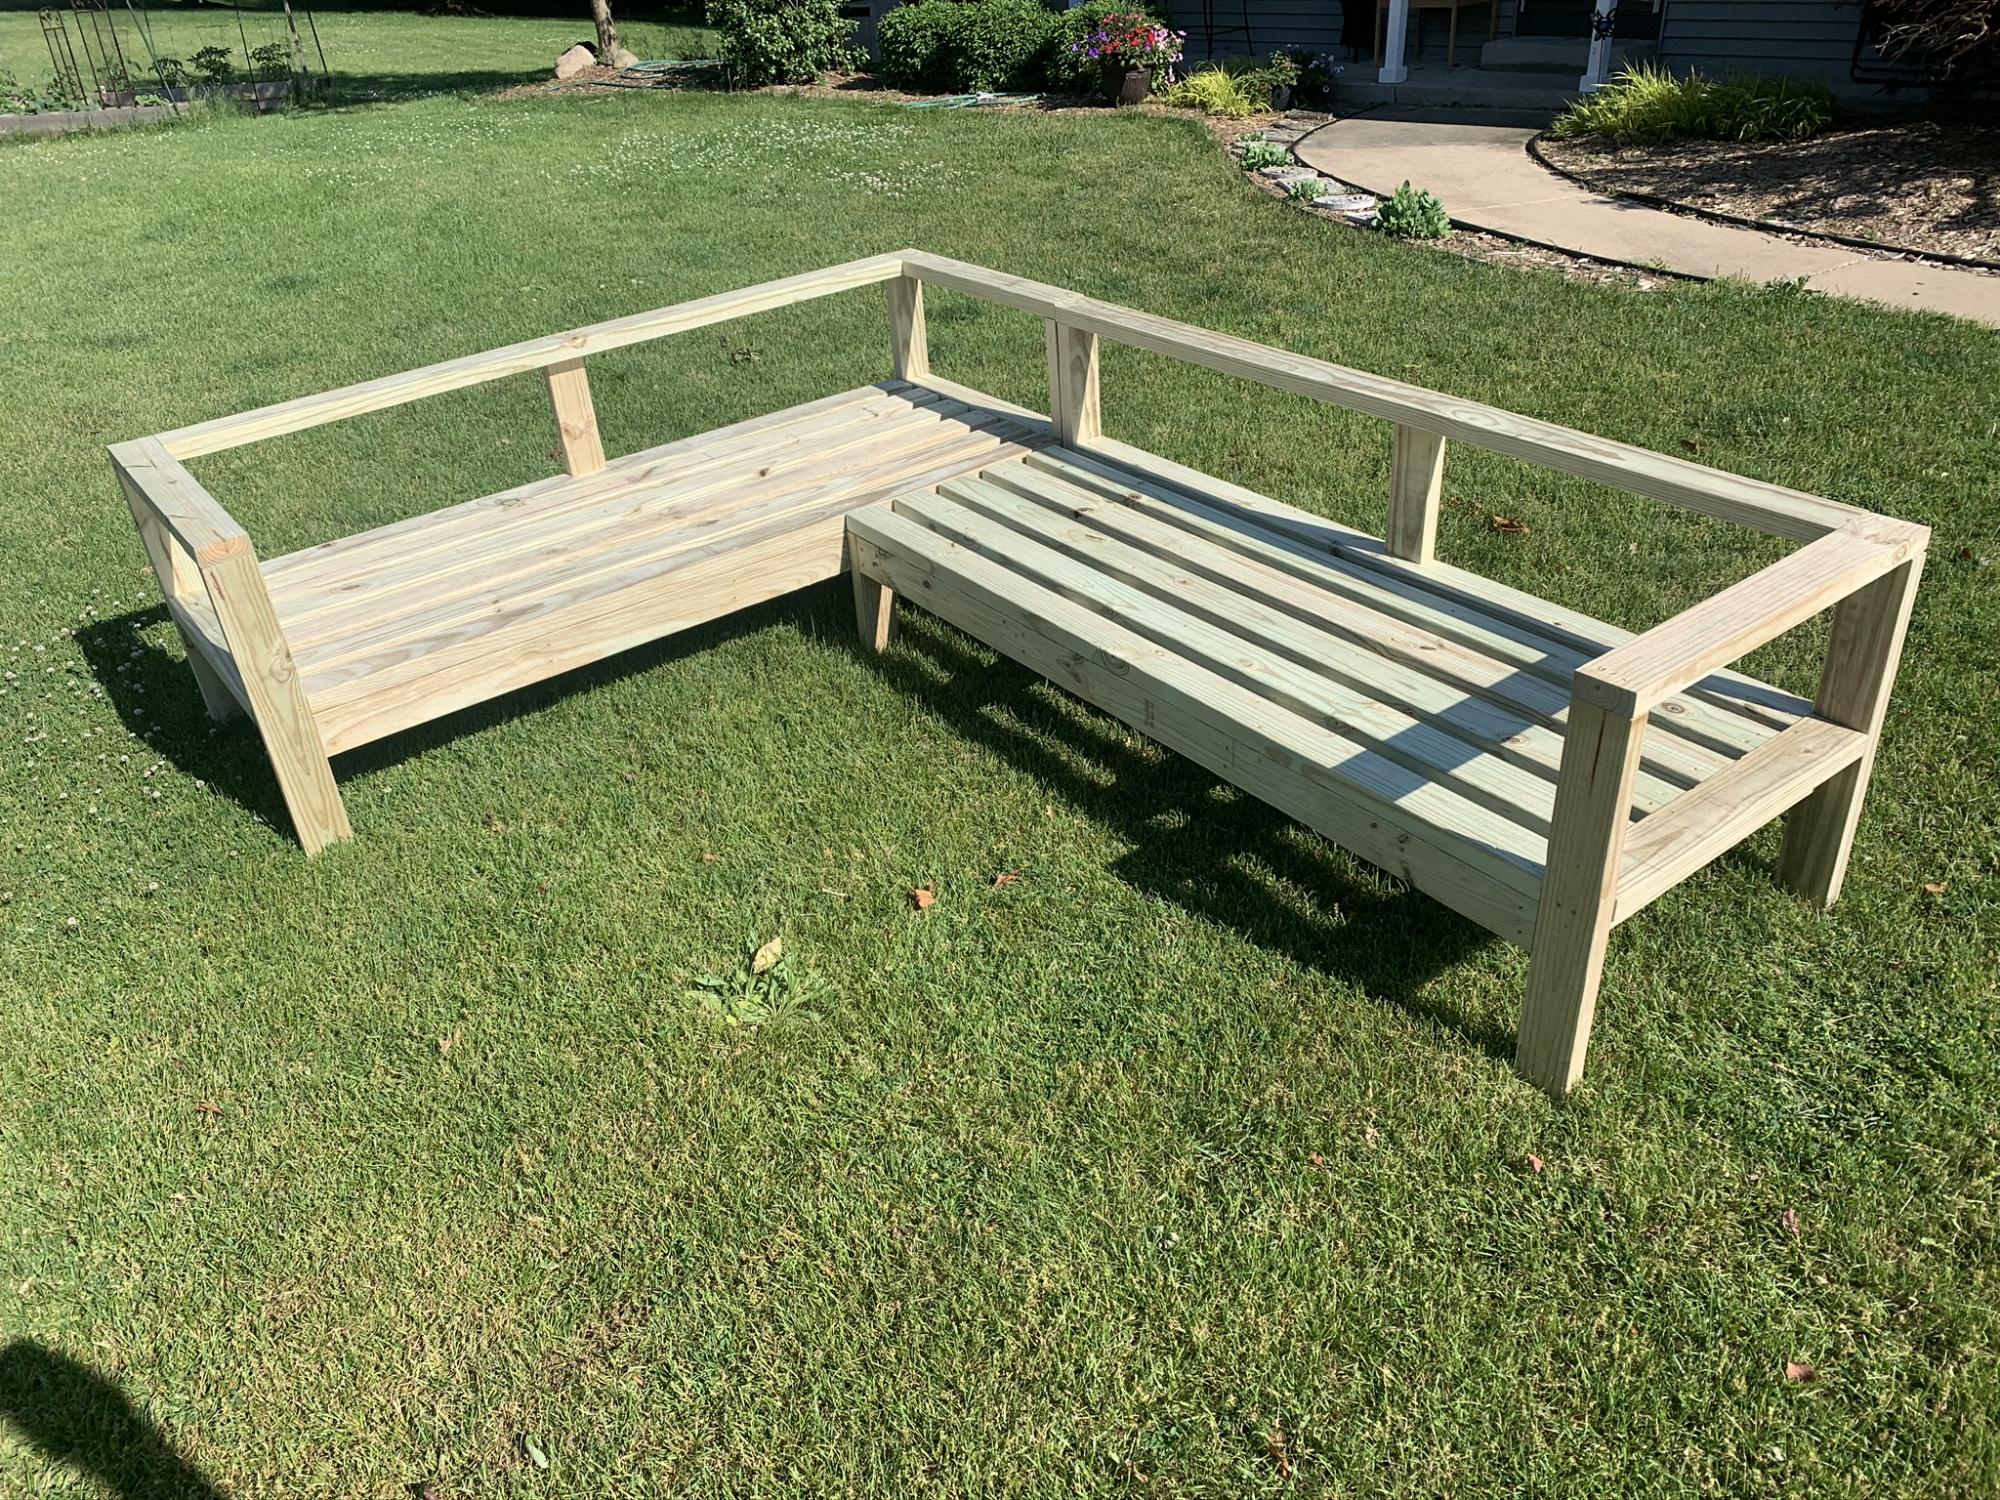
Decided to add extra support between top rail and seat. I envisioned some sitting on the rail while partying so I thought it could use a little strengthening. This is a good build for a beginner.
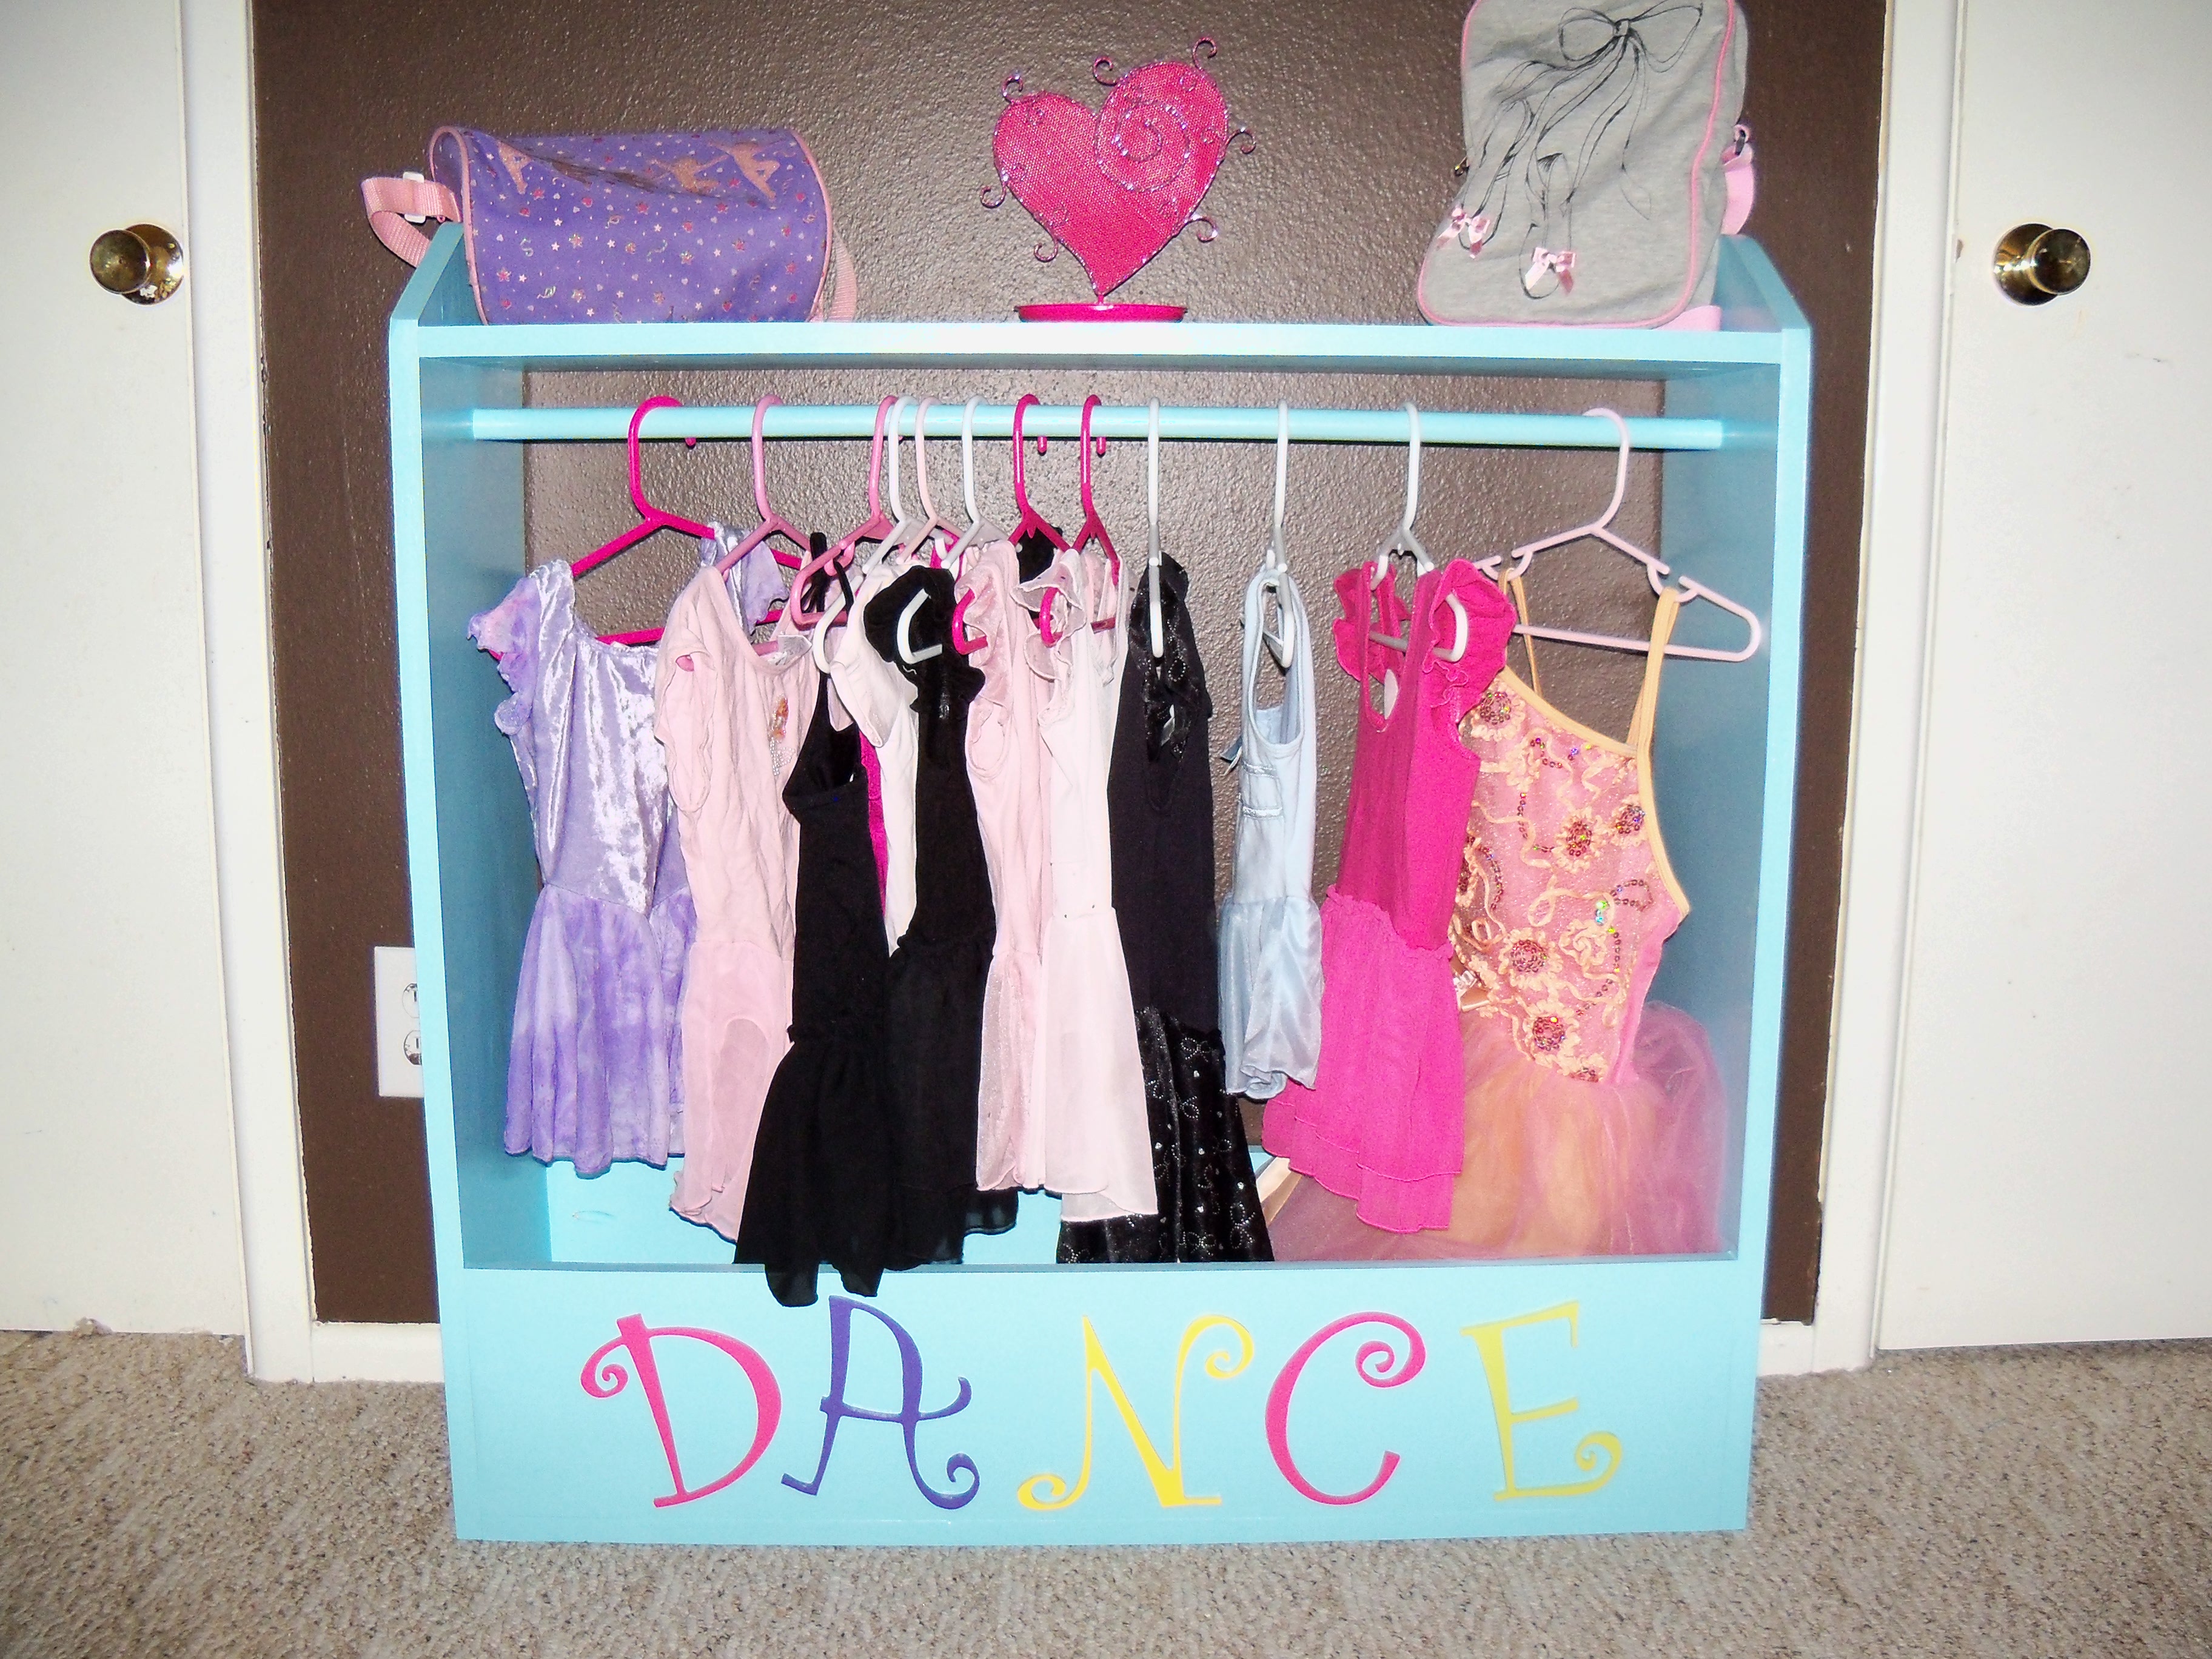
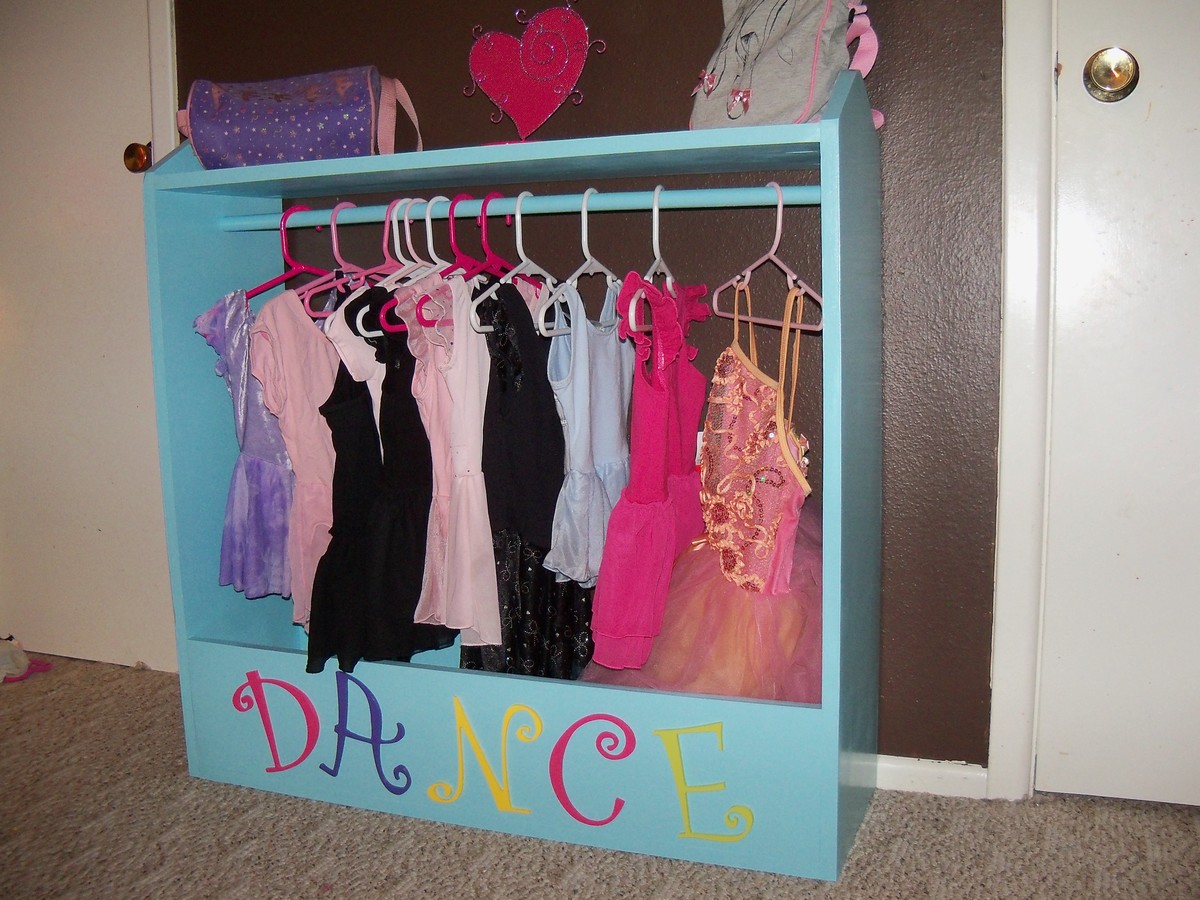
I used the project plan for dress up storage to make a place to put my girls dance things! I have five girls and they are all in dance. We had all the dance leotards, ballet shoes, tap shoes, tights, etc... stuffed in one box! Thanks Anna for sharing this plan! Its so useful, and a great addition to their room. Not to mention sooo cute!

Made this Pallet from scratch with standard 2x4's and 1x4 pine boards. Stained the 2x4's a medium dark and used white chalk paint on the 1x4's. Project came out very nice and the wifey loved it. Happy Wife, Happy life.

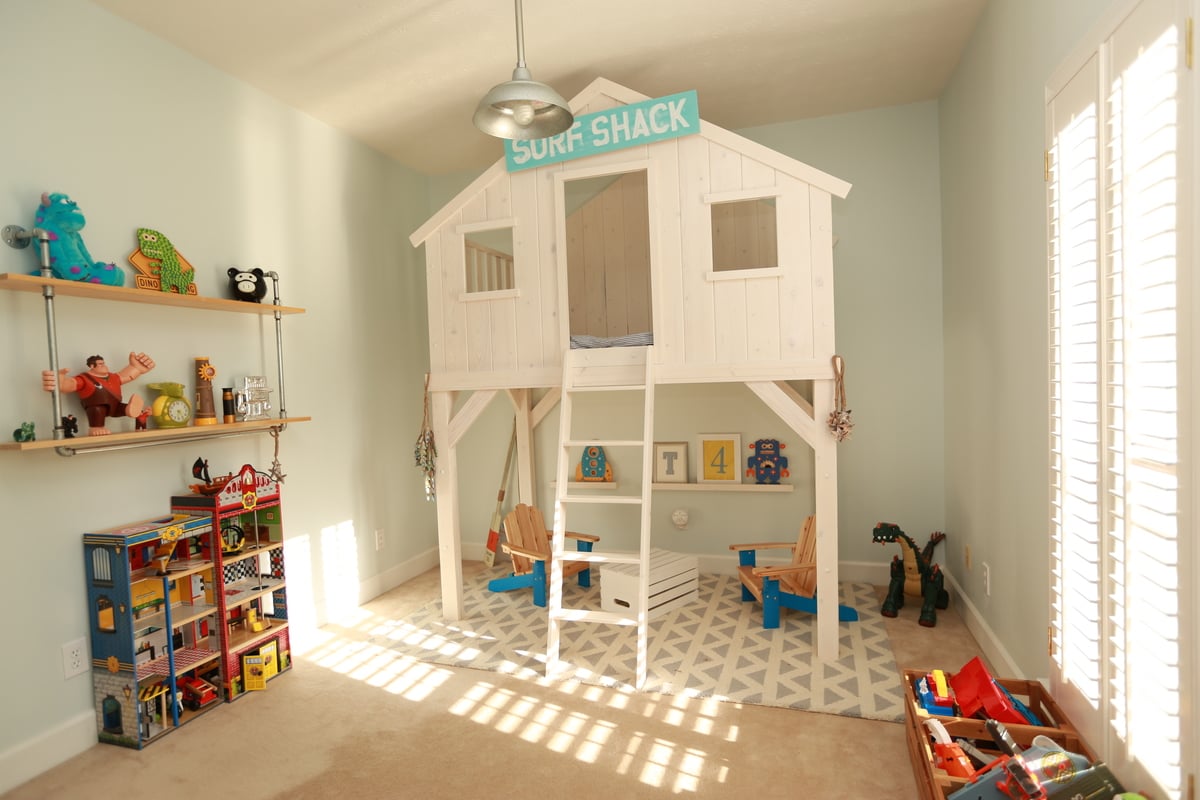
From selecting wood and staining, it took about a weekend to build and an additional weekend for finishing. It's stained with Minwax classic grey and protected with three coats of poly. Recommend only using 0000 steel wool between poly coats, as sandpaper took off the stain. Also modified ladder and safety rails. For smaller space, it works great! Build cost came in as expected. I used a Kreg Jig and flush screw plugs. Great project! Best I was able to find after an exhaustive online search. Keep up the good work!
As Ana says, very comfortable and super easy to build. Her plans are direct and to the point and always a pleasure to build from. I have a couple more to make and my fire pit will be perfect!!! Thanks Ana
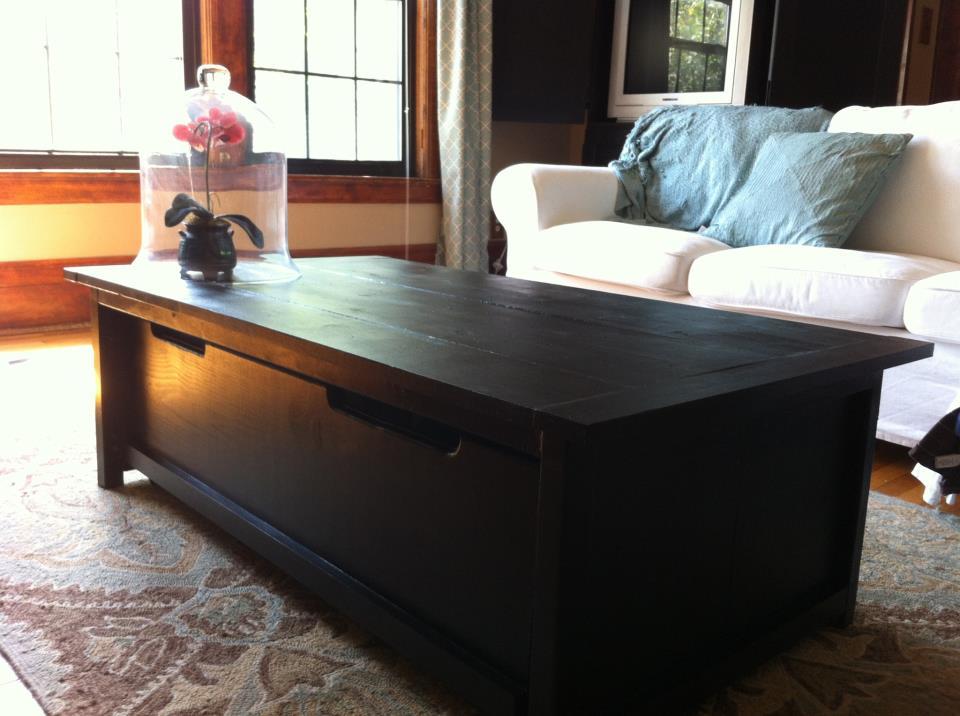
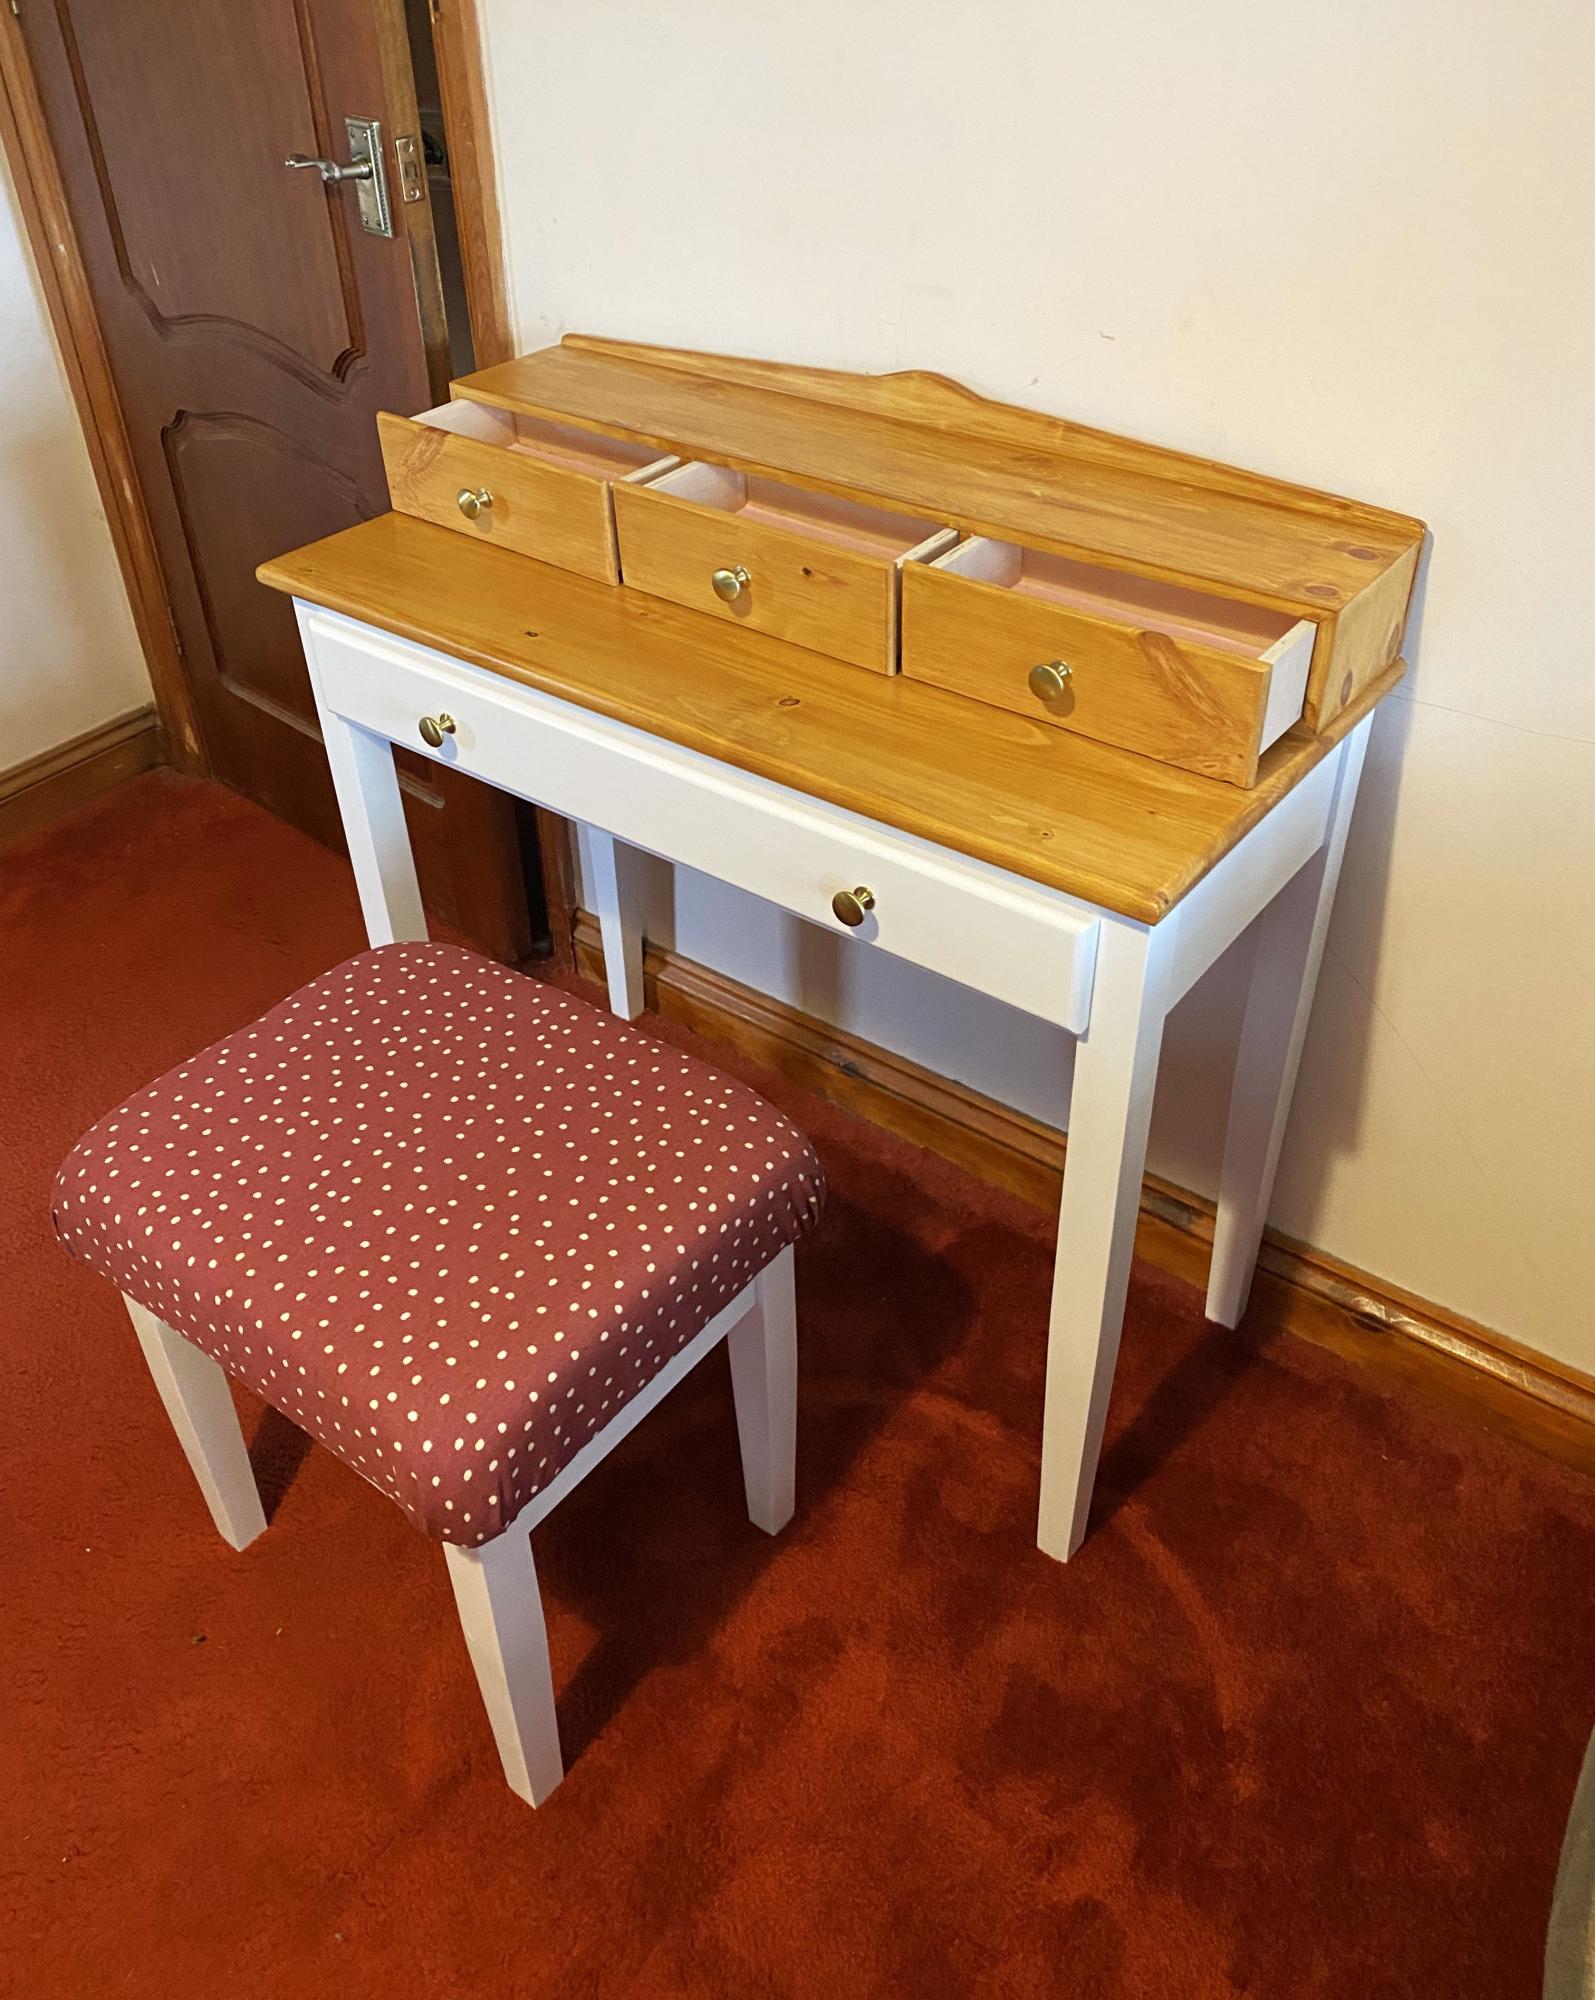
After buying materials for a not so baby friendly antique factory cart coffee table, which I unhappily had to veto, my husband was able to quickly assemble this table and it sat unfinished for a few months. He painted it a black semi-gloss inside and out.
It fits the boppy, lots of blankets and 4 fabric cubes to hold toys, rings, burp cloths... perfect to hide at least some of the baby stuff that has taken over our home.
And now I NEED the apothecary trundle coffee table for the den!
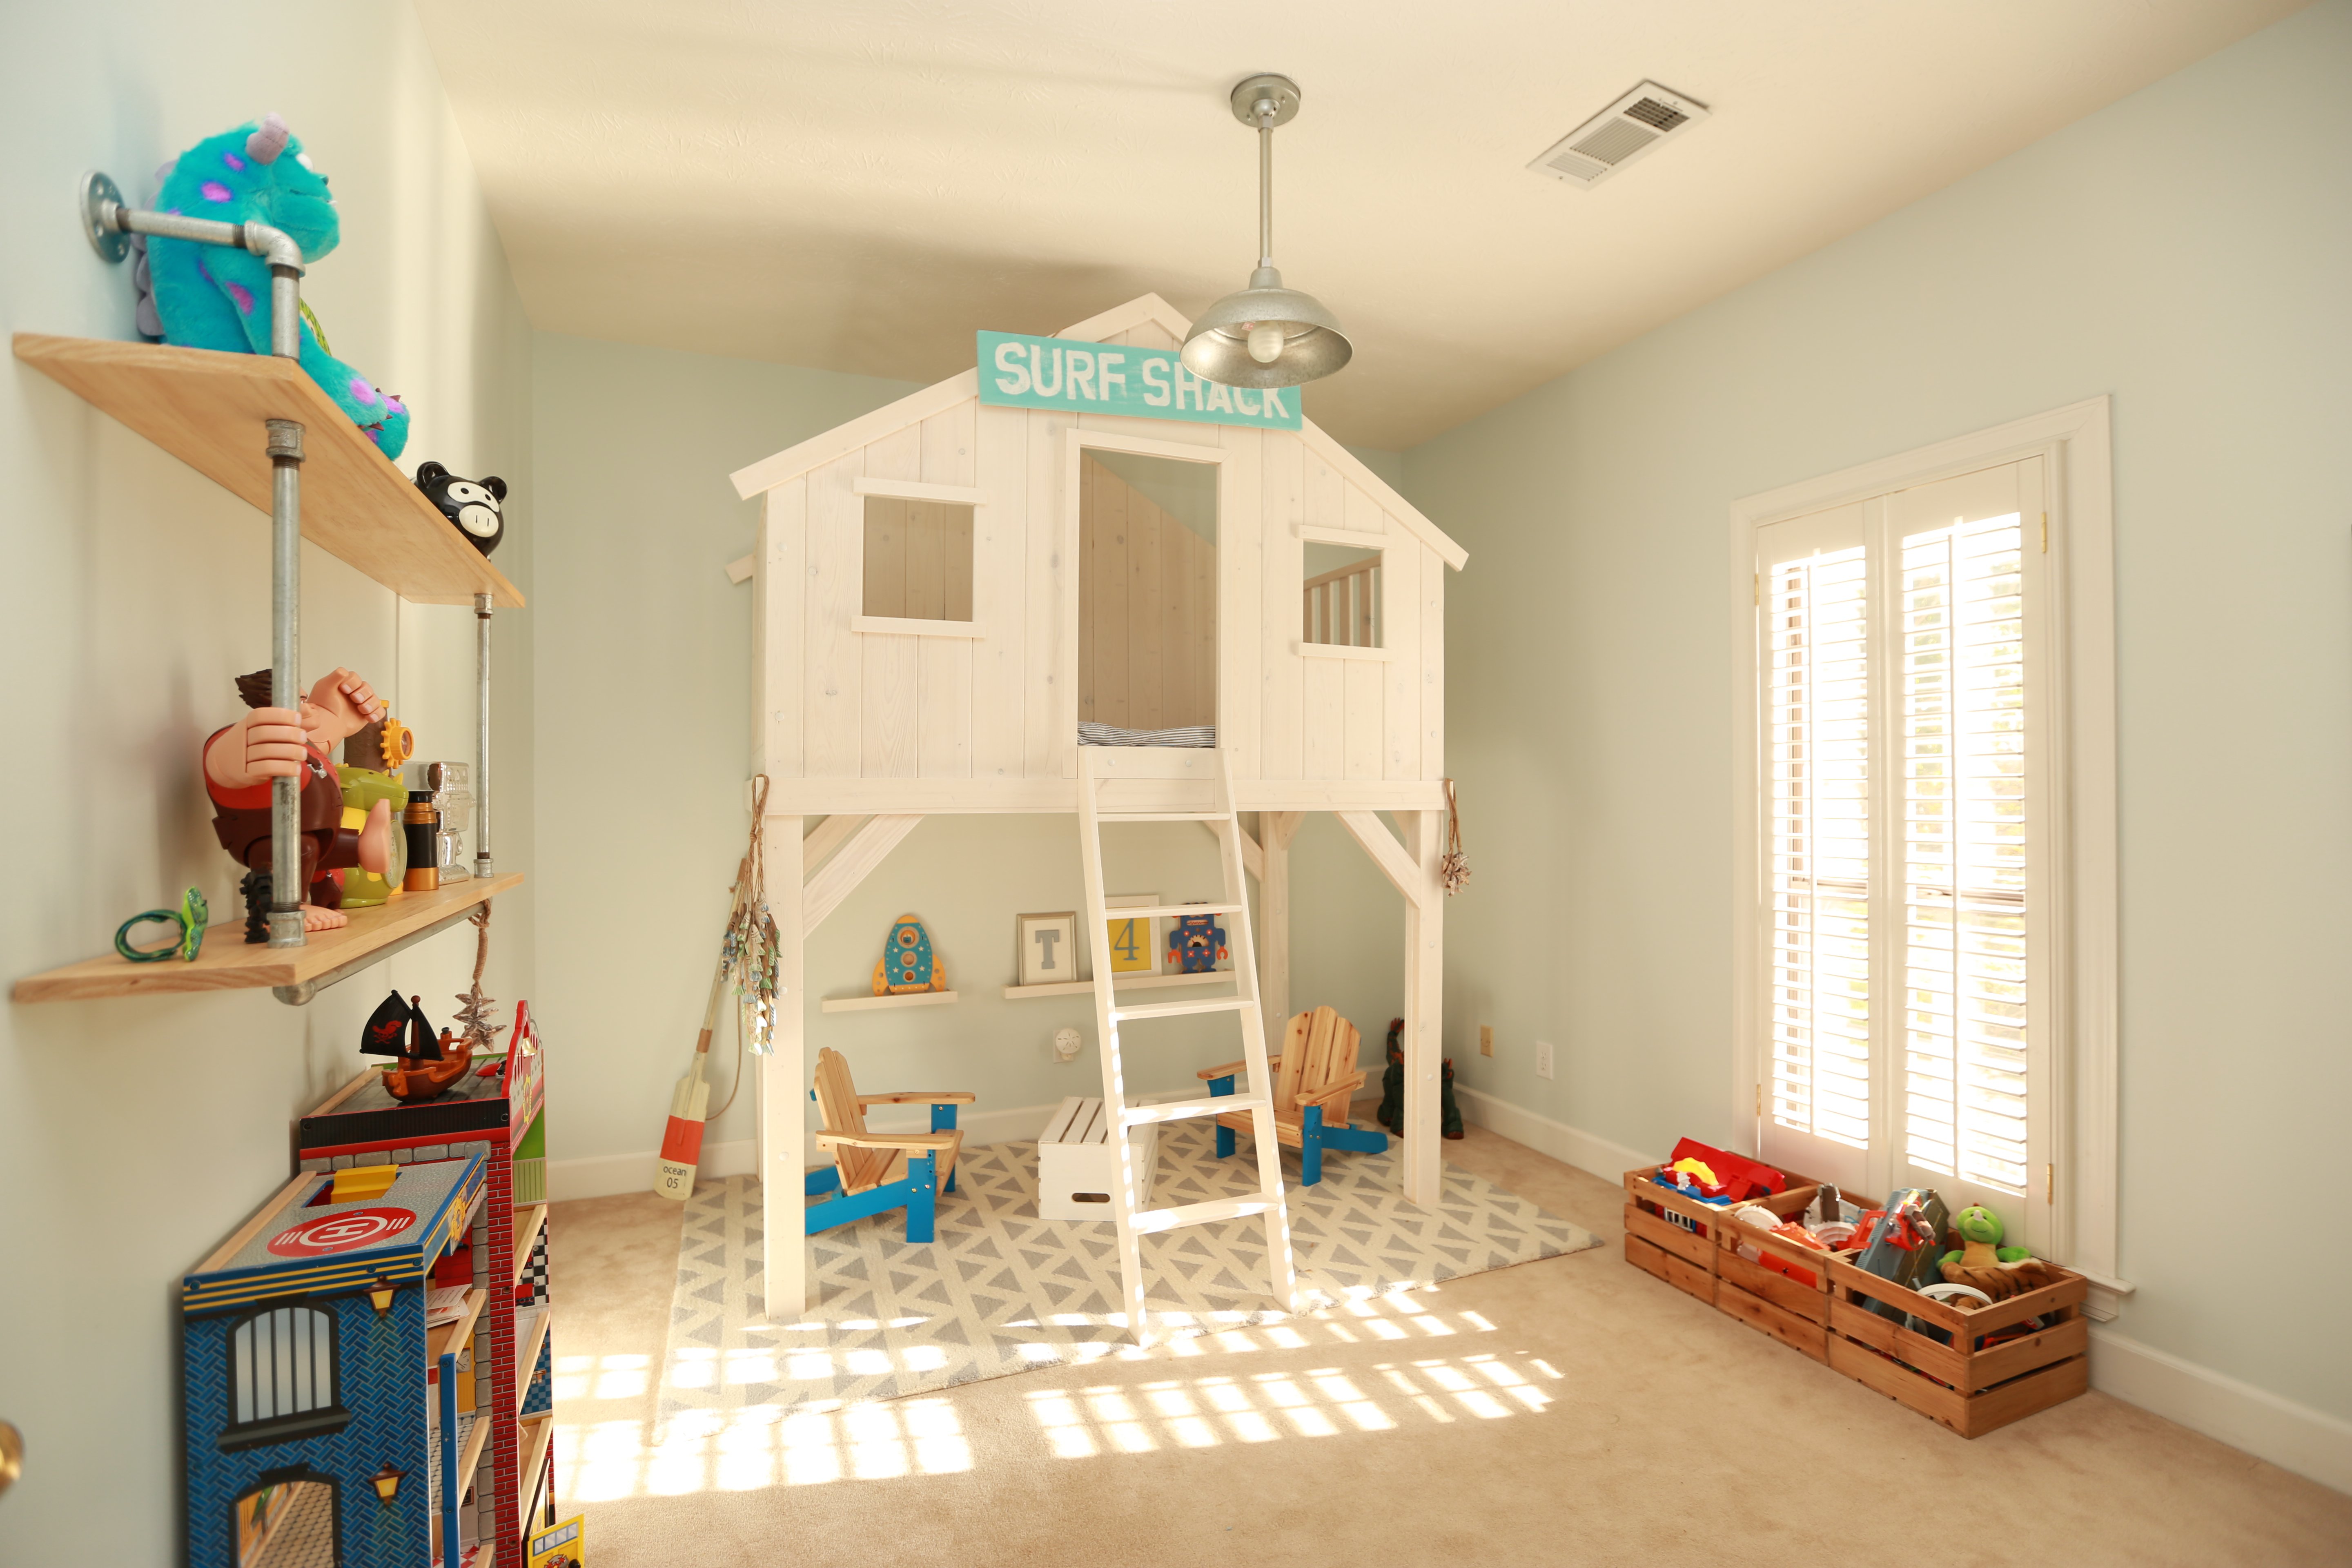
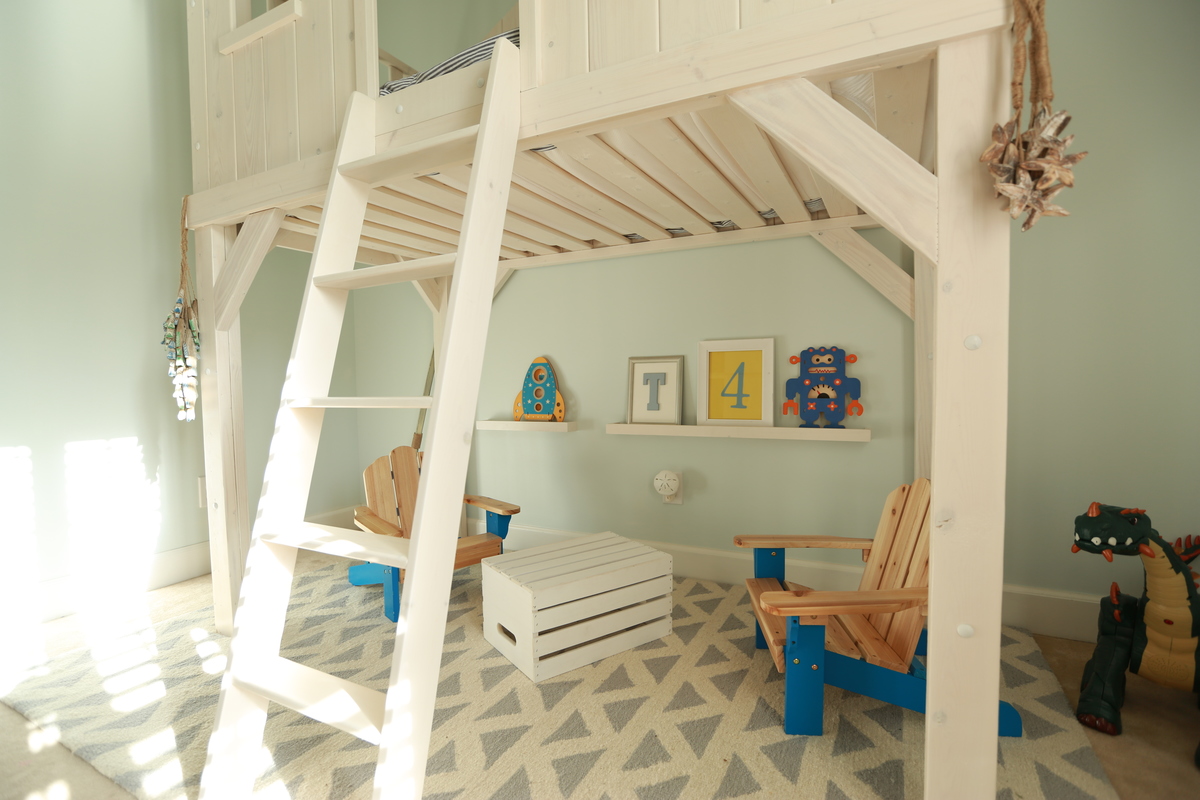
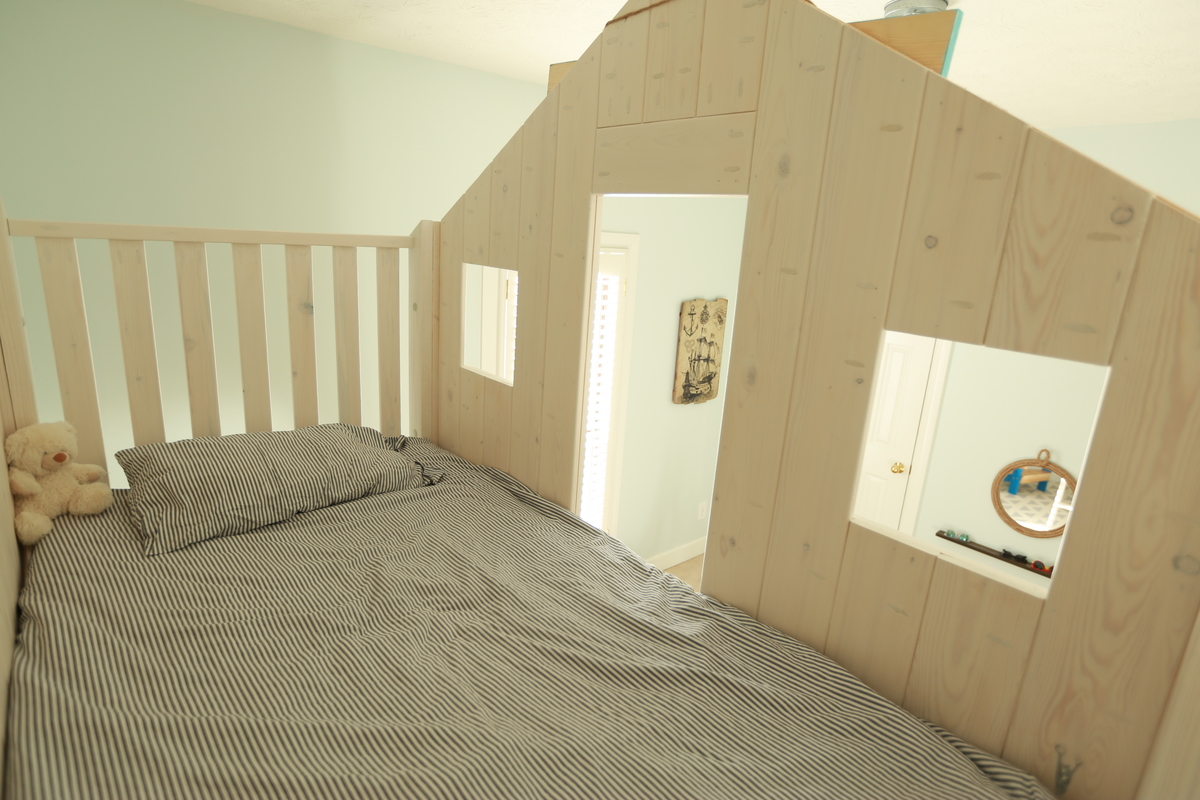
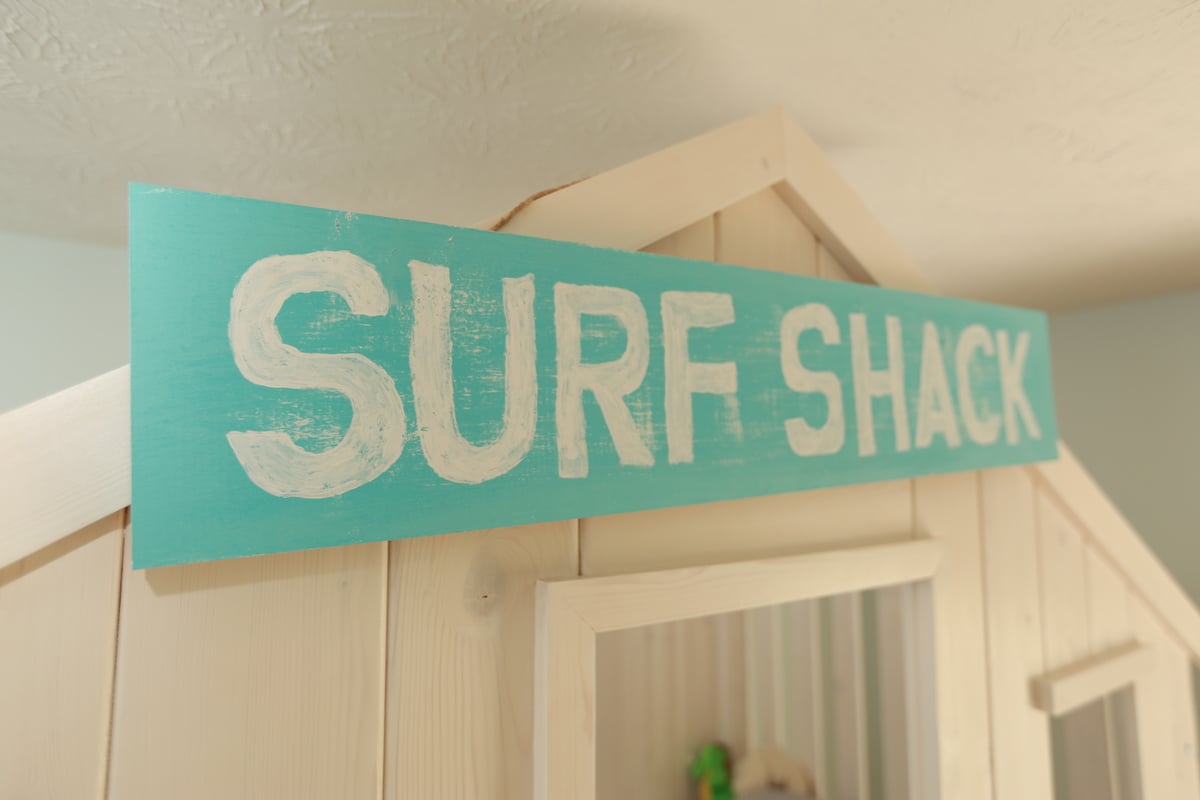
Customized version of the clubhouse bed that is so popular! We went the extra mile on the finishing touches to ensure an awesome bed for our little guy! We made the bed taller for more space underneath and polished up the finished product to create a higher end look. Care was taken to precisely sand all areas of the bed for a smooth finish and polished look. All pocket-holes are filled with plugs and sanded smooth on the inside of the bed for an overall finished product. No shortcuts taken! We went the extra mile and painted the carriage bolts so they would blend in with the whitewash finish and also recessed the nut on the back of the legs for safety and added a cap so they are not visible. Top of the bed, above the door, is filled in and a custom ladder finishes off the look. We went with smaller lumber to build the ladder and it is perfect!! We are over the moon with this project and will be building more items as fast as we can. Also, the sign, under-bed shelves, and industrial shelves were built by my husband. He did an epic job creating this room!! We used better grade wood and spent a lot of time sanding to ensure a great bed in the end. We also went with a Benjamin Moore stain that was a little more expensive and took the time to finish the slats under the bed.

Mon, 02/22/2016 - 07:38
I love this bed! I was looking at the BM site and was wondering what exact stain did you use? there are 5 different opacities & I want to make sure I get the right one. Thanks!!

In reply to what benjamin moore stain? by jeawels
Fri, 08/19/2016 - 05:58
Did you ever figure out what stain was used on this particular bed? I love it.
Thank for the plans!
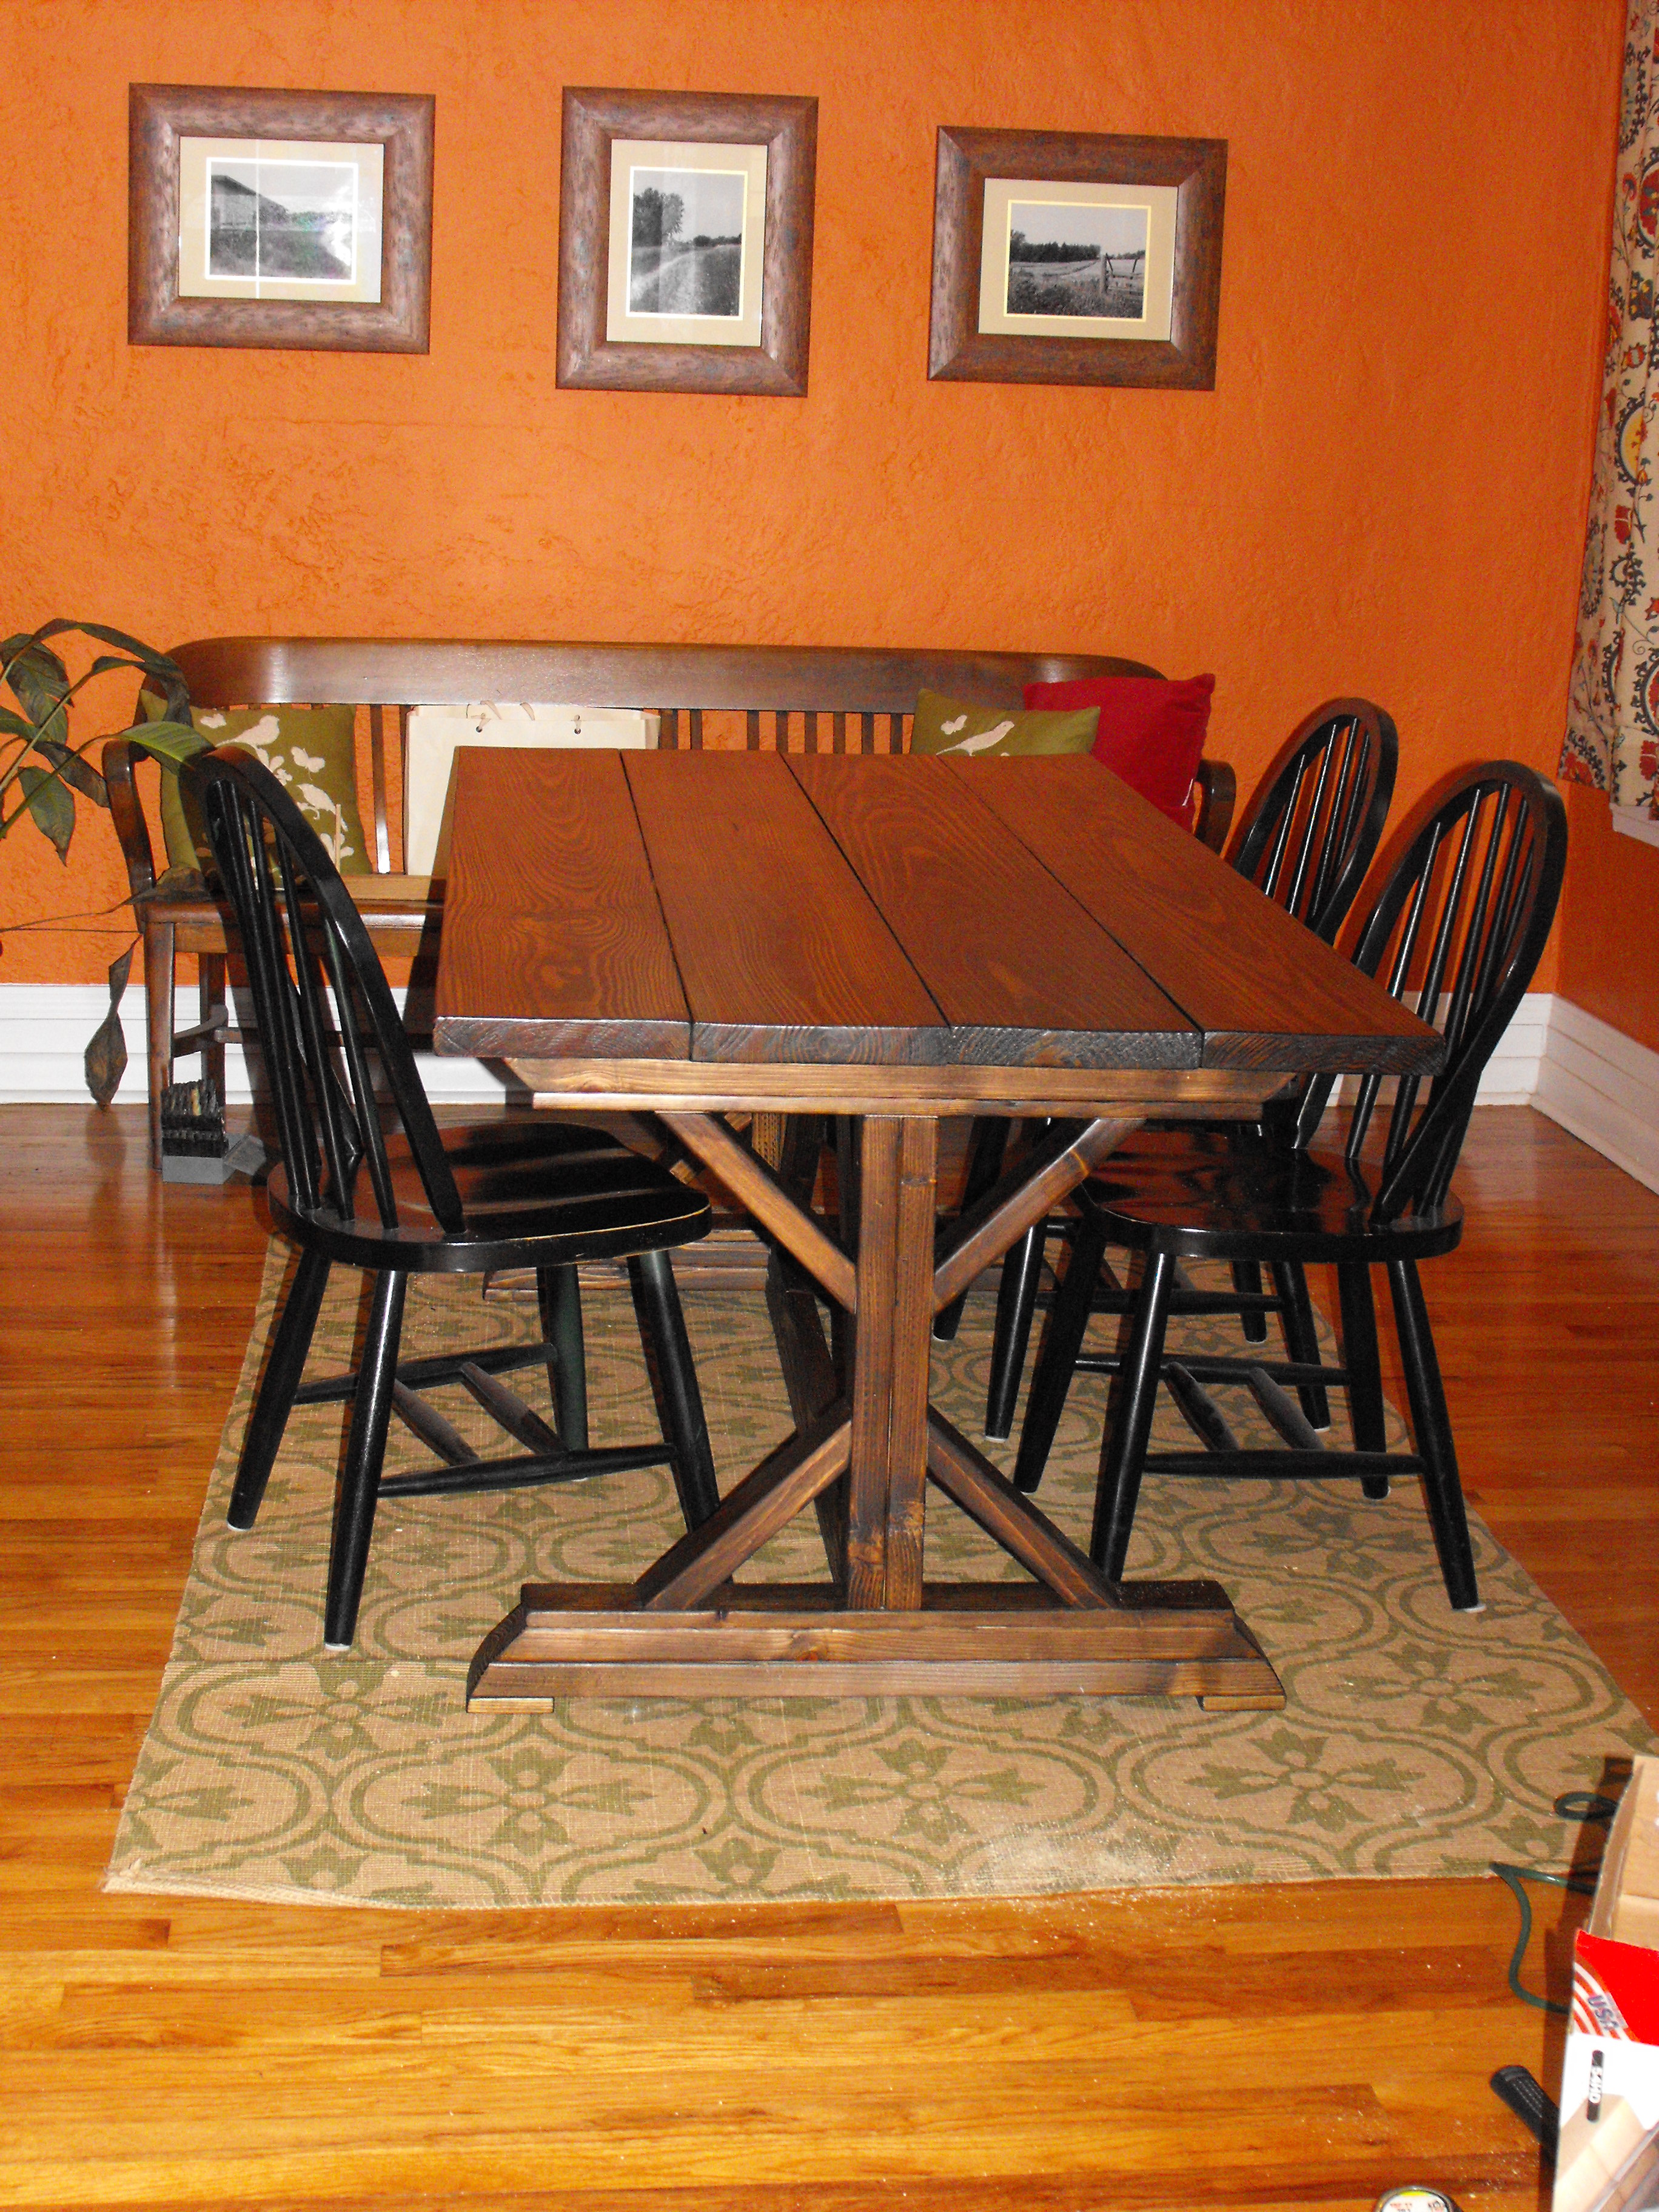
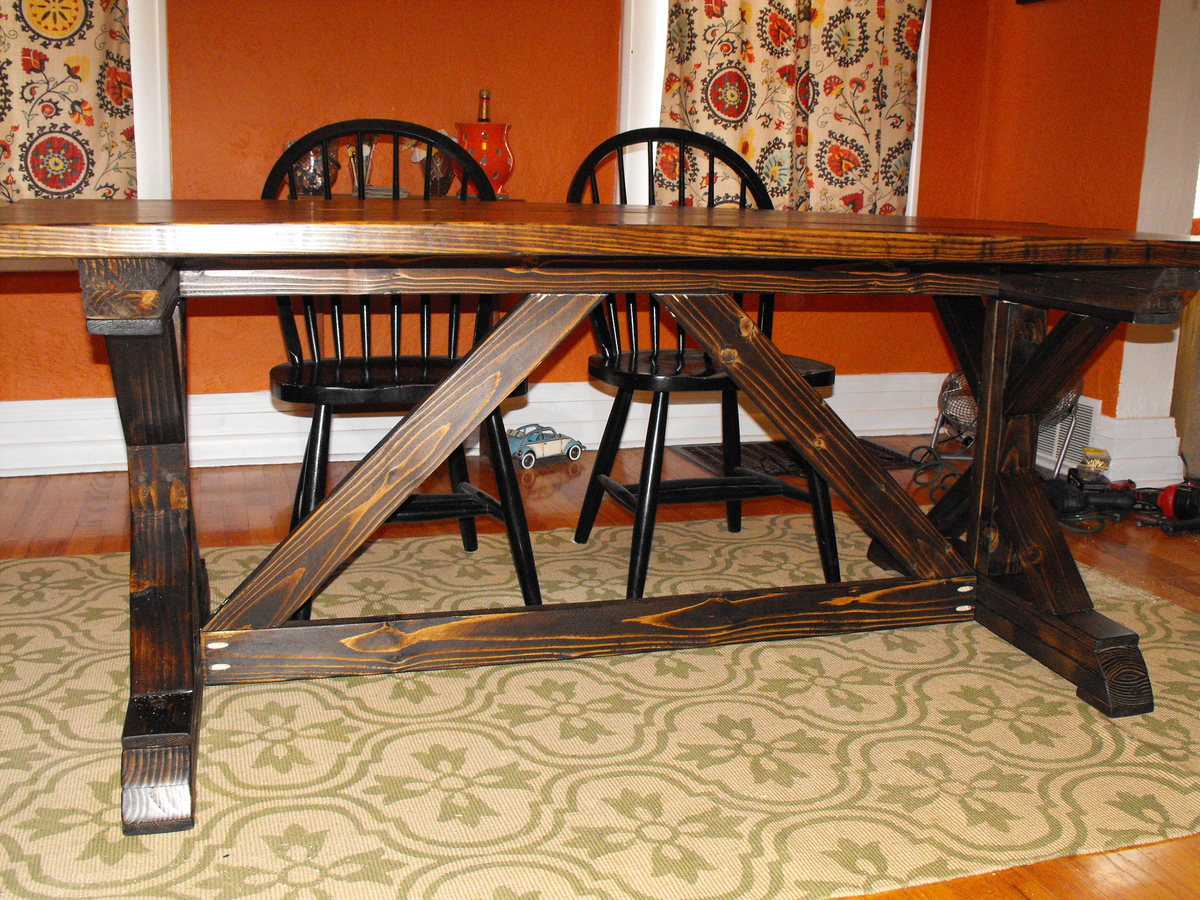
I started looking for a farmhouse table months ago at antique stores and on Craig's list but never could find exactly what I was looking for at a reasonable price. A friend had pinned an Ana White plan on pinterest. I sent my boyfriend a link to the plans for the fancy farmhouse table and he decided to build it for my birthday!!! It took him a few afternoons and turned out exactly how I wanted it. It was fun to build and not too hard. We shorten the length to 6.5feet to fit in the dining room. I used Minwax dark walnut 2716 as the finish. I topped it with two coats of poly. It fits perfect and looks amazing!