Coffee table
![](/sites/default/files/3154850011_1408400651.jpg)
Really simple project, modified the plans a bit but kept the same concept. Had a lot of bun building.
![](/sites/default/files/3154850012_1408400651.jpg)
![](/sites/default/files/3154850013_1408400651.jpg)
Really simple project, modified the plans a bit but kept the same concept. Had a lot of bun building.
My brother-in-law and I took on this project in the fall of 2016. I don't mean to brag, but it turned out amazing. #happywifehappylife
We adopted the plans from the Full Farmhouse Bed Plans. But we added two banks of cabinets and made it a lot taller.
I am brand new at building but my big boys requested desks in their room for distance learning. One fell in love with the flip down wall art desk and this is our take on it. The other wanted a bigger surface, so we used an IKEA desk top and built our own brackets. The boys loved being part of the building. I put all the right angles together with a Kreg jig, and attached everything directly to studs in the wall (I don’t trust my boys not to be rough on them).
After seeing Ana's plans and how Jen Woodhouse at "House of Wood" finished it, I wanted one too! Ana's plan are very thorough and Jen's blog showed a very detailed version of how she completed it. I made a few changes, such as the pull down drawer front to conceal the DVR player and I inset the top rather than have an overhang.
It was quite a bit of work but totally worth it! The piece turned out beautiful.
Thanks Ana!!!! Beth.
Makemeprettyagain.blogspot.com for complete details
Sun, 11/04/2012 - 05:28
Love this. Looks like a lot of work, but what a nice functional piece of furniture! I have always loved that style of drawer pull.
-Ann
I built this slightly modified version of the buffet for my wife. She LOVEs it and did a great job finishing it with Annie Sloan paint and a wax (she's the finishing expert in the house). Plans were right on and I'm very pleased with the final product. Thanks for a great website and plans! Getting ready to undertake a dining room table now.
I can't believe I made these two picture frames thanks to wonderfully simple plans! We bought a painting in Italy 16 years ago and I was never able to find a ready-made frame beause of the unusual dimensions and I didn't want to pay for a large custom frame. Now I have one! The smaller frame accommodates an 8x10. Both frames are made out of the $0.89 furring strips at Home Depot.
Tilt-out trash/recycling cabinet made with aspen stained with a combo of Minwax Natural and Golden Oak.
Sat, 10/31/2020 - 13:06
Love this. I don’t suppose you have plans available to share.
This was the 2nd table I built. I made this one for my daughter. The table I built for my wife is 10 inches wider.
Followed the plan perfectly. A little too perfectly, as the table turned out so well that I have To go back and rebuilt the iSideTables ;)
Same as the plan, used Kona stain, but I left it on for 2 coats.
I made this bed for my son and his girlfriend.
I used pallet wood and new pine for this.
I also added two metal strips to the headboard for decoration.
The headboard is connected to the siderails with 2 bolts straight through the side of each leg. The siderails are on the inside of the headboard.
The siderails are connected to the foot of the bed with 2 bolts straight through the foot into the end of the siderails. I added a third fake bolt to balance the look.
In reply to Lovely Pallet Bed! by earthbybike
Wed, 10/15/2014 - 07:25
Hi EarthyByBike,
I had previously built the queen farmhouse bed and this bed was modeled from that one. I basically ran the boards vertical instead of horizontal. It uses most of the basic techniques as the farmhouse bed. I took the ideas from the farmhouse bed and then just changed it up a bit.
I can't remember the exact height of the bed but I think it was 165cm.
Mon, 10/13/2014 - 17:17
How high is the finished height of the headboard?
Thanks!
In reply to Headboard of the Queen Pallet Bed by earthbybike
Wed, 10/15/2014 - 07:25
I can't remember the exact height of the bed but I think it was 165cm.
Built from Shanty2Chic Industrial Farmhouse Bench Plans
Pine and Main builder for the South Florida Area.
Super easy to follow your plans. Had to modify a bit as lumber yard was out of 1x10s.
Piece of cake compared to building the table. Added hardware and stain, just have to put on the finish.
Sun, 12/30/2012 - 06:51
That looks great! I want to make this bench very soon then also make the matching table... where did you get the hardware for it? Thanks!
This is a loft style bunk bed. the original plan has the bottom mattress resting on the floor. instead of leaving the mattress on the floor we raised it up to the level of the bottom ladder. In the original plan the bed frame is only 48" high and we changed it to 58".
This was my first "major" furntiure project. I used the plans and modified for a 36" fireplace insert.
Thrilled with how this turned out!!! Thank you!
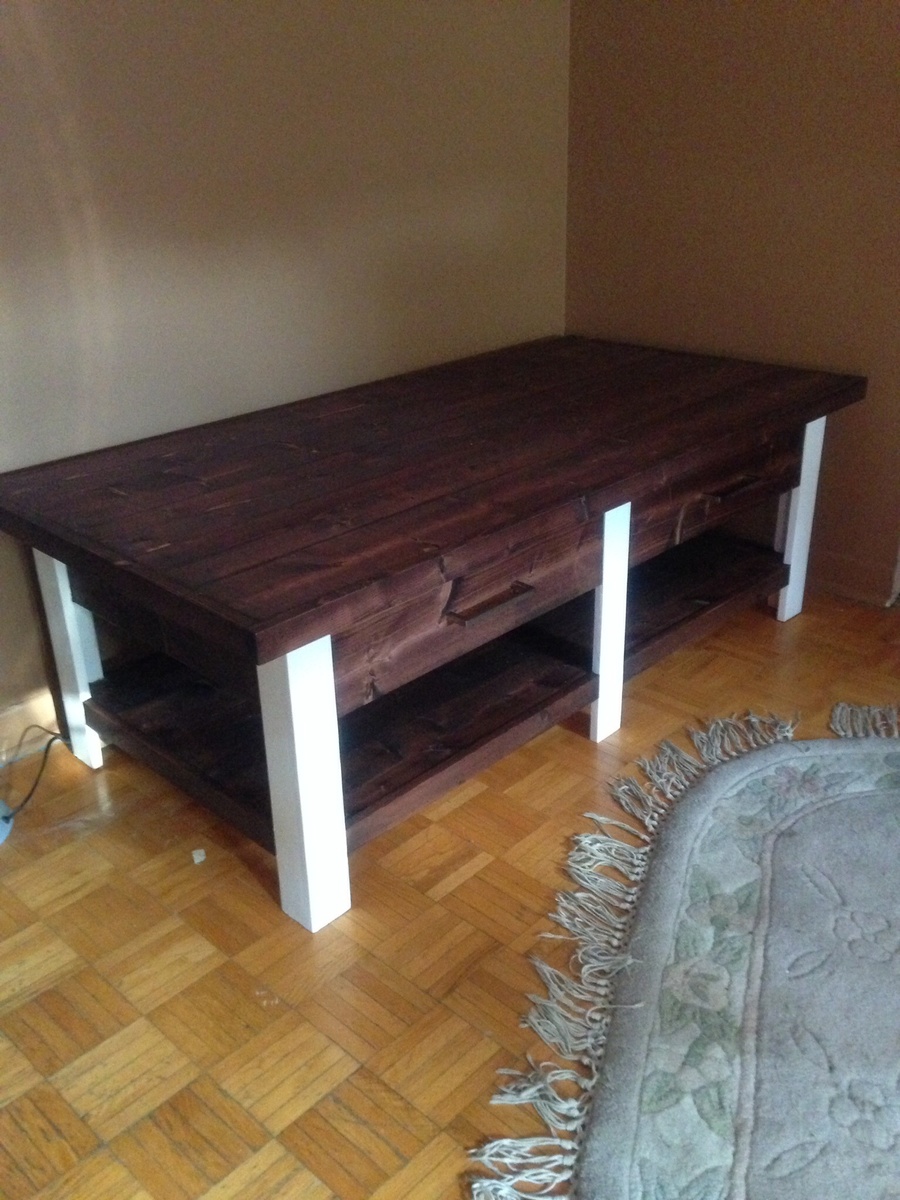
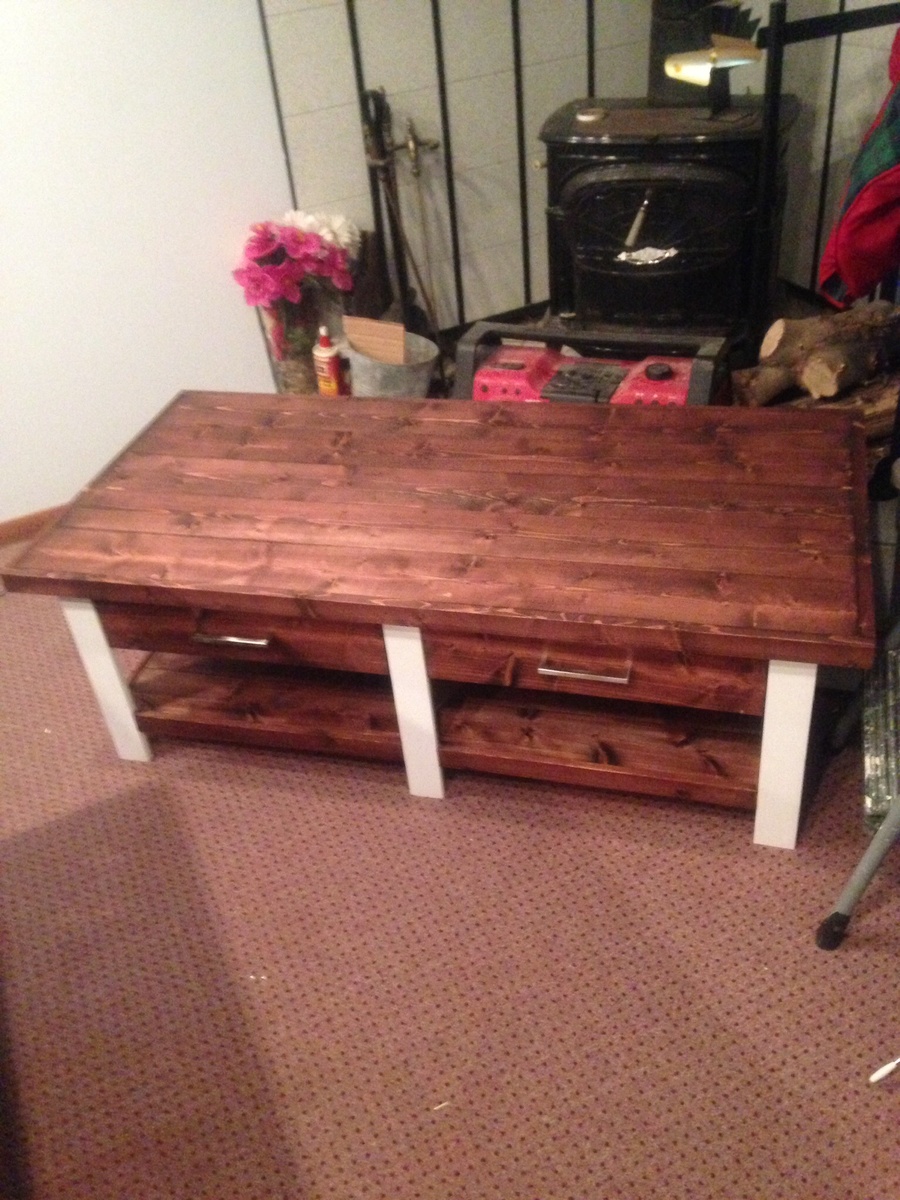
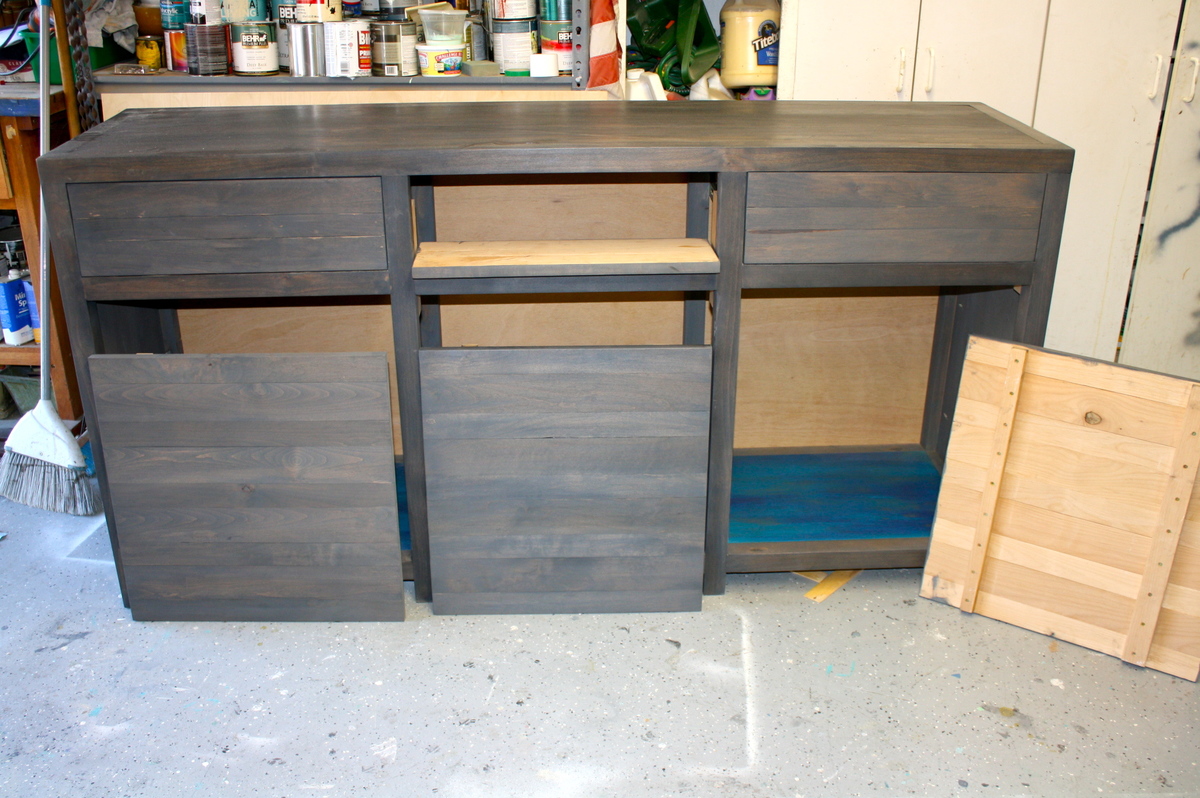
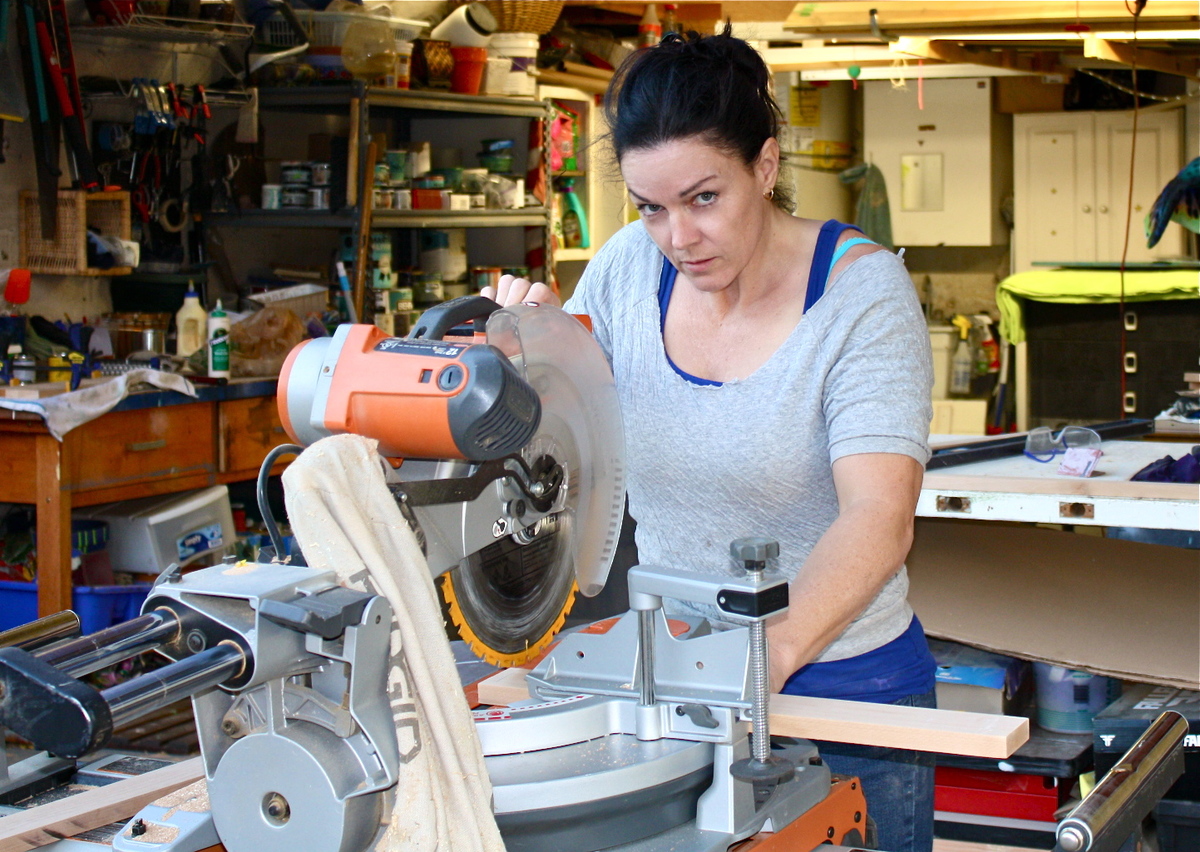
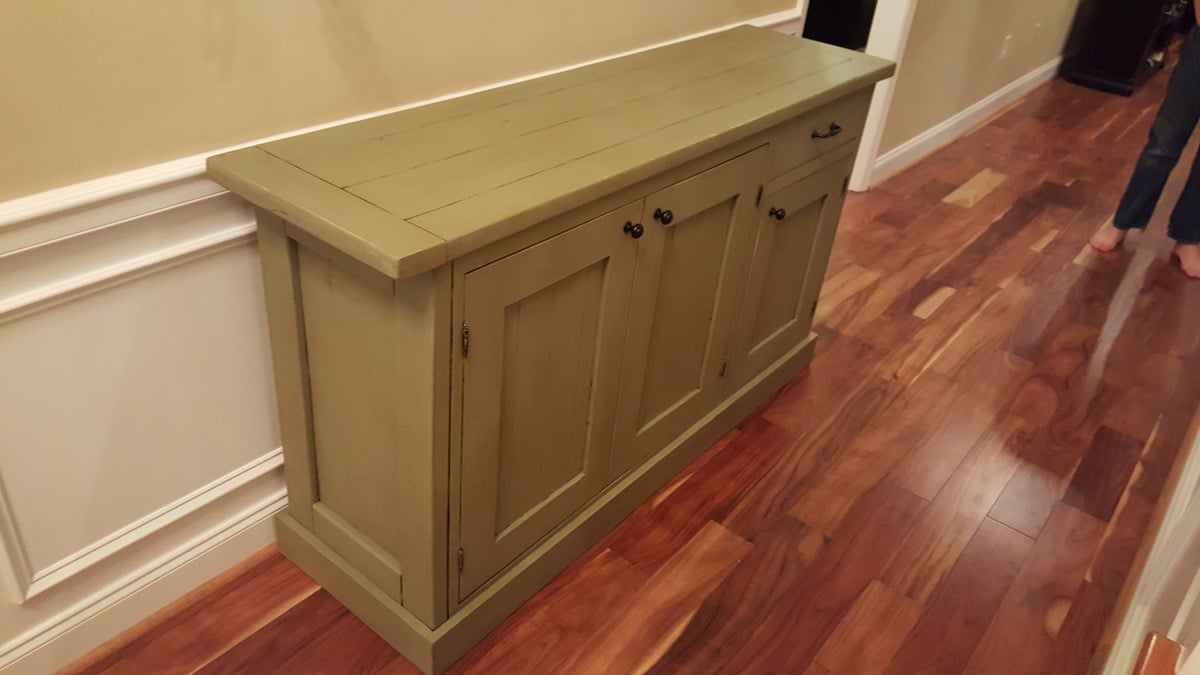
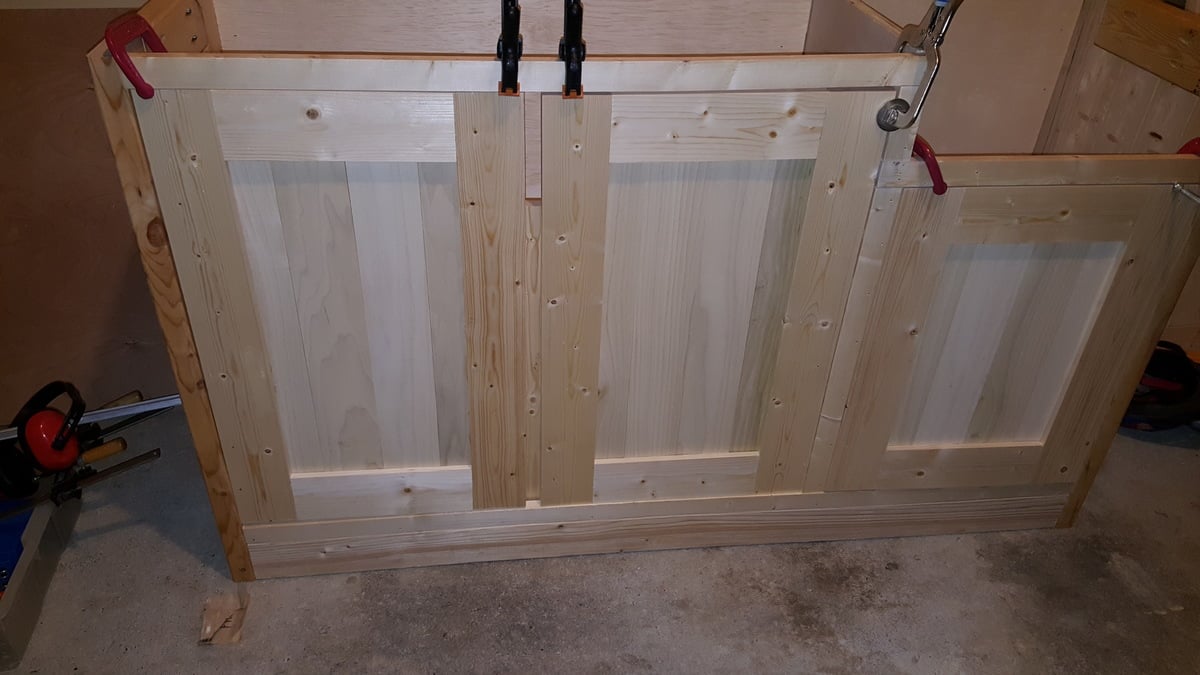
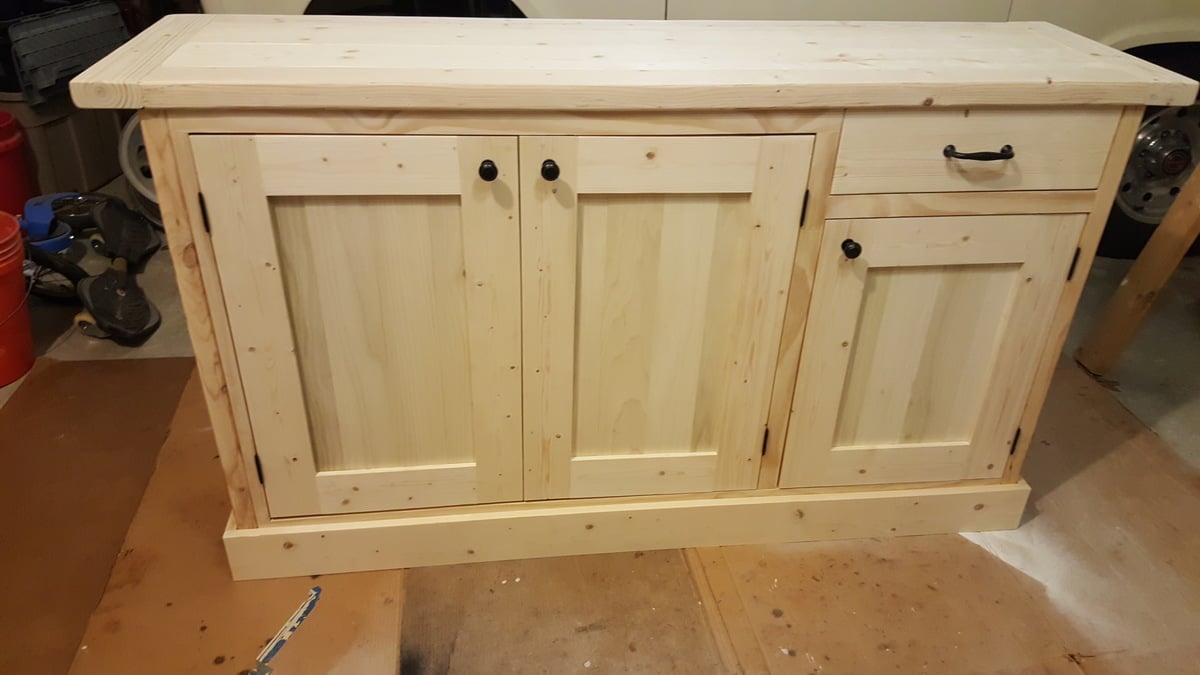
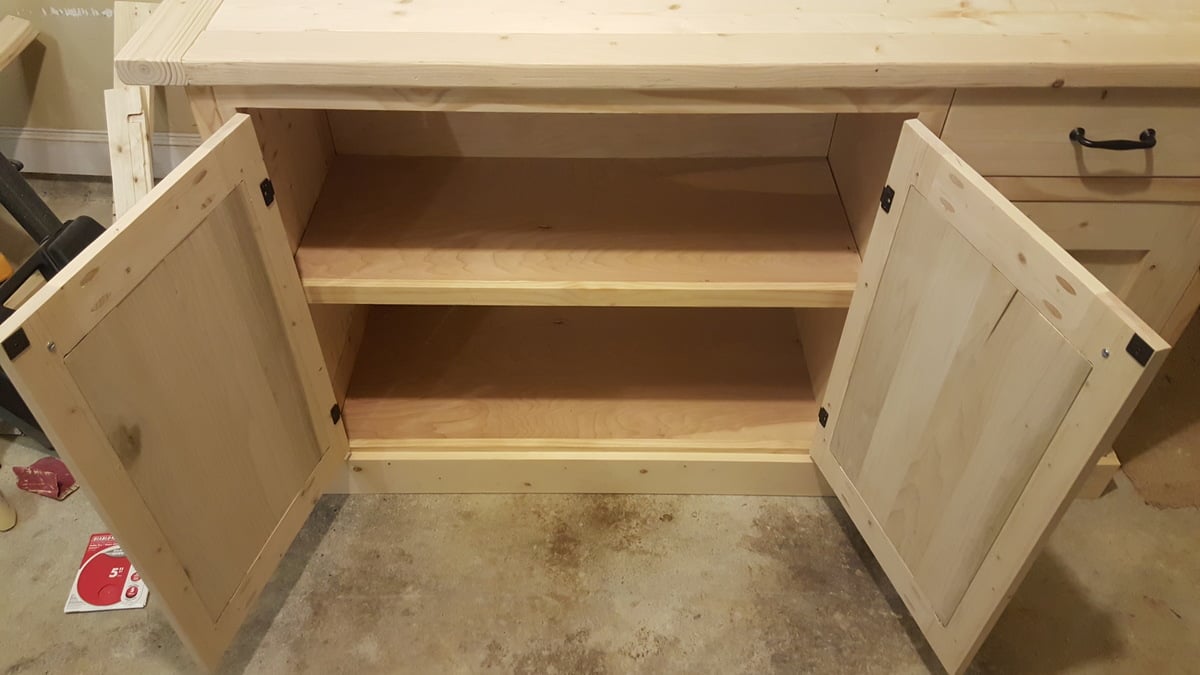
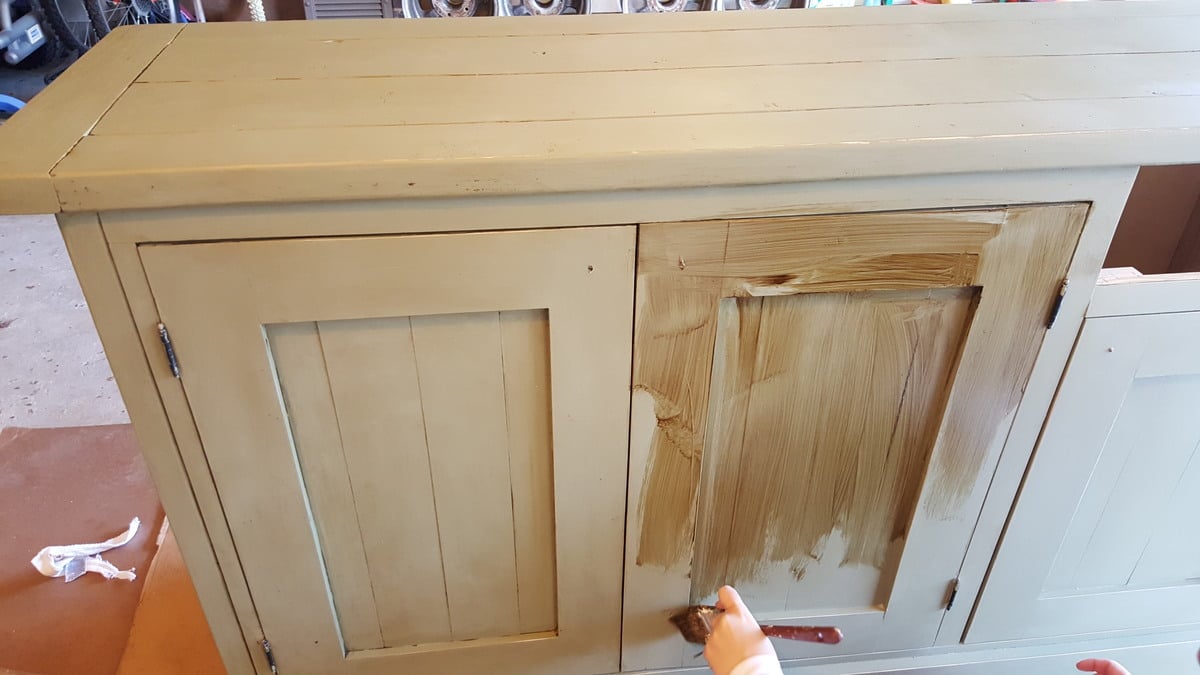
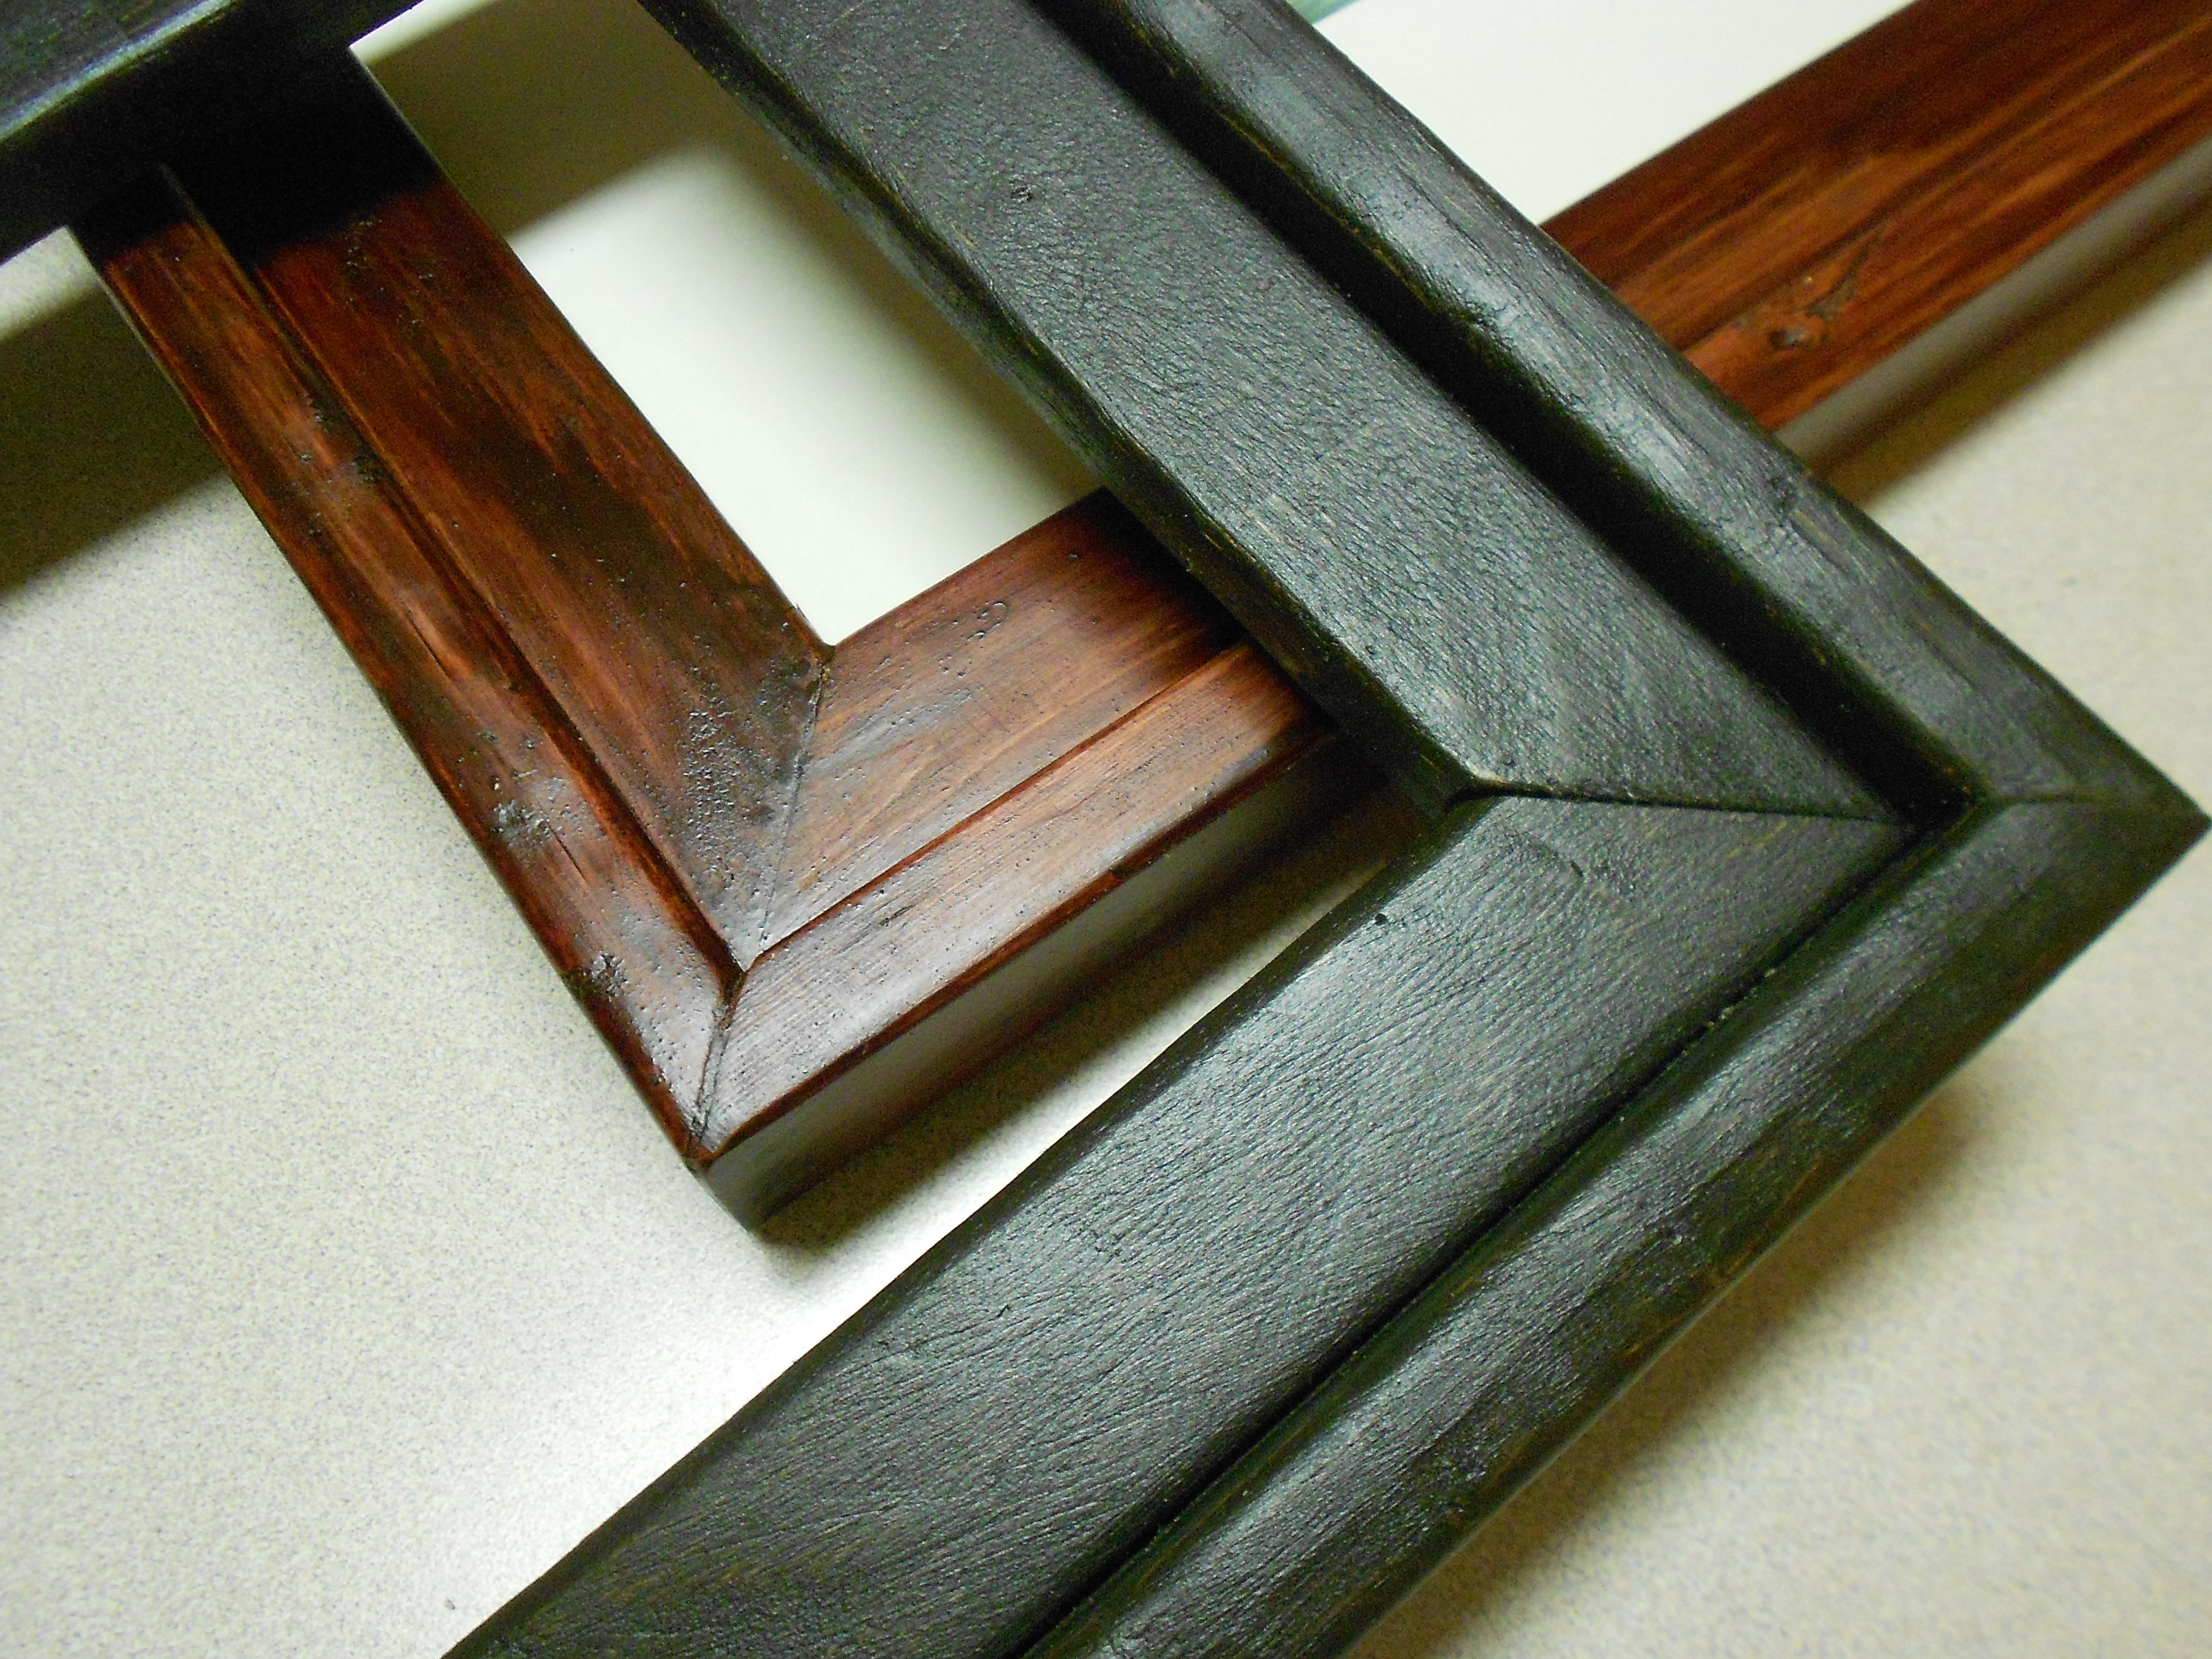
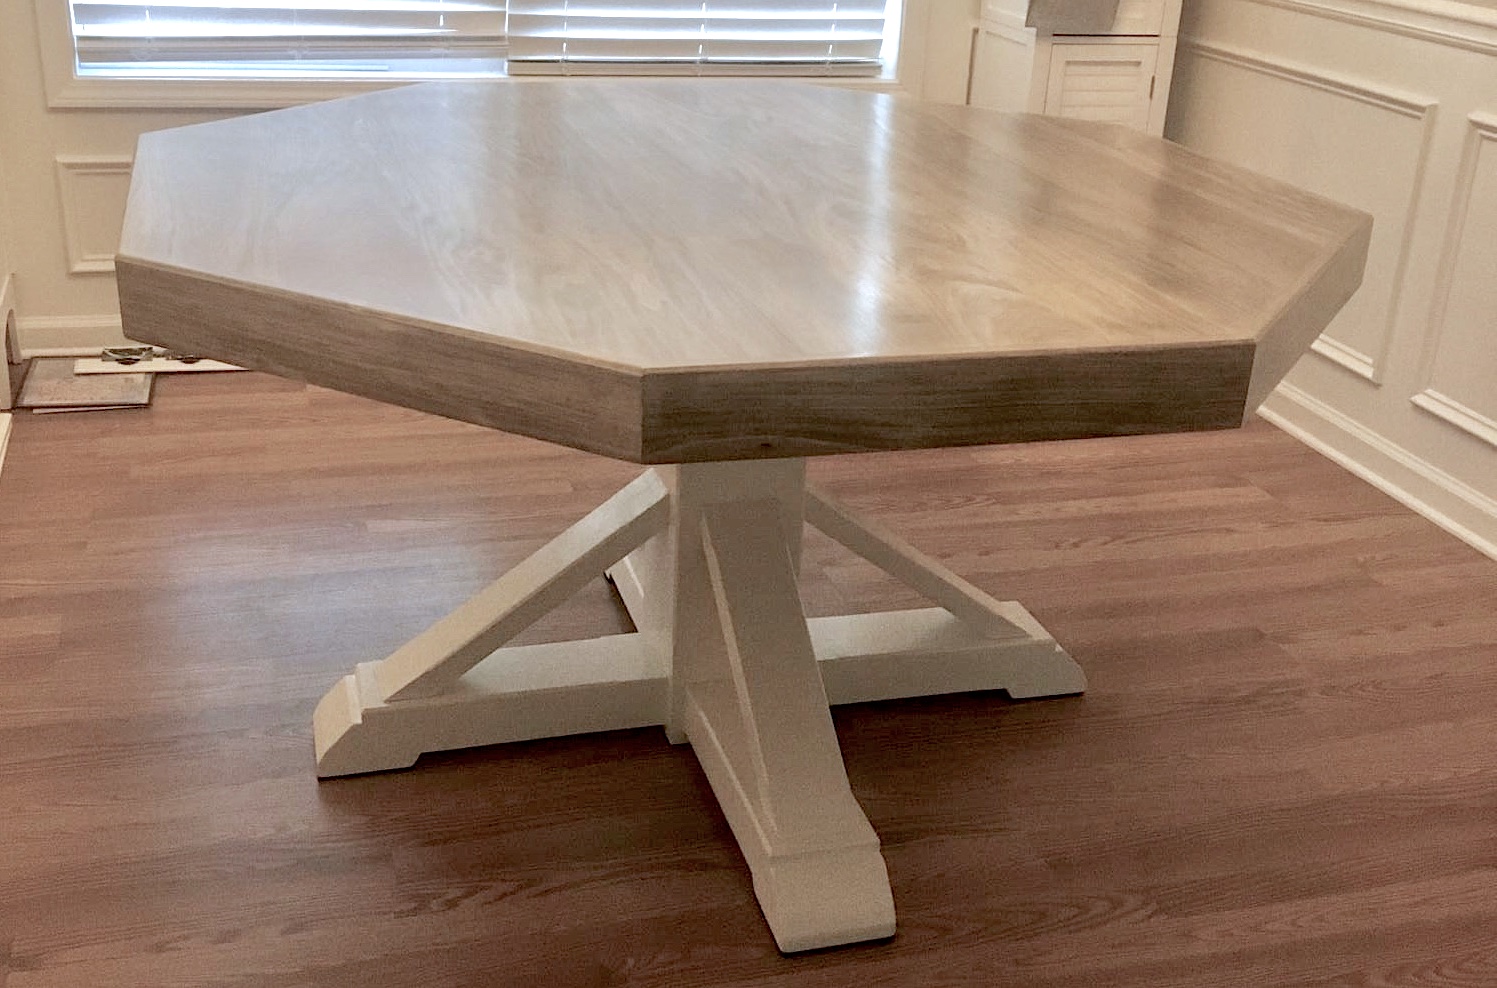
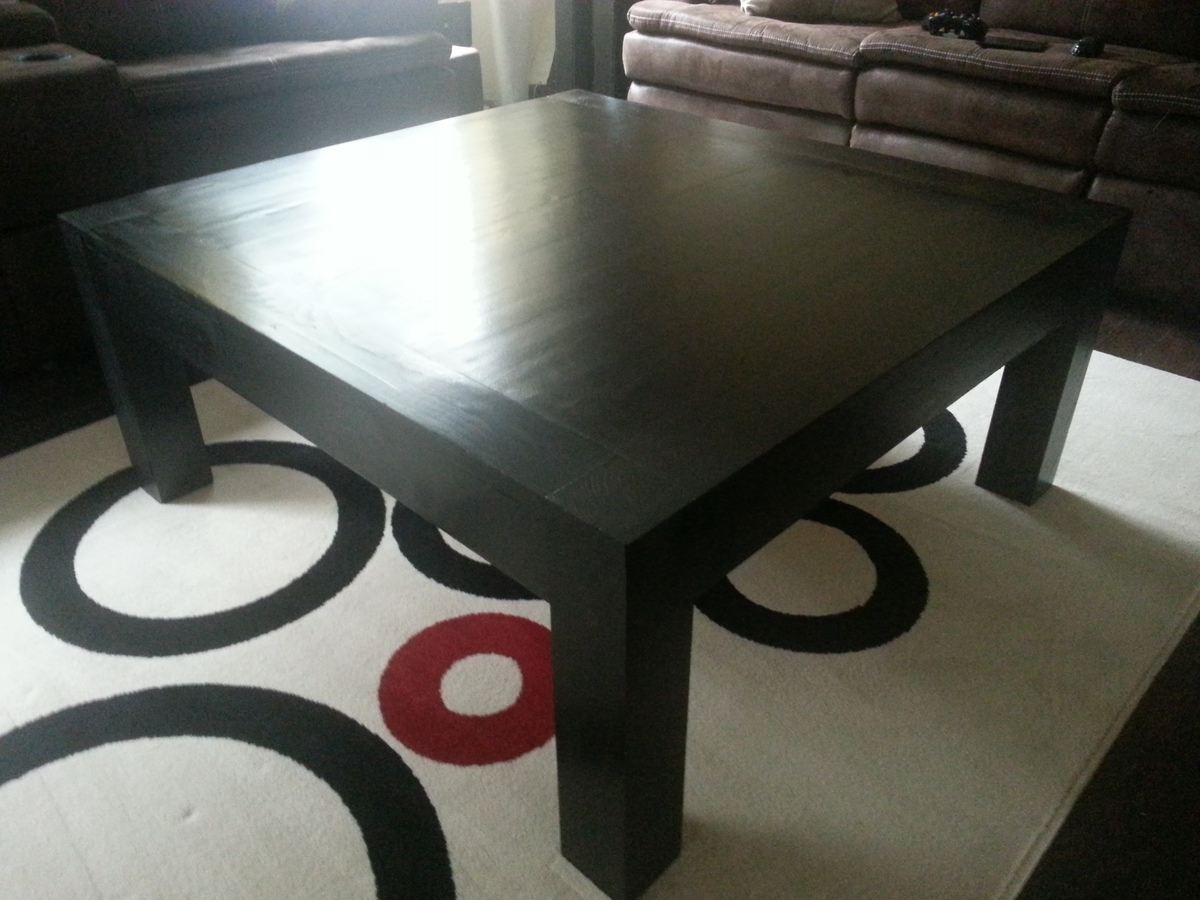
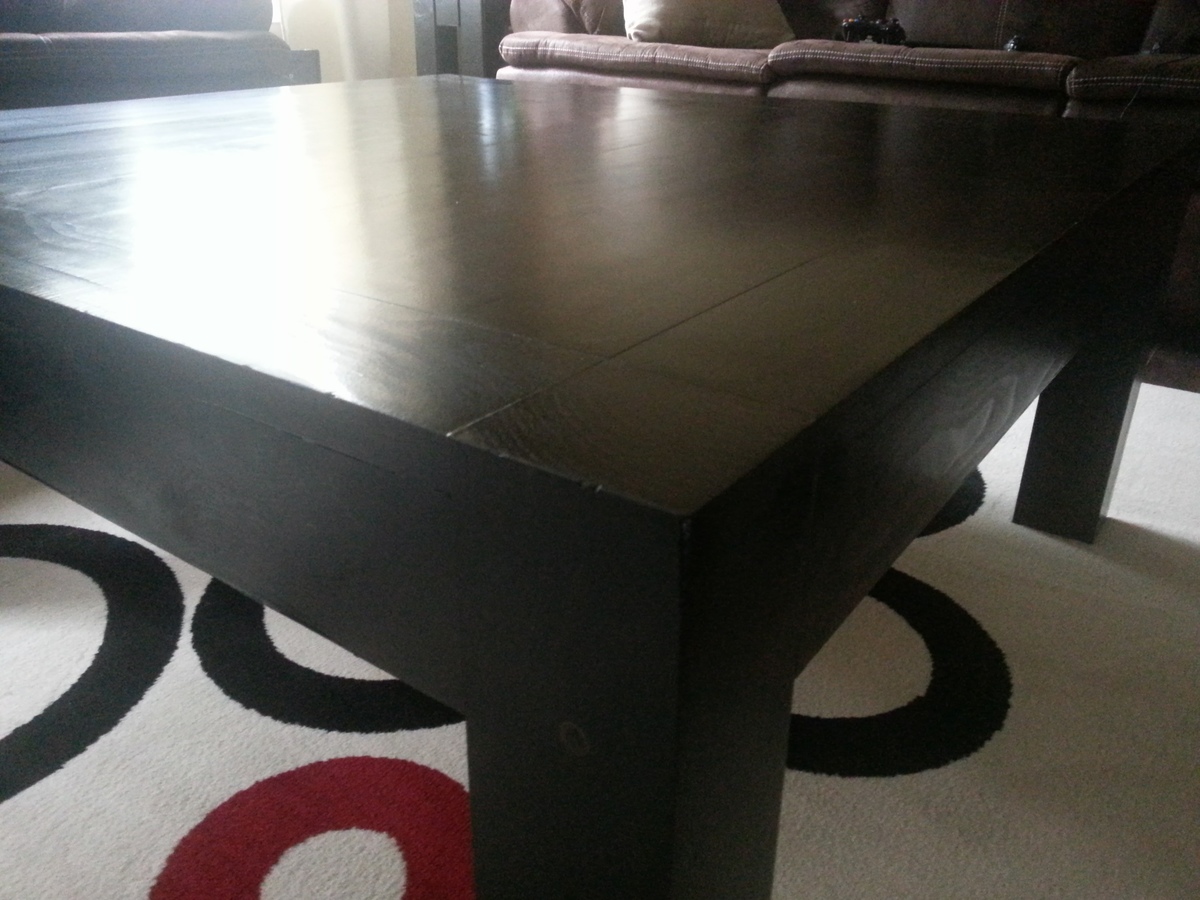
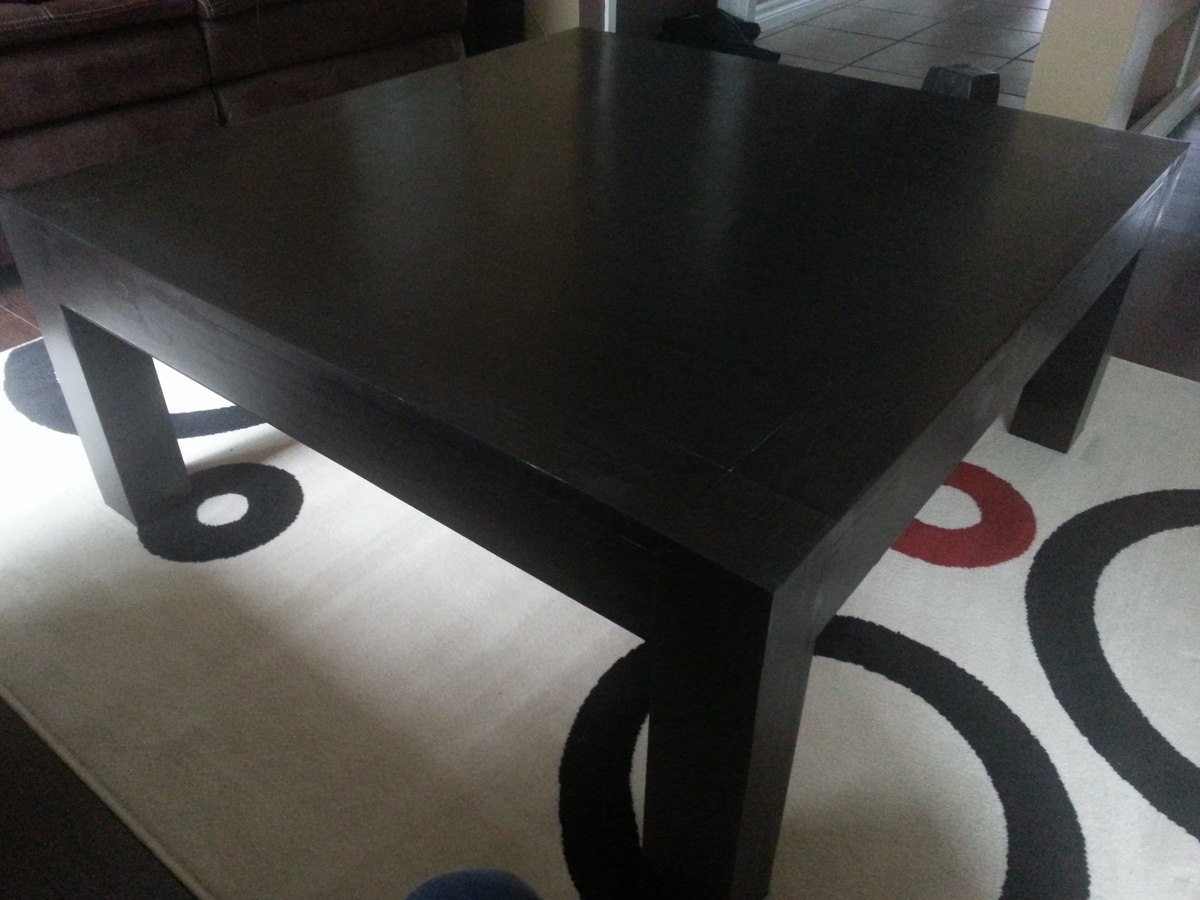
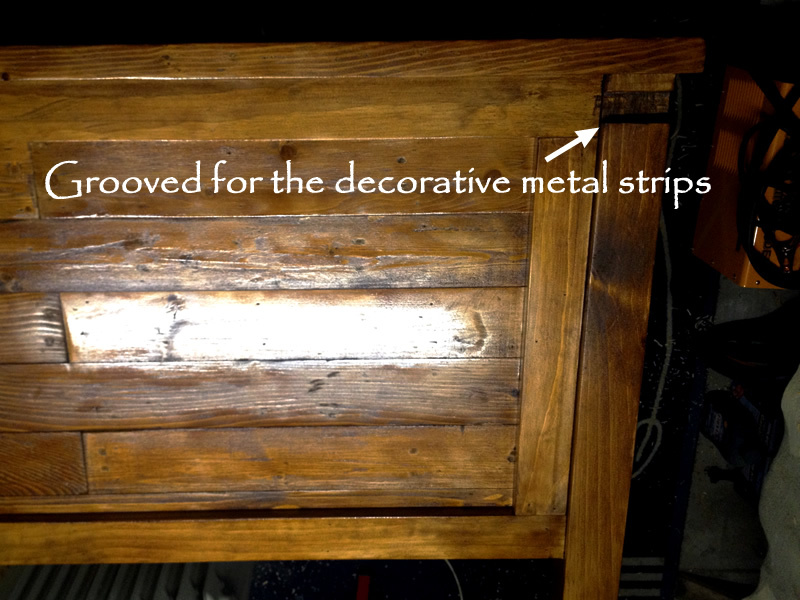
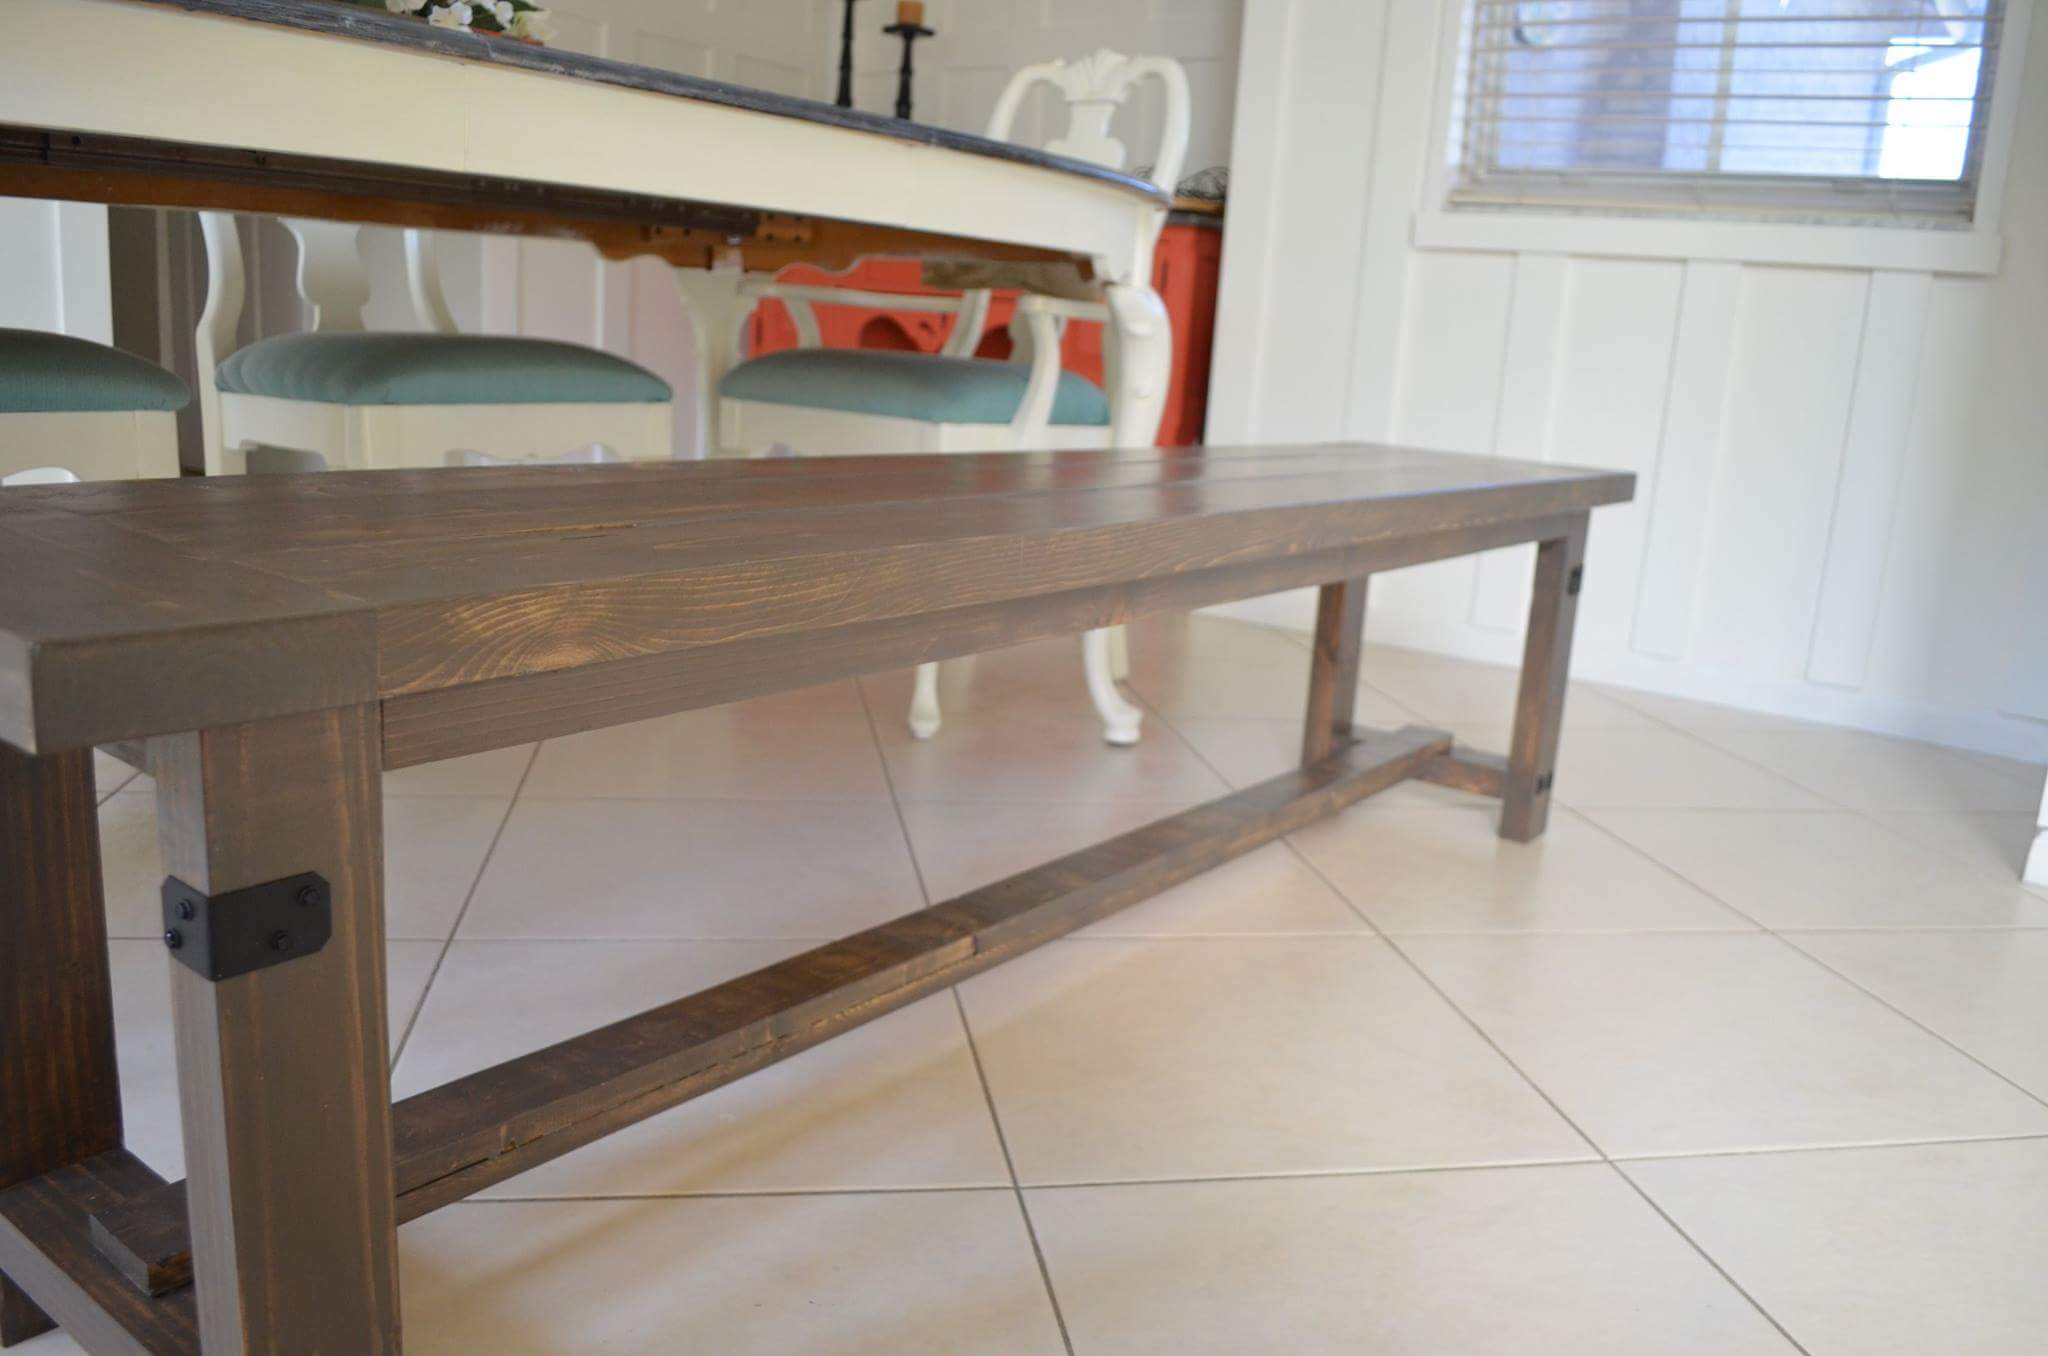
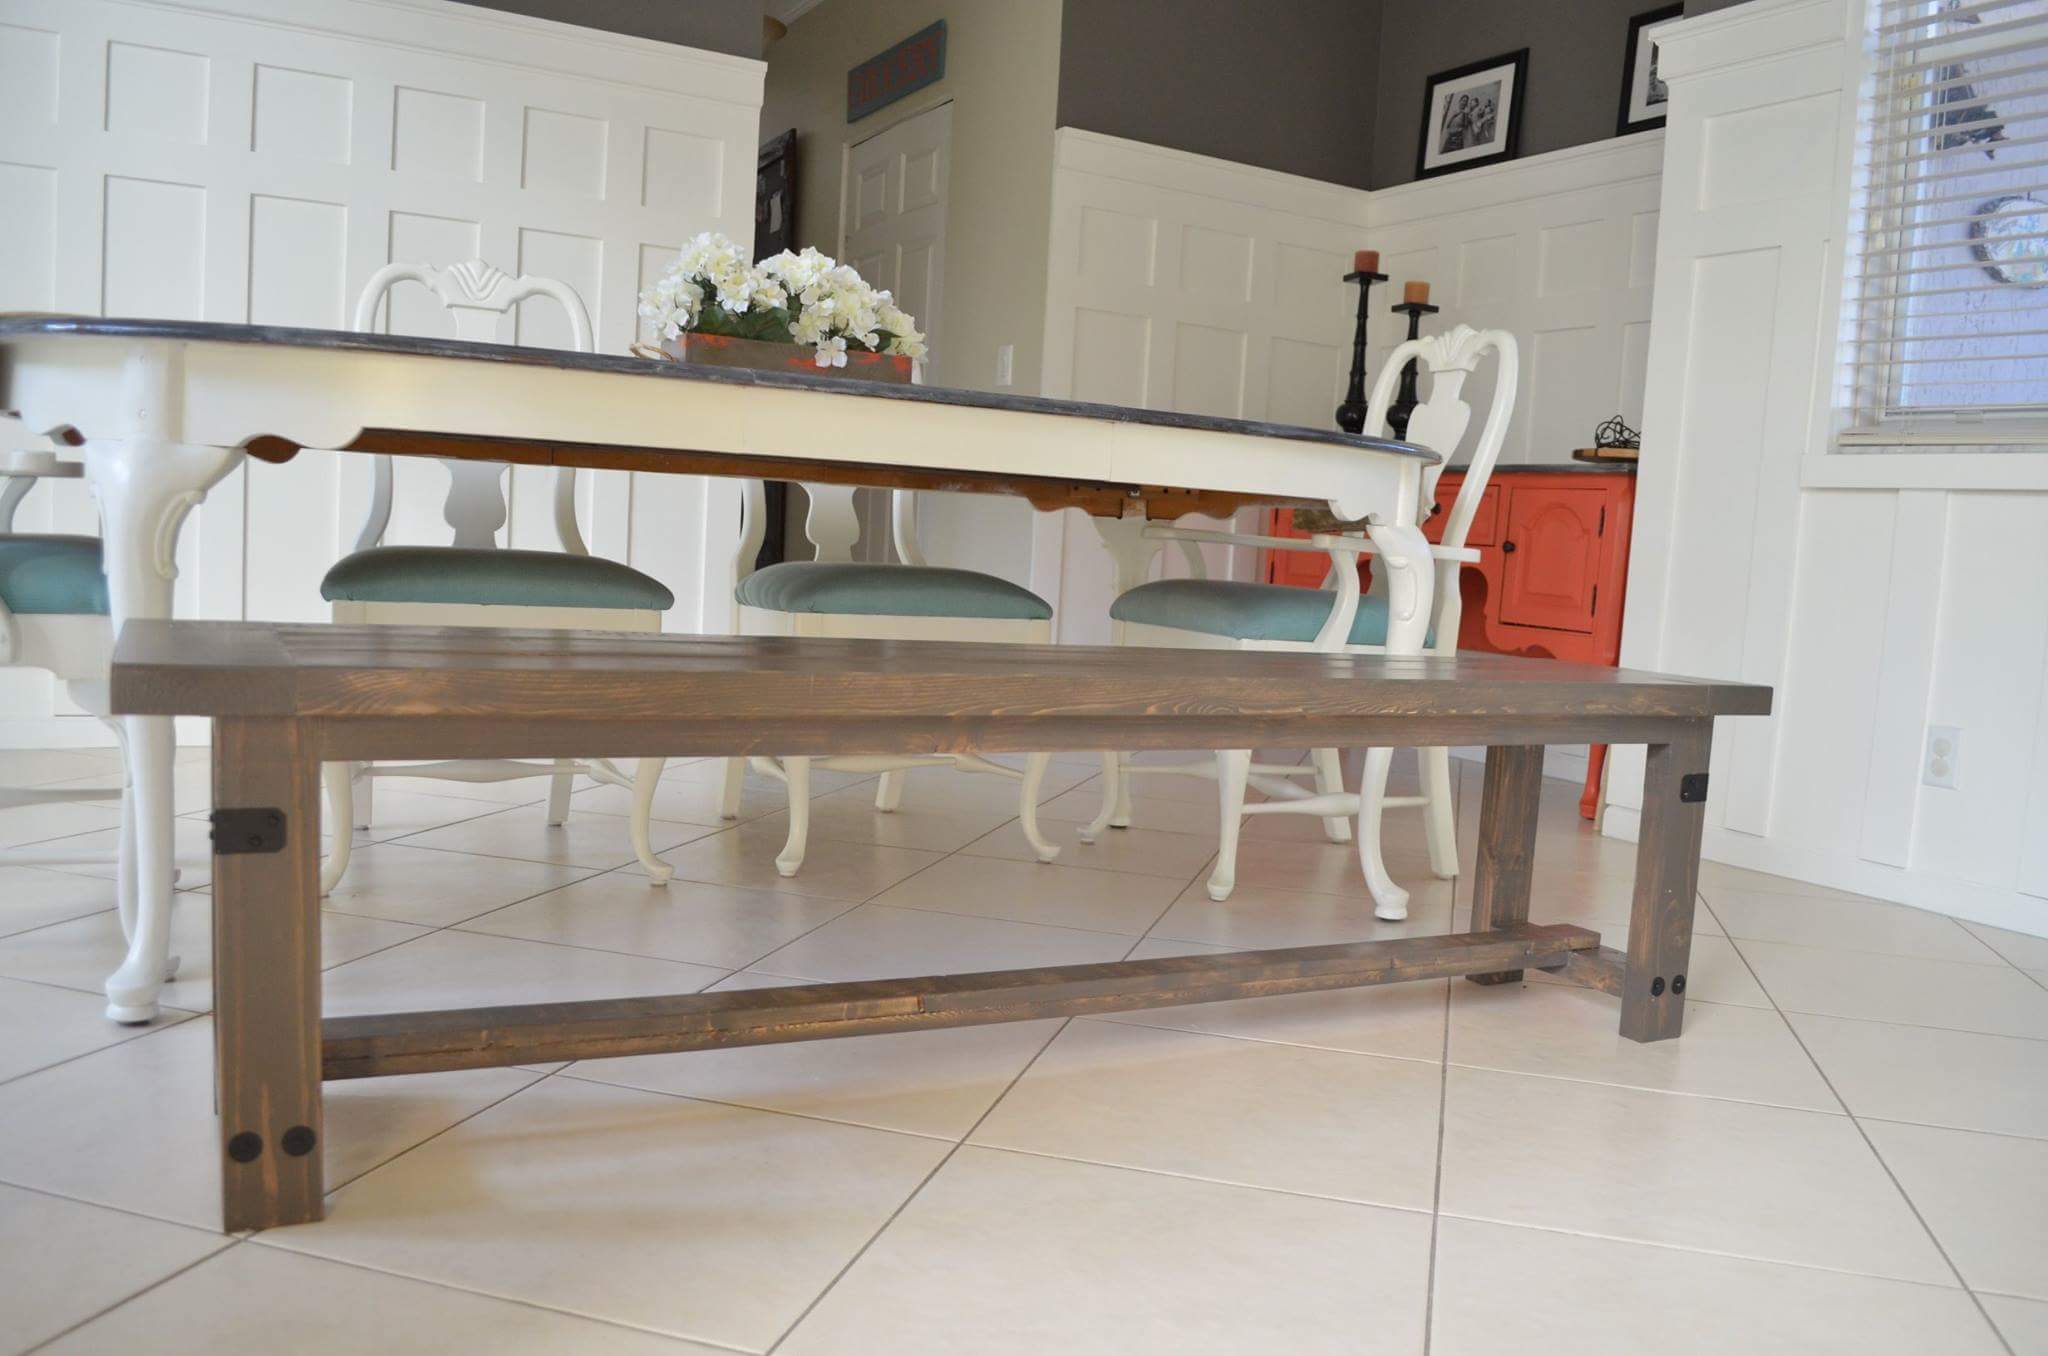
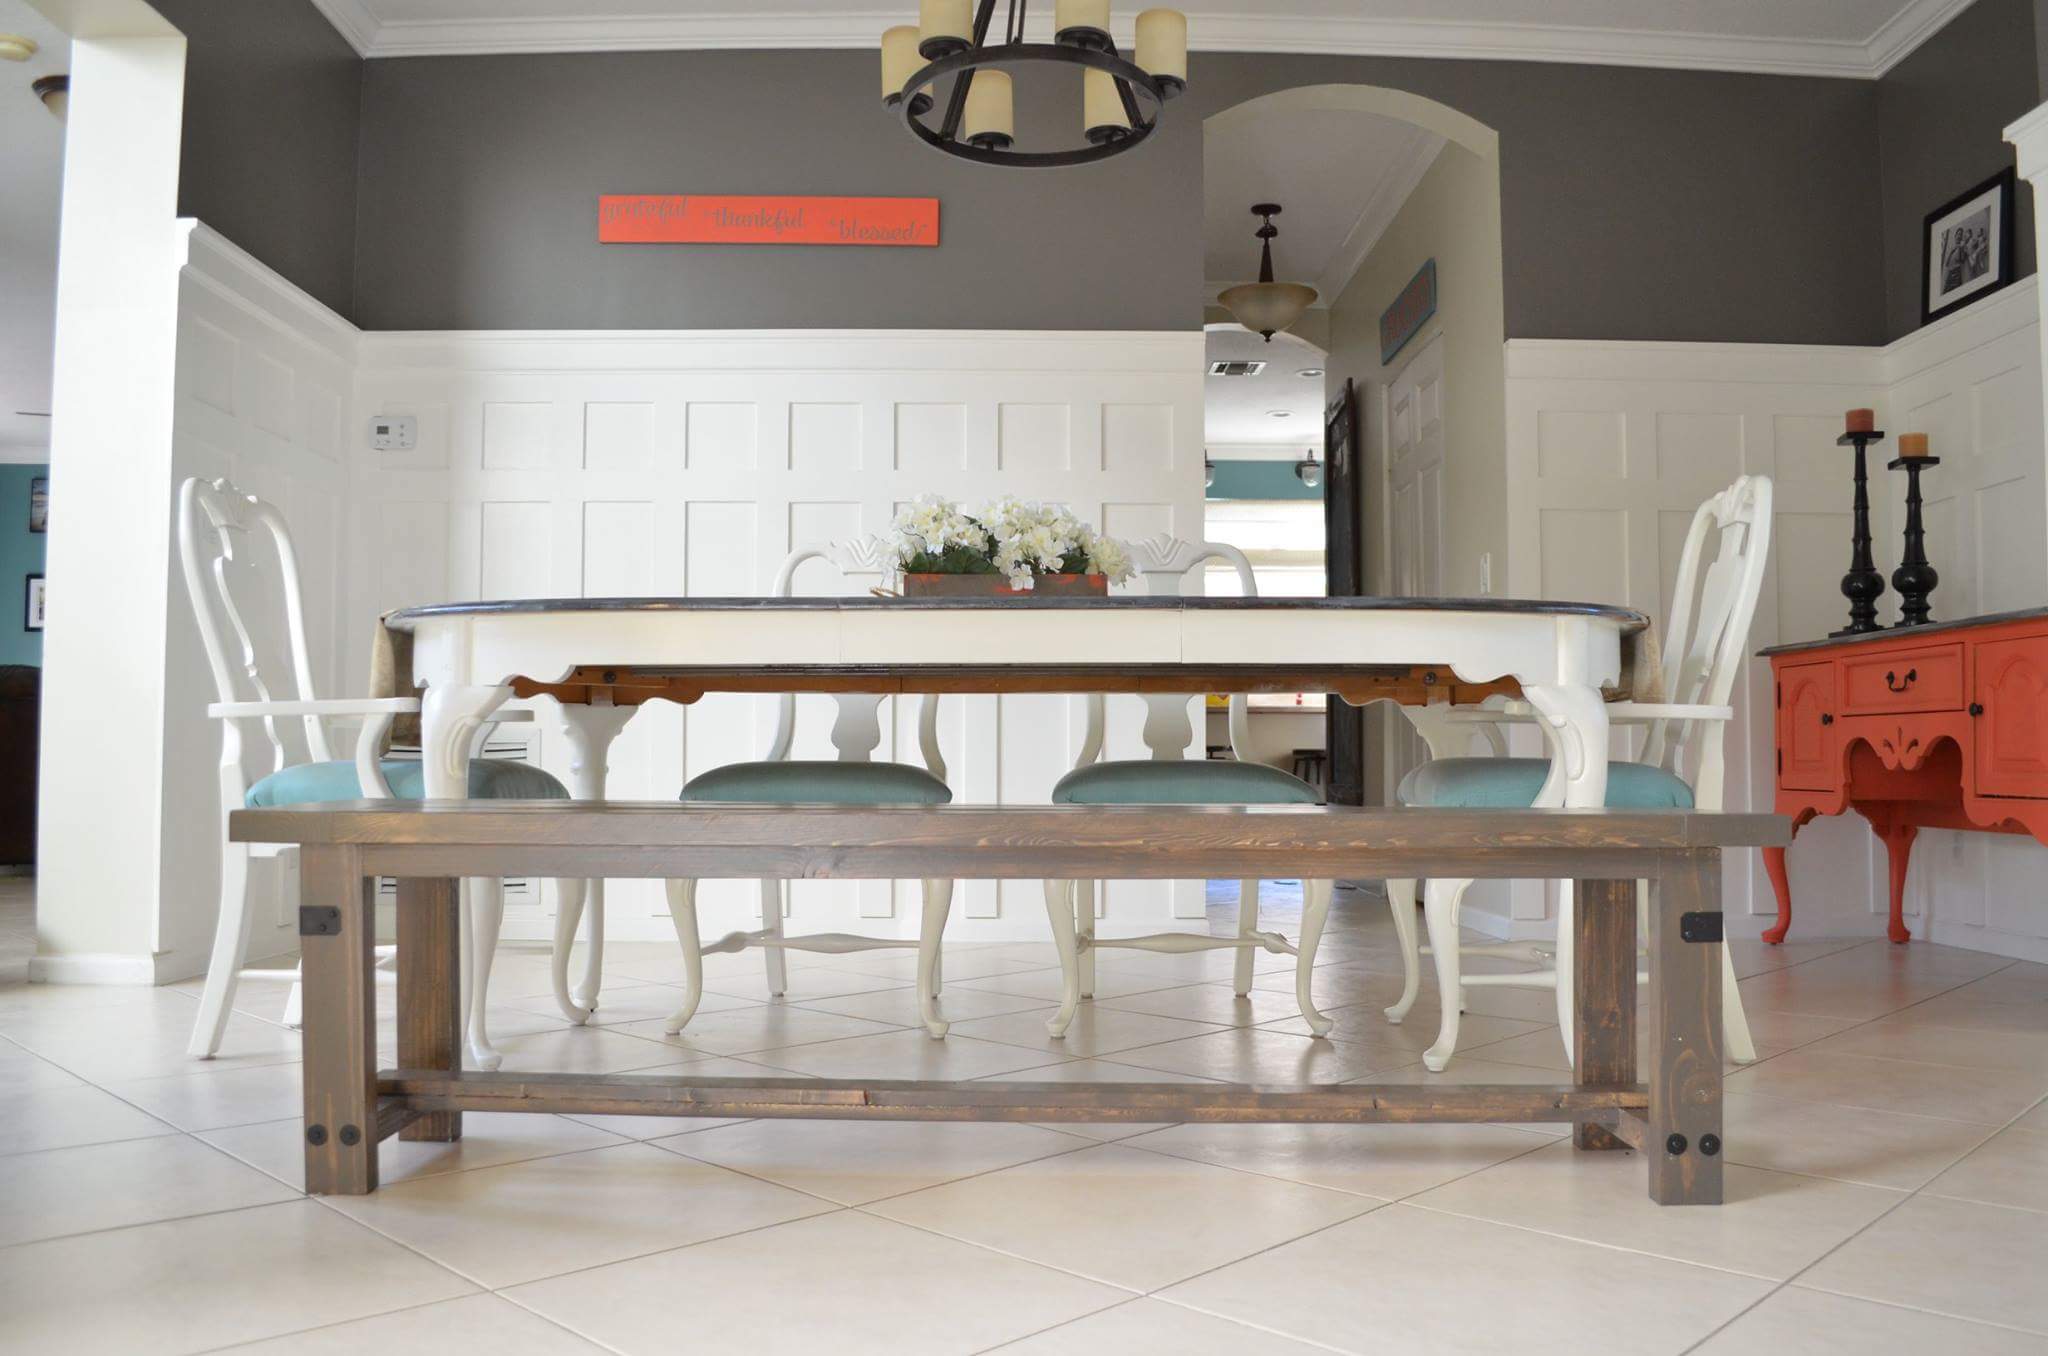
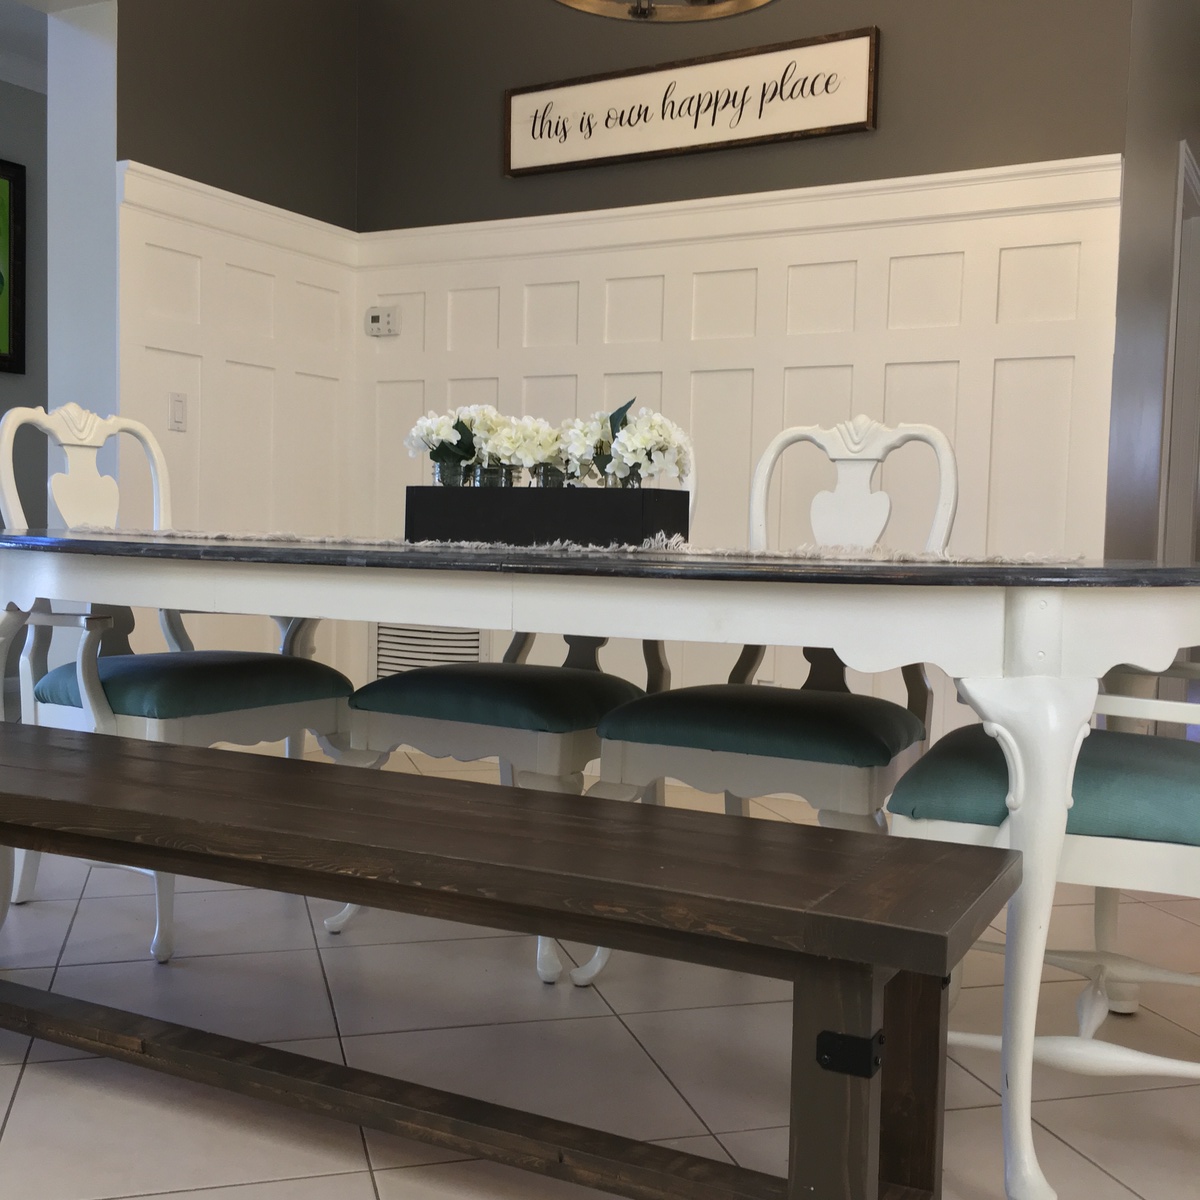
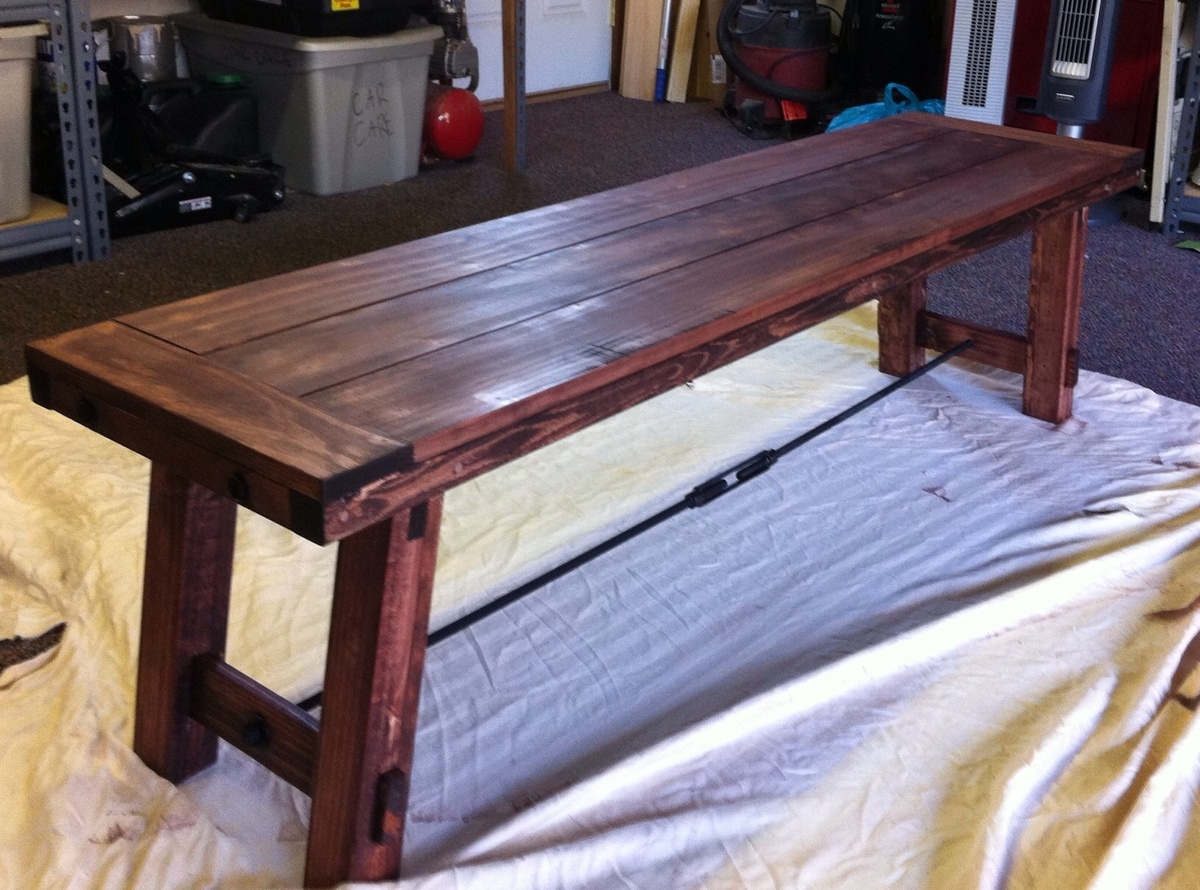
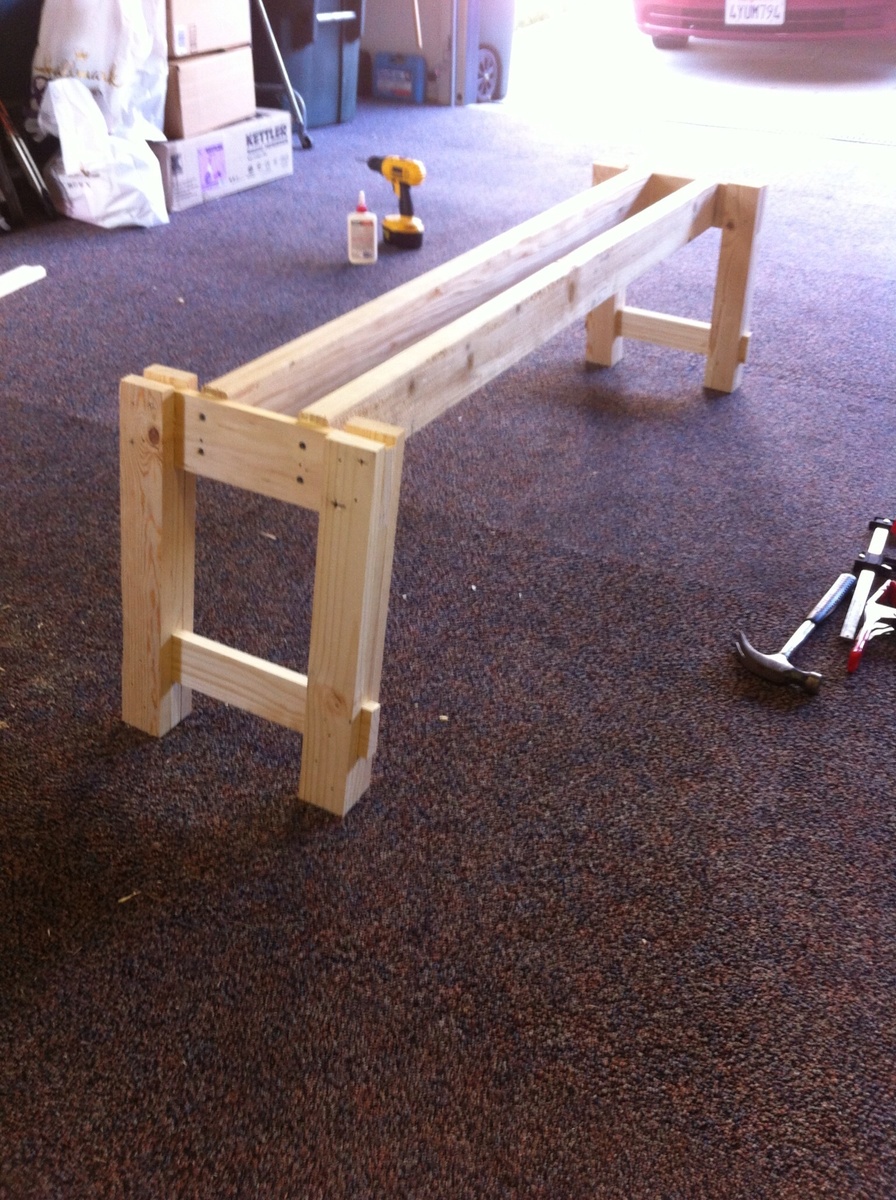
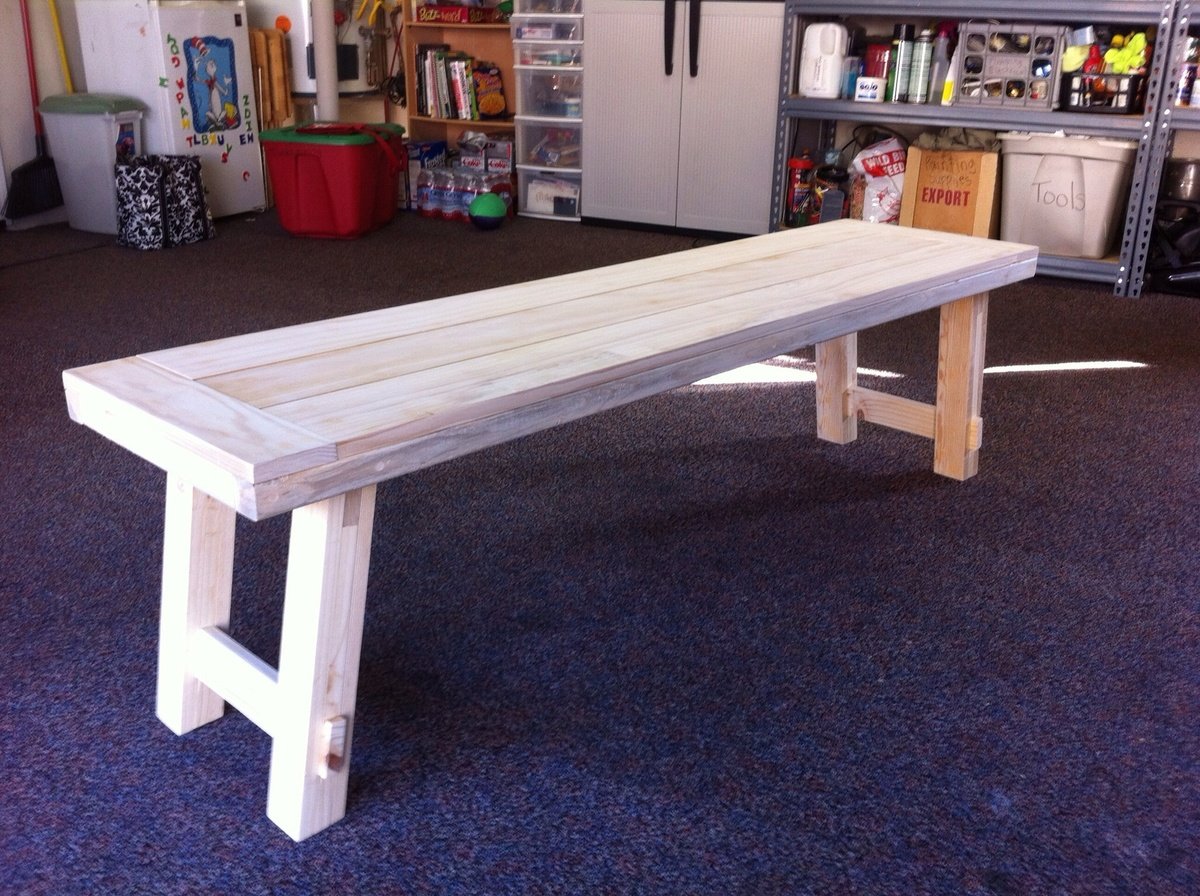
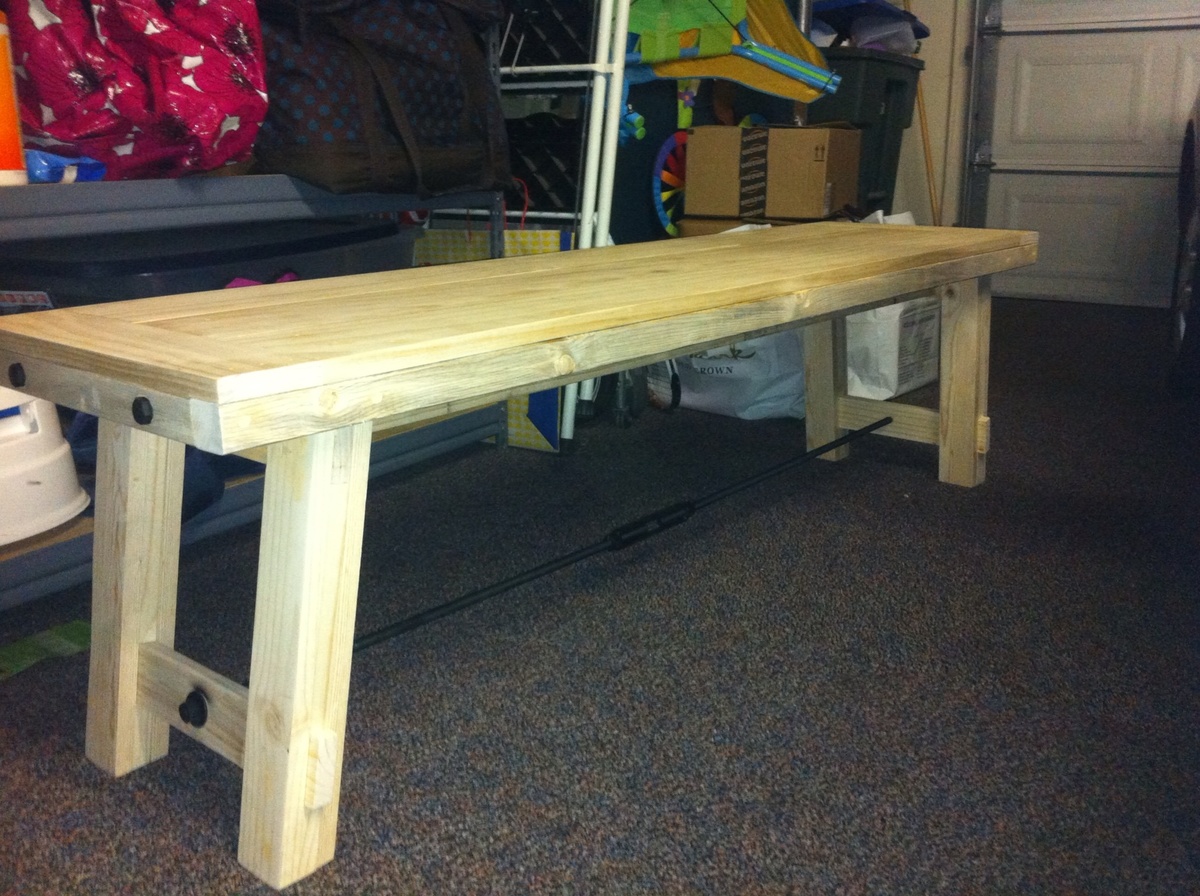
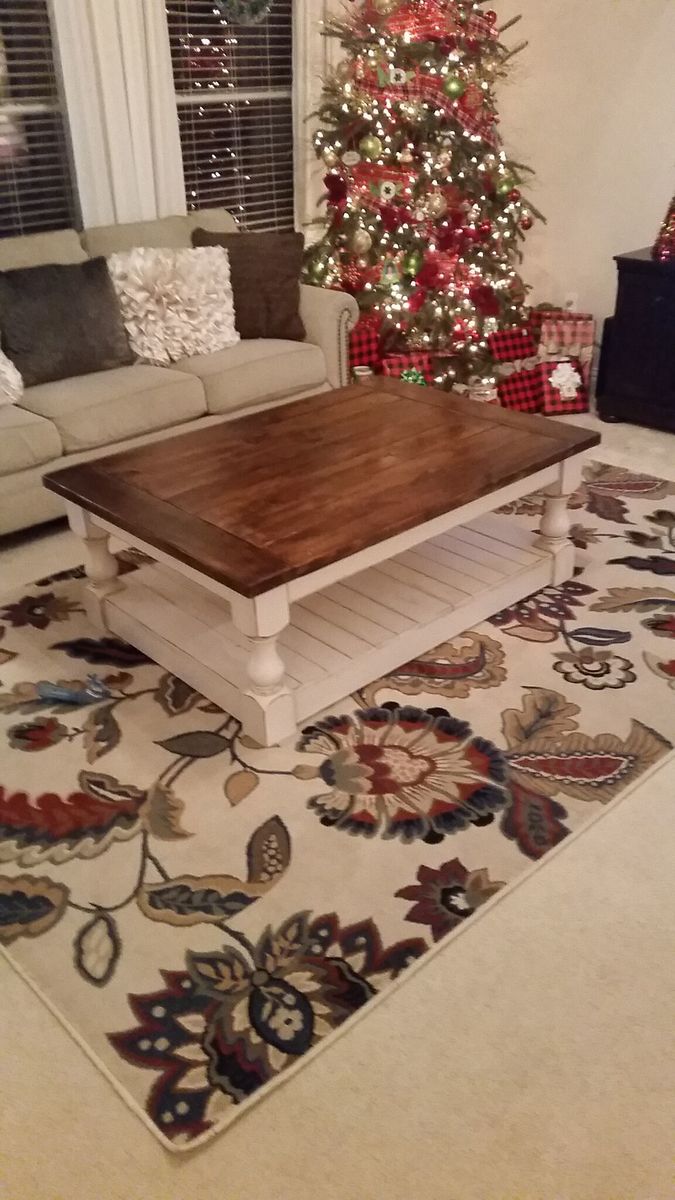
A couple of years ago I built the farmhouse dining table with matching bench, so when I showed my wife a picture of the Corona Coffee Table, she was all about it. I lengthened the coffee table by about 6"-8" inches to fit our space better. The entire table is yellow pine. I used 2x6 for the top. Ordered the legs from Osborne, $30 each plus shipping (searched for other supplier to compare pricing, but had no luck finding that leg anywhere else). For aprons I used 1x4. Instead of plywood for the base I used 1x4 furring boards (the furring boards were only aprox. $1.50 each for 1"x4"x6', and they had rounded edges which helped add more texture when completed). For the middle and end pieces of the base I use 1x6. Assembly was completed using wood glue and the Kreg Jig for pocket holes. Top was stained using an old t-shirt with aprox. 5 coats of Early American stain, 2 coats of Jacobean, then 2 coats semi-gloss poly spray. Base finished with 2 coats of Spa White by Amy Howard chalk paint (Annie Sloan competitor sold at Ace Hardware, seems to work the same, still costs around $30+ per quart). At this point my wife took over. She roughed up the base with my sander, applied the clear wax that protects the chalk paint, then she went back over the sanded edges with brown wax to complete the aging.
So I bought this print, sized 16" x 20", from an independent photographer. My husband said I could get it only if I built the frame, so I was on the hook.
I used pine boards and glued and clamped the outside part since I don't have a nail gun. I sanded the really rought parts, but probably could've sanded more. Finished with Valspar's black spray paint and used mirror clips and 1" wood screws. Blue had glass pieces in 16" x 20" for less than $6. Hung with D rings and picture hanging wire.
Time estimate includes time for paint to dry and rigging up all the hanging hardware.
I used the Seaten Console Plan as the basis for this project. I made the legs longer to raise the desk up to the height of a computer desk. I also added extra sections to the top to proved extra storage areas for books, etc.
Sat, 09/06/2014 - 18:30
Did you build this to be the height of a standing desk? It looks great either way! I am looking for a good plan to modify. I like the staging of Ana's website on the monitors. :)
Sun, 09/07/2014 - 08:26
No, it is still a regular height desk. The legs are actually 28 1/4 inches. This makes the desk right at 29 inches. I set the monitors up on the top because I like them a little higher and it frees up the desk space. It makes them comfortable viewing for me. I appreciate your nice comments. If you want a nice but simple desk, this is the perfect plan. I started building this one right after I saw it on the site.
Thanks for the plans! This dollhouse is great, my daughter loves it. I changed the plans slightly to make an 'open floor plan on the bottom and added a column in the front for support.
Comments
matthewdavies
Mon, 09/01/2014 - 16:24
Why isn't anyone commenting
Why isn't anyone commenting on my table. Does no one like my table.
NickC
Tue, 01/04/2022 - 10:52
Table looks great! I might…
Table looks great! I might give it a try.