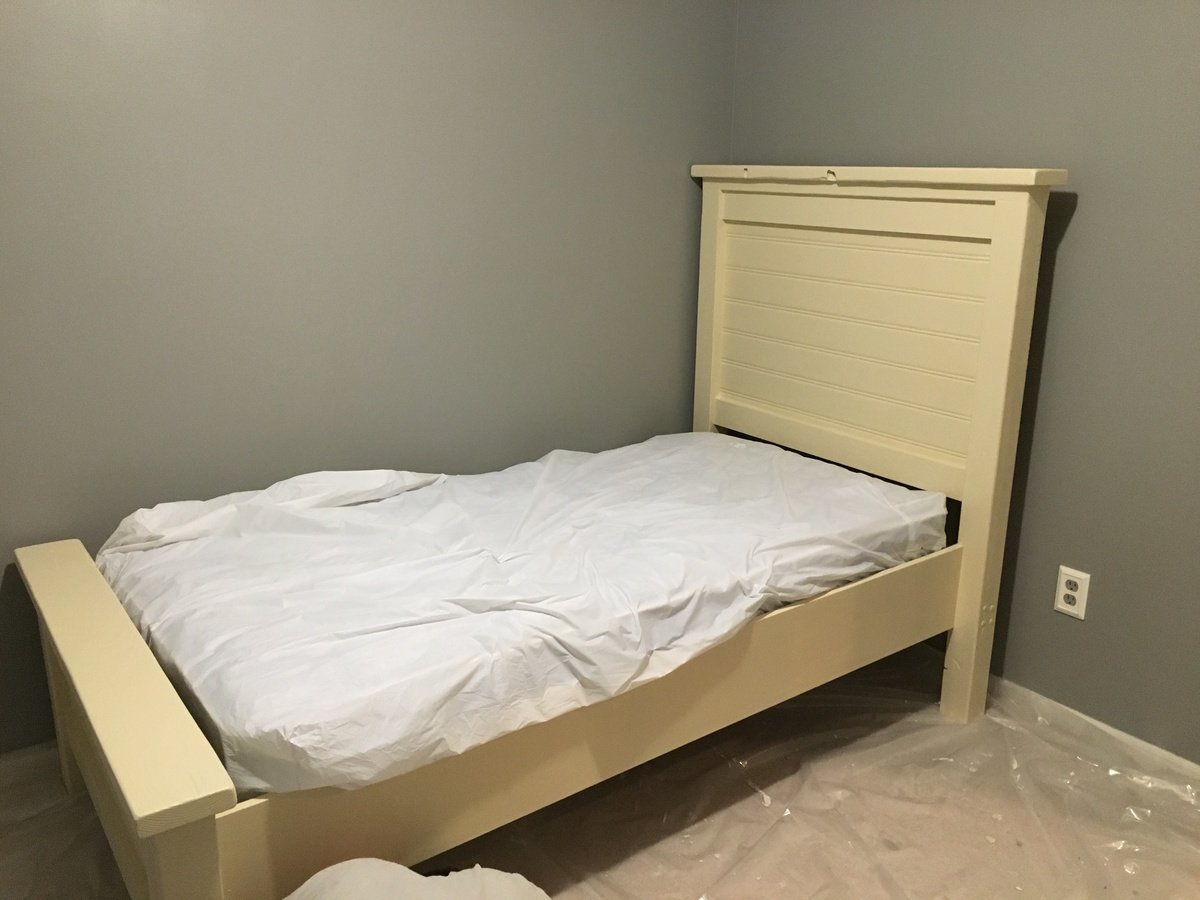
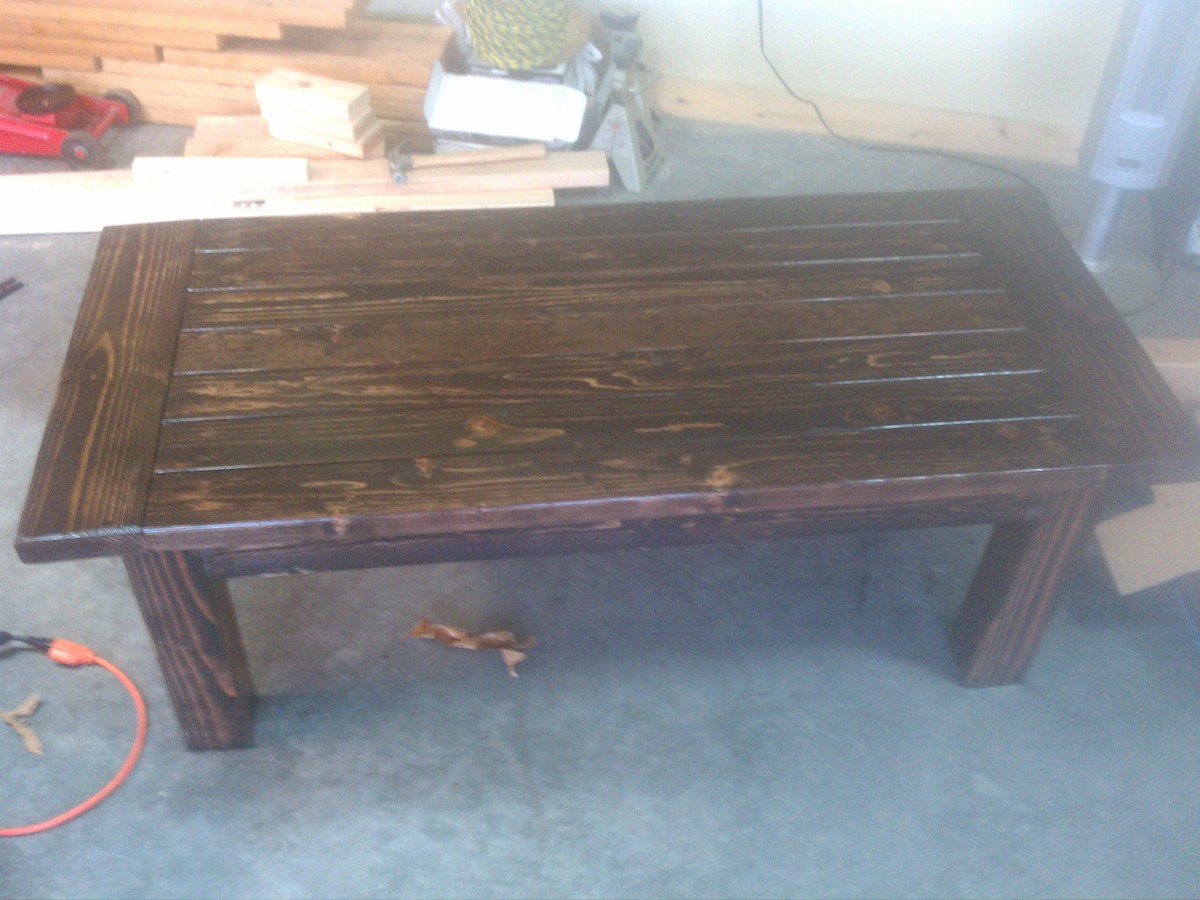
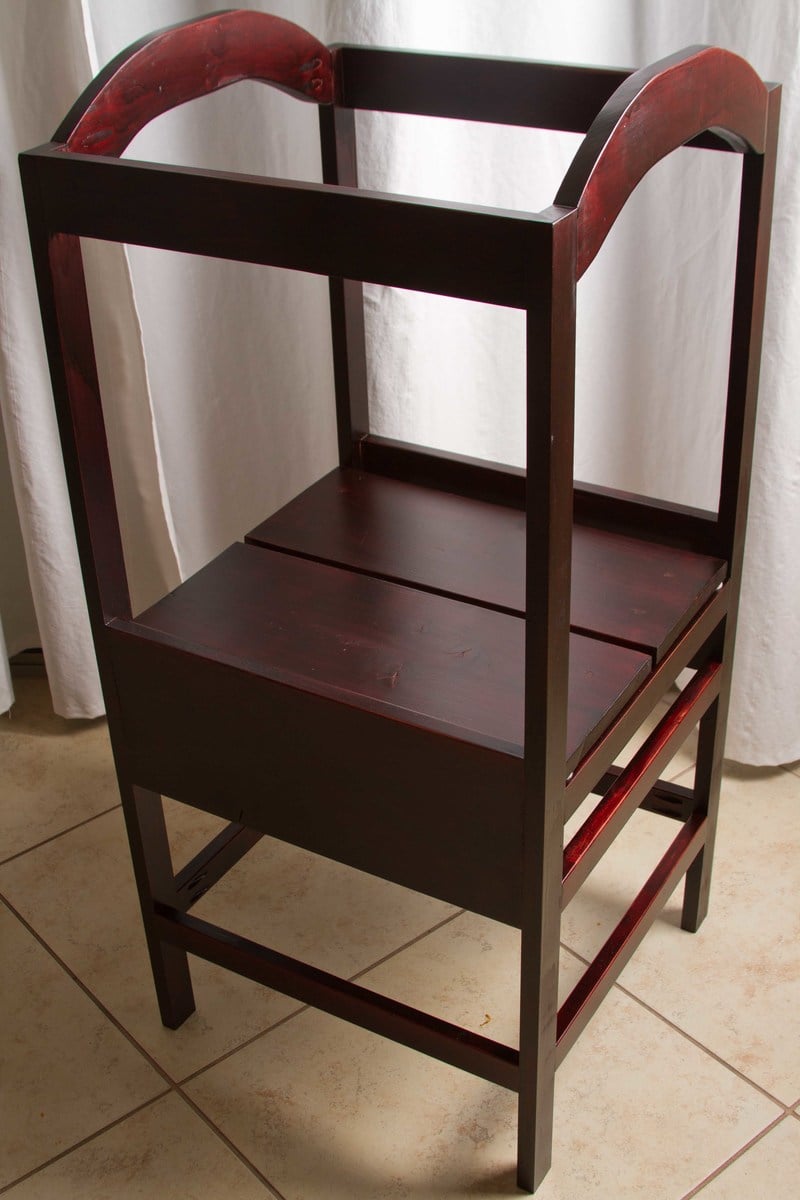
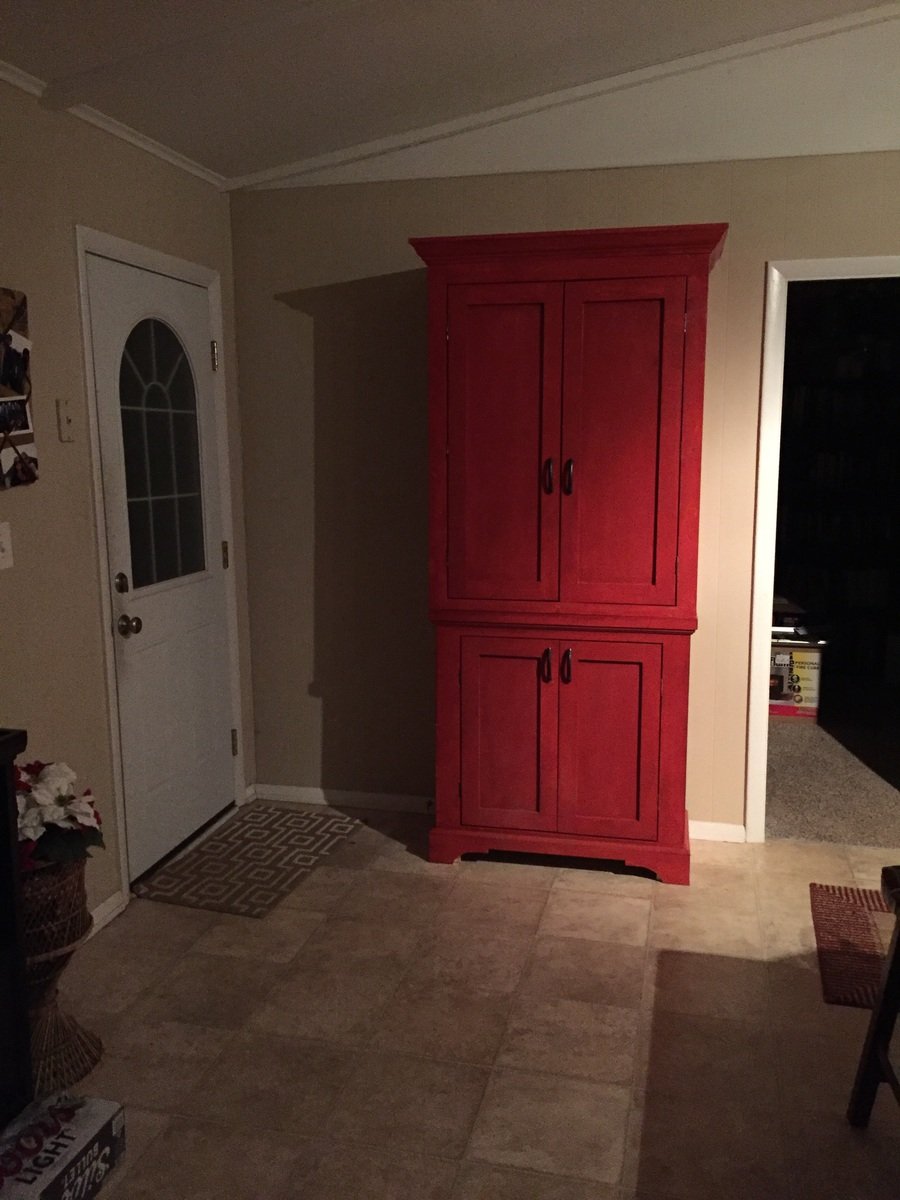
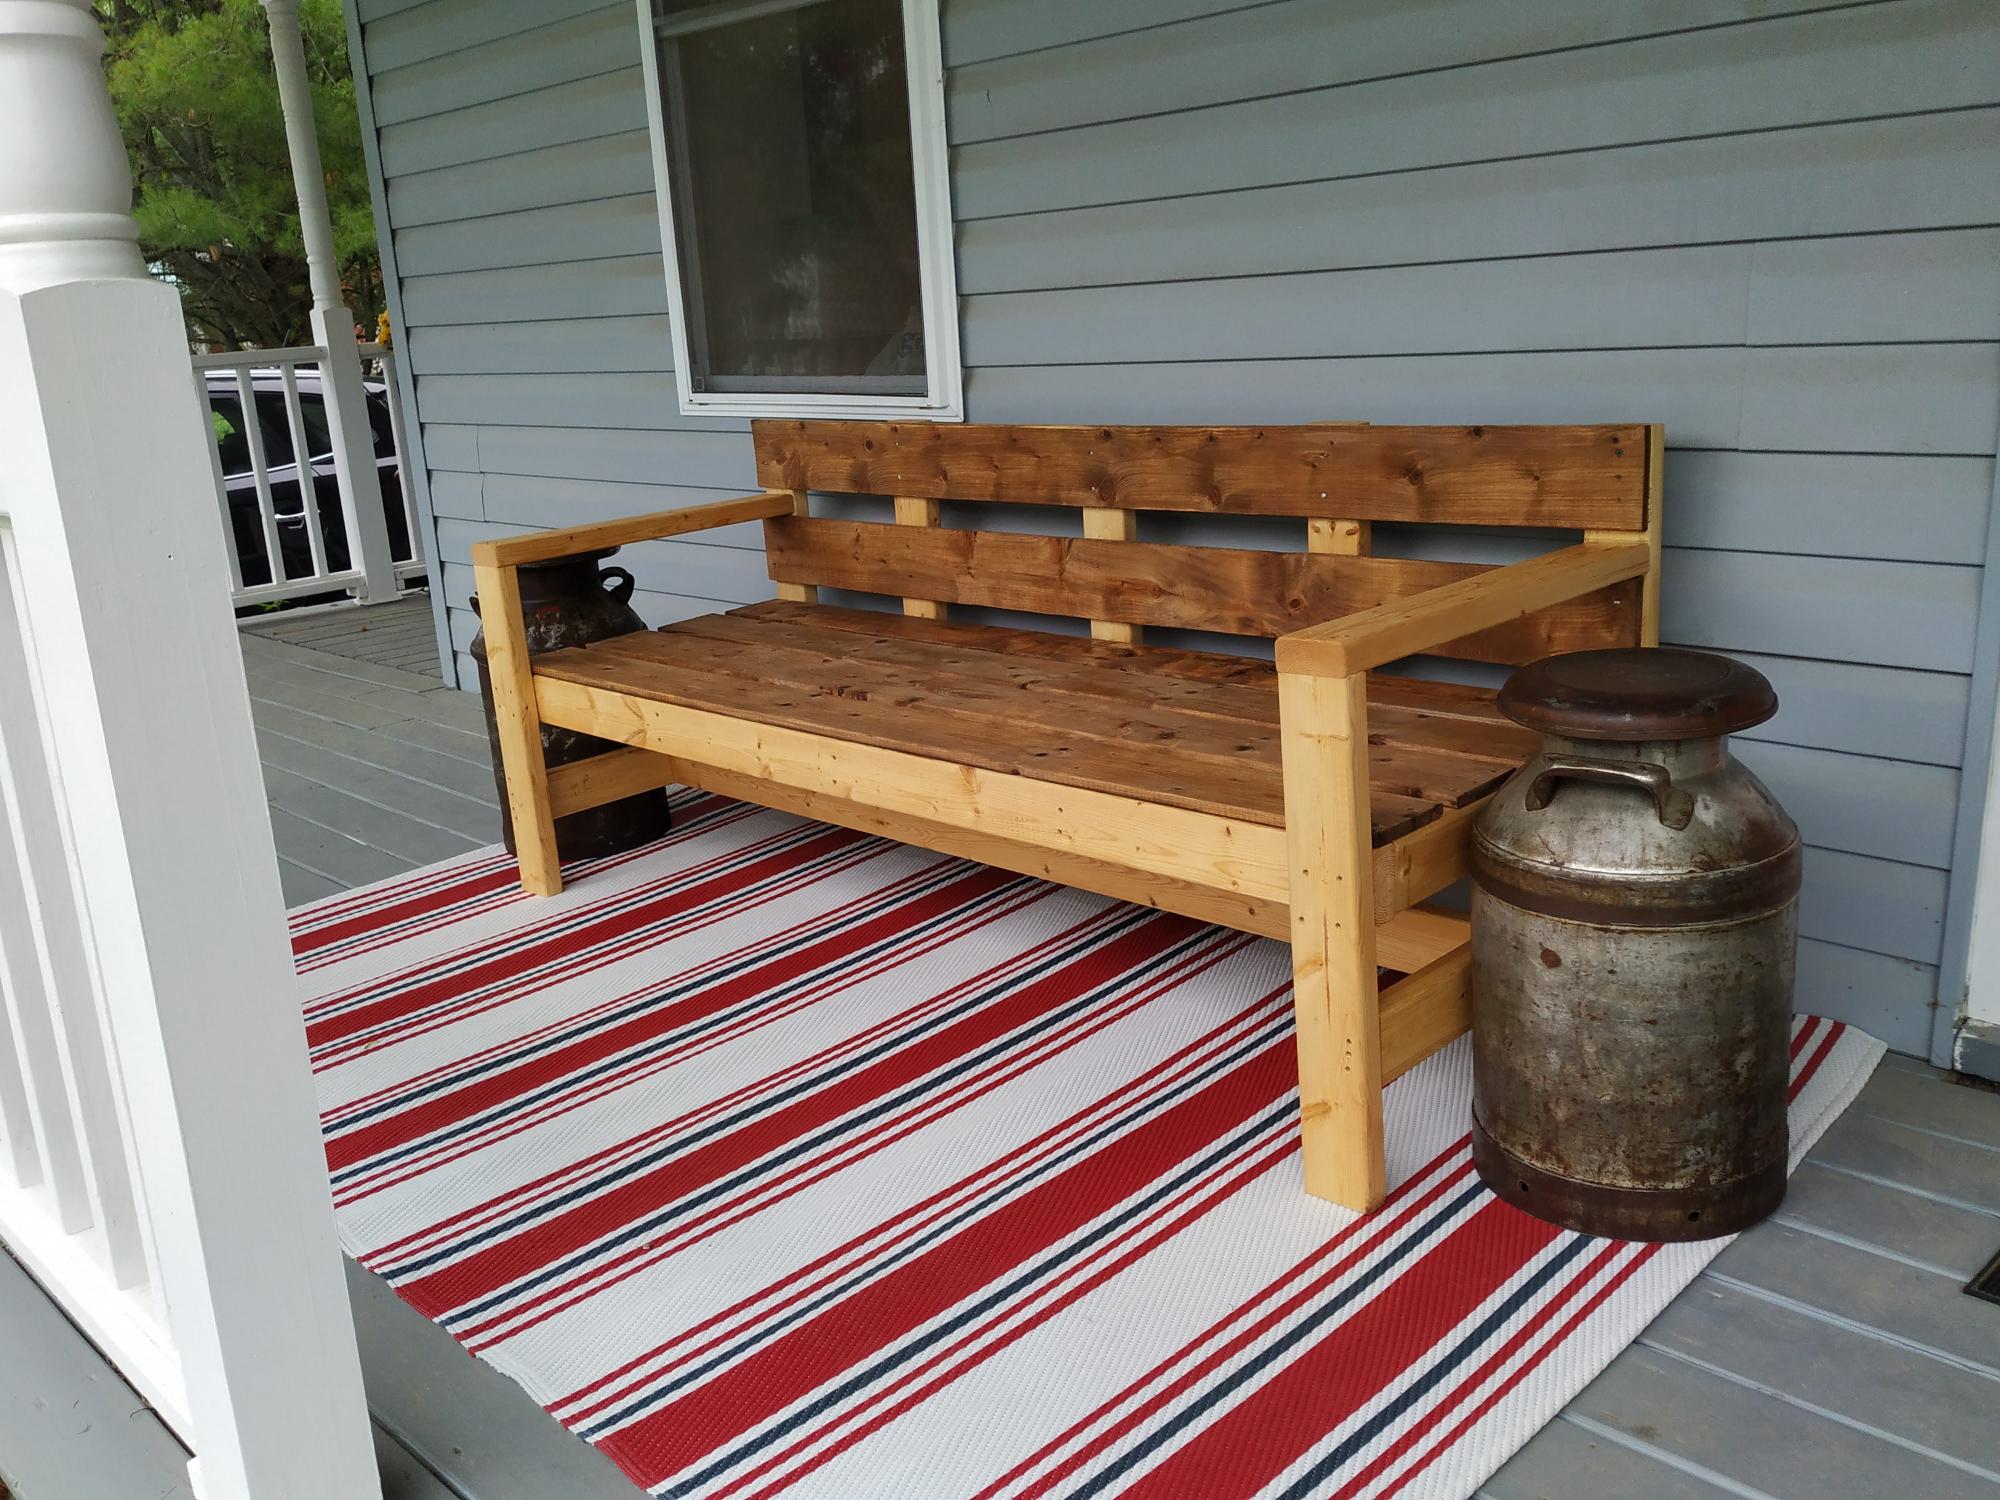
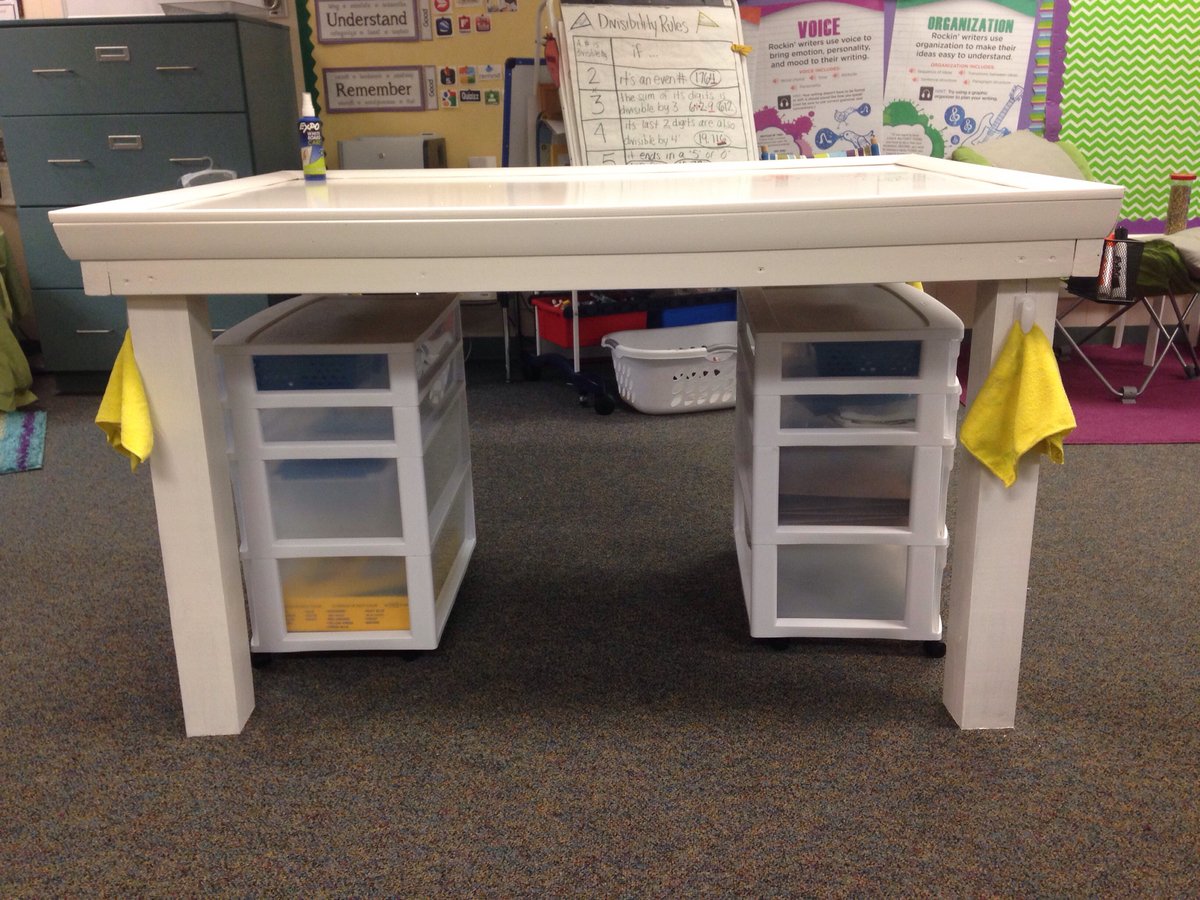
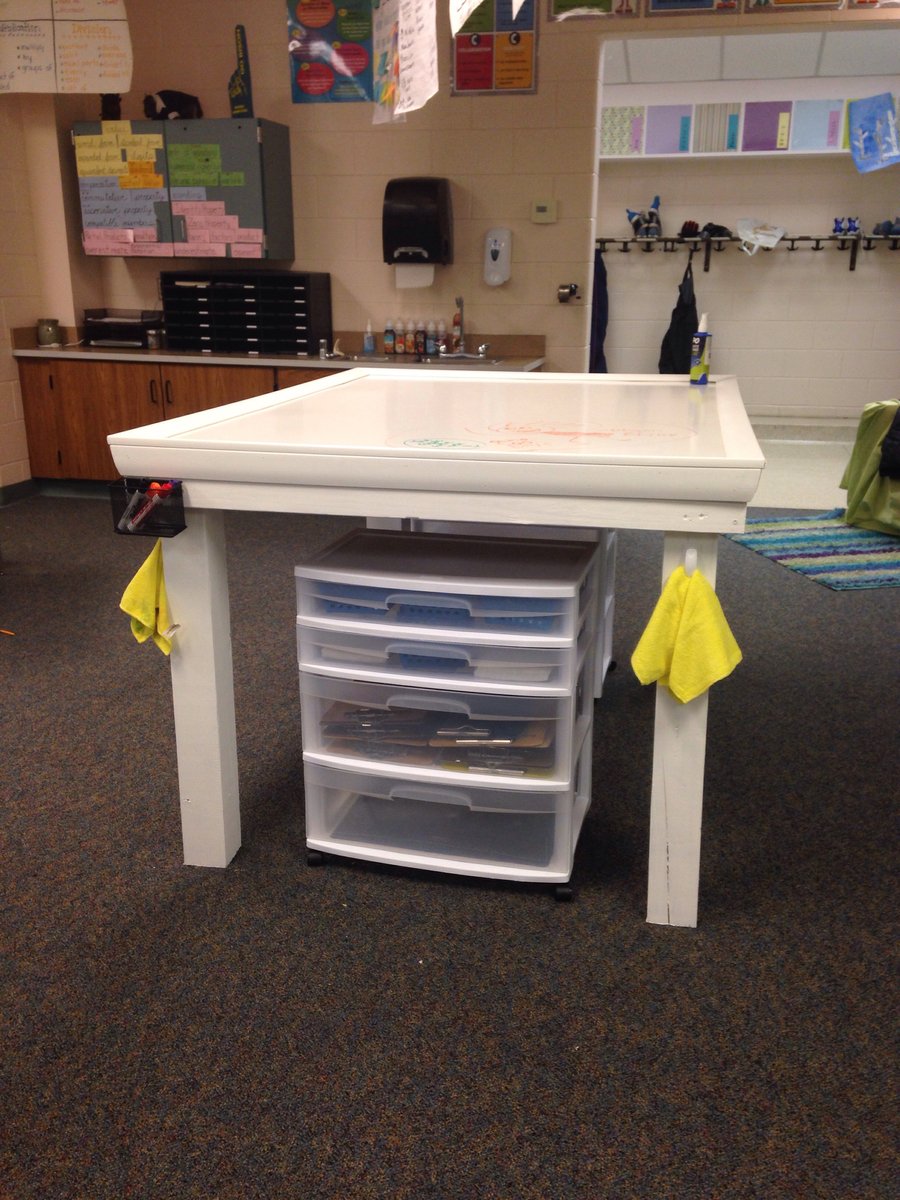
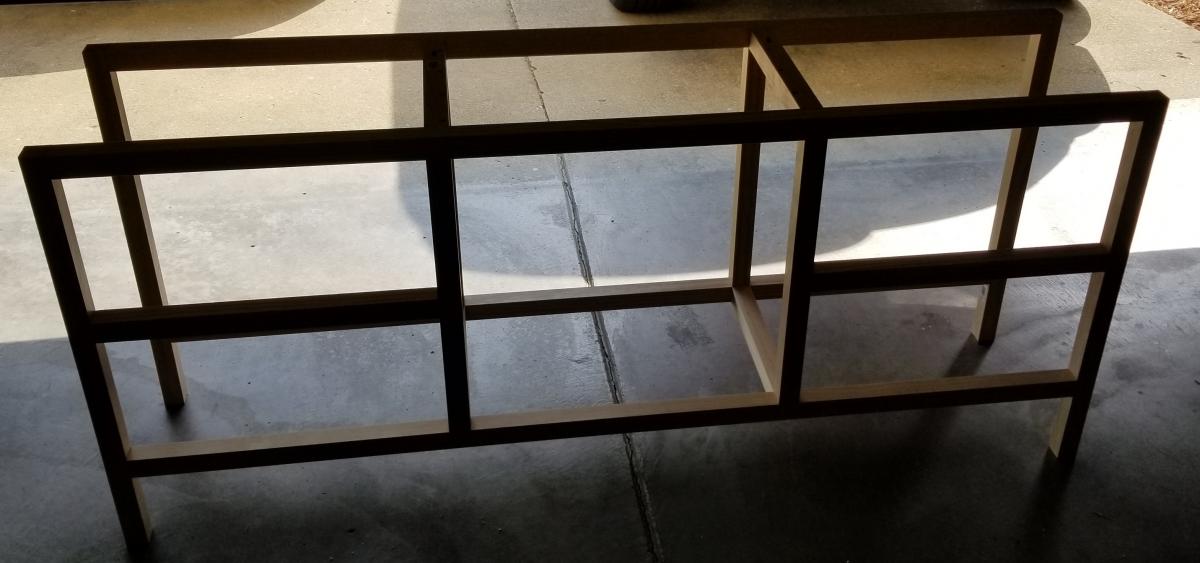
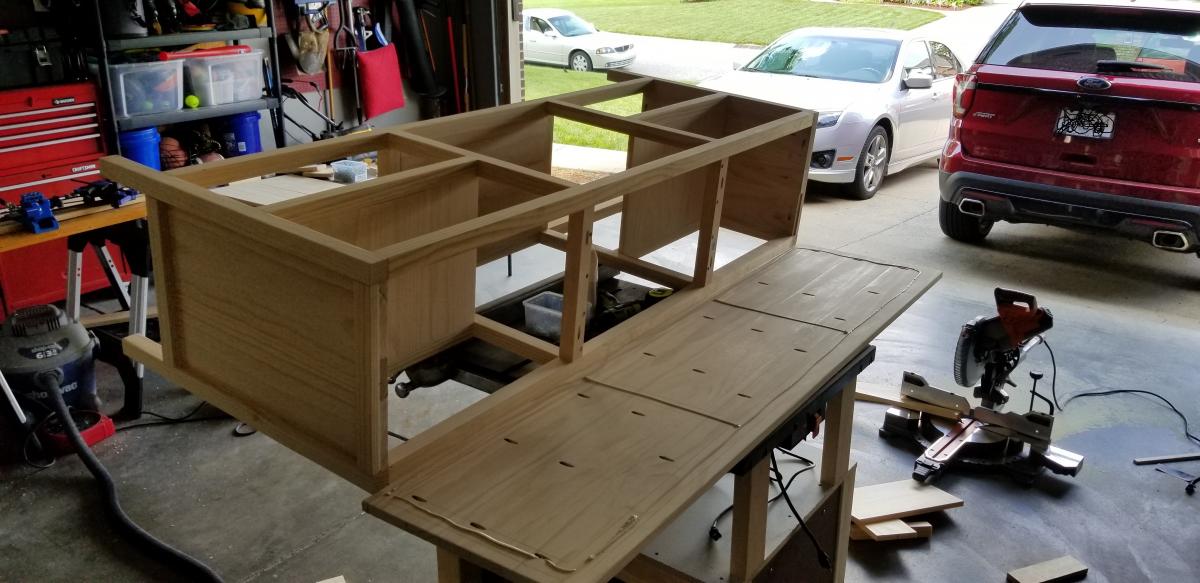
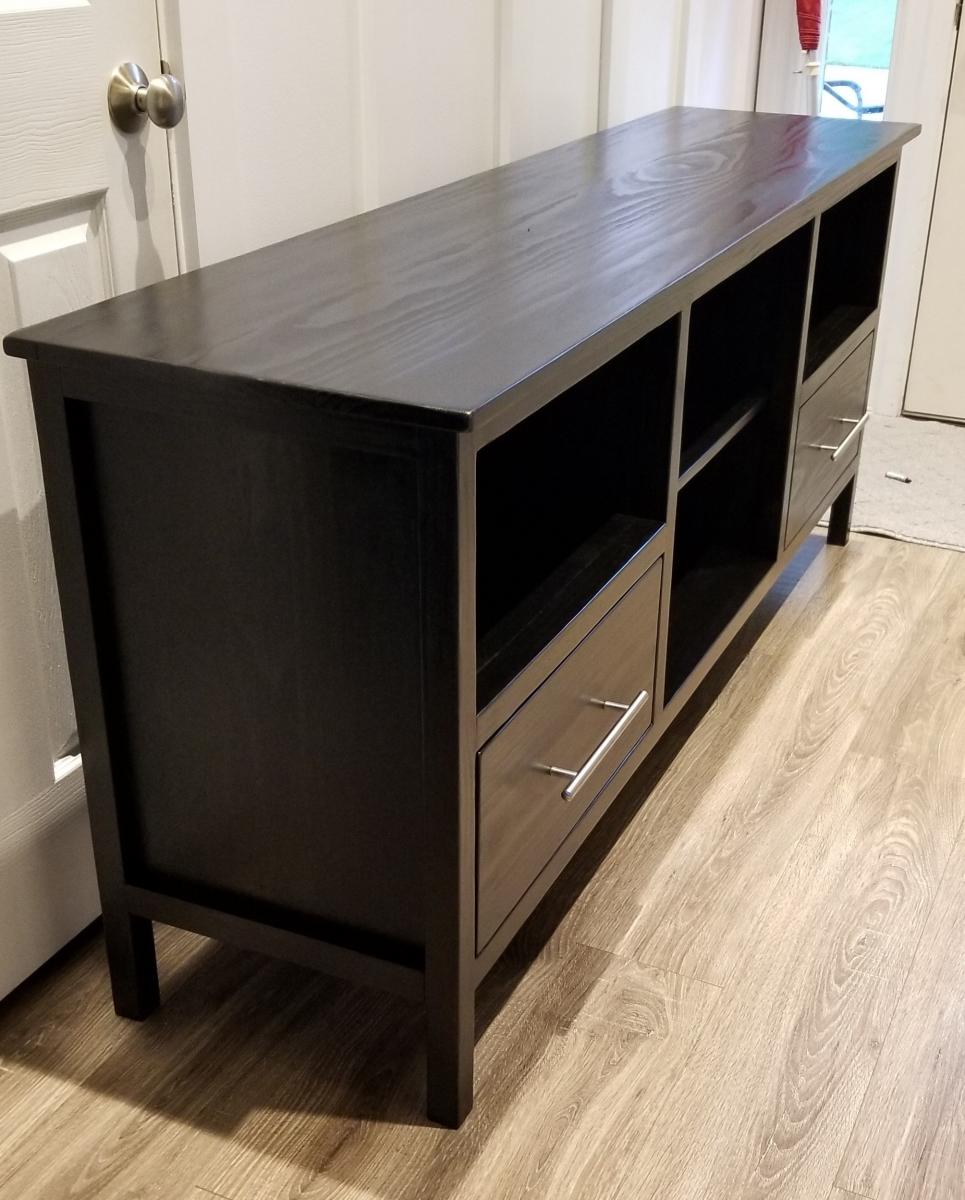
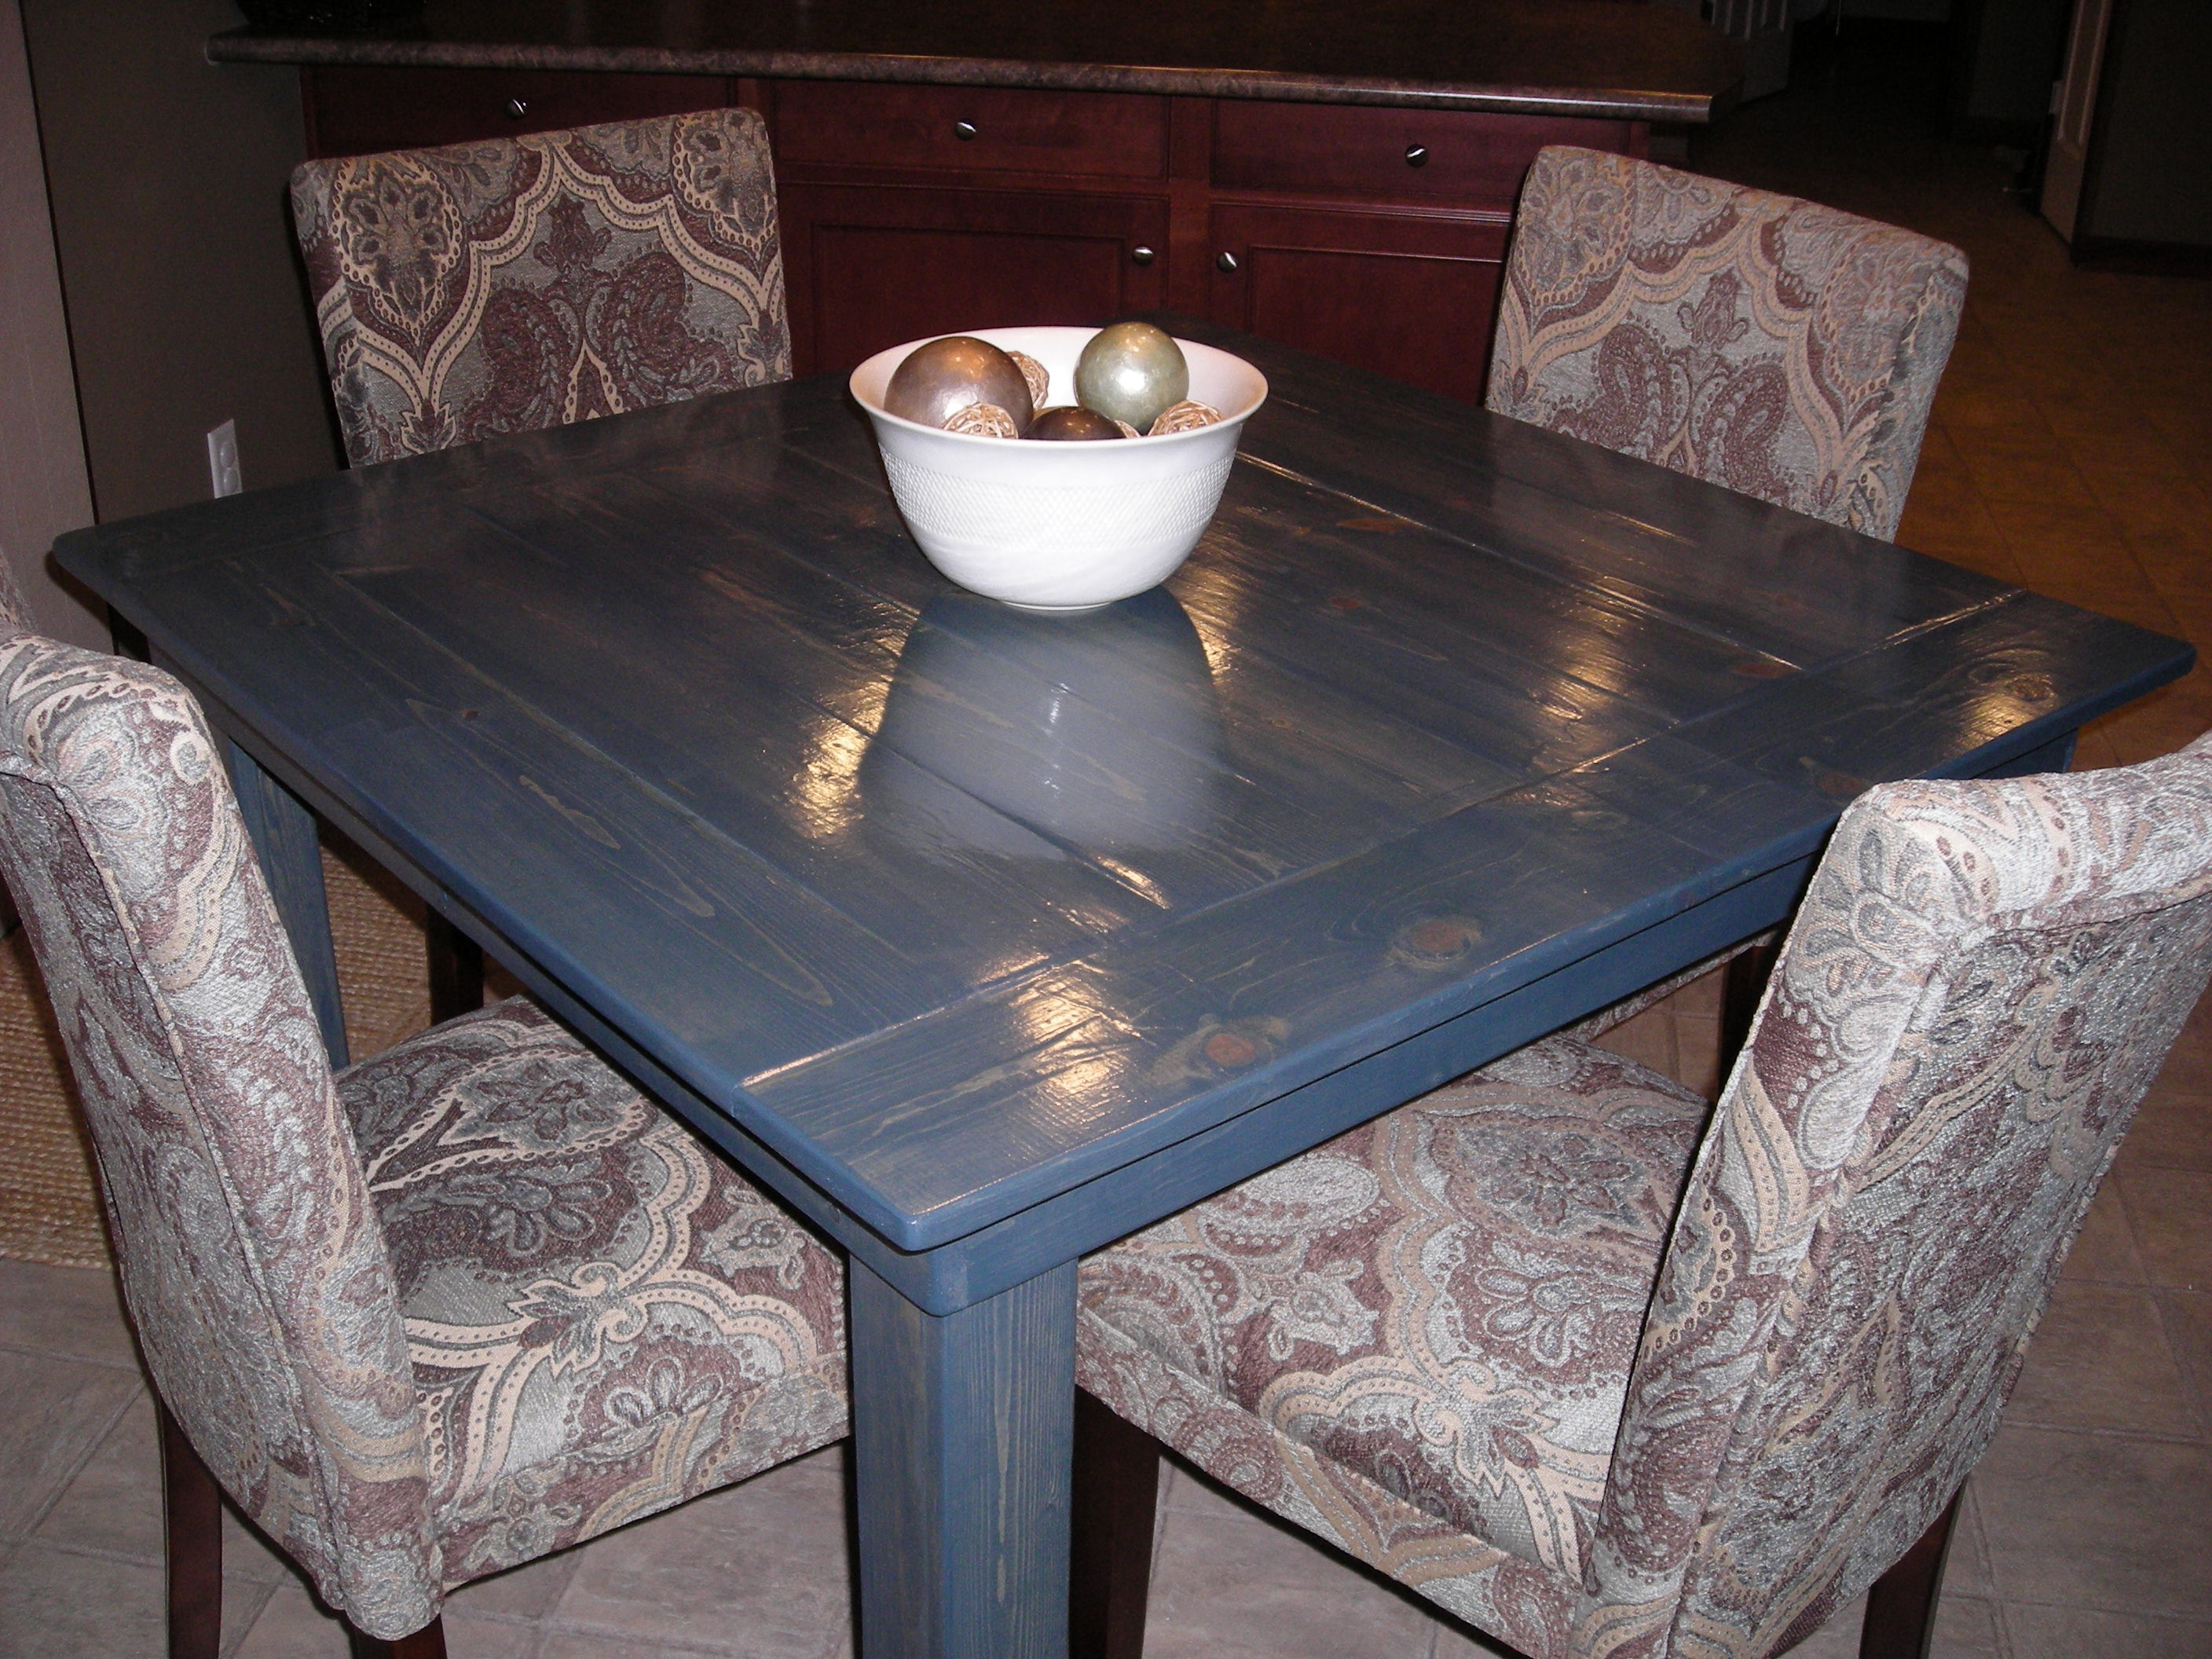
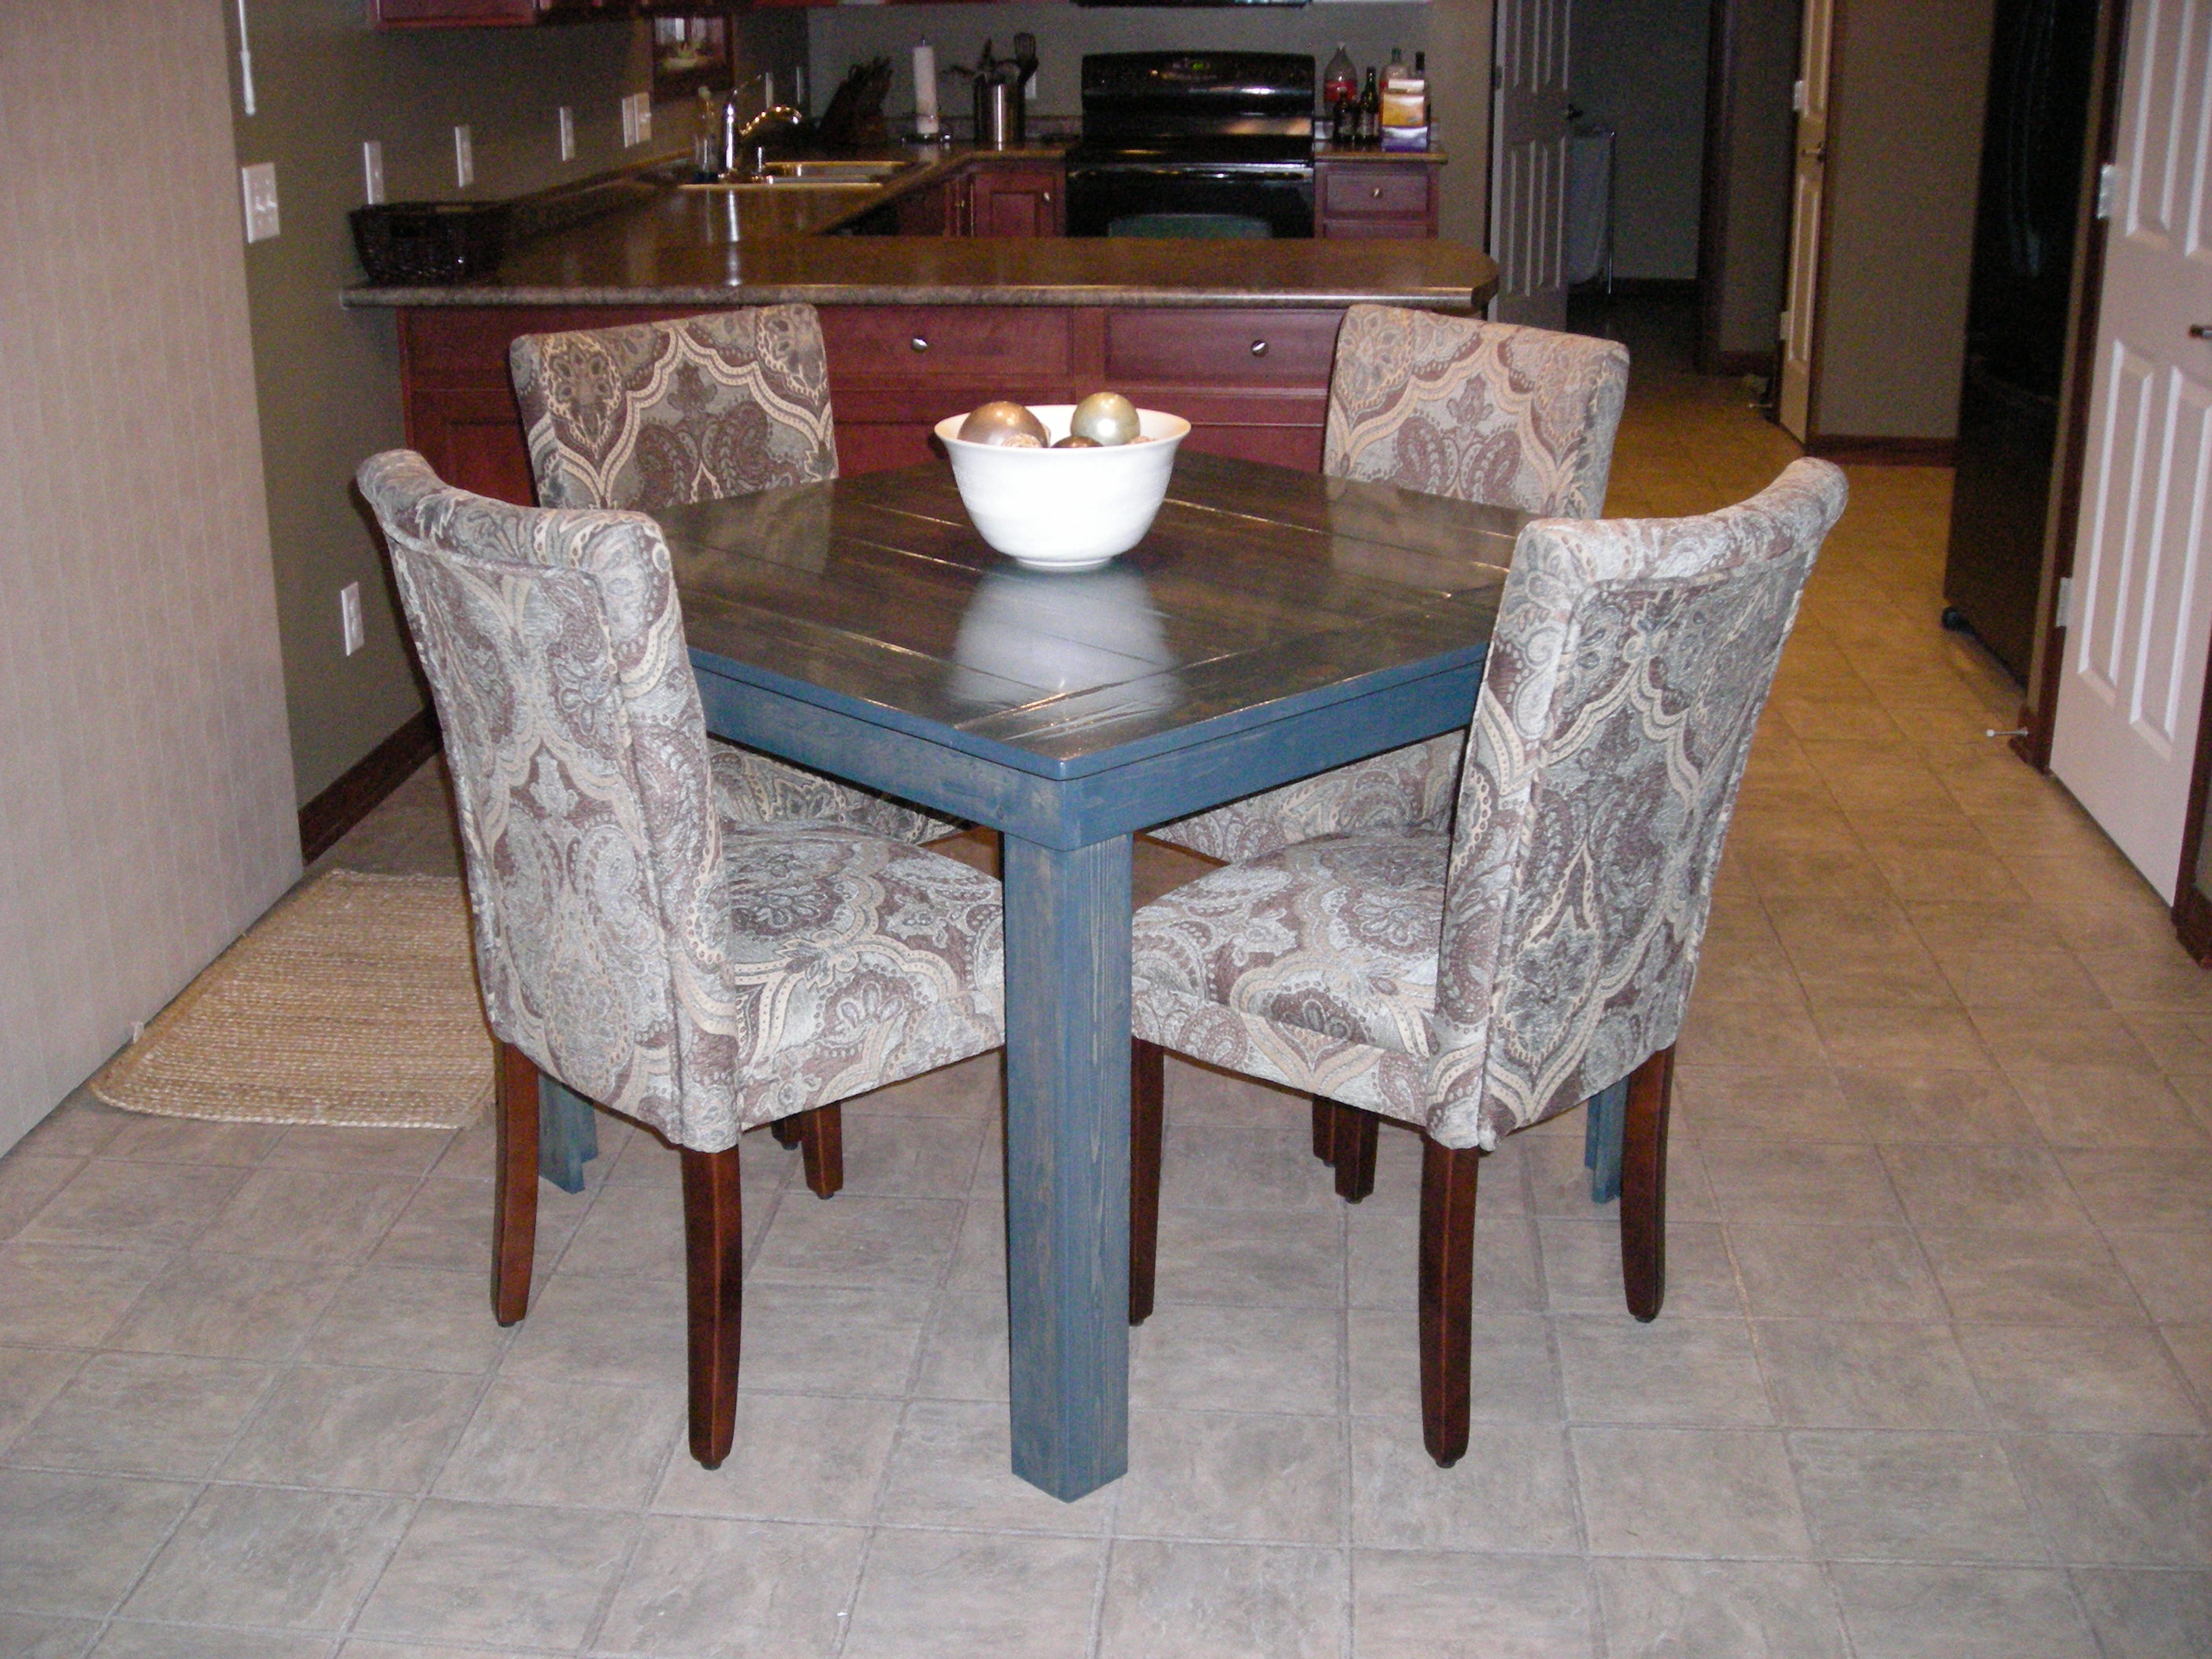
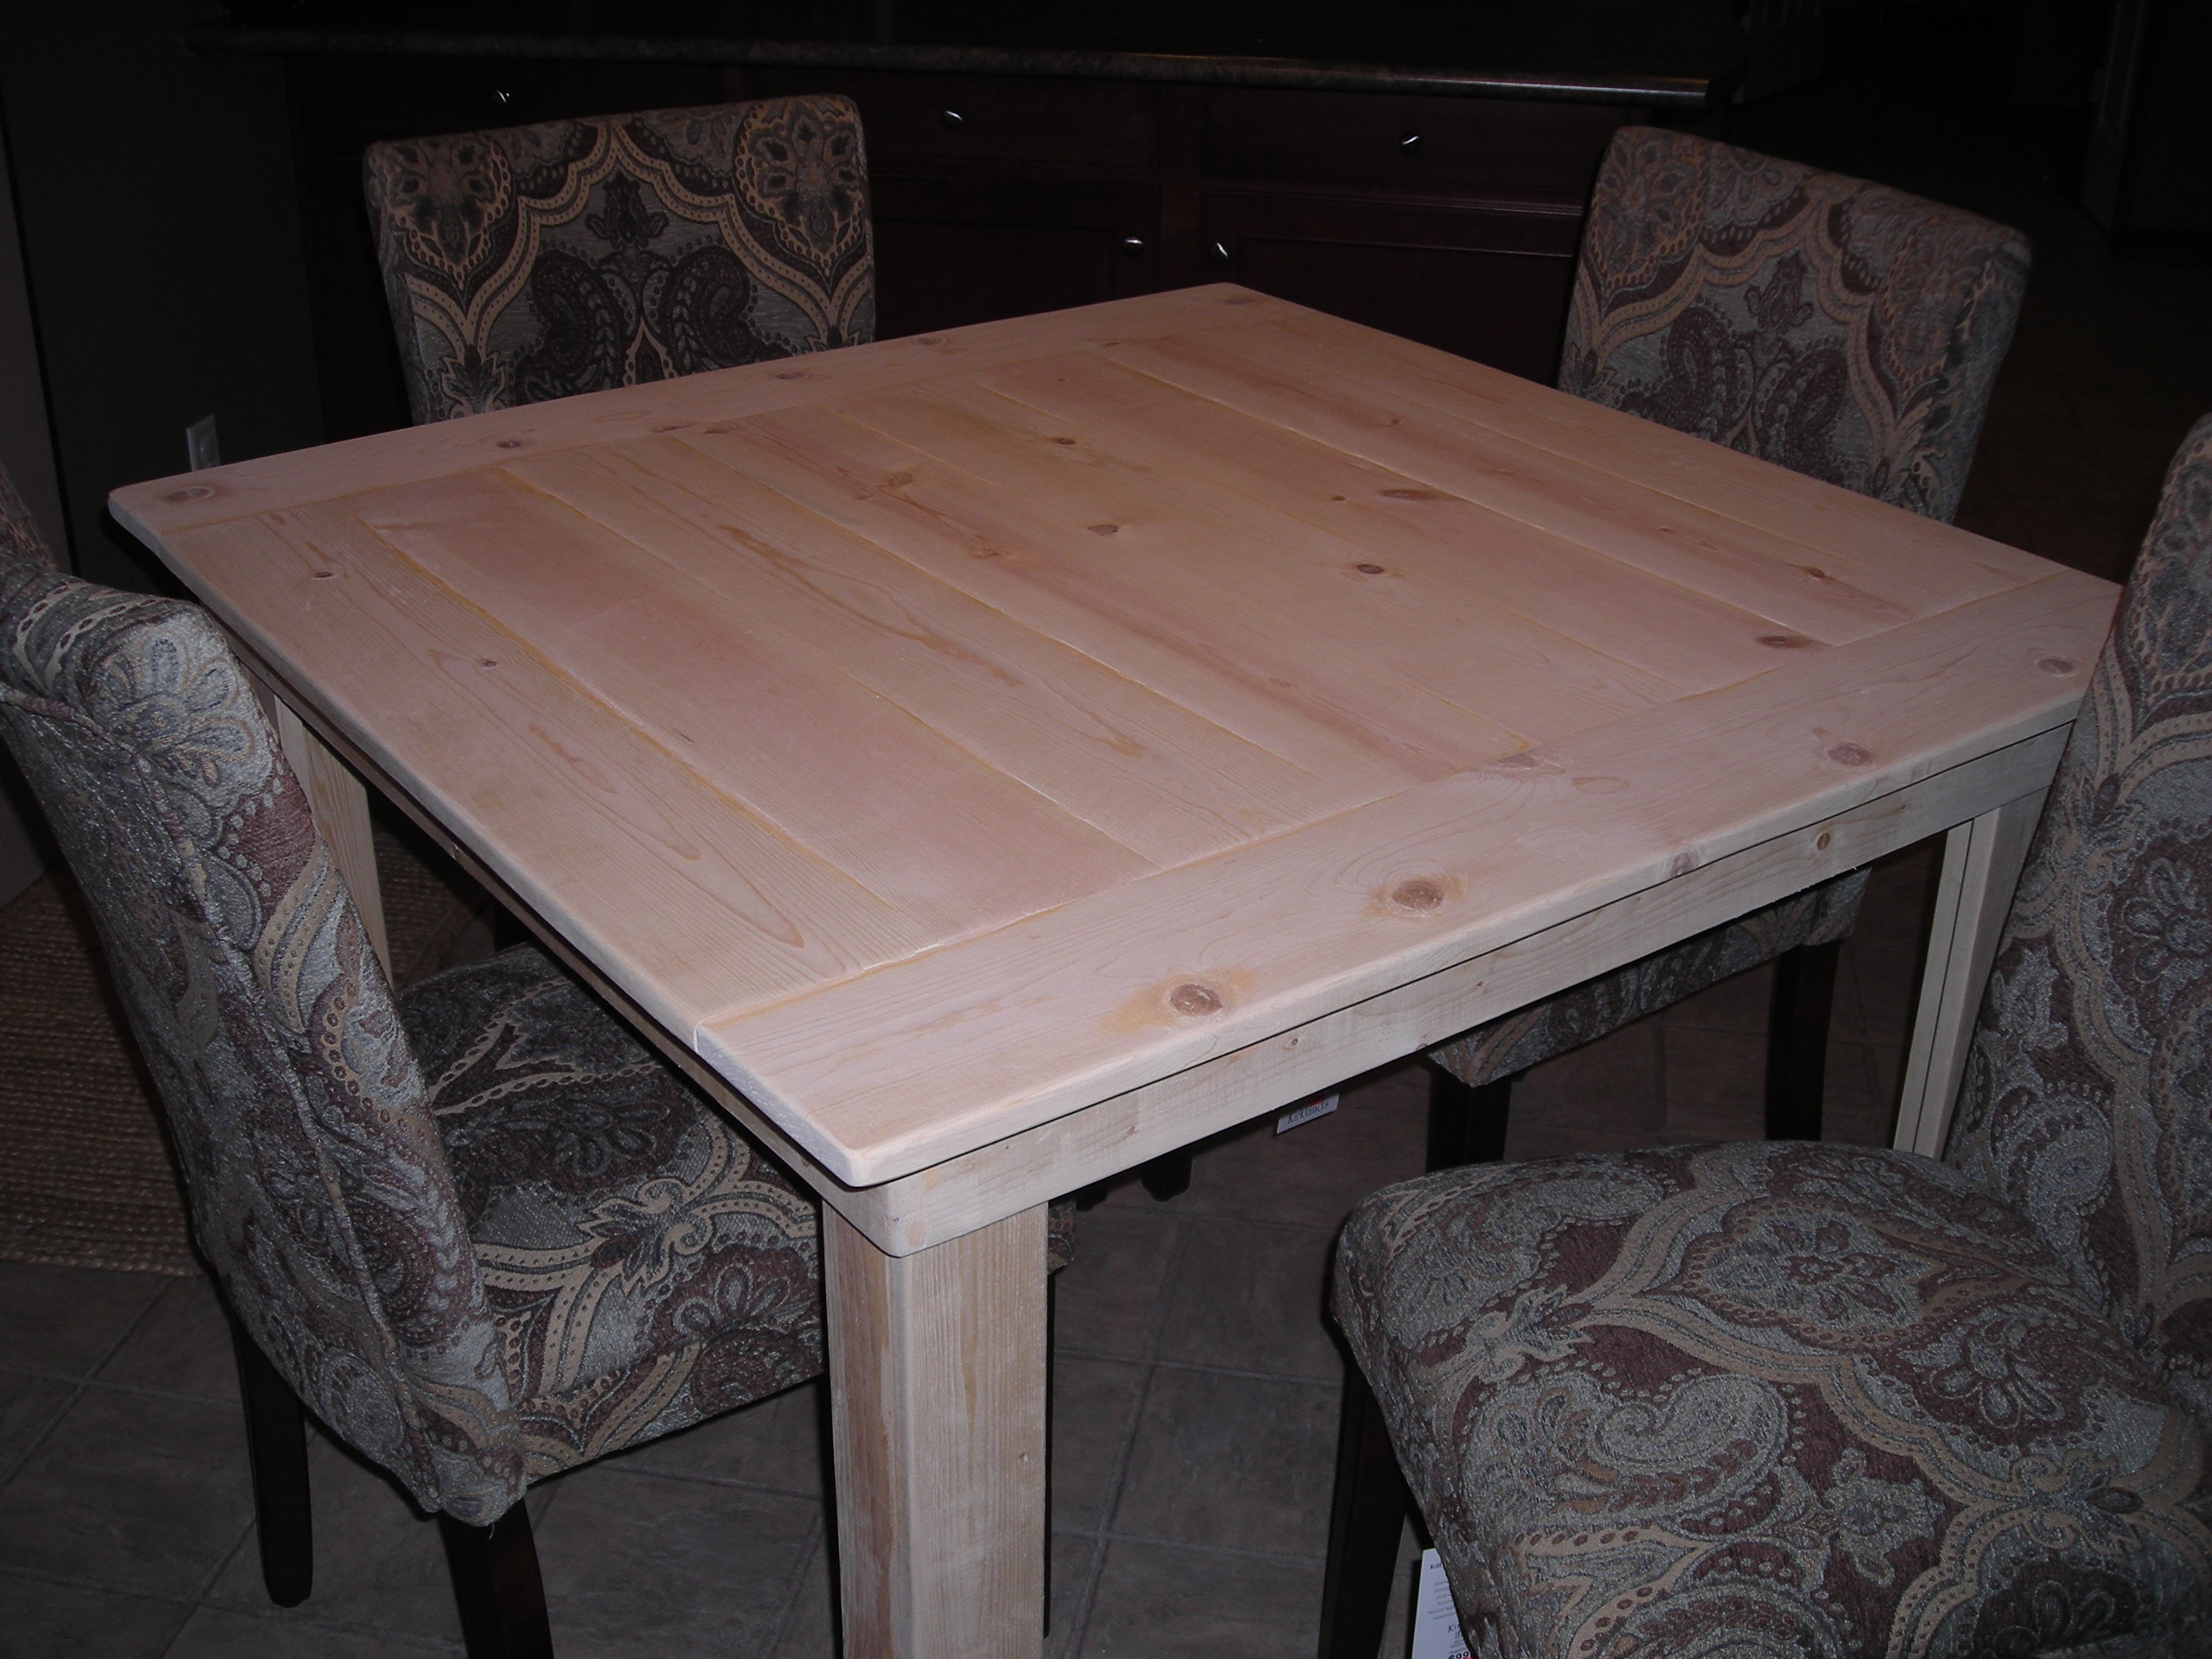
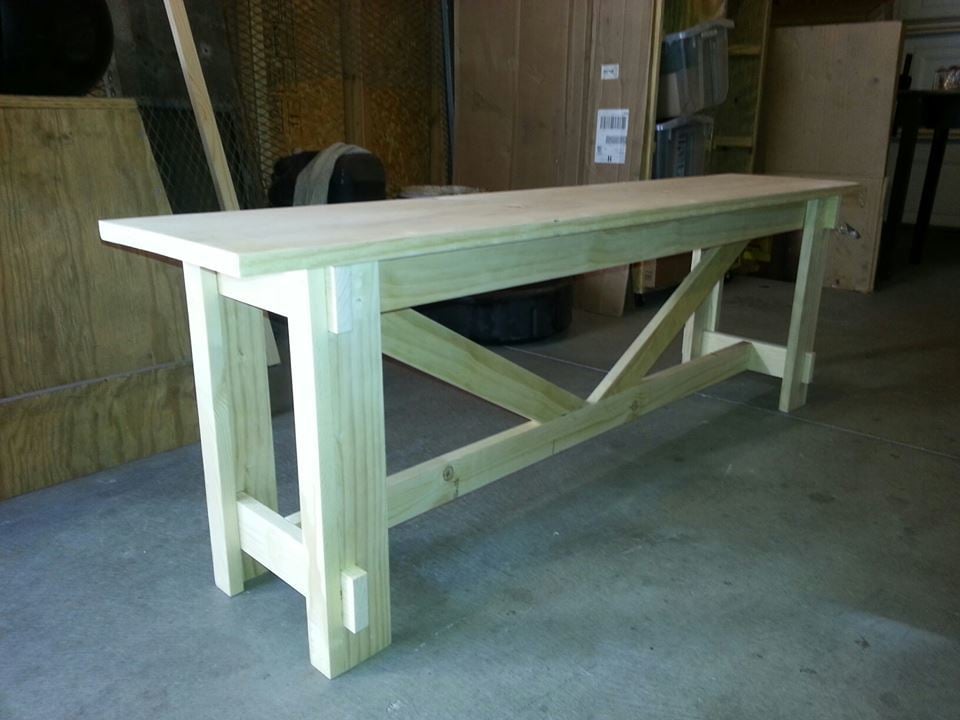
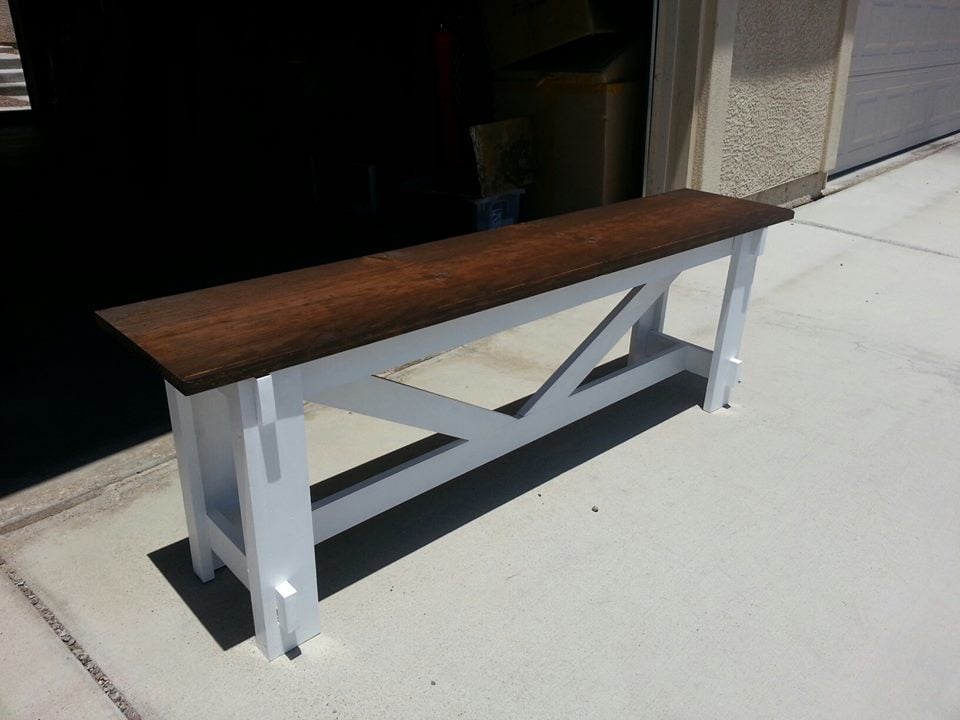
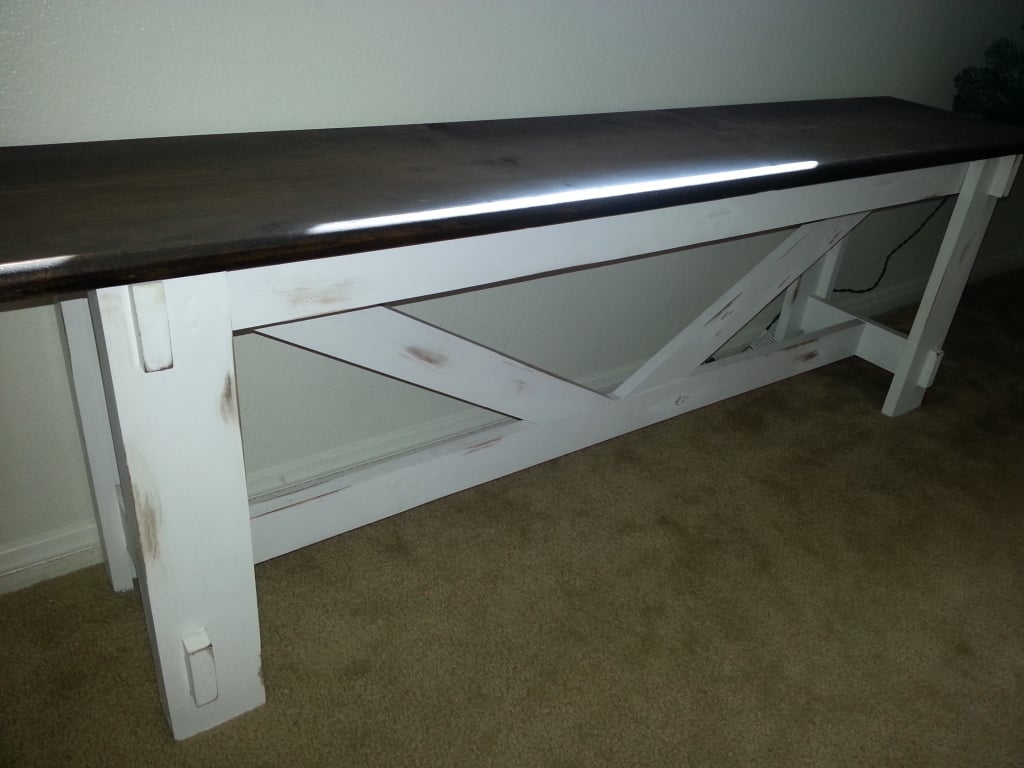
Rustic X Bench
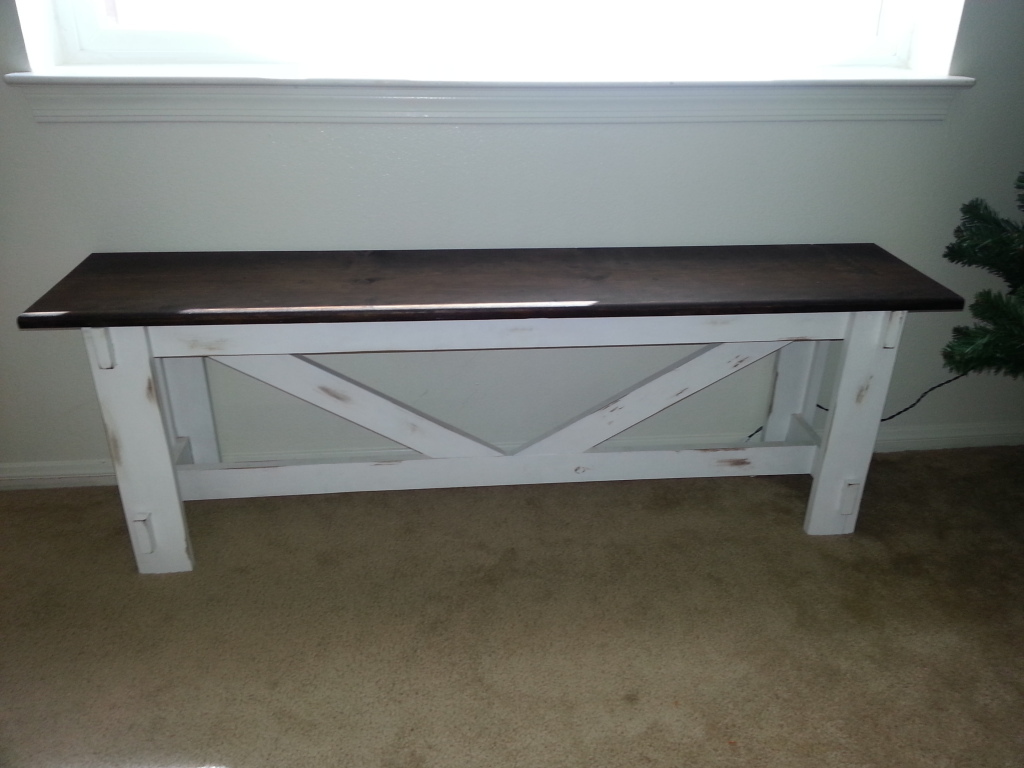
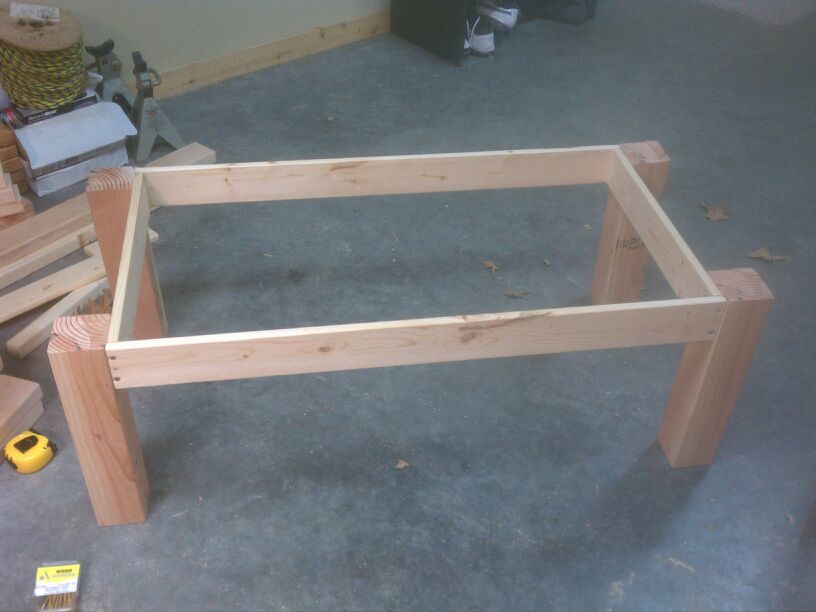
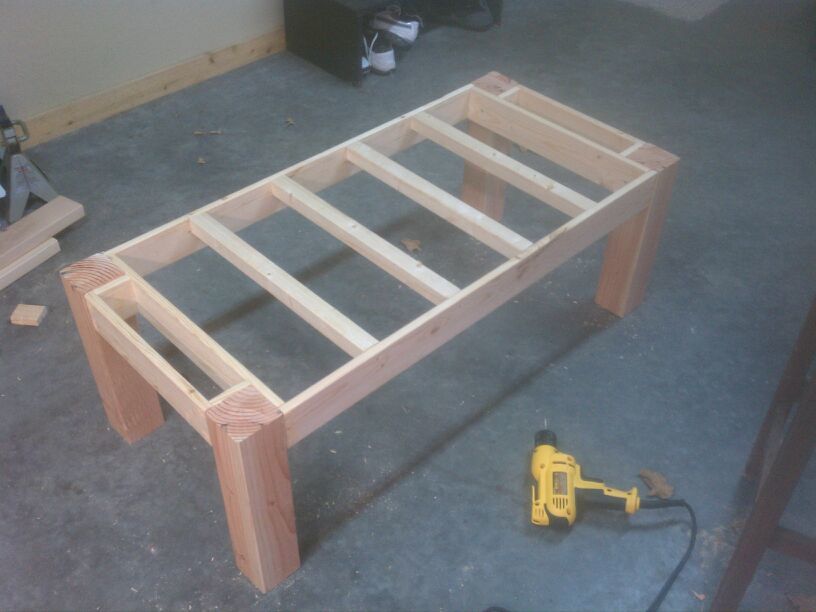
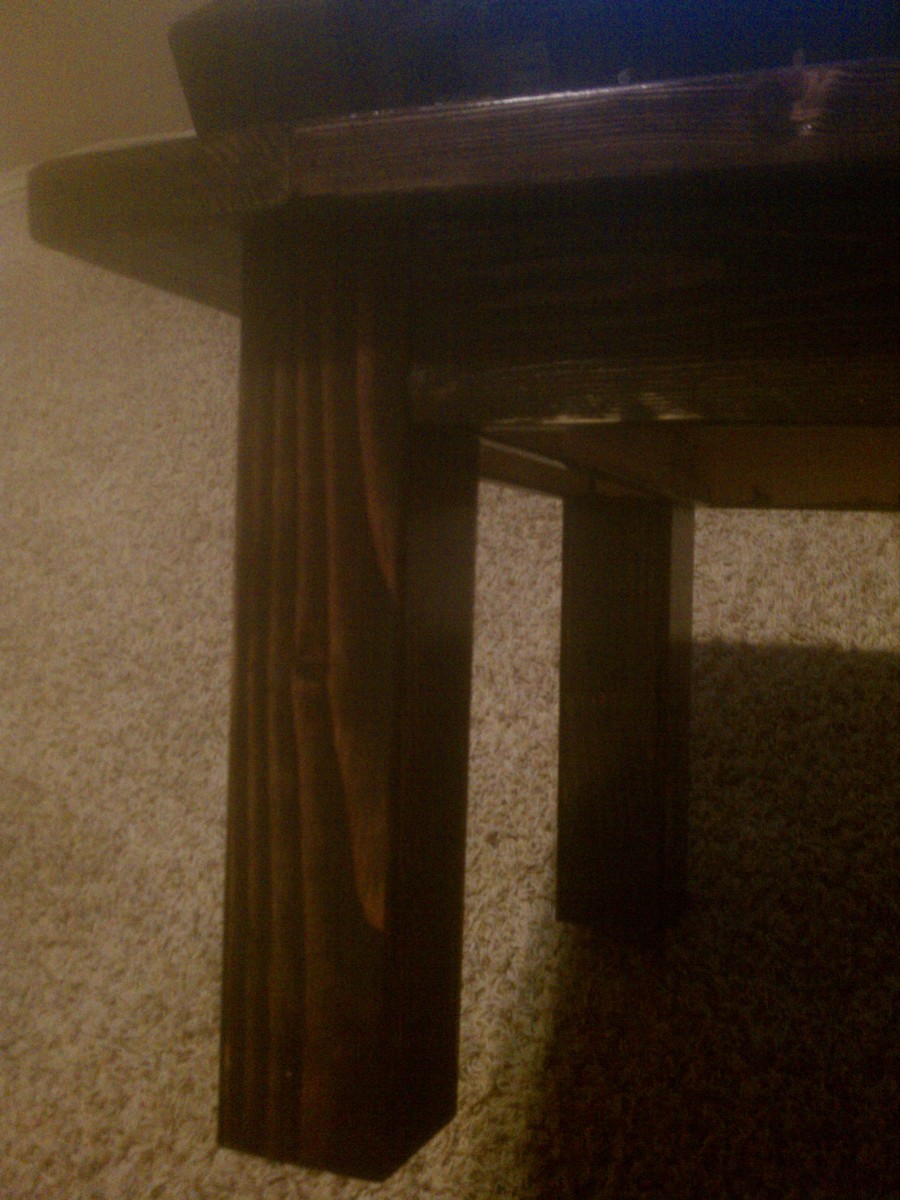
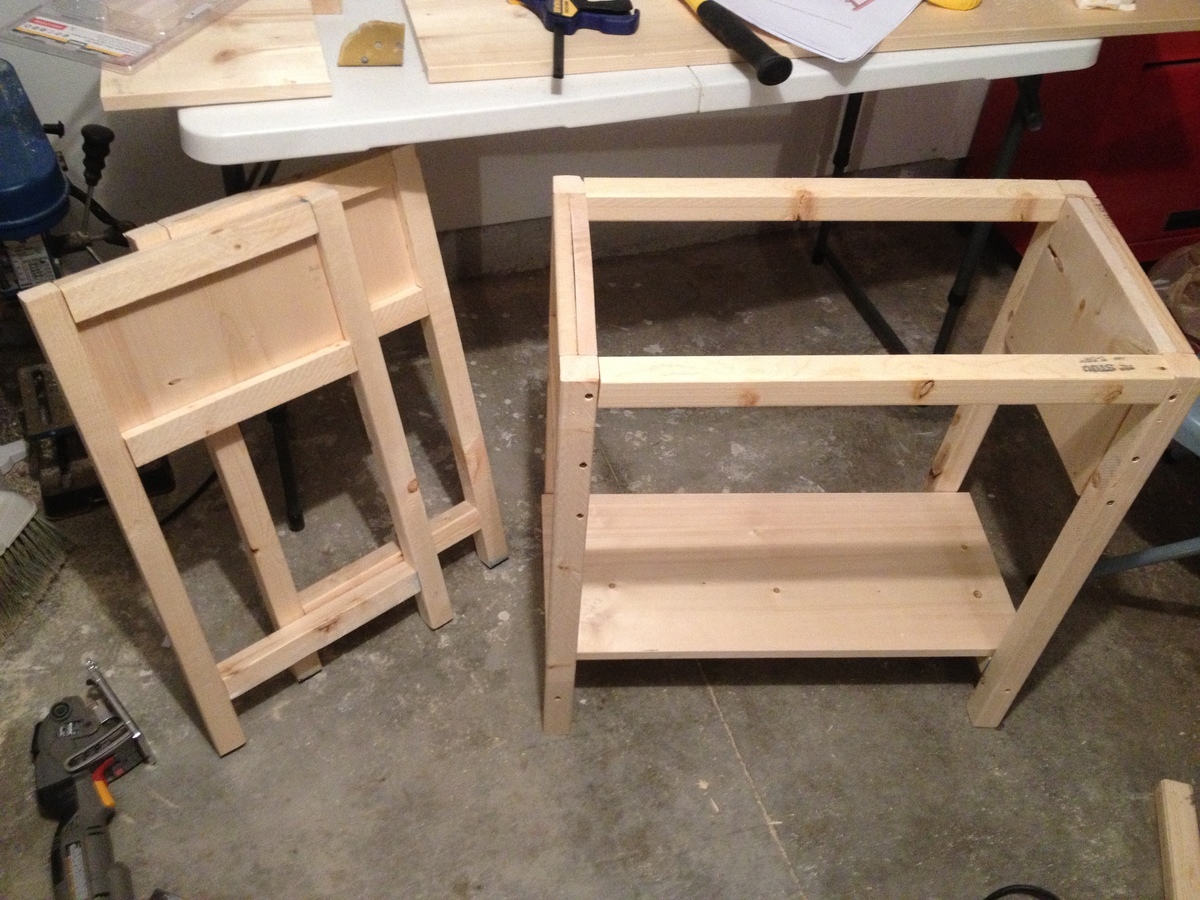
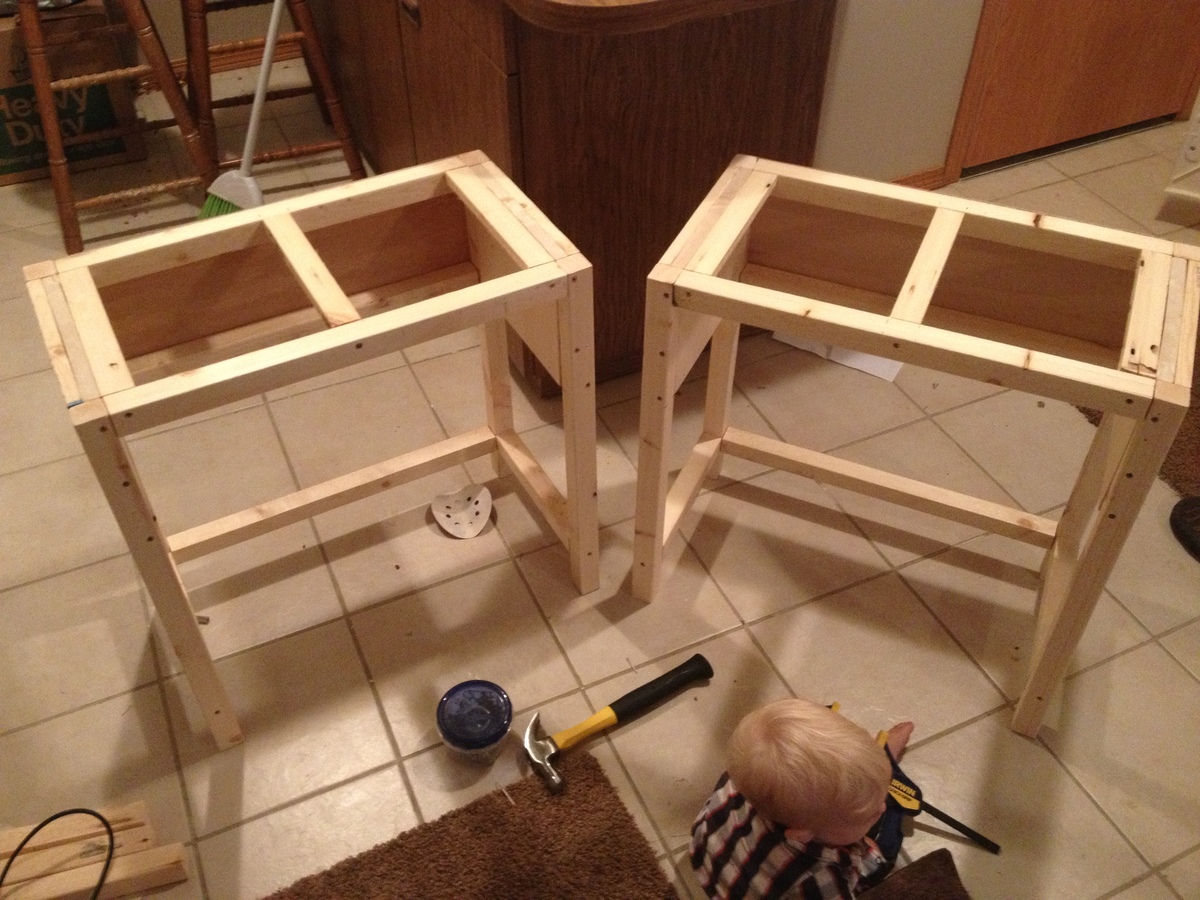
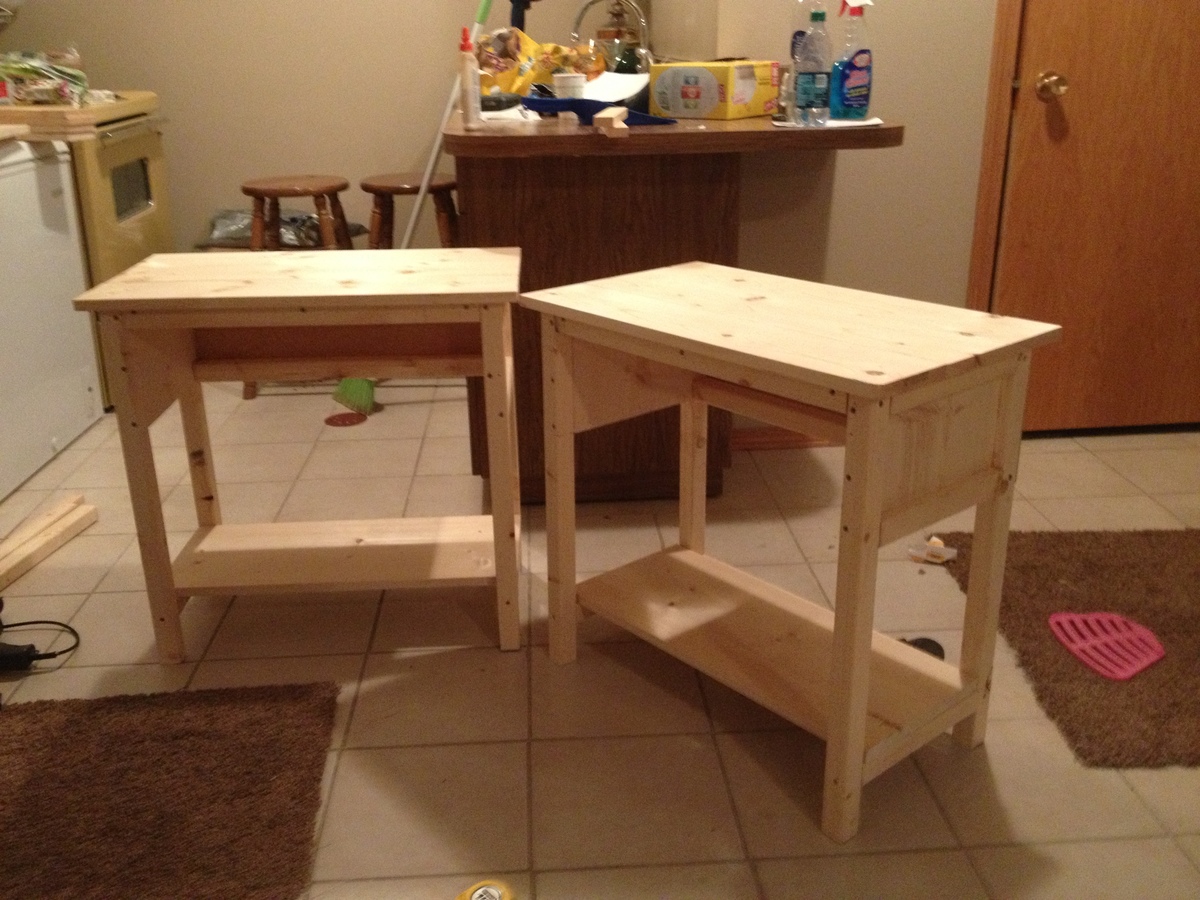
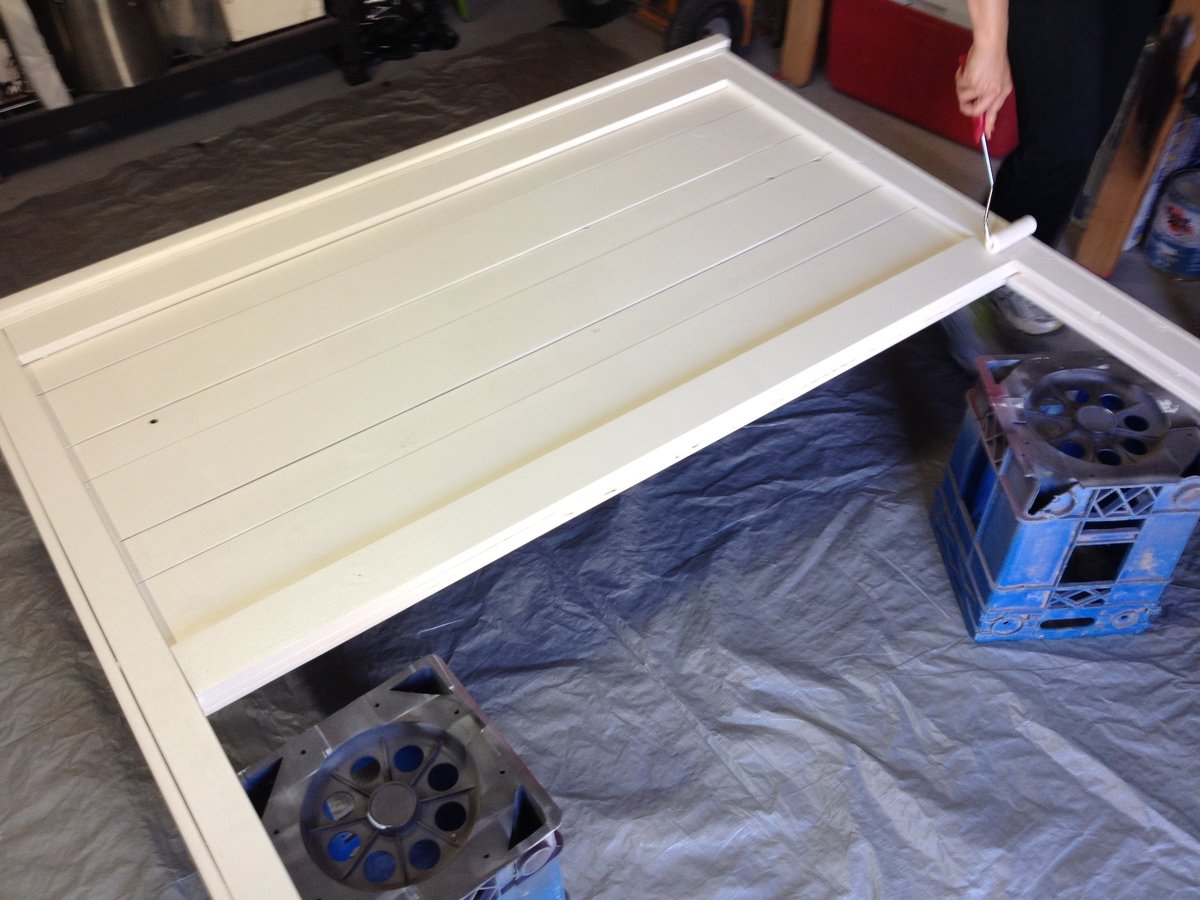
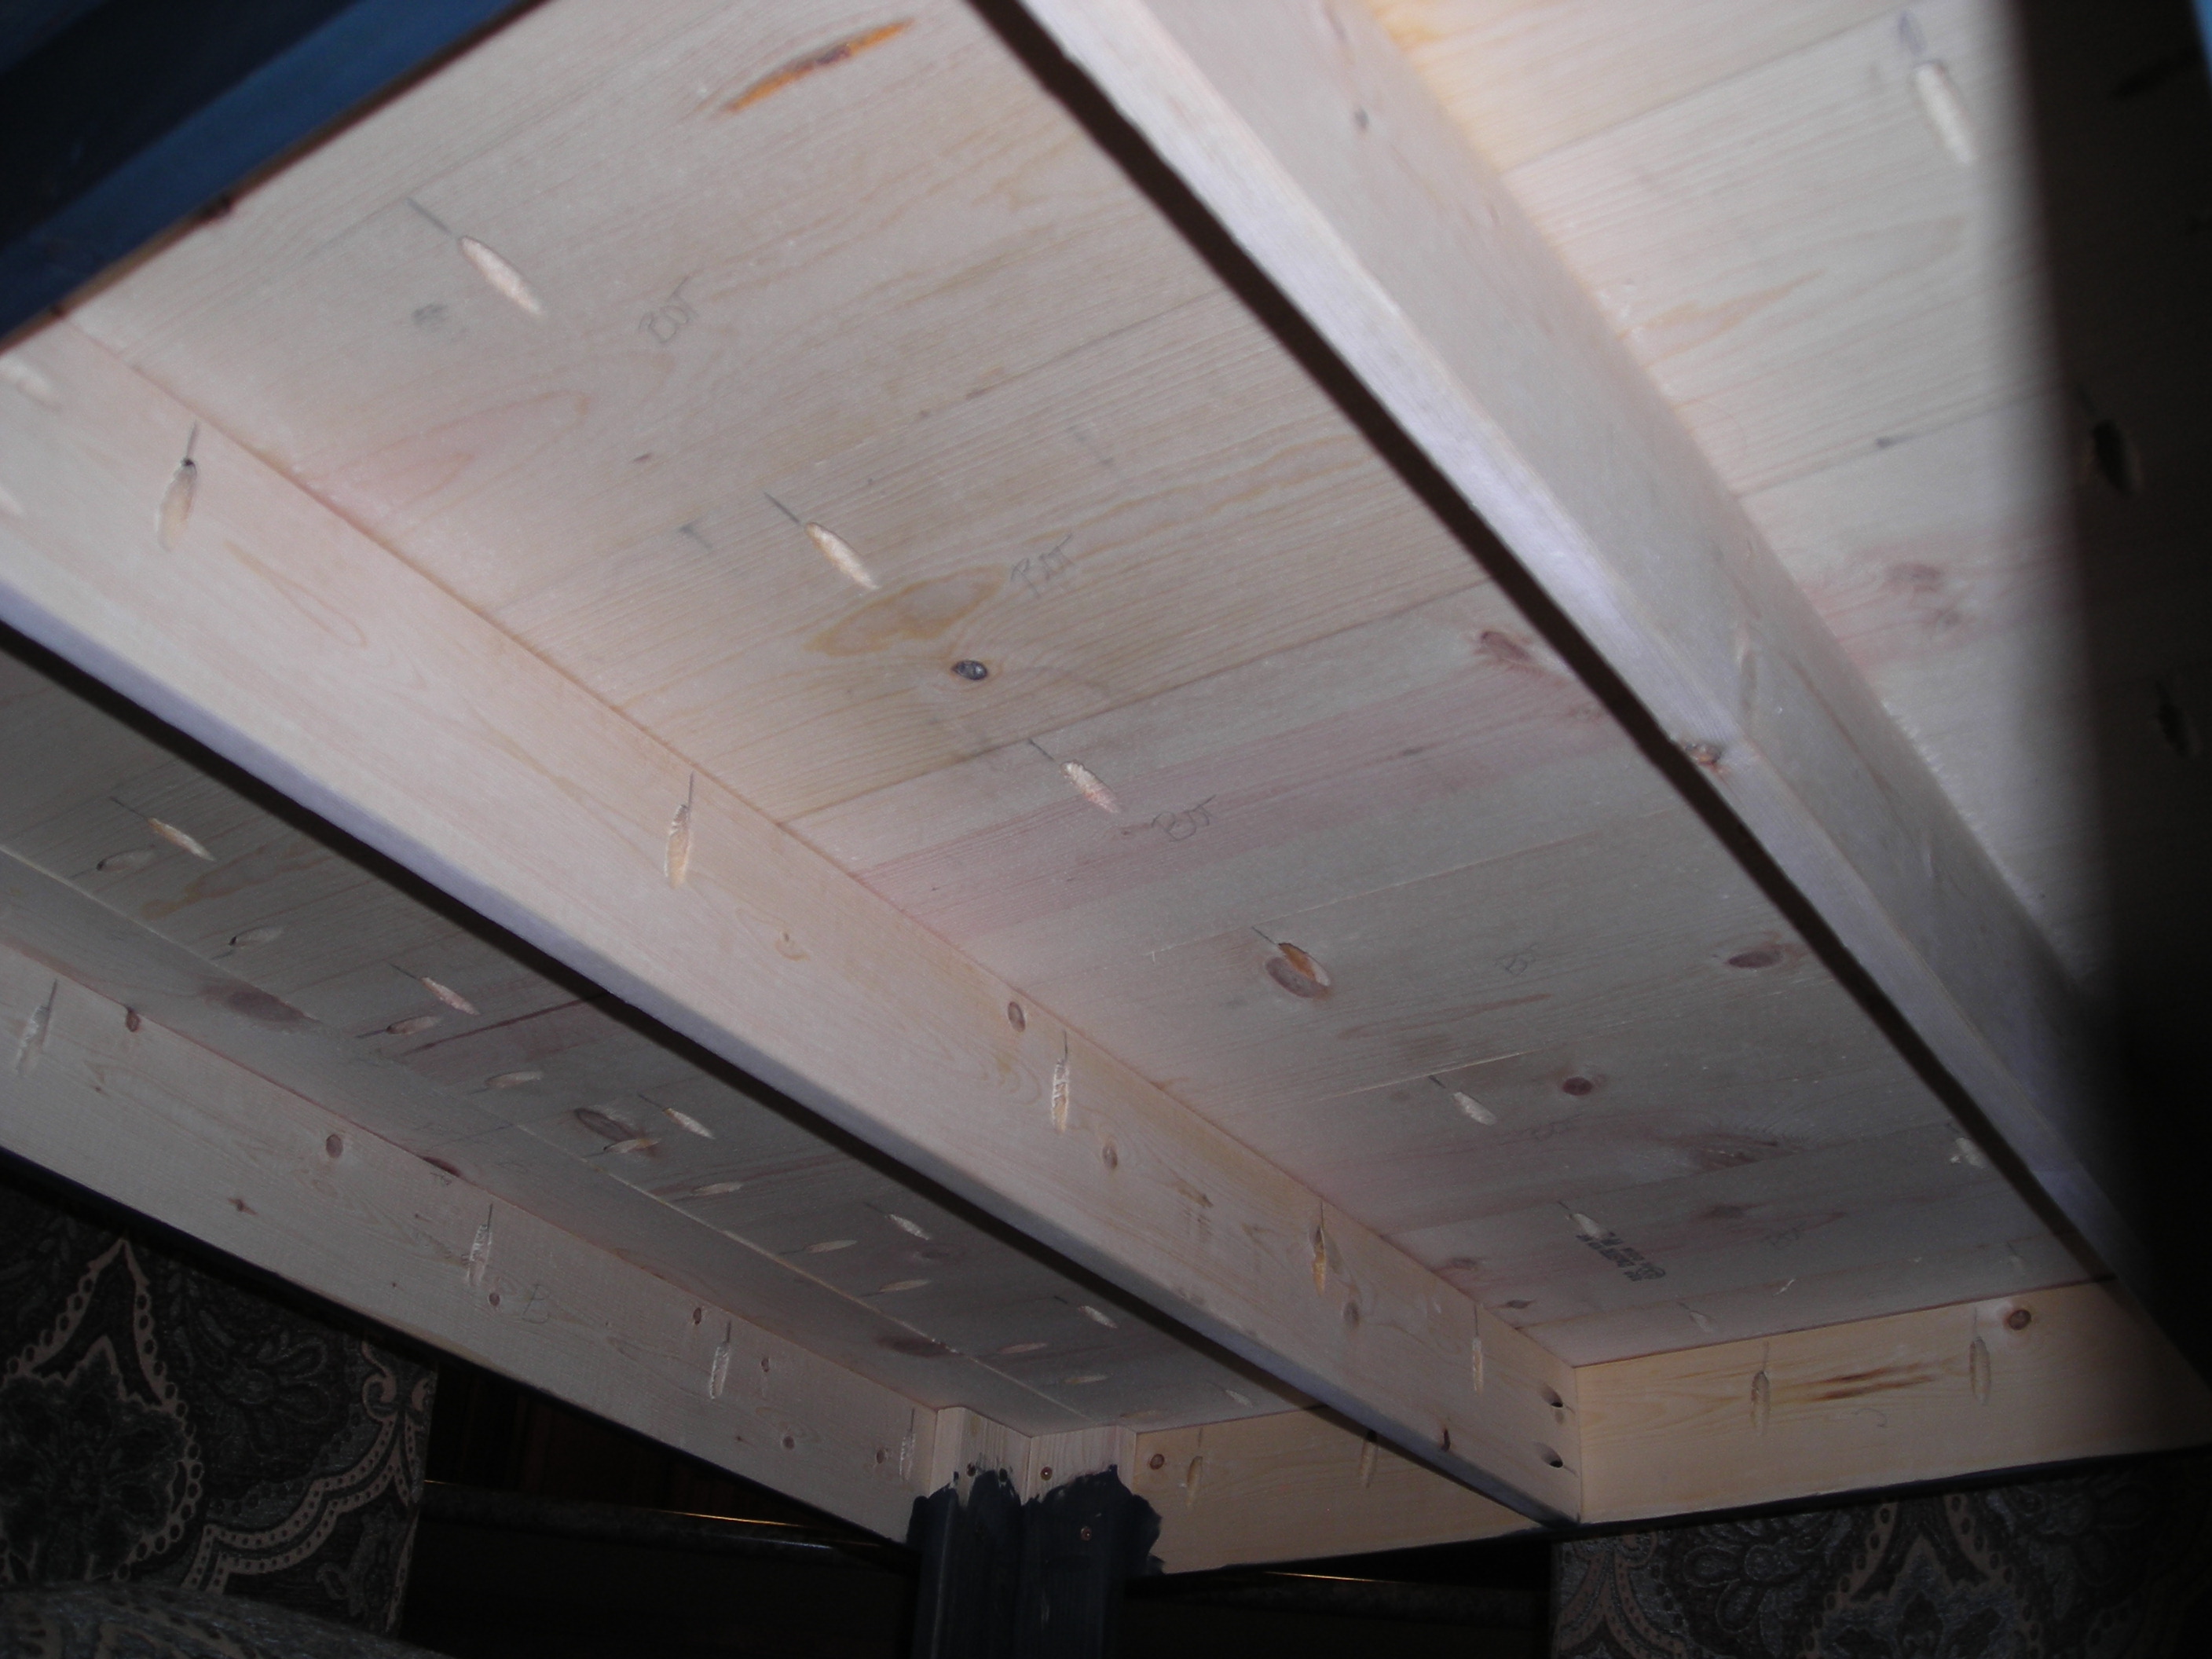
This was my first build with minimal help from my husband. I'm unsure how long it took to build since I worked on it periodically and forget how much I spent on the wood since this took place several months ago. When I started this project, I did not have a pocket hole jig and since then have learned how invaluable that tool is. It's not perfectly square but it's not as noticeable sitting on carpet as it would be on hard flooring.
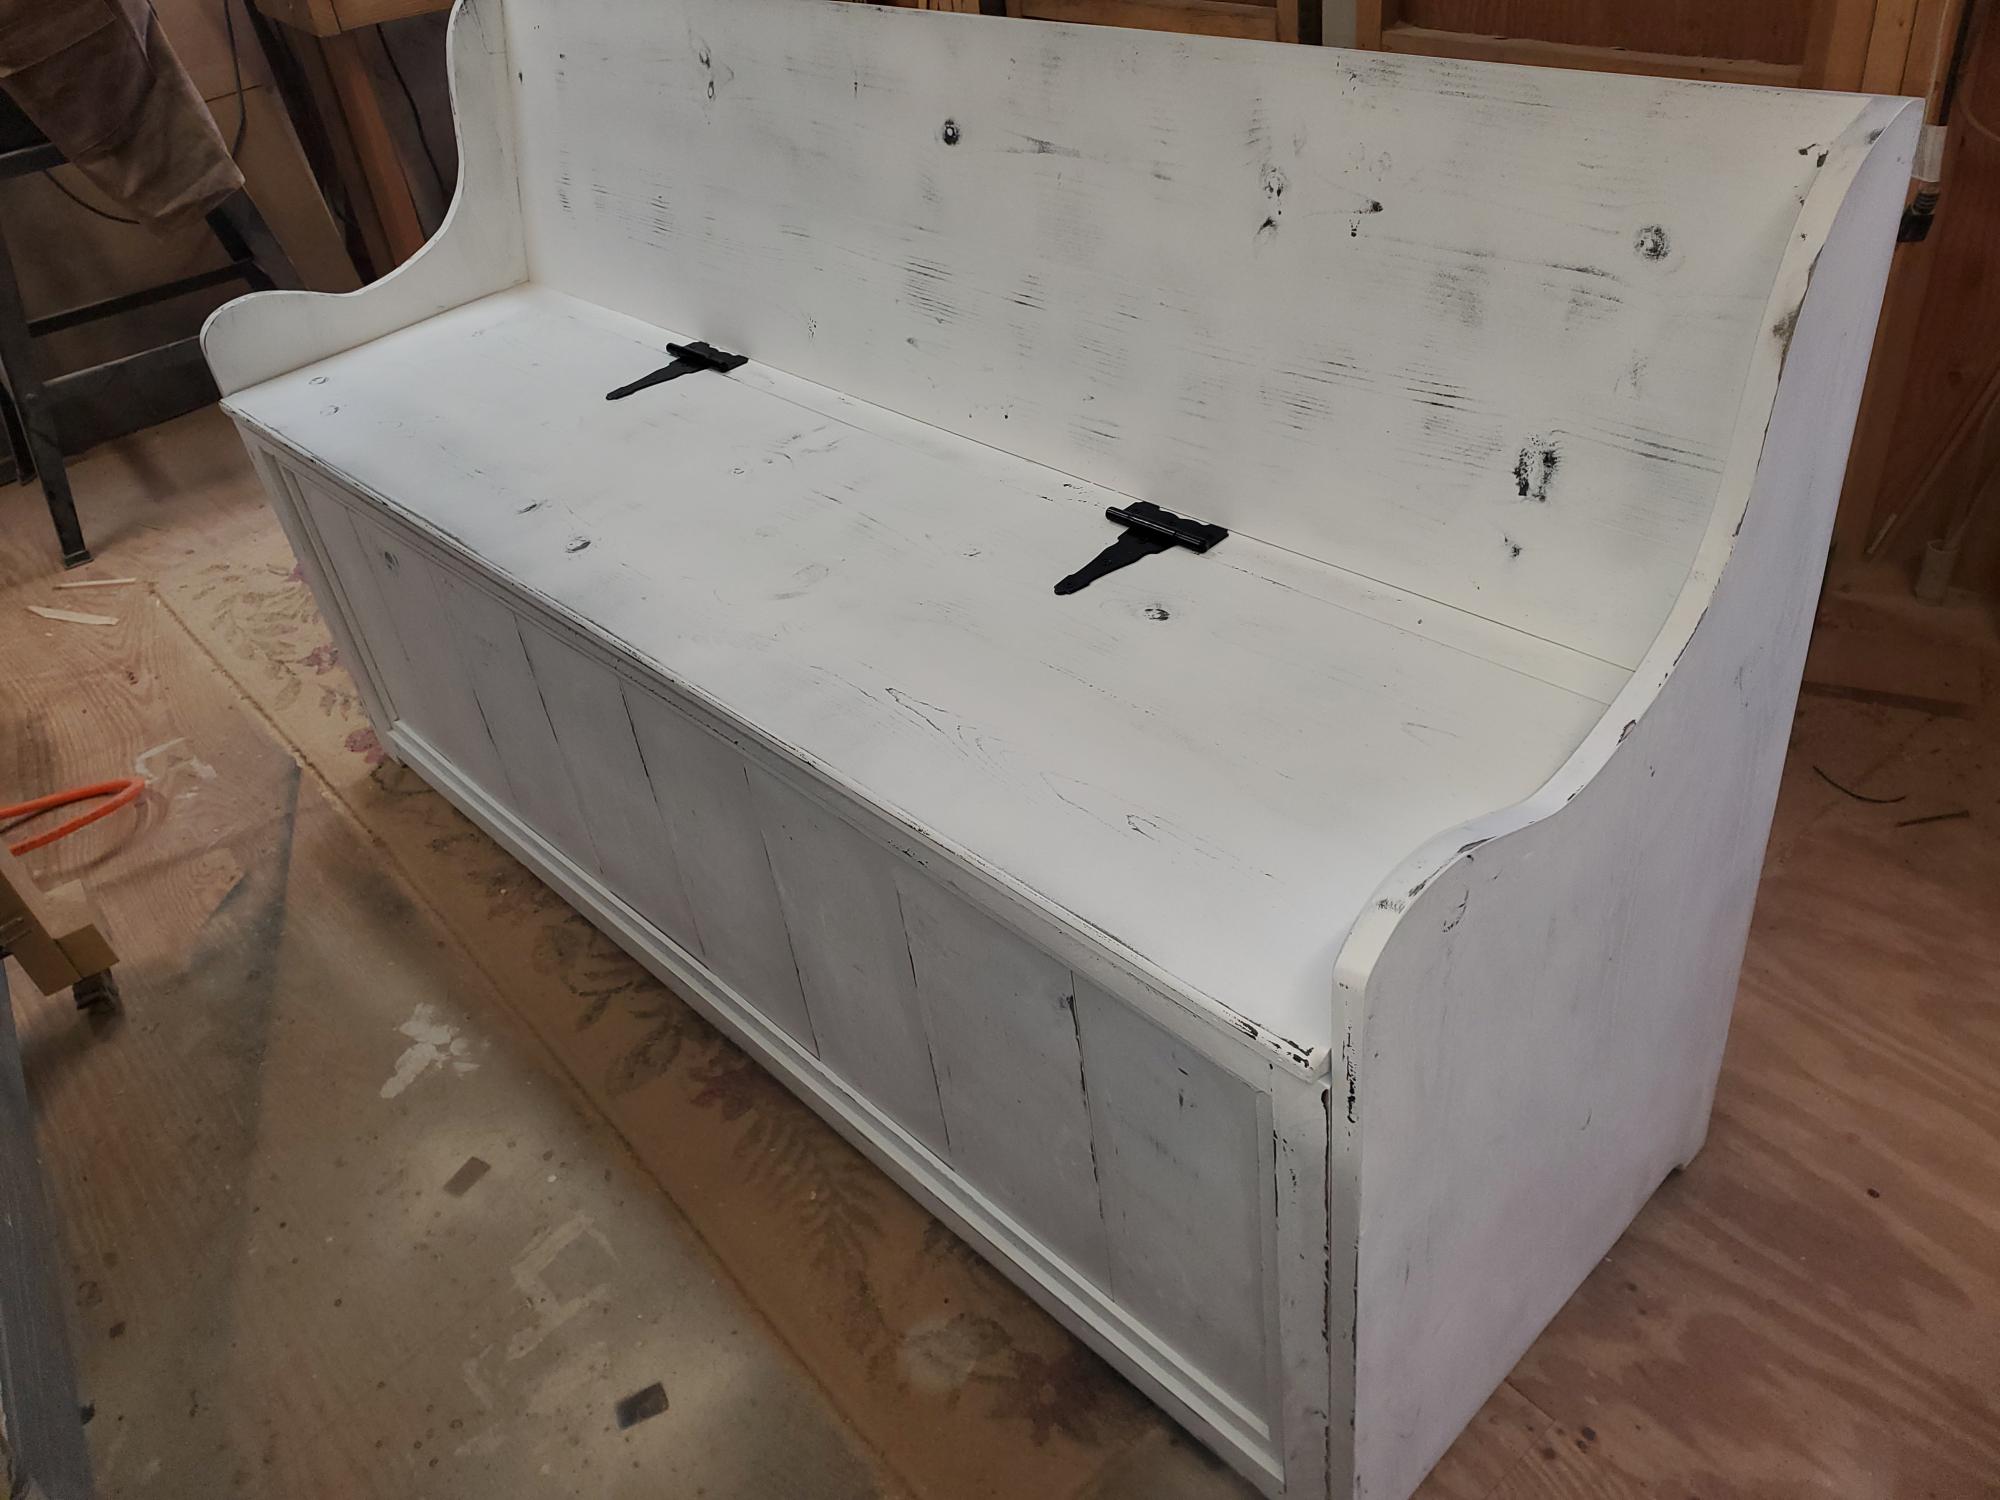
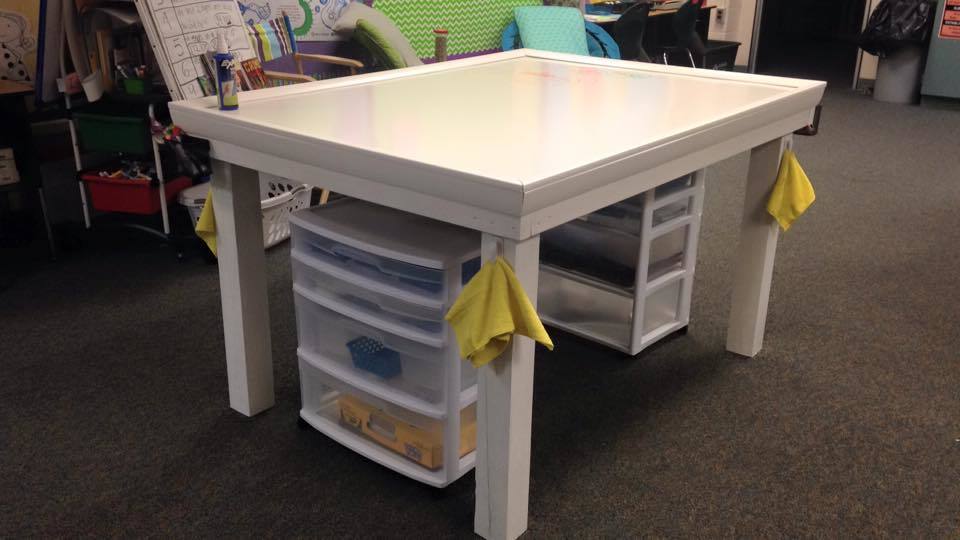
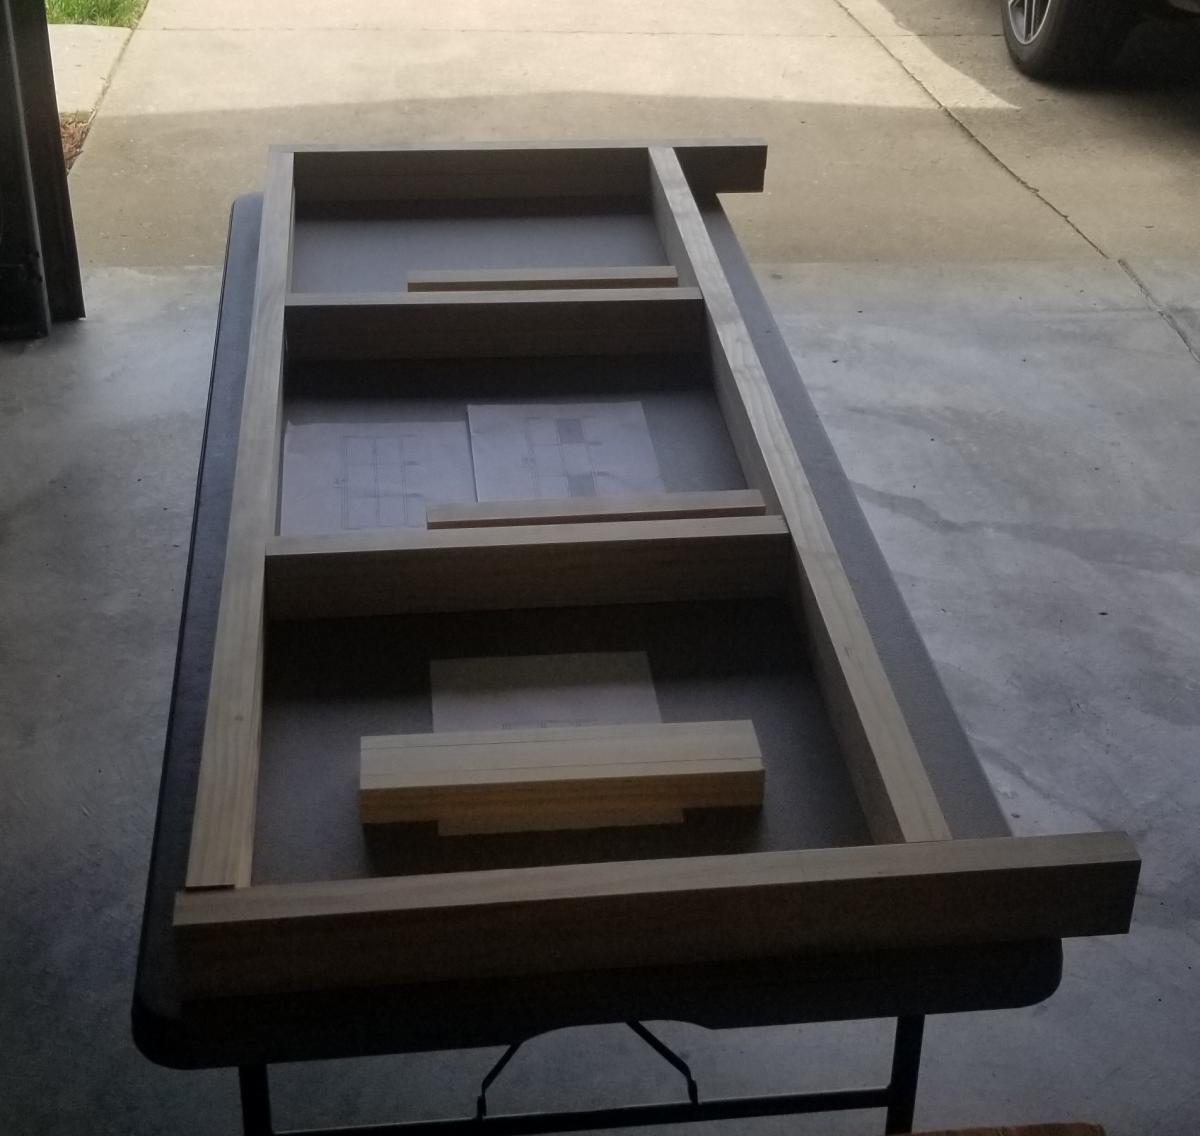
Probably a harder first-time project to start with but overall I'm happy with the outcome and looking forward to my next project.
Built from Plan(s)
Estimated Time Investment
Weekend Project (10-20 Hours)
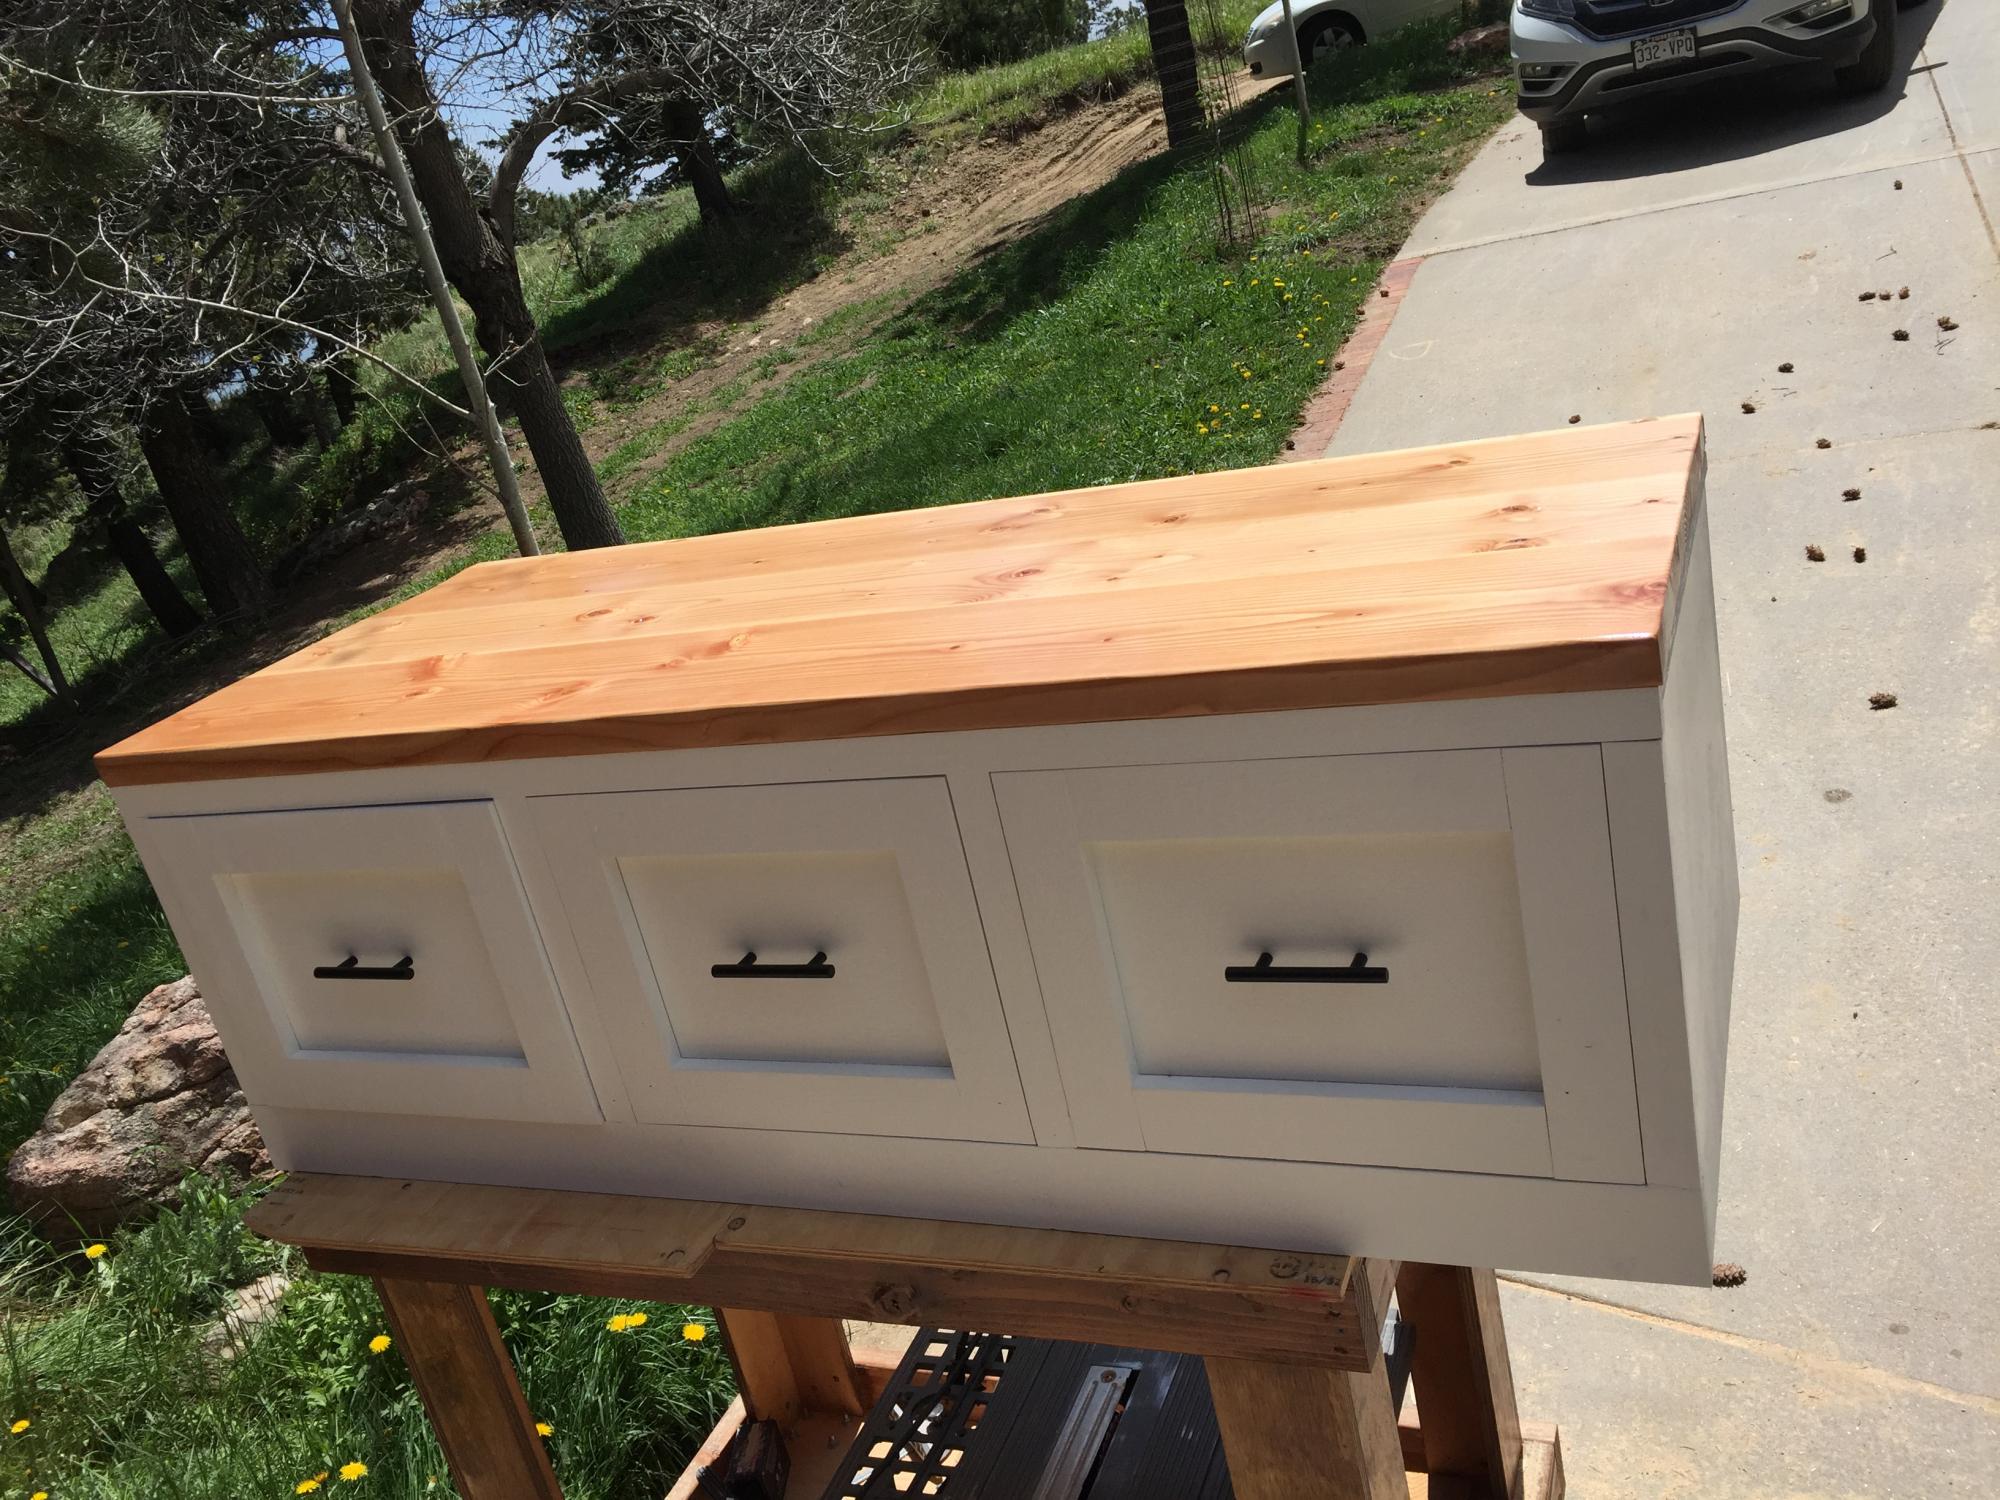
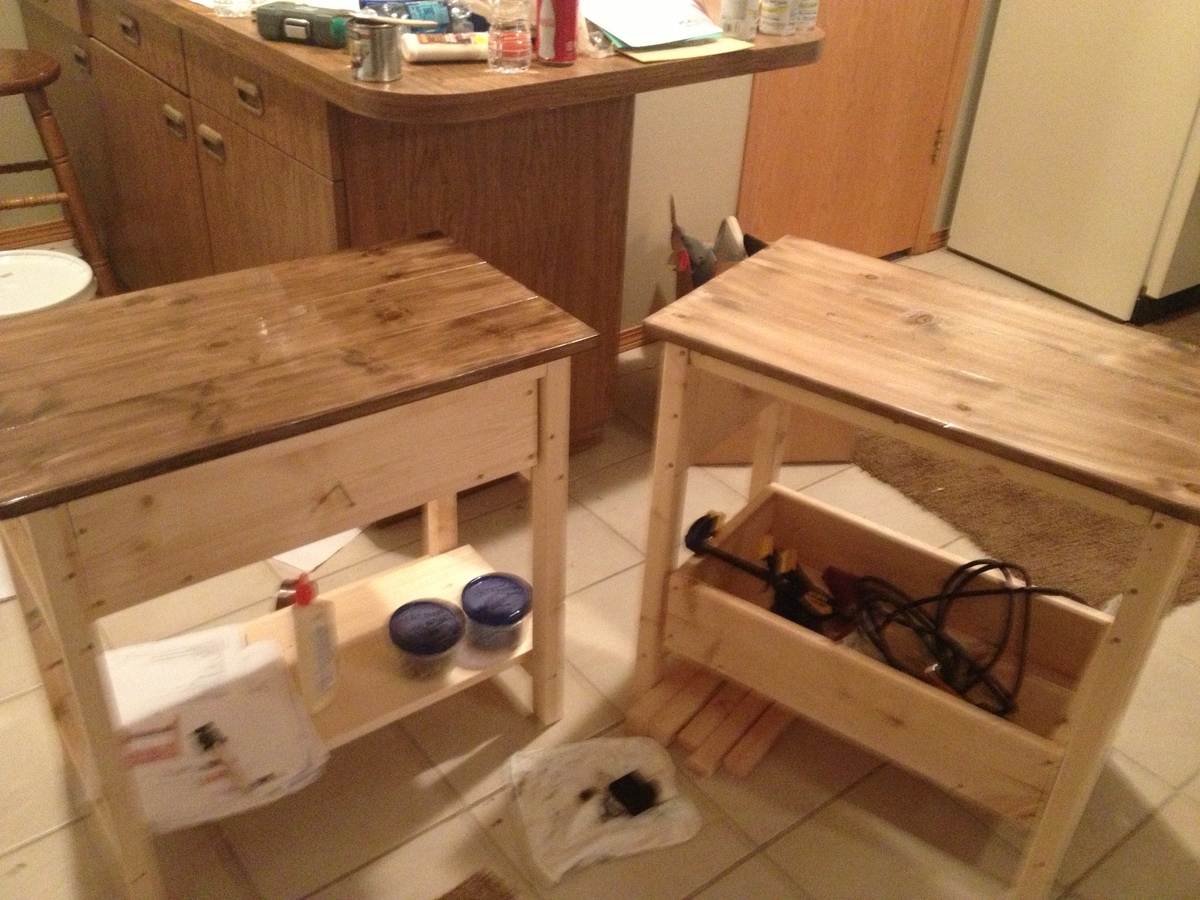
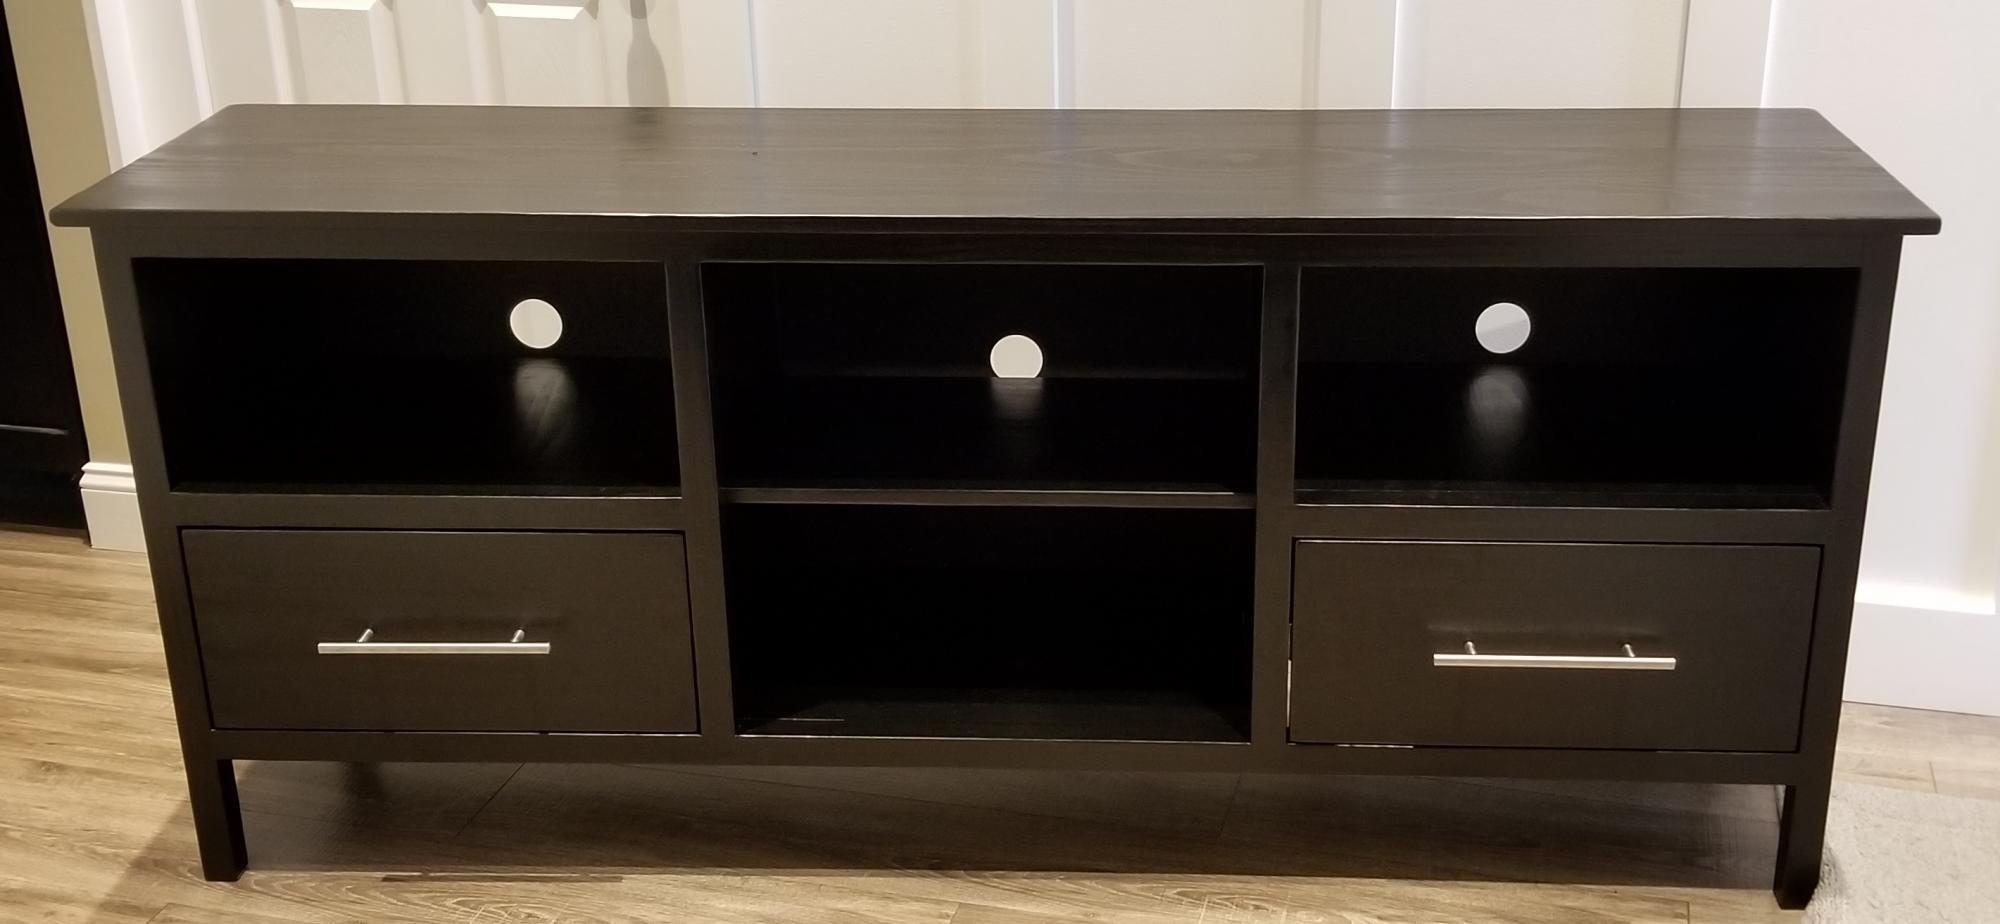
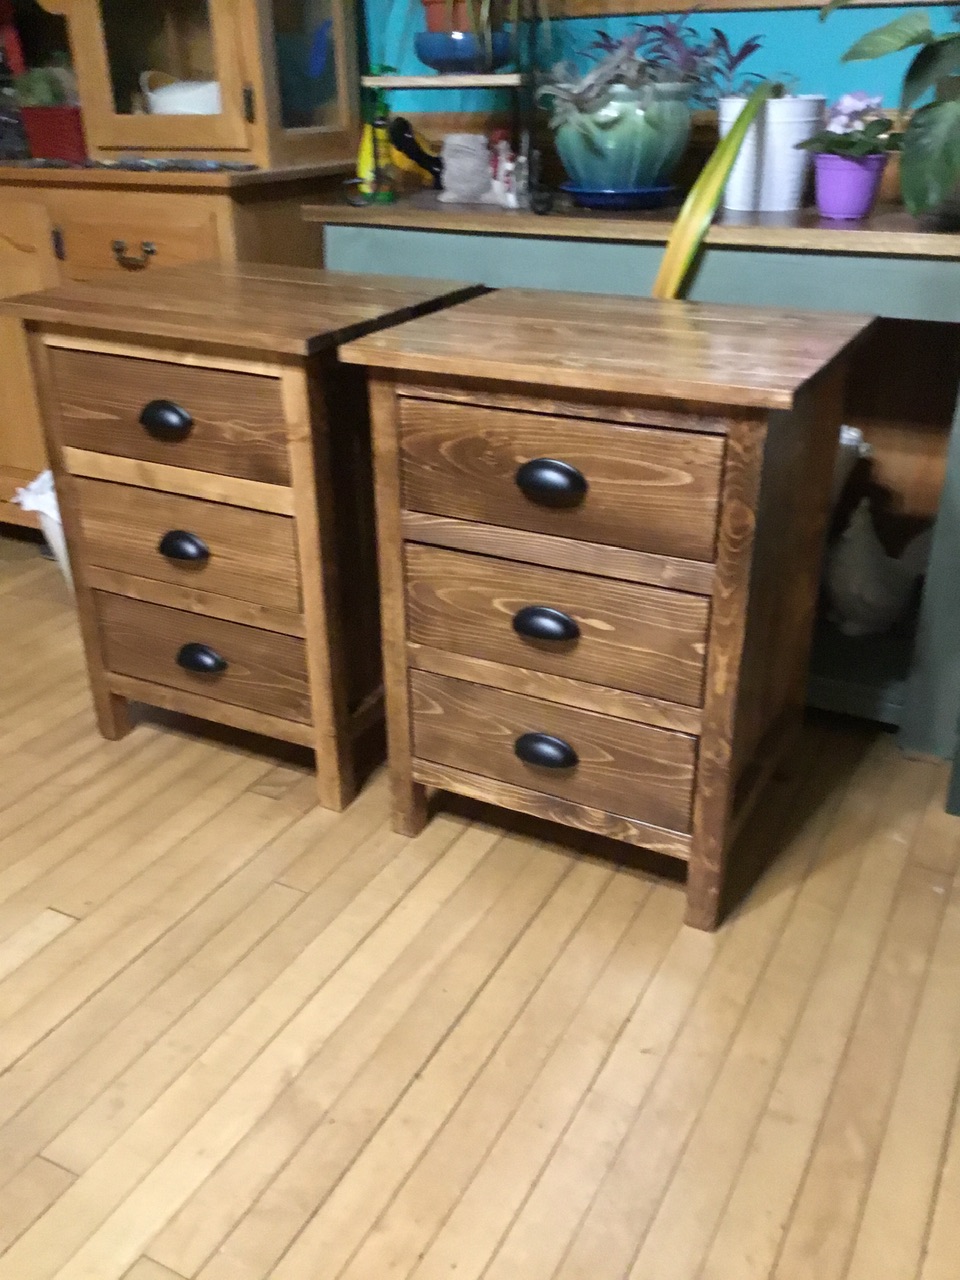
Finish Used
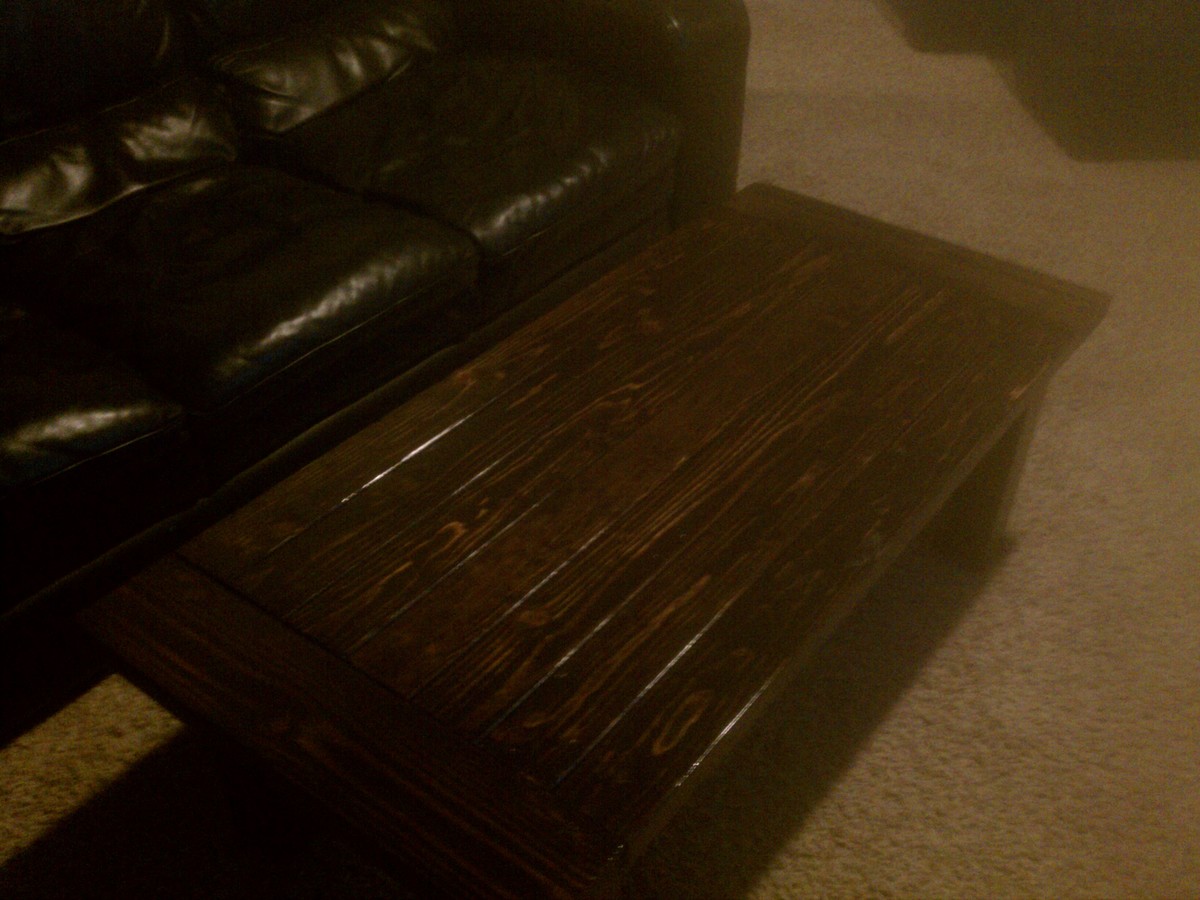
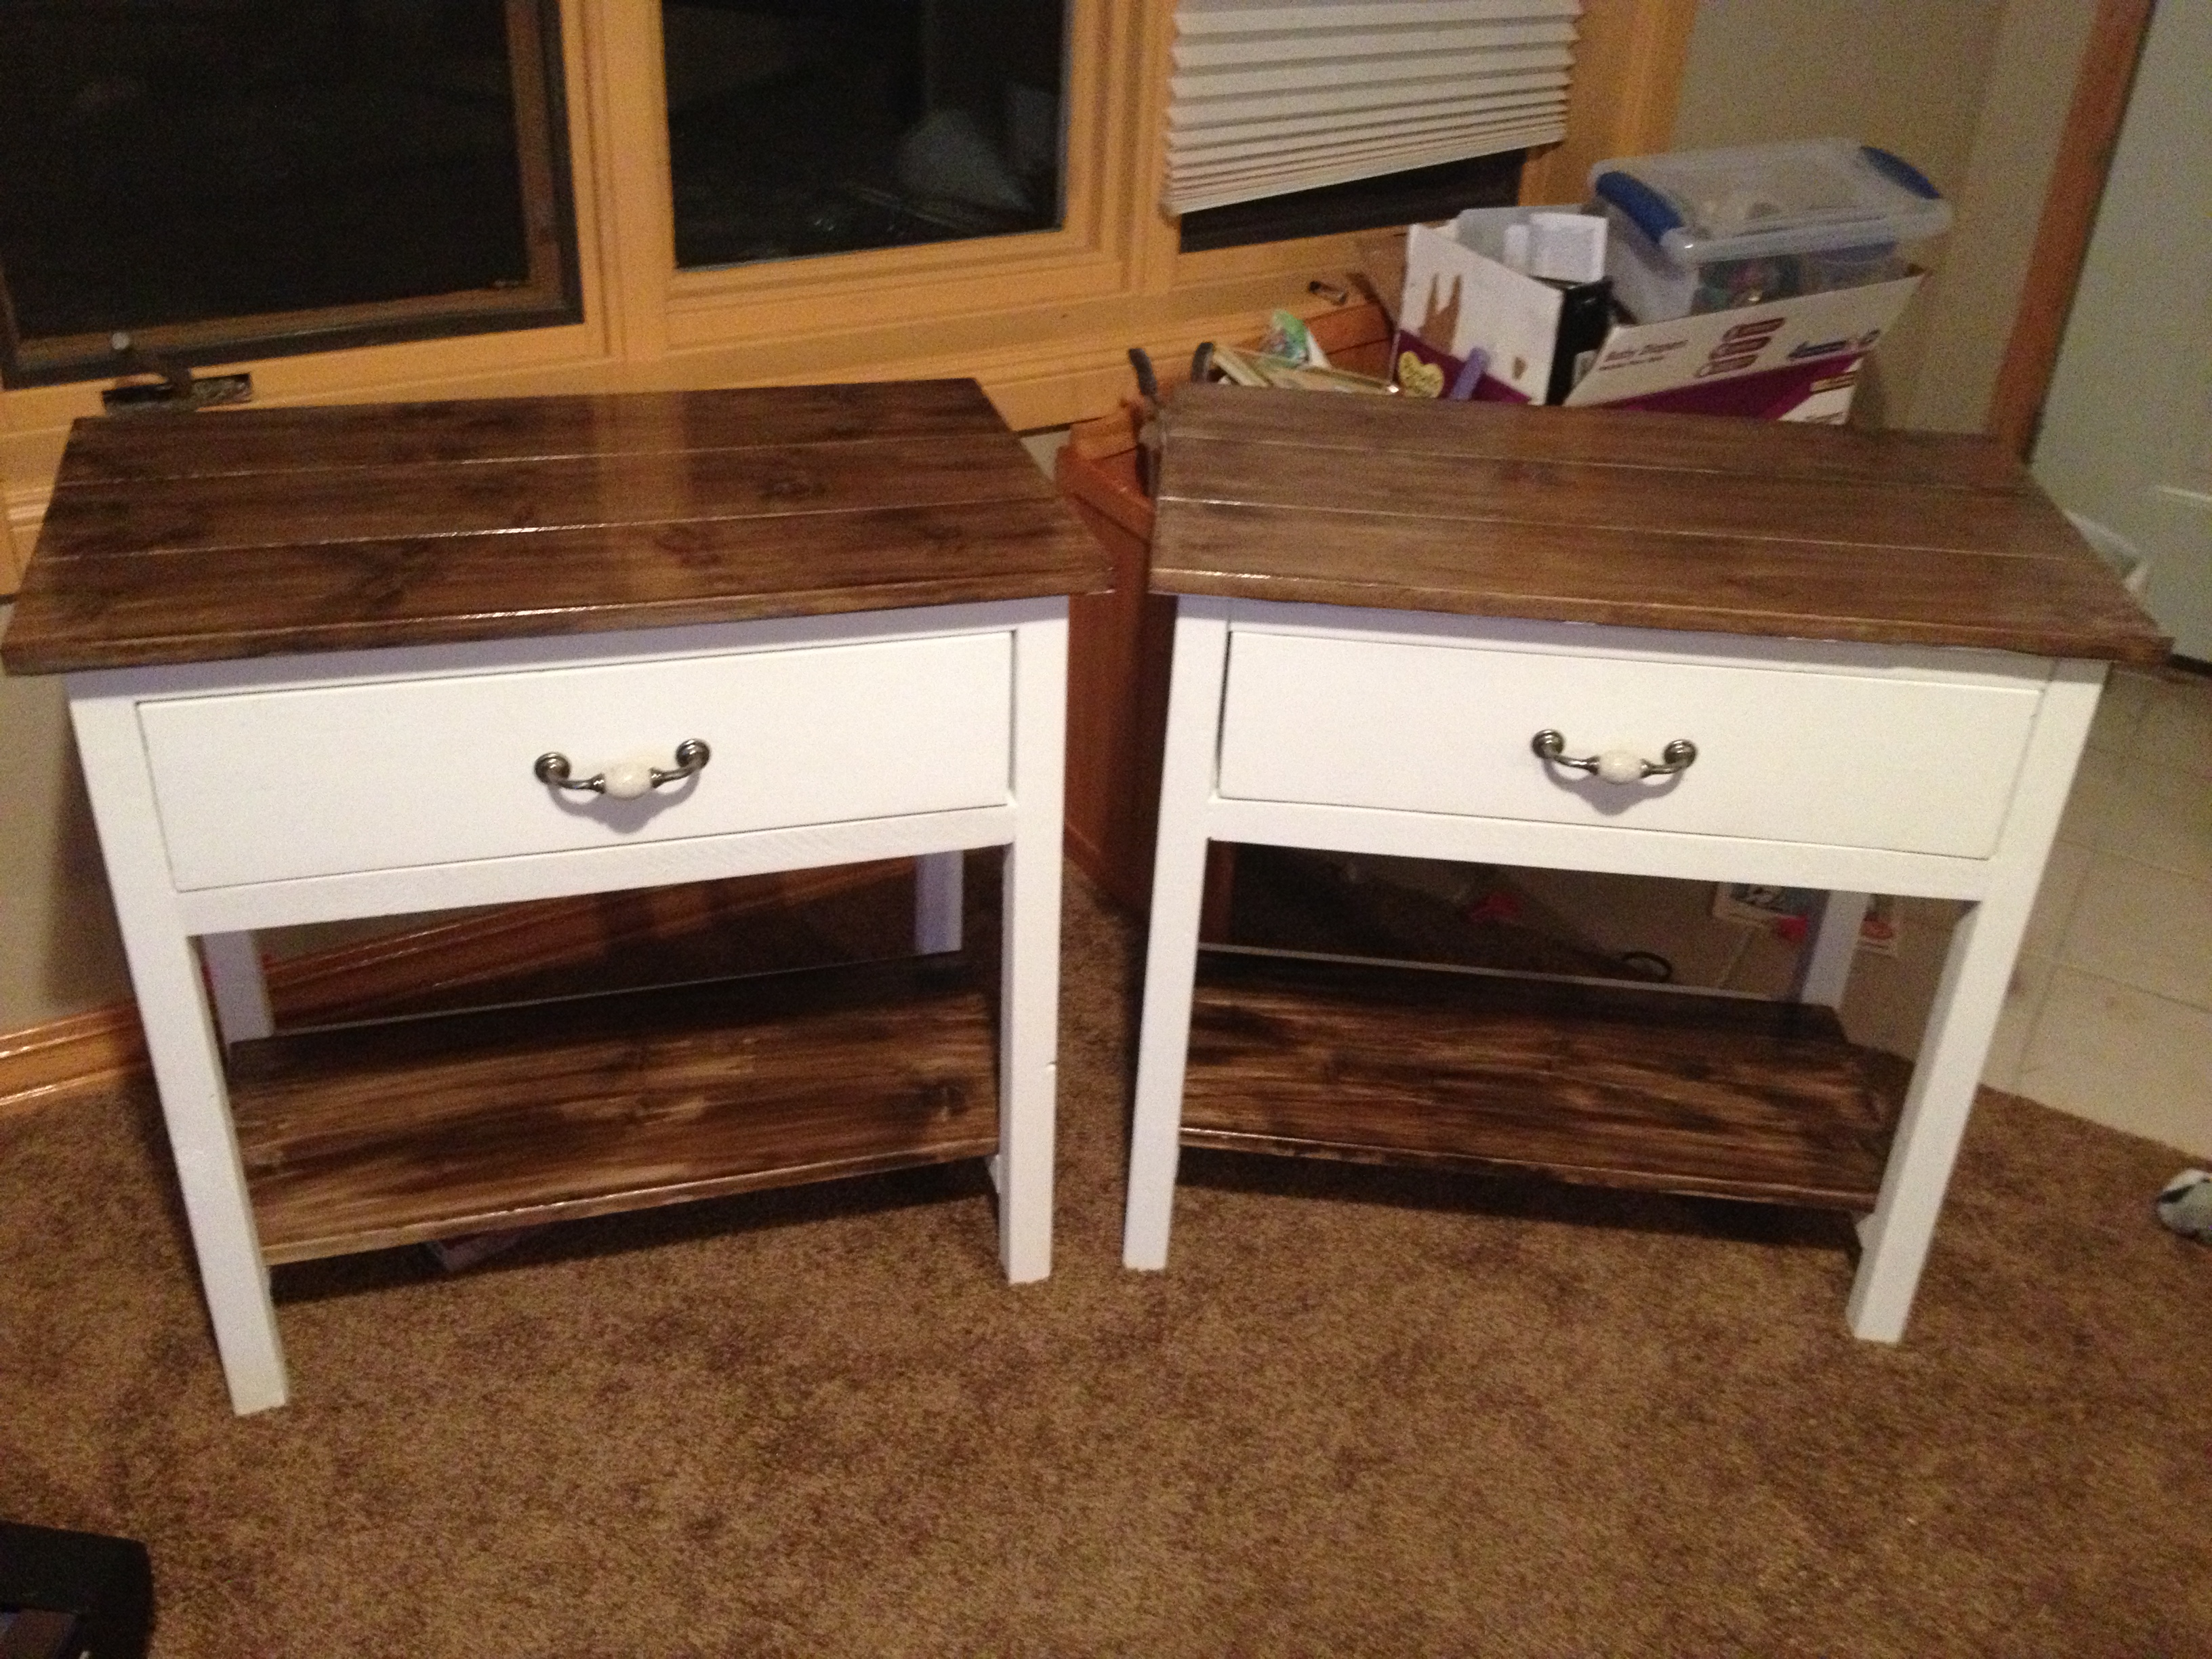
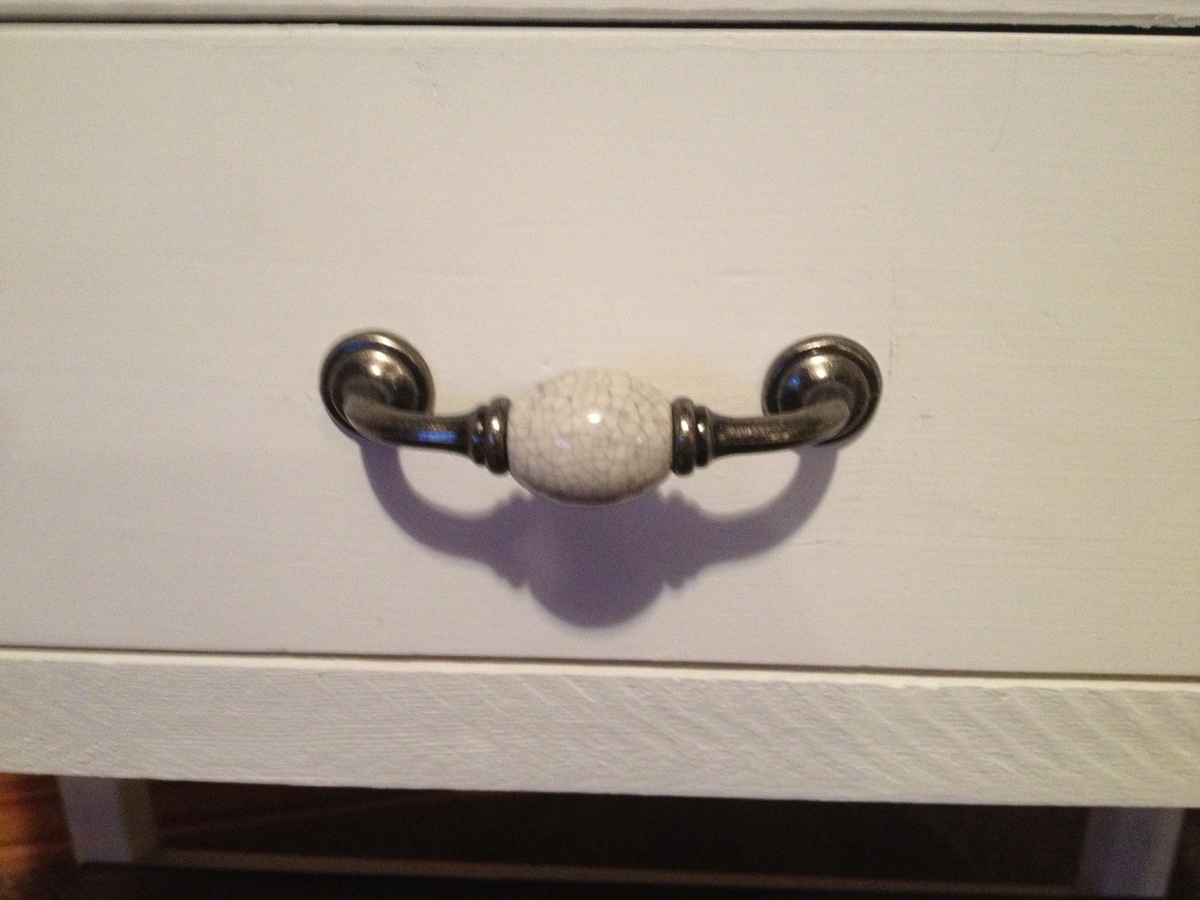
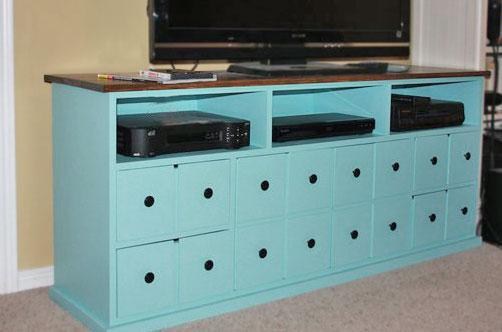
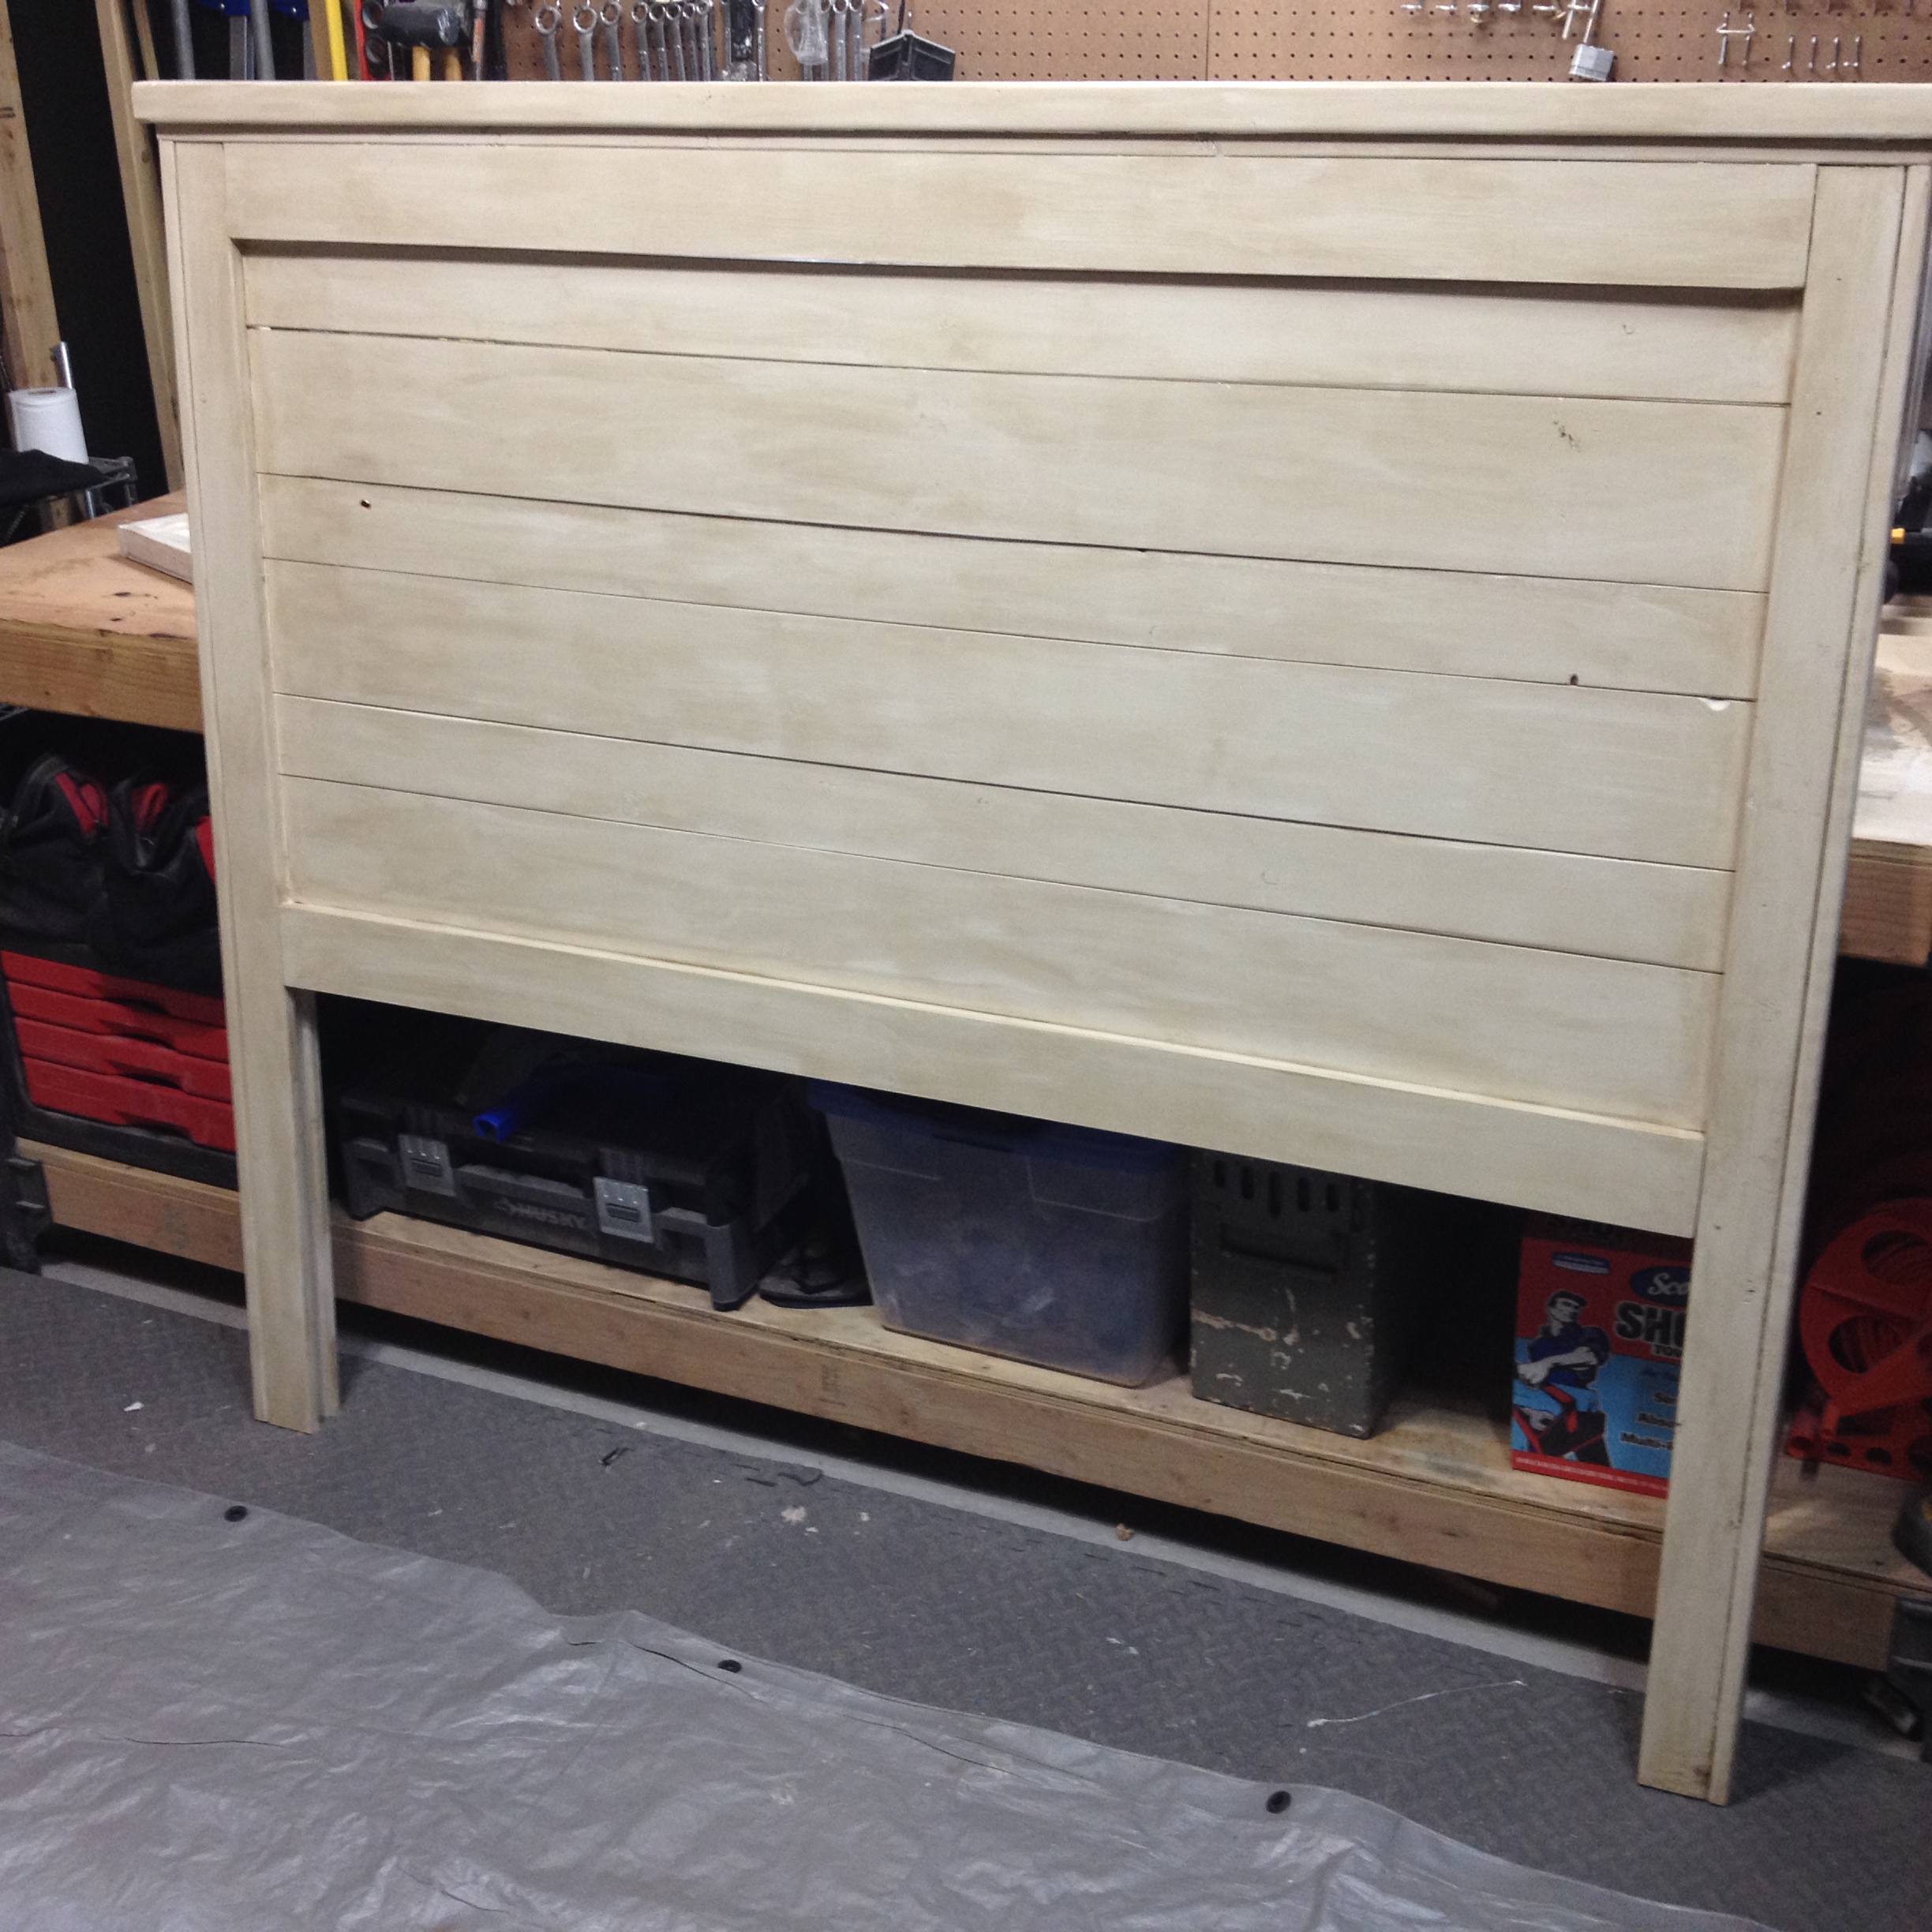
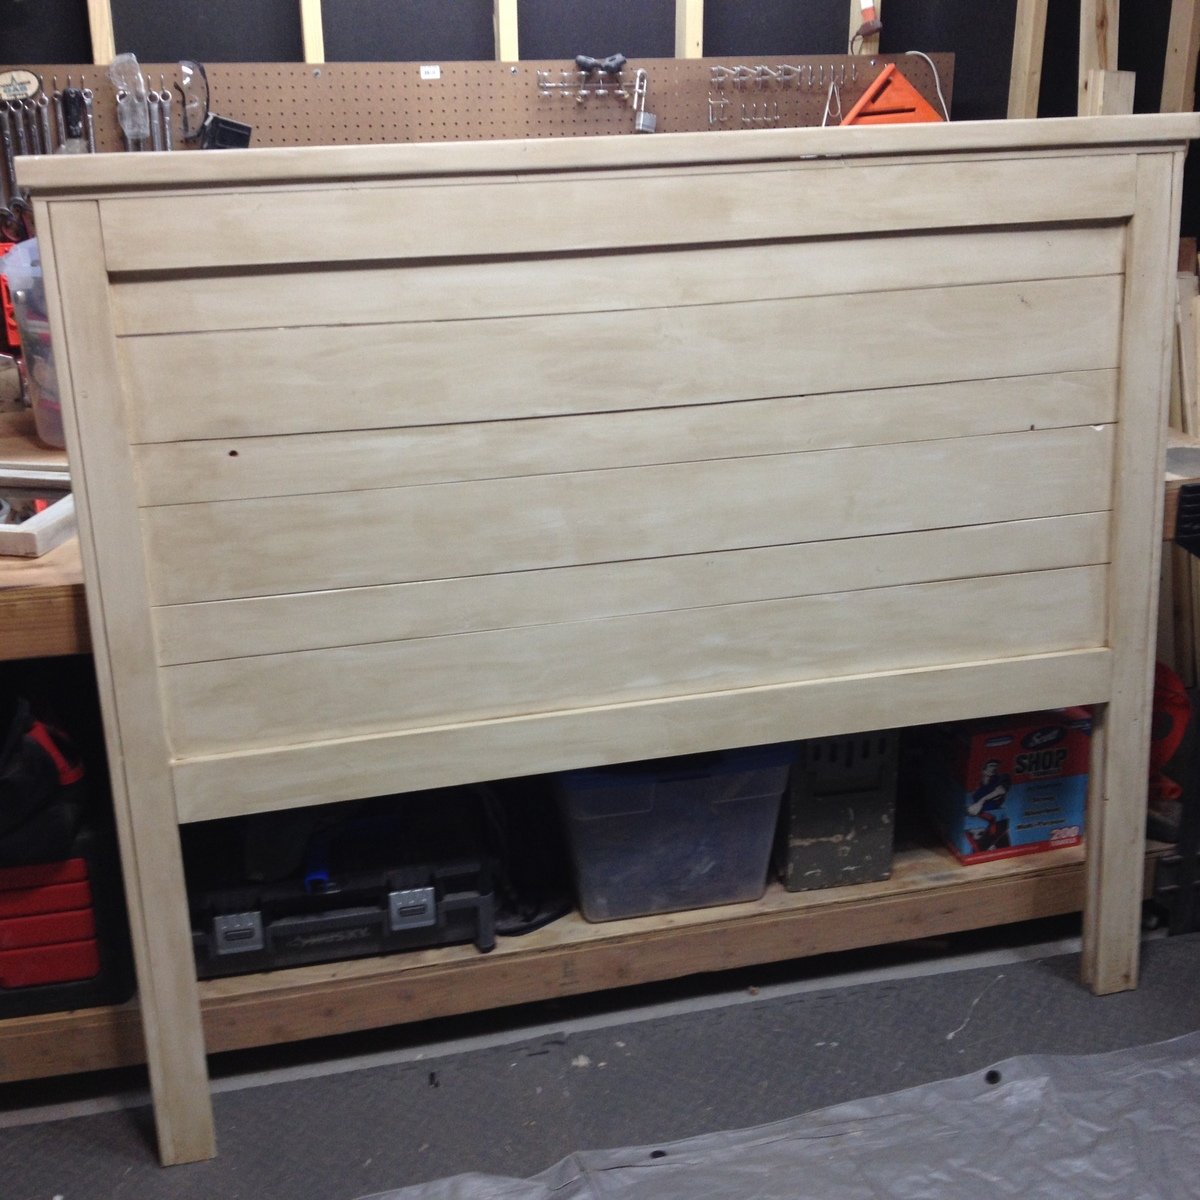
Minwax in Cherry topped with Minwax in Dark Walnut. Painted the base white and distressed with the Cherry stain.
Recommended Skill Level
Intermediate