Community Brag Posts

Outdoor Sectional

Submitted by Anonymous (not verified) on Mon, 04/04/2016 - 06:29

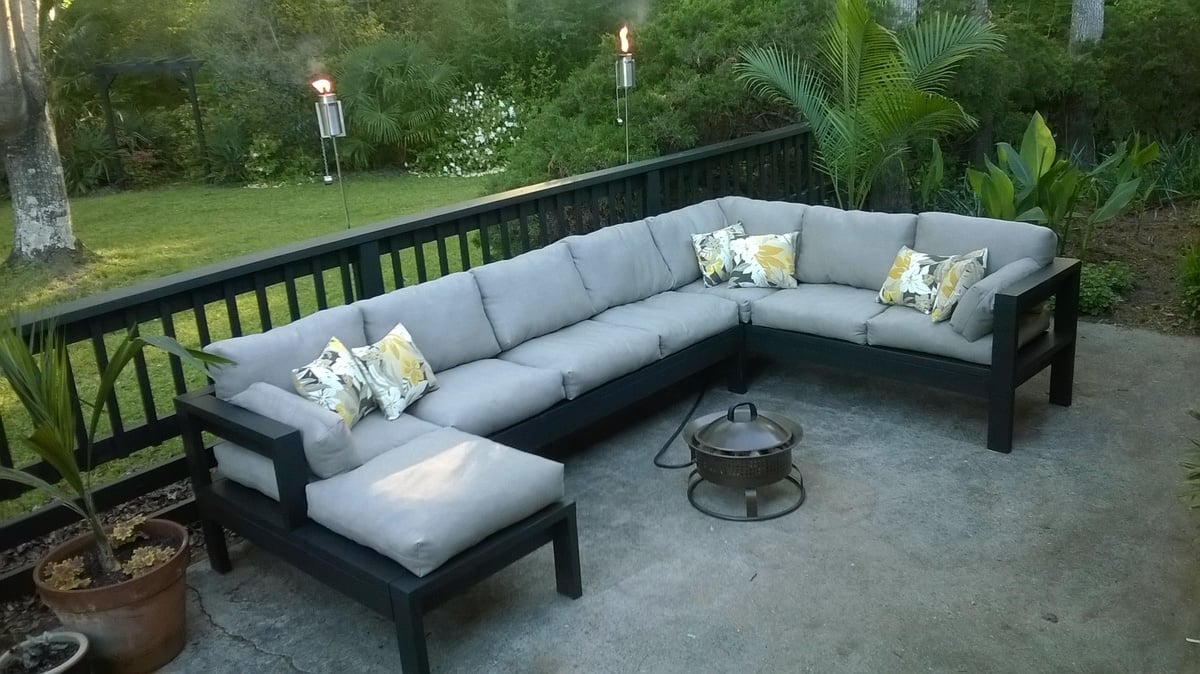
I modified the plans slightly, reducing the overall seating depth by 1.5" so I could use 8' lumber with minimal waste, and make 2 cushions out of one 54" width of fabric. I also tweaked the design to make a chaise lounge on one side. I used bargain priced sunbrella fabric (has a few imperfections) and recycled soda bottle fill for the cushions to keep cost lower. Building the wooden part was quick and easy (took an afternoon including two trips to the store), but this was my first sewing project so the total project time reflects my learning curve making and stuffing cushions.

Estimated Cost
Just under $300 total.

The lumber cost was less than $100. It was my first sewing project, so I was surprised that the cushion stuffing was the most expensive element of the whole project. If you can find cheap pillows, the plans are easily modified to fit their dimensions.
Estimated Time Investment
Week Long Project (20 Hours or More)
Finish Used
behr weatherproofing solid color, slate.

A narrow roller was a life saver in getting between all of the boards on the seat.
Recommended Skill Level
Beginner

Comments

marylowry

Wed, 04/06/2016 - 06:34

This looks really great! You have inspired me to stop procrastinating and get started on our outdoor sectional. Every time I think about doing it the building part seems fun but, I'm overwhelmed by the task/cost of the cushions. I'm interested in learning more about the fill you used. Where did you find it and what was the approximate cost? Thanks and great work!

sheinerbock

Wed, 04/06/2016 - 11:02

This came out amazing!! I just finished my very first project using plans on here and have the bug to keep building more!!! An outdoor sectional is next on my list!! Great job it looks fantastic.

Gregbpsu

Wed, 06/29/2016 - 20:25

Whoops - sorry about that. This looks amazing, and the detail on the fabric is quite fantastic. I have been wanting to replace some old furniture that is falling apart, and this would really be a wonderful addition to the outdoor space. Kudos on the great work. 

Outdoor Grill Station

Submitted by Anonymous (not verified) on Tue, 09/05/2023 - 09:21


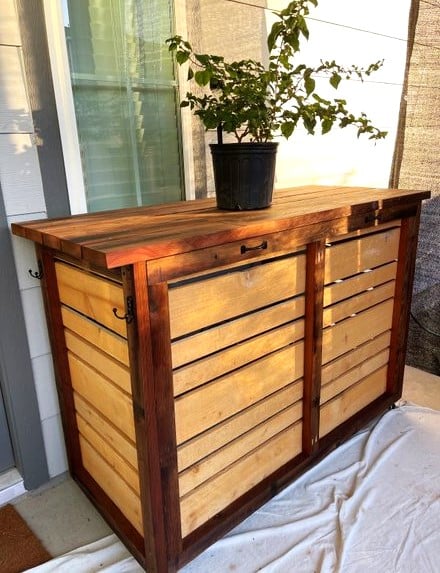
This rolling bar was inspired by Ana White's plan.  It is used as a bar and conceals an electric smoker and a grill.  I added handles for moving and some hooks on the sides.  I stained the salvaged 2 X 6 's and brushed on clear oil based poly on the new Cedar fence boards.

Billie

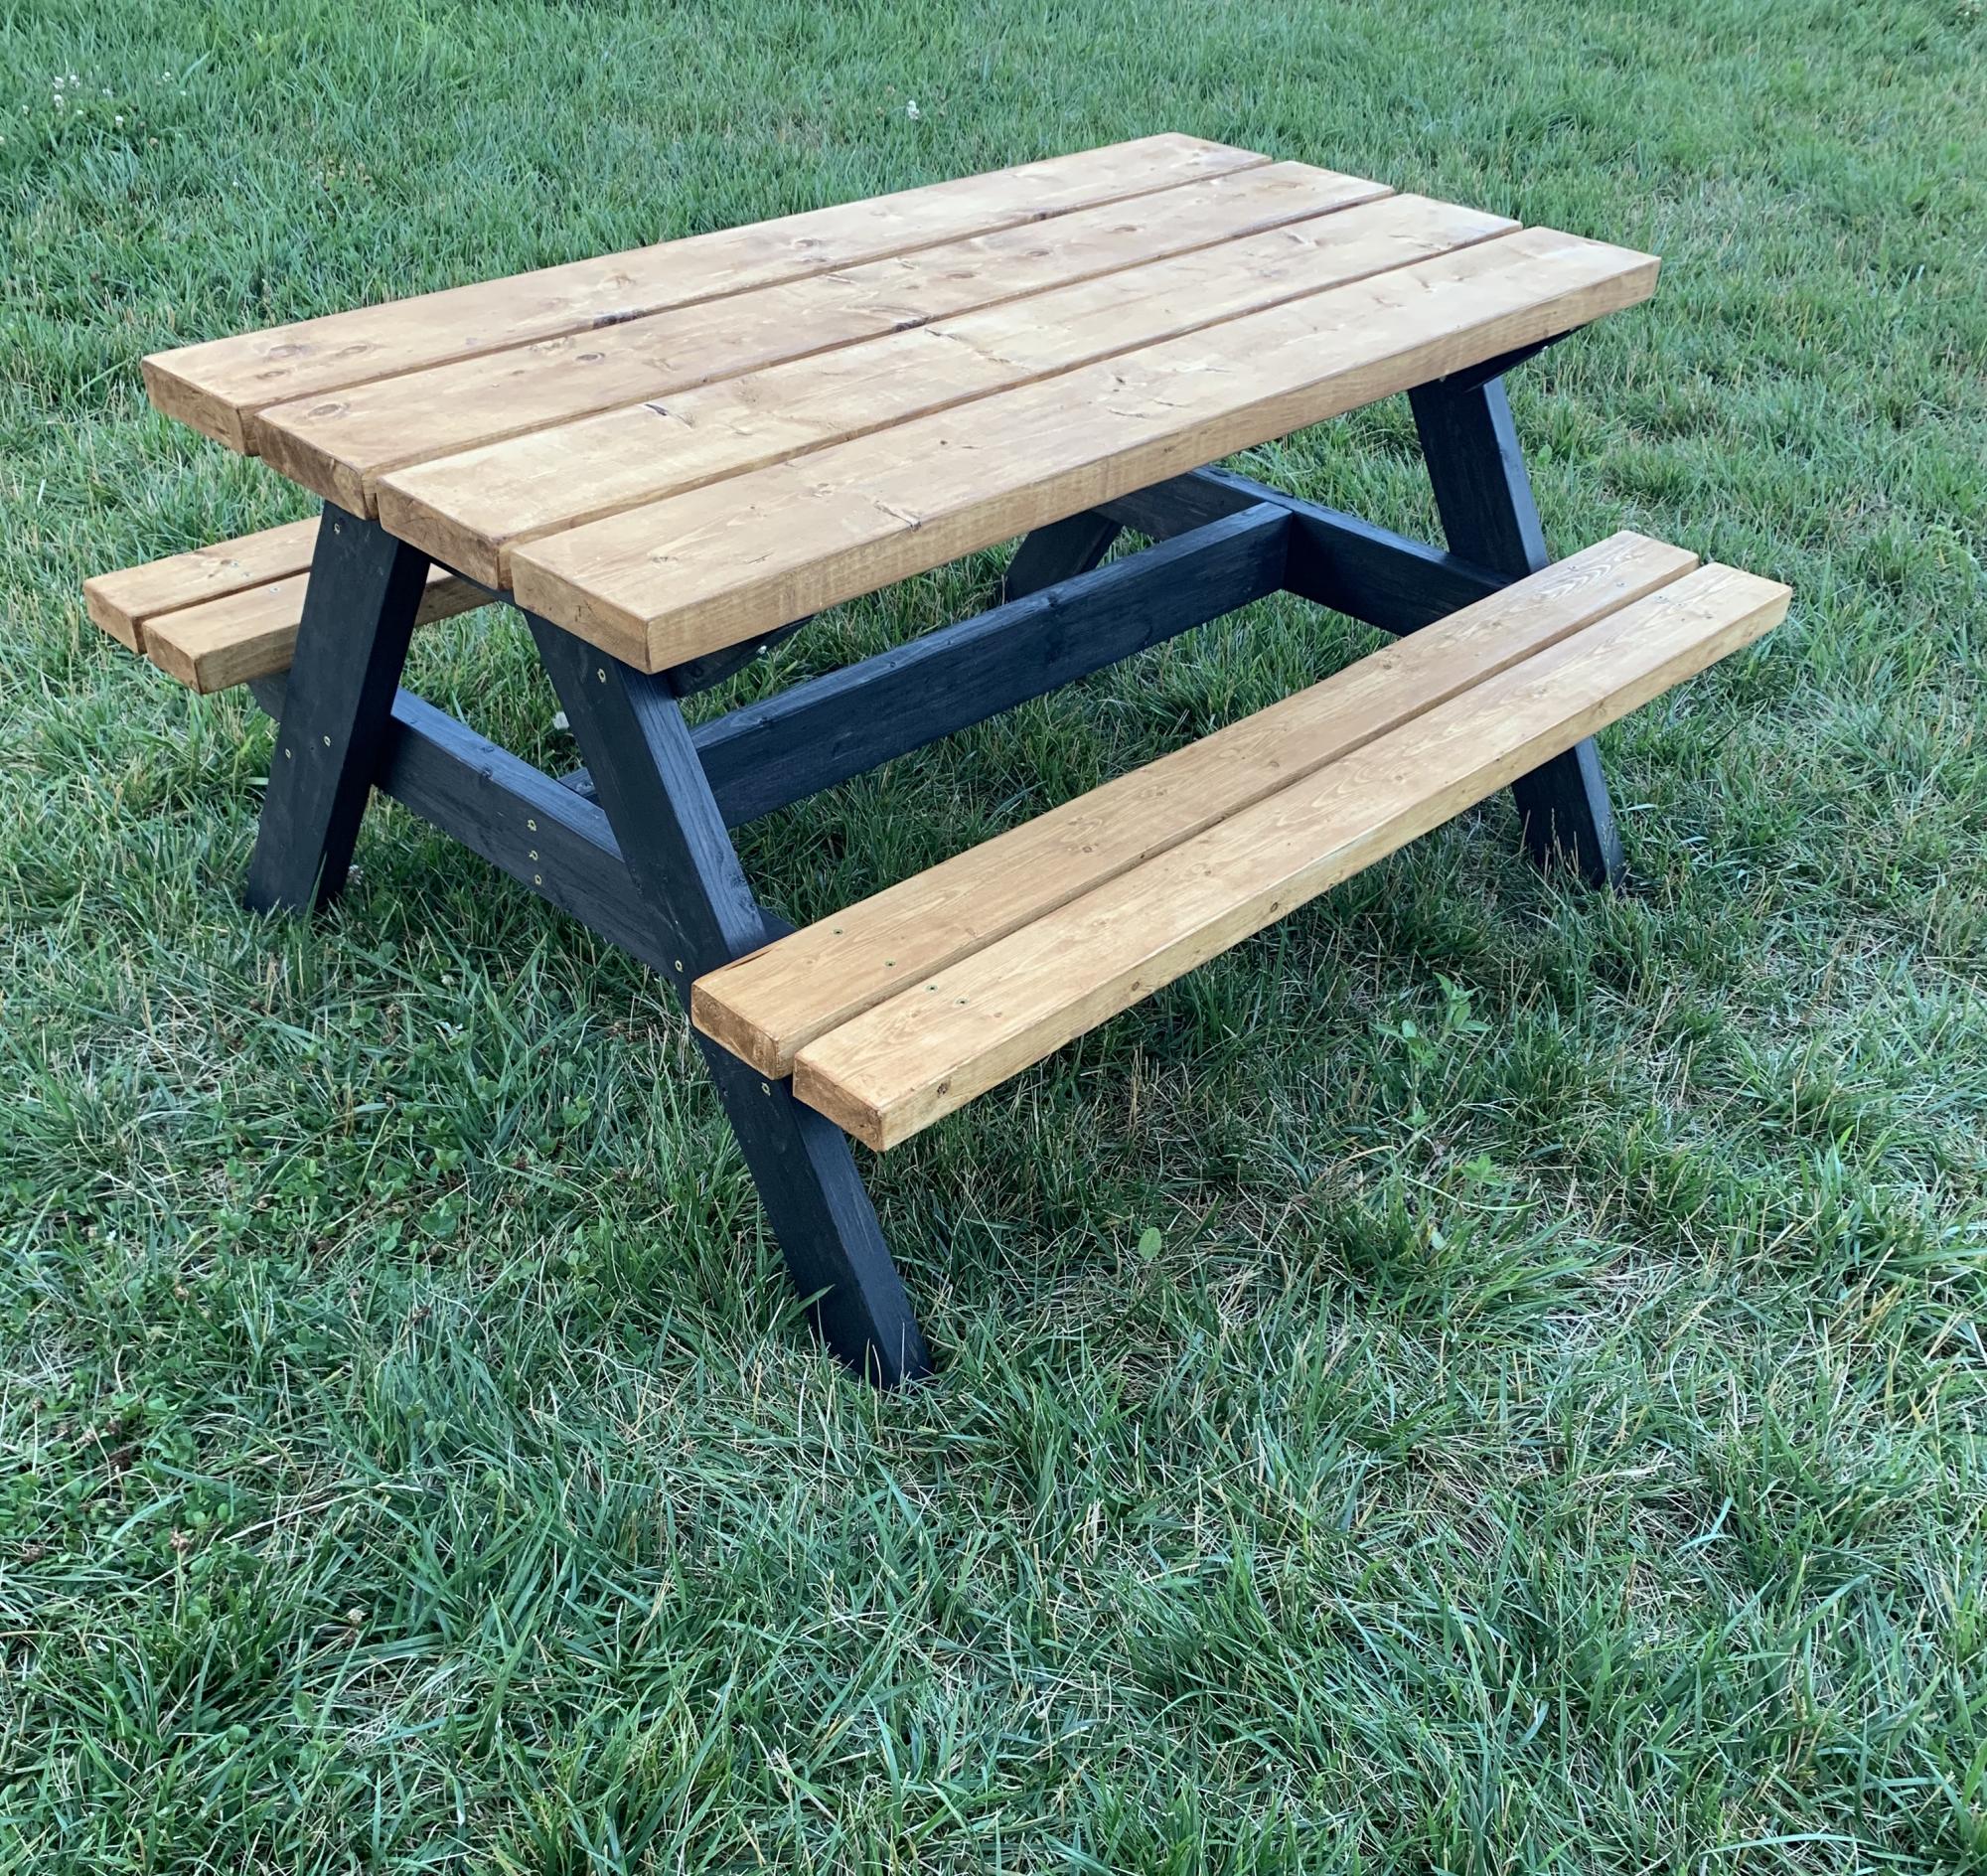
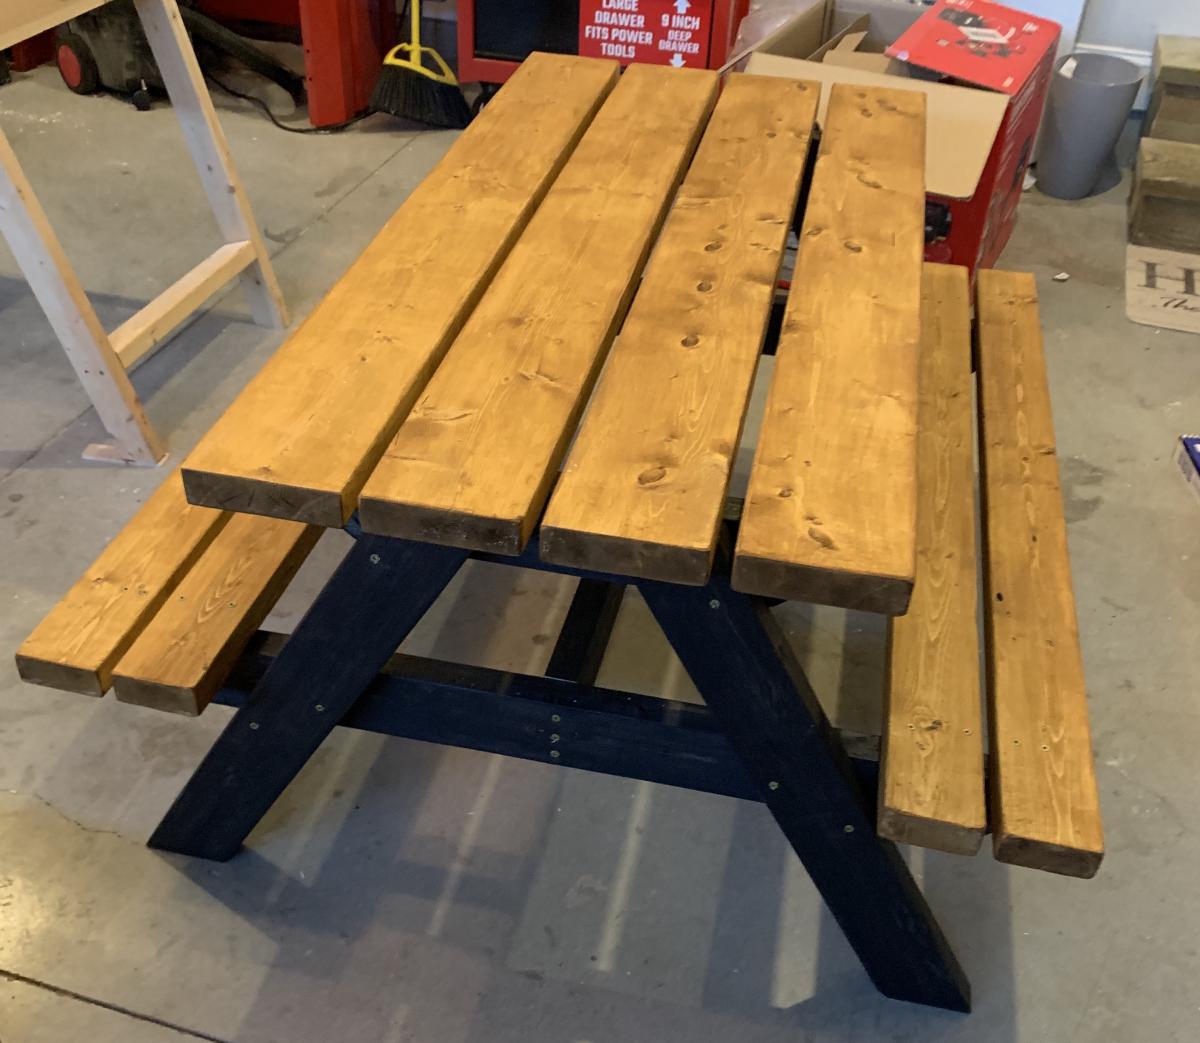
Big kids picnic table

Submitted by boneill on Wed, 07/08/2020 - 20:14

This was a easy build and is super strong . ITs built for a kid sized picnic table but I tested It with my weight to see how it holds up and (200 lbs) didn’t hurt it or even make the seat budge.

Built from Plan(s)
Estimated Cost
$55
Estimated Time Investment
Afternoon Project (3-6 Hours)
Finish Used
Valspar canyon brown transparent on seats and Table top . Black (midnight ) solid stain on the frame .
Recommended Skill Level
Intermediate

Wranglerstar Greenhouse

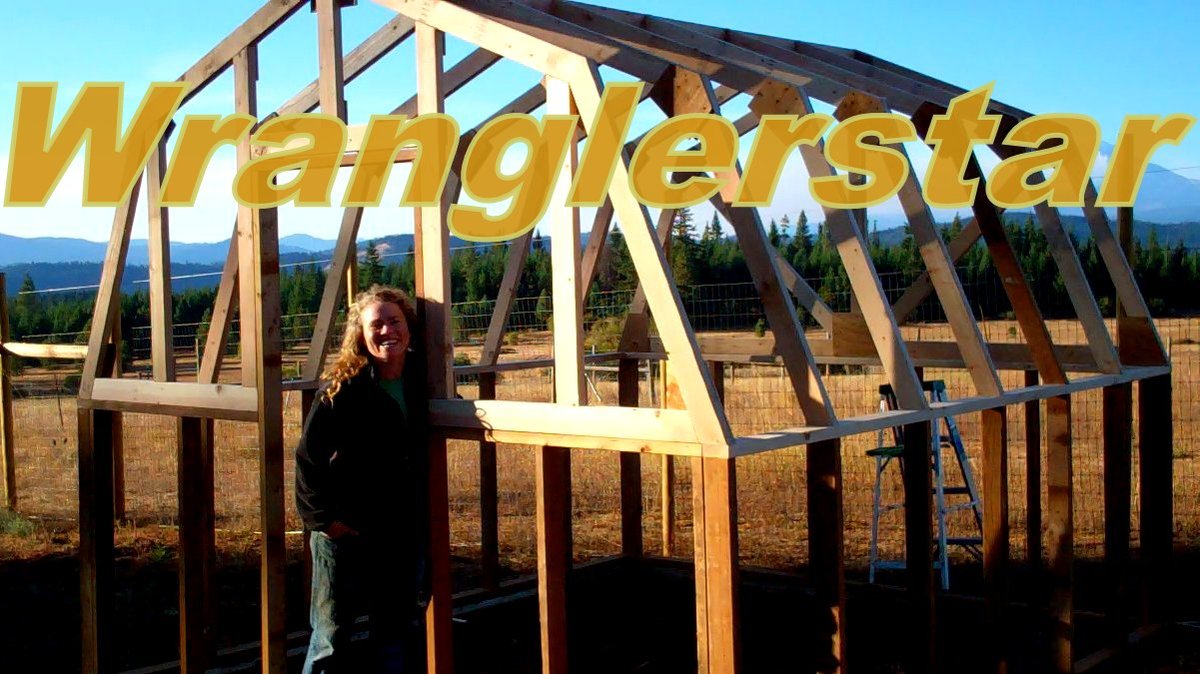
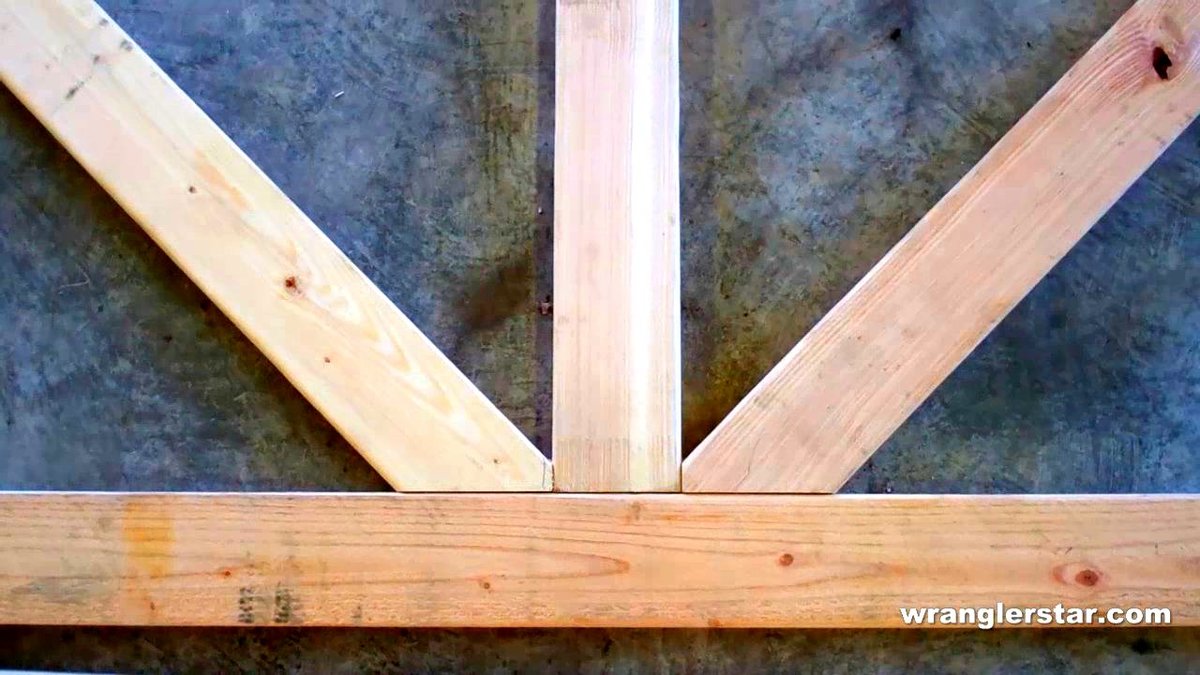
Thank you Ana for the excellent plans. We have been talking about this for months and are excited finally have a greenhouse. We live in the mountains and this will help extend our growing season. Please tell Ram thank you from the Wranglerlerstar family.

Built from Plan(s)
Estimated Cost
$750
Estimated Time Investment
Week Long Project (20 Hours or More)
Finish Used
stain
Recommended Skill Level
Advanced

Comments

jnow8687

Sat, 08/31/2019 - 12:34

Did you extend the base height? I want a greenhouse to enclose trees that do not do well in the winter and I think I would like to raise the base height a foot or so.

Simple White Patio Sofa

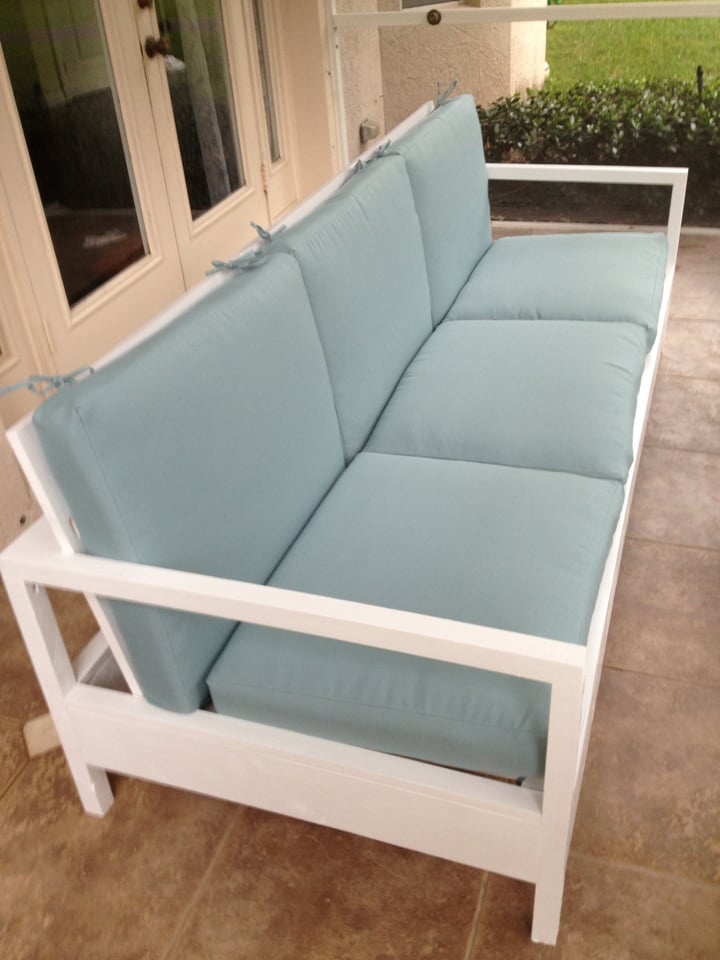
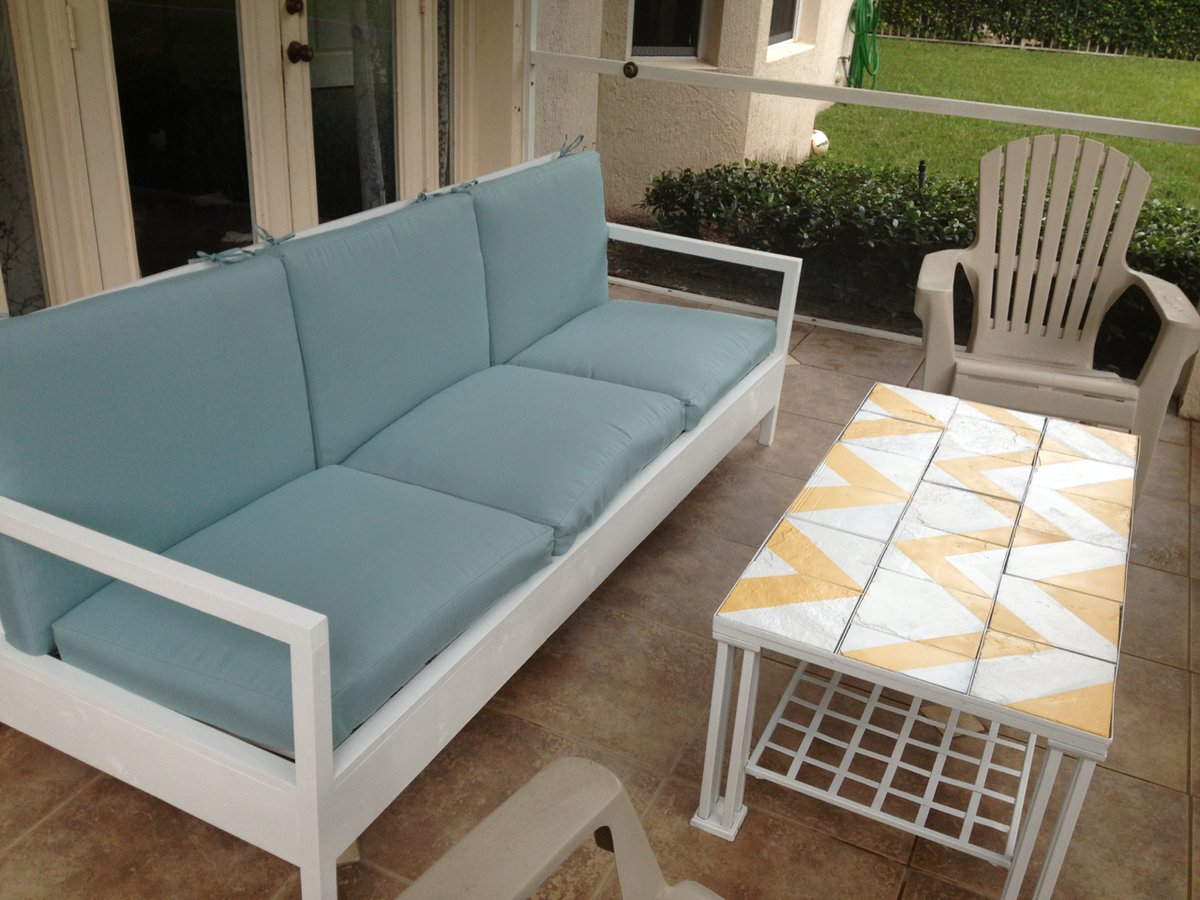
This was one of my favorite DIY projects. It's so much more affordable than buying patio furniture, and the building instructions make it sturdy as ever.

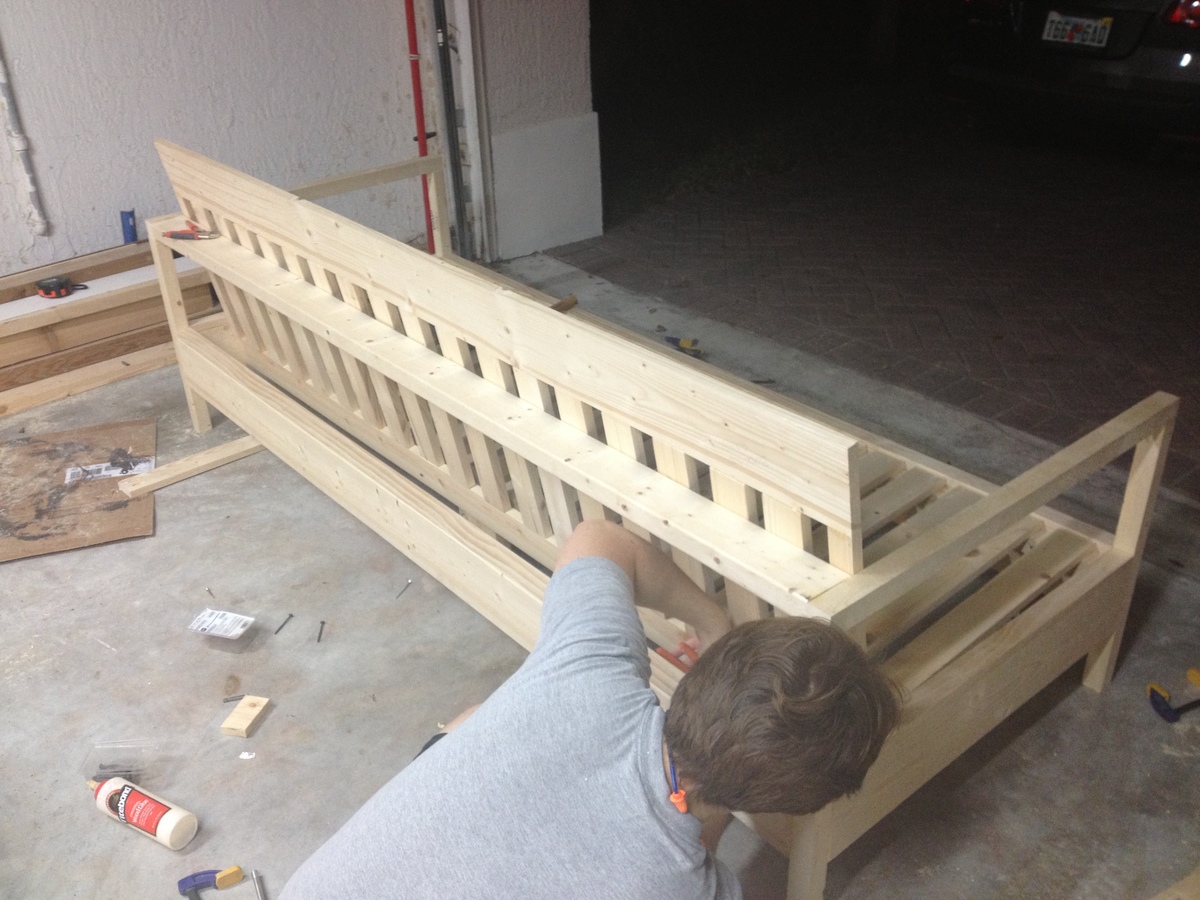
I built this with my fiance, who you'll see in the image of the in-progress bench. It was a snap for us, since we have a fair amount of experience building our own furniture. With the right tools, this project can take only two days, including wait time in between coats of paint and varnish.

We made our sofa to fit the cushions we found, and thus, the sofa is actually 84" wide, instead of 72" wide. By doing this, we also eliminated the need for a love seat, and instead are in the process of making two chairs to match this sofa. All in all, our patio will seat 6, which is what we were aiming for.

TOOLS
The most important part of making this an easy, fun project is having the right tools. I highly recommend you purchase or borrow:
- Compound miter saw
- Kreg jig
- Square head screws (stripping these is nearly impossible)

Estimated Cost
$300 (including cushions)
Estimated Time Investment
Weekend Project (10-20 Hours)
Finish Used
Exterior satin white (stay away from spray paint, since it's less efficient and more costly)
Exterior spar varnish in aerosol can for extra outdoor protection
Recommended Skill Level
Intermediate

Comments

Double Pedestal Farmhouse Table

Built this with 2 pedestals instead of 3, 7 feet long. Stained the top, then belt sanded and added a second coat for a more rustic look. Sprayed the entire project with the Titan Flexspray. 

Built from Plan(s)
Estimated Cost
120
Estimated Time Investment
Weekend Project (10-20 Hours)
Finish Used
The top is Kona from Rustoleum
Finish is 2 coats of Sprayed Varathane Oil based Polyurethane in Satin
Sherwin Williams Summer White Pro Classic
Recommended Skill Level
Beginner

Upholstered Toy Chest

We made these toy chests for baby shower gifts.  We followed the plan for the most part.  We skipped the notching on the front of the chest, and opted to upholster the top.  I added names to the front as well to personalize them a bit as well.  Overall, it went pretty smooth, once we got going.  The plans were clear and easy to follow.  This was our first build off of plans from Ana-White, and I think they turned out pretty nice! 

Built from Plan(s)
Estimated Time Investment
Day Project (6-9 Hours)
Recommended Skill Level
Beginner

Comments

twin farmhouse storage bed

Submitted by DIYMomof4 on Tue, 01/09/2018 - 11:40

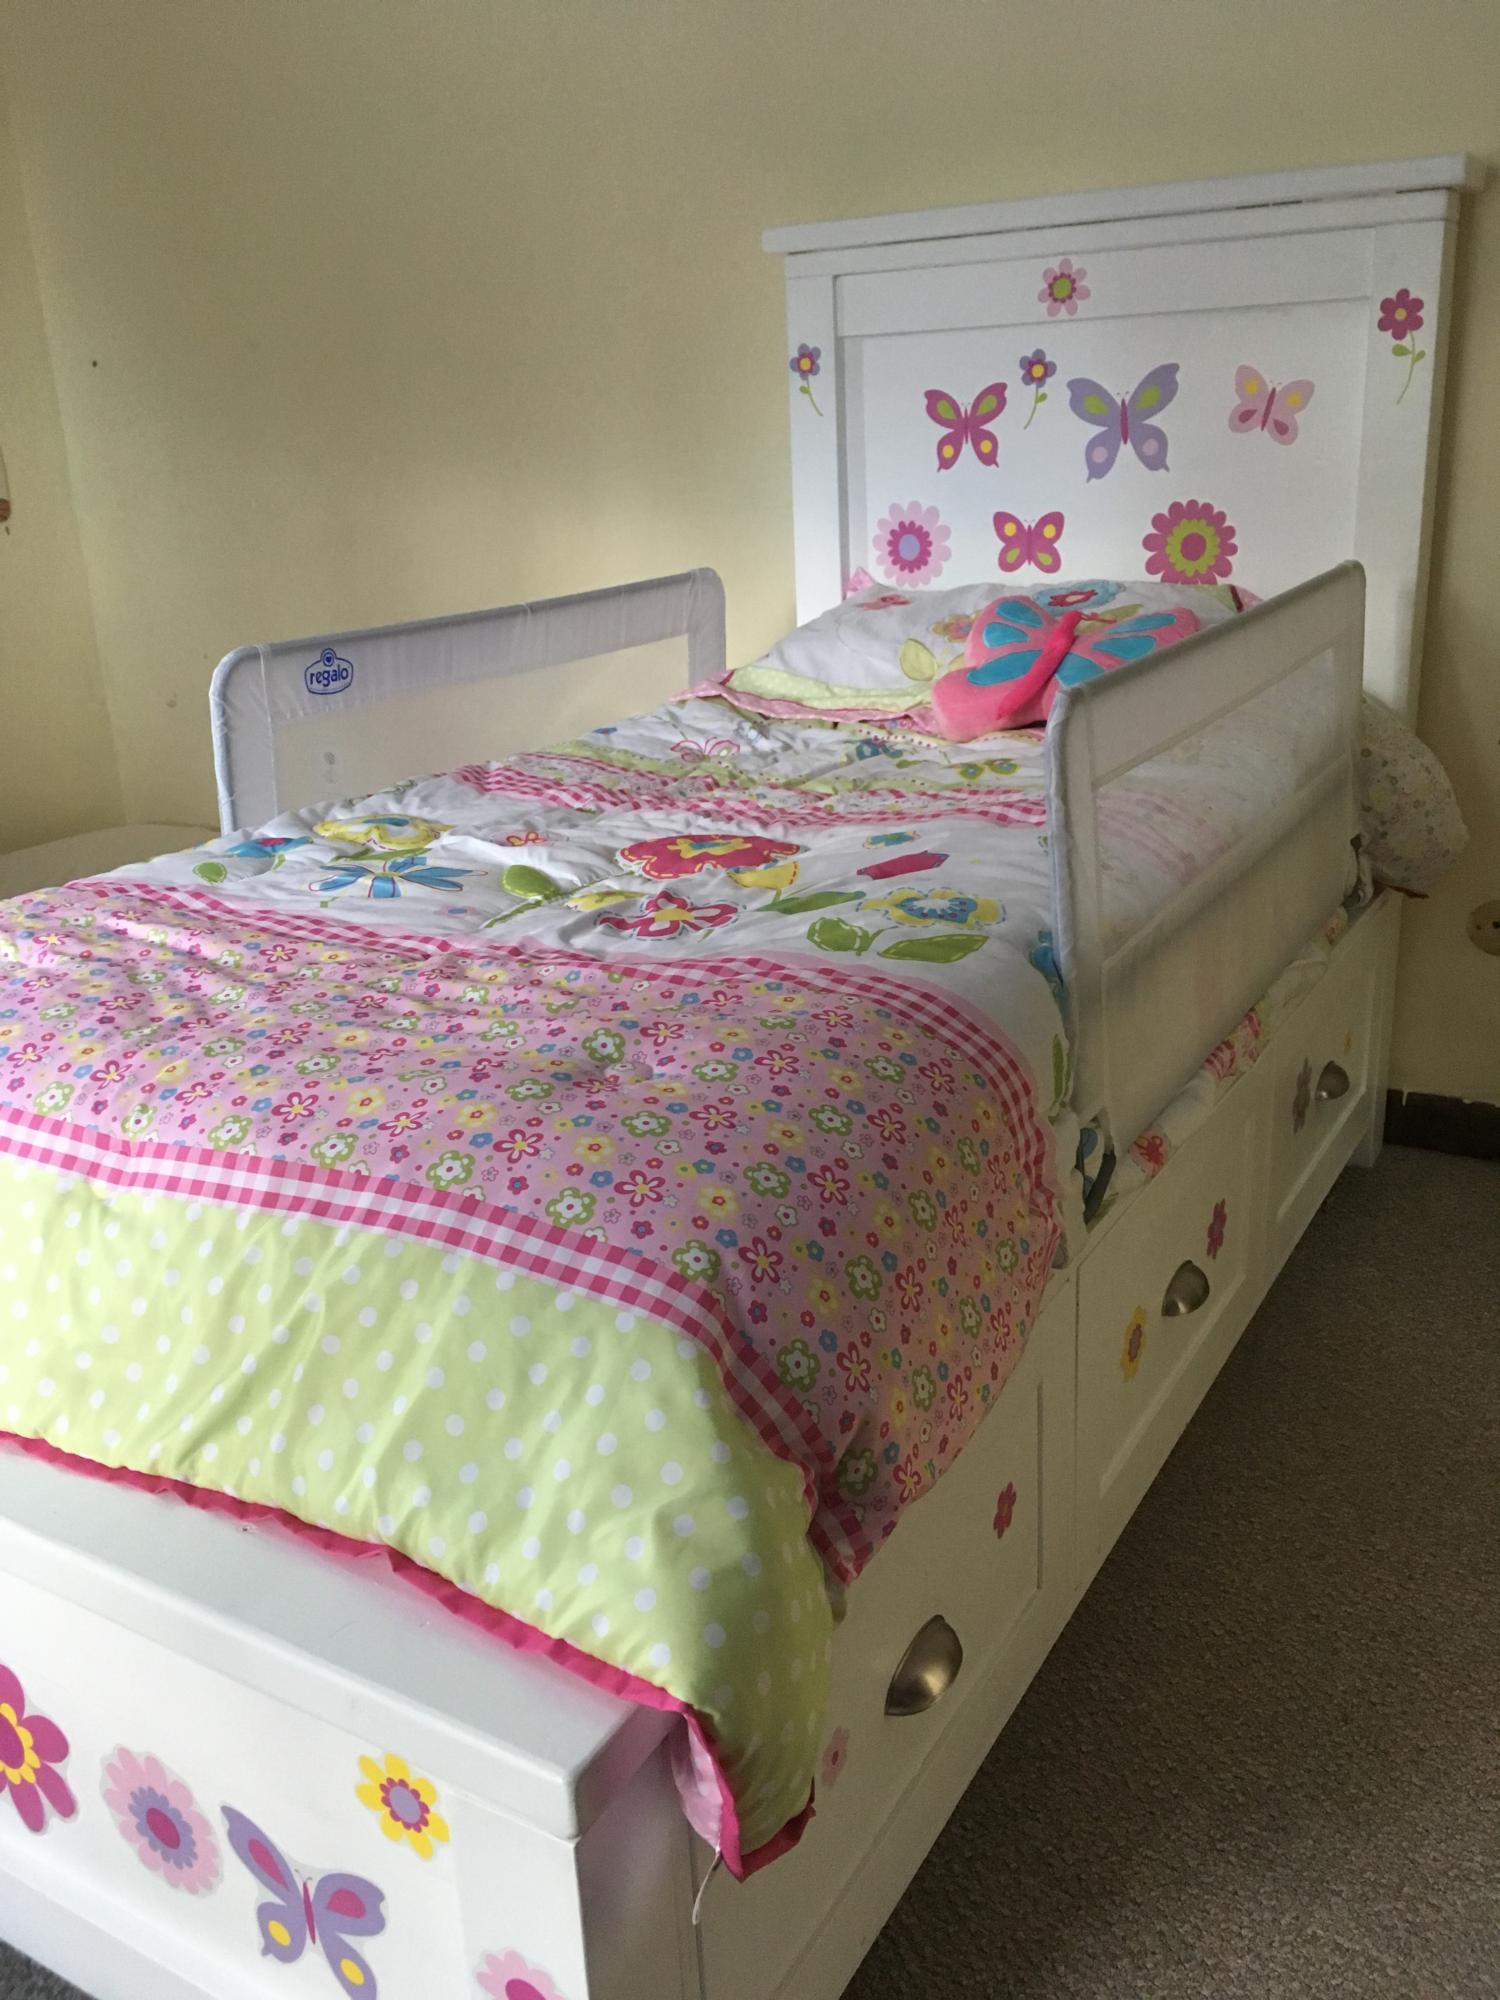
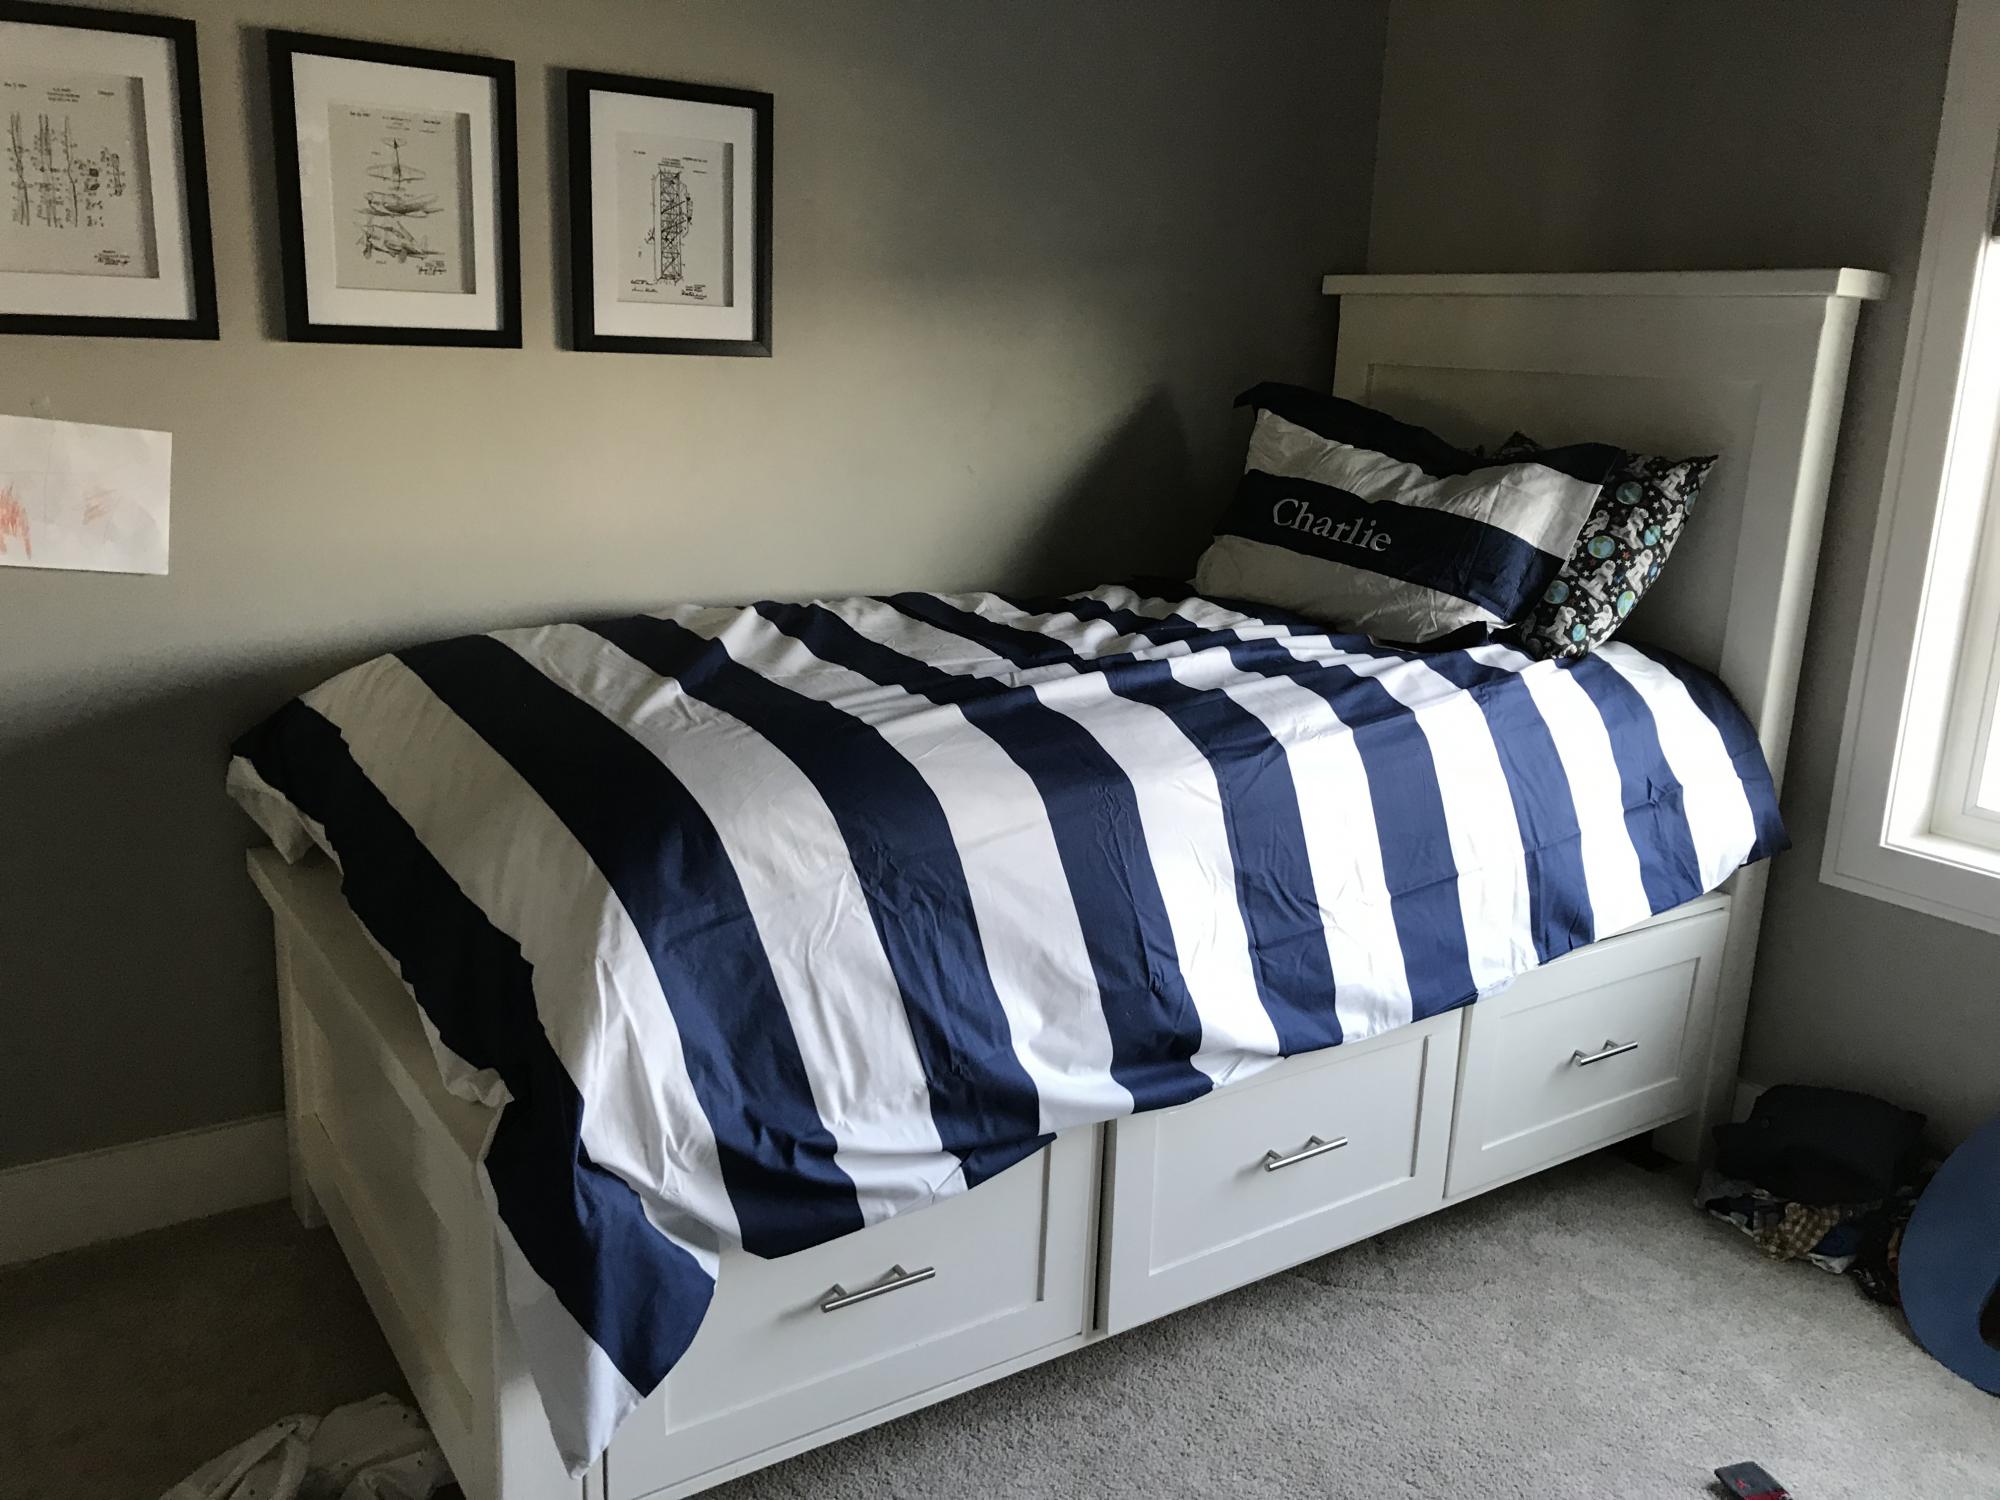
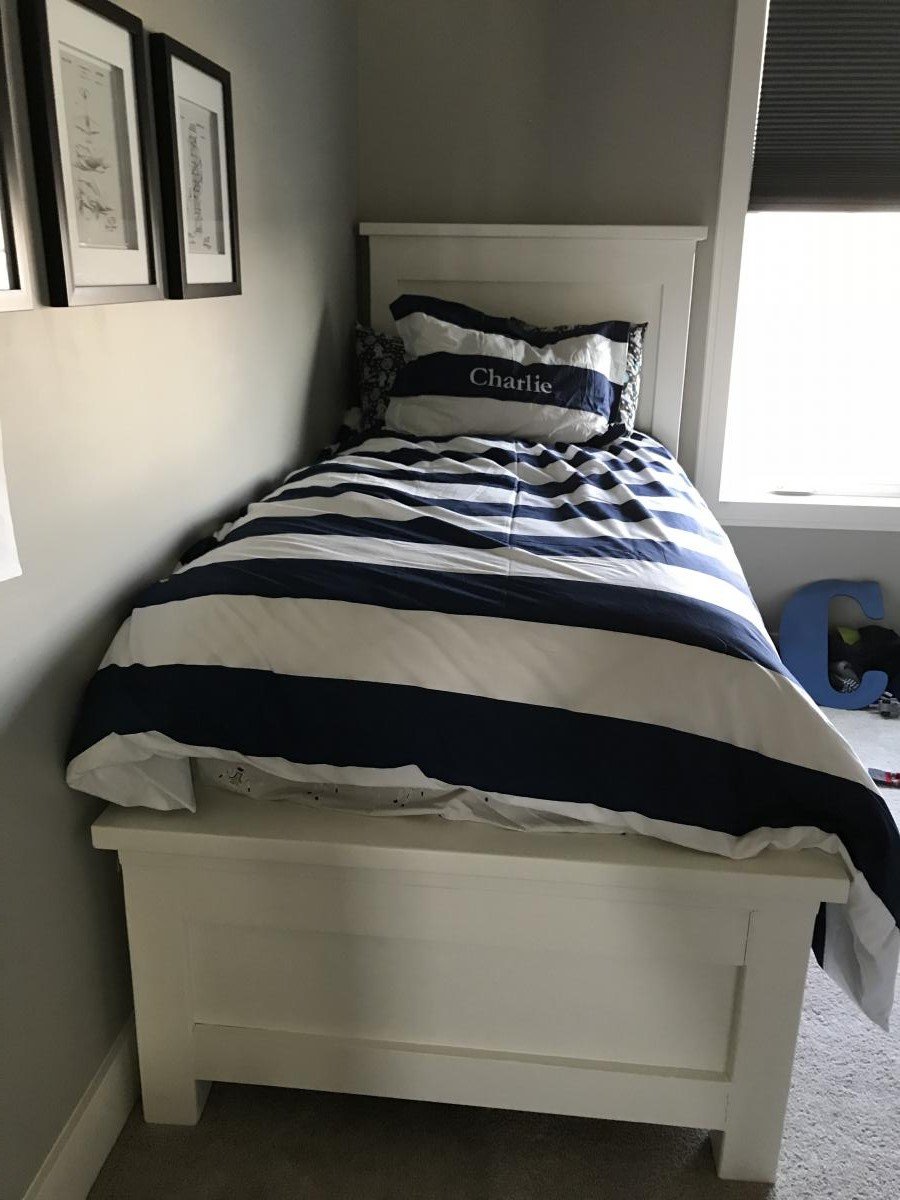
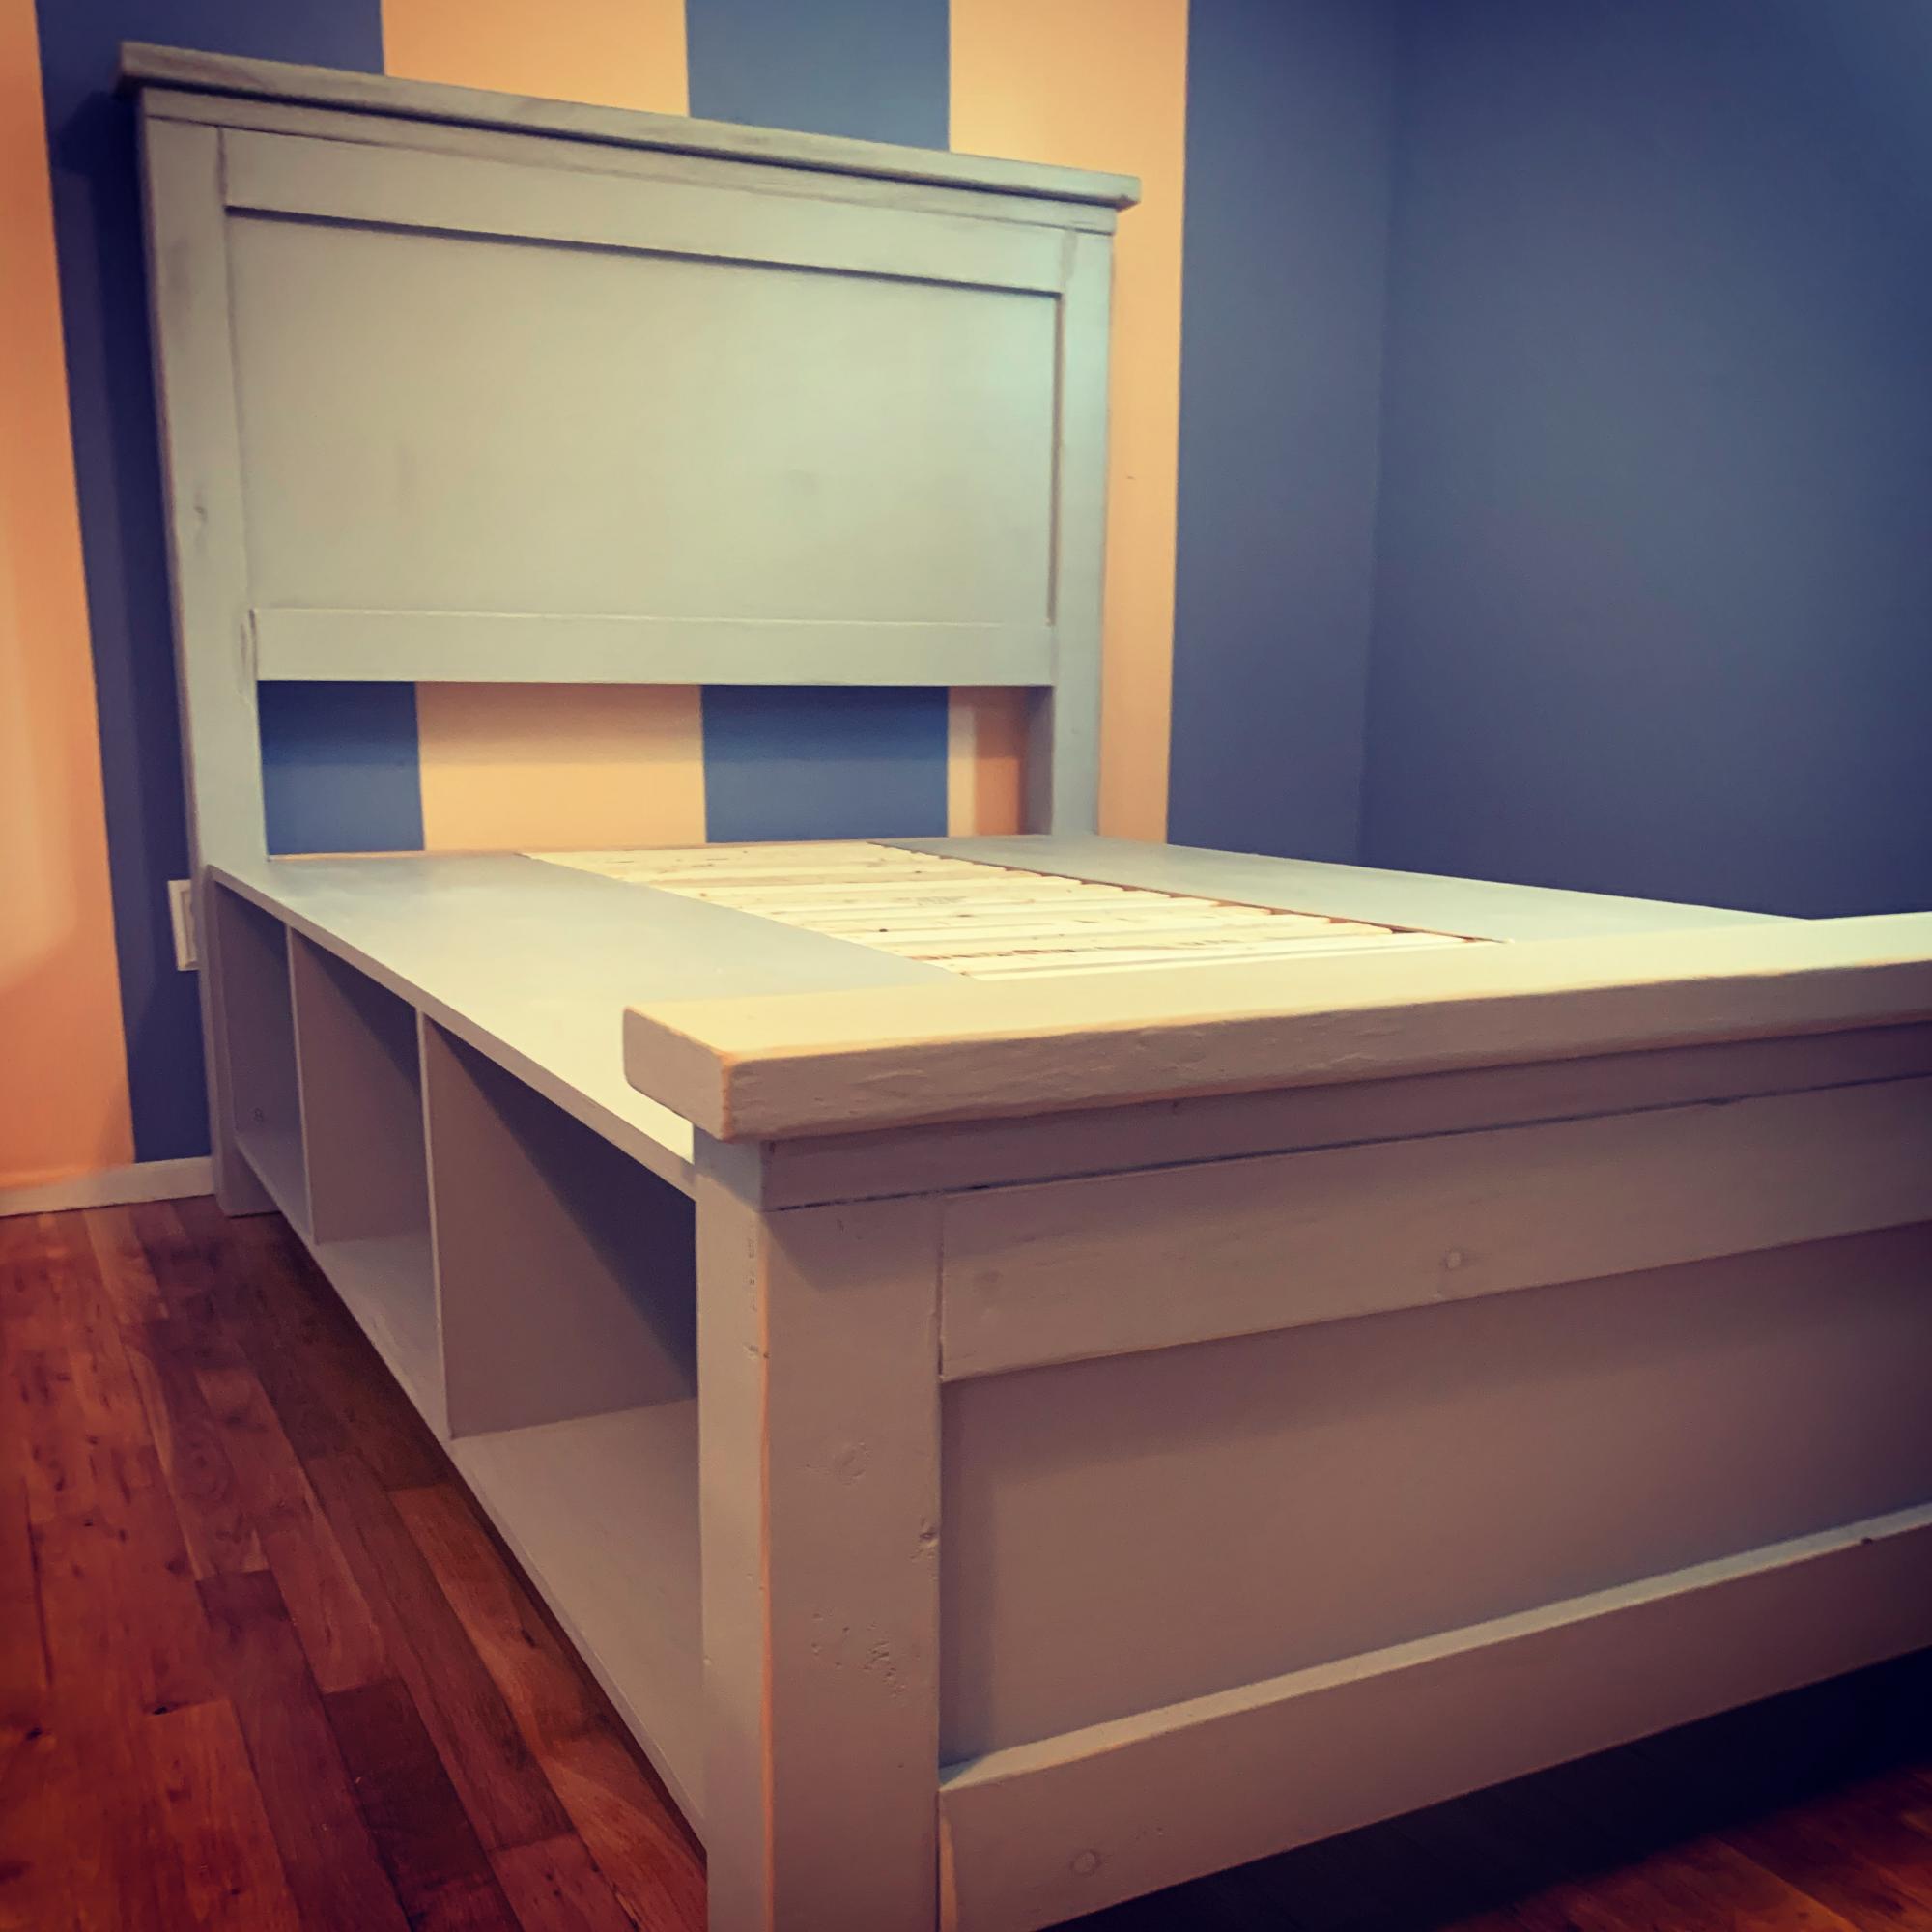
My daughter loves her new bed!  The plans were easy to follow and didn't take very long to build.  It took me about 2 weeks to finish.  I suggest measuring your mattress first and adjusting dimensions accordingly.  My daughter's mattress is a bit longer than usual, so I added about an inch to the length.  I added drawers to one side and left one side as open cubbies.  I also added a 2x4 base below the storage boxes for support.  Ana has plans for this in one of her kitchen cabinet plans.  I'm so glad I did, as I've already found 3 kids hiding on the cubby side, and one of them is 14!  I didn't run the 2x4 base all the way to the head/footboard, so it wouldn't show.  This changes the height where the storage boxes attach by 1/2 an inch.  The bed may suprise you at how high the mattress sits, but I think that is normal with a storage bed.  My daughter loves sleeping up high.  Thank you so much for this wonderful plan!  I love Ana's website and have learned so much!

Estimated Cost
$350-includes wood, paint, new comforter/sheets, hardware, and wall stickers
Estimated Time Investment
Week Long Project (20 Hours or More)
Finish Used
Behr Marque satin in the plain white you get off the shelf. I primed it first, but this probably wasn't necessary.
Recommended Skill Level
Intermediate

New Chicken nesting appartments under construction

Submitted by DrSnuggles on Sat, 07/18/2015 - 18:56

Quick and fun Saturday working on building these cool new nesting boxes for my friends farm. Yes, the alterior motiv is that I keep getting free eggs LOL guilty!!!


Built from Plan(s)
Estimated Cost
Maybe $10 and used a bunch of scrap wood.
Estimated Time Investment
An Hour or Two (0-2 Hours)
Finish Used
none
Recommended Skill Level
Beginner

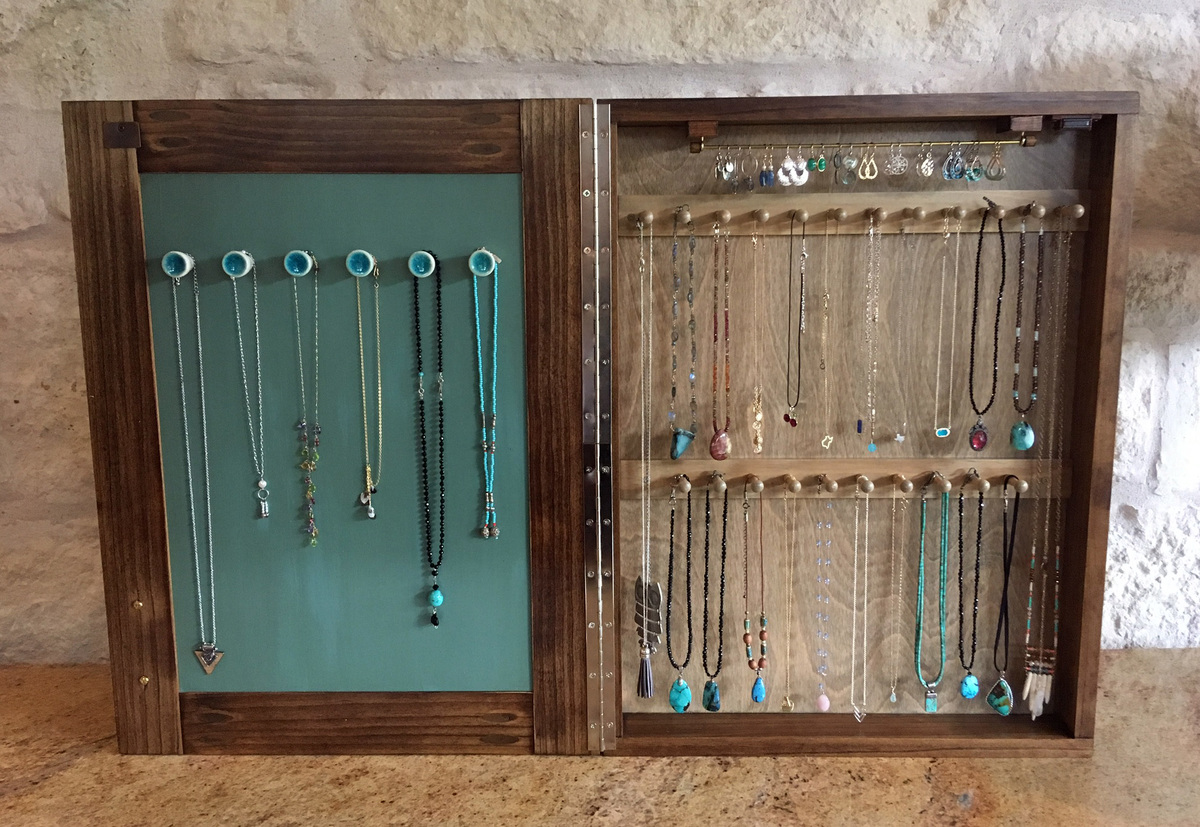
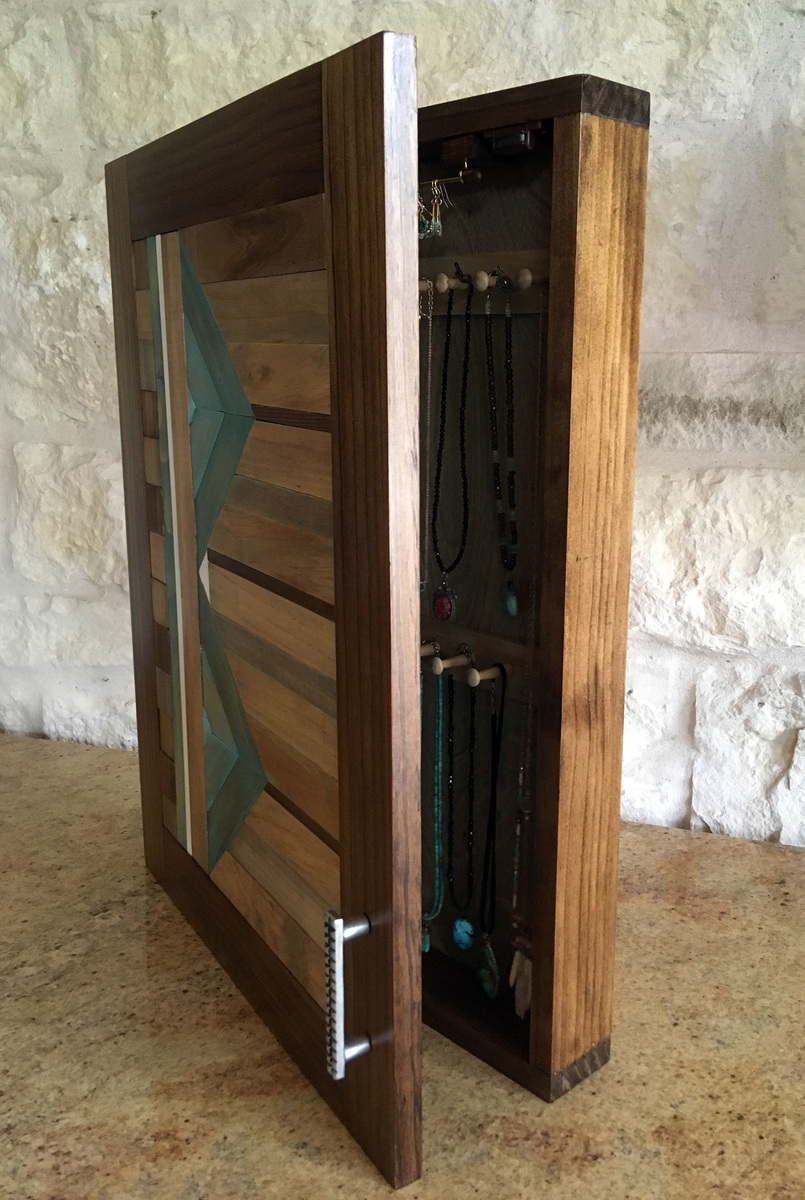
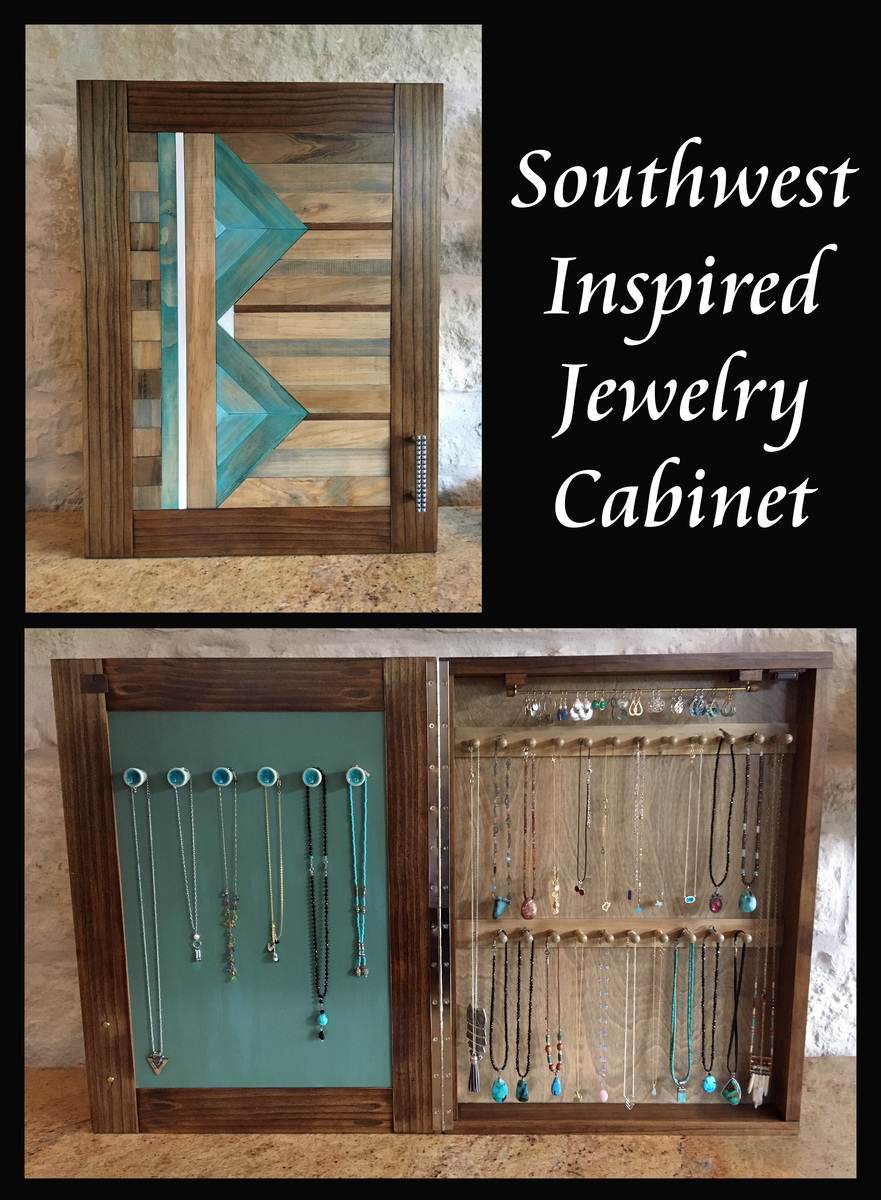
Jewelry Cabinet - Southwest Style

Submitted by Joni on Sun, 09/30/2018 - 12:21

This was inspired by Ana's wall jewelry cabinet, but with a few changes.  I specifically wanted the long shaker style pegs so that I could hang several necklaces on each peg.  I also wanted an earring bar, and fashioned one out of an 1/8" brass rod (found on amazon), after experimenting with a few different options.  This particular option was small enough to easily hold the earrings, but sturdy enough to hold the weight.  To "cap off" the brass rod, I cut a few pieces off a thick dowel rod, and ran a drill through them. 


Built from Plan(s)
Estimated Cost
I had the 1/2" plywood scrap for the back, the 1/4" plywood for the inside, and the cabinet handle. I purchased the wood frame (the better pine at Home Depot) for $20, the 3/8" thick 2"-wide strips for the southwest design (under $20), the rod ($5), the ceramic knobs at Hobby Lobby ($12), shaker style pegs (approx. $6), a magnetic catch (< $2), and the hinges ($10). Total: $75.
Estimated Time Investment
Weekend Project (10-20 Hours)
Finish Used
The inside stain is Minwax's Weathered Oak, and the outside stain is Minwax's Provencial. On the inside panel, I used chalk paint, covered by a coat of weathered oak stain, covered by Polycrylic. Everything else has Polycrylic, except the front Southwest design has Bri-wax.
Recommended Skill Level
Starter Project

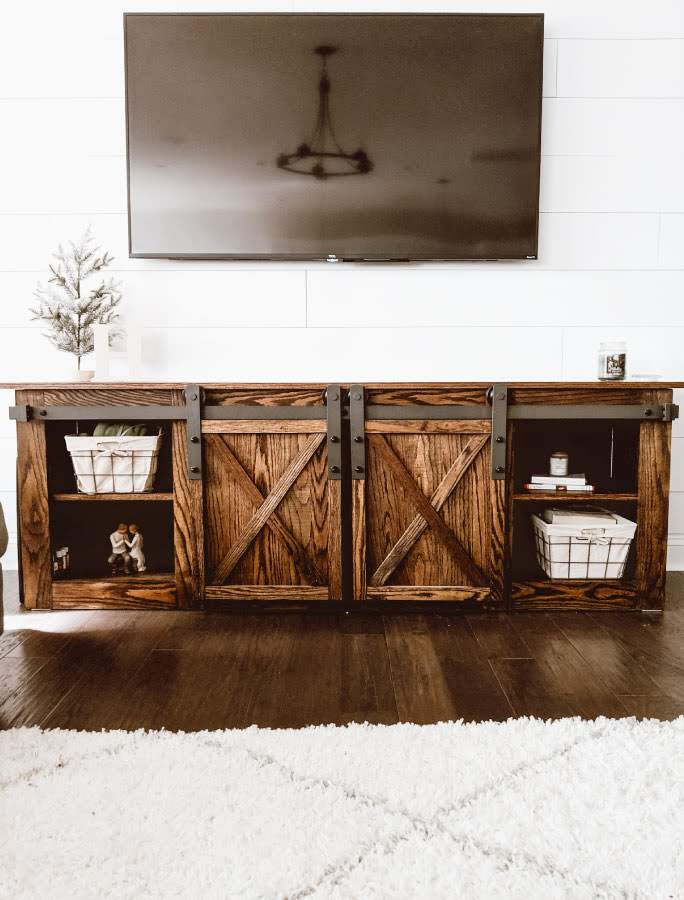
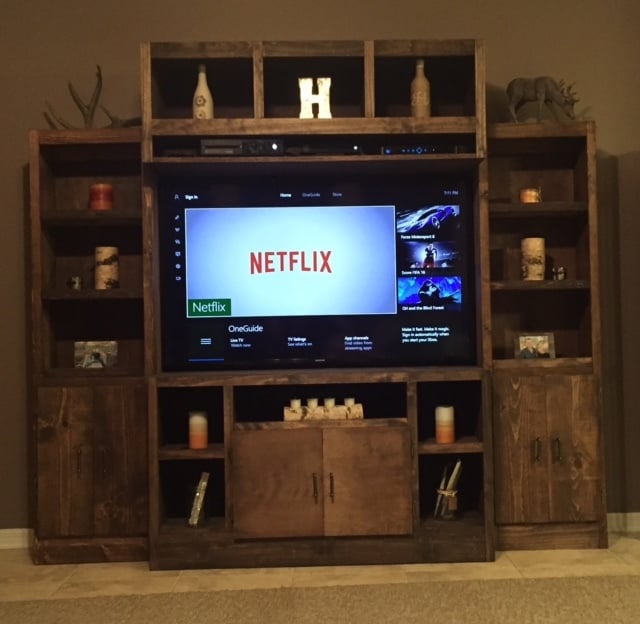
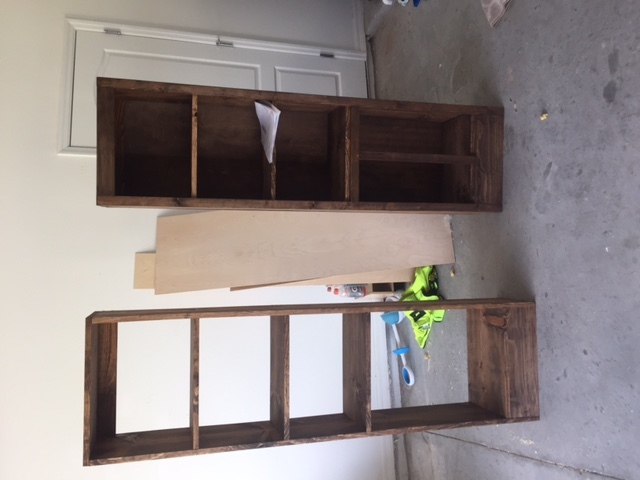
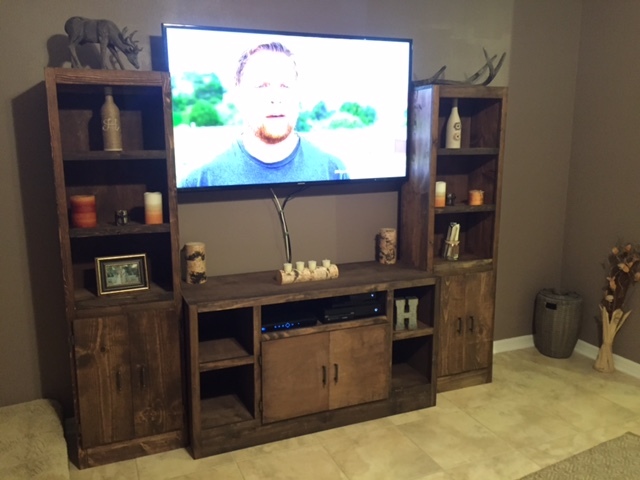
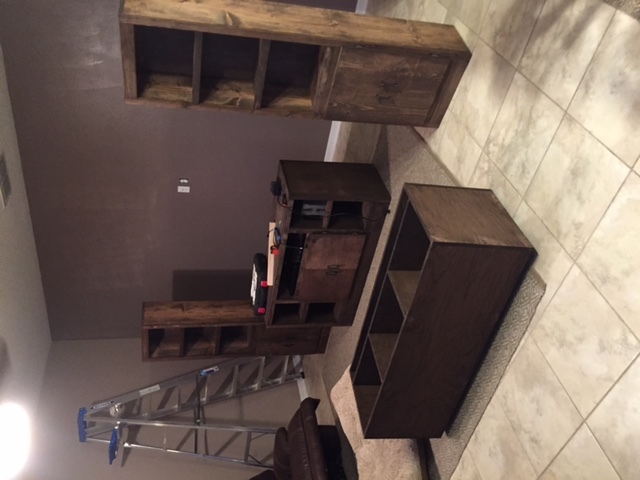
DIY Farmhouse TV Console

This was the second piece of furniture that my husband and I ever made. We had built a coffee table that had a lift up top so that we could eat dinner on the couch and store all of our board games. Once we tackled that, I thought we could conquer the world (even though the table was pretty basic). So when my now-husband was about to move into his first apartment without a roommate and I saw it as an opportunity to decorate my own place (even though I wasn’t living there). Luckily,he agreed it was time to get rid of his tiny Ikea TV stand that was probably 2ft off the ground and not a great height for a TV, and agreed to build this awesome TV console with me. To this day, it’s still my favorite piece of furniture in our house.

Built from Plan(s)
Estimated Cost
500
Finish Used
dark walnut

Comments

Simple Outdoor Conversation Set

Submitted by cspires64 on Sun, 03/18/2012 - 13:13

Spring is around the corner and I had no outdoor furniture. My boyfriend had just talked me into a new weber grill, which did not leave much budget for new outdoor furniture. That's when I came across this web site and thought 'I can do that'. So I talked me boyfriend into helping build this Simple Outdoor Conversation Set. We used plans for the Simple Outdoor Lounge Chair and Simple Outdoor Ottoman and then followed the alterations by post for 'My Modern Outdoor Patio Collection' to make the loveseat.
The whole project came together over 5 days.
Day 1: Cut all boards (5 hrs)
Day 2: Sand all boards (5 hrs)
Day 3: Stain all boards (6 hrs)
Day 4 & 5: Assemble furniture (9 - 10 hrs)

The total project took about 25 hrs and cost about $350. Here's the breakdown wood and supplies $204 from Lowe's for pretreated wood. $145 on cushions (NOT ON SALE); $60 for the seat cushions from Home Depot and $80 for the back cushions from Wal-Mart. We were originally planning on only having the seat cushions, but the seats were long when you set in them with your back against the bear wood (I was setting so far back, my feet couldn't reach the floor) so we opted for thick back cushions to make it more comfortable. The project finished up just in time for our first BBQ party! (March 2012)
Estimated Cost
$204
Estimated Time Investment
Week Long Project (20 Hours or More)
Finish Used
Redwood toner and sealant
Recommended Skill Level
Starter Project

Comments

Farmhouse Storage Bed - Twin

Submitted by Abby721 on Mon, 04/20/2020 - 13:26

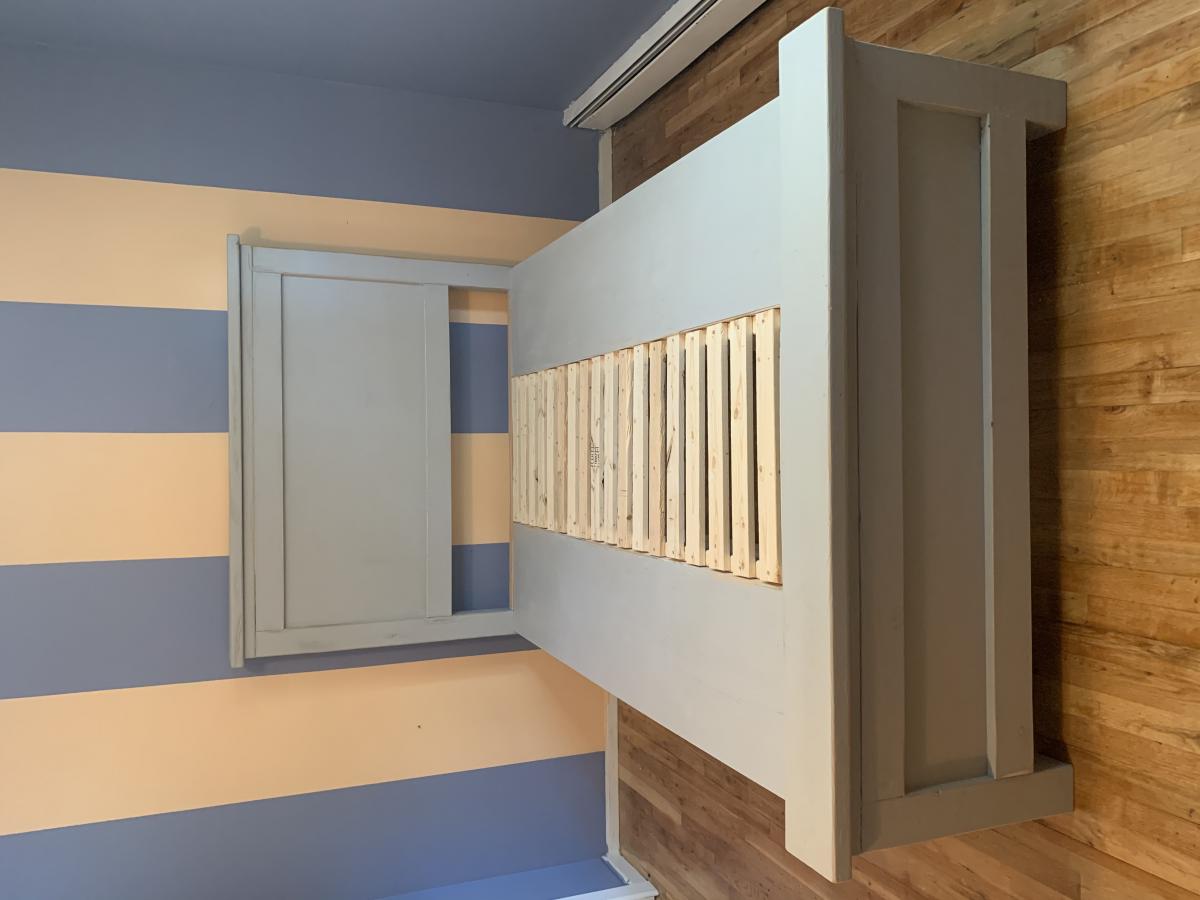
Modified to have storage boxes on only one side since it was being placed next to a wall.

Estimated Cost
150
Estimated Time Investment
Weekend Project (10-20 Hours)
Finish Used
Custom white color paint to match trim.
Recommended Skill Level
Intermediate

Comments

Modified Simple Rolling Bar Cart

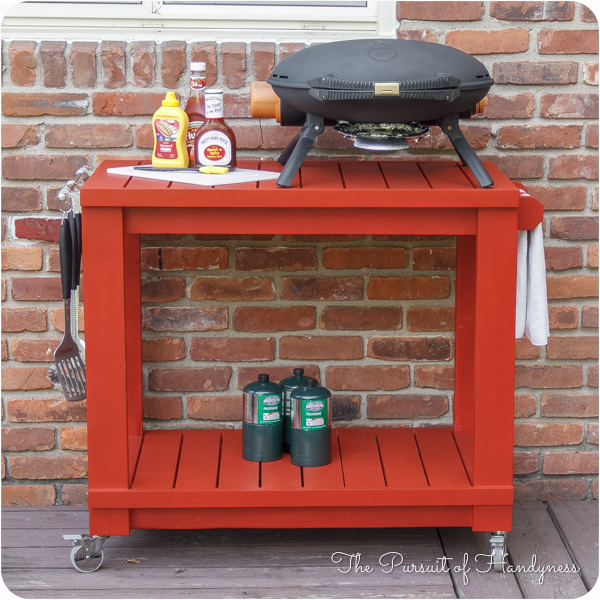
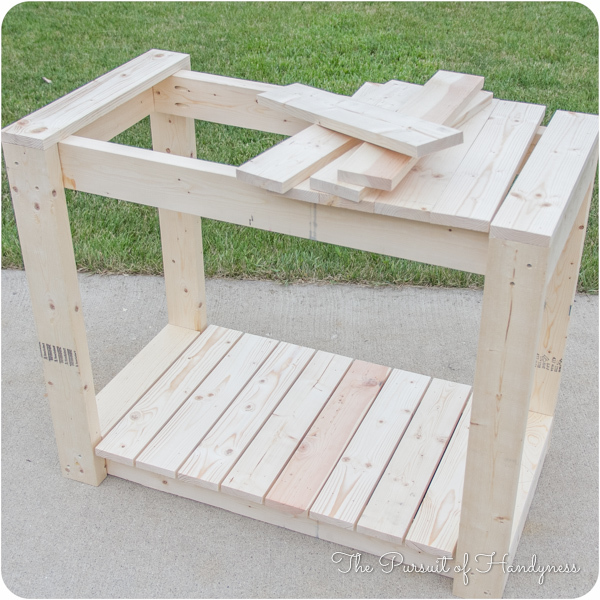
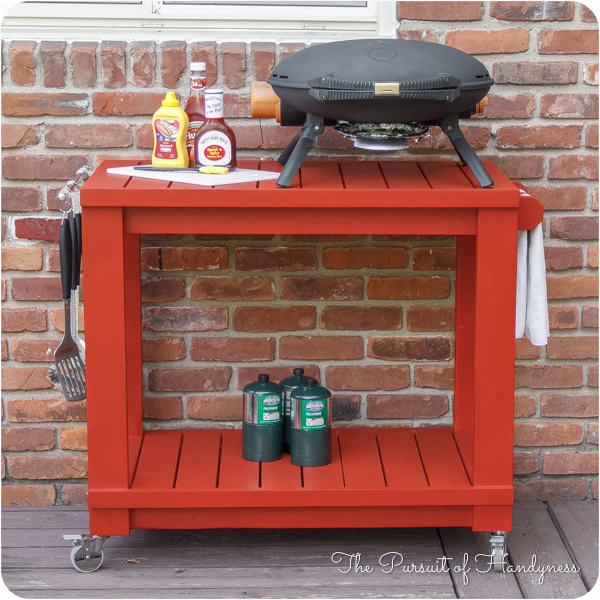
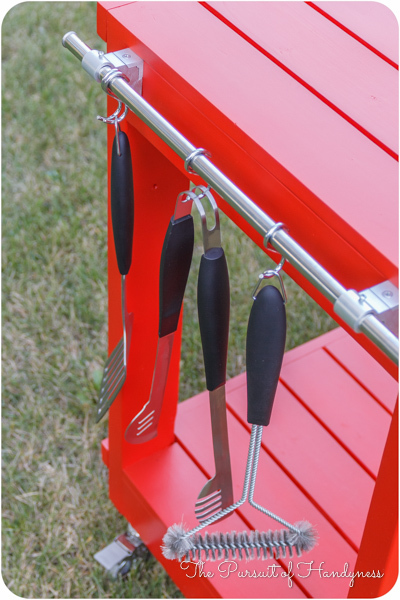
I honestly think Ana is a mind reader. Whenever I need plans for a particular piece of furniture, they magically appear on her site. Of course if she was a true mind reader, everything will be exactly as I need it requiring no modifications. That's what makes her plans so amazing. I can build bigger and better because I've learned to modify her plans to fit my current needs.

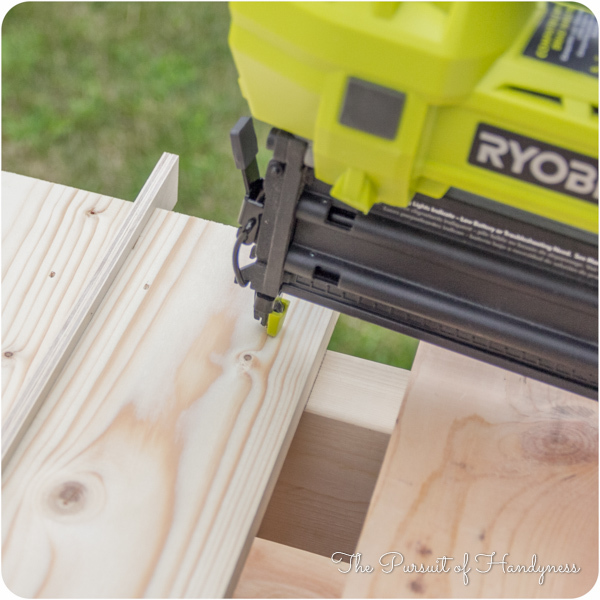
This Cart was no exception. I had to make mine a few inches deeper and change the height of the legs and it was a piece of cake. I put this together in less than 2 hours and finishing was easy too.

I did a blog post all about what I did differently including how I constructed a towel bar instead of the pipe. Check it out at www.thepursuitofhandyness.com

Built from Plan(s)
Estimated Cost
$25 Depending upon the type of casters used
Estimated Time Investment
Afternoon Project (3-6 Hours)
Finish Used
Oil Based Primer & Rustoleum Painters Touch Spray Paint in Paprika Satin
Recommended Skill Level
Starter Project

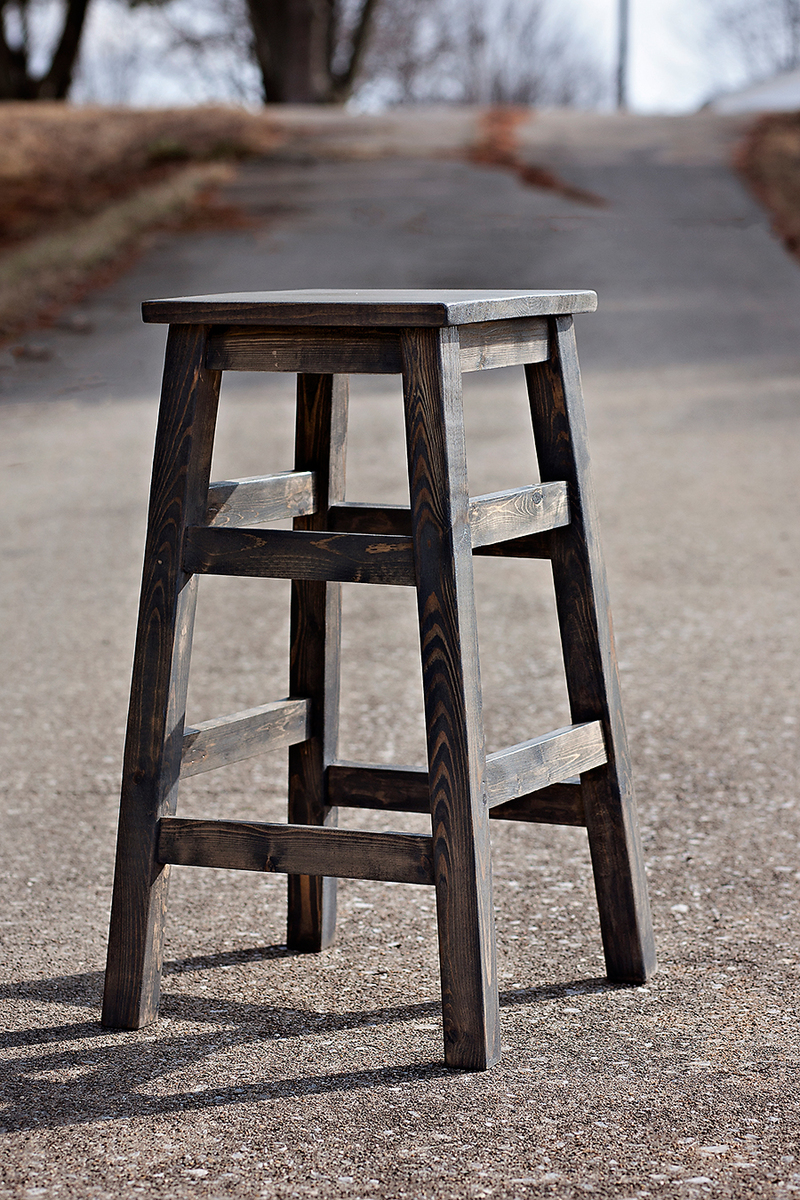
Simplest Stool

Submitted by heksa on Thu, 02/26/2015 - 14:43

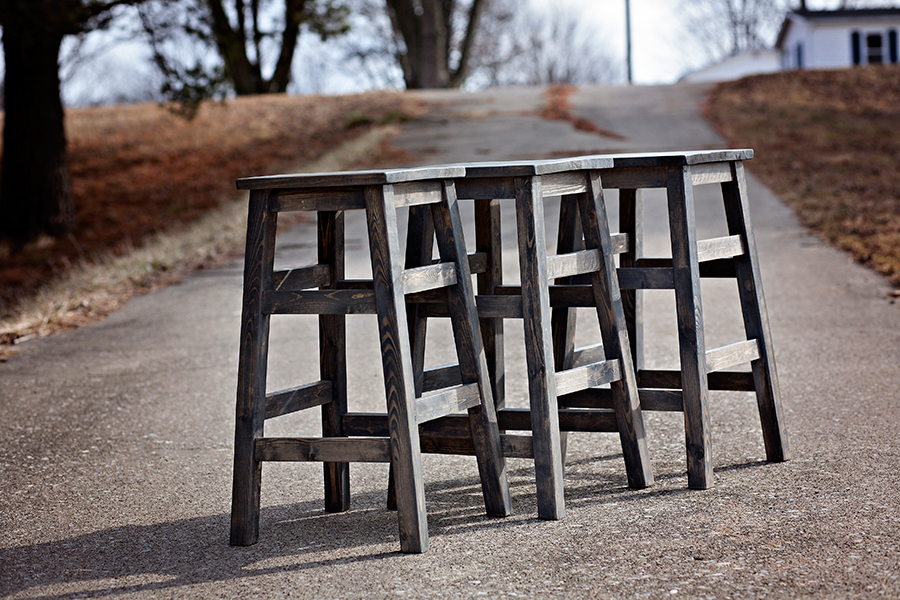
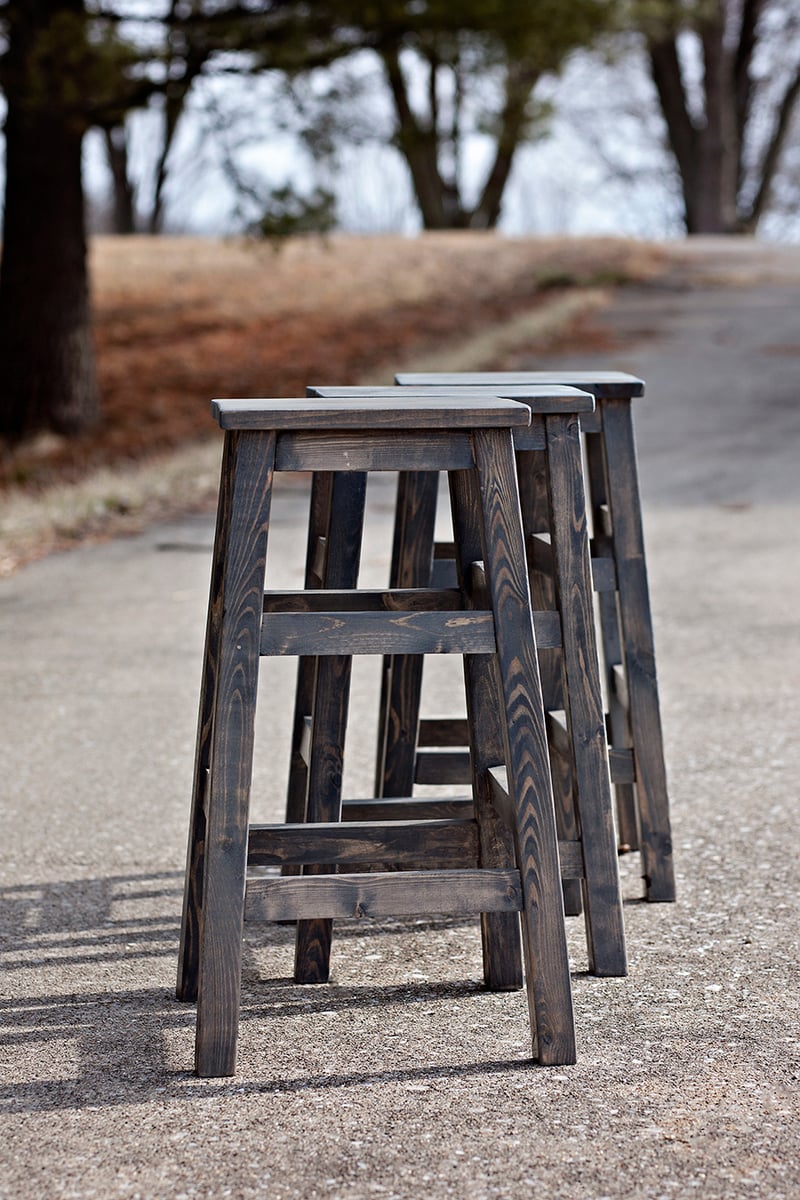
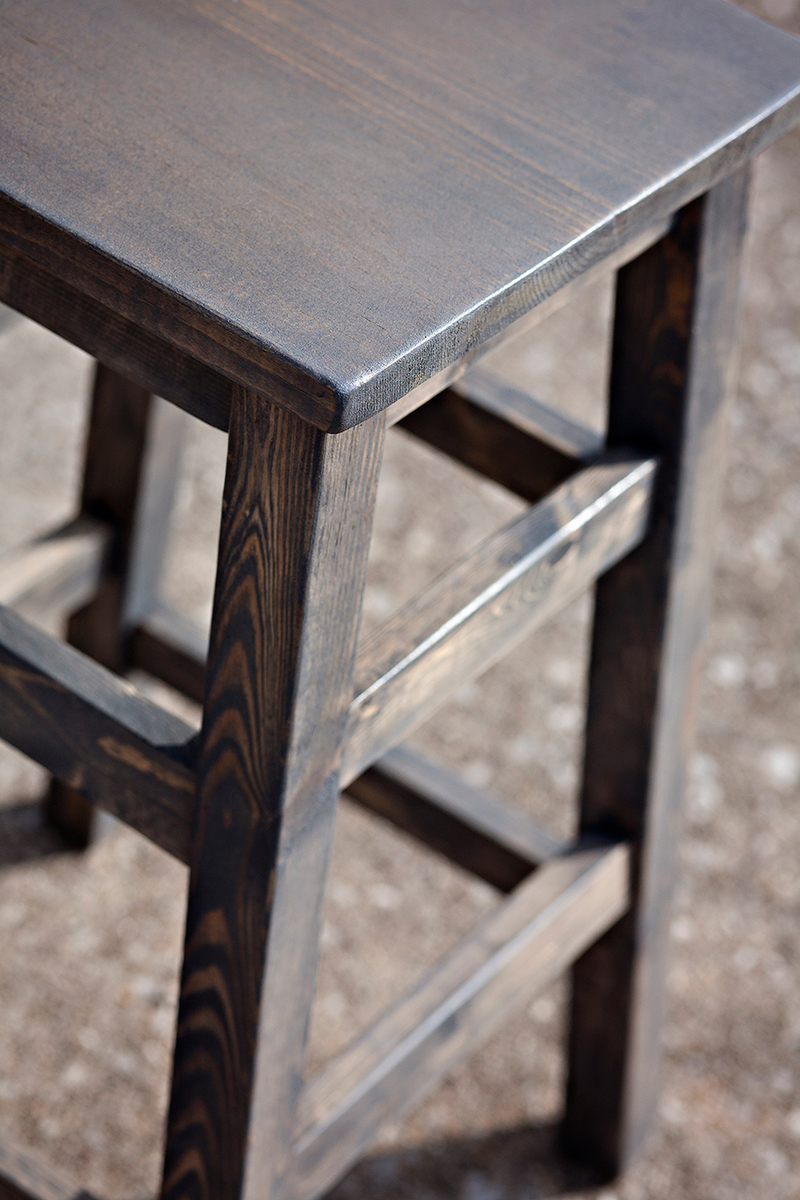
This was not my first woodworking project, but first where I had to figure out angles and bevels. So I'm pretty excited that all the pieces turned into stable stools.

Cutting wood and putting stools together took about an hour or two each .... filling kreg jigs holes and staining took a few weekends though. 


Built from Plan(s)
Estimated Cost
$10 per stool
Estimated Time Investment
An Hour or Two (0-2 Hours)
Finish Used
Minwax Classic Gray stain
Recommended Skill Level
Beginner

Comments

Custom Dog Bath

Submitted by dananicb on Thu, 07/22/2021 - 07:21

Tego needed a raised dog bath. No, I needed a raised dog bath. Specifically, my knees needed a raised dog bath for Tego. So, after looking at Pinterest and Ana's plans, I decided what I really wanted to do was customize something to fit my needs (and knees) and build it myself. Overly ambitious for a first-time woodworking project, but hey, raise the bar.

I started by reading and rereading Ana's beginner's woodworking guide (very informative). I also learned so many other things along the way. There's a reason, besides looks, you need flat boards (they need to screw together tightly). Unfinished basement floors are so not level (especially near the walls). Screw lengths matter (need shorter ones for thinner boards). The big-box store doesn't make precise cuts (but they can make a lot). Planning for the finishes will save you time (know your basket sizes). Just to name a few.

It's going in an unfinished basement, so I wasn't going to tile and add glass doors. I wanted to keep it relatively simple, basic.

The stairs were the hardest to measure and build (math matters) - and I might re-do. I made the steps smaller, dog-sized, but she finds them awkward. I'd stick with typical riser heights, but it depends on the size of your dog.

Plumbing to link the tub drain to the utility sink drain was the most expensive. Probably I could have done it myself, but I decided not to learn both plumbing and woodworking for one project.

Overall, I'm pleased with the result - and Tego is learning to love it.

Estimated Cost
$250 in supplies (plus plumbing)
Estimated Time Investment
Week Long Project (20 Hours or More)
Finish Used
Exterior paint in semi gloss
Recommended Skill Level
Beginner

Comments

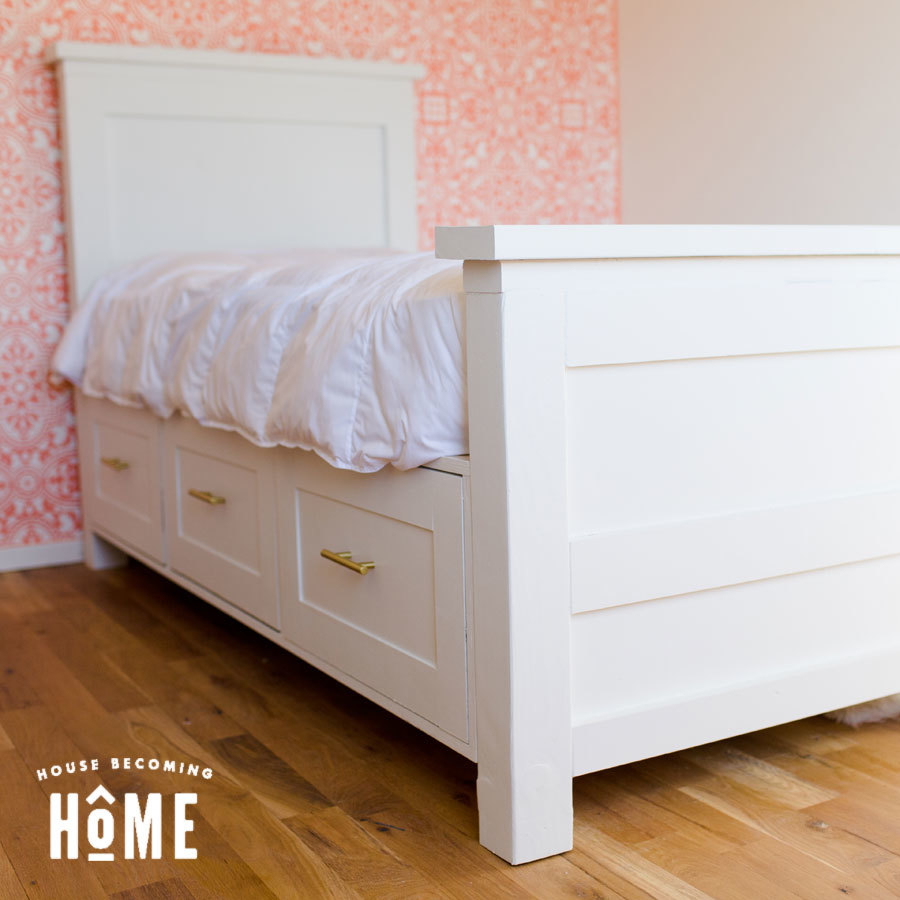
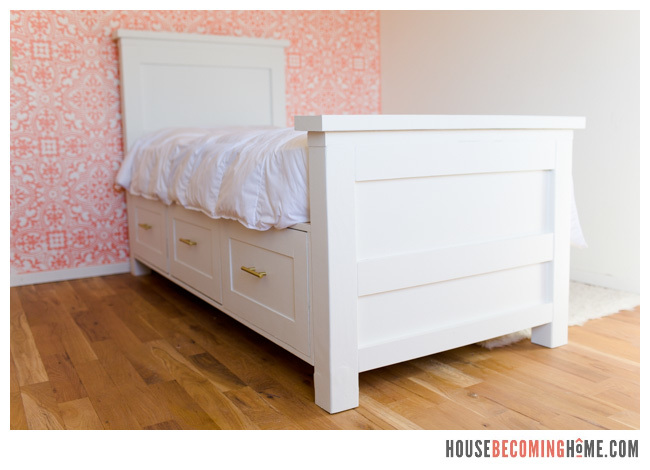
Twin Bed With Drawers

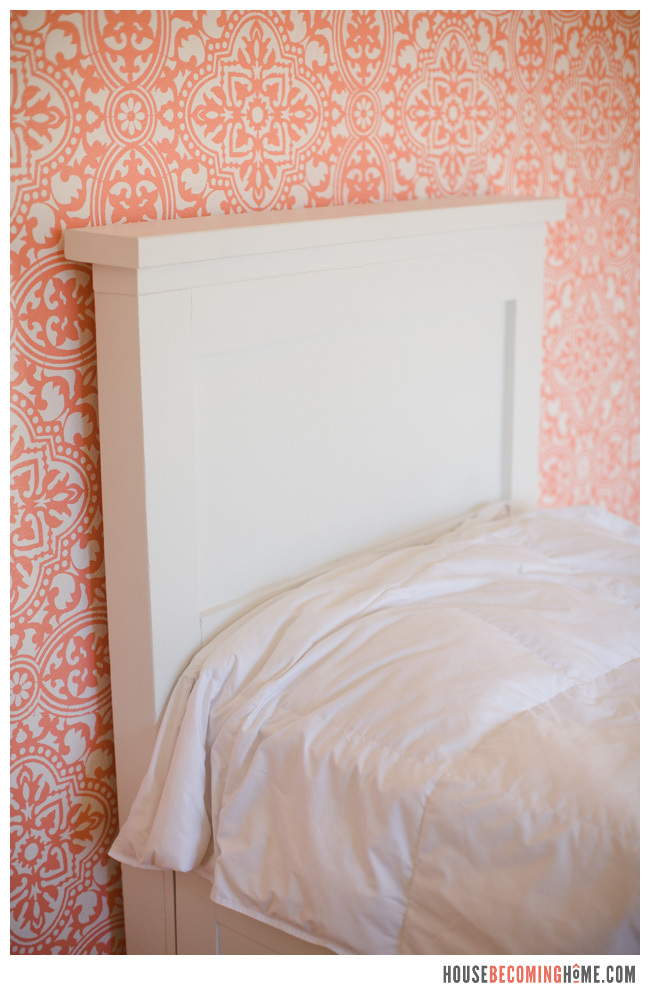
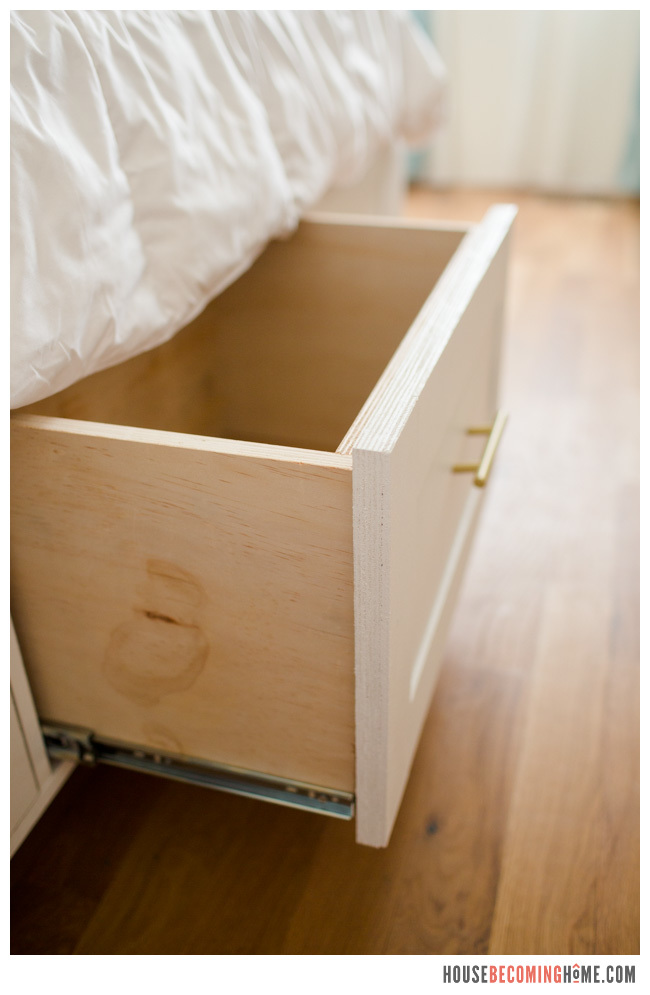
I built this twin bed with drawers for my daughter and I LOVE all the storage the drawers provide.  I slightly modified the plans it was based off of--you can find more info and see details from the build on my blog House Becoming Home.

Finish Used
paint
Recommended Skill Level
Intermediate

Comments

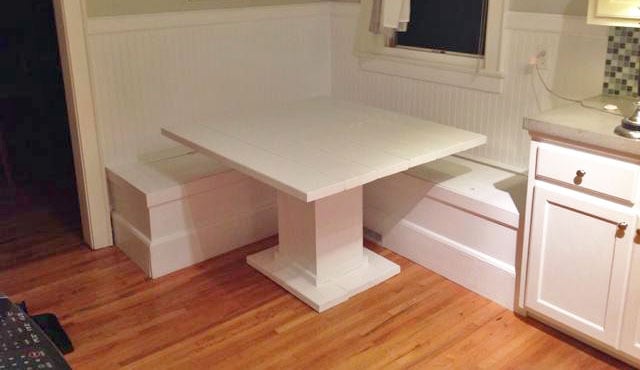
DIY Breakfast Nook with Storage

Submitted by jfelker on Wed, 10/23/2013 - 08:54

DIY Breakfast Nook

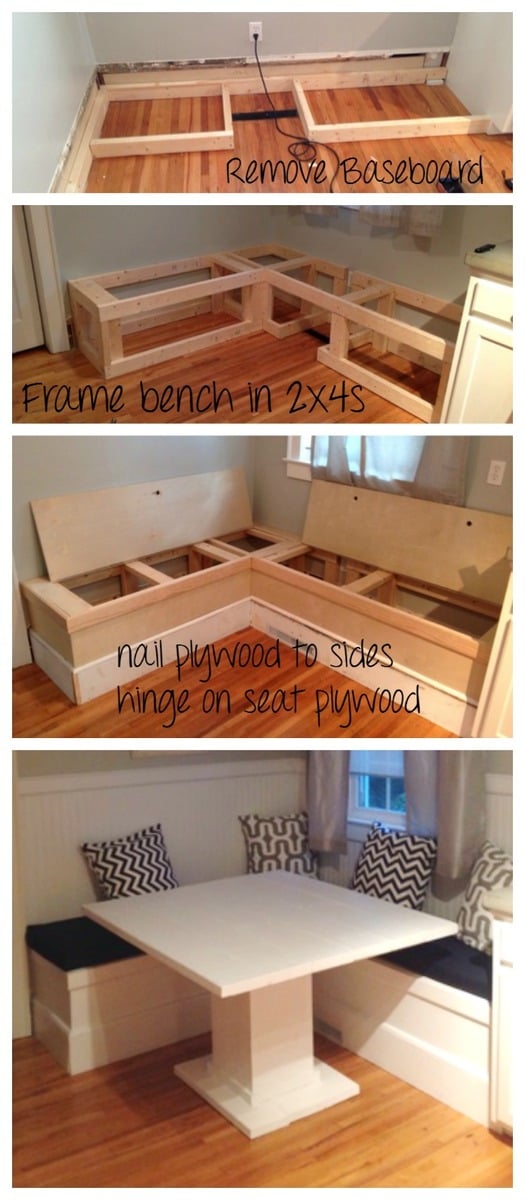
I completed this project in a weekend, over 2 days. The space was an empty void in the corner of our kitchen, so I decided to fill with a functional seating and eating space.

I first removed the trim from the wall, so I could reuse it on the front of the box later, to make the bench match the rest of the kitchen. One challenge I came across was rerouting the a/c vent through the front of the box so we didn't lose that circulation.

My sister-in-law chipped in to make the cushions and pillows to soften it up. I added the DIY table, and further defined the space with wainscoting and trim.

Estimated Cost
$500
Estimated Time Investment
Weekend Project (10-20 Hours)
Finish Used
Semi-gloss trim paint was use, to have the ability to clean later after meals, etc.
Recommended Skill Level
Intermediate

Comments

homeideas5099

Wed, 10/23/2013 - 10:10

Looks fantastic. Love how you reused the trim to have the whole unit blend in with the rest of the kitchen. Well done.

PDubs74

Sun, 01/09/2022 - 16:45

Hey there,
Absolutely love your DIY breakfast nook. Unfortunately the additional blog/info link is no longer working as I'm trying to gather more information. Would anyone be able to send the instructions and/or new link?
Thank you