Community Brag Posts
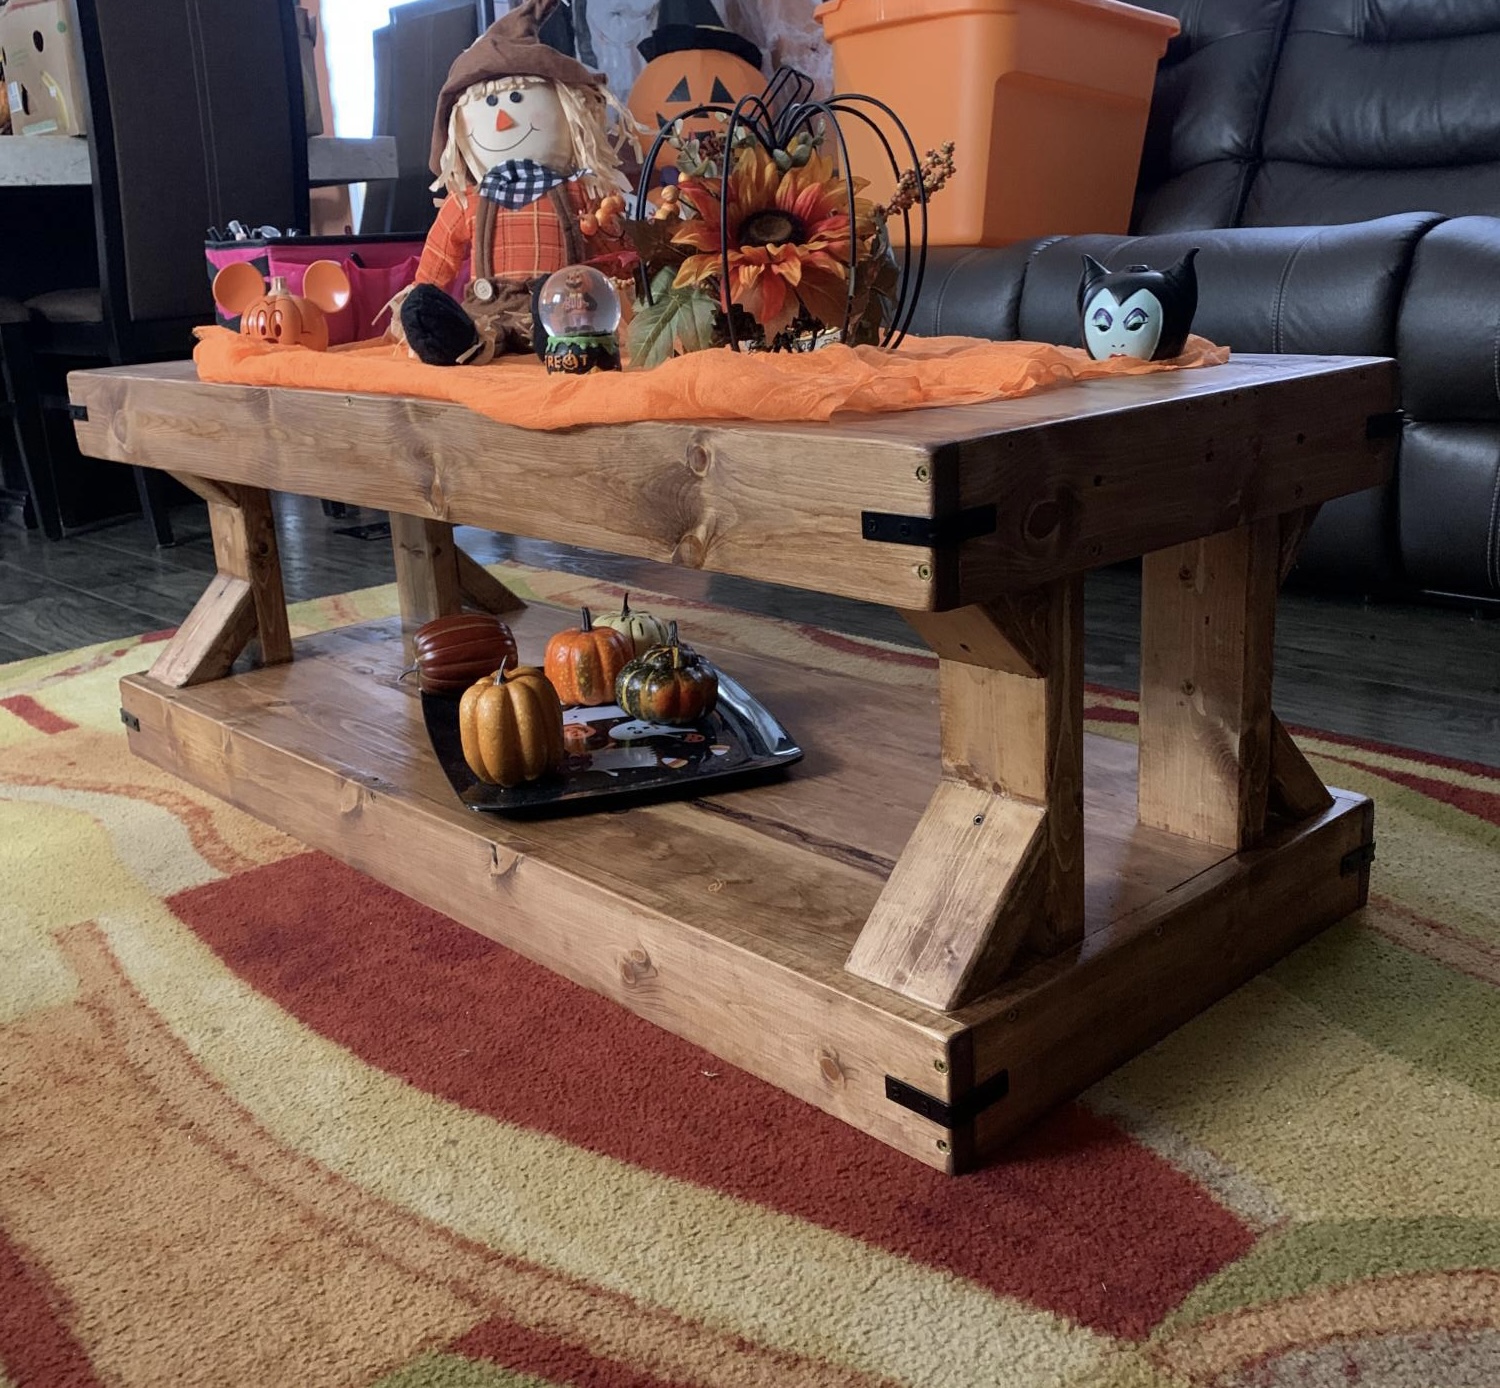
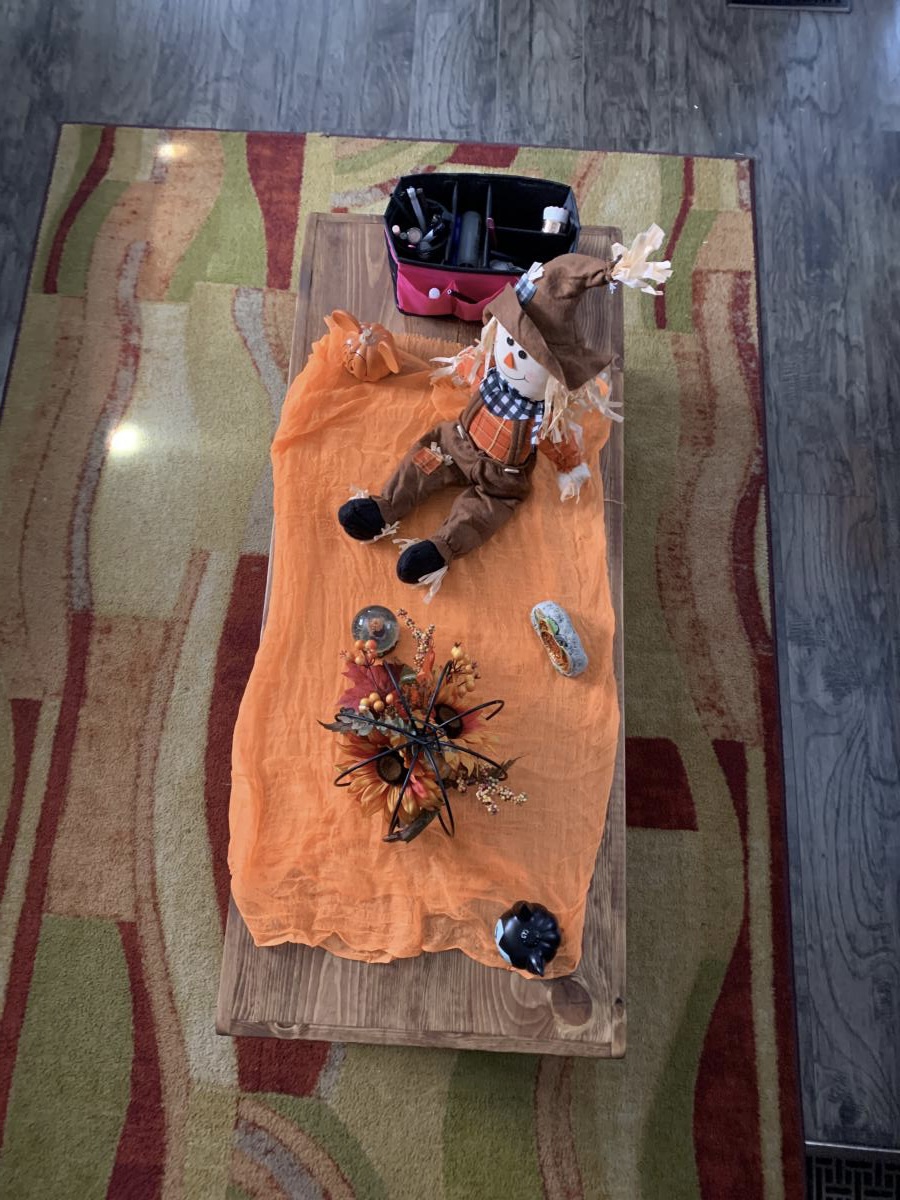
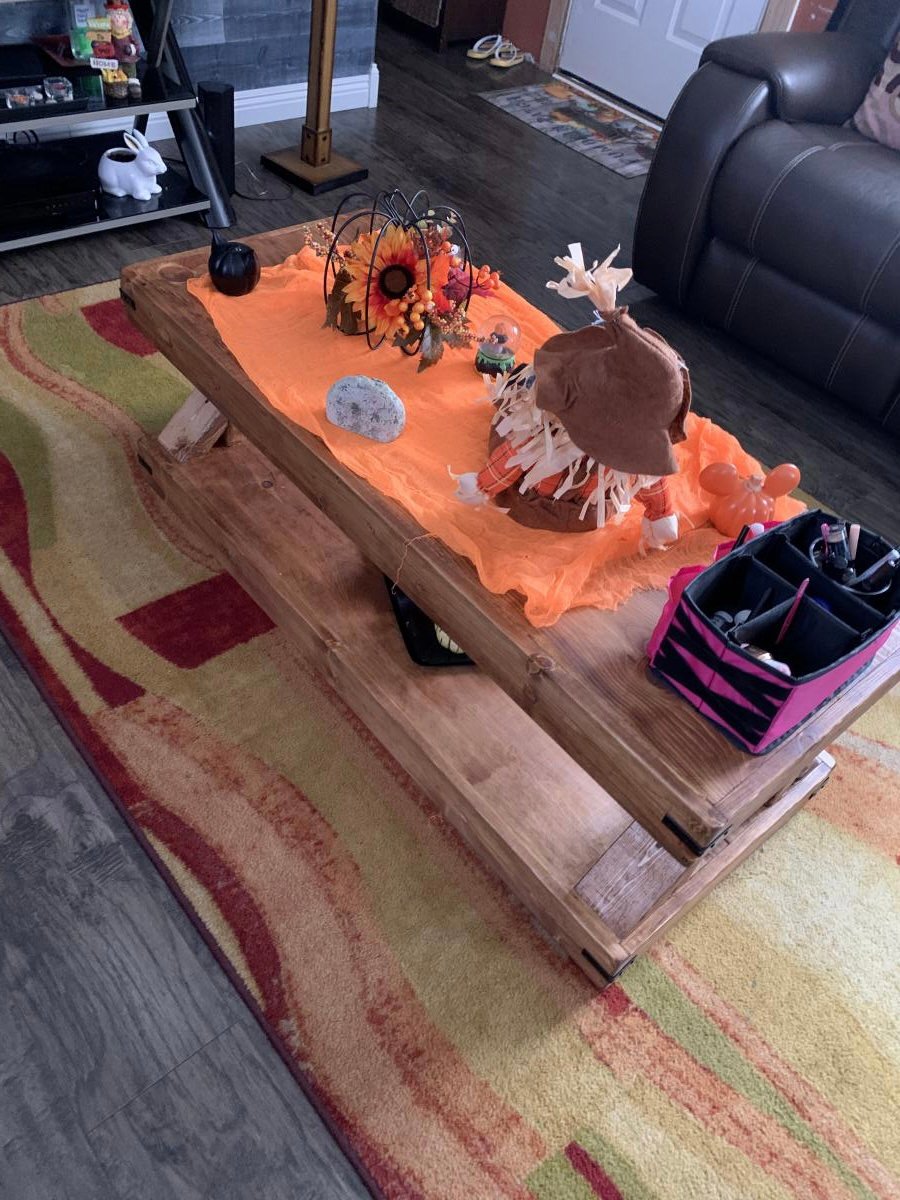
Kids Country Bench Modified: First Build
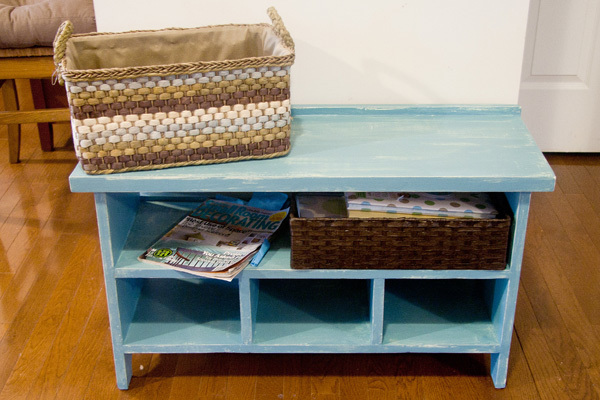
My husband and I put this together to fit a spot that was just slightly off of what standard furniture would accomodate. Looking for something simple as a first build, we went with the Kids Country Bench and made some changes along the way.
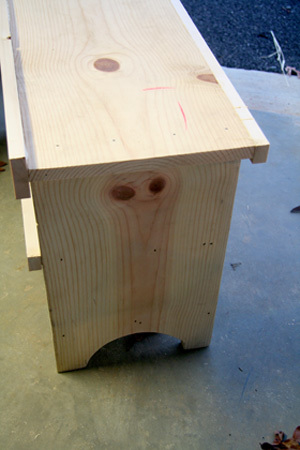
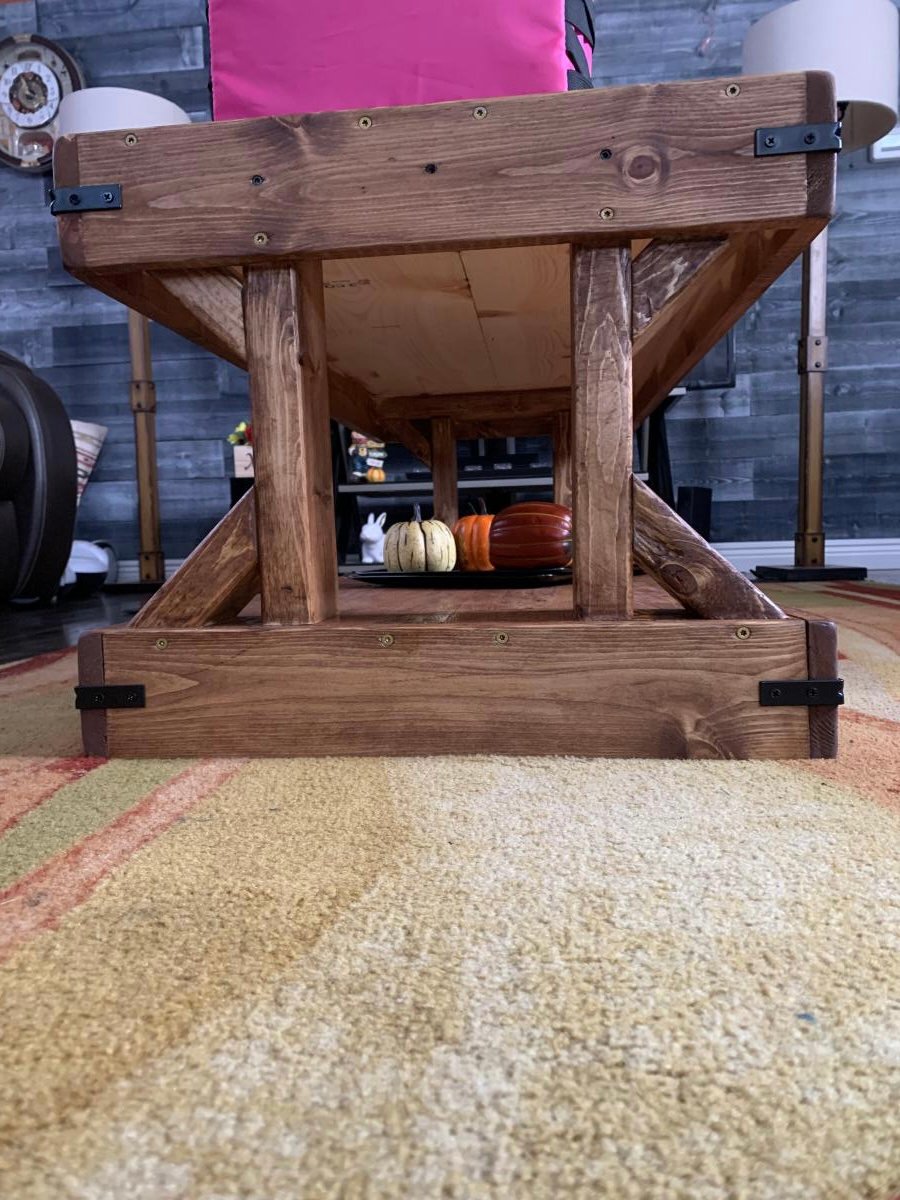
We made 3 cubbies on the bottom shelf for extra storage and a little extra stability, since our boards were more bowed than we preferred. We also removed the front and back aprons. In the front we just attached a 1x2 that we ripped into a 1x1 as a trim piece. In the back, we centered a 1x2 to give a slight lip in the back.
I don't have a jigsaw, so we used my FIL's Scroll Saw. That was interesting ... but the sides turned out ok. Not perfect, but ok.
I was hoping to finish this with a high gloss product, but since the boards we ended up with more 'rustic' than I anticipated, I decided to embrace that and go with a distressed finish. I used a spray primer, and then one coat of Sherwin Williams yellow, covered with a dry brush of Sherwin Williams blue. I then sanded the corners and edges and finished with a spray top coat.
We had lots of fun, although it took us a long time. We were only working in small shifts, in between naps. If we had managed to get, say, 3 straight hours to build, I think we could have finished in in that time period.
This was a great starter project, and it's nice to know that we can make MINOR modifications to a plan and not have it fall apart on us :)
Thanks for the inspiration Ana!

Built from Plan(s)
Estimated Cost
$50
Estimated Time Investment
Afternoon Project (3-6 Hours)
Finish Used
Distressed/Dry Brush paint
Recommended Skill Level
Starter Project


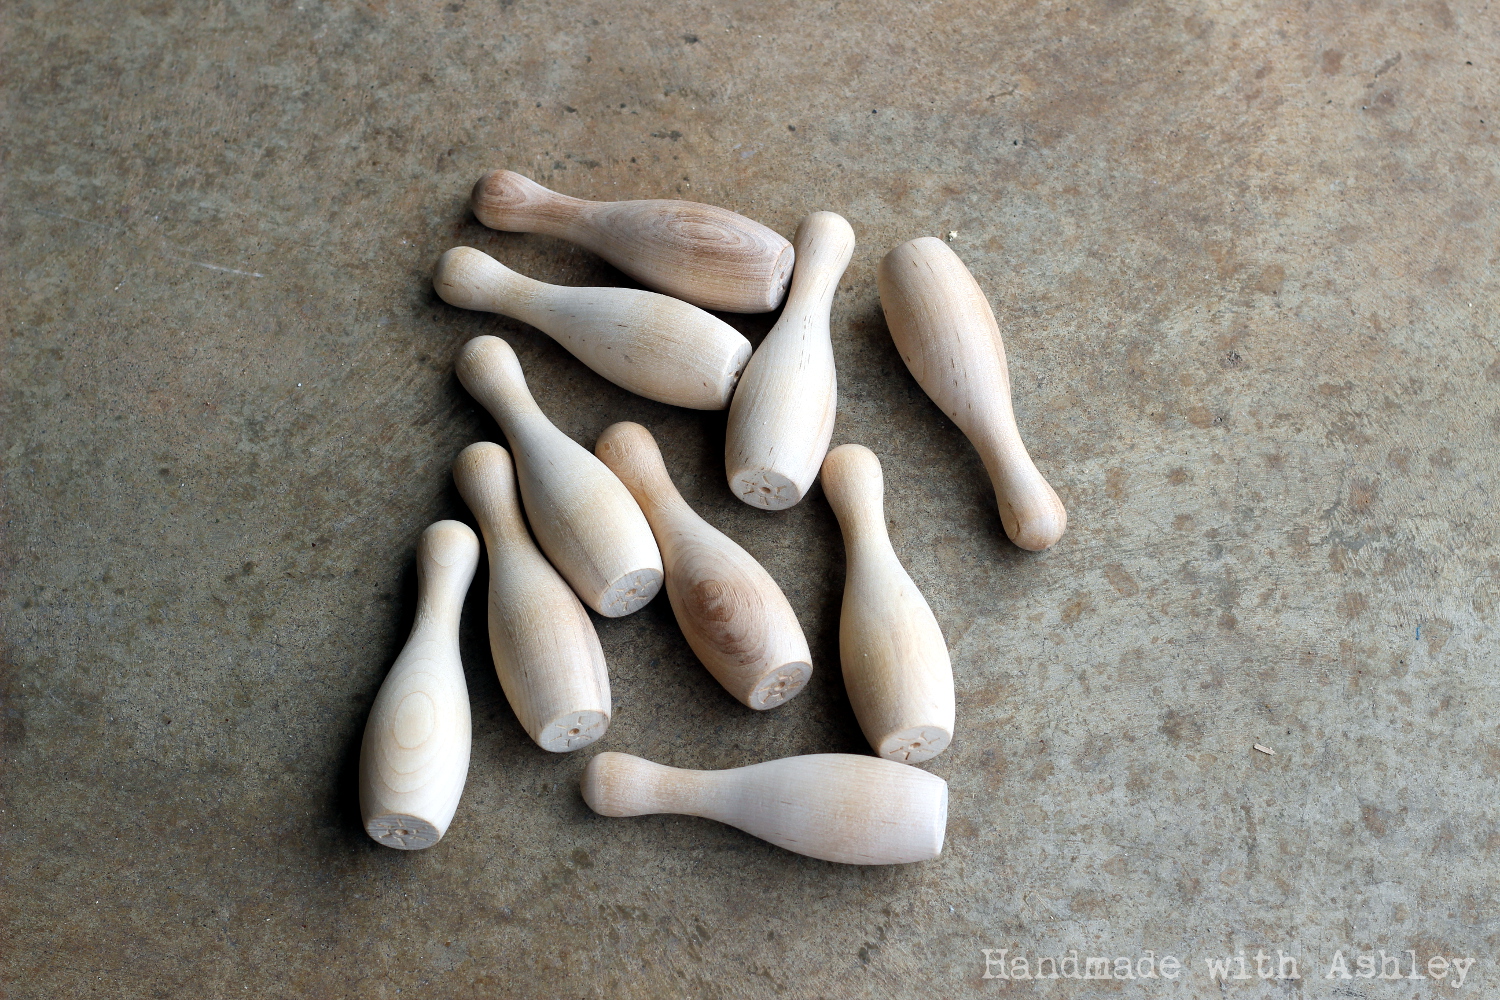
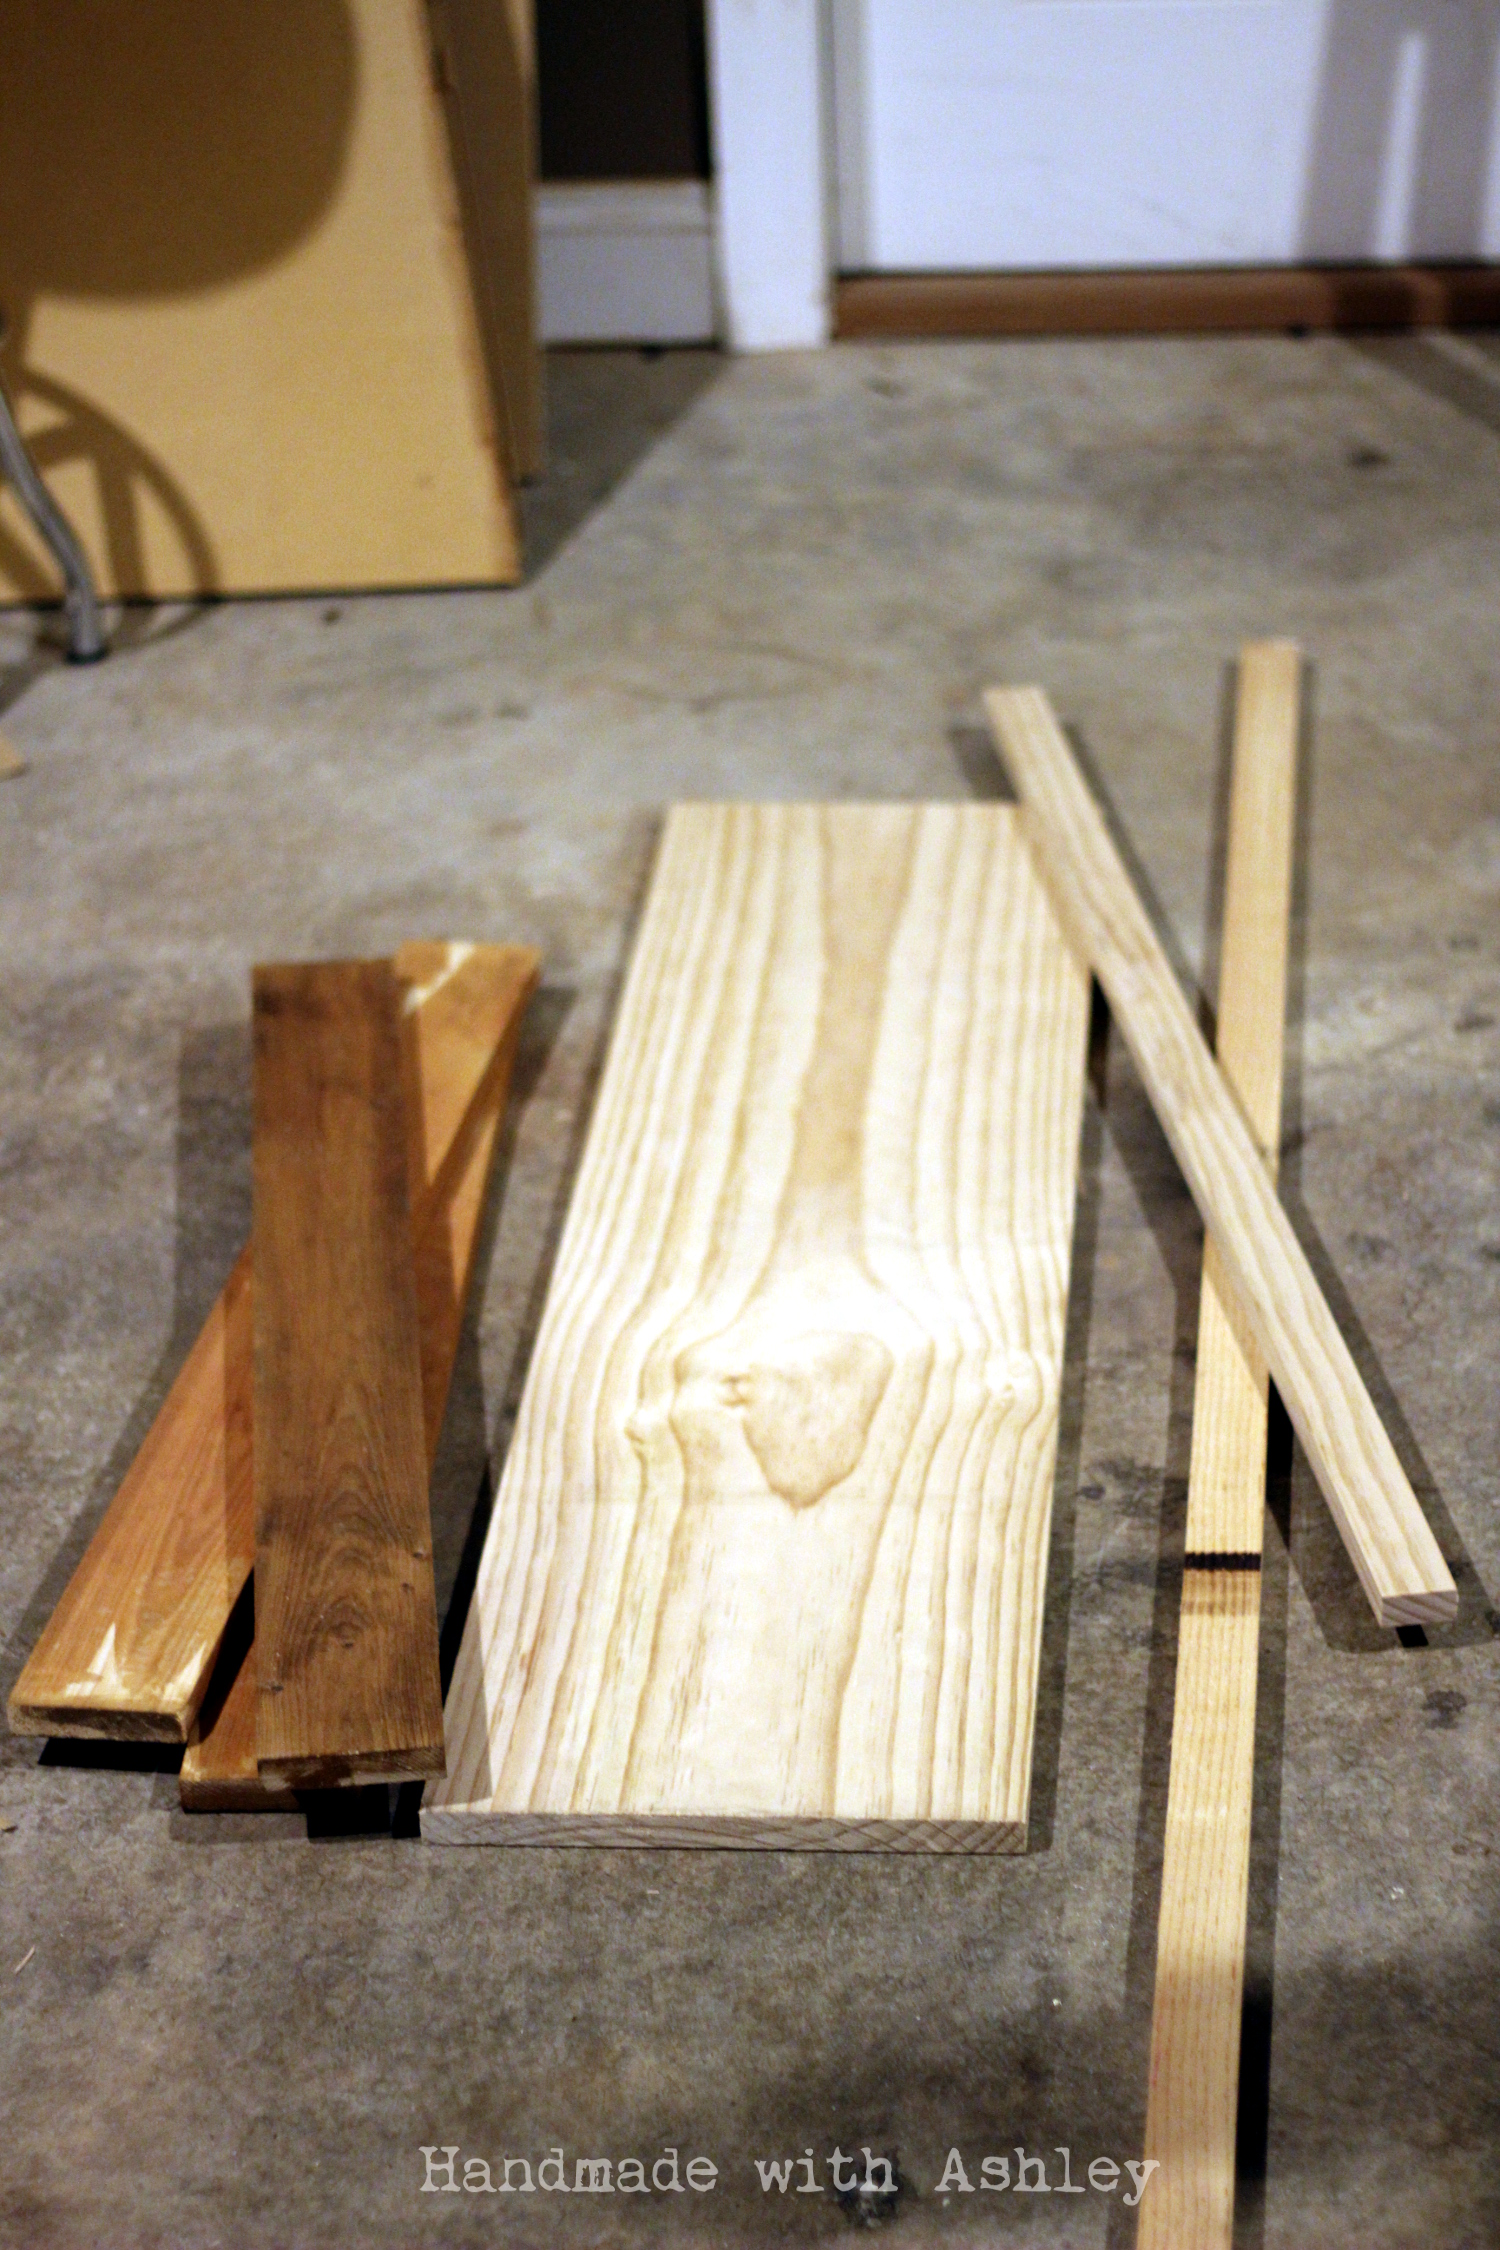
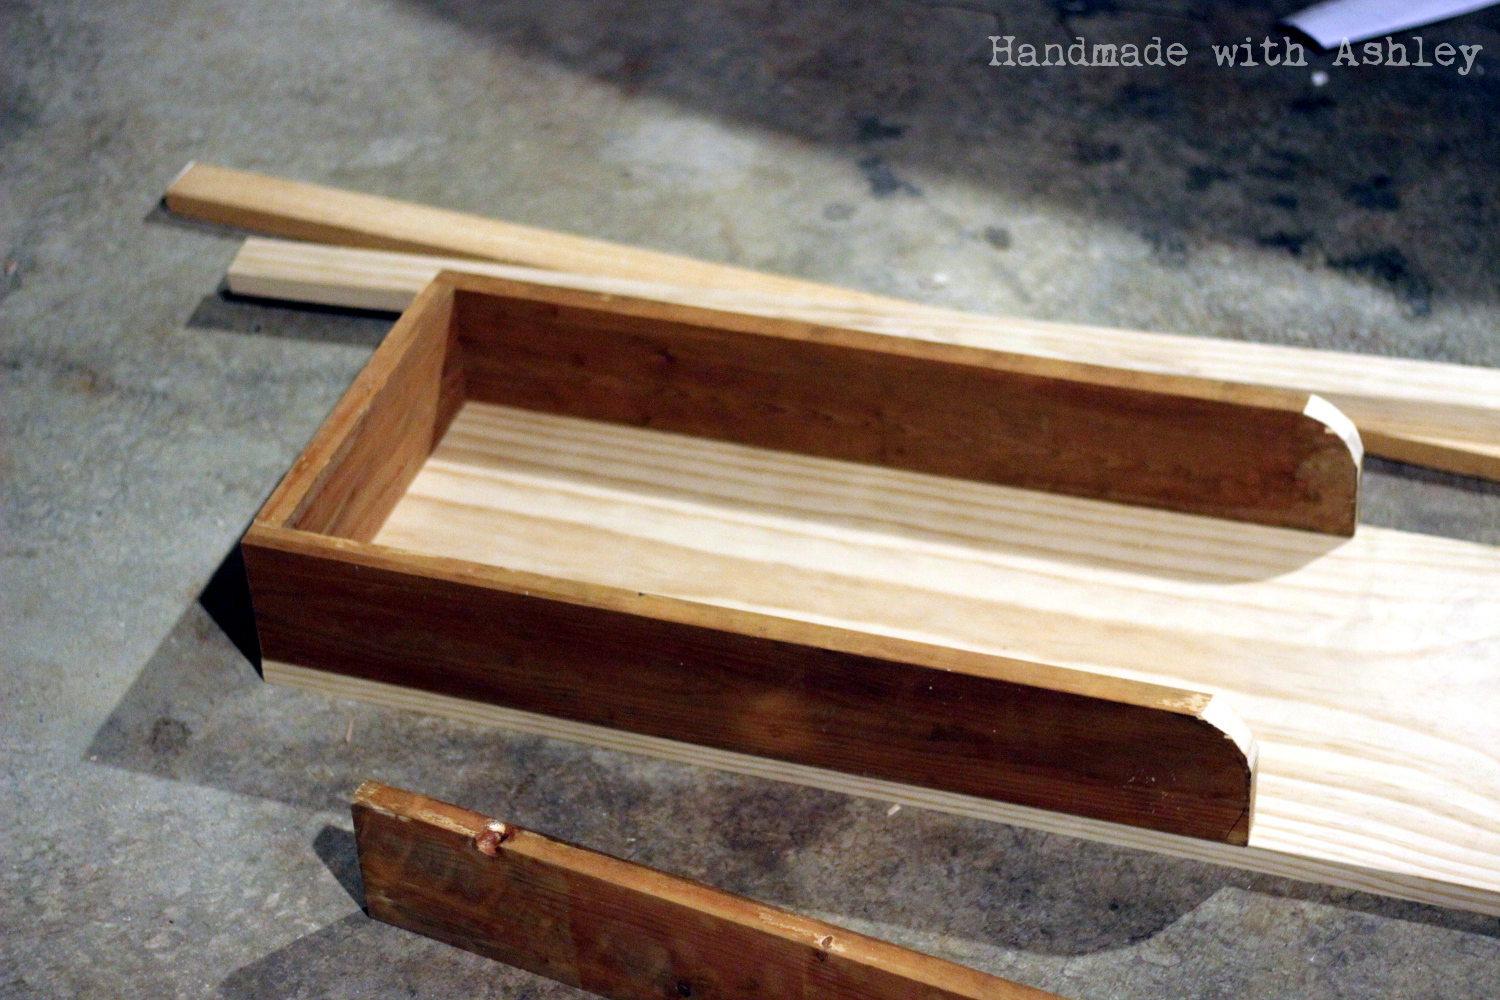
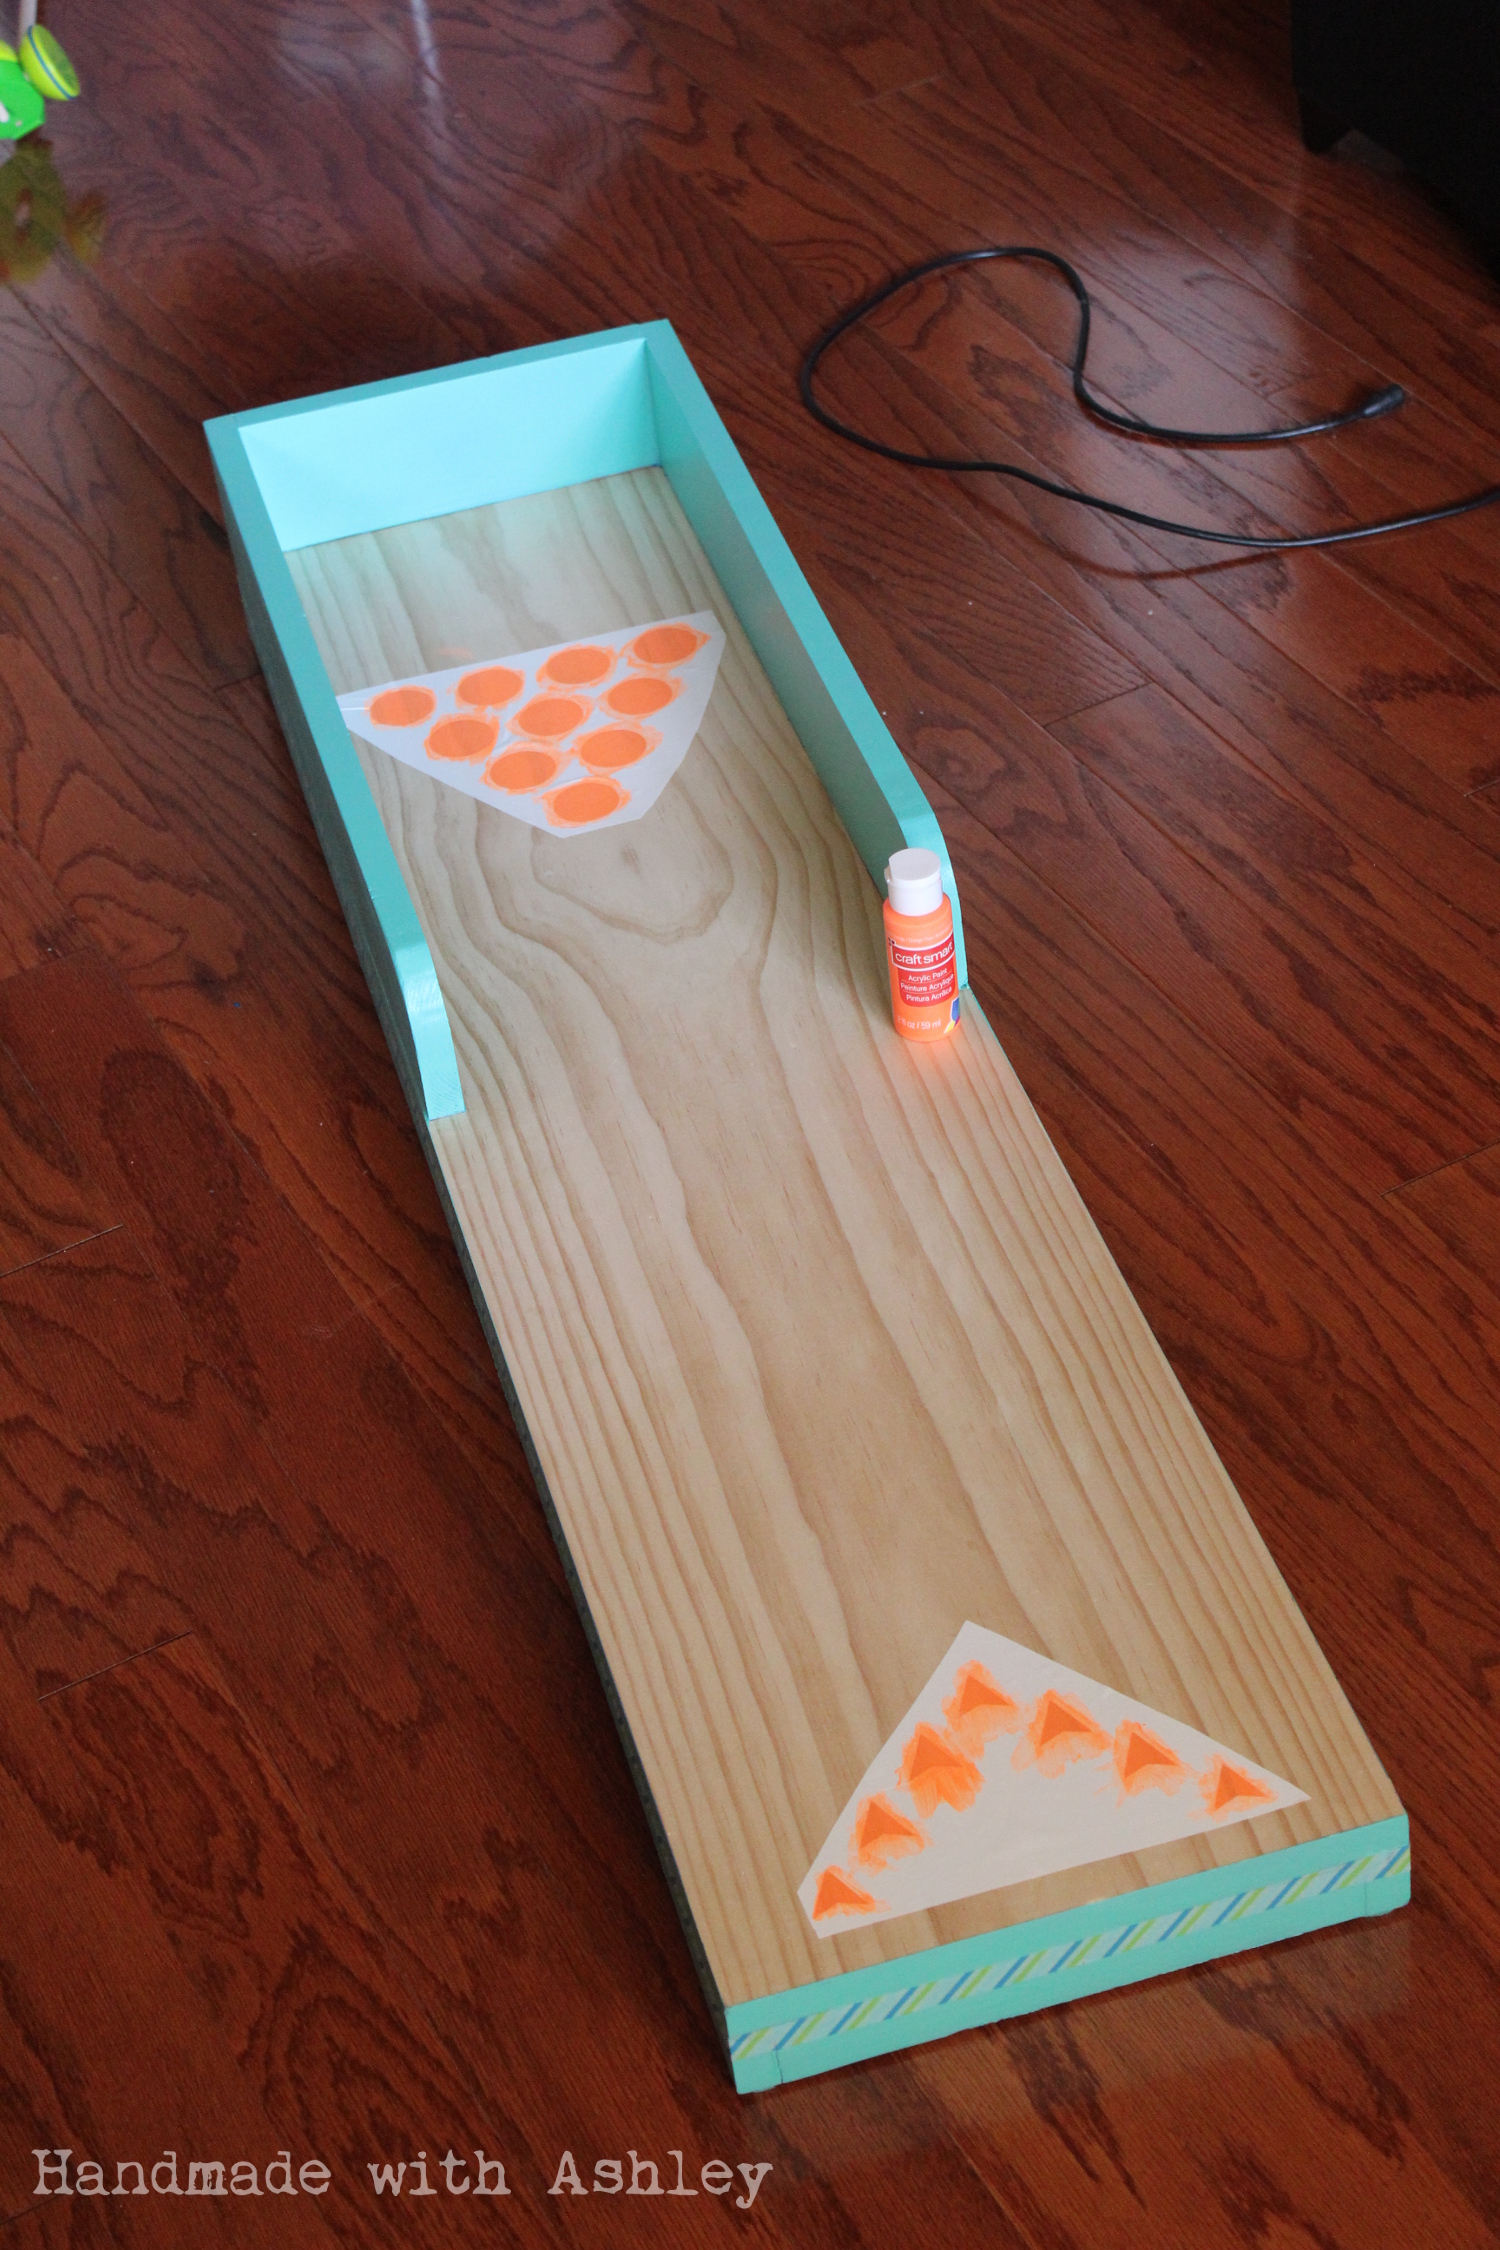
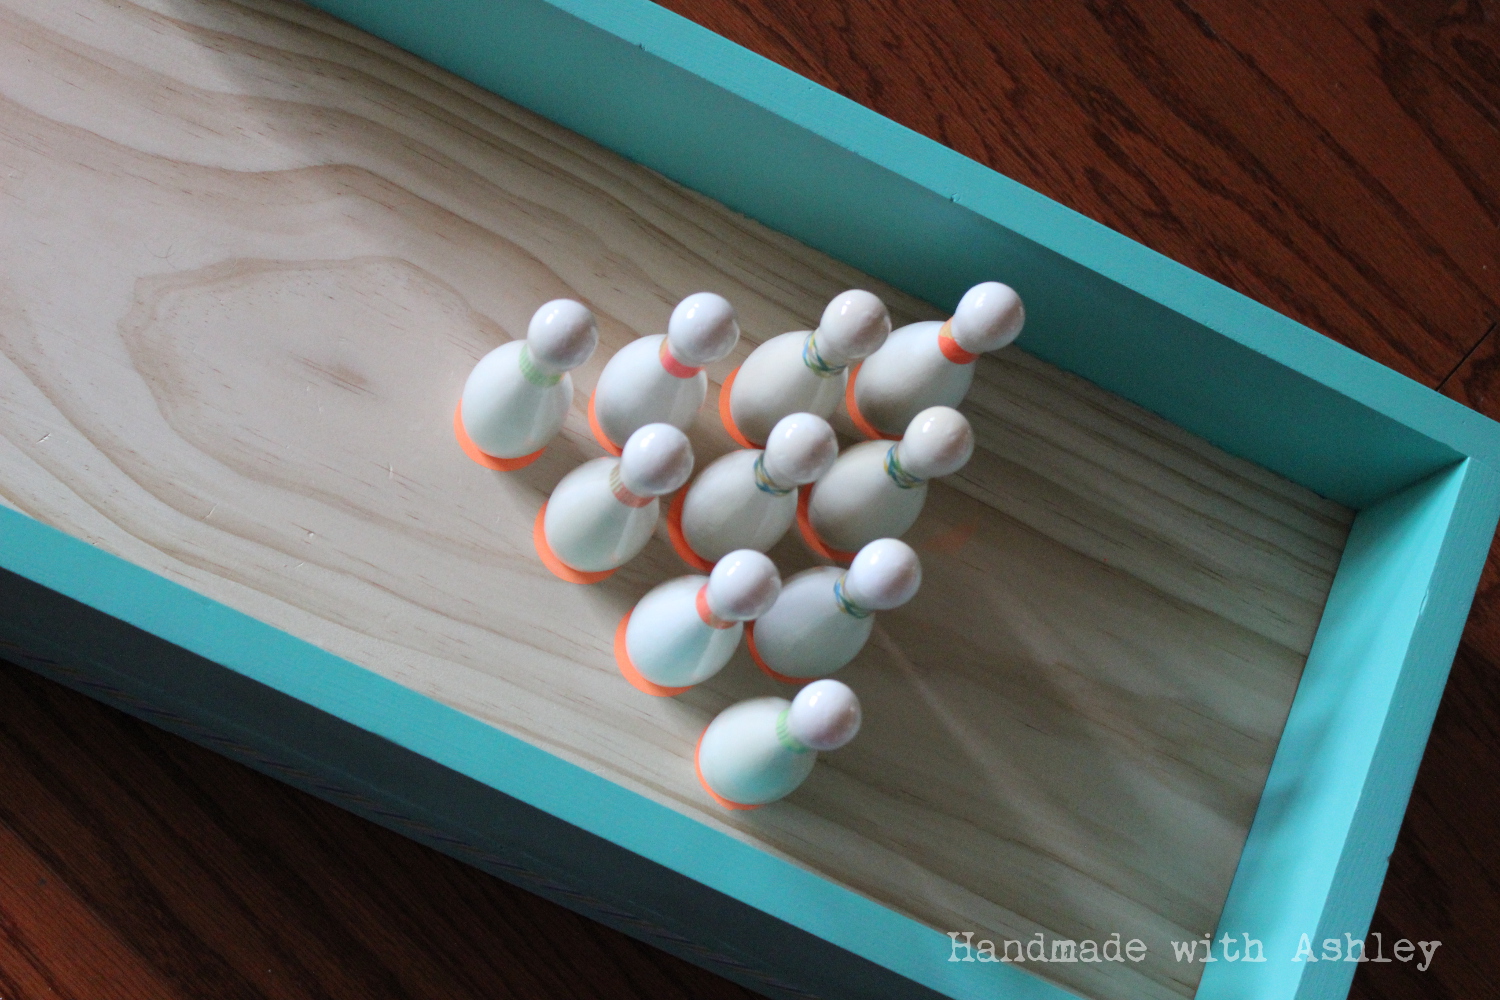
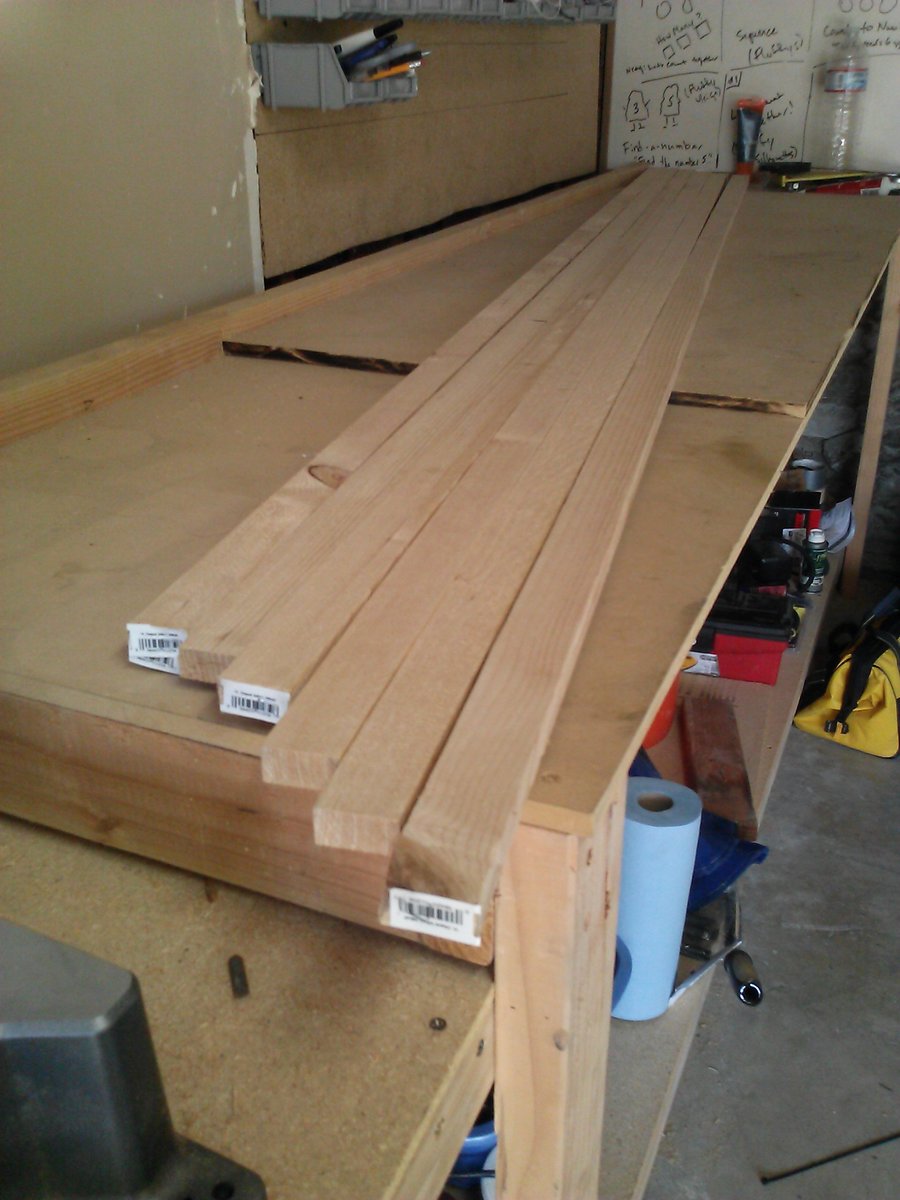
DIY Bowling Lane
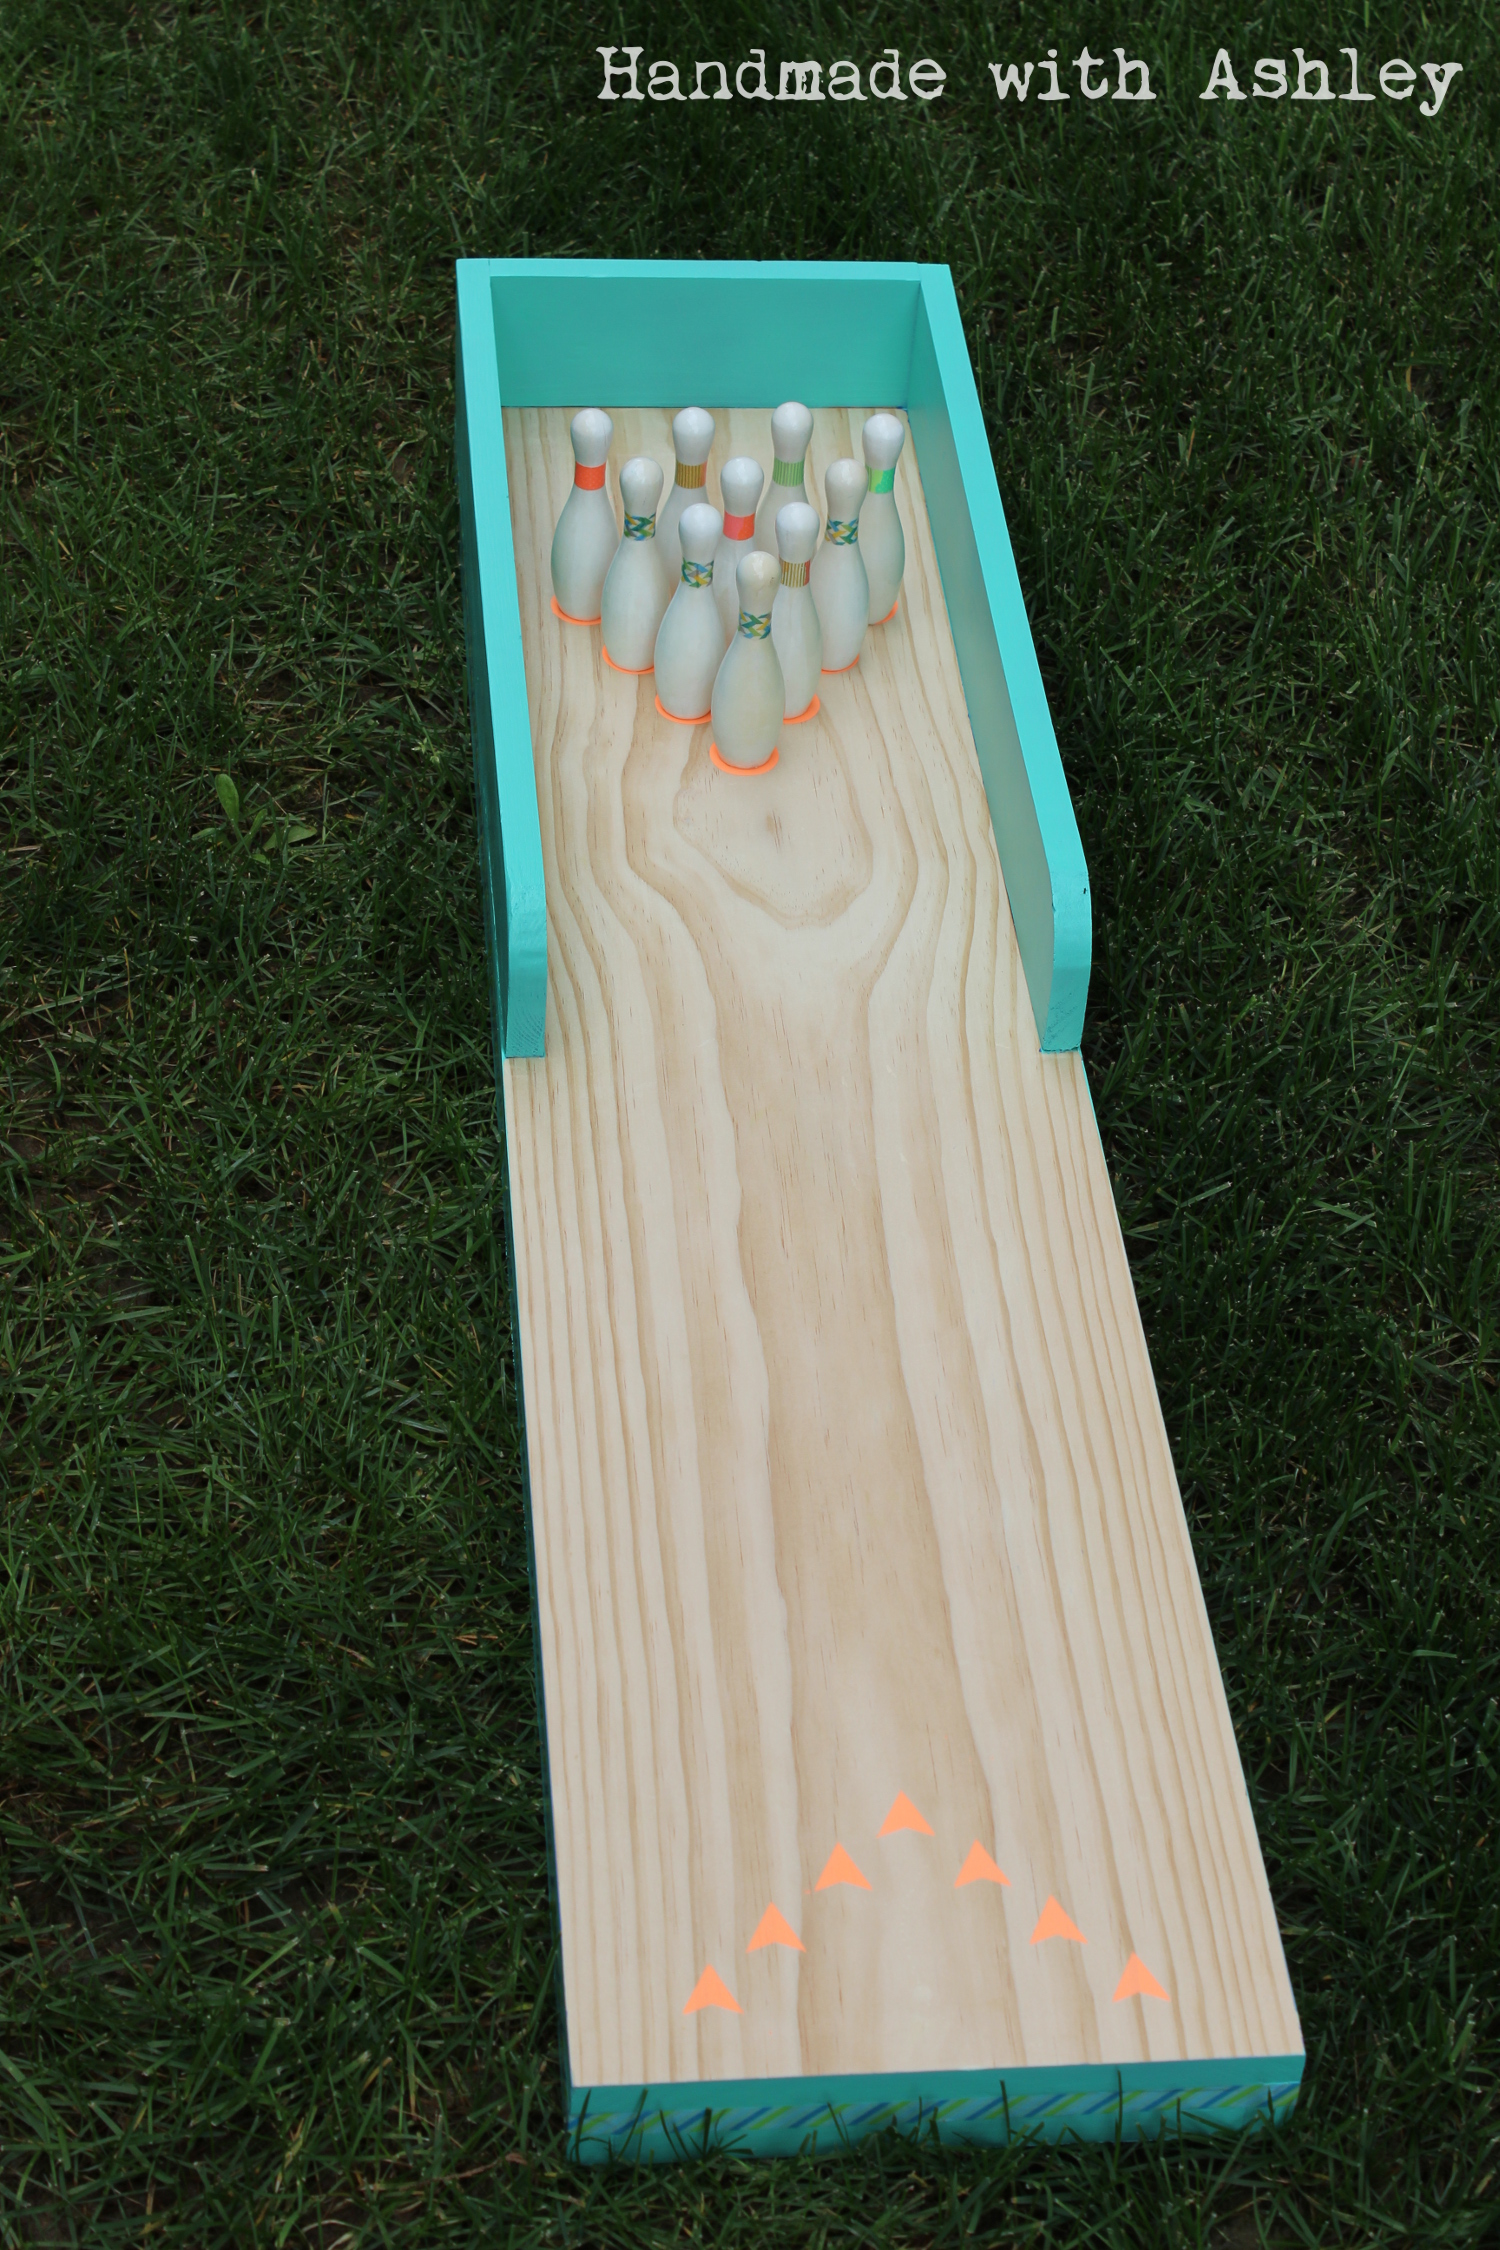
My husband and I were discussing how fun it will be to take our little boy bowling once he is old enough to enjoy it. From that conversation I got the idea of building a miniature bowling lane. I was also inspired by Ana White’s #GetBuilding2015 challenge to make use of the large pile of lumber stored in my garage.
Estimated Time Investment
Day Project (6-9 Hours)
Finish Used
Krylon Sea Glass Spray Paint, neon orange craft paint, White Rust-Oleum Spray Paint+Primer
Recommended Skill Level
Beginner
Comments

Tue, 04/28/2015 - 10:53
That's Awesome!
What a cute project! I'm sure there will be many fun times ahead. Thanks for sharing!
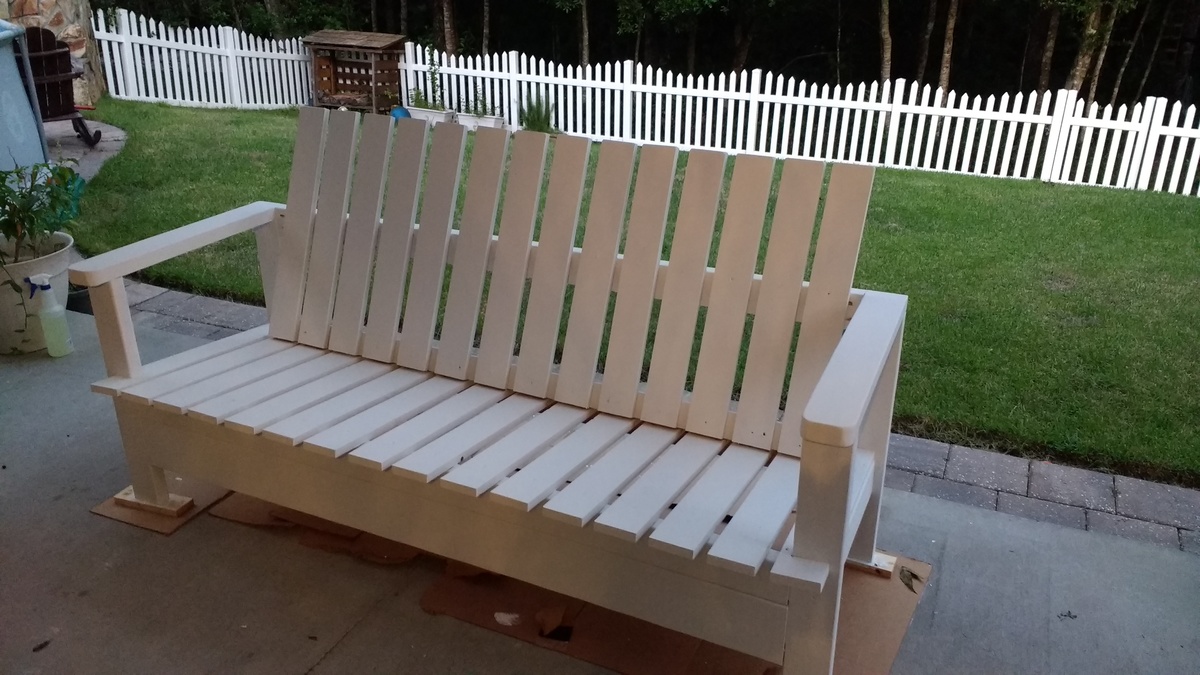
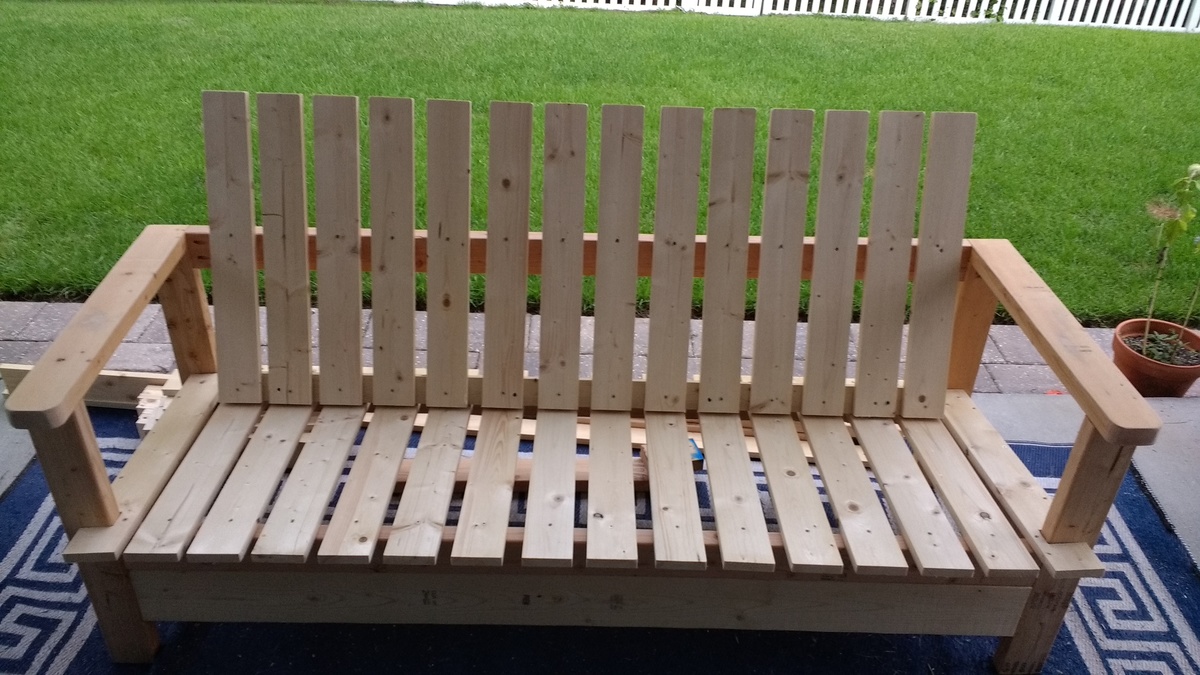
Outdoor sofa
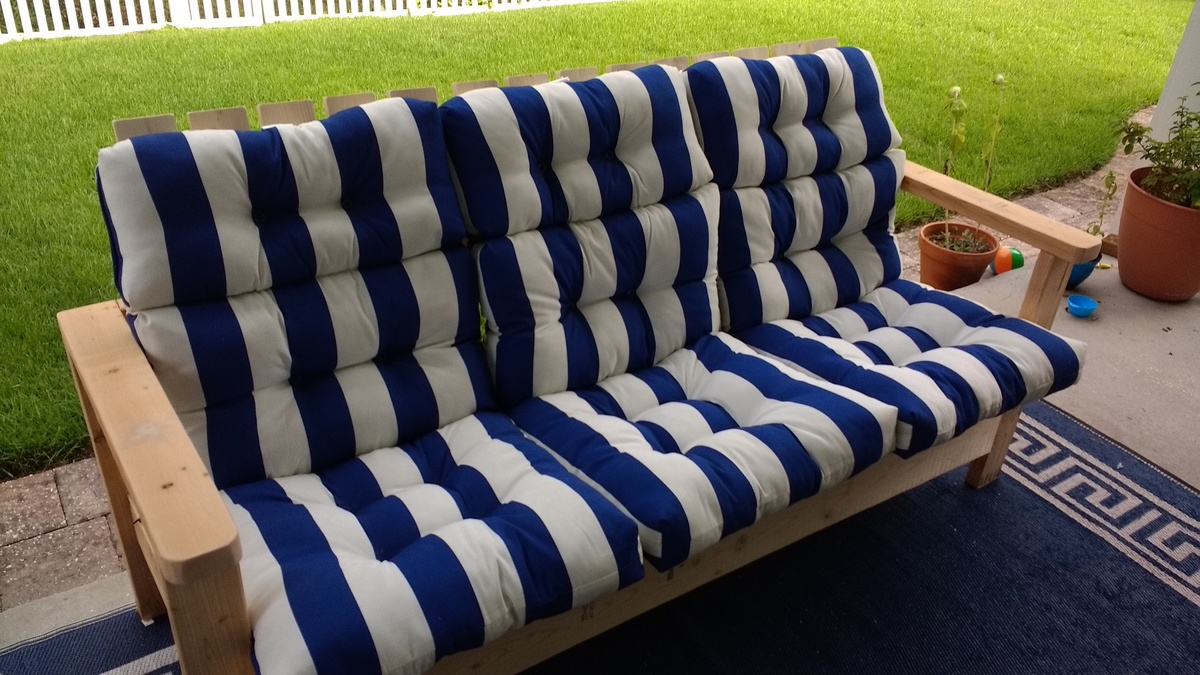
After seeing how expensive custom cushions can be, I decided to build a custom outdoor sofa around the dimensions of the cushions instead of the other way around. I took some plans for a chair and modified the dimensions. I also gave the seat a 7 degree downward slope and gave the backrest a similar angle to in order to keep the cushions from falling over since each section is a single piece (seat & backrest).
I used a jigsaw to round out the corners of the armrest and then sanded them smooth. I ended up painting it white (hard to see in the 2nd picture) and it came out great.
Built from Plan(s)
Estimated Cost
$100
Estimated Time Investment
Afternoon Project (3-6 Hours)
Finish Used
white paint
Recommended Skill Level
Beginner
Grandson's Playhouse - Wayne Oglesby
My favorite project ever because I built it for my 18 month old grandson. He really loved playing in it. Thanks for the plan Ana. It was well done and easy to follow.
Built from Plan(s)
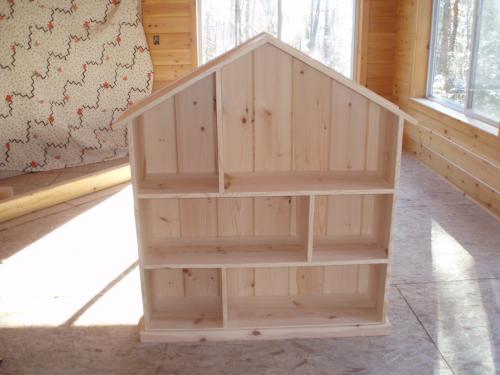
Dollhouse Bookcase
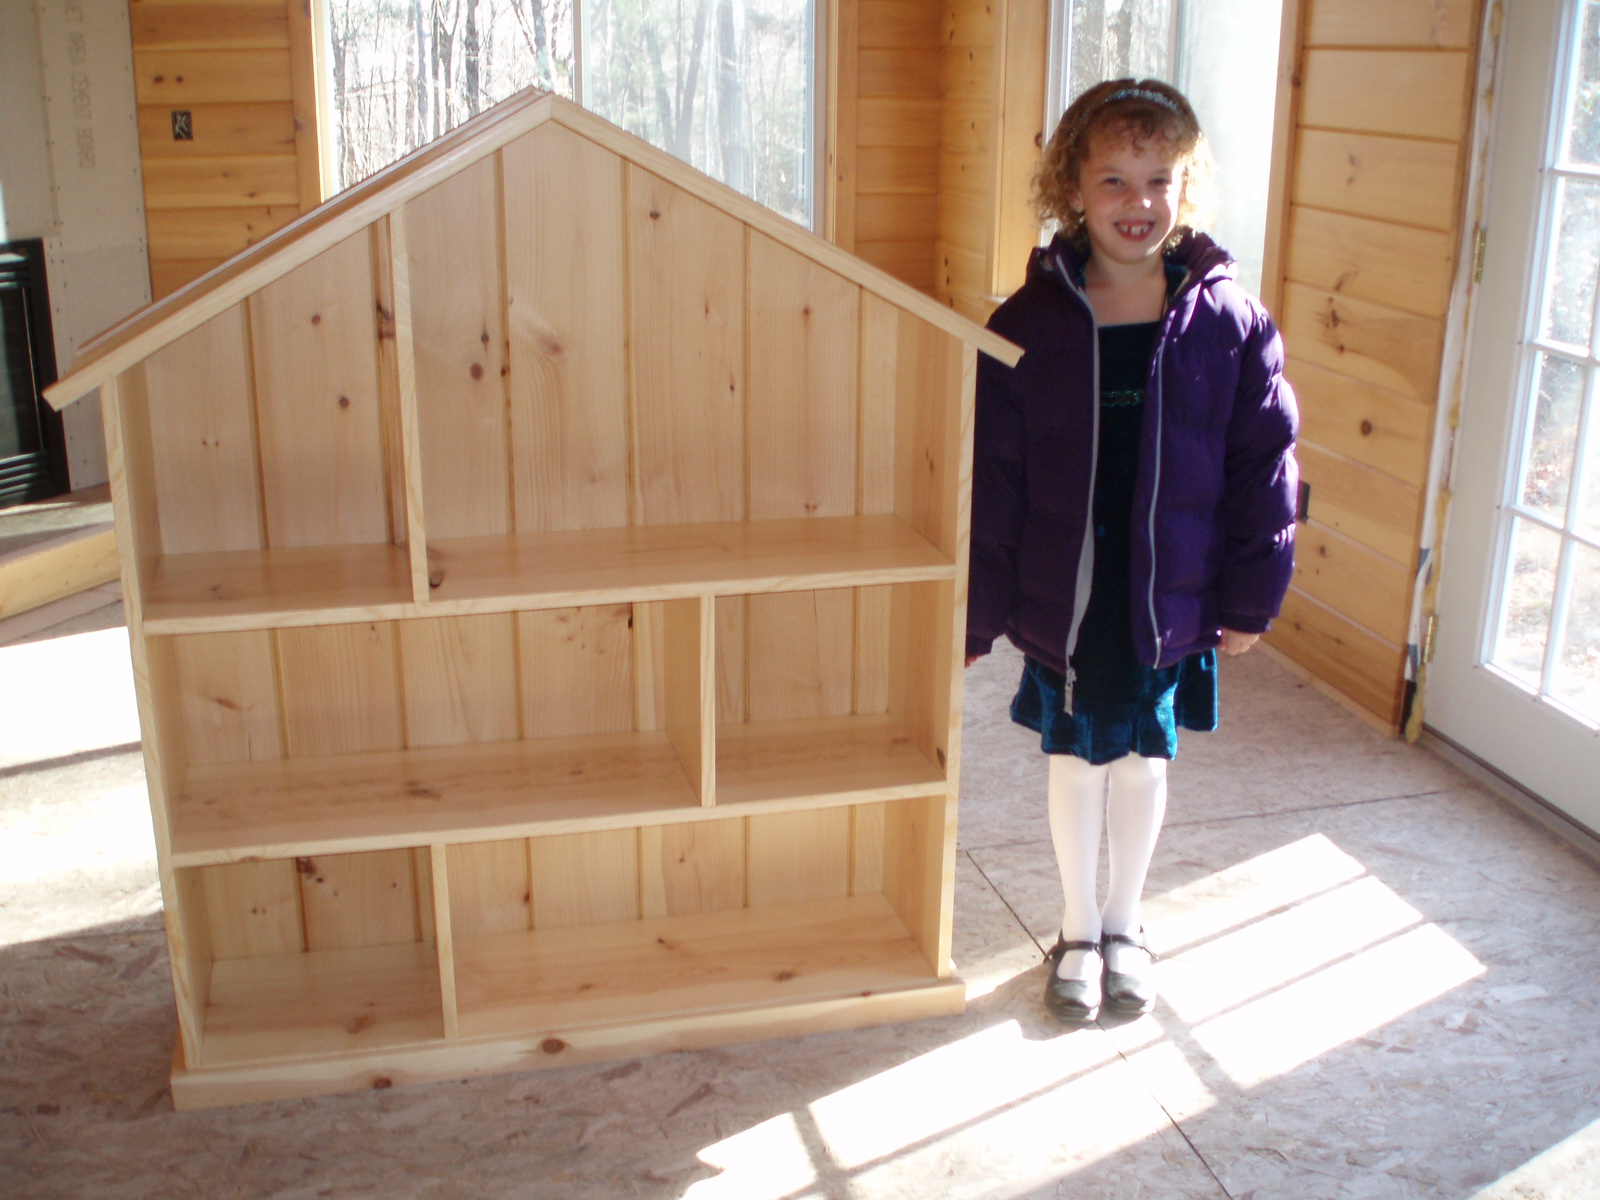
I built this doll house bookcase for my little girl for her Birthday. And she loves it!
I used white pine. I did not want to use paint. I did 5 coats of clear stain. I like the look of the natural wood and the knots to show.
Built from Plan(s)
Estimated Cost
$50
Estimated Time Investment
Week Long Project (20 Hours or More)
Finish Used
clear stain (5 coats)
Recommended Skill Level
Intermediate
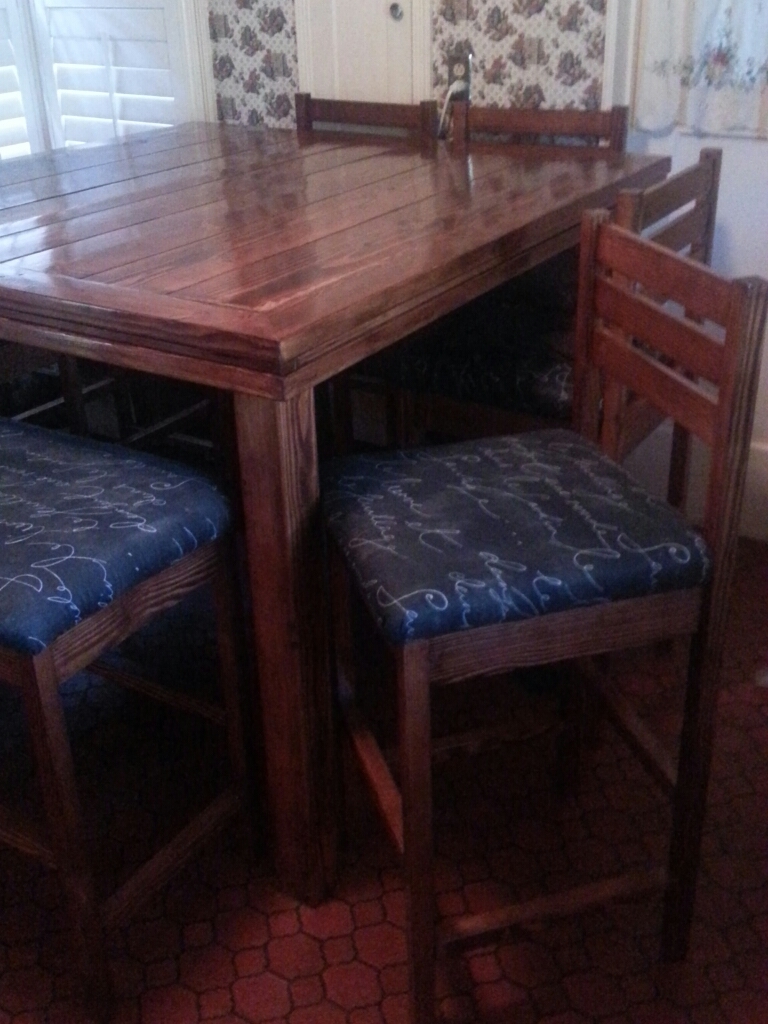
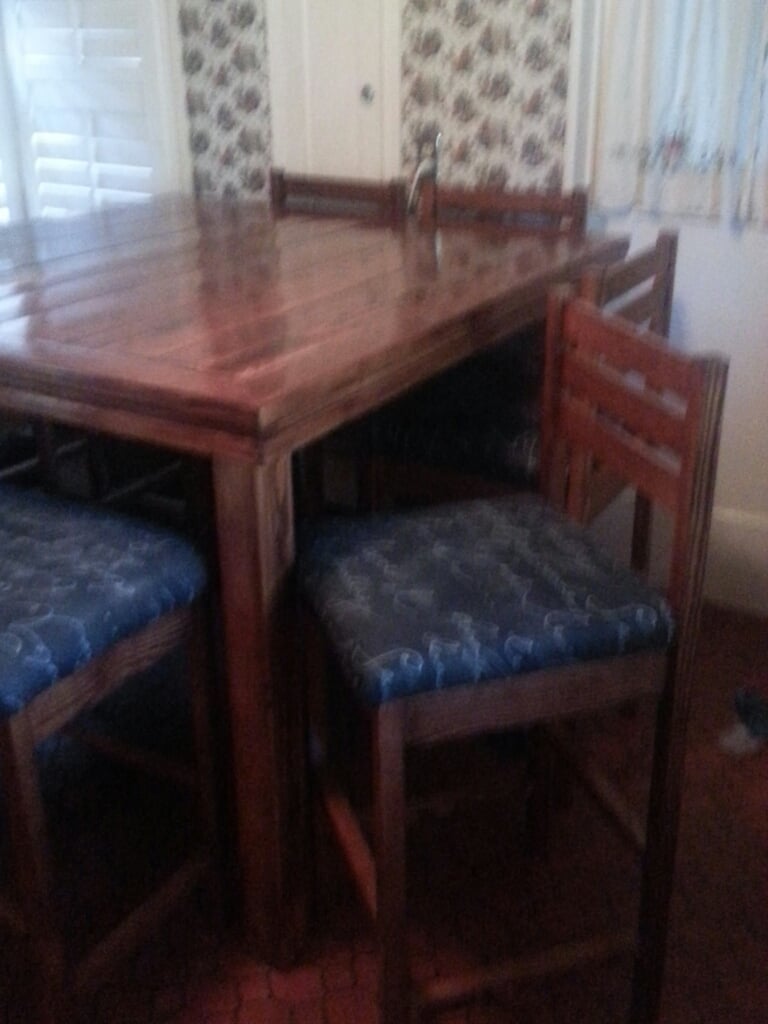
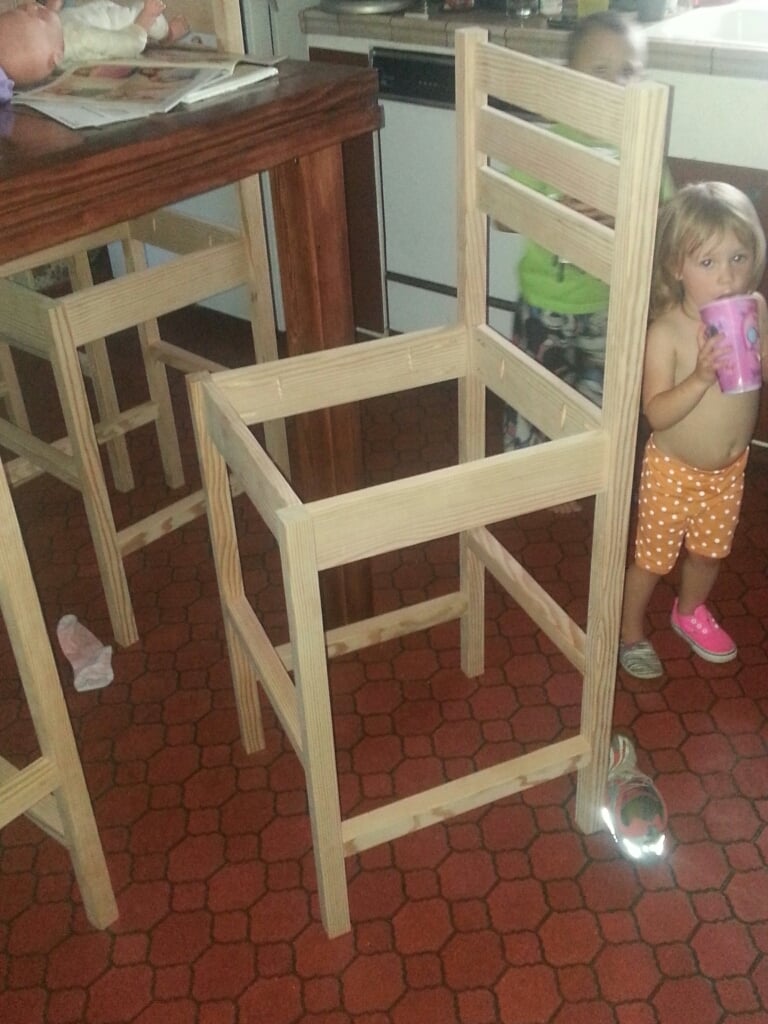
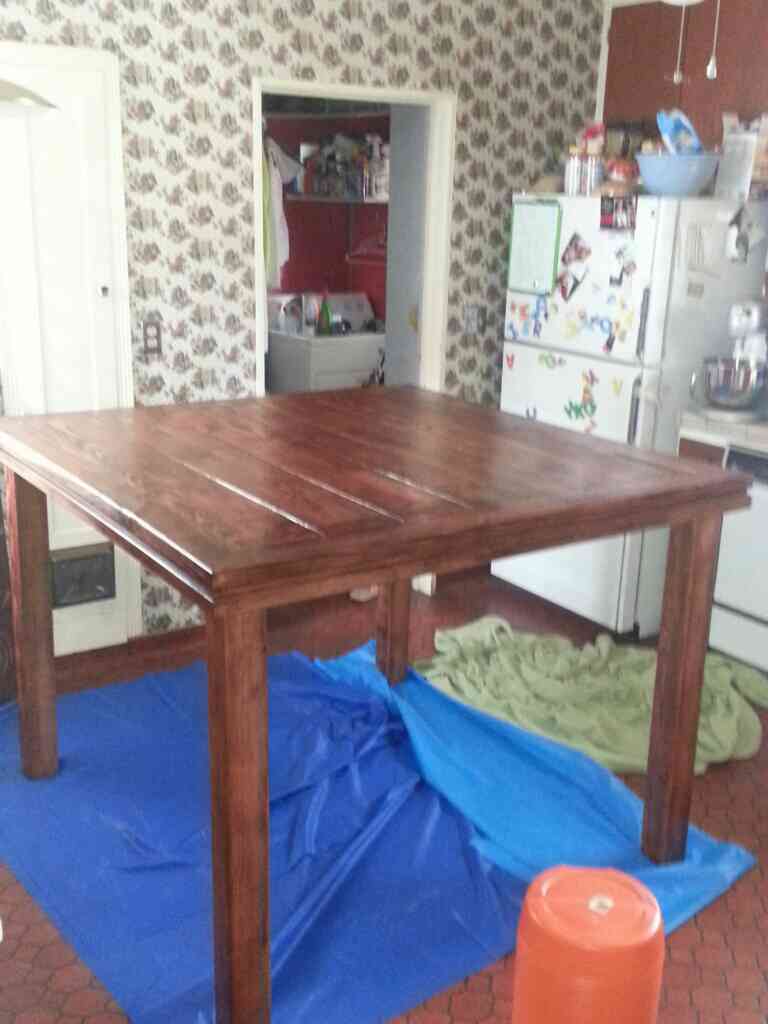
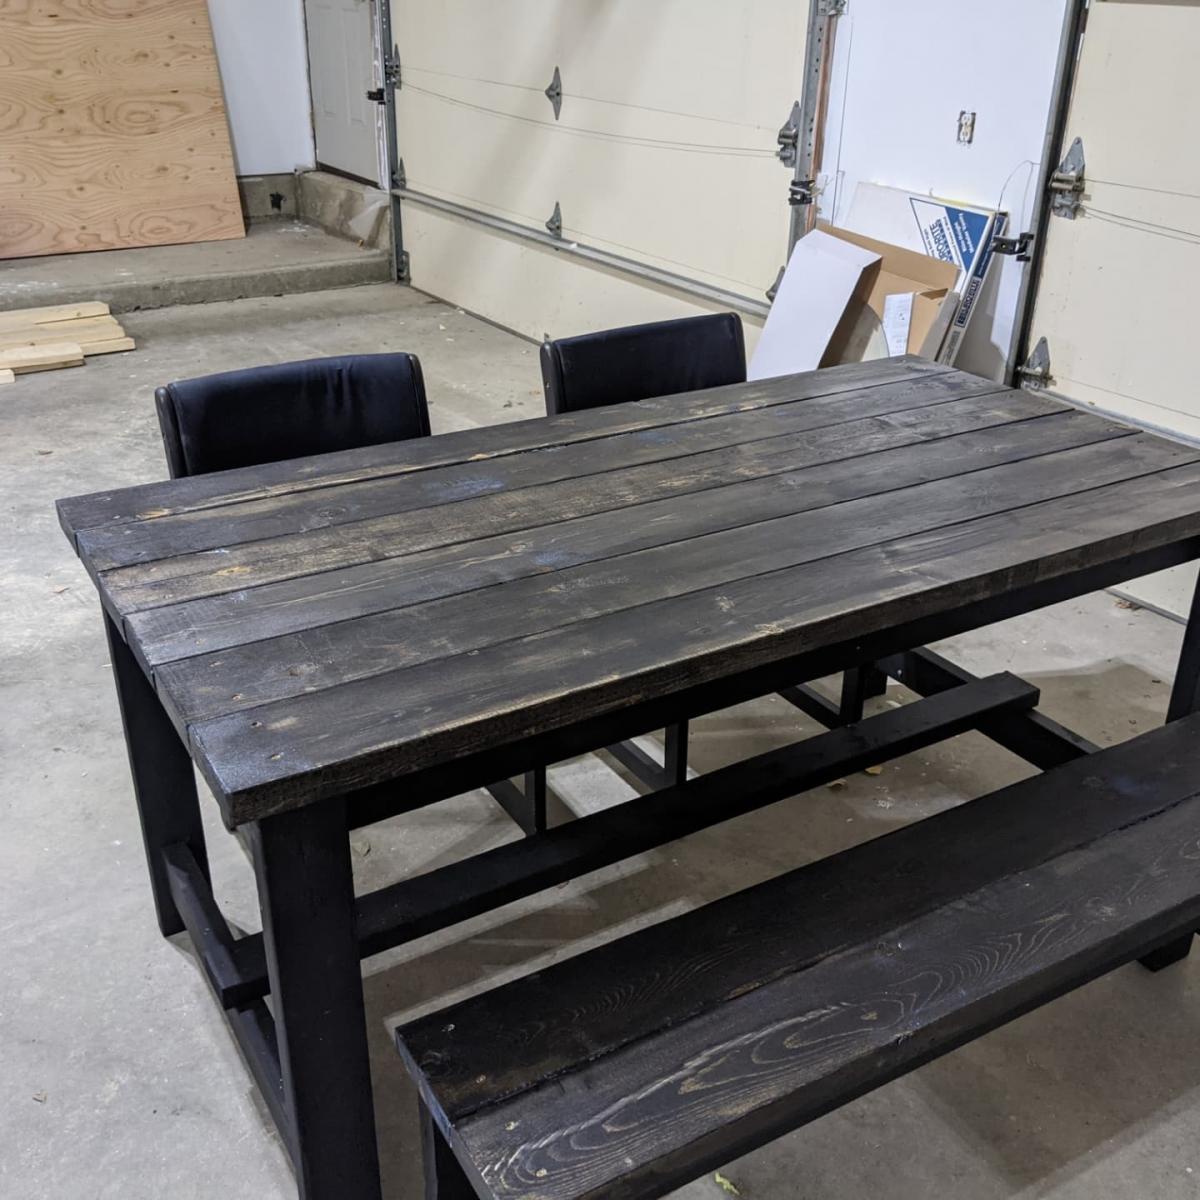
pub height table
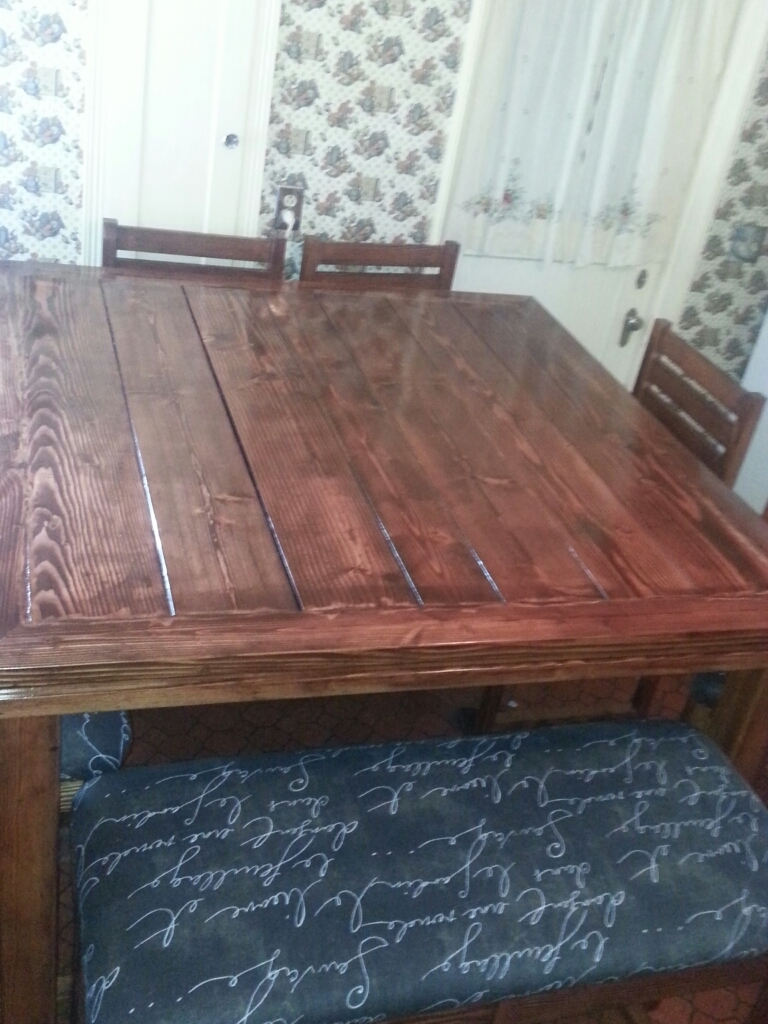
Bar height table witb 4 chairs and 2 benches. My mom wanted a new table big eight to sit 6 to 8 people, I think it can fit 10 though!
Built from Plan(s)
Estimated Cost
$500
Estimated Time Investment
Week Long Project (20 Hours or More)
Finish Used
Minwax red elm gel stain and 5 coats of poly
Recommended Skill Level
Intermediate
Our Kitchen Remodel

After getting ridiculous quotes for new cabinets, we searched out ways to save money. Ana White, your site has been a blessing! I have a construction background and was planning on doing everything except cabinets and electrical. I estimate that your plans and inspiration have saved us at least $7500.00!!! Thanks so much. We will continue to update as progress continues!

Built from Plan(s)
Estimated Time Investment
Weekend Project (10-20 Hours)
Recommended Skill Level
Intermediate
Comments

Mon, 05/04/2015 - 07:03
Cabinet Boxes Look Good!
I can't wait to see the final product. Keep the pix coming. Will you be buying raised panel doors or going for a more craftsman style look with a 1x2 frame around the cabinet door?

In reply to Cabinet Boxes Look Good! by Heatherdee
Sat, 05/16/2015 - 07:08
Thanks for the encouragement,
Thanks for the encouragement, Heather! We are actually using Ana's plans and building our own shaker doors. The plans are awesome and we have discovered that we LOVE building cabinets!!
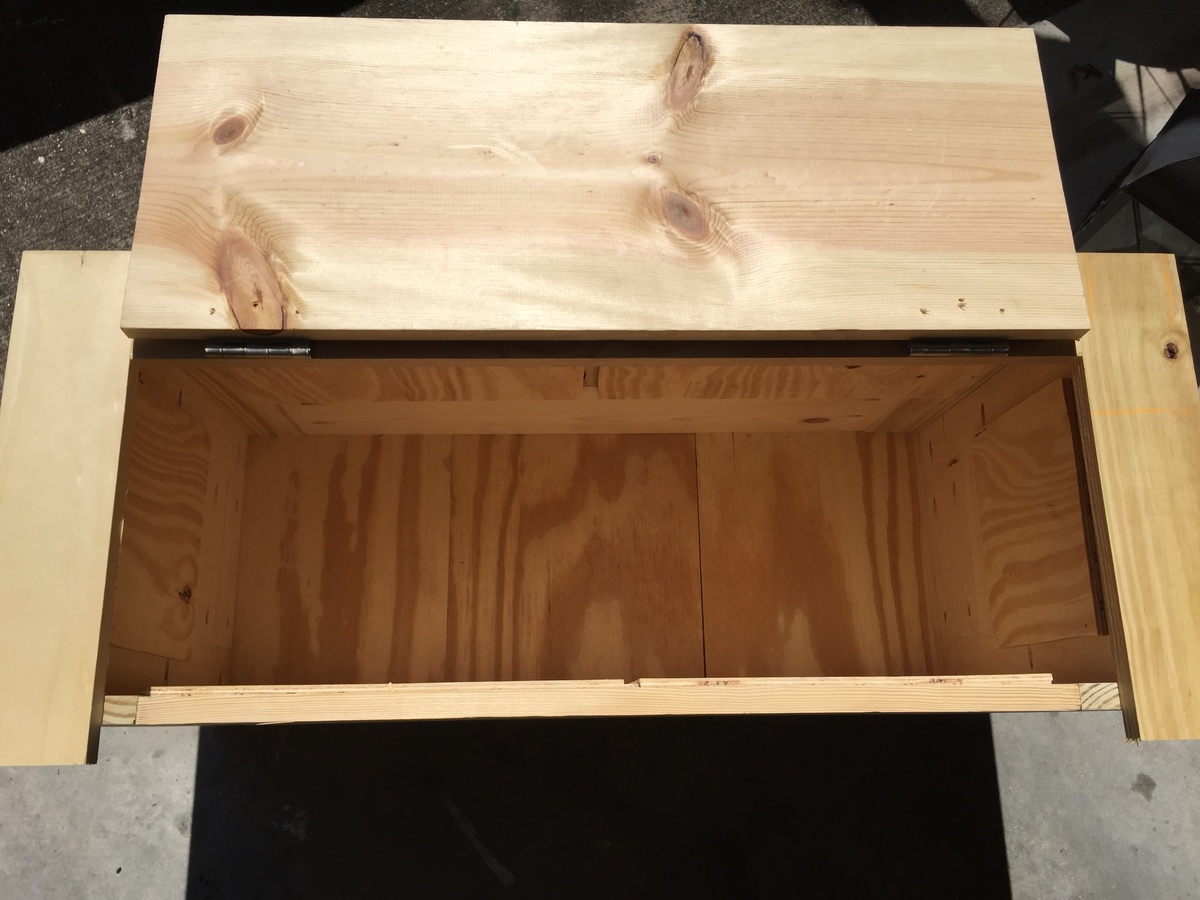
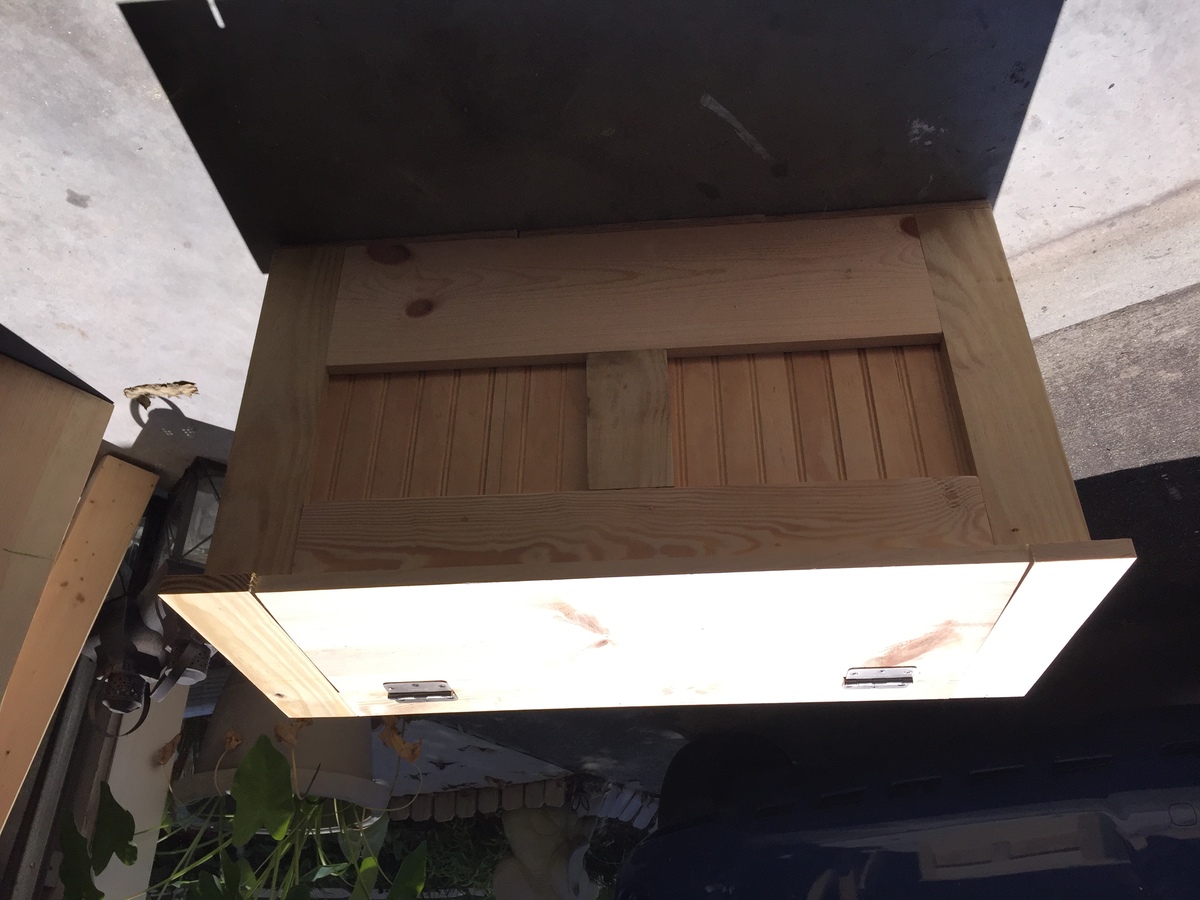
Mimi Storage Bench Plans
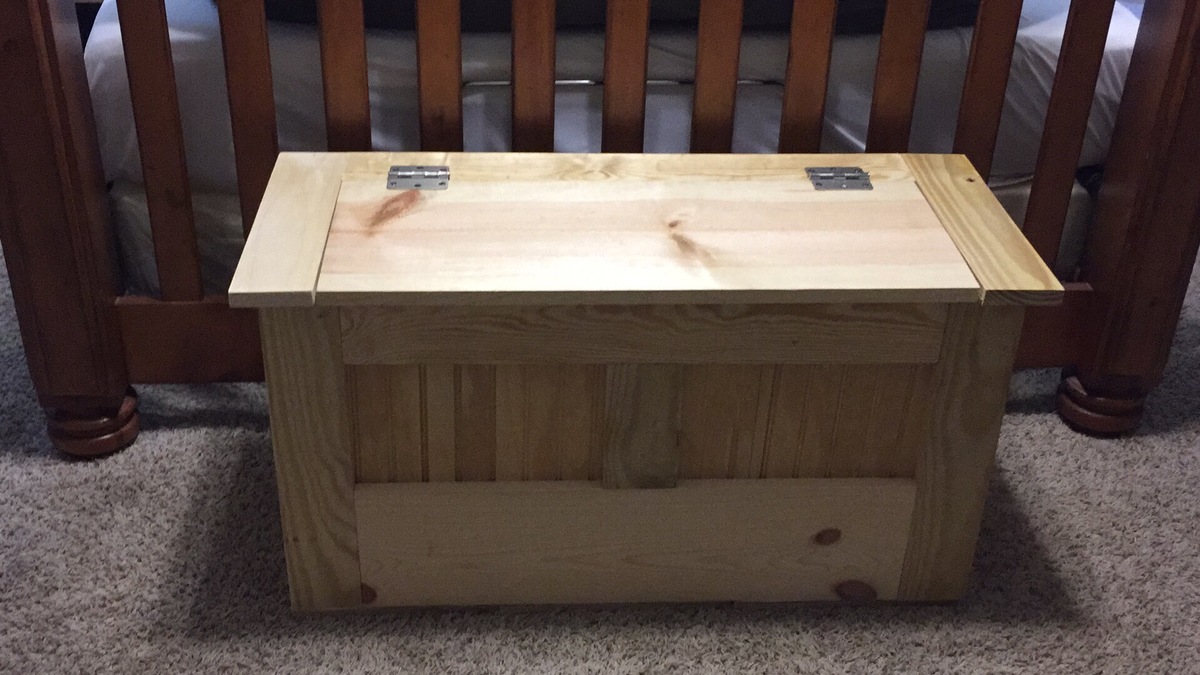
I've been wanting a storage bench for my bedroom to store bed pillows and blankets while we sleep so that the dogs don't take them over during the night on the floor. This is perfect. Just need to finish painting or staining. I did add a plywood bottom. I may add trim to the bottom as well. My first larger project without my husband's help!

Built from Plan(s)
Estimated Time Investment
Day Project (6-9 Hours)
Recommended Skill Level
Beginner
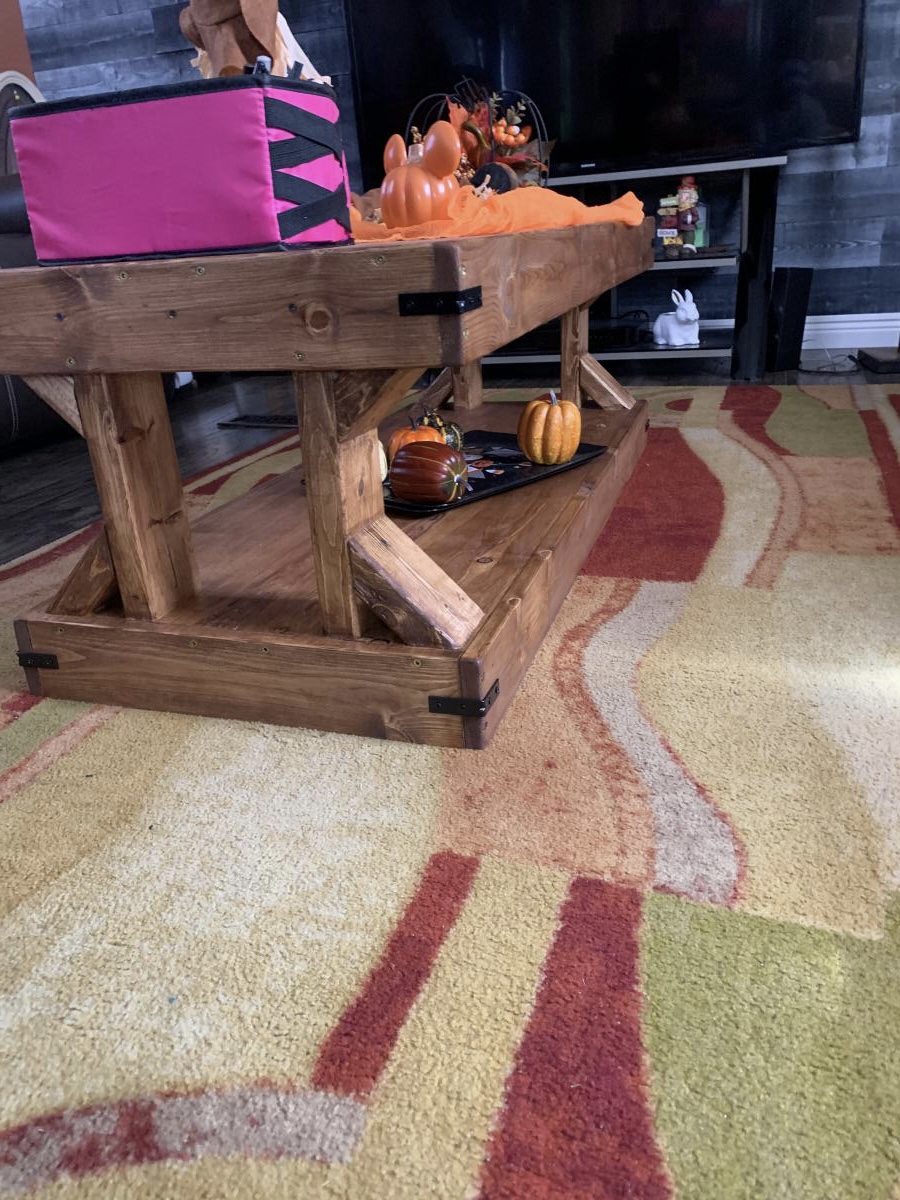

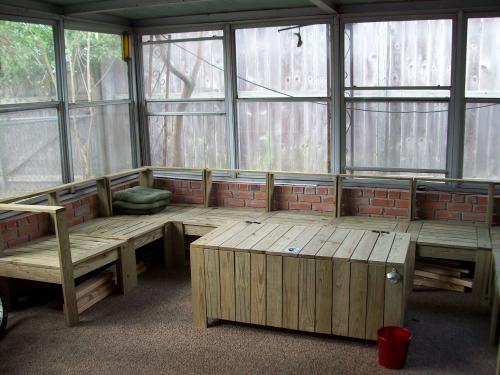
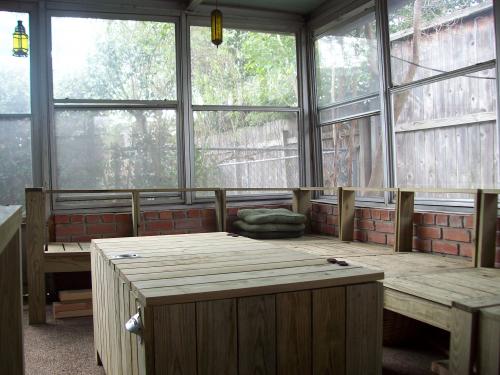
Outdoor sectional
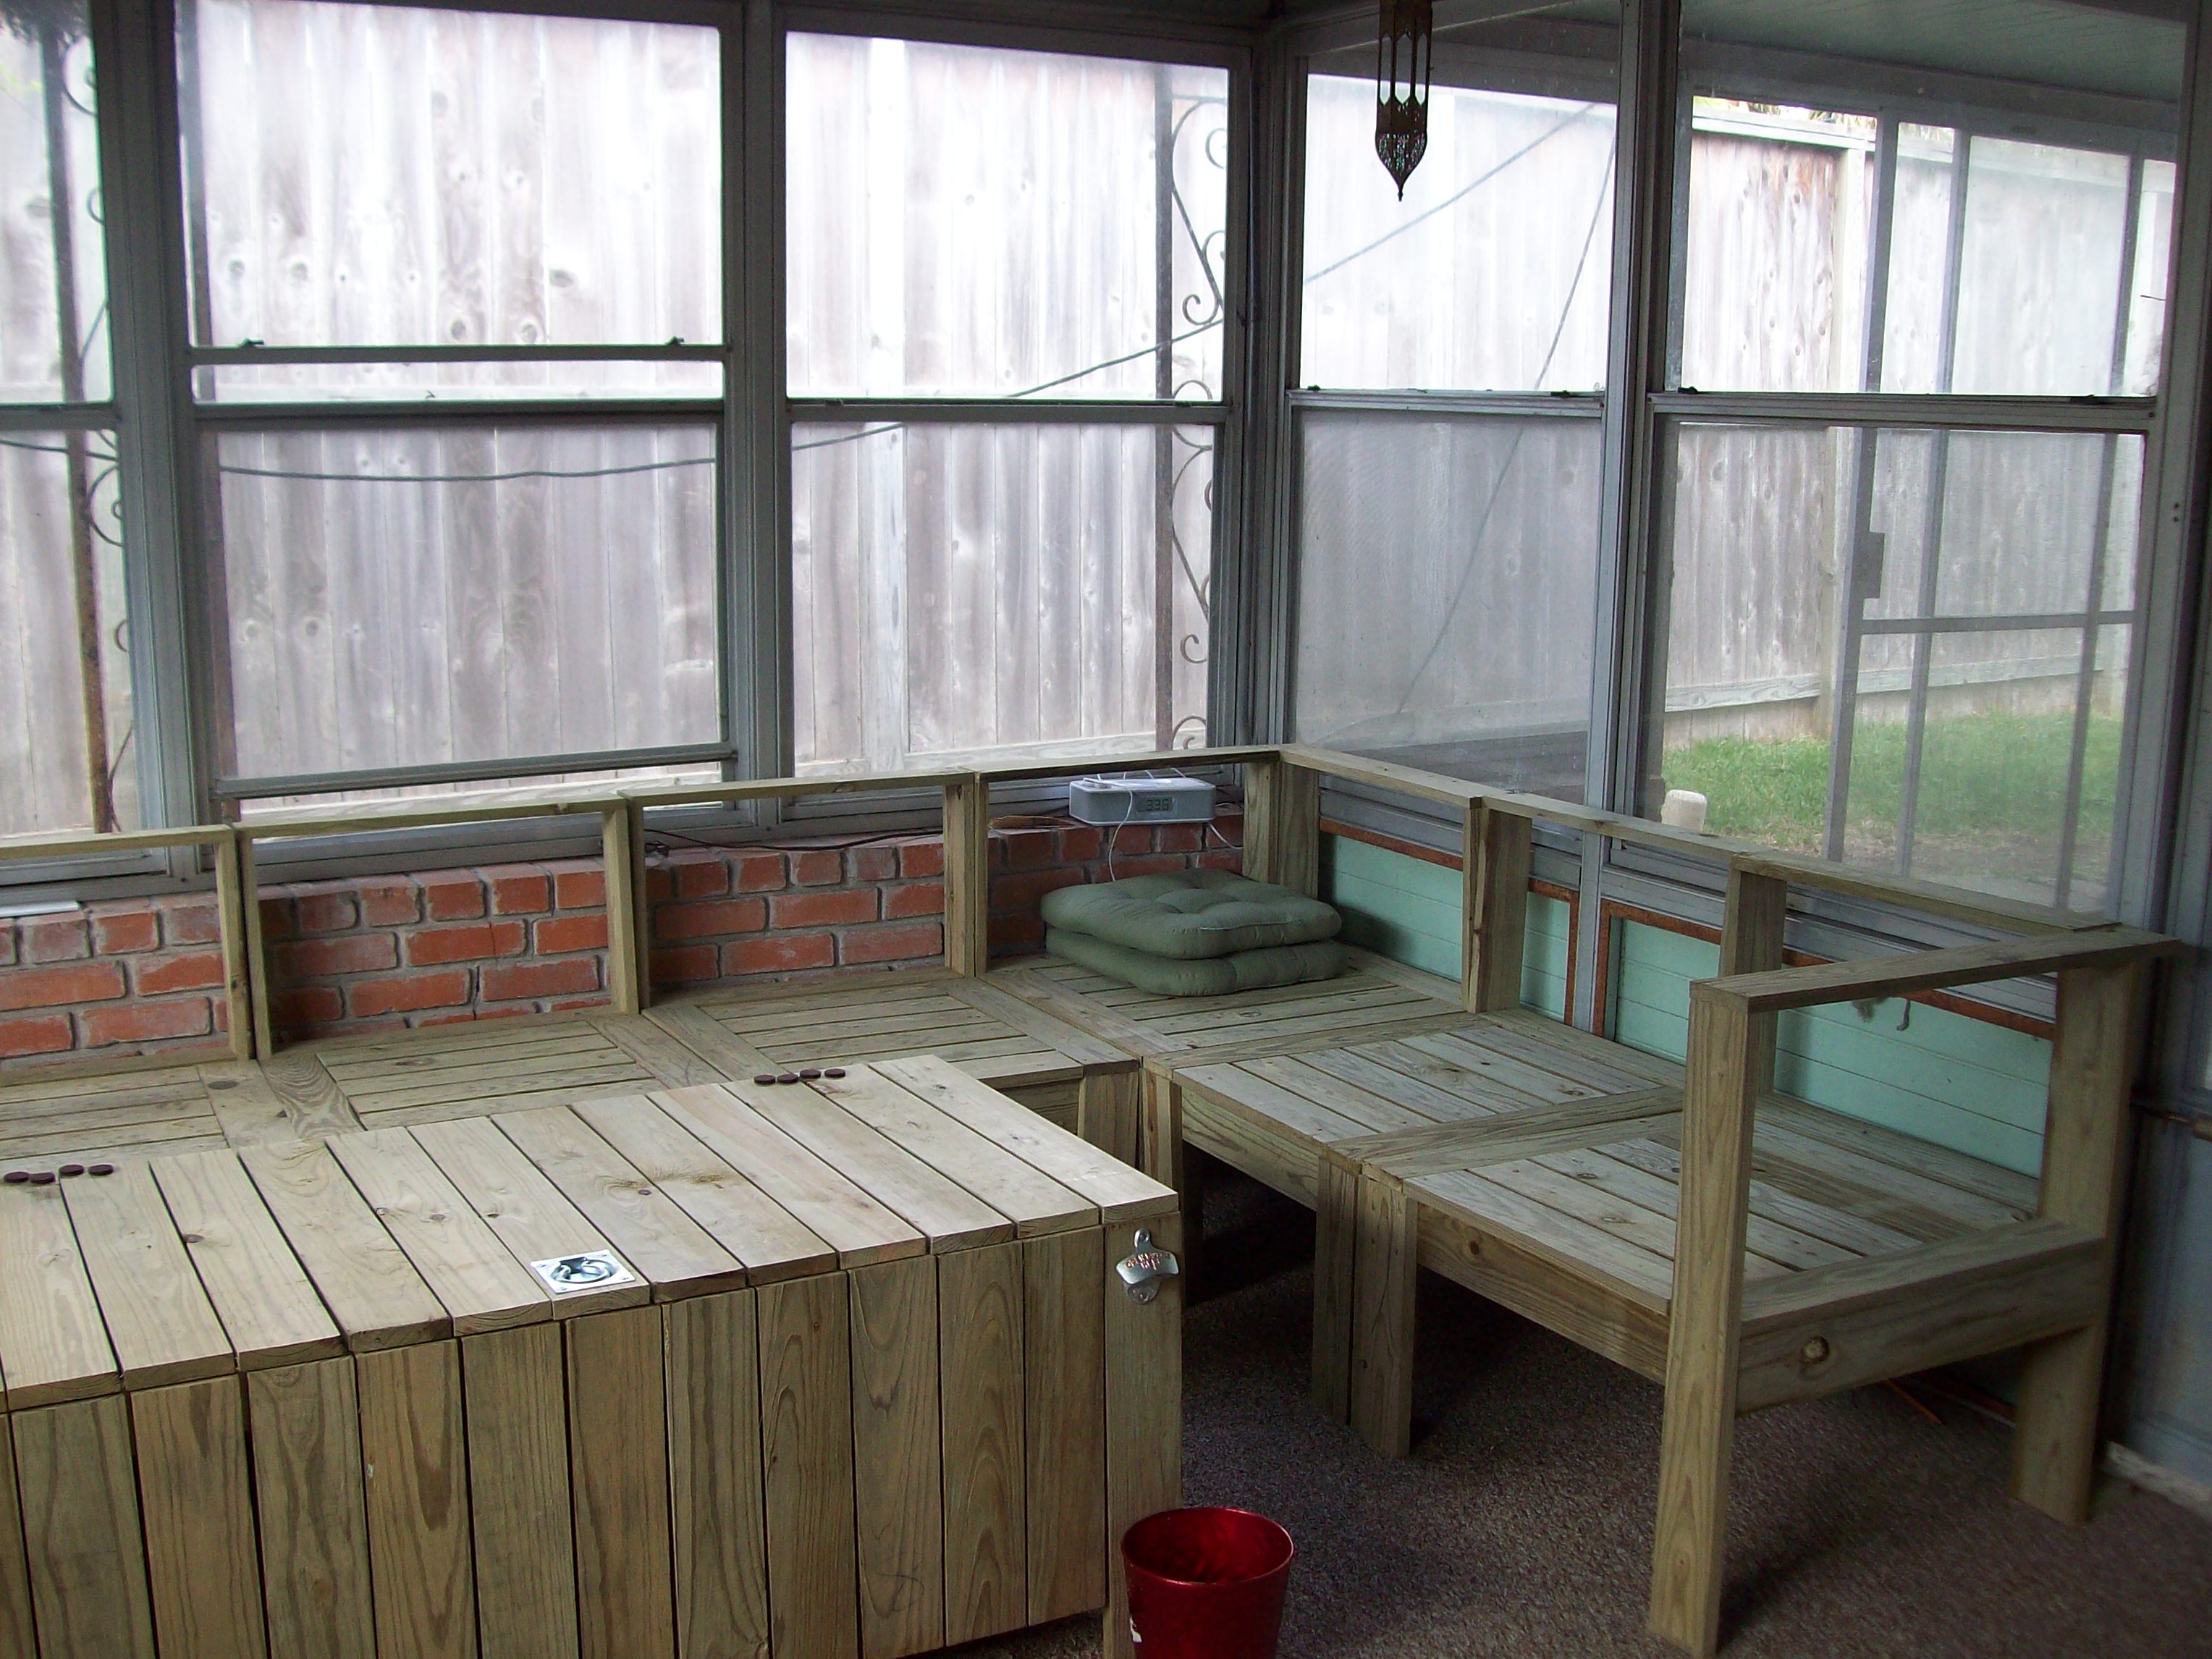
So this is the first build we ever did from Ana. The chairs were in 2'
sections and fit PERFECTLY in our new sun room, making a great
entertainment area with WAY more seating than we had before. We used
this plan (http://ana-white.com/2010/05/furniture-plans-collection-simple.html)
using the corner and back pieces. There are no cushions yet, but once
we find the right fabric they'll be going on--hopefully this summer!
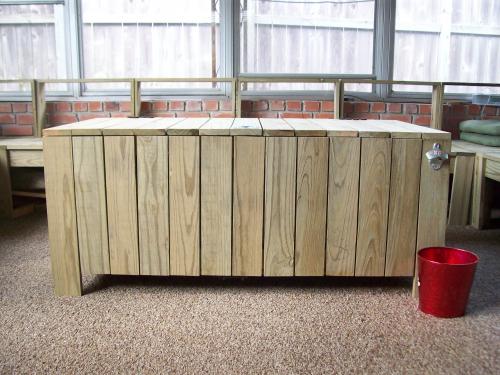
We also used the plan here (http://ana-white.com/2010/05/furniture-plans-outdoor-storage-bench.html)
for the box in the middle. We also installed a bottle opener and ring
handleon the top, and a styrofoam cooler fits inside! we had a great
time building this, and I hope someone else gets as much out of it as we
did!
Built from Plan(s)
Estimated Cost
$300-350 depends on how many chairs you need
Estimated Time Investment
Weekend Project (10-20 Hours)
Finish Used
none yet
Recommended Skill Level
Beginner
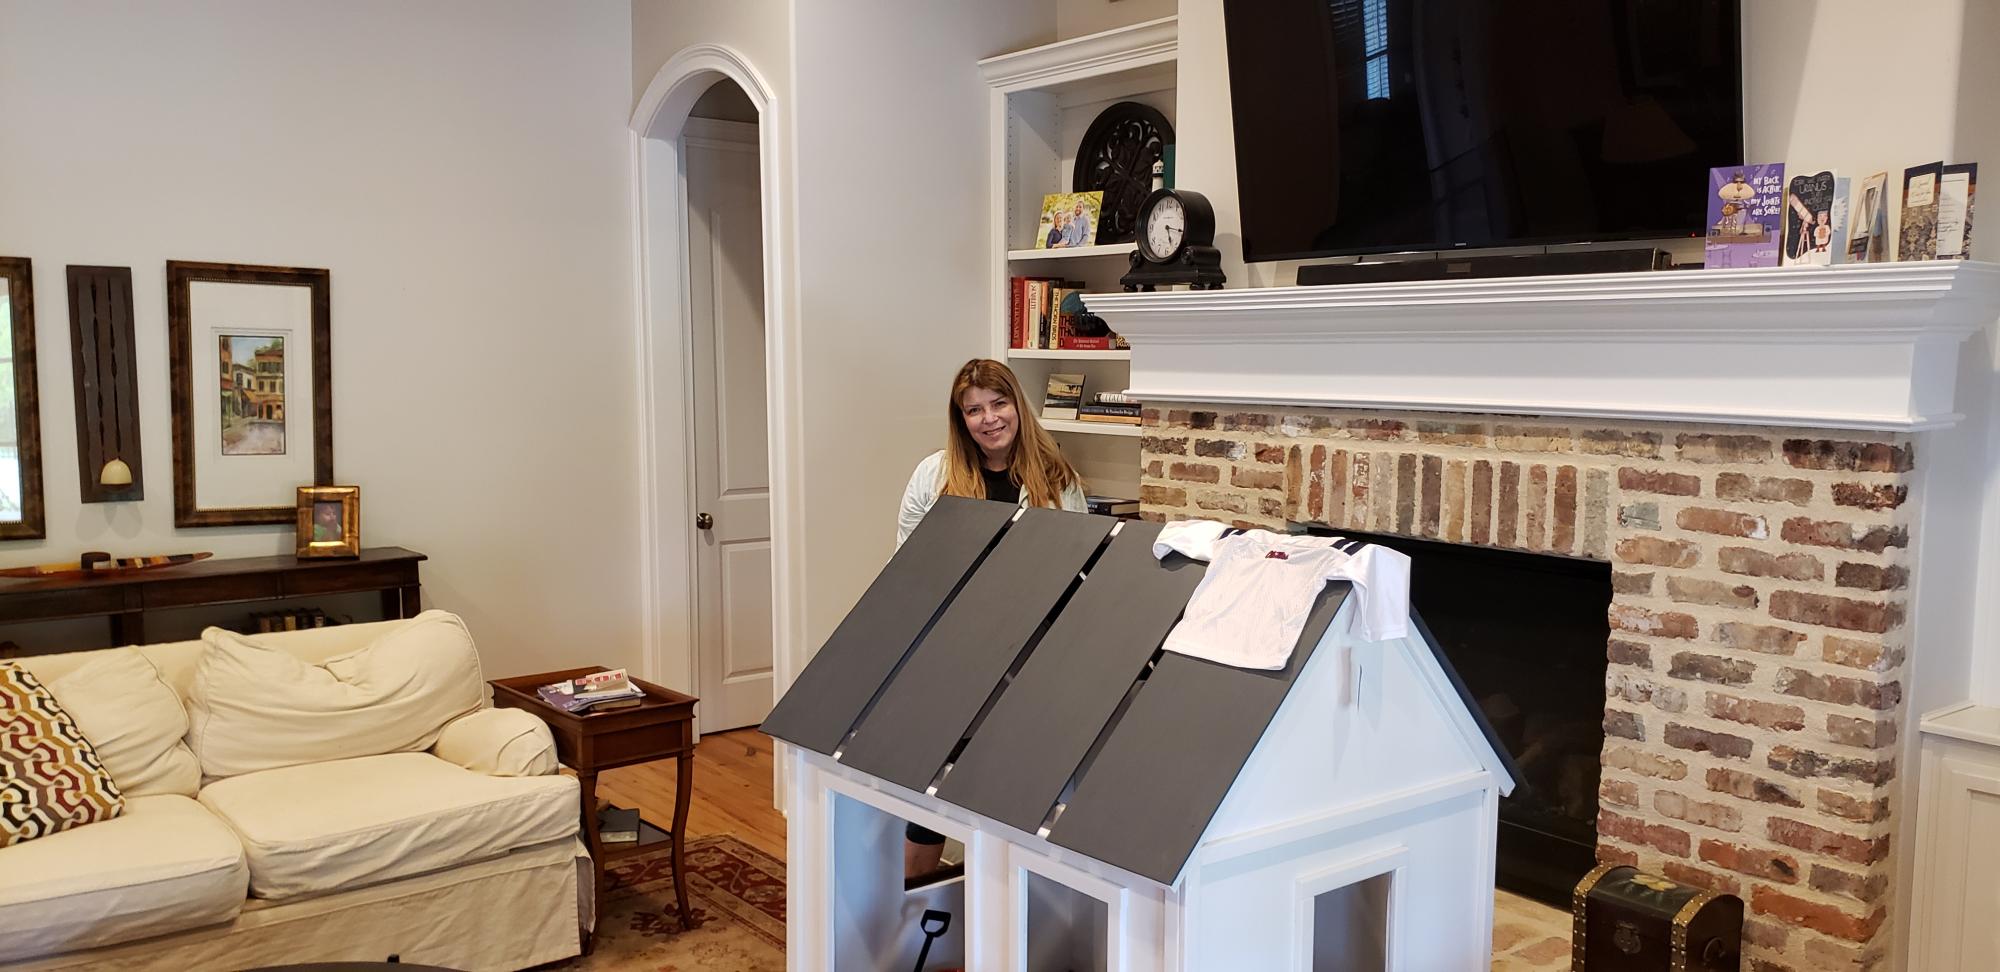
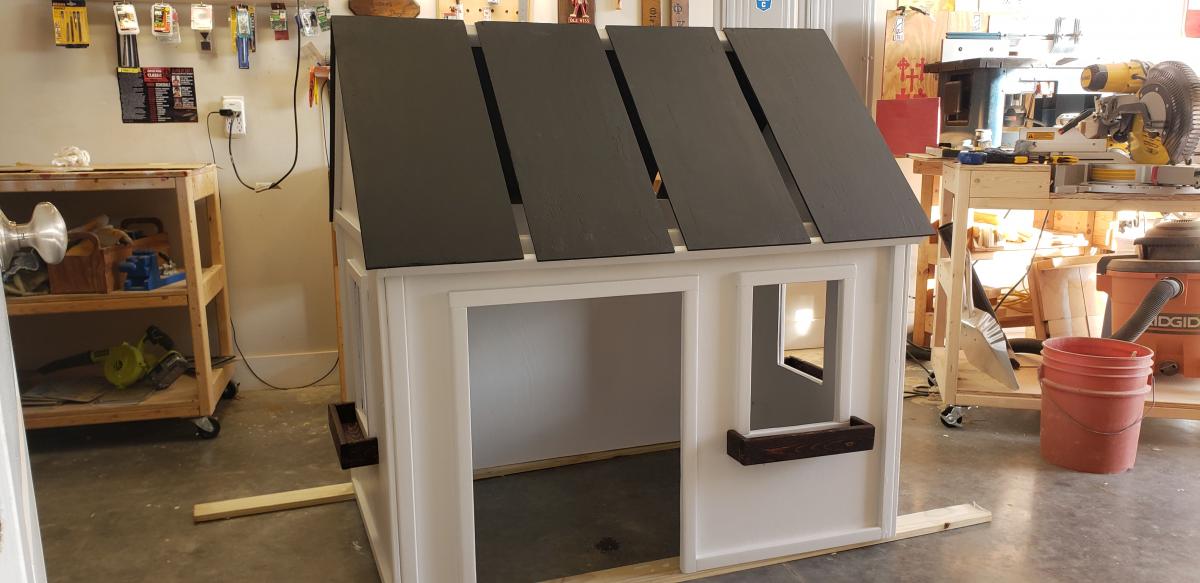
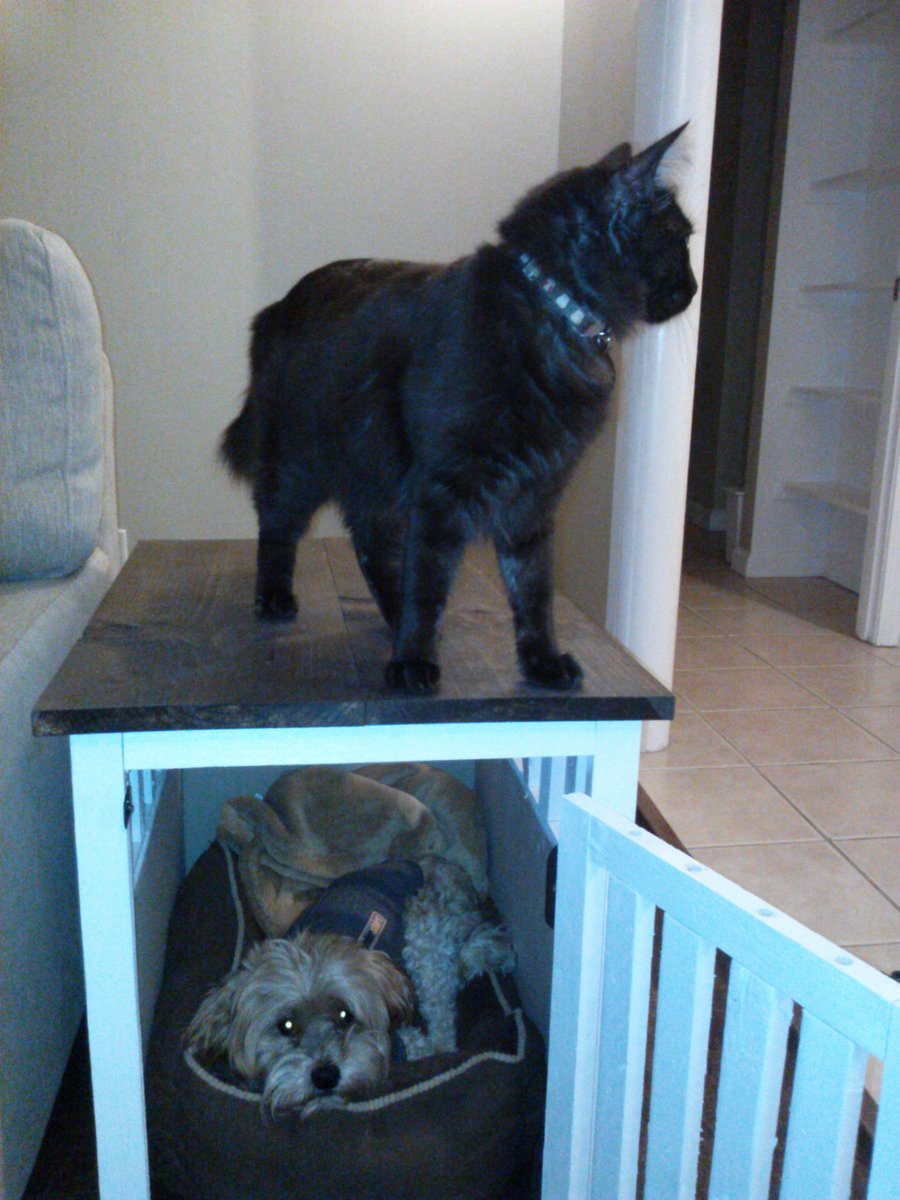
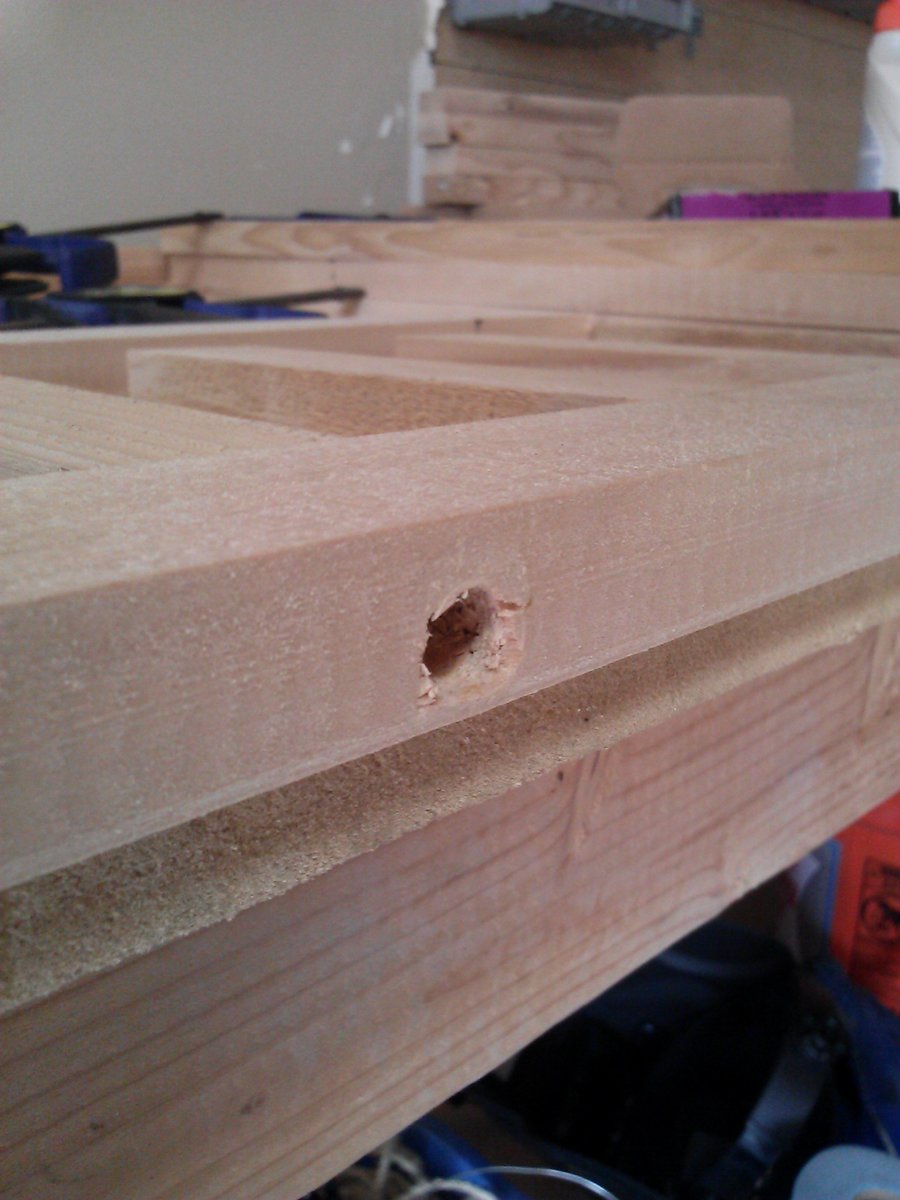
Smaller Crate
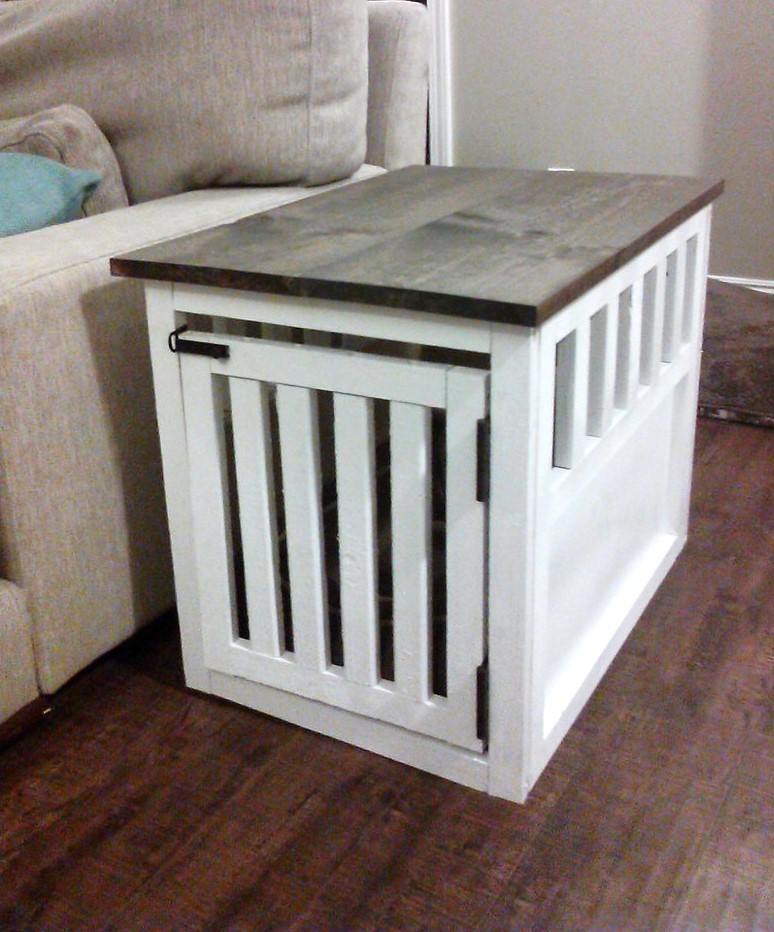
I loved the look of the crate, but my dog is a small Lhasa Apso - Poodle mix, so I had to cut down the size of it. To figure out the approximate sixe that I wanted to make the crate, I measured his current (ugly) wire crate. I forgot to take into account that a 1x2 is acutally .75x1.5 ish so my measurements were slightly off but the only thing it mattered for was the door. I used 1x2s for everything. I did not have a jig, so I predrilled holes and did it a little differently. I would have prefered to have the jig, but Home Depot doesn't cary the mini in their stores and I would have had to wait a few days for it. I built this on my own (I am a 22 year old girl) while my boyfriend is out of town as a surprise for when he gets home, and I am more then pleased with how it came out! Here are my measurements: 21 inches high (the walls are 20 inches high, and the top gives it about an extra inch) 26.75 inches long (24.5 inches excluding the overhang of the top) 18.5 inches wide (17 inches excluding the overhang of the top) I needed: 6 - 8' 1x2 1 - 20 inch wide pine board, 5 feet tall (for the top) Corner brackets to connect the walls Hinges Latch Screws Tools I used: Table Saw Drill Hope that this helps anyone who wants to build one for their little dog!
Built from Plan(s)
Estimated Time Investment
Day Project (6-9 Hours)
Recommended Skill Level
Intermediate
Comments
Tue, 06/04/2013 - 08:14
This looks great!! Thanks for
This looks great!! Thanks for the measurements. I was working on the size for ours because we have a chihuahua and the large one was way to big. The only thing I am doing different is having a retractable door. I found the hardware and will have to add a little to the width to accommodate for it.
(Pre-teen) Man Crate
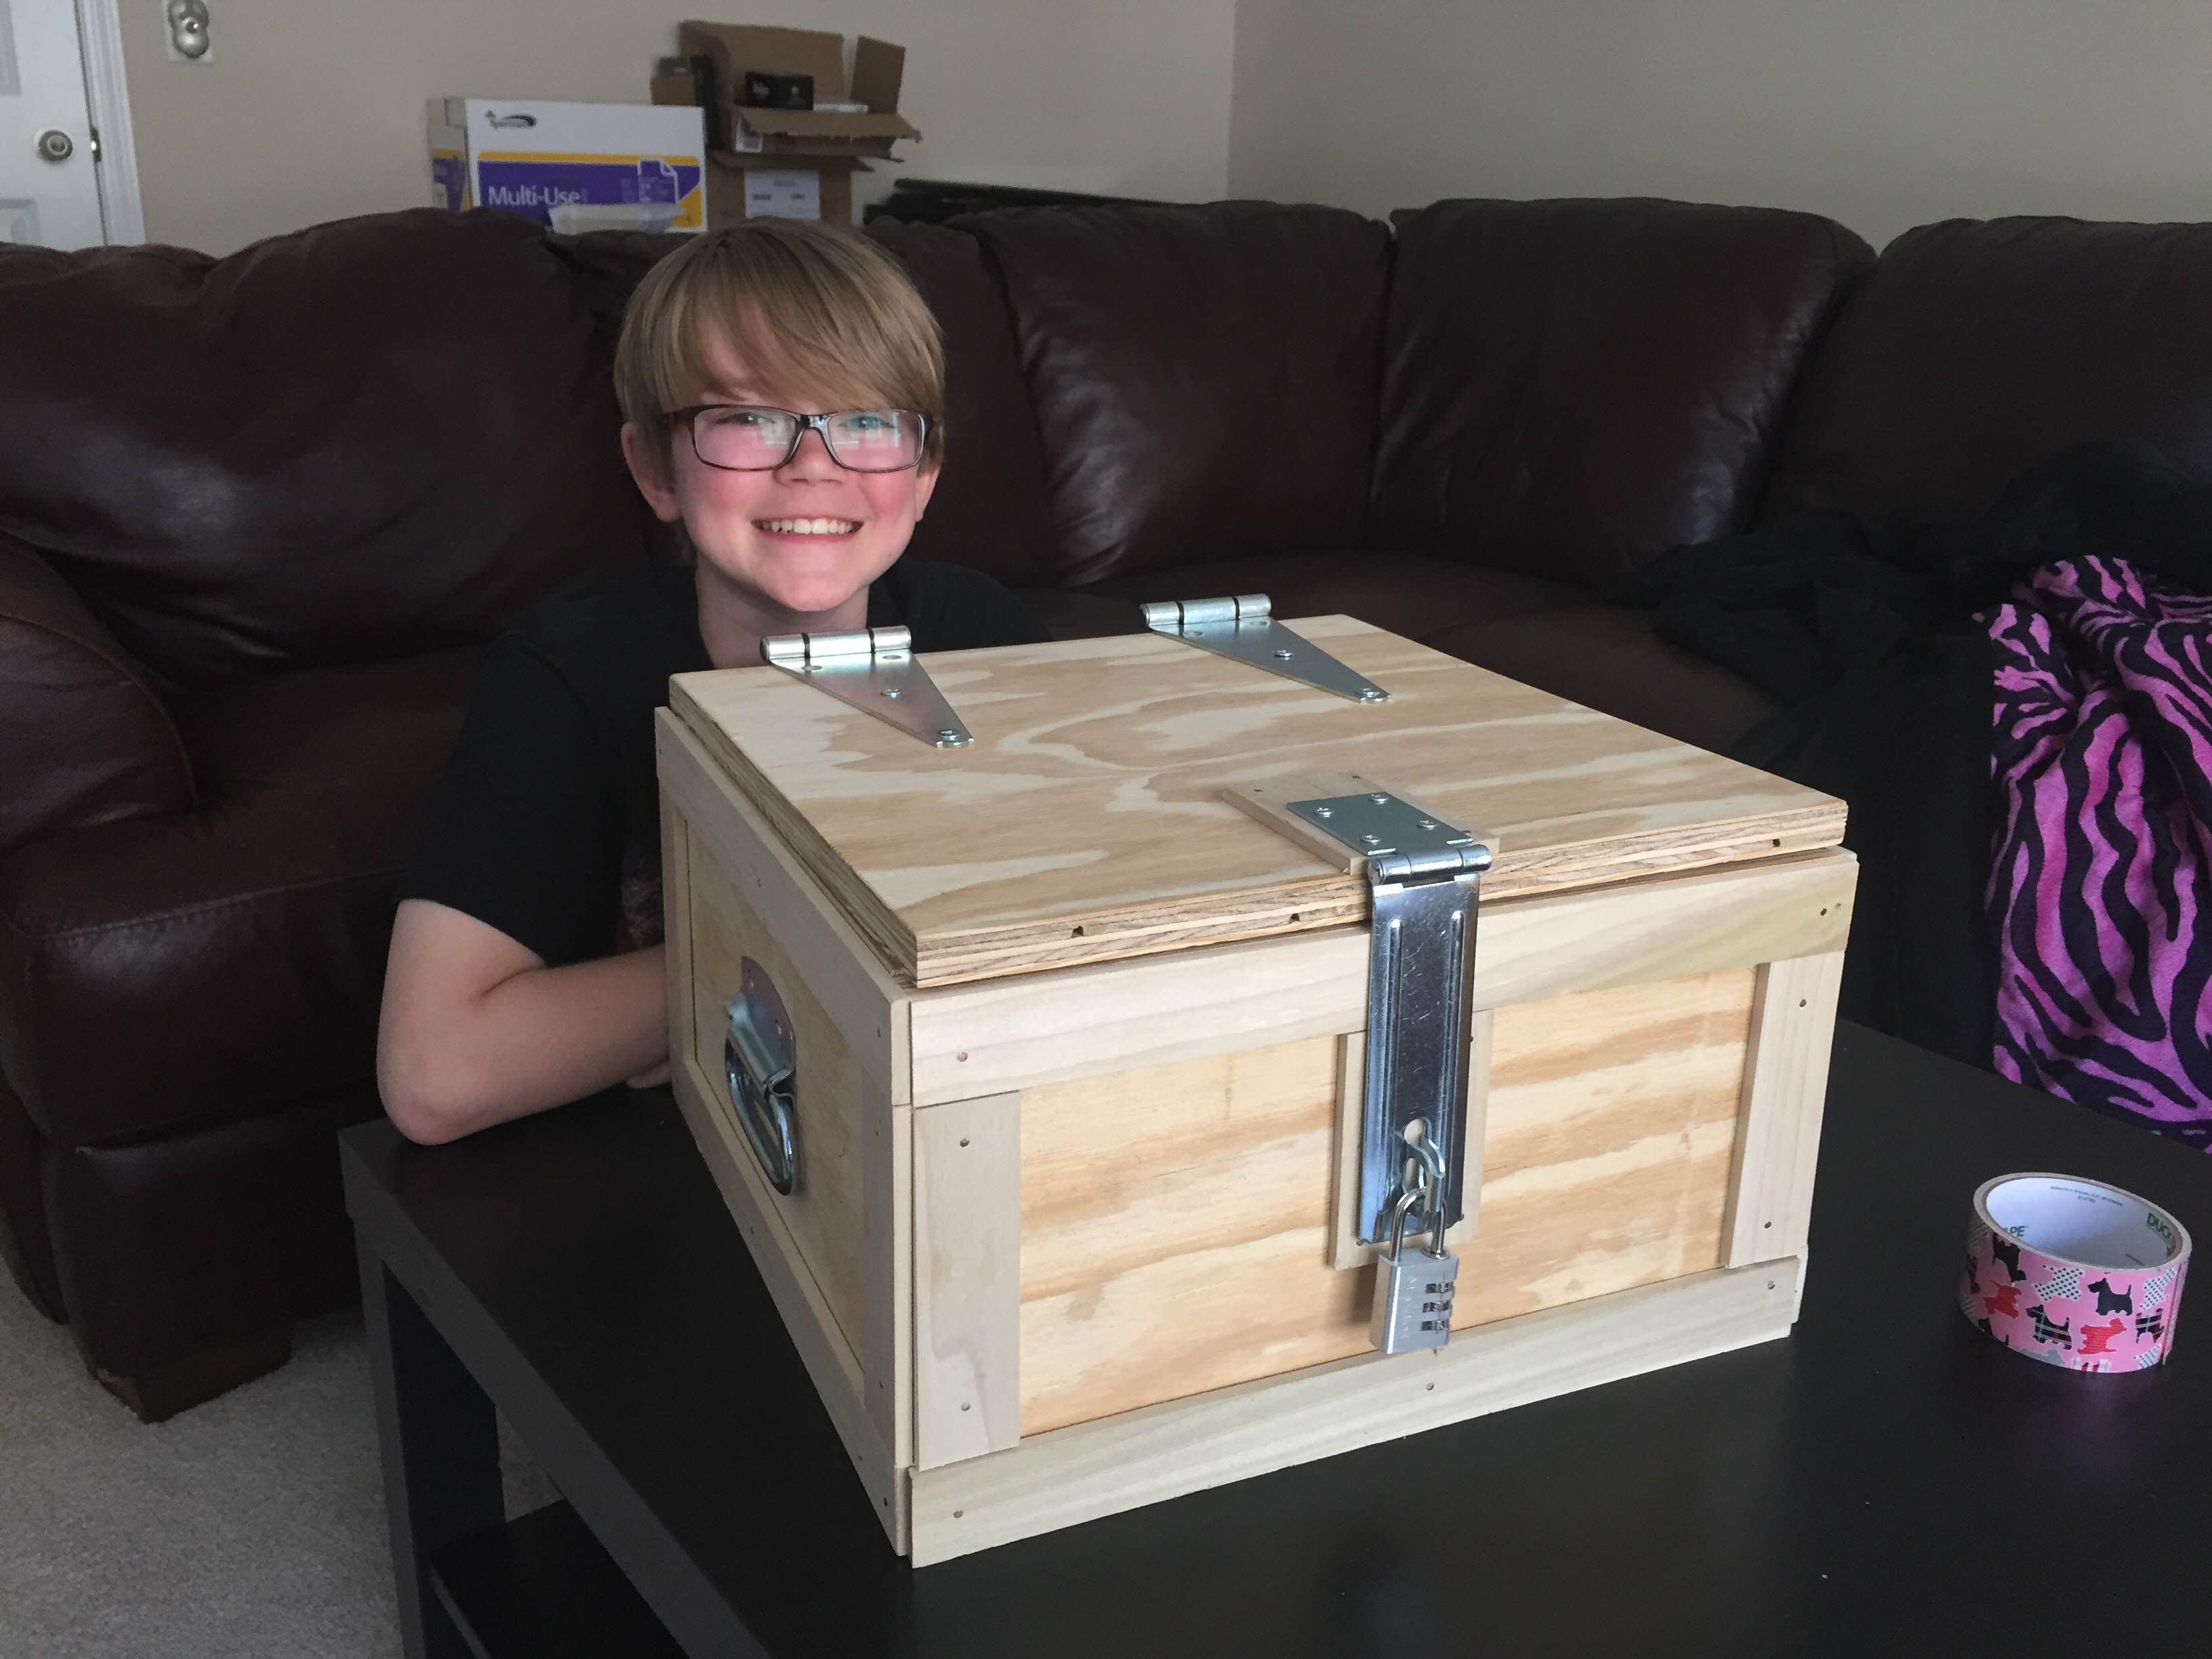
My first woodworking project. The plans were fantastic and easy to follow. Thanks!
Built from Plan(s)
Recommended Skill Level
Starter Project
Comments

Mon, 05/04/2015 - 14:53
Terrific Man Crate
Dirkmonster,
You did an awesome job! Congrats on a great first project! Thank you for the shout-out! Love the addition of the hinges, handles and lock. Looks like a happy young man there! :)
JoanneS
Trofast storage
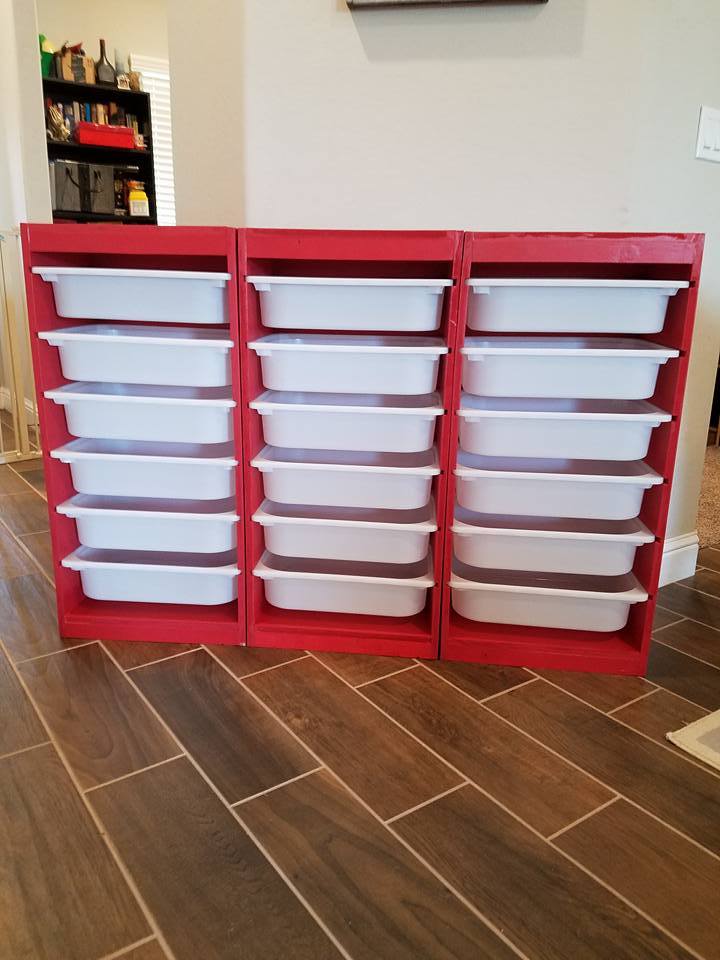
Built this to clear up my son's room a bit. Lots of flexible storage for his legos, rock collection, art supplies, and everything else cluttering up his room.

Built from Plan(s)
Estimated Time Investment
Weekend Project (10-20 Hours)
Finish Used
paint
Recommended Skill Level
Beginner
Farm table
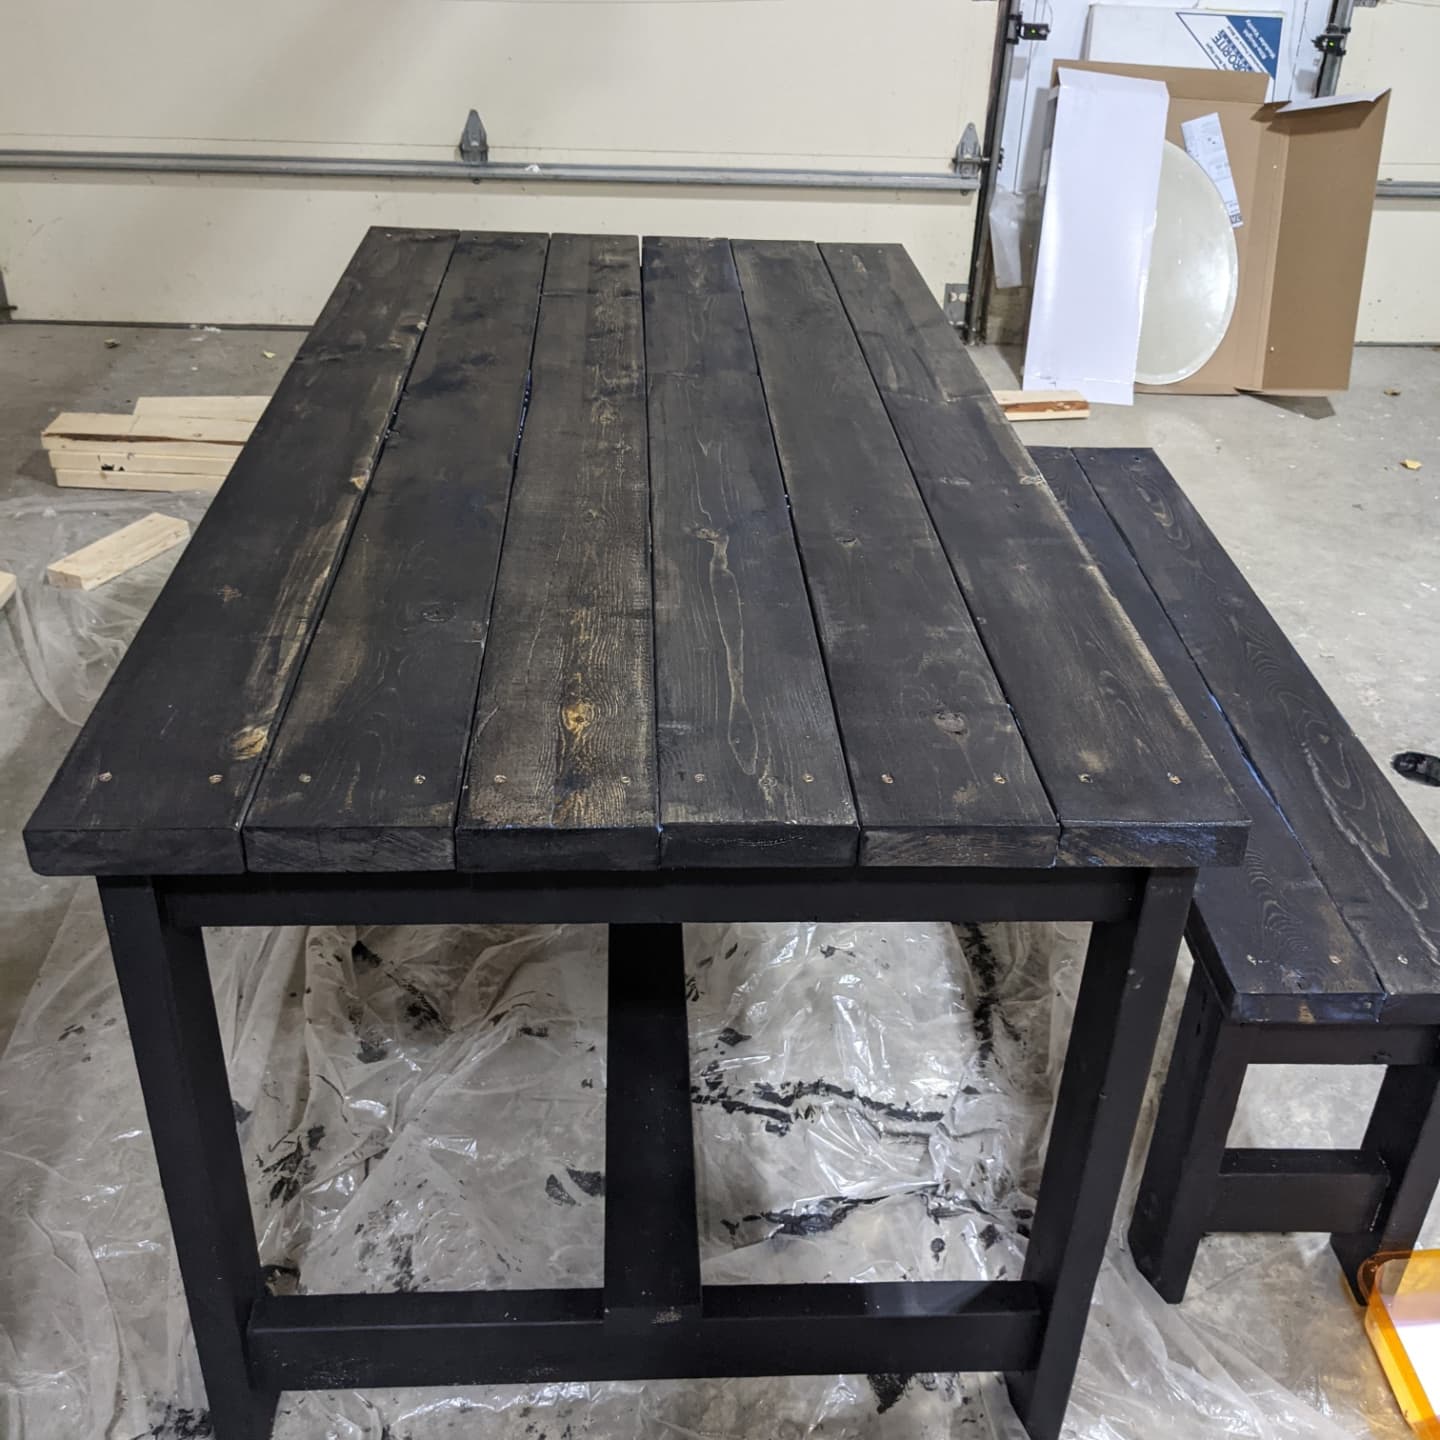
First attempt ever at building anything! Probably took me a lot longer than it should have, but I'm very proud of the result
Built from Plan(s)
Comments
Console Table
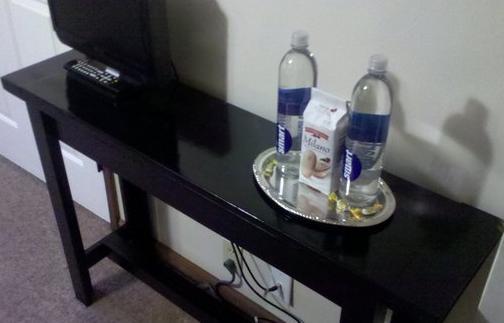
Fun & easy, the console table took much longer than anticipated due to weird weather in our area & conflicting schedules.
Weather cooperating, it would probably have taken only 3 days to build & stain, but "Murphy's Law" had other plans for this build!
One weird thing, and it must have been a mistake on my end (though I was pretty sure I quadruple checked my measurements) there was a quarter inch gap left on the back (leg tops have a 1/4" section visible from the top down. As it's in the back, against the wall, it wasn't a big deal this go around. (I figured I could use it as a shelf/track for any electrical cables.)
Built from Plan(s)
Estimated Cost
$50
Estimated Time Investment
Week Long Project (20 Hours or More)
Finish Used
Ebony Stain & Poly coated
Recommended Skill Level
Beginner
5 BOARD CROSS BRACE CONSOLE OR SIDE TABLE
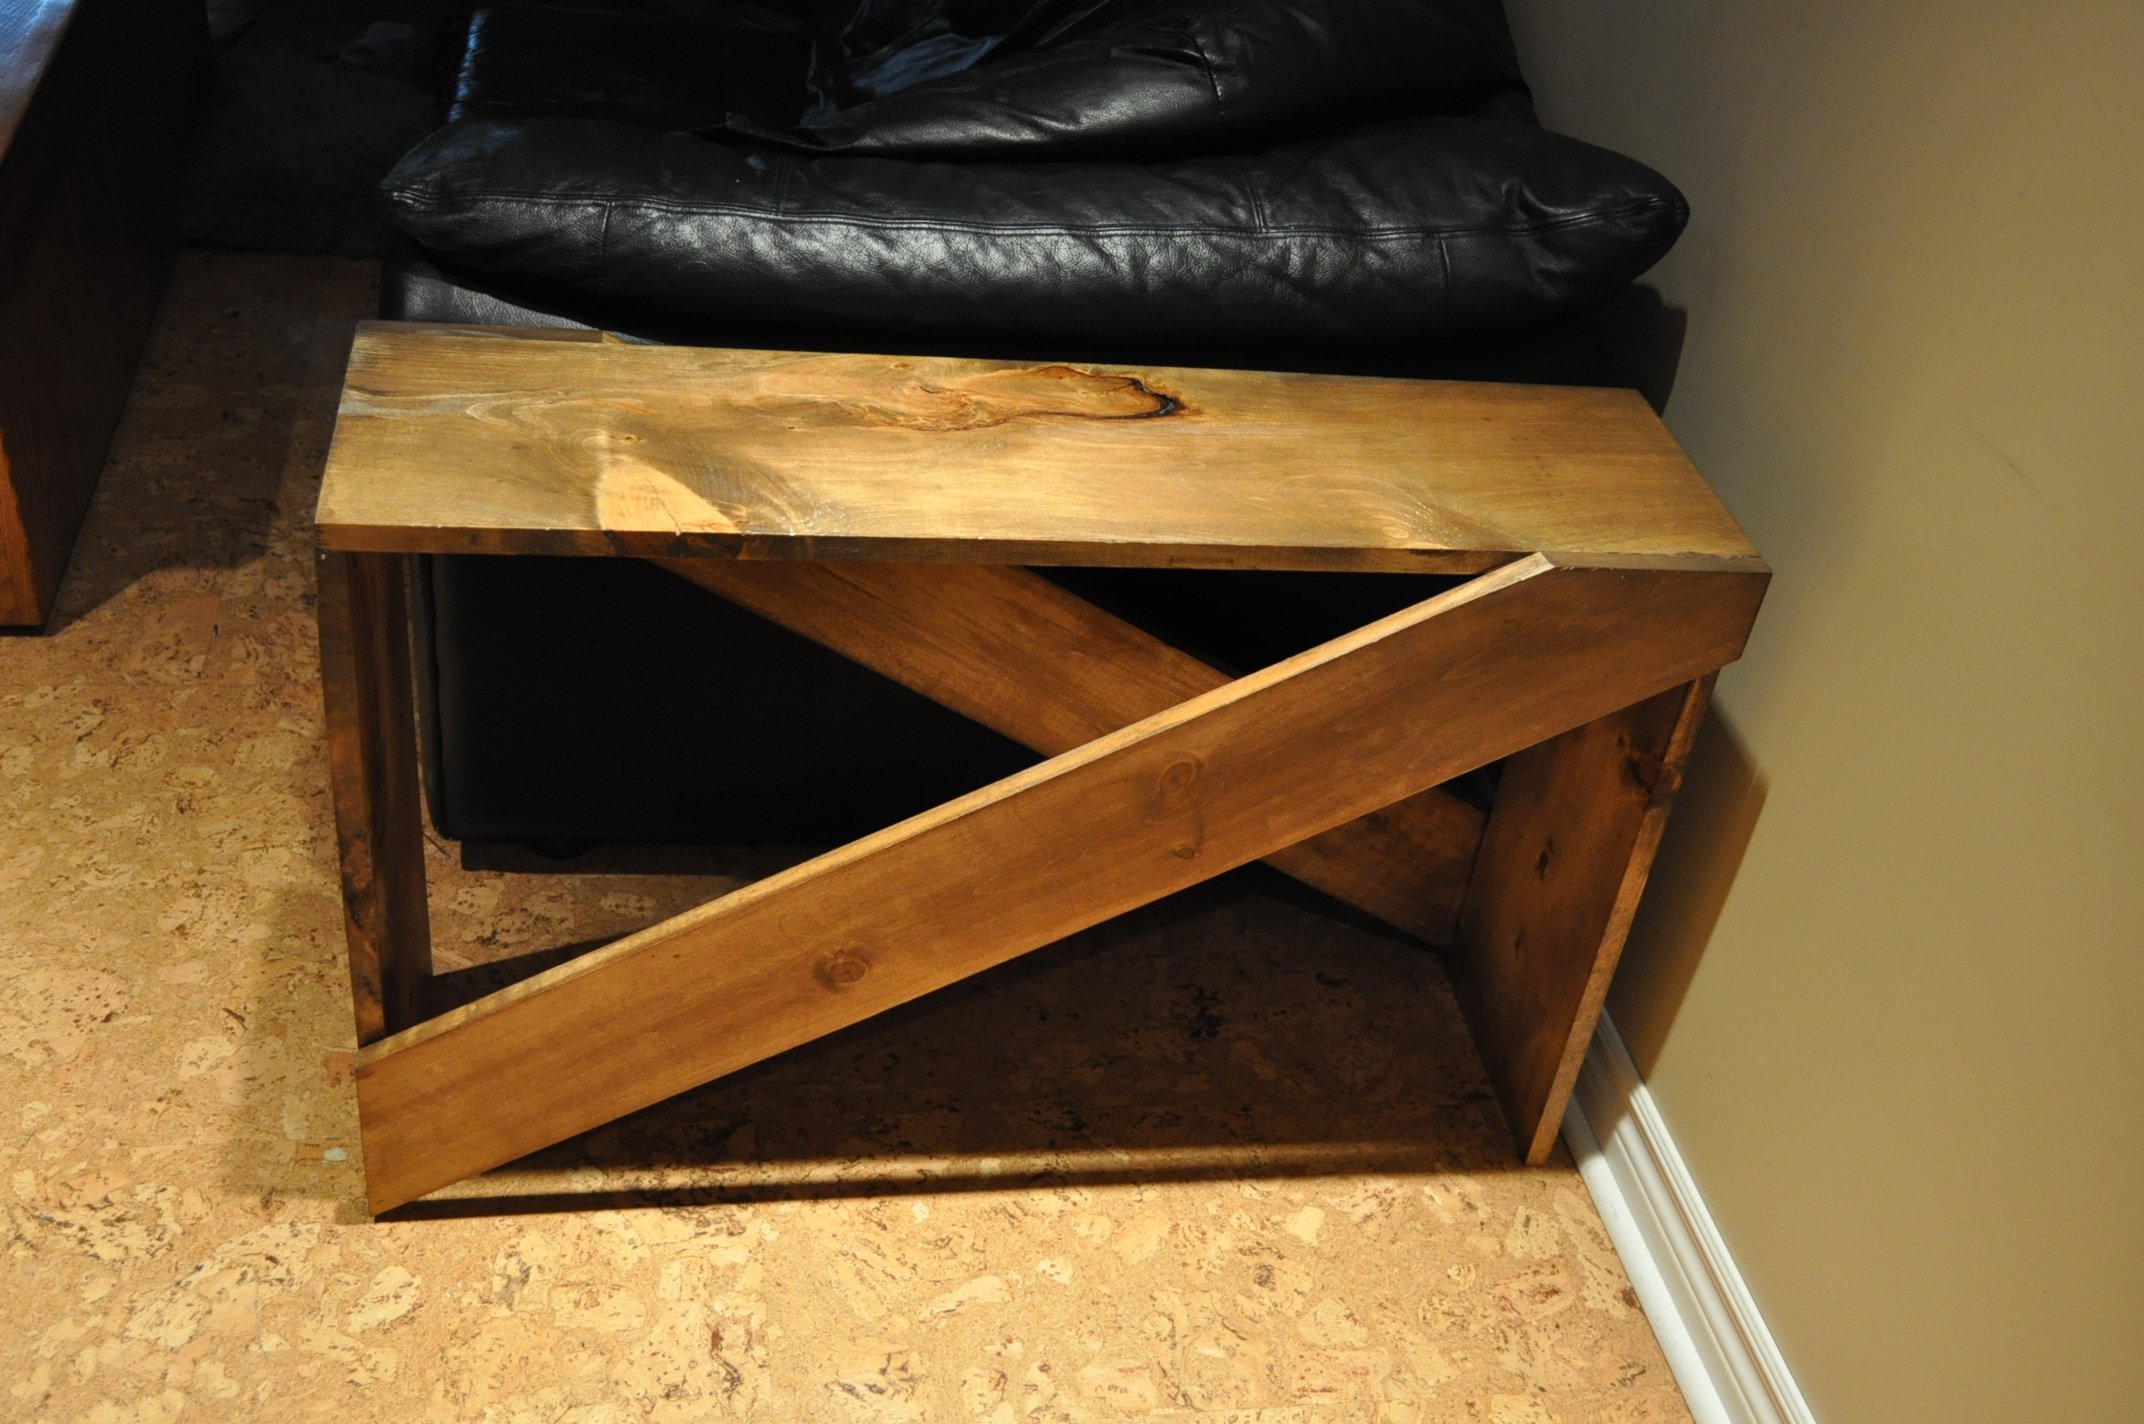
Loved the simple lines of this project - the first one I attempted! I used a 1x10 instead of a 1x12 (because it fit better in my space) with the called for 1x6's. I looked for an interesting piece of knotty pine to add some interest. Two stains were layered and a top coat was added. Timeline is total time but spread out - includes time with a paint brush but not drying time.
Built from Plan(s)
Estimated Time Investment
Afternoon Project (3-6 Hours)
Finish Used
Minwax ebony stain over something called 'bark' that I got at the Restore.
Recommended Skill Level
Beginner
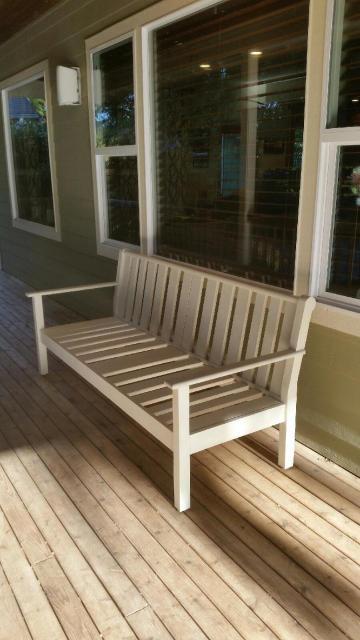
Front Porch Bench
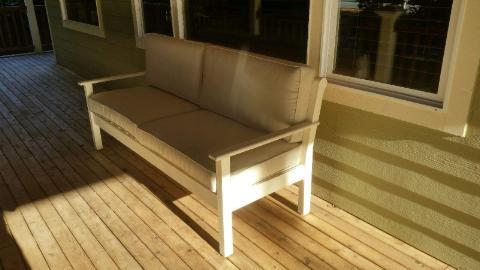
I made this porch bench for my daughter-in-law 's birthday. She purchased bench cushions from Pottery Barn and asked if I would build the corresponding bench. Using the dimensions of the cushions and examining online photos I was able to build the framework and tried my best to duplicate the
Chatham series bench. Not quite ready to tackle the curved bench rest and arms but after watching YouTube on how to make curved woodworking items I might just take a shot at it next time.
She really loves the bench and I am pleased with how it turned out.
Estimated Cost
$275.00
Estimated Time Investment
Weekend Project (10-20 Hours)
Finish Used
Rustoleum Spray Paint
Recommended Skill Level
Intermediate
Comments

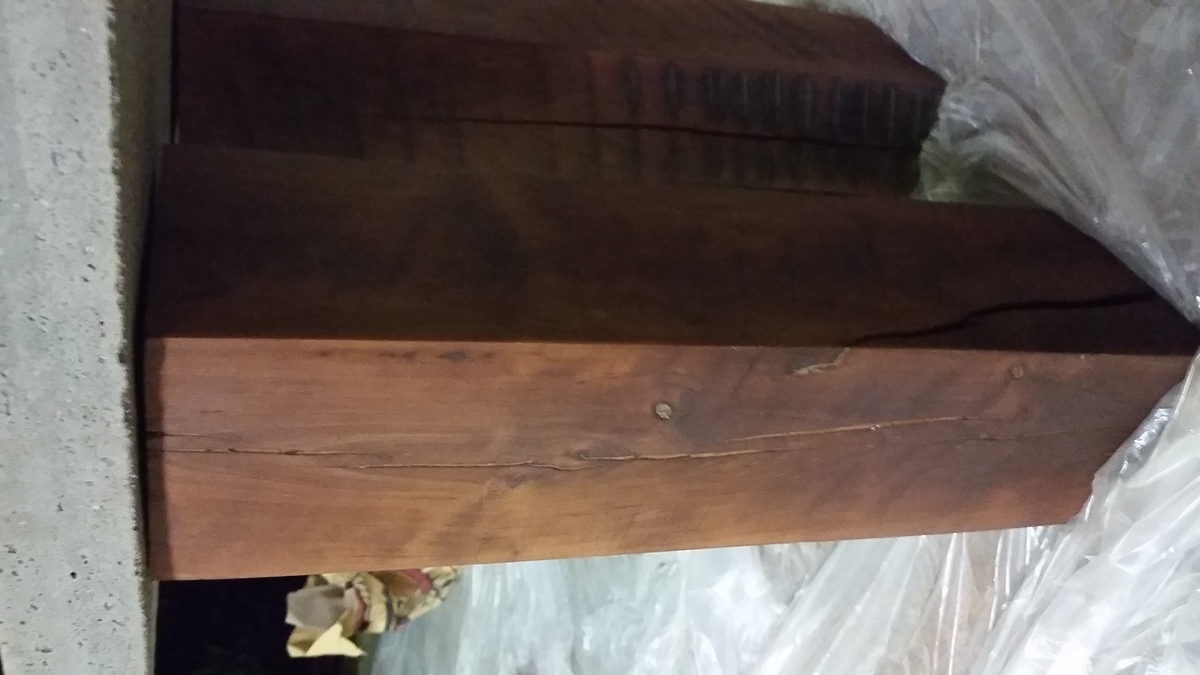
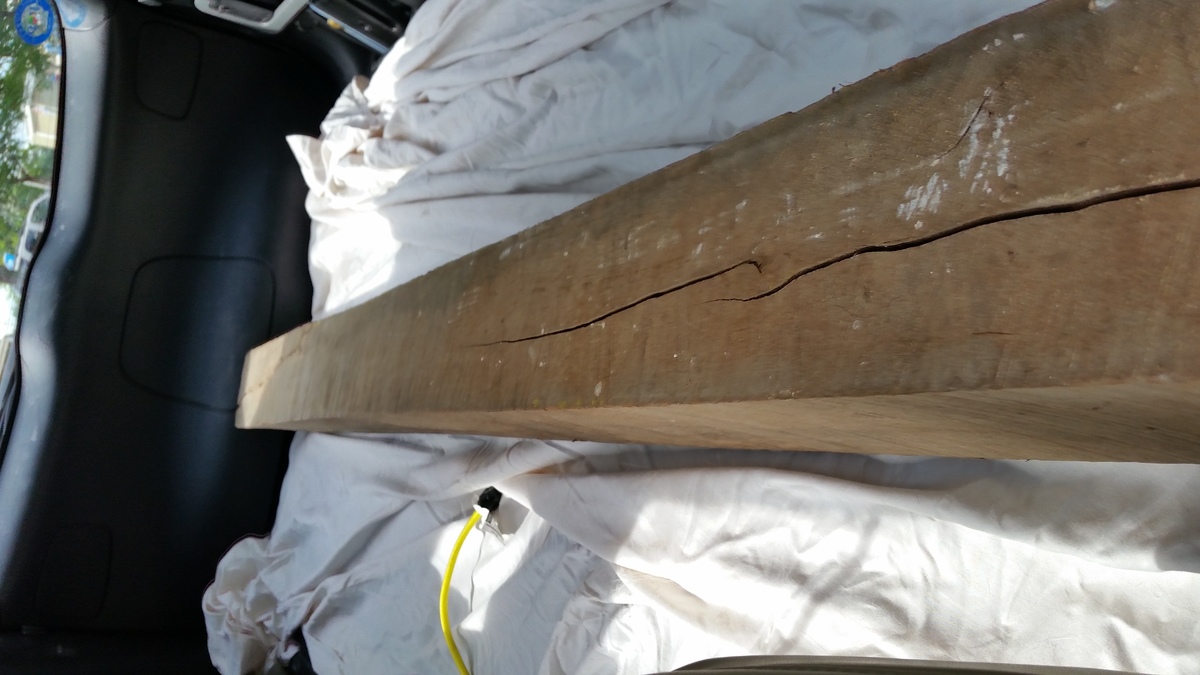
Concrete top
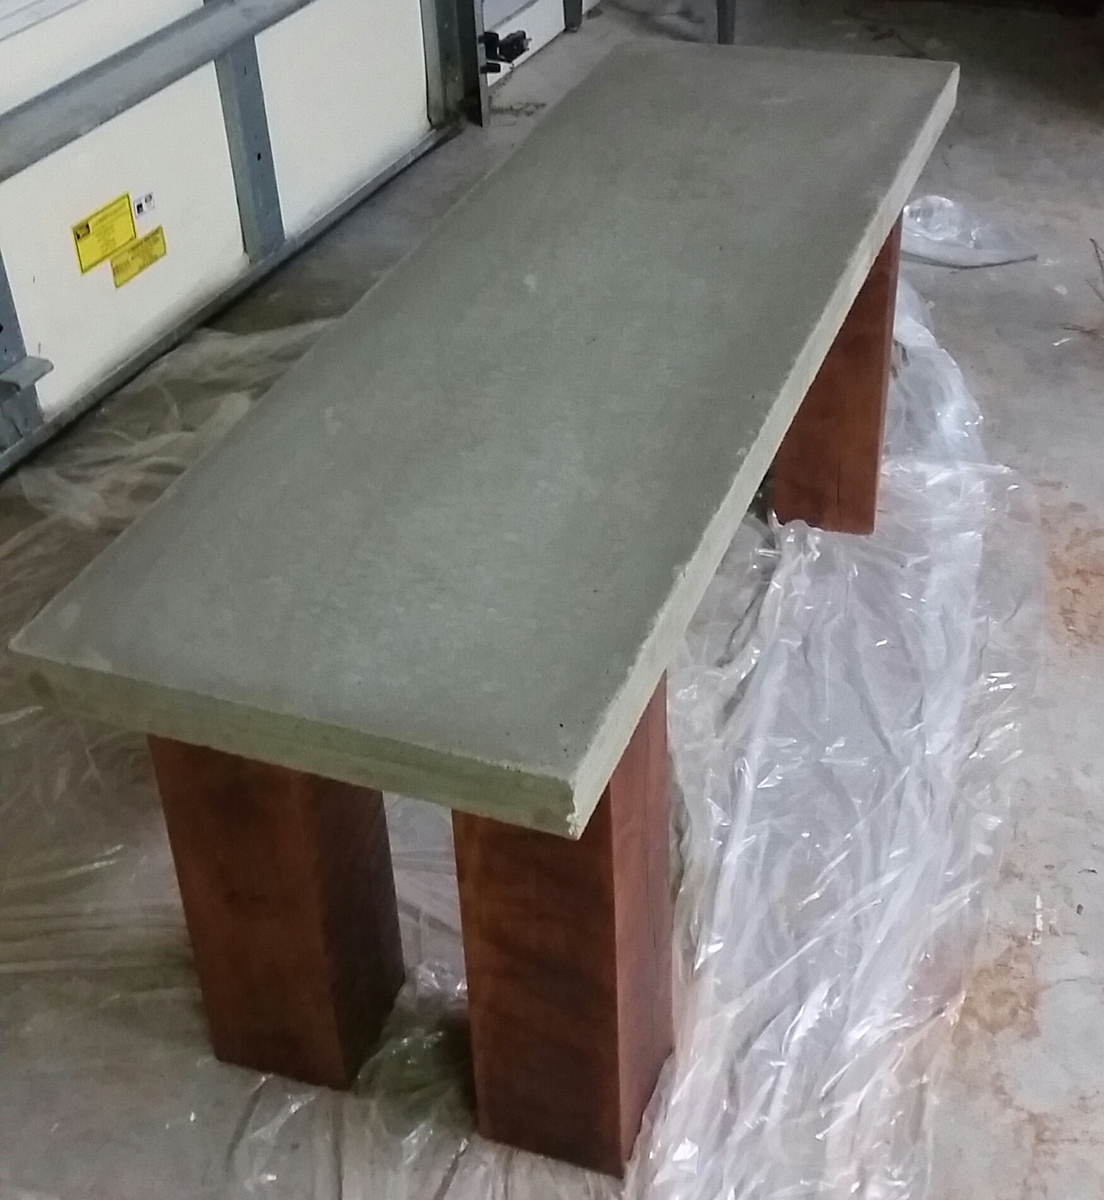
I changed up the legs because I had a beautiful piece of reclaimed wood I've been looking to use. I did use these plans for the concrete top and it turned out great! Just followed all of her advice. It's very smooth, almost feels like soft cotton, with only tiny bubbles. Thanks for the great plans!
Built from Plan(s)
Estimated Cost
$20 for the wood and $25 for the concrete top
Estimated Time Investment
Afternoon Project (3-6 Hours)
Finish Used
Minwax Weathered Oak
Recommended Skill Level
Starter Project
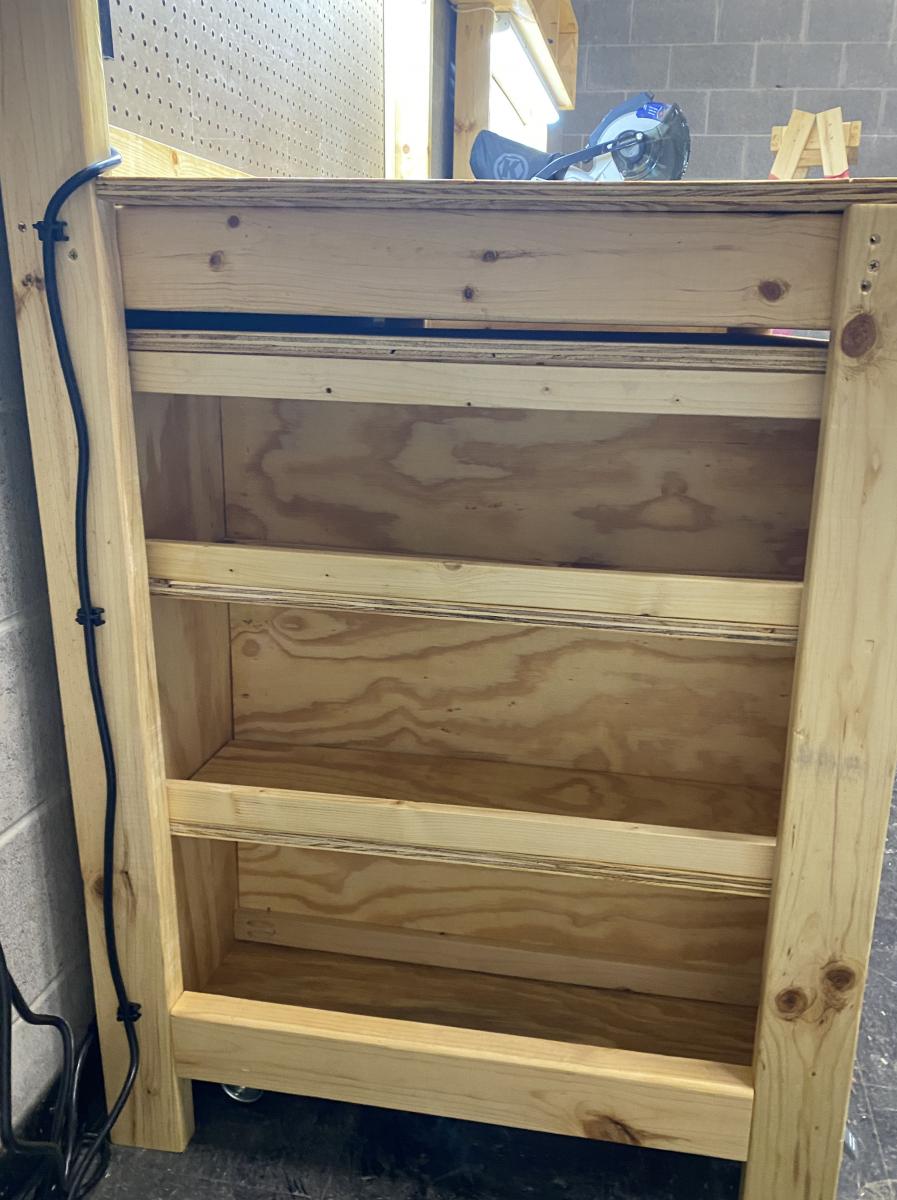
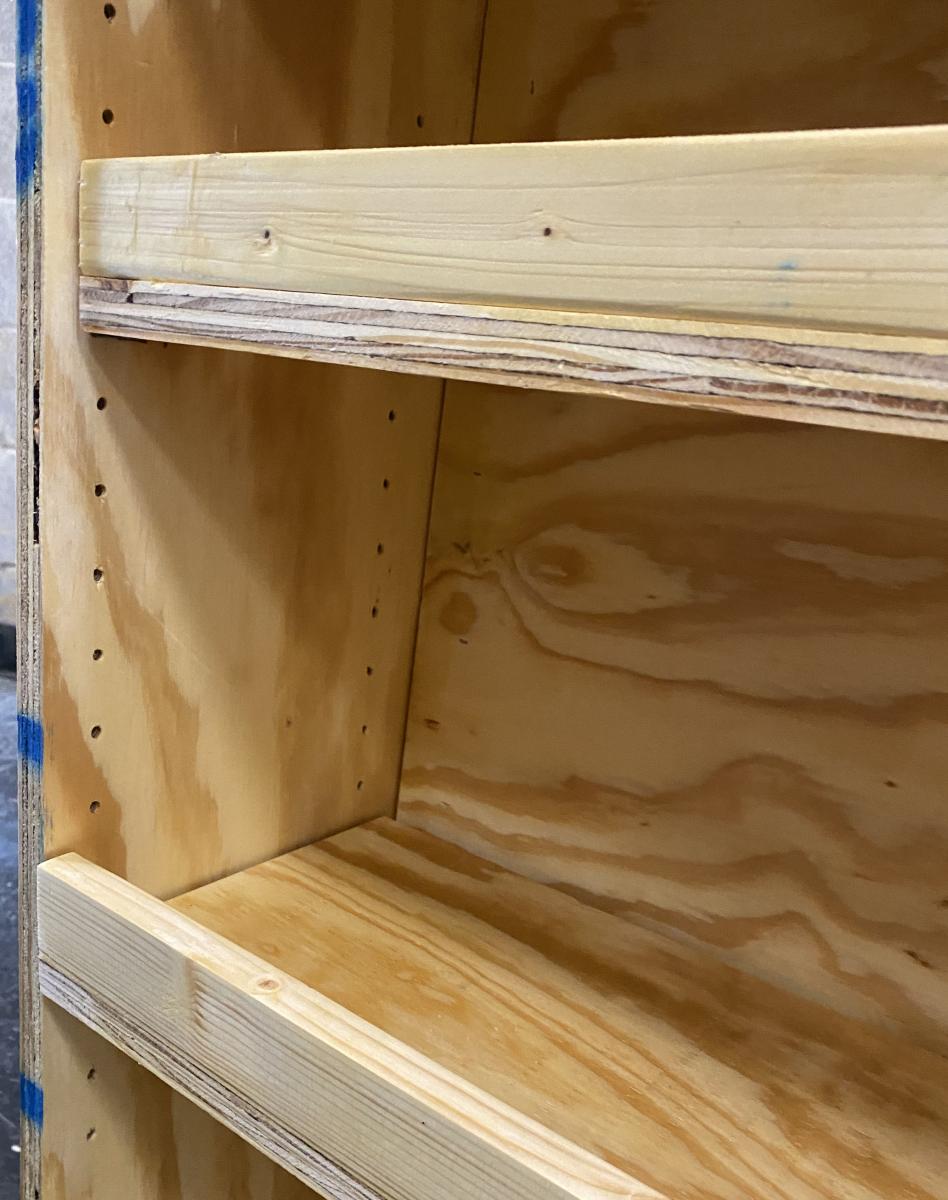
Eagle Project Workbench - Ultimate Roll Away Workbench with Miter Saw Stand
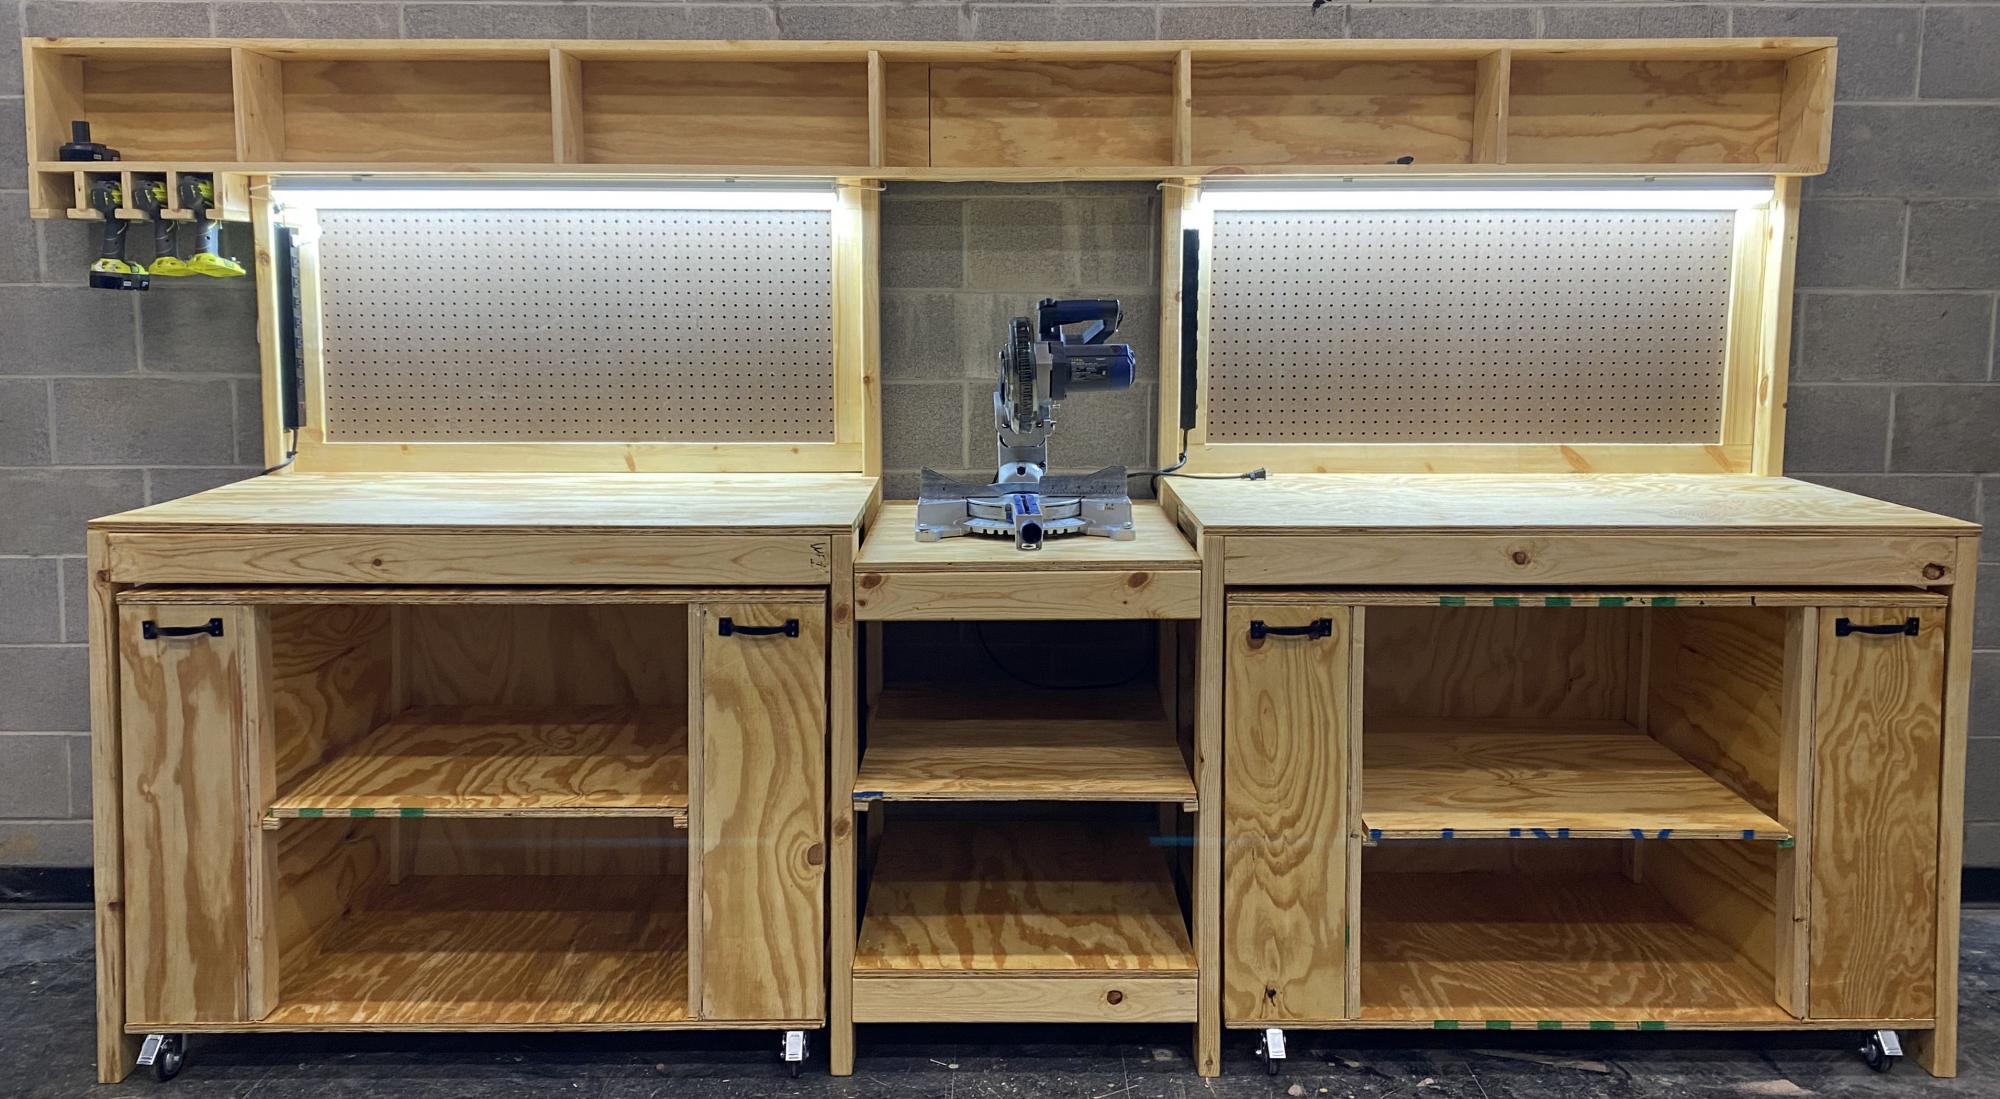
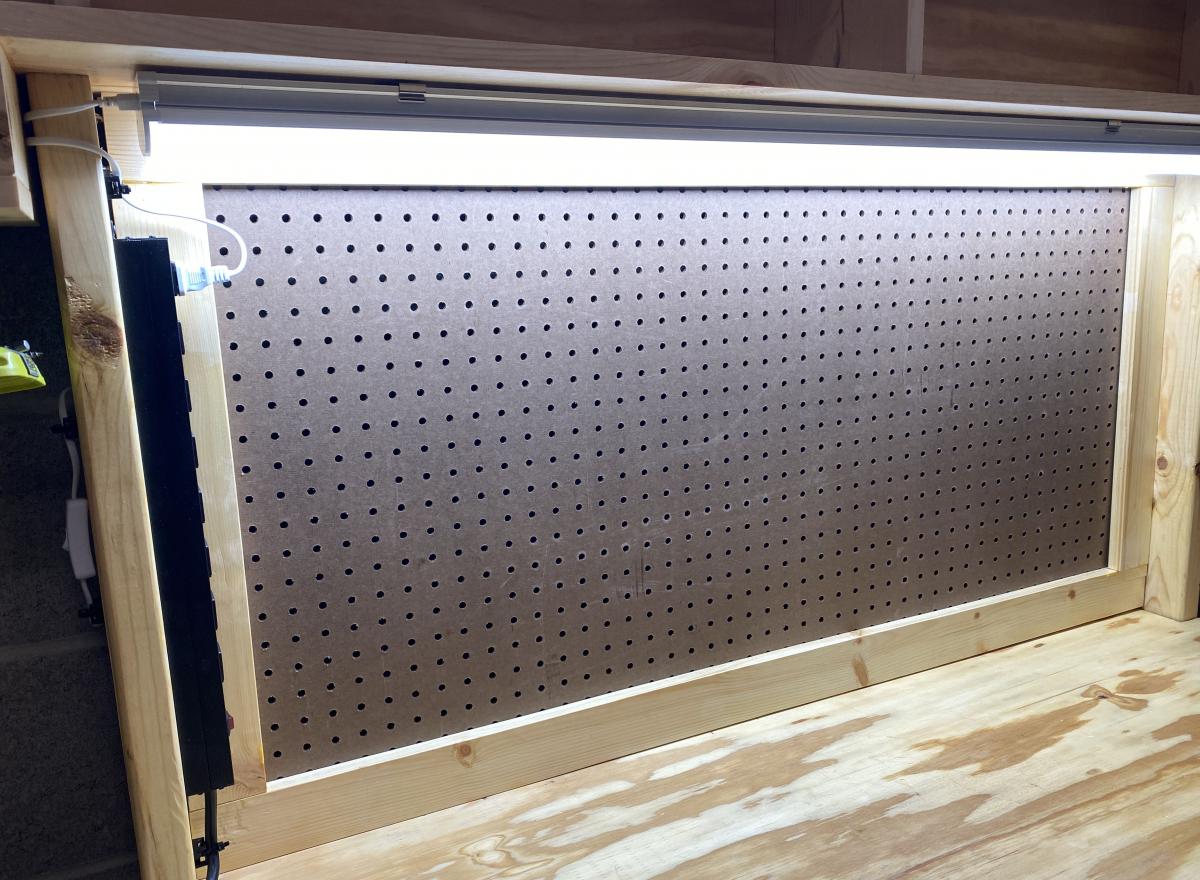
My son chose to make a workbench for his high school theater for his Eagle Scout project, and selected the Ultimate Roll Away Workbench with Miter Saw Stand as the basis for the project. The theater teacher wanted pegboard for tool storage, so we extended the rear legs on each workbench and notched the top to allow them to pass through. We built two frames from 1x3s to fit inside the rear legs, then put a pegboard inside each one.
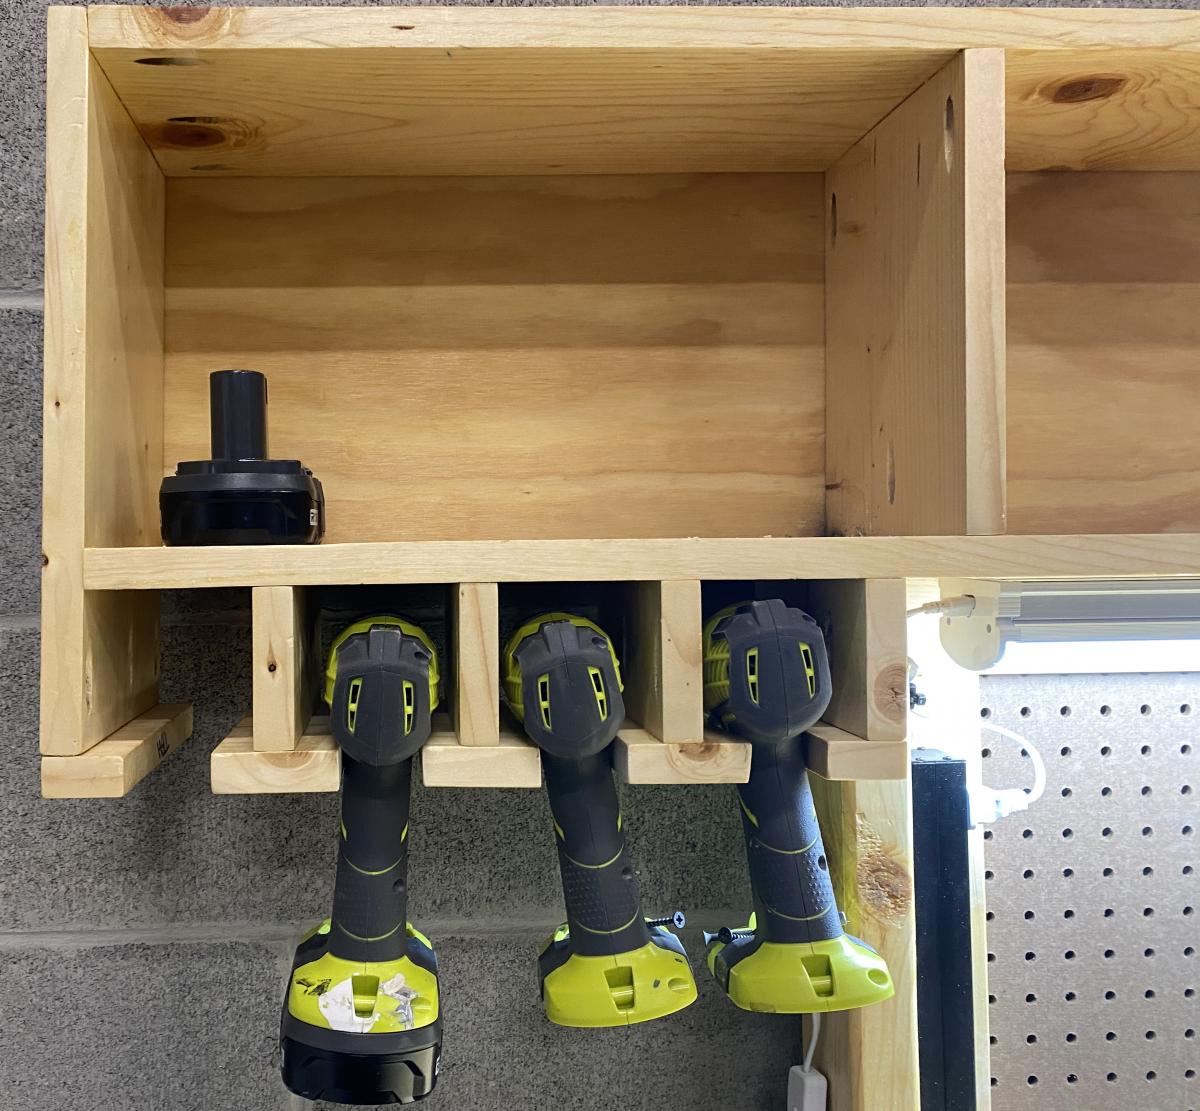
To secure the extended legs, we added a riser shelf from 1x8s. We put a storage station for drills at one end of the riser shelf.
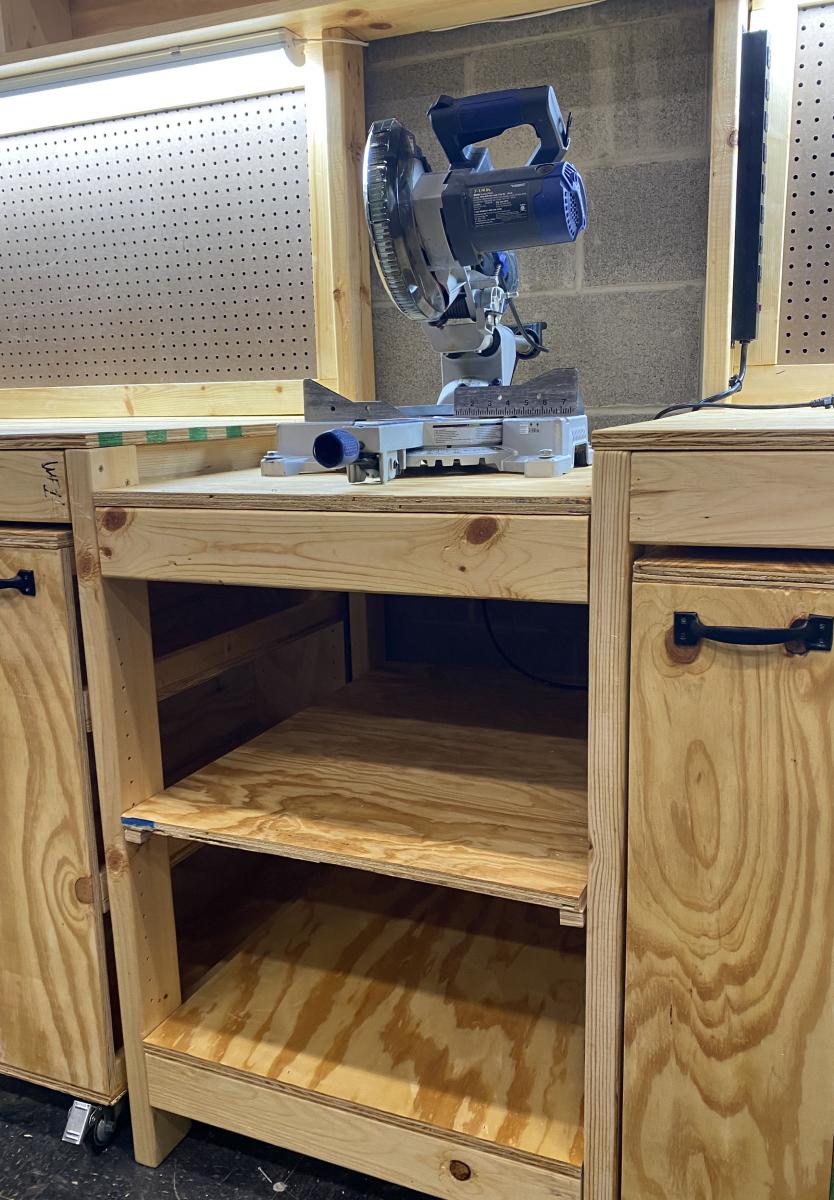
We also made all the cart shelves adjustable and added an adjustable shelf under the miter saw, and added lighting and power strips.
We left out the panels at the end of the workbench to allow access to the shelves there without having to remove the carts. Once we had constructed it, we added a brace at each end of the workbench to better support the outside front legs.
This plan was the perfect one for the theater, giving a stable work area for the miter saw and allowing for tool and materials storage. The carts can be rolled around to where a work surface is needed. This will come in handy for years of set construction in the theater. So proud of my son and all the leadership and hard work he put into this project!
Built from Plan(s)
Comments
Mon, 10/18/2021 - 11:54
Proud indeed!
WOW, that is absolutely amazing, thank you so much for sharing this story!
Fri, 05/31/2024 - 00:38
Wow, what an impressive…
Wow, what an impressive project! Your son did an amazing job with his Eagle Scout project. The Ultimate Roll Away Workbench with Miter Saw Stand sounds like a perfect fit for the high school theater's needs. I love how you customized it by adding pegboard for tool storage and making the shelves adjustable I remember how I do similar things all day long and I don't have any time left to do housework. Then I use https://essays.edubirdie.com/personal-statement-writing and it's a really great solution. The addition of lighting and power strips is a fantastic touch too. It's clear that a lot of thought and effort went into ensuring the workbench is both functional and durable. Your son's leadership and hard work really shine through in this project. This workbench will definitely be a valuable asset for the theater for many years to come. Great job!