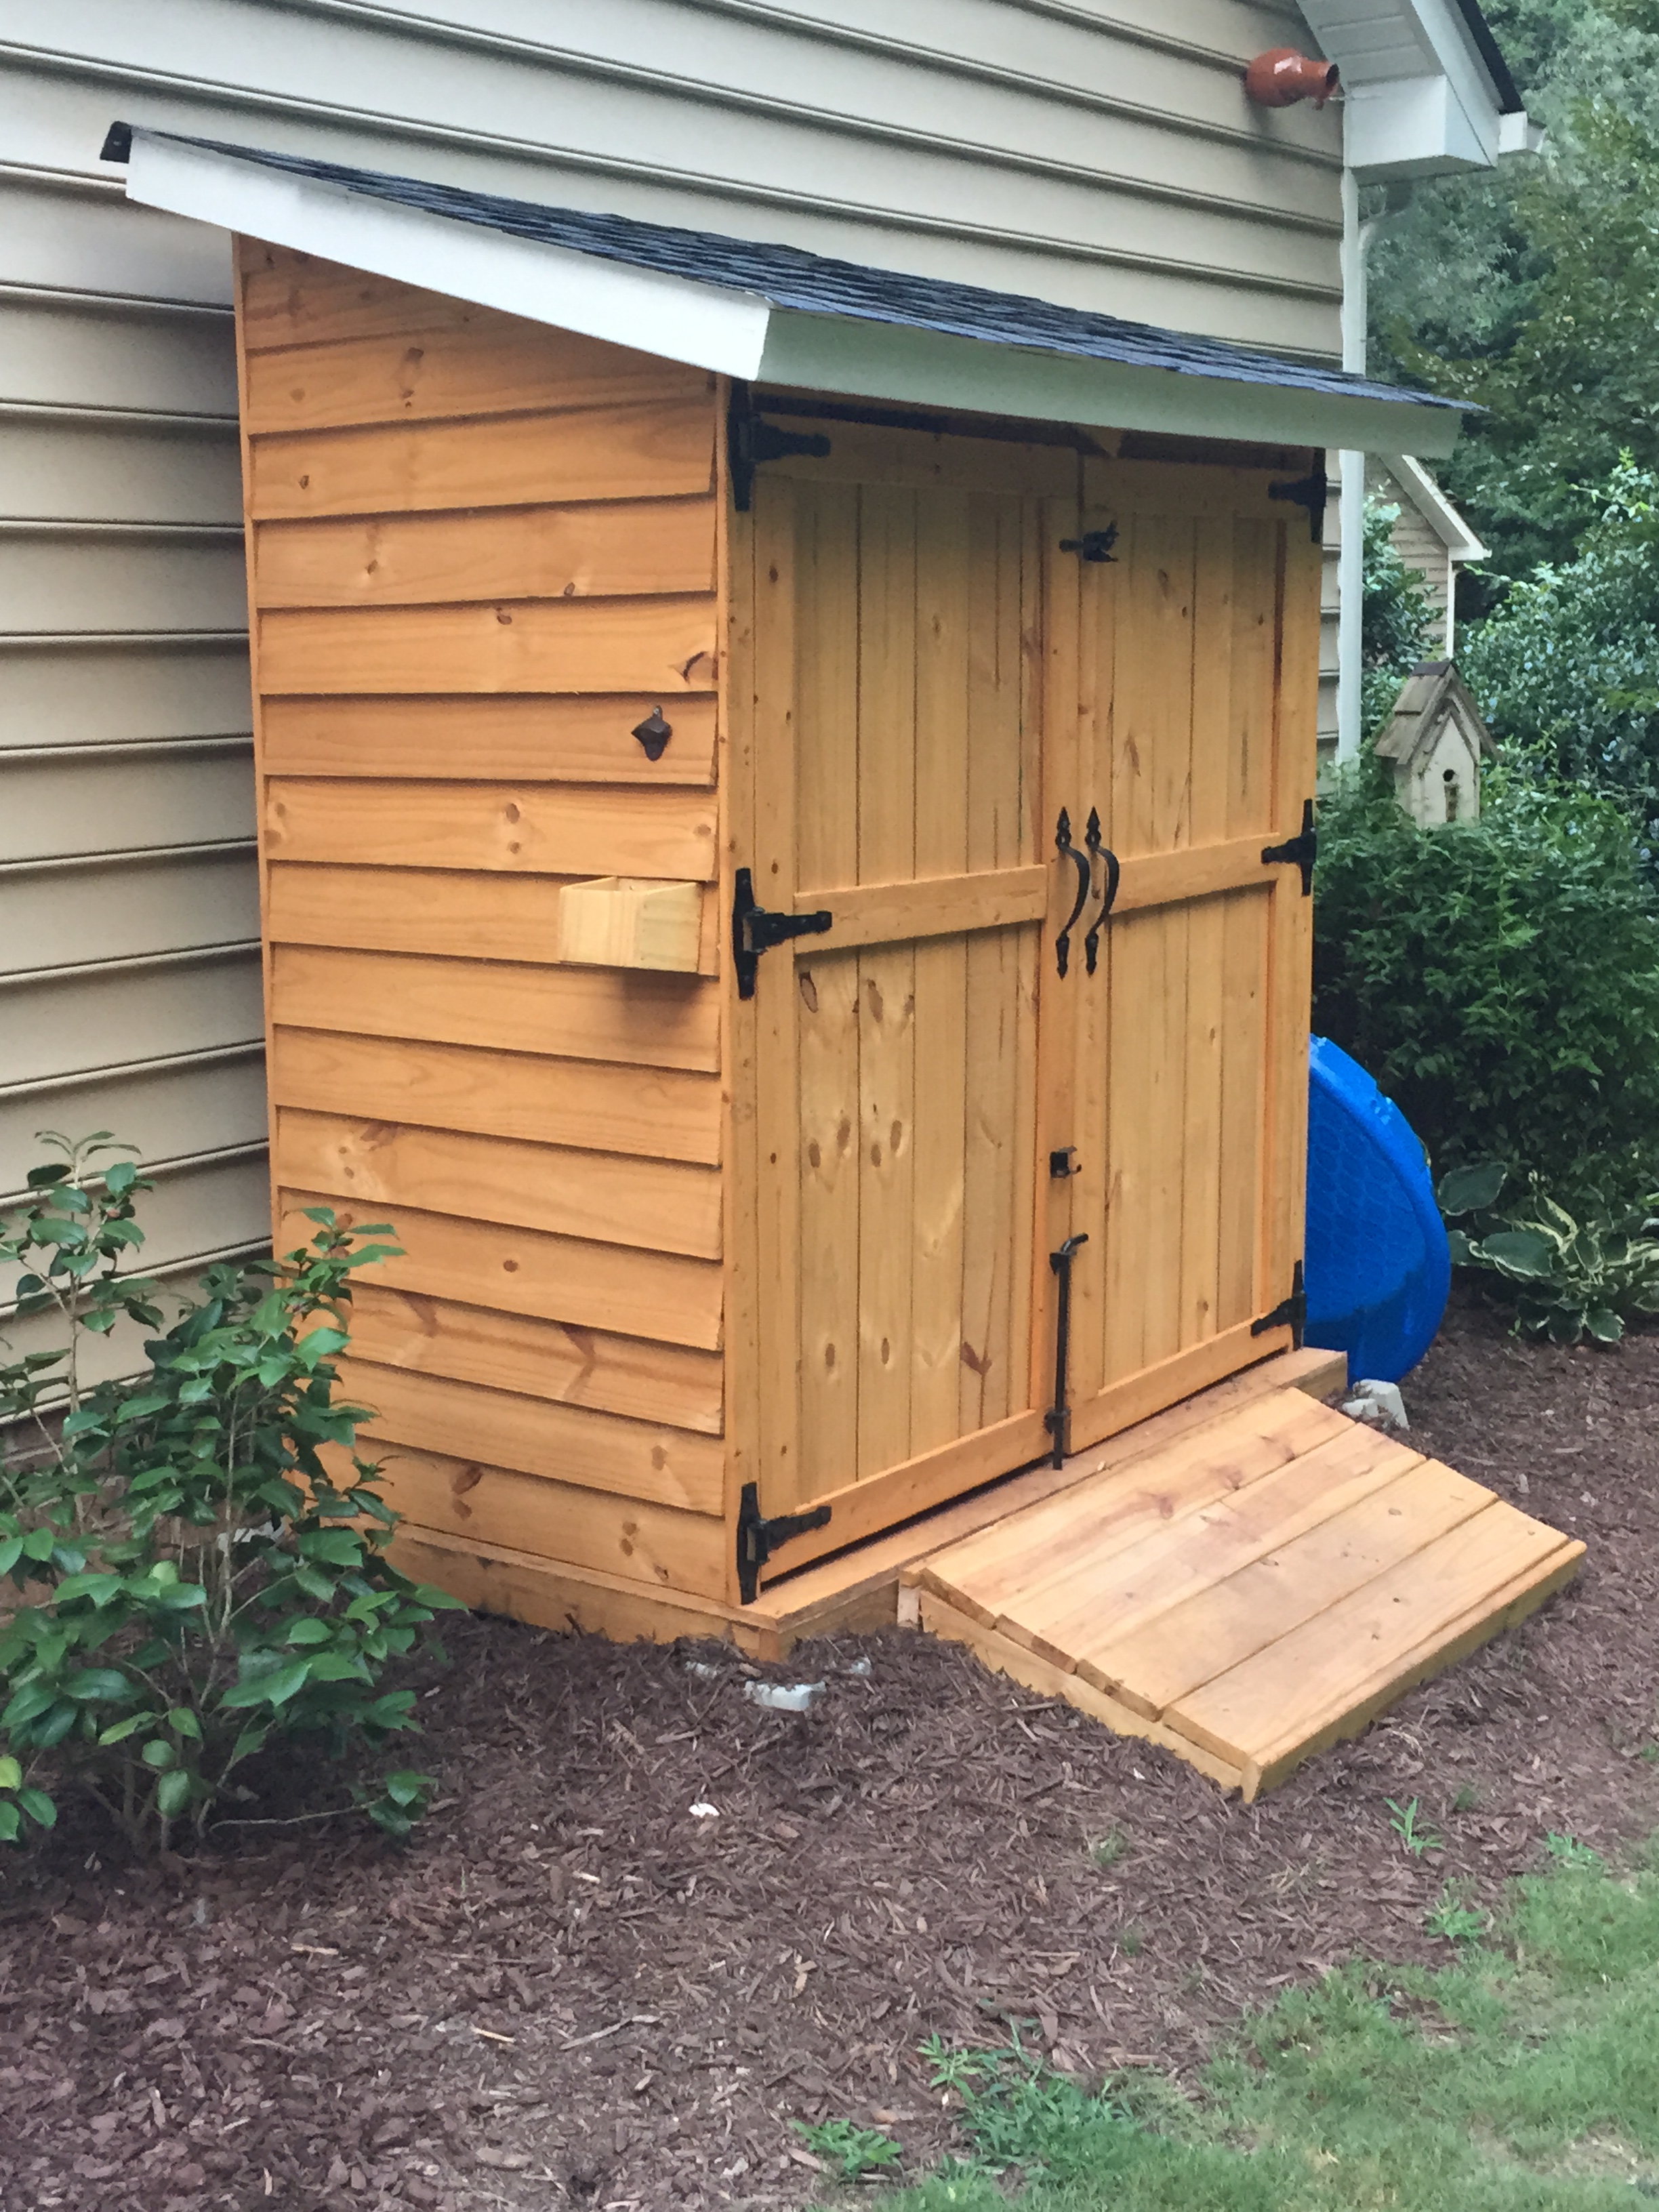
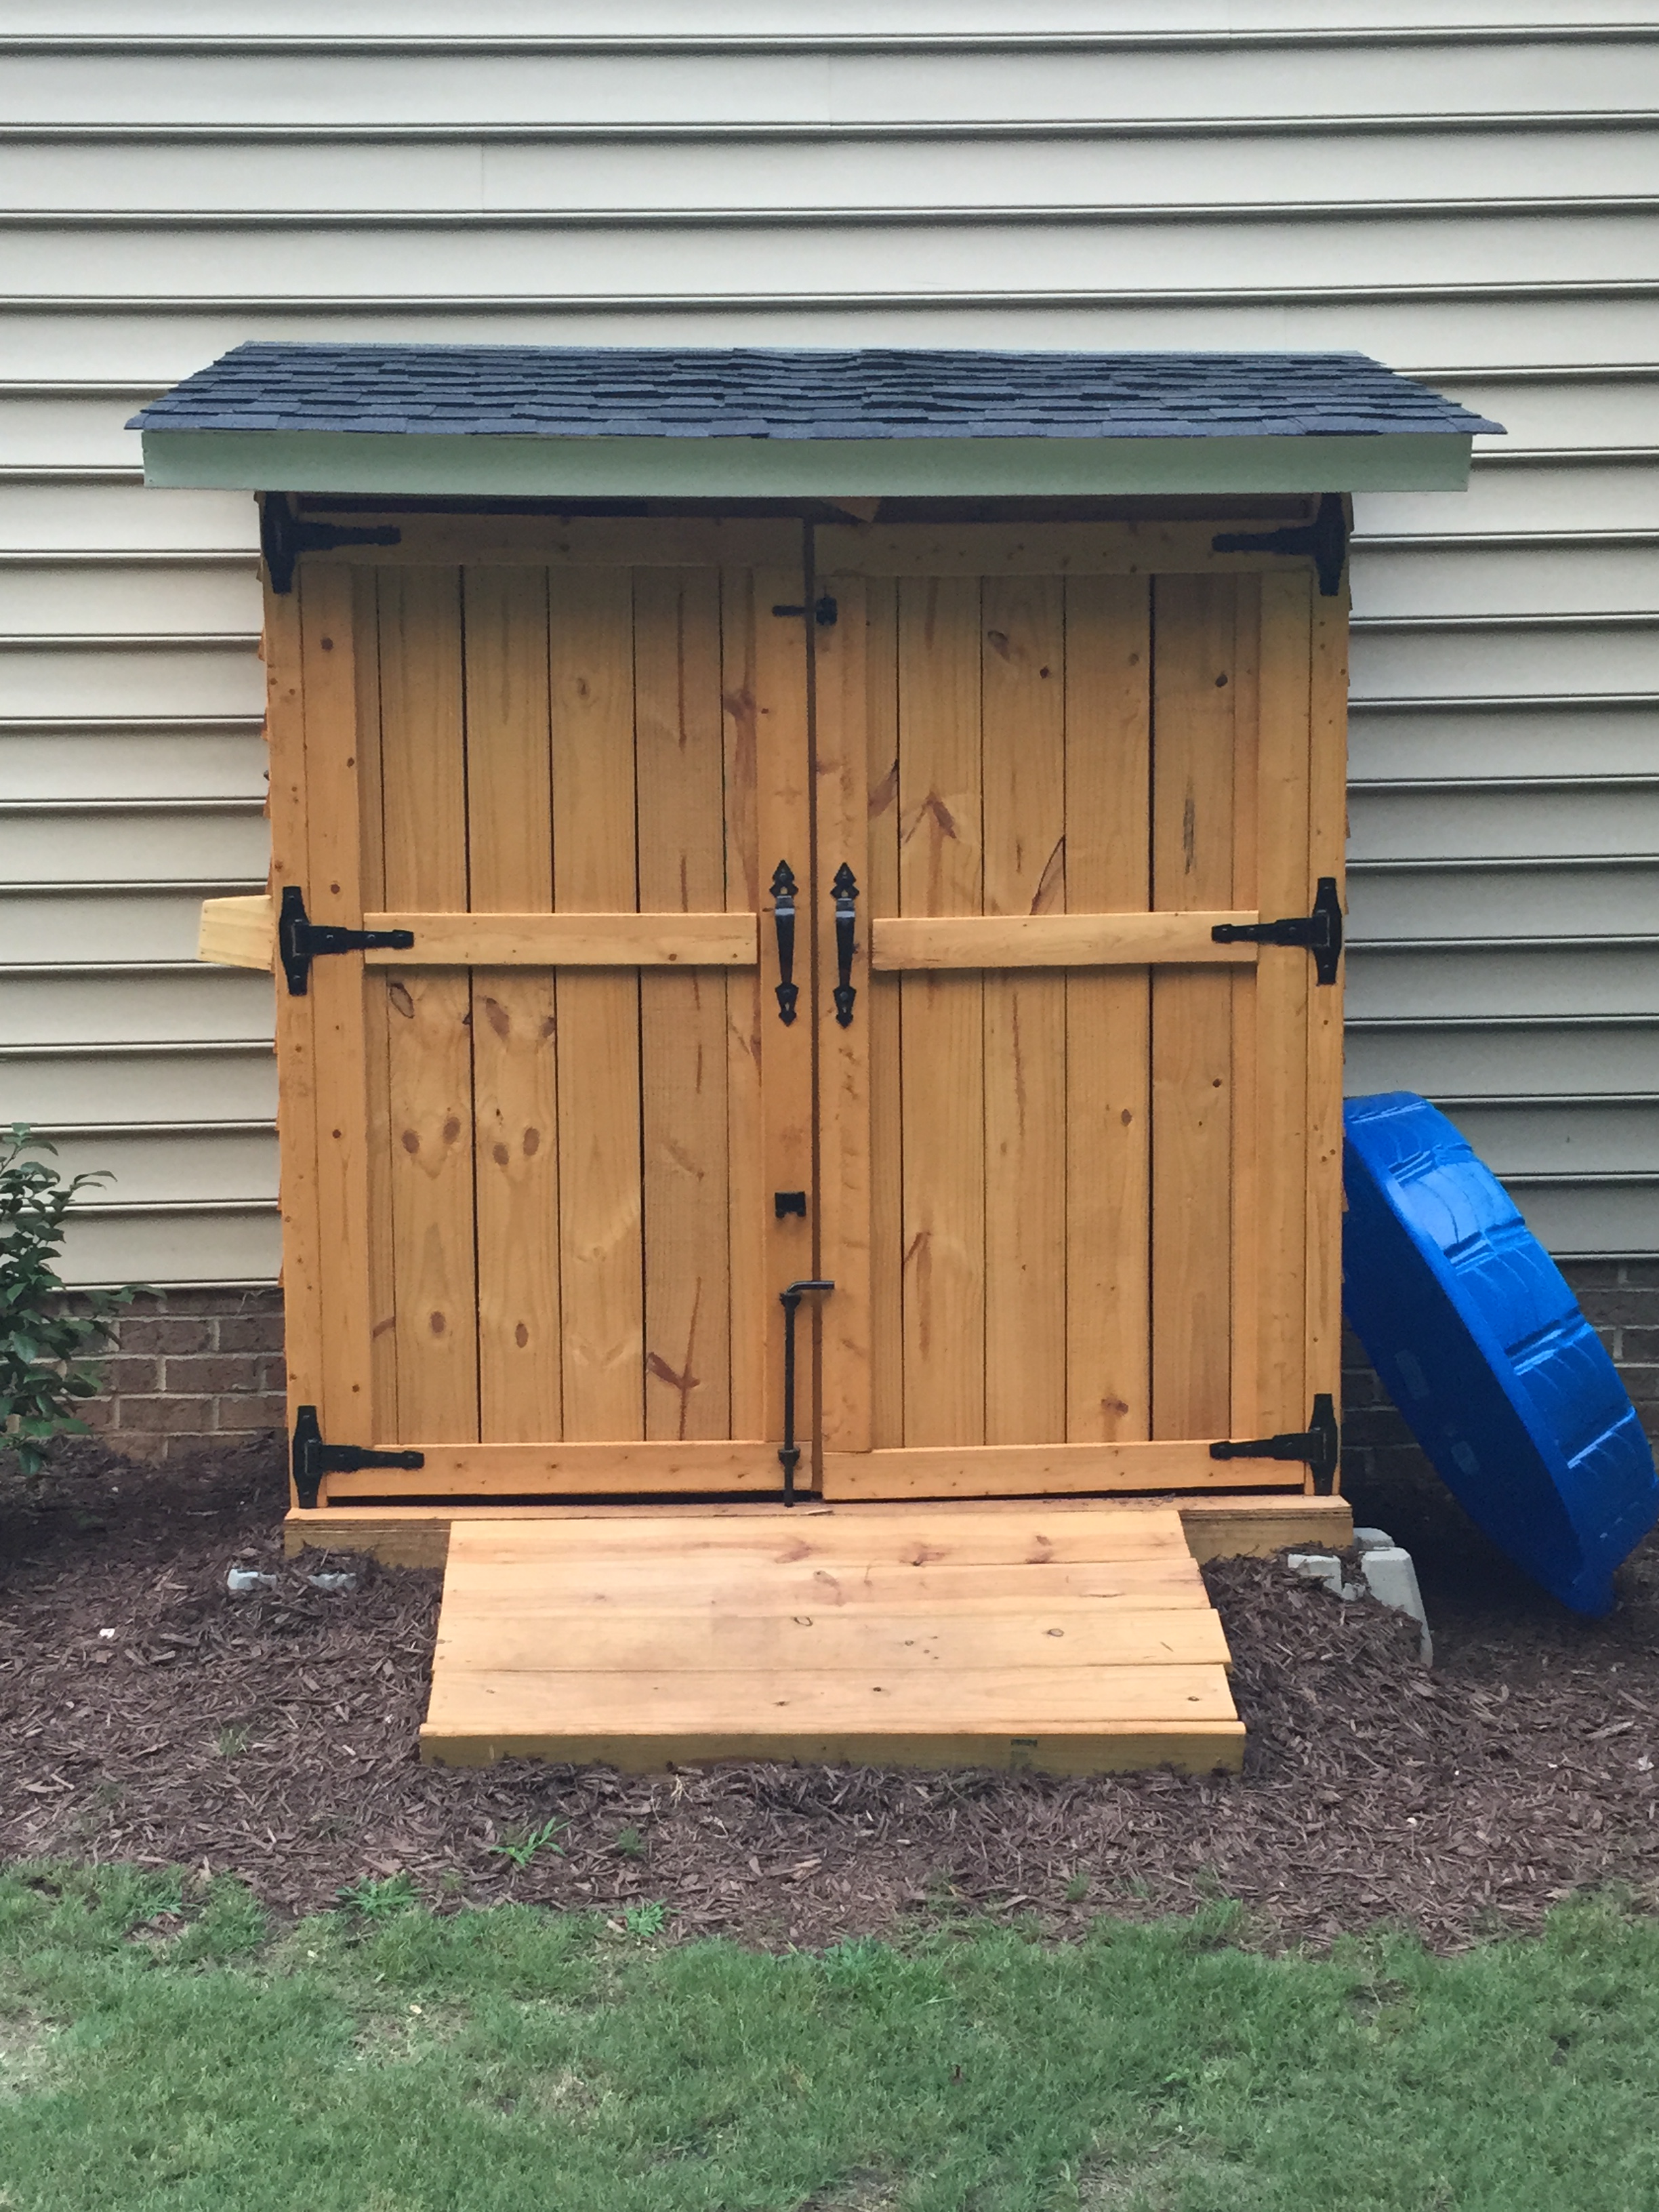
Pretty fun and easy weekend project. Decided to go with Pine shingles instead of cedar based on availability. First time roofing, and it is apparent. We have had many strong storms since, and it is waterproof - so at least I have that going for me!
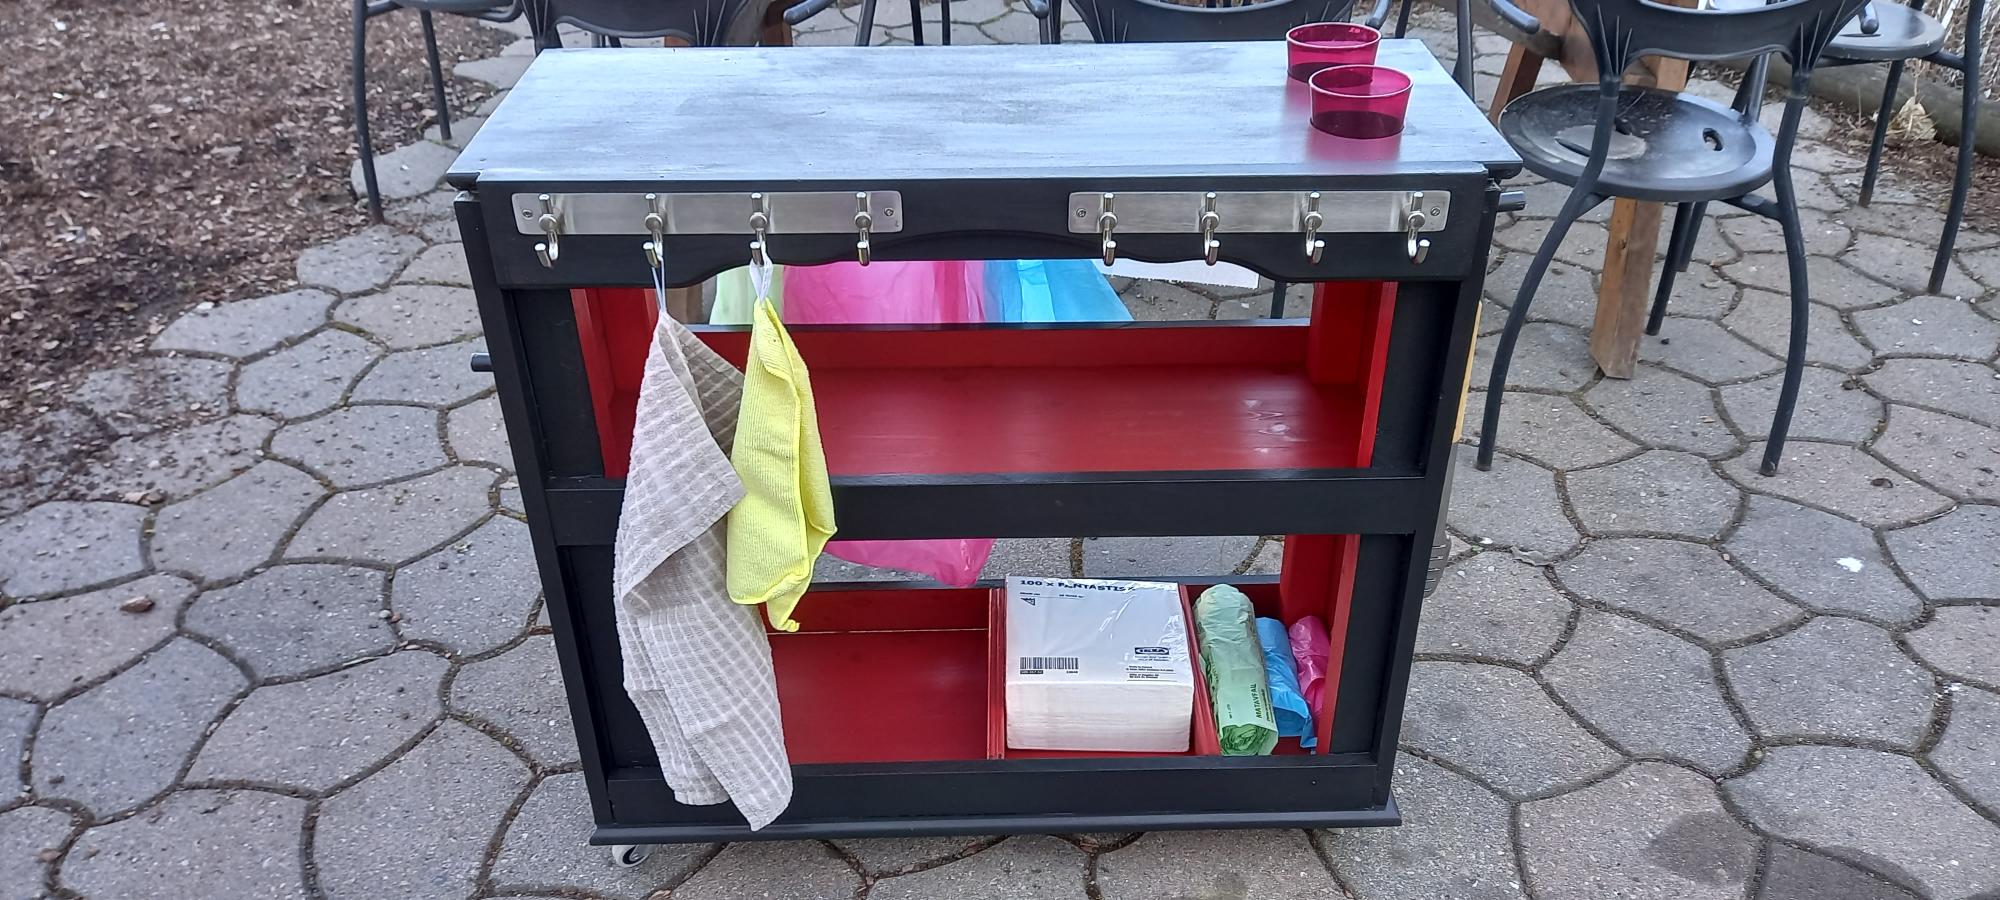
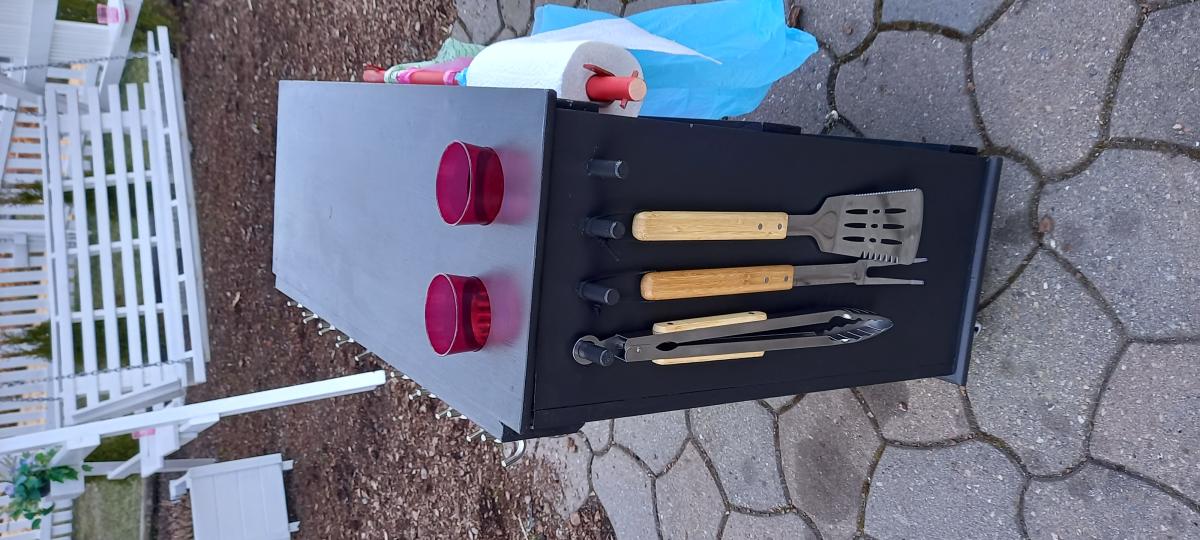
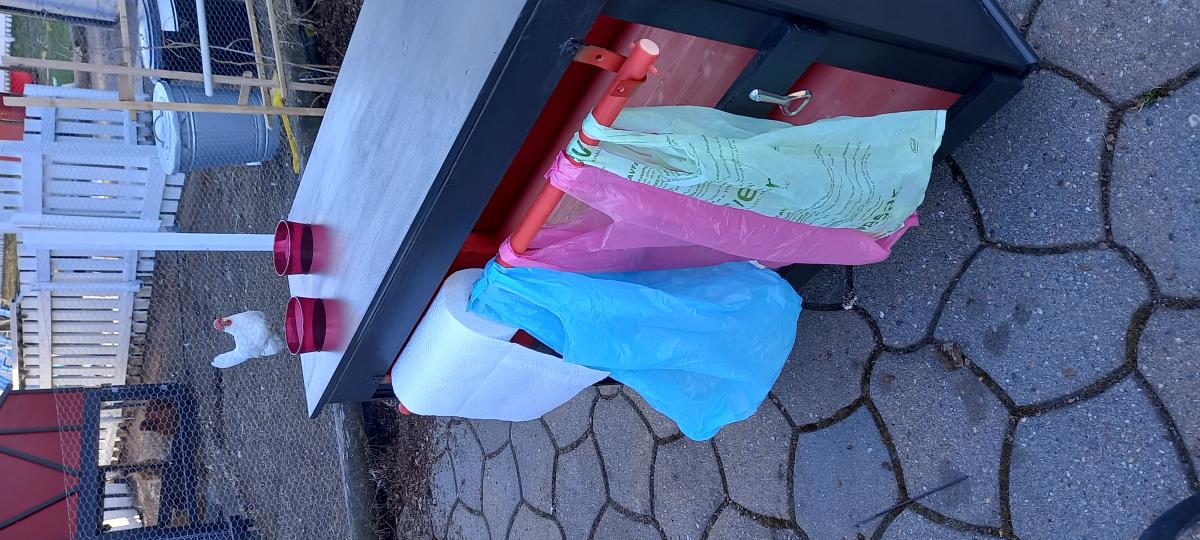
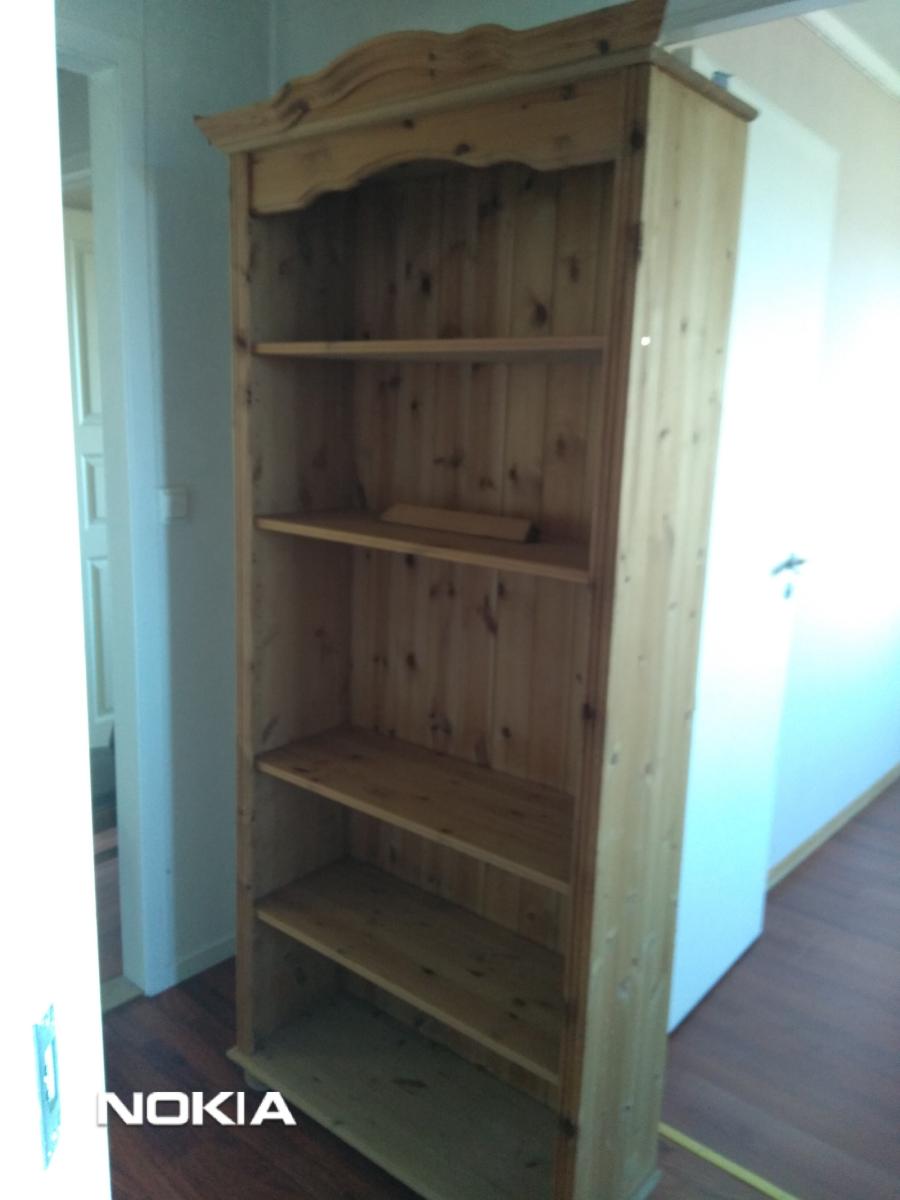
Overall, I am very happy with this shed, and I should have taken pictures of the inside. I have two 5 level shelves on the side walls, and a garden tool rack on the back wall. I have been able to clear a lot of space in my garage thanks to this shed.
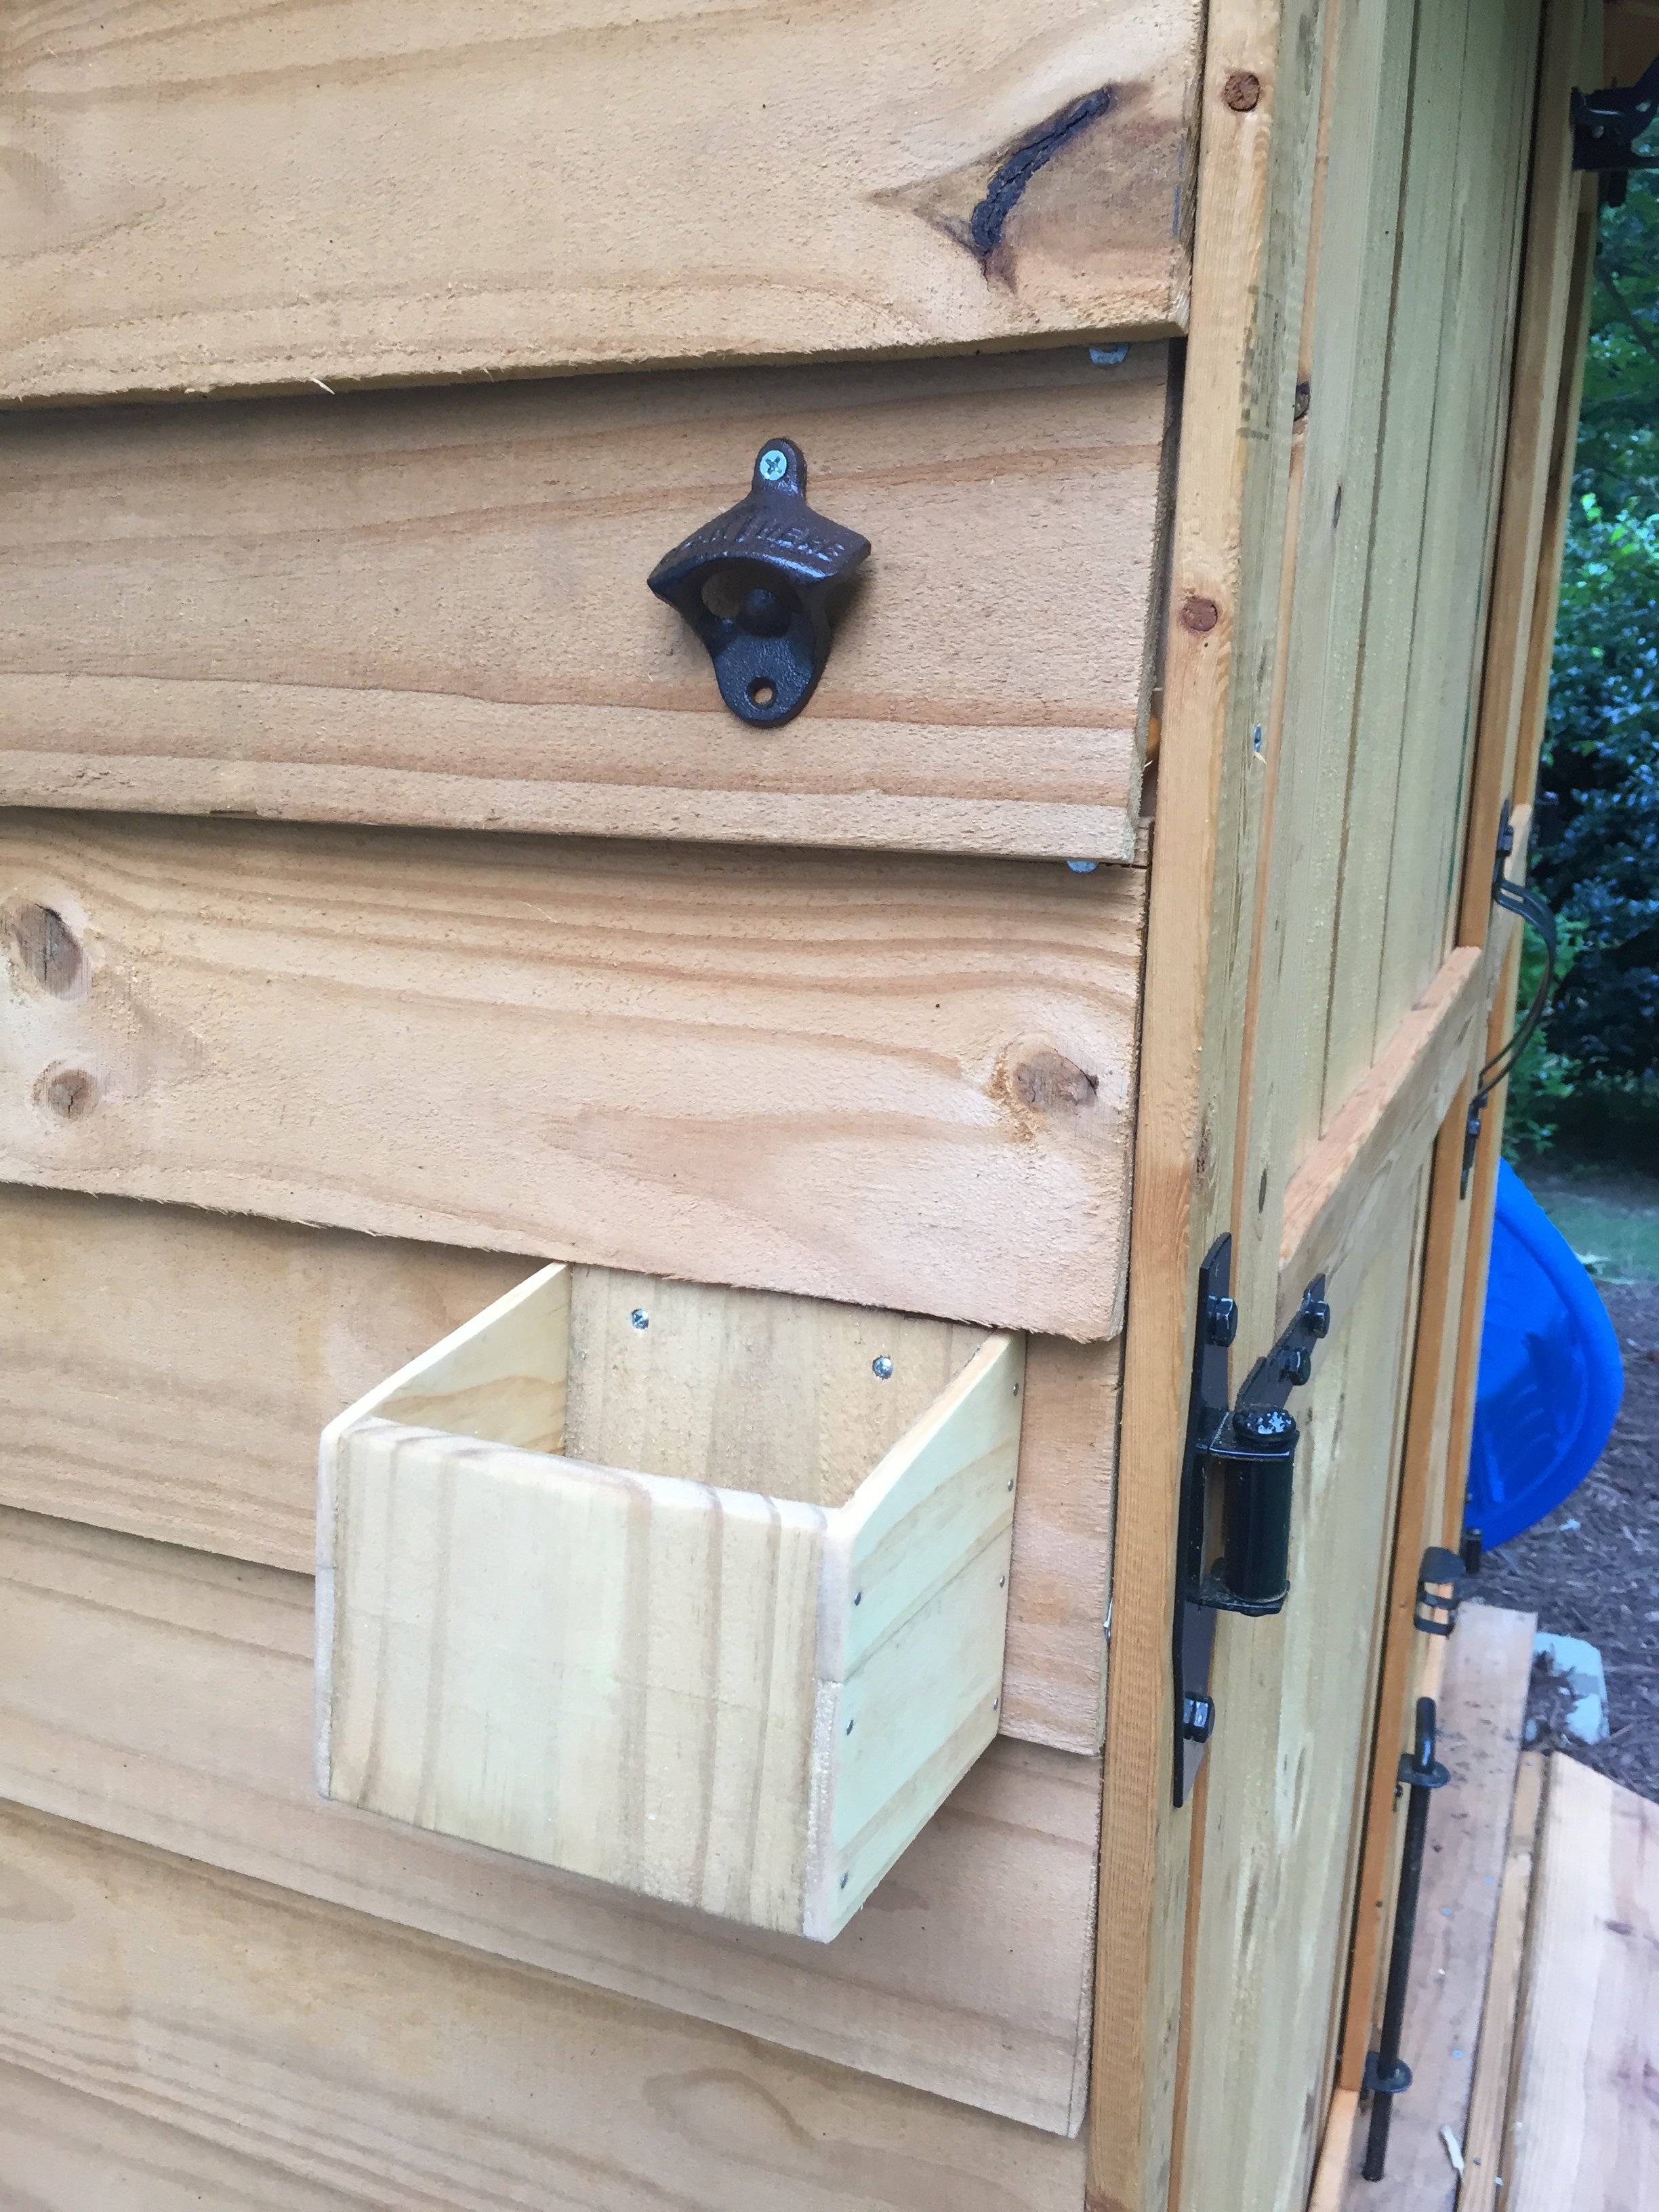
Also, the beer bottle opener and cap catcher were a must for me when I work in the yard!
The plans are excellent! Don't hesitate to build this shed if you need it!
Estimated Cost
$250 (originally $300+, but I returned the Kreg Jig when I realized I could get by without it).
Estimated Time Investment
Weekend Project (10-20 Hours)
Finish Used
Cabot Cedar Stain, and gloss white trim.
Recommended Skill Level
Intermediate


Comments
Ana White Admin
Sun, 04/03/2022 - 19:03
Very cute!
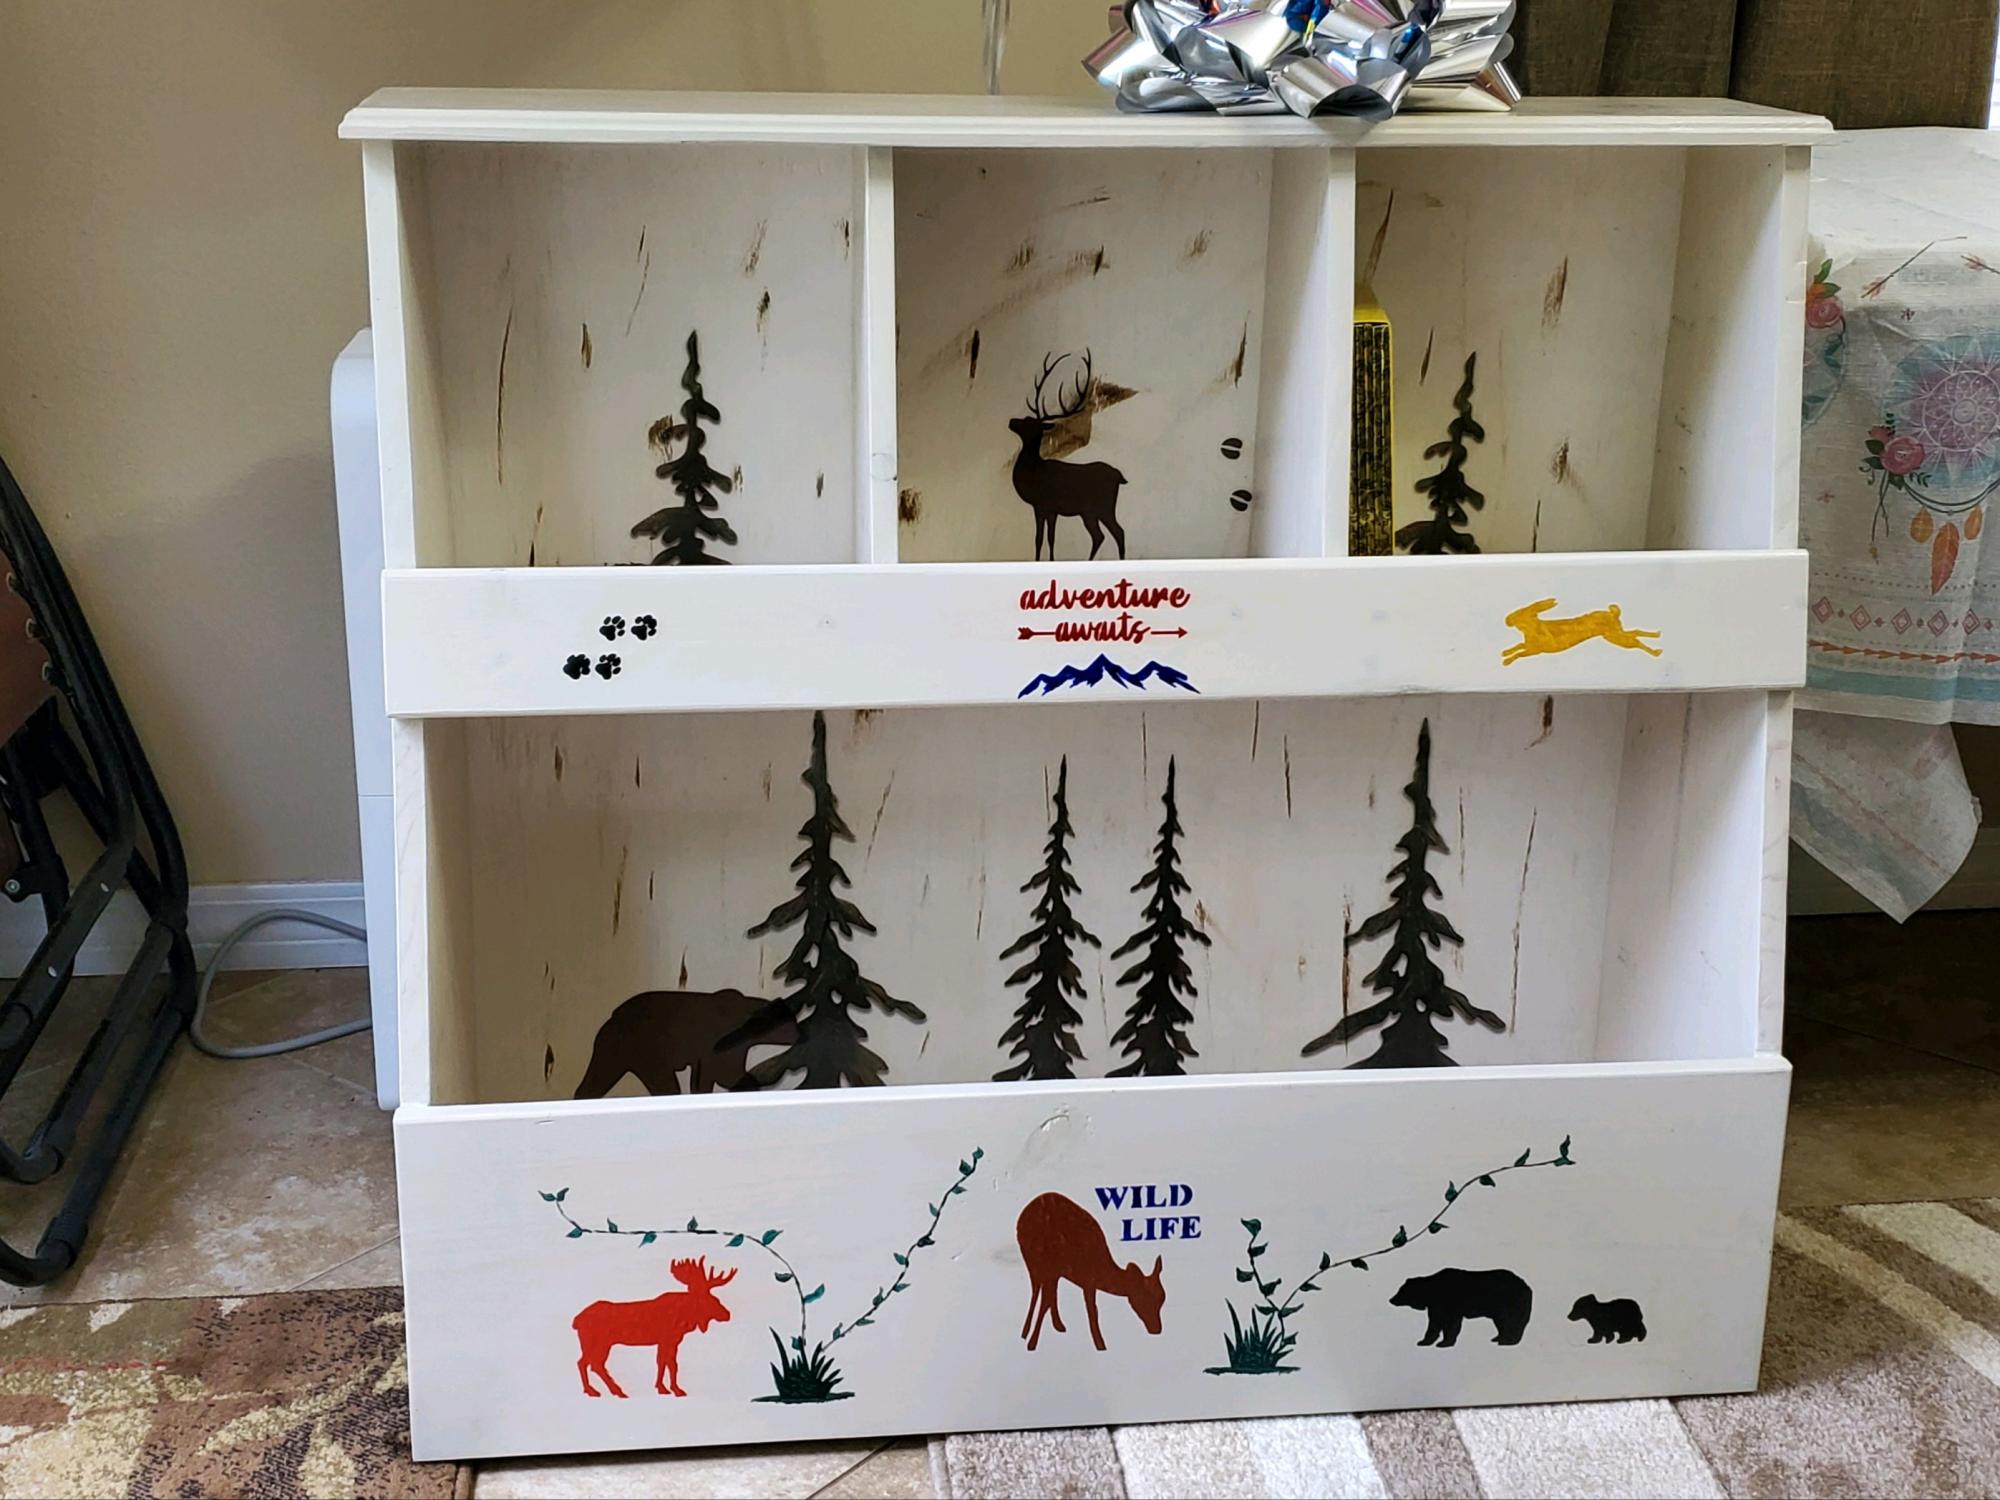
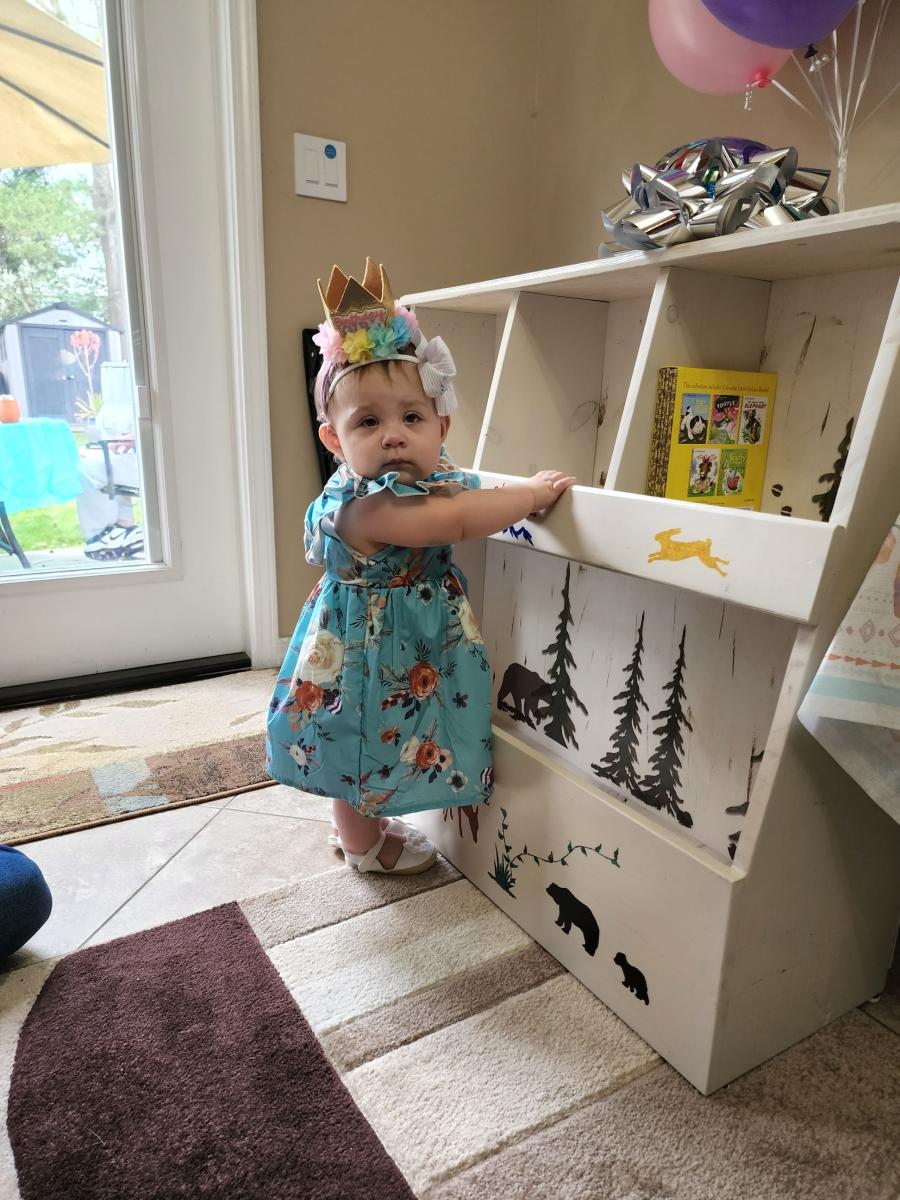
Thank you for sharing your awesome project, love the wildlife theme!