My projects.
![](/sites/default/files/20210122_180422_0.jpg)
These are my finish projects, I made with Ana Whites plans. Thank you very much Ana White.
![](/sites/default/files/20210222_173941.jpg)
![](/sites/default/files/20210222_173140.jpg)
![](/sites/default/files/20210122_180422.jpg)
![](/sites/default/files/20201027_123517.jpg)
![](/sites/default/files/20201009_114318.jpg)
These are my finish projects, I made with Ana Whites plans. Thank you very much Ana White.
I built our boys matching twin sized headboard based on the reclaimed headboard plan. I added some height to the headboard to account for the lights (to avoid them smacking their head on the light) but that's about it. You can read more about the beds here: http://thehouseoflists.wordpress.com/2013/03/10/twins/ The build time was ridiculously quick. I just measured once, set the guide for the saw and cut both sets of all the pieces. The majority of the time was waiting for the poly to dry in the basement. It was a bit too chilly and damp I think, but eventually it dried.
Great storage idea which makes things easy to see and get to
Wed, 01/28/2015 - 18:50
Thank you very much, Ana you have inspired myself and my wife to undertake woodworking projects that I thought were unattainable. You have made these projects easy, fun and affordable
I love how this turned out!
I made this DIY 2x4 Cart without the casters, but added a middle wood bar to the sides. I edited the dimensions to fit the space under a window. I cannot wait to put the felt pads on the bottom and get it into the room. My goal was to accomplish/master pocket holes and I am very happy with the results.
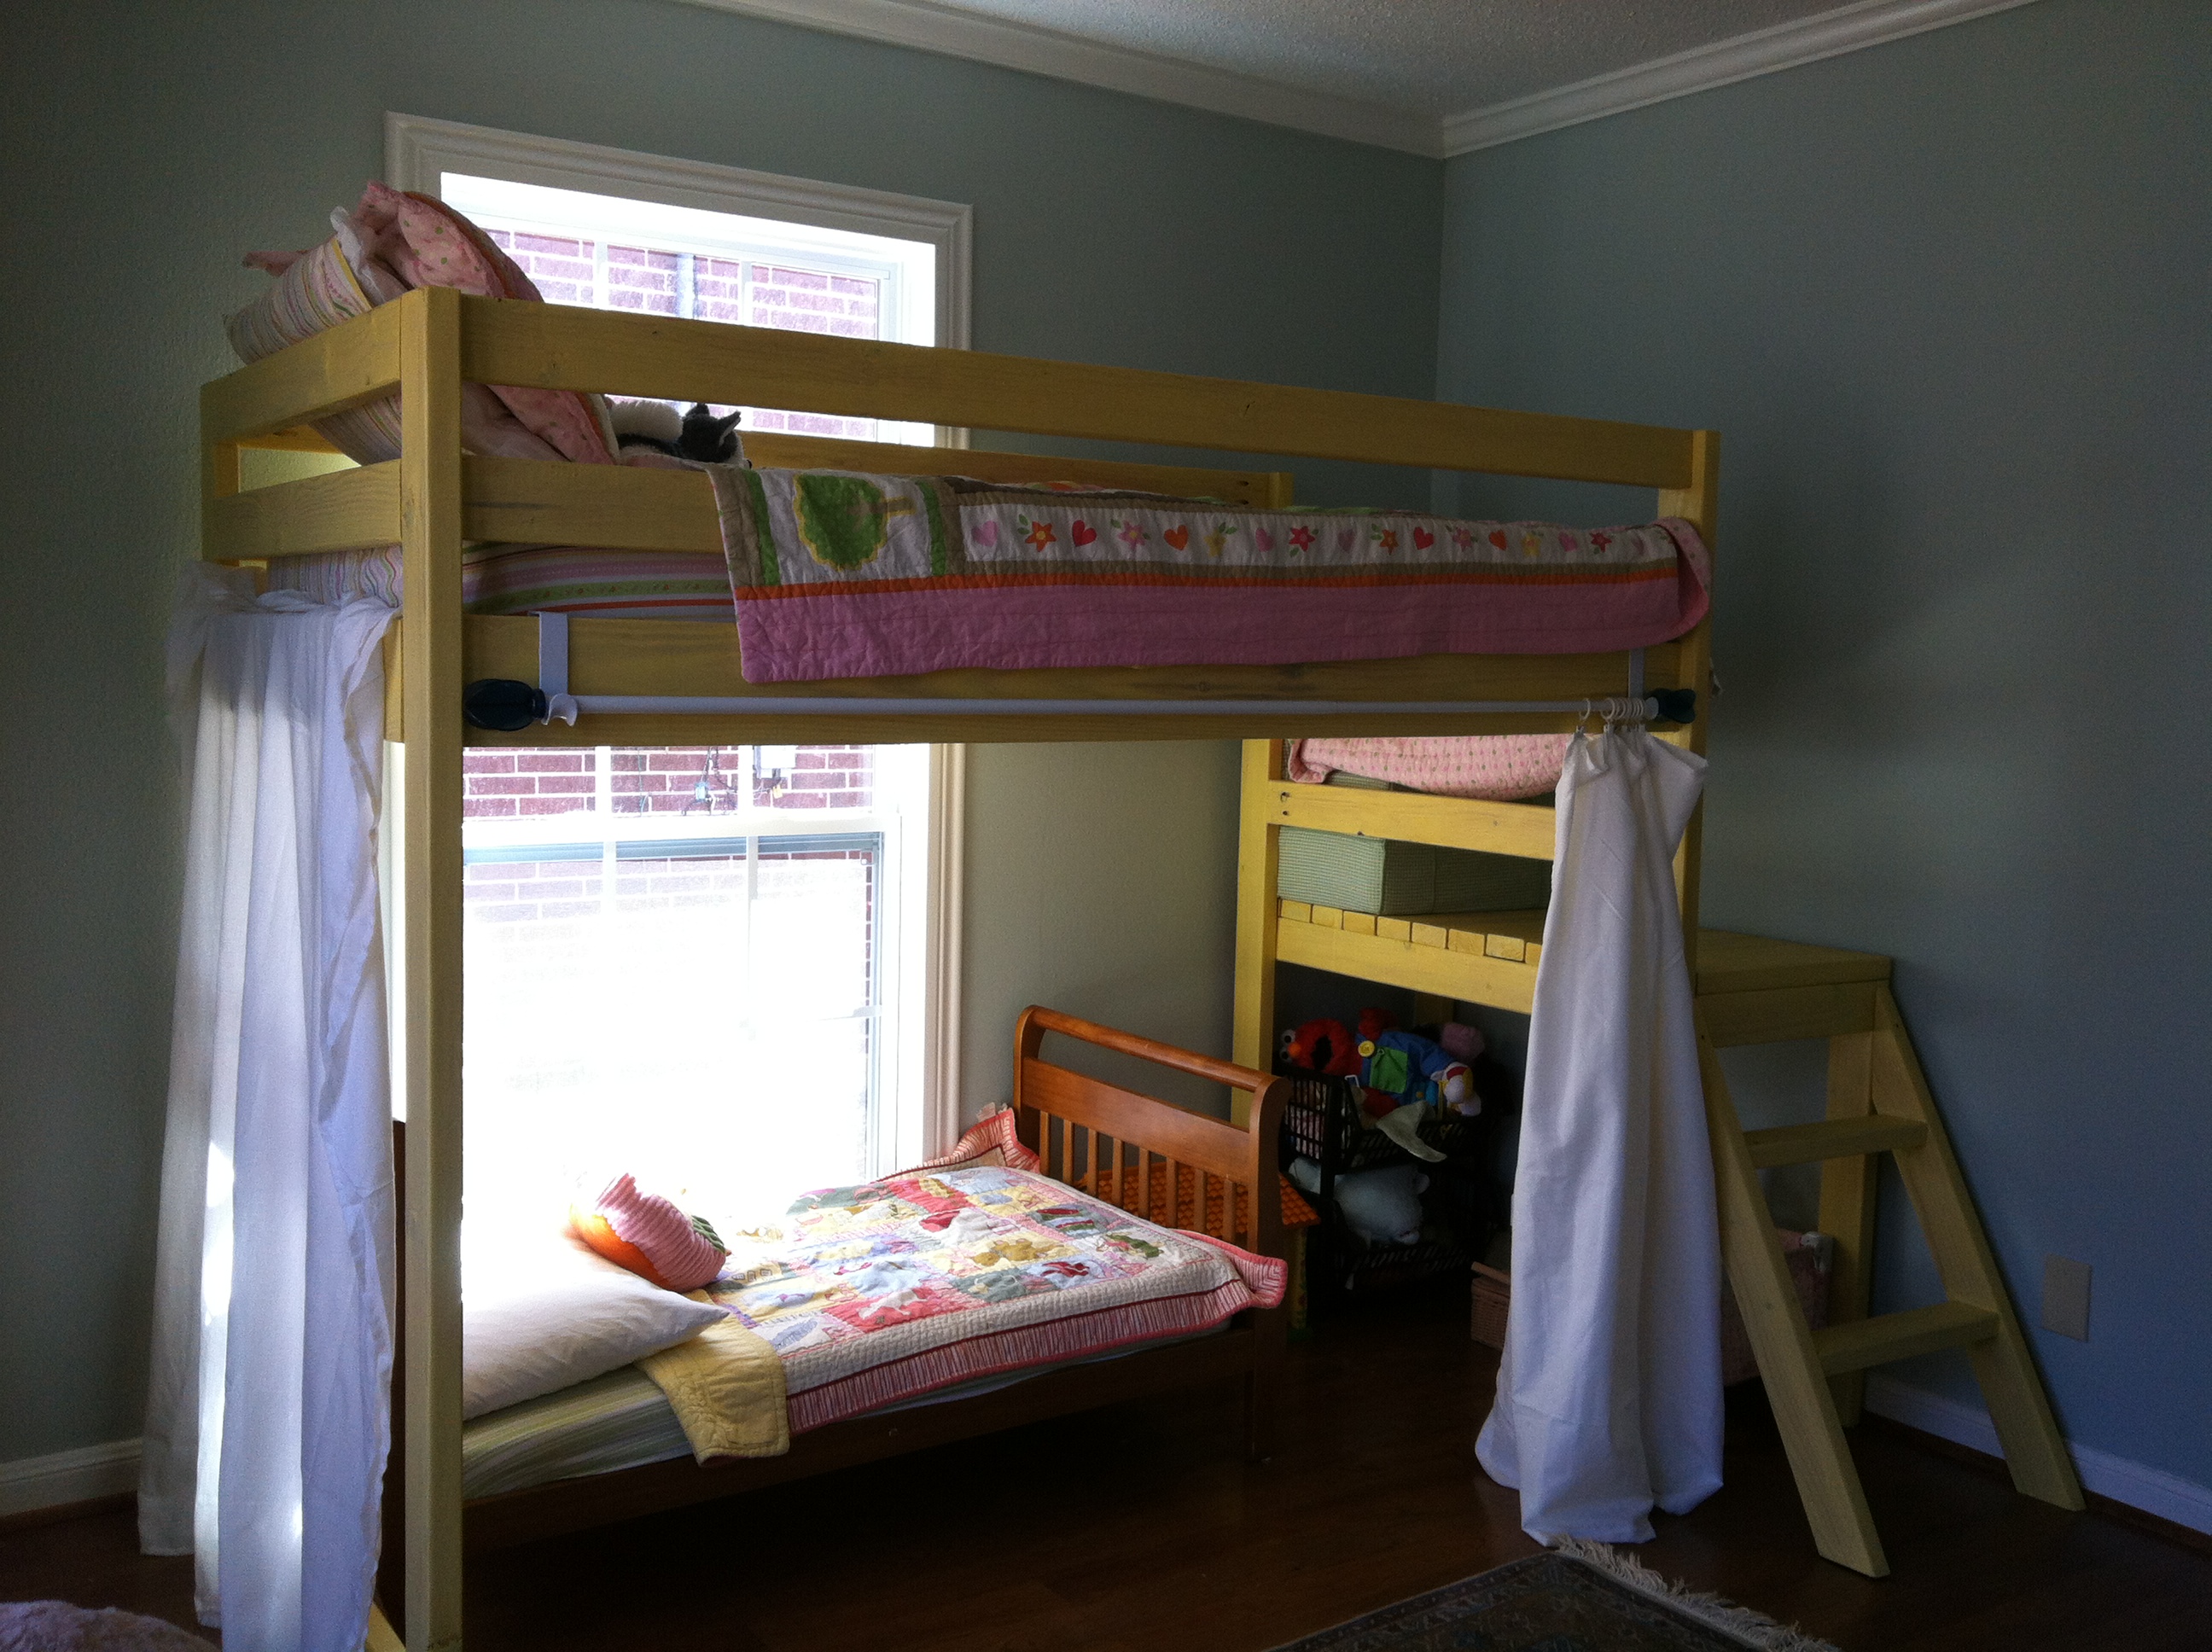
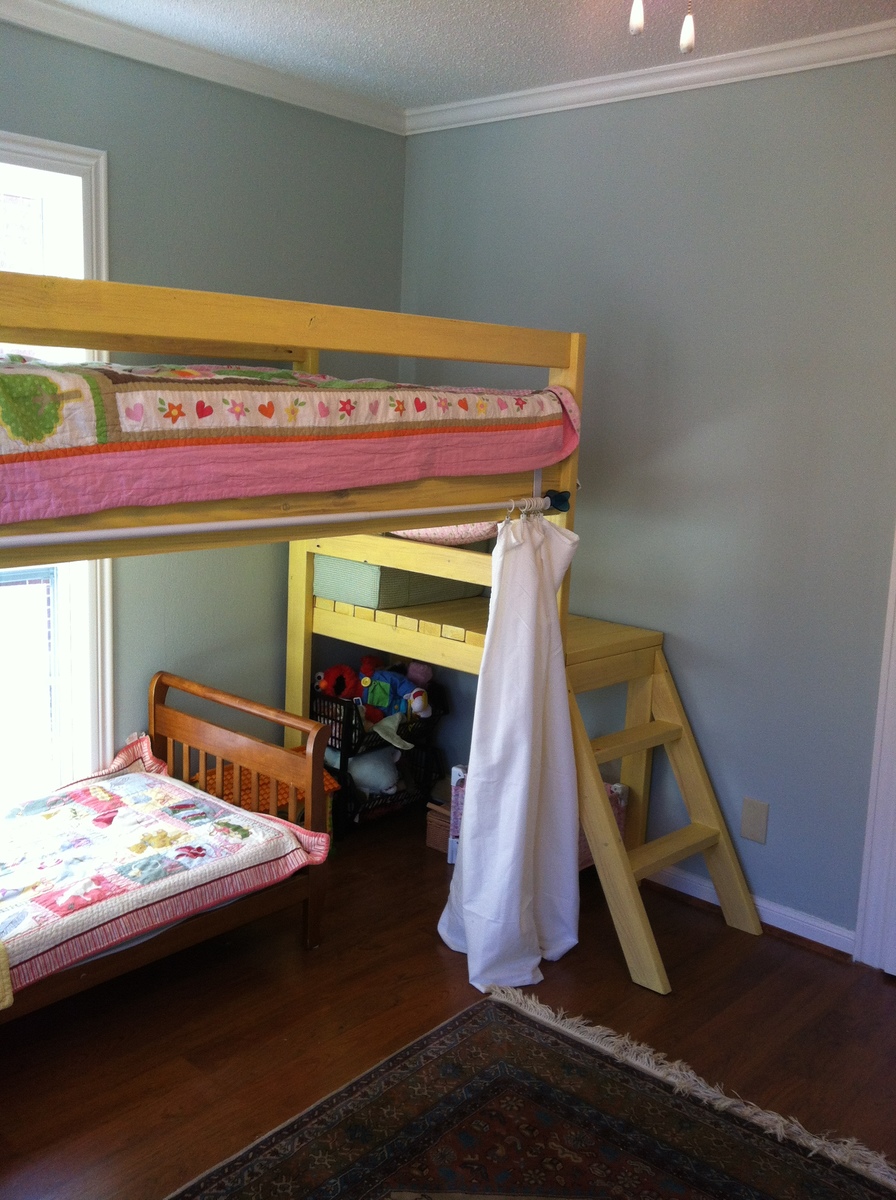
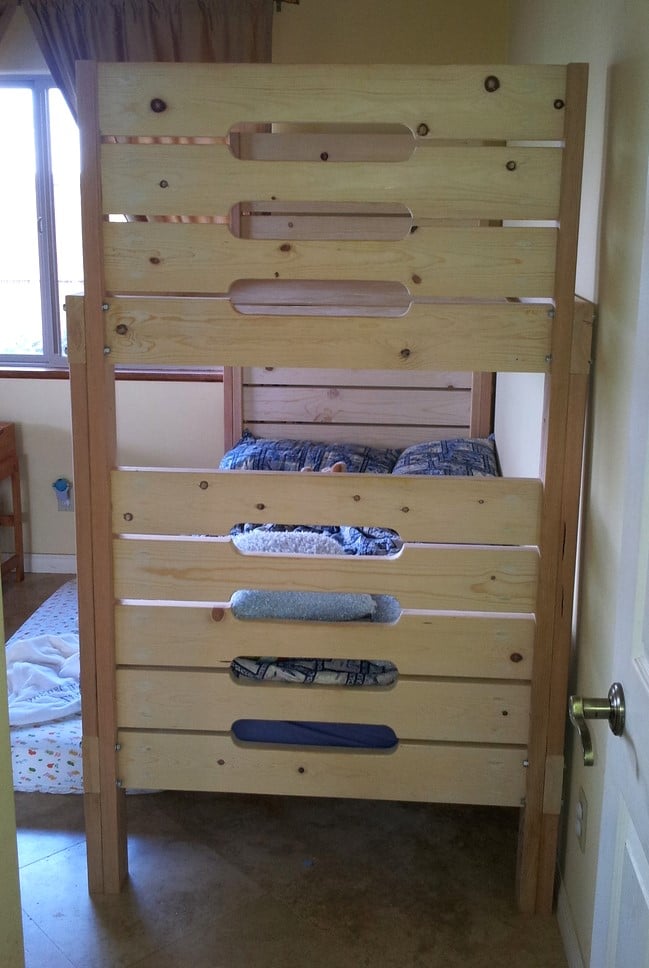
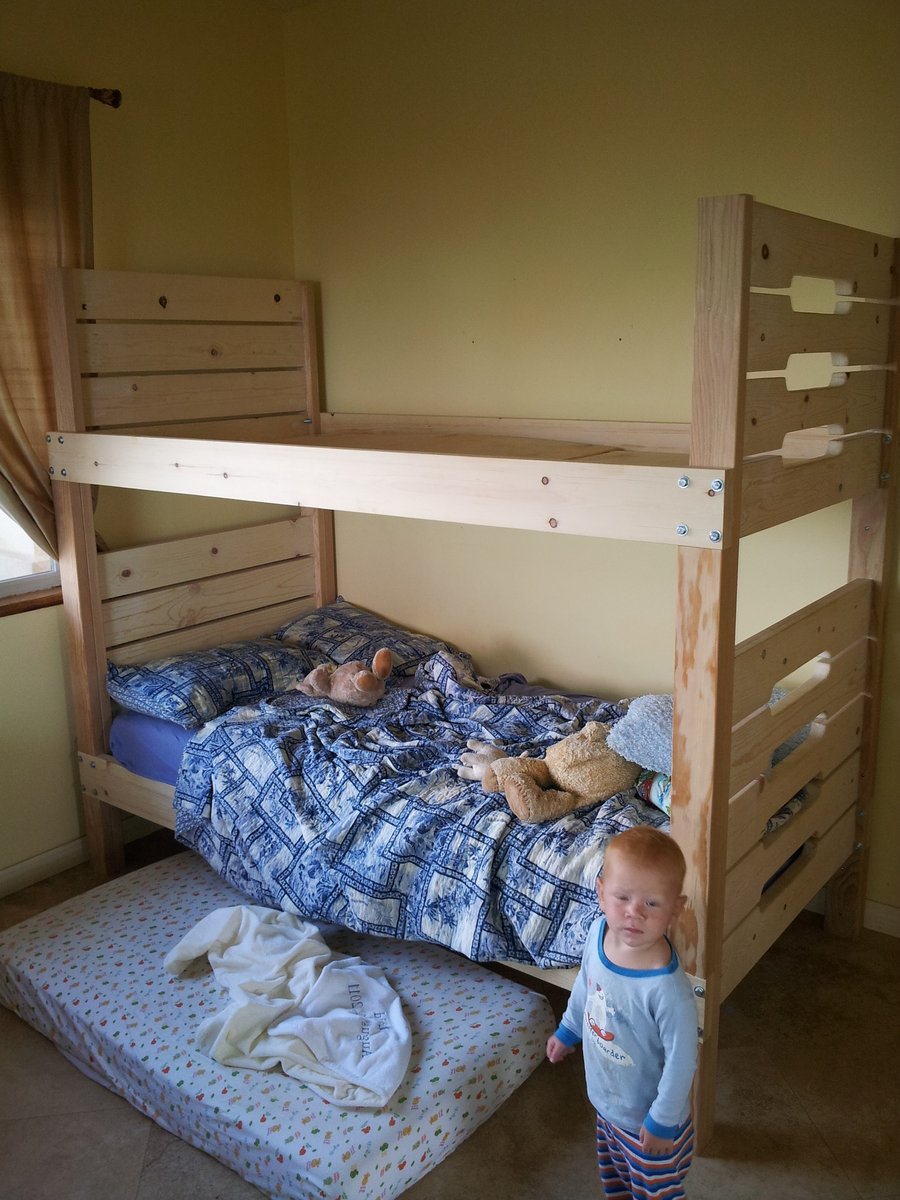
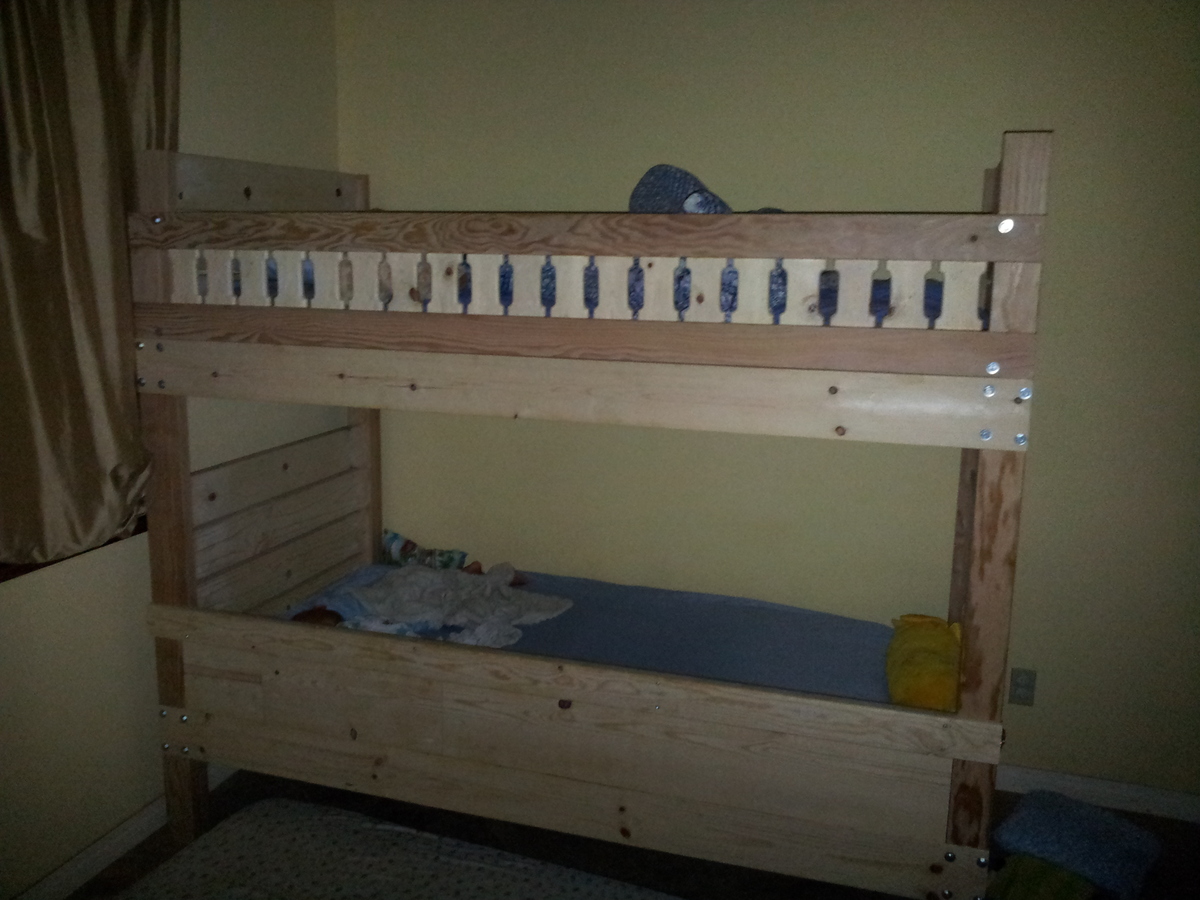
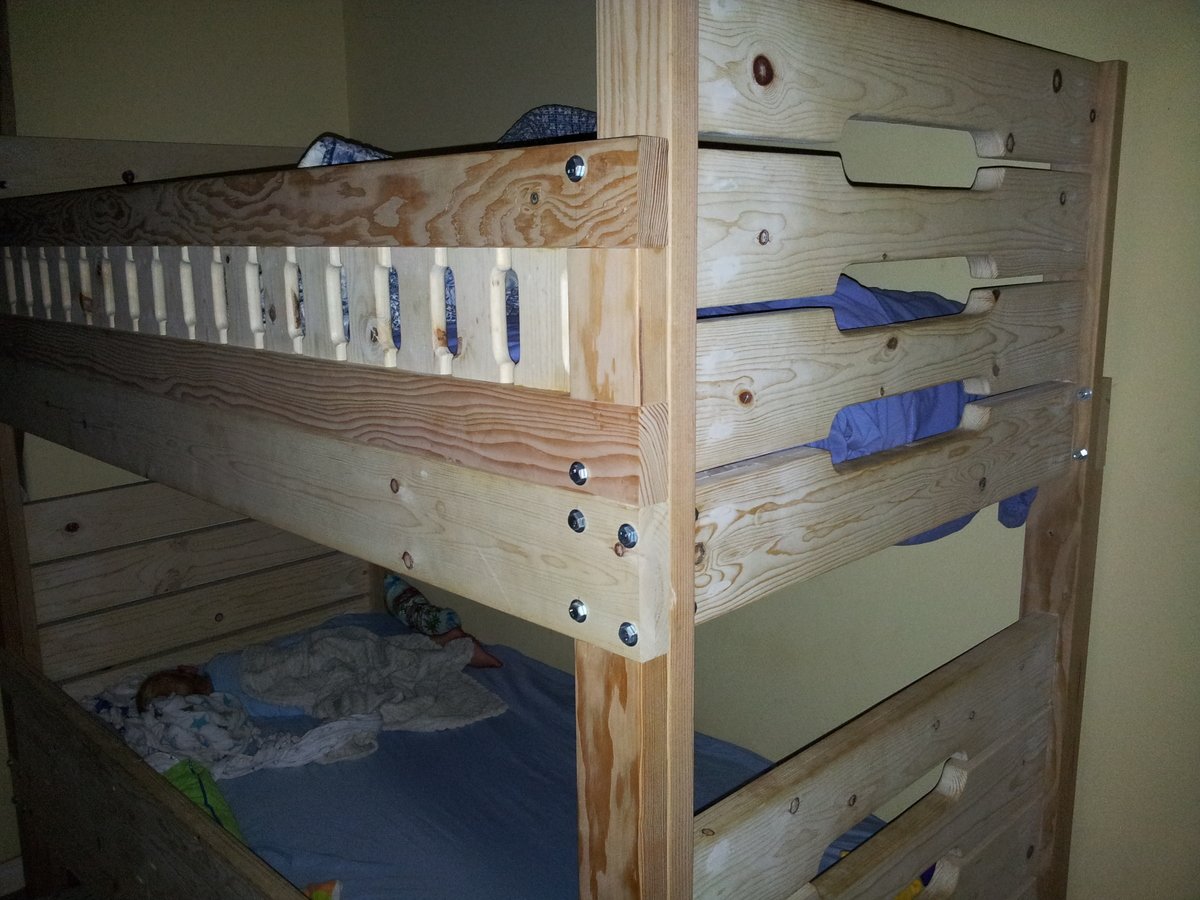
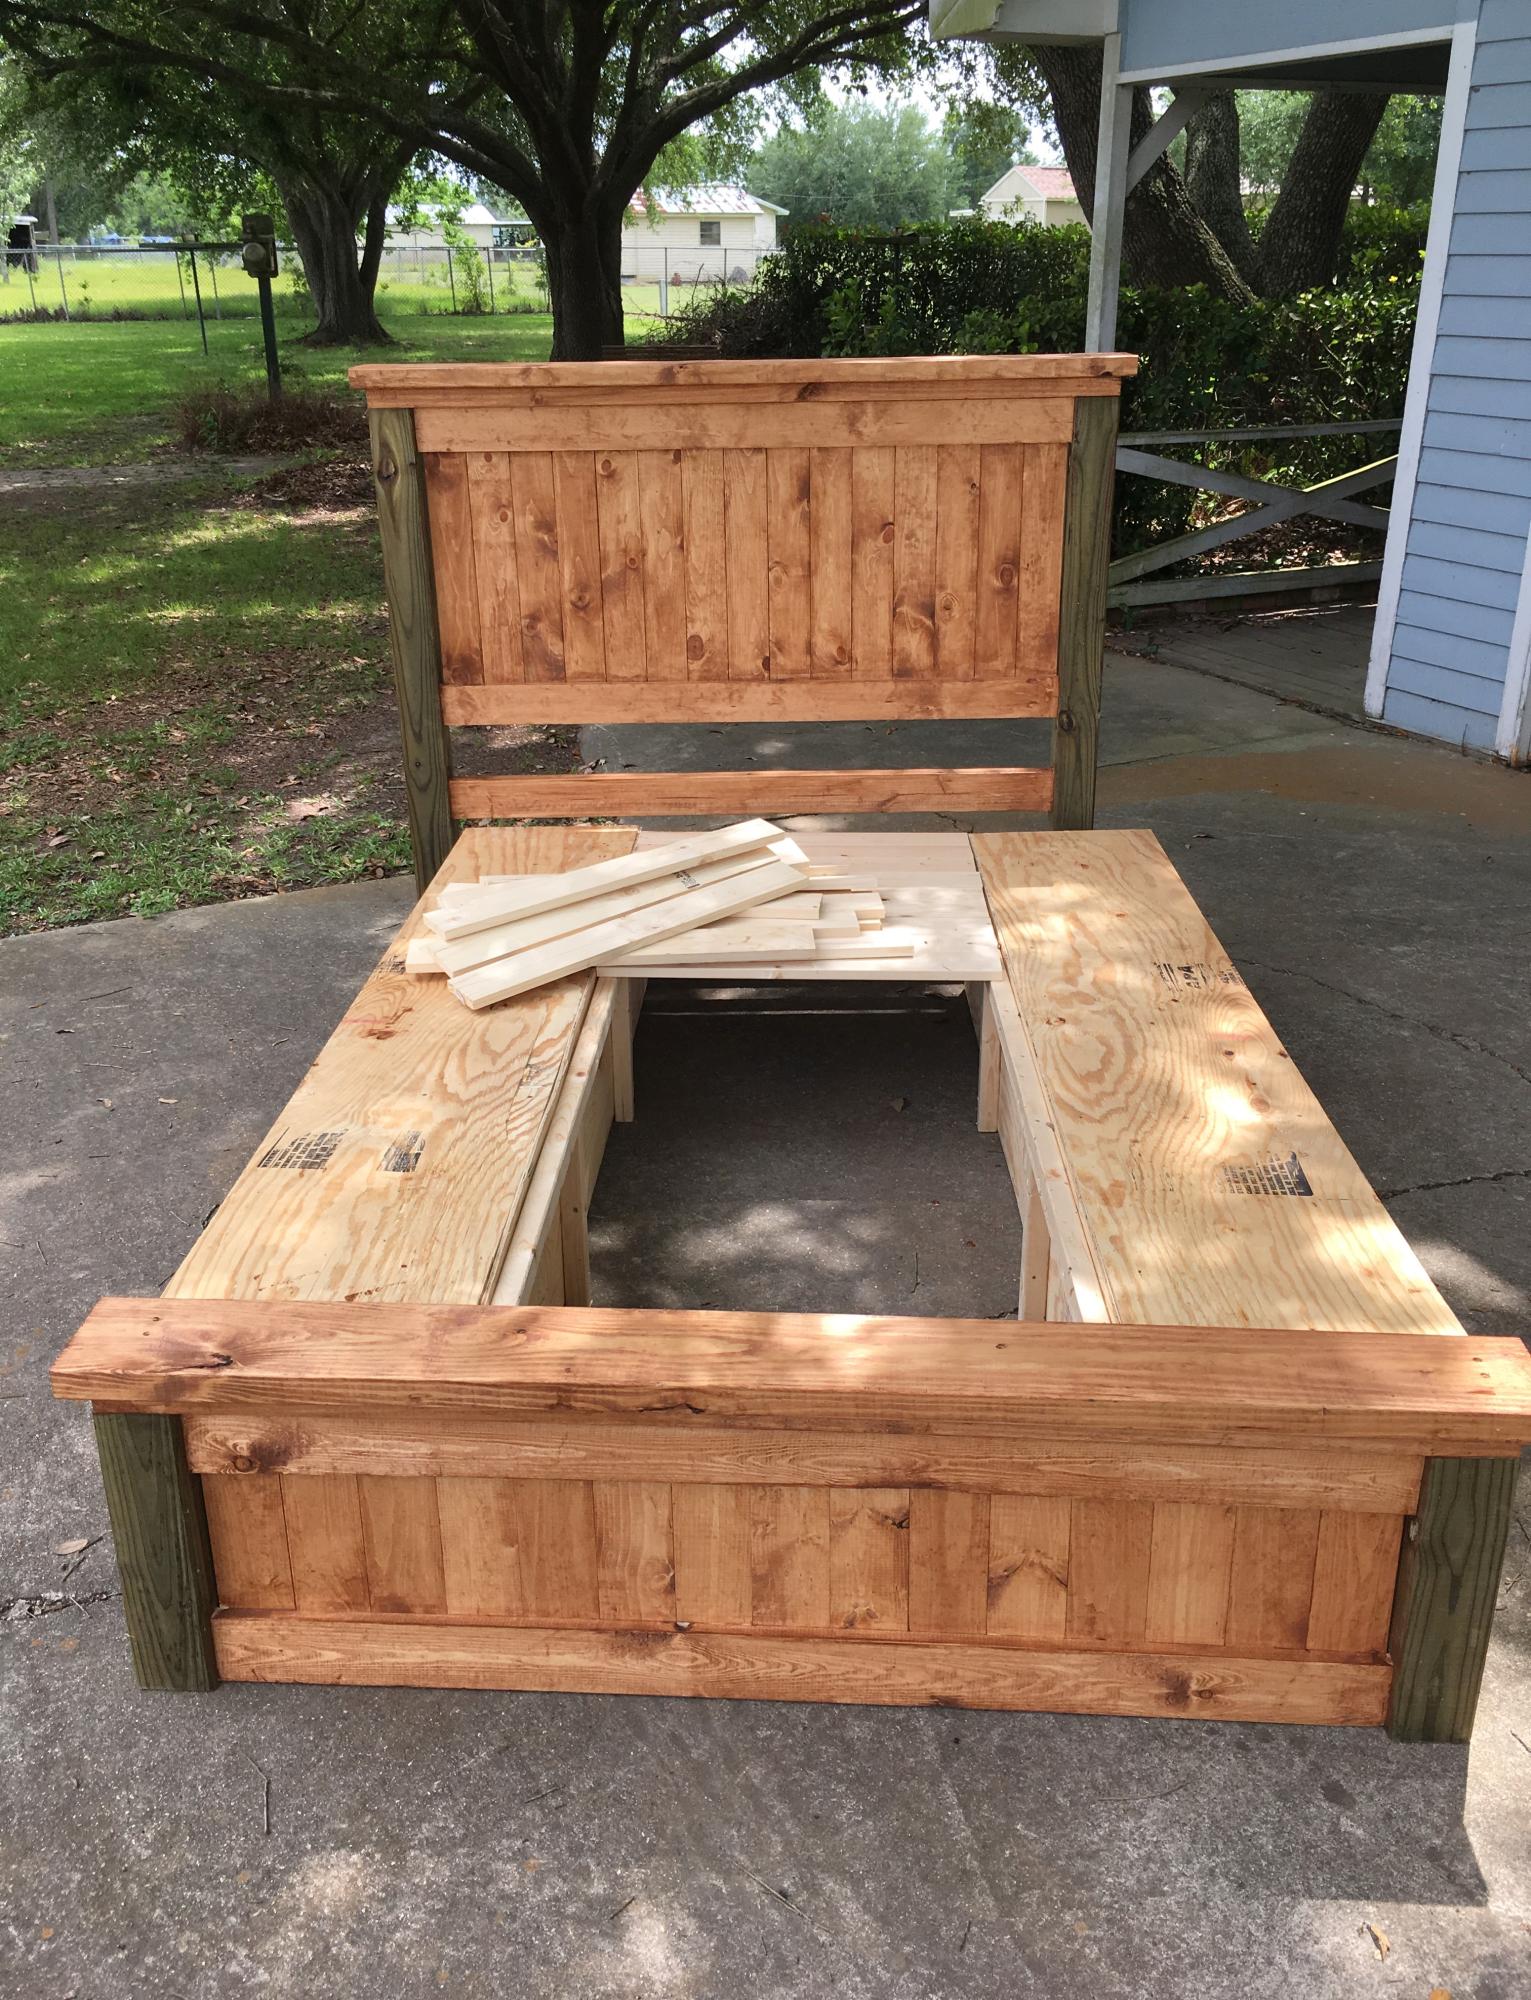
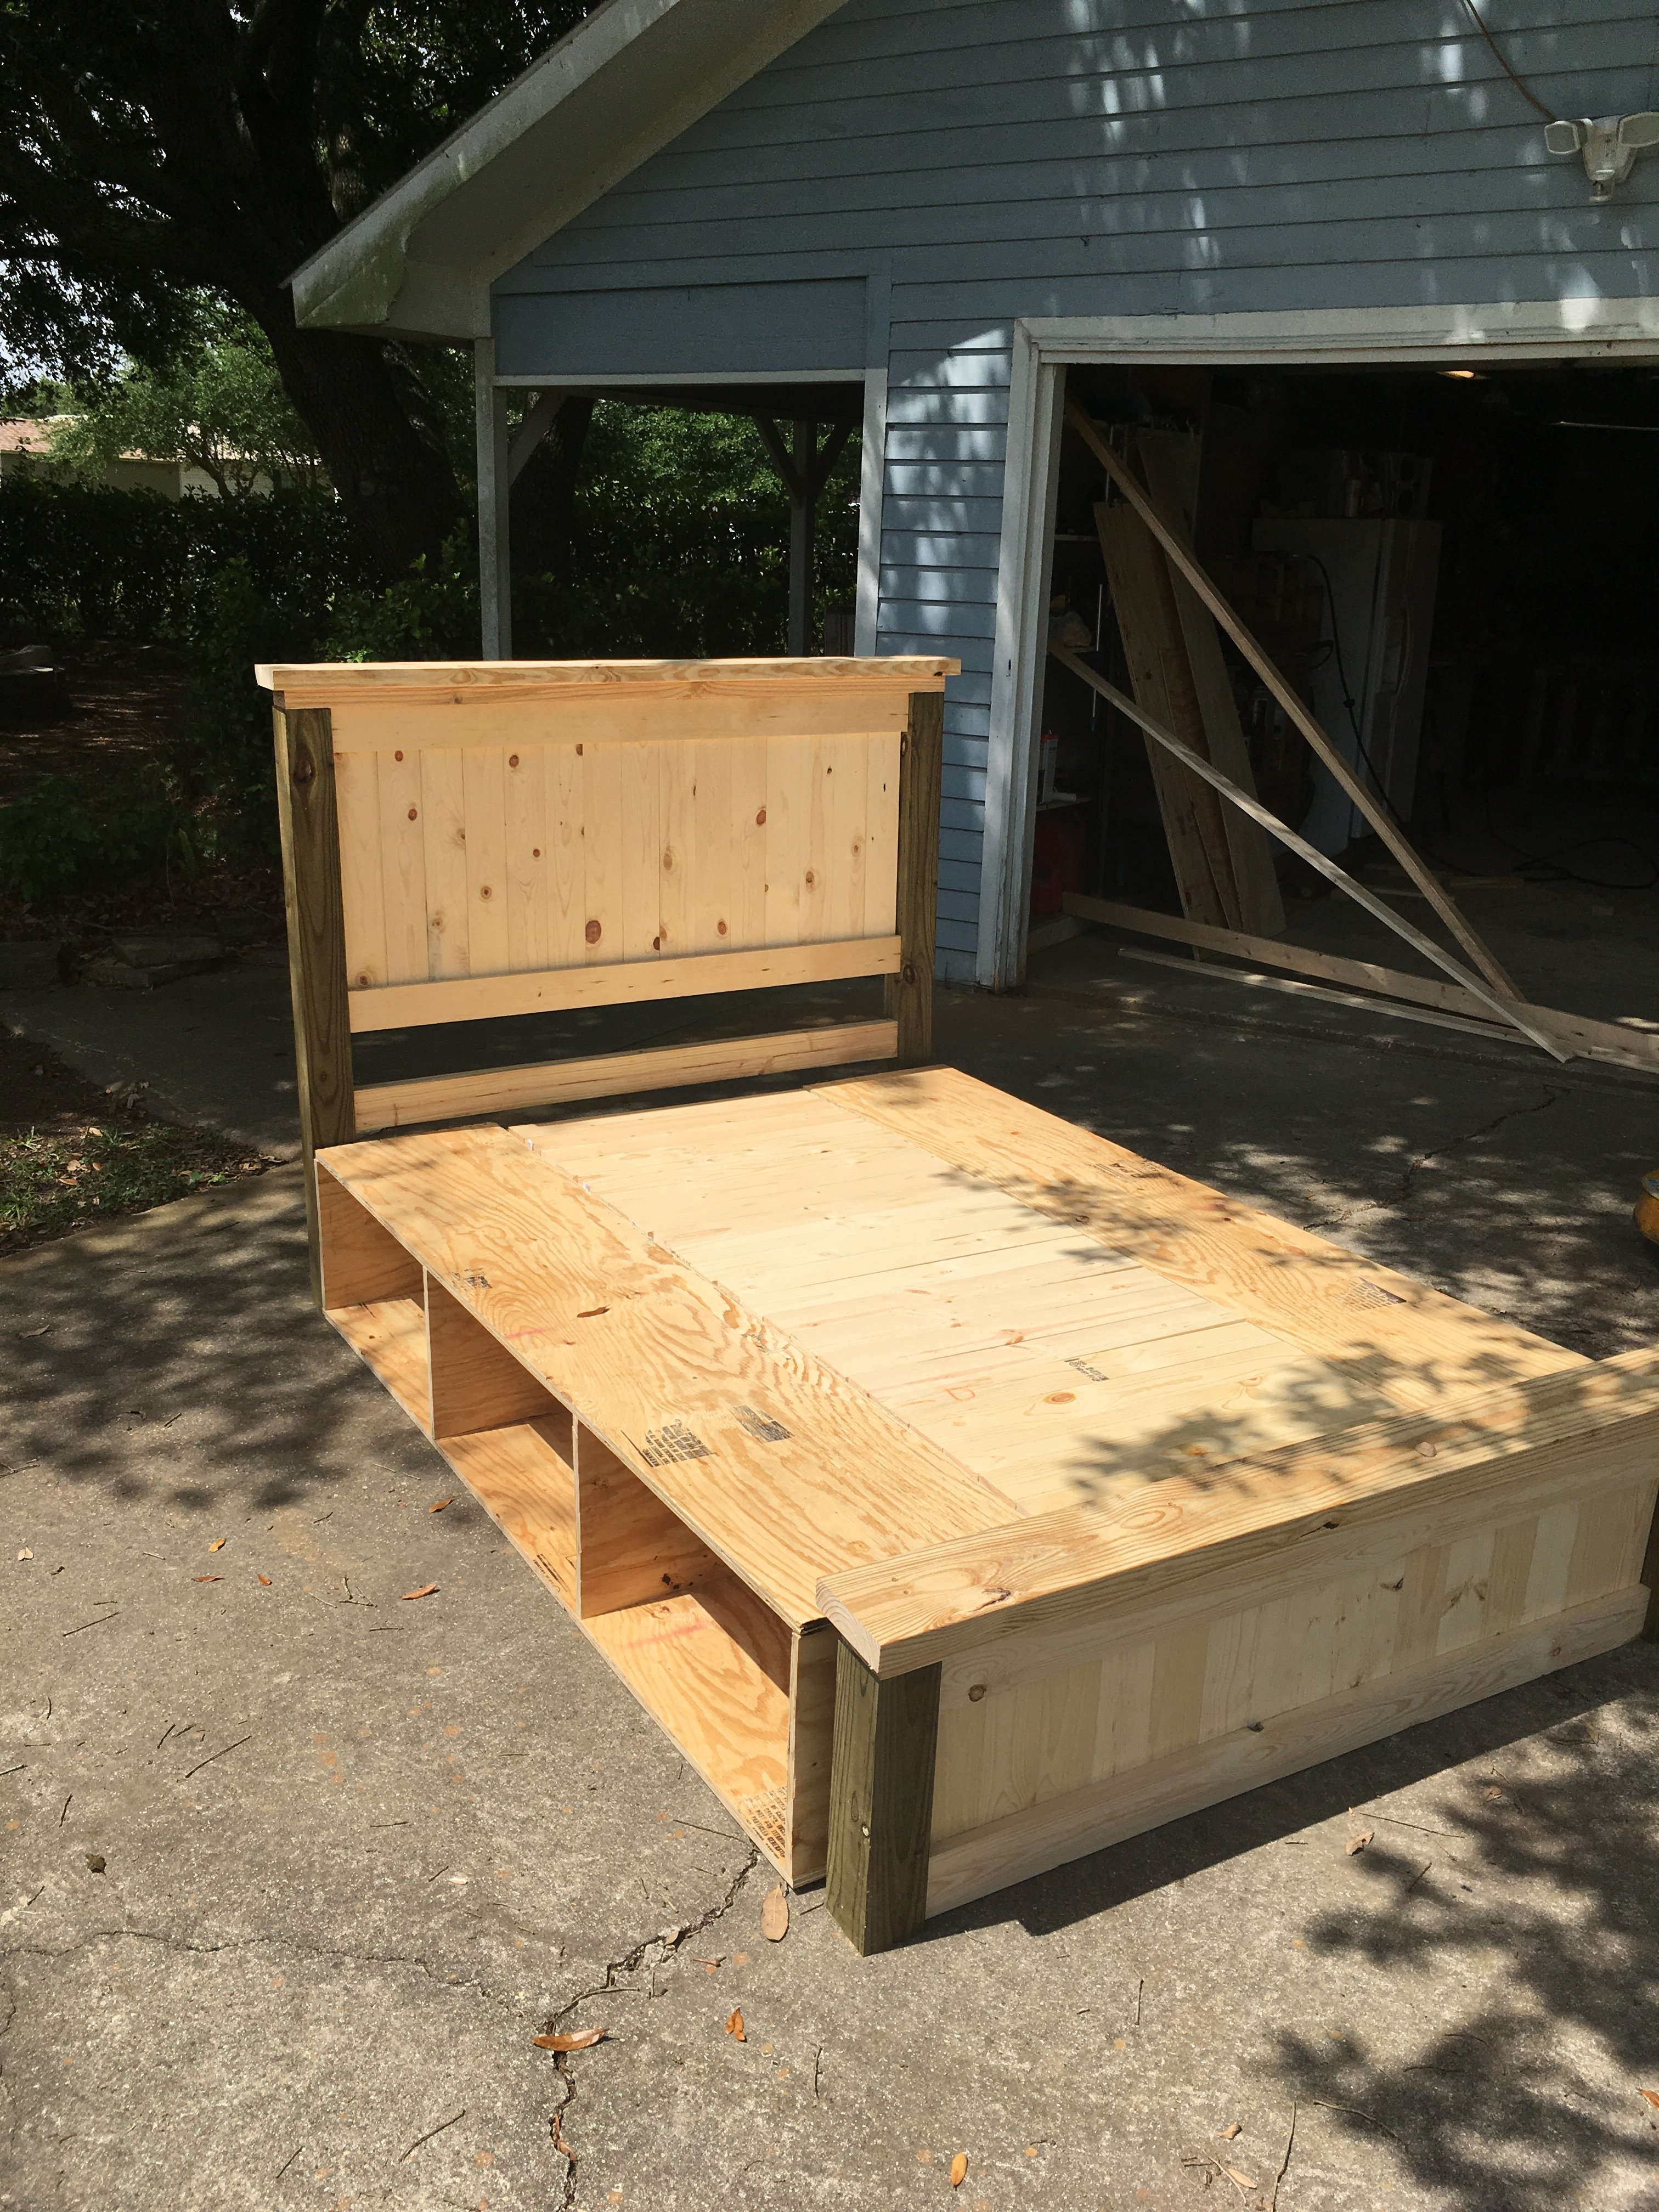
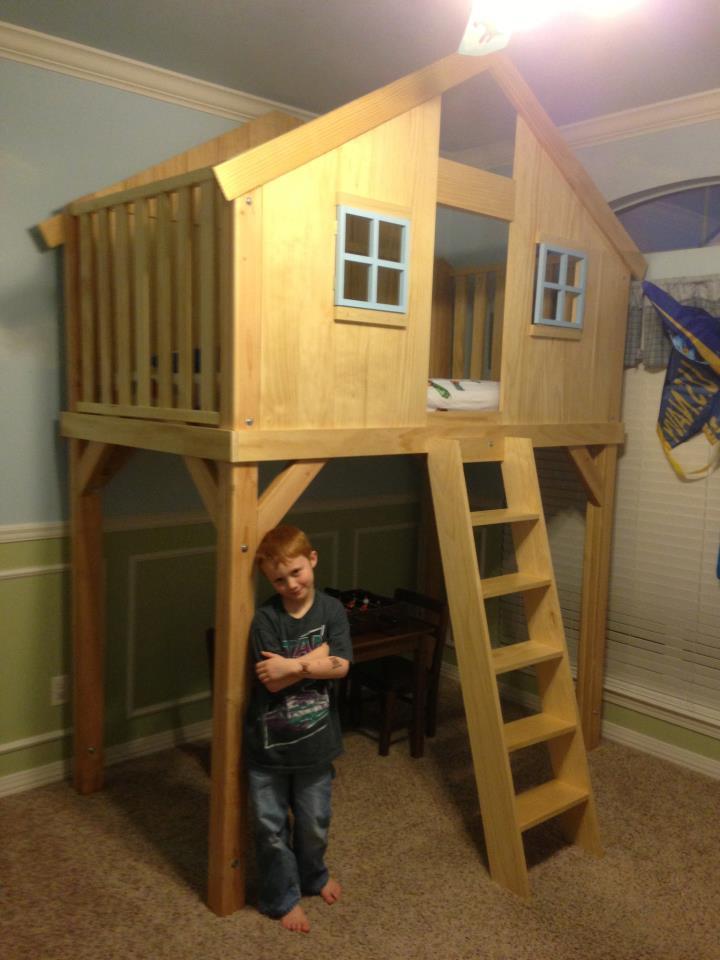
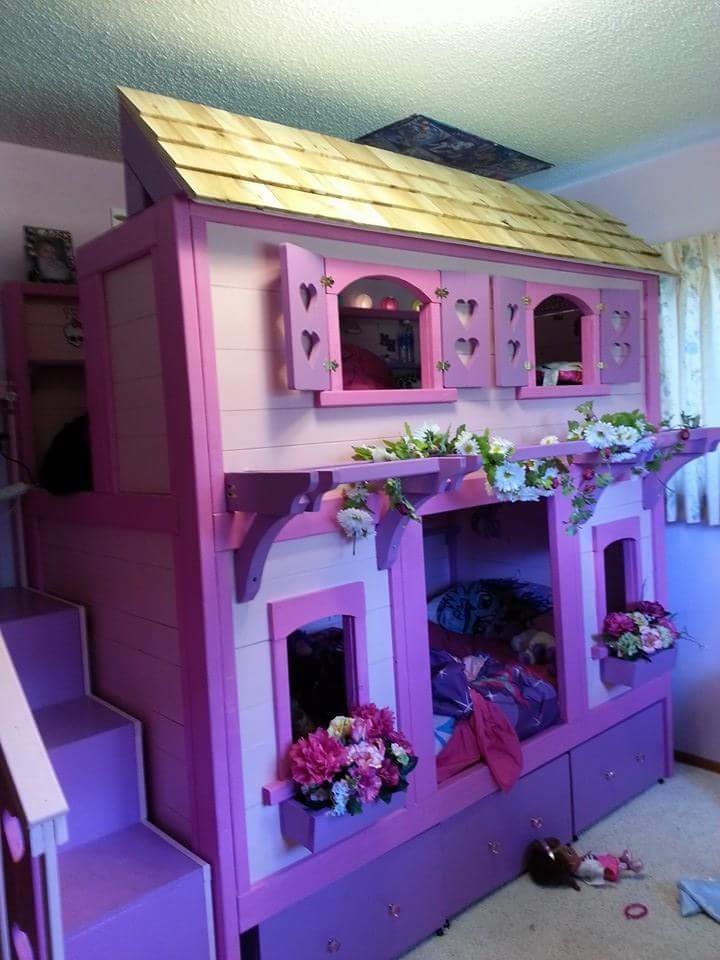
This was only my 2nd project after the tabletop easel. Due to my inexperience this took longer for me to build and required more trips to the store, but was overall a straightforward and uncomplicated build, and my girls love their new bed. The stain application isn't perfect, but I'm very happy with the color / informal look, and found the Minwax water based stain very easy to work with - my 5 year old was able to help.
Tips:
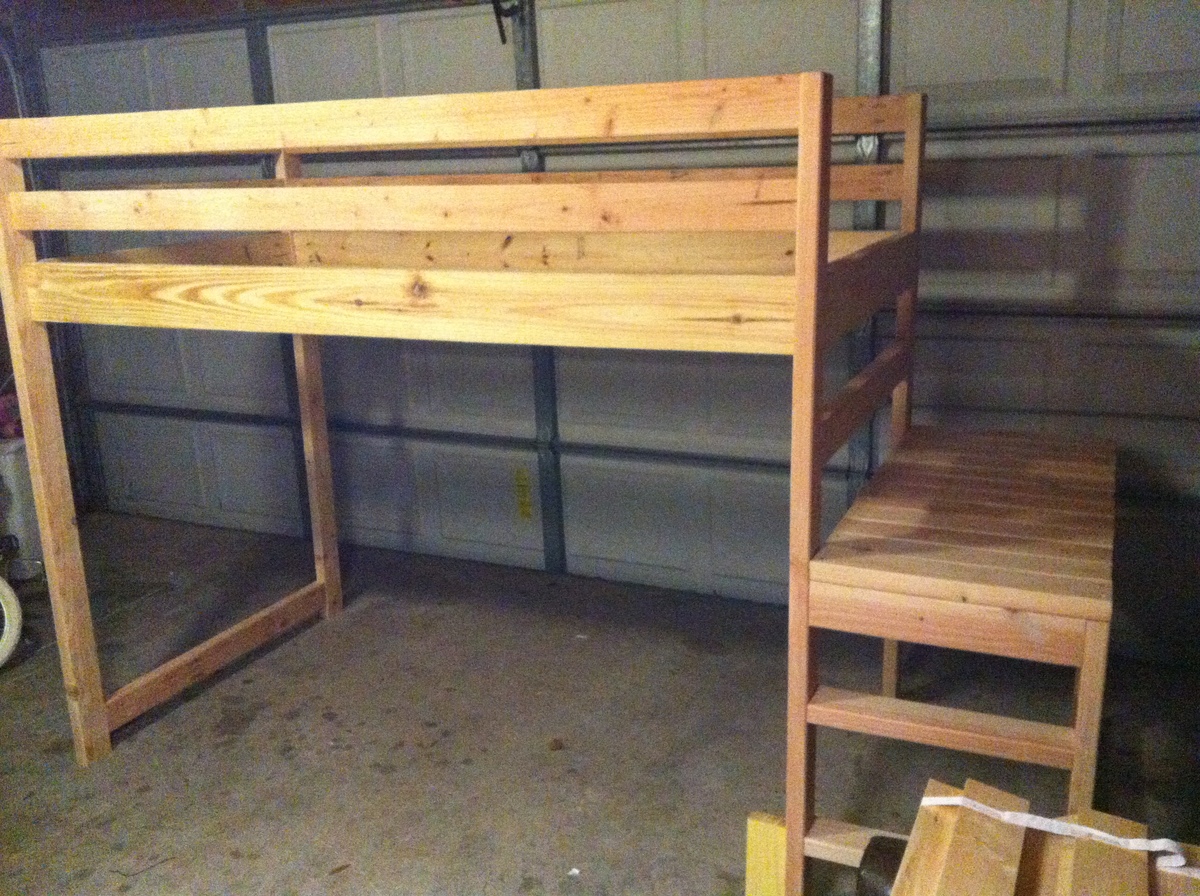
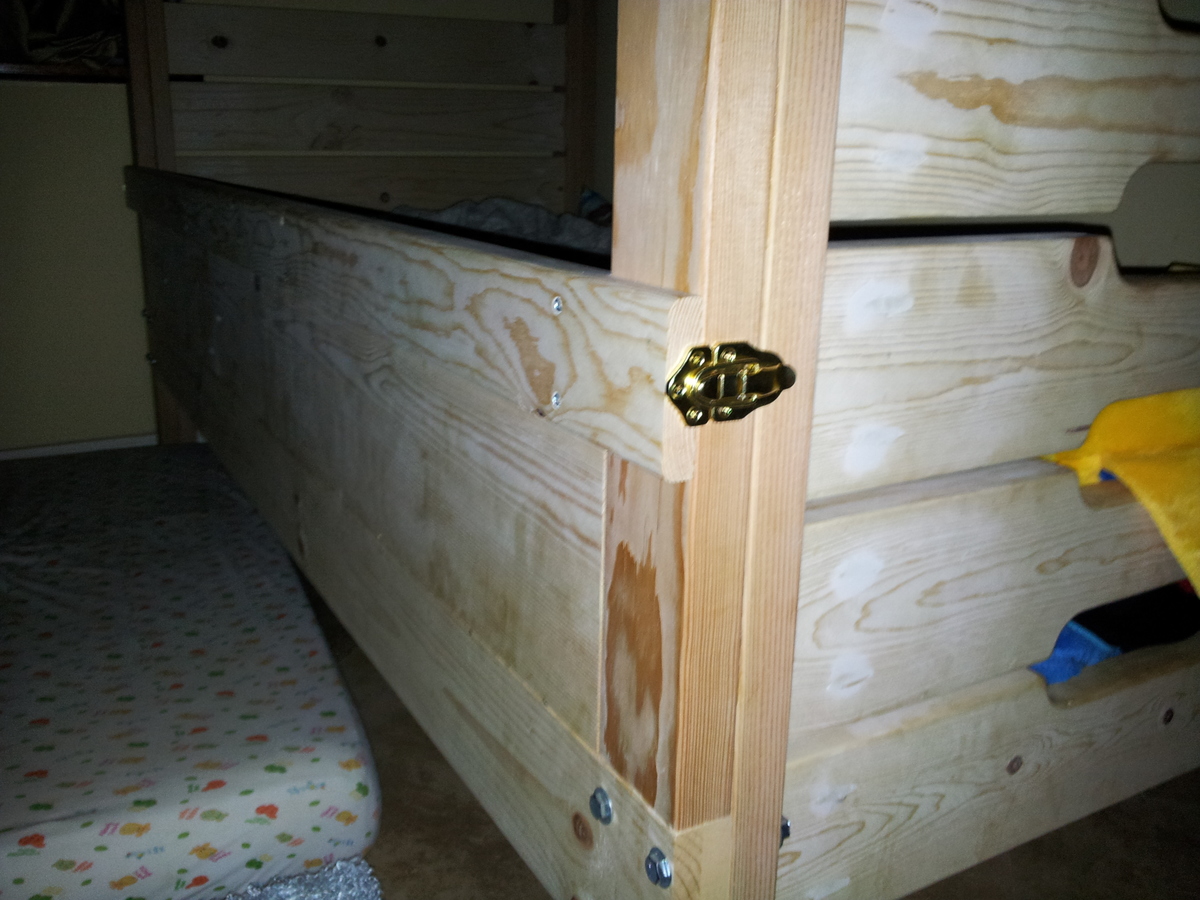
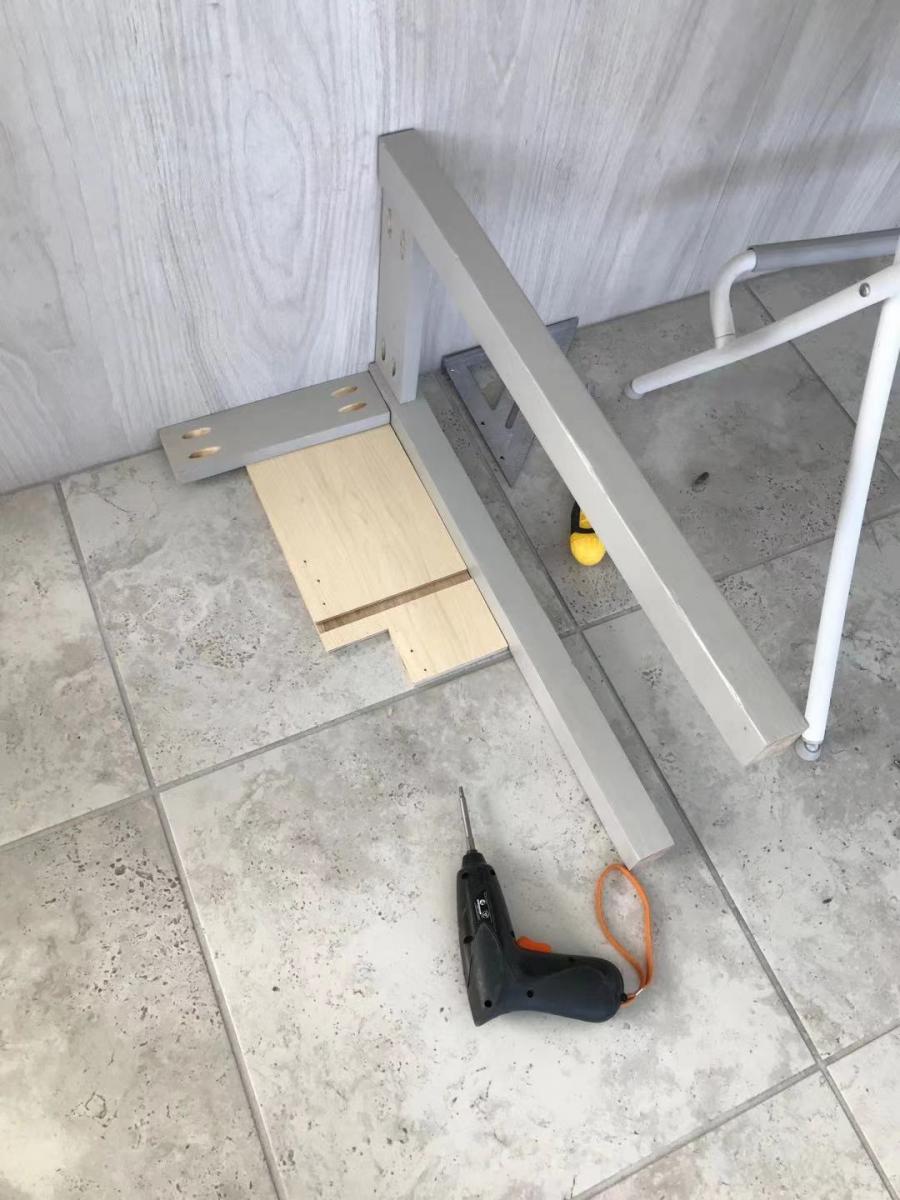
-To make construction easier I ultimately inset the side rails 1", using scrap 1/4" plywood and 1x4" to support the sides while the bed was on its side. This made it easier to get a more precise fit, and enabled me to manage it without an additional pair of hands.
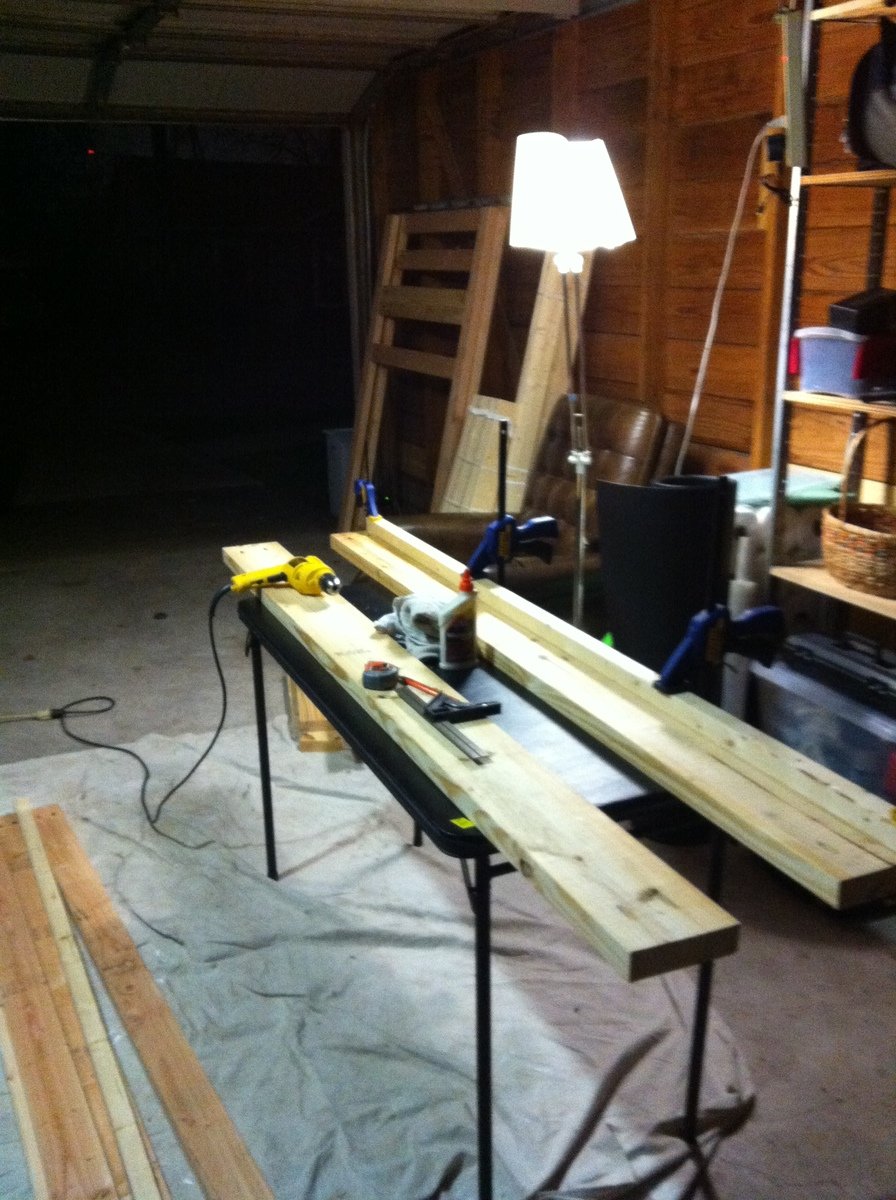
-I should have accounted for the cleats interfering with the drill before putting pocket holes in the support 2x6's, as I wound up needing to redrill them after gluing on the cleats as the cleats got in the way of the drill.
-We do find the bed shimmies a bit back and forth, so will be adding another 75" support brace at the bottom.
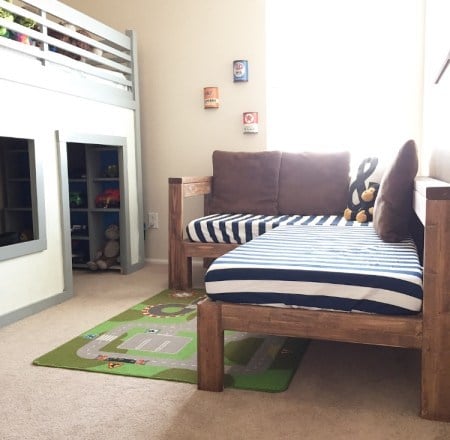
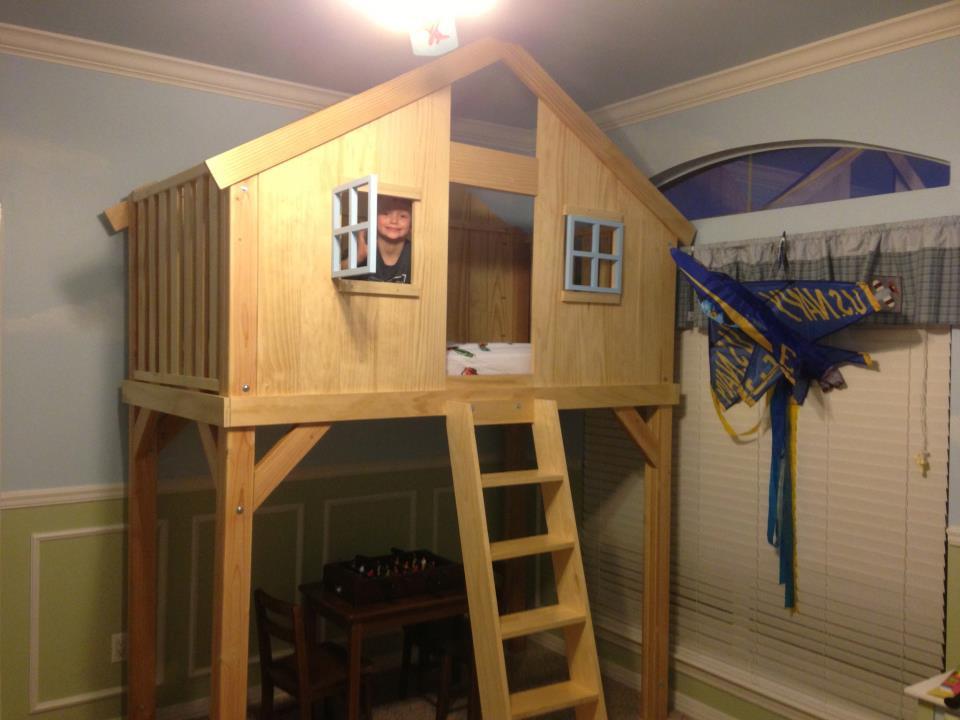
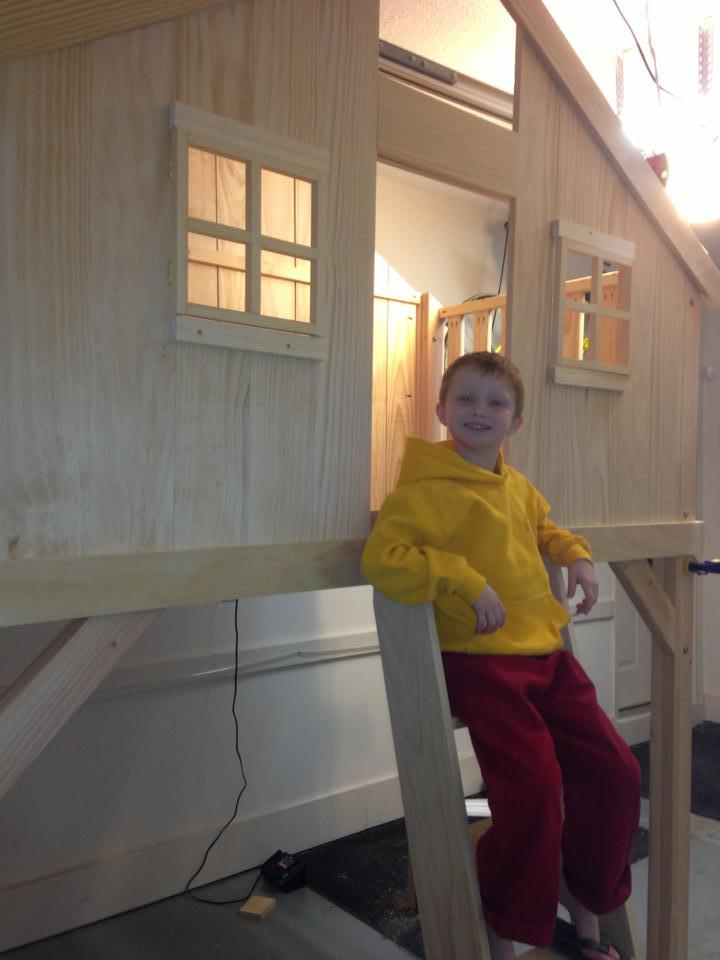
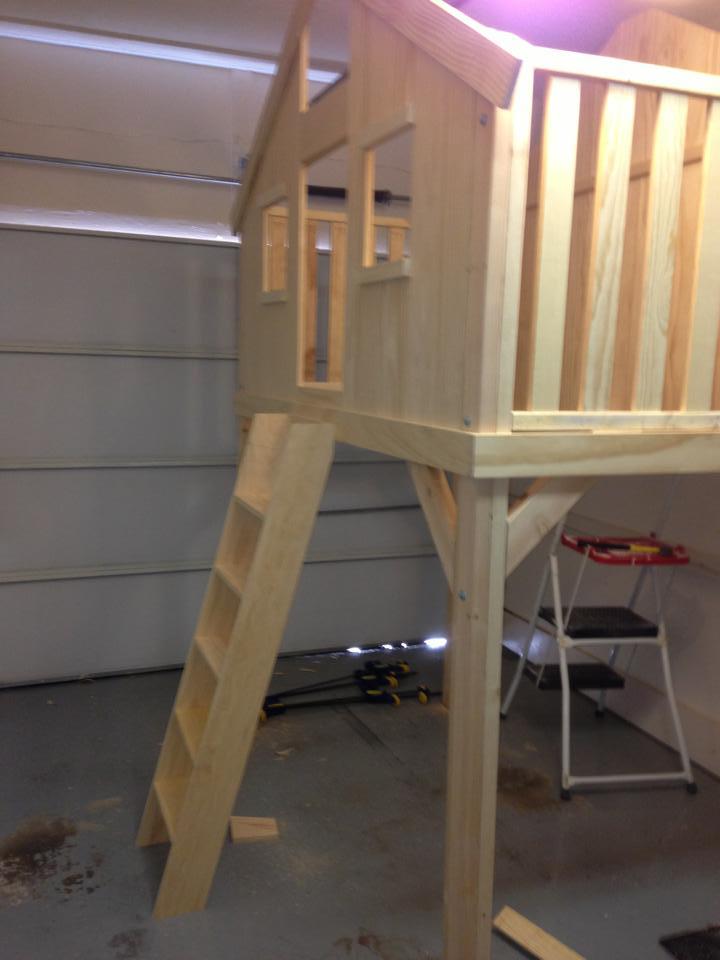
-To fit our space I narrowed the platform 1.5" and there is still plenty of room to play on the platform, and the small ladder is easy to navigate.
-The full stairs wouldn't fit our space so I first tried adding 2 2x4's steps directly into the platform frame as a ladder, but my girls (3 & 5) found this a little difficult to navigate. So I wound up building a modified ladder from the Simple Bunk Bed plan and that works well.
This console table was built using Alder lumber. I modified Ana's plans slighly by removing the center, vertical brace, and changing the thickness of the top. I also altered the top by making it a "breadboard" style top. The finish I created was unique in that fact that it was a 5 layer process. Because Alder wood is a "blotchy" prone wood, I sealed it with shellac first, applied 1 coat of antique walnut gel stain, sprayed a toner (dye mixed in shellac) to darken the wood, and then applied 2 coats of poly.
Wed, 01/21/2015 - 12:00
I love the color of your piece. I also like the center support delete as I feel like it helps lighten the piece. Well done.
I love using recycled and refurbished wood. I saw some Cedar leftovers and made this project. @theshopbycecilia
We made a few alterations to these plans. Added lift up hinges.
I chose to modify one end to incorporate the ladder using The 2 x 6s. I made a template and used a jigsaw to cut out the u shapes. A lot of work! Mostly sanding I made the bottom sides removable for guests an when they eventually are not needed.
Had to buy a new washer and dryer several months ago and wanted the front loaders. I was unwilling to pay $600 for the pedestals at the hardware store so I had been dealing with them on the floor until I found this plan. Built these and absolutely LOVE them. No more killing my back getting laundry done. These sit higher than the ones from the hardware store so even better!!! I keep 3 laundry baskets underneath.
I decided to make two Adirondack stools, they looks simple and easy and I have 2*2 and 1*3 slats on hand.
Cutting and painting didn't take too much time, but I was struggling with assembling. It was hard to square the board. When I finished them, they were great, I love them!They are 24" heigh.
Needed a new bedroom set. Loved the Madison plan, but also loved the idea from another brag post. The Rhyan nightstand had tile on the top. So I added porcelain tile to the top. Wanted something different.
I just built this table over the weekend. I started building this on a Saturday afternoon and finished it on Sunday afternoon. On Monday I put a coat of Minwax Honey on it. On Tuesday, I put a second coat of stain on it. On Thursday, I put a coat of semi-gloss poly on it and on Friday, I put a second coat of poly on it. All in all, I'd say I put in about 15 - 20 hours on it. Well worth the time and effort and cash savings!
I used a Kreg pocket-hole jig instead of nails which caused me to have to think a little bit about where and how I wanted to join the wood together. I also spent a little more on some nice wood (pine) as this was going in our front living room and I wanted it to look as nice as possible.
This is really only the second piece of furniture I've ever built. I built a beam mantle last month just in time for Christmas. I think both of them turned out really nice! Let me know if you have any questions.
Tue, 01/27/2015 - 15:18
This is a beautiful project! Thanks for sharing!
I built this couch to put in my son's bedroom. It came together really easily and I love the finished product!! I have more pictures of the build on my blog.
My husband made these gorgeous, inexpensive bookshelves for my classroom. We modified the plans to create a couple of different sizes. I love them, and they work perfectly for the classroom library.
https://www.ana-white.com/woodworking-projects/30-industrial-bookshelf
Decided to make this bed as a father-son project. We modified the original plan a bit but used most of the ideas from the site. We decided to make it taller since we had the ceiling height available and wanted real usable space under the bed. I built this one with 58" clearance under the bed. We also made the windows hinge outward to prevent head bangs when playing in the bed. We also added a bit more support on the front and the back panels.
This was a labor of love, but so worth it when completed! My girls love it, I love all the storage!
Fri, 02/13/2015 - 20:48
wow! This looks great! I love the color combo!
Fun project indeed! Just make sure its all square every step of the way.
Thanks, I look forward to perusing some more projects!!
Comments
Ana White Admin
Wed, 03/17/2021 - 09:40
You've been busy!
Fantastic job on all of your builds! Thank you for sharing:)