Community Brag Posts

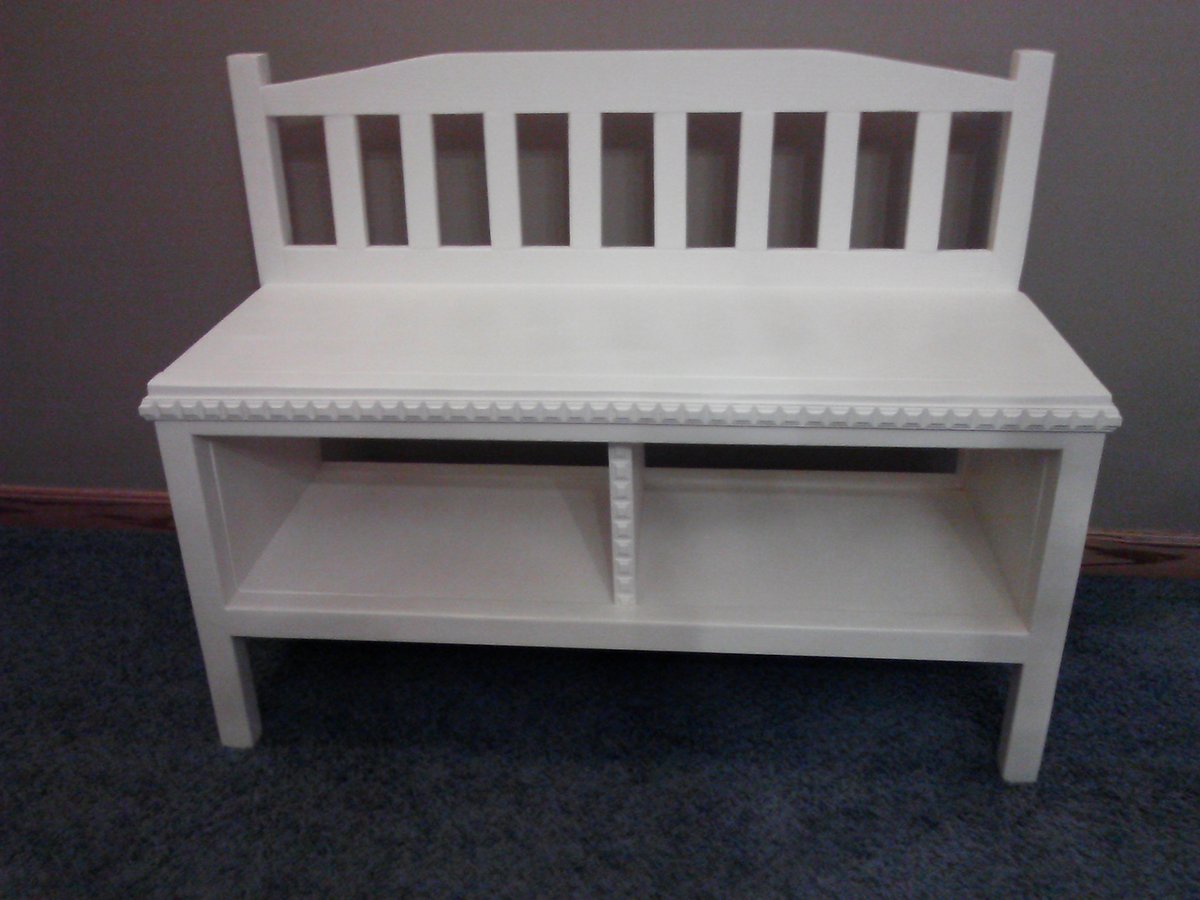
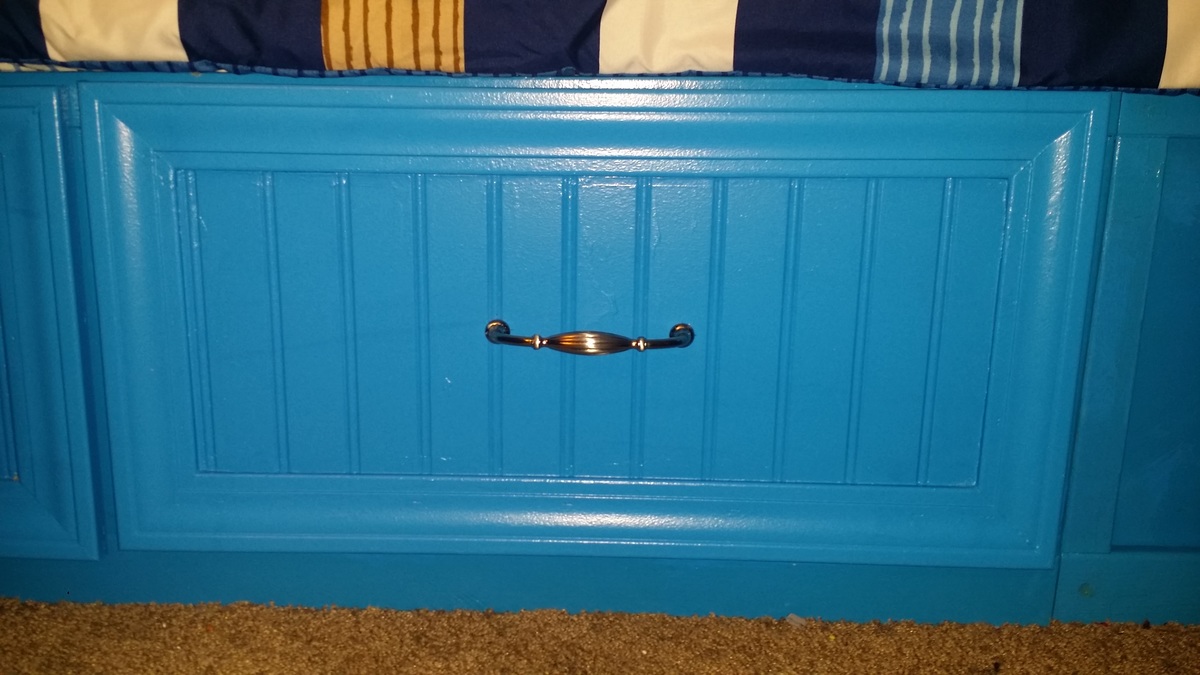
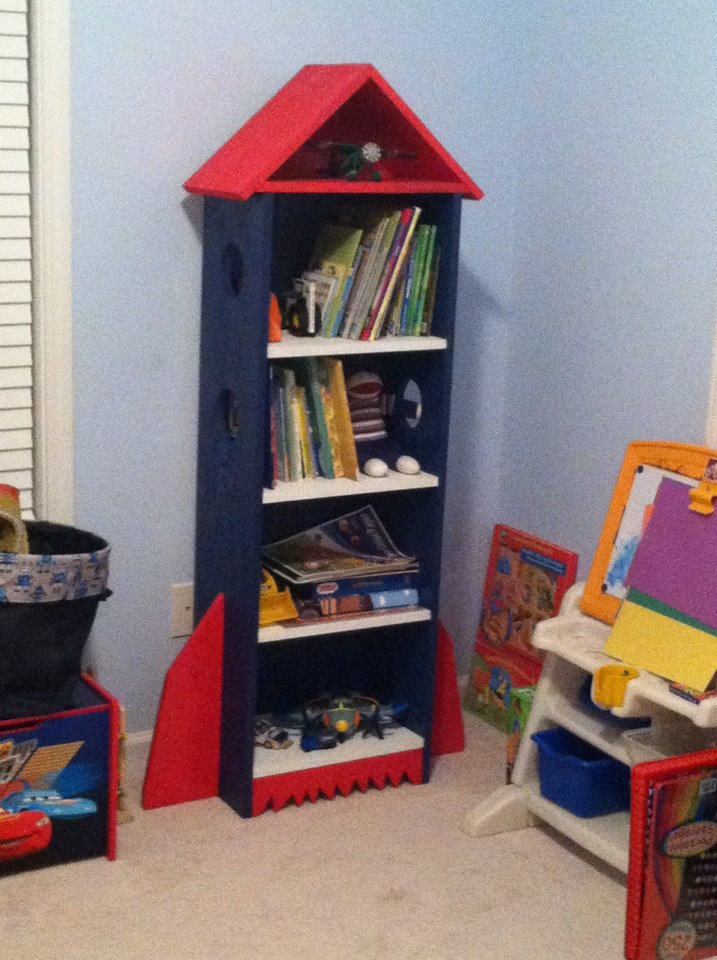
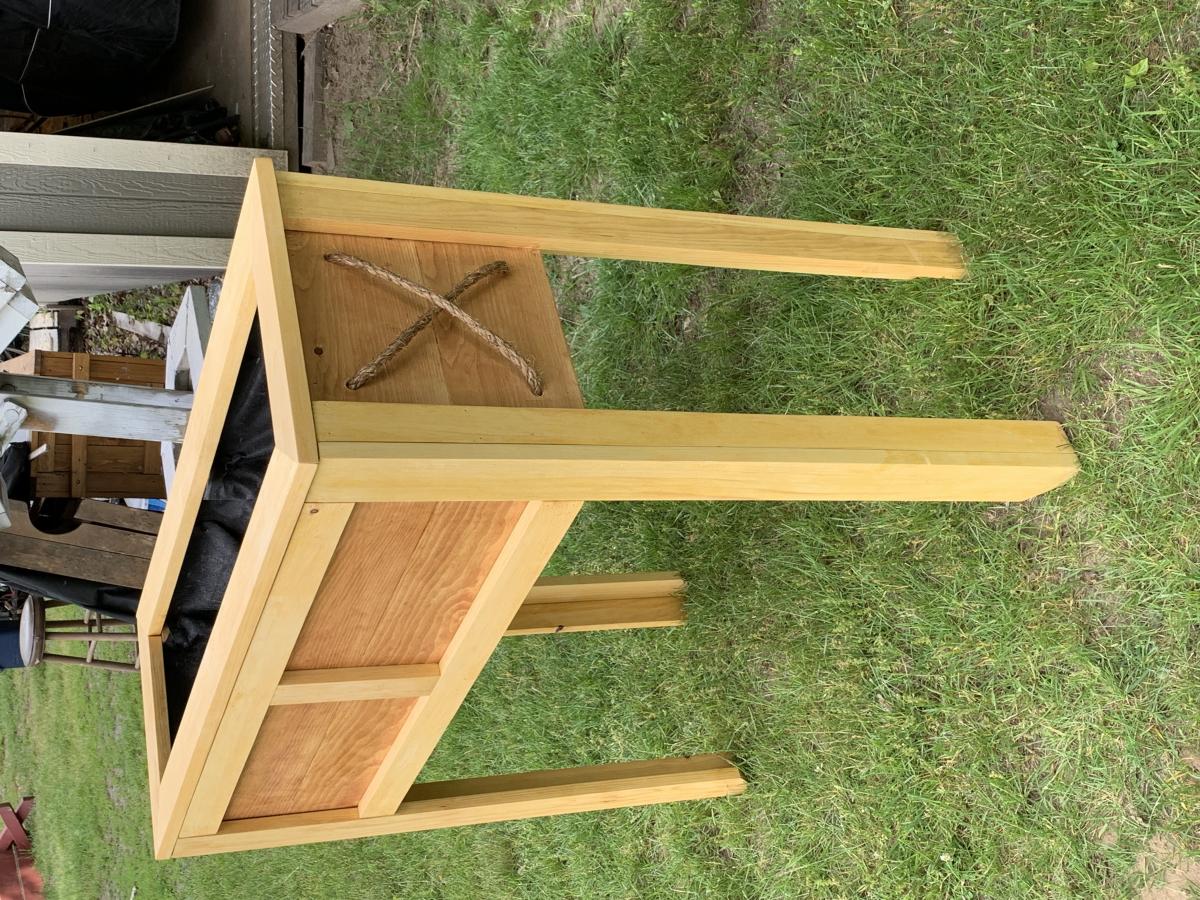
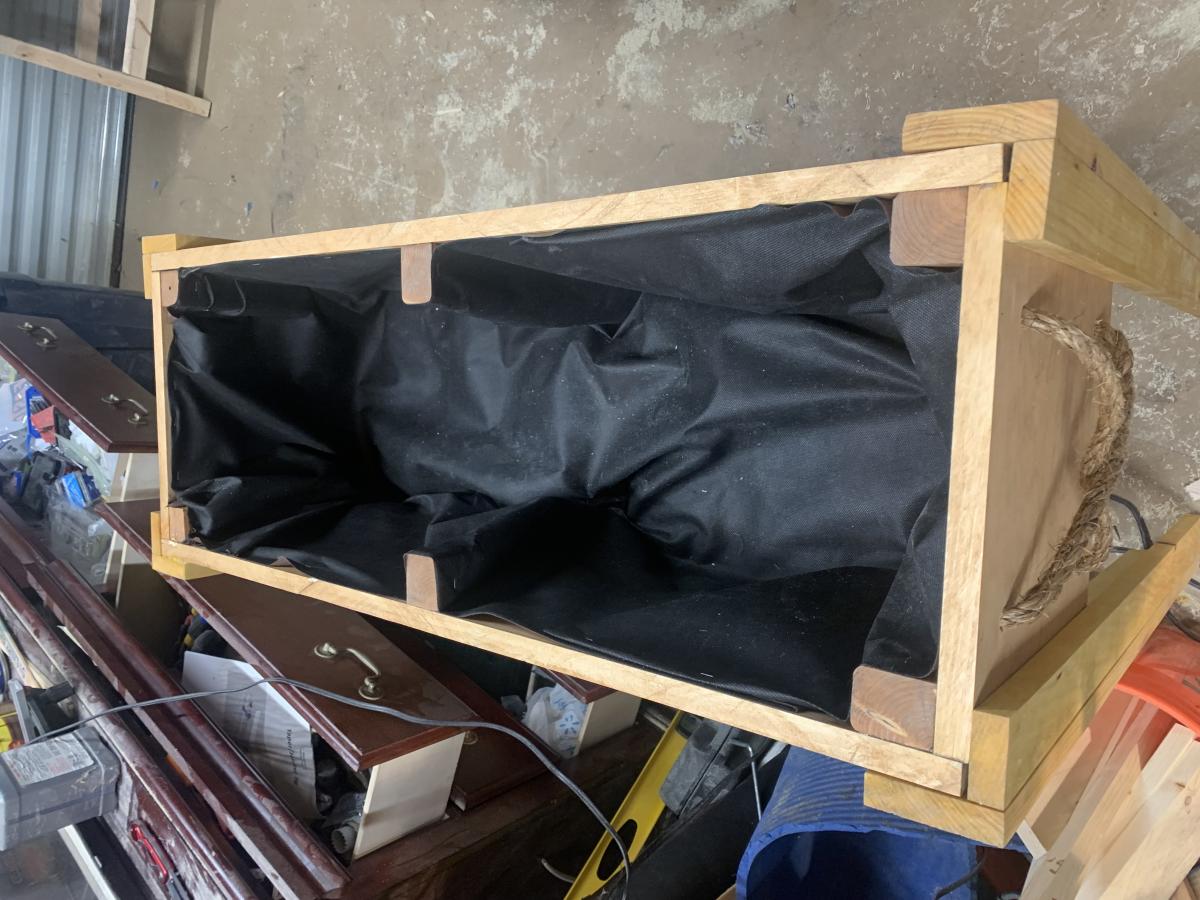
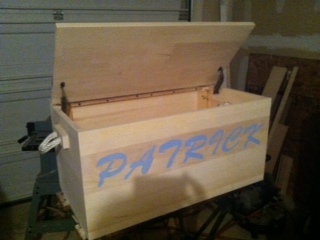
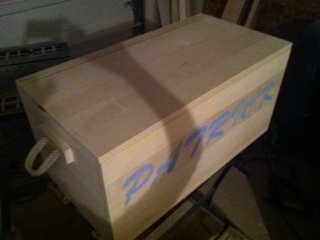
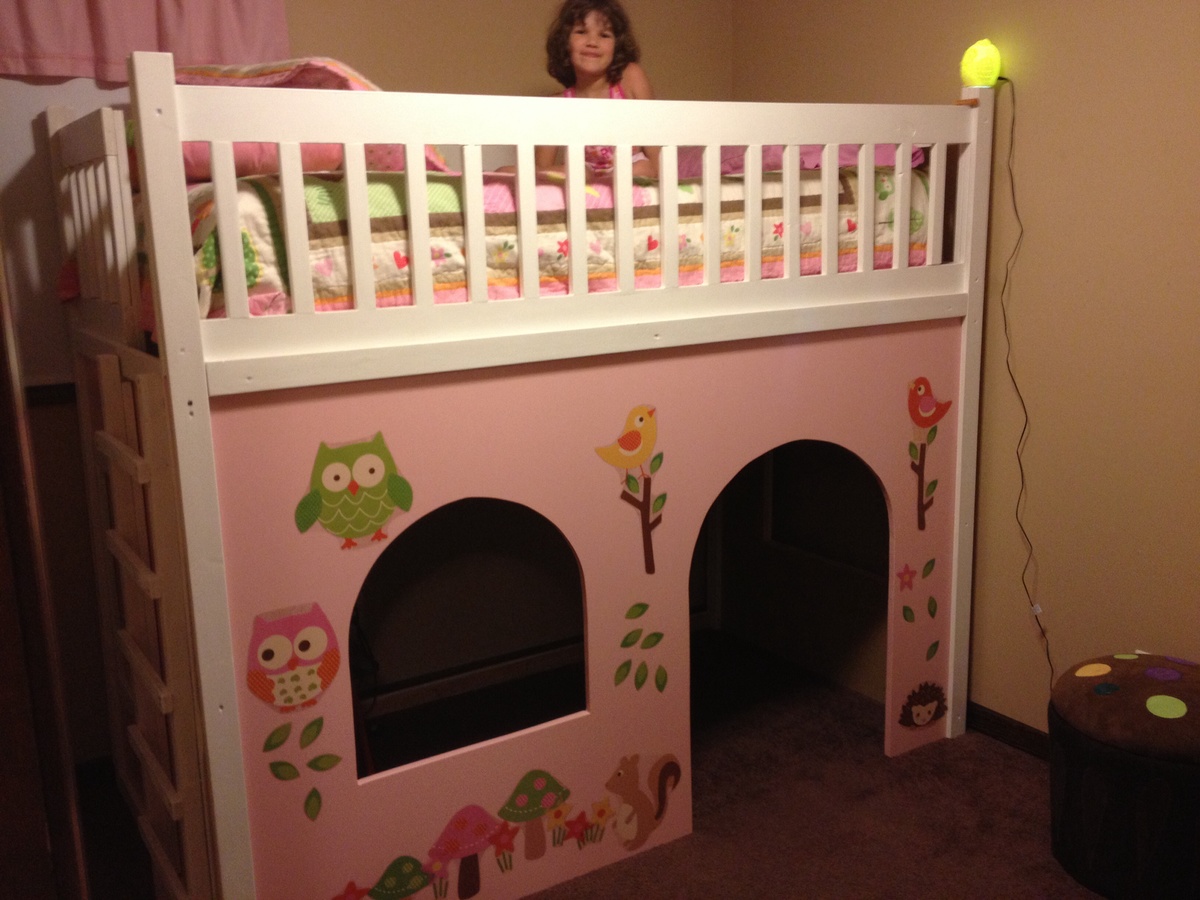
Cottage Bench with Storage Cubbies for Girls' Room

Submitted by Debbie440 on Fri, 12/13/2013 - 05:49

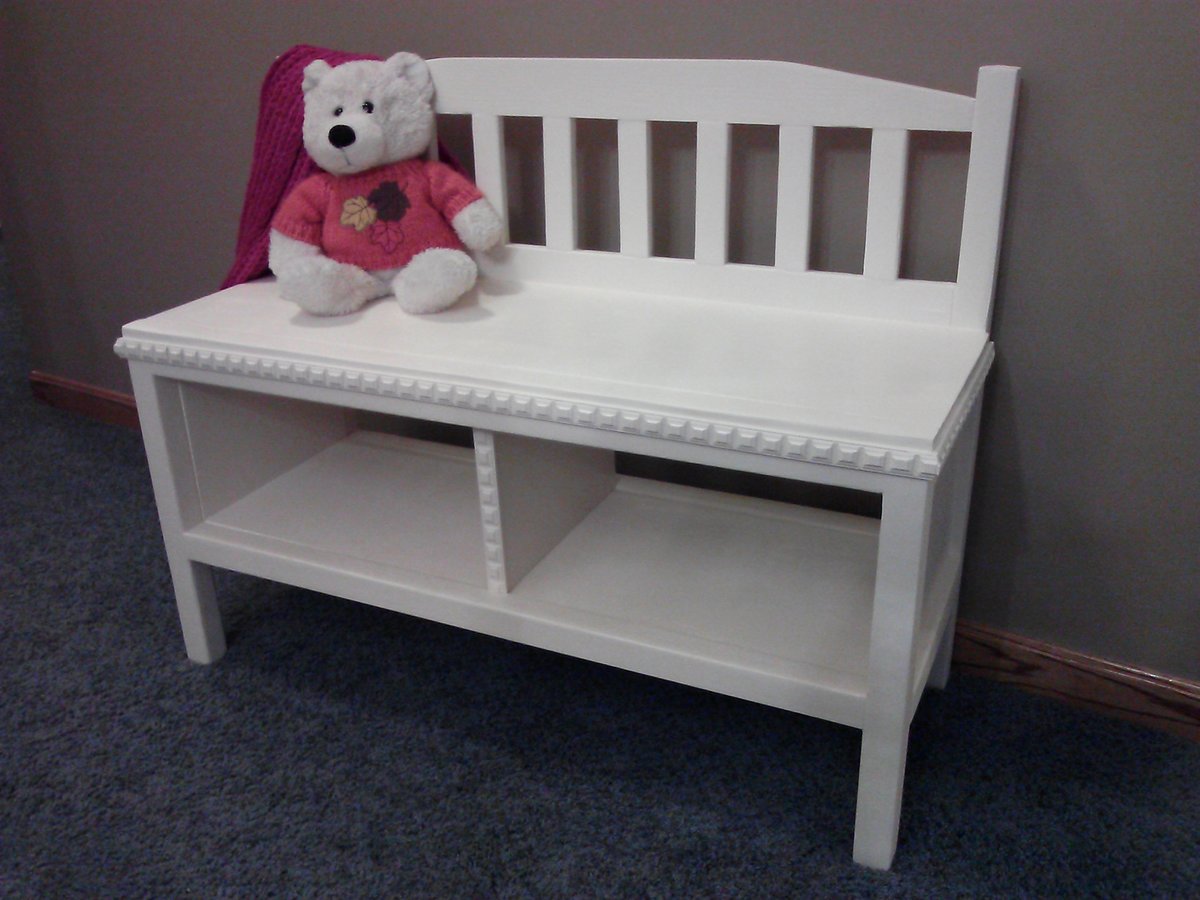
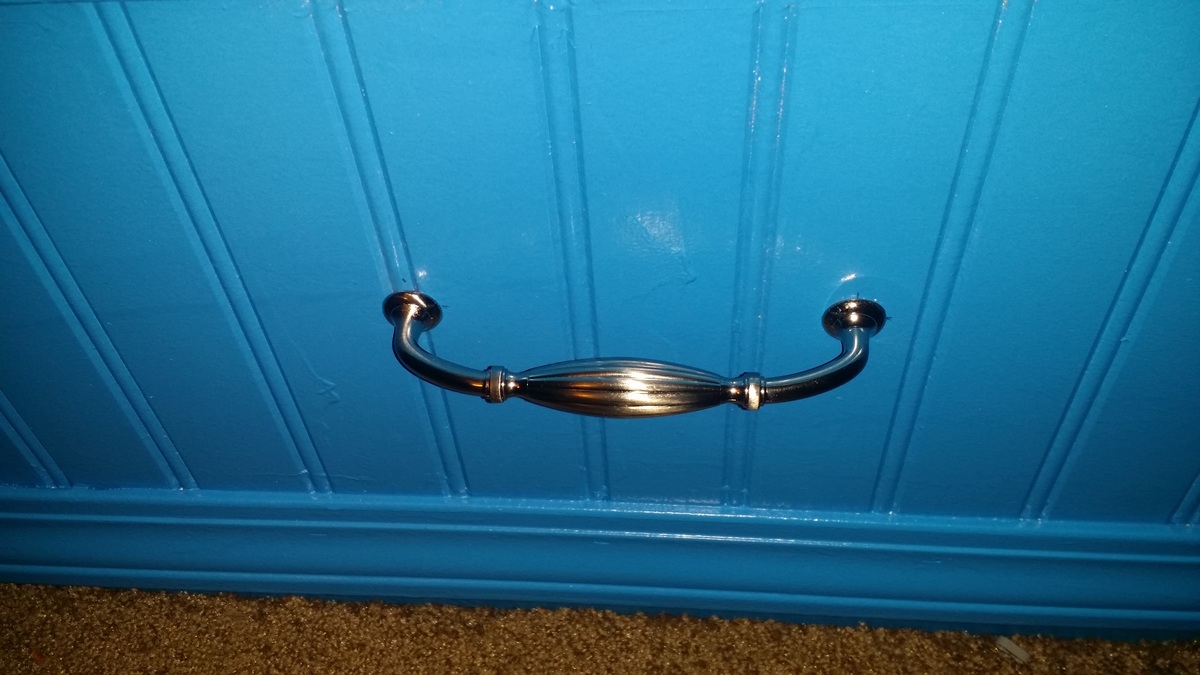
I followed the plan exactly. The only thing different is that I added decorative trim.

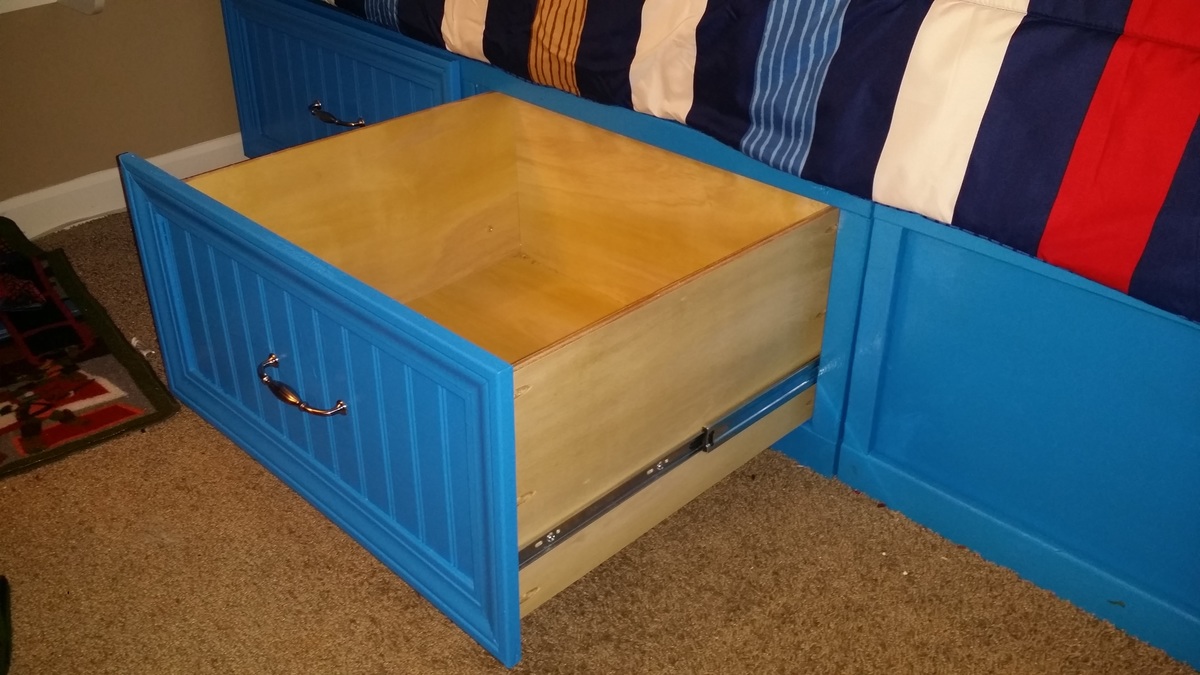
I am a beginner and this was fairly easy. The only part I had trouble with is when I went to attach the back panel to the bench. It didn't quite line up. However, once I started screwing it down, it got better.

Estimated Cost
$35 for lumber and $5 for Sherwin Williams test paint
Estimated Time Investment
Day Project (6-9 Hours)
Finish Used
The color of paint I used is a sort of Antique White that I had color matched. I used Sherwin Williams test paint.
Recommended Skill Level
Beginner

Comments

Full-Size Storage Bed

This (so far) is my best creation yet! I had previously made a bed for my son but my joinery skills were not up to par so it didn't make it. After re-evaluating his room I realized he was lacking on space so we needed to ditch the dresser. So glad I ran across this plan on Ana's website!

Since I was ditching the dresser in his room I needed to make sure the drawers were deep (25"x18"x10.5"). I once again ran into some issues where I was not paying full attention to the instructions and ordered side-sliding drawer slides instead of under mounting ones. So I had to alter the plan a tad bit. Not to mention my drawer openings were not completely square so I added some door trim and beadboard to the face and let it cover the imperfection. I must say it was well played!

I didn't have all the tools needed right away so as I got to different parts of the project I bought so many tools!!!

Estimated Cost
$260 (not including the tools I had to buy)
Estimated Time Investment
Week Long Project (20 Hours or More)
Finish Used
I used Glidden High Endurance Grab-N-Go Interior Eggshell/Satin Colbalt Blue and Minwax Matt Finish Polyurethane
Recommended Skill Level
Beginner

Farmhouse King Bed

Submitted by Anonymous (not verified) on Fri, 10/04/2019 - 10:34

I used the Farmhouse Bed in the King size as an inspiration for this bed. I added a few things and tweaked the plan to make it my own. The cost of this bed was quite high due to the type of wood that I used, but can be made much cheaper with a softer, cheaper kind of wood and still look just as beautiful!

Estimated Cost
$600
Estimated Time Investment
Weekend Project (10-20 Hours)
Finish Used
I used a soft brown finish and lacquered it. It looks dark due to using walnut which is of course a brown wood.
Recommended Skill Level
Intermediate

Comments

Rich texture

Submitted by Anonymous (not verified) on Sun, 06/18/2023 - 10:21

Check out our new King size bed! Thanks to the plan by Cassidy– King Size Bed posted on Ana White’s website. We adapted our design based on the size of our mattress and personal preference on the height of the headboard and footboard. Lots of fun making it!

Built from Plan(s)

Comments

Rocket book case

Submitted by SF Guy on Sun, 02/05/2012 - 19:44

Easy beginner project.

Built from Plan(s)
Estimated Time Investment
Afternoon Project (3-6 Hours)
Finish Used
I like the comment about using the free samples of paint. I read it a little late.
Recommended Skill Level
Beginner

Comments

Cupcake Stands

I was looking for a useful, cool, easy project I could make for my coworkers this holiday season. I stumbled on the DIY Cupcake Stand and thought it would make a perfect Christmas gift!

I made ten of them, so to keep the project affordable I opted to use an edge forming bit on my router instead of using molding.

To complete the gift, I'm planning to include jar of homemade cupcake mix and some cupcake liners :)

Thank you for the idea/plan!

Built from Plan(s)
Estimated Cost
About $50 to make 10 stands
Estimated Time Investment
Weekend Project (10-20 Hours)
Finish Used
The stands were finished with Behr semi-gloss paint in "Candlelight Ivory".
Recommended Skill Level
Beginner

Comments

Shanty Sideboard

Submitted by cefogus on Sat, 02/27/2016 - 12:37

I changed up a few things. Instead of plywood I used 1X6 lumber and joined it with pocket holes to make the sides, top/bottom, and shelf. I made the shelf one piece and added the dividers for supports. For the doors I cut down 1x4s to 1/4 inch thickness and glued them together. Then cut down 1x3 to 1/2 inch for the trim. I just didn't like the plywood look. But I like the plank look. The doors were a bear. I should have used bigger hinges. They were a learning experience for next time.

Built from Plan(s)
Estimated Cost
$300 in lumber plus stain.
Estimated Time Investment
Weekend Project (10-20 Hours)
Finish Used
MInwax Golden Oak and Clear Satin Poly.
Recommended Skill Level
Intermediate

Modern farm bed

Submitted by Anonymous (not verified) on Sun, 10/06/2019 - 11:59

Modern farmhouse bed frame highlighted with epoxy highlights along the side rails. This is a super sturdy bed. Which is simple to build the hardest part was being patient with the epoxy.

Built from Plan(s)
Estimated Cost
$250
Estimated Time Investment
Week Long Project (20 Hours or More)
Finish Used
General finishes arm r seal satin clear with red and black pigment . I layered the black first and then stain it red and touched up with red or black depending on what was lighter. And then used a satin finish polyurethane to protect the staining wood. The epoxy poor are used Black mirror coat by systems three. I then had to clean it up by planing it and then I had sanded it to a 3000 grit.
Recommended Skill Level
Intermediate

Raised Planter with 1x legs

Submitted by Anonymous (not verified) on Mon, 06/26/2023 - 12:14

38lx37hx15w Rope decoration doubles as handles. Color is in Cabot oil stains (Sunlit Walnut & Sundrenched Oak.

- Built by James P

Comments

Corner Cupboard Storage

Submitted by hoffer5353 on Wed, 02/08/2012 - 15:00

After Christmas I was talking to my cousin, she told me how she now needed storage to hide her new gifts she had received. Of course I wasted no time and told her about Ana's site.

So as we enjoyed lunch she pulled out her handy "smart phone" and began searching for the perfect plan for her needs.

It didn't take long for her to find the plan that suited her needs and we began planning. I got all the materials together and did some presanding so we could get this baby complete in her short weekend visit.

This plan was easy to cut and stain, however assembly was a bit more difficult as the angles made it difficult to get your bits into tighten kreg screws.

We didn’t make the bottom shelf adjustable however made it high enough for the mixer she wished to hide within it.

Other than typical door hanging issues the project turned out beautiful! The bottom cupboard doors even provided enough room for her large mixer and griddle.

Before she took her project home to enjoy she was already planning her next project.

These plans are beautiful, functional and do-able.

Thank you again Ana for making another person’s life’s organized!

Built from Plan(s)
Estimated Time Investment
Weekend Project (10-20 Hours)
Finish Used
varathane-red oak 3 coats
minwax poly
Recommended Skill Level
Intermediate

Comments

Aunt Michele (not verified)

Thu, 02/09/2012 - 08:25

Awesome job girls! I knew you'd rock it. :)

My nephews toy box

My husband and I built a toy box for our nephew for Christmas. We were able to complete this project in a day and were very satisfied with how it turned out. We used rope for the handles. And for the lid we used a long hinge along with 2 shocks so the lid would not collapse on his little hands. Because the pine was so nice, neither of us wanted to cover it up. :)

Estimated Cost
$120.00
Estimated Time Investment
Day Project (6-9 Hours)
Finish Used
No finish
Recommended Skill Level
Beginner

Rustic X End Table

Submitted by Anonymous (not verified) on Mon, 02/29/2016 - 13:30

We took on the rustic x table project and used the oxidization process described in the links (black tea then vinegar/steel wool mix). It turned out great! A few things I learned... When using the black tea if the tea runs it makes a difference. I had my wood up against a wall and was painting vertically. It pooled at the bottom, seeping into the wood. Didn't think this was a big deal but when I went to oxidize it you could see where it seeped. I couldn't sand it out without really lightening the wood too much. So, its there as part of my imperfect project. It kind of adds to the rustic look :) I let the vinegar/wool steep for a long time so it was more brown than gray. I ended up liking it (read: i didn't want to redo the whole thing) so I went with it. I really do like it though. I had to sand a lot to get it to lighten up some. We wanted a coffee table too- but something round. So, my husband invented the coffee table you see in the picture. He used the same kind of wood as the rustic x table and we used the same process to finish it. The time estimate mentioned below is just the end table.

Built from Plan(s)
Estimated Time Investment
Weekend Project (10-20 Hours)
Finish Used
Black Tea base
Vinegar/steel wool to oxidize (steeped about 2 weeks)
Lots of sanding
satin poly coat
Recommended Skill Level
Intermediate

Comments

Loft bed with platform

Submitted by jbar1981 on Wed, 10/09/2019 - 13:03

I modified a few things to fit my needs. I did a small ladder instead of steps to save room. I added a 2x4 down the middle with brackets to add extra strength for mattress area. I used my kreg drill bit to make holes for the 2x2 to also help with strength. I am a big guy and the bed was solid so no issues with weight. I added 8 inches to the main post to add height underneath for a doll house, book shelf and some other things my wife wanted under there. Excellent plans and my daughter loves it. 

Estimated Cost
200.00
Estimated Time Investment
Weekend Project (10-20 Hours)
Finish Used
Nothing yet
Recommended Skill Level
Intermediate

Farmhouse Toddler Beds

Submitted by nmnguyen7 on Mon, 02/13/2012 - 07:13

I built this pair of toddler beds for my 2.5 year old twins. I used the original plans for one bed and the modified plans for the other (we have two different size mattresses, it turns out!). Both were a very straight-forward build, thanks to Ana White's plans! I love how they turned out. The kids picked the colors and were thrilled to see their favorite colors on their beds! Can't wait to start my next project!

Built from Plan(s)
Estimated Time Investment
Weekend Project (10-20 Hours)
Finish Used
Kids picked the paints- used water-based satin paint, distressed lightly, then water-based satin poly.
Recommended Skill Level
Beginner

Comments

Brandy (not verified)

Fri, 02/17/2012 - 16:42

I love the way these turned out. Thanks for your picture! Im planning to build these for my twin boys :)

nmnguyen7

Thu, 02/23/2012 - 07:31

Thank you for the kind words! We are very pleased with how they turned out... and extremely surprised at how sturdy they are! I lay with each of the kids at night (just for a few minutes at bedtime) with no problem. Every toddler bed we researched prior to building these had a weight limit of 50lbs! These can hold my 200lb husband with no problem.

Loft bed playhouse

Submitted by Woolfee on Mon, 12/23/2013 - 04:31

Followed the plans except for the rounded window and door. I love the cozy look!

Built from Plan(s)
Finish Used
Paint and wall stickers. Paint color is My Fair Lady by Behr.
Recommended Skill Level
Beginner

My first build!!!!

Submitted by Anonymous (not verified) on Thu, 03/03/2016 - 12:44

This was my very first build and I loved it. I used rough cut oak that I got from my grandparents woods when it was destroyed in a storm. I spent a few hours planing and sanding but it was time well spent. I plan on making the fort bed next.

Built from Plan(s)
Estimated Time Investment
Weekend Project (10-20 Hours)
Finish Used
Minwax antique walnut stain followed by hand rub satin poly.
Recommended Skill Level
Beginner

Comments

Ana White

Thu, 03/03/2016 - 13:52

That is ONE awesome first build! Can't wait to see your next project, thanks for sharing!

Garden Potting Bench

Submitted by Anonymous (not verified) on Sun, 07/02/2023 - 11:18

Potting bench. I had some pressure treated darker wood around and used that for the legs and frame. Pine for much of the rest. Stained the frame cherry. Polycyclic for the pine and the frame. Three times. Lots of compliments. Highly functional as well!

$10 ledge and first build with a kreg jig!

$10 ledge and first build with a kreg jig!

Built from Plan(s)
Estimated Cost
$8..97 (had 10% off coupon from Lowes!)
Estimated Time Investment
An Hour or Two (0-2 Hours)
Finish Used
Valspar Satin Paint in Buckeye Brown
Recommended Skill Level
Starter Project

Comments

claydowling

Sun, 02/19/2012 - 18:31

It looks nice. And having seen how much these shelves cost in the stores, it's good to be able to build your own.

Super Easy Little Adirondack Chair

Submitted by ElizSteph on Wed, 12/25/2013 - 18:47

To help keep things aligned, in between step 4 and 5 I cut a 15” temporary support and attached it to the back of the stringers, opposite the front apron and then removed when finished attaching chair back. I used Silhouette Cameo vinyl cutter to make the stencils for the name and logo. Home Depot can mix Glidden paint in official campus colors.

Built from Plan(s)
Estimated Cost
$40
Estimated Time Investment
Day Project (6-9 Hours)
Finish Used
Glidden paint from Home Depot which offers official campus colors. Stencils for logo and childs name were cut with Silhouette Cameo vinyl cutter.
Recommended Skill Level
Beginner
Back