Community Brag Posts
Chicken Coop
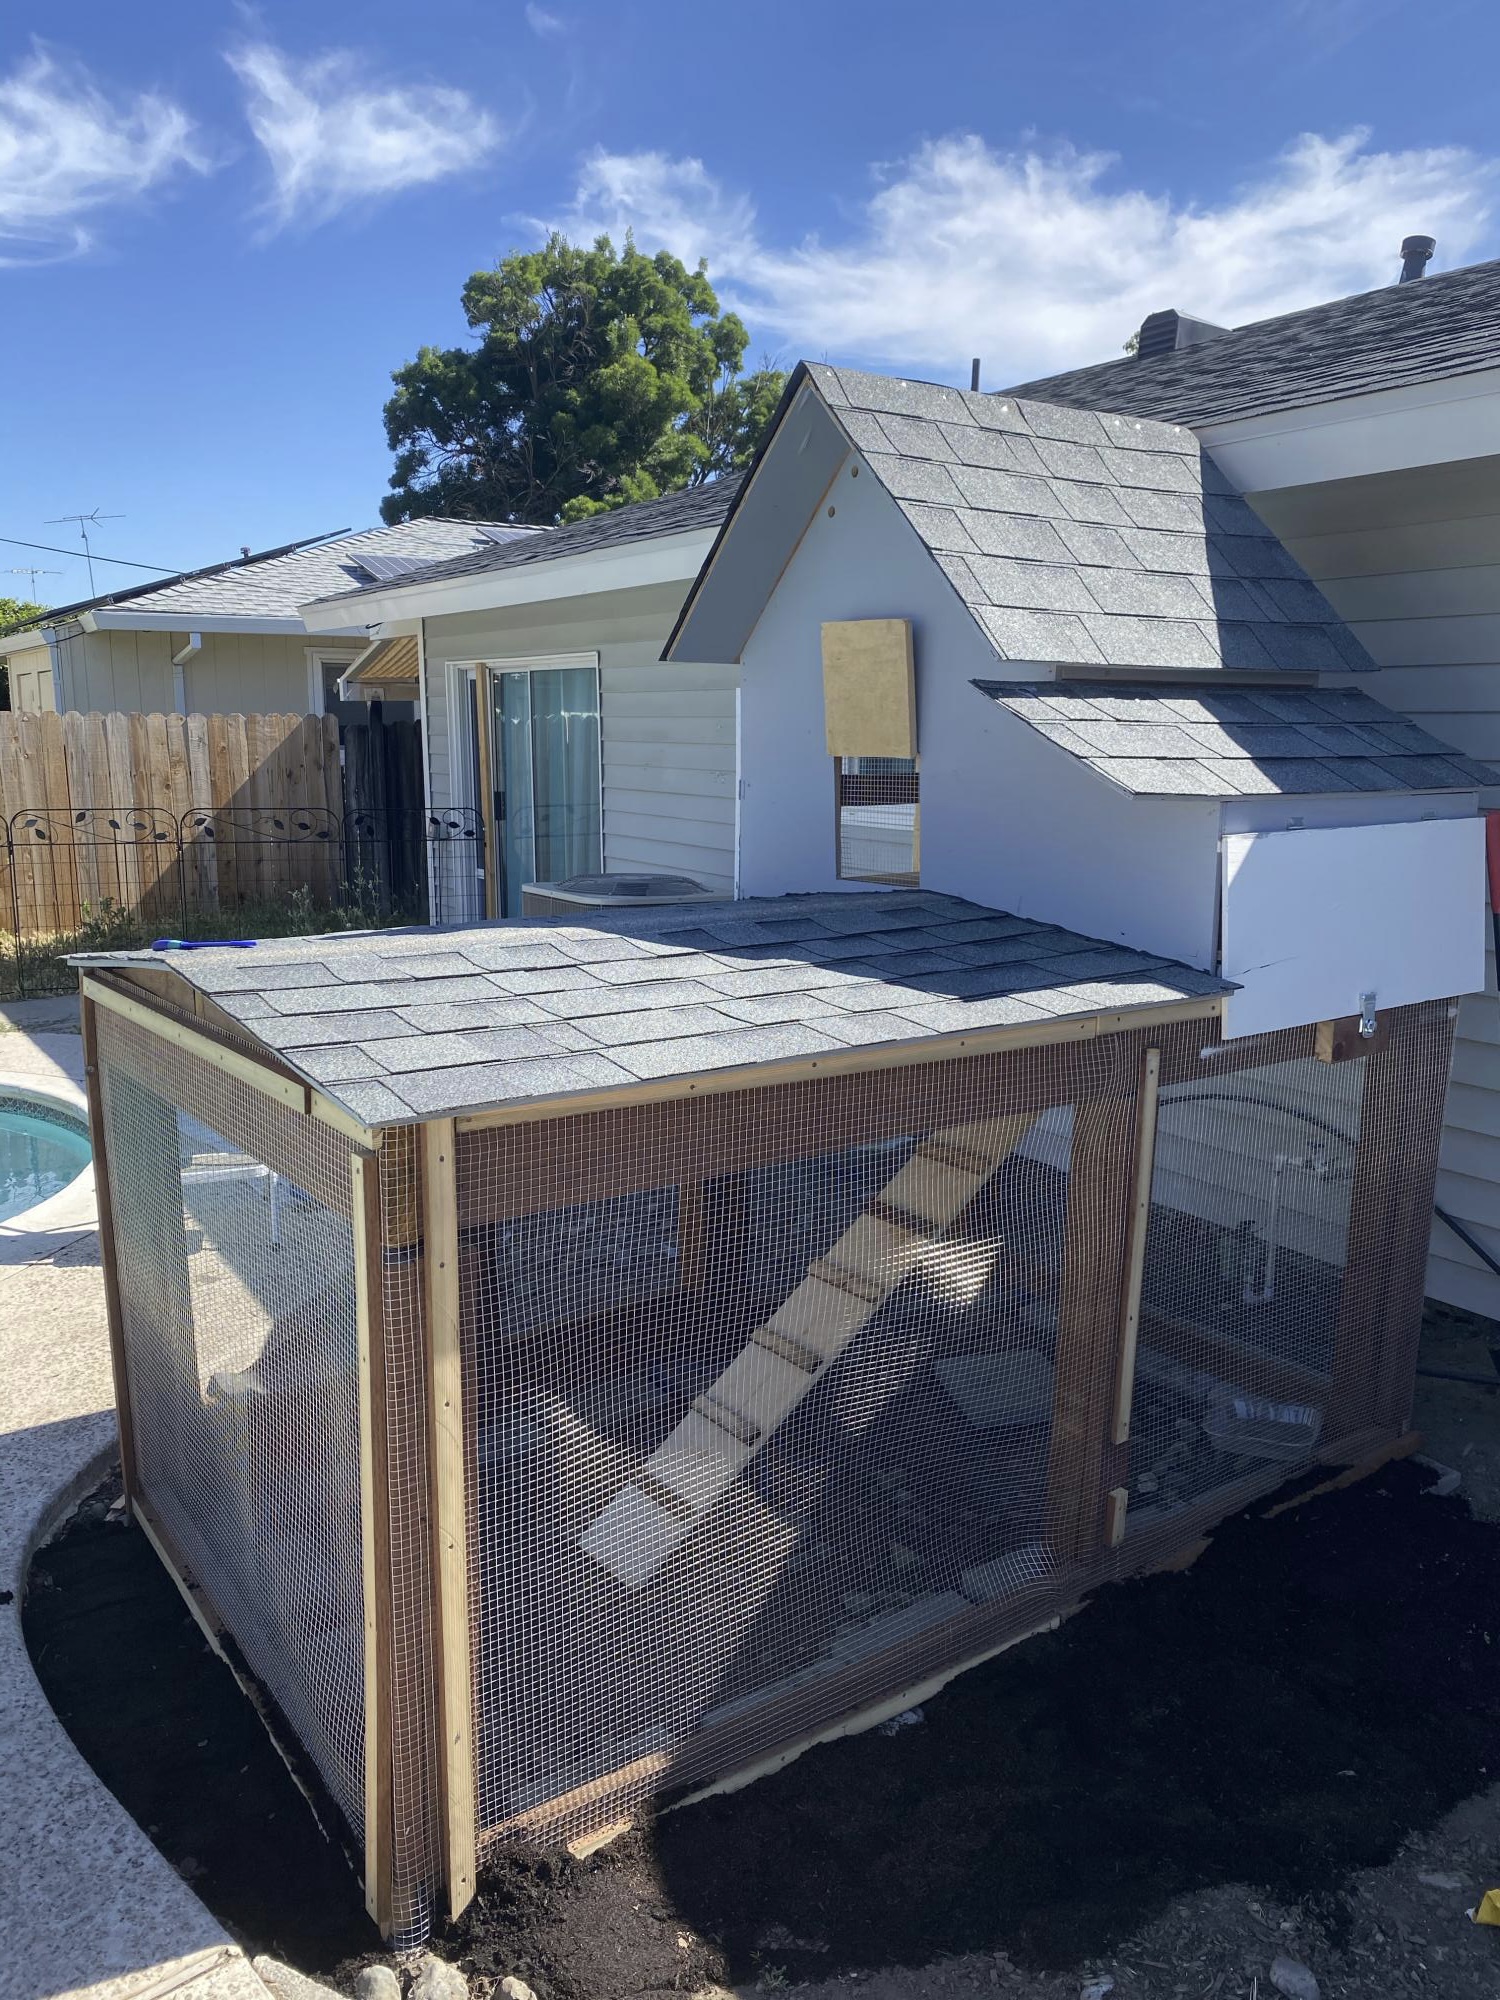
My granddaughter decided to raise chickens so she asked me to build her a coop. I used a Ana White plan with a couple modifications and along with my son, wife, and granddaughter built this. She’s had hawks and raccoons try to get in, to no avail.
Built from Plan(s)
Comments
Underbed Storage
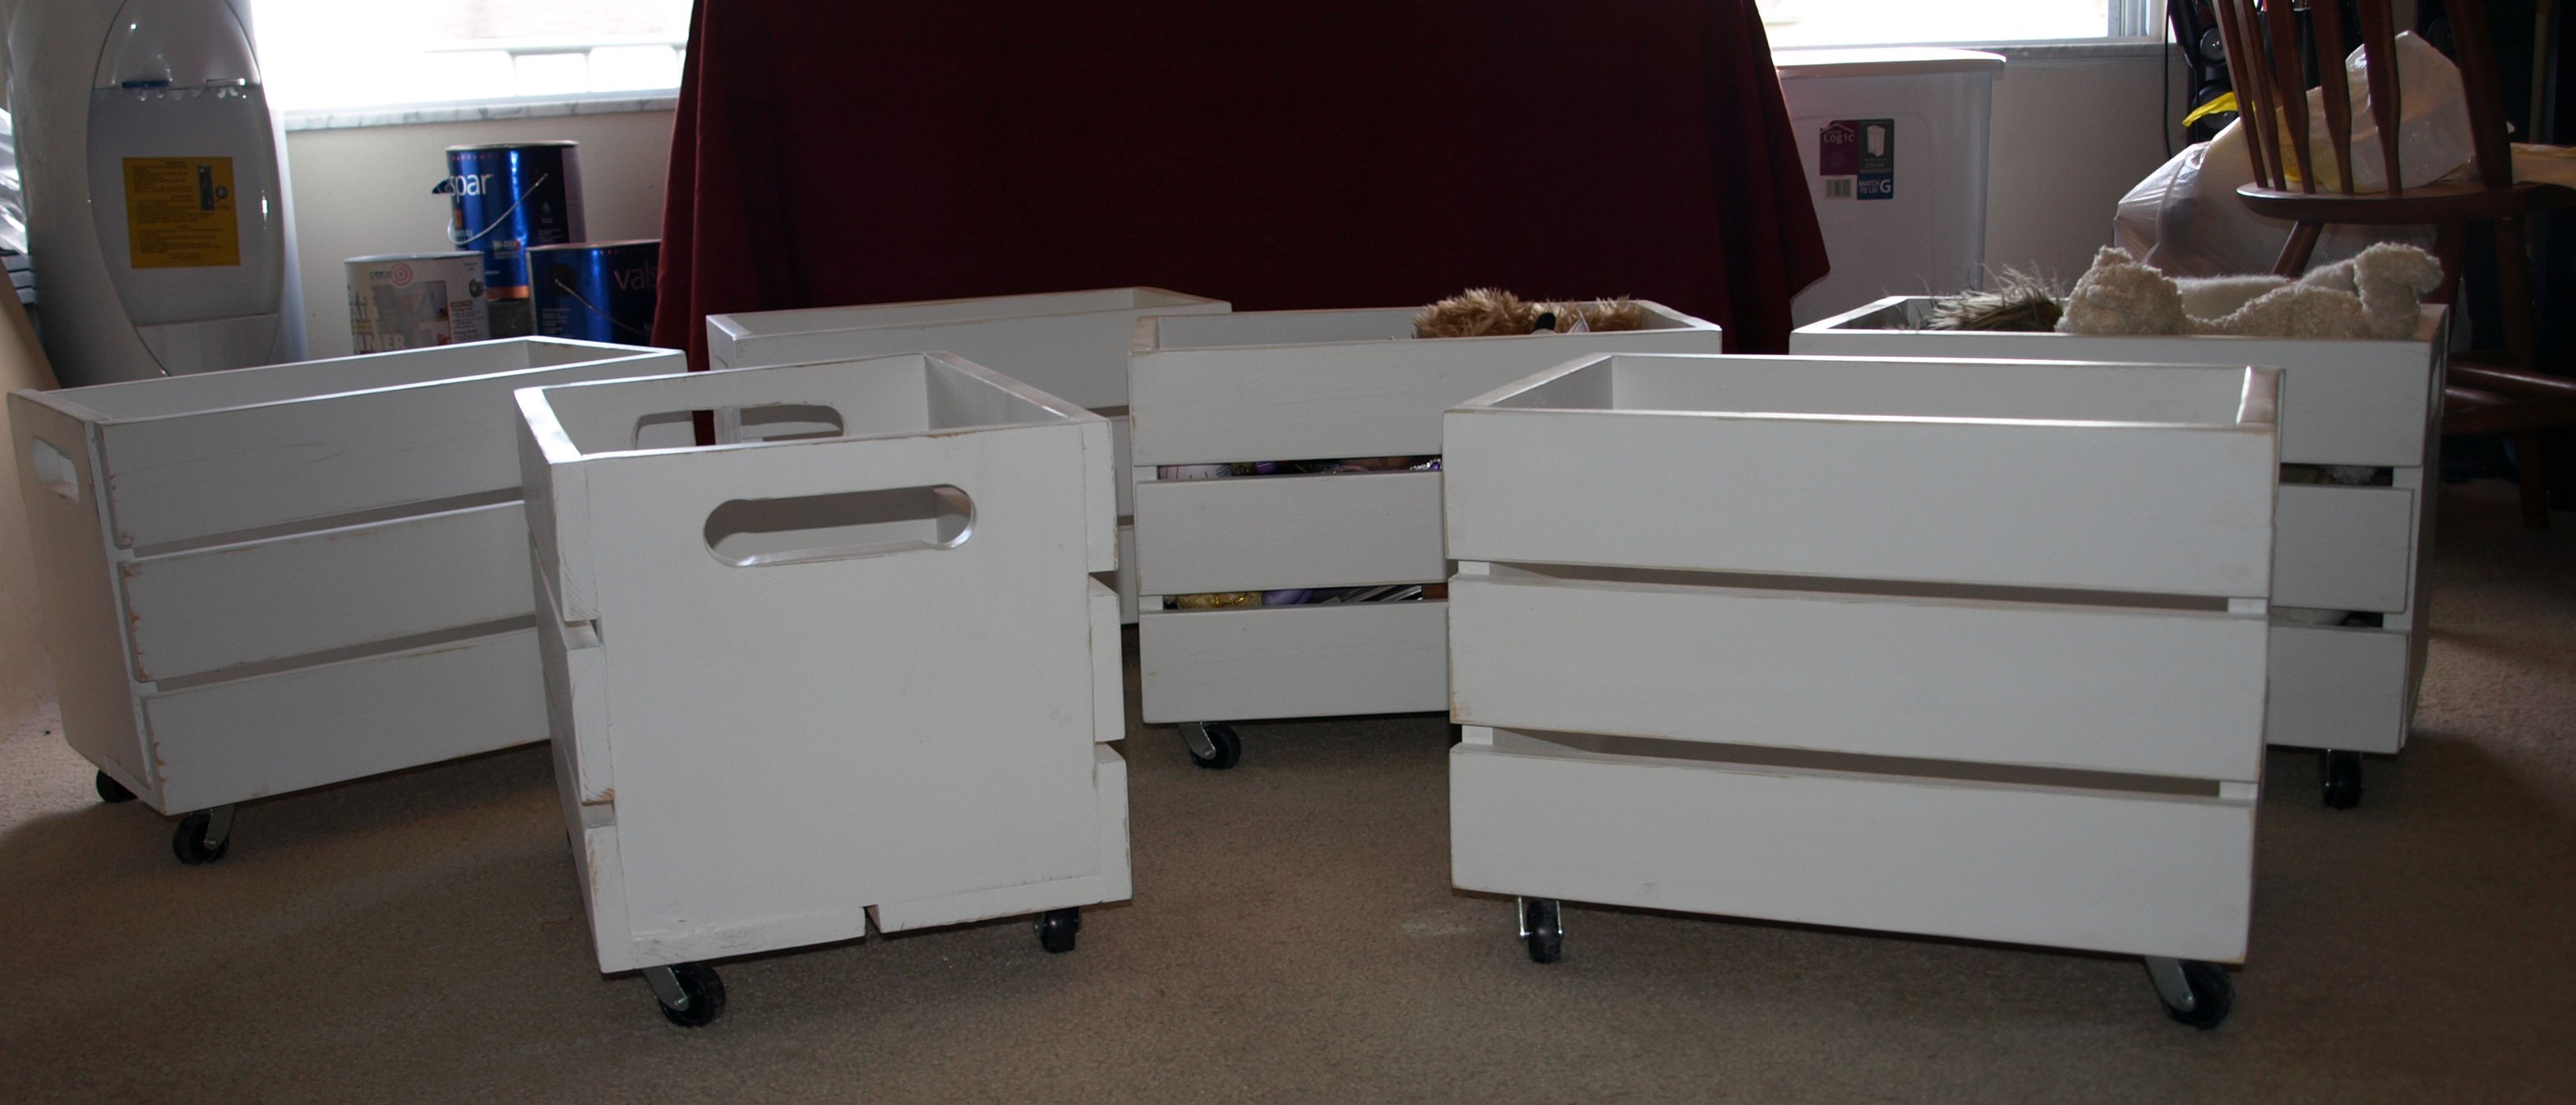
This is my second project. I needed to utilize the storage space under one of our twin beds. It's really high off the ground since it's normally the top of a bunkbed. I thought these crates were perfect because not only do they fit well, but we are moving in 5 months and I love that these would look great at the bottom of a closet, under the bed, in the corner of a room, etc. Very versatile. I made these 1/2" shorter so they'd fit under the bed. I didn't need to make any adjustments, other than making the two end pieces just 1/2" shorter in height. The sides are just a little closer together than in Ana's plan. I spent about $70 on all 6 of them. $30 of that was for the wheels.
Built from Plan(s)
Estimated Cost
$12
Estimated Time Investment
Afternoon Project (3-6 Hours)
Finish Used
I painted them just plain white from valspar, then distressed them a little bit. I used Valspar clear satin to protect it in the end.
Recommended Skill Level
Beginner
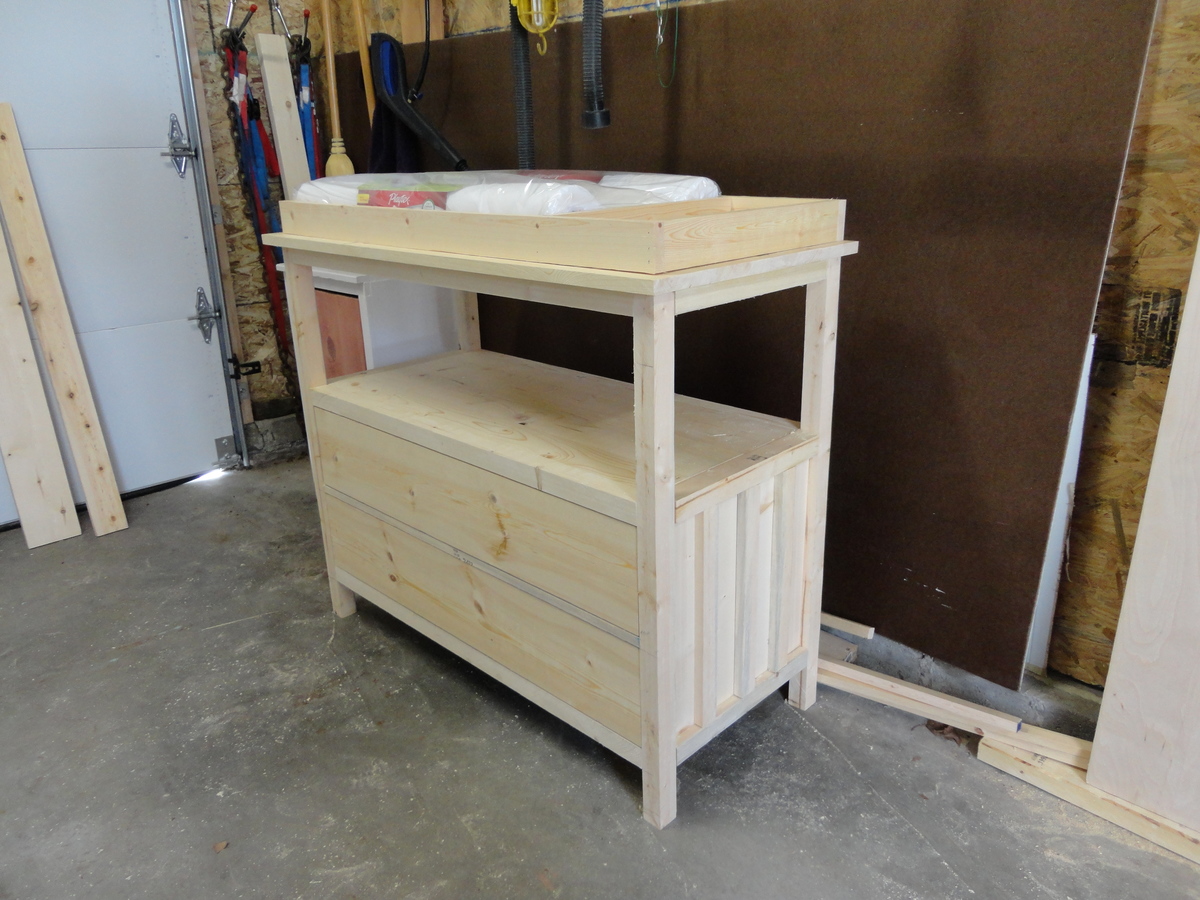
Small Dresser/Changing Table
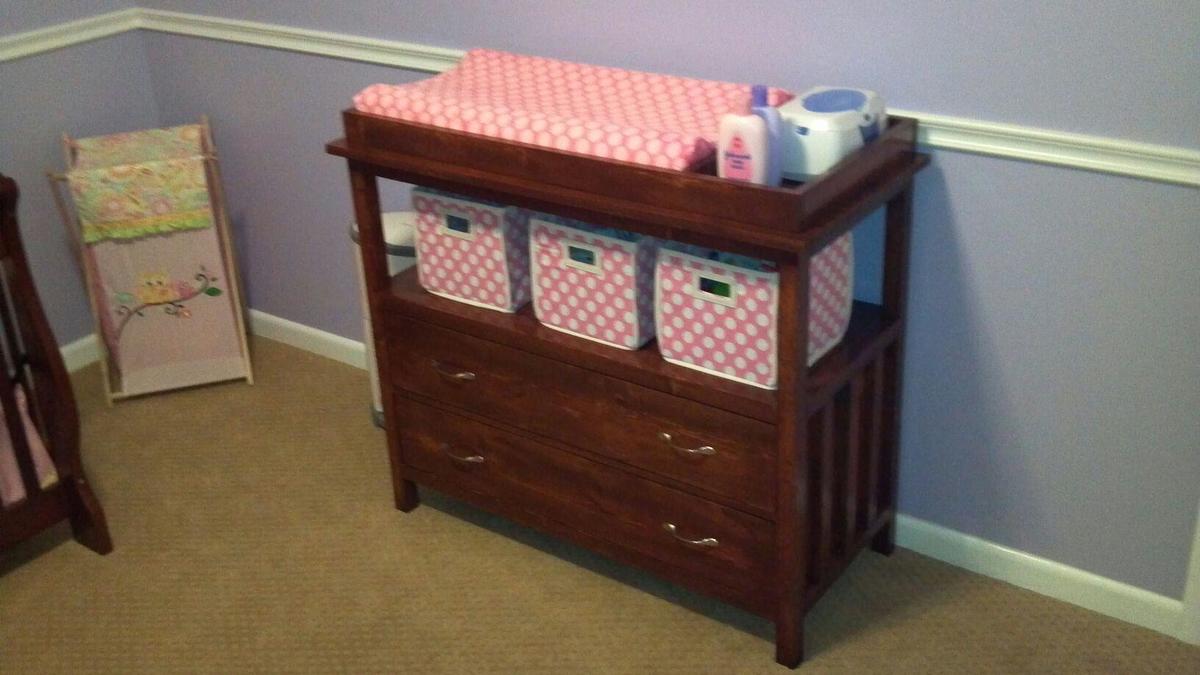
When my wife and I found out we were expecting our first child, I knew I wanted to build as much as I could for the nursery. This is how I ran into Ana White's website. Since then, I have built several pieces of furniture all inspired from Ana's designs. It had been over 10 years since I had done any kind of woodworking and I'm finding myself enjoying it now more than ever.
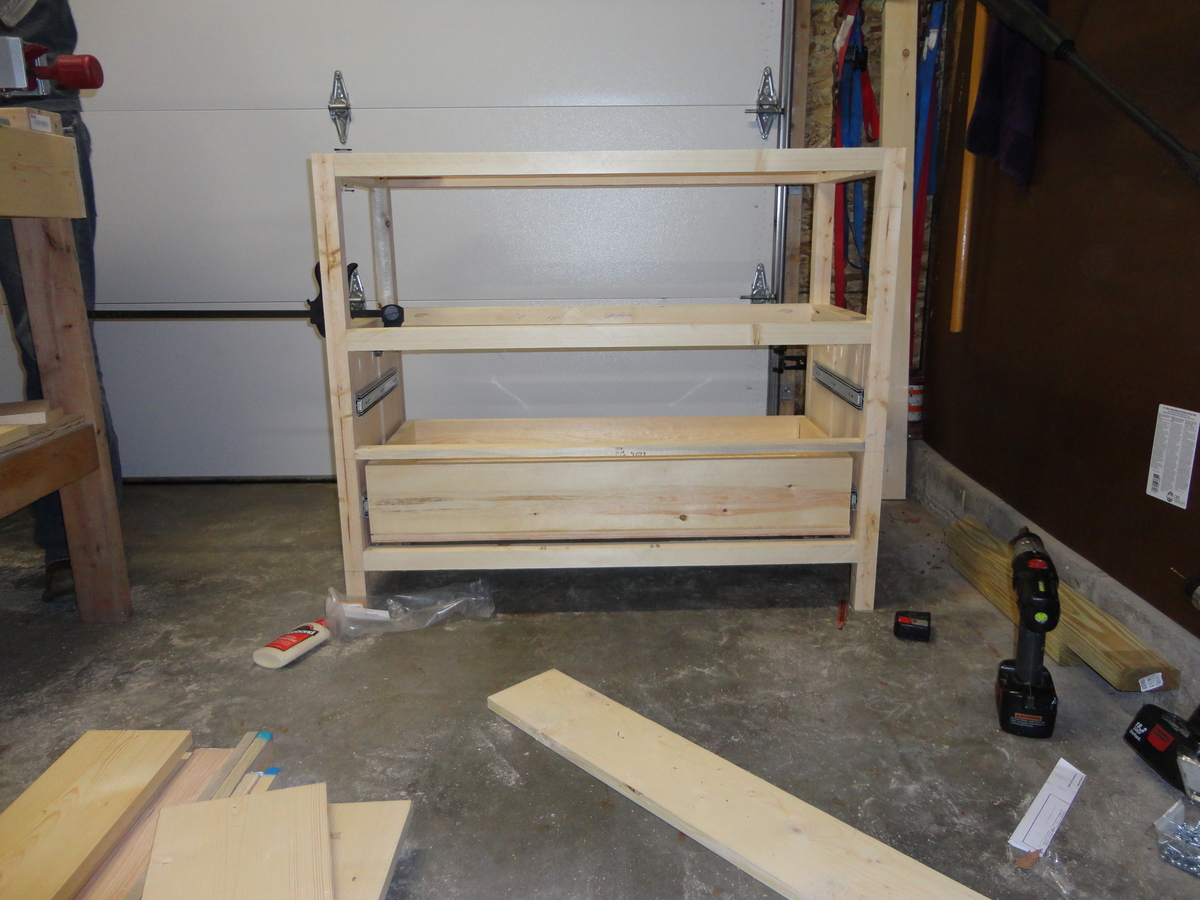
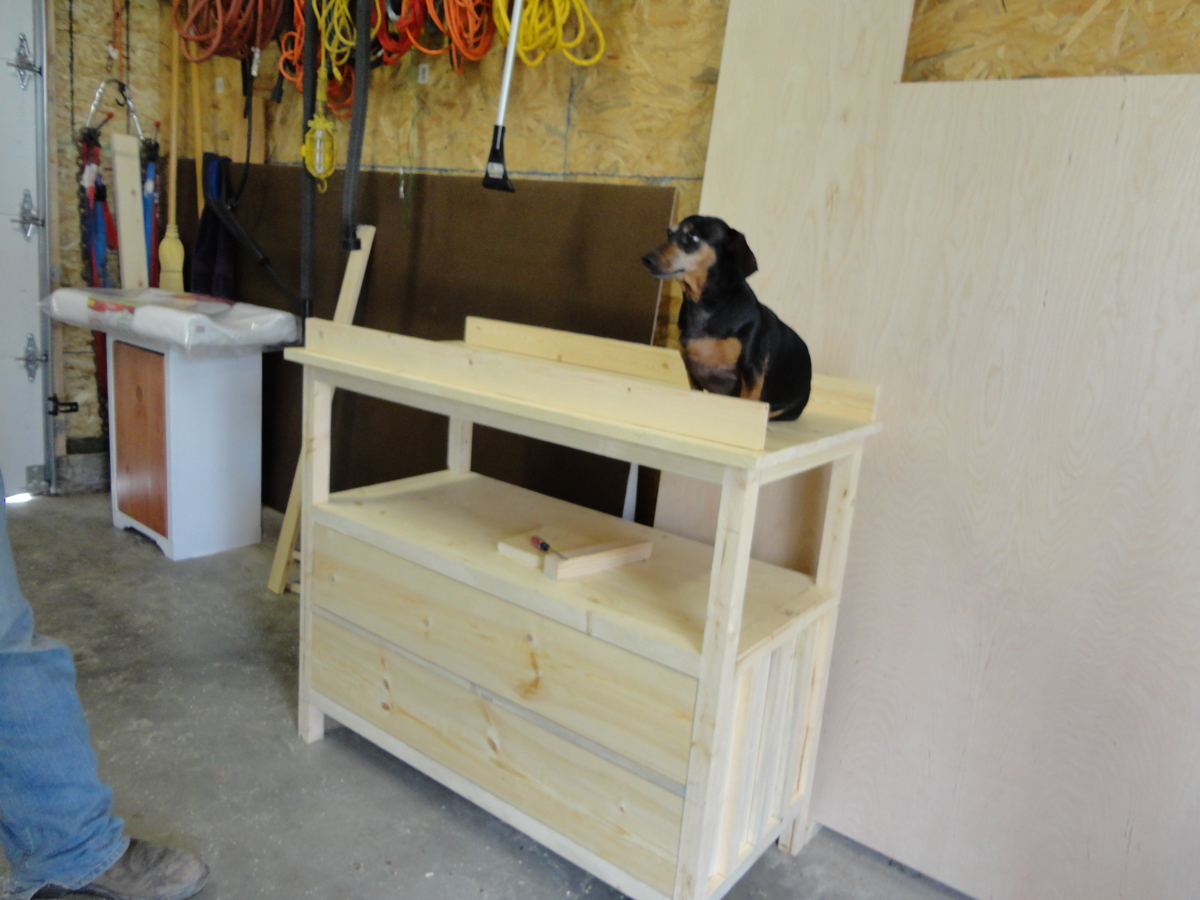
For our changing table, I used the idea of Ana's Small Dresser, and chose to put the shelf on top, we figured it would be more useful to have bins located on top for lotions, diapers, etc We had a great time building this changing table, and it is very rewarding to see the finished product. Thanks Ana for all of the great ideas and plans!!!
Built from Plan(s)
Estimated Time Investment
Week Long Project (20 Hours or More)
Finish Used
We used a Sherwin Williams stain that was color matched to our crib.
Recommended Skill Level
Beginner
Comments
Sat, 12/21/2013 - 20:02
I LOVE THIS!
I'm determined to build as much as our future child's furniture as possible, and I am very much inspired by this build. Really love the drawers you placed on this piece- they look great!
Wed, 04/23/2014 - 04:17
diaper changing table measurements
This is beautiful! I am going to make this for my daughter as she is going to have my first grand baby. Could you tell me the over all height is and the drawer and shelf heights are?
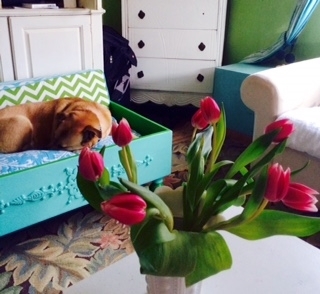
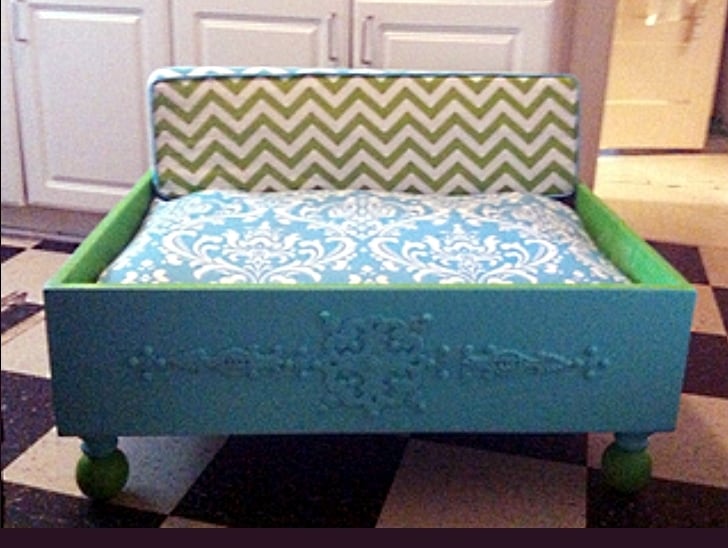
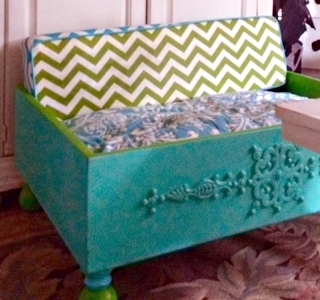
A dog bed for Roo
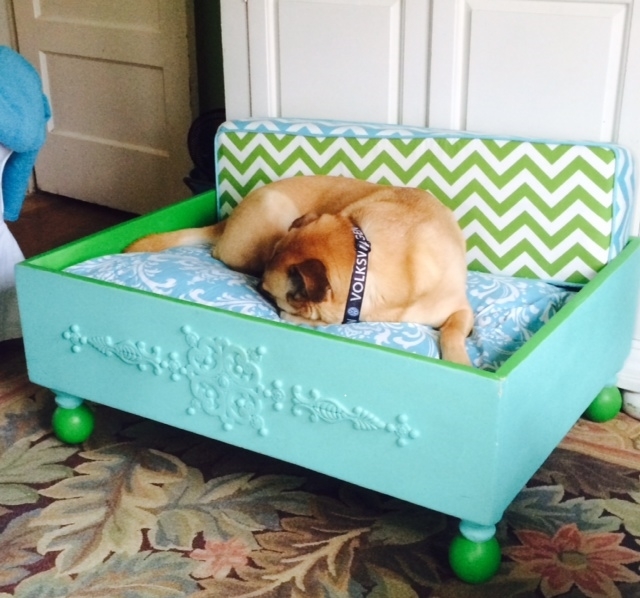
This is a dog bed for my dog Roo! considering it was my first time building anything I thought this would be a good project.
I used a kreg mini jig and bought cheap wooden ball post caps (that i sanded for an eternity) and wooden embellishments for a cute touch.
I made the removable piped box cushions using premier prints fabrics. The fabric has proven to be very durable and has stood up to frequent washing and looks as beautiful as it did on day one.
I am thrilled with my project and am thankful to Ana for giving me the confidence to try and the tools to ensure my success!
Built from Plan(s)
Estimated Cost
35.00$
Estimated Time Investment
Weekend Project (10-20 Hours)
Finish Used
matte paint
wax finish
wax finish
Recommended Skill Level
Starter Project
Comments


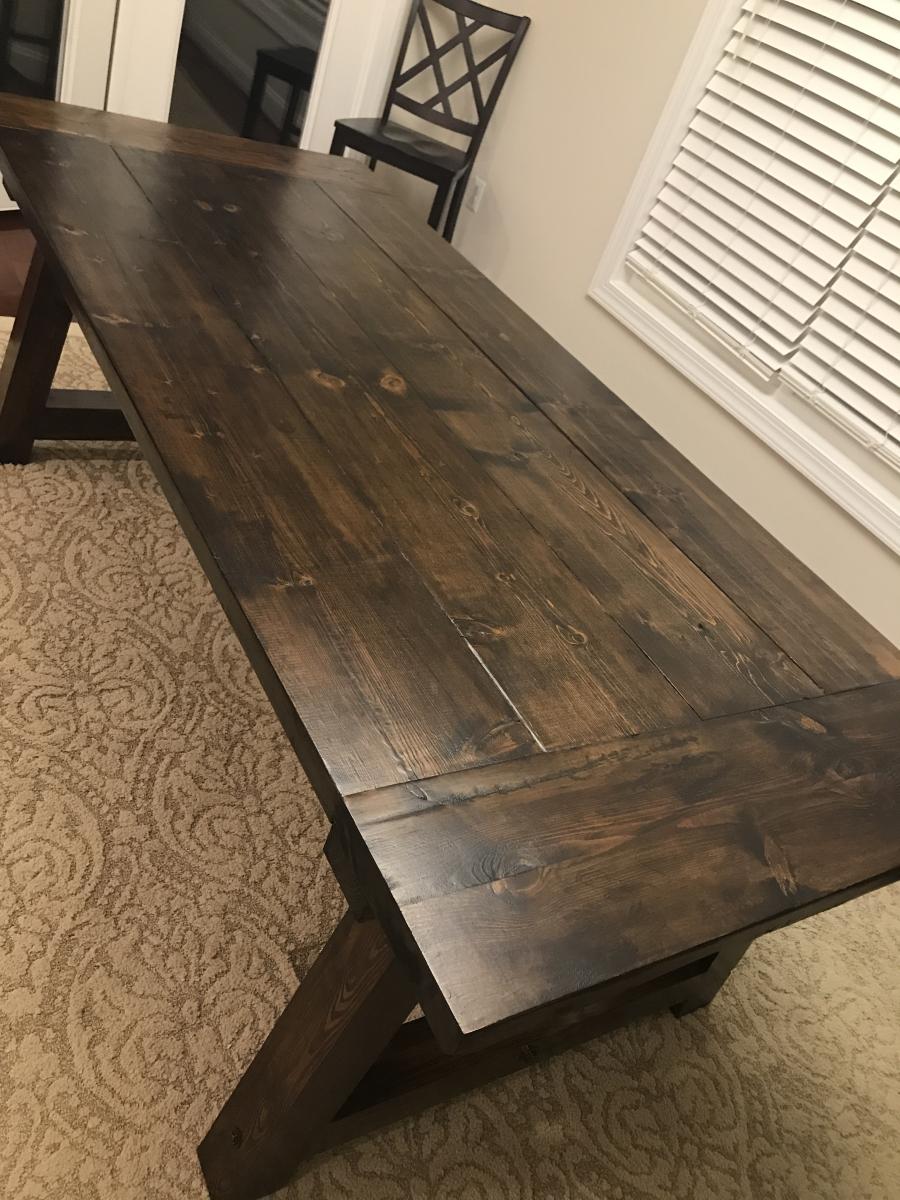
4x4 Truss Table
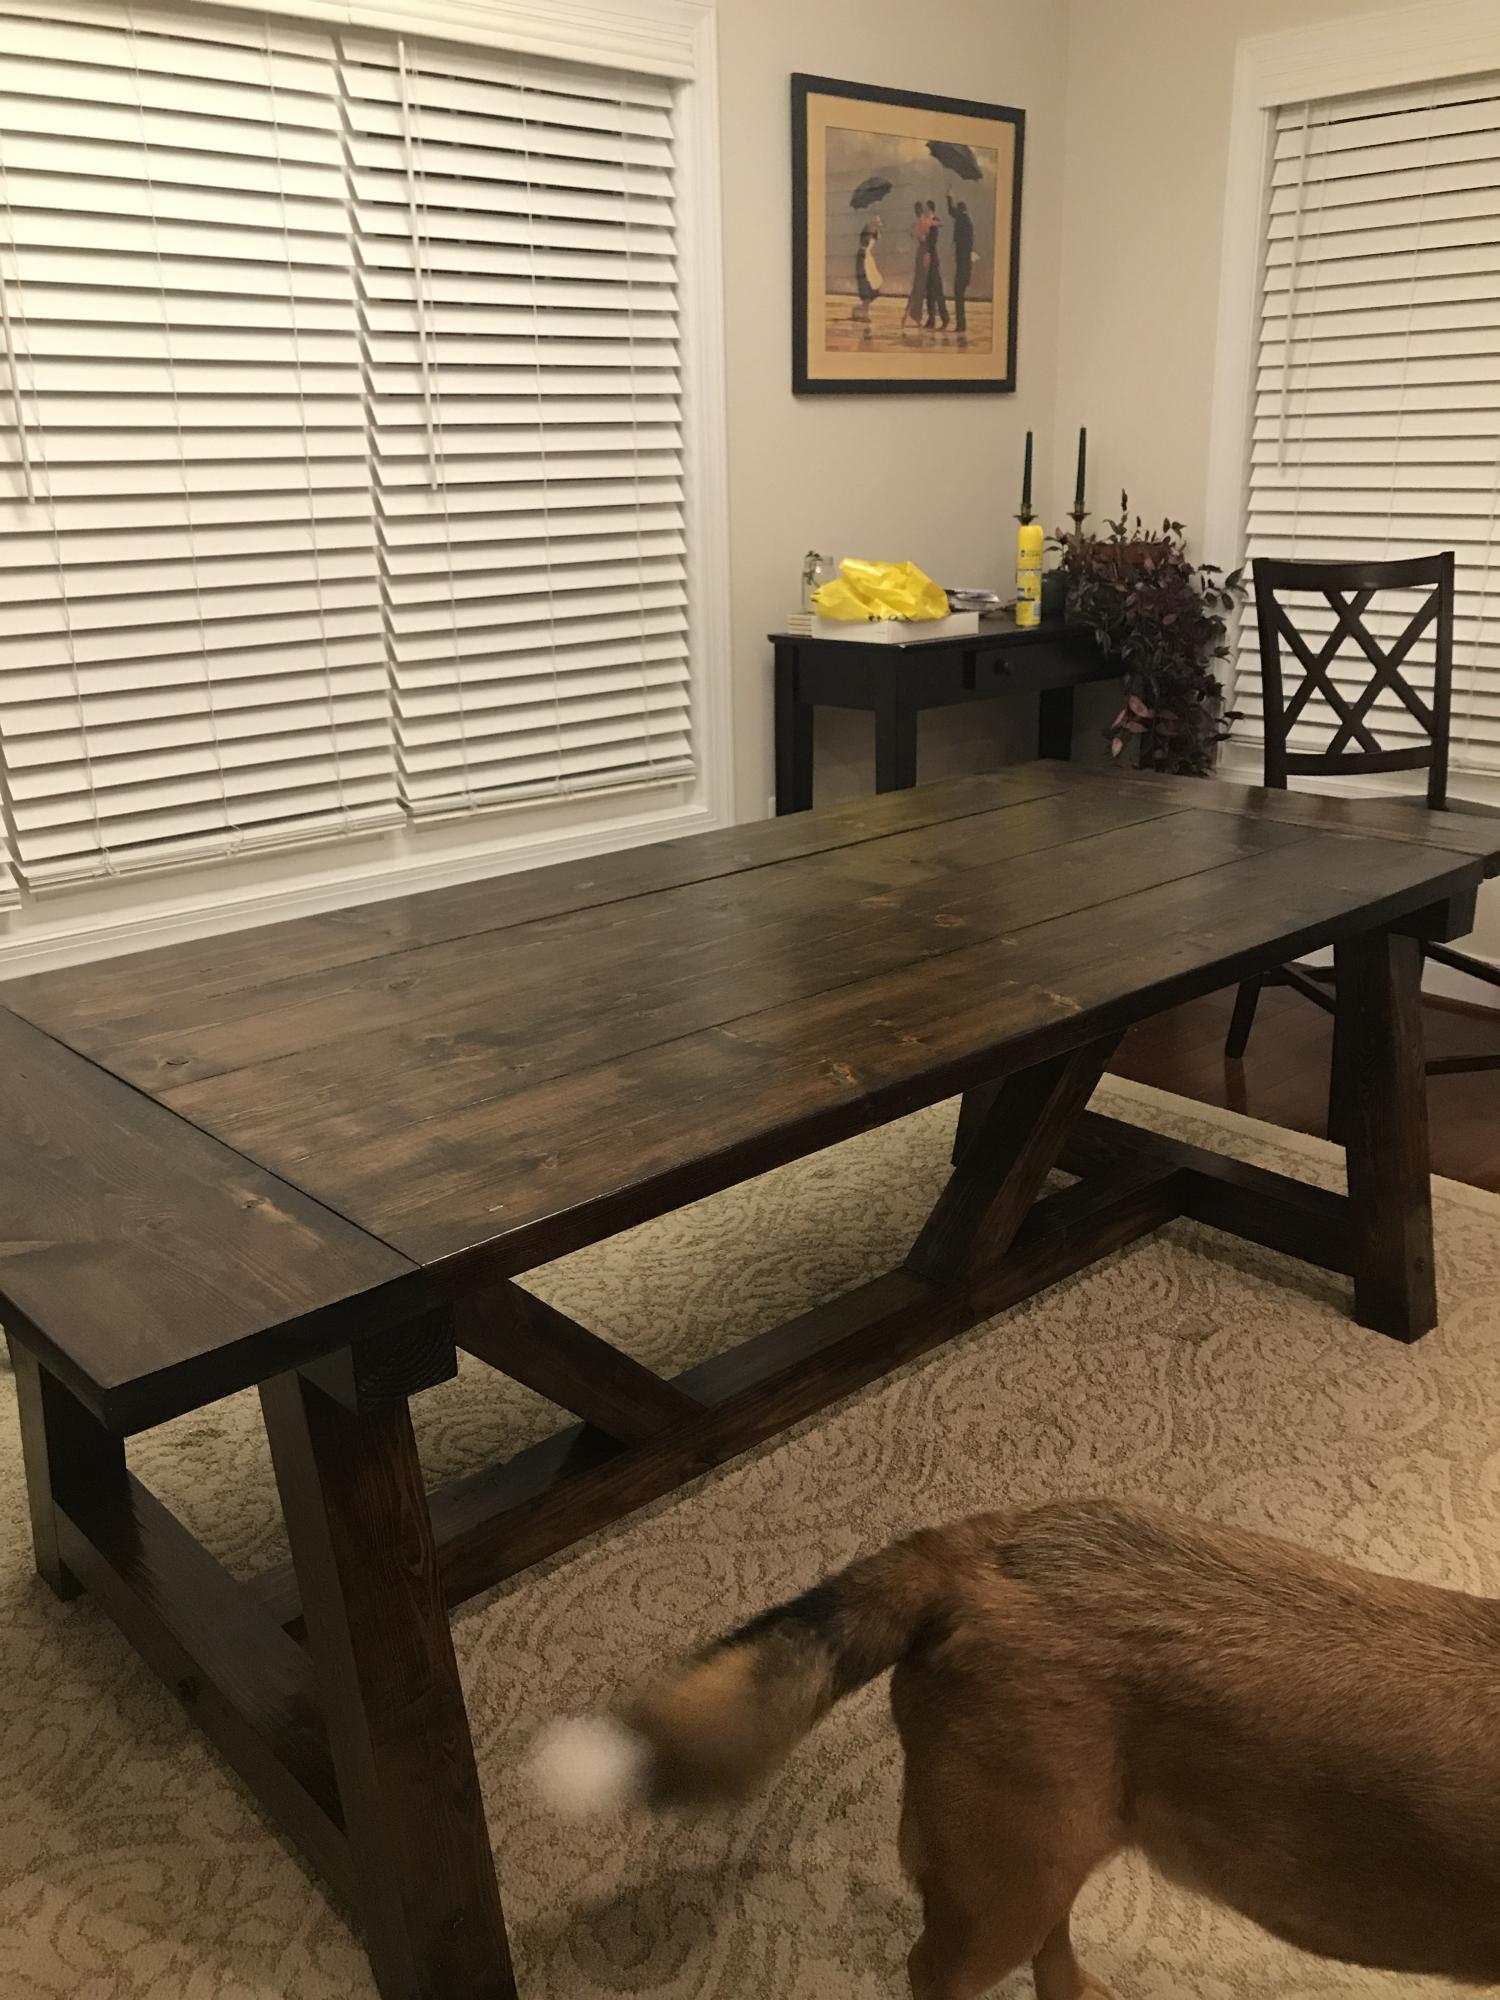
Took us about a week but have two young toddlers... love the table. Awaiting Chairs from wayfair and my husband is starting the bench this week!
Built from Plan(s)
Estimated Cost
$200
Estimated Time Investment
Week Long Project (20 Hours or More)
Finish Used
Dark walnut
Recommended Skill Level
Beginner
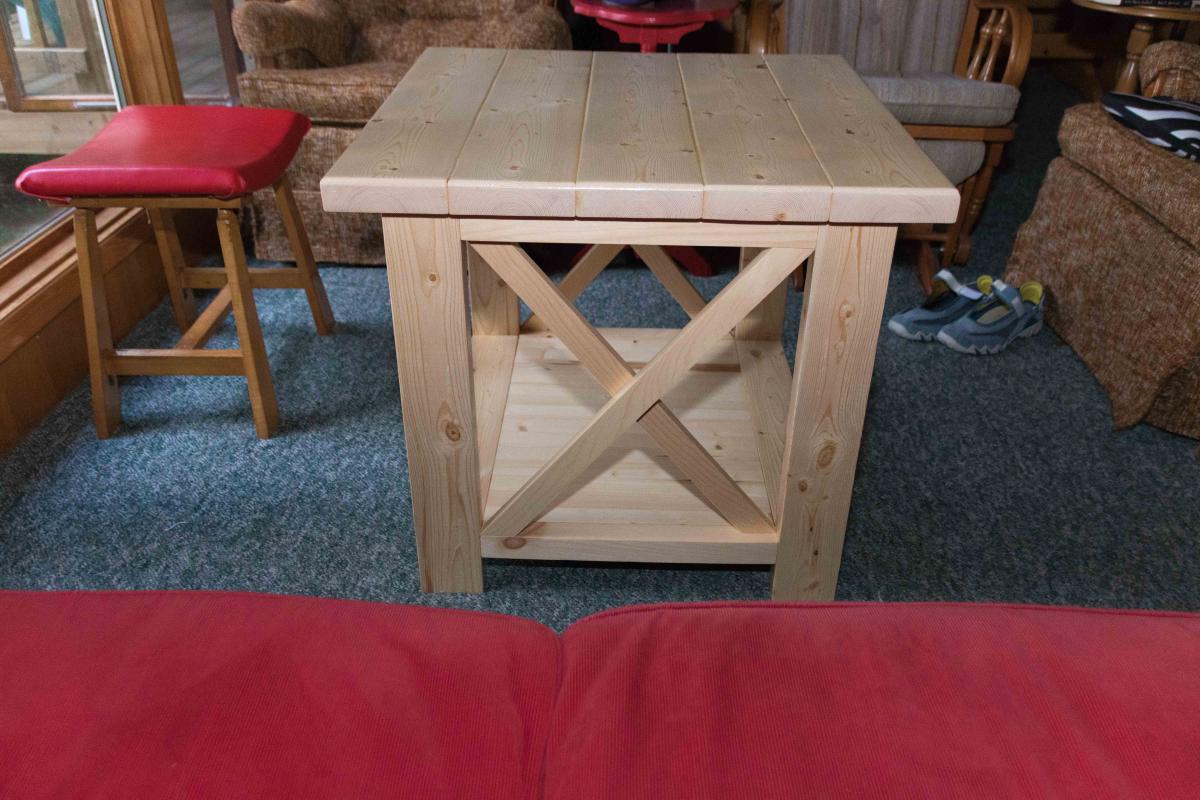
Rustic X End Table
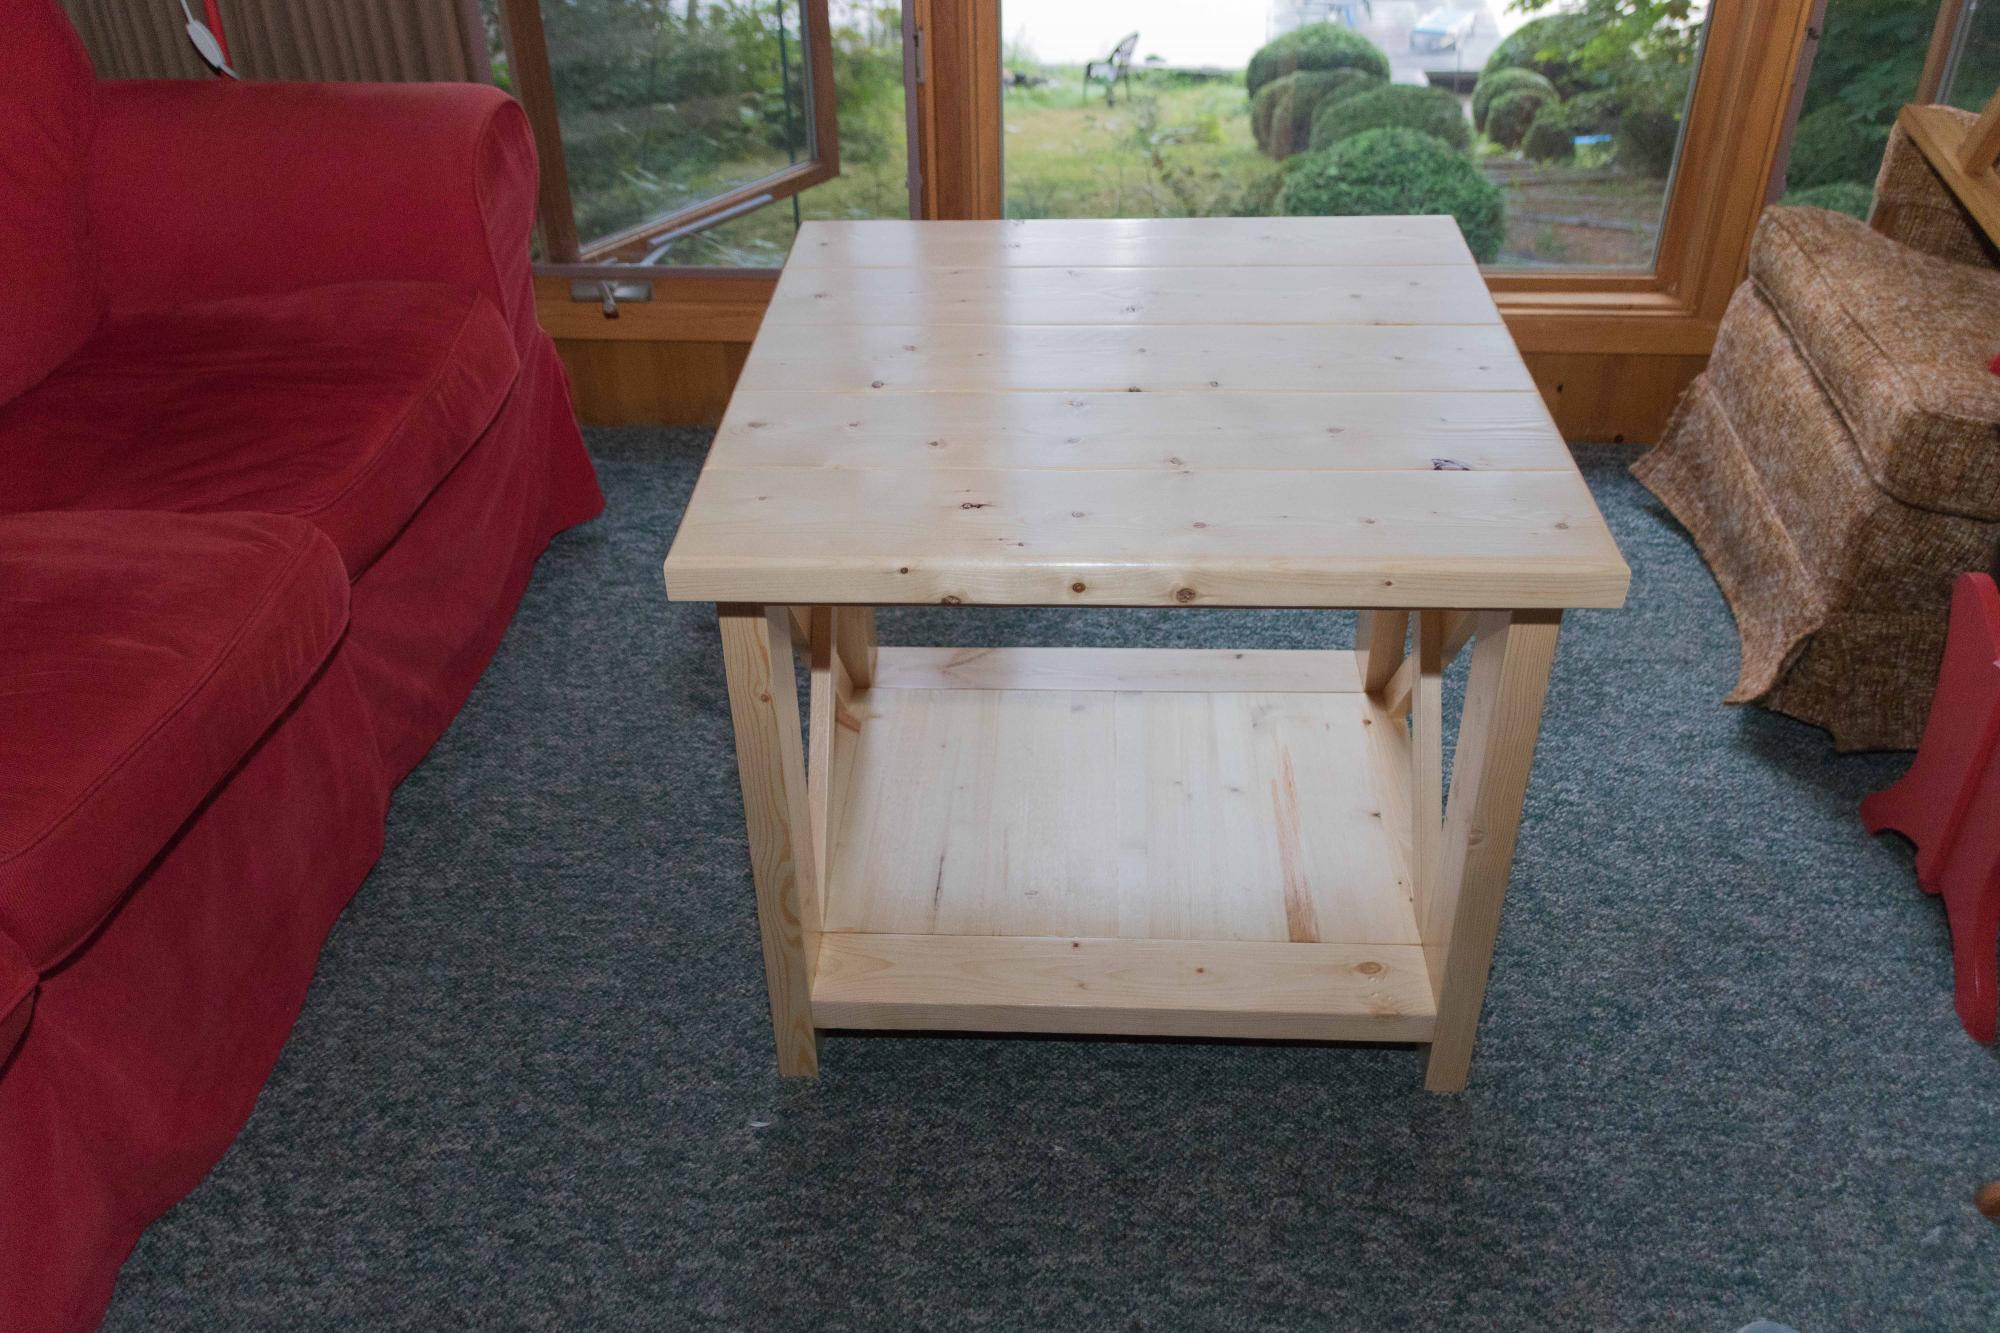
I built this pine Rustic X end table for my Mom-in-Laws' cottage. They wanted it plain as possible, so I built it to please.
Built from Plan(s)
Comments
New Dollhouse
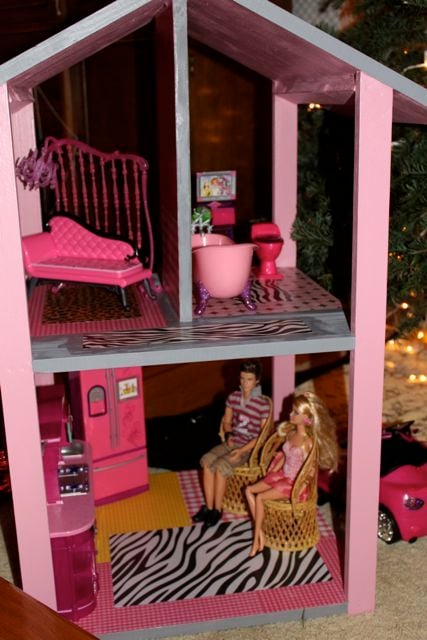
I used Ana's plan (modifying the side 1x2's to be longer to house "Barbie") and built this Barbie condo!
Built from Plan(s)
Estimated Time Investment
Day Project (6-9 Hours)
Finish Used
Paint, Decoupage, Scrapbook Paper
Recommended Skill Level
Intermediate
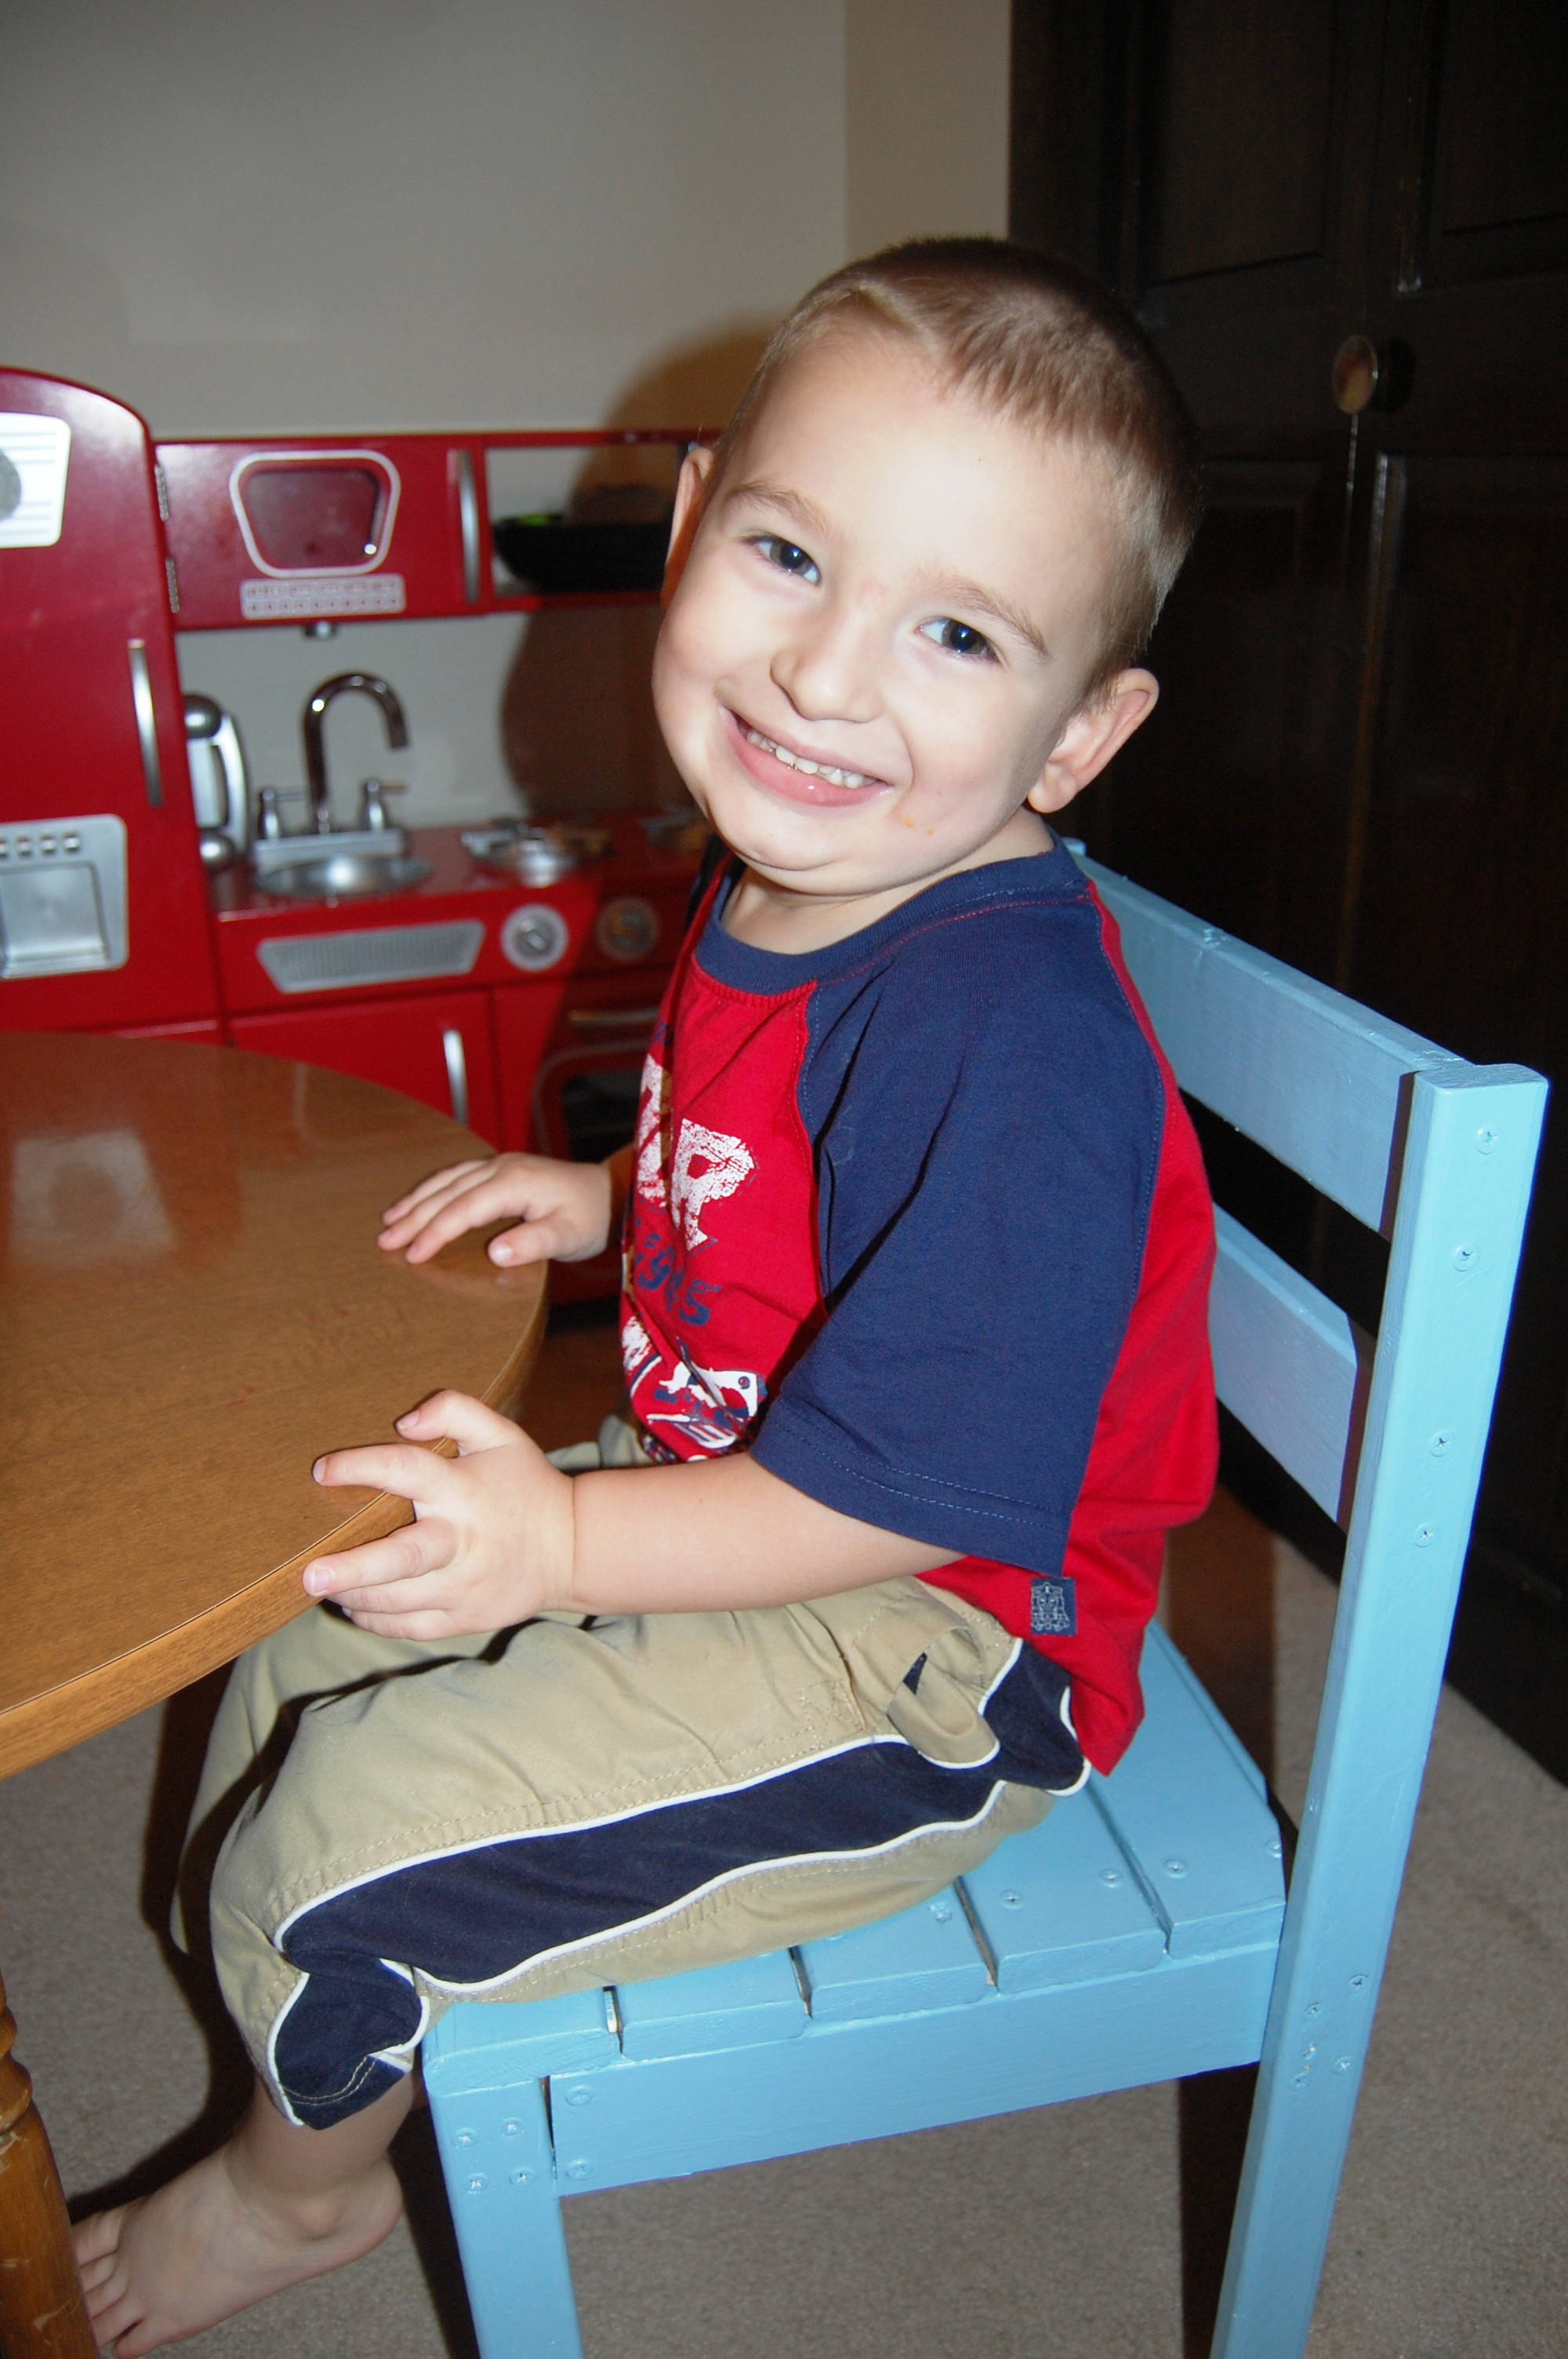
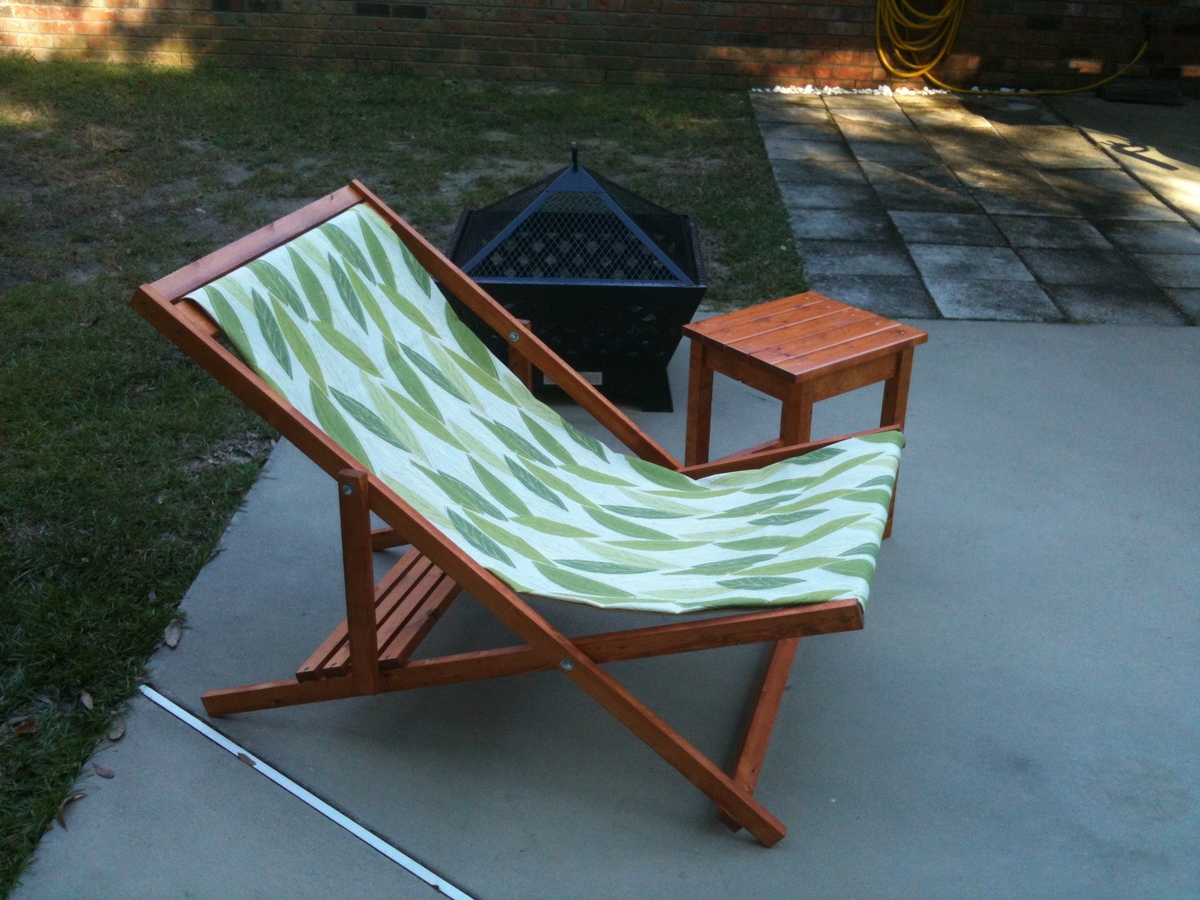
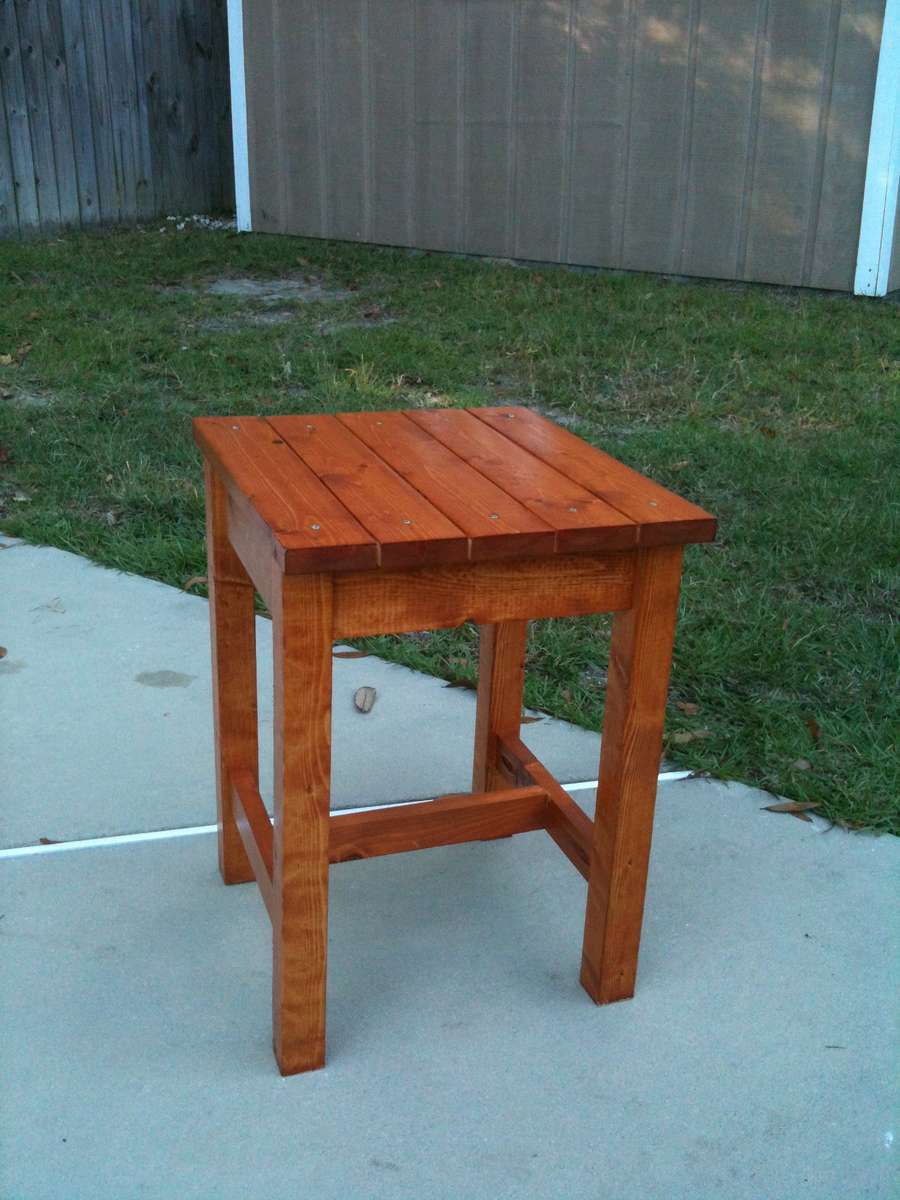
Folding Sling Chairs and Side Table
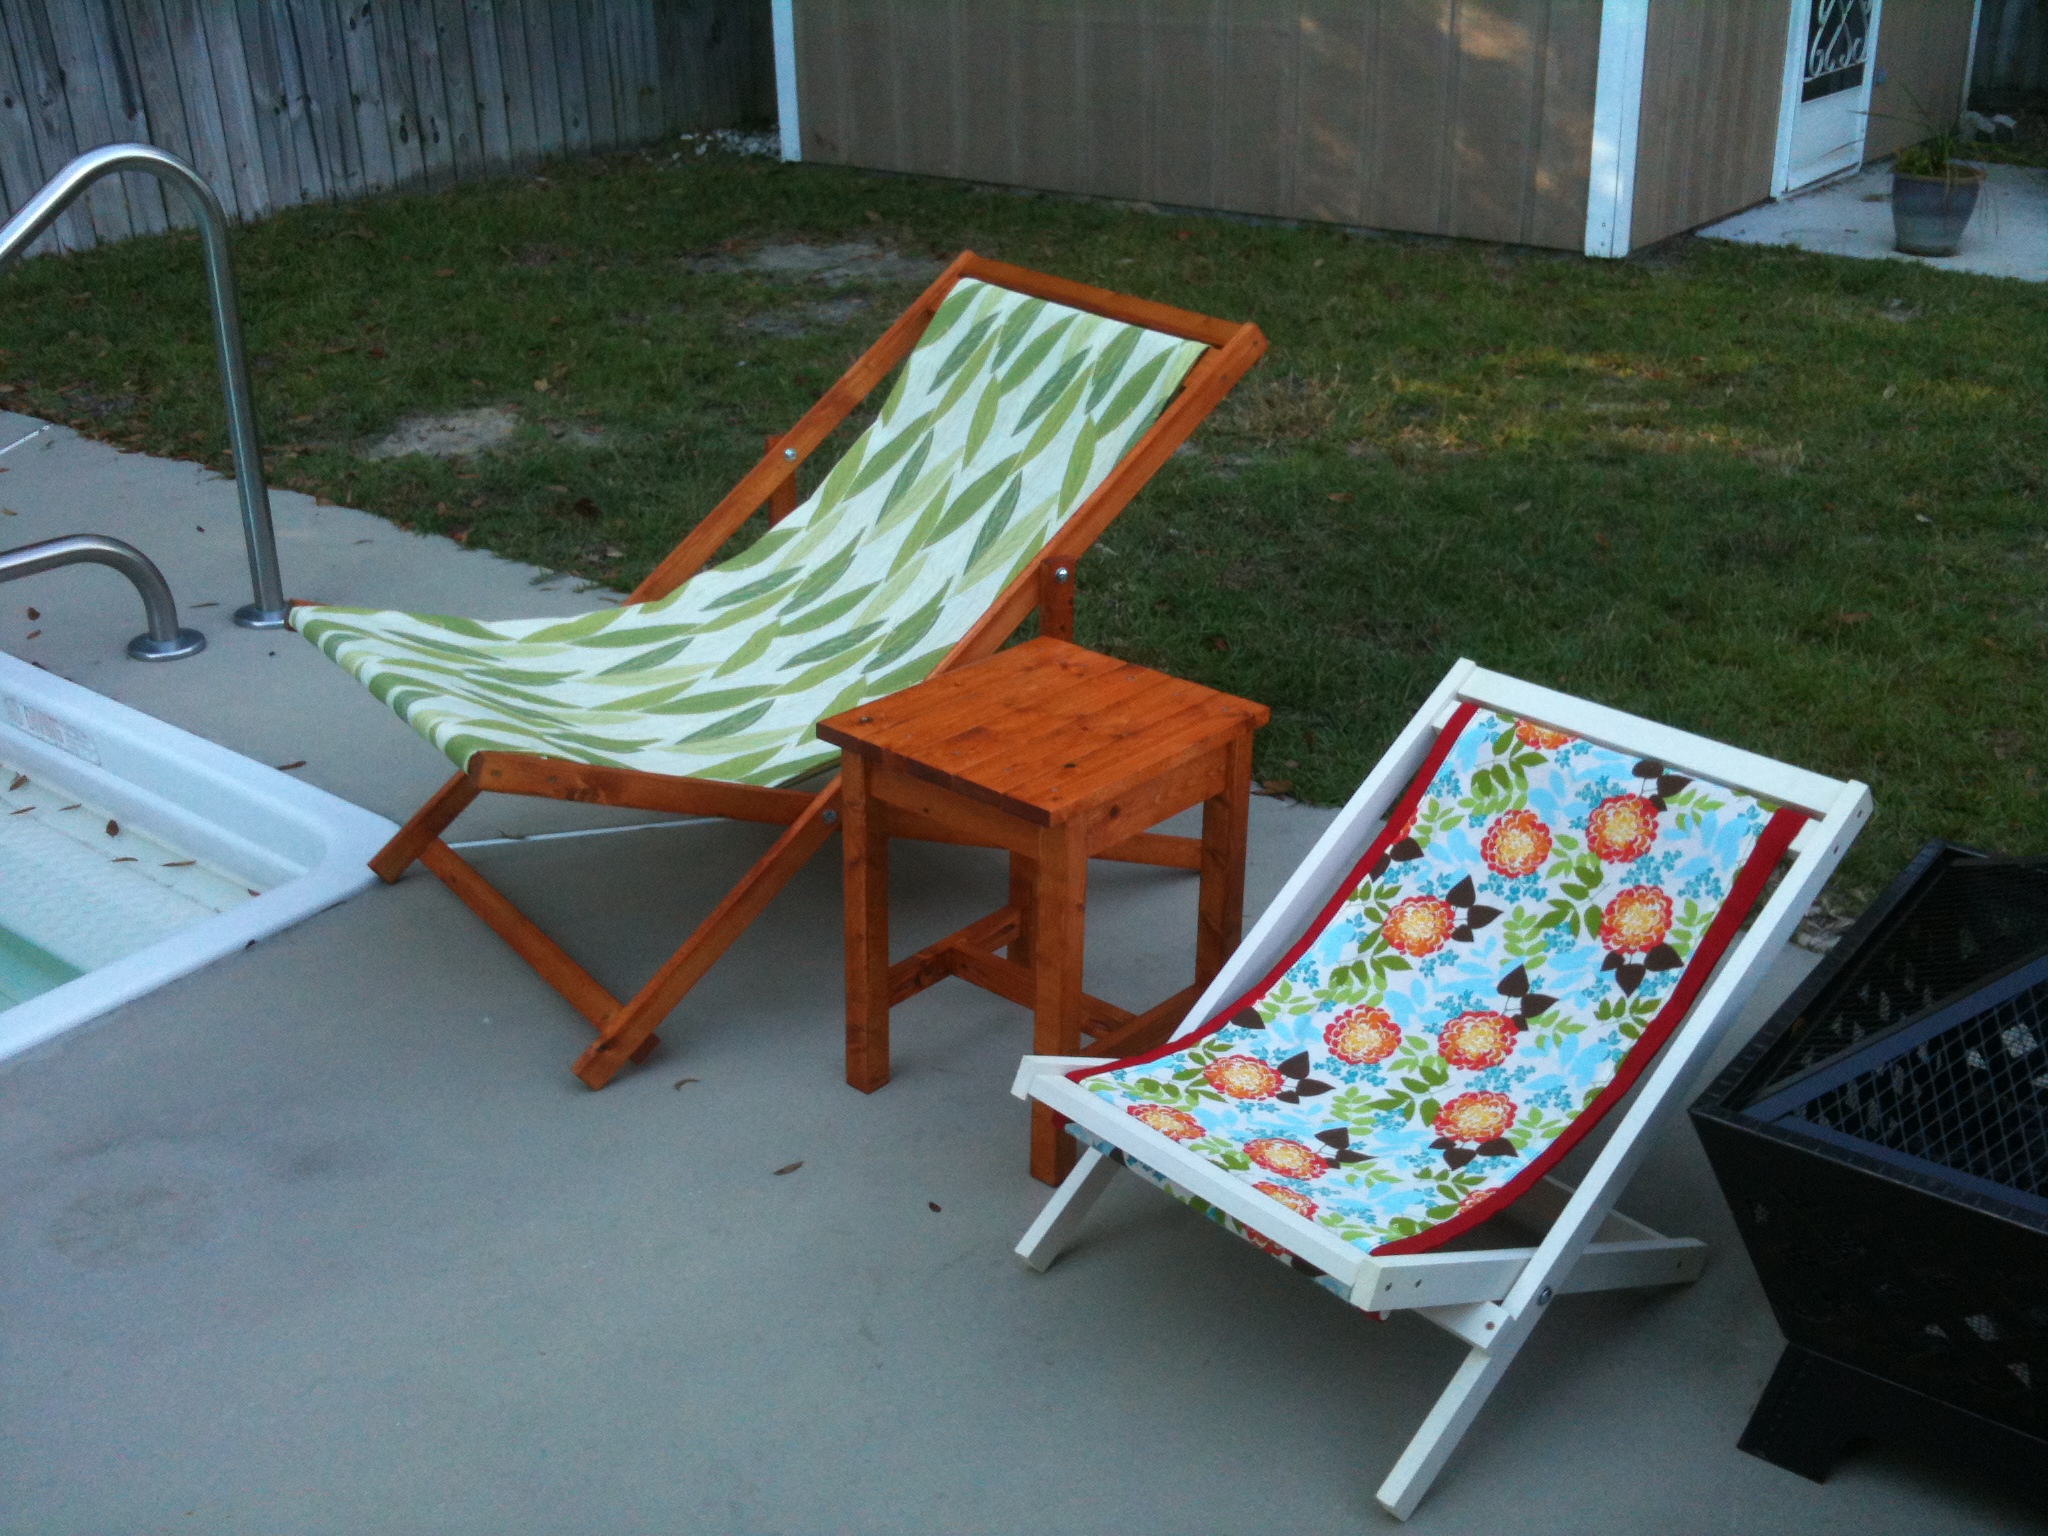
I was looking for an easy project to tackle as a newbie builder. I started with the child size chair (even though I don't have kids). It worked out well so I moved on to the adult sling chair (something I could sit in! haha). I was very pleasantly surprised. I now can't stop finding plans that I want to build. My hubby is very impressed and enjoys the excuse to go to the hardware store to buy more tools! :)
Built from Plan(s)
Estimated Time Investment
Weekend Project (10-20 Hours)
Finish Used
The Adult Sling Chair and the stool/table I used a deck stain to withstand the outside elements. The child chair I used an off white with a few coats of spray poly.
Recommended Skill Level
Starter Project
Emily Dresser
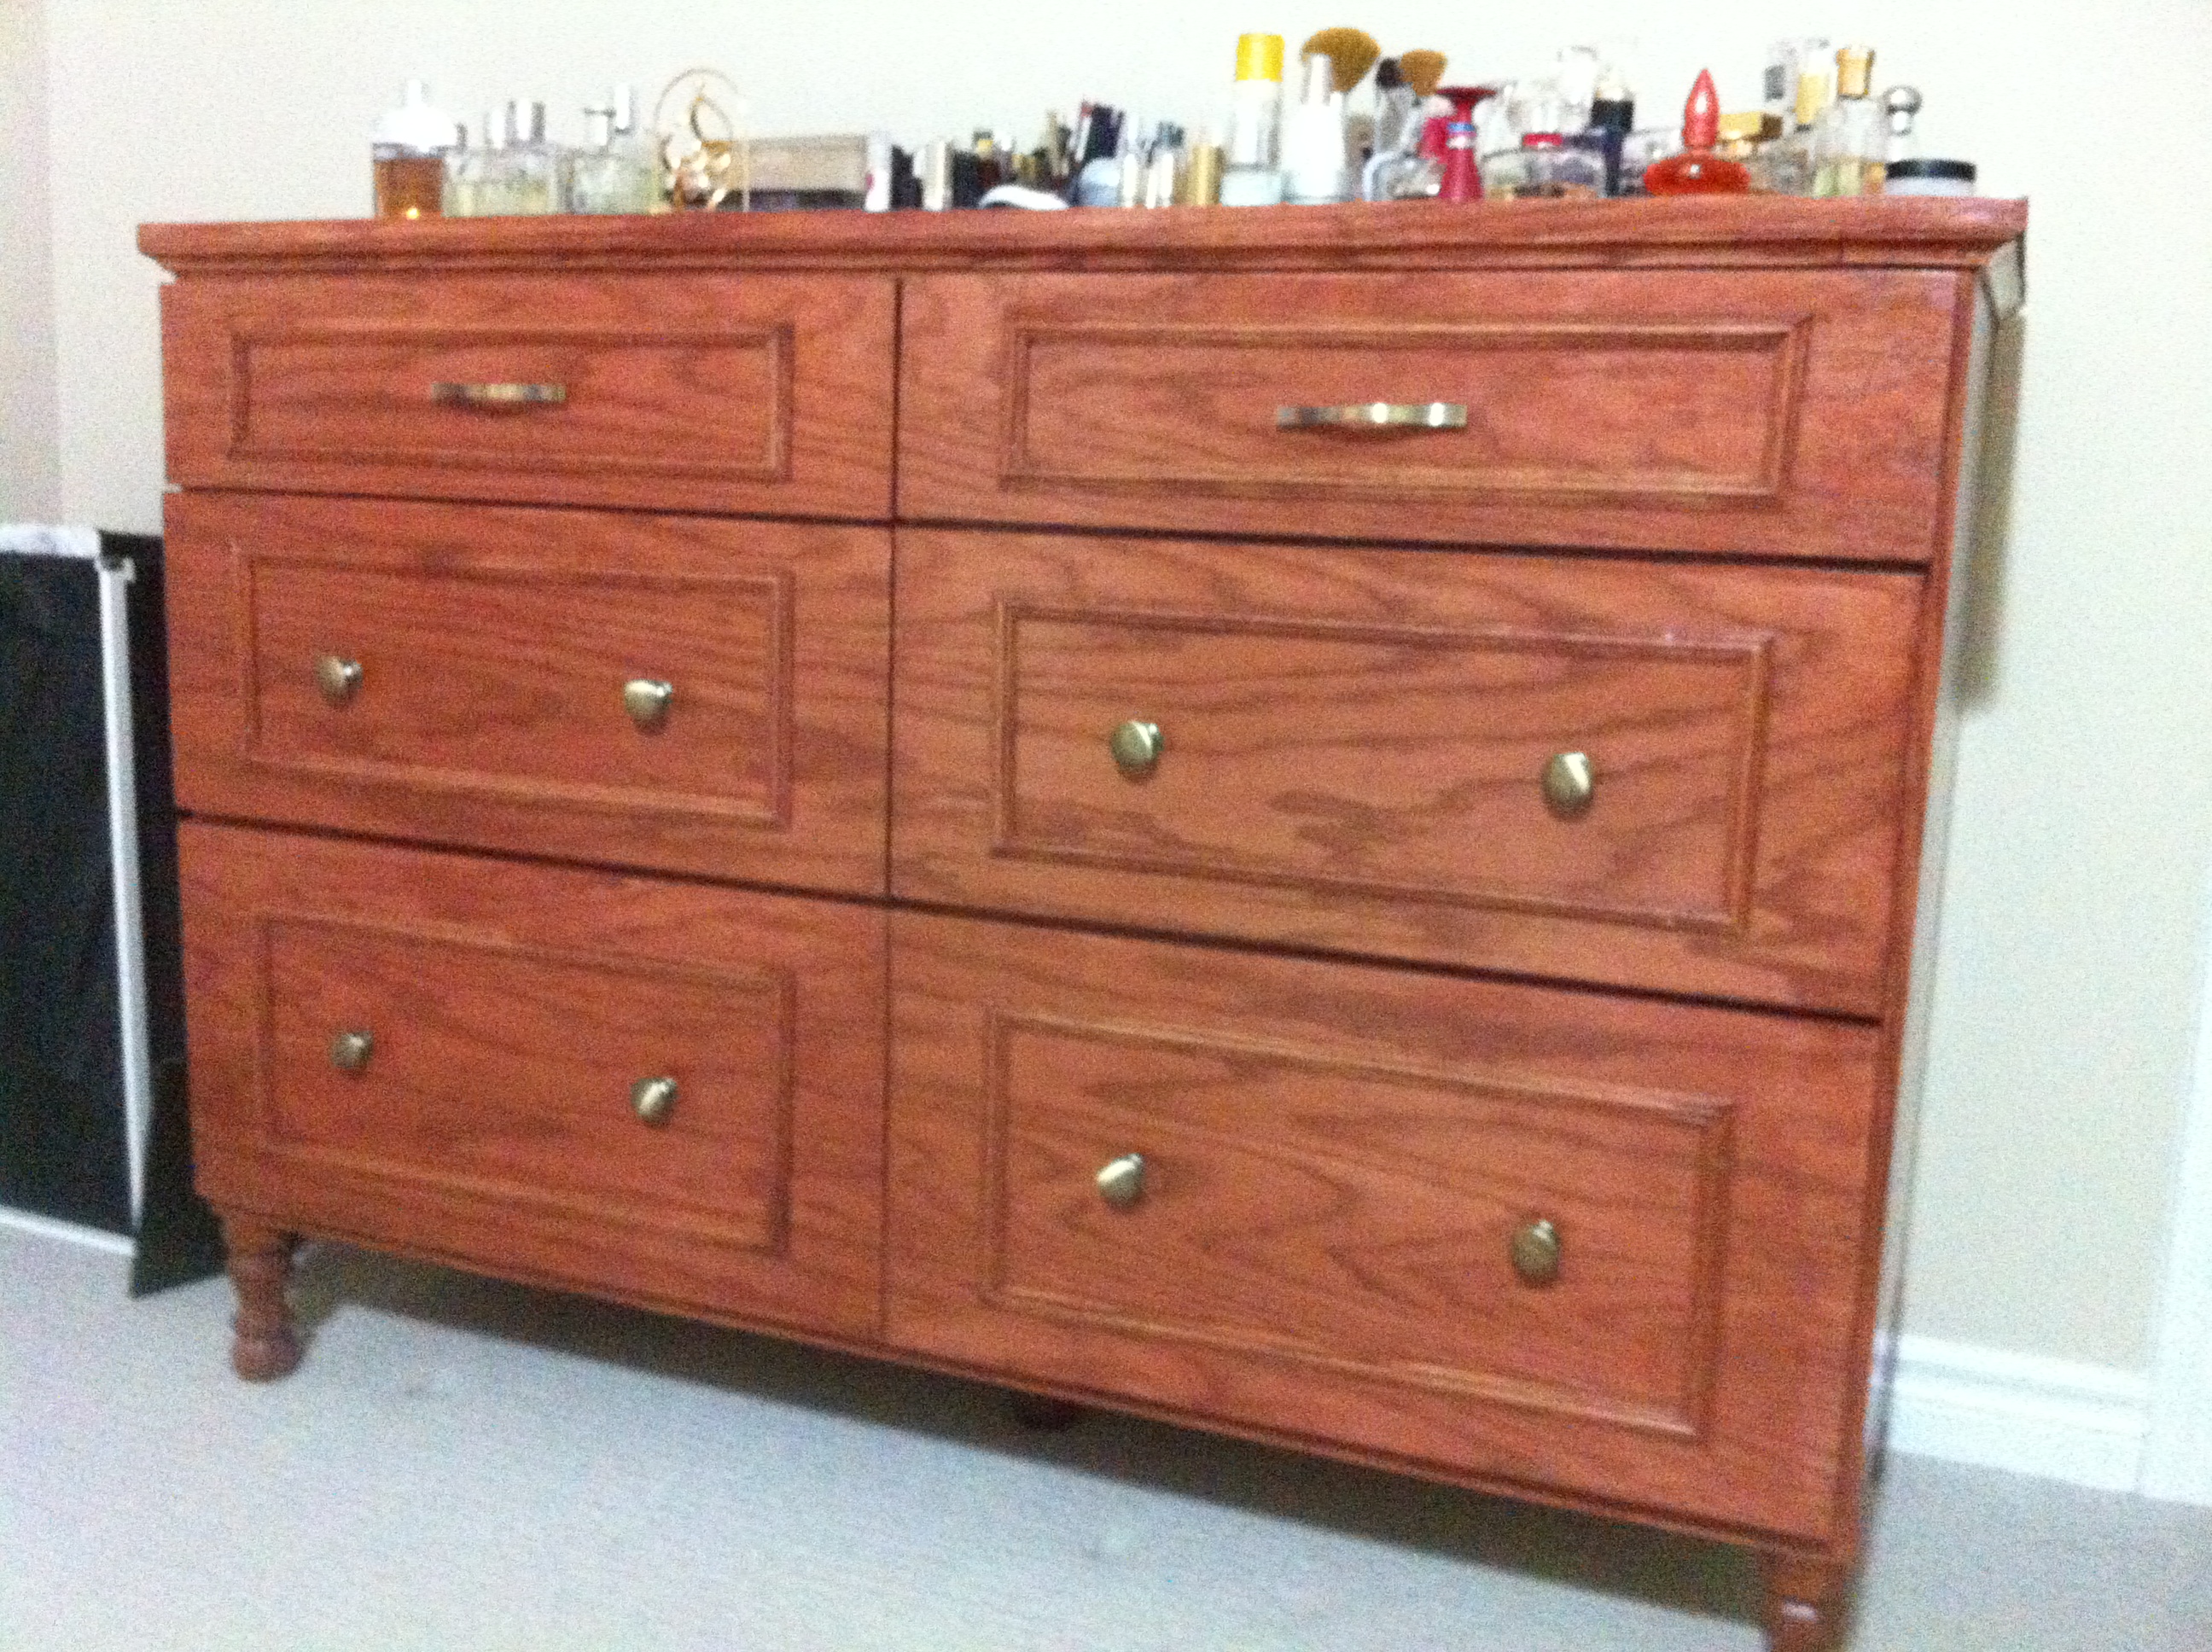
Emily Dresser
Built from Plan(s)
Estimated Time Investment
Week Long Project (20 Hours or More)
Recommended Skill Level
Advanced
Comments
Sun, 04/26/2015 - 13:58
http://ana-white.com/2015/03
Rustic x coffee table
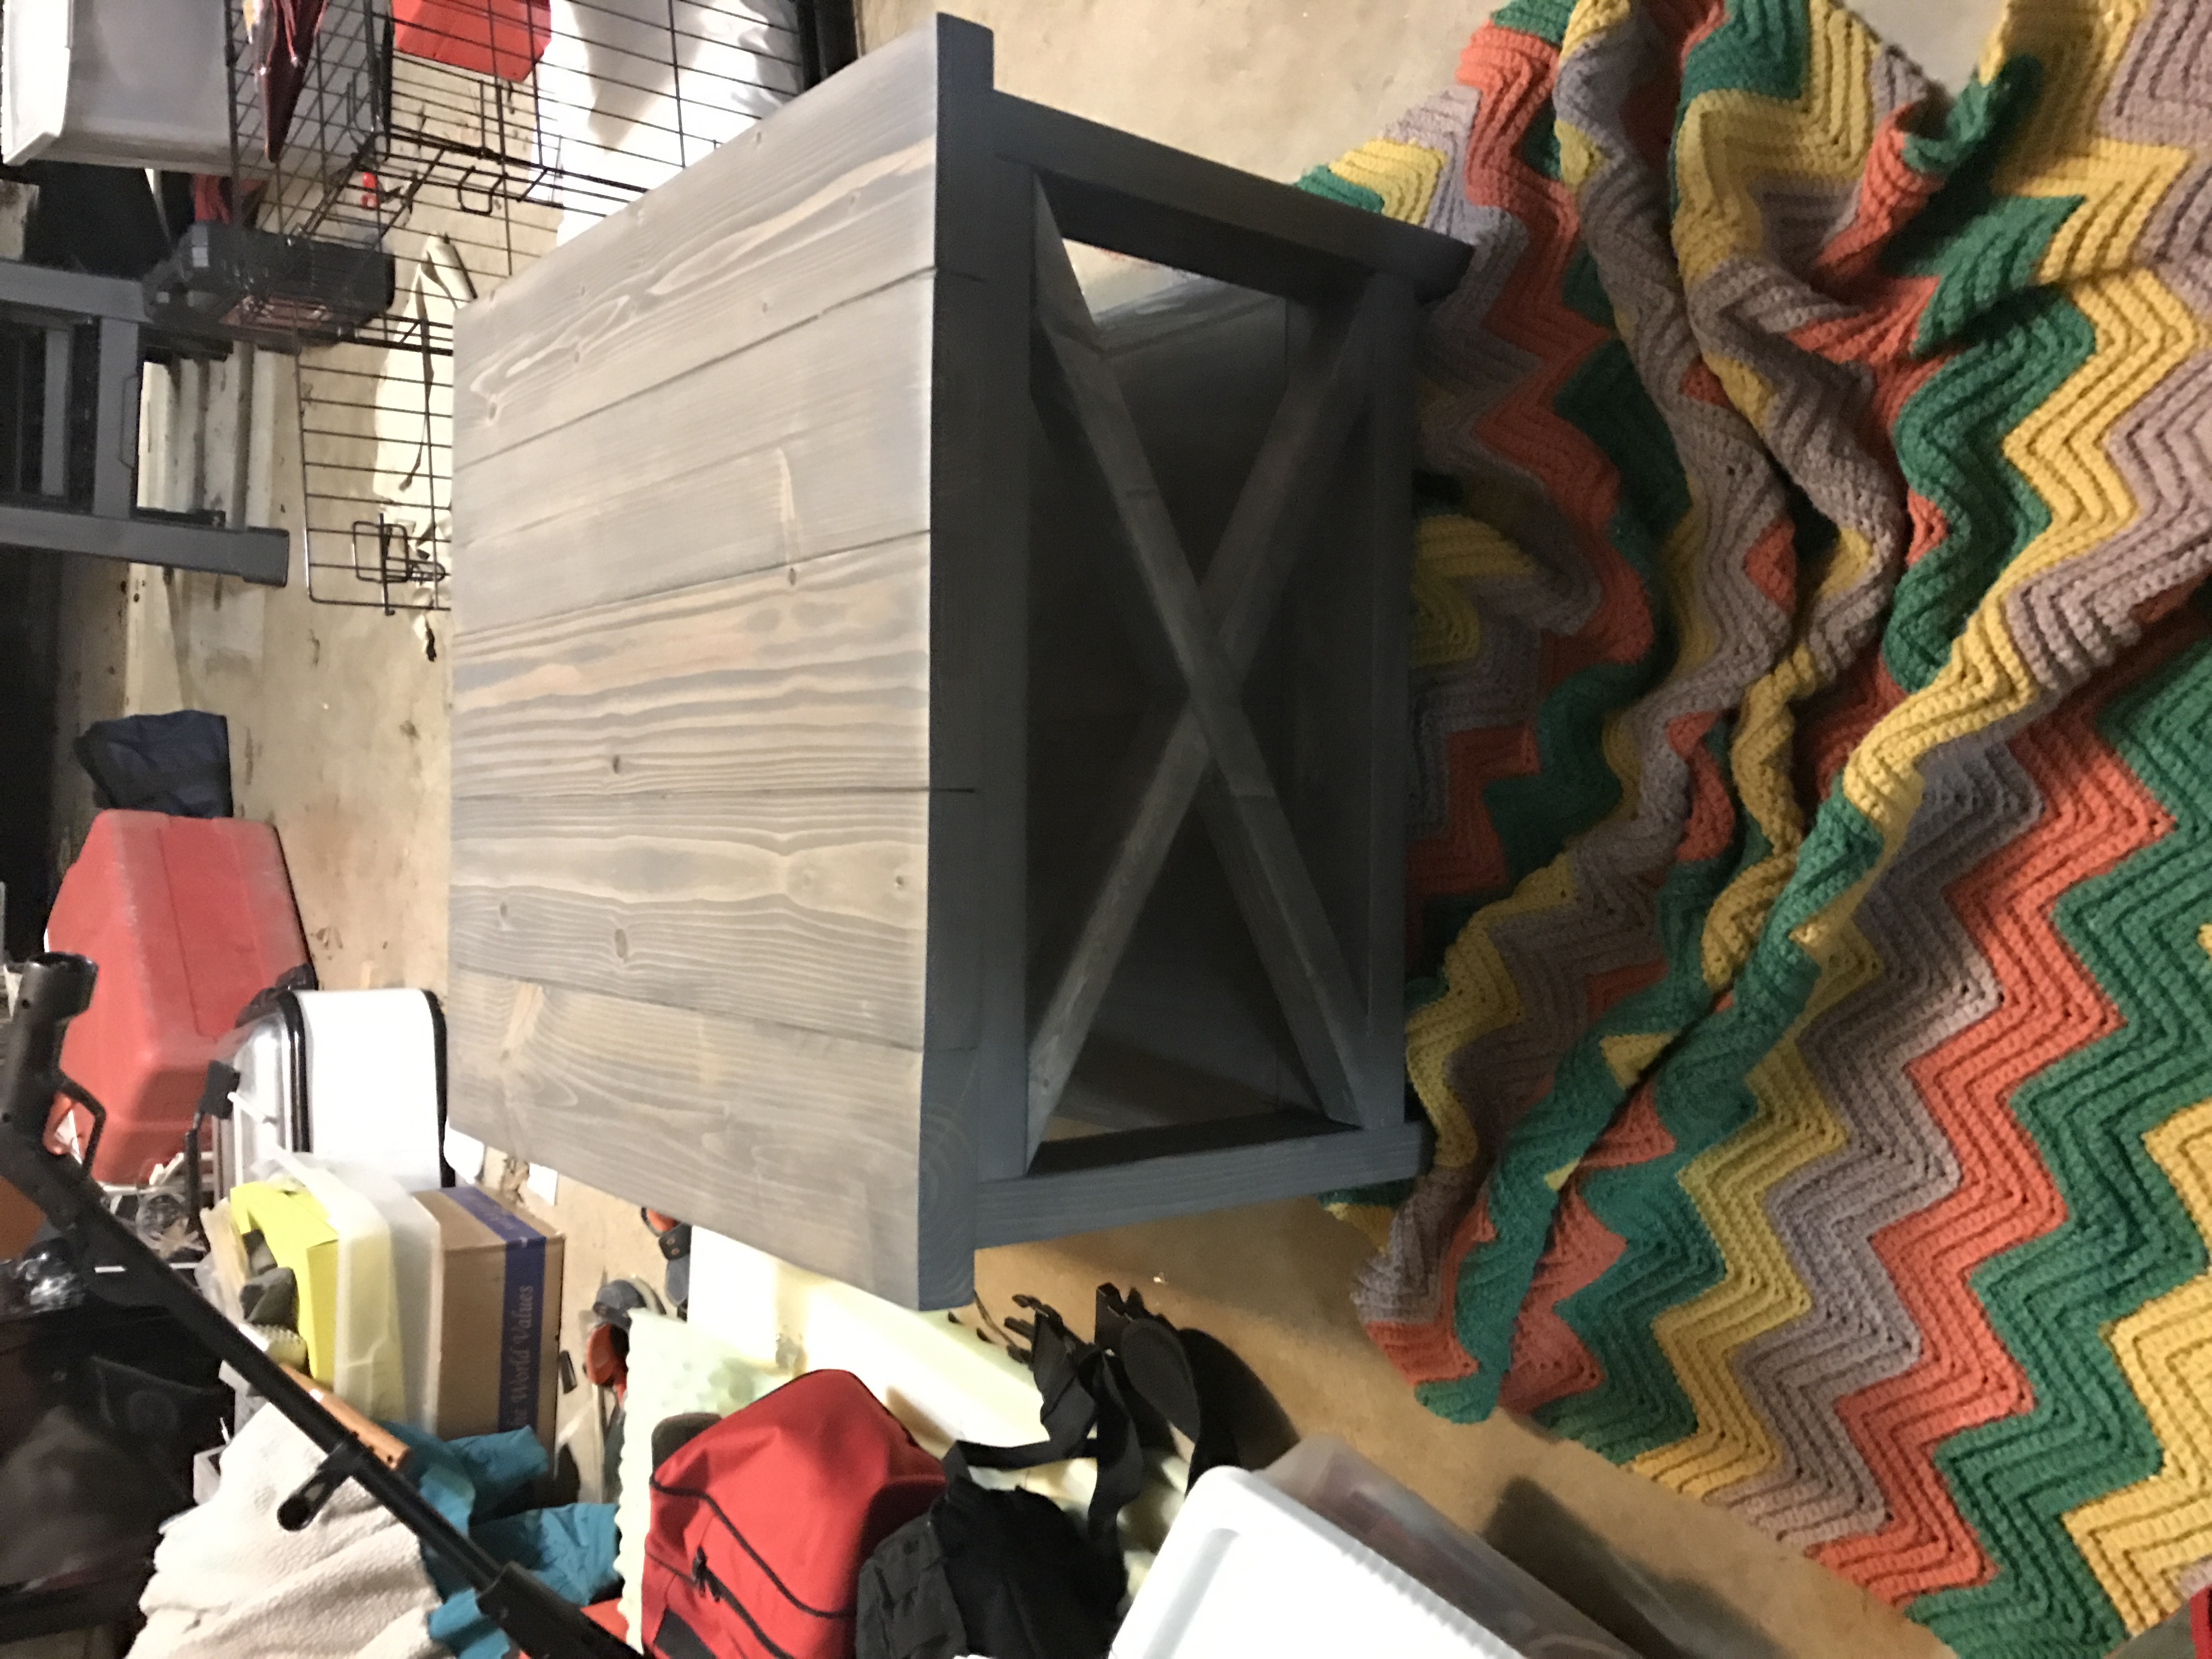
Modified to fit sectional couch so this build was considerably smaller. My dad loves it!
Built from Plan(s)
Estimated Cost
~$80
Estimated Time Investment
Day Project (6-9 Hours)
Finish Used
Weathered Grey Stain by Miniwax
Recommended Skill Level
Beginner
Adirondack Chairs for fire pit
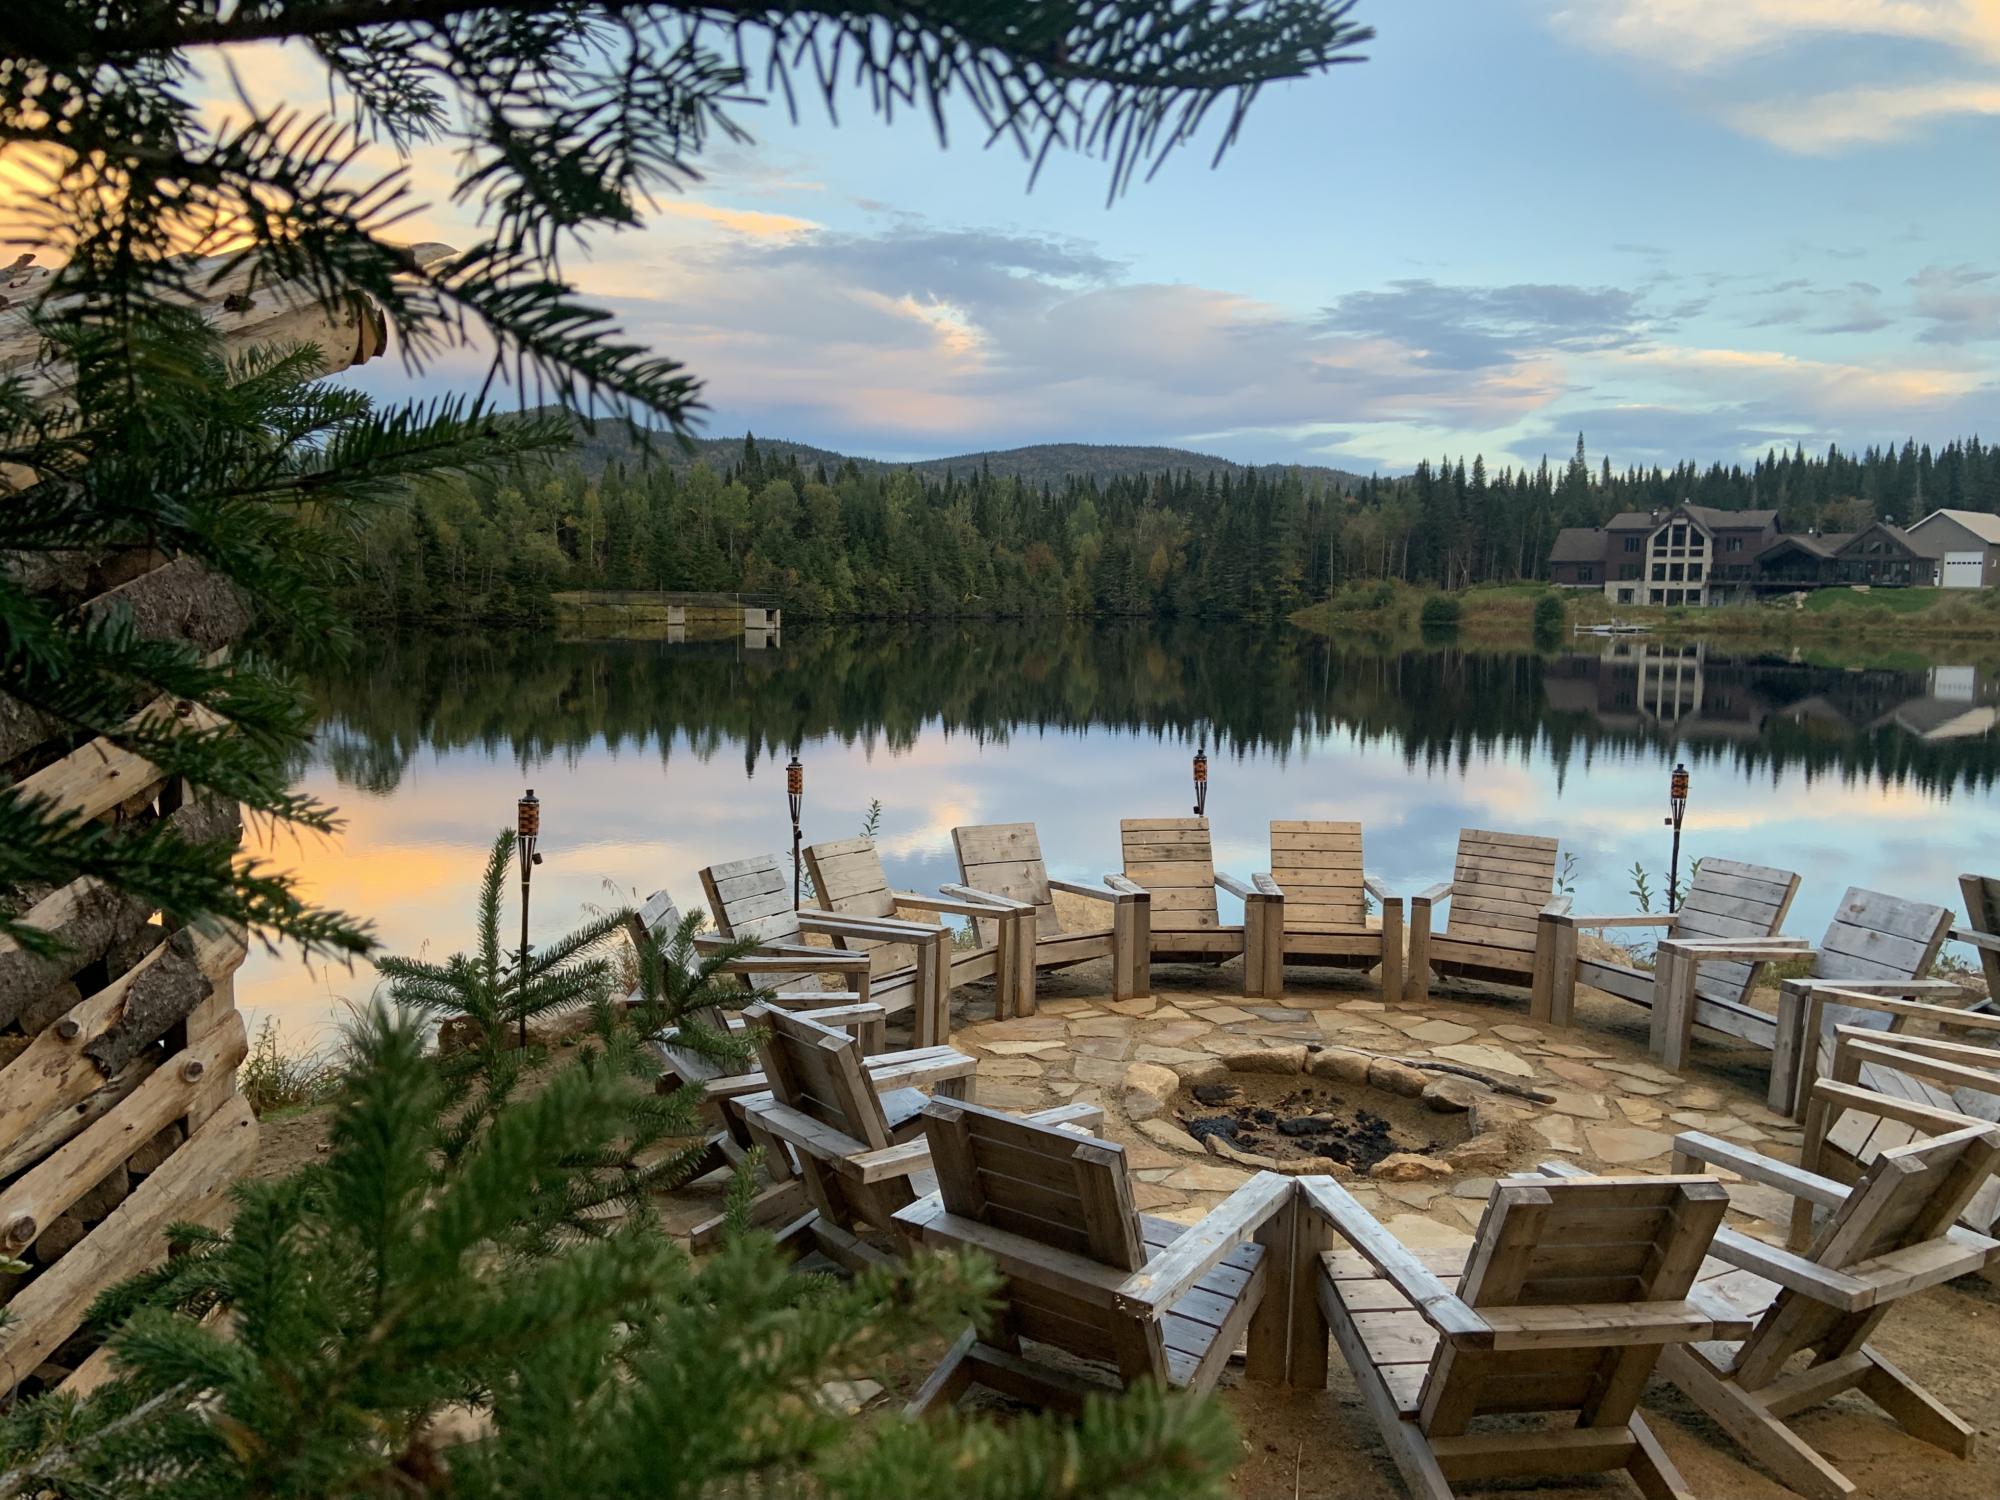
We have a contemporary house on a lake and the standard Adirondack chairs were not fitting in this setup. However, Anna’s modern Adirondack chair plan was just perfect for what we were looking for. The chairs are comfortable and the result is amazing! Thanks!!
Built from Plan(s)
Comments
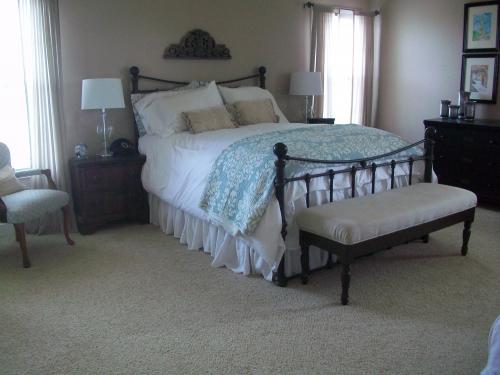
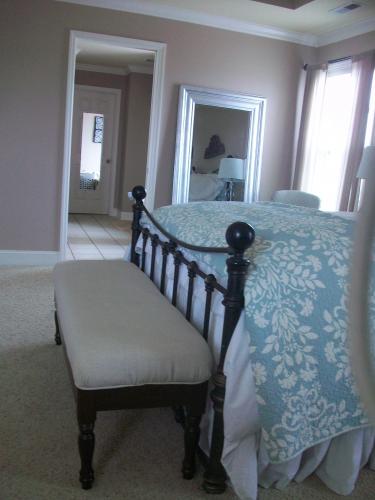
Variation on Easiest Upholstered Bench
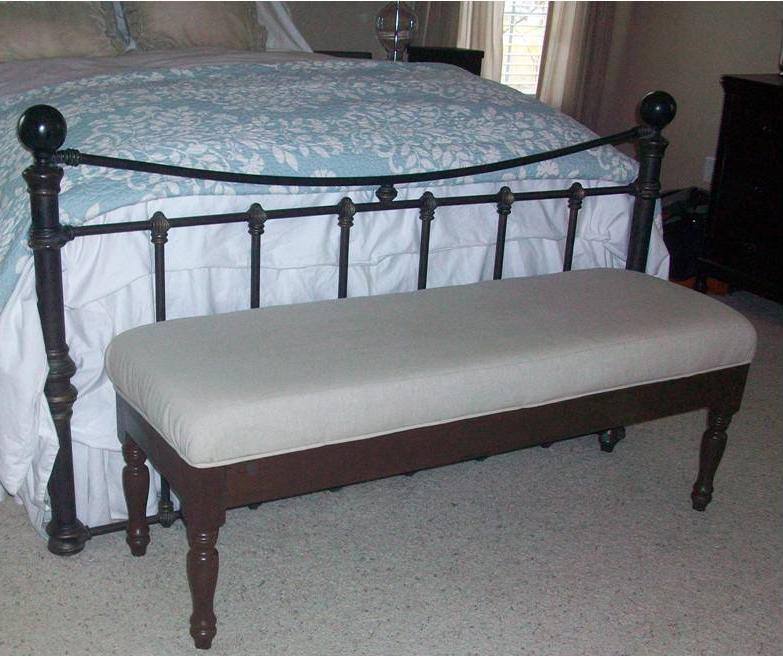
I wanted an upholstered bench for the end of my bed but could not find one with the right measurements. So what to do when that happens, build your own. I used the easiest upholstered bench plans as my starting point, but incorporated turned legs from Home Depot and upholstered the cushion instead of making a slipcover for a more traditional look. I made the bench measurements one inch smaller in depth and one inch smaller in length than the plans to fit the end of my queen size bed. I used the pocket hole (Kreg ) jig to attach the legs to the 2x4s and pre-drilled holes in the base to eventually attache the upholstered top. I used stain applied very heavily as the grain on the legs was different than the 2x4s.After putting the frame together and staining it, I stapled fabric over 3 inch foam and a layer of batting to the unattached top MDF board. The best way to cut foam to size is with an electric carving knife. I then stapled fabric covered piping around the edge of the fabric. I finished it off by turning the whole thing upside down and attaching the finished upholstered top to the frame by screwing them together with the pre-drilled pocket holes. I love the way it finishes off our room and it looks very professional. As always, the hardest part of the project is not the building, but the staining and getting the upholstery just right.
Built from Plan(s)
Estimated Cost
$65 (for legs, 2x4's, and 3 inch foam)--used leftover MDF for top and fabric I had
Estimated Time Investment
Afternoon Project (3-6 Hours)
Finish Used
I used Minwax water based walnut stain and applied 2-3 coats very heavily and did not wipe it off. I also used 2 coats of polyurethane.
Recommended Skill Level
Beginner
Sand Box with lid seats!

I put a weekend project because I took the time to paint. I also used 2x8's for the sides so to account for the difference in measurements...Long sides stayed the same at 47 1/2", however, for the shorts sides, because of the extra almost 2"'s on either end, I cut them at 45" and the lid 8 ft 1x4's were just cut in half so measured 48".
Also, on the arms for the seat...I got a little crazy excited with my Kreg Jig...I love those pocket holes but probably just should have screwed the seat onto them..lol
I had seen an image with the cut outs on the lid so took a bowl, did my own measurements and used them for handles instead of purchasing more hardware. Kids love it! Thanks for the plan!!

Built from Plan(s)
Estimated Cost
60/70$
Estimated Time Investment
Weekend Project (10-20 Hours)
Finish Used
Nothing on pressure treated....colors on pine.
Recommended Skill Level
Starter Project
Comments

Fri, 05/31/2013 - 20:57
I love, love LOVE this!
Brilliant paint job :-) And the cut-outs instead of hardware? Genius!
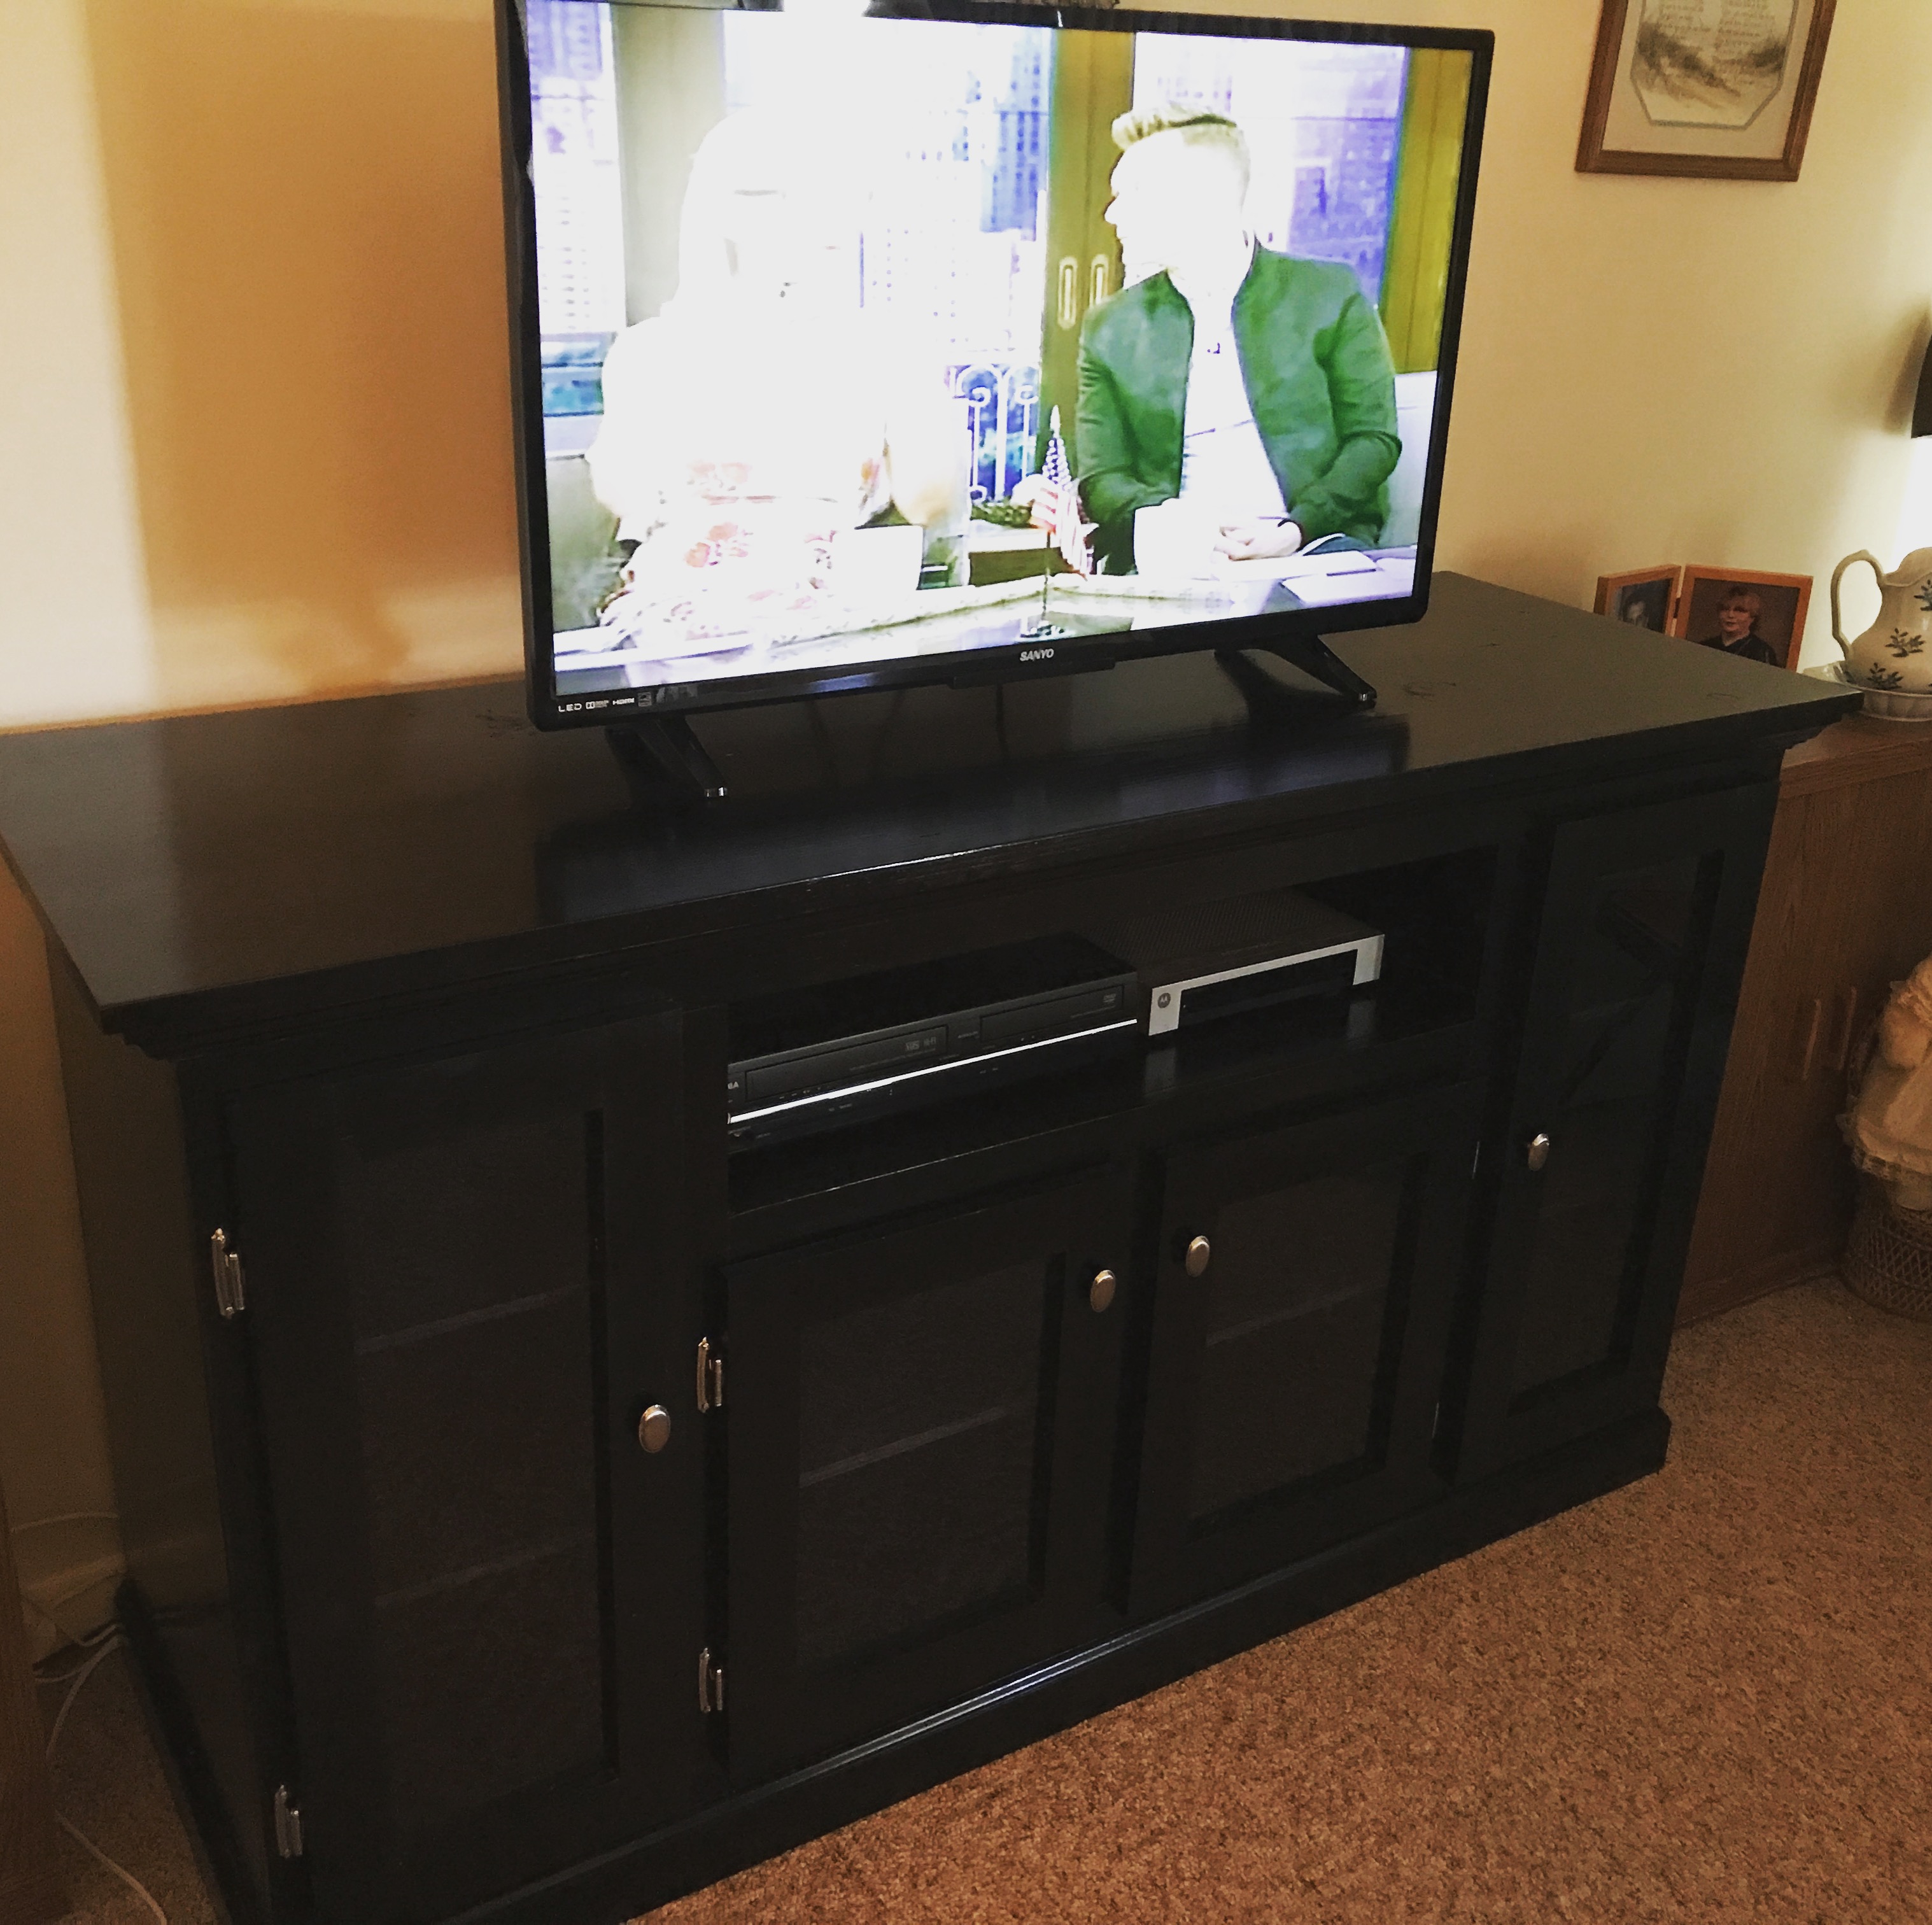
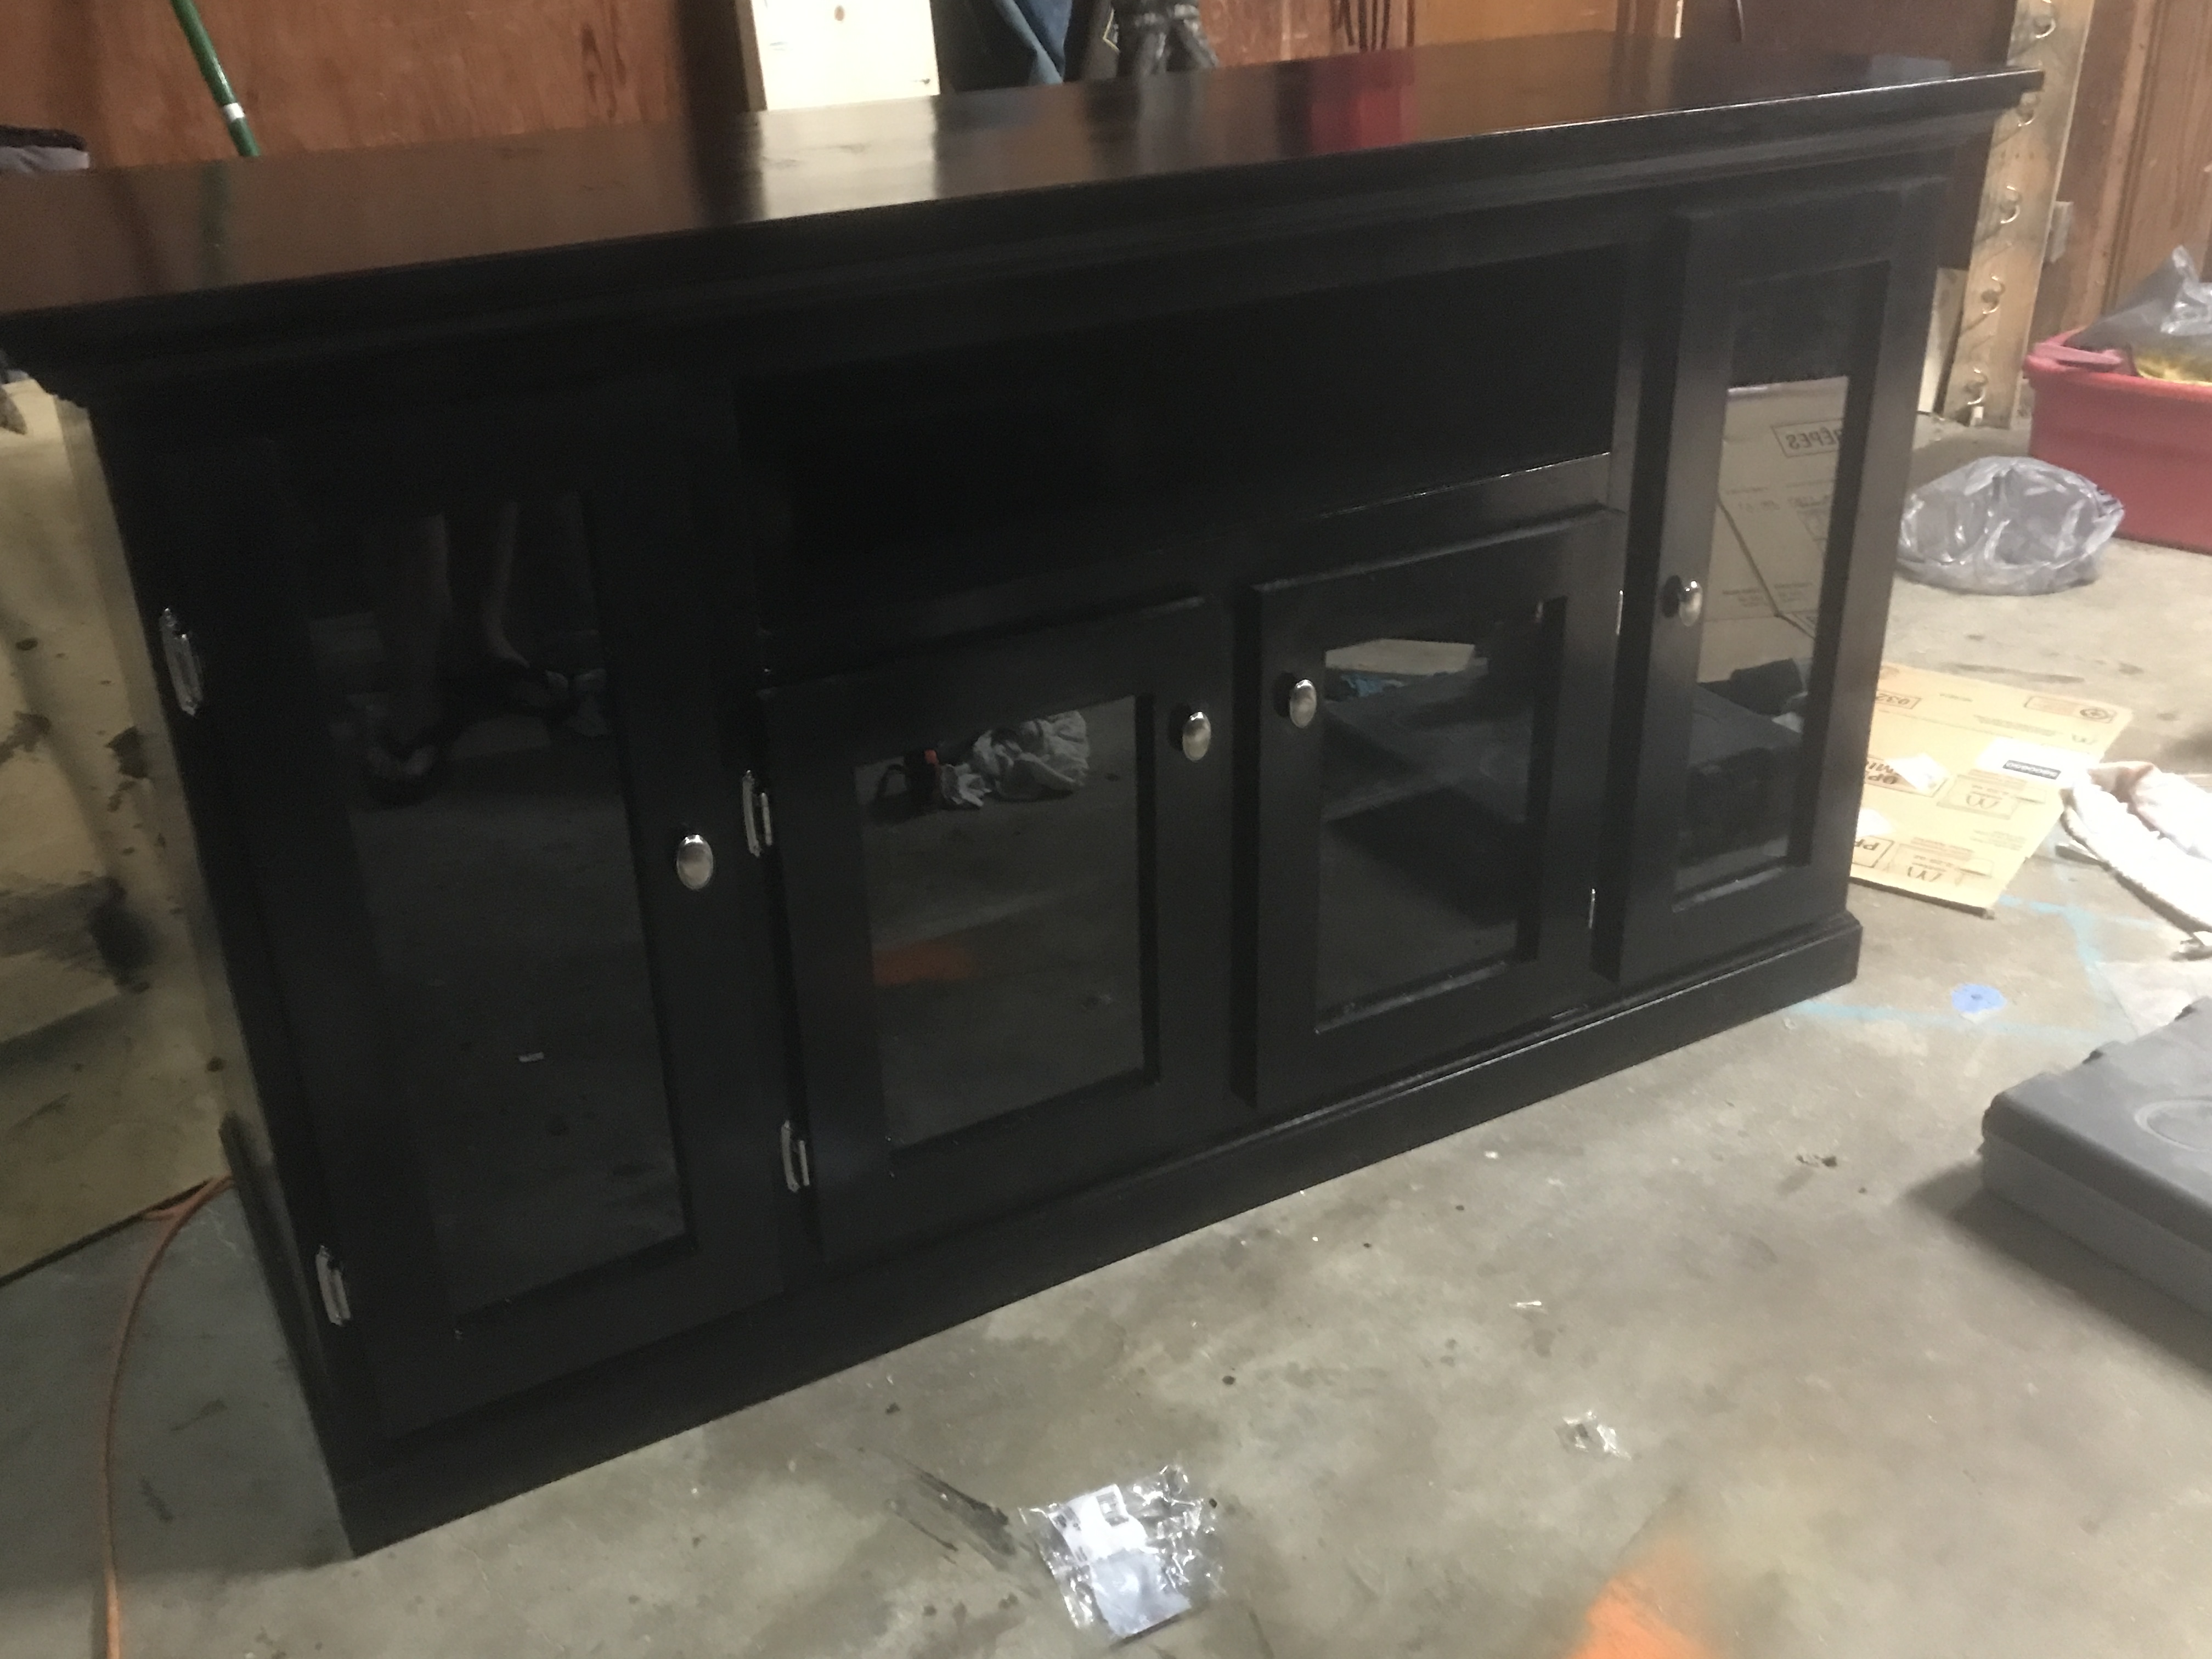
My New Office Media Center!!!
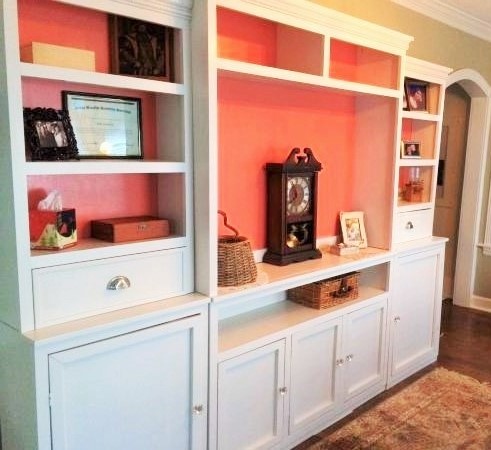
These pieces are perfect for my home office. I desperately needed storage. I have tons of room to spare. I love the design, although I used different molding. Couldn't find small enough crown. Thank you!!
Built from Plan(s)
Estimated Time Investment
Week Long Project (20 Hours or More)
Finish Used
Hgtv Sherman Williams porcelain and flower lei
Johnsons Paste Wax
Johnsons Paste Wax
Recommended Skill Level
Intermediate
Comments
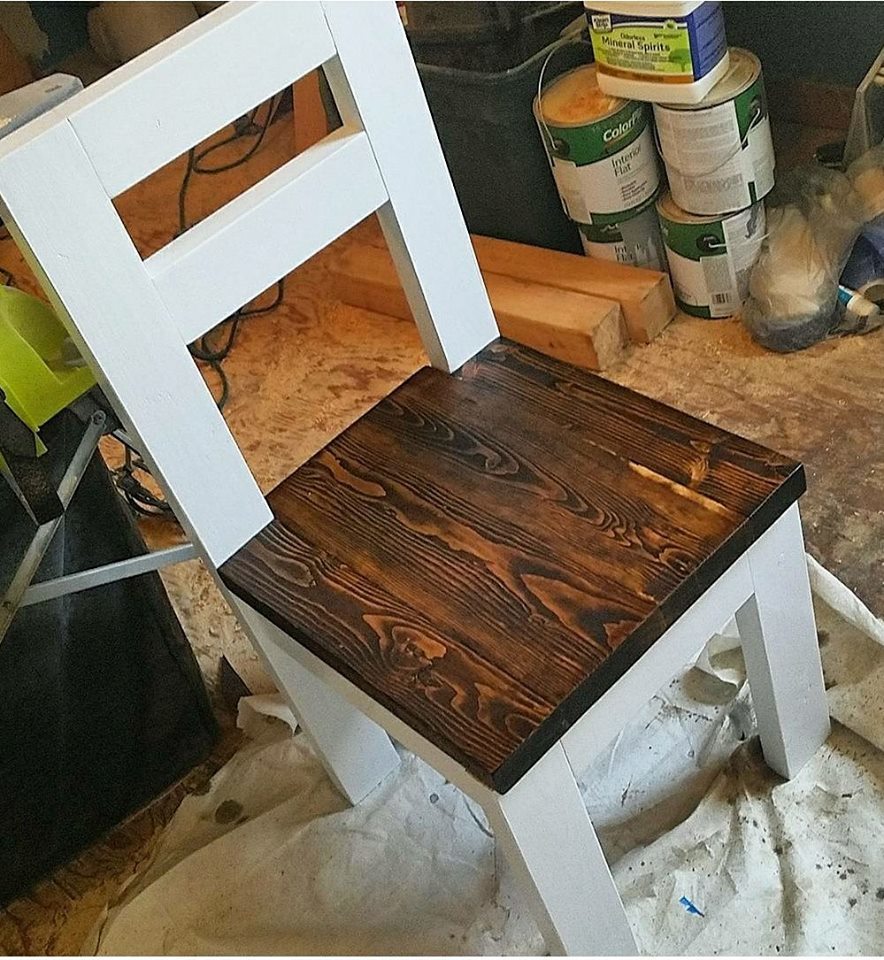
Dining Table

Used the pub table plans, but went regular dining table height so as to make matching dining chairs. Painted in Rustoleum Latex Ultra White, and Stained in Minwax Espresso. Built using Douglas Fir lumber. Table top and chair seats are 2x4's and 2x6's that were biscuit joined. Table has adjustable leg levelers drilled into bottom of legs.
Built from Plan(s)
Estimated Cost
$200 for Table and 4 matched chairs
Estimated Time Investment
Weekend Project (10-20 Hours)
Finish Used
Rustoleum Ultra White paint, Minwax Espresso stain, Minwax Gloss Fastdry poly
Recommended Skill Level
Intermediate
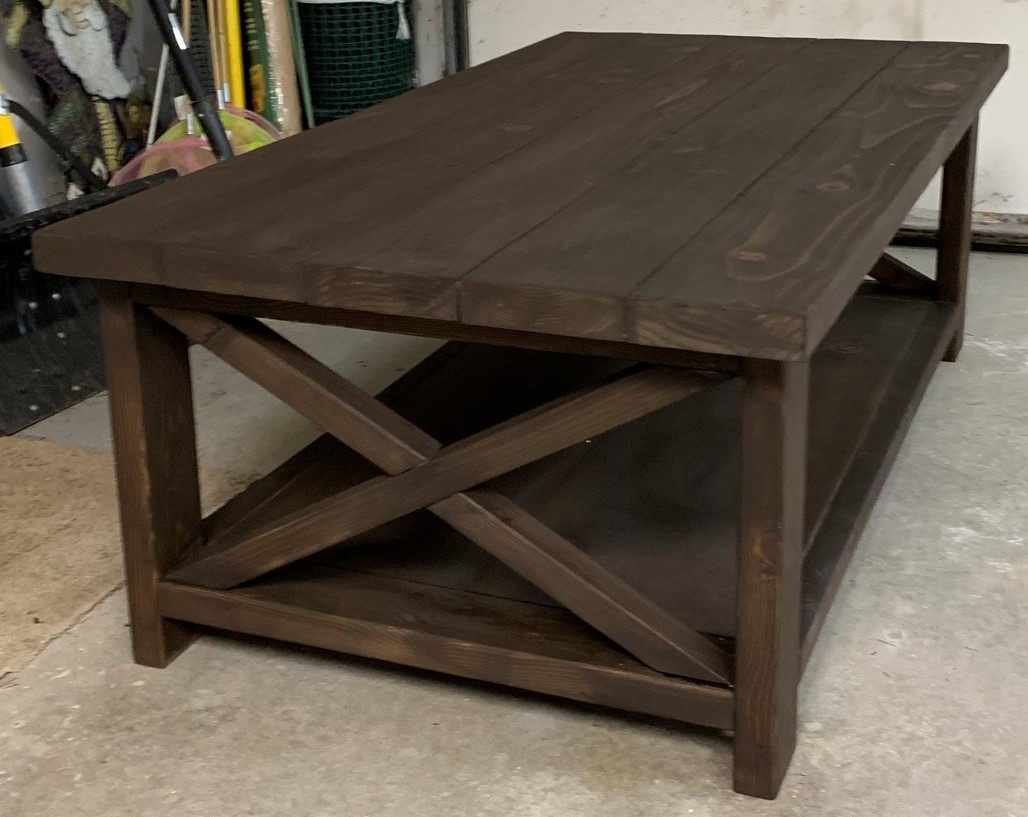
Toy box and rustic coffee table
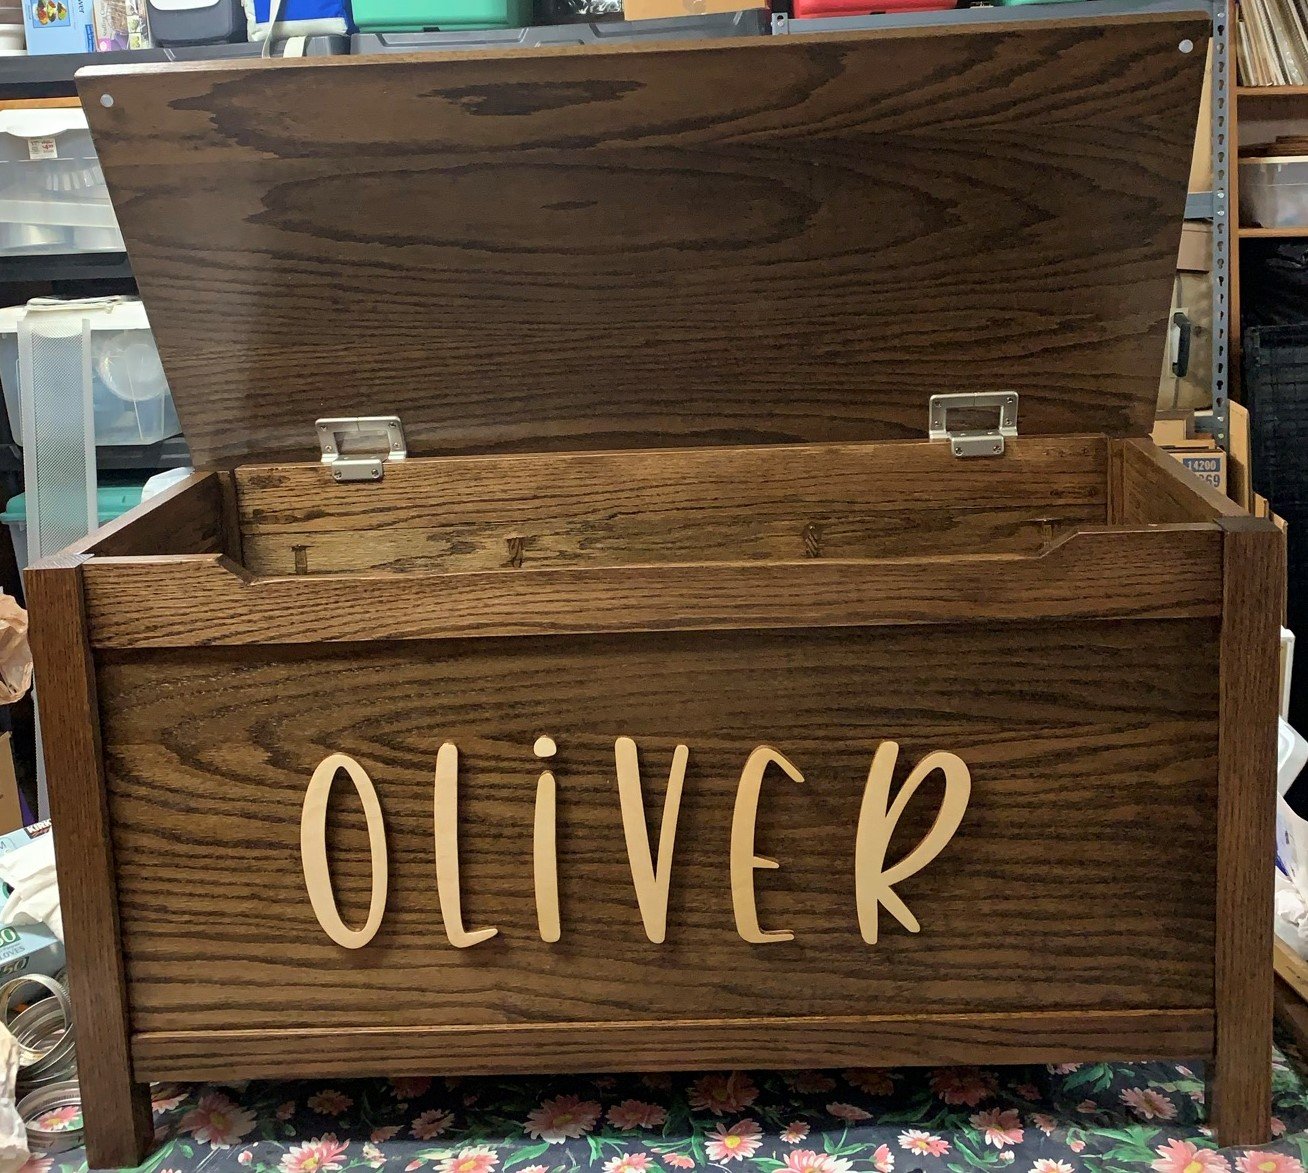
The toybox for my grandson for his first Christmas was my first project. I'm super happy with how it turned out and his parents love it!.
After the toybox I decided to make a coffee table for my daughter and she picked out the design from your site. She loves it!
Built from Plan(s)
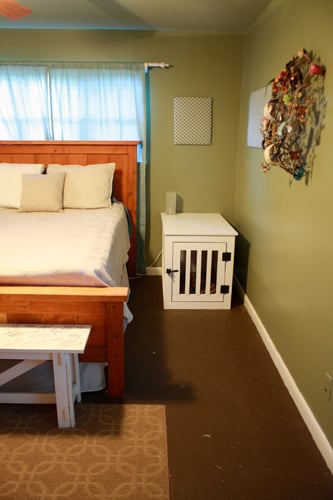
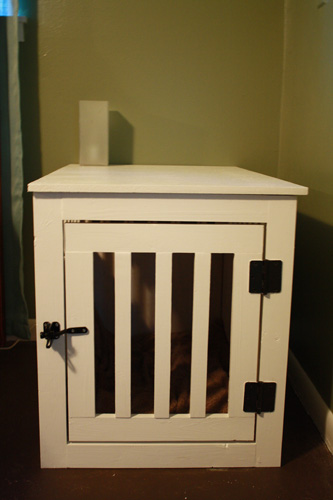
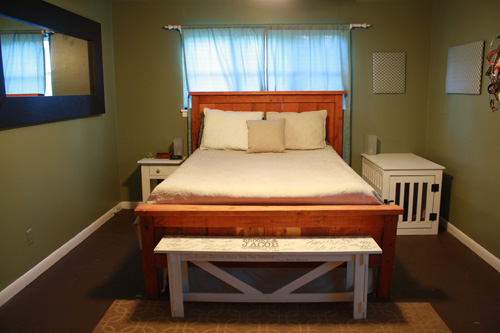
Rory's House
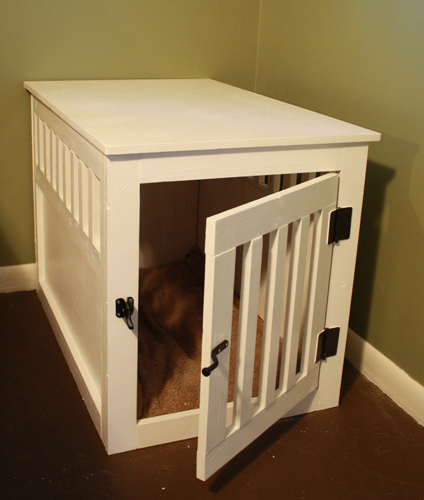
In need of a replacement for my hideous (but large!) wire kennel, I was ecstatic when Ana posted plans for an end table kennel, just like the fancy ones in Sky Mall magazines! Once I got out of my first trimester of pregnancy, I enlisted a friend to help me out with the build. I spent a little too much on lumber (I accidentally purchased the good whitewood, as opposed to furring strips) but I'm chalking that up to pregnancy brain. After a million Kreg Jig holes, the assembly was maybe an hour or less to put all four sides together. We decided to paint the interior prior to assembly, and that was a good choice! I put the sides together with L-brackets, and honestly did a pretty poor job of it. But the main reason was to easily disassemble it should it need to be moved at some point. I splurged on the hinges and gate closure, and love love LOVE the finished product! These were great, well-laid out plans!
Built from Plan(s)
Estimated Cost
70
Estimated Time Investment
Afternoon Project (3-6 Hours)
Finish Used
I sanded it with 100, then 150. I gave the MDF edges a quick coat of DAP to smooth things out, then sanded with 220. It's painted with 4 coats of semigloss white.
Recommended Skill Level
Intermediate
Herb garden gift
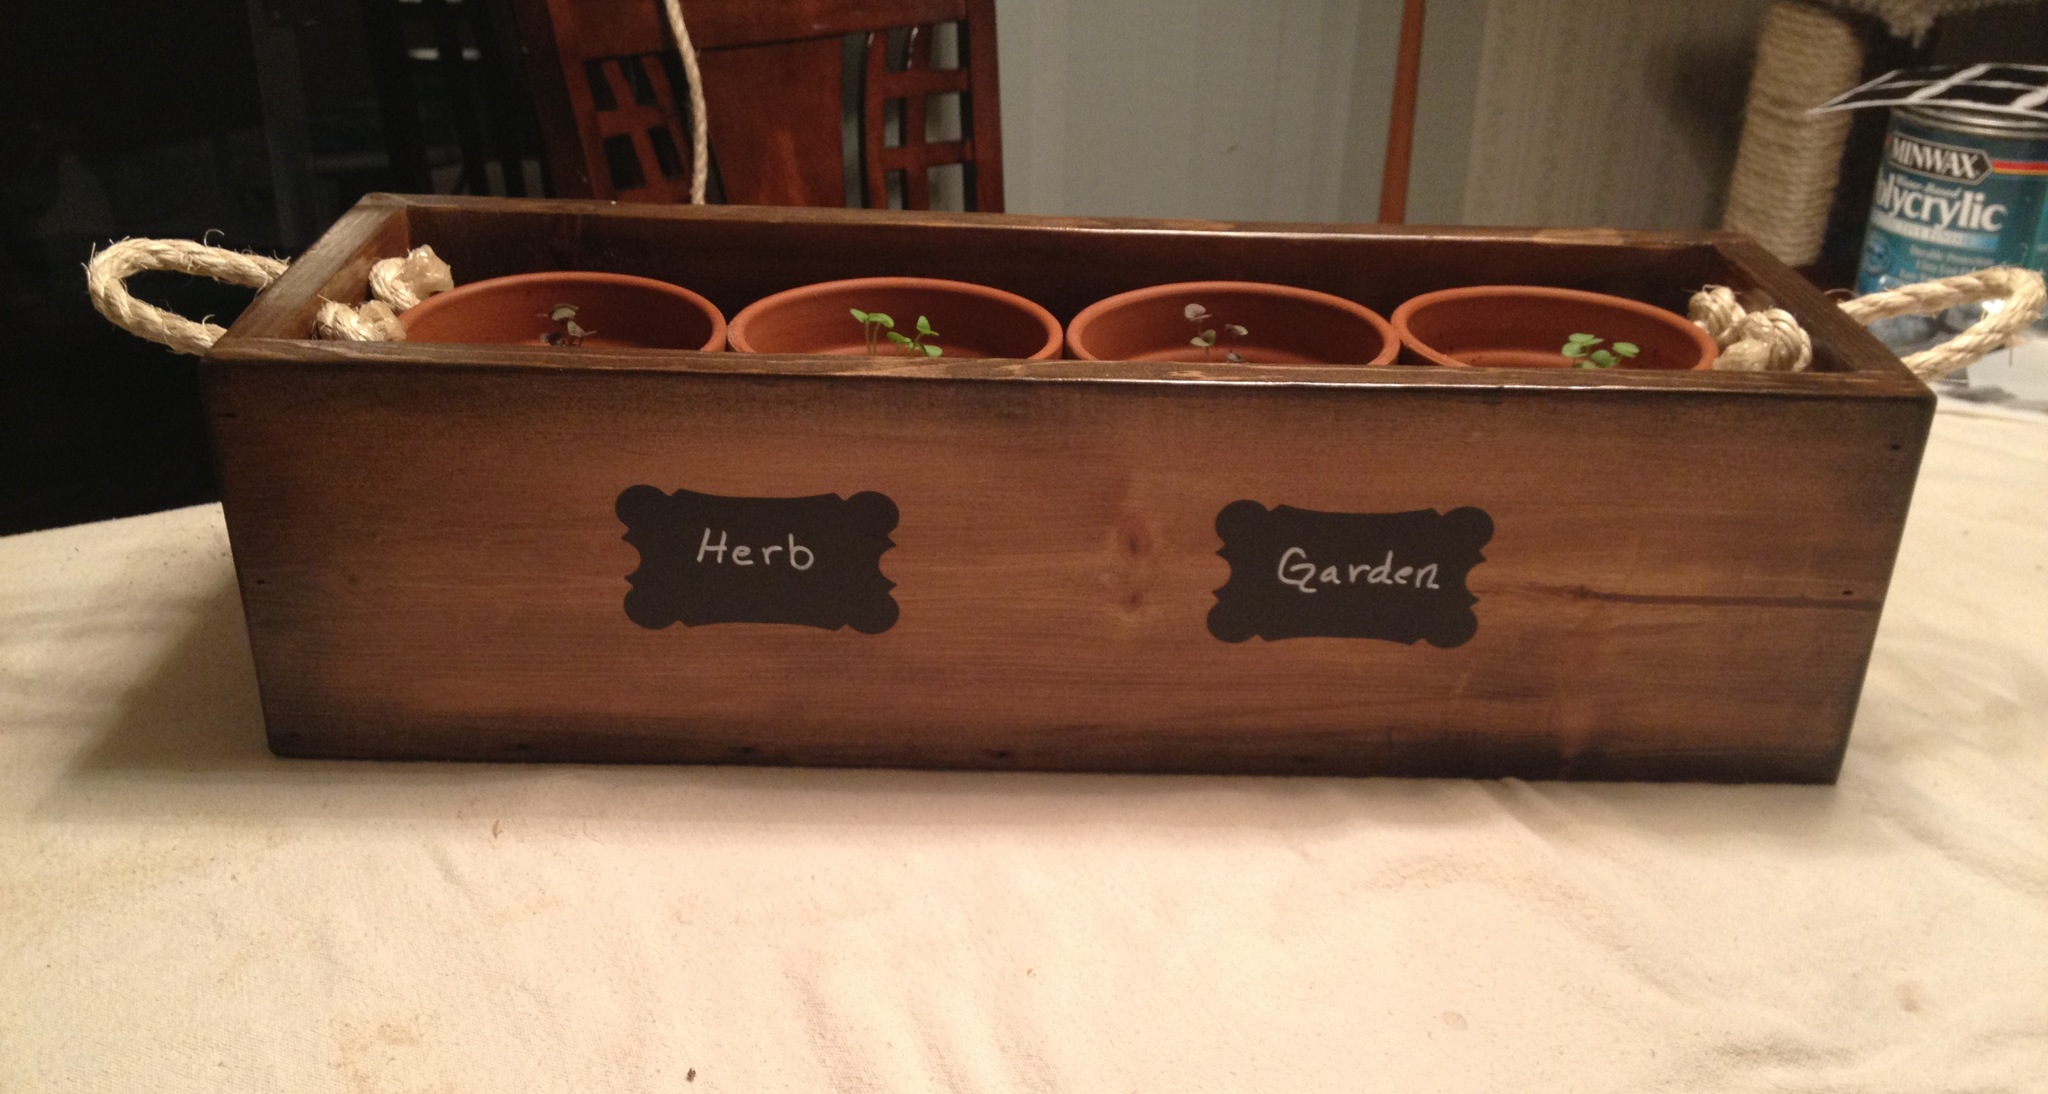
I can't find ceder fencing here where we live so I just used a 1x6 I already had. I sealed it with Rustolem's Spar outdoor polyurethane in semi-gloss.
My 6 year old daughter planted the little basil plant seeds a couple weeks ago and we are giving this to one of her teachers this week as an end of year present.
I tried hand painting the herb garden part but it looked really bad so I sanded it down and added the little chalkboard vinyl stickers instead.
I used mostly stuff I had on hand to make the box... I used sissel rope for the handles since I had some. The only cost was for the stickers, terracotta pots and the seeds
Built from Plan(s)
Estimated Cost
$6
Estimated Time Investment
An Hour or Two (0-2 Hours)
Finish Used
Rustolem early american, dark walnit and spar outdoor poly
Recommended Skill Level
Starter Project
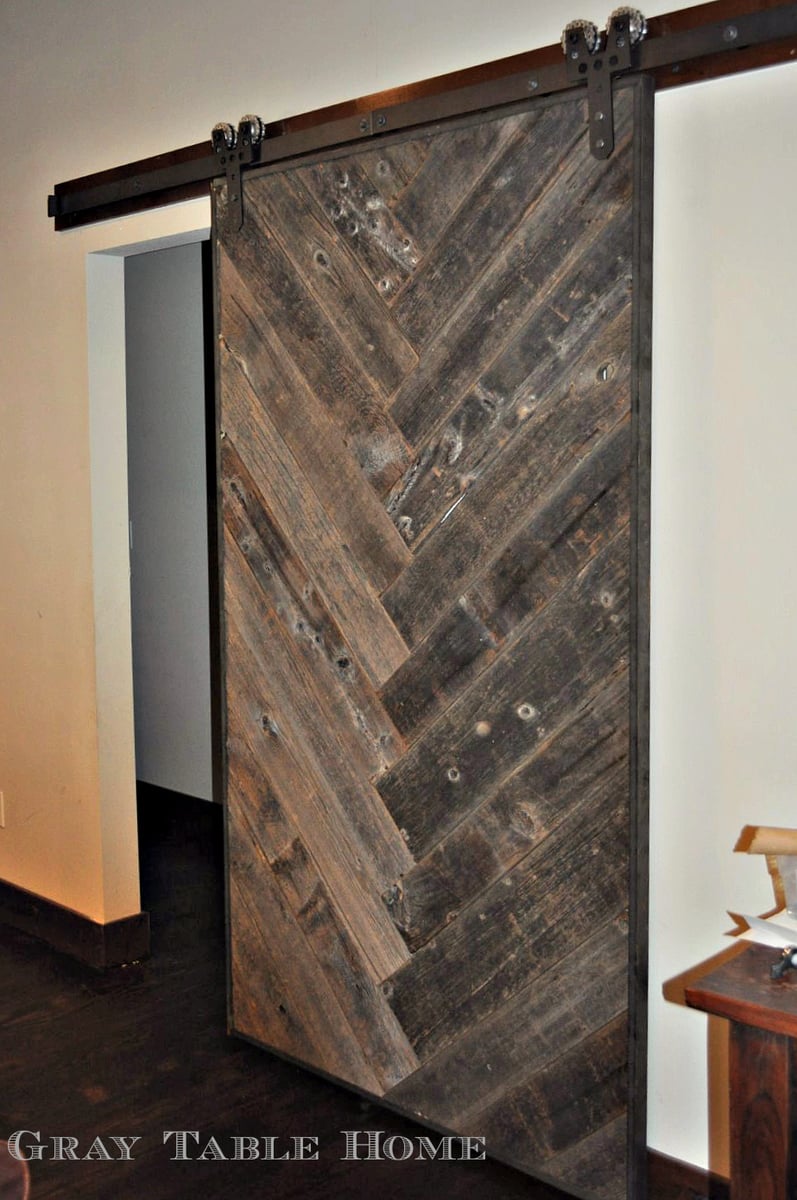
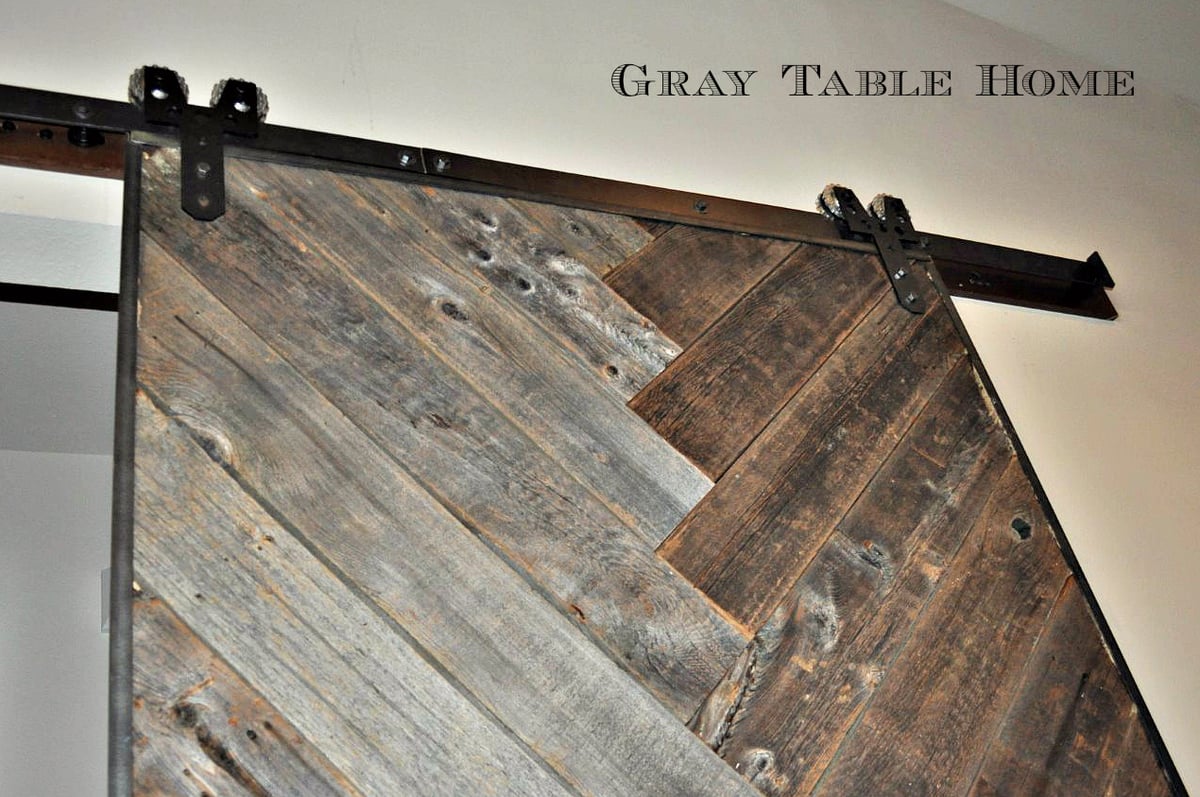
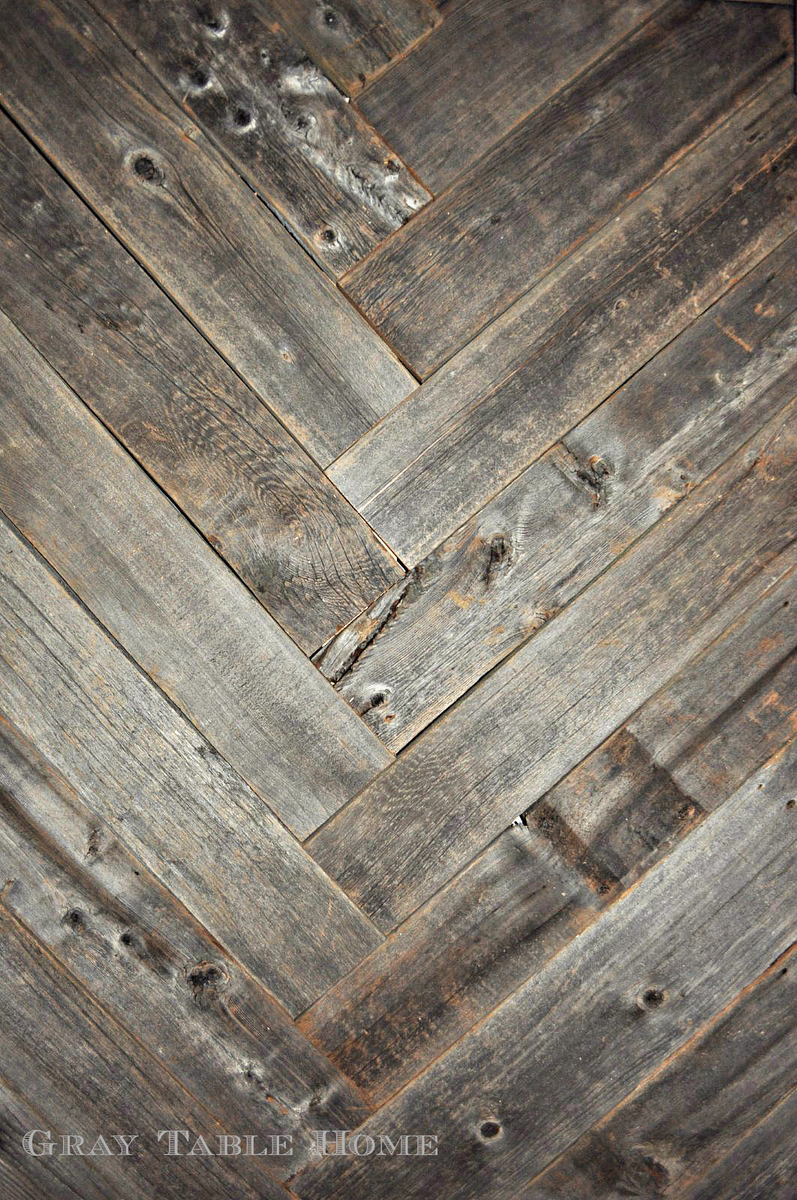
DIY Herringbone Barn Door
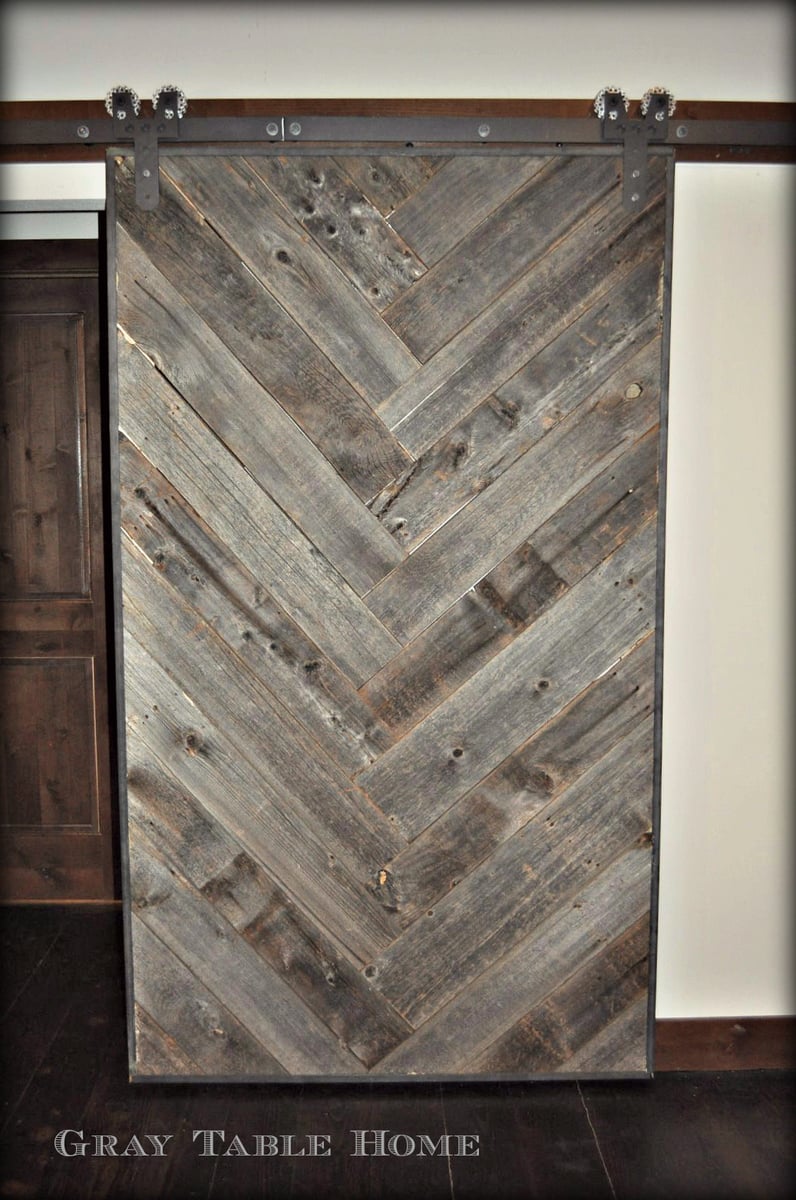
This DIY Herringbone Barn Door is used over a simple hallway opening to separate the maing living space from the kids' bedrooms. I searched this site and Pinterest for inspiration, and loved the herringbone and chevron patterns that I found. This door was made of reclaimed barn wood and wrapped in raw steel channel iron. Hope you enjoy!
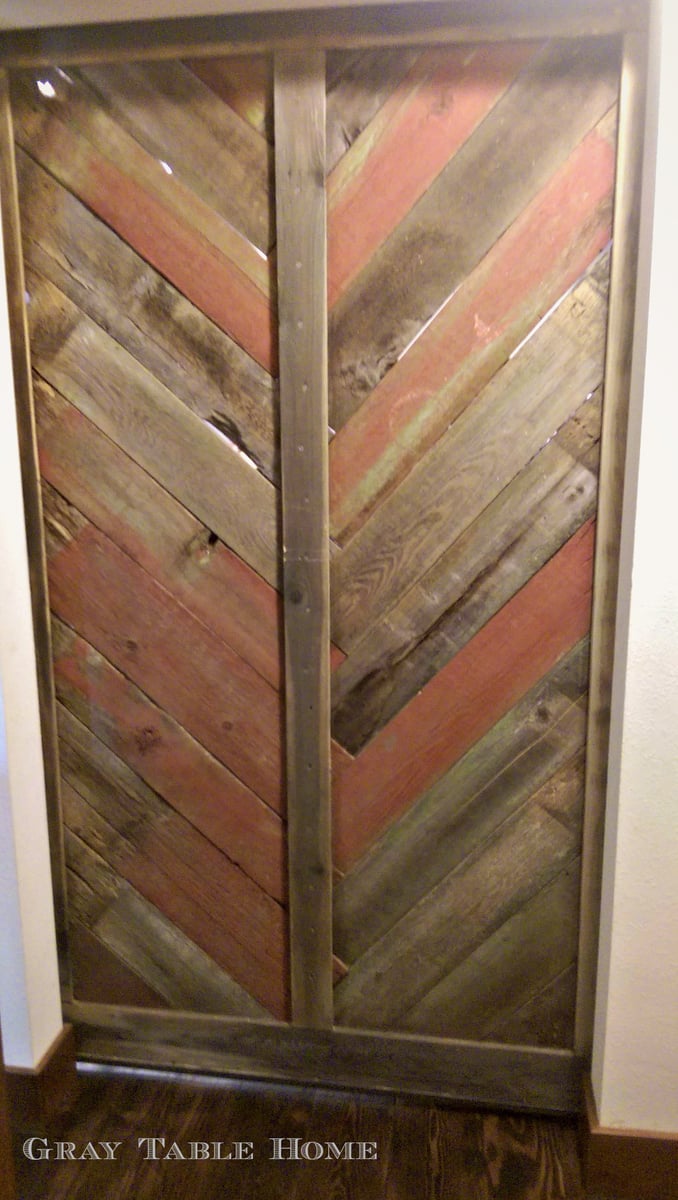
Estimated Cost
$150 for the wood and steel, not including the rolling hangers and track
Estimated Time Investment
Day Project (6-9 Hours)
Recommended Skill Level
Intermediate
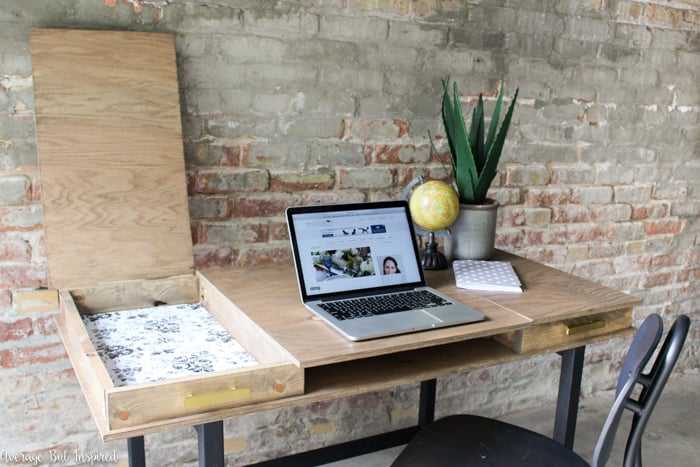
DIY Modern Desk
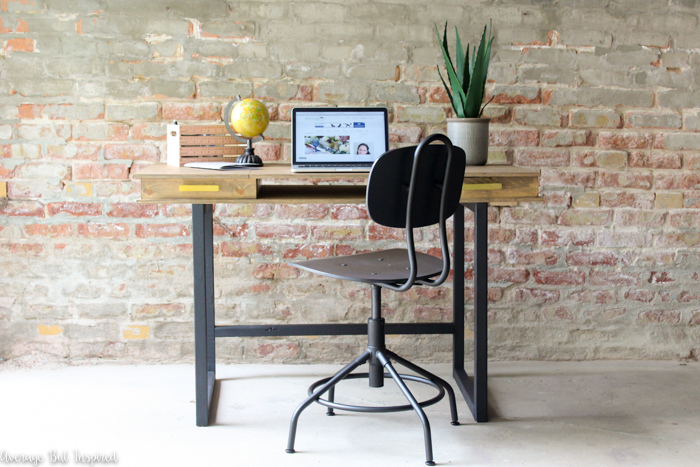
I used Ana White's Modern 2x2 Desk Base Plan and Desktop with Storage Compartments plan to create this gorgeous desk for my sister! This was my first real build, and first solo build, and I could not be more proud of how it turned out!
Built from Plan(s)
Estimated Cost
$90
Estimated Time Investment
Weekend Project (10-20 Hours)
Finish Used
I used matte black chalky finish paint for the legs and stain for the top (with two coats of poly).
Recommended Skill Level
Beginner