After Christmas I was talking to my cousin, she told me how she now needed storage to hide her new gifts she had received. Of course I wasted no time and told her about Ana's site.
So as we enjoyed lunch she pulled out her handy "smart phone" and began searching for the perfect plan for her needs.
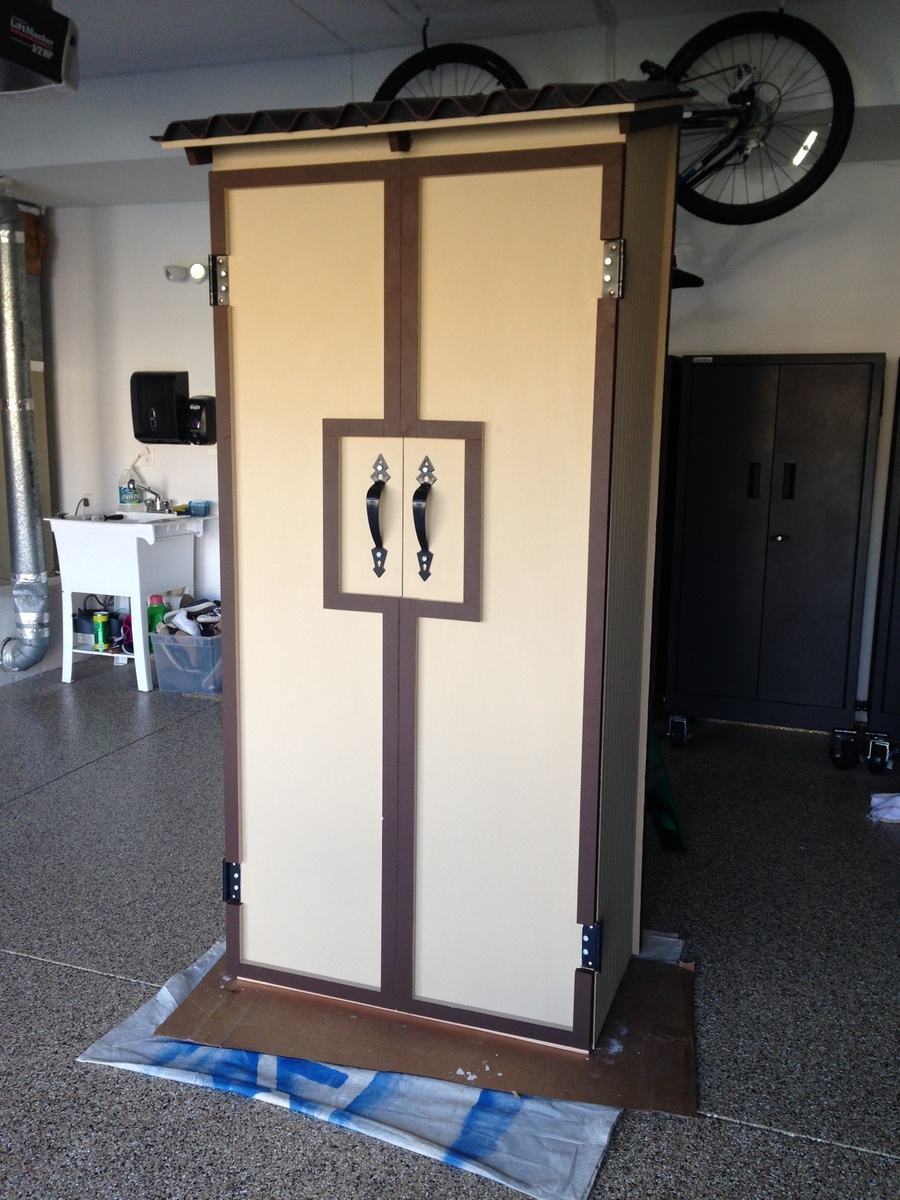
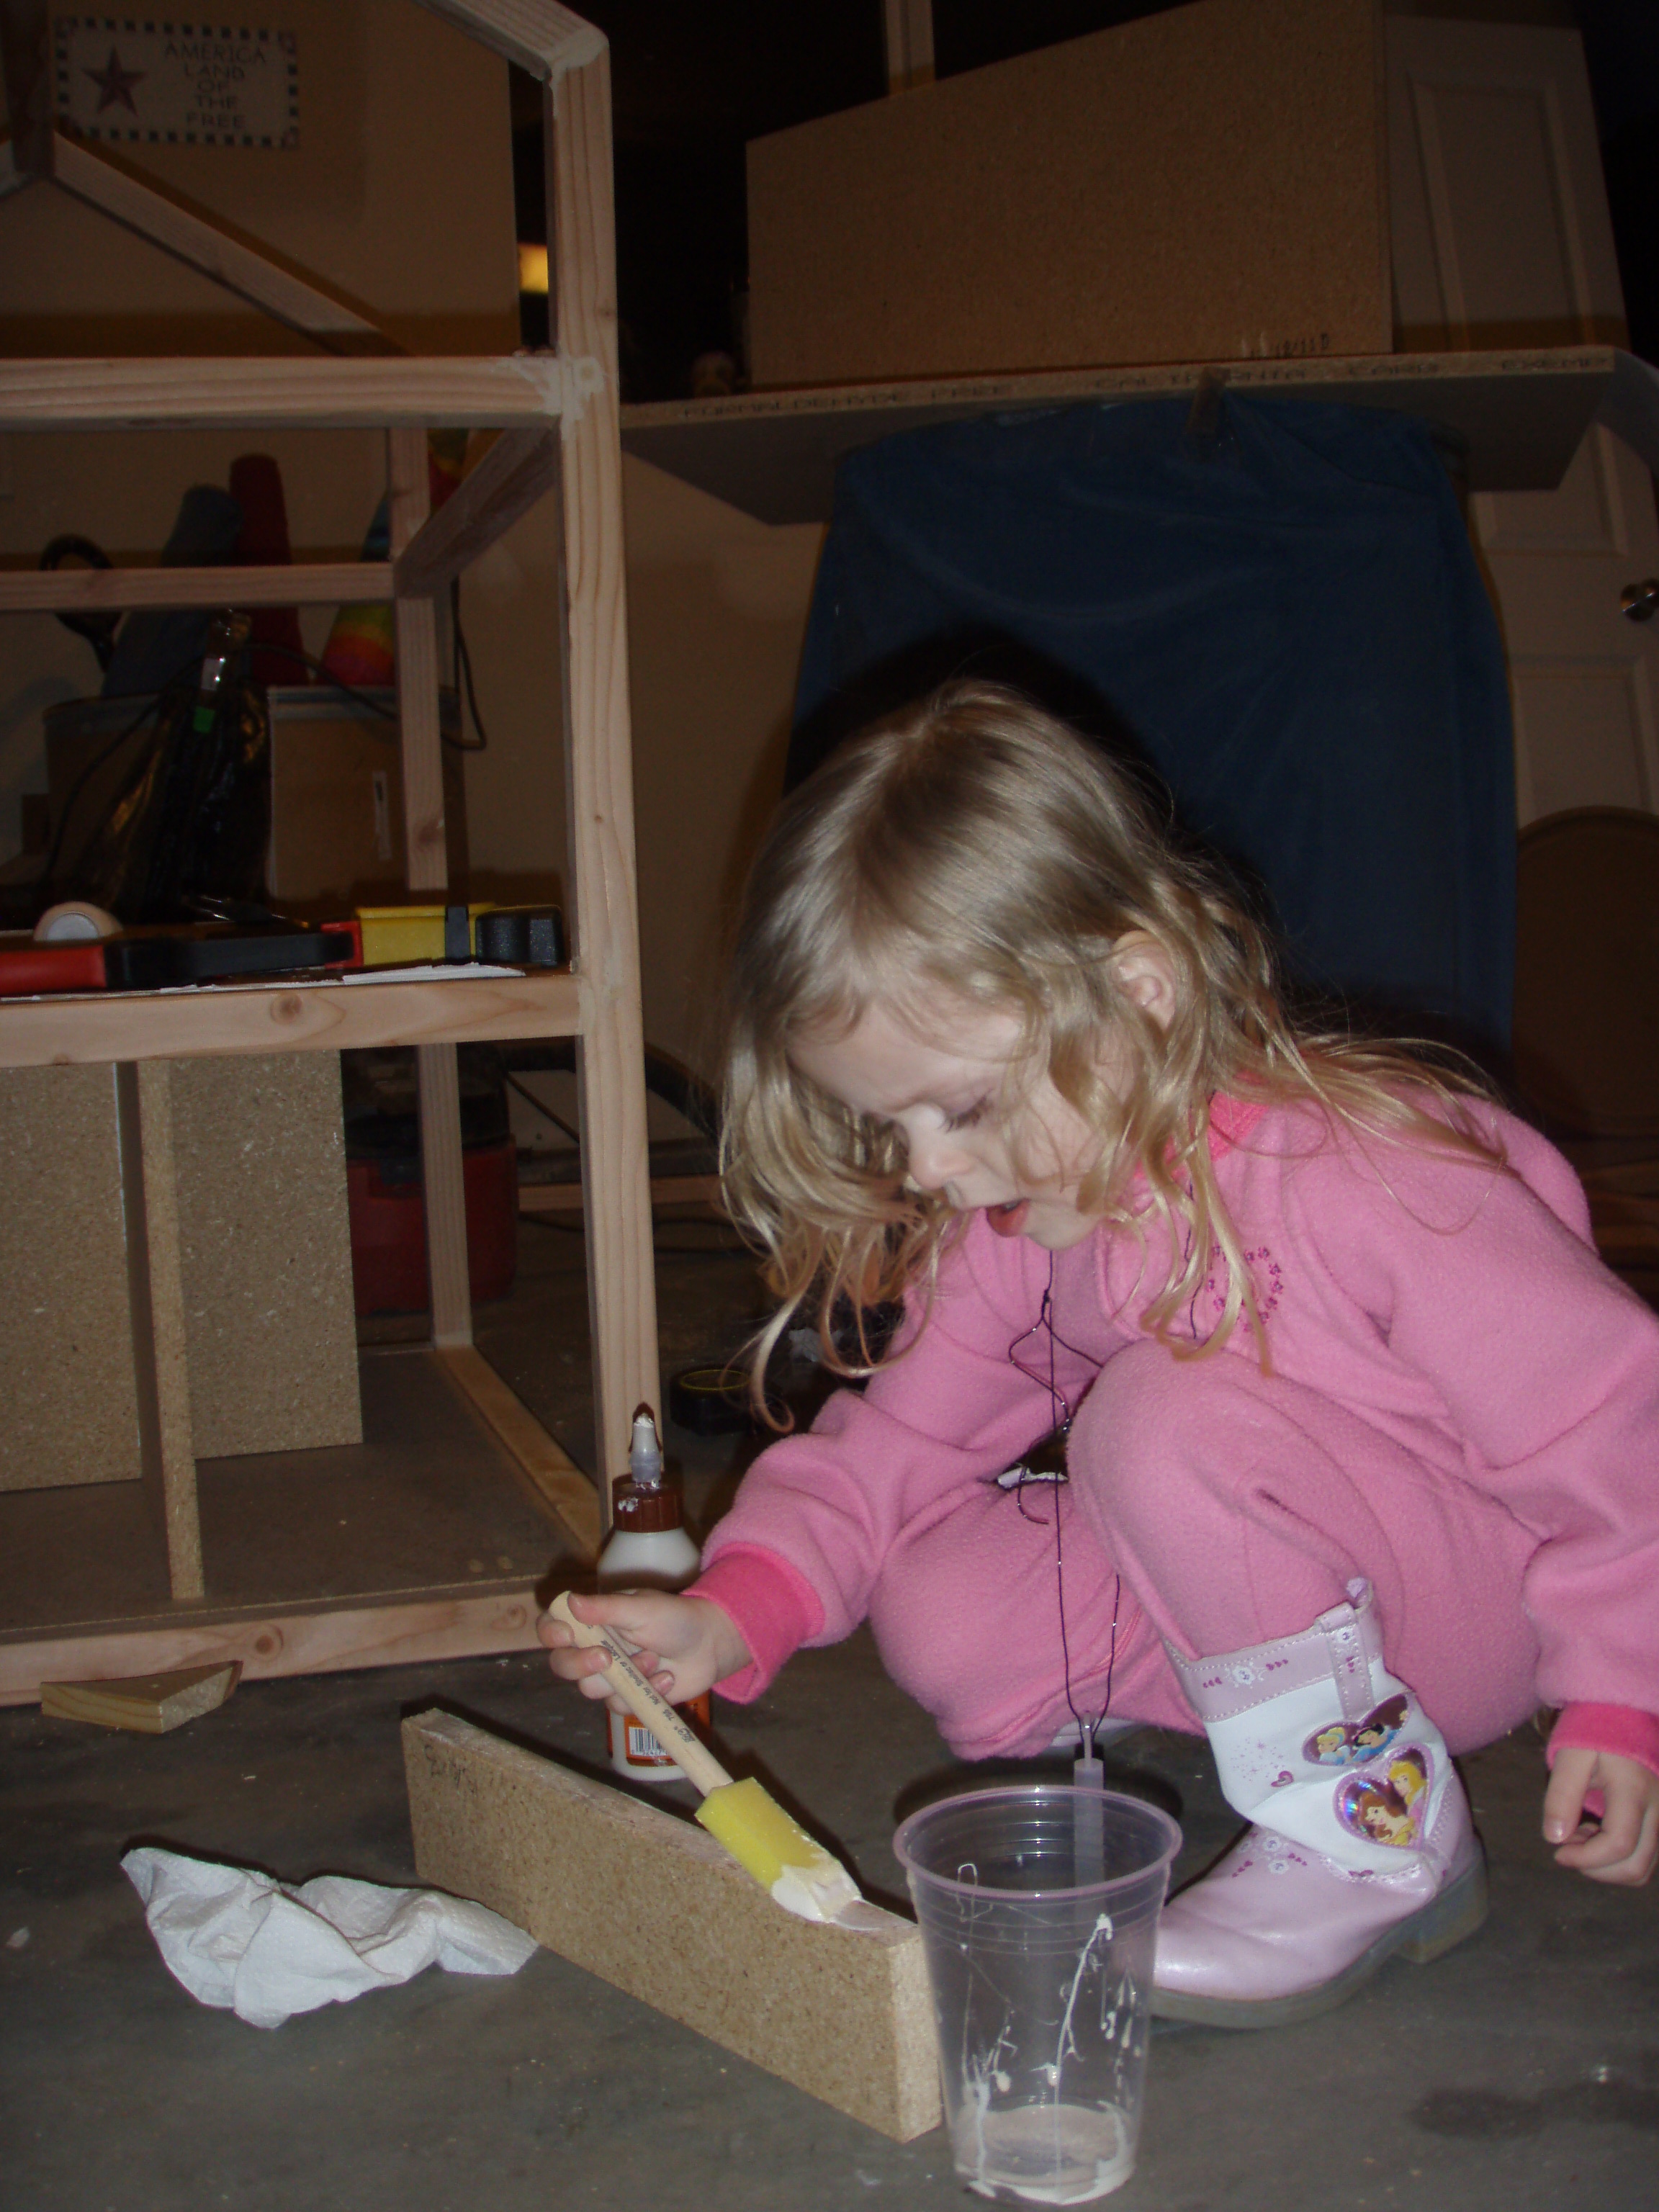
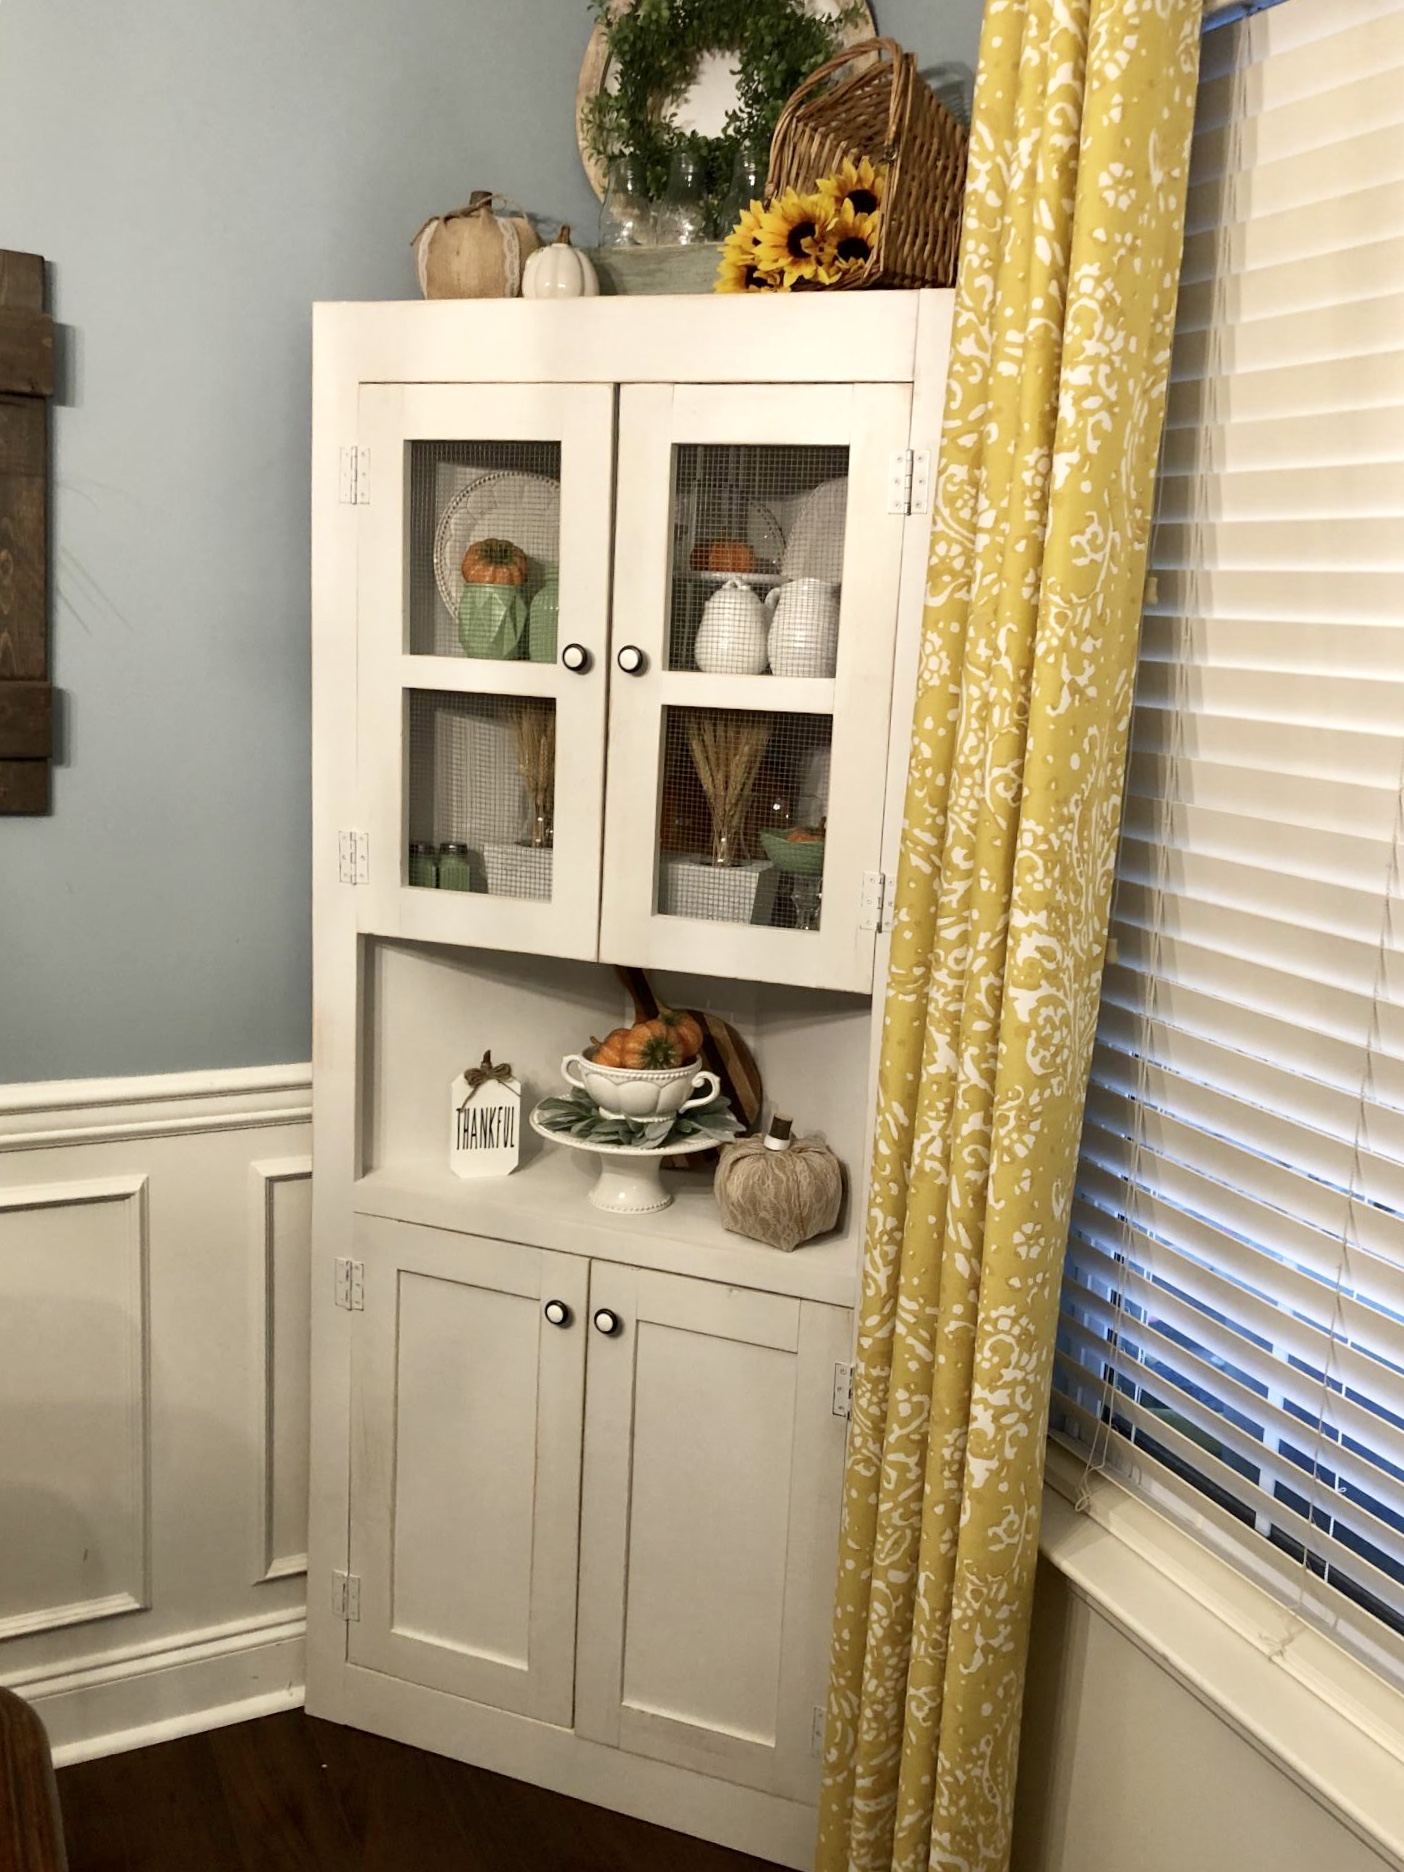
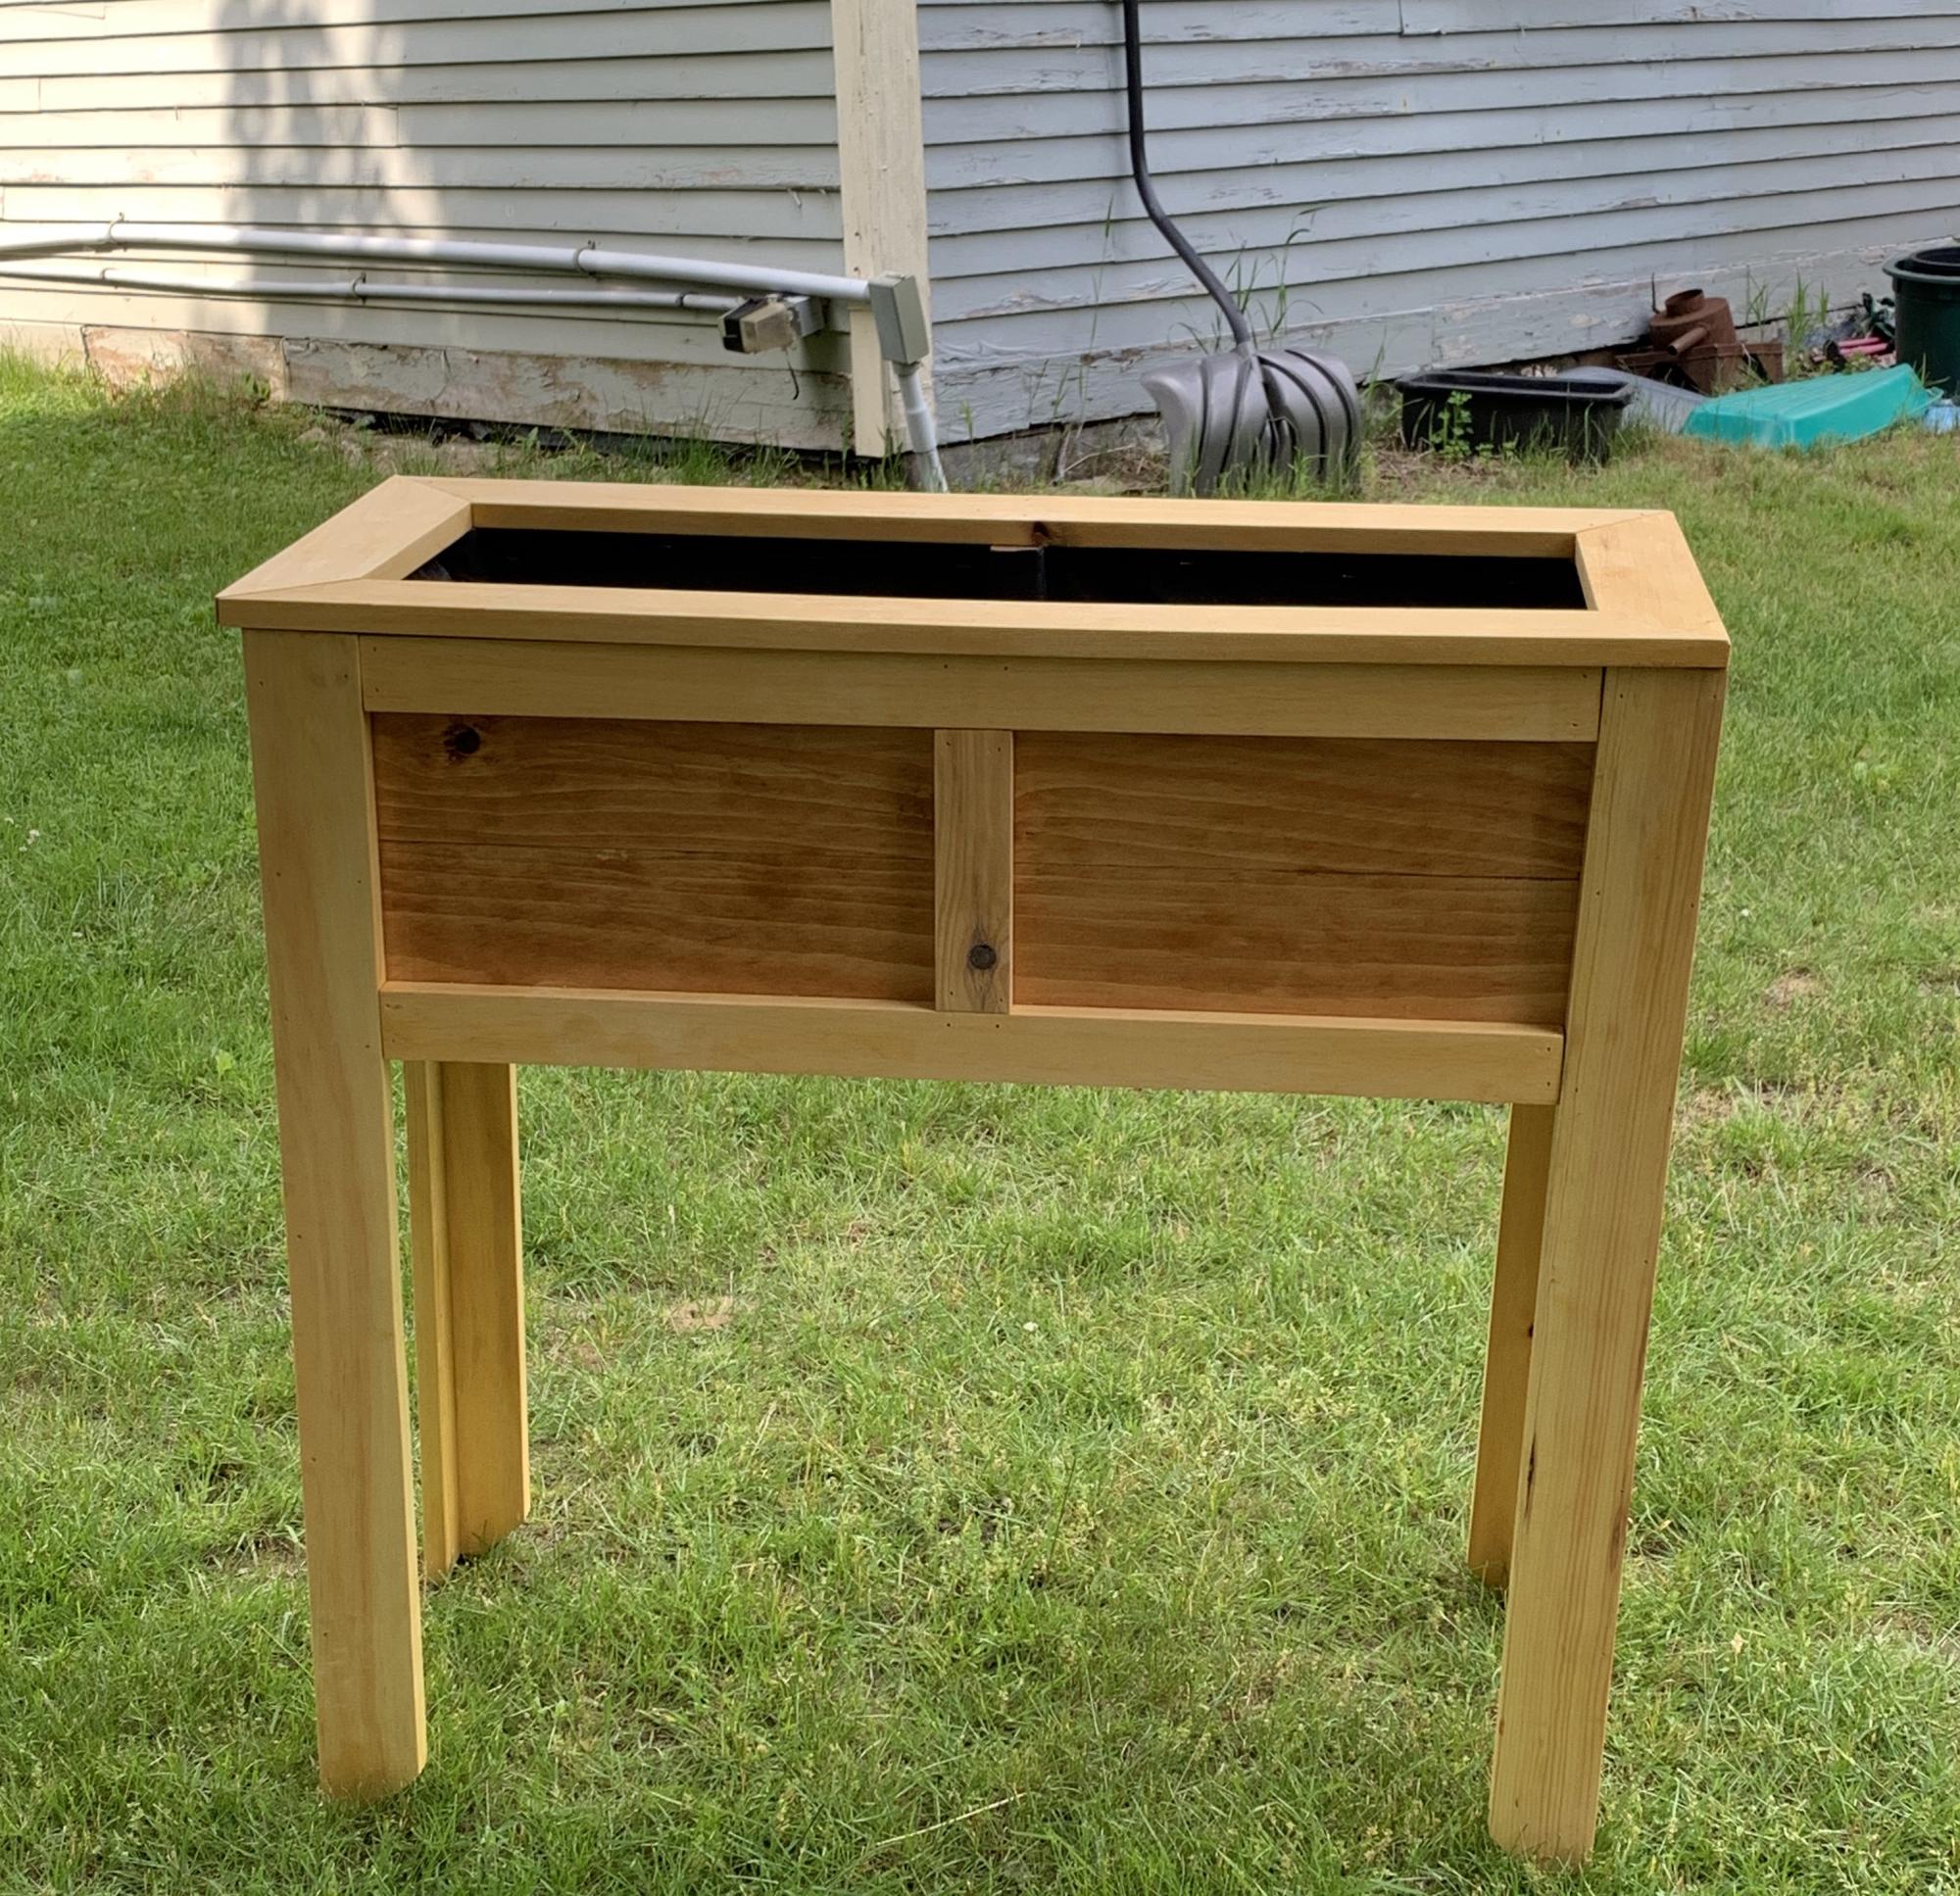
It didn't take long for her to find the plan that suited her needs and we began planning. I got all the materials together and did some presanding so we could get this baby complete in her short weekend visit.
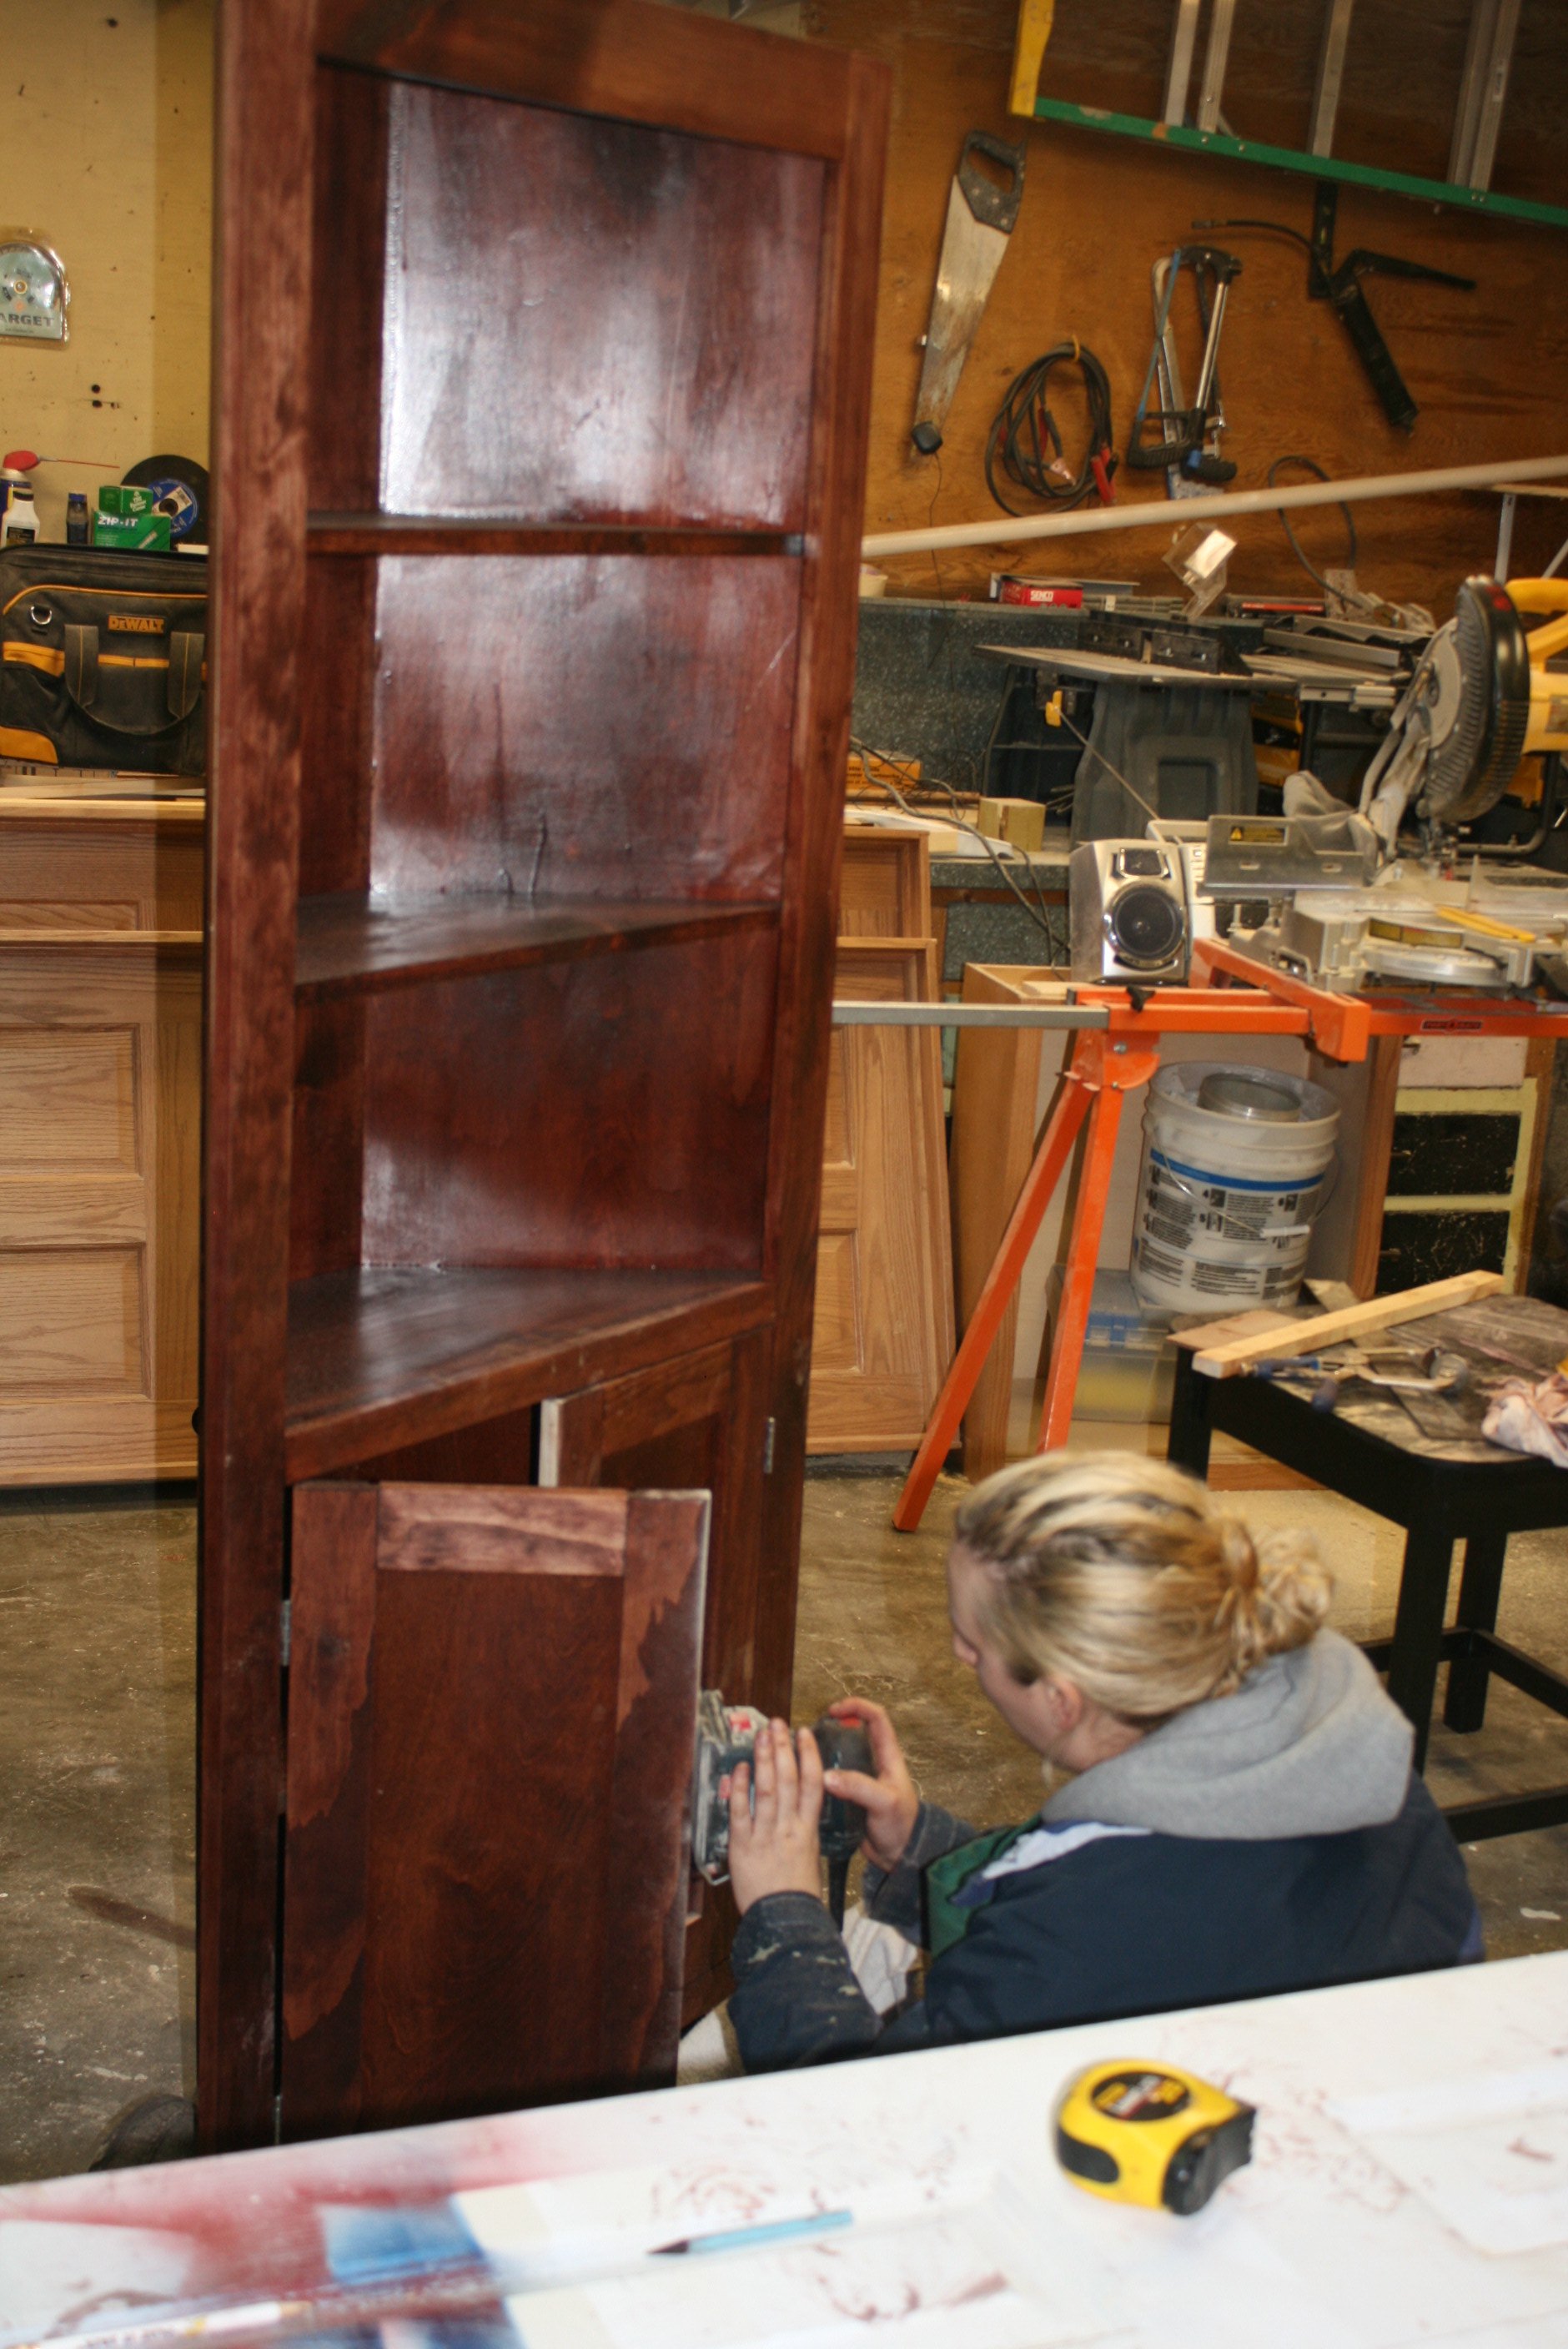
This plan was easy to cut and stain, however assembly was a bit more difficult as the angles made it difficult to get your bits into tighten kreg screws.
We didn’t make the bottom shelf adjustable however made it high enough for the mixer she wished to hide within it.
Other than typical door hanging issues the project turned out beautiful! The bottom cupboard doors even provided enough room for her large mixer and griddle.
Before she took her project home to enjoy she was already planning her next project.
These plans are beautiful, functional and do-able.
Thank you again Ana for making another person’s life’s organized!


Comments
Ana White
Wed, 10/02/2019 - 09:29
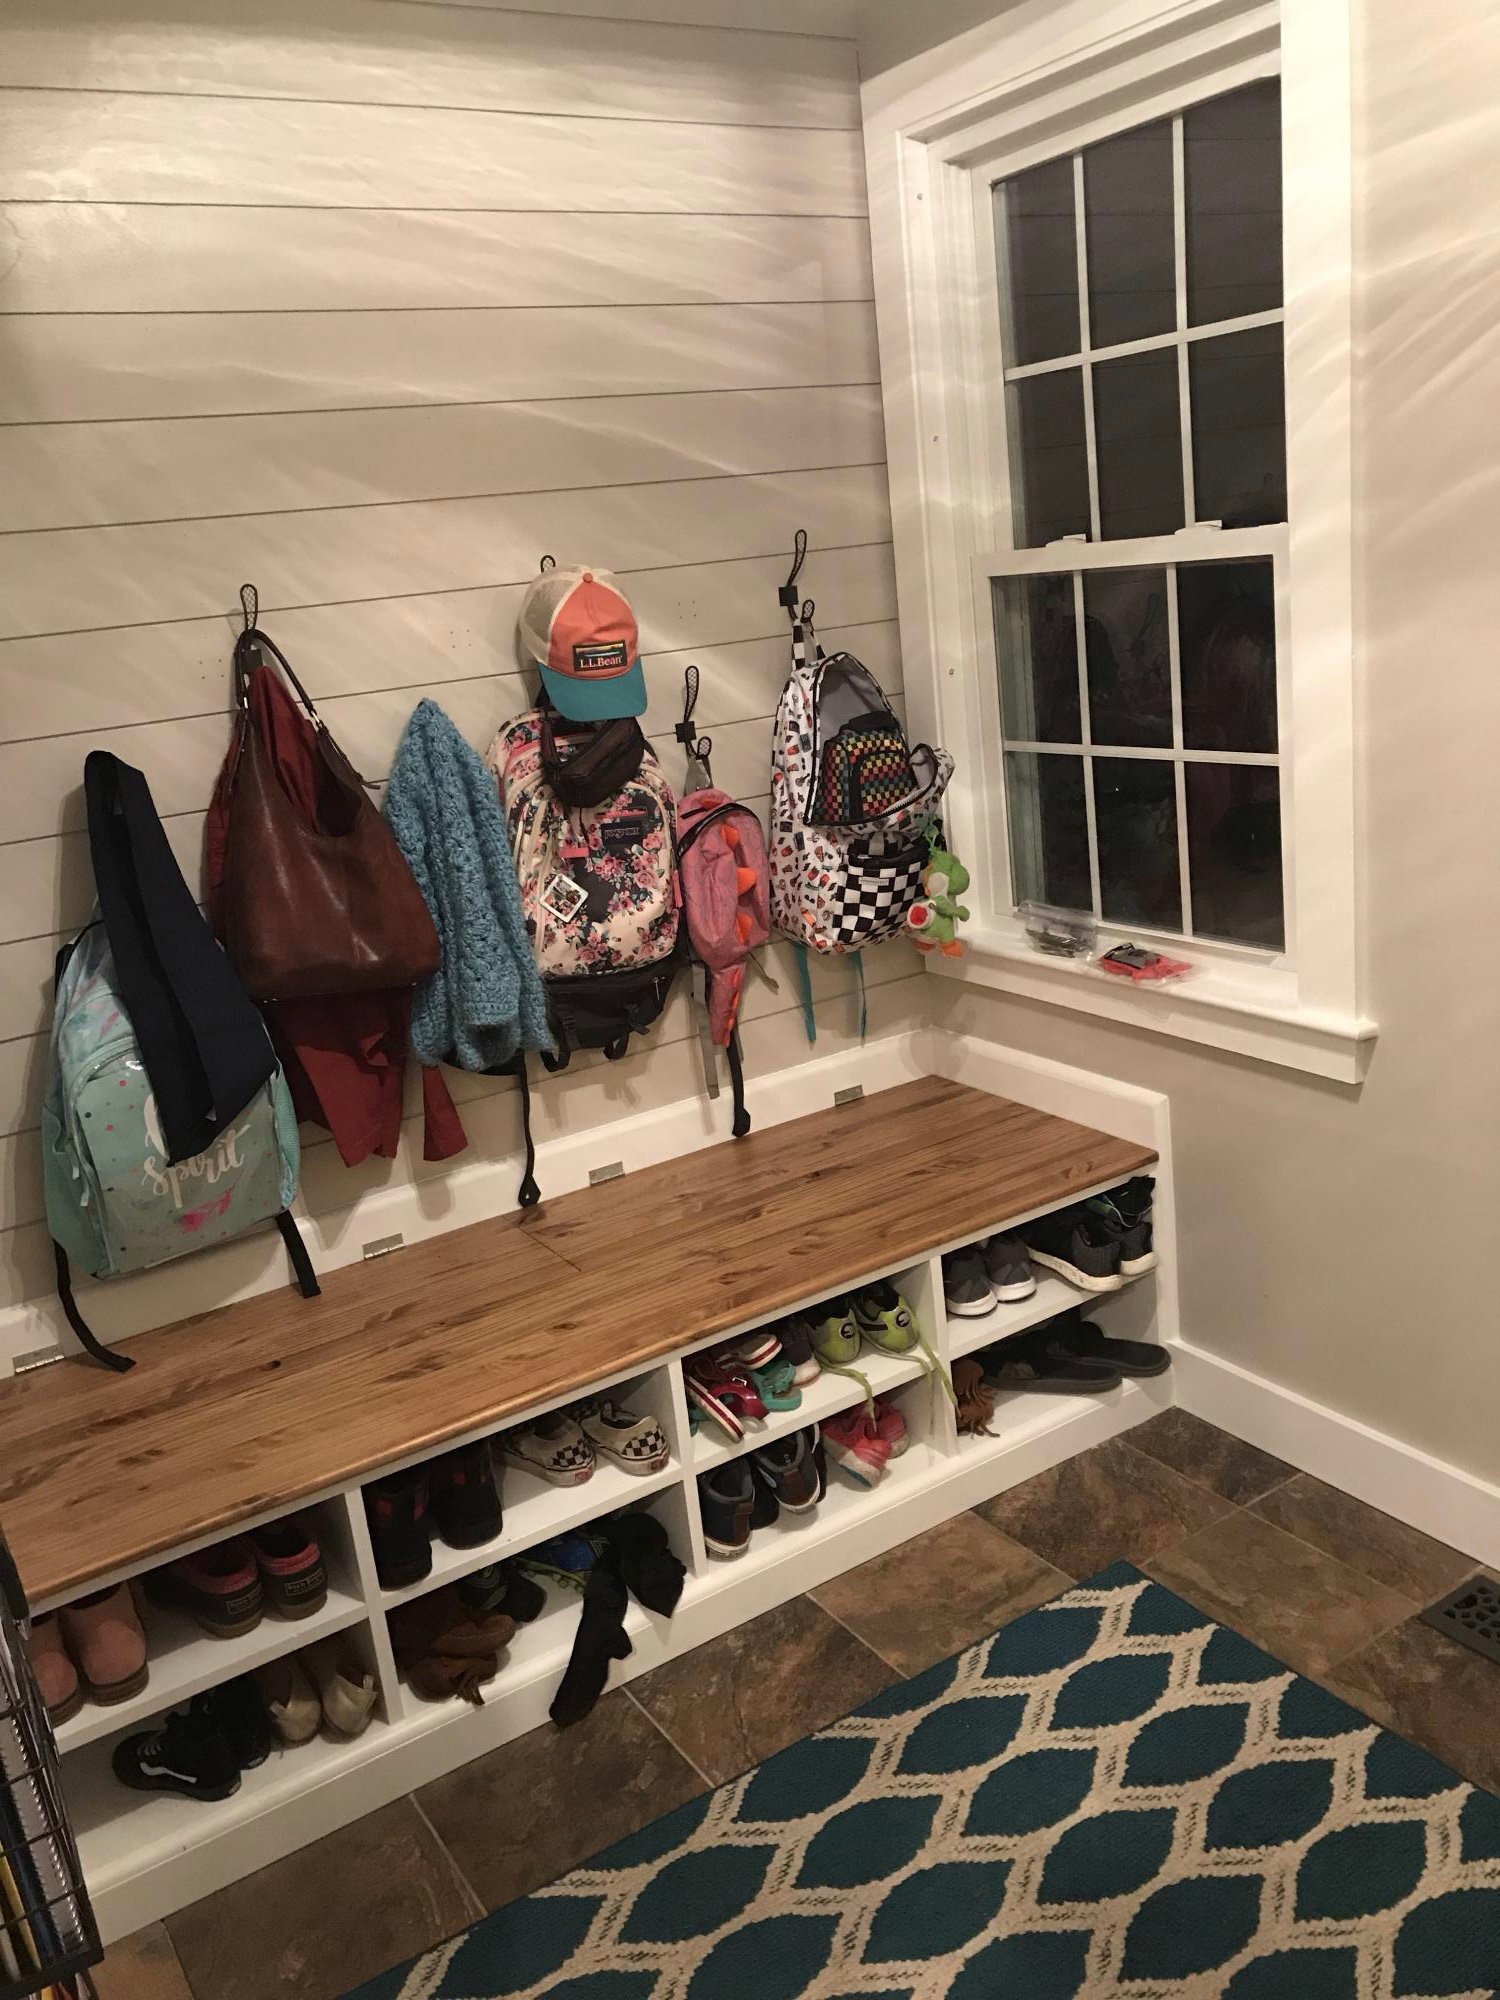
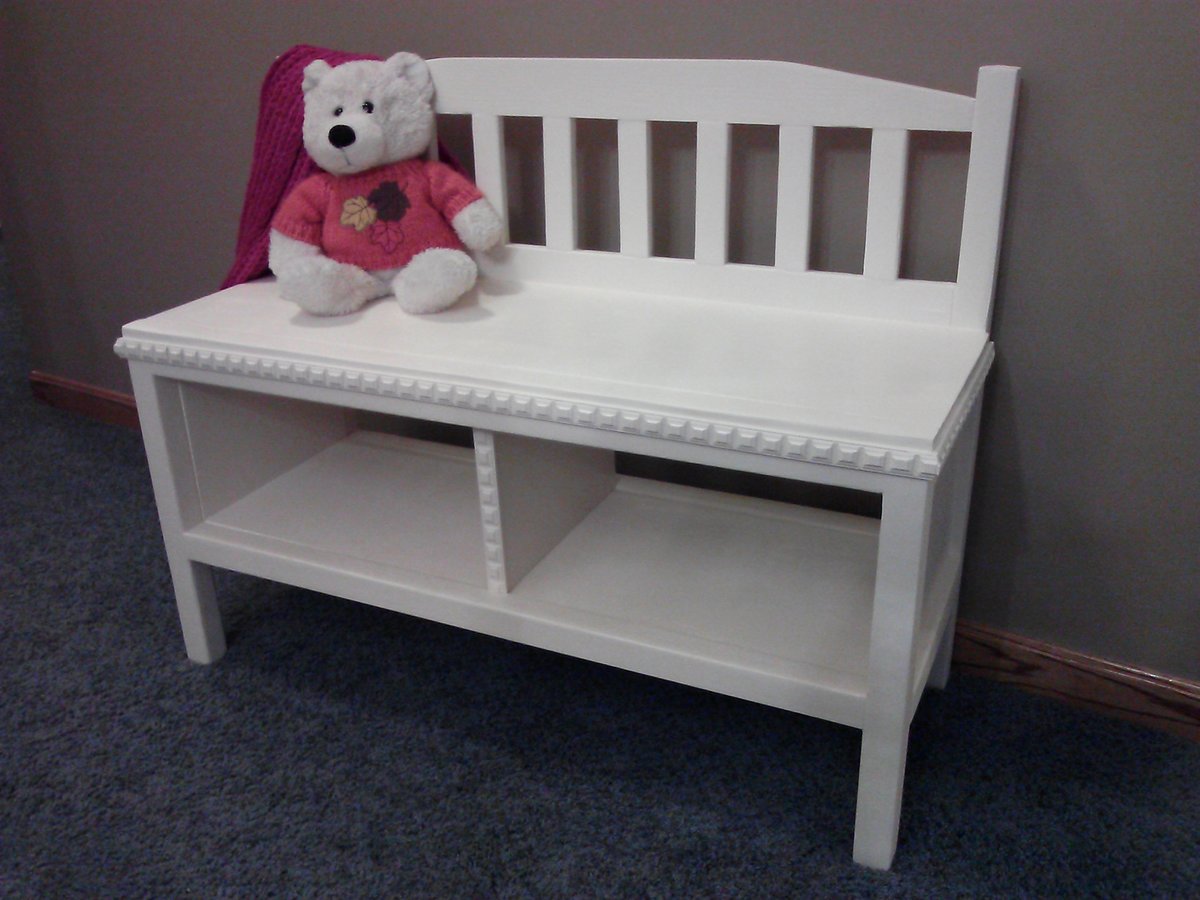
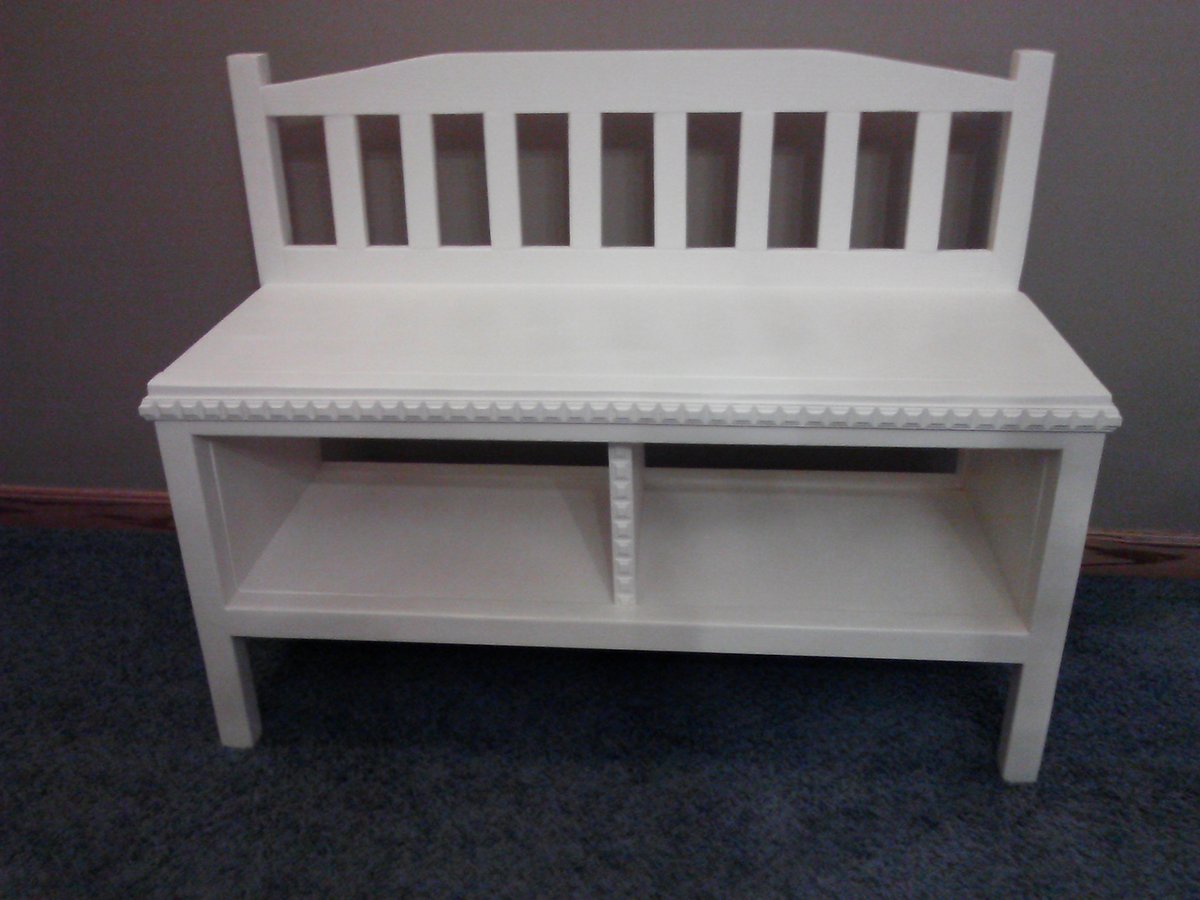
We love this shoe bench!!! …
We love this shoe bench!!! So much storage, great job!