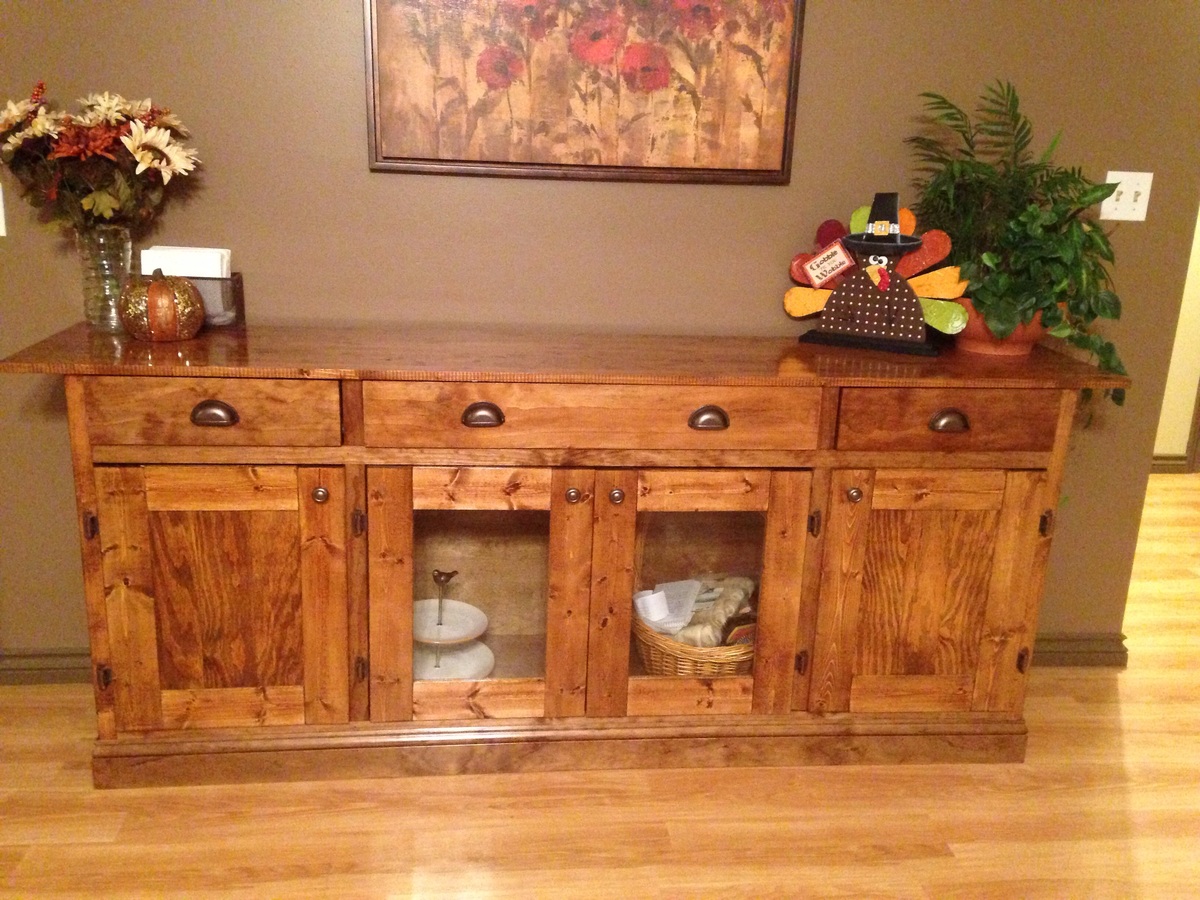
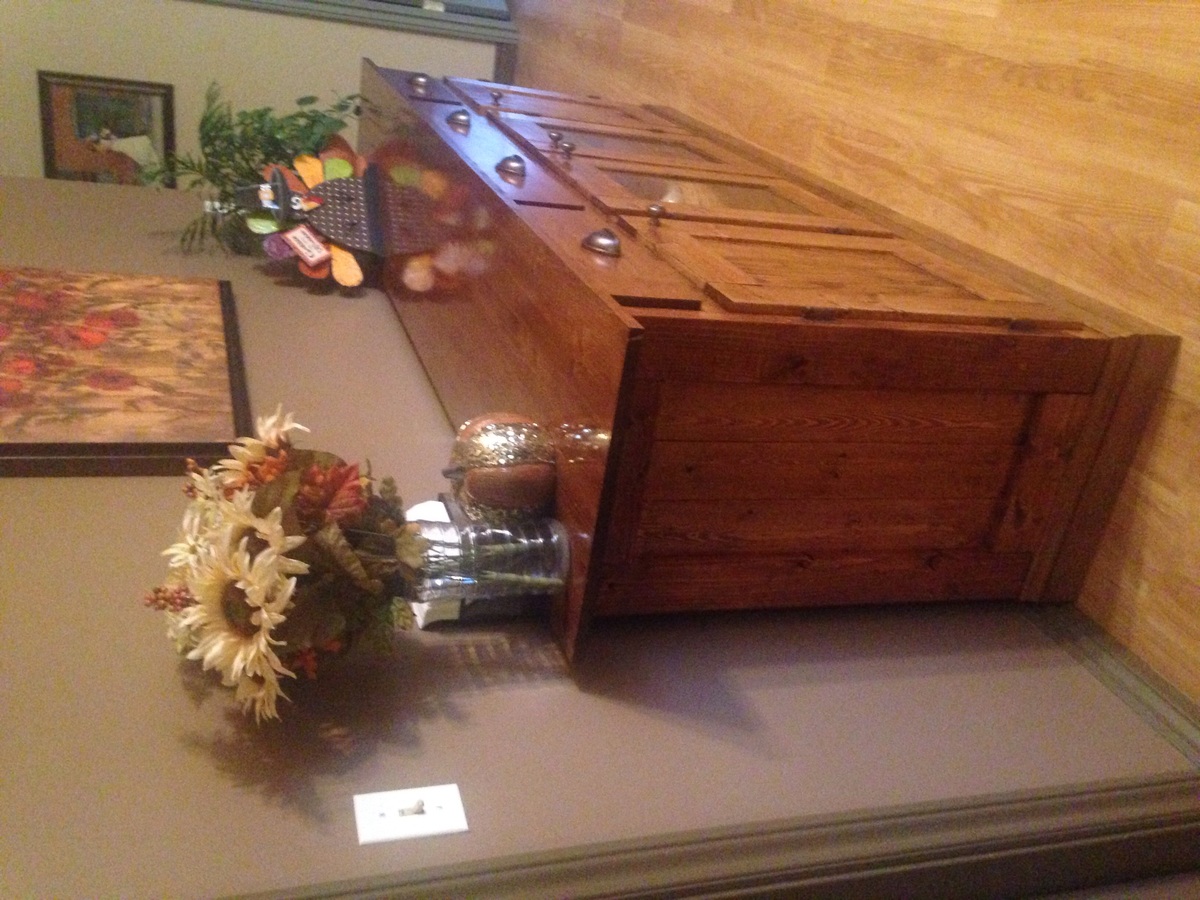
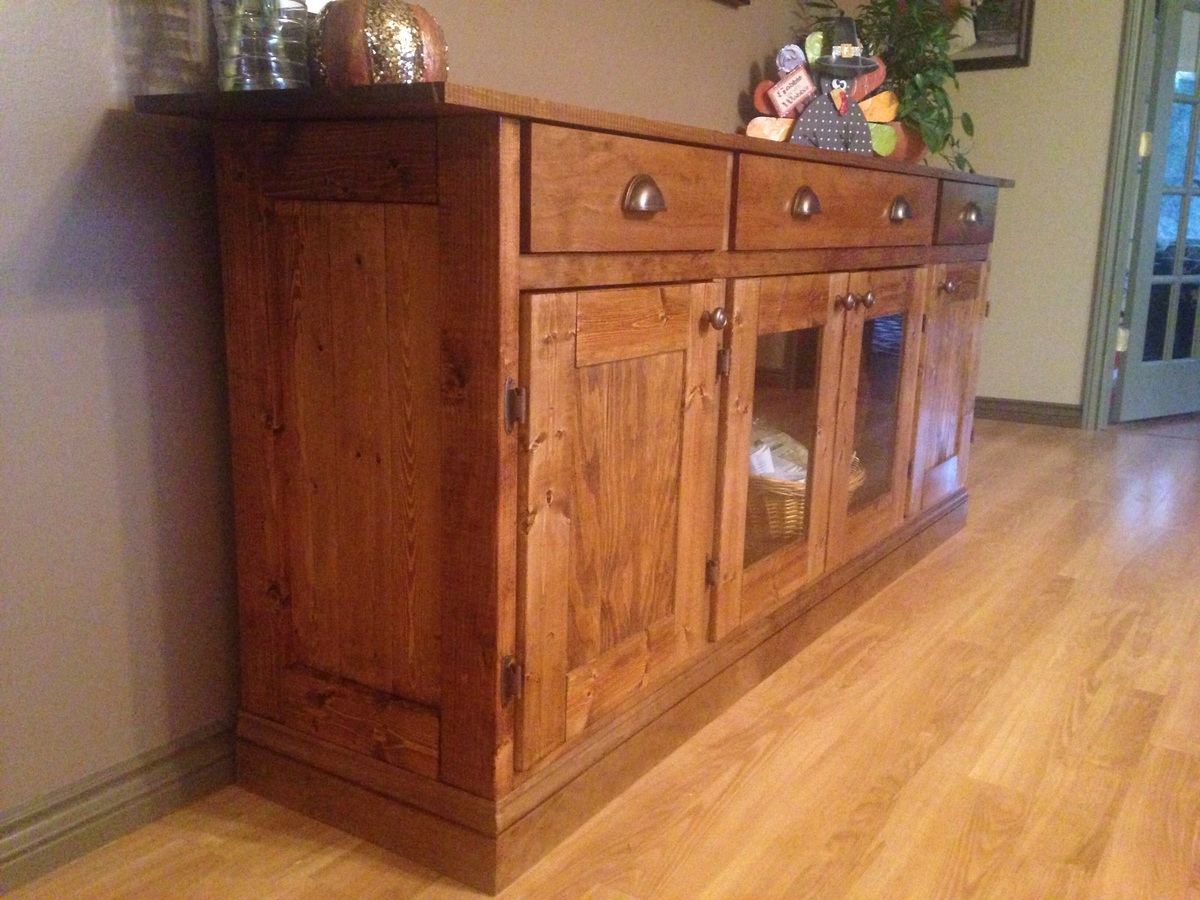
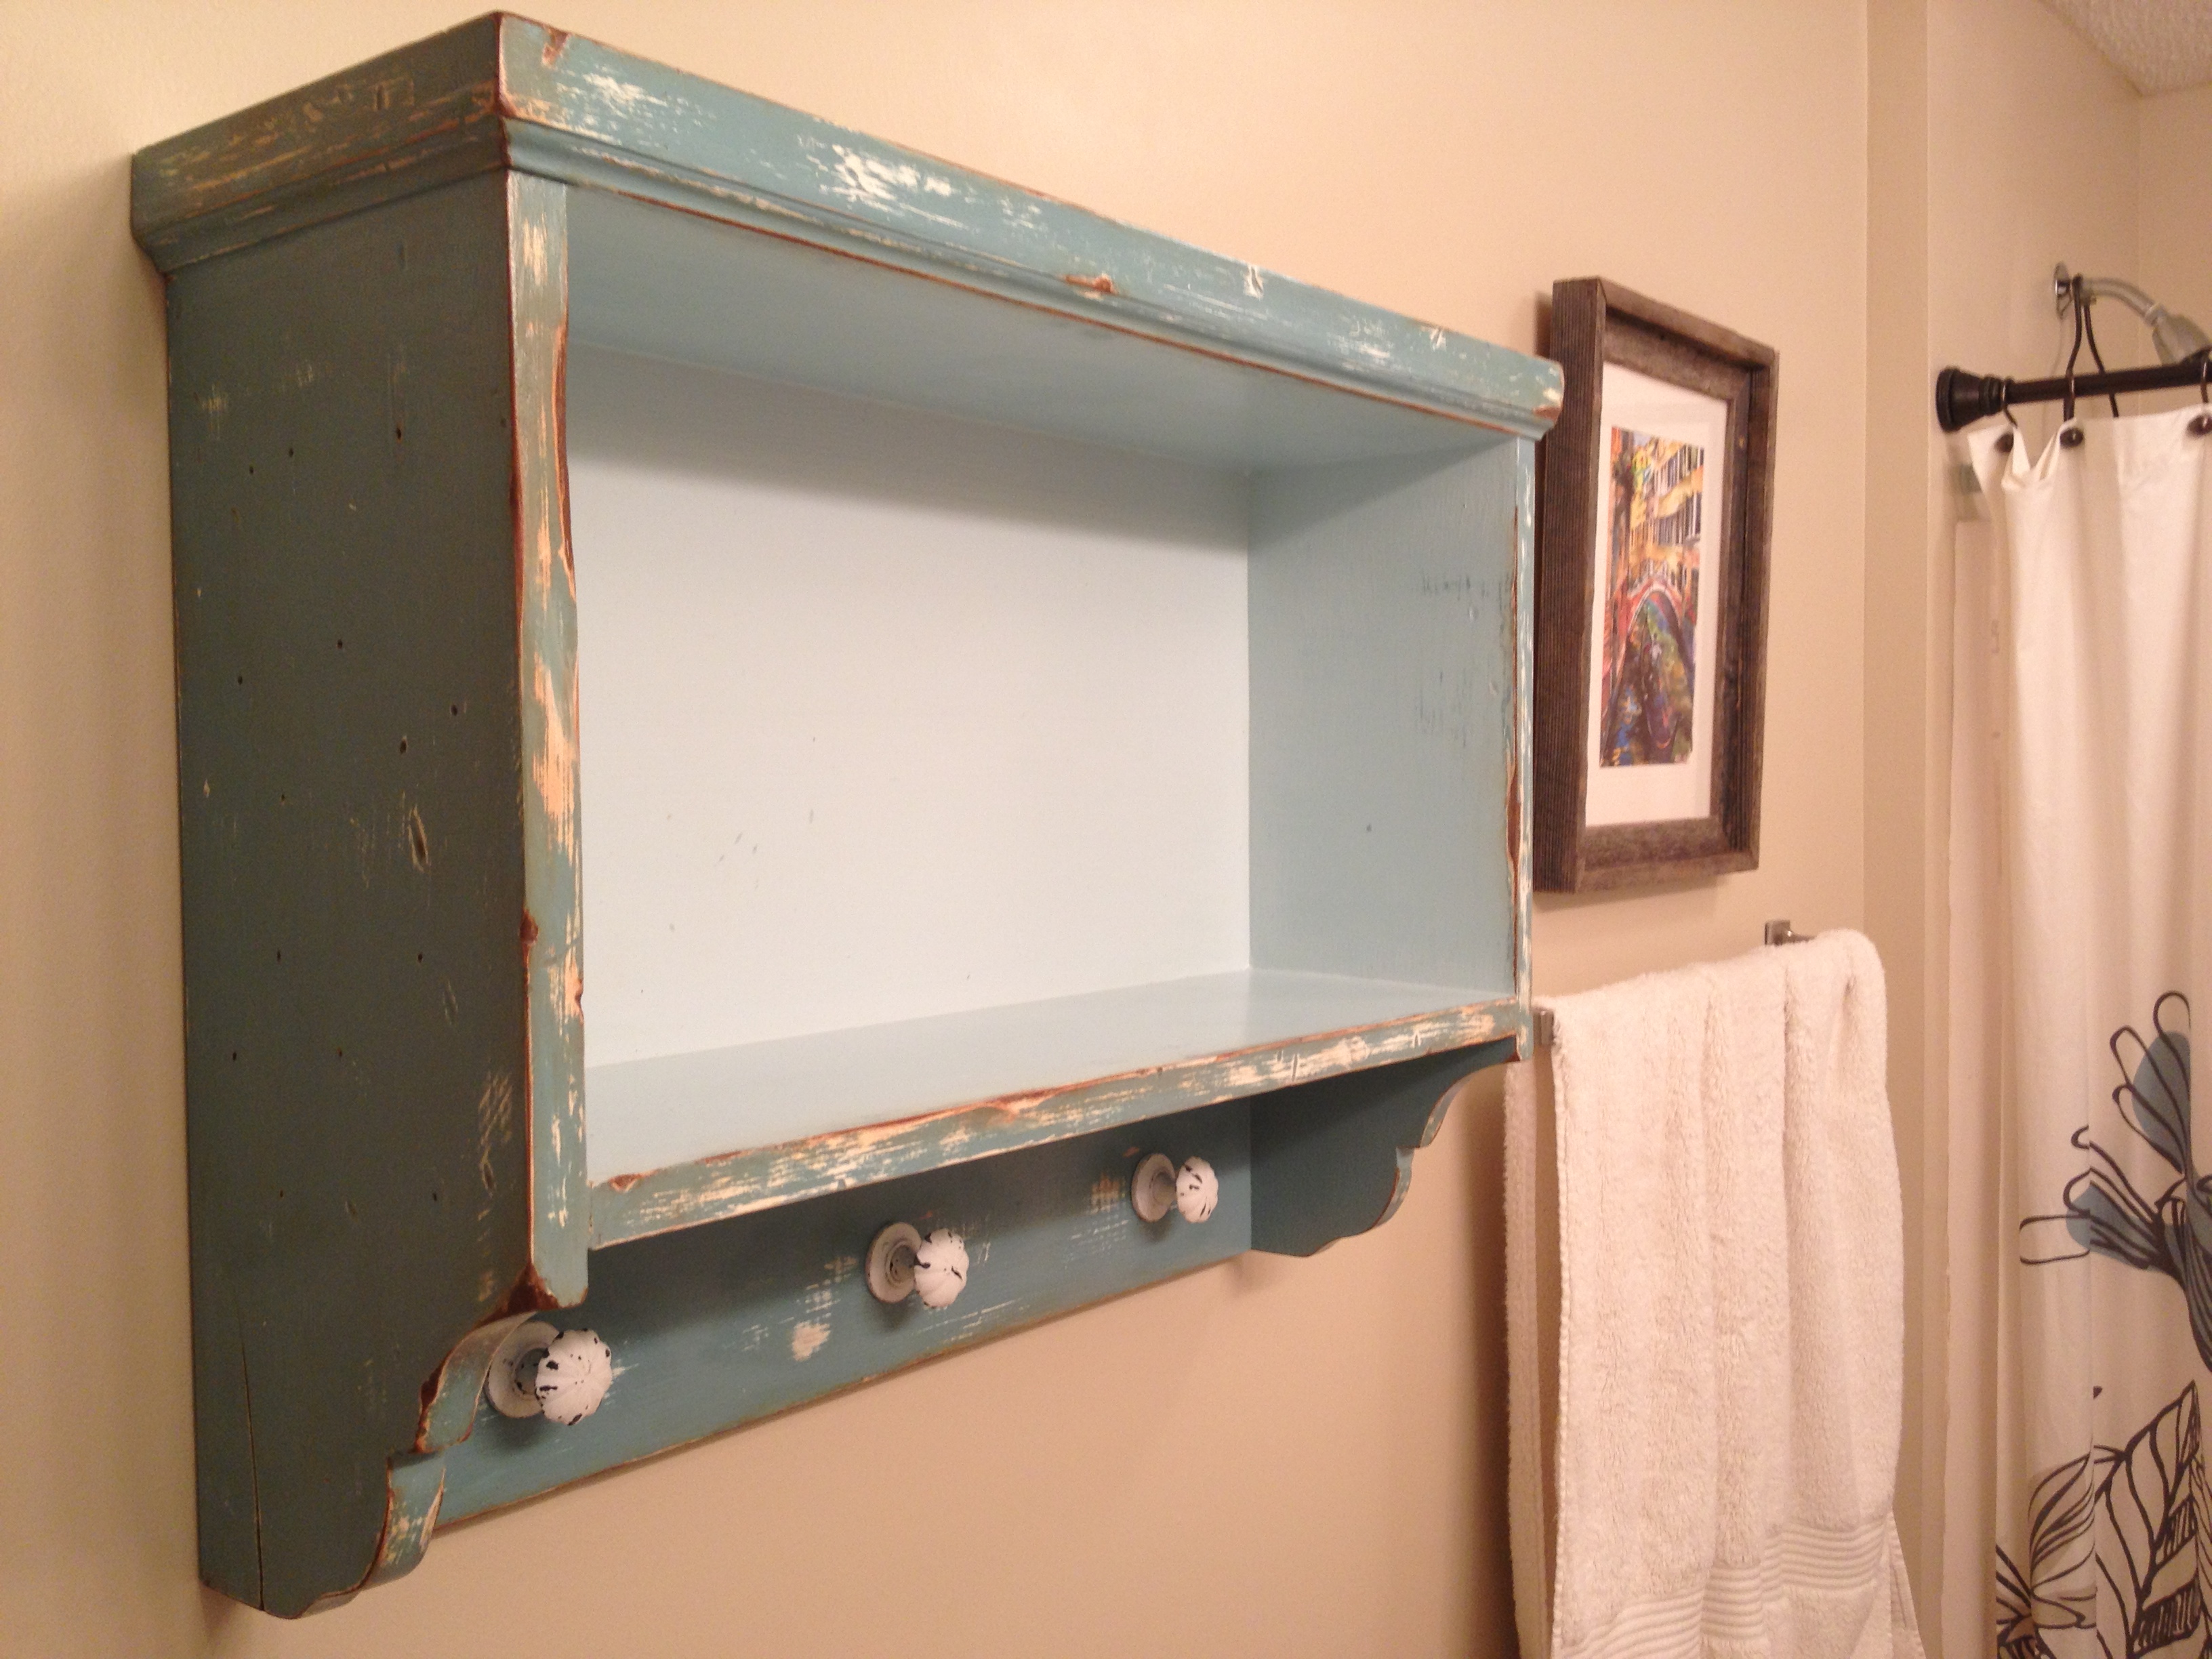
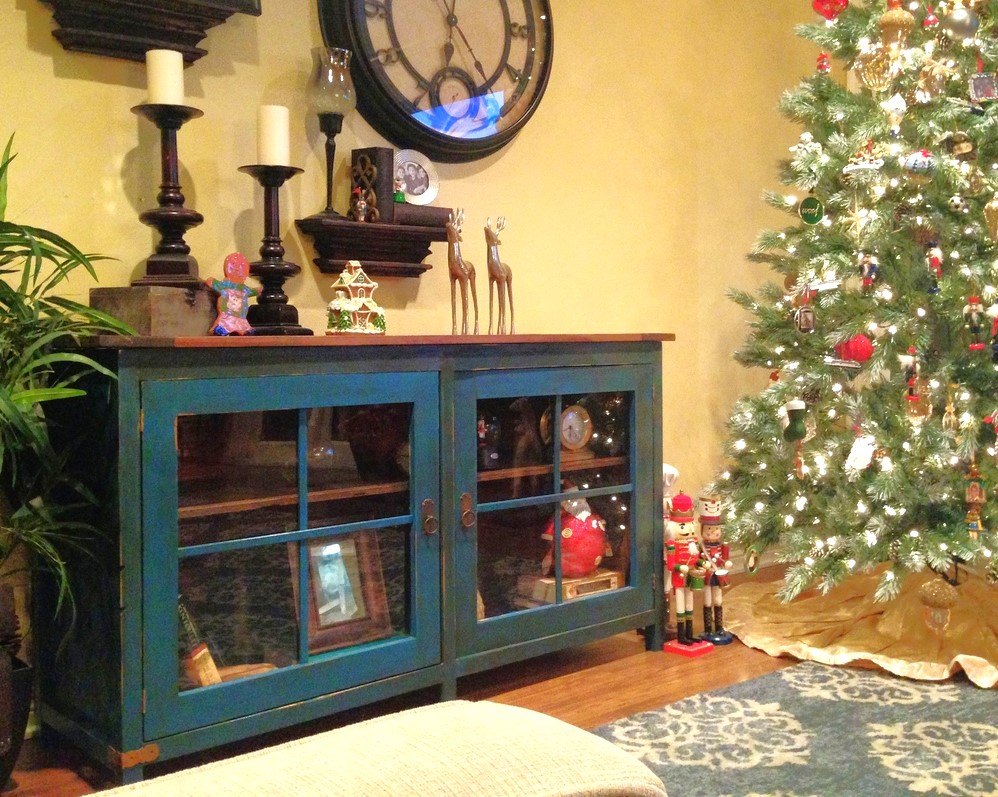
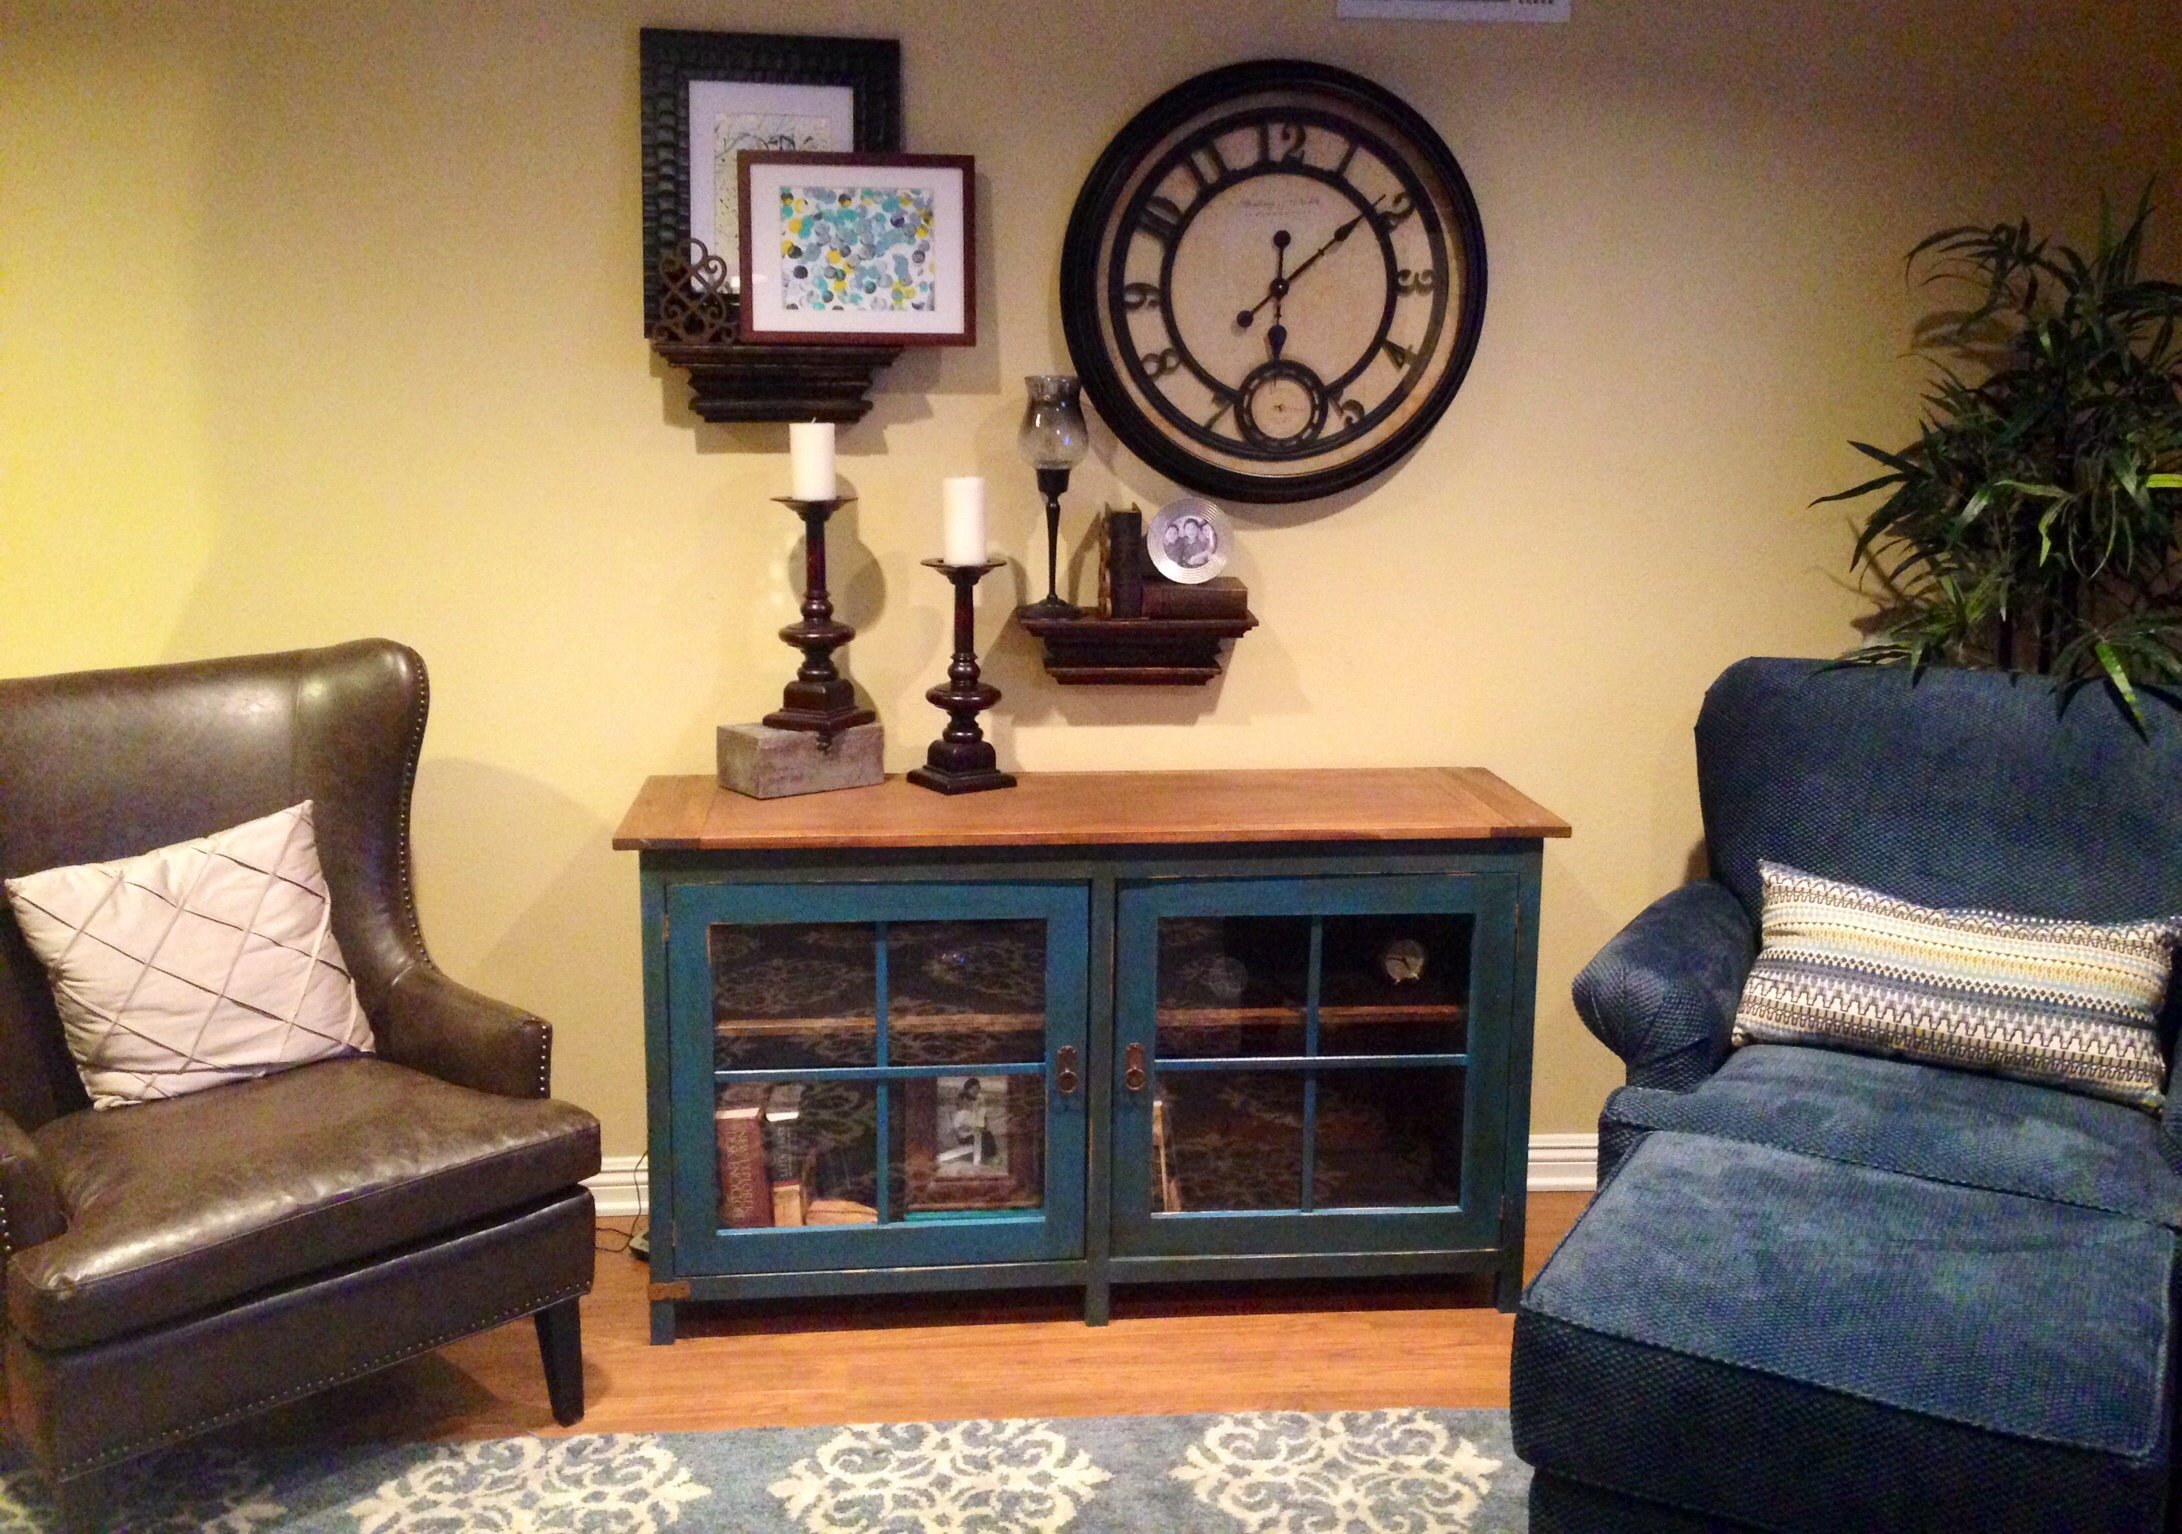
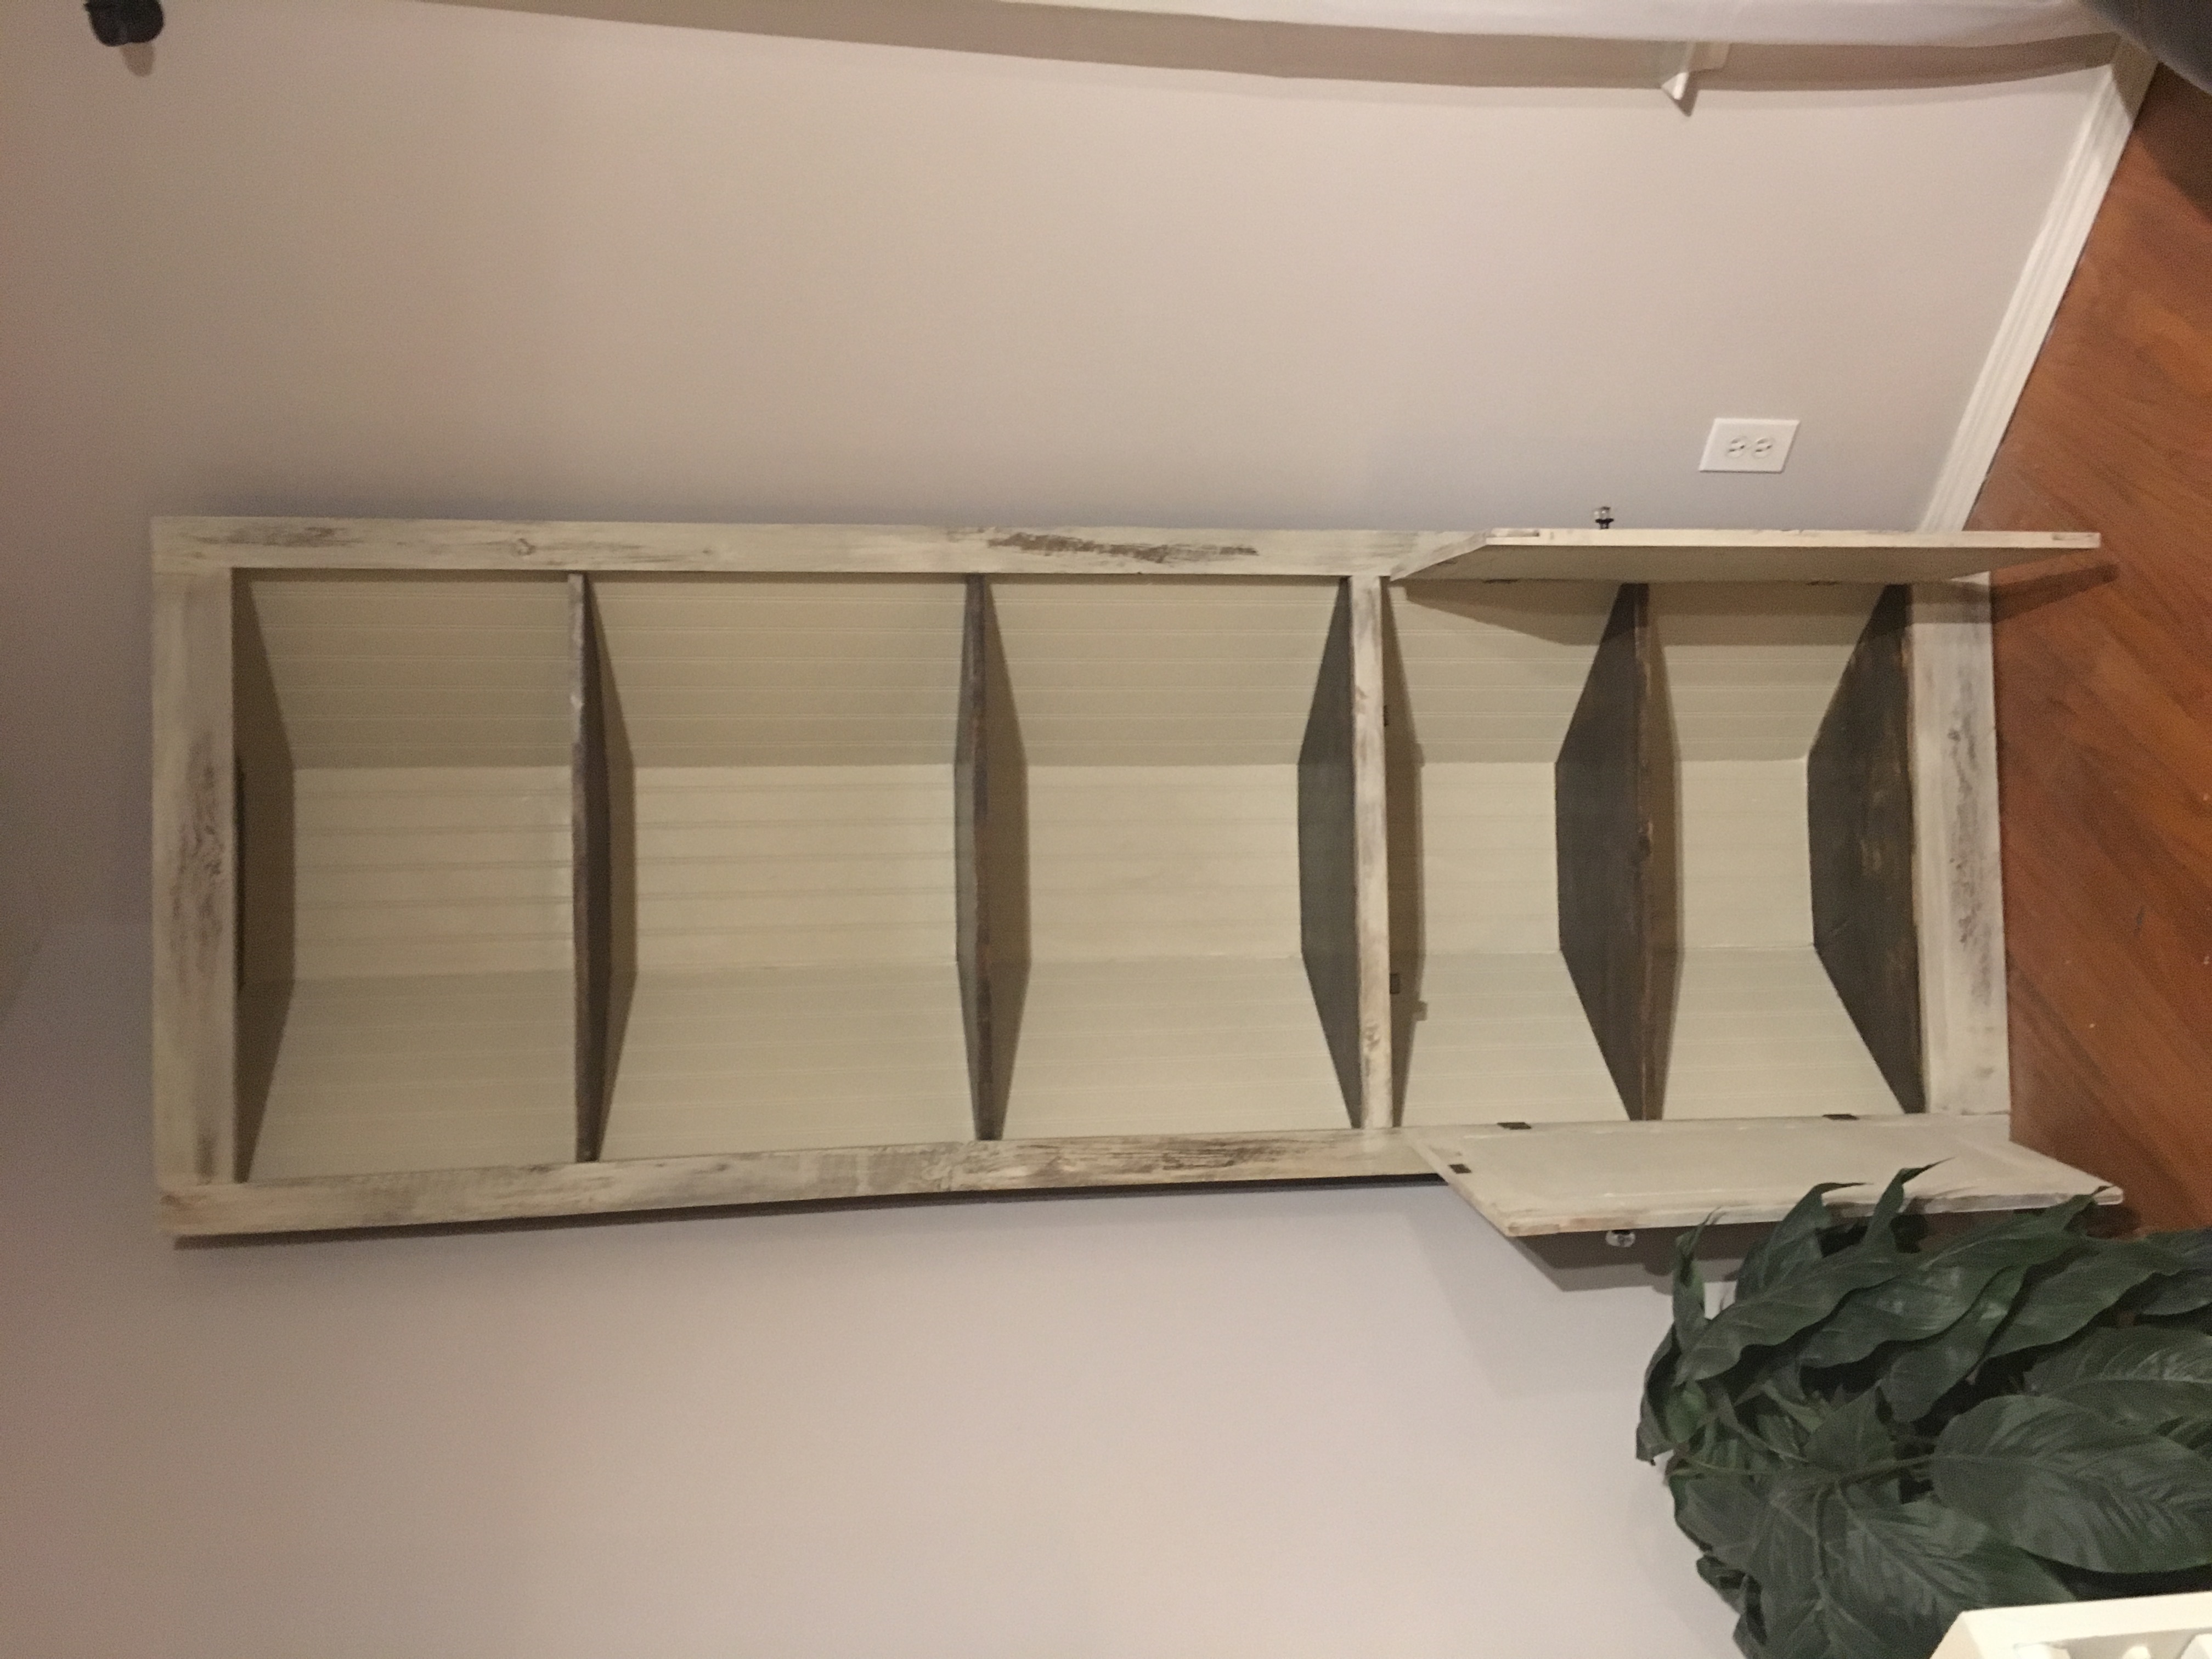
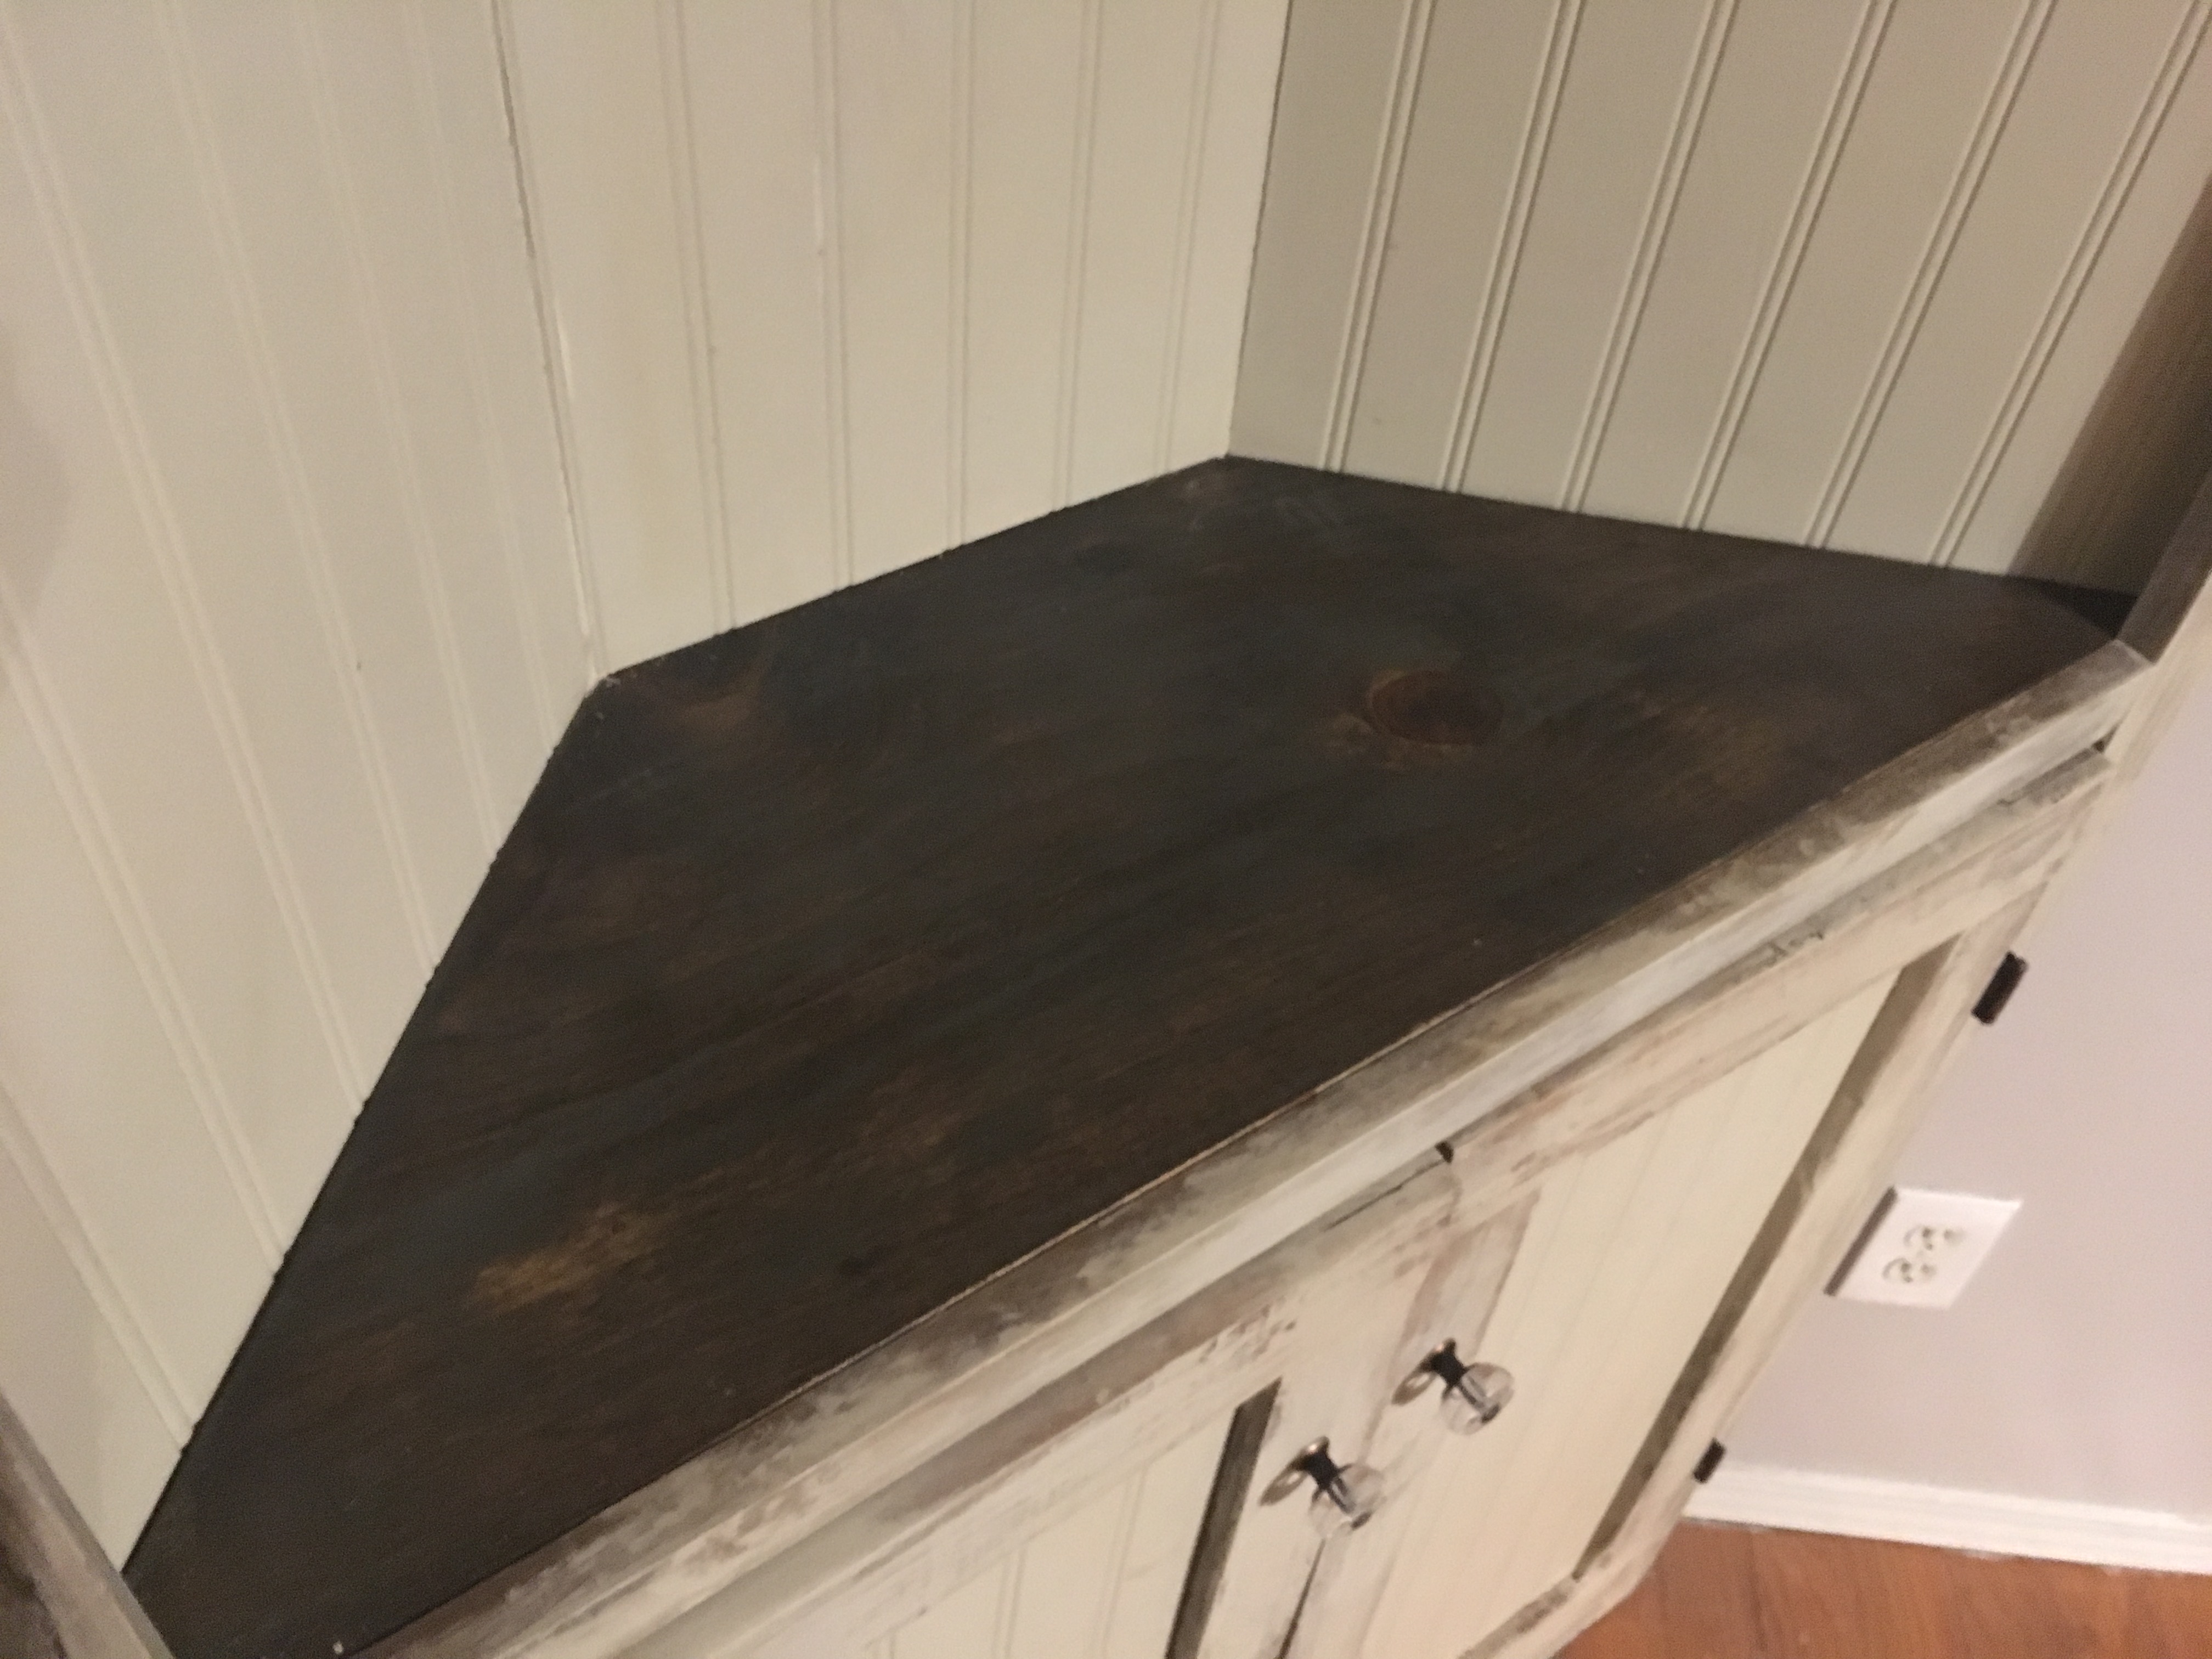
Distressed antique white corner cabinet

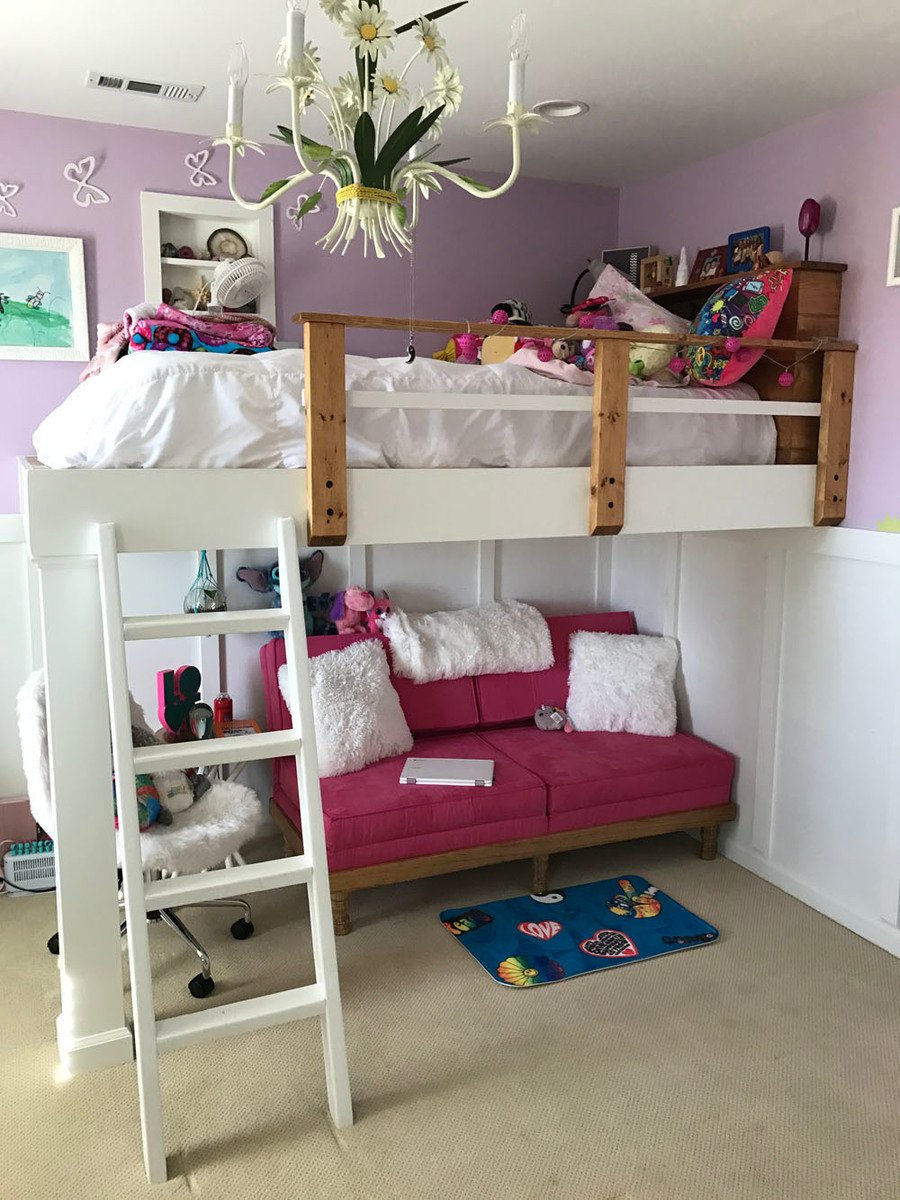
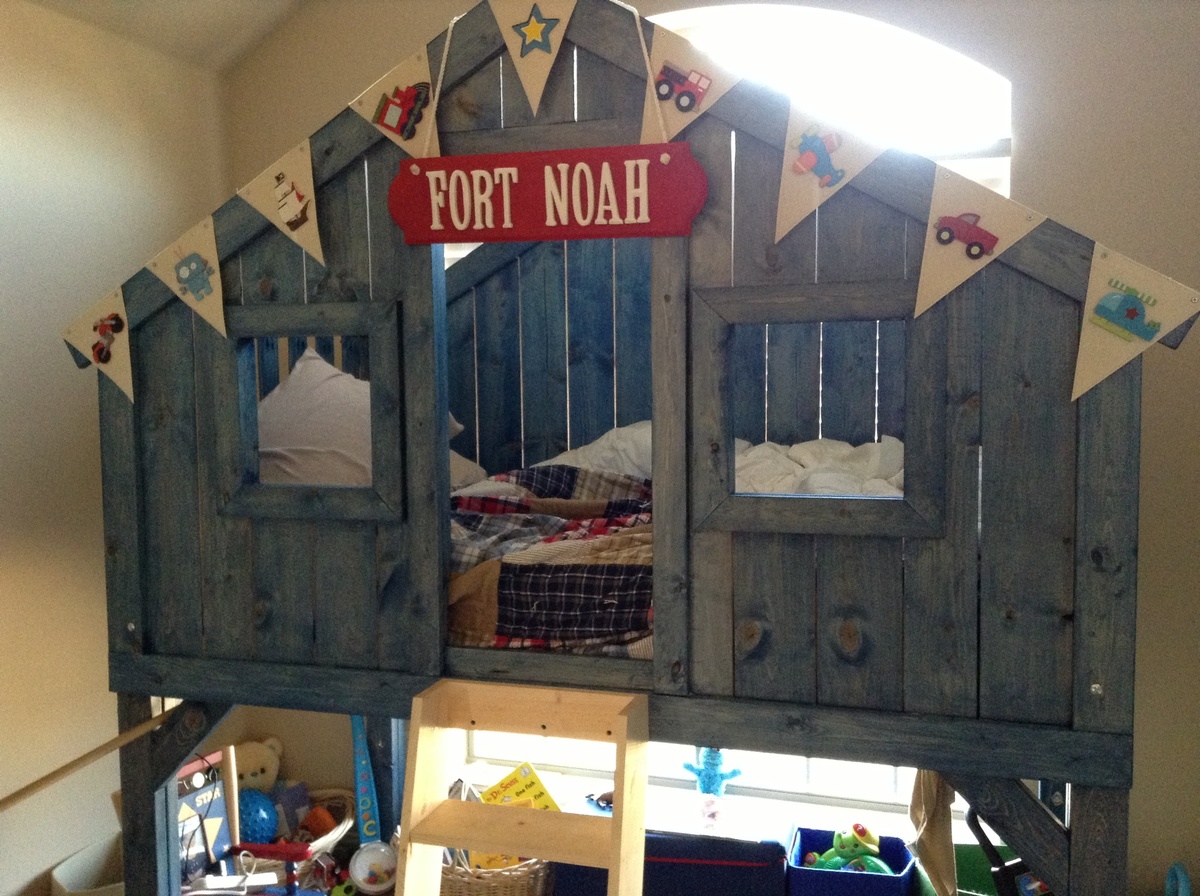
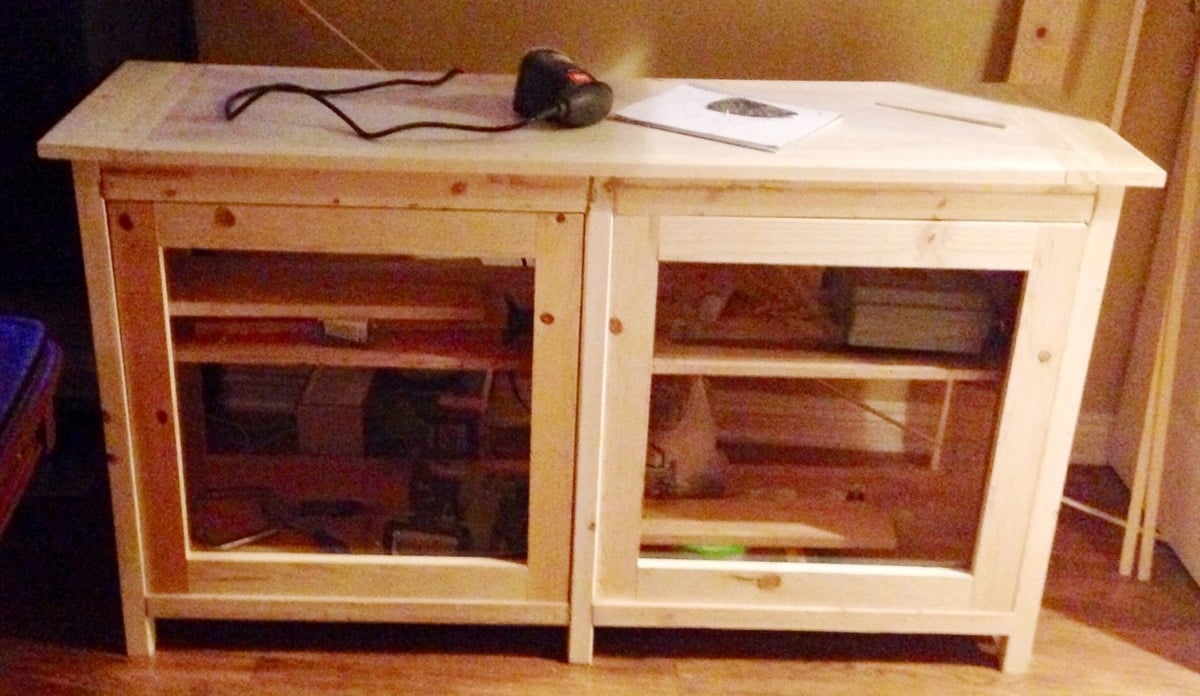
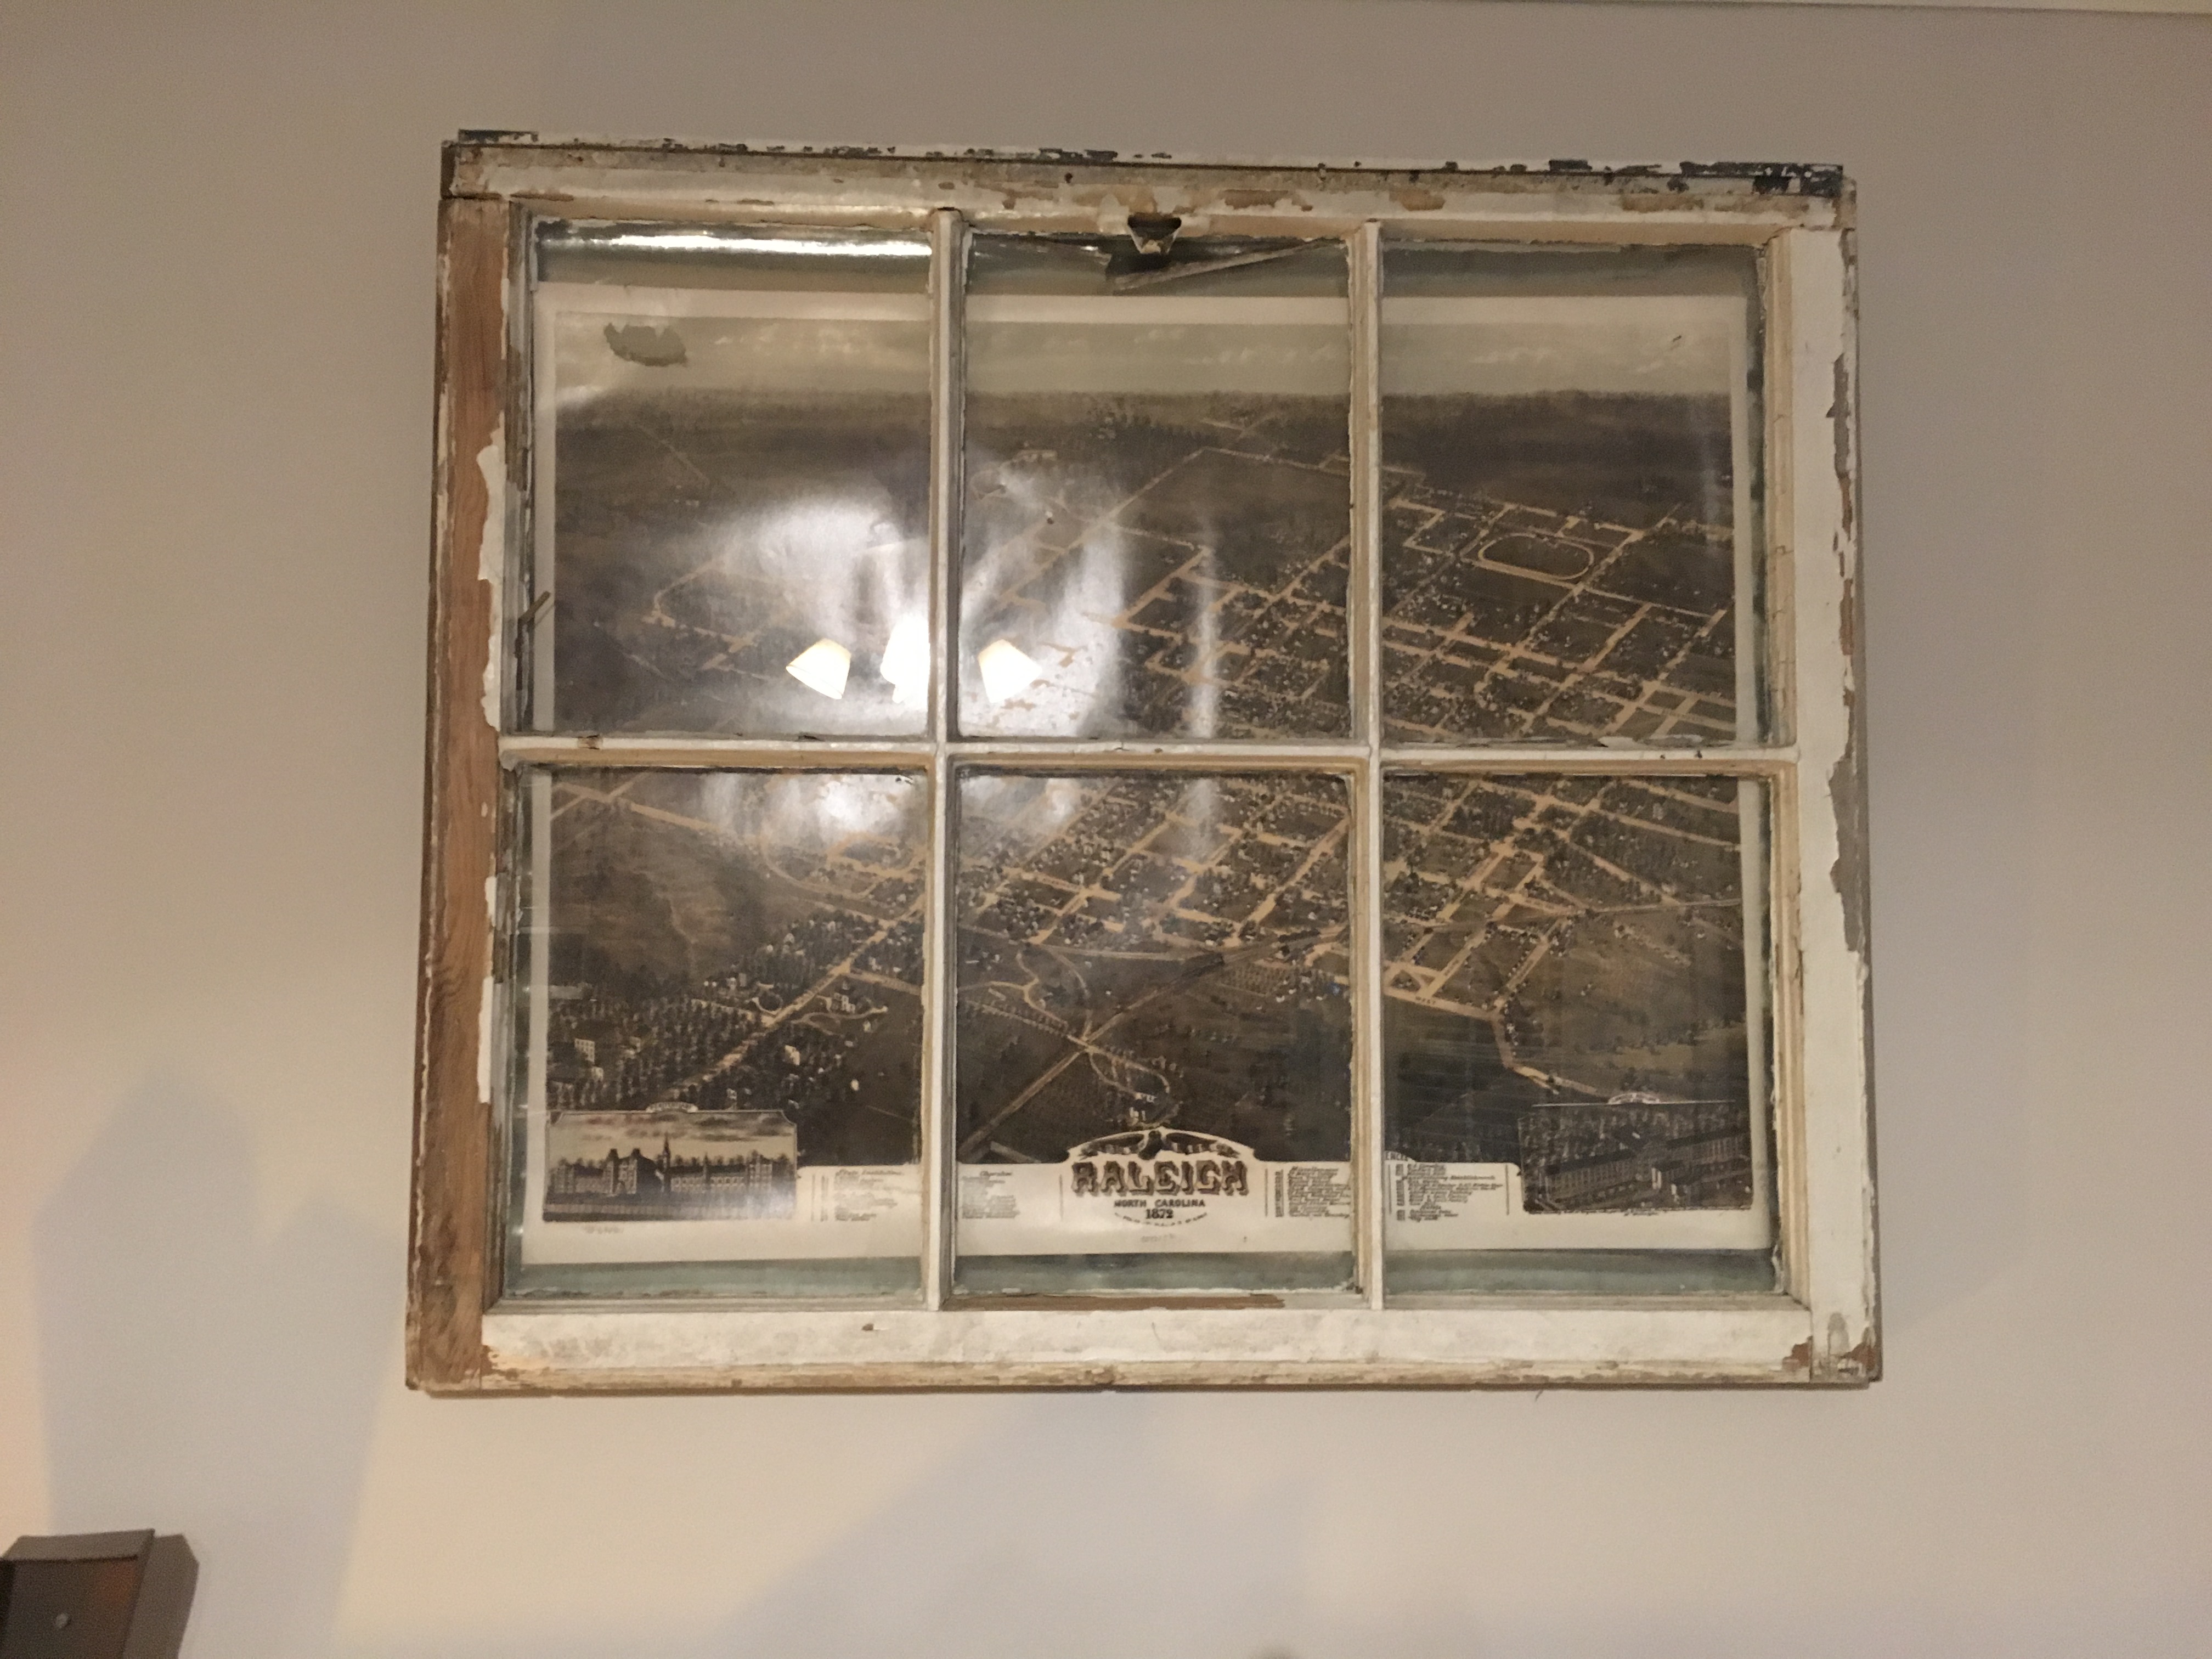
I used Anna's design to create an 8' tall cabinet with a weathered finish. The inspiration was a reclaimed window frame.
Built from Plan(s)
Estimated Cost
$200
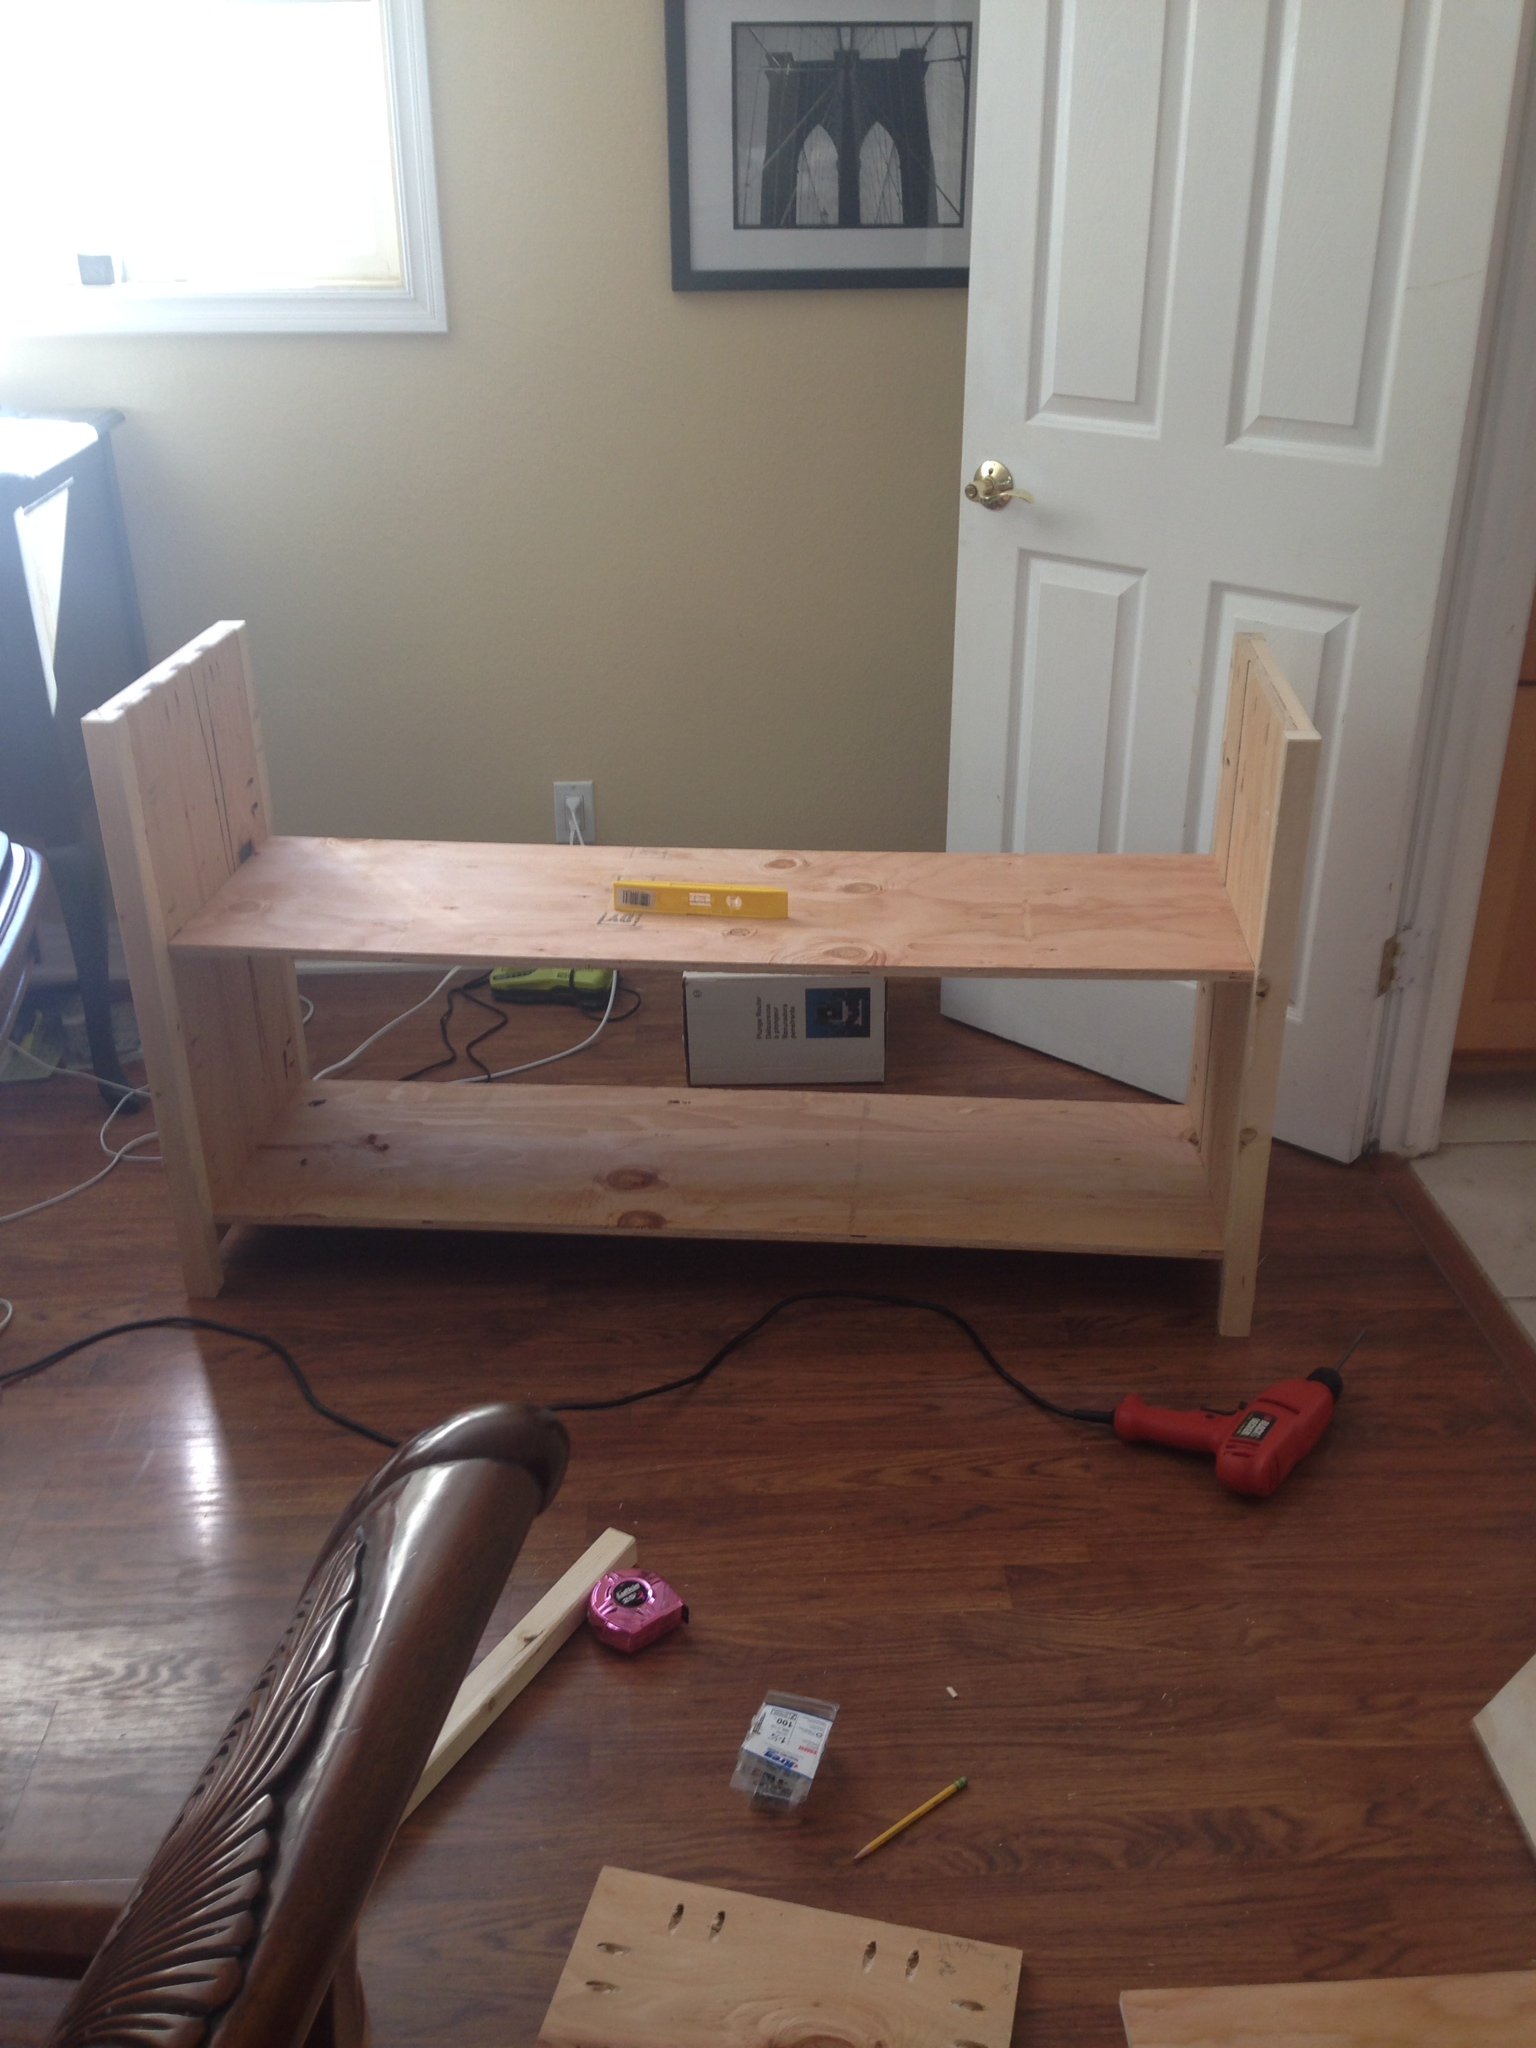
Estimated Time Investment
Week Long Project (20 Hours or More)
Finish Used
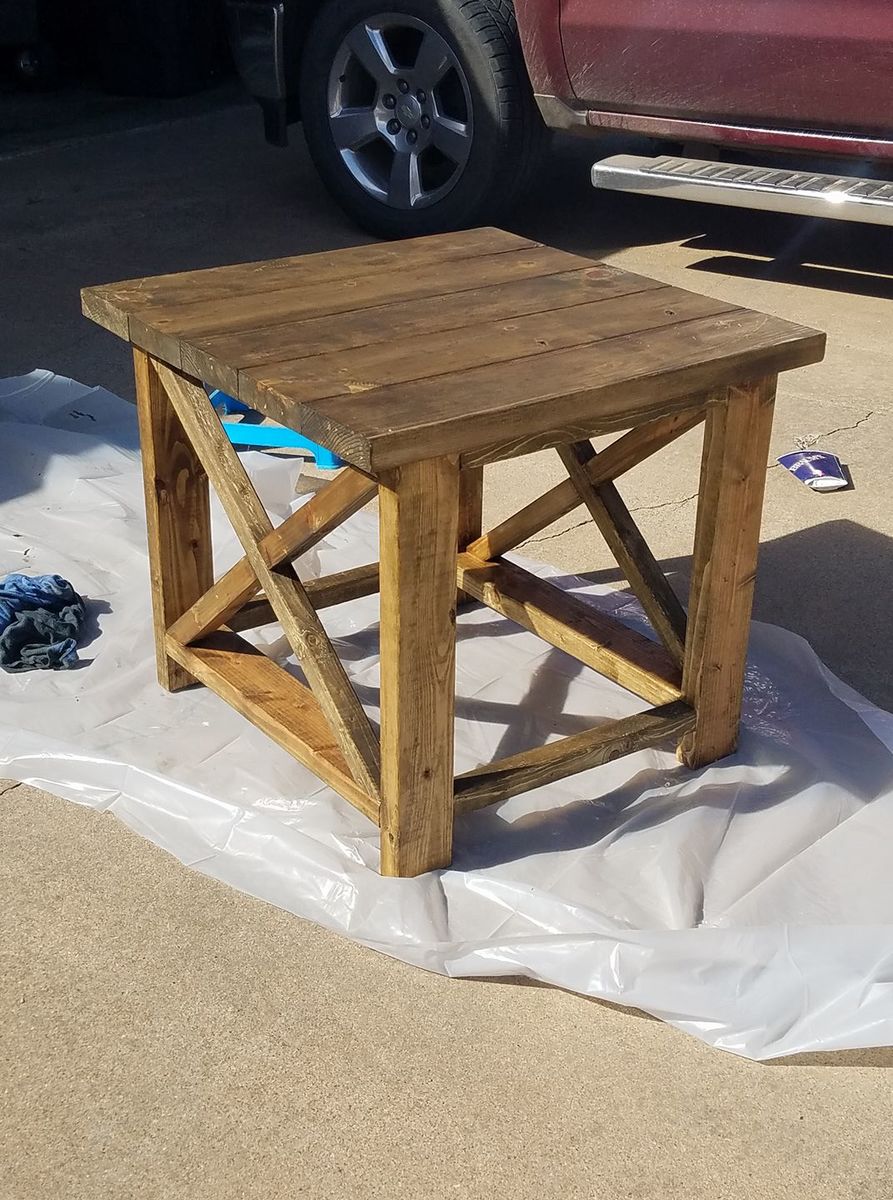
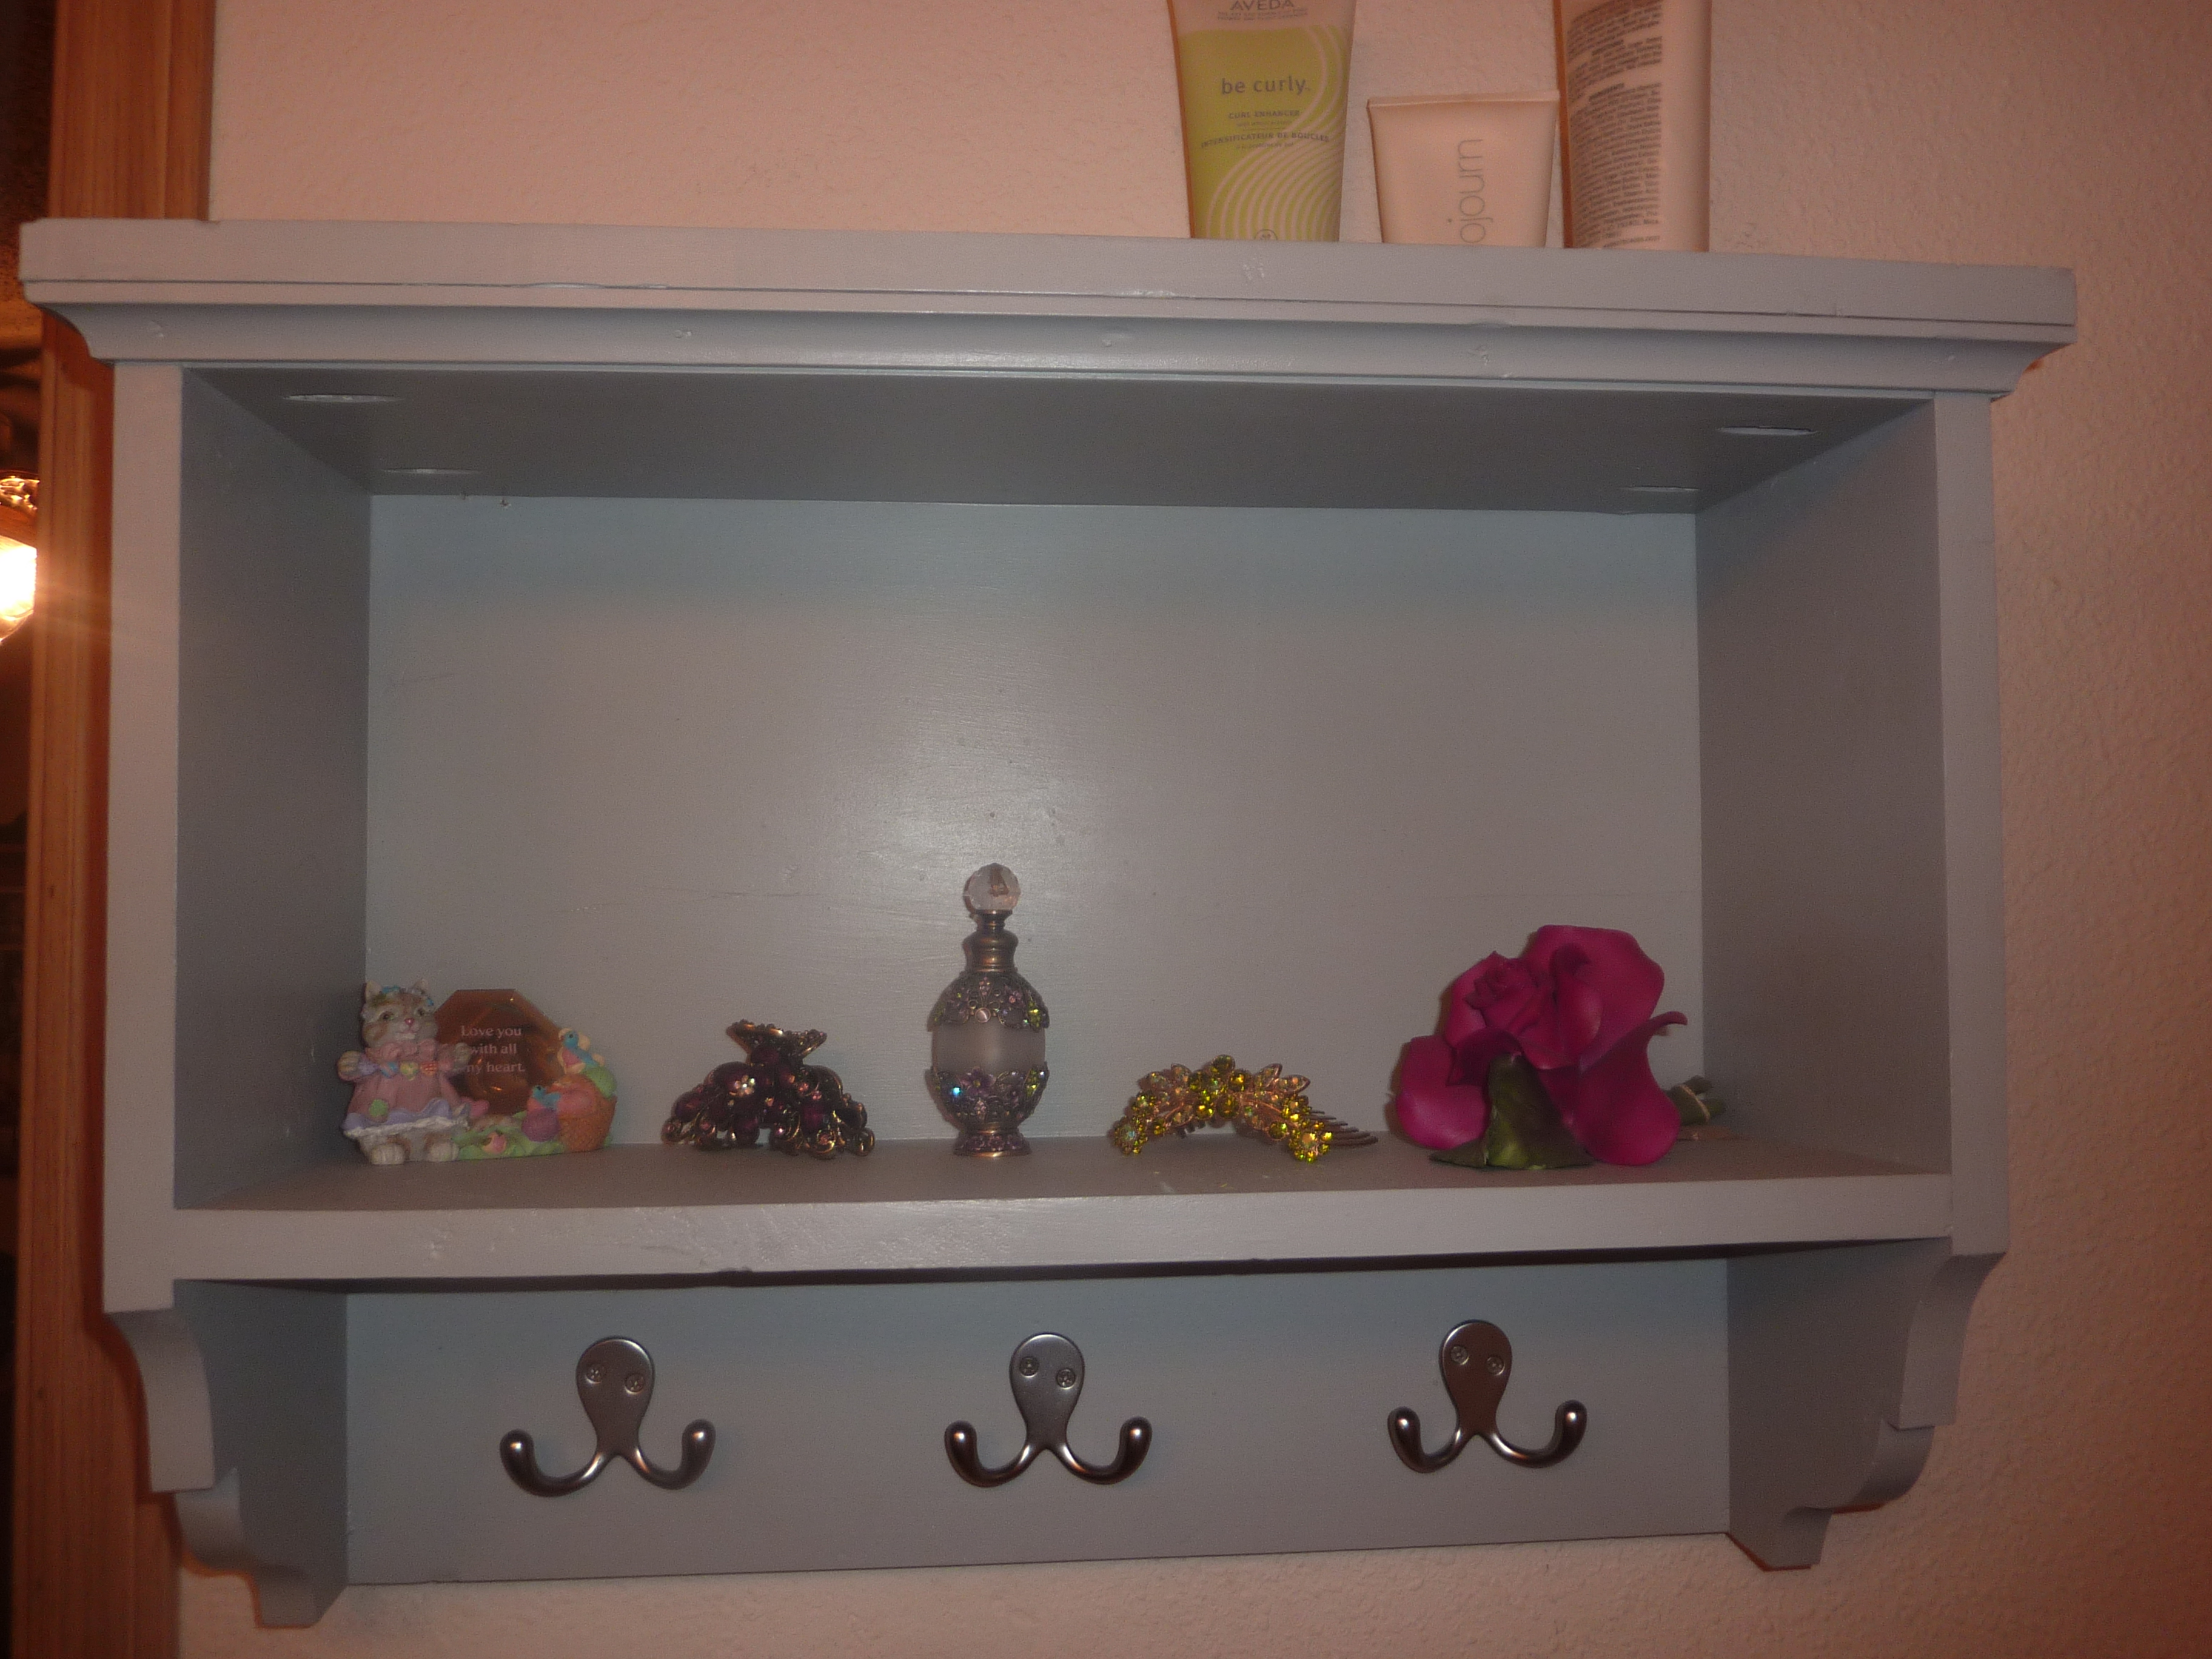
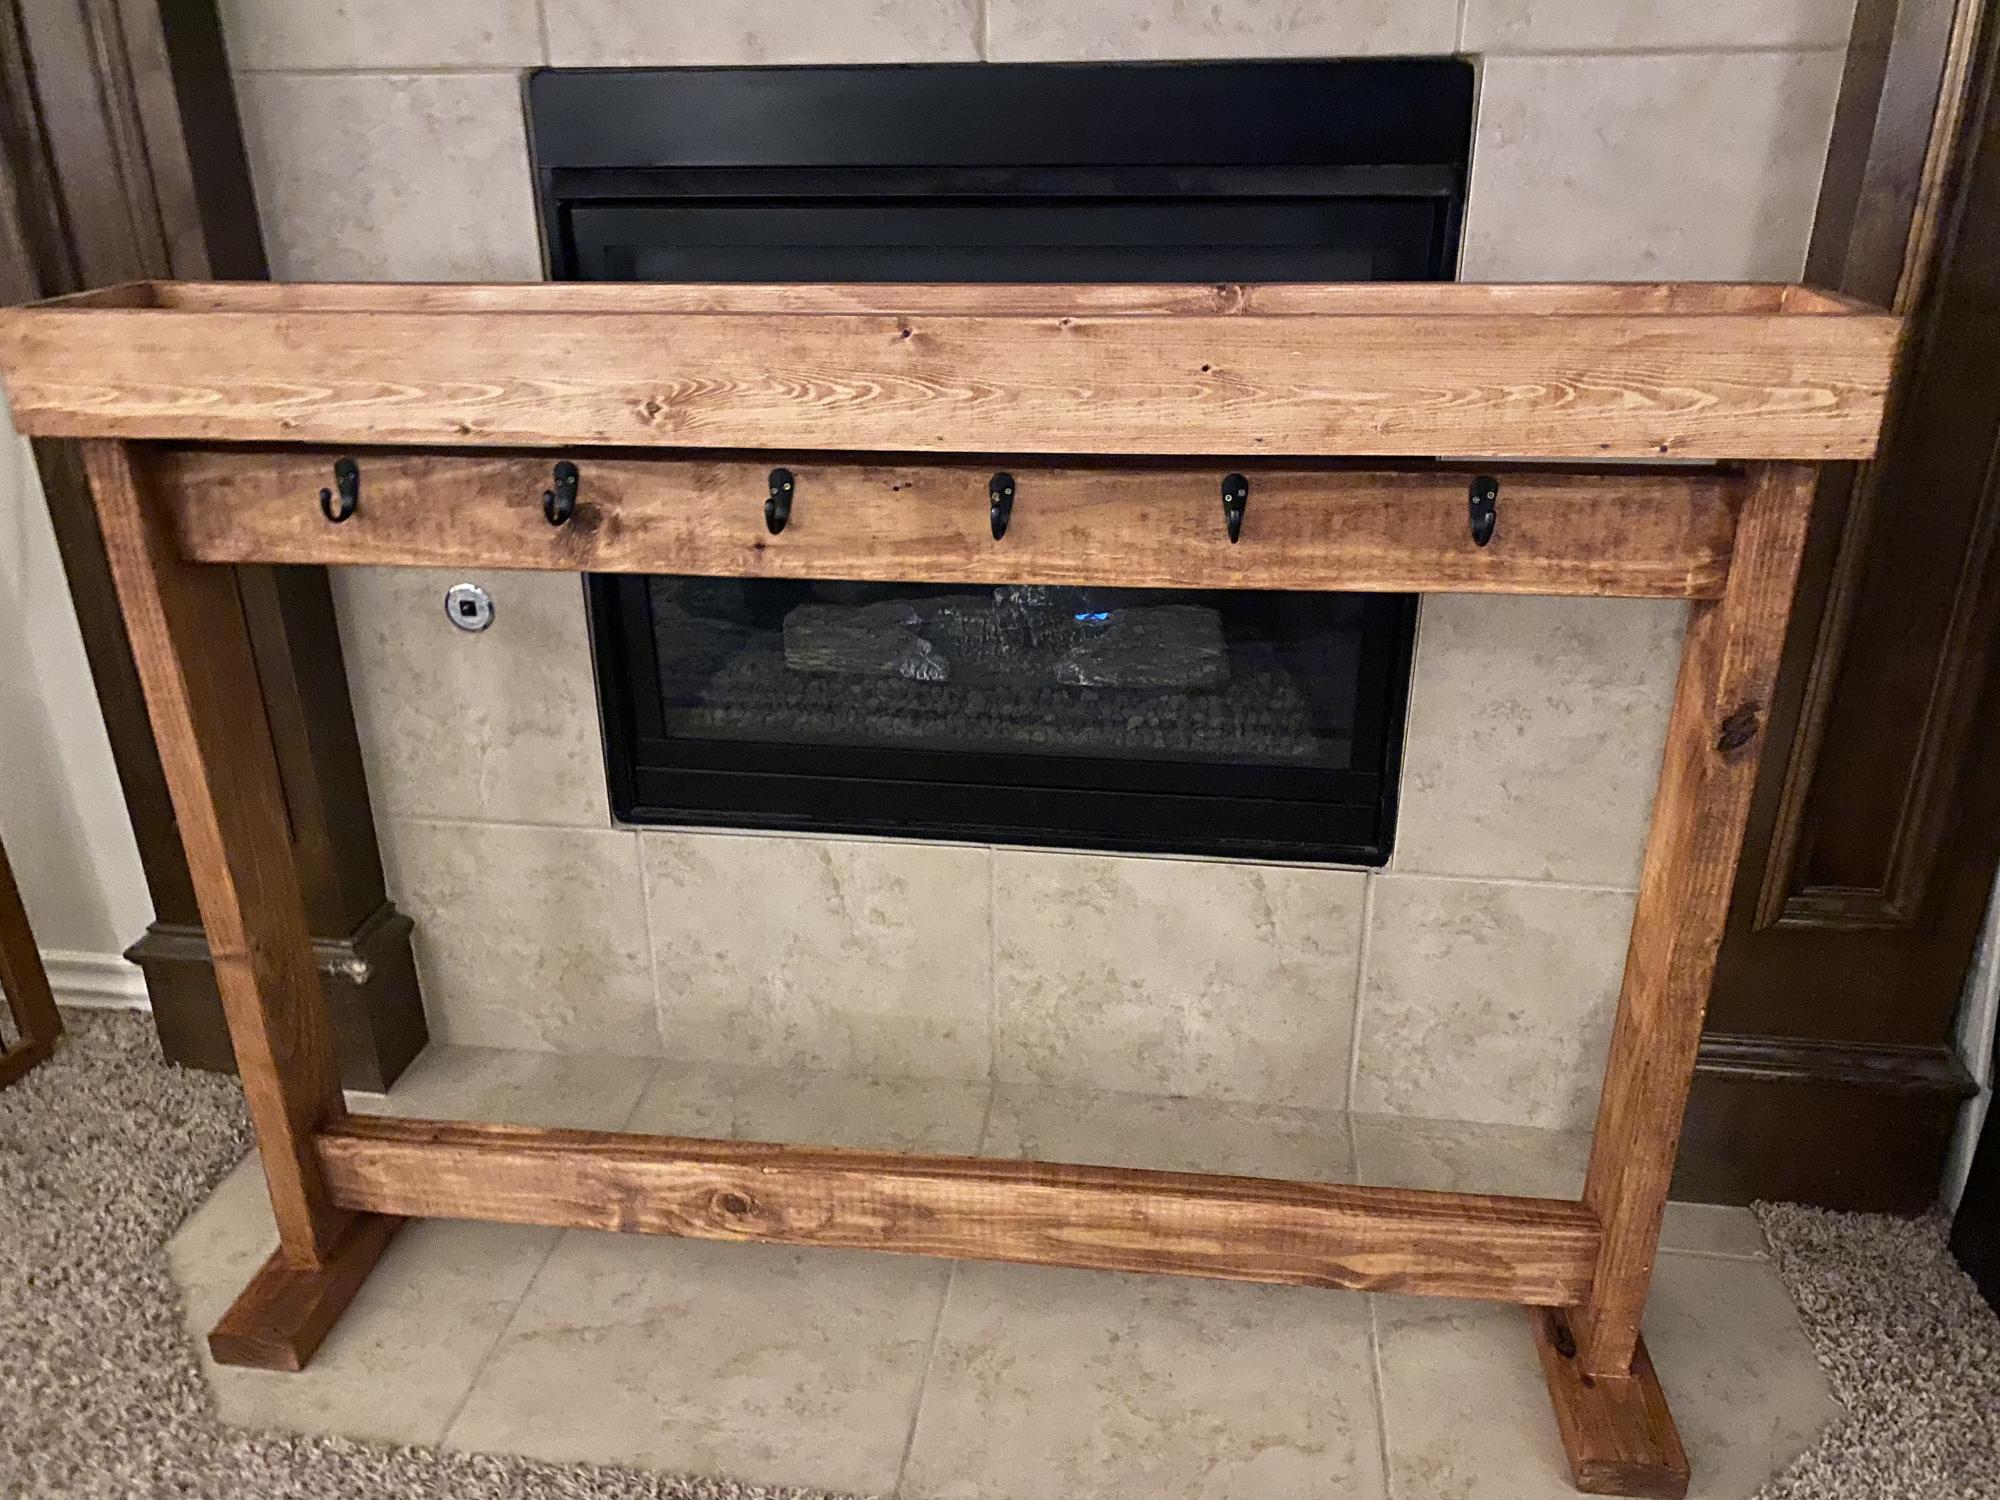
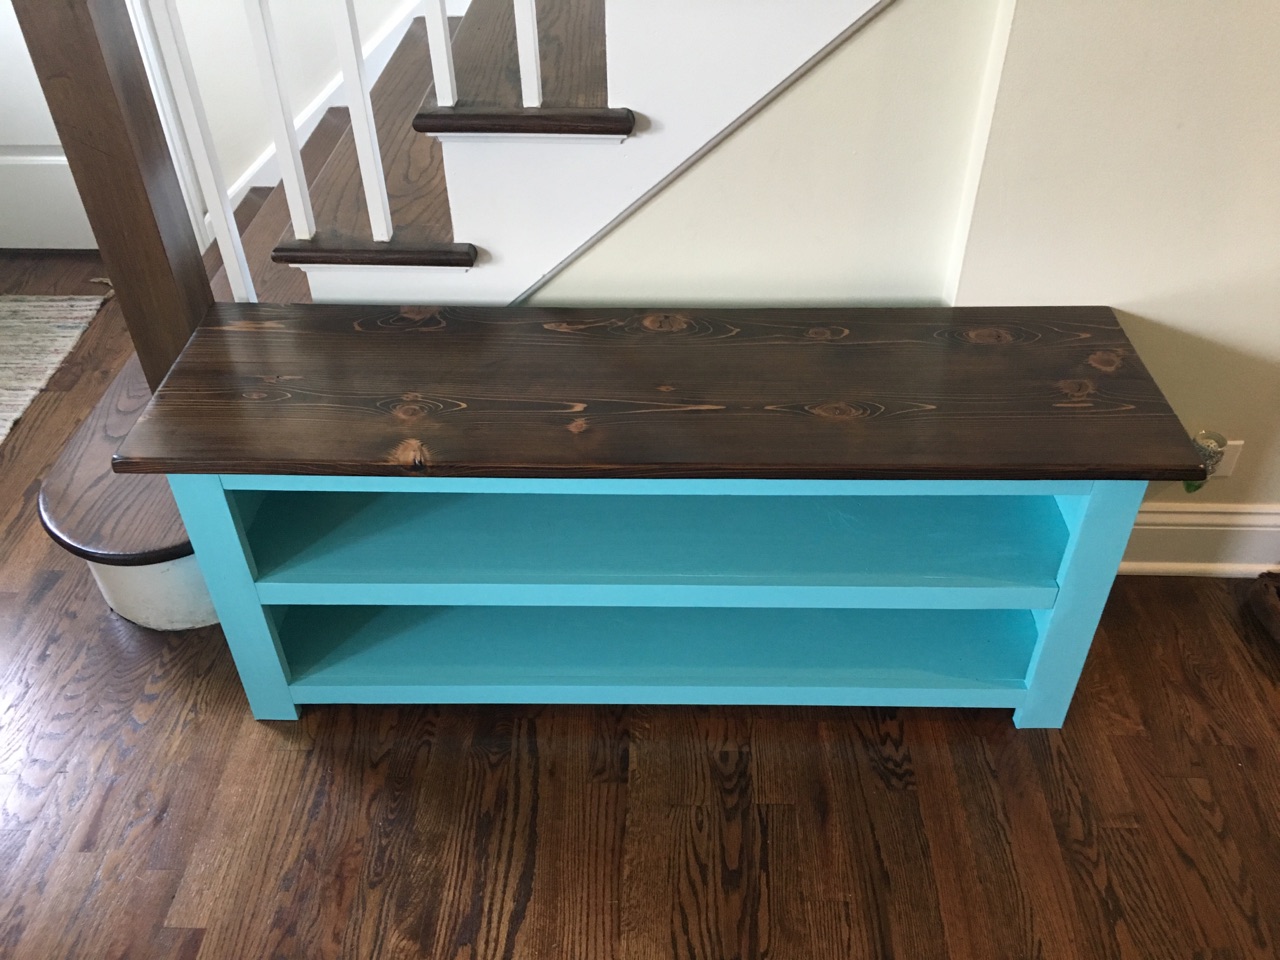
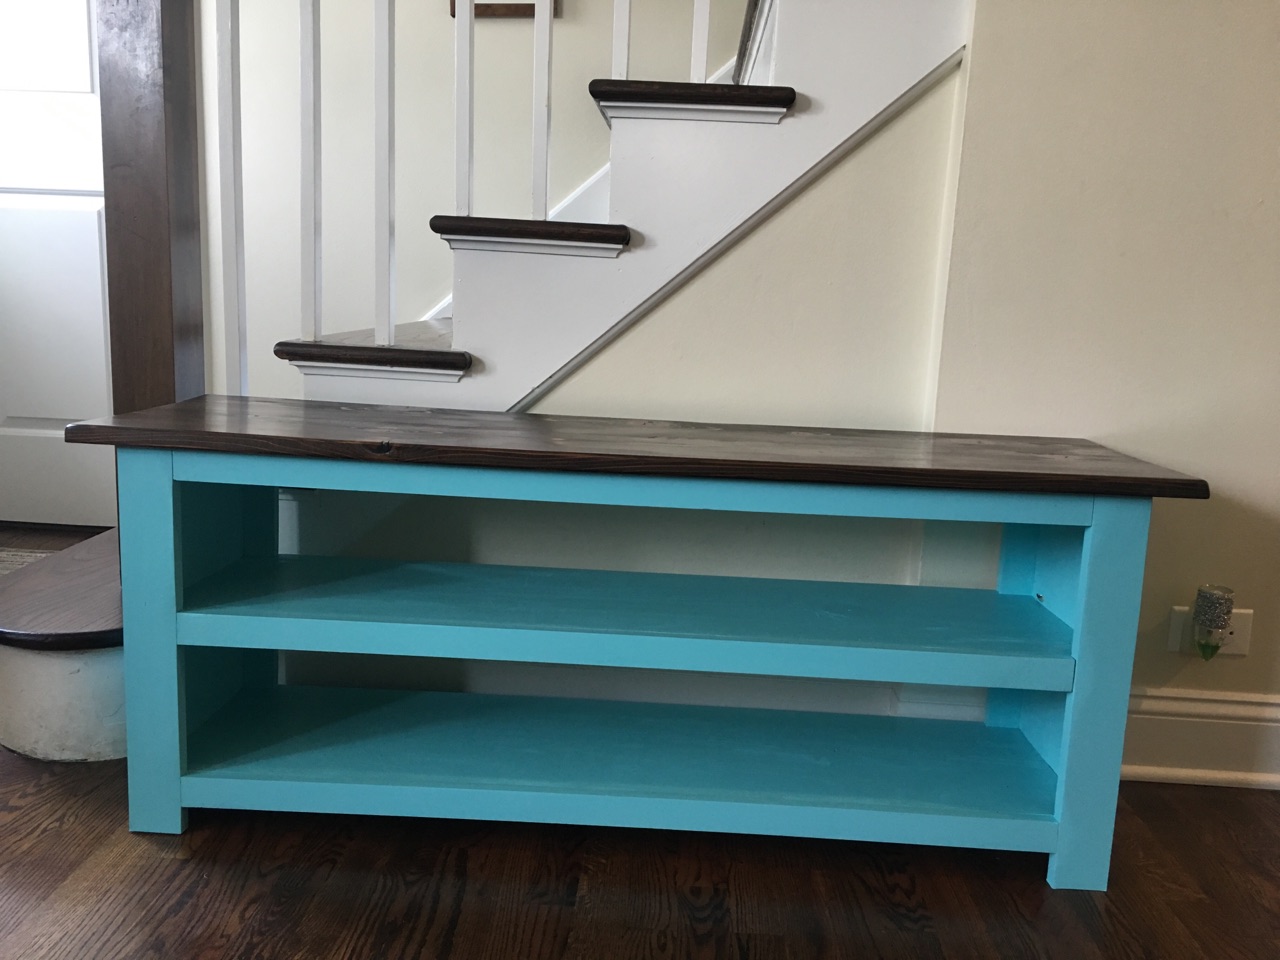
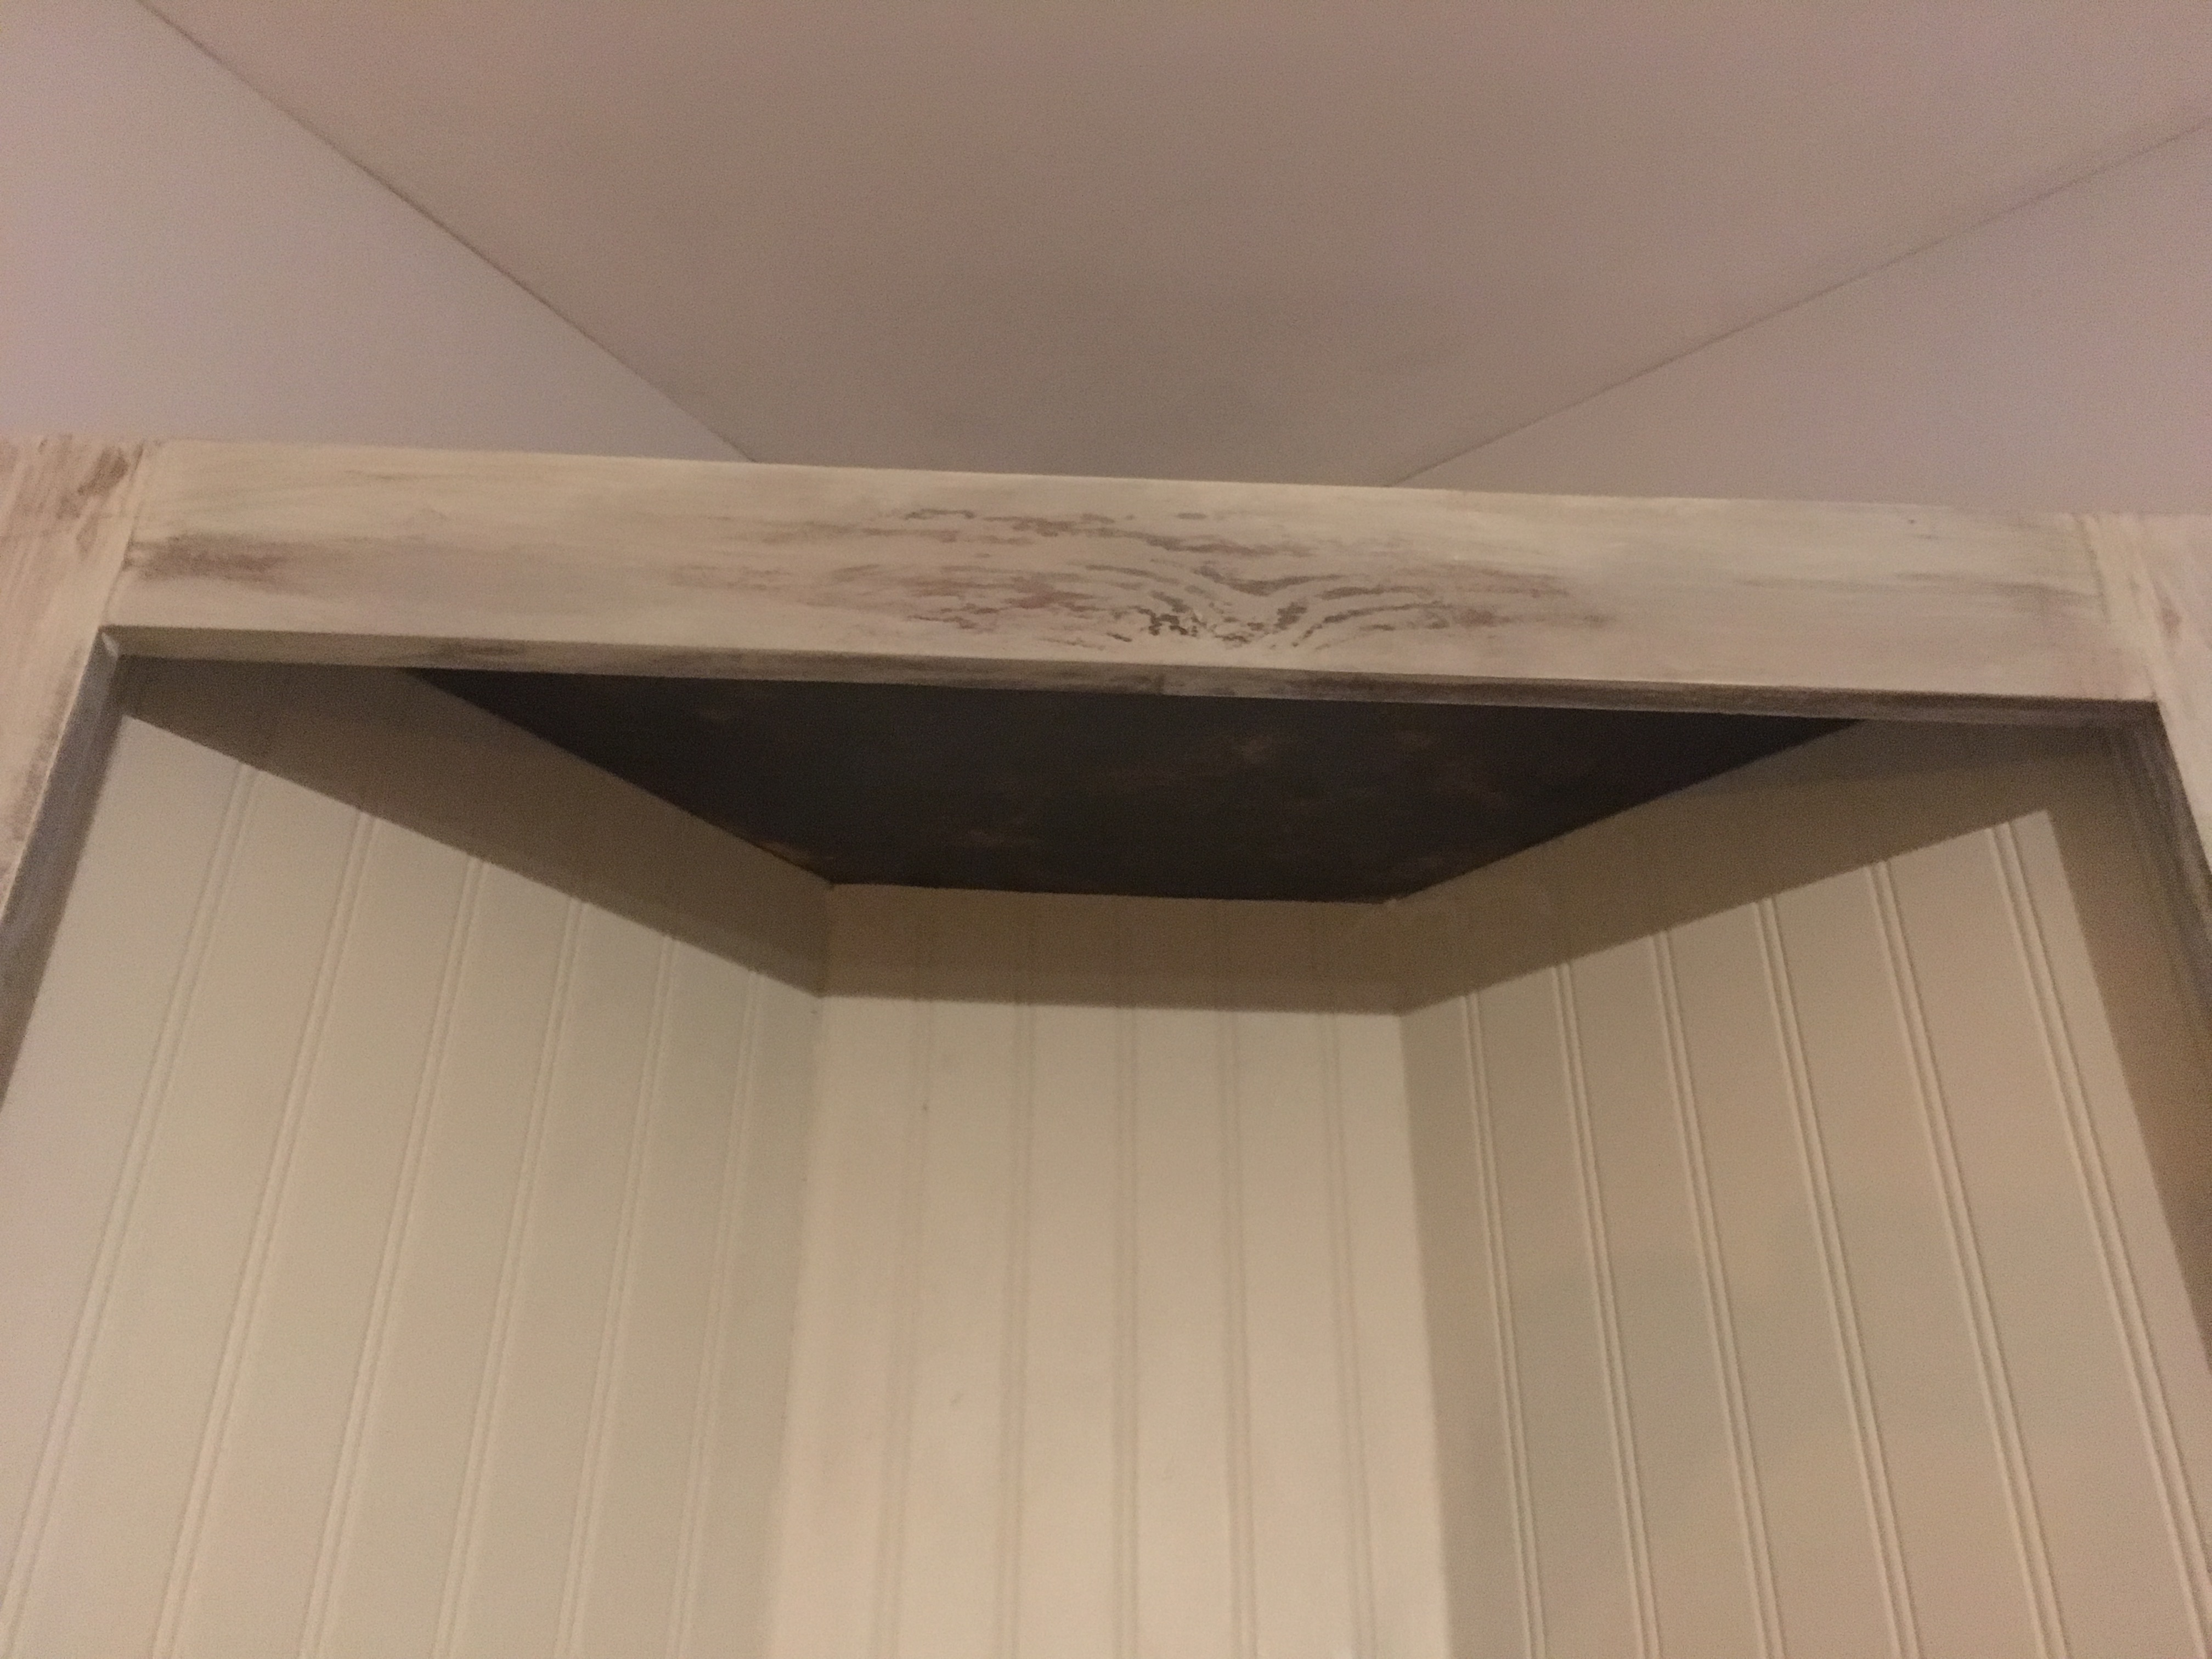
Minwax Mocha stain on shelves with grey paint dry brushed over a few areas to look weathered. I finished the shelves with a satin poly.
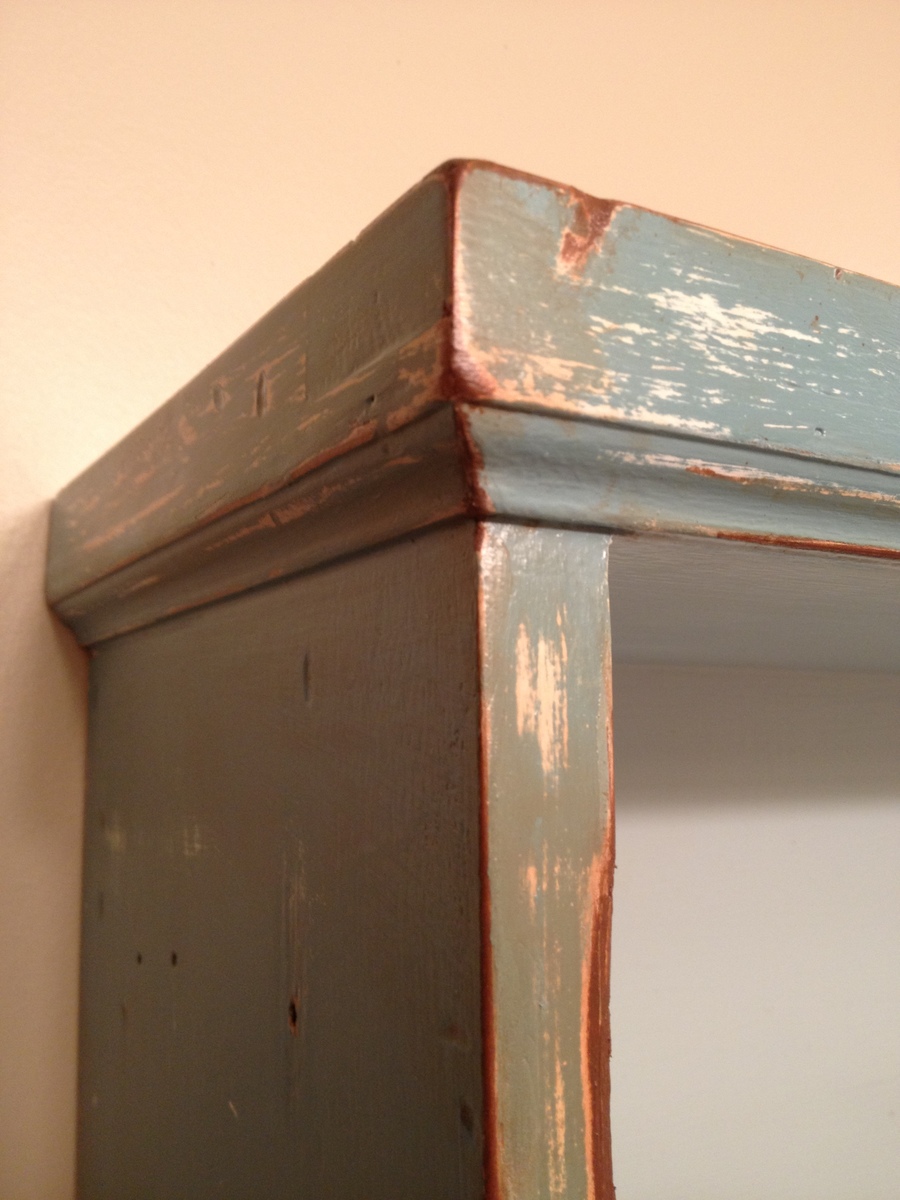
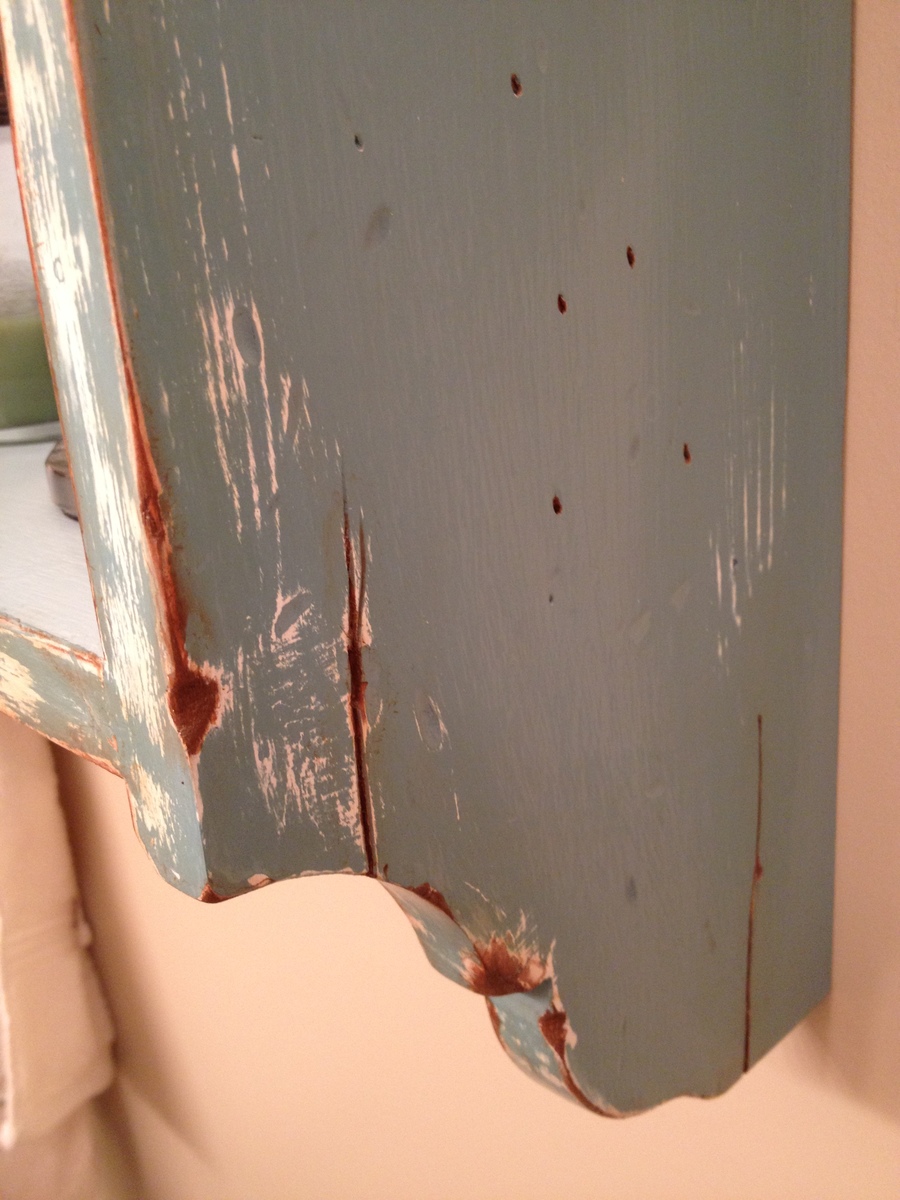
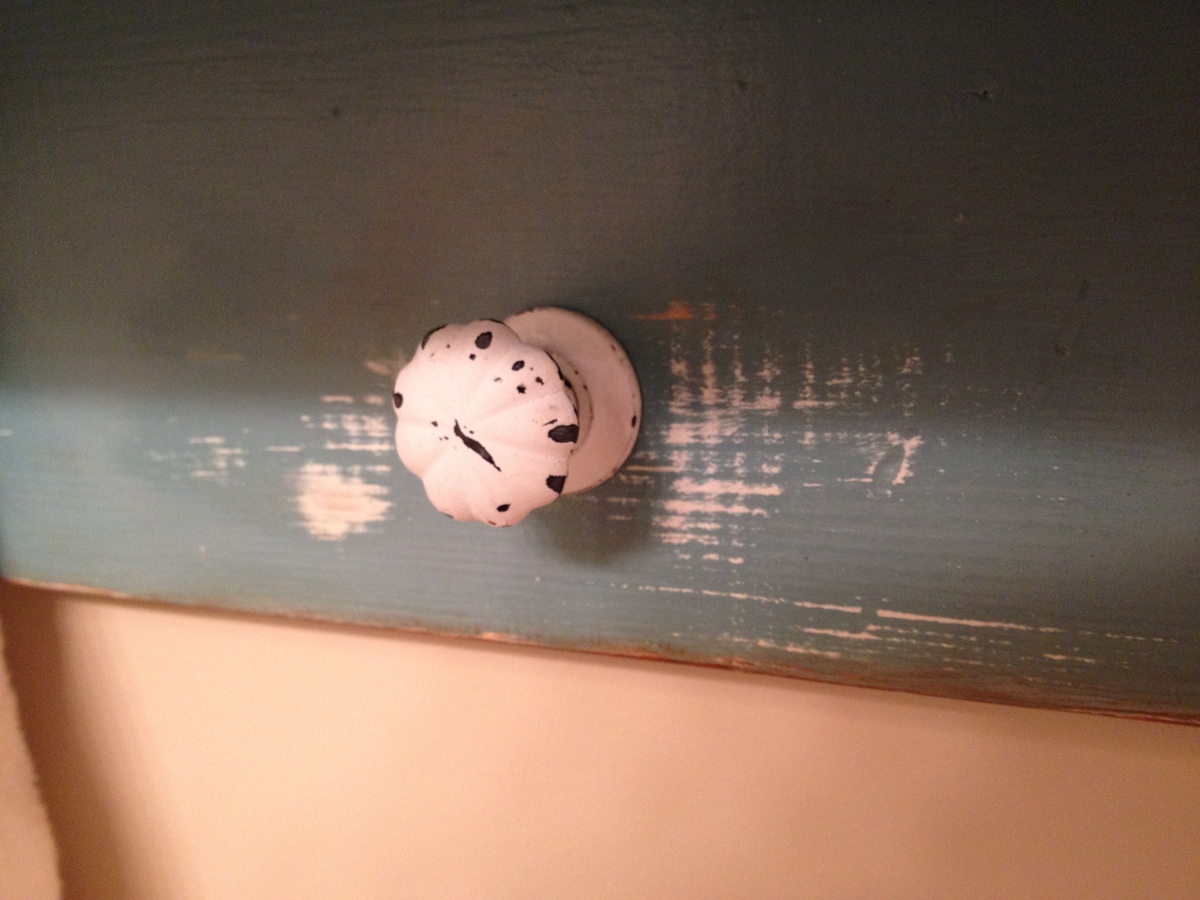
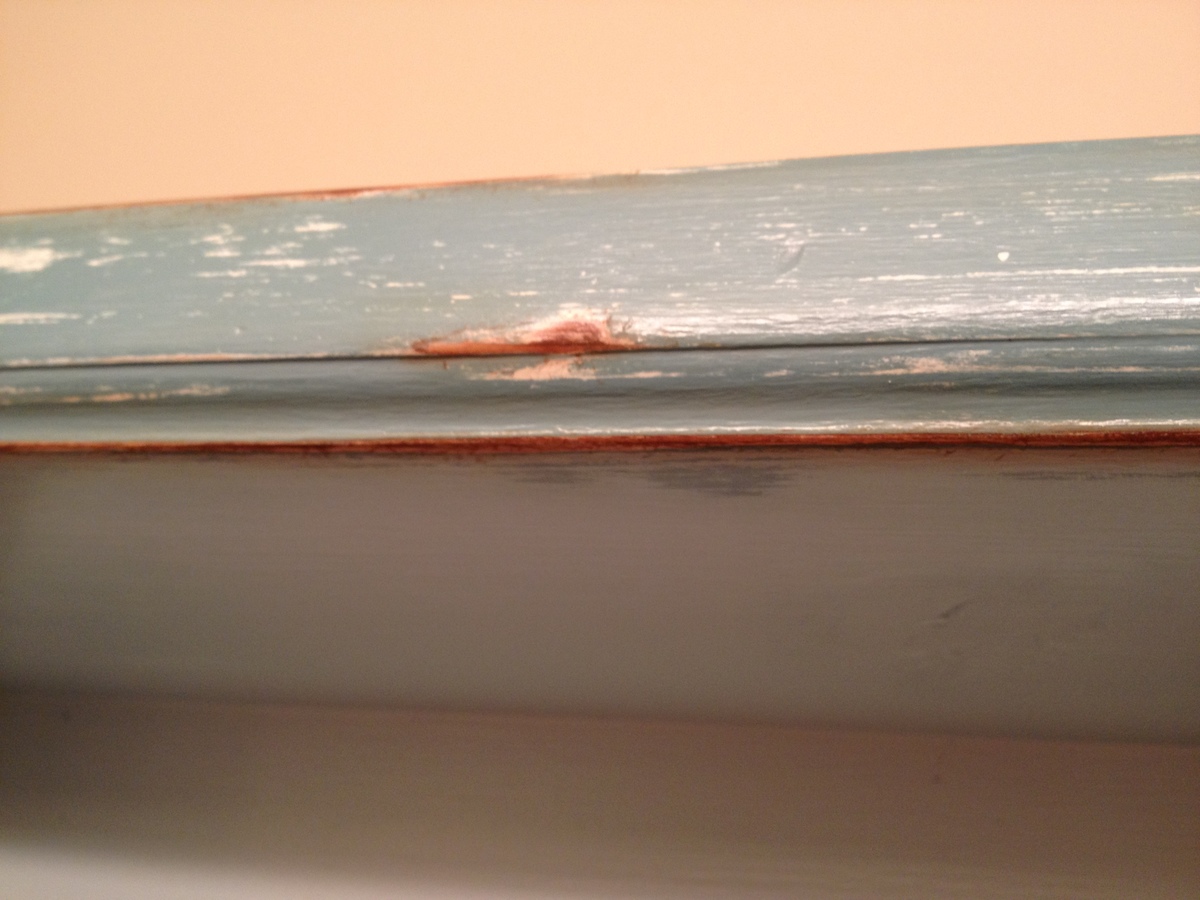
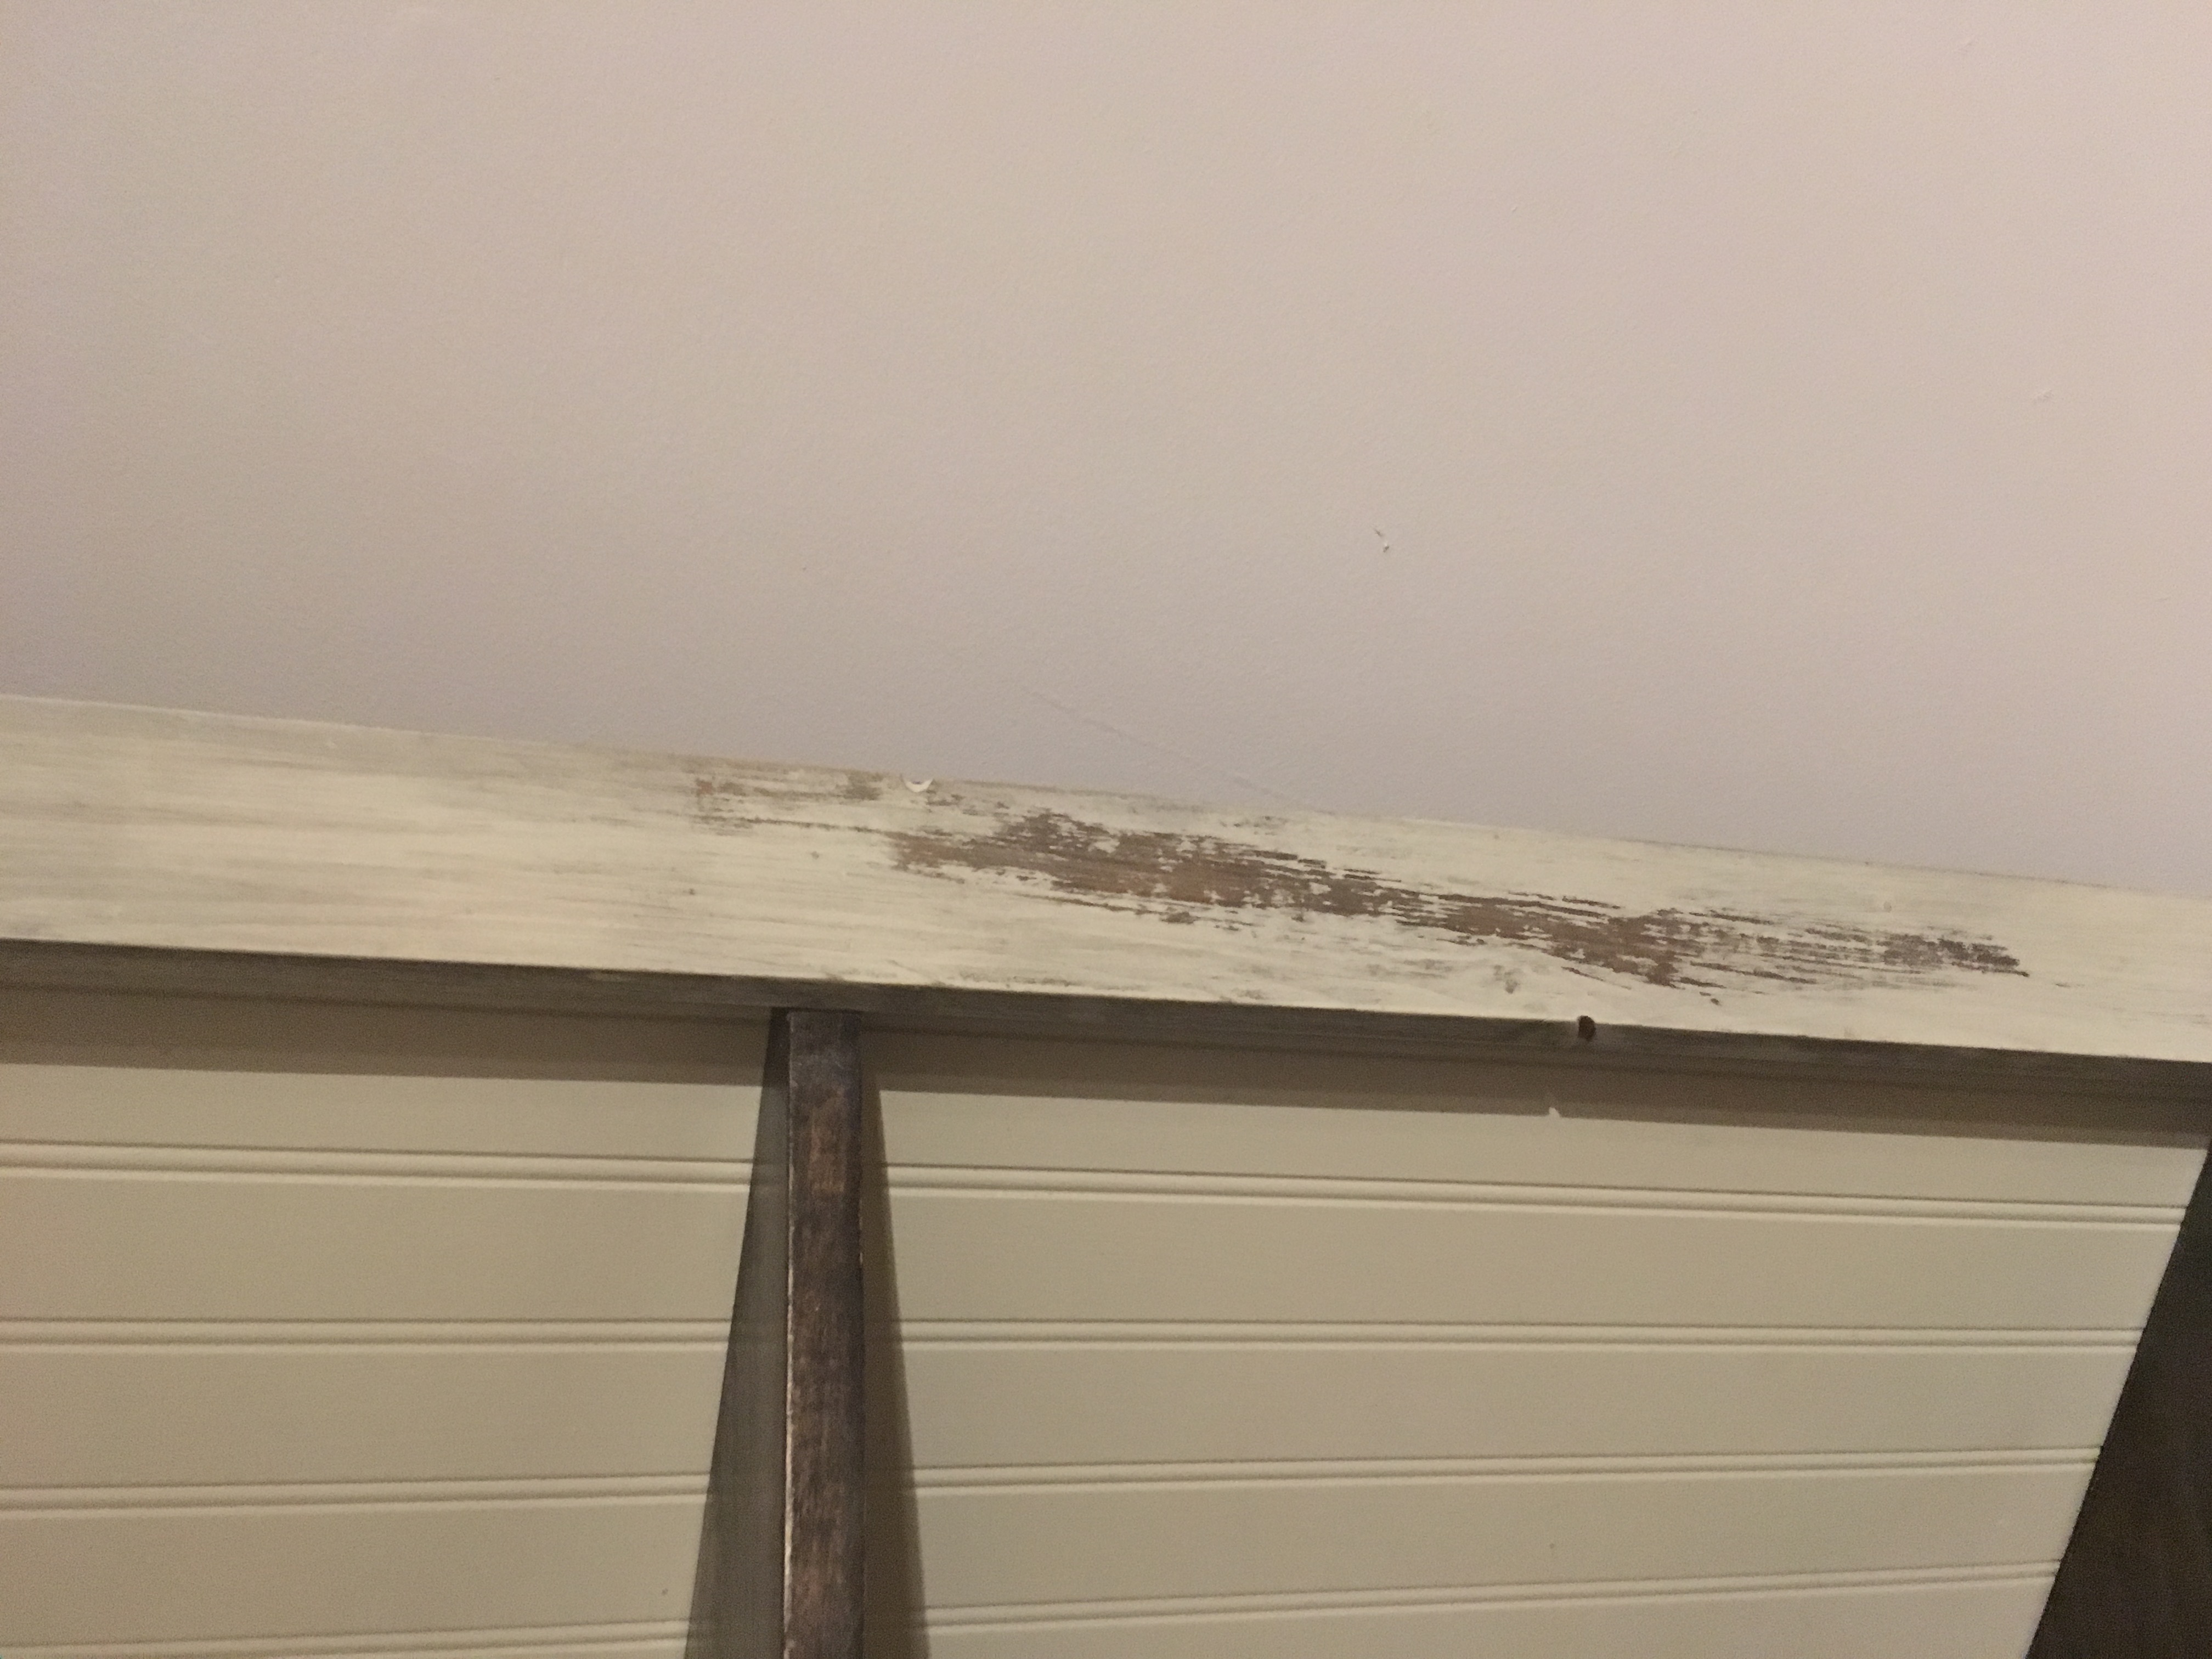
For the rest of the project I used DIY vinegar and steel wool stain on everything else. I then rubbed a candle of over parts of the stain where I wanted the wood to show thru. I painted over the stain and wax with antique white paint. I then used a heat gun to melt the wax and scraped it off with a chisel.
For the rest of the project I used DIY vinegar and steel wool stain on everything else. I then rubbed a candle of over parts of the stain where I wanted the wood to show thru. I painted over the stain and wax with antique white paint. I then used a heat gun to melt the wax and scraped it off with a chisel.
Recommended Skill Level
Intermediate