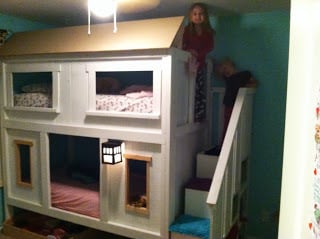
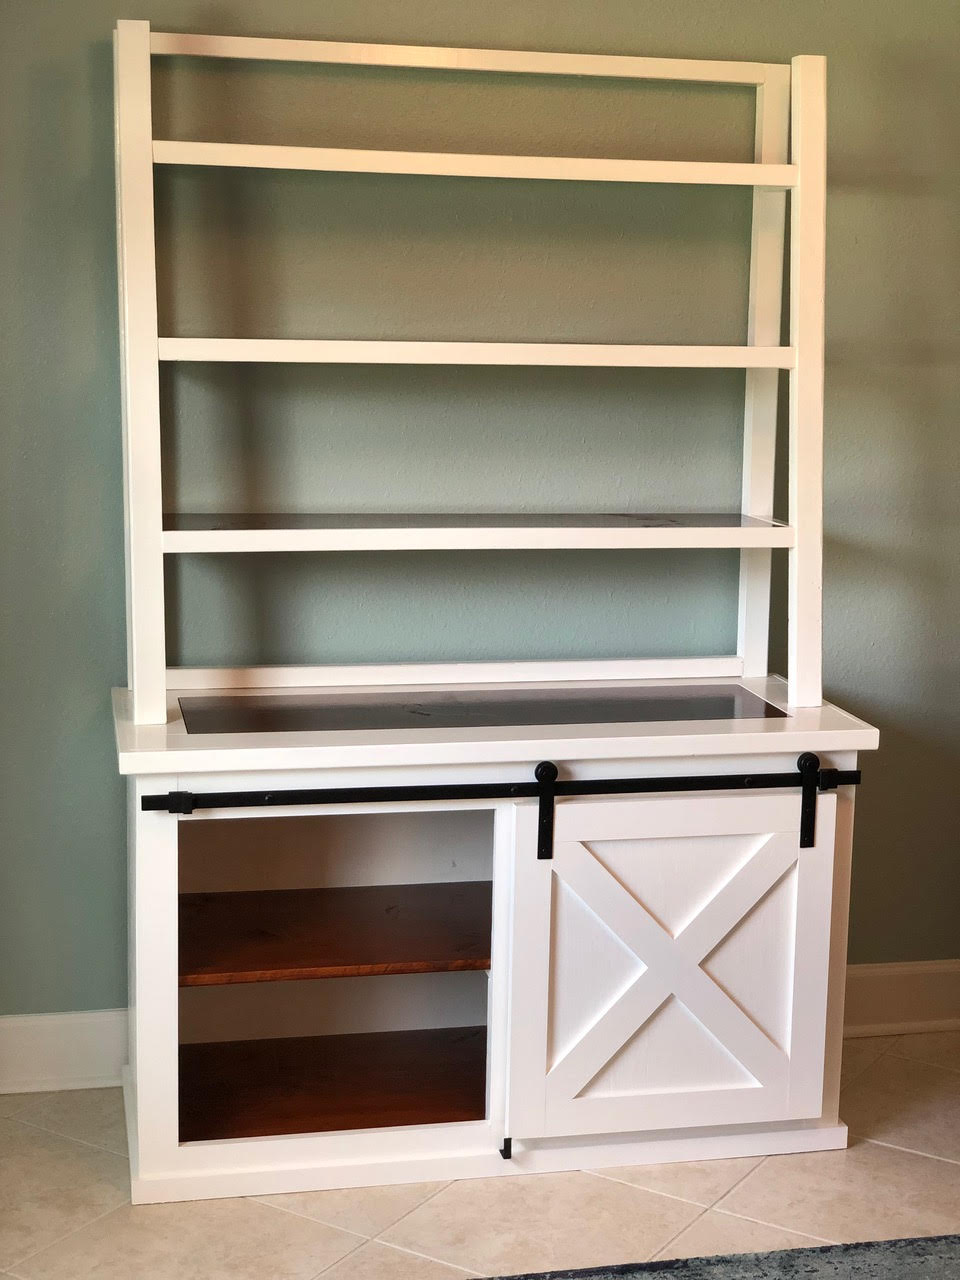
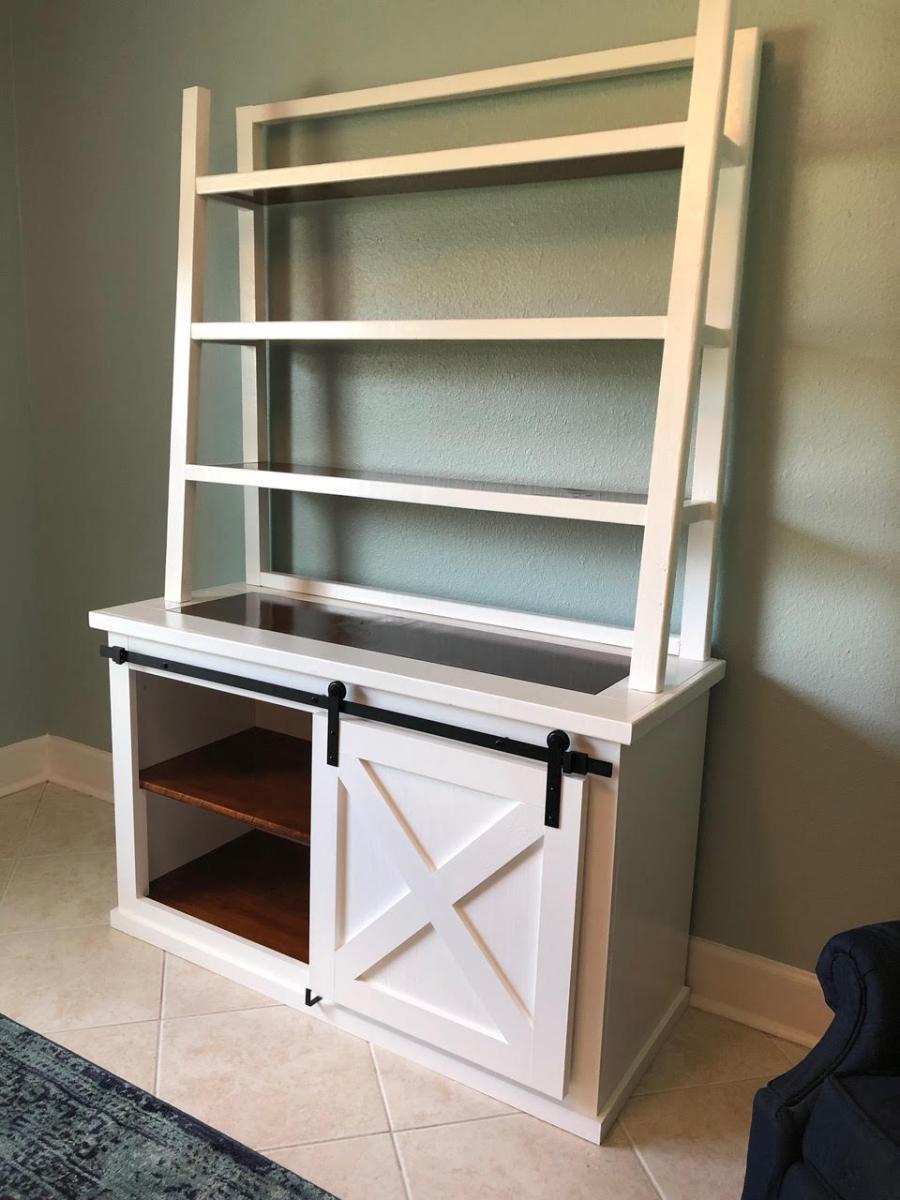
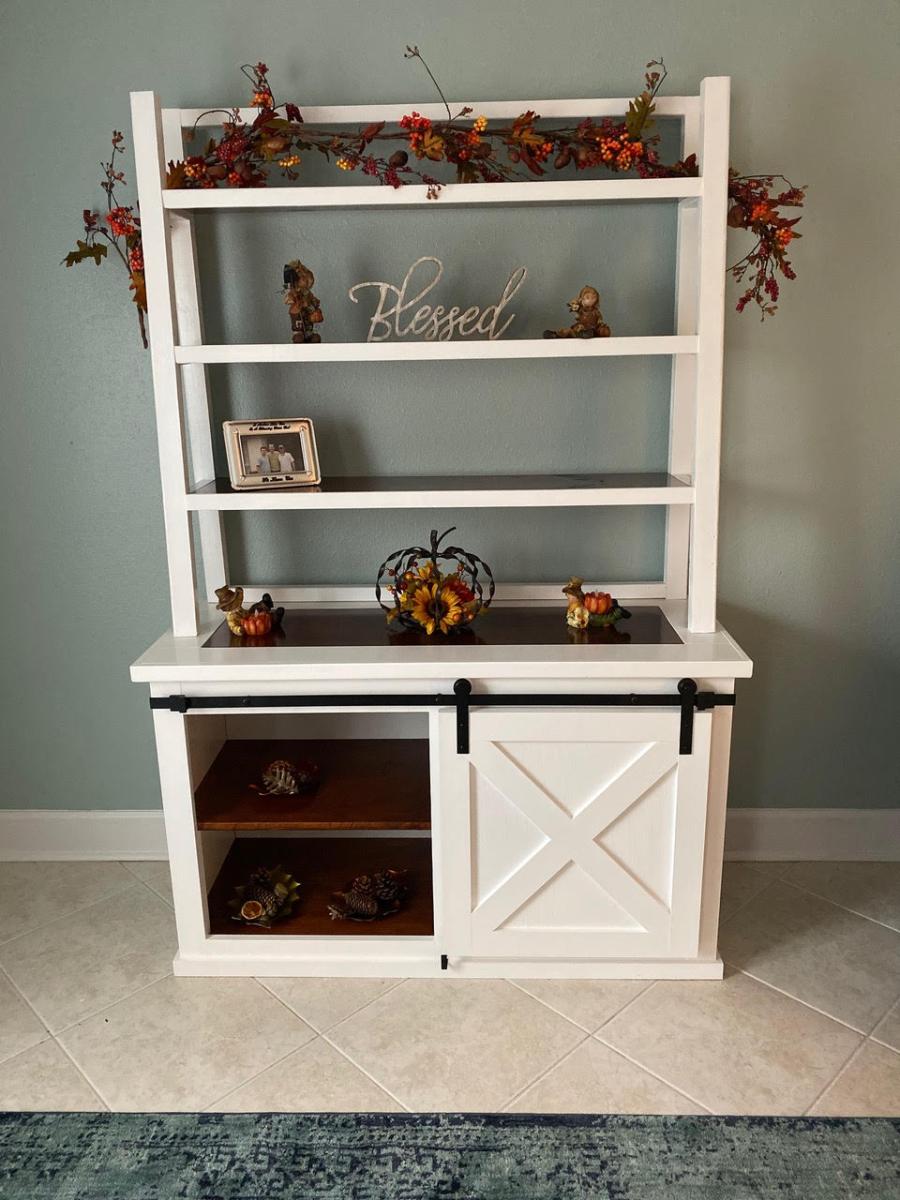
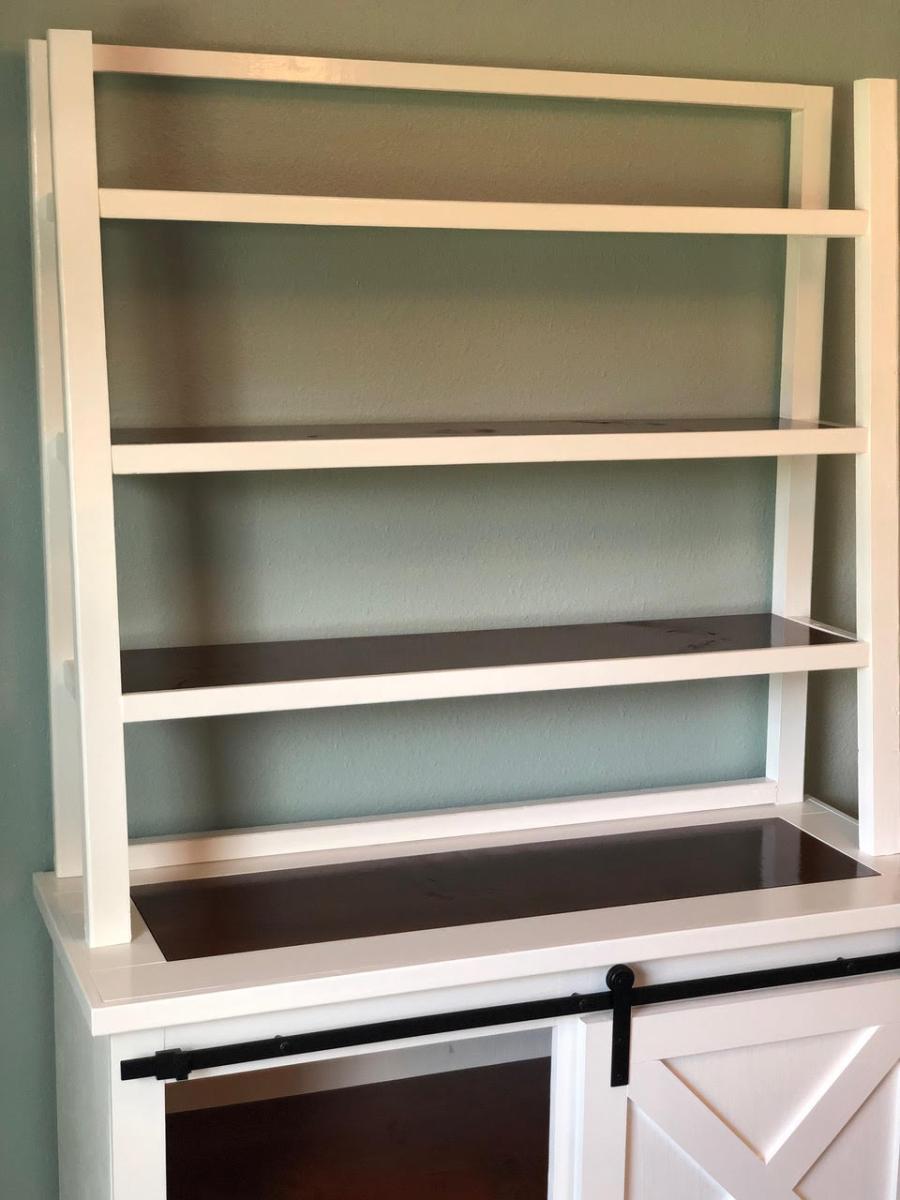
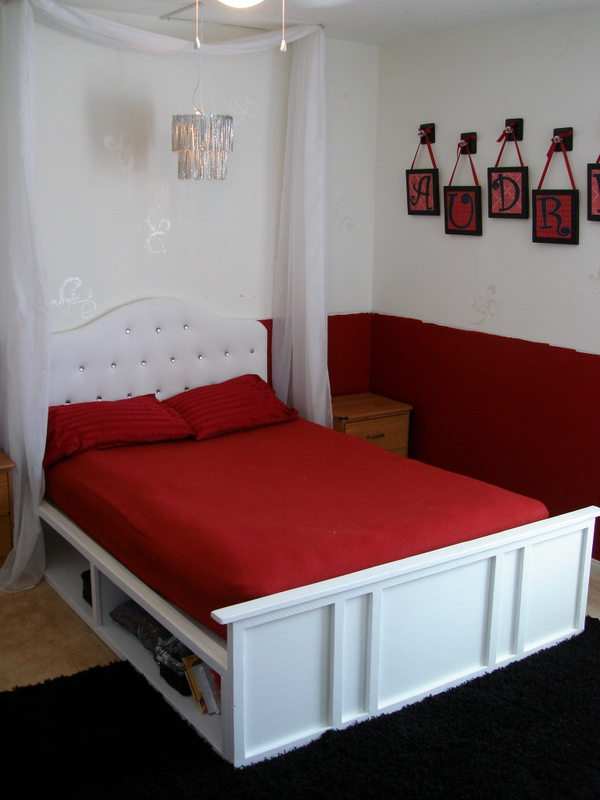
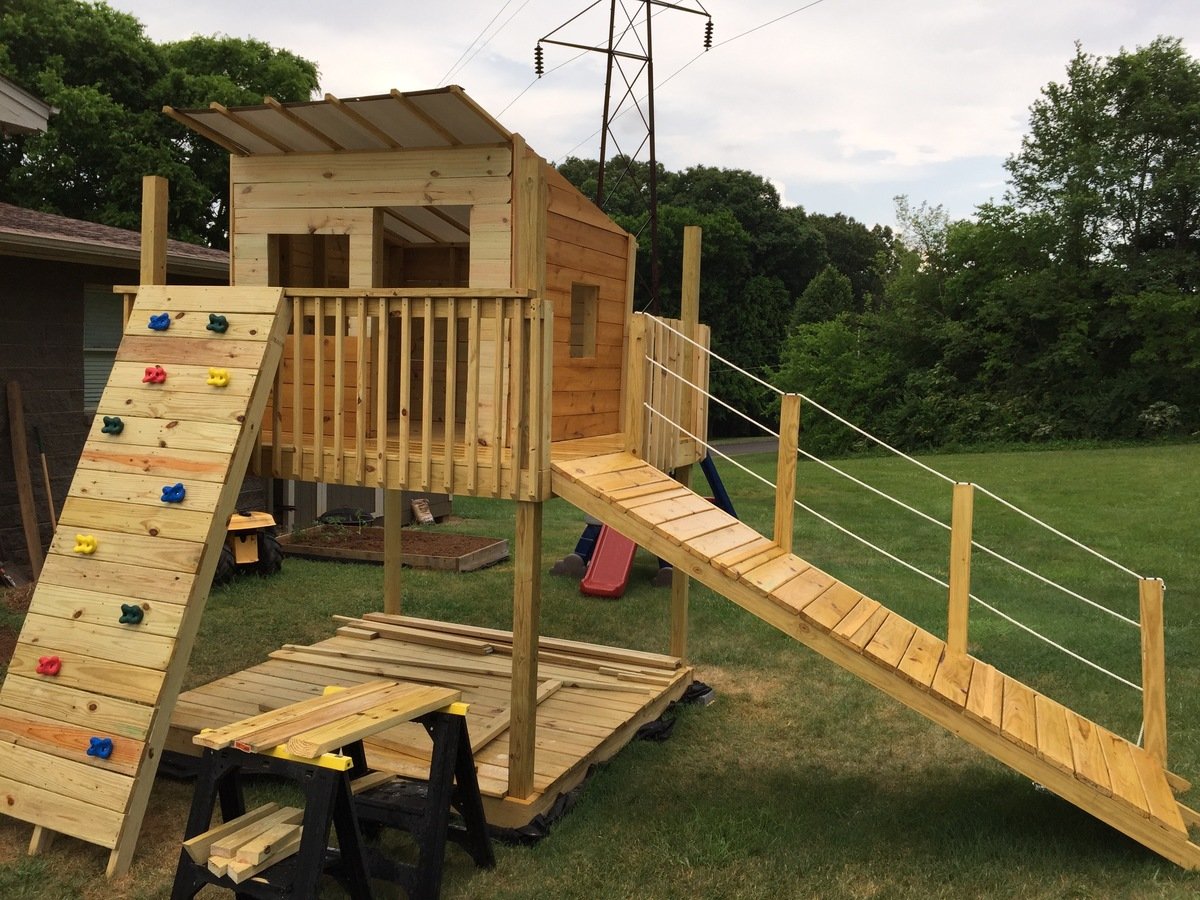
Craftsman Style Sweet Pea Bunk Beds
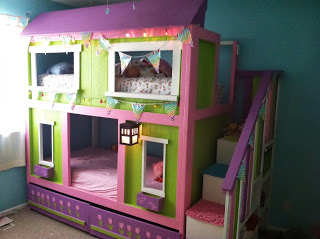
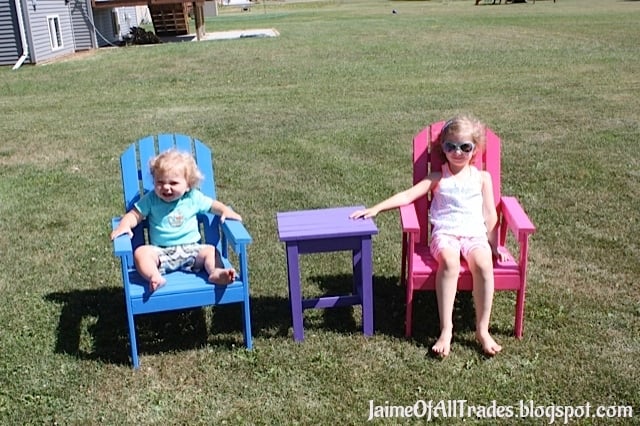
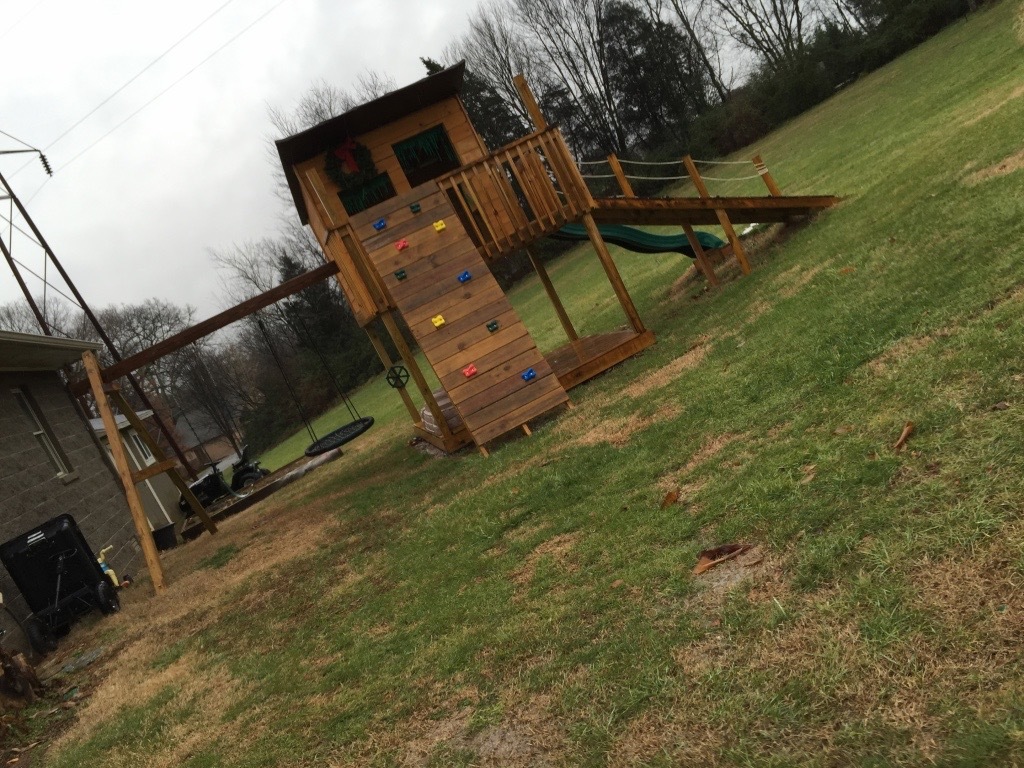
I'm so thankful for these plans! I love how these beds turned out, my daughters love them too! Whenever they have friends come over, this is the first place all of them want to go (not necessarily a good thing, I know).
I wrote about the project on my blog: sharethepants.blogspot.com
This is my third project that I've attempted since finding this amazing website and it's certainly my favorite!
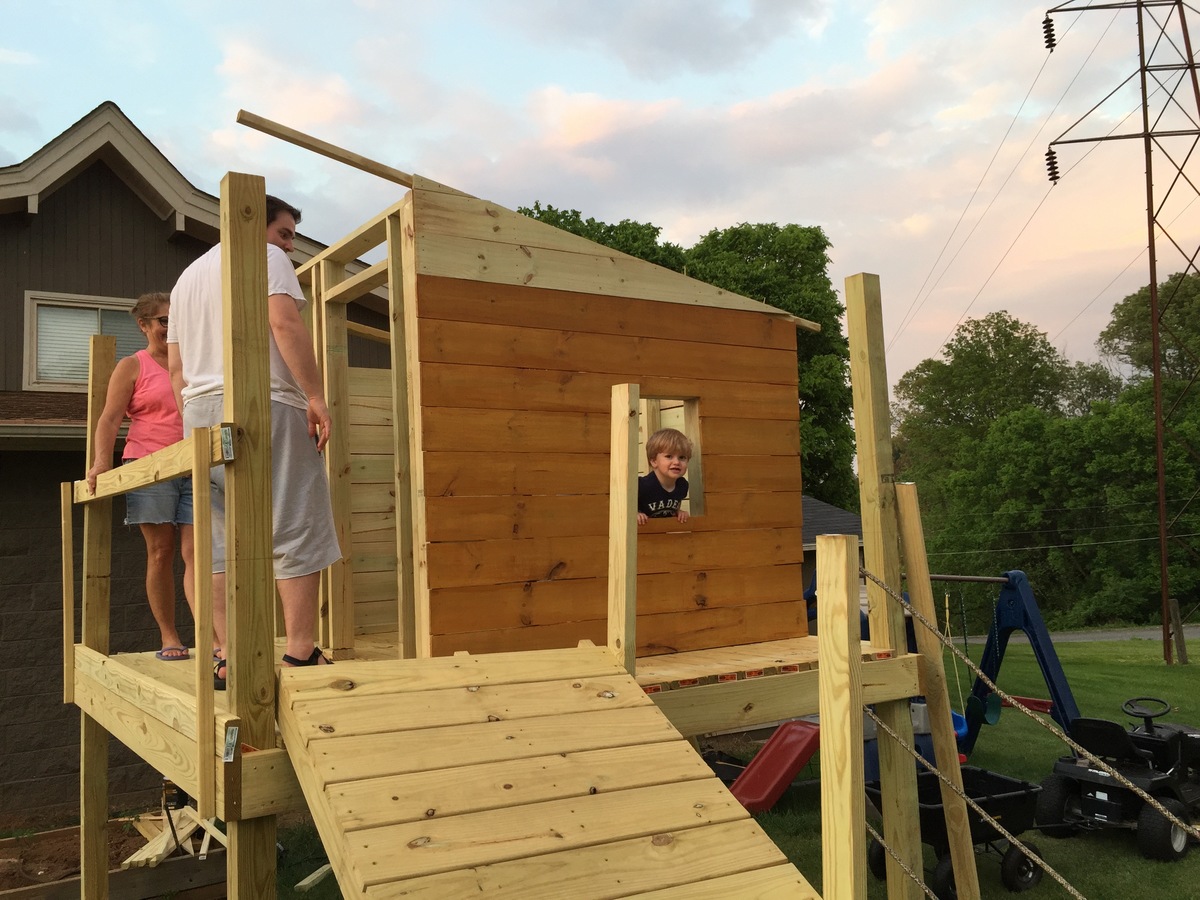
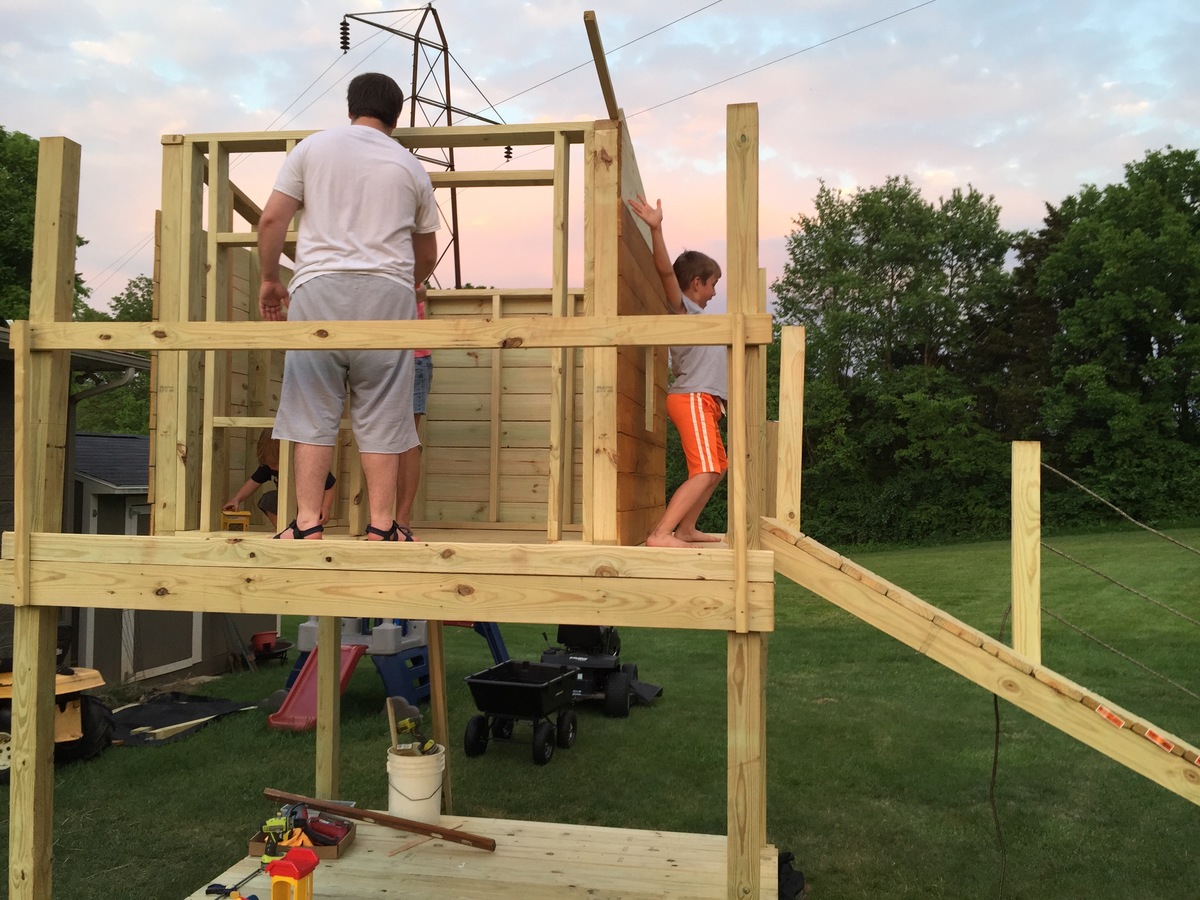
I ended up leaving off the pergola due to an overactive climbing two year old. We are planning on adding some additional decorations as we have ideas. Mailbox and house numbers on on their way.
Built from Plan(s)
Estimated Cost
350-400
Estimated Time Investment
Week Long Project (20 Hours or More)
Finish Used
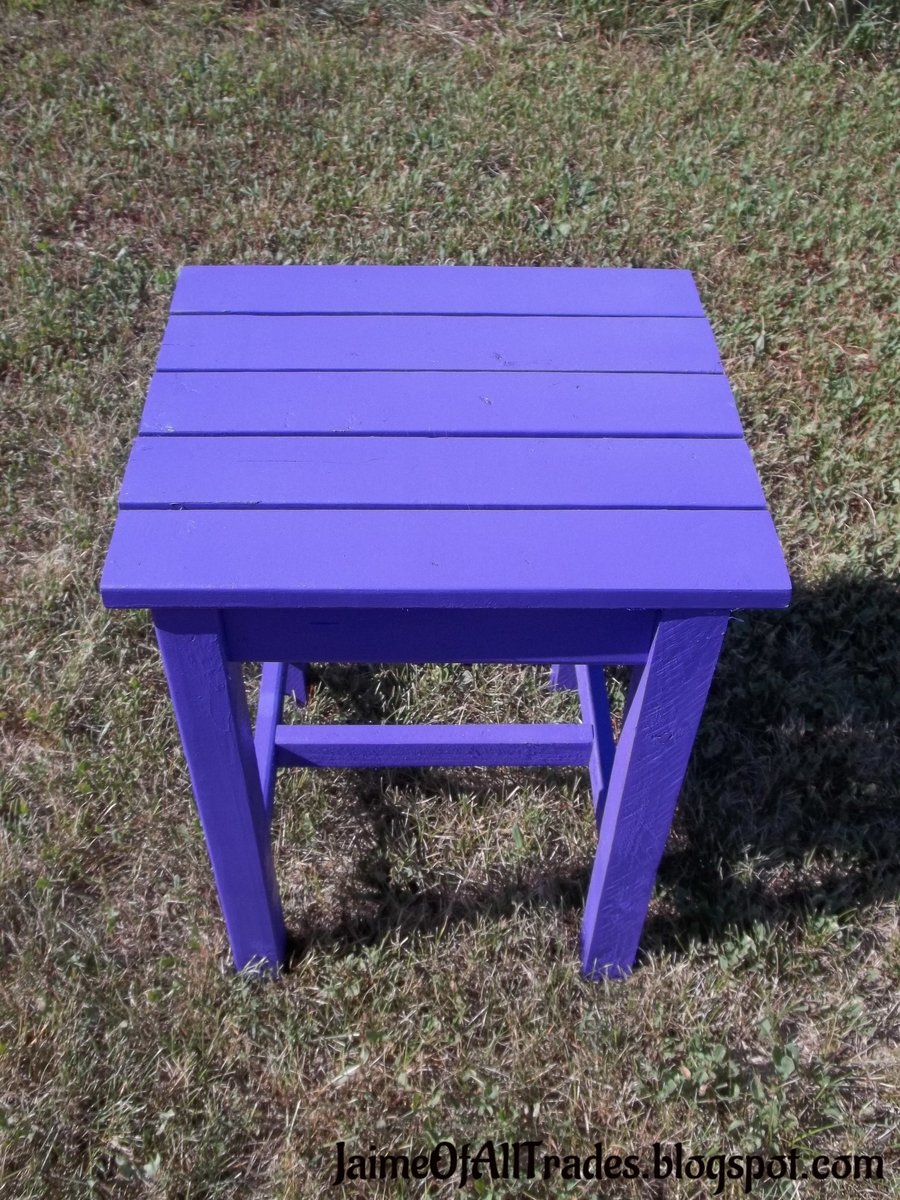
Satin finish paint
Recommended Skill Level
Beginner


Comments
JoanneS
Thu, 07/25/2013 - 16:18
Great craftsman style!
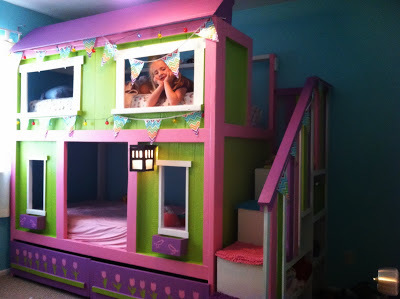
Wow, this looks super! The craftsman details look awesome, and I love the colors!
In reply to Great craftsman style! by JoanneS
Perkelator
Thu, 07/25/2013 - 18:57
Thank you!
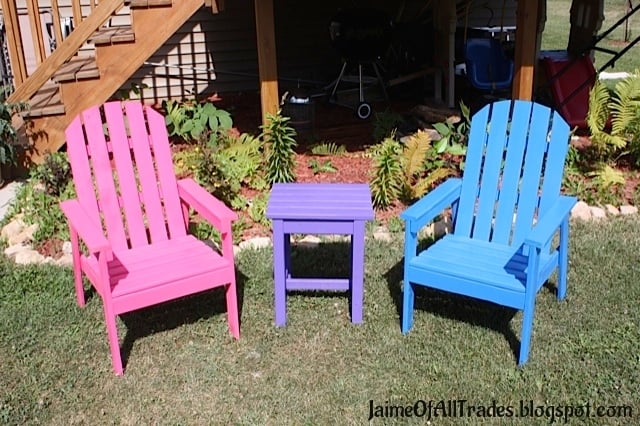
I thought our color scheme might turn out odd, but I love it. I was surprised by how many other things I've seen with these color combinations since we put it together!
birdsandsoap
Fri, 07/26/2013 - 22:24
cute!
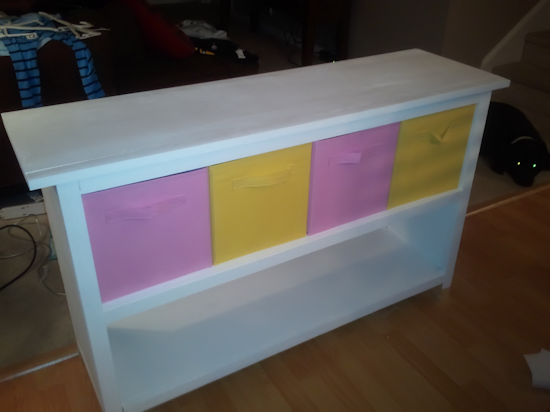
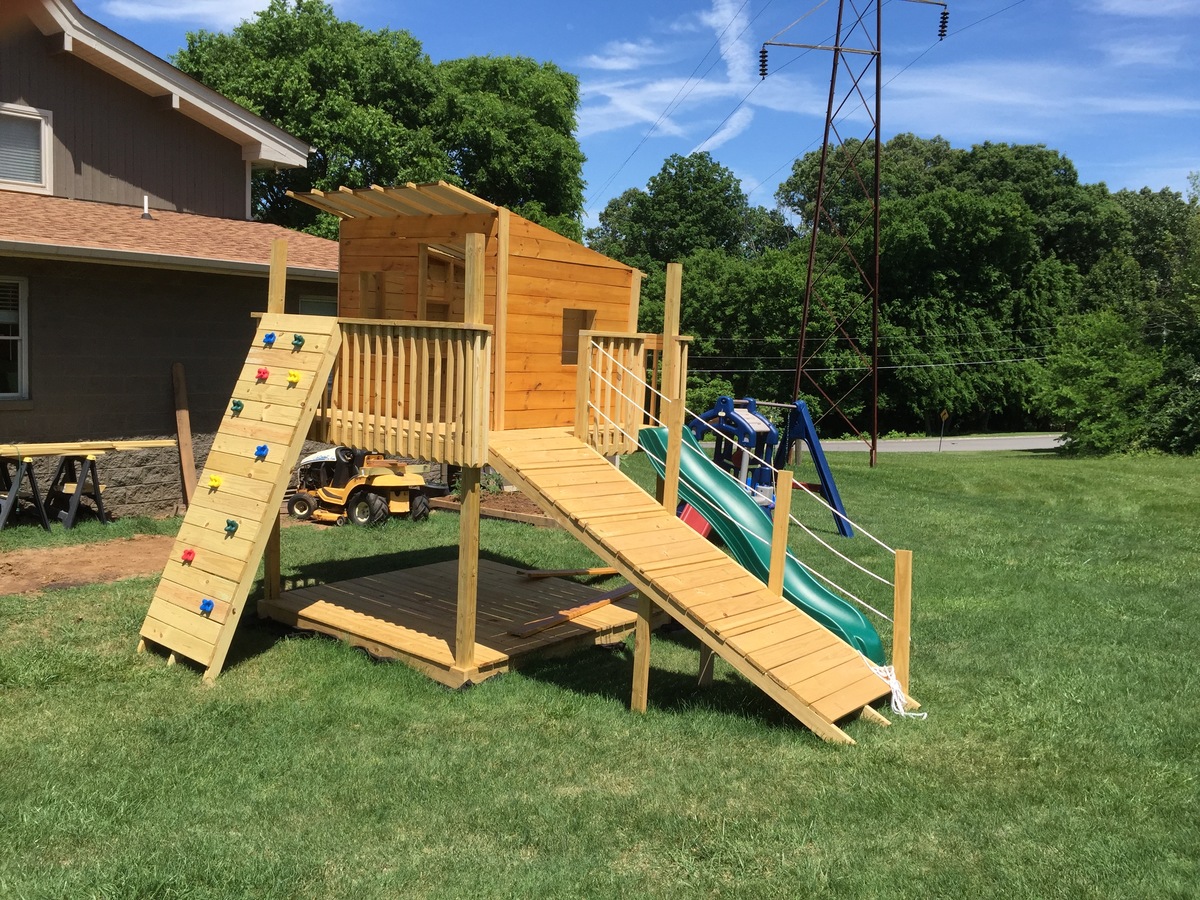
I love the color combo! It looks great without the pergola too. And I love the way you built/painted the flower boxes under the bed. nice job!
birdsandsoap
Fri, 07/26/2013 - 22:26
Oh, and I love the carpet on
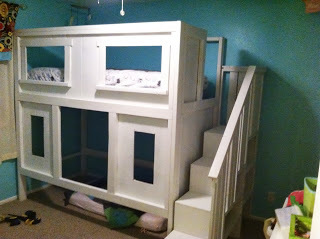
Oh, and I love the carpet on the stairs too! Ours are getting dirty and thrashed, it's just what we need.
In reply to Oh, and I love the carpet on by birdsandsoap
Perkelator
Fri, 07/26/2013 - 23:37
Thank you so much!
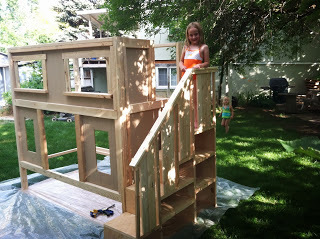
I can't tell you how great your plans are! I am so impressed by all the details you put into it. I changed some things (like paneling instead of the charming 1X3's and 1X4's, and leaving the back open) but I was so impressed by how everything came together--especially the stairs. You did a fantastic job.