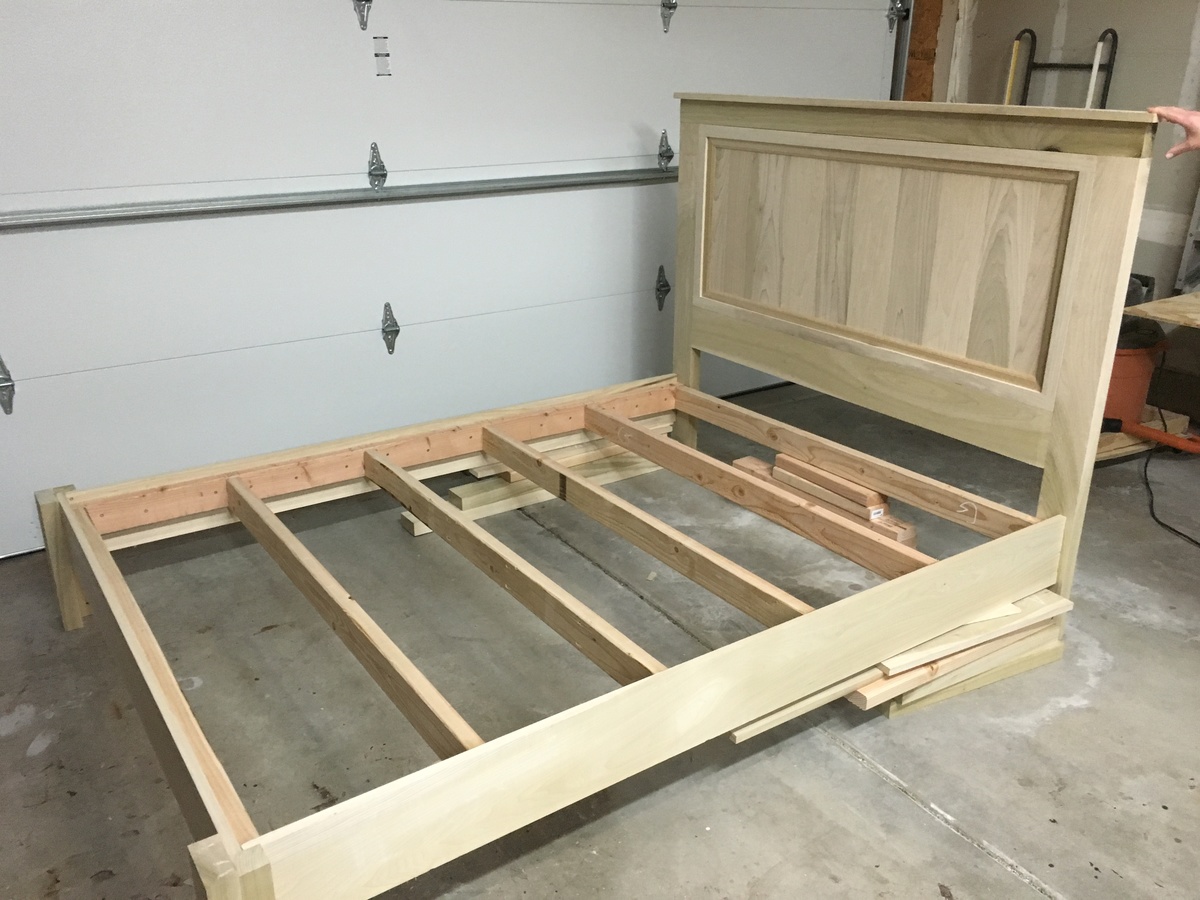
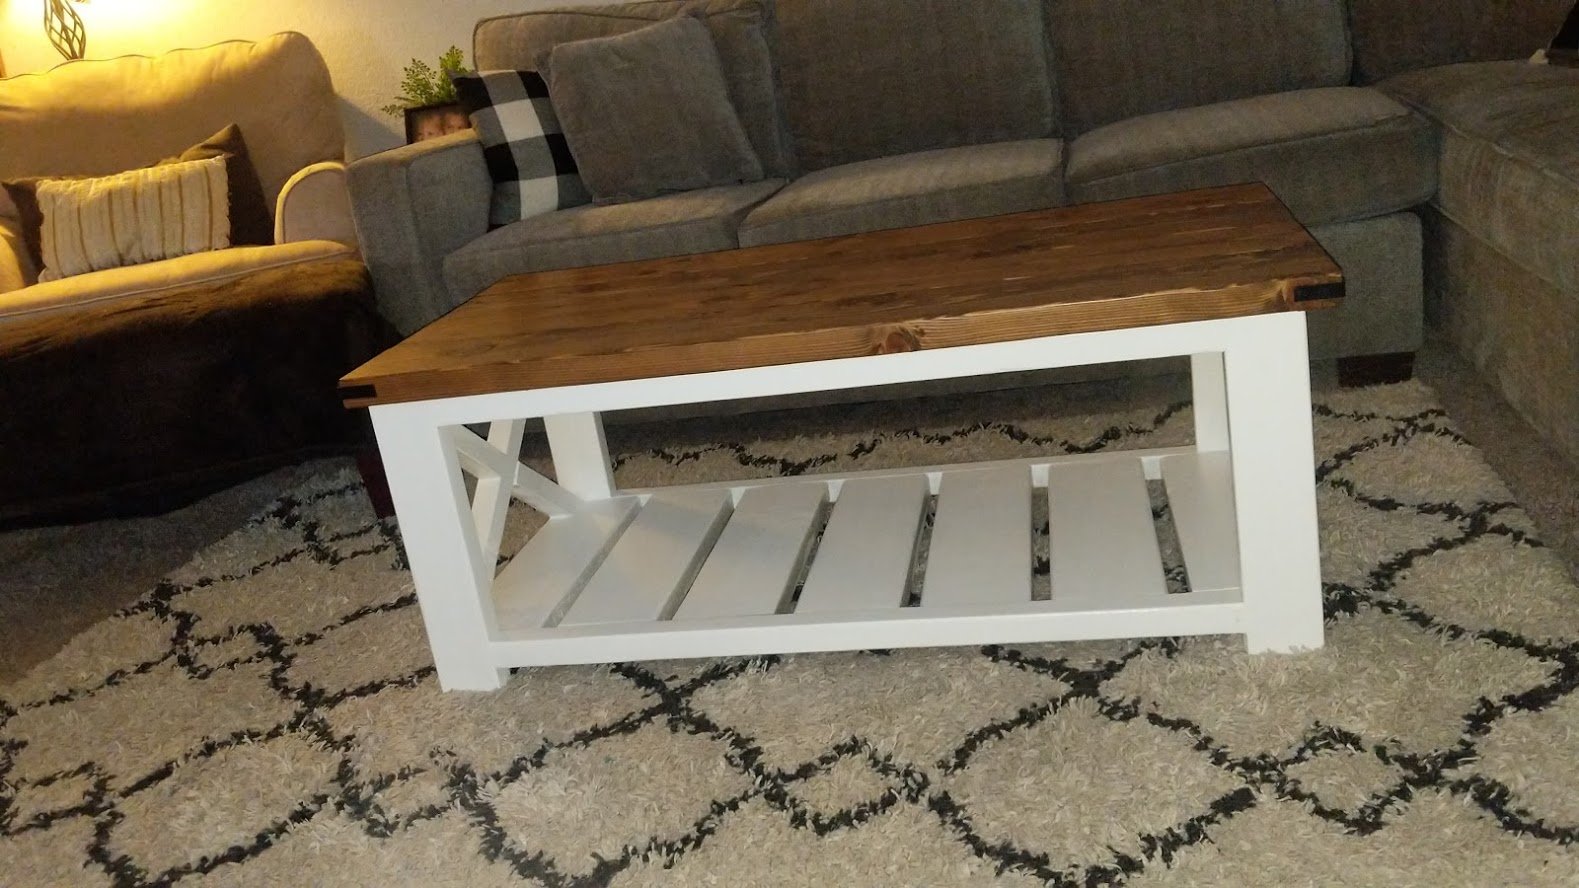
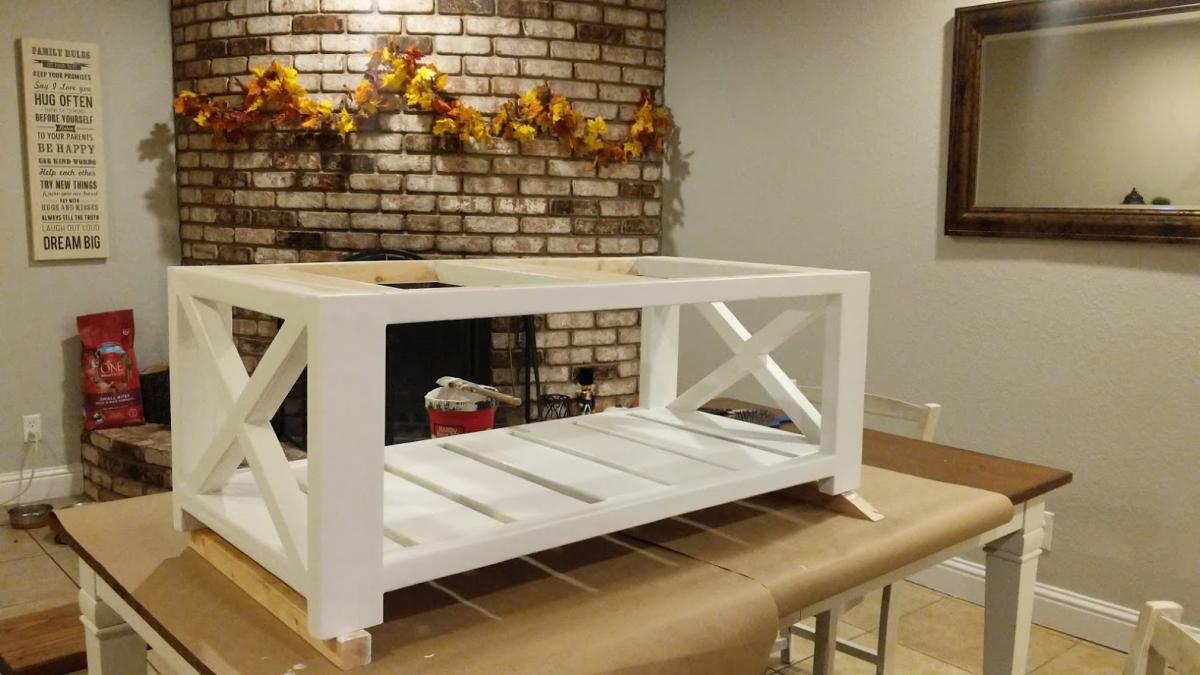
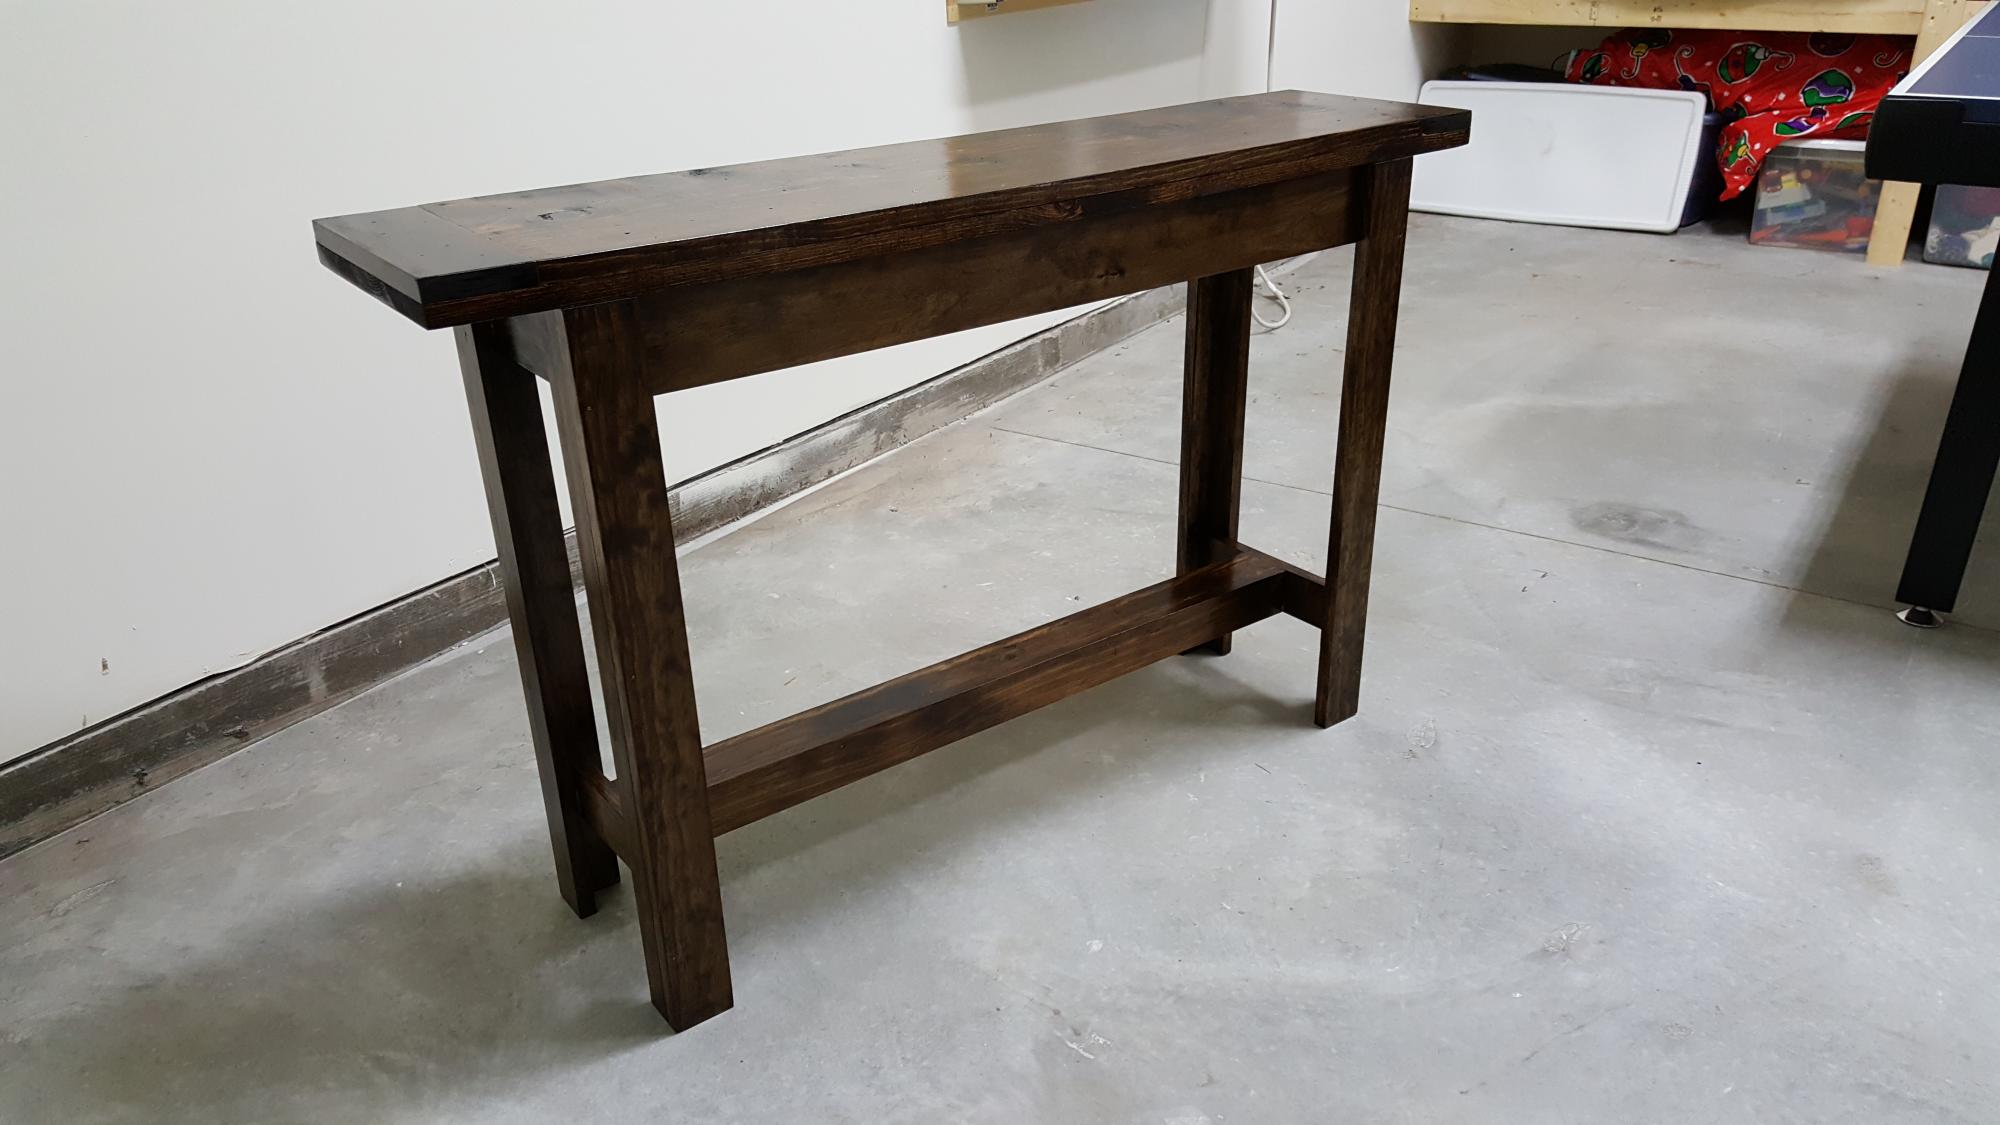
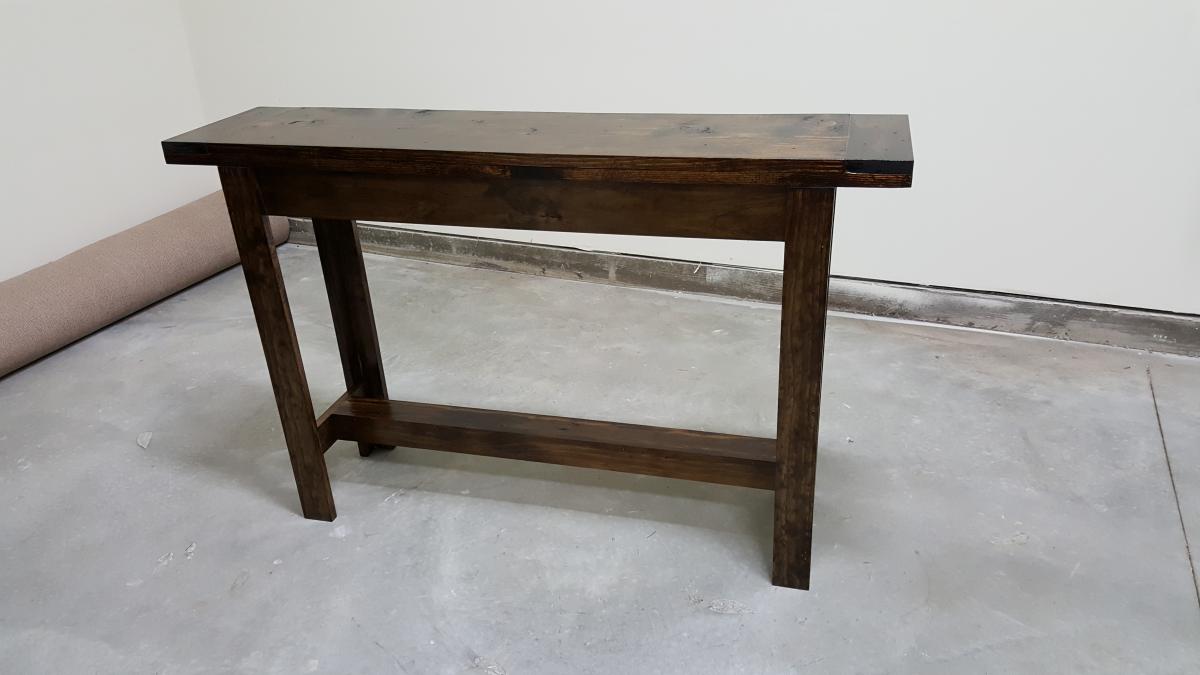
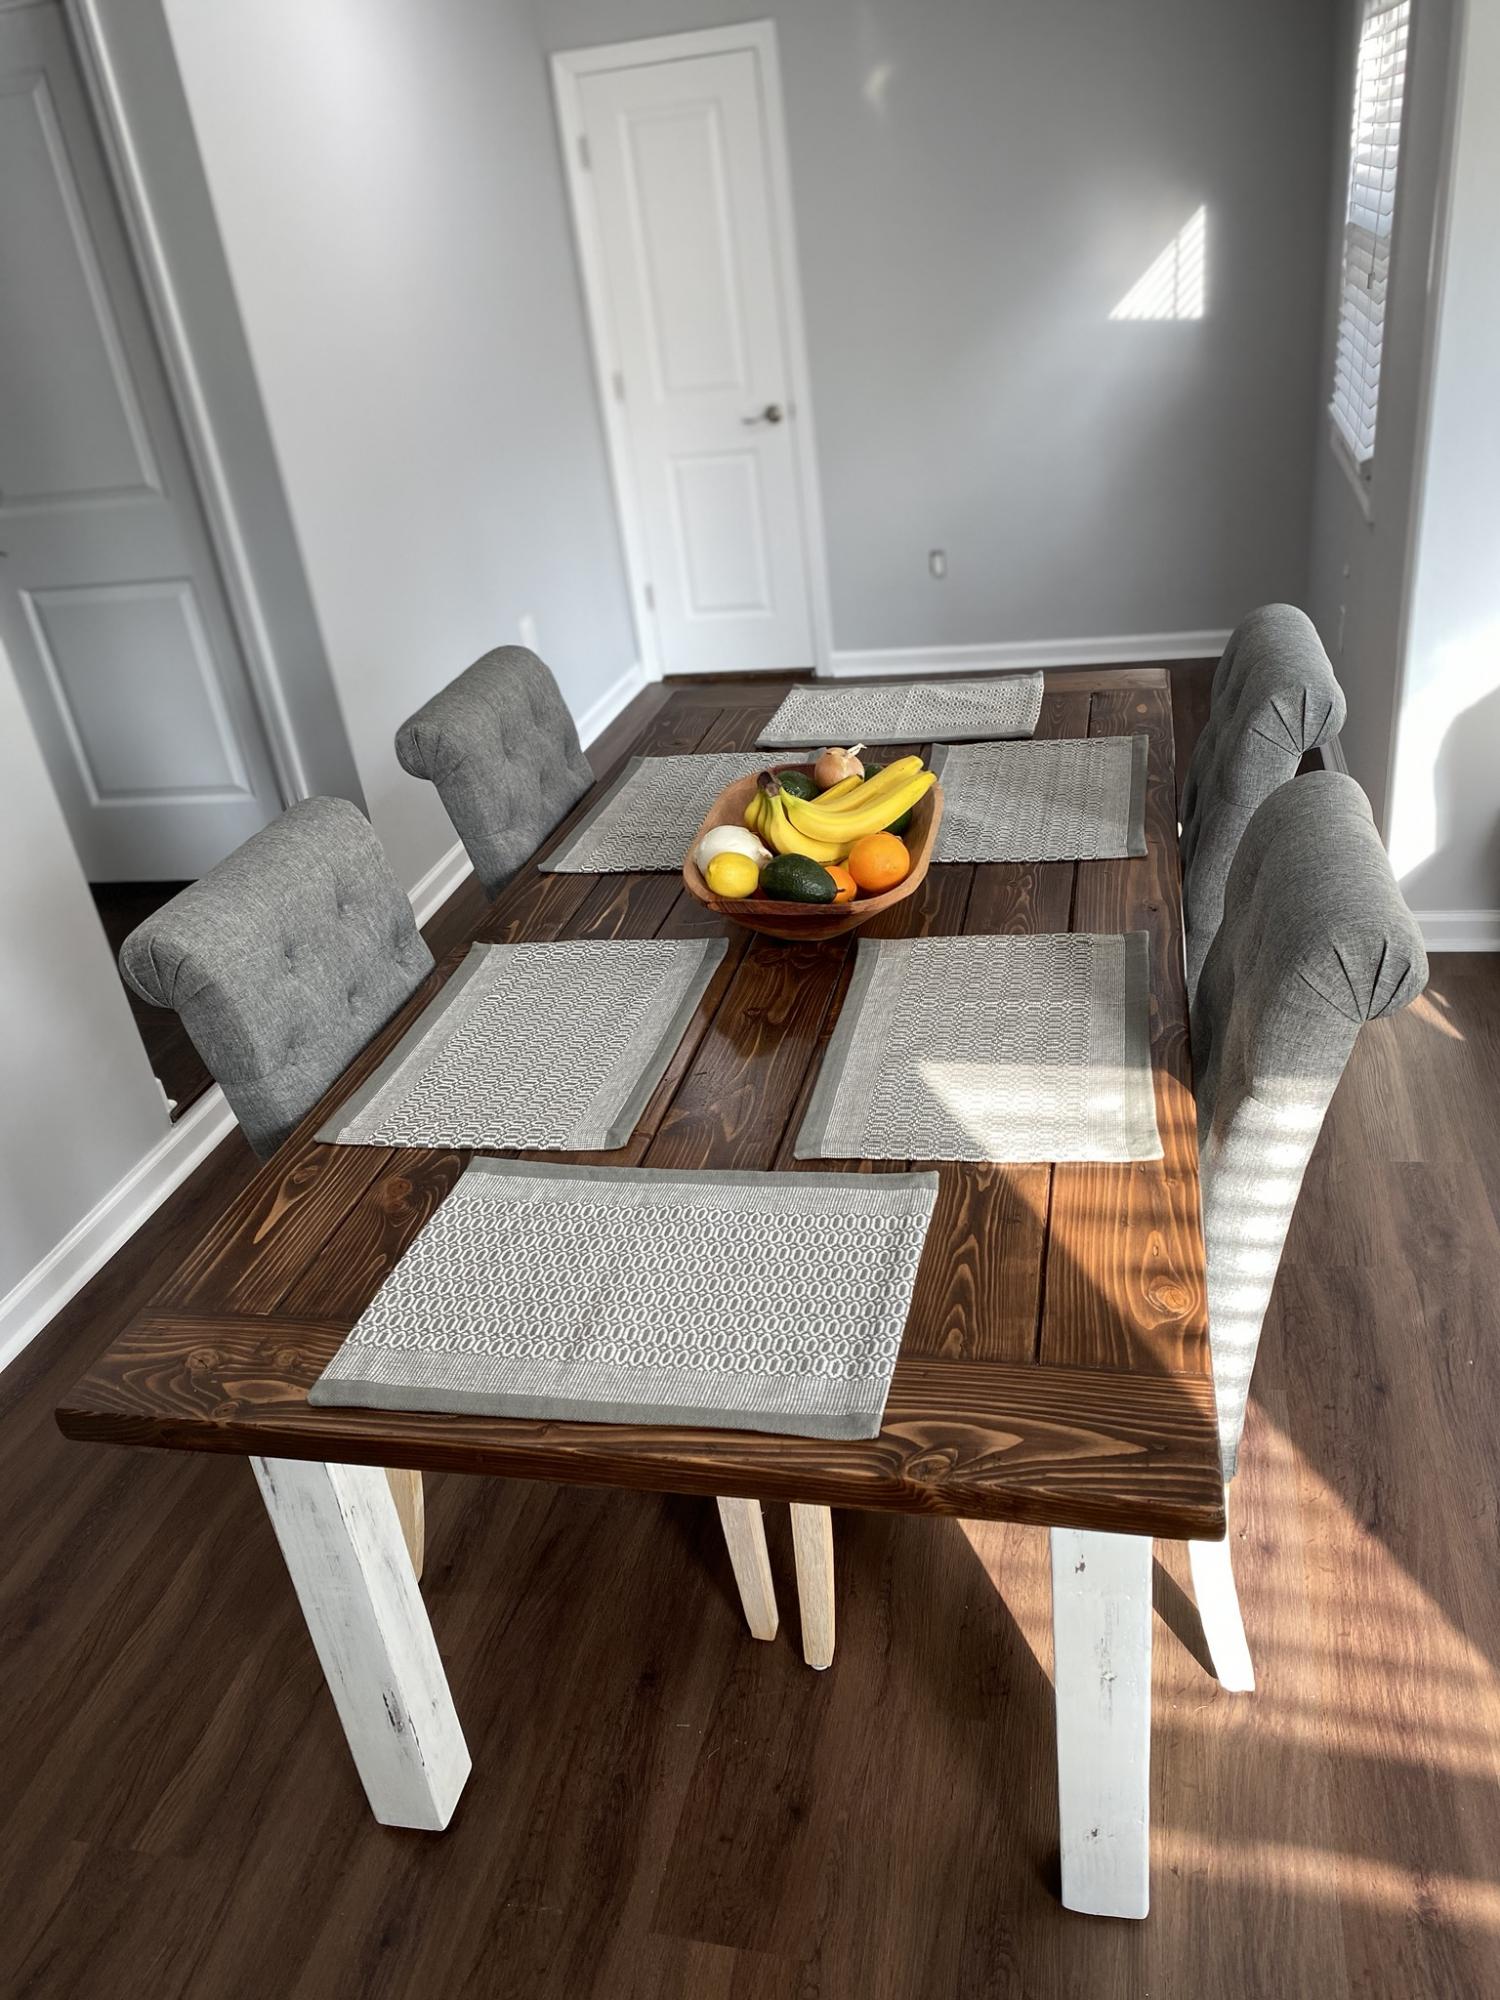
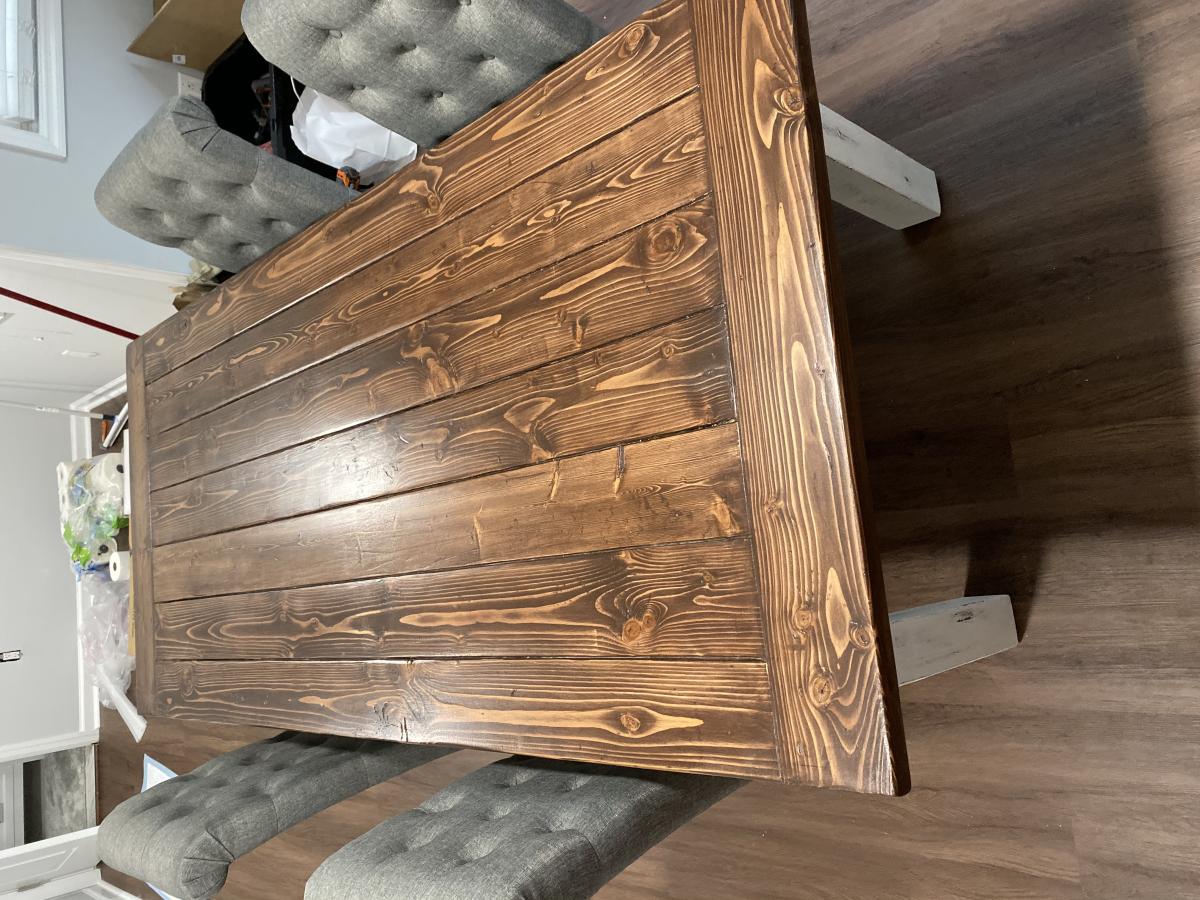
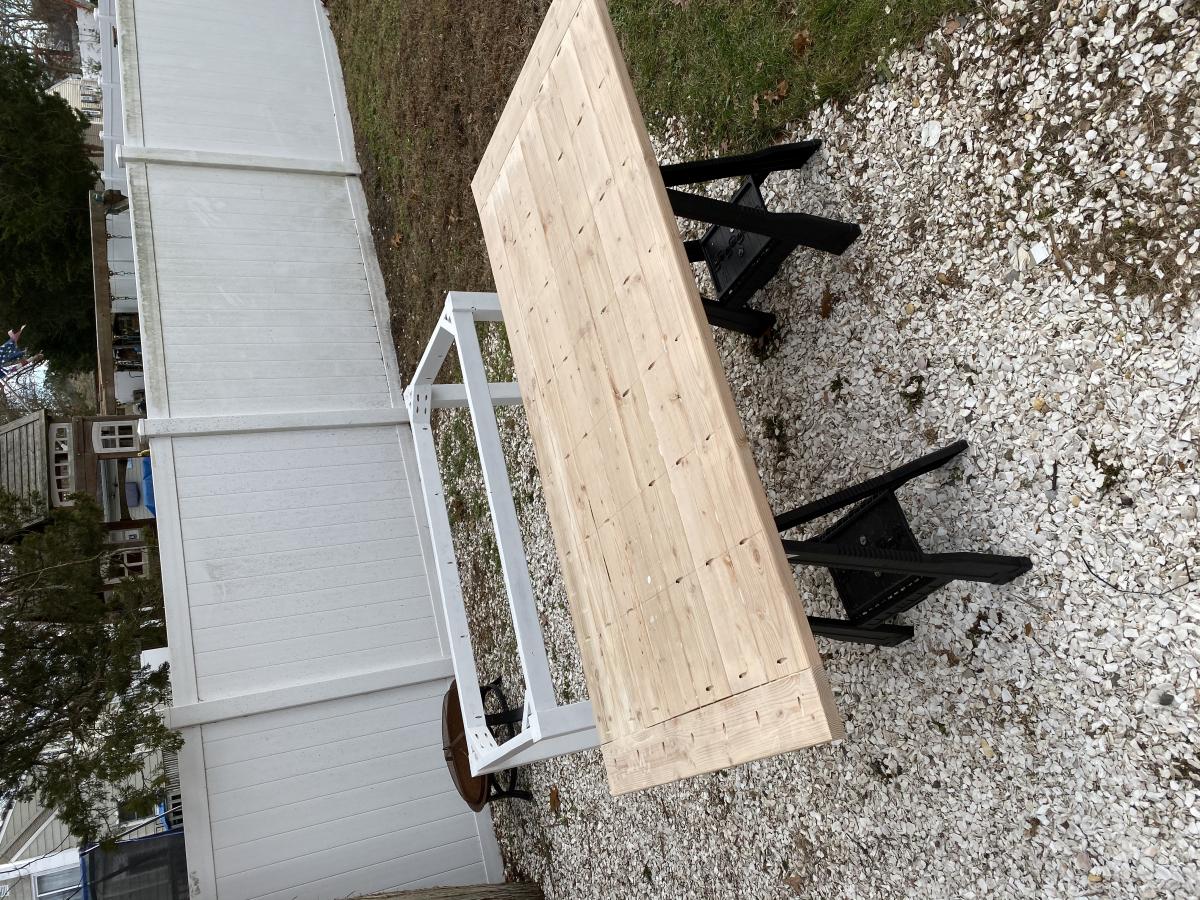
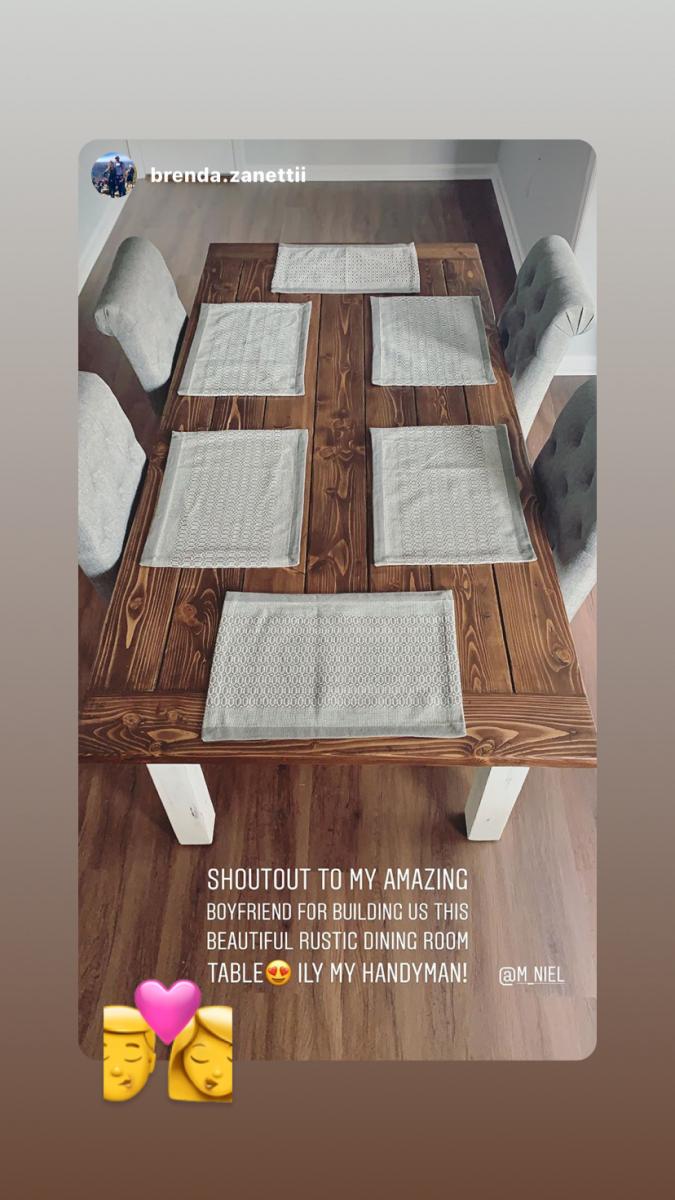
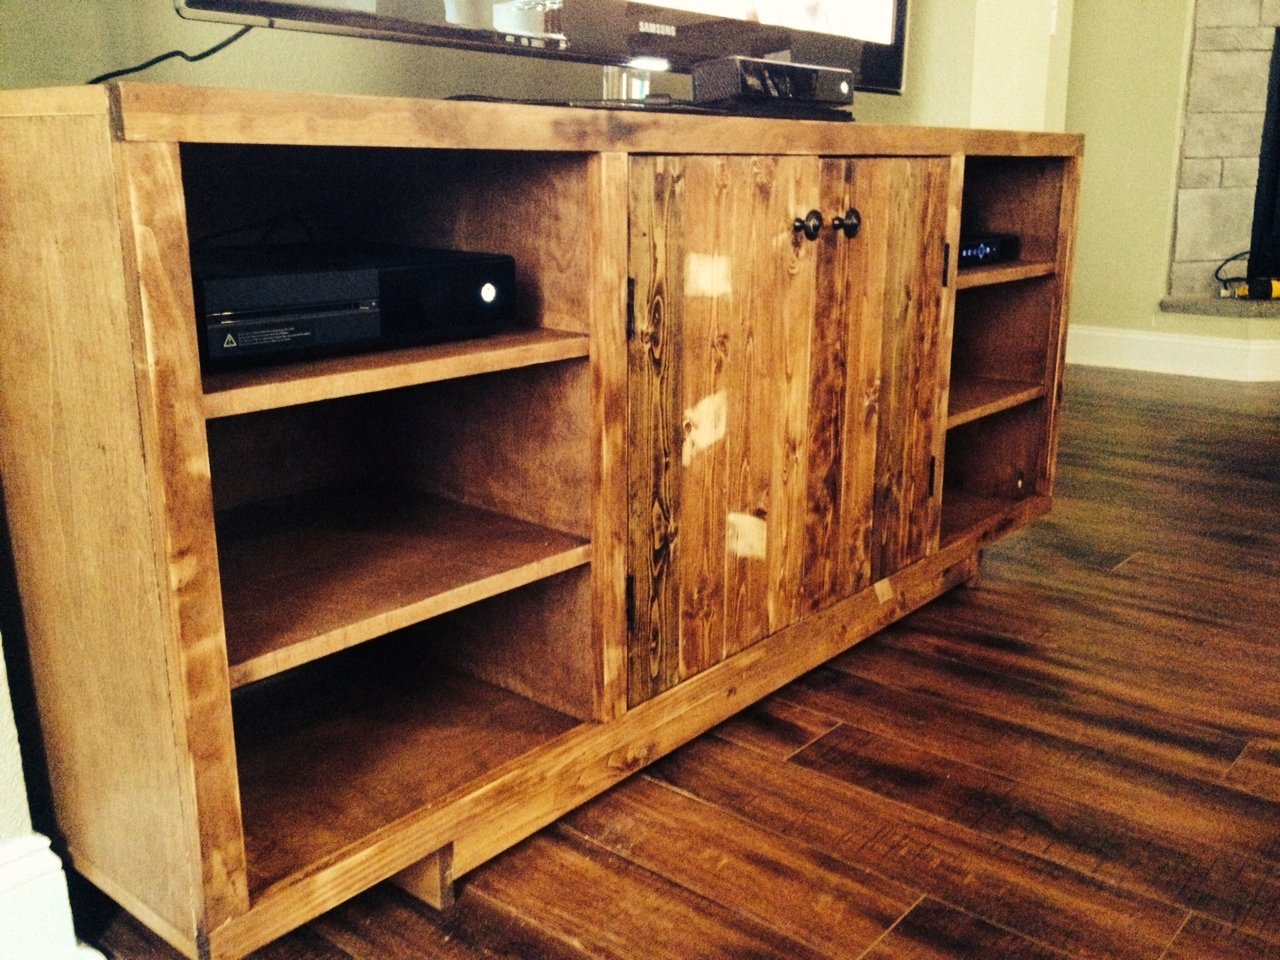
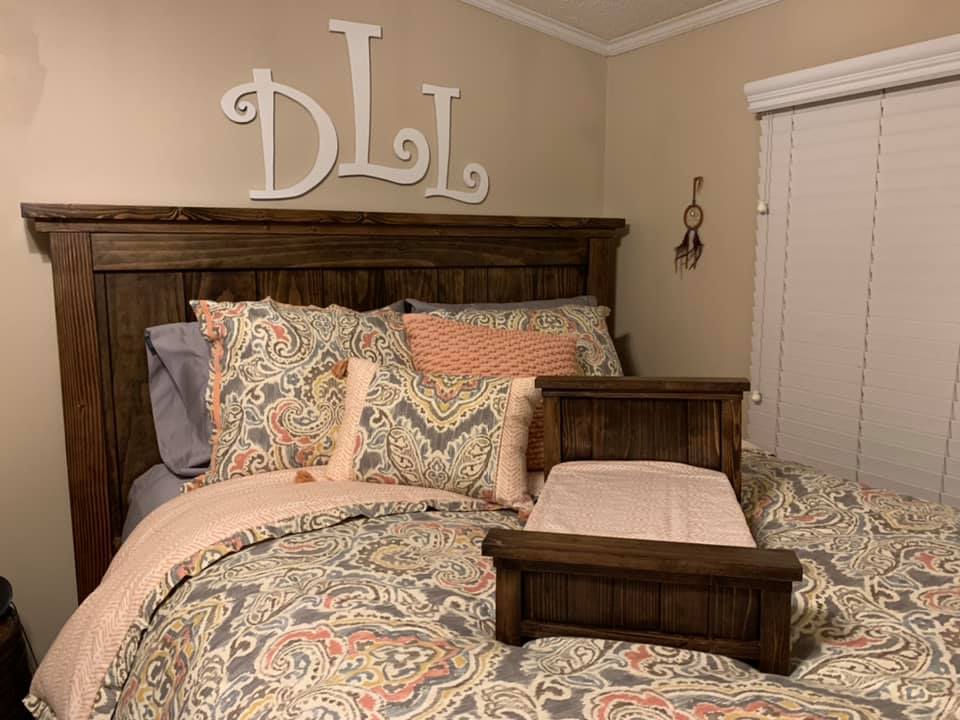
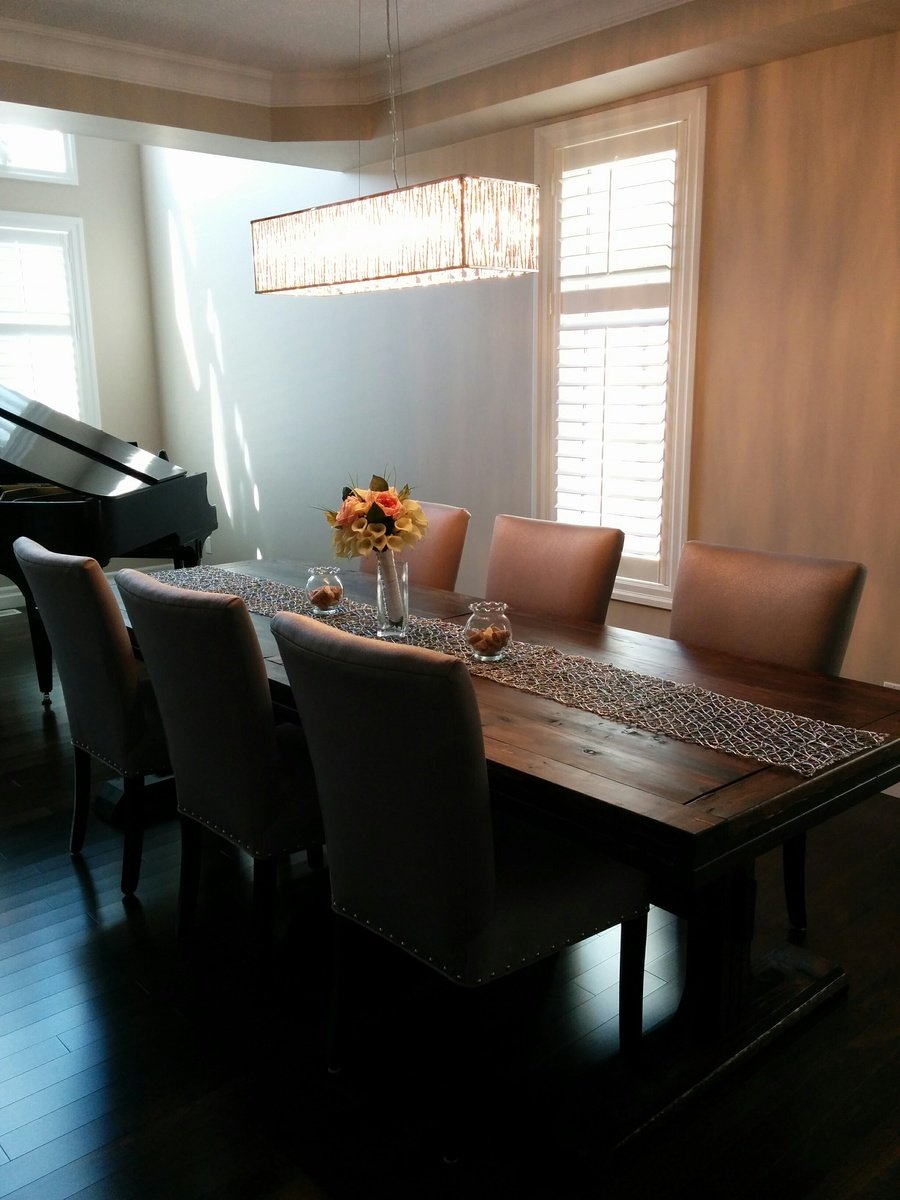
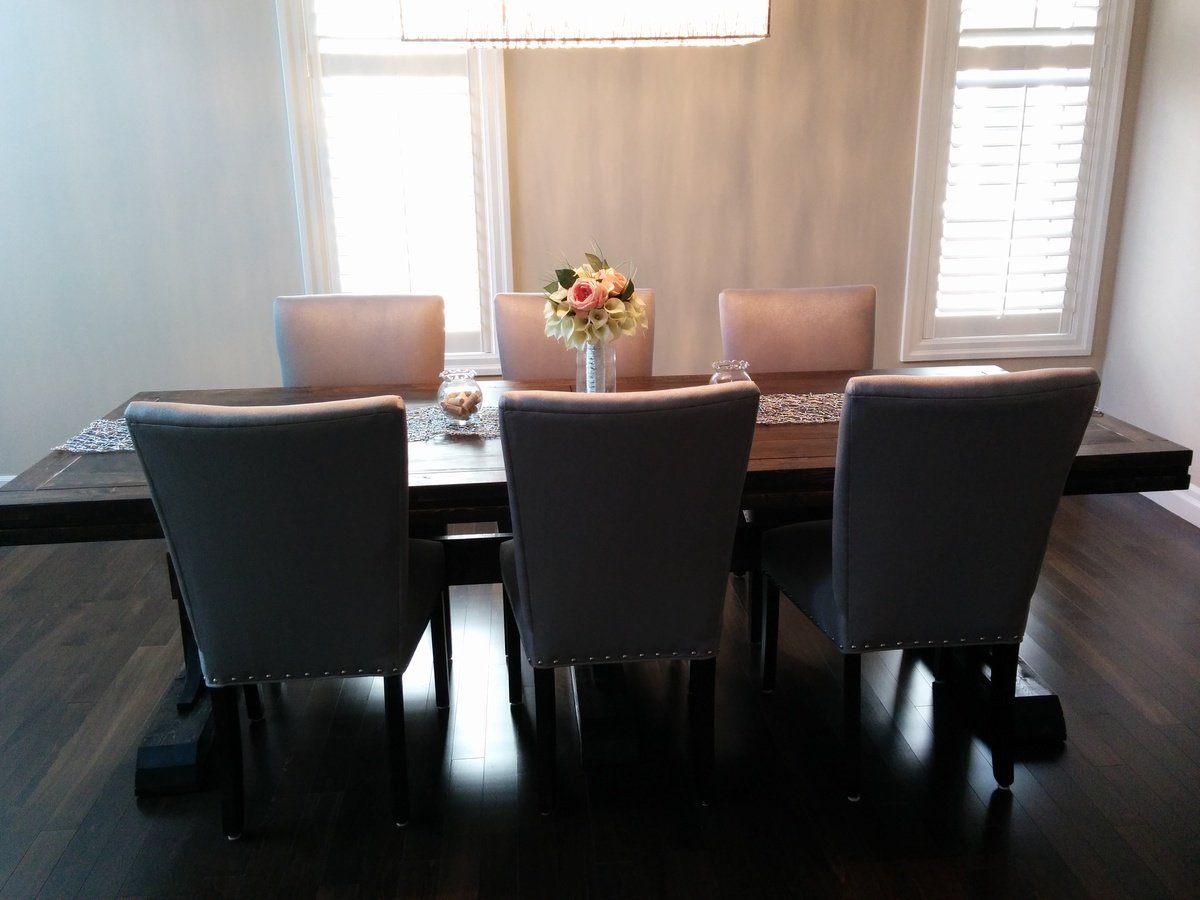
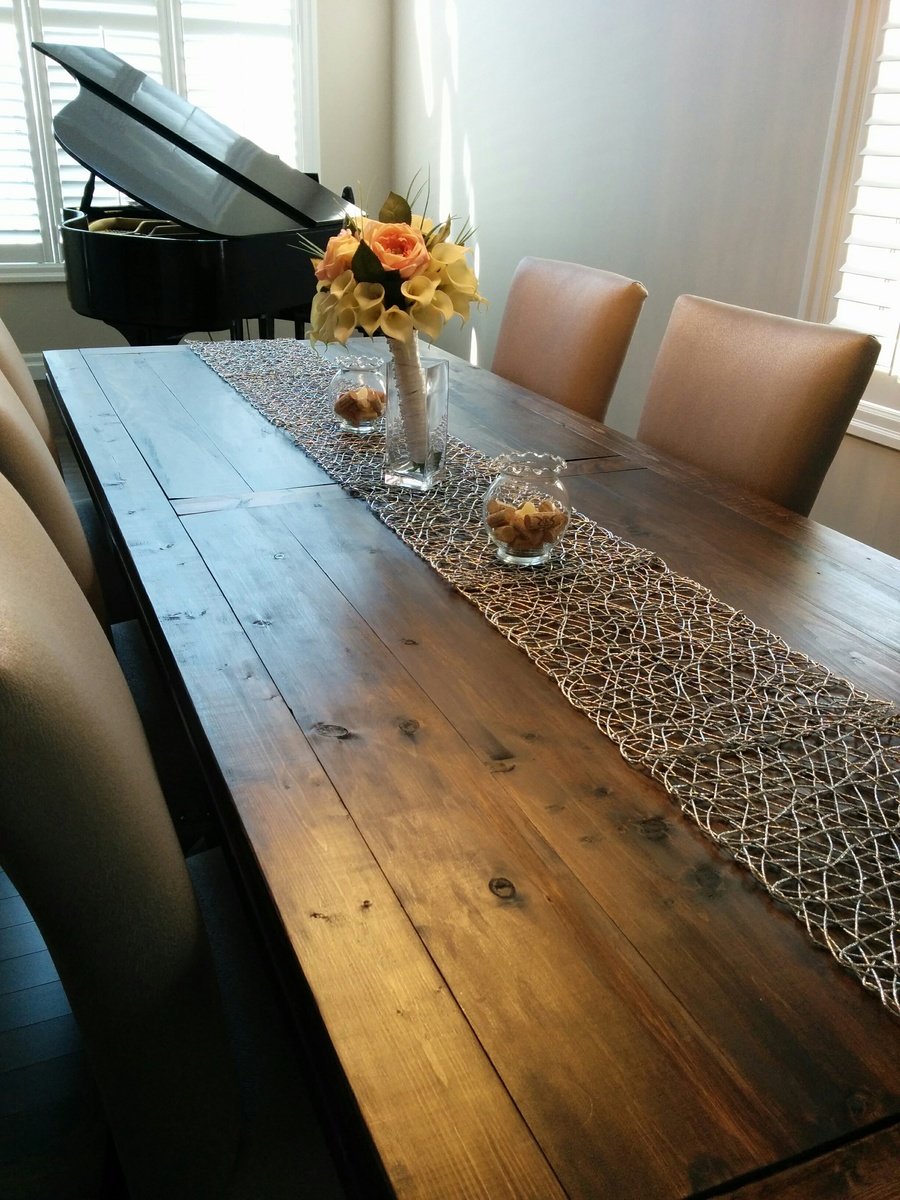
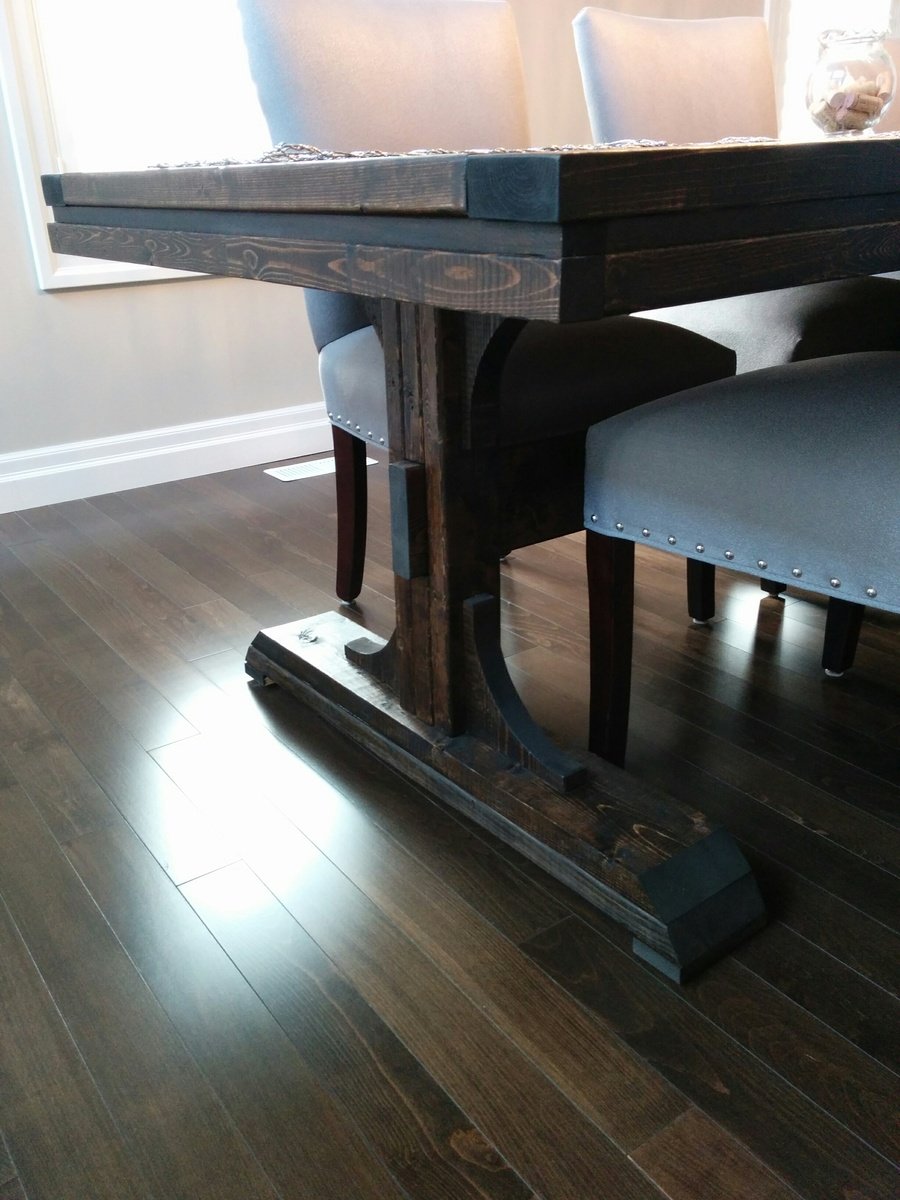
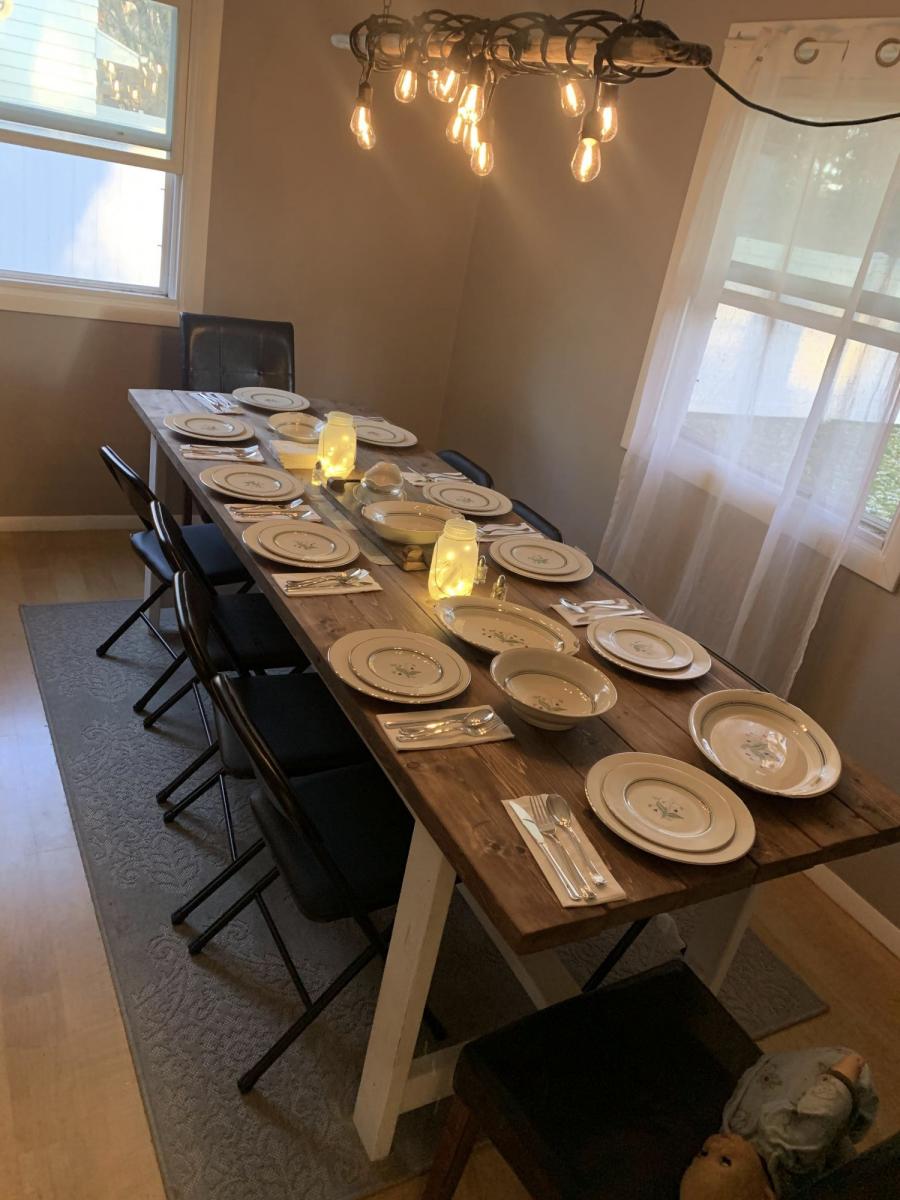
Super easy farmhouse dining table !
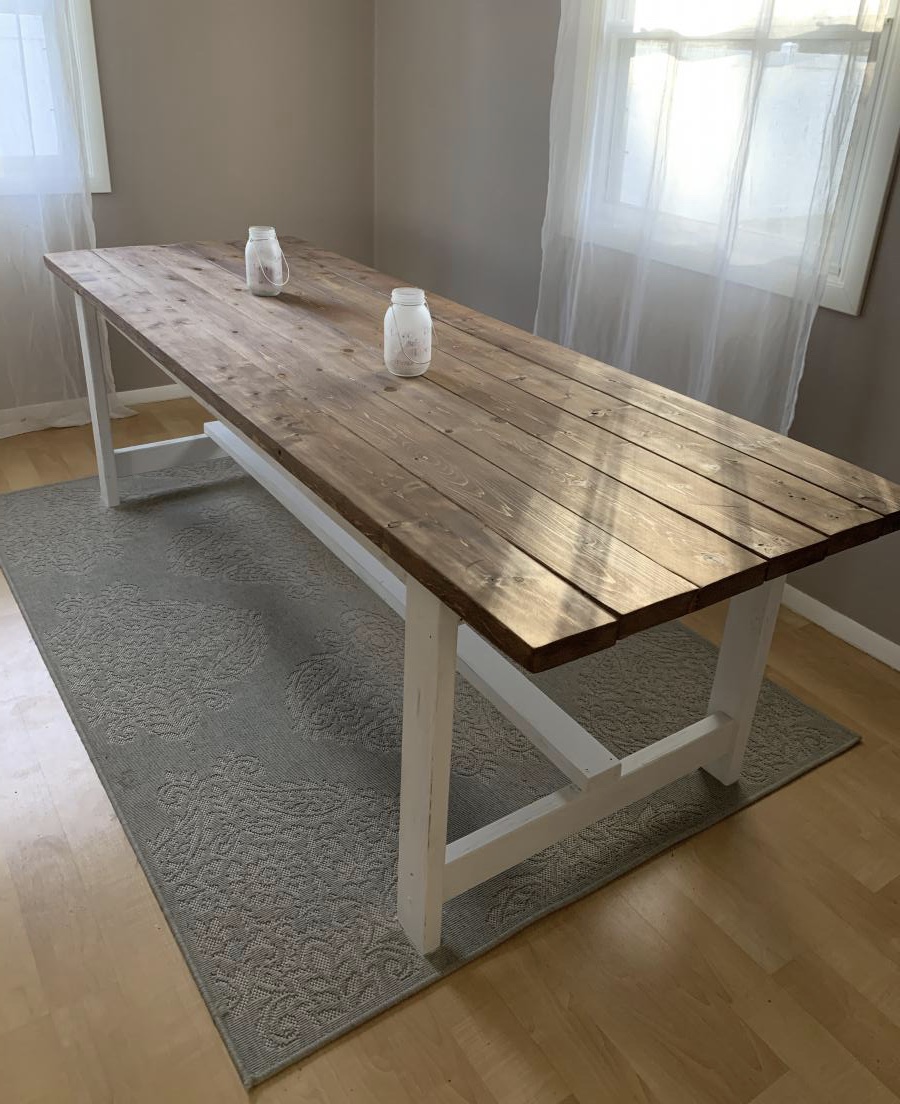
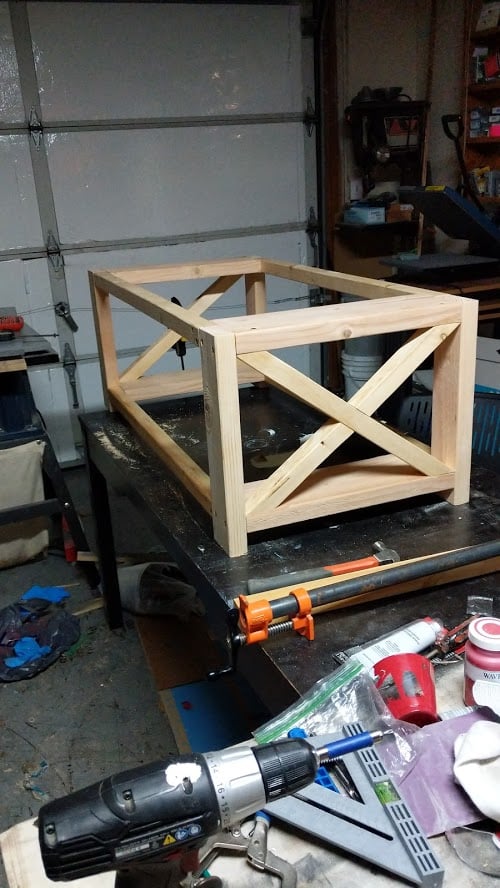
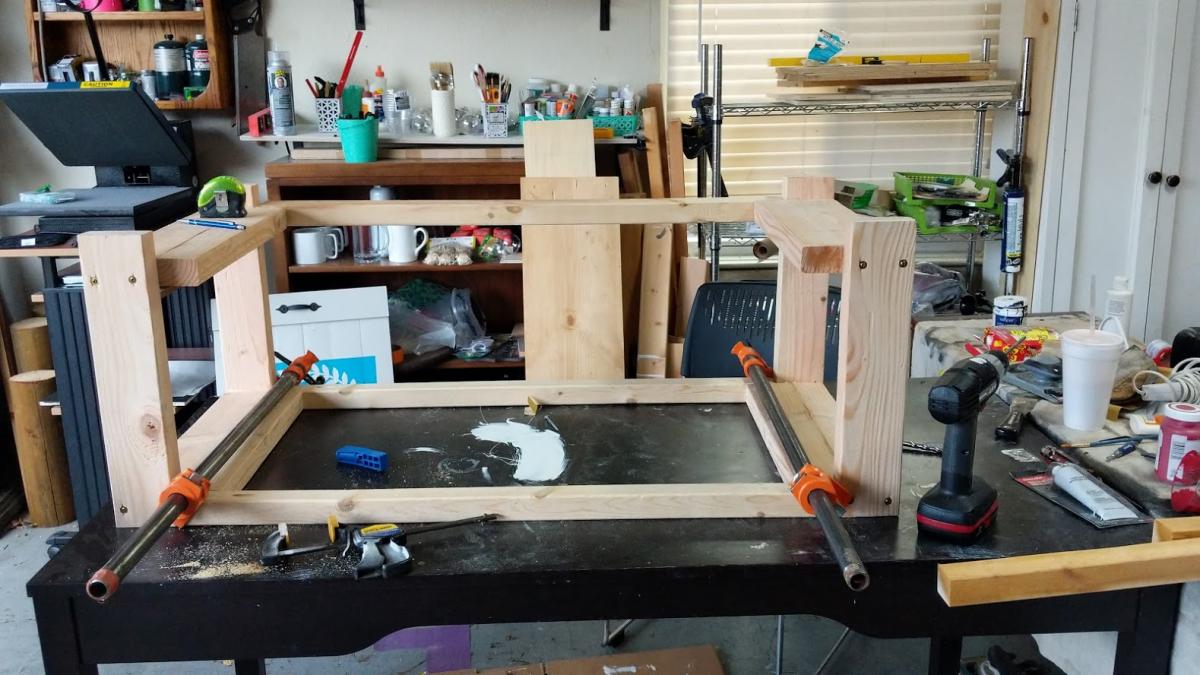
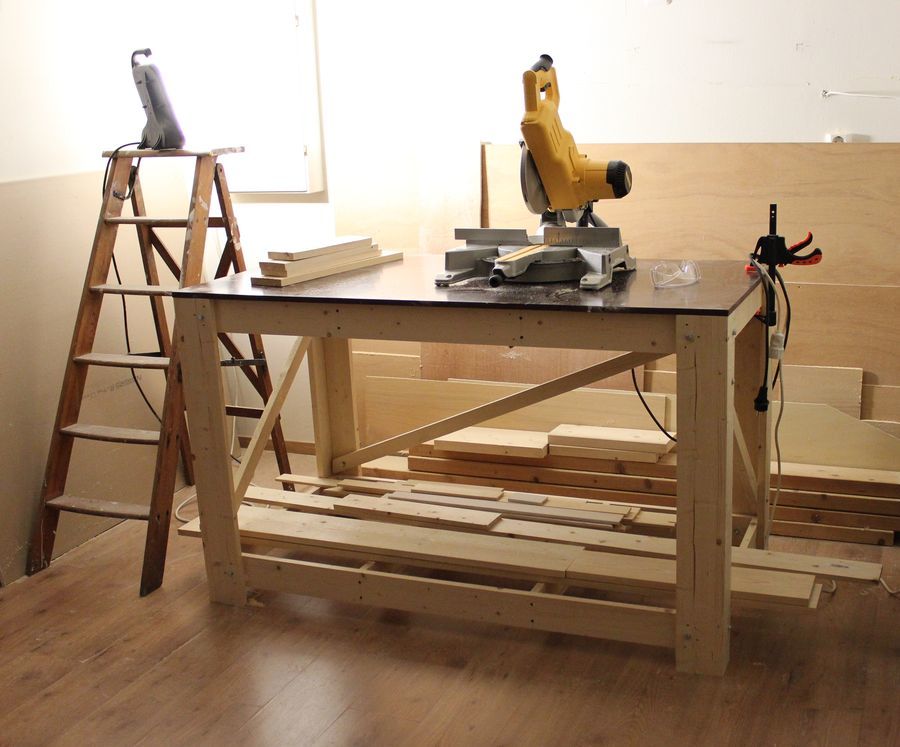
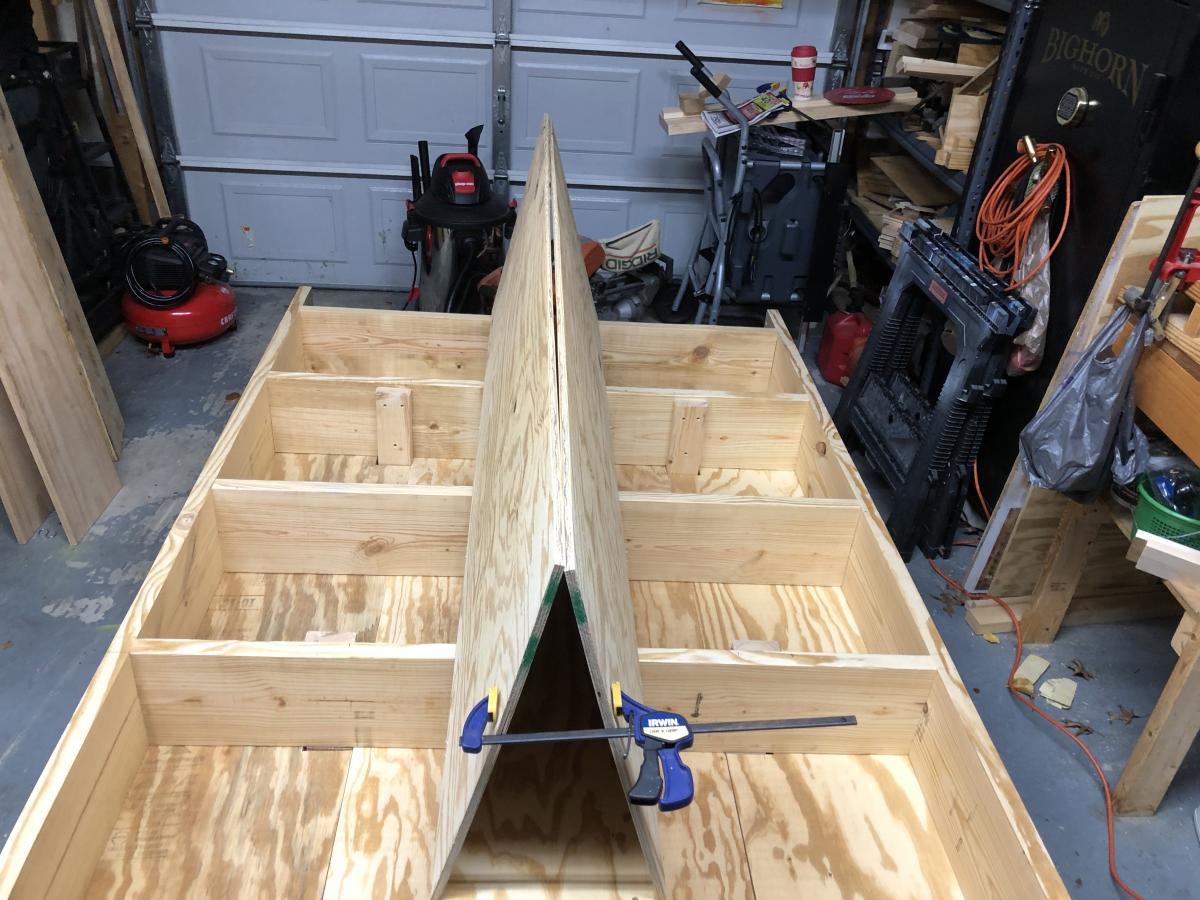
This was our first project like this .. was last minute cost about $64 with lumber and screws , we already had the stain and paint .. only took 2 days ! I’m so happy !!! The only thing different I would do is put pocket holes in which we might add . Perfect project for a beginner !
Built from Plan(s)
Estimated Cost
$64
Estimated Time Investment
Weekend Project (10-20 Hours)
Finish Used
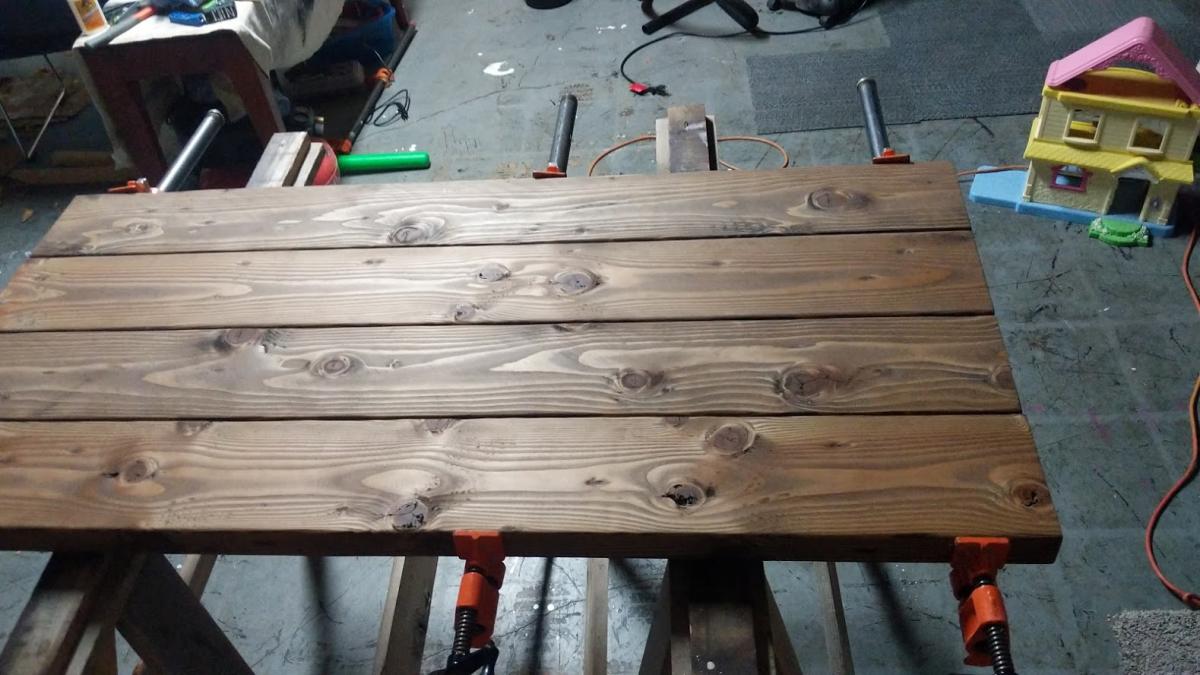
We didn’t use any finish yet as we are still deciding lol
Recommended Skill Level
Beginner