Counter-Height Stool
![](/sites/default/files/stool_6.jpg)
I made these stools to use with my counter-height dining table. The only modification I made to the original plans were I did not use the diagonal support and I used 2x6s to make the seat for the stool.
We slightly modified the grandy console plans and did a different door style per the customer request and also added a 1 1/2" x 2" toe kick with a door guide. Console measures 66" long x 16" deep x 36" high.
Had the hubby make this! Nice project. Thanks for sharing the plans
I saw this project on this site and thought it would be a great item to build and to store my kids art supplies. The 8 cubbies are perfect for glue sticks, pens, crayons, and scissors.
This was my first real build and it was a lot of fun. My girlfriend helped me out from time to time even though it was brutally cold in my un-heated, uninsulated, detatched garage.
We used a sagey green for the paint and 2 coats of gloss poly on the top. Added holes in the back with a hole saw for wires and cables. I stacked the false fronts and drilled them for the knobs all at the same time for consistency.
All in for about $210 including $40 in knobs, but I did make the drawers out of some scrap I had laying around.
The pocket hole joinery makes this pretty easy, but I'd highly recommend a table saw for consistent cuts and deminsions. Also, definitely use lay out lines and double check for squareness before driving the screws during assembly. Take your time, and enjoy the process. It starts to look very much "diy" in that not good "ummmmmm..." kind of way before the end where it all comes together.
Added an L section to the Fancy Desk to increase usable space So far it still stands strong for me. Thanks Ana
Well my wife bought 2 x 17” square seat cushions the problem was we didn’t have any stools to put them on so decided to enhance our front seating patio area with 2 solid 2x4 side tables that would double up as stools.
I based the design on Ana’s table design but decided to counter sink all the screws & cut plugs to suit so no screw heads could be seen, they turned out perfect & very robust, perfect for the U.K. weather, my wife finished them in grey outdoor paint to match the furniture, all in all they took only around 6hrs to make & paint.
Built this for my daughter this past Christmas, she was 15mo then and not too enthusiastic about being in the tower. Now at nearly 20mo she demands her "towah" when it's time to "wash a hans" and she doesn't mind being plopped in it while we do things in the kitchen (as long as its not for TOO long...) We're looking forward to many years of use out of the tower, thanks for the plans! This was my first project with the Kreg pocket screw jig, really liked it and wished I'd had it for some of my past projects.
My first brag post!
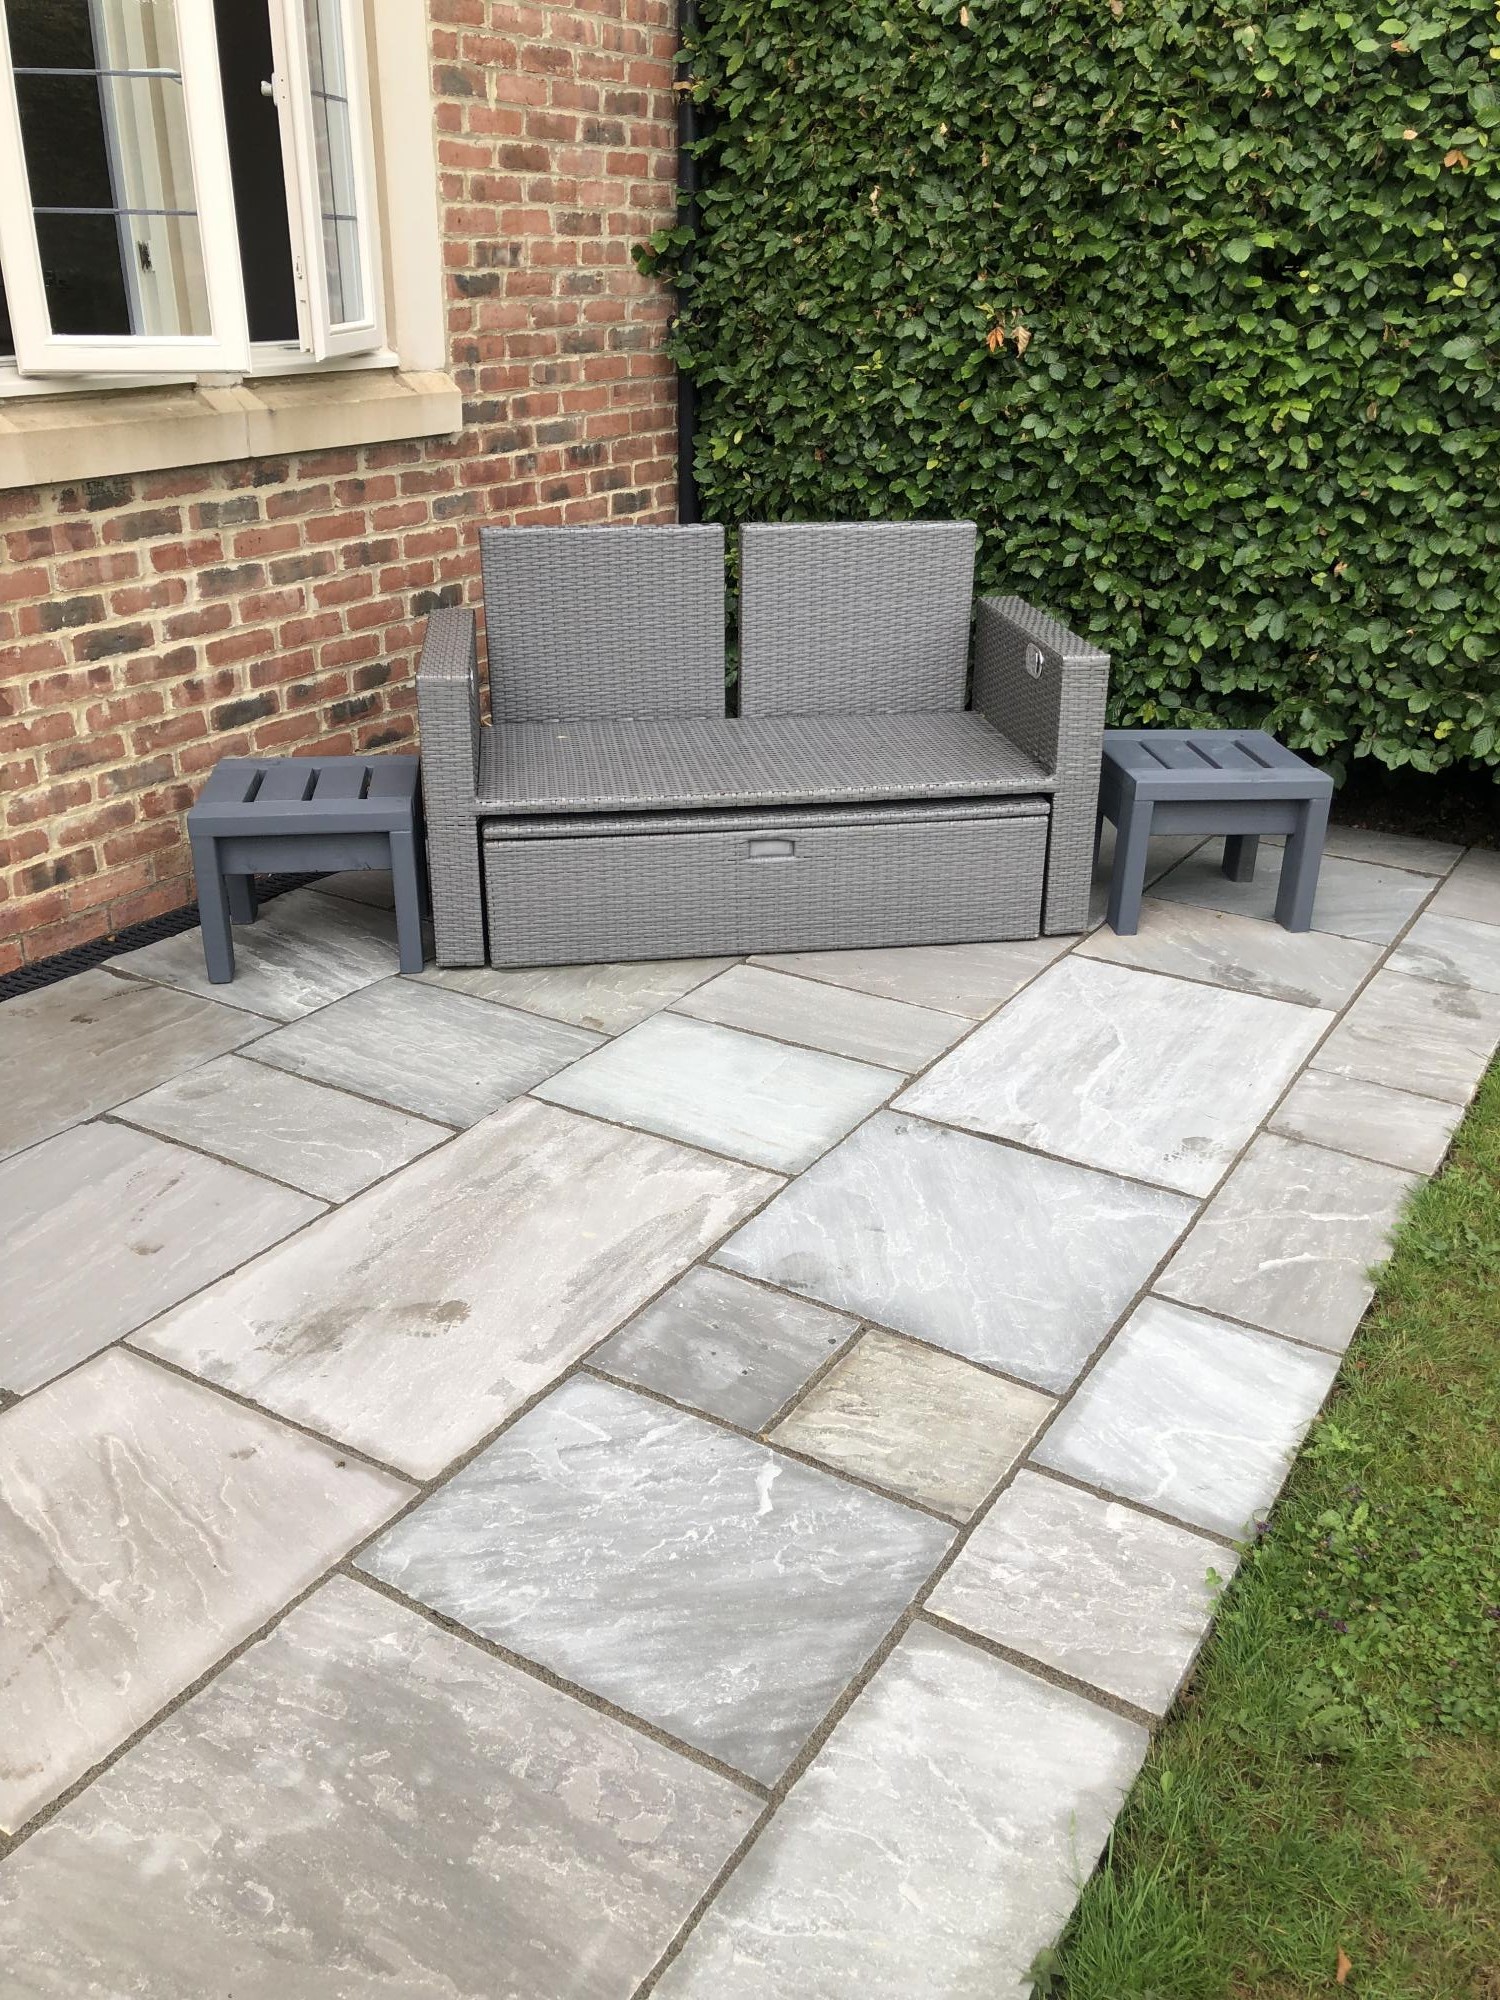
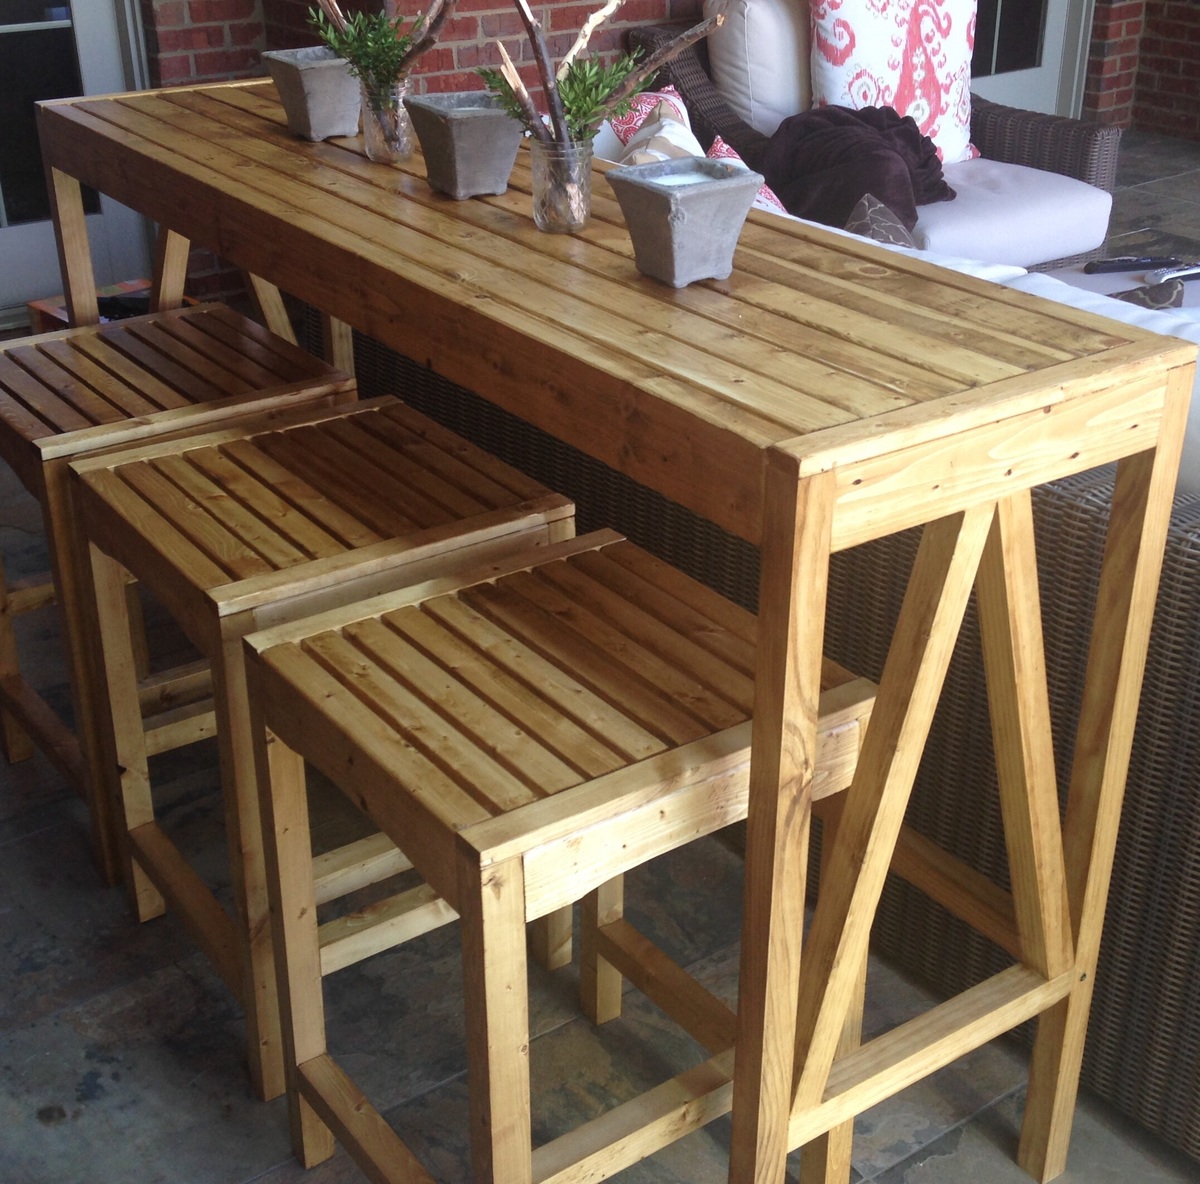
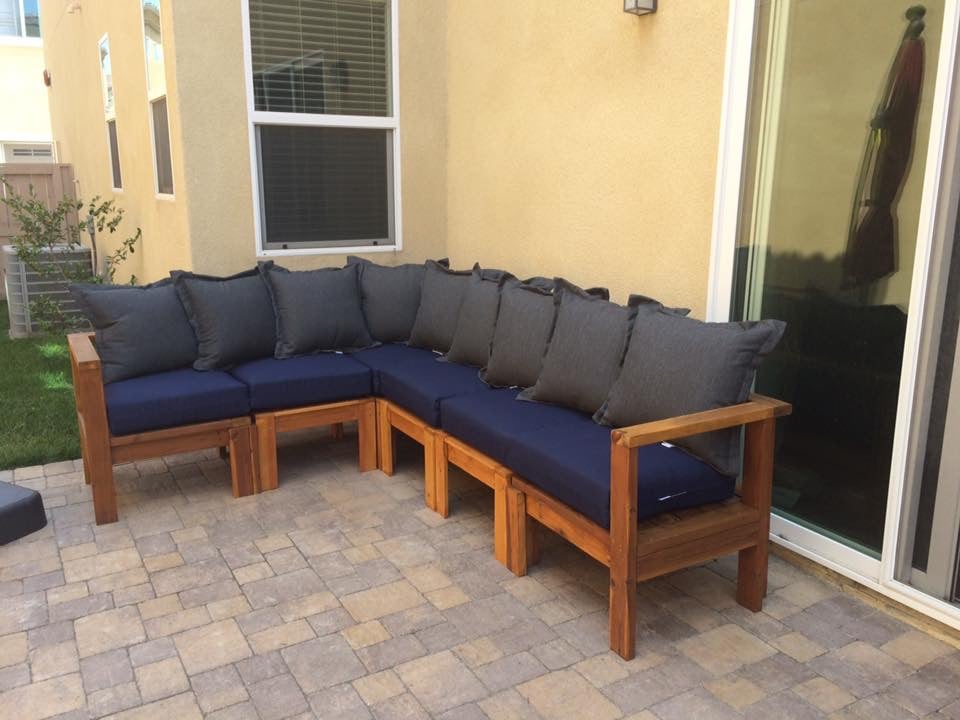
UPDATED: New photo with bar and stools on covered porch. Very happy with how it worked.
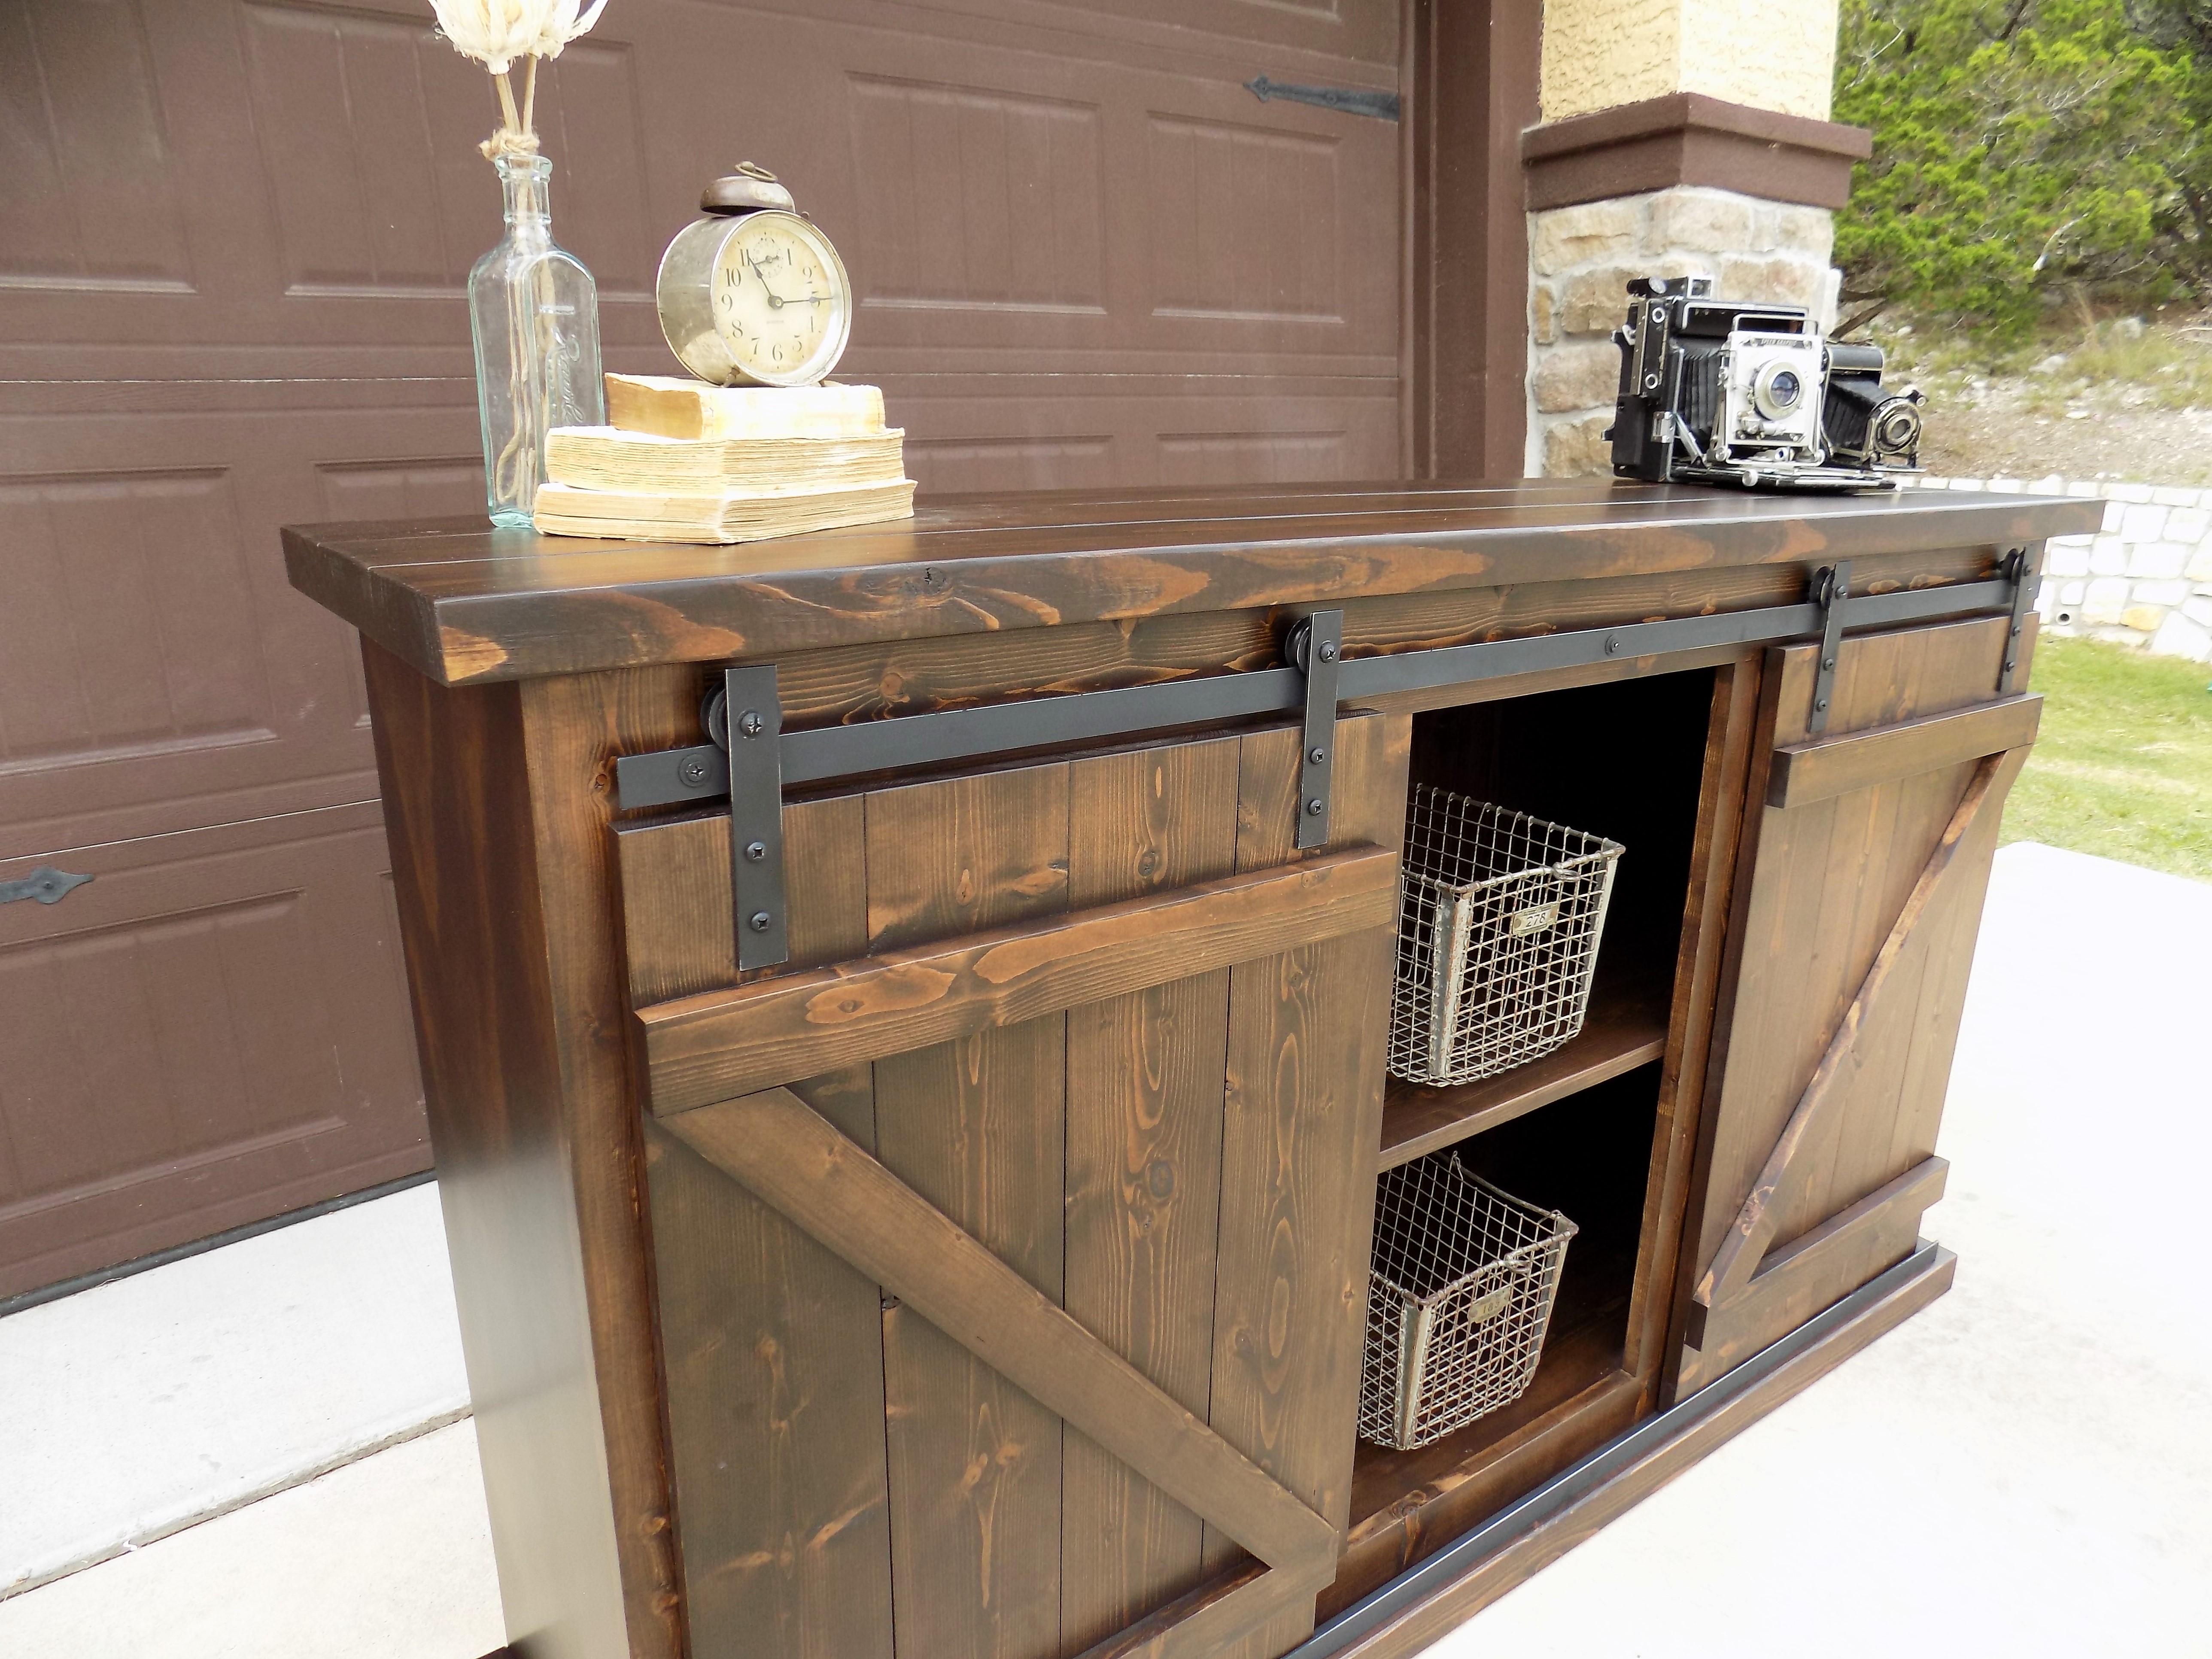
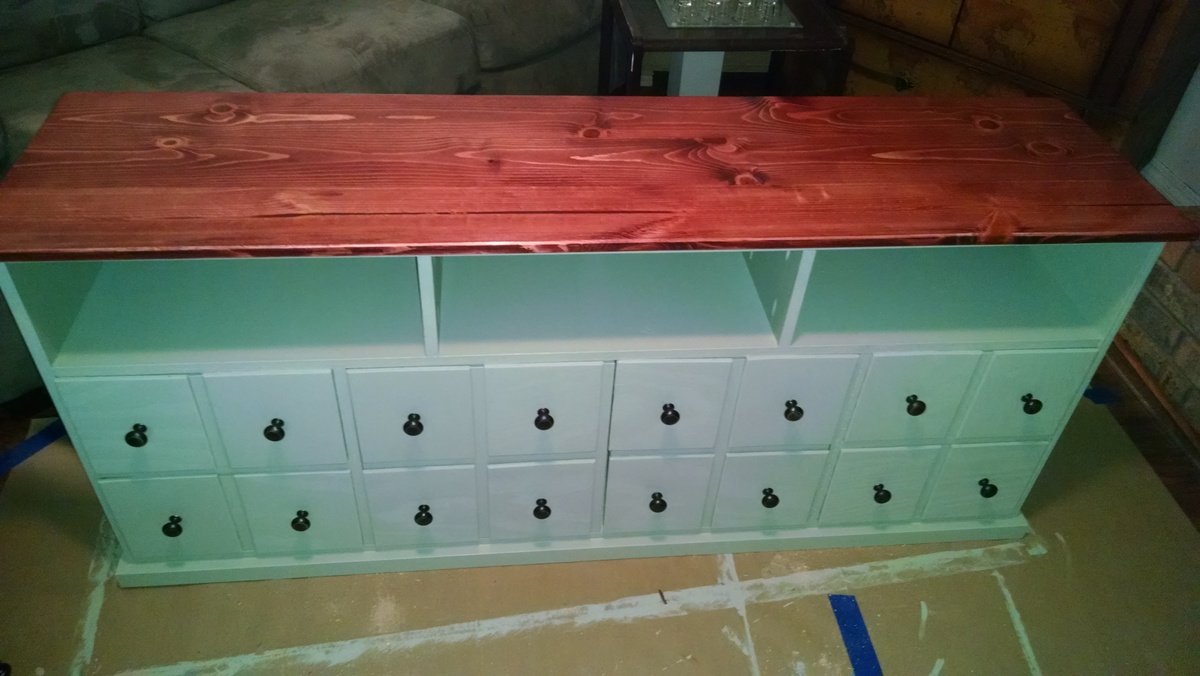
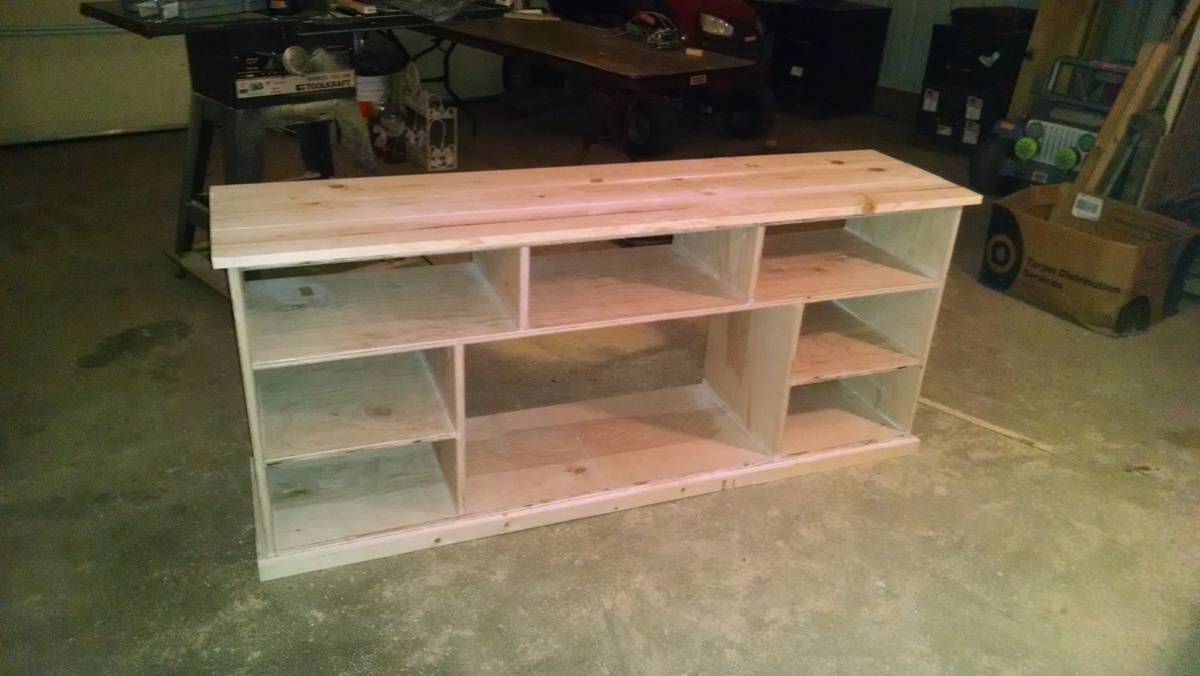
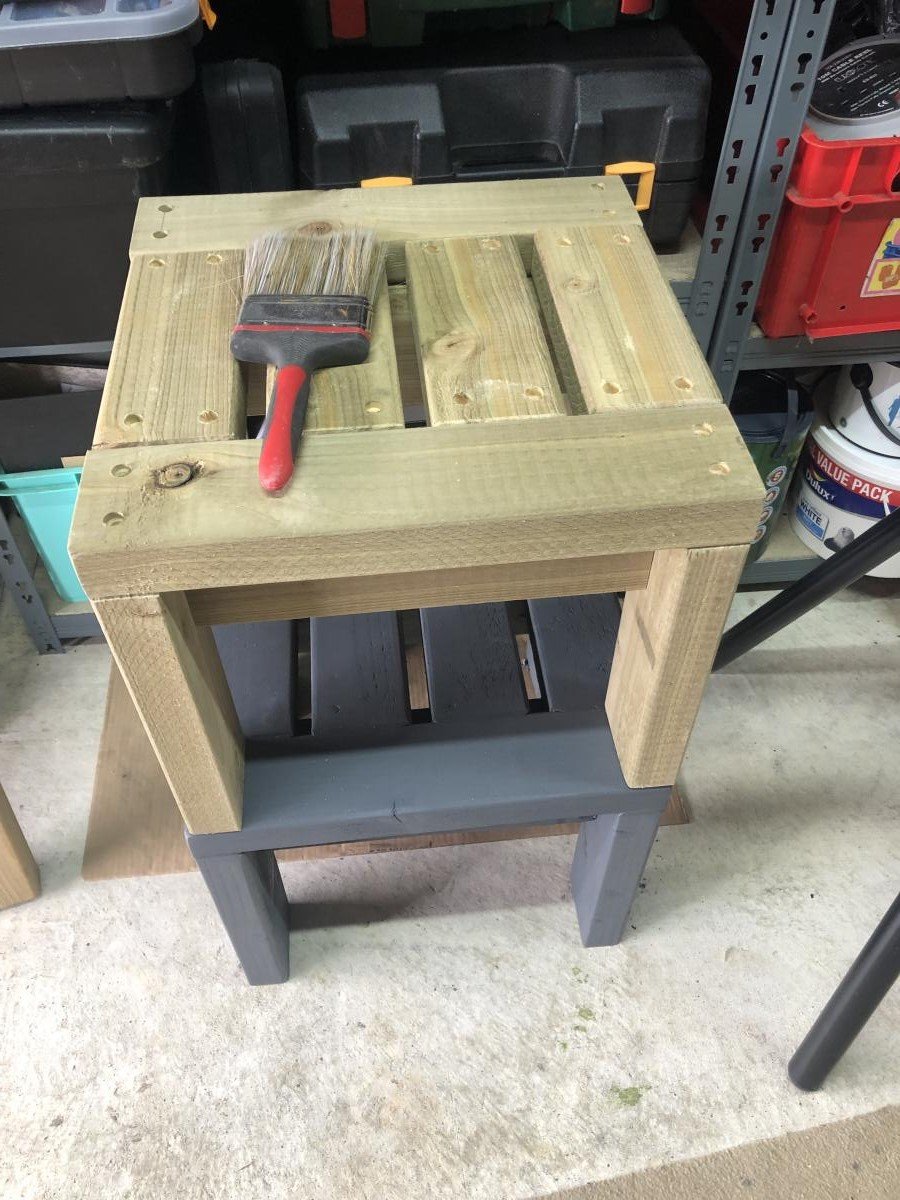
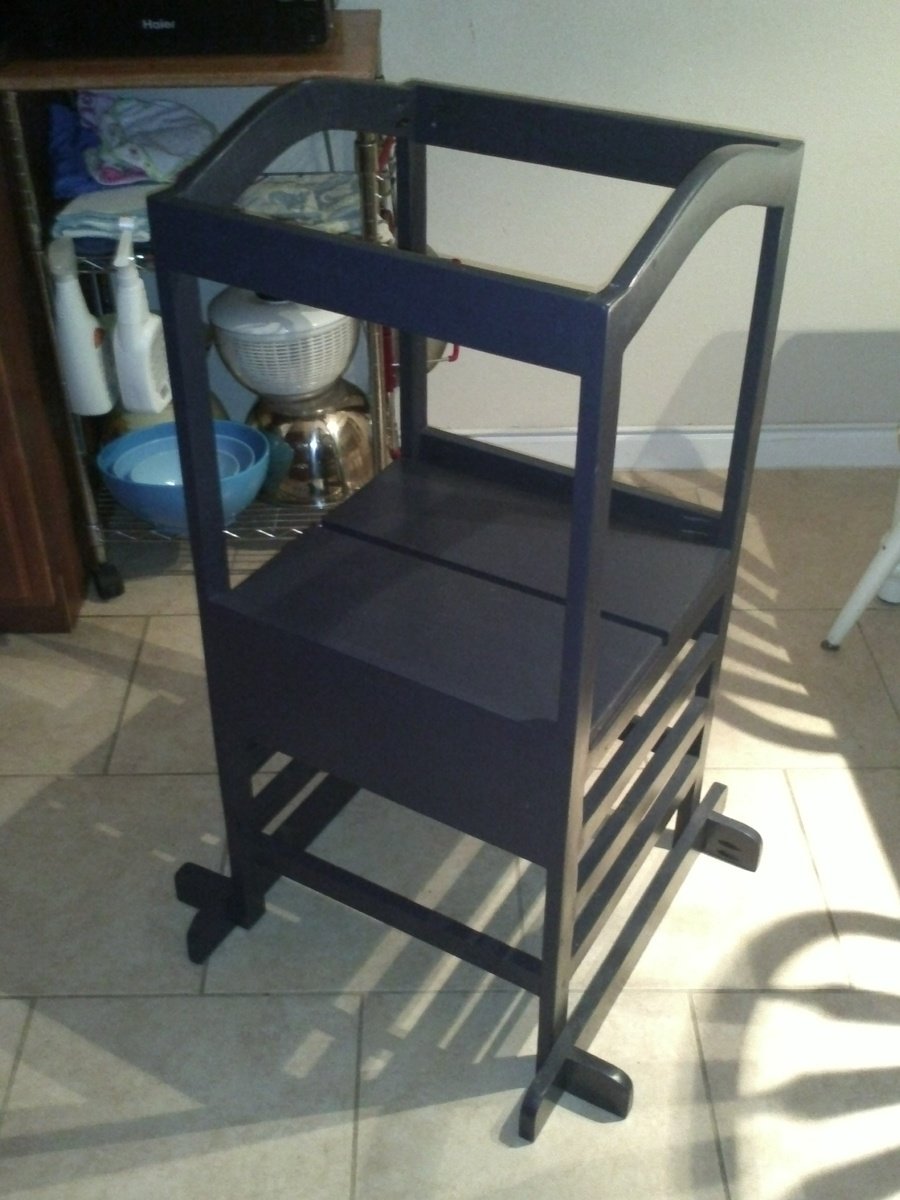
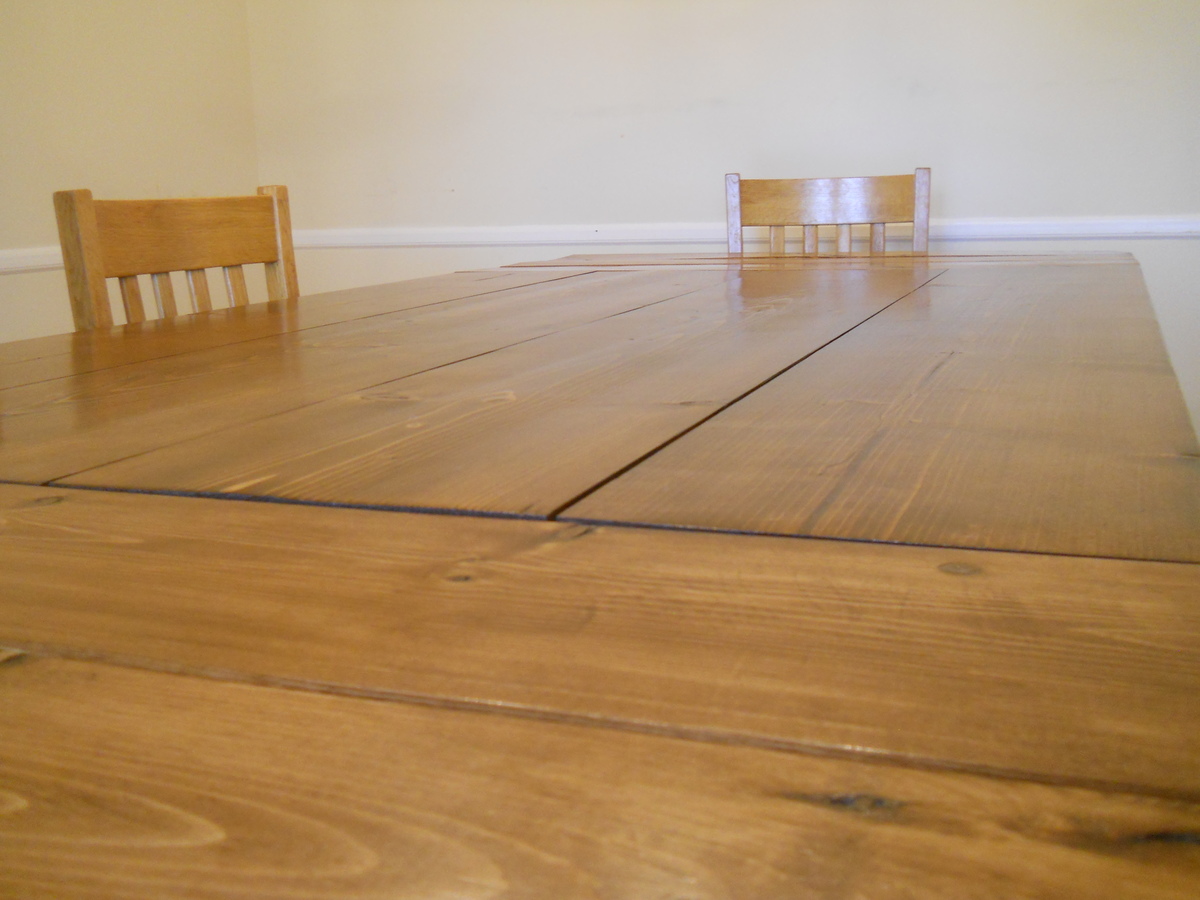
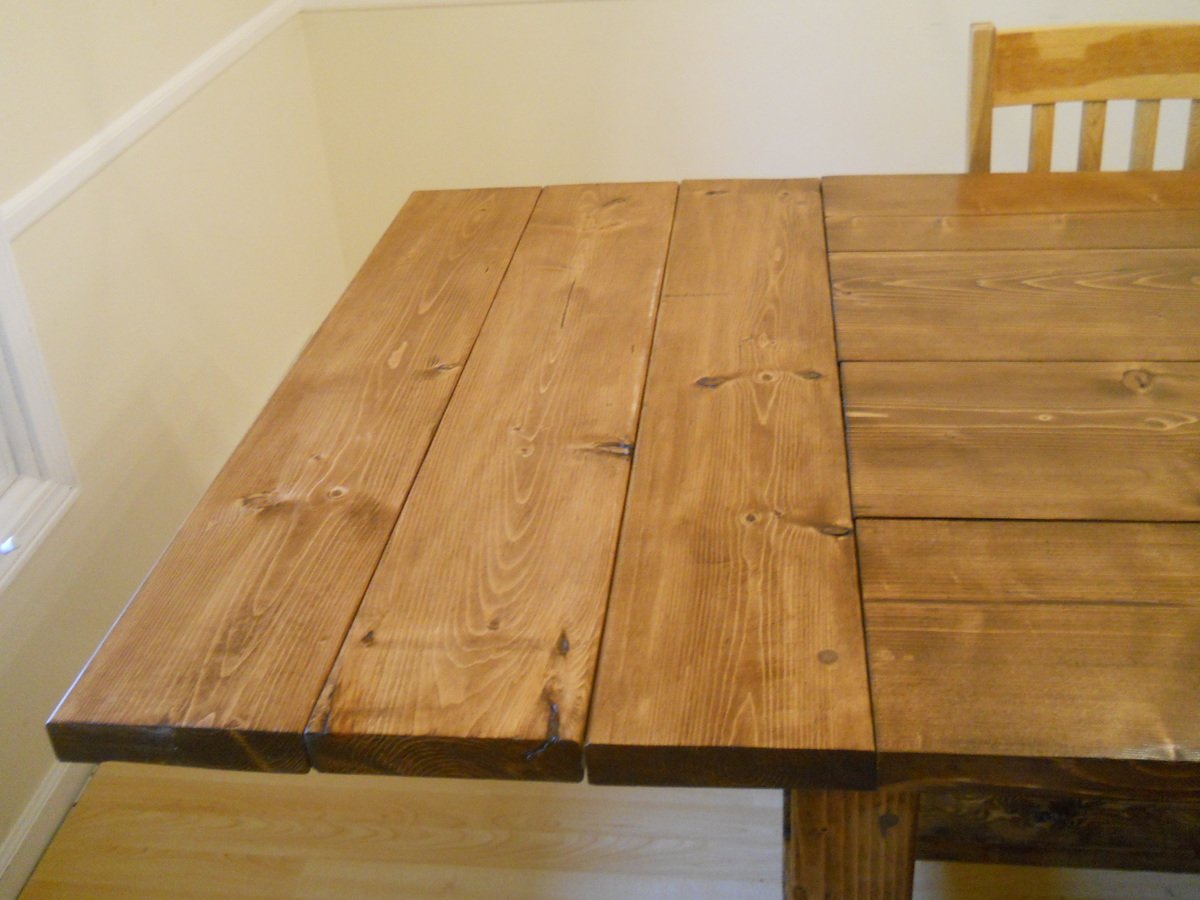
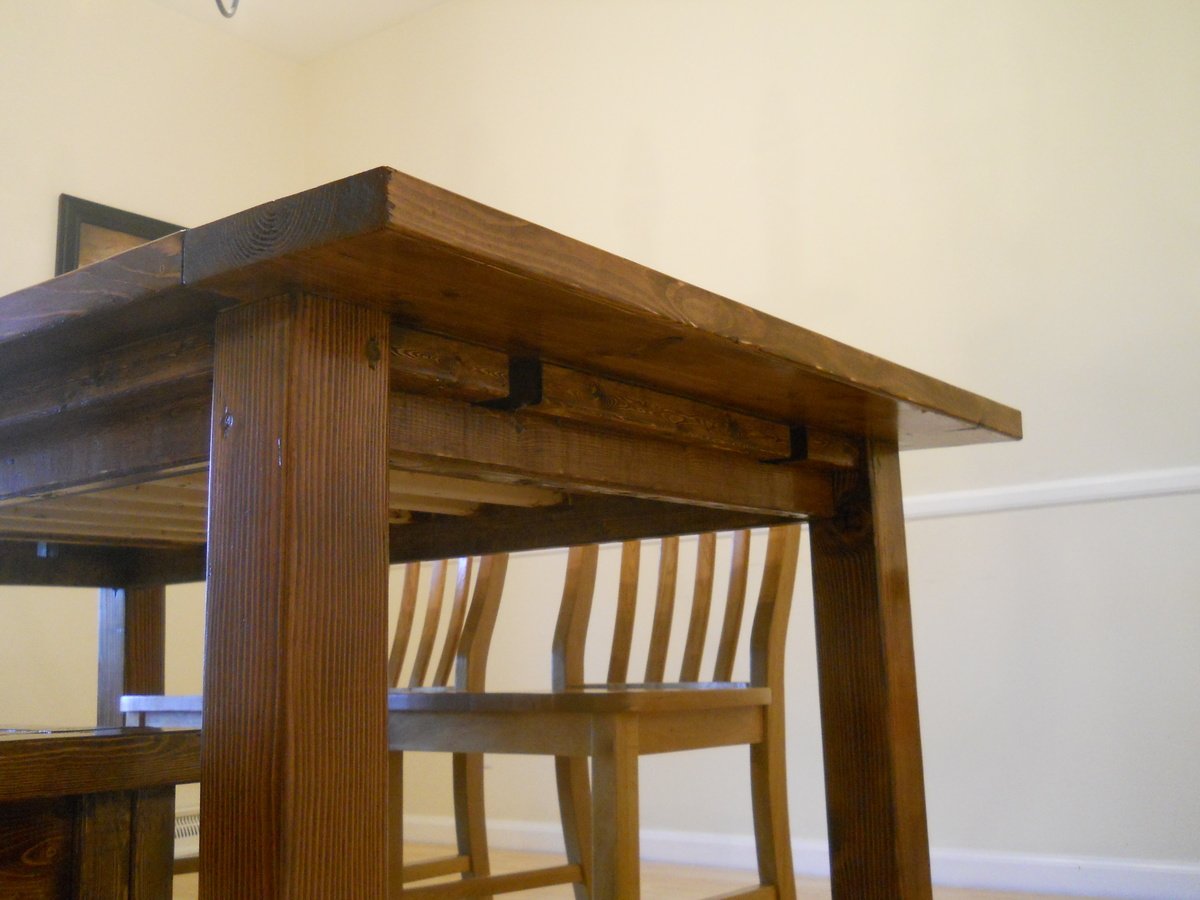
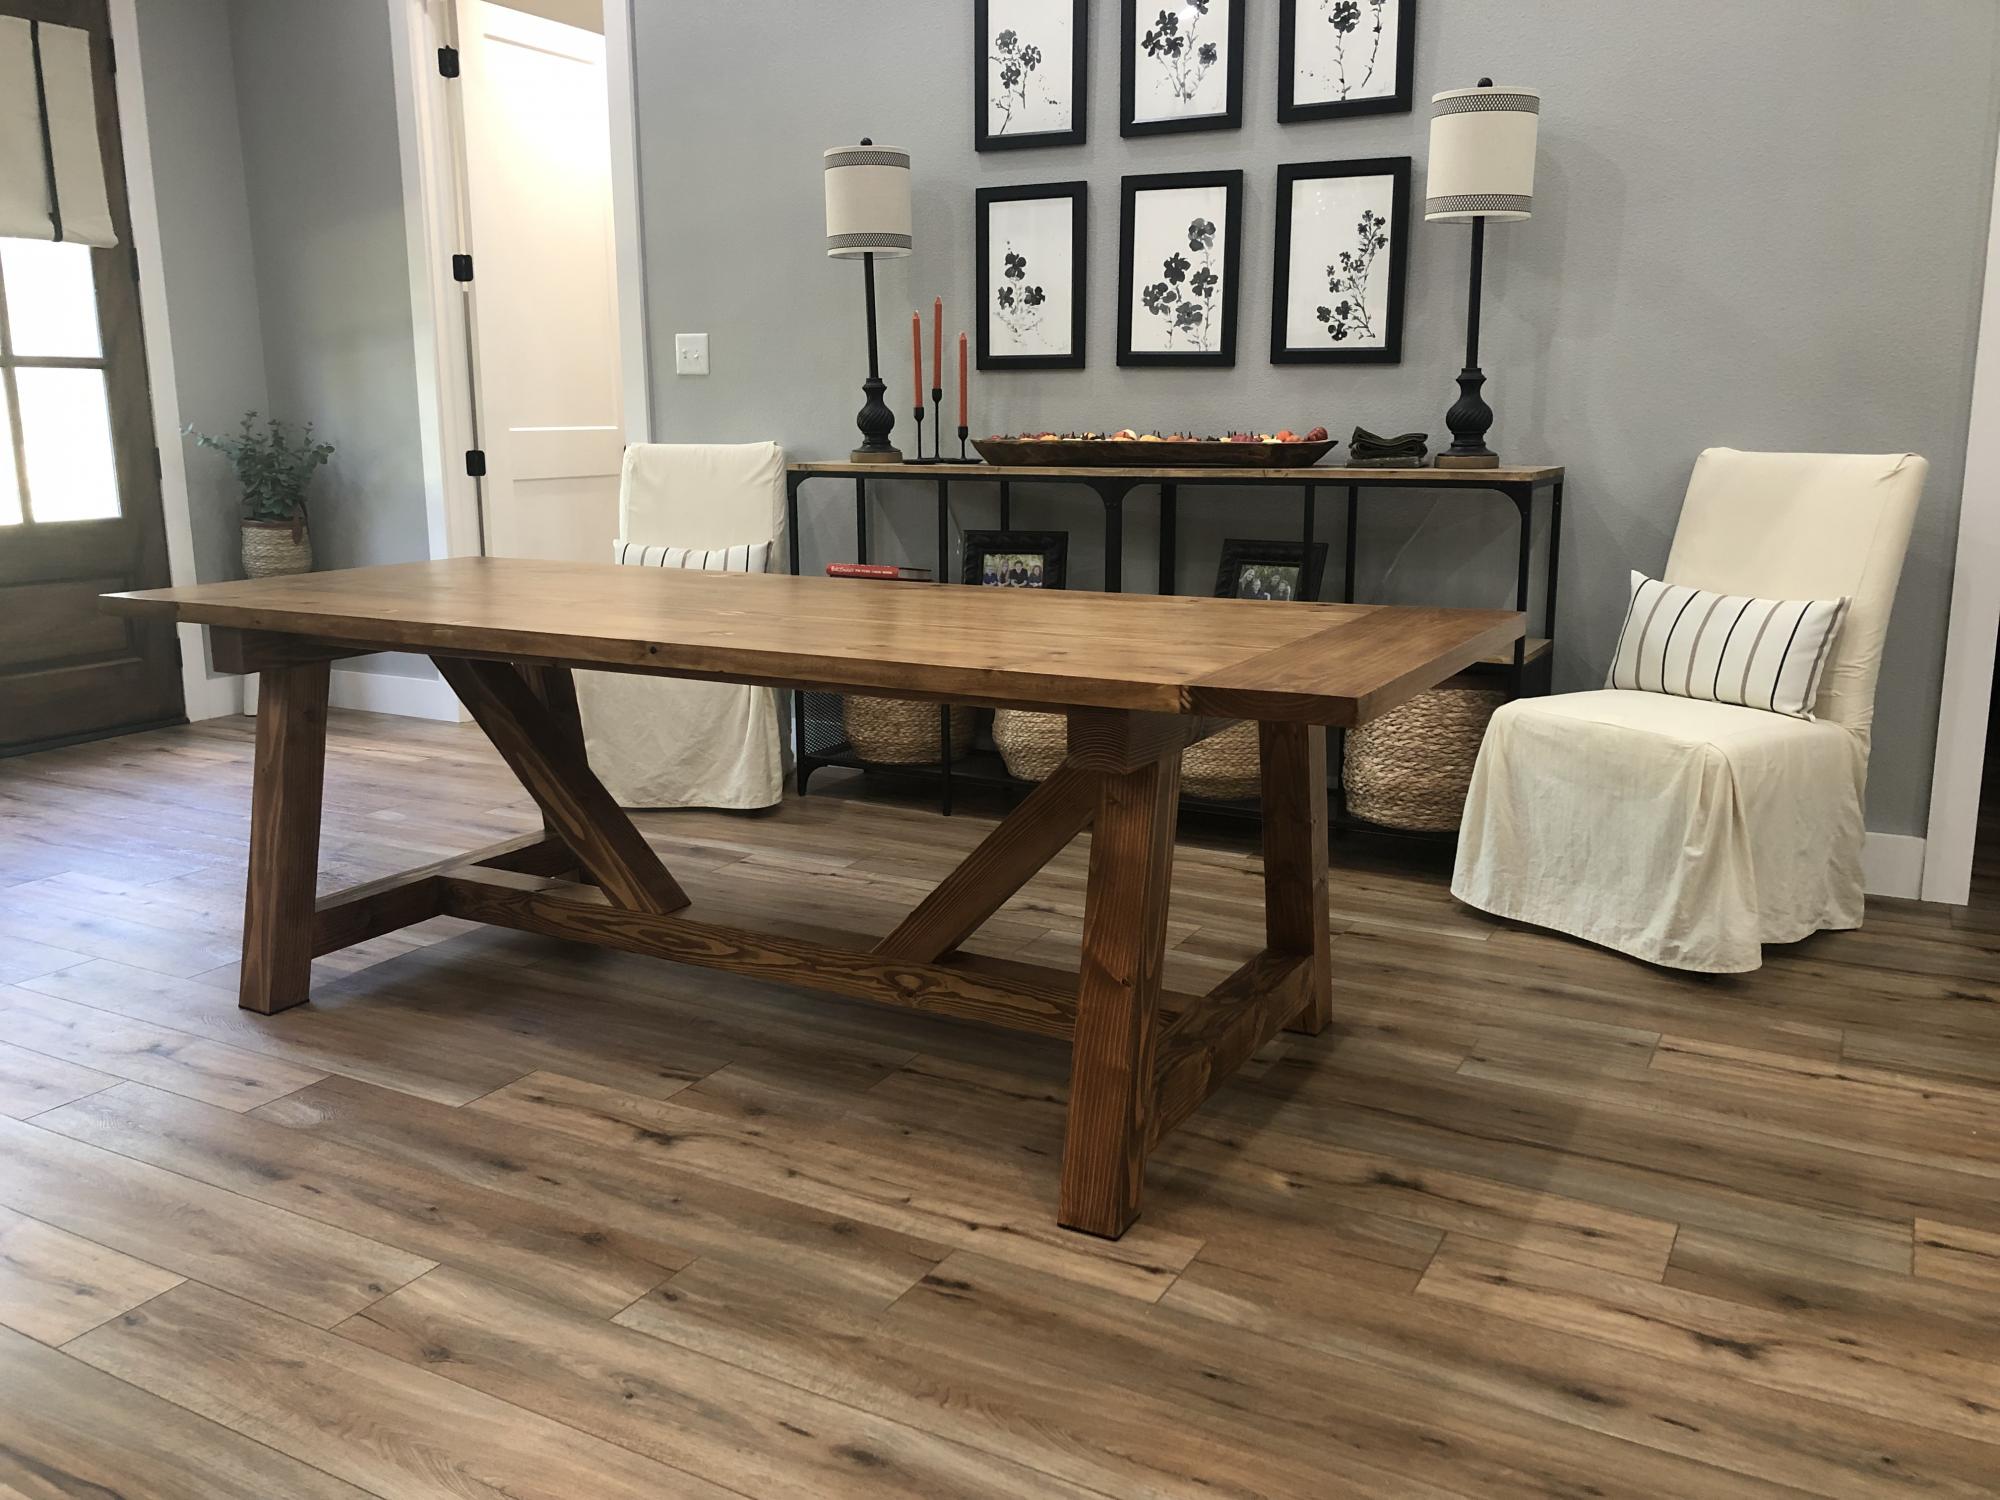
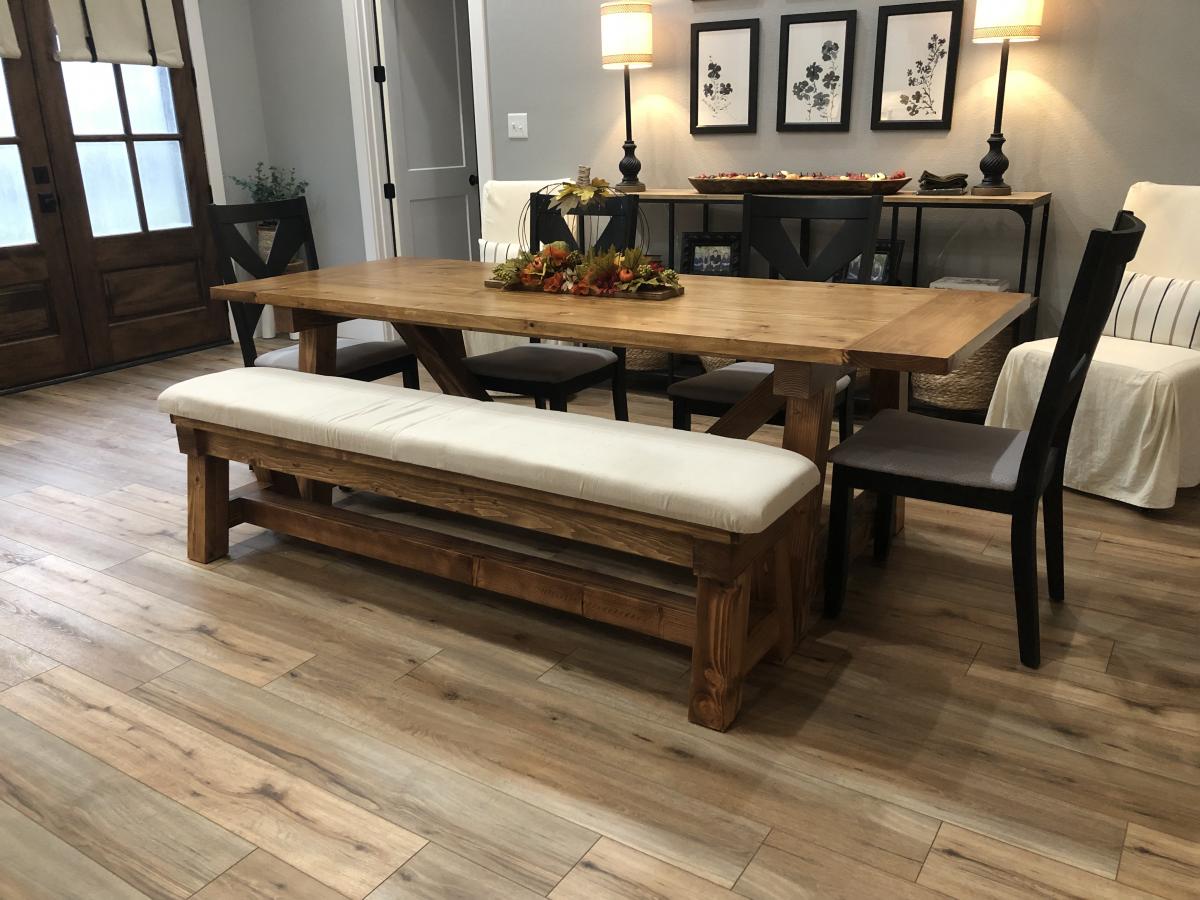
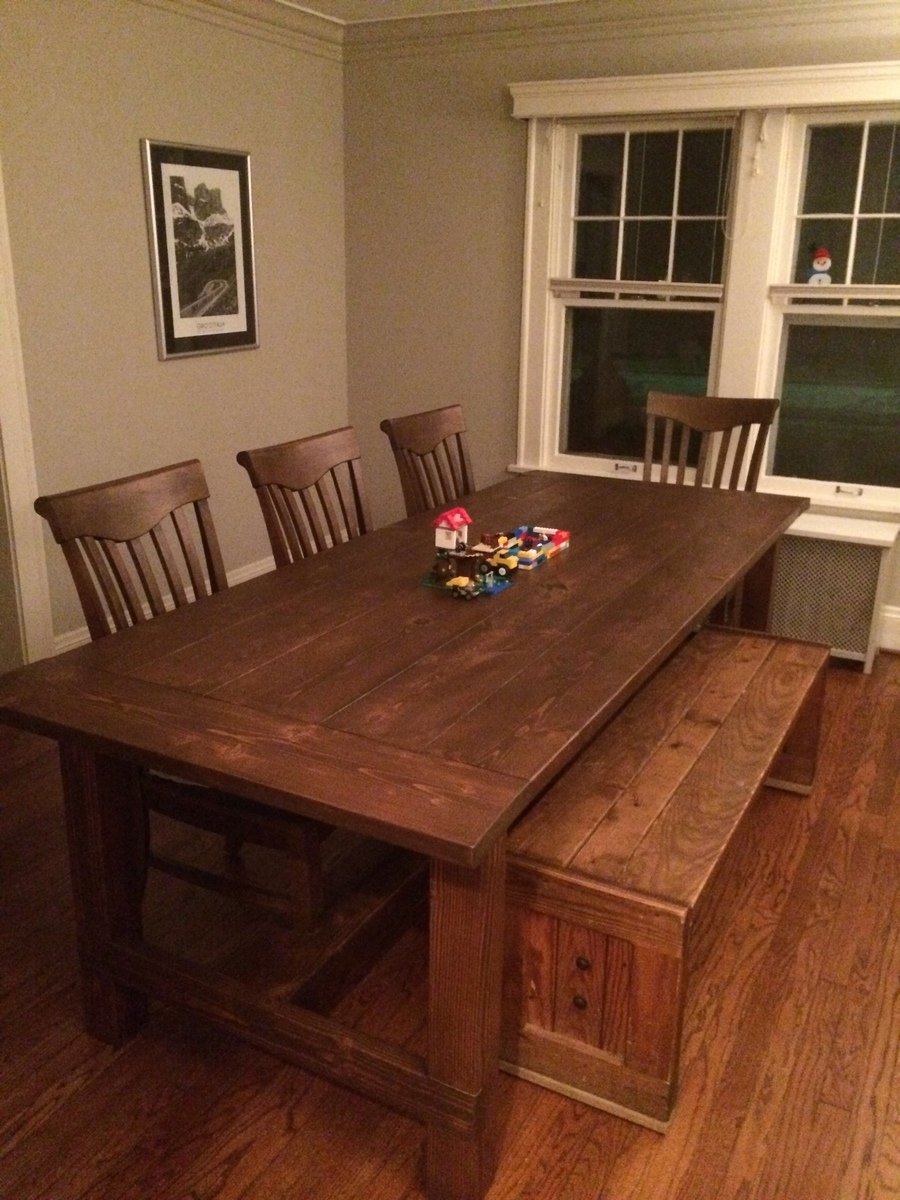
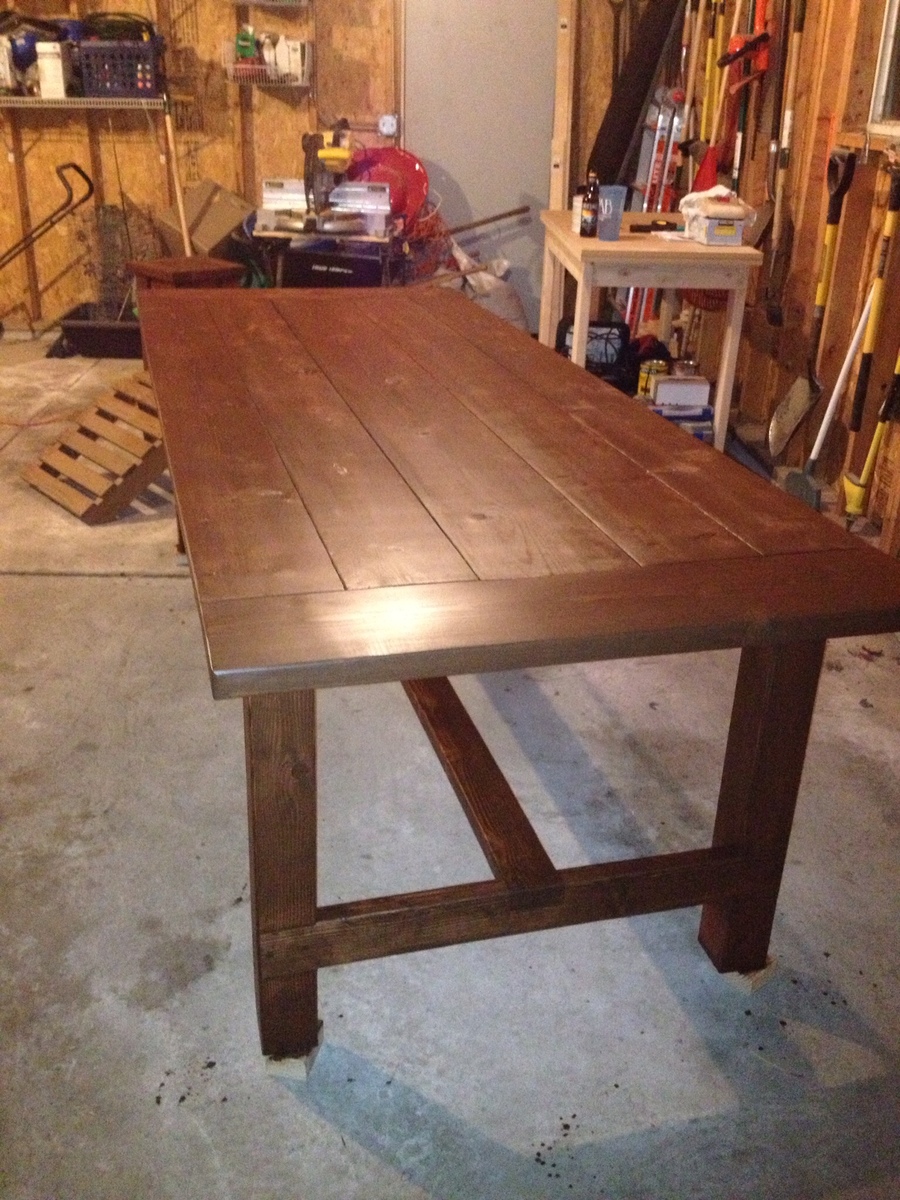
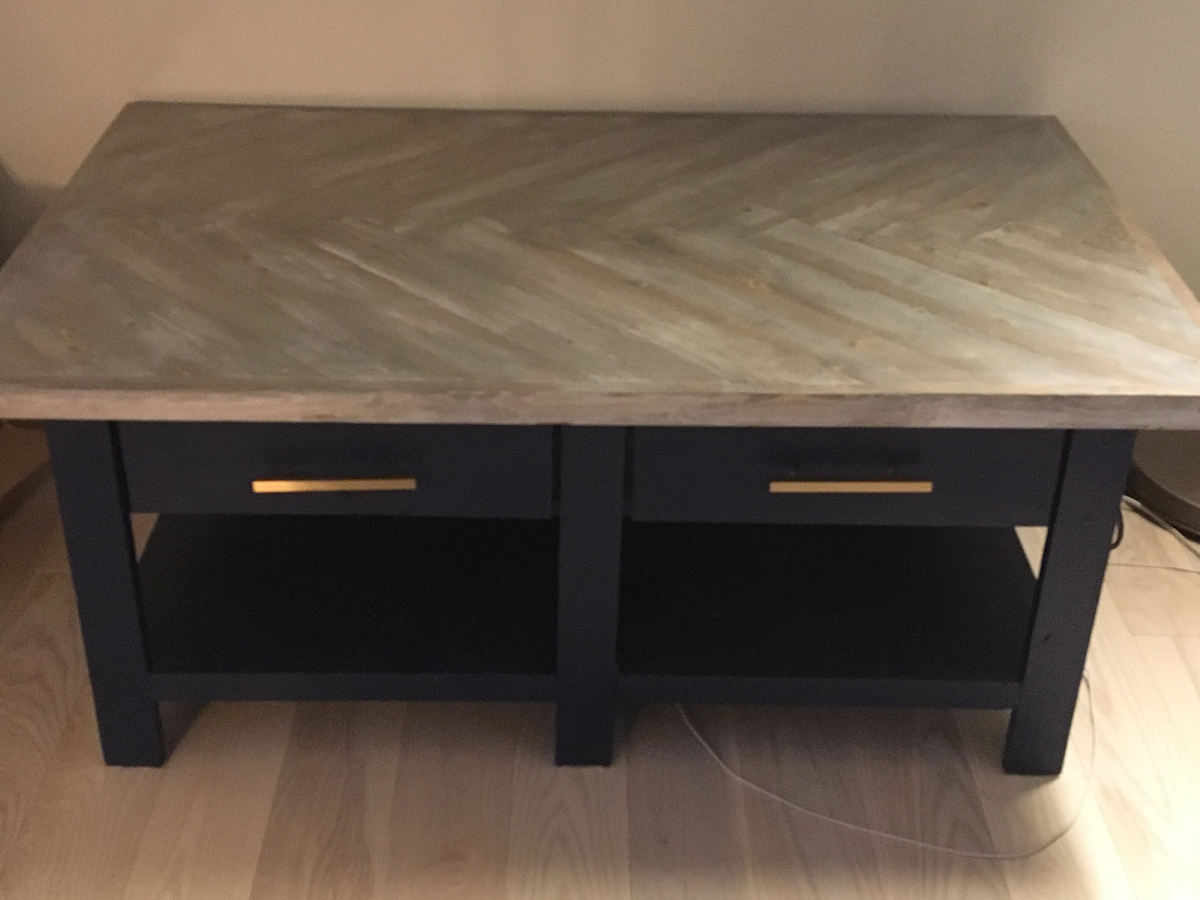
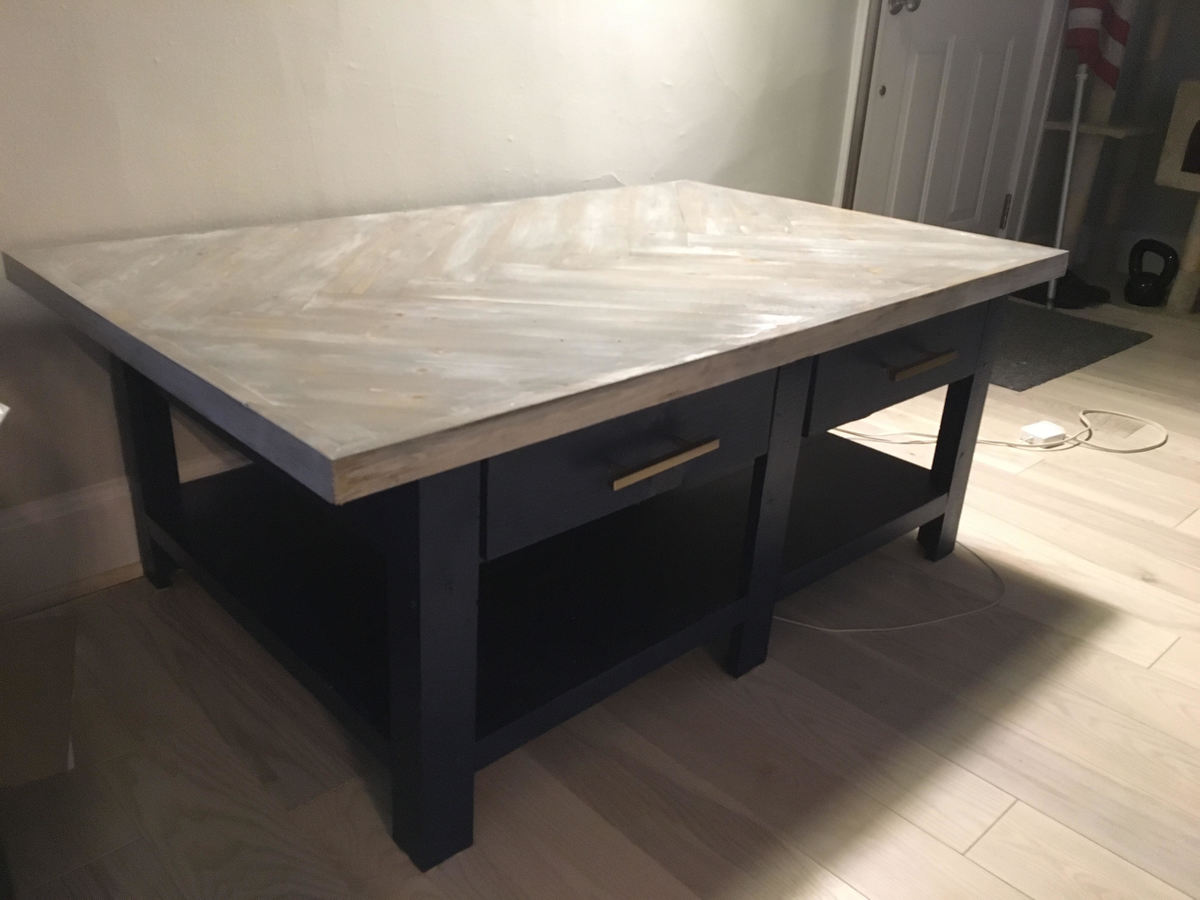
We wanted the Ballard Sutton Console Bar Table and three stools to go with our outdoor furniture. Unfortunately, that little package was going to run about $2,500. Decided instead to see if I could build the things and make up my own stools to match. So basically by studying the picture a little bit figured out my plan. Then the stools are more or less a mini version of the table with a couple modifications.
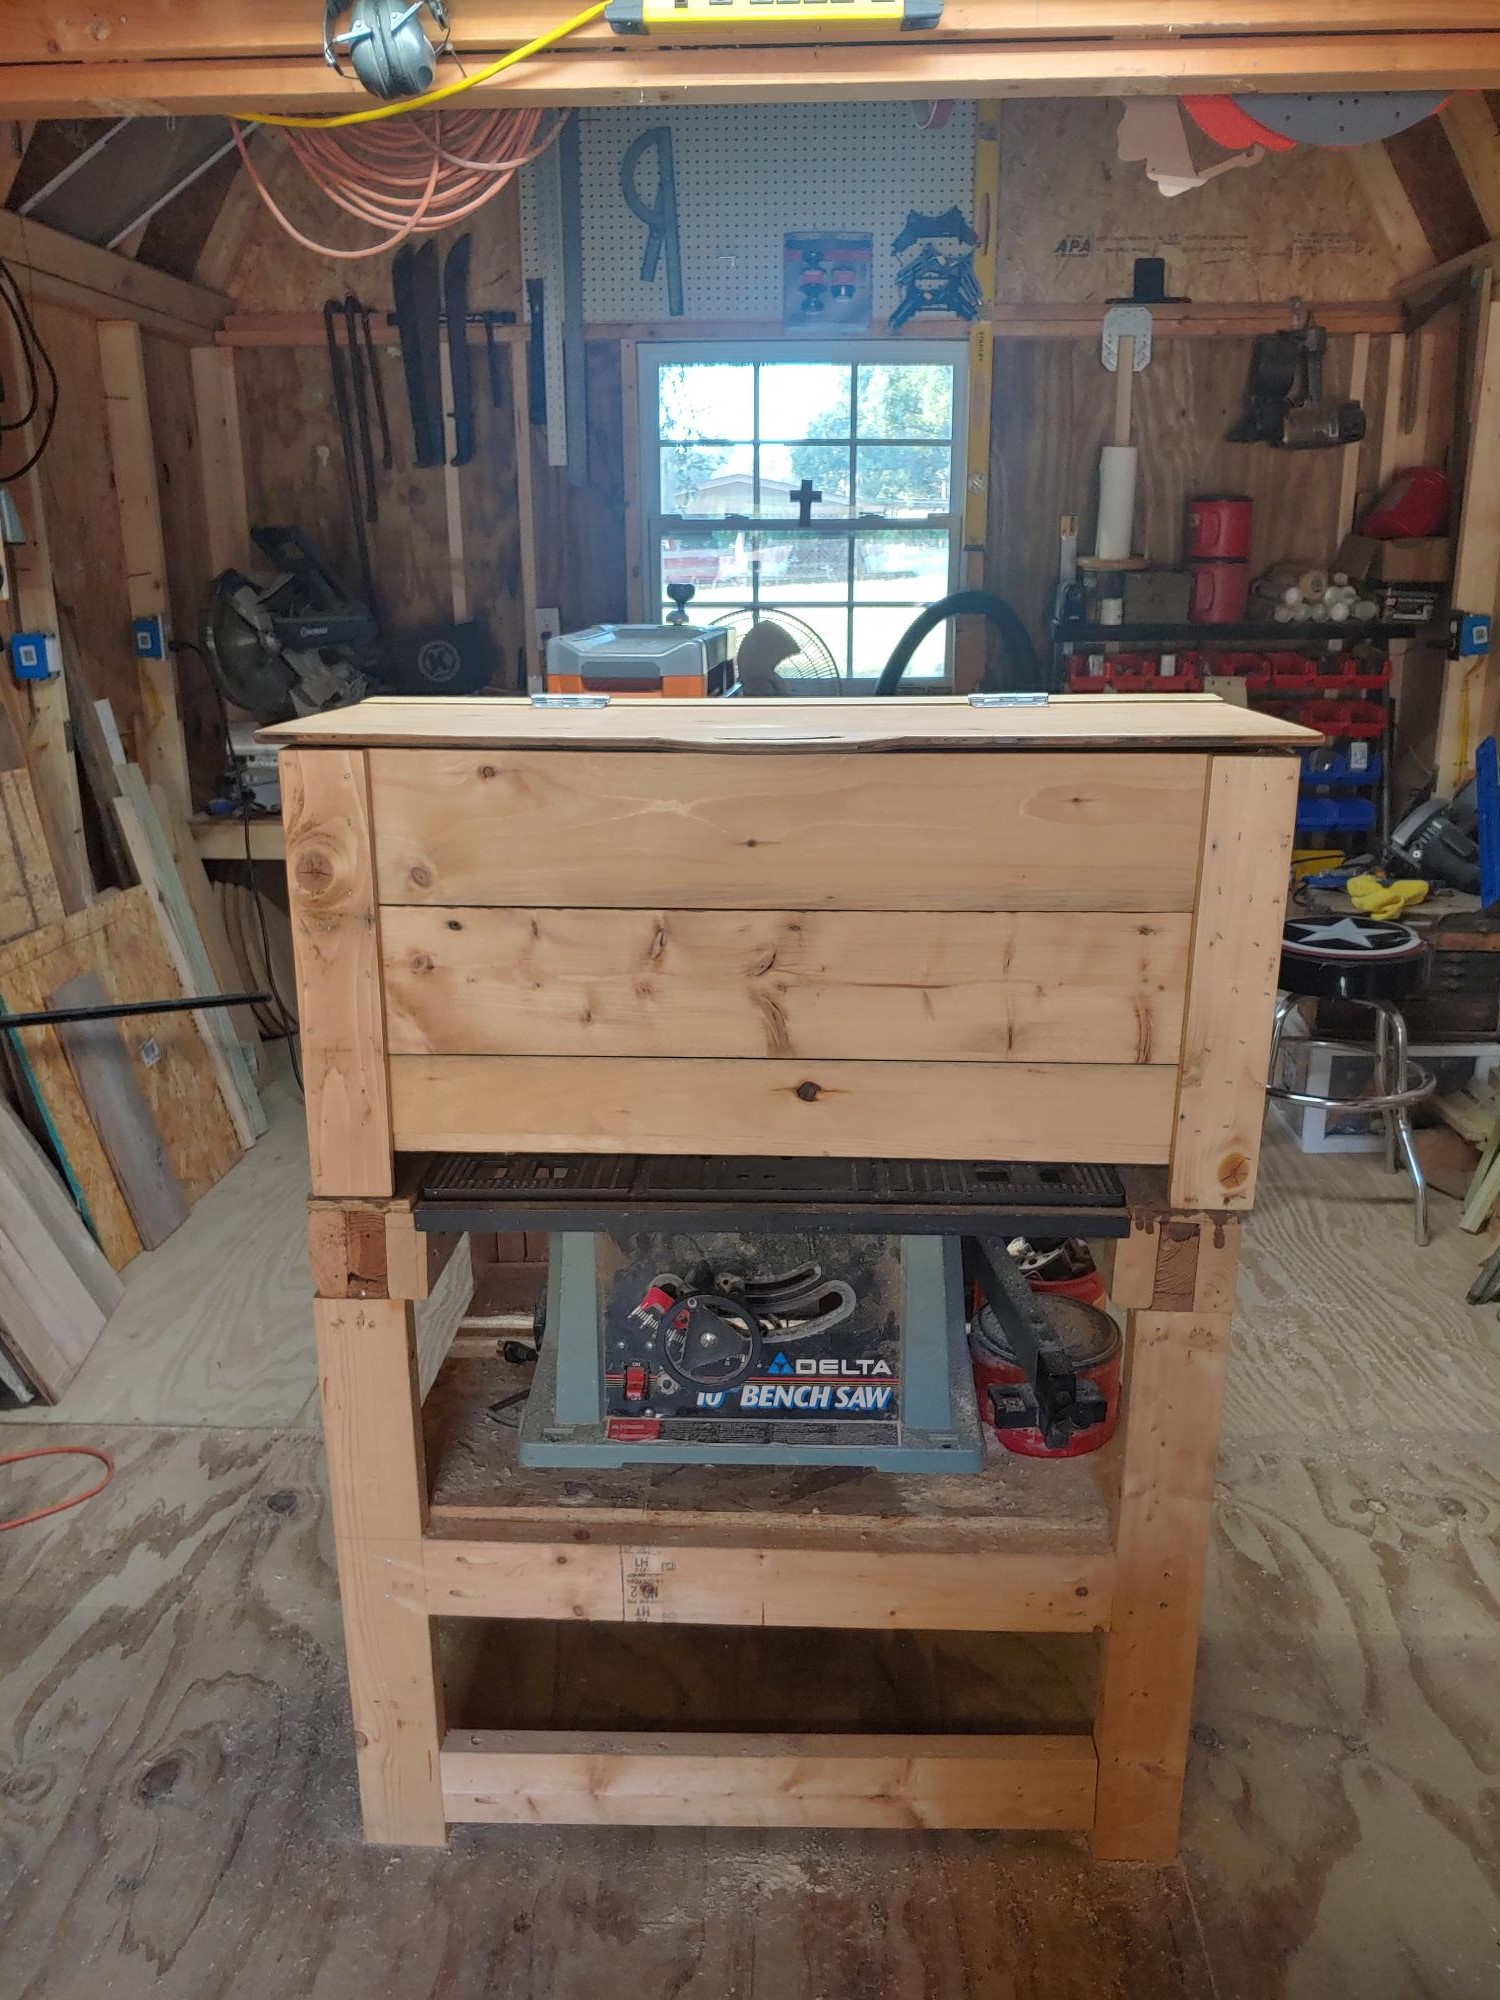
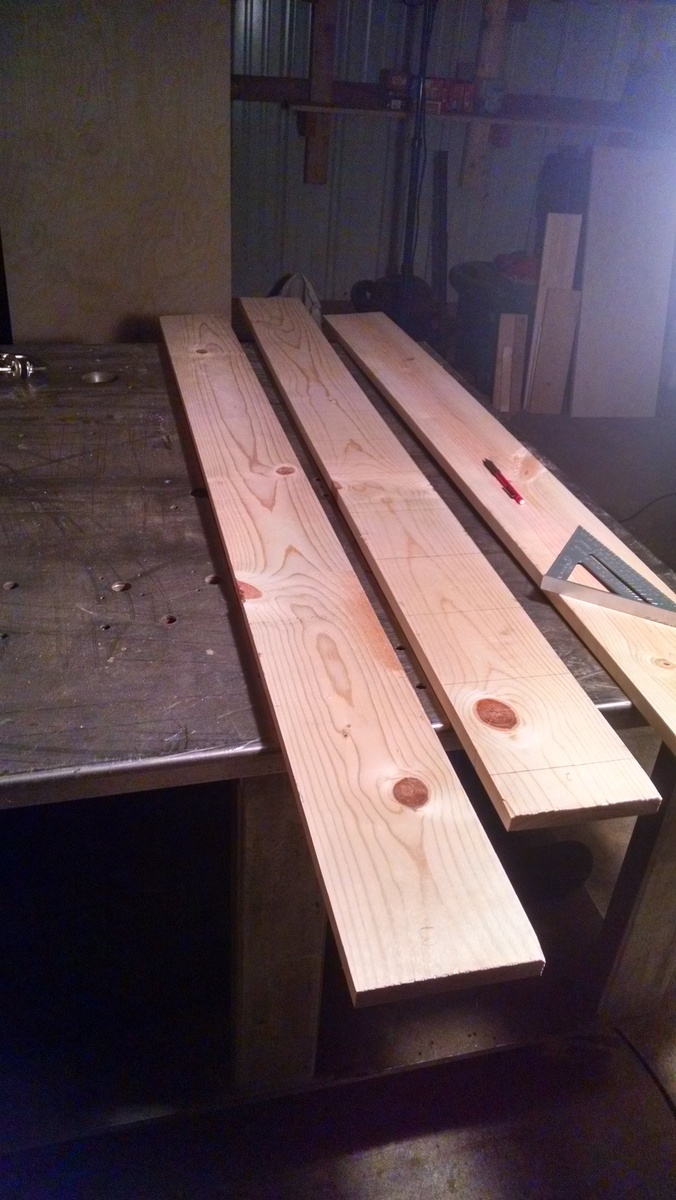
I haven't itemized the bill, but built 3 stools for about $50, and the table was a little less. Incidentally, I can never find decent common 2x2s, so I have started ripping 2x4s into two 2x2s, and they come out clean, sturdy, smooth, and most important, straight!
Stained them using MinWax Puritan Pine to try and get the new teak look we wanted. Not too dark -- wiped the stain after 5 minutes.
Have the stool plans if anyone is curious!
Best regards!
cstarliper
This was a fairly easy build following the plans. We changed the headboard slightly though.
This is made from cedar, but I painted it anyway. Used a standard single mattress. I highly recommend painting everything first before you put the project together. Full plans are here.
This is a modified plan for Ana White's Farm House Table.
I shortened the table to about 72 inches with breadboards on the ends and added removable breadboard extensions for a total of about 100 inches of table for a 12x11 room. I also built the Farm House bench but shortened it to 48 inches.
The wood is white pine and Douglas Fir 4x4 legs. The total cost was $198 for the wood/screws and about $30 for the stain and sand paper. I bought an additional set of countersink bits for holes.
I used the following tools:
It took about 35 hours of work.
The stain is English Chestnut and we pretreated the wood to accept the stain by using wood conditioner. This made a dramatic difference in leveling out the stain between the white pine and Douglas Fir. I used 3 coats of clear polyurethane and 2 coats of satin on the top with gentle sanding in between coats.
I made this bed for my son. I was a beginner with little to no experience before I started this project. I learned a LOT along the way and now I'm addicted to building things. It wouldn't have taken me so long if I had a little more experience. Staining was difficult, especially when you have two kids wanting to help. My drawers slides were absolutely impossible! Next time I will use a different method for the drawers. I still need to make the ladder. I haven't come across any plans for that so I'm going to wing it. The bed is not perfect by any means but my son doesn't care.
I made the ends with 2x4s and the middle with 1x4s. The most expensive thing was the seat cushions.
The plans were very easy to follow for non avid woodworkers. We decided to upholster the seat on the bench.
Tue, 10/05/2021 - 10:43
Looks professionally done and well built, the upholstered bench is a beautiful addition!
Custom bench to fit dormer space.
Easy project that has helped us stay more organized. We use Cozi to maintain the calendar, but this allows us to highlight things that the kiddos need to know during the week. We keep the chore schedule, laundry schedule, meal plan, and out of routine activities on the week calendar so the kids can tell what is going on at a glance. The allowance is also hanging up at the top as an incentive to get their respective jobs done for the week. I used galvanized sheet metal glued onto a 1/4 inch plywood base and coated it with whiteboard paint. This allows it to be magnetic and easily written on. Love the letter holder for homework and important paperwork.
Things we have used it for so far:
Activity schedule (swimming lessons, soccer practice, etc.)
Meal plan
Unusual activities (parties, movie night, etc.)
School stuff (project due, spirit week, etc.)
Chore schedule
Laundry Schedule
Room of the week: what part of the house gets a deep clean this week.
Servant of the week: which kid is the designated helper for non-chore activities when an extra hand is needed.
We are still figuring out all the ways to use this to good effect, but the kids really like being able to see what is coming up in the schedule for the week.
I made this table in a weekend, the plans made it so easy to do, thanks Ana for giving me the courage to take this on! I love building stuff!
Based off of Ana Whi'te Benchright Coffee Table with a chevron/herringbone table top
A year and a half long Covid at home and eating and entertaining outdoors encouraged us to transform our back yard into an outdoors living and dining room.
It was also the perfect excuse to finally use all the scrap wood we had lying around and turn it into these super comfy chairs. Add pillows and blankets and we have a cozy back yard that we love to spend time in.
We used this occasion to finish ends of paint cans to paint the chairs in different colors and scraped the paint down for a weathered look, then finished it all with a couple of coats of varnish. Each chair’s back is slightly different depending on scraps we had on hand. We love Anna’s simple and practical plans and instructions!!!
Tue, 10/05/2021 - 10:06
Love the alternating look and colors, very attractive and inviting!