Community Brag Posts

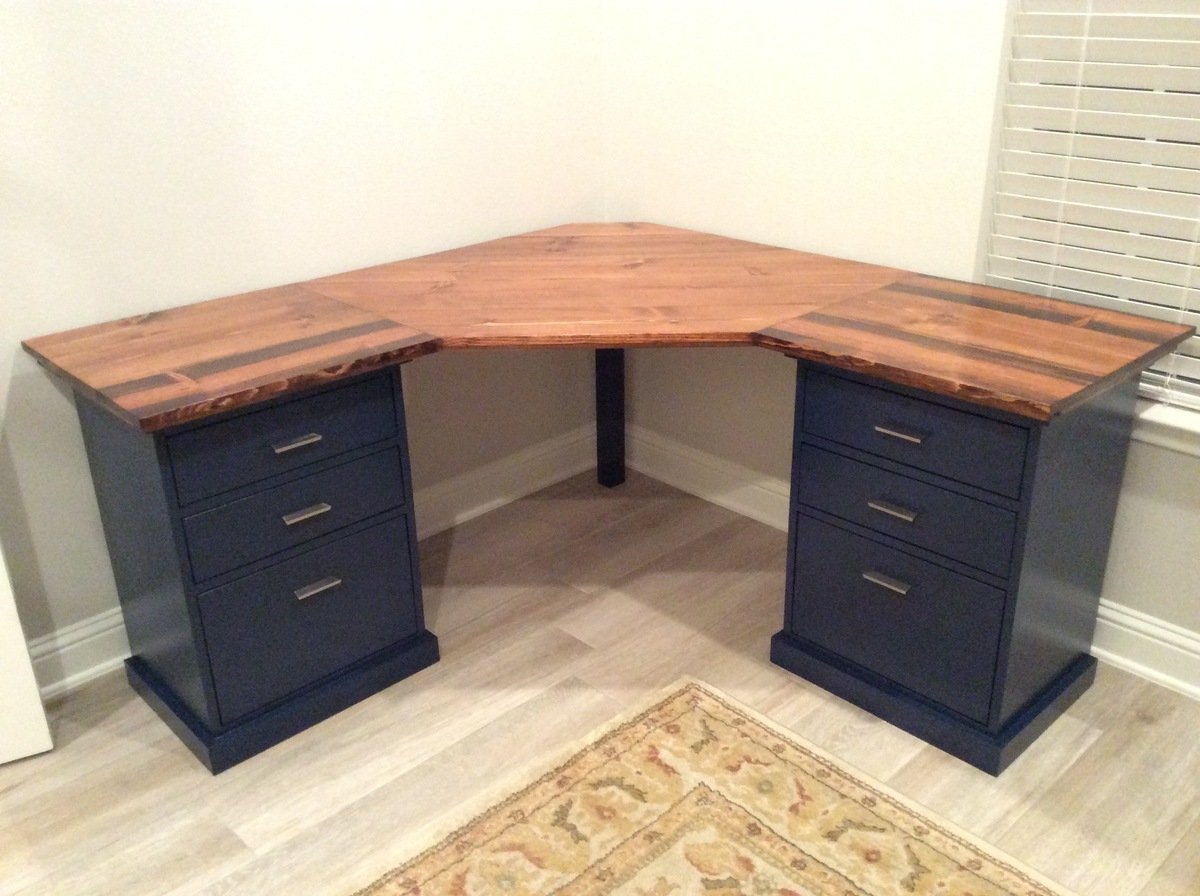
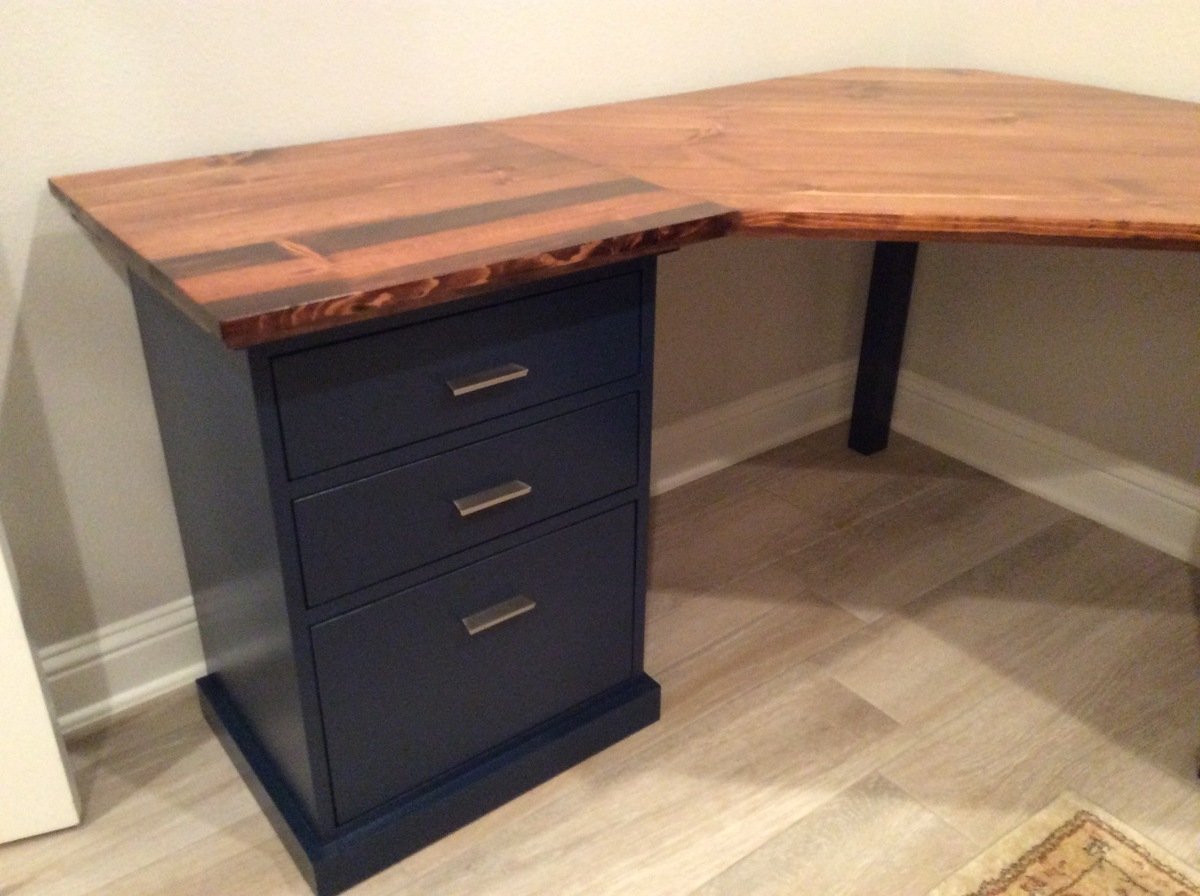
Colorful Custom Bedford Corner Desk with Live Edge Desktop
Submitted by Anonymous (not verified) on Fri, 06/28/2019 - 20:41

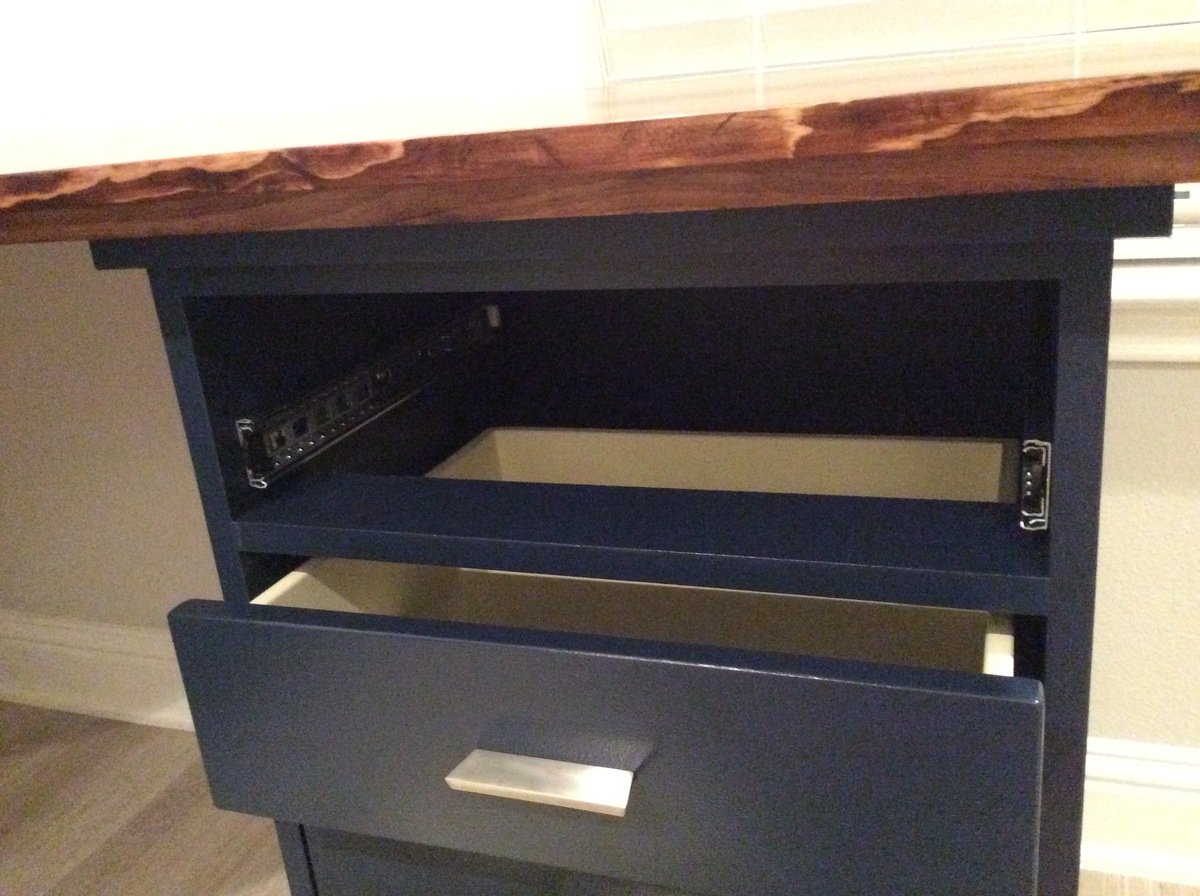
I followed the plans pretty closely. I added dividers to make 3 drawer units but I didn't find it necessary to have the top shelf go all the way to the back since it would never function as a shelf. I used scrap pieces for that and they weren't big enough to be full shelves.

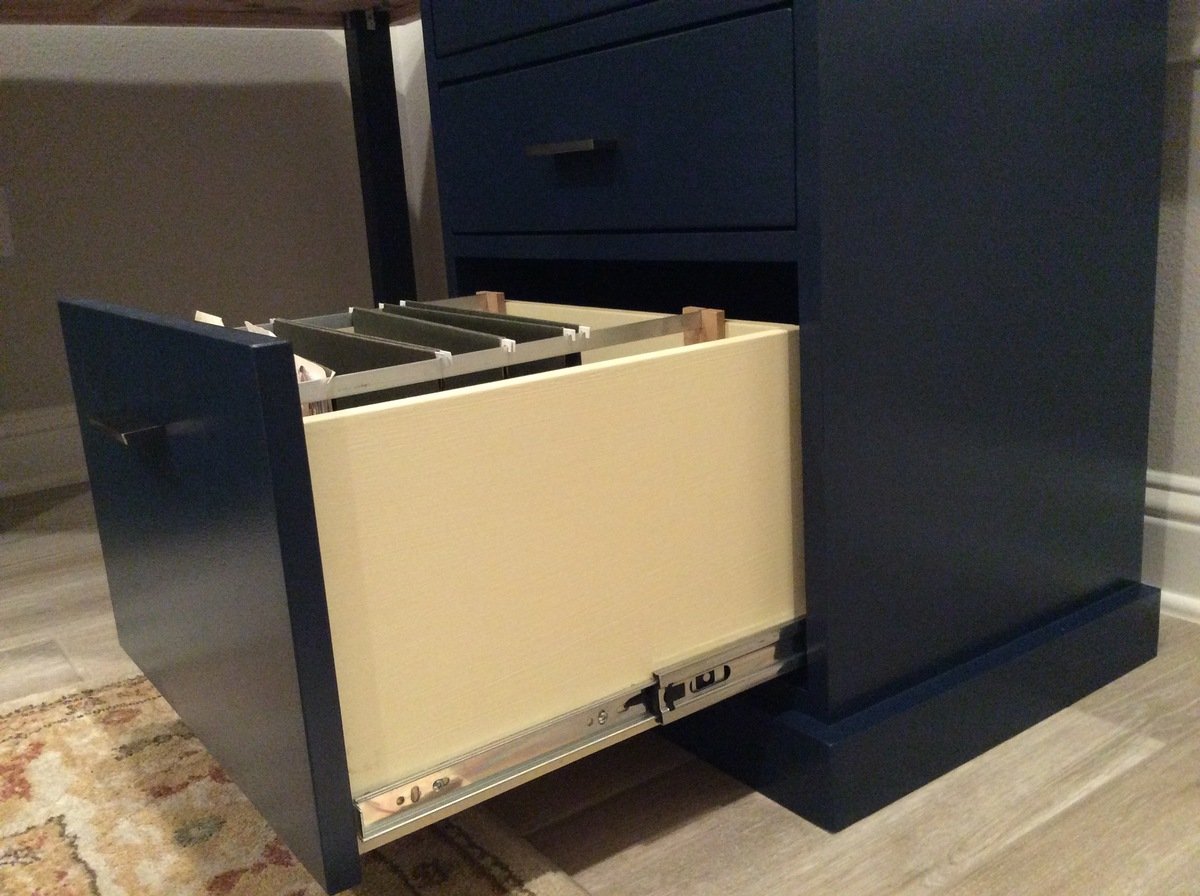
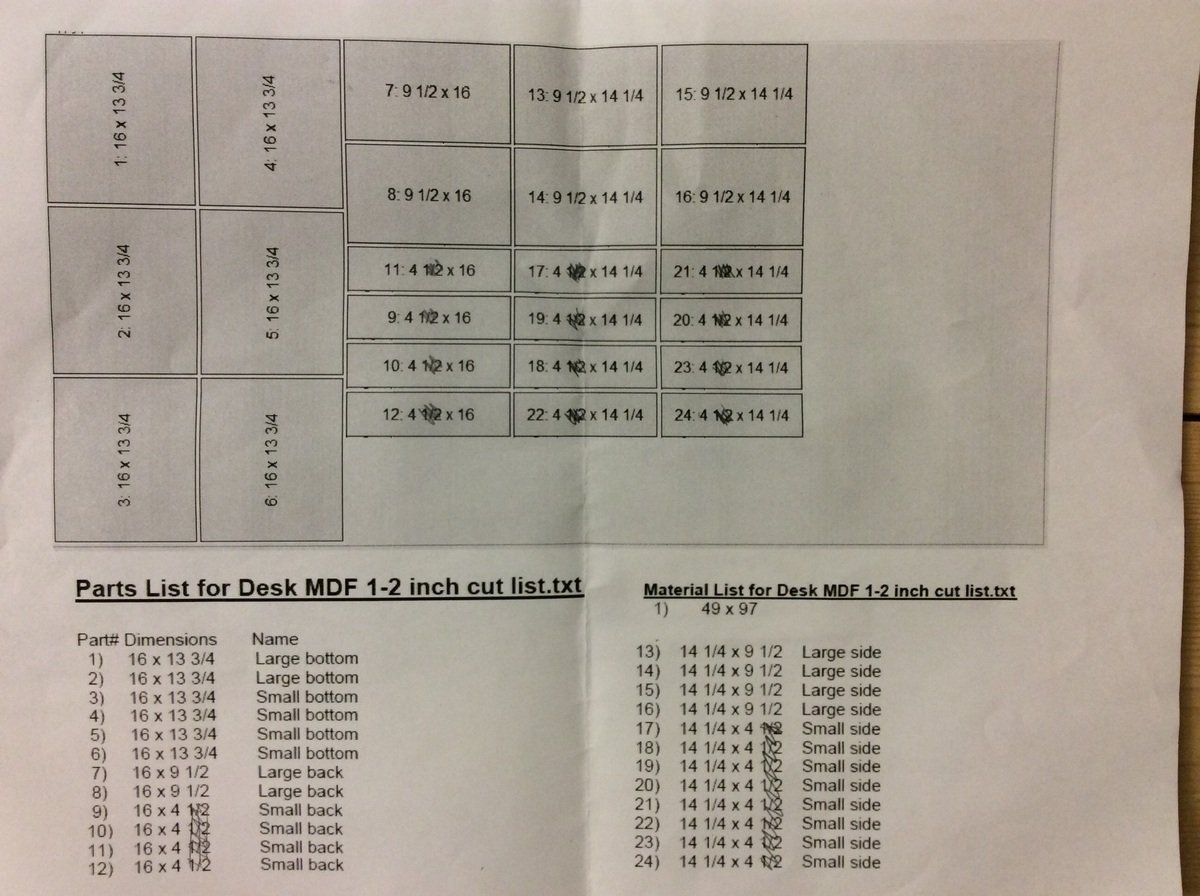
I used 1/2" MDF for the bottom, sides, and backs of the drawers to cut down on weight, cost, and general bulkiness. I used this free app called Cut List to figure out the easiest way to have the guys at Home Depot cut all the drawer panels after I learned I'm not that good with a circular saw. I used a hack saw to cut aluminum bars for hanging files and used scrap wood to make the little brackets to hold the bars upright in the drawer. The full extension drawer slides are functionally and asthetically better but it would have been so much easier to put in basic bottom mount slides. 

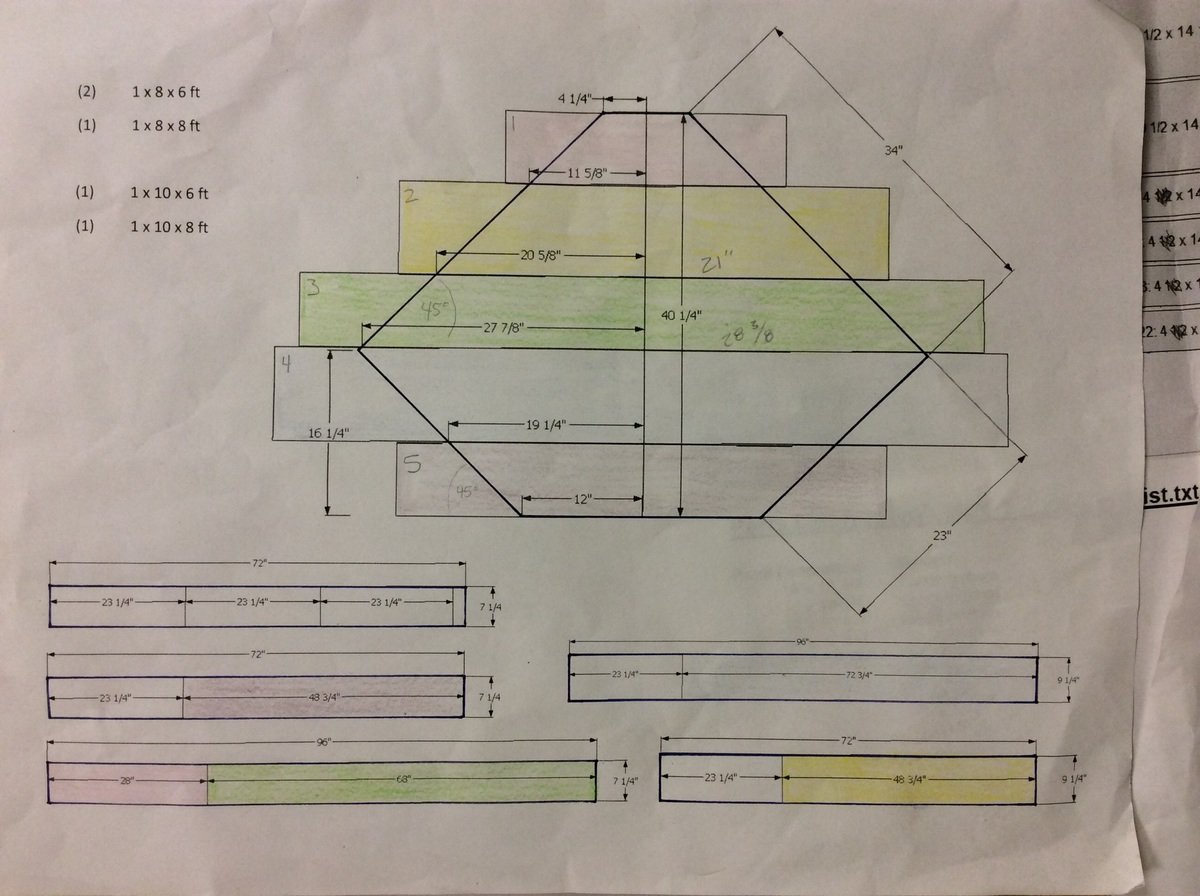
I wanted a wood grain top and ended up with common pine boards over more expensive poplar or oak and I would use pine again without hesitation. I used Google SketchUp to figure out the widths of boards I needed to make the top with minimal cuts. Then joined them with glue and mending plates and sanded the hell out of them. I altered the dimensions slightly to make it the same size desktop as the Bedford desk. My two wing sections are 23" x 23" but I should have made them 23" deep by more like 24" or 25" long. I had to hack the bottom bracing to make a spot for the drawer units to slide into. If you alter the dimensions make sure you can secure a brace between the main body and the wing of the desktop and still have room for the brace at the edge of the wing. 

My cost includes things like a Kreg jig, saw blade, clamps, paint brushes etc. so you may be able to do this for less. I could have gone with a middle of the line paint I think. This project was a beast for me because a) I'm not a furniture maker b) I don't own a table saw which would have been amazing c) I picked the hardest way to make the desktop and d) I modified some of the dimensions from the basic plans. I worked on this thing for weeks (granted sometimes I didn't touch it for several days or a week). But it was a fun and rewarding project. 
Estimated Cost
$500-$600
Estimated Time Investment
Week Long Project (20 Hours or More)
Finish Used
Behr Marquee, Minwax wood conditioner, stain (honey) and stain poly
Recommended Skill Level
Intermediate

Comments

Fireplace Mantle with Drawers and Hidden Storage

Modified plans to include game storage drawers, a flip open mantle for DVD player and hidden charging port, and hidden cupboards on both sides for DVD storage. I scoured the Internet for months before drawing this up to fit my space and tackling all on my own! I love it and all of my other Ana White inspired projects!

Casey O.

Seasonal And Holiday

Bunk Bed Shelf Organizer

Submitted by BethStew5 on Wed, 07/18/2012 - 21:51

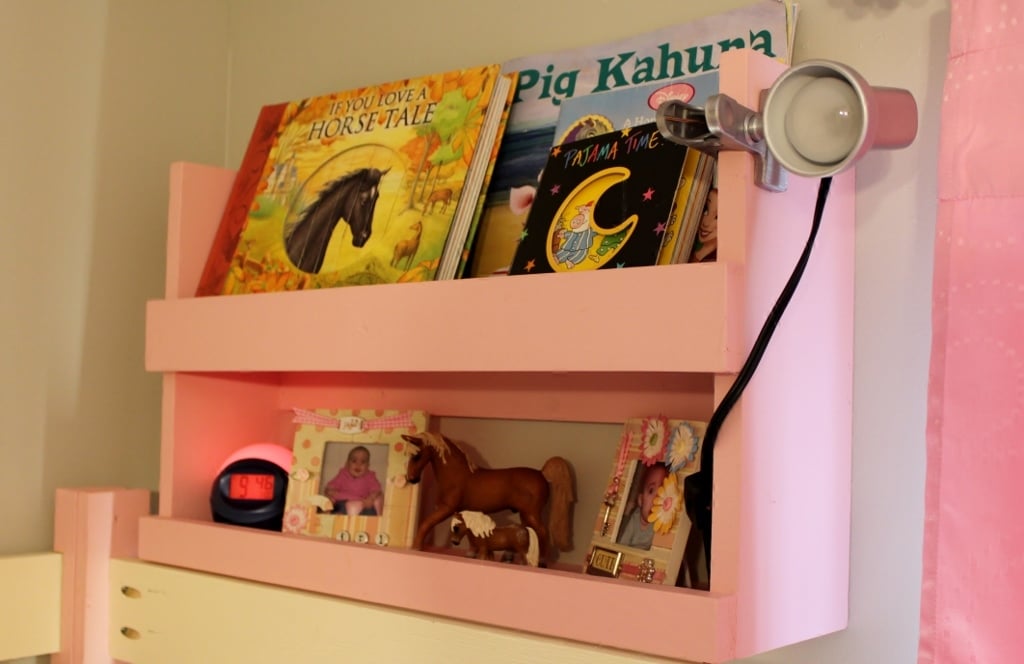
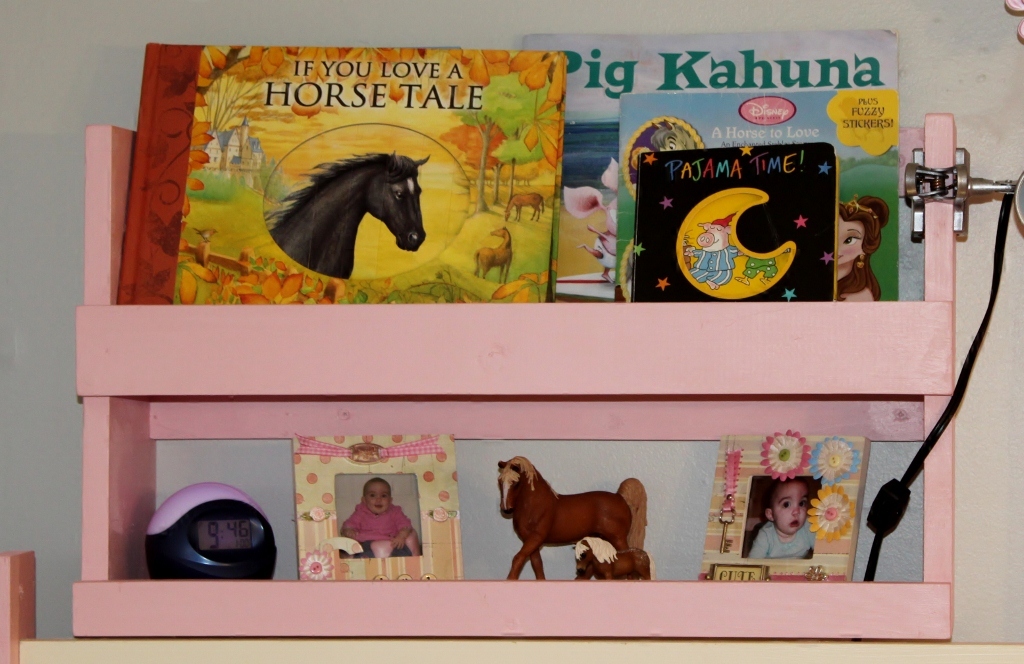
I had just finished my daughter's playhouse loft bed when I saw this plan. It was super easy to build and I used all left over wood from the playhouse. I used 6-inch boards for the sides and shelves since that was what I had left over. Other than that, I followed this plan exactly. Thanks for posting!

Built from Plan(s)
Estimated Time Investment
An Hour or Two (0-2 Hours)
Recommended Skill Level
Beginner

Comments

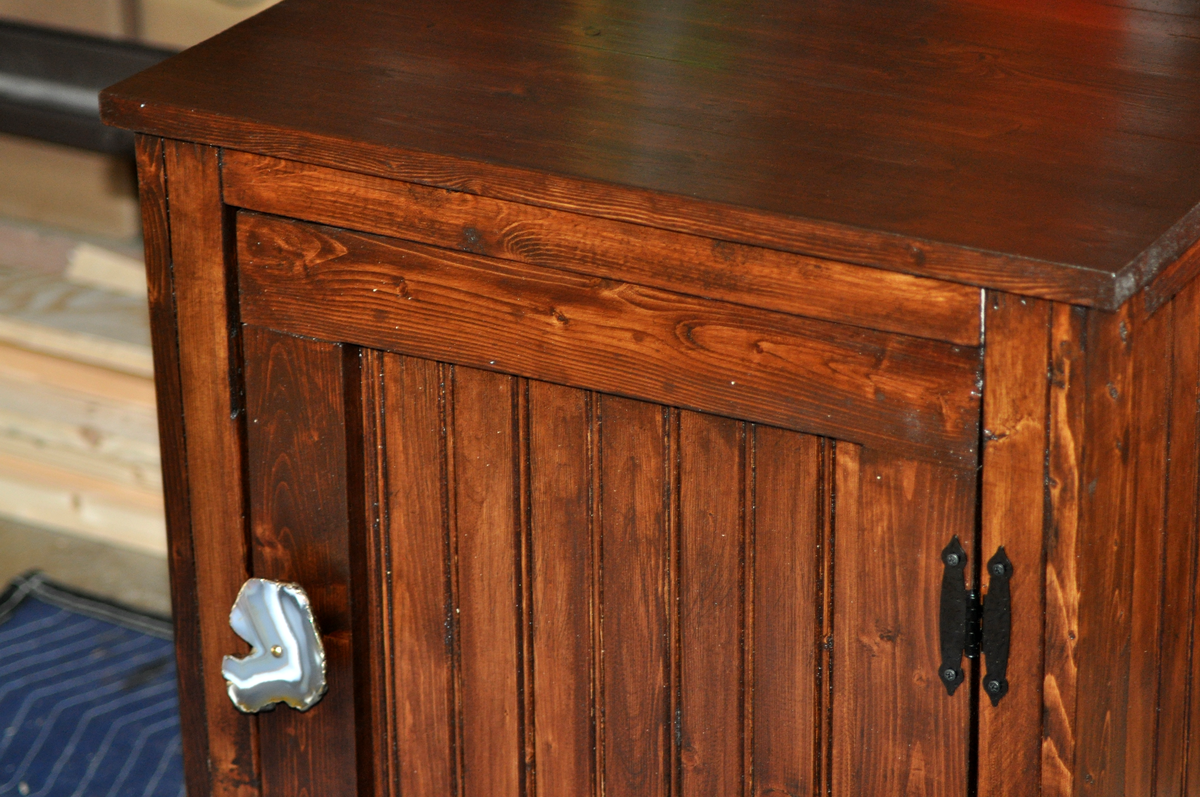
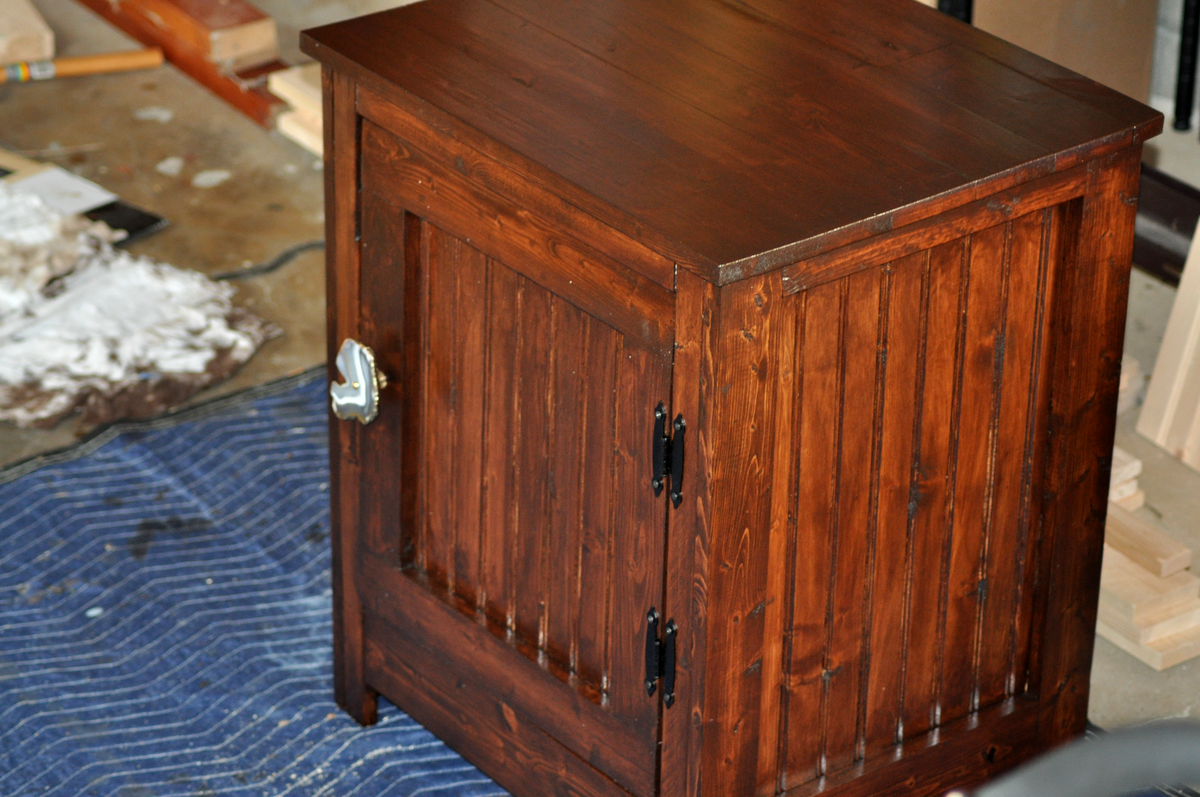
Kentwood side table (Restoration Hardware Kenwood nightstand)

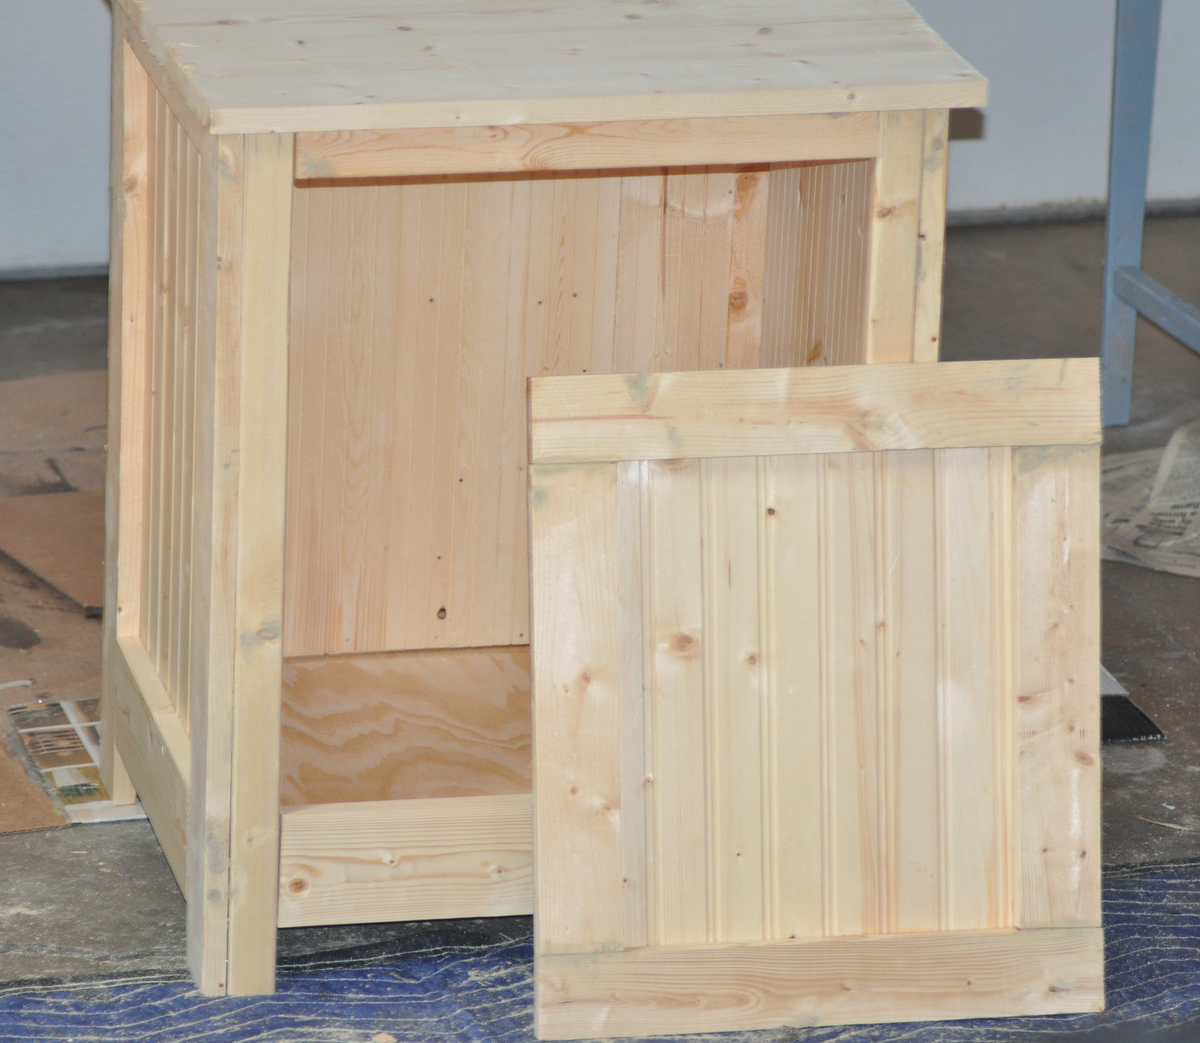
I DO NOT have a Kreg Jig. If you don't have a Kreg Jig, I recommend purchasing small mending plates. I got mine at Walmart, they were $1.77 a 4 pack. I do not recommend using 3 inch nail screws and trying to get them in super straight. While it worked for 3 face frames, the last frame I just could not get to work (maybe I was getting tired). Speaking of tired, I mostly build in the middle of the night while my family is sleeping. If you look closely, I put the 1x2 26 1/2 inch pieces on the front and back frame. Wah wah.... I had to add an extra 1x2 across the top and re-size the 3/4 inch plywood on the bottom.

I'm pretty sure everything went wrong for me with this build but I wasn't going to let a nightstand beat me!

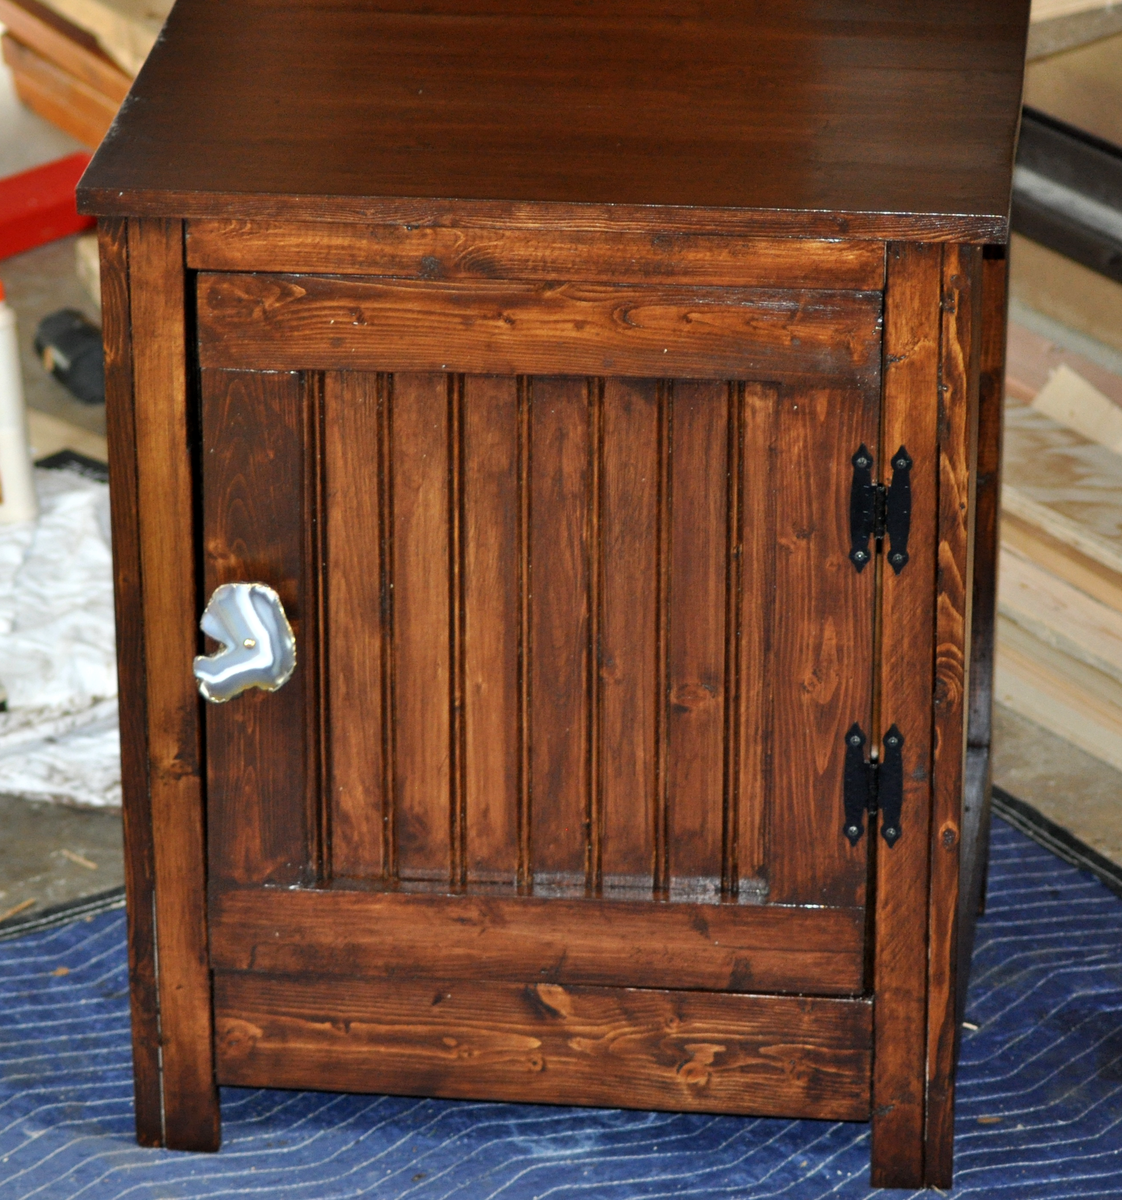
In case you are wondering, the cabinet pull is from Anthropologie. I haven't decided whether or not it's too fabulous for this piece.

Estimated Time Investment
Weekend Project (10-20 Hours)
Finish Used
Ha. I stained it with Minwax Gel Stain in Aged Oak and then my husband wanted dark dark dark so I did 2 parts Minwax Wood Finish in Dark Walnut to 1 part Minwax Polyshade in Bombay Mahogany. Then somewhere along the lines I sanded it all down, put mineral spirits on it and stained it with Rustoleum Dark Walnut. I touched it up using Minwax Gel Stain in Dark Walnut. Then finished with Minwax Polyurethane in Satin.

TLDR: I could never reproduce this color again. Ever. That is all.
Recommended Skill Level
Beginner

Comments

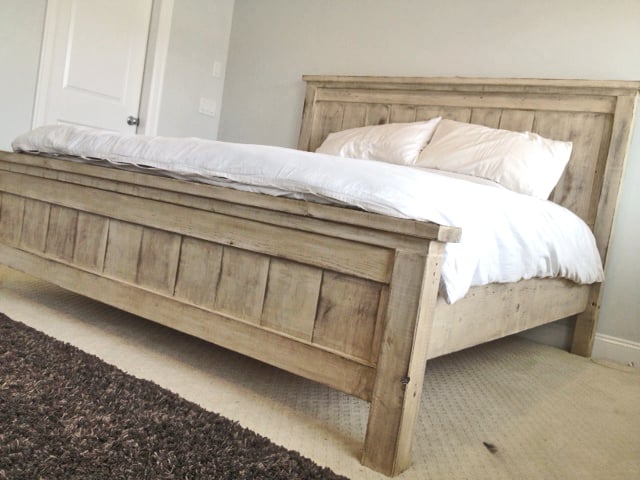
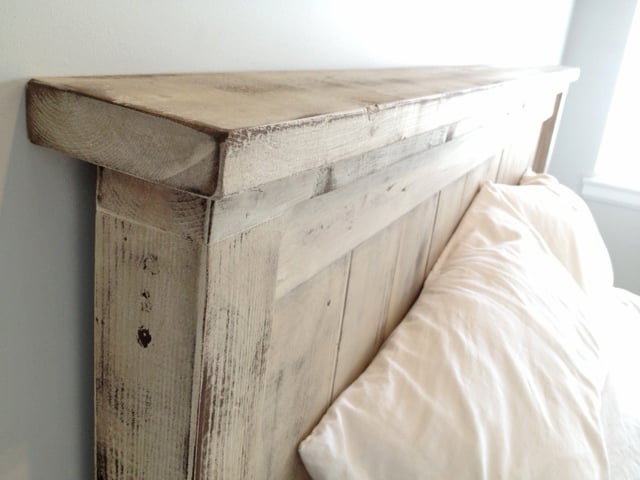
King Farmhouse Bed

Submitted by jhavinga on Thu, 05/22/2014 - 16:31

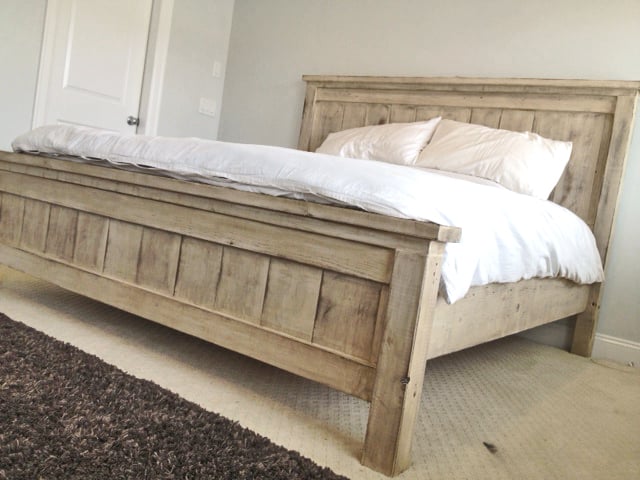
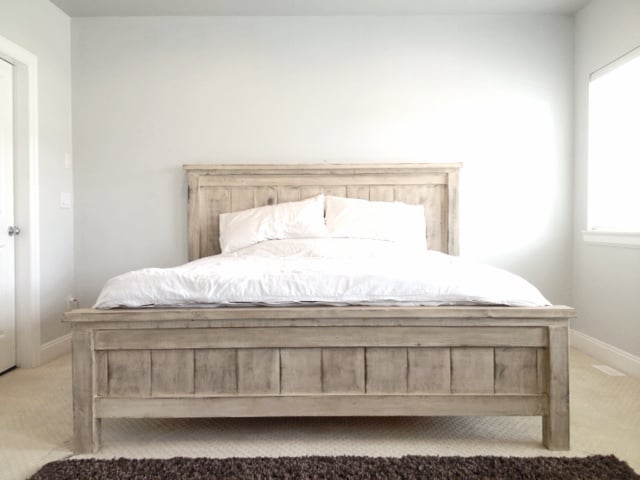
Second project ive completed from Ana White, and I am very happy with how this bed turned out! The only thing I would fix would be the finish, I wanted it a bit whiter. not so creamy. Otherwise very quick and easy fun project to do. =)

Estimated Cost
$300
Estimated Time Investment
Day Project (6-9 Hours)
Finish Used
1 coat of a basic latex white paint.
Then I sanded down just so raised grains would become exposed.
1 coat of dark walnut stain (wipe on with cloth)
Done.
Recommended Skill Level
Starter Project

Comments

jhavinga

Thu, 05/22/2014 - 16:34

Thank you for sharing all of these awesome projects. I was always hesitant when it came to wood, but now I cant seem to stop!

jhavinga

Wed, 06/11/2014 - 13:43

(You can do all this before or after your project is put together or not.)
Be sure to do a test piece before hand so you can see exactly what your getting :)

The first step I did once the head board and foot board were put together, was to sand any sharp edges or corners. I liked mine rounded and worn looking. I did not sand anything else.

Second step is to paint 1 even coat of a basic white latex paint.

Third step is to sand away some white paint. because we didnt sand it before hand the grains in the wood will be very bumpy. so the paint on the grains will sand off while the paint lower than the grain will remain. makes sense? hopefully i explained that right!

Fourth step is to now wipe on the stain of your choice. I went with Dark walnut. It stains the paint a bit bringing the white to a gray/brown tone. and stains the wood dark walnut so the grain patterns show up dark.

Let me know if you have any other questions and good luck!

jbogan15

Thu, 01/29/2015 - 07:49

What grit of sand paper did you use to sand off the white paint? and did you sand it by hand? Also, for the dark walnut stain, did you wipe off immediately or leave it on for a bit before wiping? Beautiful bed, I want to achieve this look!

In reply to by jbogan15

jhavinga

Fri, 02/06/2015 - 09:15

Hi jbogan15, thank you!
For sanding I used a palm sander with 120 grit to get the job done a bit quicker, than went over lightly with 220. When staining I actually just dipped a rag in the stain and would wipe the stain on. =)

Good luck!
Justin

kosborn

Fri, 01/27/2017 - 11:05

Love this look! Exactly what I am trying to achieve...A few questions about the side rails. How high did you connect them to the 4x4 posts and exactly how did you connect them? Did you use brackets or screw right into the posts? Thank You!

barkleyl

Thu, 09/05/2019 - 15:07

I have seen several beds from Anna White. I was wondering if the frame require a box spring mattress or not. If not, are the beds lower than what a traditional mattress and box springs are. Thanks ! 

Wooden Cooler Stand

Submitted by dlewis39 on Mon, 08/18/2014 - 06:36

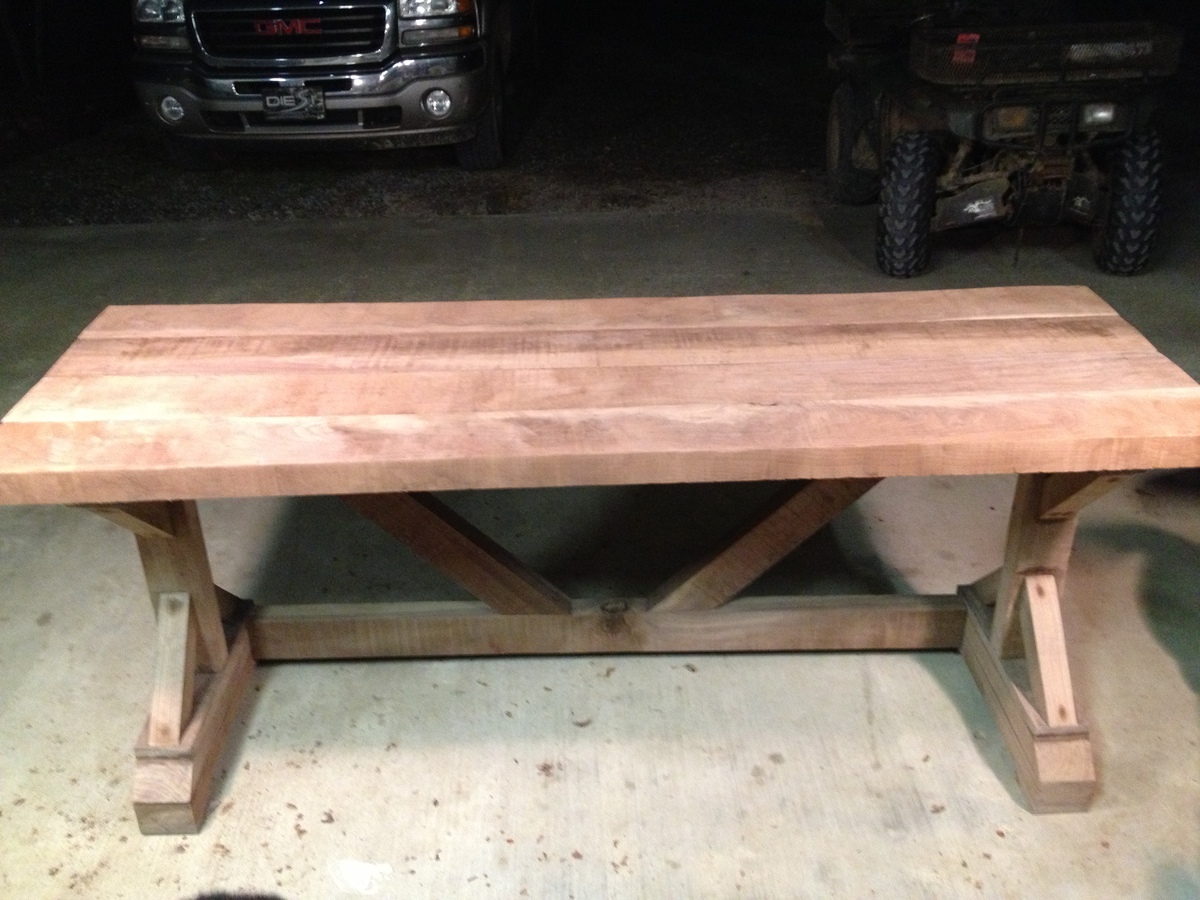
We built this as a birthday gift for family members and boy were they excited. We, though, were not excited to let it go. So happy with how it turned out. The plans are good for reference but make sure to make your own measurements when using milled lumber from a big box store. Some of the the changes we had to make on the fly were to the back and front panels having to use a different combination of board sizes to fill it in without massive gaps. Its recommended that you lay them out first before attaching them to the frames. Also the measurements on the cooler lid were smaller by 1/4" to 1/2" of what's listed in order to get a snug fit. The shelf on ours is two 1x6's cut to the width of the whole project (around 16.5") and then the shelf brackets were also 1x6's cut to a length of 10". Brackets are mounted inside the legs using wood glue and three 2.5" screws through the backside/inside of the cooler box to hide (obviously done before the cooler was inserted). For drainage we attached a 2" piece of 1/2" inside diameter clear tubing that was fed/jammed through the cooler drain and pulled through the other side and then a 1/2" push on adapter, threaded on the other end screwed unto a 1/2" faucet head. Drilled a 3/4" hole about 2.5" (center mass) from the 2x4 cooler base through the middle piece on the side. We placed the cooler in first and used a pair of pliers to grab the clear tube and line it up with the hole and then pushed a long screw driver through the tube from inside the cooler in order to guide the faucet head/adapter combo into the tube and stiffening the tube so it didn't collapse when pushing it on. We couldn't decide what do to with the center display piece and then remembered we had a can of chalkboard spray paint left over from another project. We spray painted the whole menu board and then painted the "logo" at the top before clear-coating it with a protective enamel. Its a snug fit so the pressure holds it in place but you could also use velcro strips on the back if that tickles your fancy. We took the snug fit route that way if they didn't want the menu board in. A 1/2' hole was drilled towards the top so they can use a finger to pull the board out.
Built from Plan(s)
Estimated Cost
$70 + the cost of beer to fill it
Estimated Time Investment
Weekend Project (10-20 Hours)
Finish Used
Custom mix of Minwax American Pine and Rustoleum Kona. Paint
Recommended Skill Level
Beginner
Seasonal And Holiday

Benchright Round End Tables

Submitted by DWL on Sat, 08/30/2014 - 21:06

This project was a challenge because of the instructions regarding the "recommended" pocket holes for the aprons. I soon realized you can't put a 3/4 pocket hole on a 45 degree mitred edge, and when I adjusted the depth of the pocket hole, I could not for the life of me screw it into the legs without the apron getting sucked past the edge of the legs. I ended up putting the pocket screws on the outside which I know is a major faux pas for wood workers, but because I used Kreg wood plugs and painted it, you can't see the little ovals where the screws are.

The photos are just for scale. The little girl is a big 2 1/2 year old, and the dog is not a St. Bernard.

We love the table and it works great for baby brother's room.

Thank you Ana for another great project!

Built from Plan(s)
Estimated Cost
$50
Estimated Time Investment
Day Project (6-9 Hours)
Finish Used
Gripper primer and Semi-gloss paint
Recommended Skill Level
Beginner

Ana's Easy DIY Garage Workshop Workbench

Submitted by Cwrex on Sat, 09/12/2020 - 12:56

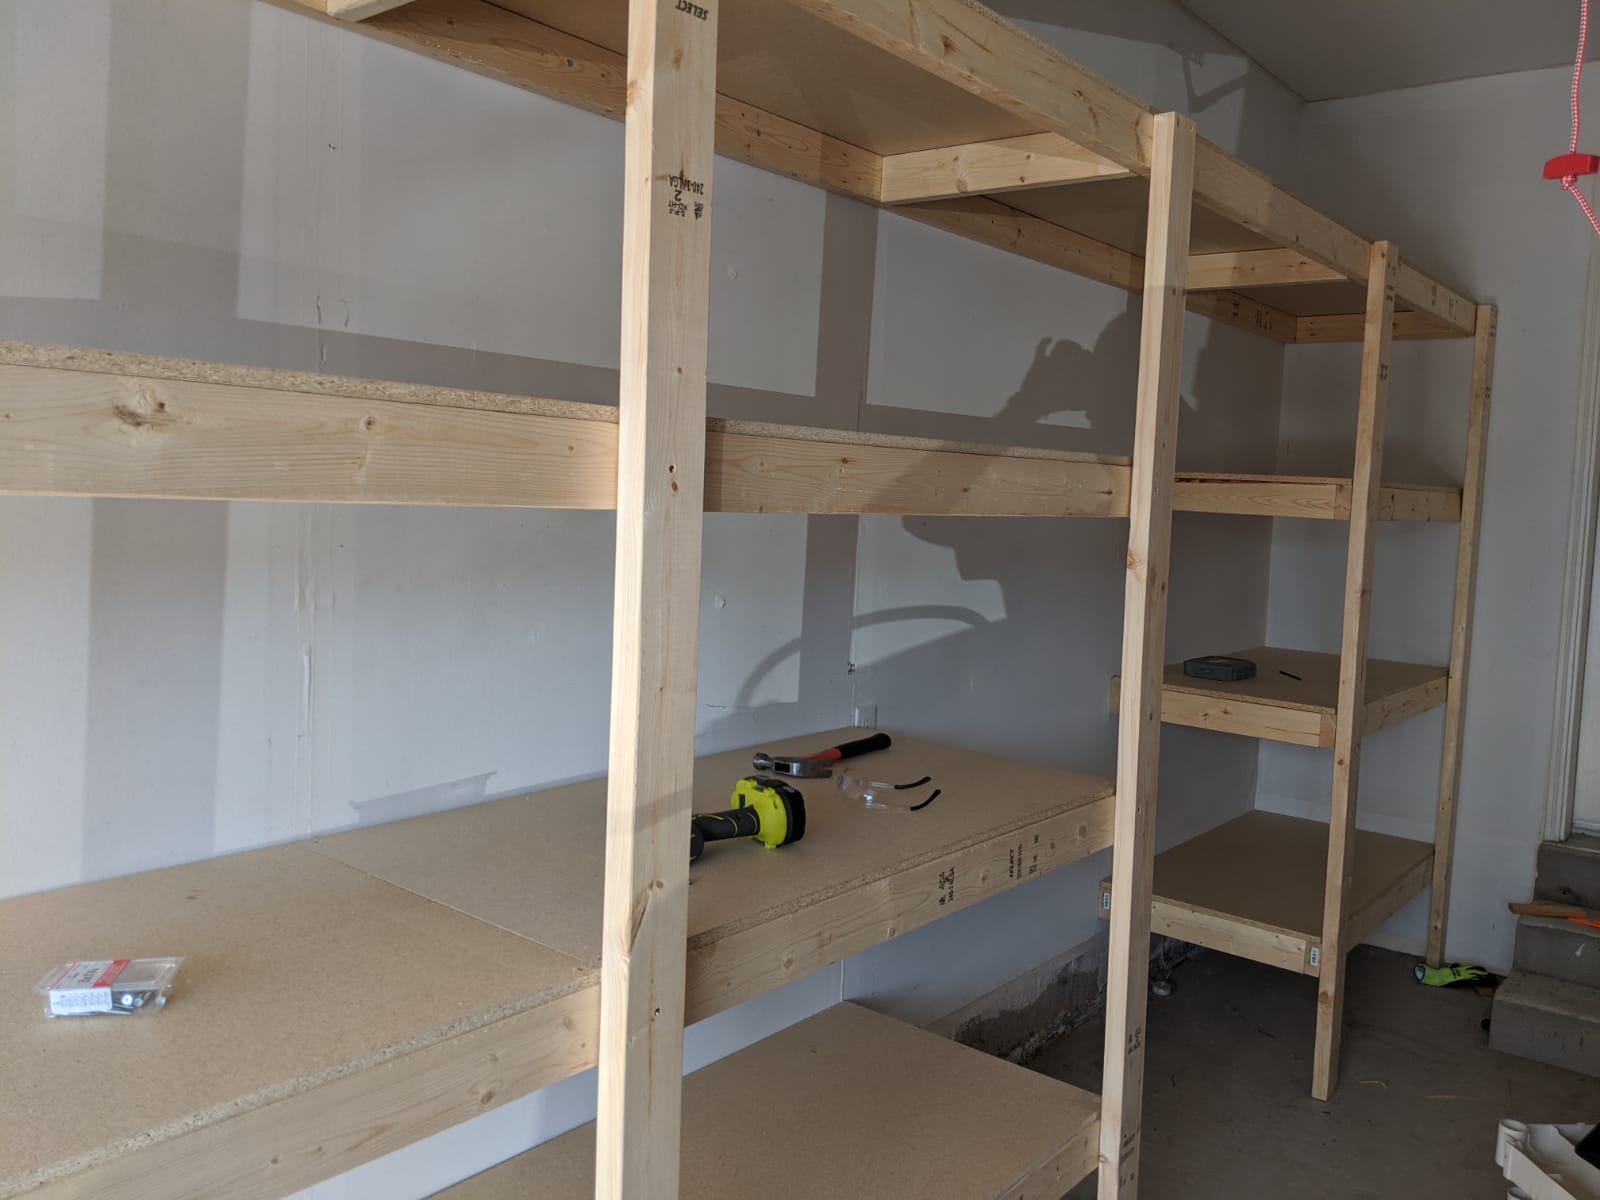
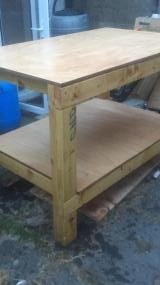
Thank you Ana. As this is for outdoors -I used treated wood and Marine Ply - a fair bit more expensive. I followed the instructions to the letter - ordered the timber, did all the cuts and then began putting together. At that point I realised that treated Irish 4x2 is different to Alaskan standard 4x2! No worries though - as the instructions were well laid out and easy to follow - I only needed to cut an additional 1/2 an inch (aprx) off the 8 &1/2 pieces and a minor adjustment on the bottom shelf. A big, big thank you. Even though it was a fast build i've learned so much from it. It has a lovely logic and is very pleasing for the soul. I'll be retiring the white fold-up table in the 2nd picture - if you look carefully at it you will see the mark-up (jig marks) for artist easels. I hope your family has got through the health crises safely. If ye are ever in Ireland - come visit Waterford and give me a shout. Thanks again - Conor

Estimated Cost
€165
Estimated Time Investment
Afternoon Project (3-6 Hours)
Finish Used
Loads of Ronseal oil based preservative stain (on everything! the clothes, ground, cat etc).
Big Tip: The carpenters motto 'measure twice - cut once' should extend into your ordering. Treated 4x2 in Ireland is a different size to standard 4x2! In future I will measure the timber before I measure for cutting!
Recommended Skill Level
Beginner

Shoe cabinet!

Submitted by JMasters on Thu, 01/26/2017 - 13:43

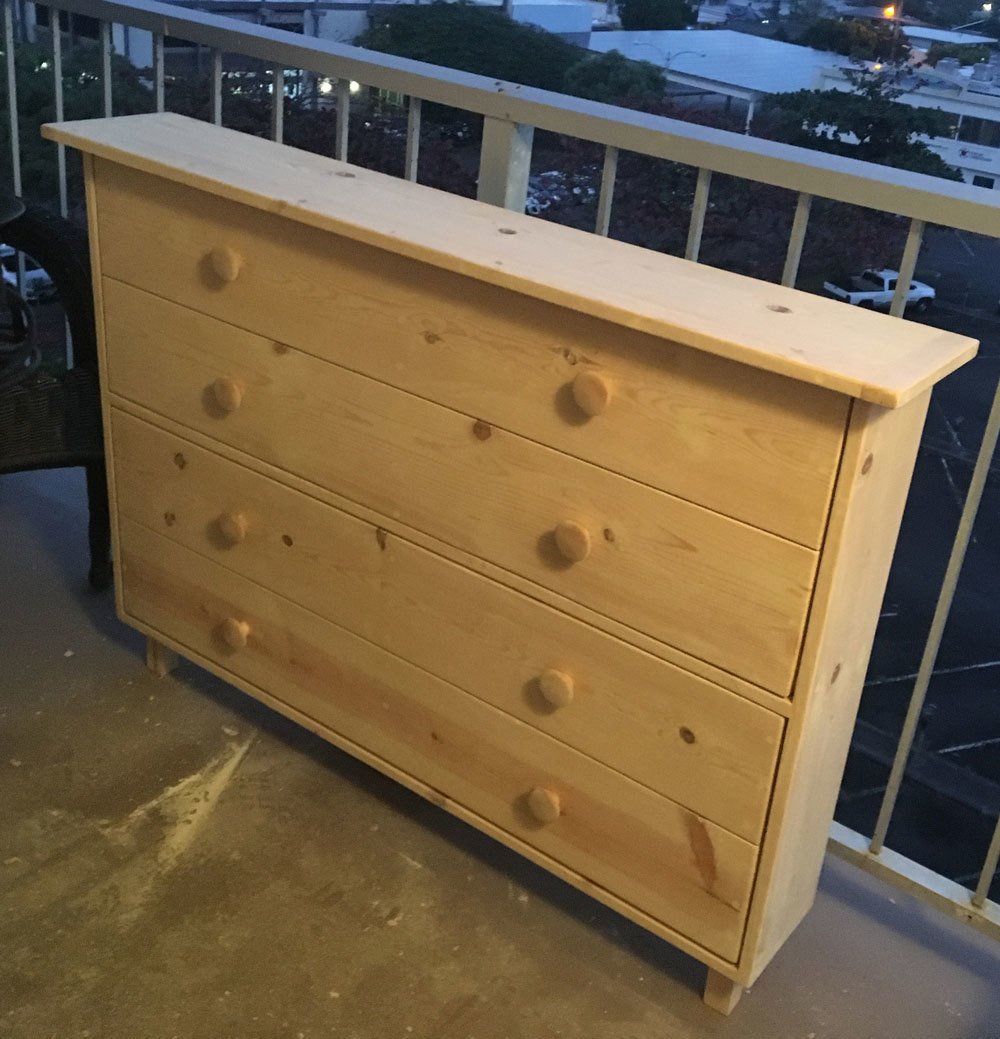
Created my own version out this plan. 

Built from Plan(s)
Estimated Cost
$80
Estimated Time Investment
Weekend Project (10-20 Hours)
Recommended Skill Level
Intermediate

Pantry Cabinet

Submitted by 3G1B on Fri, 11/27/2020 - 07:33

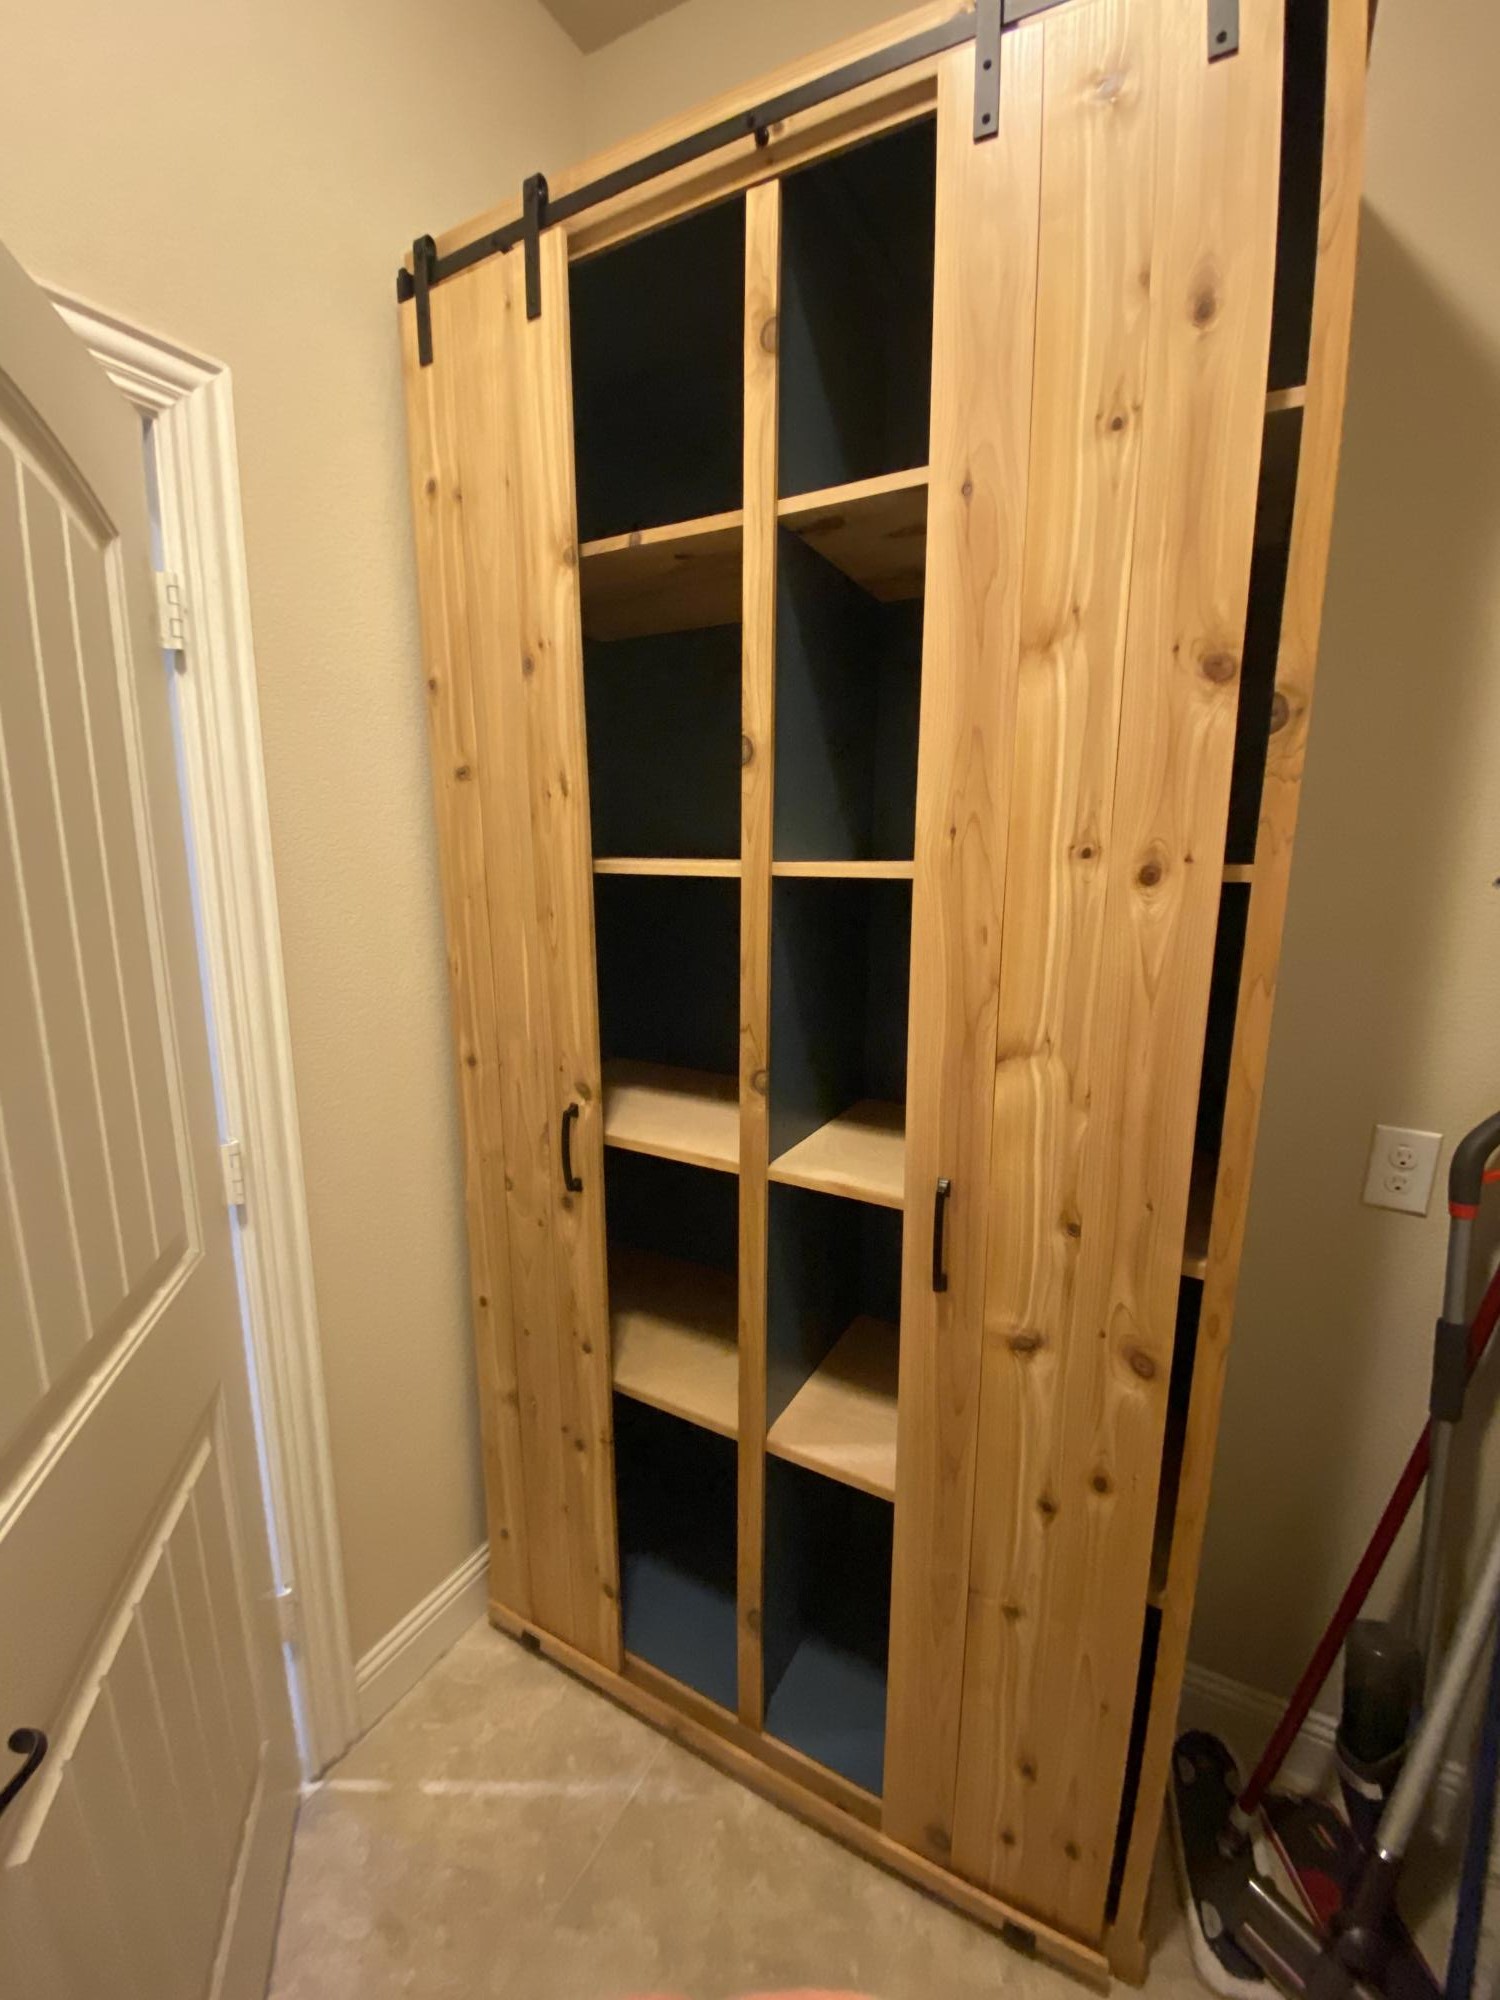
Had to re-size from the plans to fit my space, but my wife loves the extra storage we now have in the laundry room. Put in adjustable shelves.

Built from Plan(s)
Estimated Cost
300
Estimated Time Investment
Week Long Project (20 Hours or More)
Recommended Skill Level
Beginner

Comments

Christmas done!

Submitted by Anonymous (not verified) on Sun, 12/13/2020 - 11:22

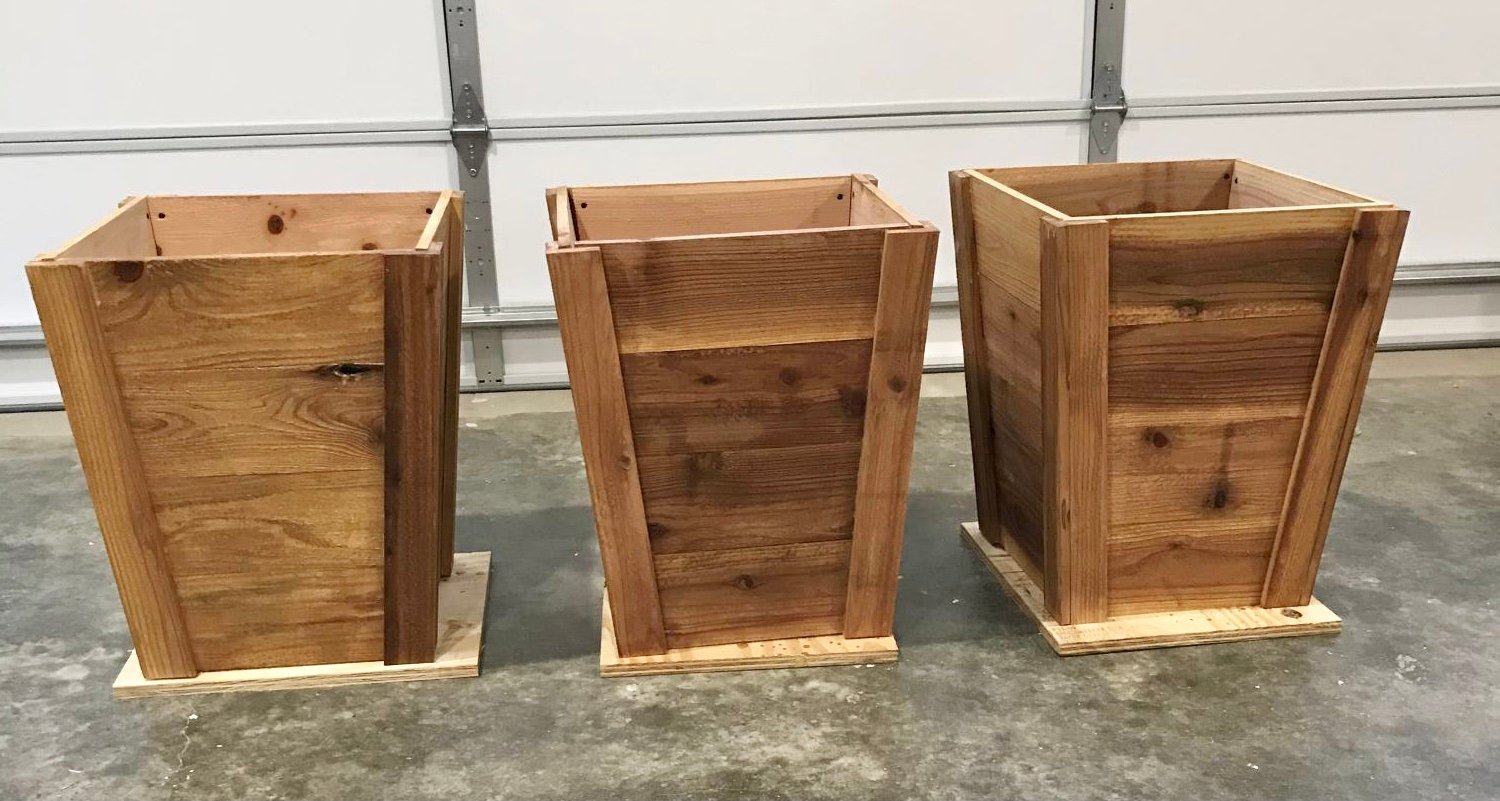
I made some for me but didn’t use cedar for the 1x2 and 1x2.5. This time I ripped the pickets for those and love how these came out. I may be making me some more in the future.

Built from Plan(s)

Comments

fancy x desk

Submitted by jamesryan9 on Fri, 02/01/2013 - 01:31

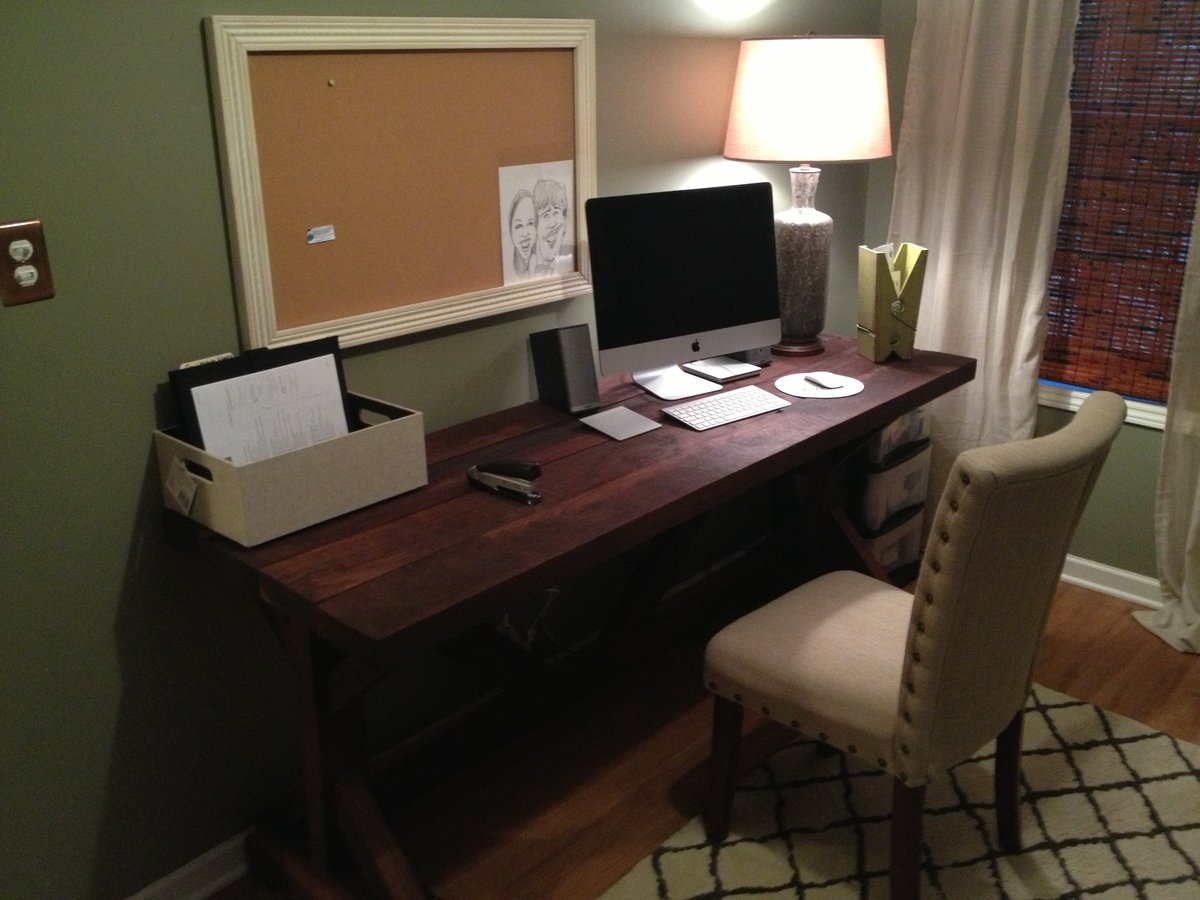
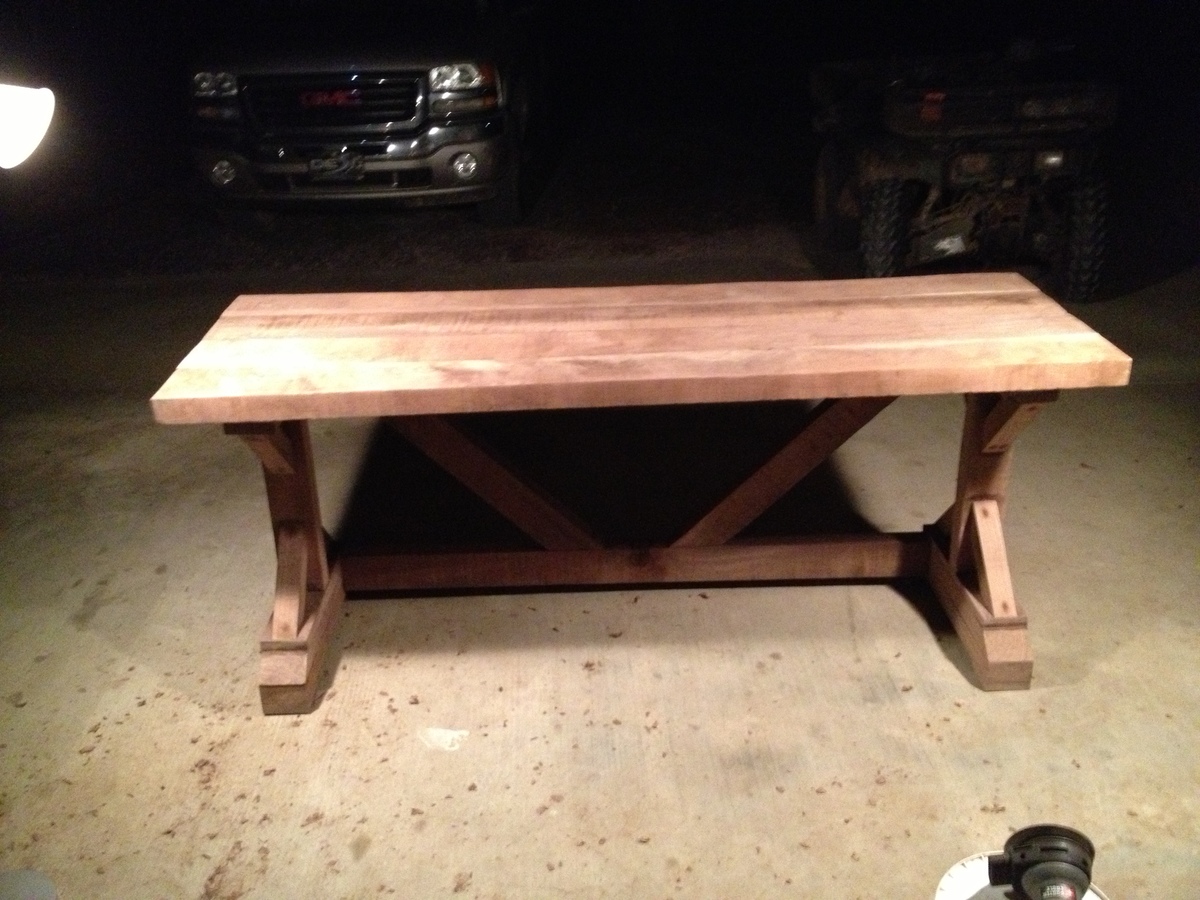
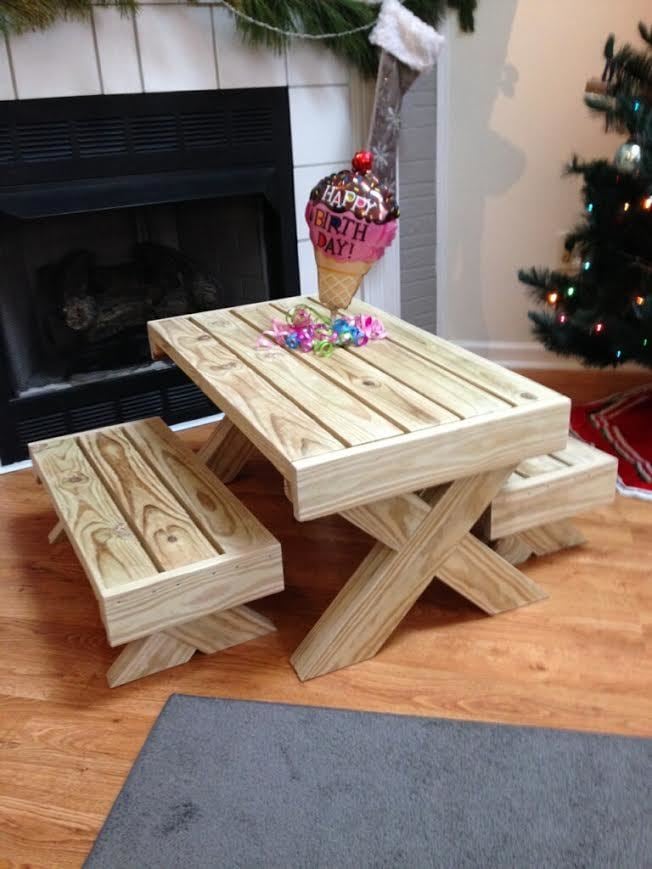
I chose to make this great looking desk out of Walnut wood. So, obviously its not the $55 dollar fancy X desk that Ana White has posted, but it does share the same design. We were looking for a heavy, sturdy, and large desk for our office and I simply added linseed oil to bring out the natural beauty of the Walnut wood. Thank you so much Ana for giving me the tools I needed to complete this project. Feel free to email me or message me if you have any questions, comments, or suggestions. [email protected]. Thanks
Built from Plan(s)
Estimated Cost
$400
Estimated Time Investment
Weekend Project (10-20 Hours)
Finish Used
I applied Linseed Oil and followed the directions on the back. I let it soak into the wood for 5-10 min and wiped off the excess with a cloth. I sanded some areas very fine and reapplied the linseed oil in certain places until I found the look I was searching for.
Recommended Skill Level
Intermediate

Farmhouse table

Submitted by Miaya39047 on Sat, 02/16/2013 - 21:15

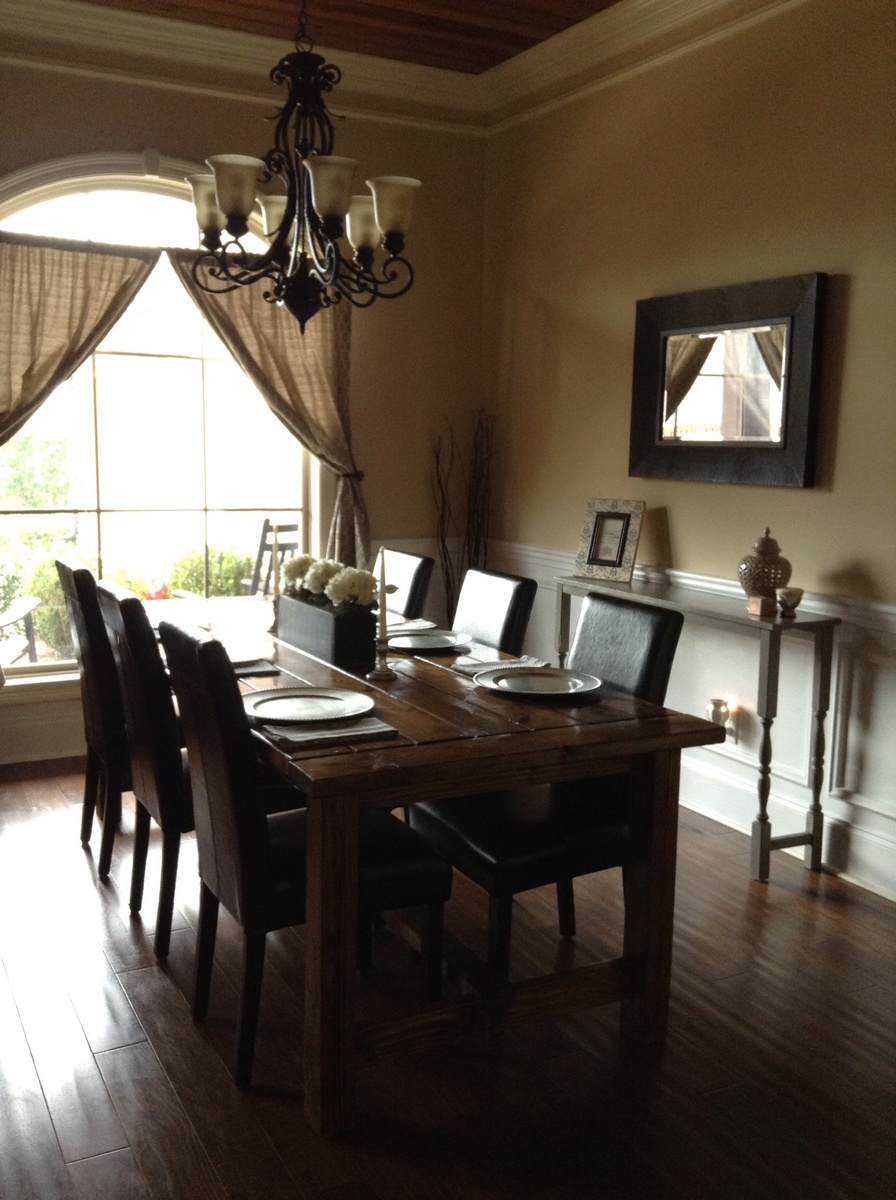
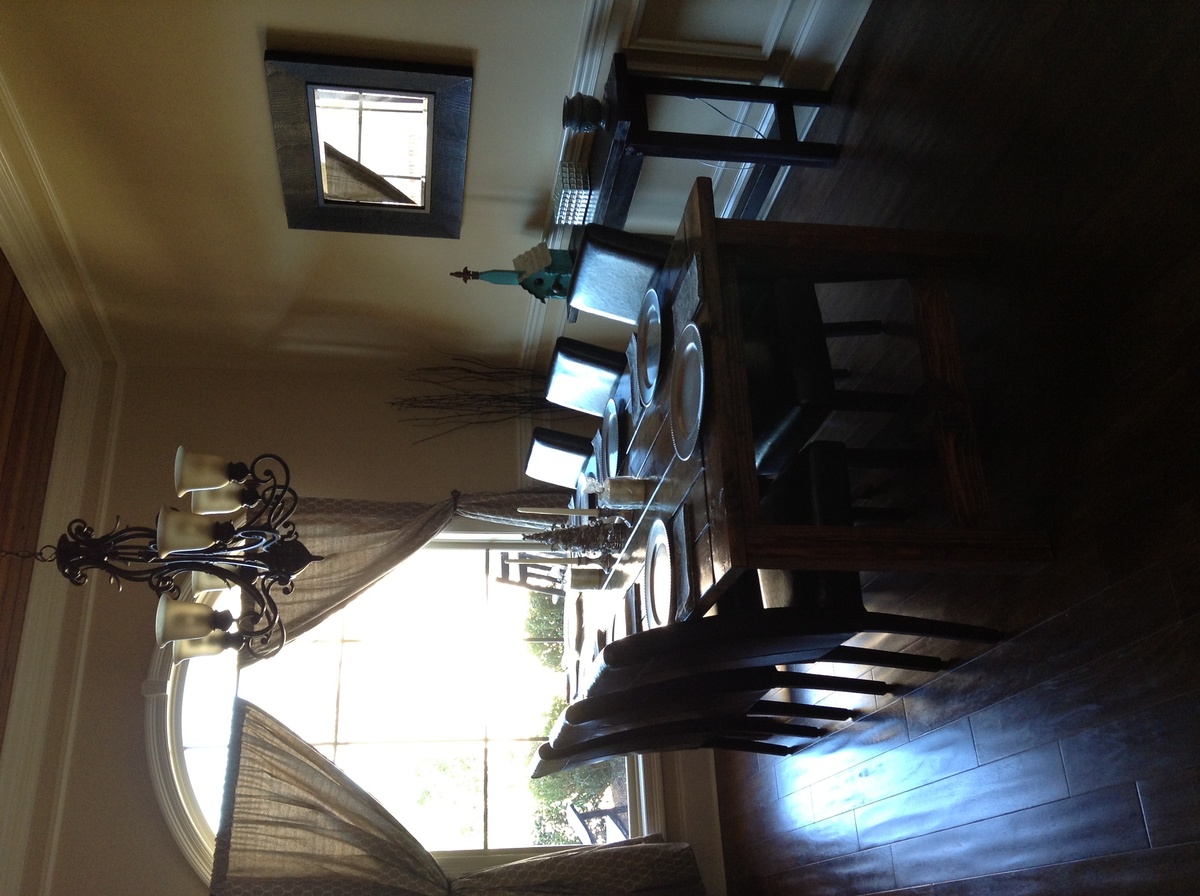
The table took us about 6 hours to cut and put together. The cost was about 65.00. I used the walnut min wood station and did 2 coats. Lots of coats of polycyrlic. Love this table.

Estimated Time Investment
Afternoon Project (3-6 Hours)
Recommended Skill Level
Beginner

Comments

Counter Height Pub Table

Submitted by adecesare4 on Mon, 02/18/2013 - 10:59

After searching for a table i liked in stores the ridiculous prices for real quality tables made me just resolve it by building one myself. I have three boys under 10 so i knew I also wanted it to be sturdy and resistant to as much wear and tear as possible. Therefore I chose to use oak for this project...although more expensive it is so much harder and will hopefully last longer :)

ok, so I used some examples that Ana posted and some customer projects and combined them to create this table. I also made stools to match and so thankful I did (another brag post) because they are very sturdy with no tipping factor like regular store bought stools.

I probably spend a total of $600 on the table and 6 stools, but it was swell worth it and you cant buy a table like this in the stores for less than $1200 and that is with crap laminate wood that chips and then its ruined. So I feel this was a smart investment (plus I get the enjoyment and fulfillment of making it )

I did not finish painting the leg portion yet, but love the way it is turning out...I did by the Kreg jig finally as well and it is well worth the investment! so much easy, and secure joints.

Estimated Time Investment
Weekend Project (10-20 Hours)
Finish Used
Rustoleum Traditional Cherry
Minwax Polyacrylic
Recommended Skill Level
Intermediate

Big Kids Picnic Table

Submitted by gsnpbc on Mon, 04/24/2017 - 10:00

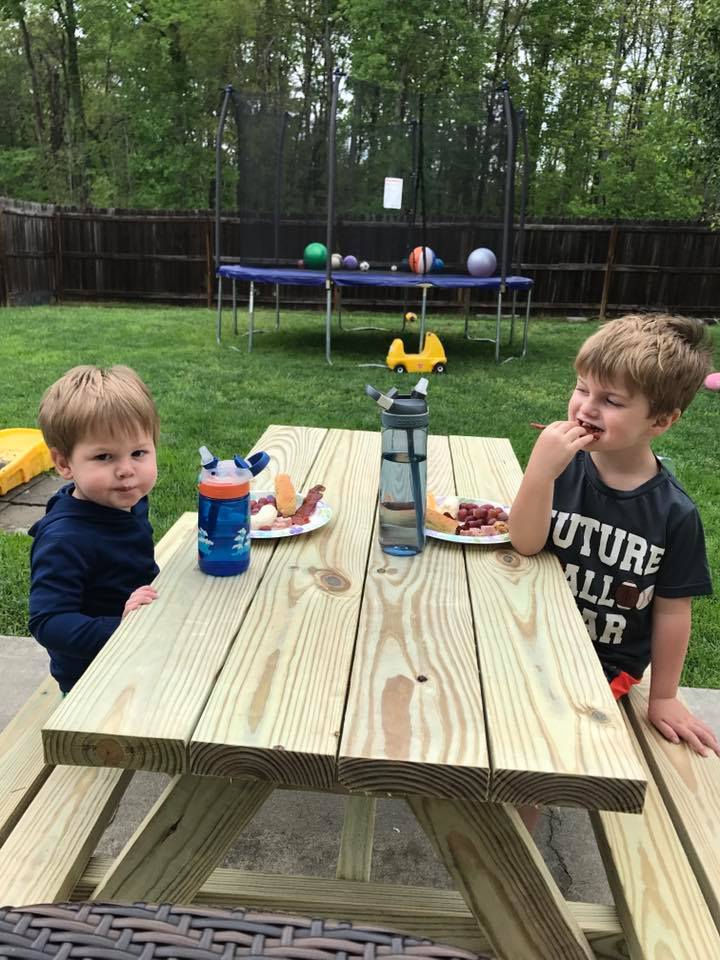
My son and I made this table this weekend in just a couple of hours with no problems. The directions were clear and easy to follow. Thank you for sharing them with us.

Built from Plan(s)
Estimated Cost
$40
Estimated Time Investment
An Hour or Two (0-2 Hours)
Recommended Skill Level
Beginner

Rolling Cart with Casters

Submitted by writeaway on Thu, 02/05/2015 - 19:27

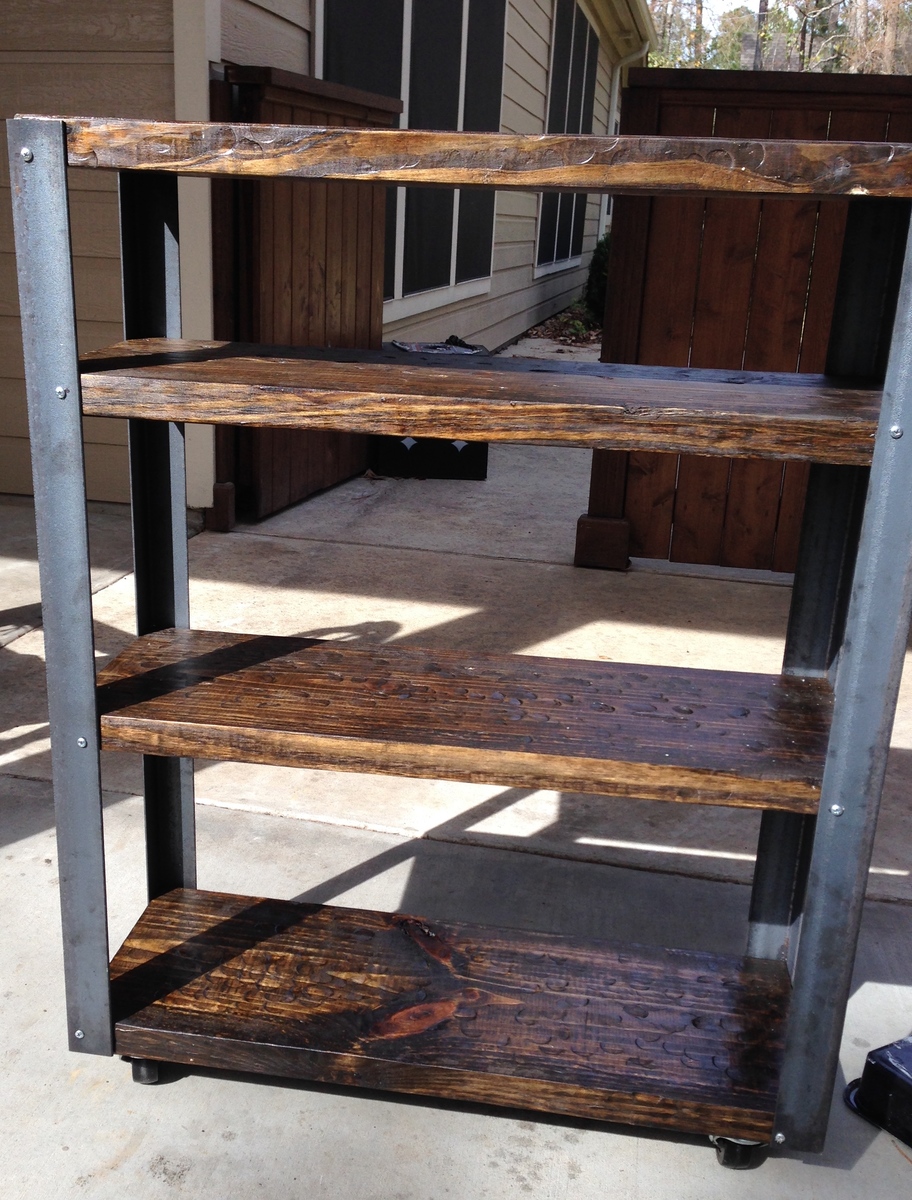
I LOVED this plan for a cart.  I was looking for a cart to hold my heavy mixer and be able to roll in and out of my pantry. In addition to Ana's plans,  I enlisted my 3 sons to hammer the wood to make it look rustic.  Instead of aluminum angles, I used steel angles and I used a 36 inch height to accommodate more shelves. This is one SOLID cart.  I absolutely love it!  Thank you for the inspiration!

Built from Plan(s)
Estimated Cost
$100
Estimated Time Investment
Afternoon Project (3-6 Hours)
Finish Used
Minwax Stain-Espresso (Home Depot)
Polyurethane Sealant
Recommended Skill Level
Beginner

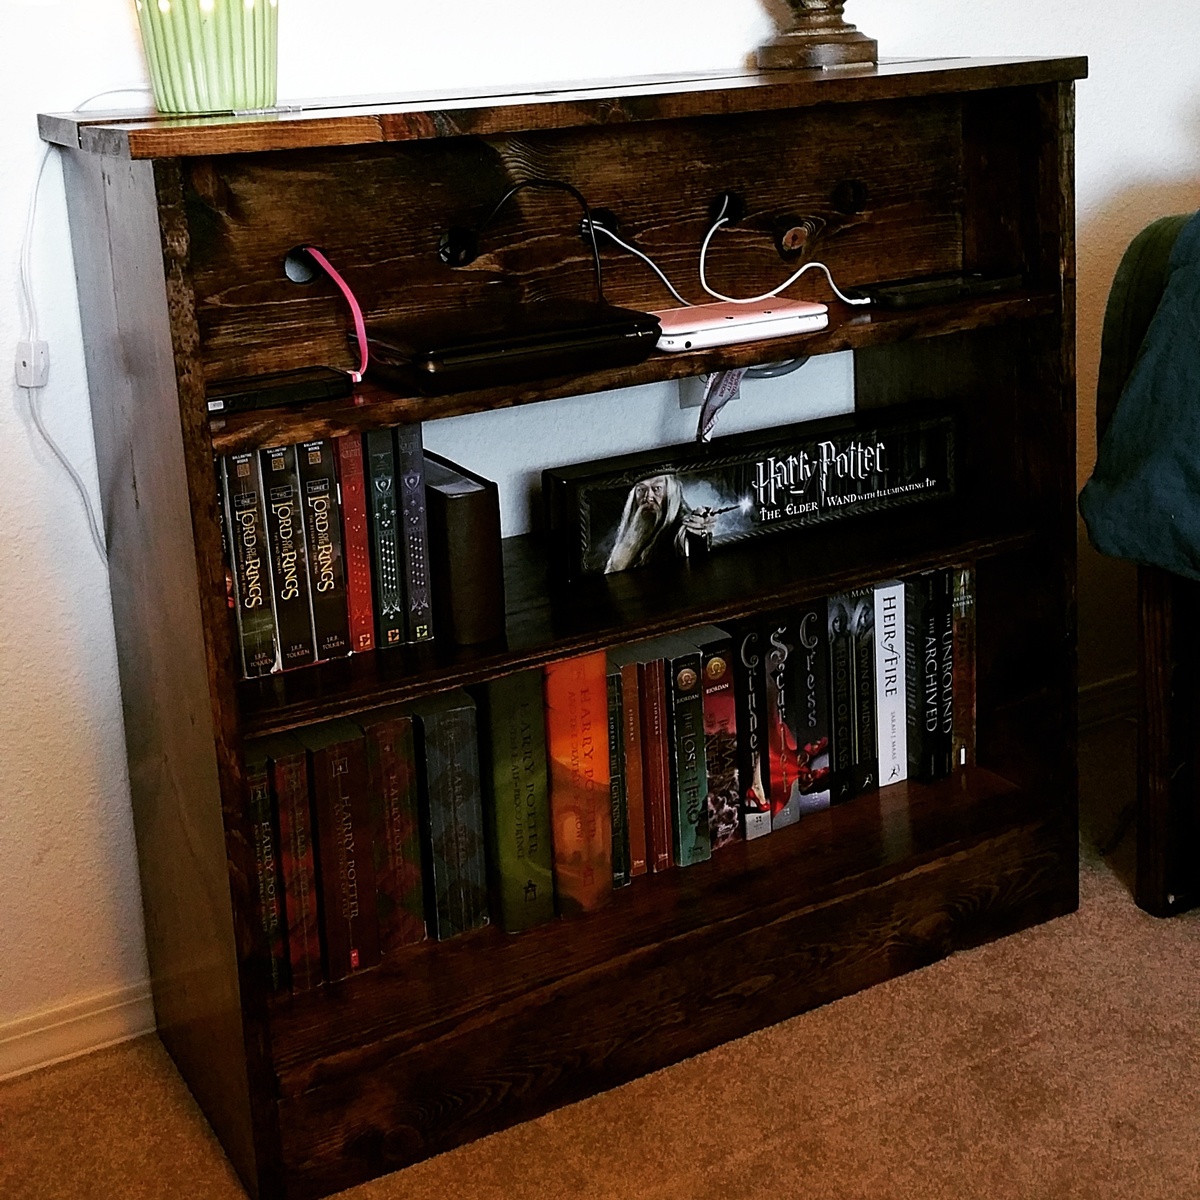
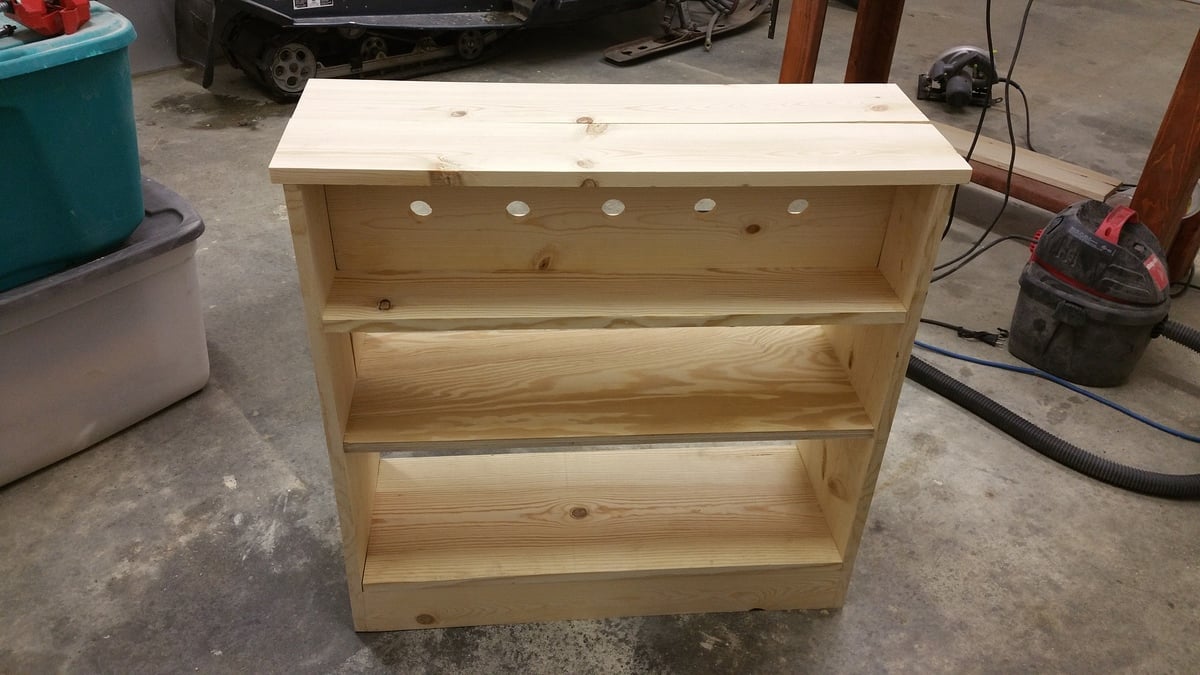
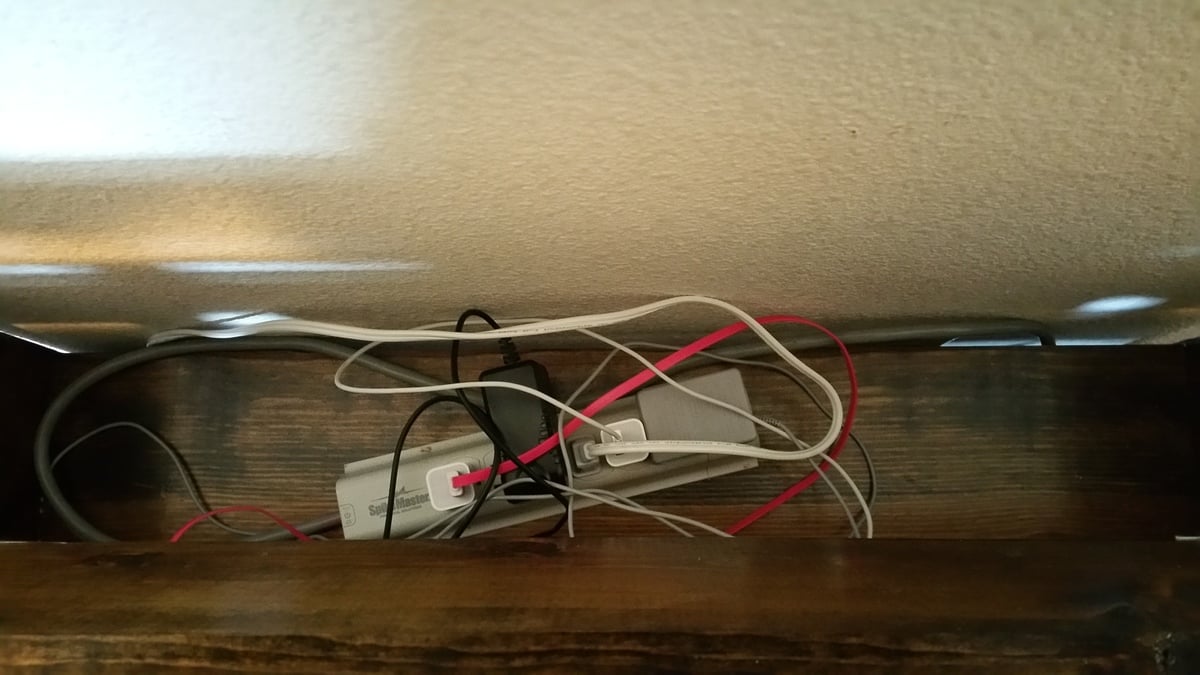
Charging station/nightstand/bookshelf

I made this a little bit taller and left off the doors since what we really needed was more bookshelf space. I'm very happy with the way it turned out!

Estimated Cost
$50
Estimated Time Investment
An Hour or Two (0-2 Hours)
Finish Used
Dark walnut and two coats of semi-gloss polyurethane
Recommended Skill Level
Beginner