Community Brag Posts

Rustic X Farmhouse Coffee Table with Storage

Submitted by Anonymous (not verified) on Sun, 02/05/2023 - 08:54

This project was made from reclaimed wood from my office where they had built a temporary safety railing out of 2x4s and 2x6s. I added a compartment for storage. The top is stained in a classic grey. I painted the body in black followed by white. I then sanded the body to allow the black to bleed through for a distressed look.

Comments

Redwood Shower Bench

Submitted by lwarteman on Sun, 10/20/2013 - 08:33

I wanted to build a small shower bench. I used the Providence Bench Plans and just made it a bit smaller with a few adjustments. This bench is 35" long and 18" tall. I did not use the cross supports on the bottom because it was so short. Also, you will see that I turned the bottom stretcher and side supports flat/horizontal. I put the screws for the seat boards through the top down just because this was the easiest way for me to do it. The plans did not show in detail how to attach the seat boards from the underside. It just said "finally, the seat boards." I guess they probably used a pocket jig. I bought a pocket jig and used it in the couple of places, but this was my first time using it. I used brown, coated decking screws in the places I did not use the pocket screws. This was my first attempt at building anything and my first time to use a pocket jig. I used a natural wood stain and Behr Weather-Proofing since it will be in a wet area.

Built from Plan(s)
Estimated Cost
$20
Estimated Time Investment
An Hour or Two (0-2 Hours)
Finish Used
Behr All-in-One Stain and Weatherproofing in Cedar Naturaltone (No. 5533). Because this is going to be in a wet area, I put 2 coats on and let each one dry 12-24 hours in between and before getting wet.
Recommended Skill Level
Beginner

Cedar Ladder Planter

Submitted by Anonymous (not verified) on Wed, 07/13/2016 - 10:51

I followed the plan directions to a "T" and it worked out so well! This projects gives me joy everytime I walk up my front steps. Thanks!

Estimated Cost
$30
Estimated Time Investment
Weekend Project (10-20 Hours)
Recommended Skill Level
Beginner
Seasonal And Holiday

Simple modern outdoor chair modified to match my porch.

I built a set of these chairs based on Ana's simple modern outdoor chair. I wanted it to match my front porch which I built a few weeks ago. Thank you for the plans.

Estimated Time Investment
Weekend Project (10-20 Hours)
Finish Used
Still waiting for it to dry, then I will use a oak stain and outdoor polyurethane.
Recommended Skill Level
Intermediate

Comments

boneill

Wed, 07/29/2020 - 19:24

Looks awesome. Would be great to see how to do this step by step . What size seat slats did you use ?

Seasonal And Holiday

Pony Wall

Submitted by Anonymous (not verified) on Thu, 08/13/2020 - 06:17

Love your site. The 8’ pony wall I recently made was a great plan. I’m also going to build the outdoor storage plan you have. Thanks for your creativity!

Built from Plan(s)
Estimated Cost
$200
Estimated Time Investment
Weekend Project (10-20 Hours)
Finish Used
Linseed Oil

Outdoor Bar Height Table with Built-In Ice Trays

Submitted by RuthAU on Fri, 01/27/2017 - 22:11

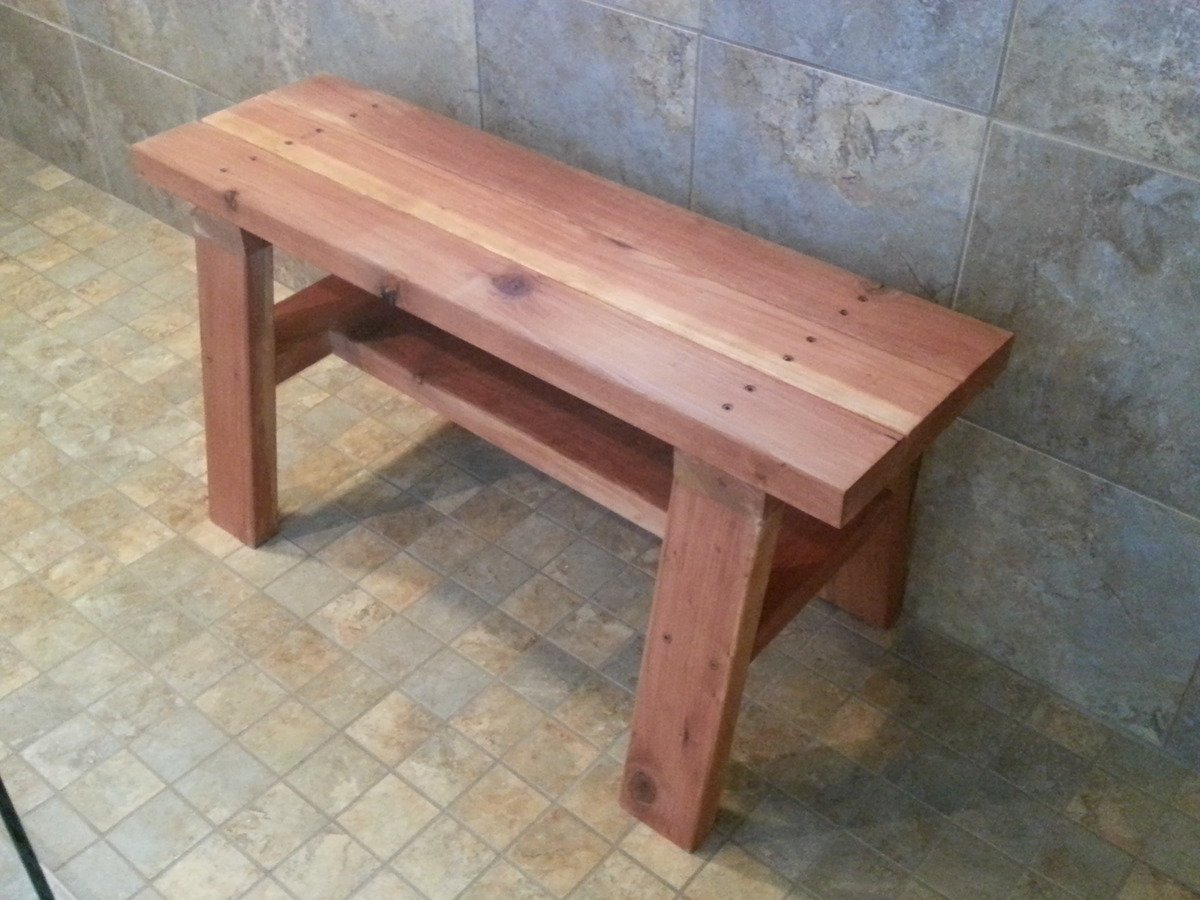
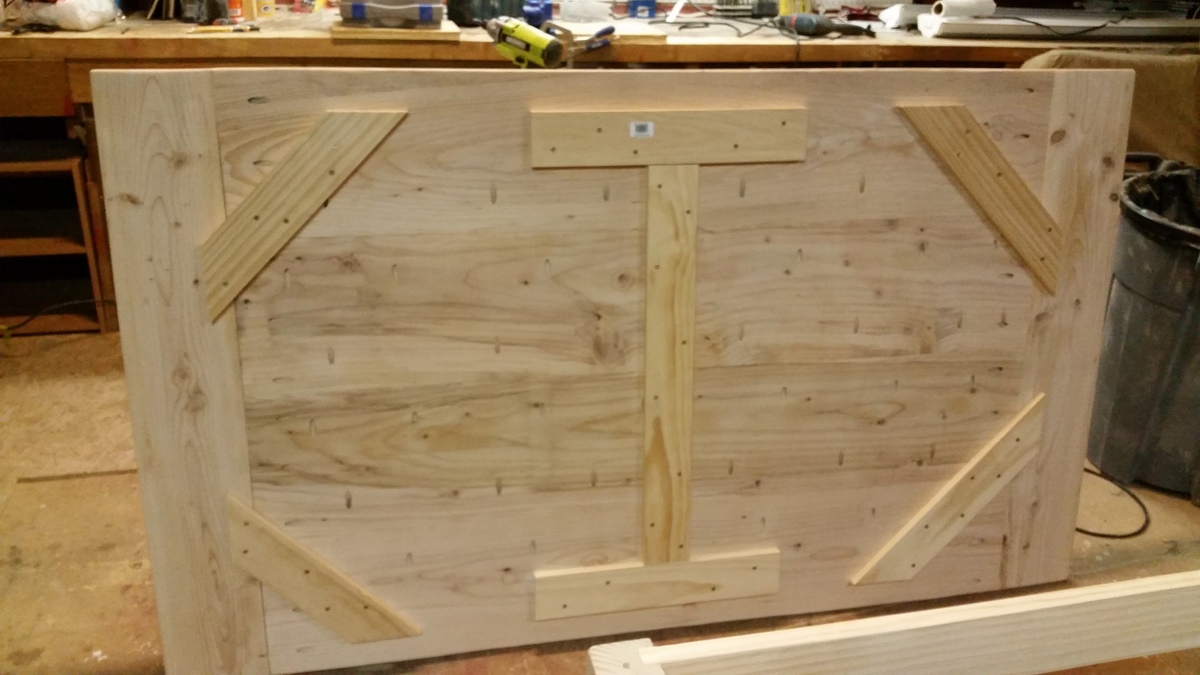
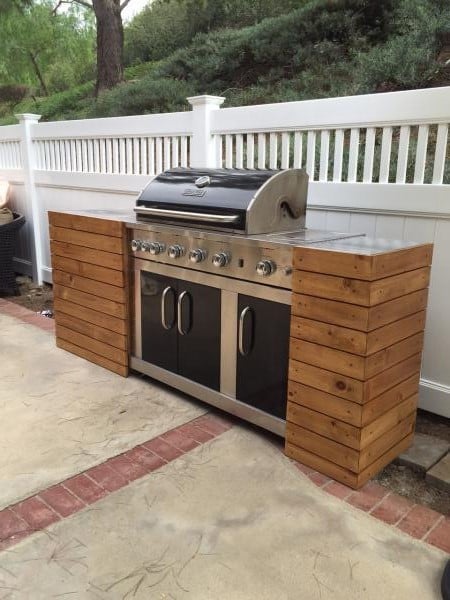
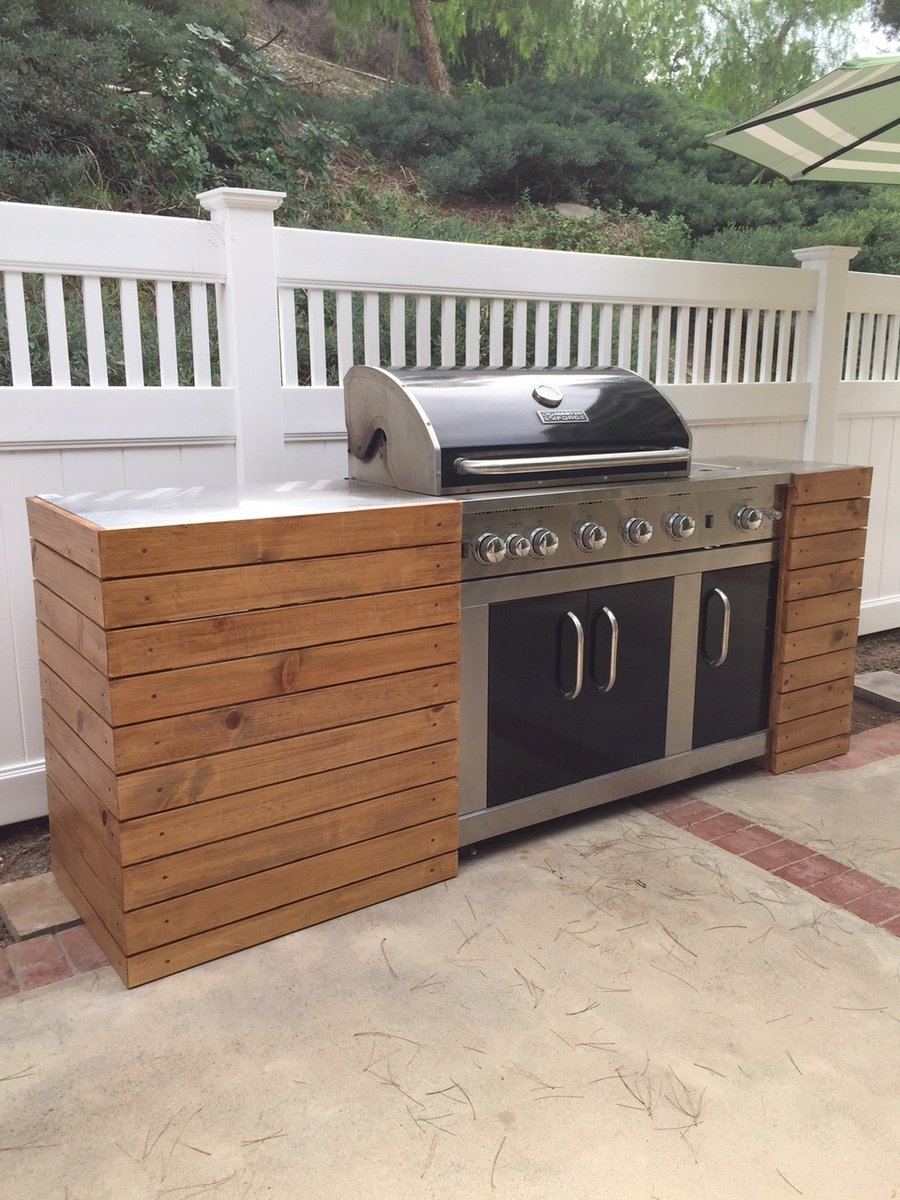
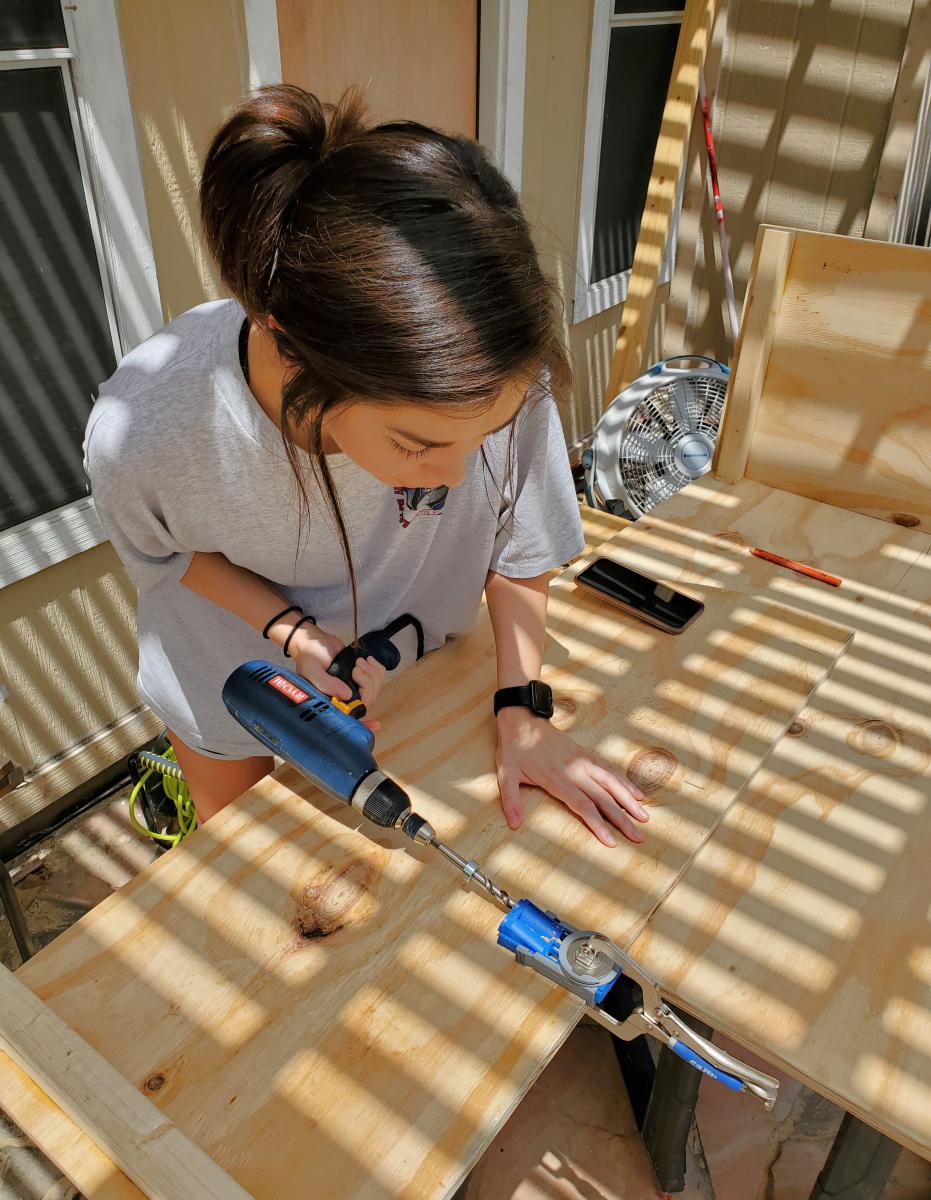
This was my first furniture project and only my 2nd woodworking project, the previous one a cubby house over 20 years ago, so I was a bit nervous. I did lots of planning, research and designing before the first cut. I incorporated ideas from Ana projects as well as from other sites and learned how to use a drop saw, various sanders and the pocket hole jig.

We wanted a tall table because when sitting a a regular height table the view is blocked by the deck railing.

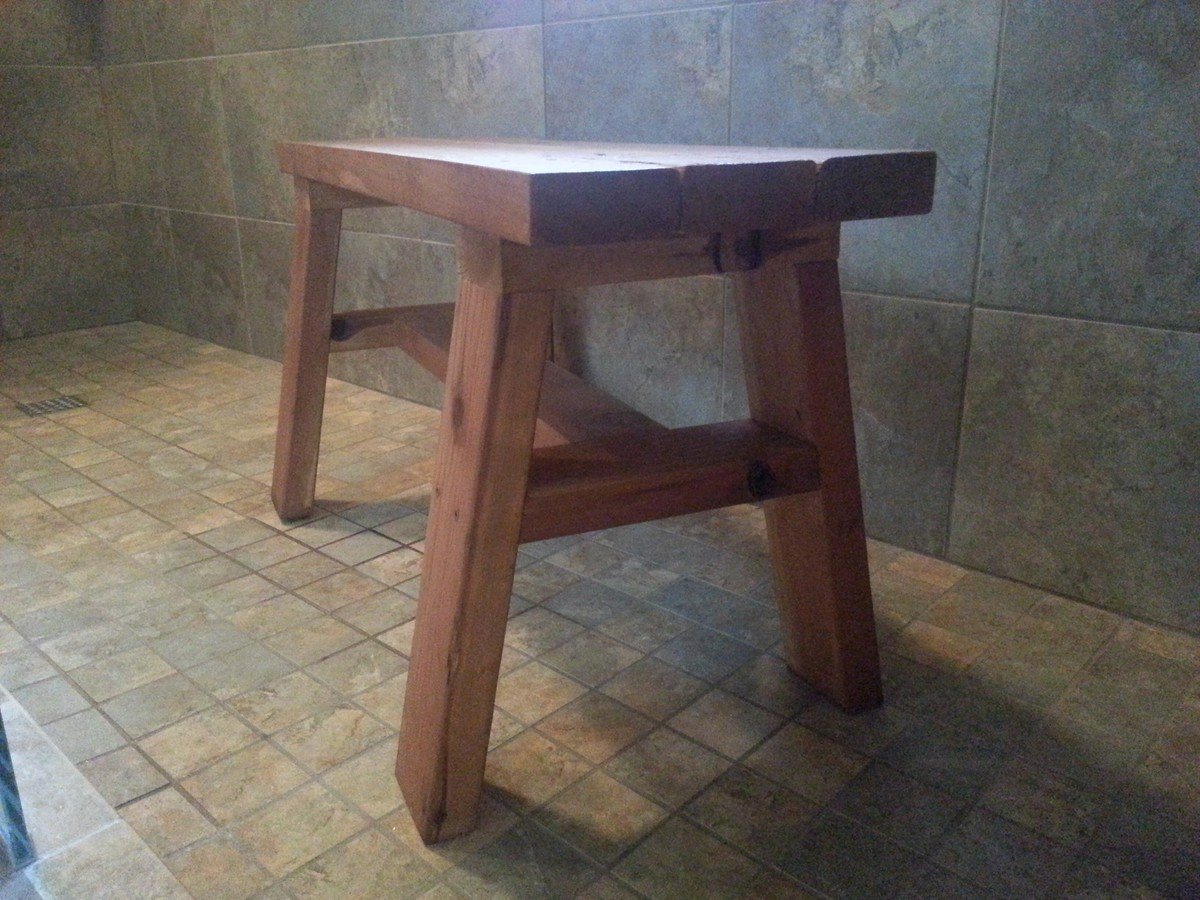
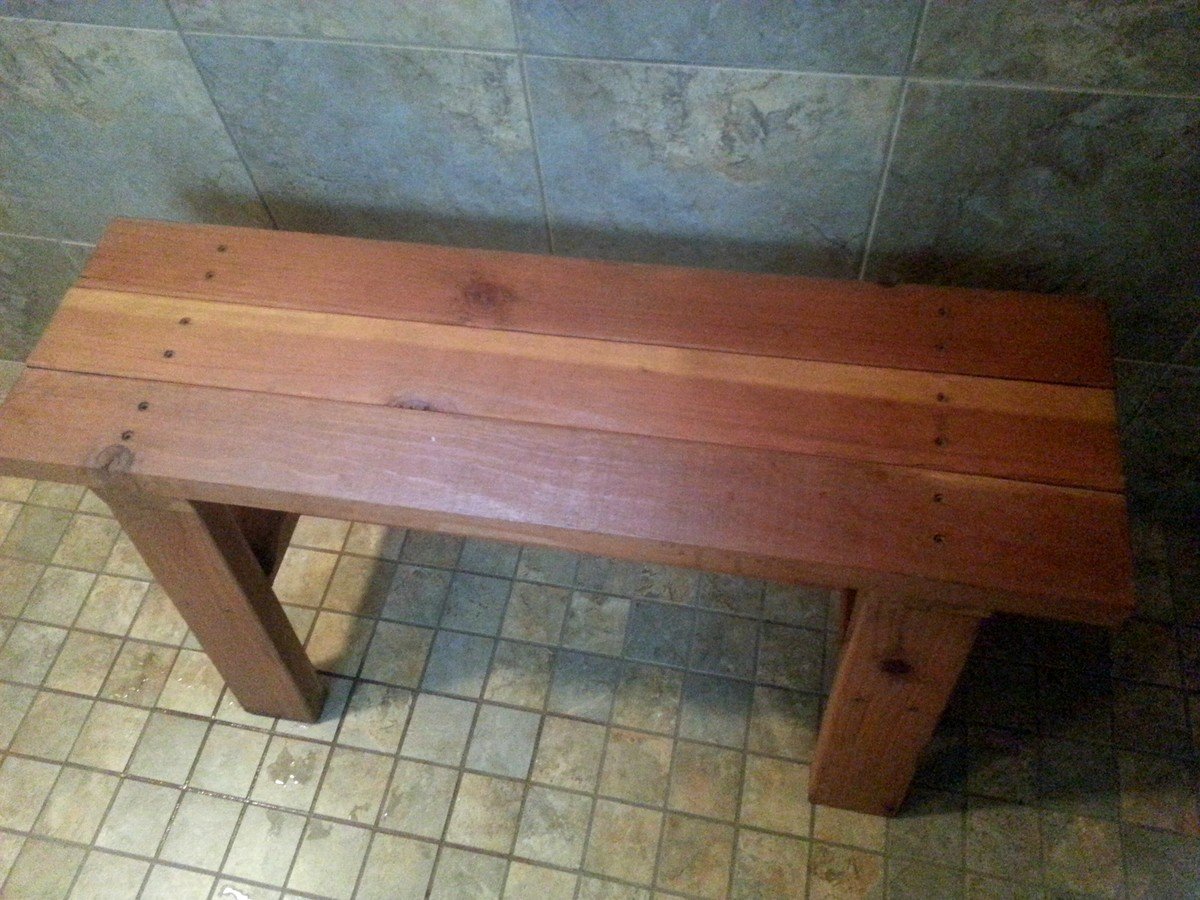
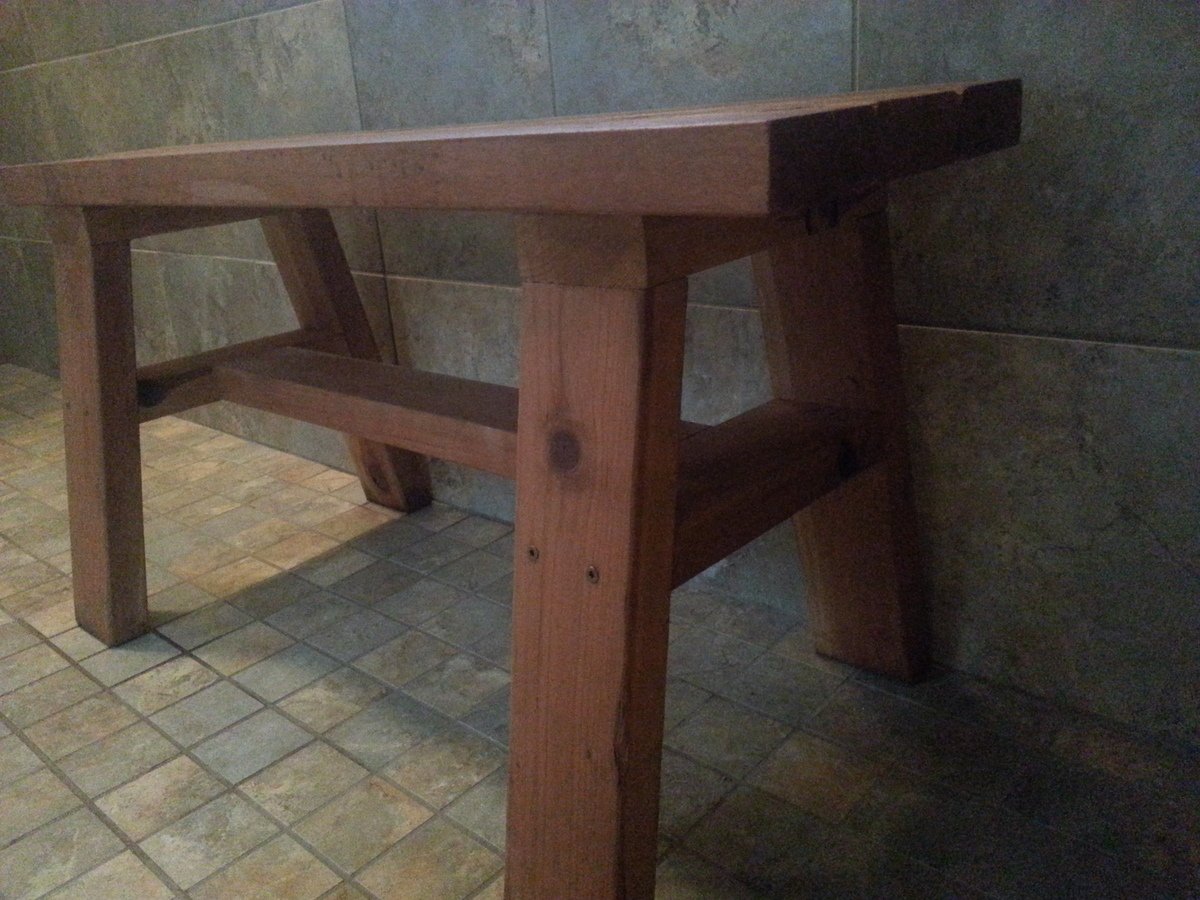
I decided to make it out of hardwood for durability in the Australian outdoors and also because we get sea air where we are. The hardwood (Blackbutt) was challenging to work with - extremely heavy and difficult to drill into, but the finished product is SO solid and will outlive us all. Due to the weight and density of the timber I overengineered as far as joining went, using more pocket holes than usual.

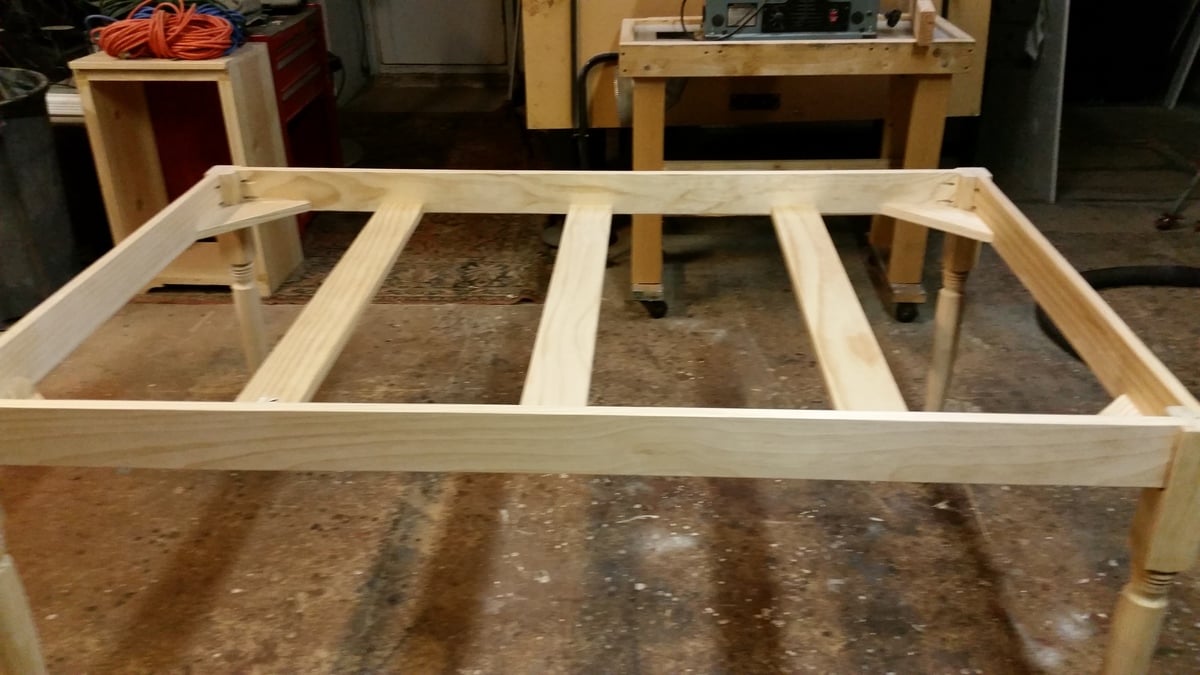
I saw the idea of the built in ice troughs years ago and was keen to incorporate them into my table. I also made the legs detachable so that the table top could be moved out onto the deck once it was finished and the legs added in situ. Once it was set up my husband put big screws into the legs just in case but it would really take an earthquake to move this thing.

I managed to build it over 3 weekends and finished it just in time for our family Christmas party but it only had 1 coat of stain on it at that stage. I finished it off later and we also decided that the ice trough covers would look good in a contrasting colour so did them in charcoal. If I made it again it would be a much quicker project as there was alot of 'firsts' and learning along the way.

The dimensions are:

2660mm long (about 8' 9")

1150mm wide (about 3' 9.5")

1165mm high (about 3' 10")

The legs are solid - 140 x 140mm (5.5")

It seats 10 - 12 comfortably and 14 at a squeeze.

We got the bar stools 2nd hand for an absolute steal - 12 for $200! They are handmade hardwood too and look great.

The timber was quite expensive but I was able to use the work account so got it at trade price. This would be a very expensive table to buy but all up it cost us about AU$1100.

This project was not exactly easy but I would class myself as a novice. With the right planning and preparation (plus stubbornness) anyone could do this :-)

Estimated Cost
About AU$1100
Estimated Time Investment
Week Long Project (20 Hours or More)
Finish Used
Intergrain Natural Stain - semi transparent - Redwood for the majority and Charcoal for the trough covers.
Recommended Skill Level
Beginner

Comments

Garage Loft Bed

Submitted by GAno1Dad on Tue, 10/21/2014 - 20:24

The garage loft bed was inspired by the plans on your site. I beefed up the framing with 2xs and found siding panels at my local big box. 

Built from Plan(s)
Estimated Cost
$600
Estimated Time Investment
Weekend Project (10-20 Hours)
Recommended Skill Level
Intermediate

Comments

Wolfeman188

Wed, 08/03/2016 - 13:15

Hi, i was just curious if there was plans for this bed anywhere? My son has that exact corvette bed and he is not with me for a little while and i wanted to make it for him to come home to.

Cedar Fence Picket Raised Garden Beds

I made these for my 81 year-old Grandma, and I will be making some for my own front yard soon. I followed the plans and ripped the fence boards instead of buying the optional 1x2s. My awesome dad showed me how to use the table saw, but the rest I did all by myself! We decided to leave them unfinished for a natural look. It took me about 7 hours total broken up to make all three, but this is my first project and I was slow. Thanks Ana, for inspiring this working Mom to pick up a hammer and get stuff done!

Estimated Cost
$13 per bed in fence boards
Estimated Time Investment
Afternoon Project (3-6 Hours)
Finish Used
Left unfinished
Recommended Skill Level
Beginner
Seasonal And Holiday

Mostly Cedar Vanity for the New House

Submitted by Anonymous (not verified) on Thu, 05/04/2023 - 09:49

After looking at some terribly overpriced particle board vanities, I found the lovely Rustic Farmhouse Double Bath Vanity plans and decided to go for it. I think this vanity turned out much better than anything I could have bought with the same amount of money, and it will last much longer too!! Thanks Ana!!

Comments

Dining / Gaming Table

Submitted by bette9182 on Mon, 04/25/2016 - 13:18

My wife and I were looking for a new dining table, the one we had was a bar height which worked well for our daughters high chair, but she was going to be transitioning to a booster seat . We shopped around and had sticker shock at the cost of a dining room set. We enjoy playing board games and I had been looking into possible buying a board gaming table, but those more expensive and some had long lead times as well. I tossed out the idea that I could make our table and my wife agreed but gave me a deadline. I had built a few smaller pieces before but nothing like this. I based my plans off the farmhouse table for the top and used store bought legs. The top needed to be sturdy since it is not attached to the base, I did add blocking on the back so the top doesn’t move around and it is heavy enough that it doesn’t flip up if you lean on it. I moved the typical supports down to the bottom of the side rails and added a ¾” piece of MDF that I had for the gaming top. We used spray adhesive to attach some batting and used blue suede for the gaming surface since we are fans of Doctor Who. I added handles to the top on the inside to help when it is moved off the table for gaming. I built the bench too and made it so we could slide it under the table to save on space when we did not need it. The other chairs are hand me downs and Salvation Army finds that we spray painted. The only addition that I have to make is to build some sort of cup holders.

Estimated Cost
$150 - 200 with all the chairs and fabric.
Estimated Time Investment
Week Long Project (20 Hours or More)
Recommended Skill Level
Beginner

Comments

Tool Organizer

Submitted by Anonymous (not verified) on Thu, 07/02/2020 - 07:02

I’m very happy with my tool organizer. I also used the tool organizer idea for bracket to hang our bicycle rack. We love the way it all came out. Thank you so much for sharing!

We run a fence company. The best thing about this project is that it cost me $0!! I used 2X4 cutoffs that we were going to trash!

Built from Plan(s)

Bike Storage

Submitted by vendo on Wed, 10/13/2021 - 10:10

I live in a smaller rental with limited garage space, so I needed a place for my kids bikes. This is what I came up with. It required minimal screw holes in the treated fence posts and I attached a rail system(rubbermaid fasttrak) for the bikes to hang from. I used Ana's easy shelves plan for the upright supports and then just added some corrugated roofing and cedar fence pickets (which I had on hand) to finish off the top.

Daybed with Storage Trundle

Submitted by Crafty-Mom on Sat, 01/27/2018 - 10:38

This was my first project from Ana's website and I'm hooked! I'm a beginner, but thank goodness for my Dad's help because I have a lot of learning to do!

I wanted the drawer to be 1 drawer instead of 3. I feel like it looks cleaner (without having to adjust 3 drawers constantly to make it look good when you push them in). I was thinking the bed could actually be used as a trundle bed in the future too! I use this to store toys right now and it is Awesome!

I increased the bed size to fit a twin mattress and increased the height of the bed slightly so that the drawer would be a little bit deeper. We also added a back to the bed and carried around the trim to make all sides look the same. We added a bumper to the back and sides of the inside of the bed so the drawer is easy to push in and fits in snug. Finally we reinforced the bottom of the drawer with more 1x4 boards so that if a child does sleep in it, it would be more sturdy. I now have kids come over and jump into the drawer (literally) and I'm glad we reinforced it.

The changes we made did add to the cost and our time (as well as being newbies), but I think it's worth it and the bed turned out beautiful!

Estimated Cost
$180
Estimated Time Investment
Weekend Project (10-20 Hours)
Finish Used
Behr Marquee (I'll have to find the name of the white color we used). We almost went with chalk paint, but after talking to the HD guy, he talked me into this paint and I'm glad we used it! So much cheaper and turned out beautiful.
Recommended Skill Level
Beginner

Comments

Nisssc

Mon, 10/12/2020 - 07:51

This looks great! Any suggestion if I want cubbies instead of a trundle? Also, cubbies only on side as bed would be against the wall. Thanks for the inspiration!
Sandy

White Wash Pickled Farmhouse Table

When we sold our last house, we sold the dining room furniture we had custom built with it. We did projects, homeschooled and ate off of a folding table for the first 7 months we lived in our new house. Until we built our new farmhouse table!

Estimated Cost
300
Estimated Time Investment
Weekend Project (10-20 Hours)
Finish Used
We chose to white wash/pickle our farmhouse table. All the instructions can be found here: http://www.akadesign.ca/white-wash-pickling-get-the-restoration-hardware-look-for-less.
Recommended Skill Level
Beginner

Comments

Barbecue/BBQ Quick Built-in

This was just a standard BBQ with an attached folding table. I used a combo of Ana's plans to add a little character and style to the BBQ and it made a huge difference in not only the BBQ, but also the backyard. 

Estimated Time Investment
Weekend Project (10-20 Hours)
Finish Used
Golden Oak
Recommended Skill Level
Beginner

Comments

mdwstgrl

Mon, 05/23/2016 - 12:29

Hello:  Very interested in which plans you used to build the BBQ Built In. Thank you.

Golf Bag Stand

Submitted by Anonymous (not verified) on Sat, 11/18/2023 - 12:11

Golf bag stand
Can’t remember if found this plan here or not but get most my plans here. Fun and easy build.

Comments

Modern slatted bench

Submitted by Whimwhams on Mon, 06/27/2016 - 11:51

I made this for my sister the day before her house warming party. It was a pretty easy build. I used wood glue and 2" nails. Using a nail gun, this came together pretty quickly. I do wish that I had wide enough clamps to hold everything in place while it dried, because there were a few gaps due to some imperfect boards. I used 104" stud length boards, so I only need to purchase 7 instead of 9. this was enough to make the cuts for the top and both leg pieces from each board. the price was the same and we had limited space in our van for boards, so this was a better option for us. I used a sprayer hooked up to an air compressor to apply the stain and was able to get in between the slats fine with this method, brushing over it as I sprayed. Luckily I chose the same color as her deck not knowing, so it matches great. Now I need to make one for myself! :)

Estimated Cost
$40
Estimated Time Investment
Afternoon Project (3-6 Hours)
Recommended Skill Level
Starter Project

My version of the small chicken coop

Submitted by Anonymous (not verified) on Wed, 09/07/2016 - 12:58

Plans for this coop were fantastic. It was a lot of work, but really fun to build.  As hard as I tried to keep the cost down, it cost probably close to $300 in materials, but it is well worth it compared to the quality of similar priced premade coops.  I did not want the garden bed, so I enclosed the run fully with hardware cloth. I also added a 2" lip around the cutout in the floor so they wouldn't push all of the bedding down the hole. 

Estimated Cost
~$300
Estimated Time Investment
Weekend Project (10-20 Hours)
Recommended Skill Level
Intermediate

Comments

Lady Goats

Wed, 09/07/2016 - 13:17

I just got your email and had to run over to check it out. Looks great!! That was a great idea to add the lip to the opening (am I weird for not using bedding in the coop? We just have the painted floor that we scoop out every day). 

The red roof and the flower box are making me swoon <3