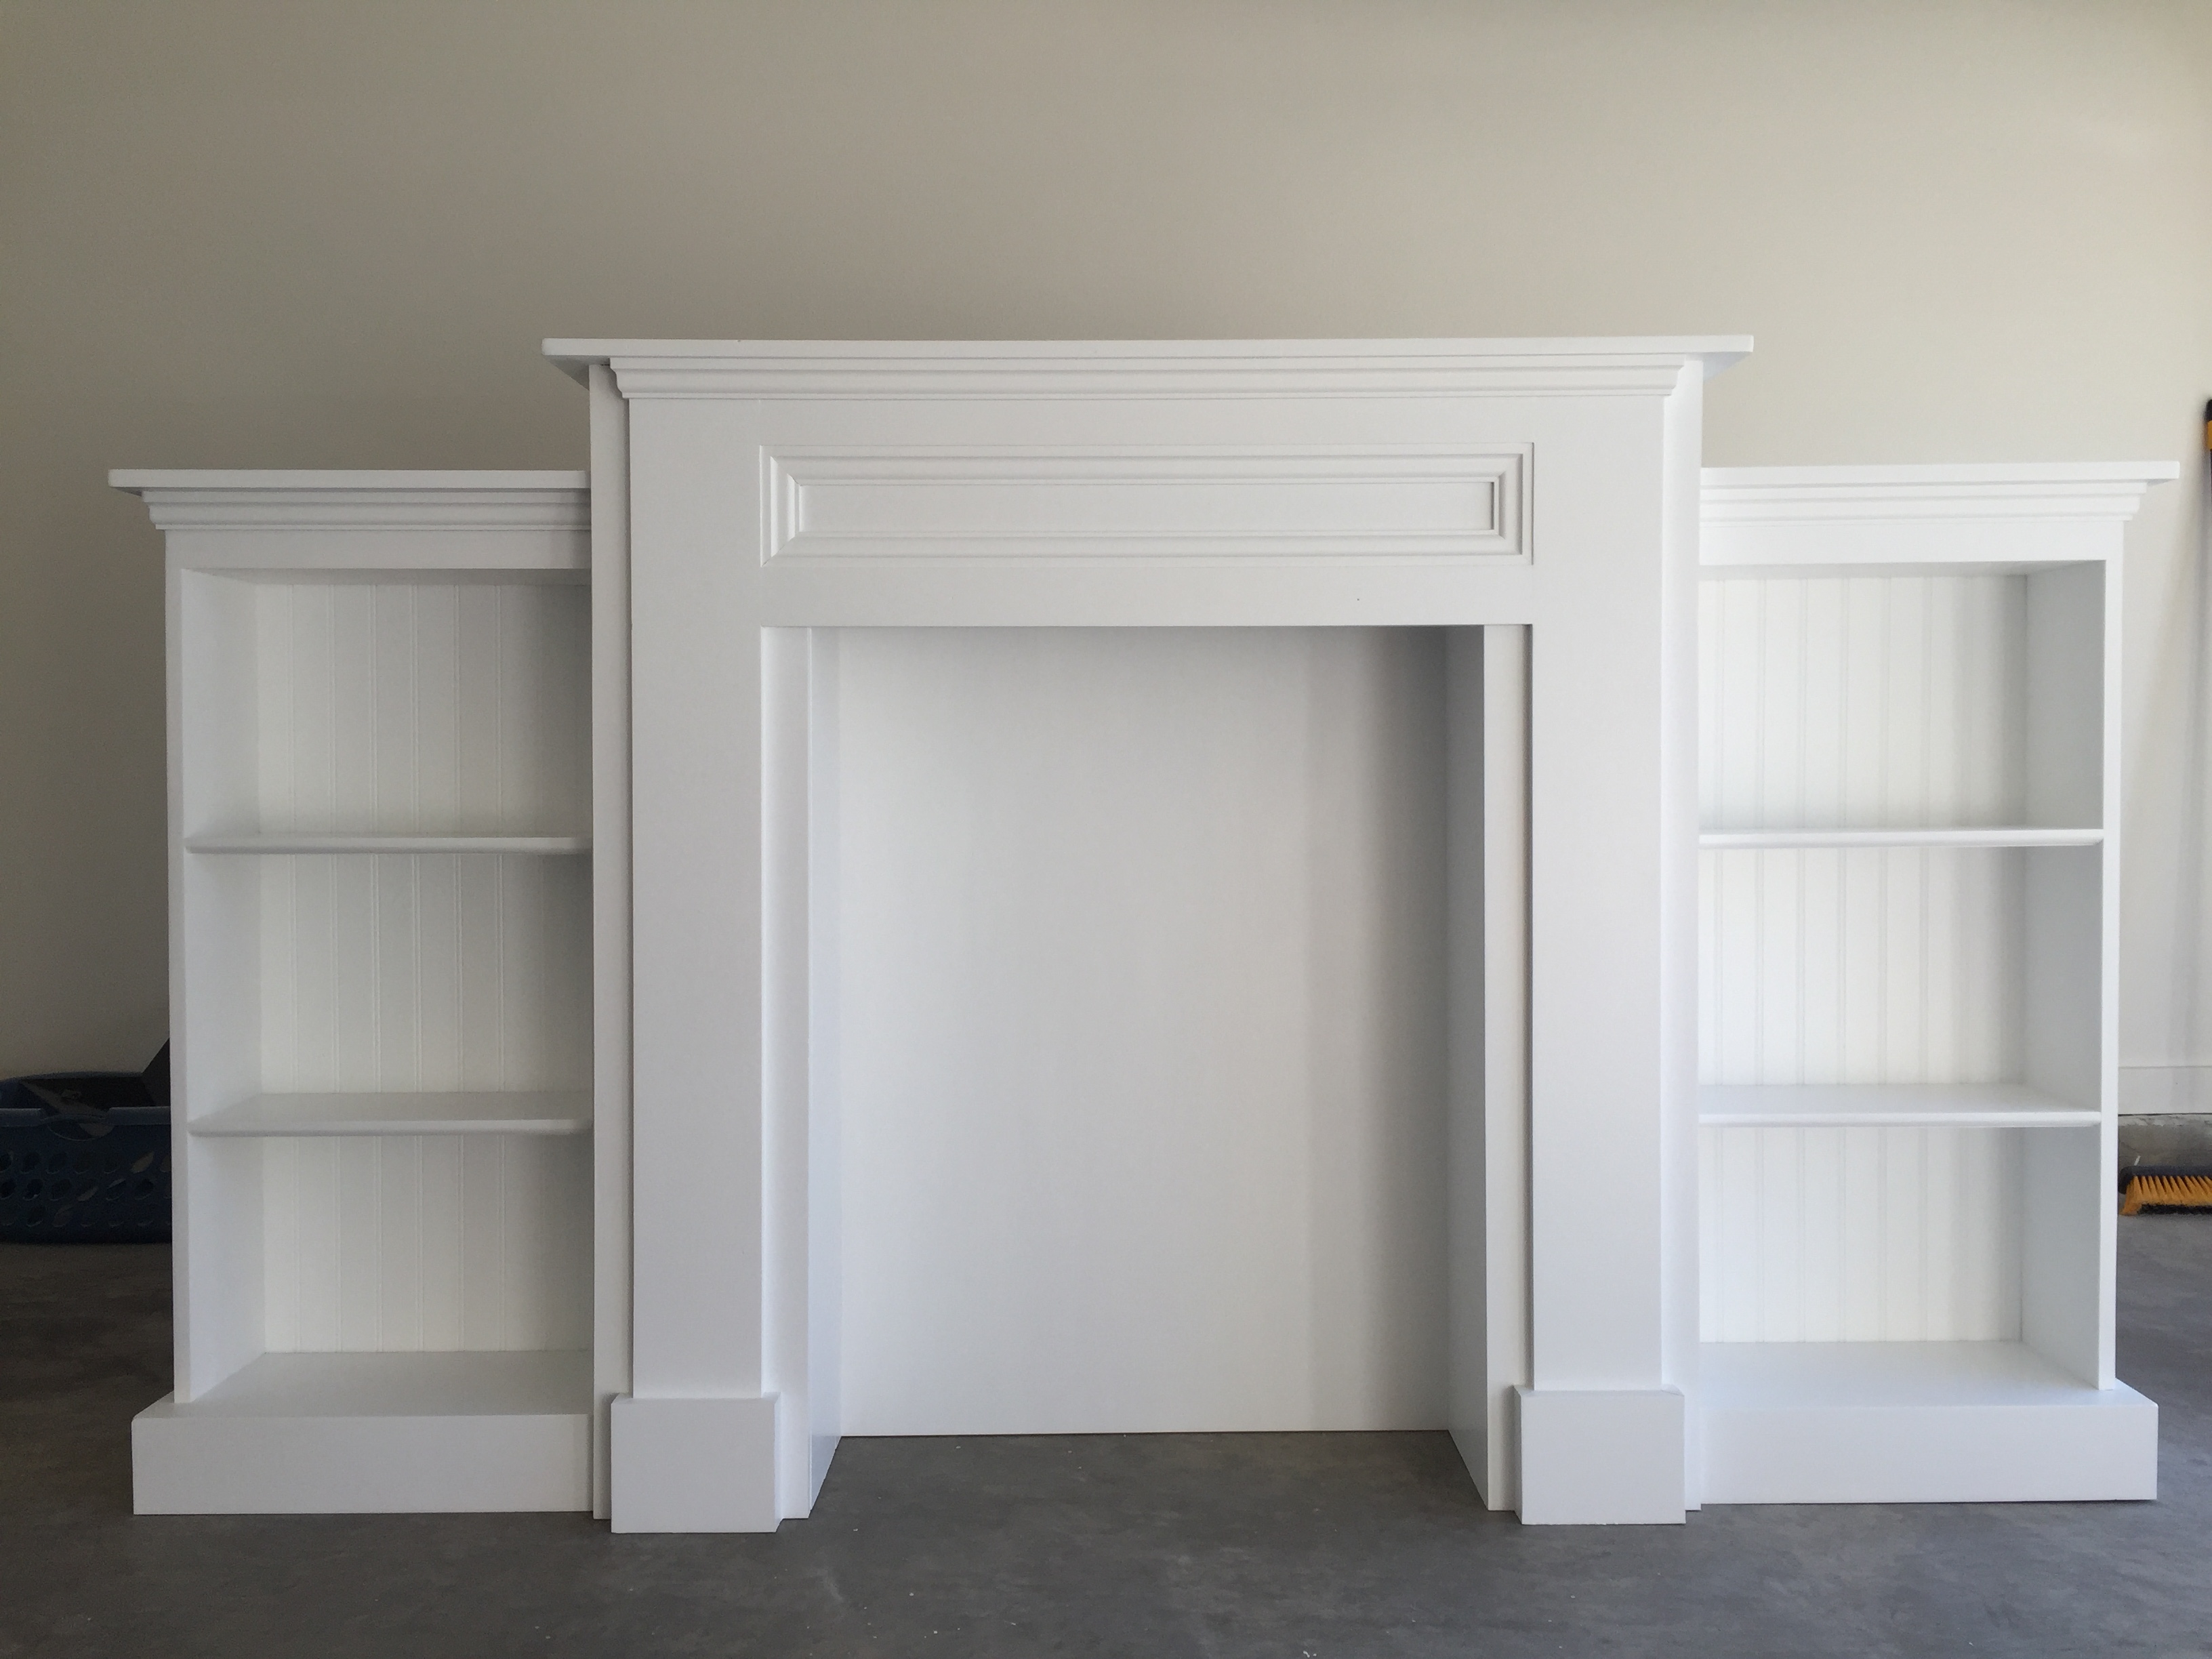
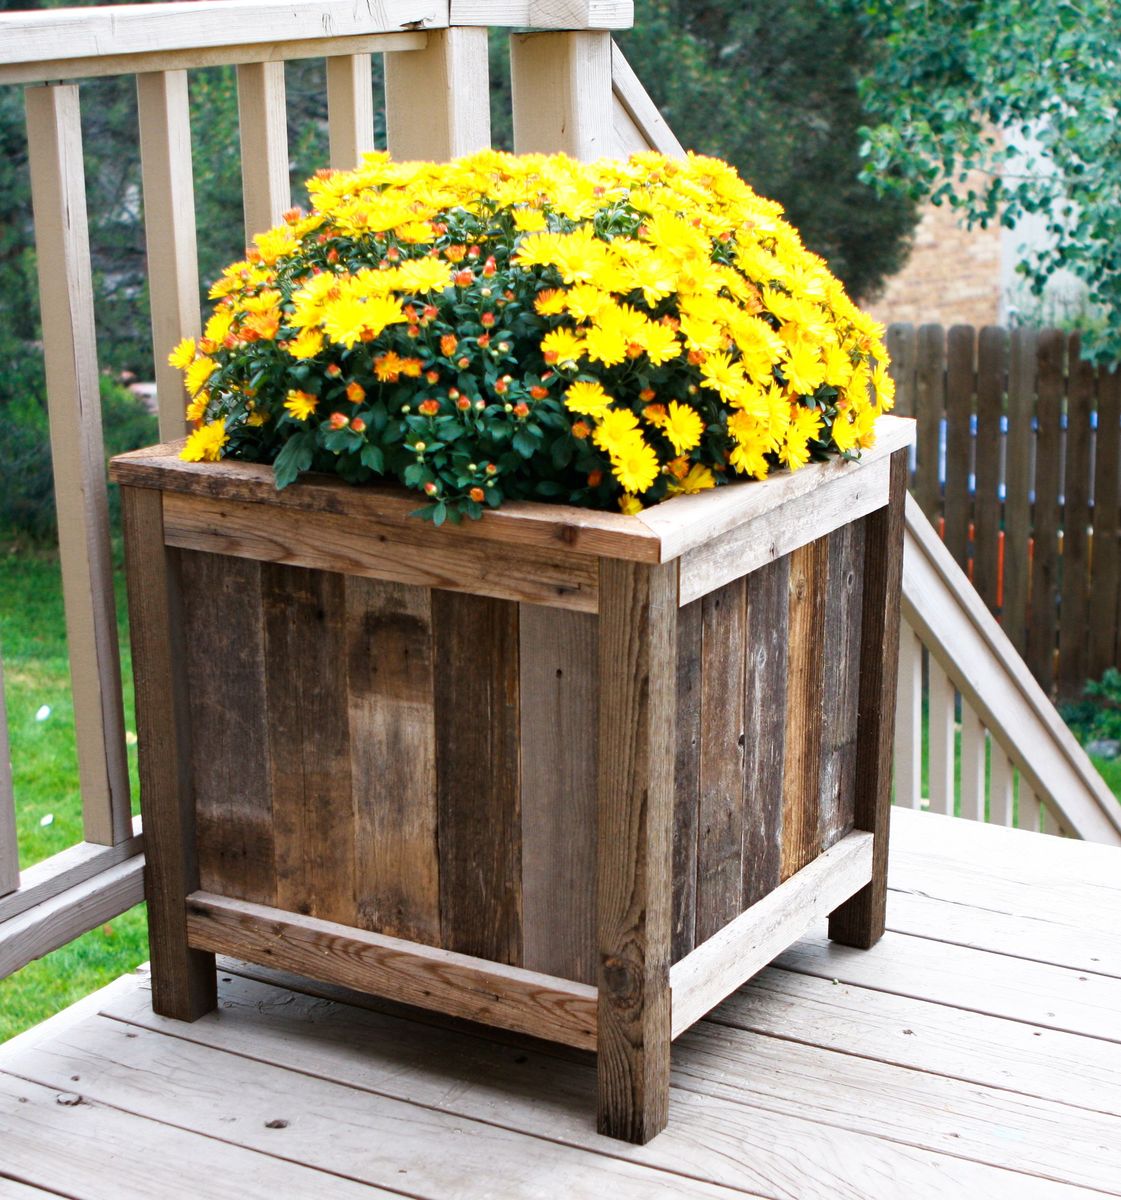
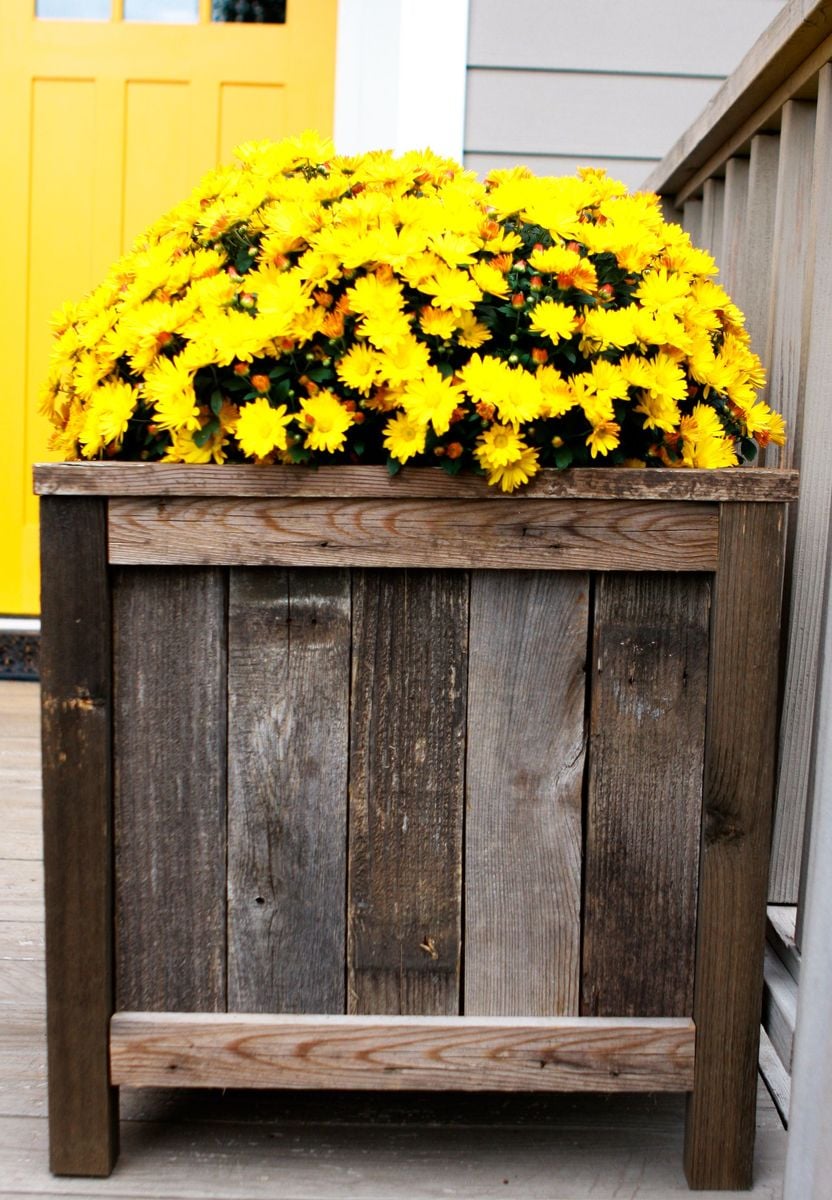
Planters!
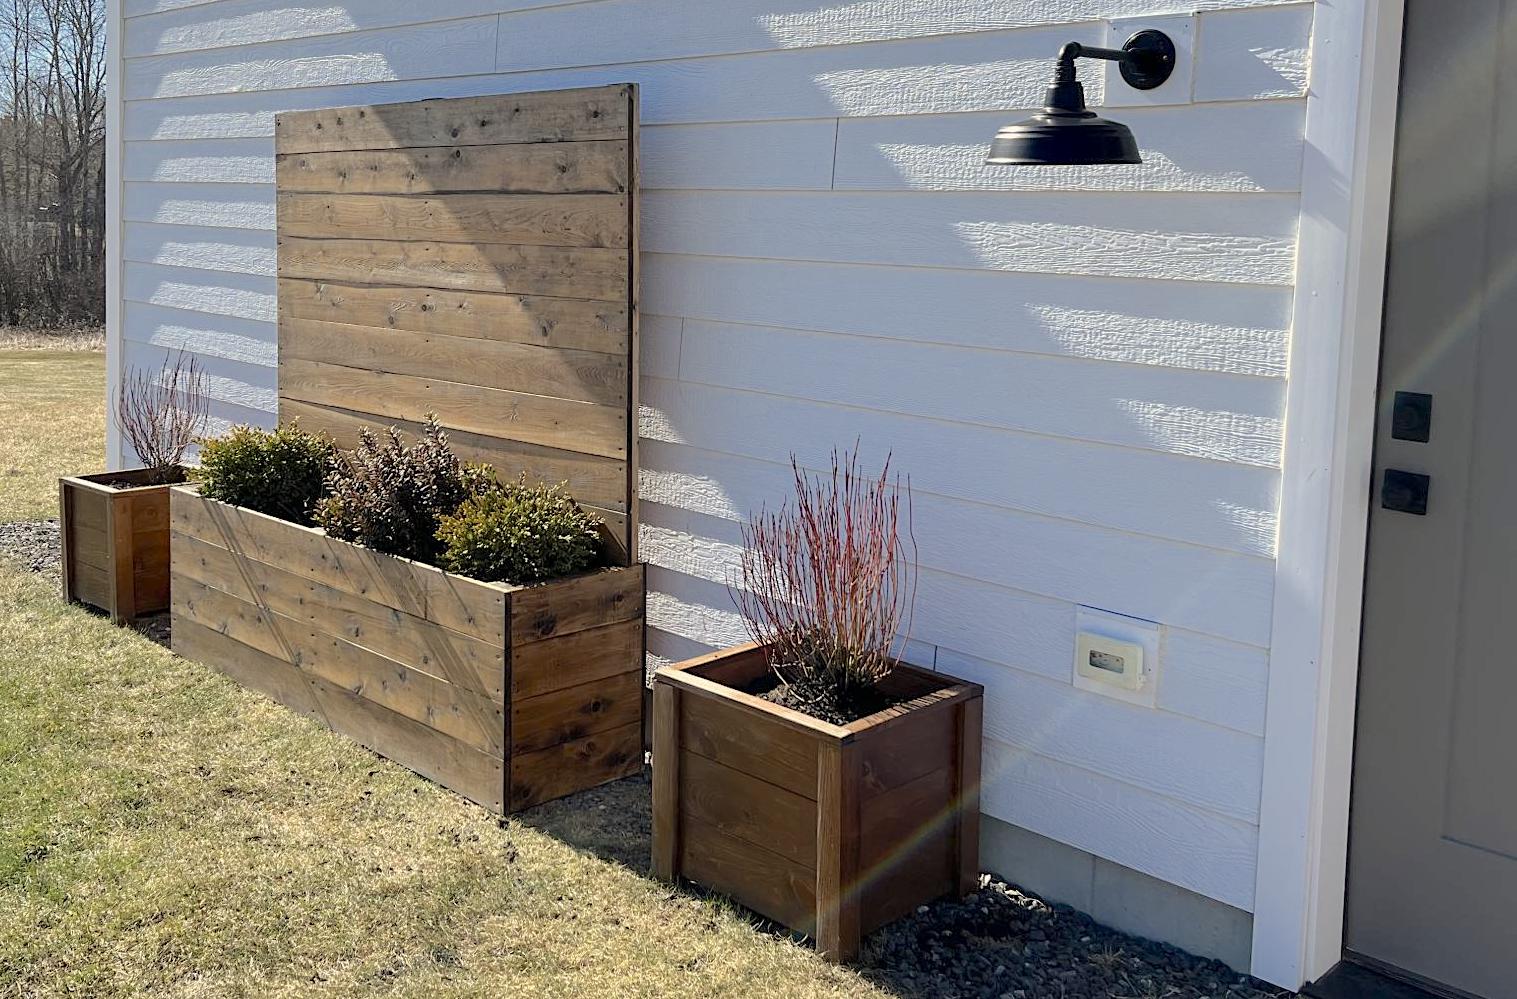
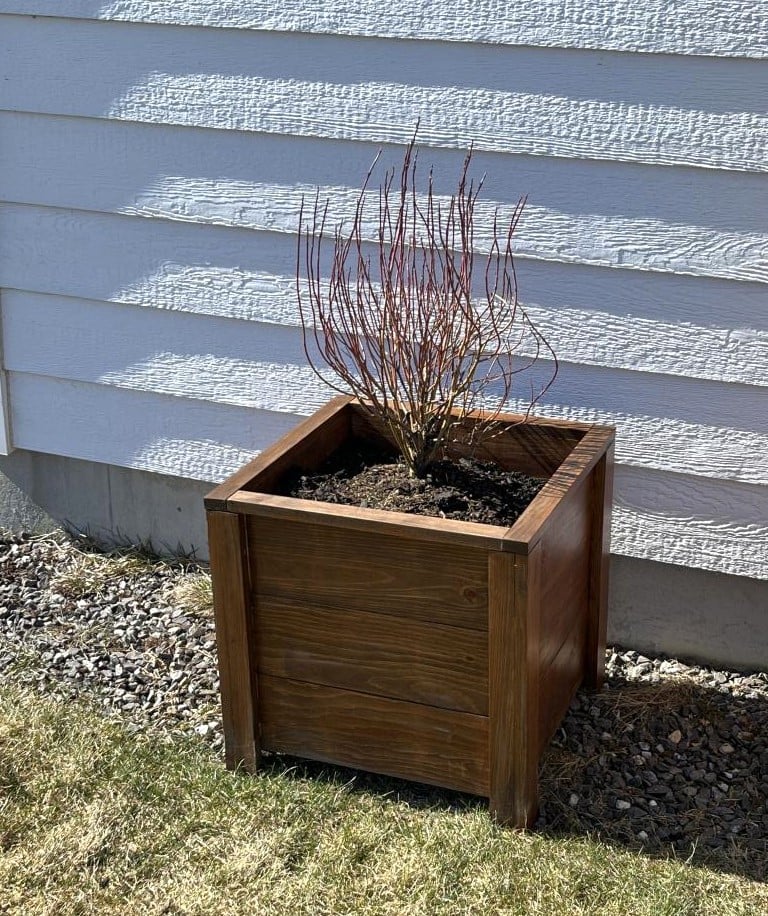
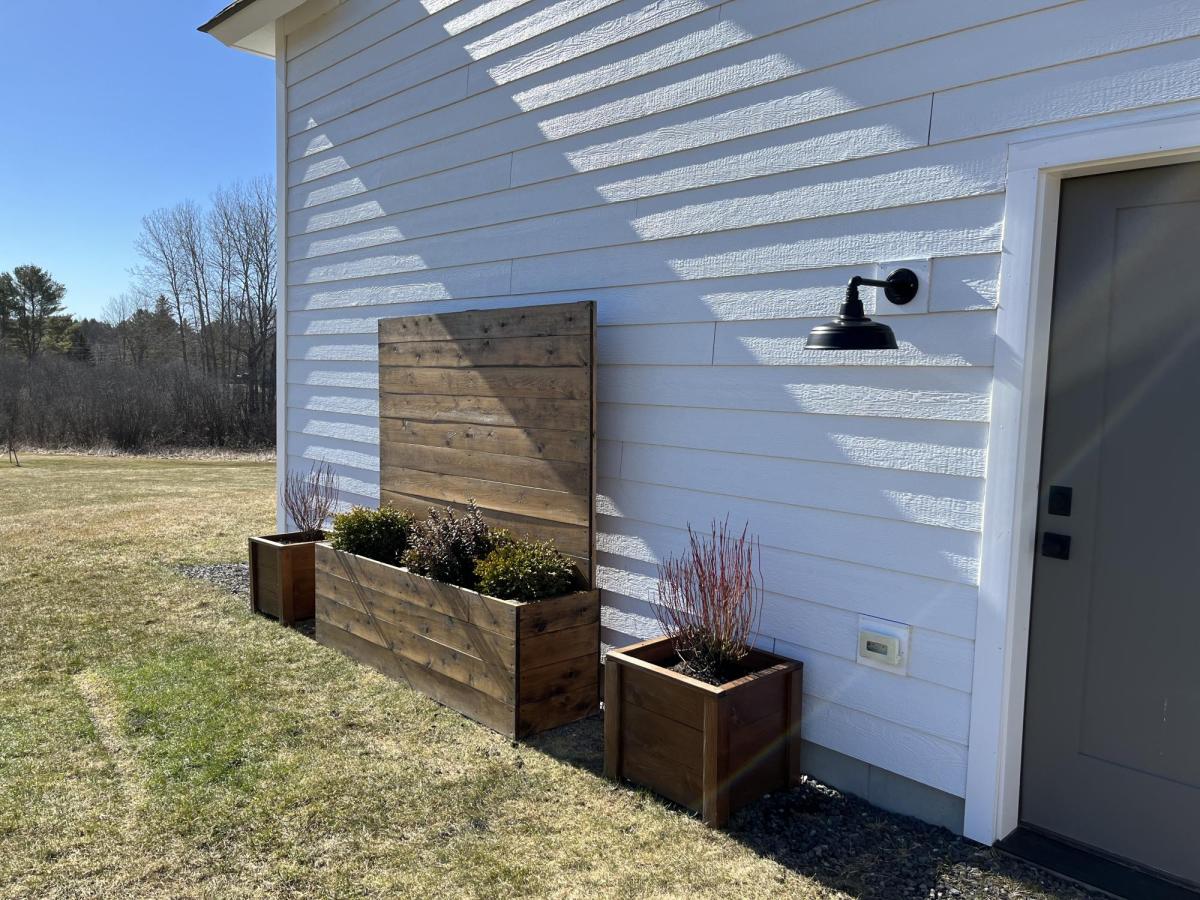
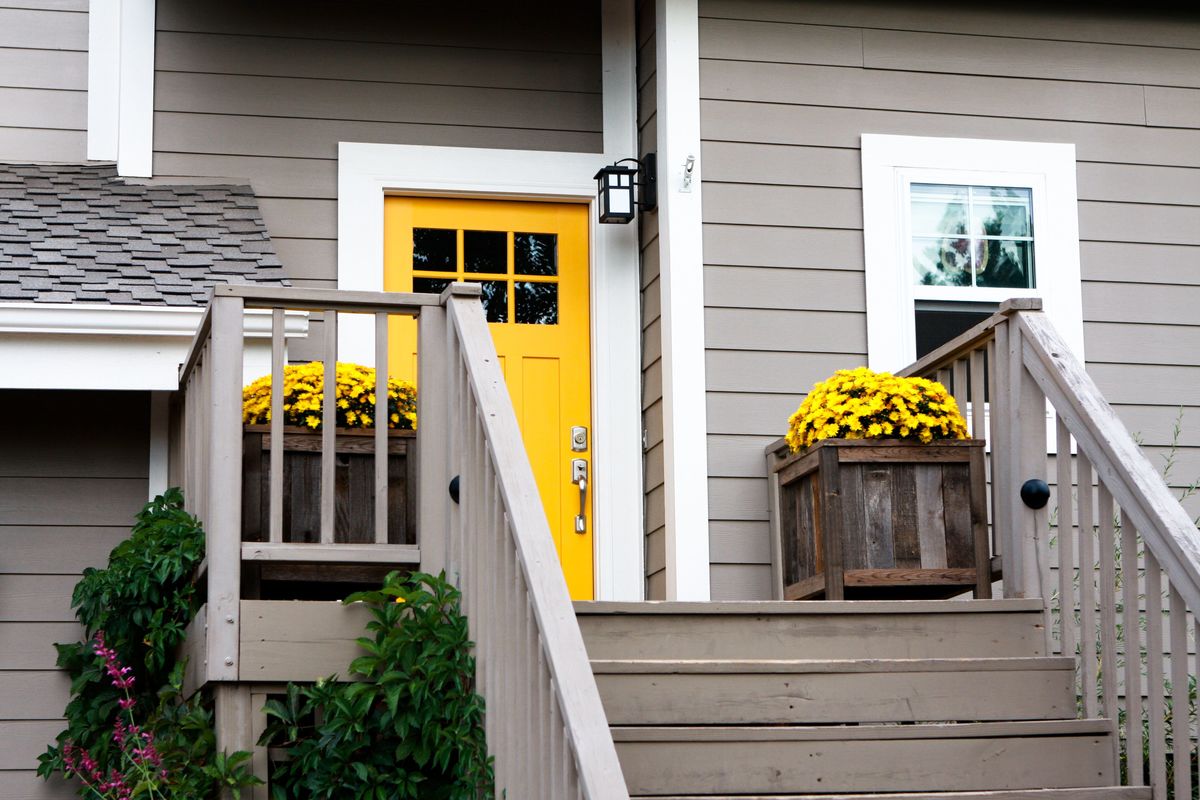
These planters are exactly what we needed to warm up this blank siding! The smaller planters are made from pine, the larger from cedar.
Built from Plan(s)
These planters are exactly what we needed to warm up this blank siding! The smaller planters are made from pine, the larger from cedar.
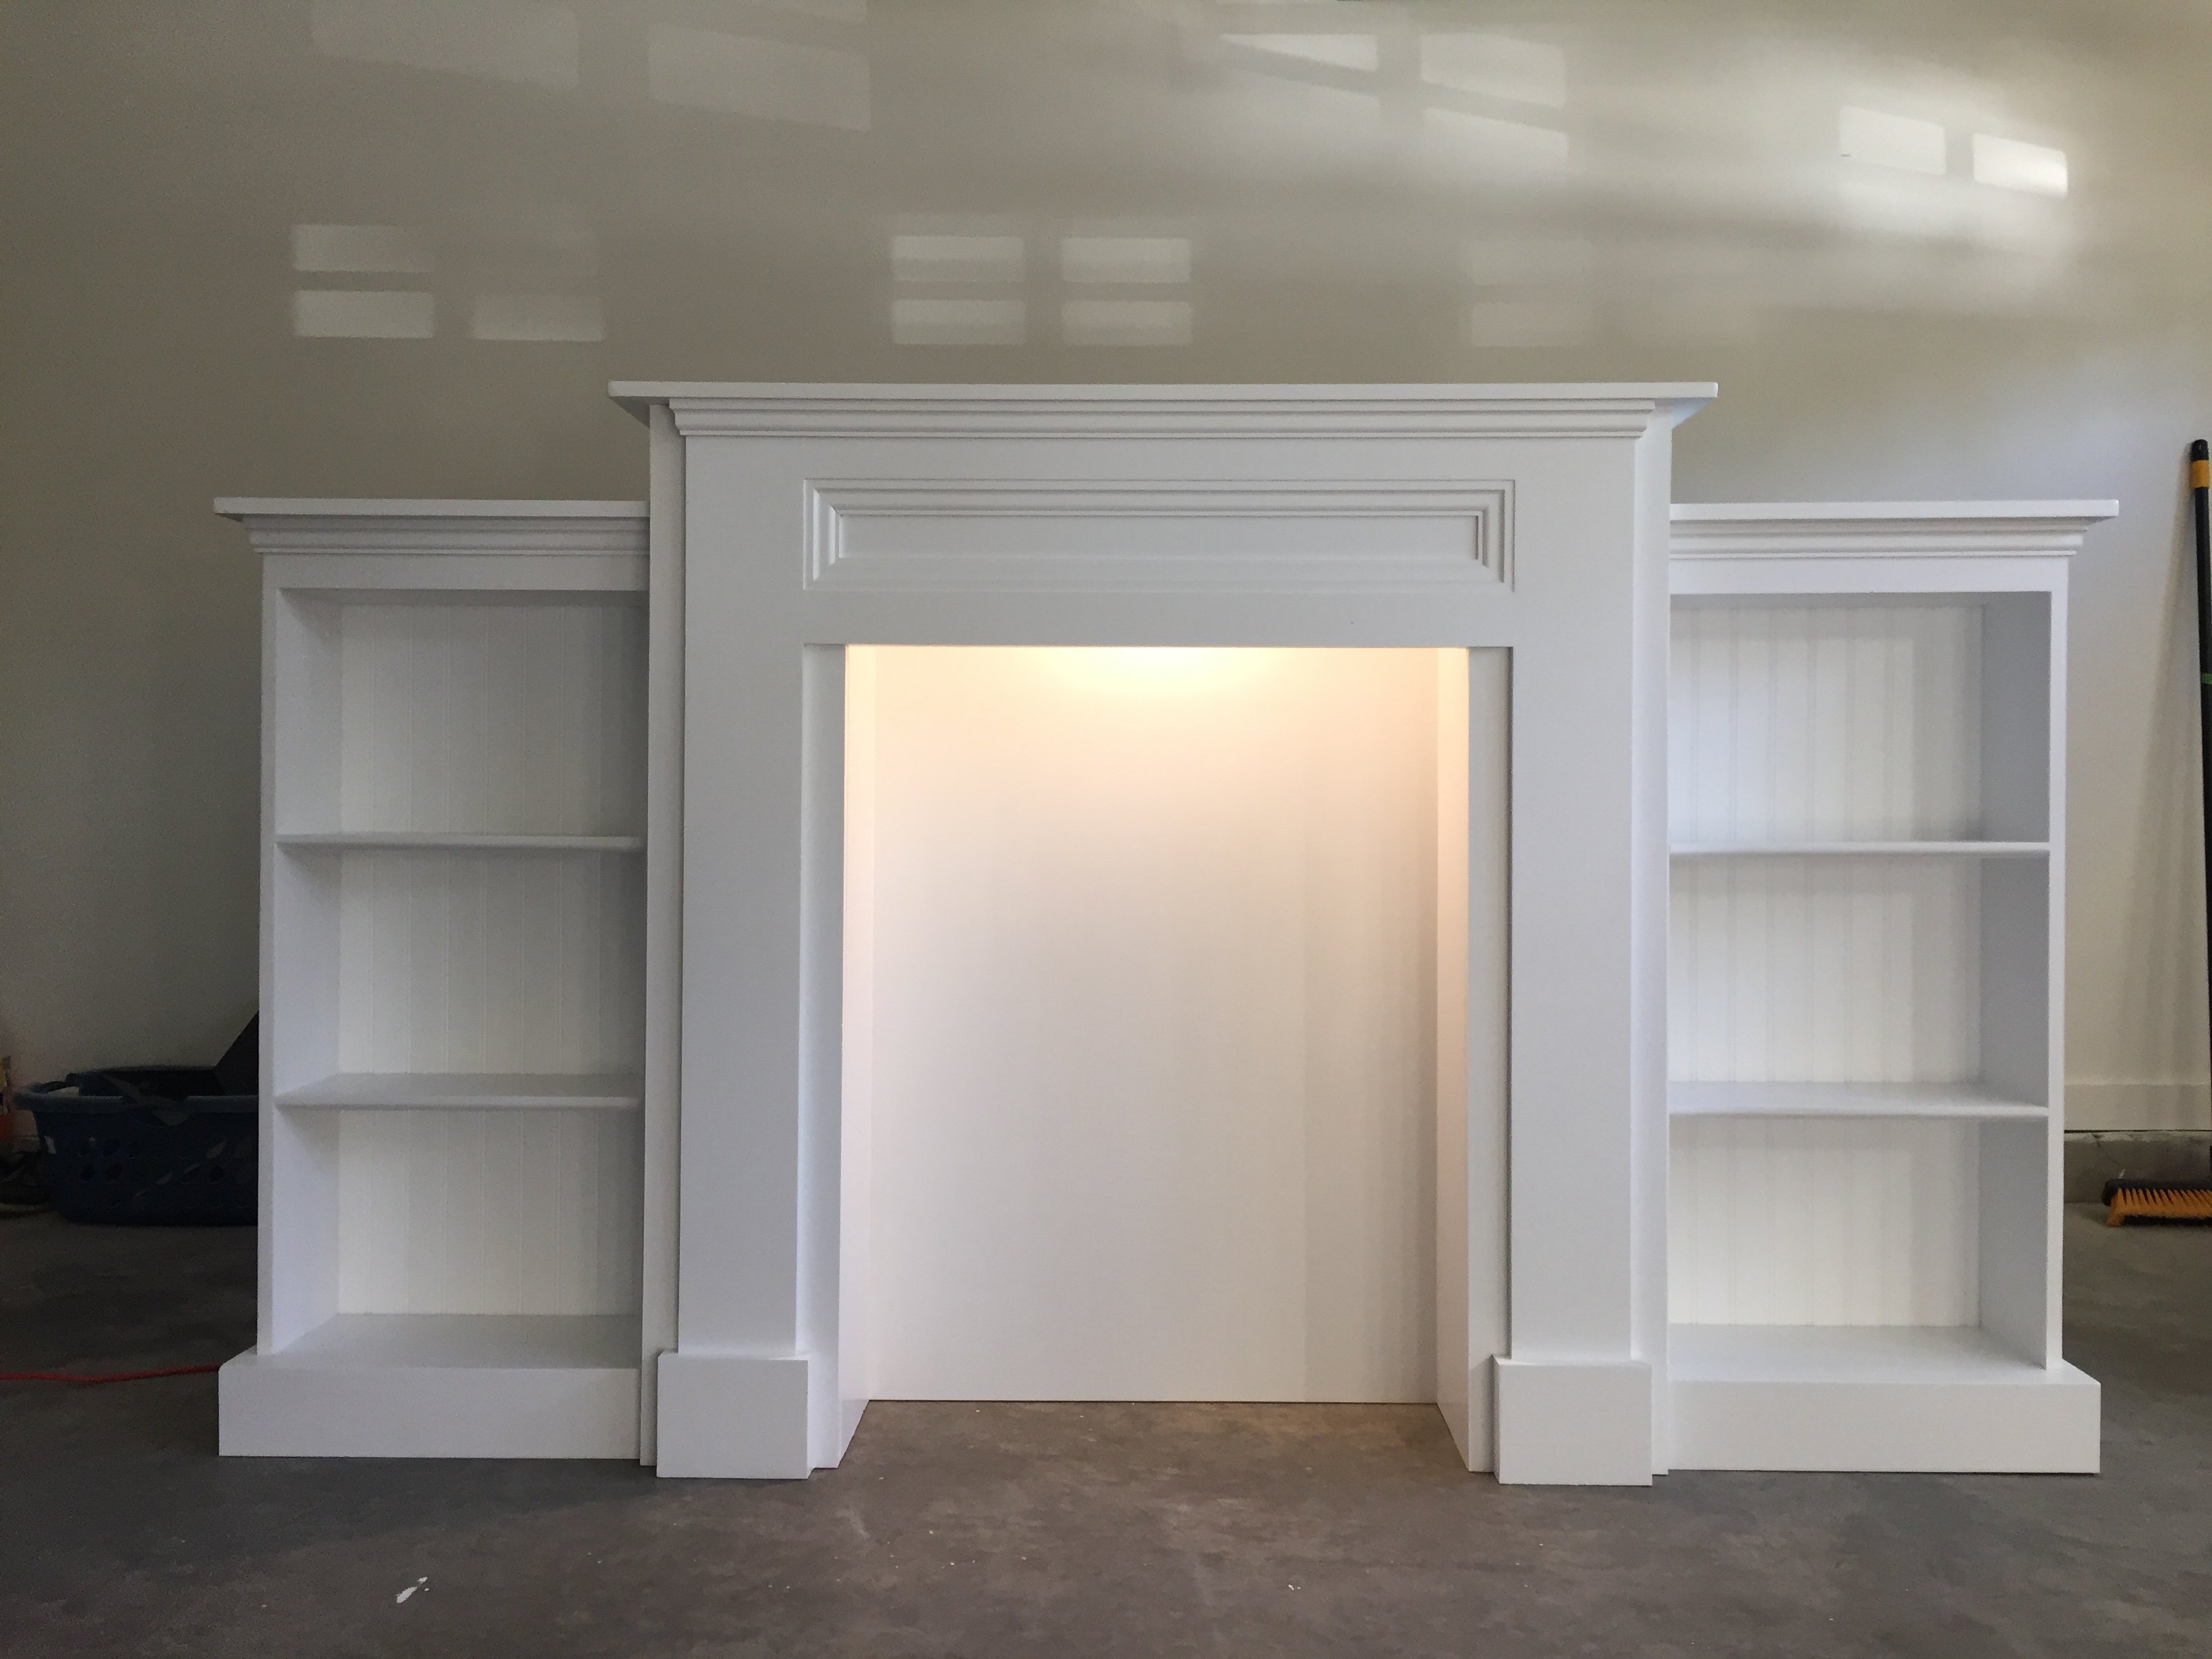
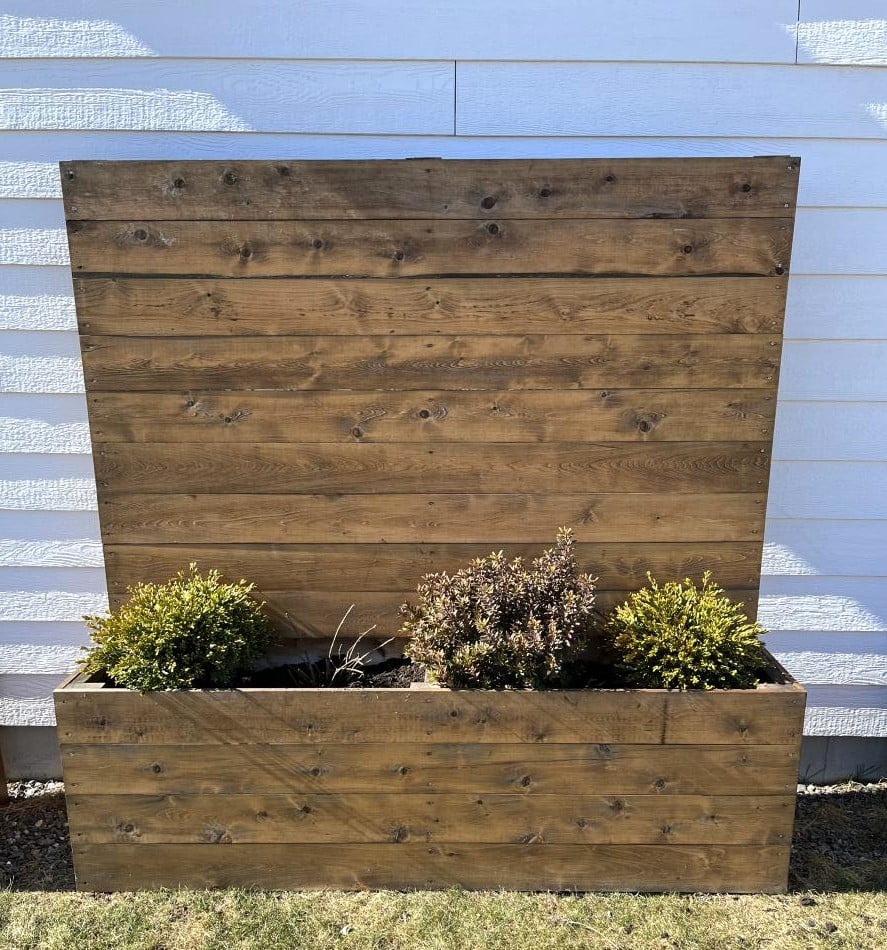
Made from the modified Mimi's Faux Mantle design from another brag post.
Tue, 12/19/2017 - 22:01
Are you able to tell me how wide this is from the end of one bookcase to the other? I'm trying to find out if it will fit in my living room. Thanks!
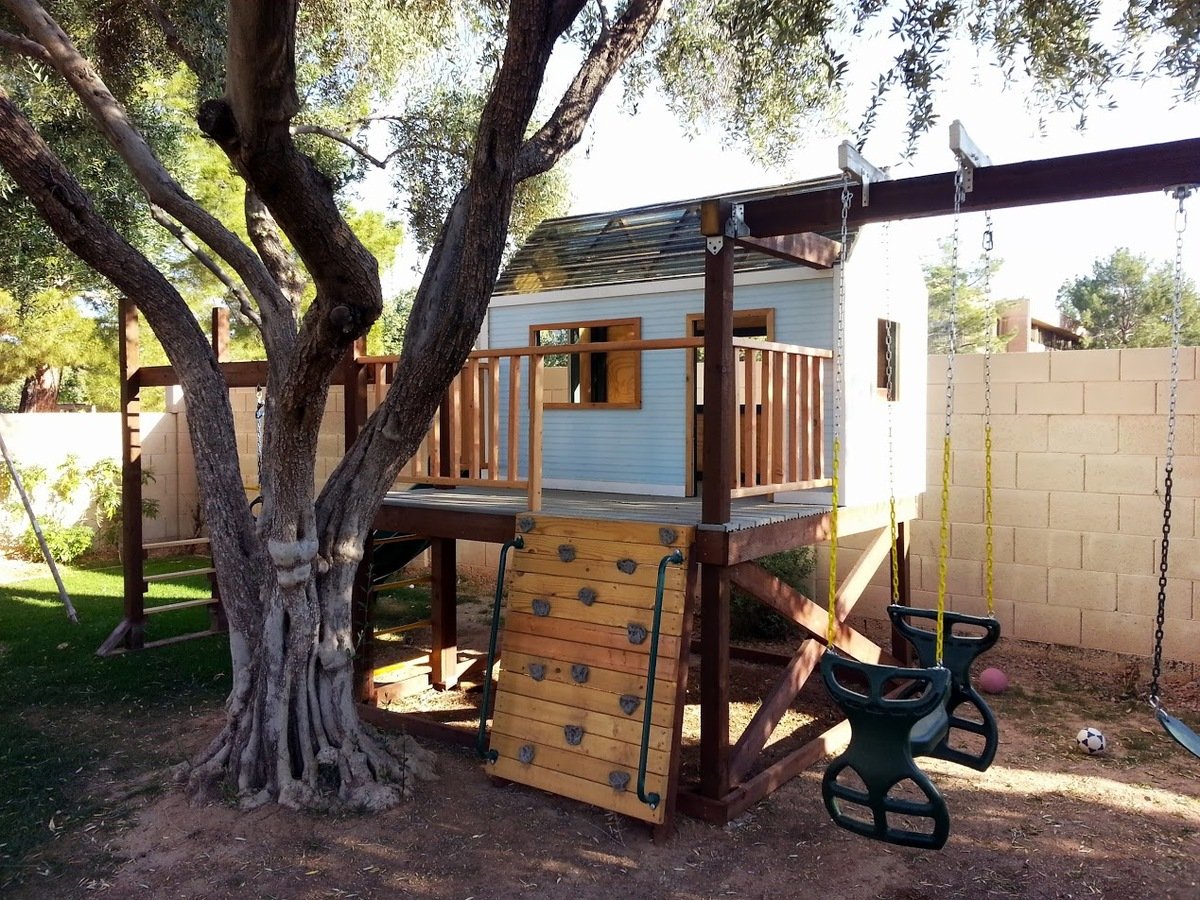
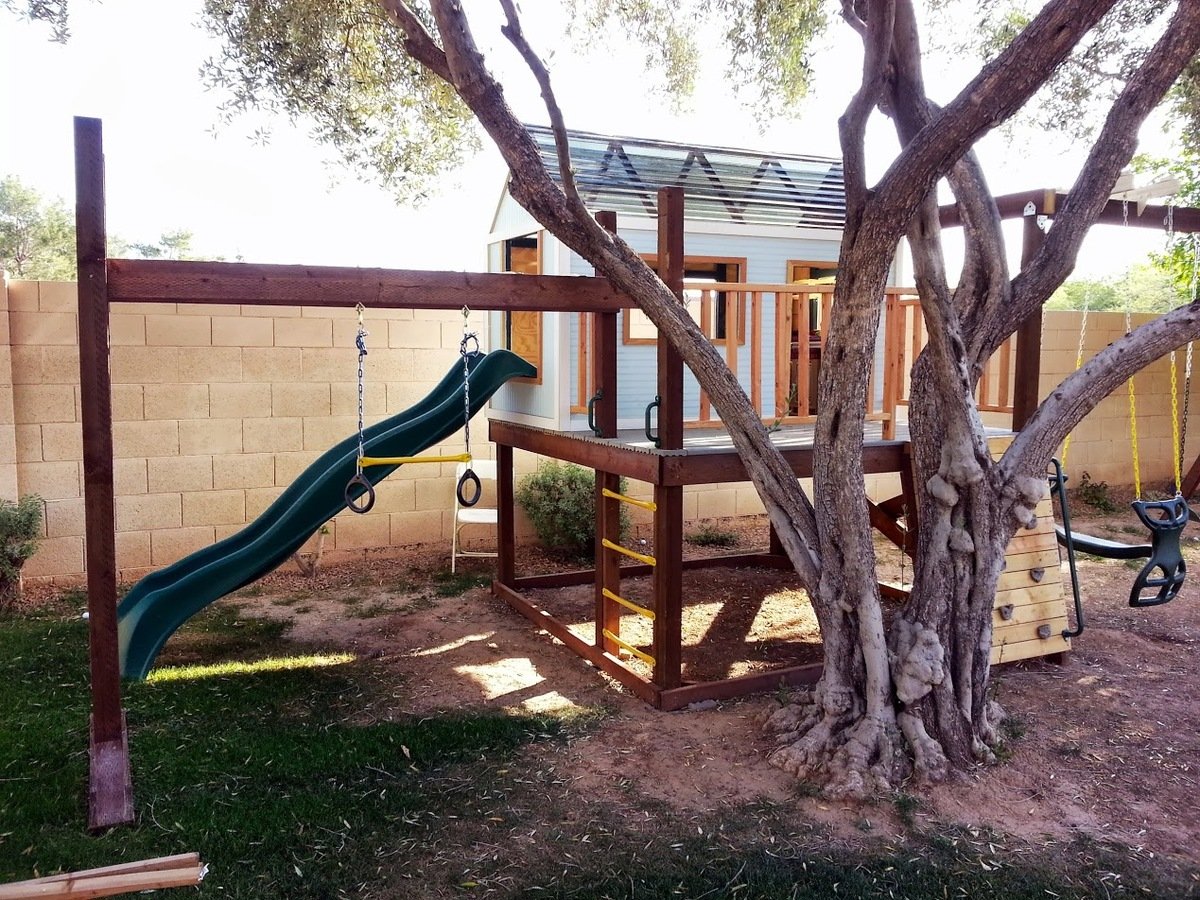
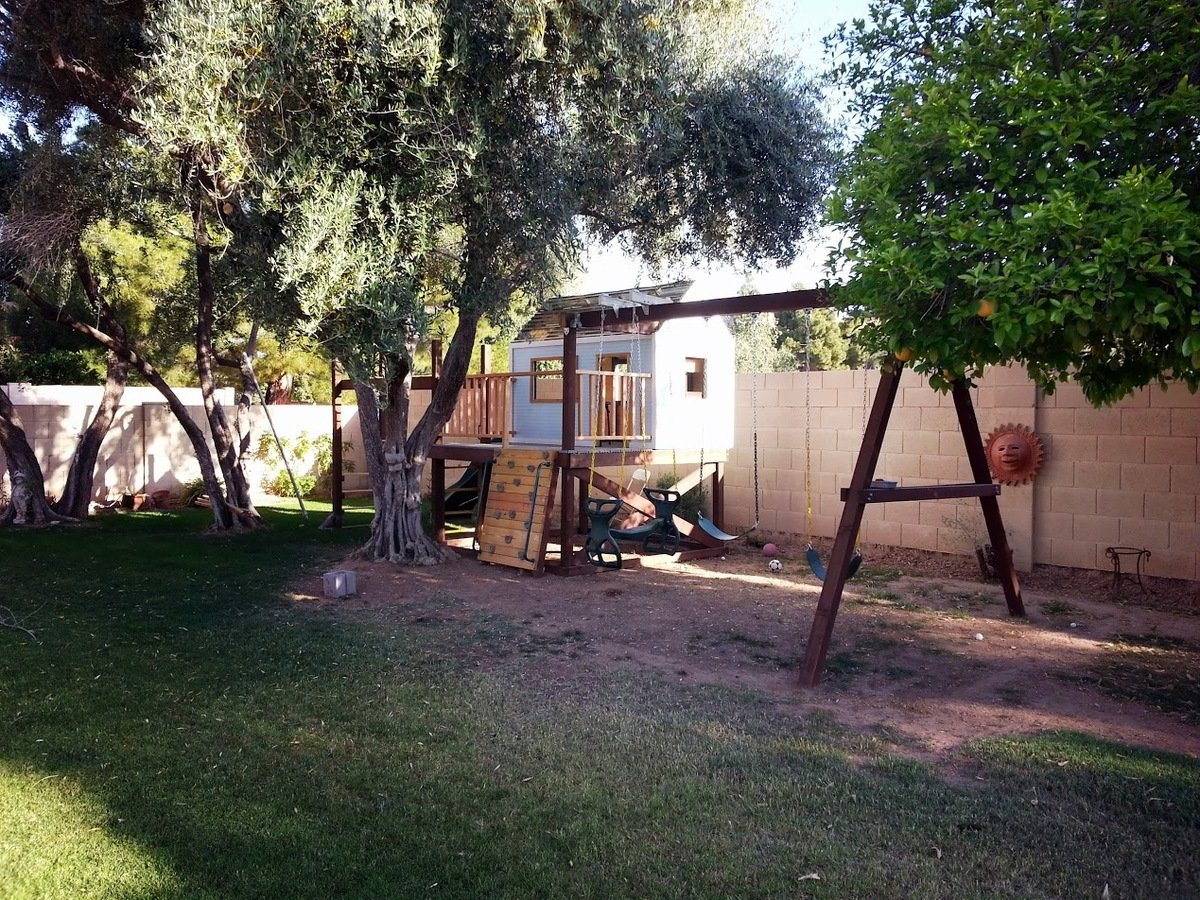
My second building project... this one took quite a while, building in the evenings after the kids went to bed.
The playhouse is based off of Ana's Playhouse Building series, with some modifications to fit the space in my backyard and accommodate climbing wall, monkey bars, and slide.
To put the main deck structure into the ground for sturdiness while protecting from moisture, I dug out 5 holes to fit single hole cinder blocks (4 corners plus an extra 4x4 for the monkey bars; you can see an leftover block on the ground in one of the pictures). I placed some brick in the holes, then the cinder blocks on top. I then partially filled the cinder blocks with sand, put the pre-built deck in the cinder block holes (with help - it's heavy!), and then filled the rest of the cinder block holes with sand. It's worked remarkably well - the deck has been up for about a year now. I also sprayed some clear waterproof sealant on the bottom part of each beam near the ground for extra protection (deck, monkey bars, climbing walls, and swingset A-frame). This has allowed me to still run sprinklers near/around the playset and even grow grass underneath the swings!
Materials used:
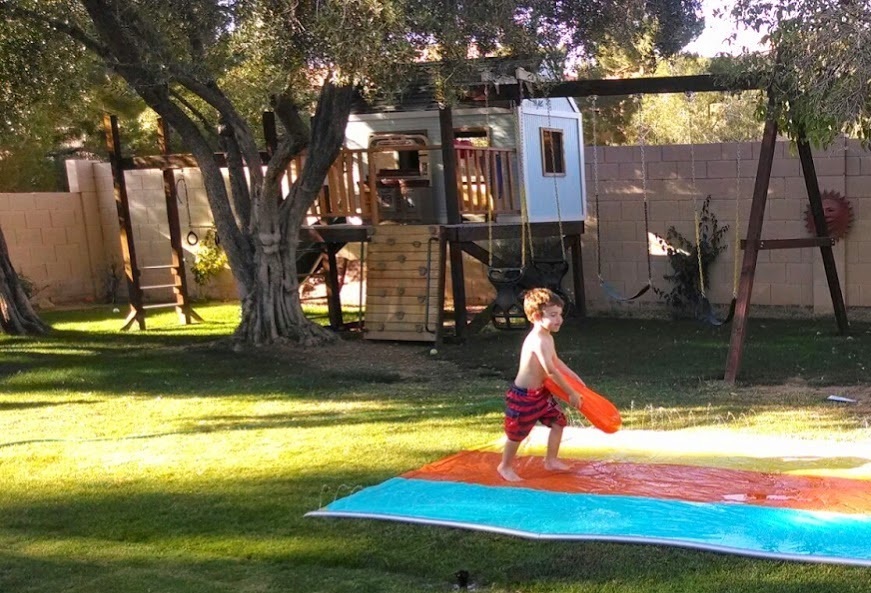
* Playhouse: pine, plywood, Suntuf solar grey polycarbonate corrugated roofing panels (I live in Arizona, so little rain to worry about but lots of heat - the sheeting lets light in but blocks most of the UV rays, corrugated shape also provides venting at top when placed sideways)
* Deck/Swingset/Monkey bars: treated lumber, composite decking, pine for railings, monkey bars purchased from Amazon
* Climbing wall: pine, treated lumber, handholds/railing bought off ebay/Amazon
* Swings/slide/bongos/wheel, telescope: purchased from Amazon
Modifications:
* Turned playhouse 90 degrees to be in back of the deck, with swingset coming off the side. This meant the support beam for the swingset had to pass through the playhouse - modified the frame for that wall slightly and created a notch for the beam to pass through.
* Slide comes out one end of playhouse - made the "window" on that end larger than the plans called for in order to give room for the slide.
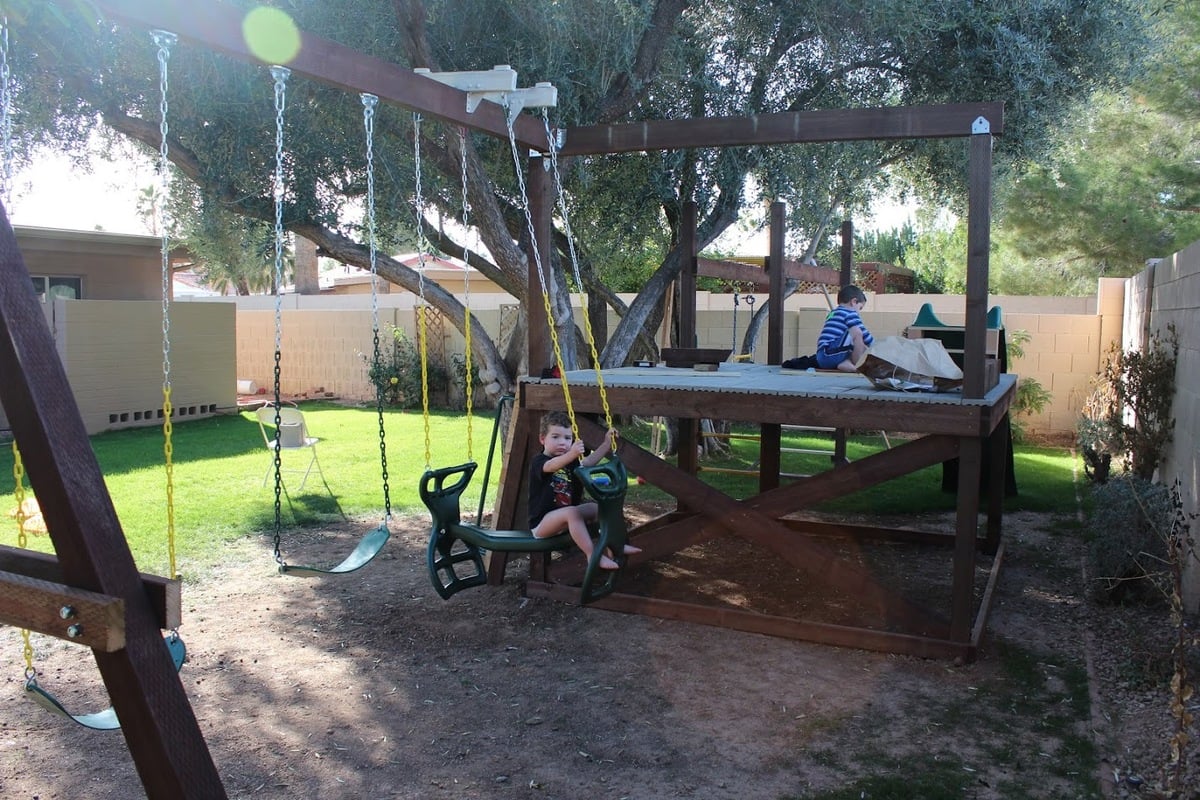
* Monkey bars come off one side of the deck - used extra 4x4 here to create support for the bars, and used extra bars to make a ladder on this side
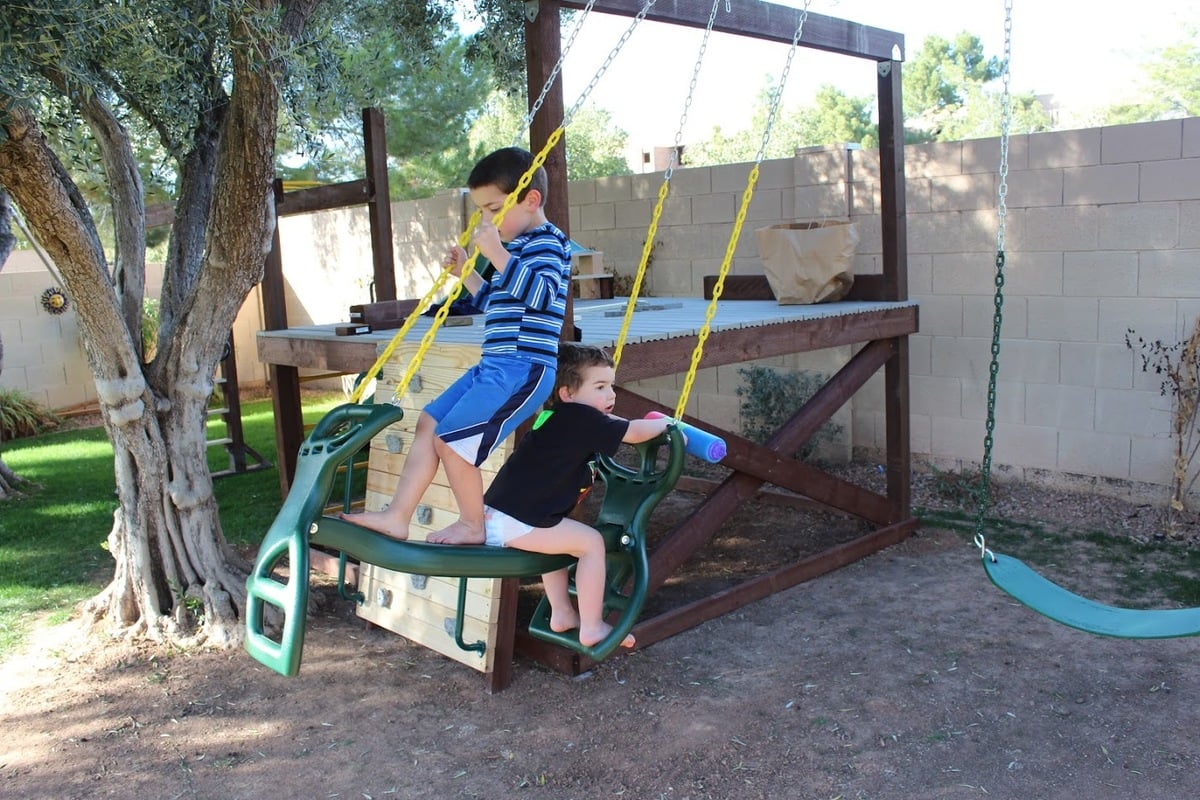
* Climbing wall instead of ladder for main entrance
* Put large window in back wall of the playhouse
* Added cross bracing to side of decking on swingset end to make it more solid/cut down on sway when swinging
Tue, 04/29/2014 - 20:41
This is phenomenal - just the plan & design we've been looking for. Can you upload a few more pictures? Any sketches you can provide? Shopping list? Really great job - I hope your kids love it. It looks awesome.
Wed, 09/10/2014 - 14:03
Thanks! It's certainly nestled in right behind that tree - I originally was going to place it in between that tree and another one but then decided to just place it behind them in order to take better advantage of shade (critical in AZ) and fit in everything I wanted to put on it (monkey bars, swings, slide, climbing wall)

Mon, 07/08/2019 - 00:48
We've been looking at these type of players for our son, and good grief! Prices are astronomical for playsets that are NOTHING like this. This absolutely an amazing place for those boys to make memories. You're amazing! Do you mind if I ask what it cost once it was finished? I never imagined that it would cause a tic in my eye to look at the kids from Lowe's or anywhere else for that matter.
Tue, 08/20/2019 - 10:14
I don't remember how much it cost in the end... but probably around $900? That may include getting some tools that I needed but didn't have at the time. The slide was the most expensive single piece I bought - I think I got it from Amazon.
When it was all done, I remember thinking that what I got for my money was *way* beyond what I would have gotten by purchasing a kit or a pre-built play structure. Plus, by going my own way, I was able to build it to fit my space and the needs/abilities of my kids.
While the whole thing is big and looks like an intimidating build, it really isn't bad - the platform is a fairly blank base to design everything else off of, and is incredibly sturdy. Everything else is a discrete part that branches off of the platform and can be planned out as you need. Adding the monkey bars required putting in a 5th upright (the first 4 are the corners), but that was an easy modification since I knew I wanted it before building the platform. The playhouse just sat on top of the platform (screwed down, of course).
Sat, 08/01/2020 - 20:40
Hello. This is pretty cool, probably the best modification that I am looking for from Ana's default plans. Could you please add some more detail on the right side wall, and how you incorporated the support beam through the playhouse? (with maybe a picture from inside of that wall). And secondly, if you can add the dimensions for the monkey bar setup on the left side of the deck? Thanks, much appreciated

Modified with a high back and modern adirondack arms.
The base of the chair is built exactly to the plan except that the arms are done in a modern adirondack style.
The back was made independently to fit inside the base and then attached to the plan base.
Very comfortable but very heavy chair even without the modified back.
Not stained yet obviously.
Cushions are hard to find I think I would make it slightly smaller next time and maybe even find the cushions first and alter the plan to fit.


Tue, 06/09/2020 - 09:11
Stained with Saman: Urban Grey mixed with some left over brown 4:1 and now has a companion side table
Wed, 06/24/2020 - 07:33
Do you have the plans for the table you built? Im a brand ne beginner. I am trying the modern outdoor chairs and live this table with them.
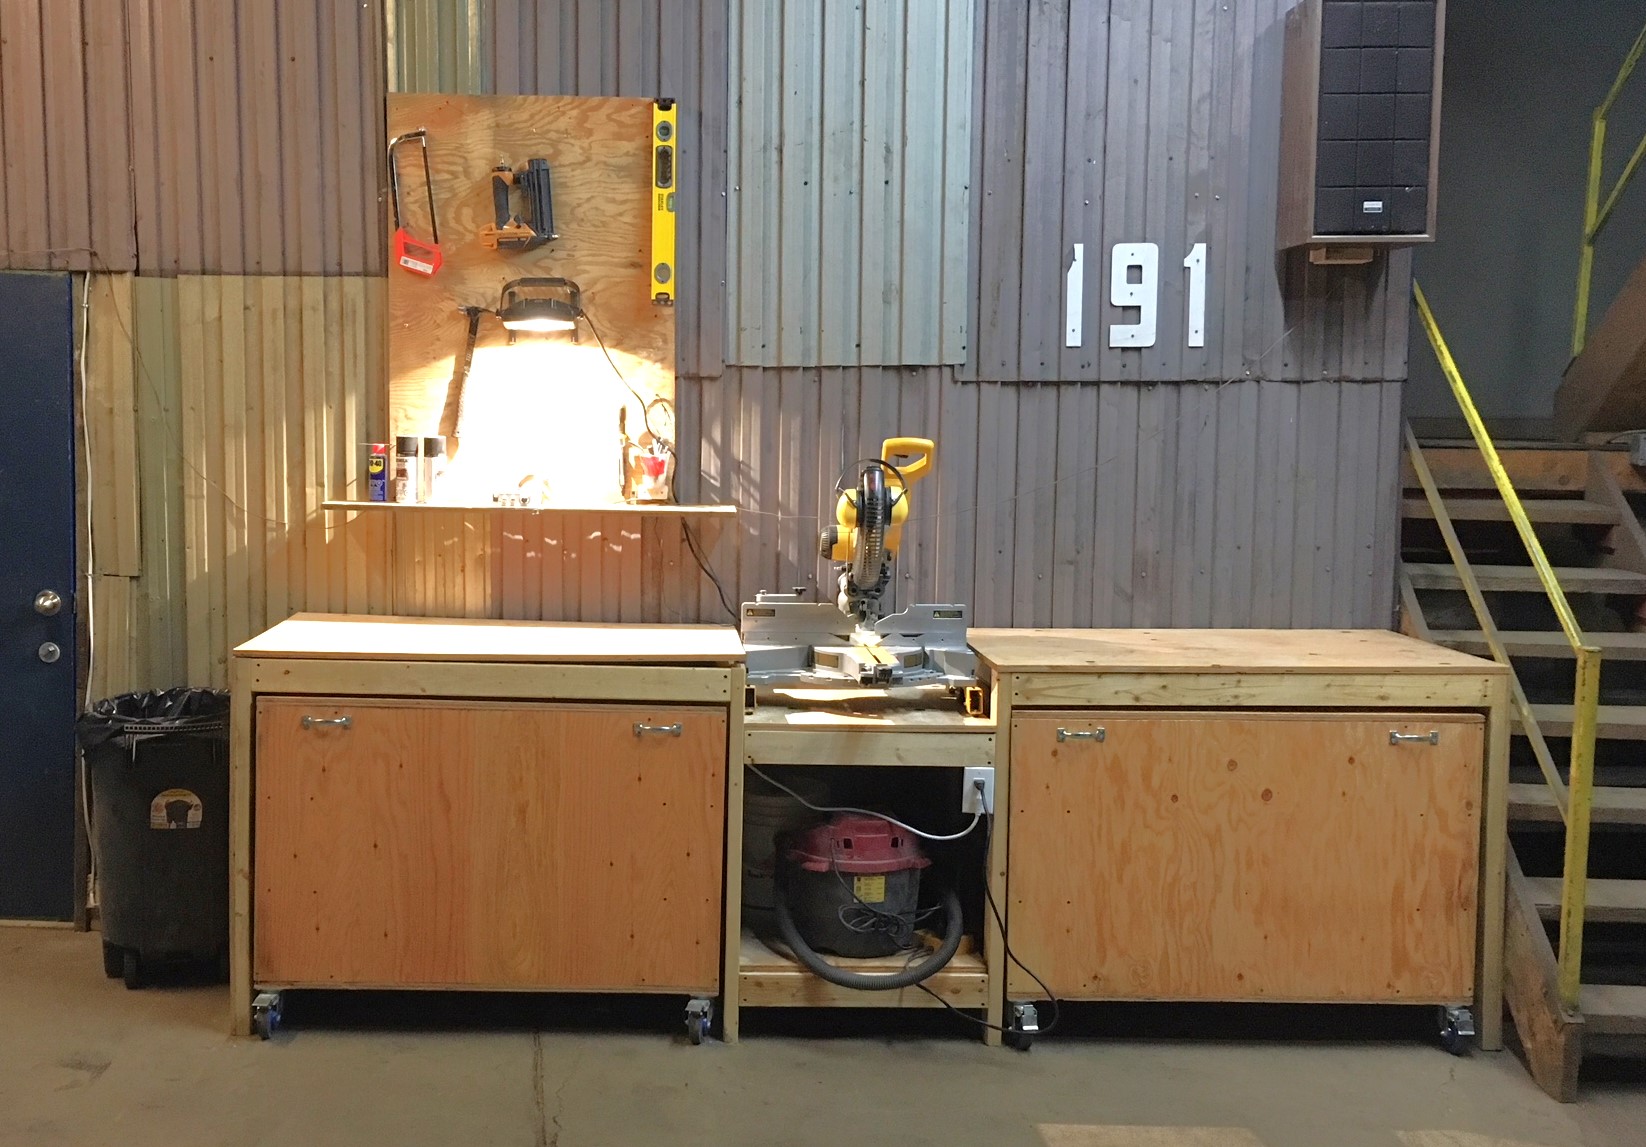
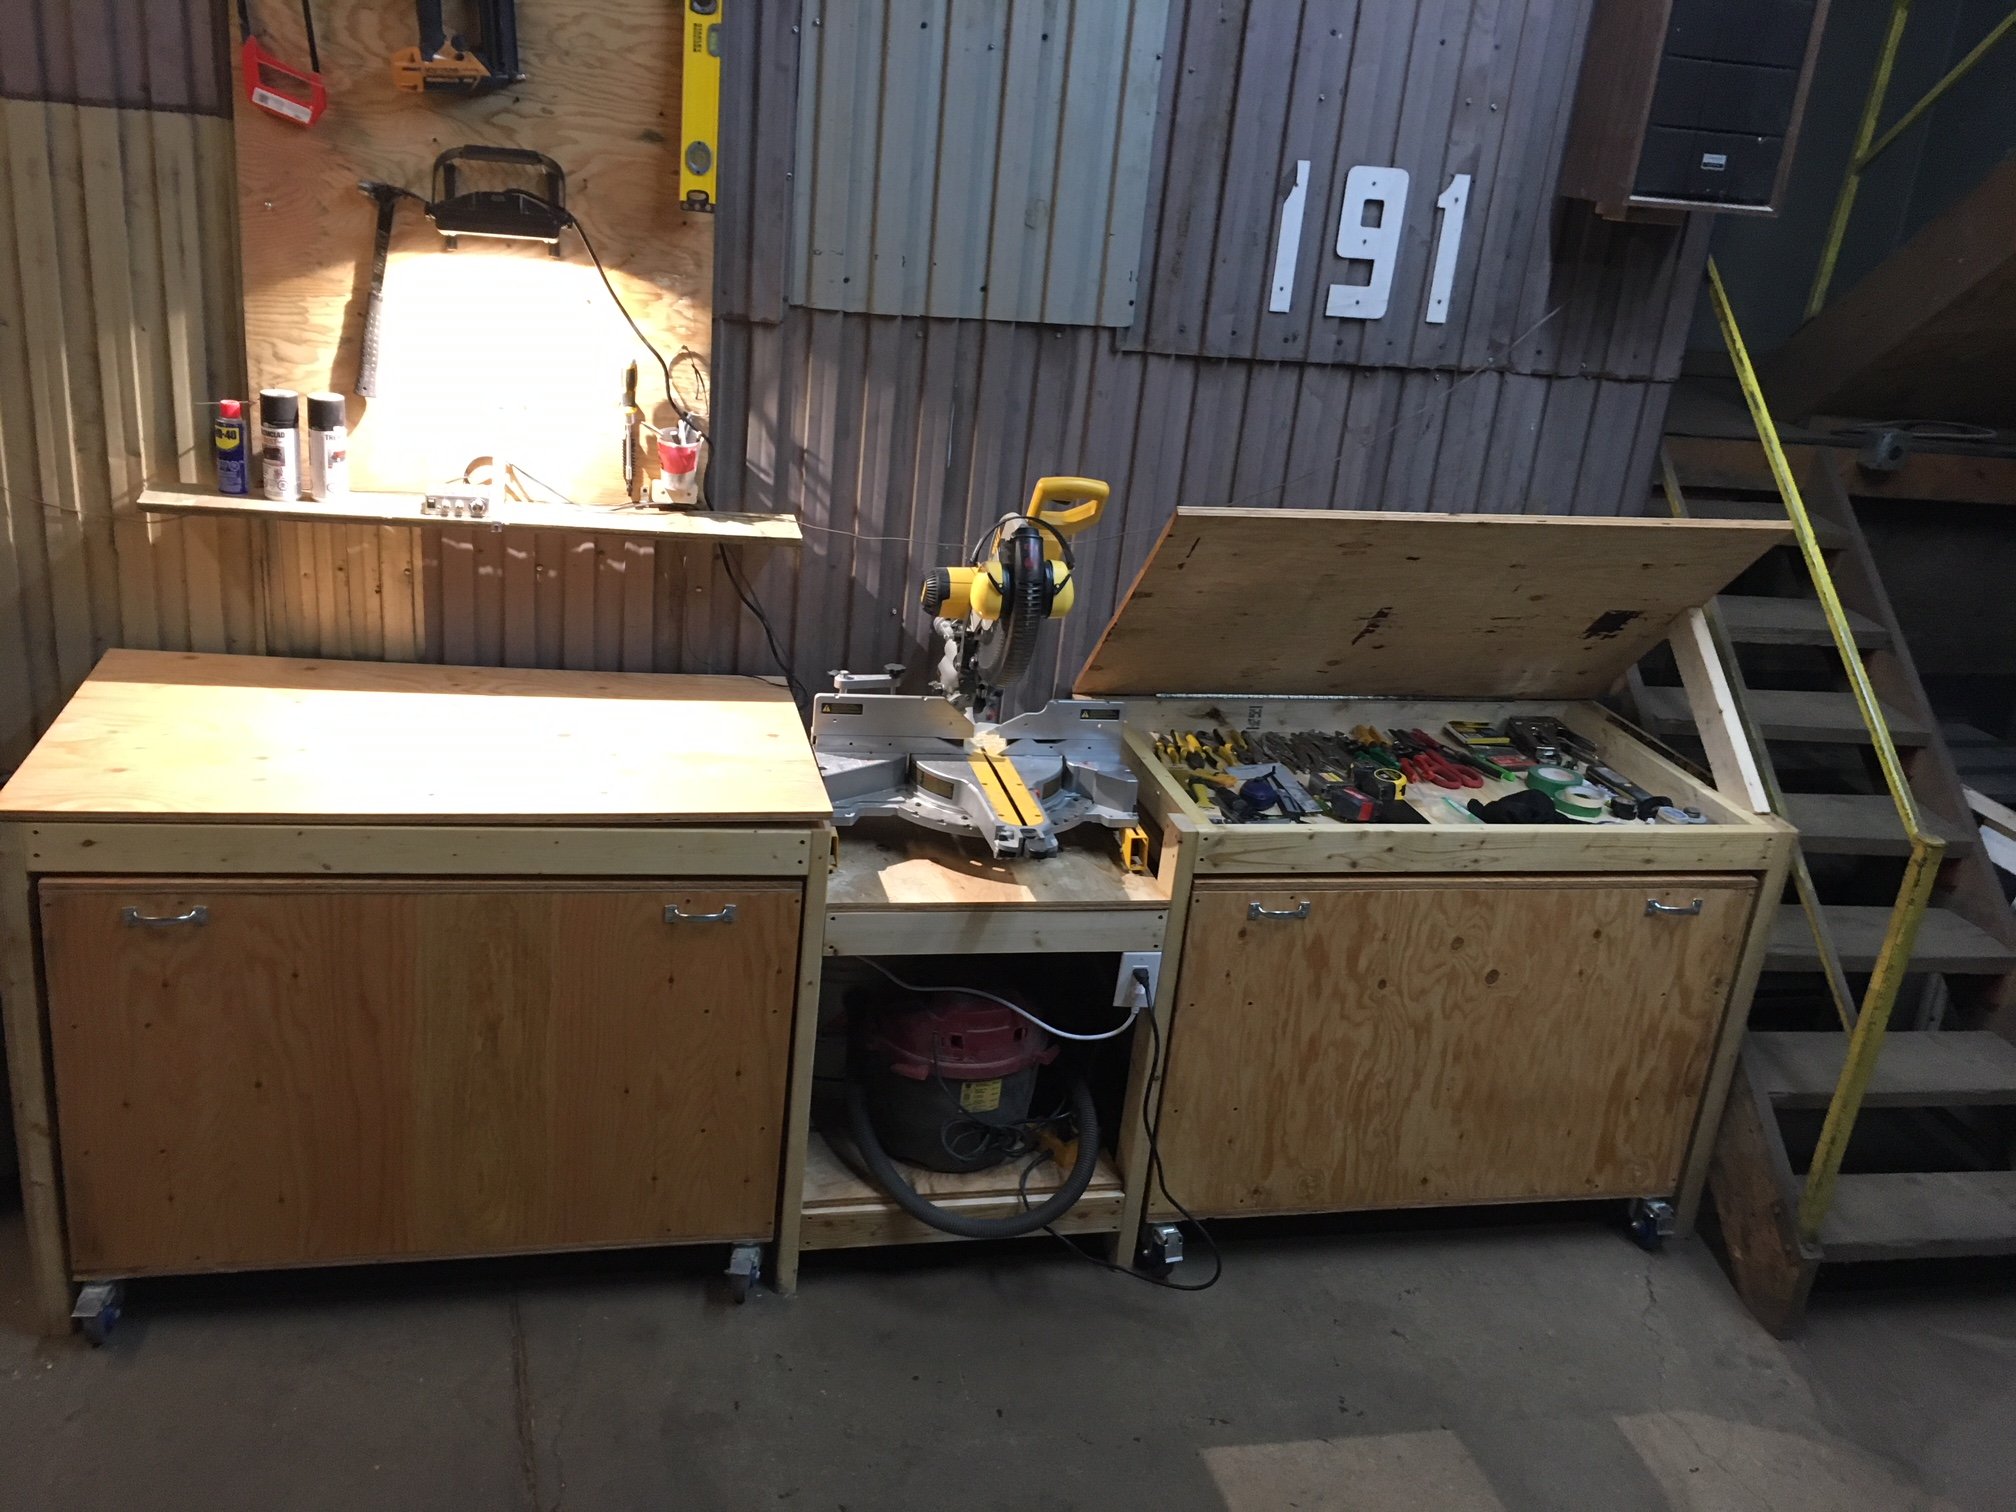
This is the perfect workbench for my needs.
I upgraded the casters to bigger ones as my shop's floor is in rough shape.
I also added storage under the two work surface next to the miter saw. This was just a matter of closing under the 2X4 frame and making the two sections on casters a little shorter. The only downside for that mod is that the plywood can bend a bit since it is not screwed to the frame. I don't mind since it falls flat as soon as there is weight on it. Also, this mod makes it hard to include fence system (it would need to be removable, like fixed with dowels only, no glue) and almost impossible to include a precise fence system since it would need to be removable. In my case, I do rough, non-repetitive cuts, so there is no need.
TIP : Pay a little extra for smooth plywood. I lost a lot of time sanding mine :(
Tue, 02/04/2020 - 08:21
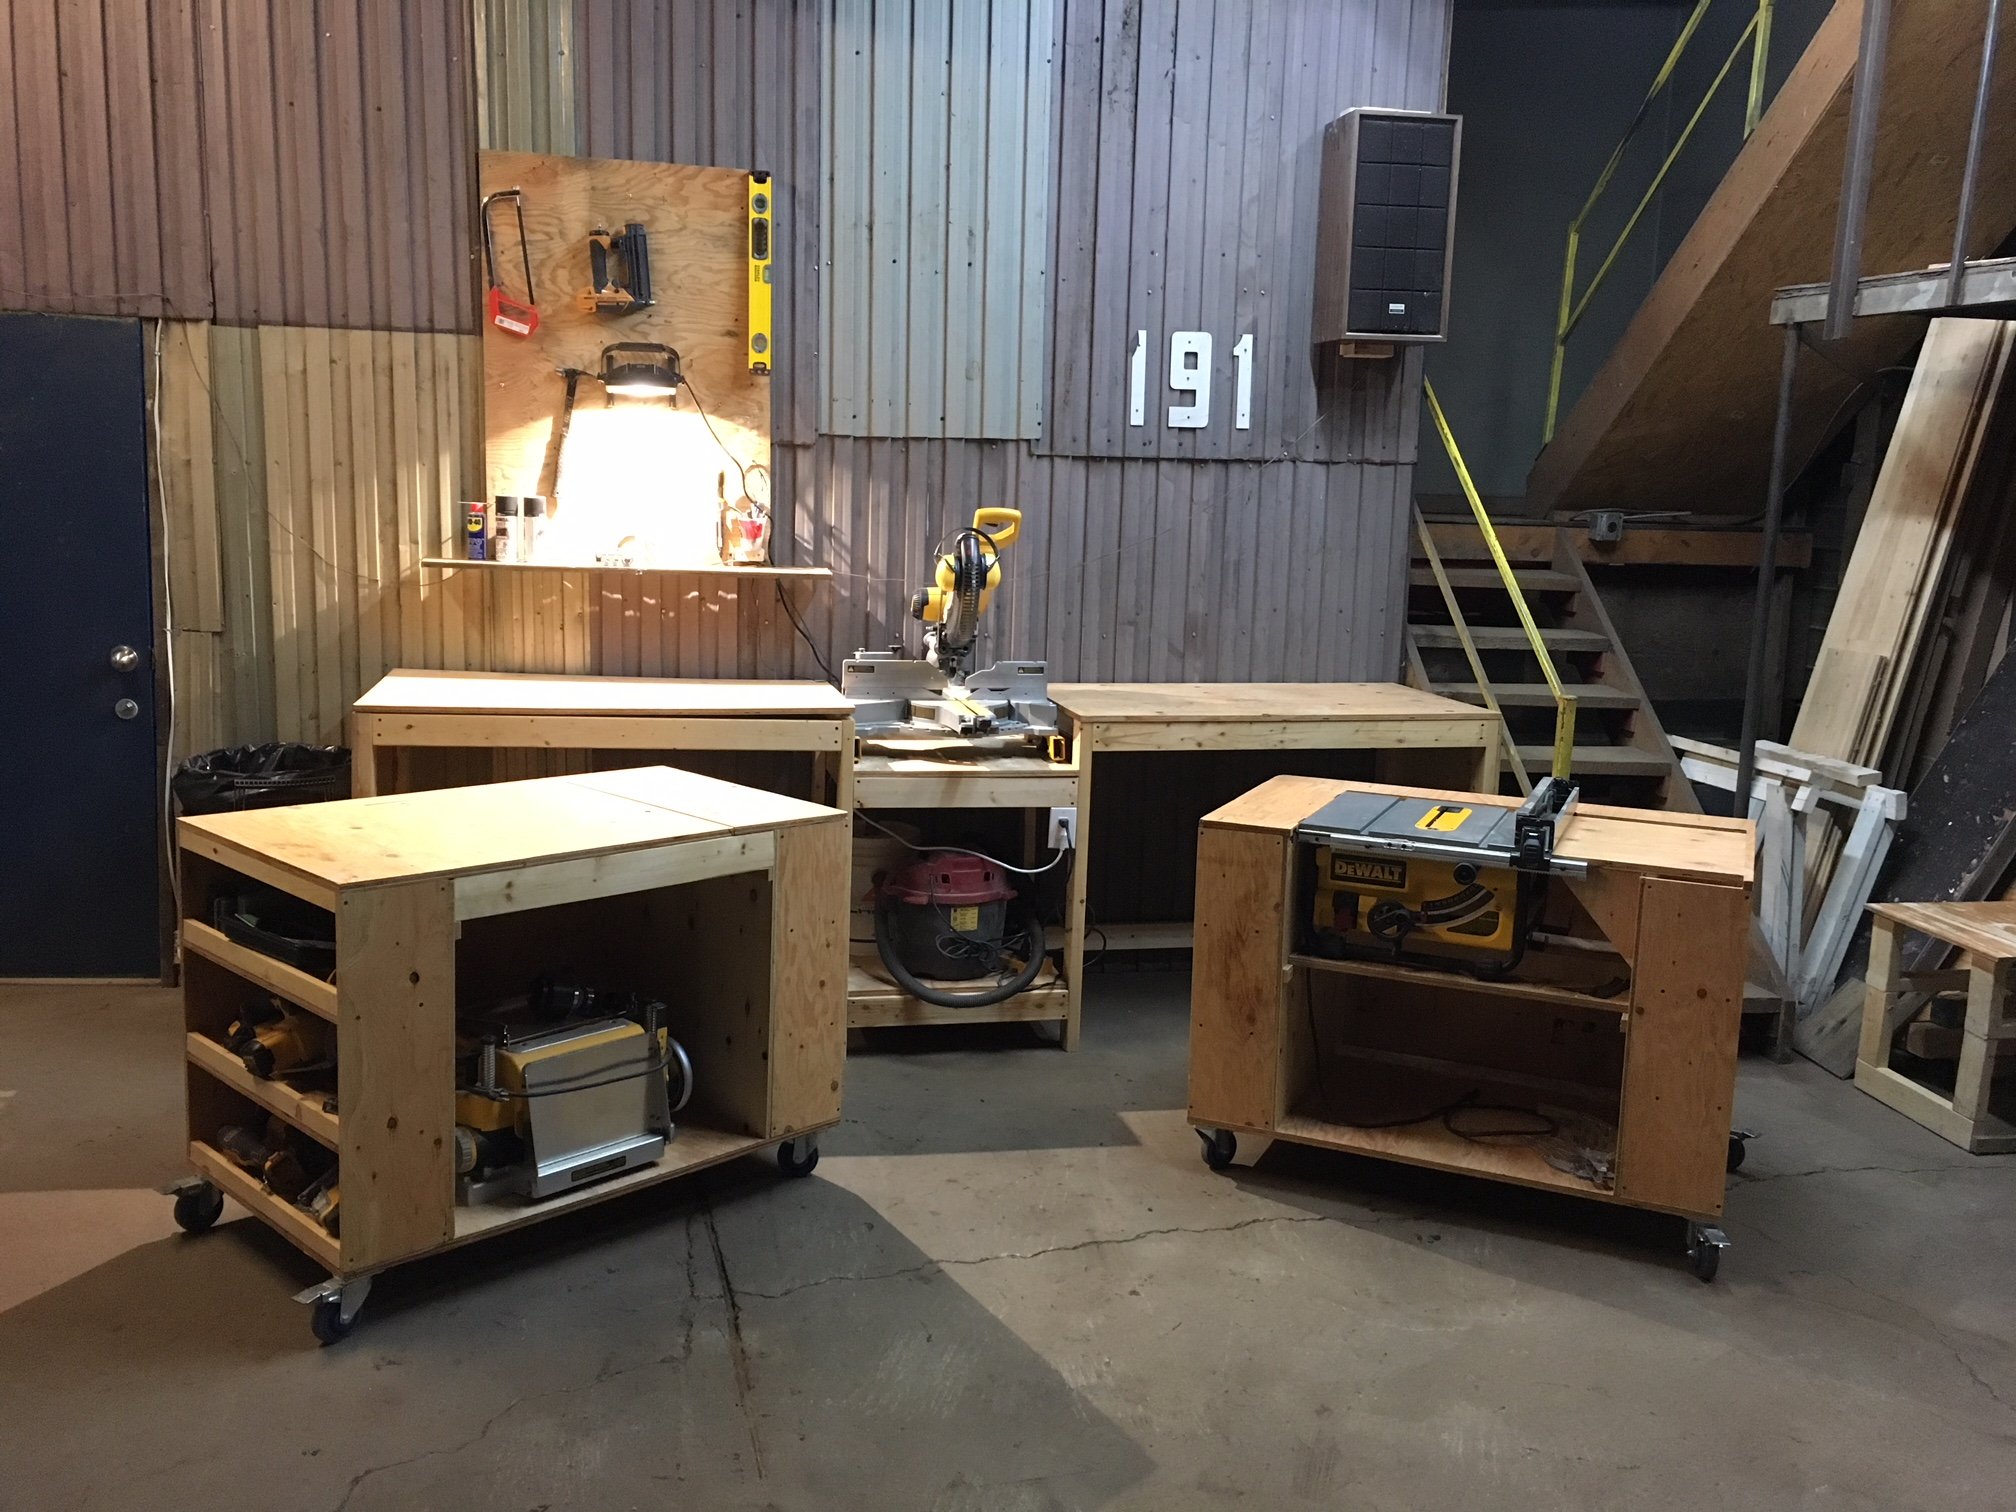
Awesome! Do you have pictures/info for the cart that has the Dewalt table saw? I have the same one and would love to build the cart for it.

A frame chicken coop with a few modifications- metal roof, insulation and slightly larger second floor.
By Chrystal

Built in bookcase with lighting and power outlets in cupboards for audio and DVD equipment to feed to the wall mounted tv (to the left).
The photo with the lights is when it was unfinished and I also decided that I didn't like the inset doors and so made new overlay ones. Now I have four doors I need to use on another project...


I made this bed for my 6 year old daughter. I loved Anna's Loft Bed plans, but she wanted a bigger play area underneath. So I modified the twin loft bed plans to fit a queen mattress. I also added extra supports for the mattress, and I used PureBond plywood on top of the supports for the mattress to sit on.
That's the Farmhouse Toddler Bed underneath. My younger daughter inherited her big sister's twin bed, so the toddler bed was put to use in the new "playhouse."

Wed, 02/09/2022 - 15:31
We’ve been looking for exactly this!! Can you share your modified plans and the list of lumber and supplies needed?
Sun, 09/02/2012 - 12:45
I think it's great that you modified it to a queen! I live a studio and NEED something like this. Could you share the modifications? It looks beautiful = )
Sun, 09/02/2012 - 20:58
The changes I made were:
End planks cut to 63"
Top back guard and front and back rails cut to 87"
The top guard rails on ends cut to 66"
I measured for the mattress supports and the front guard rail after the rest was completed.
You should also measure for the bookcases after the rest is completed, but each of mine wound up being about 31" wide.
Everything else was pretty much the same.
Hope that helps.
Thu, 11/01/2012 - 08:24
This is wonderful - I've been looking to make something like this for an urban efficiency (adult) apartment! Thanks so much for sharing your modifications!
Mon, 07/29/2013 - 14:08
Will the height of the bed allow for adults to stand under it? If not what modifications should be made to make the height fit a standing adult? (the highest being 6'1" male) Thanks! =D
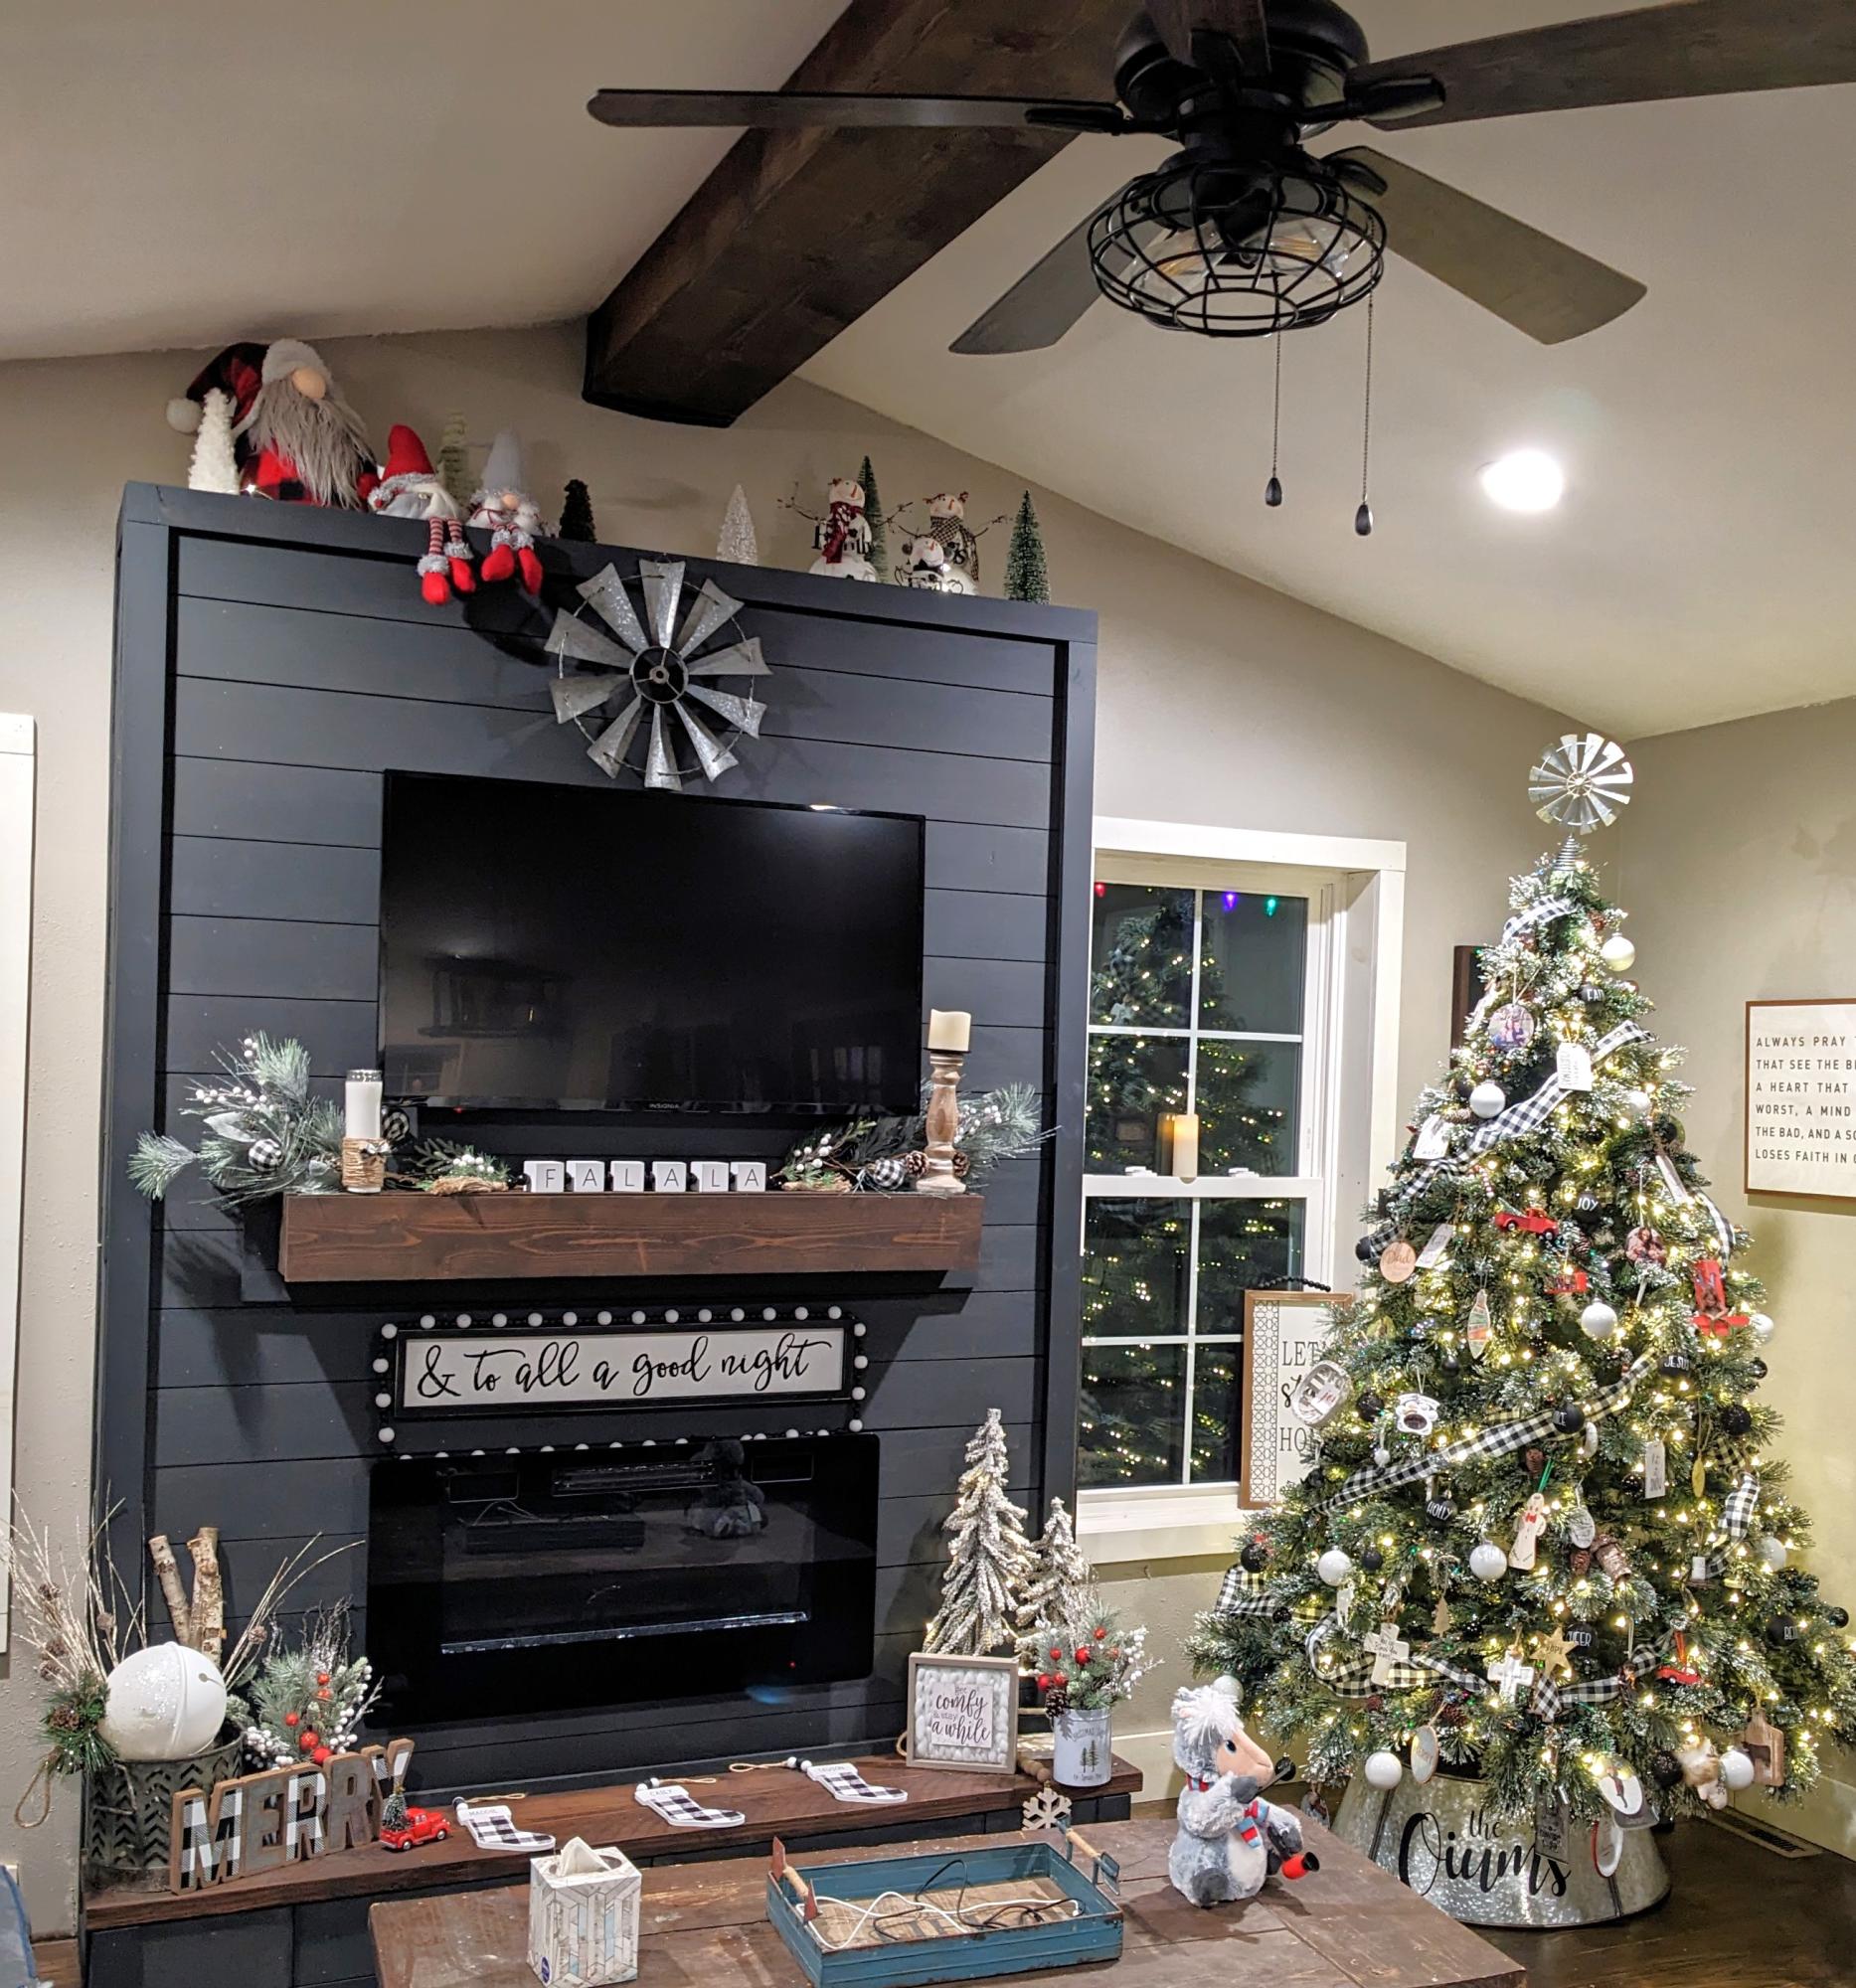
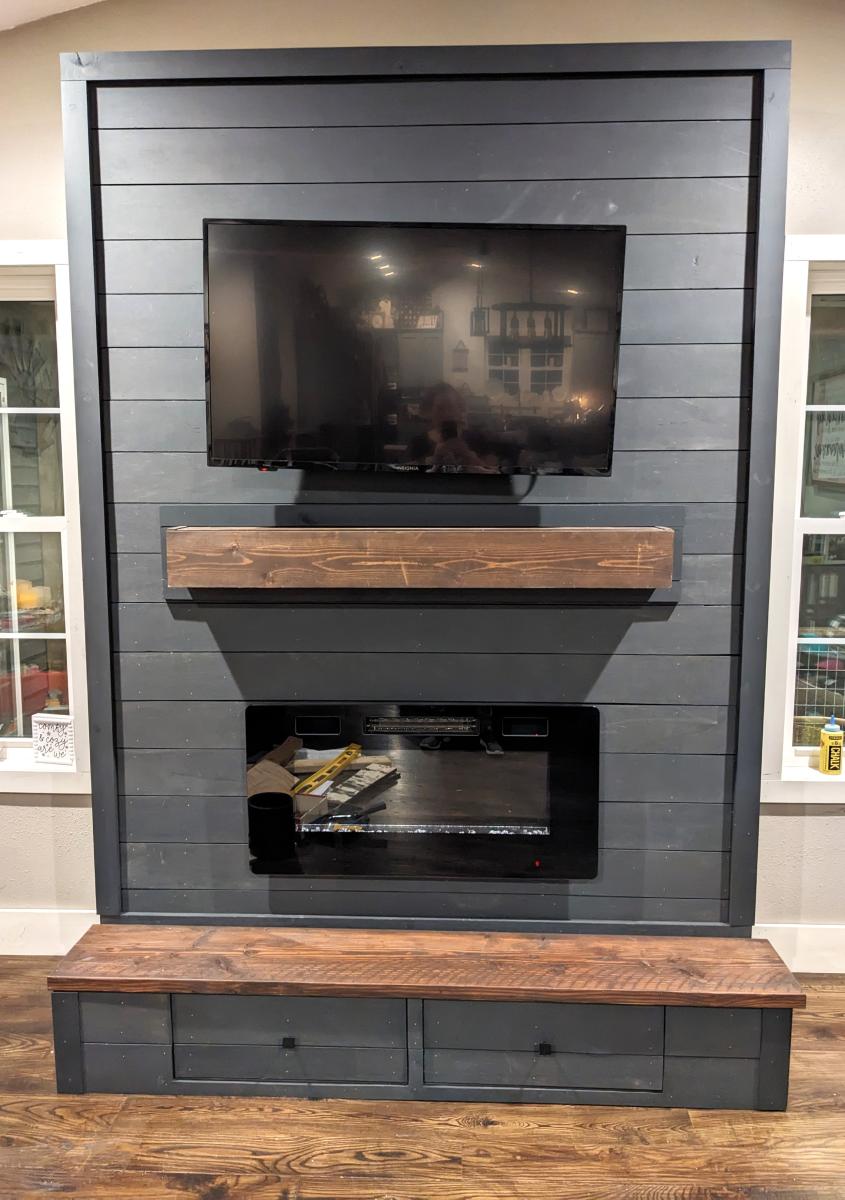
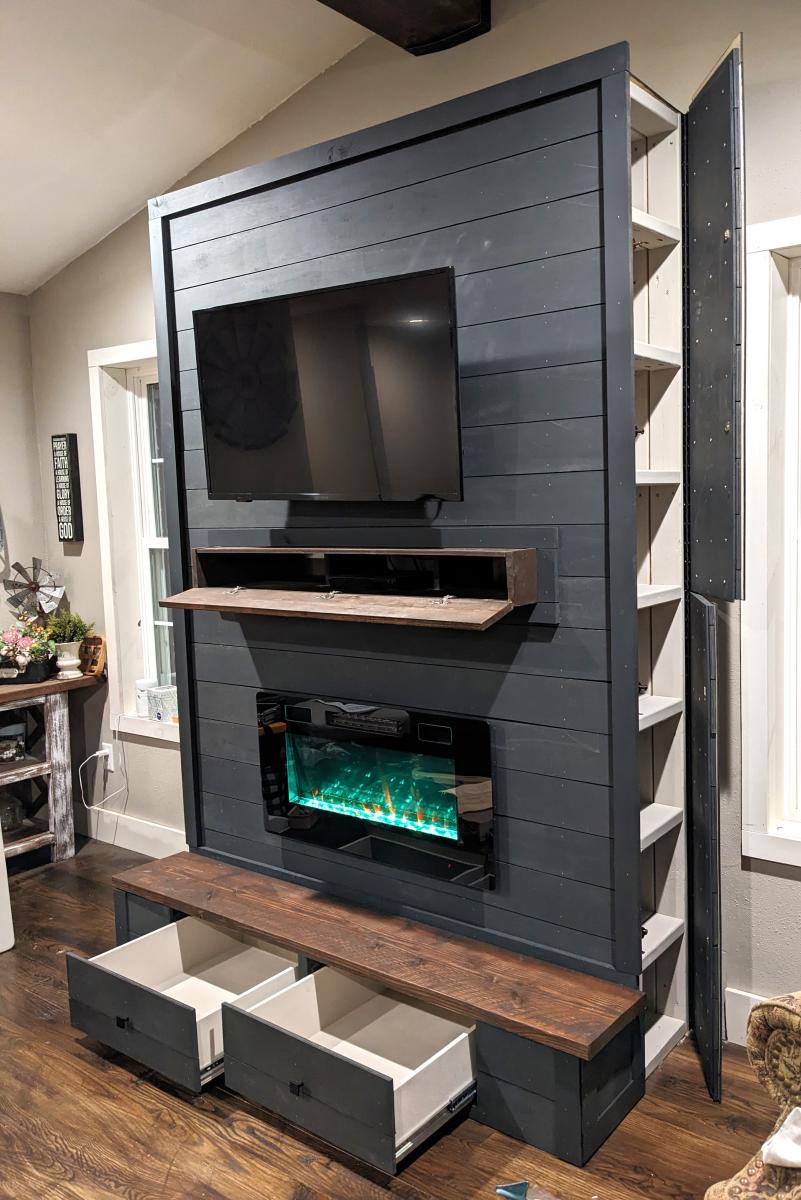
Modified plans to include game storage drawers, a flip open mantle for DVD player and hidden charging port, and hidden cupboards on both sides for DVD storage. I scoured the Internet for months before drawing this up to fit my space and tackling all on my own! I love it and all of my other Ana White inspired projects!
Casey O.

I built a big kids see saw using 2x6's all around with a 2x8 seat. The center post is 30"h.


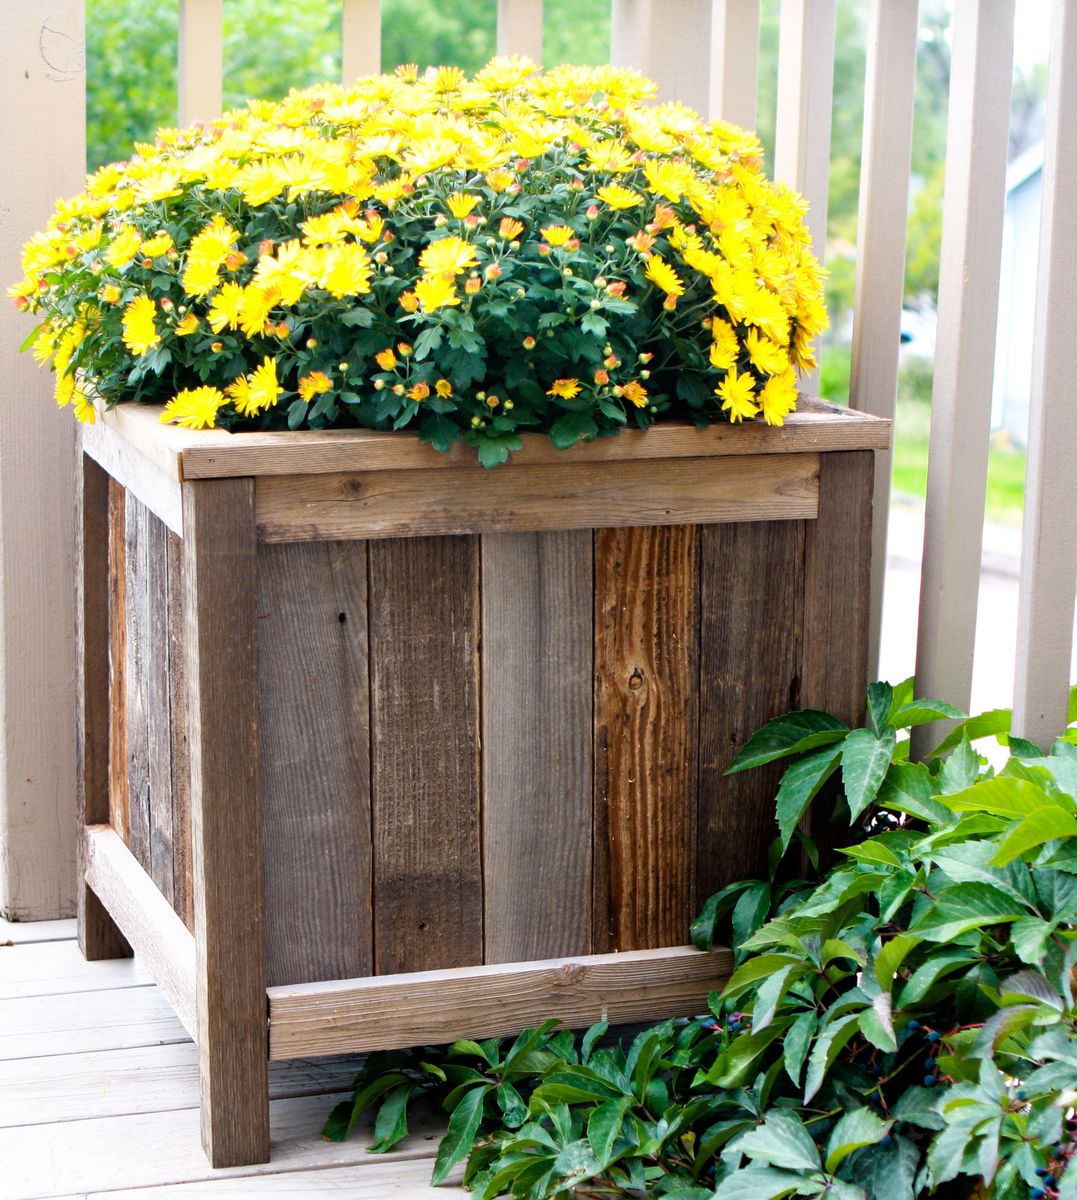
I built Ana's under $20 cedar planters for free. Or, almost free! I had to buy some more wood glue, but I had some of the wood on hand and took some from a friend's pile of old fence wood. It took me about five hours to build both planters from start to finish. See the blog link below for more info.


Tue, 09/08/2020 - 16:12
This is great. I just tore down my old fence and have tons of old cedar pickets. I want to make some planters for my new patio.
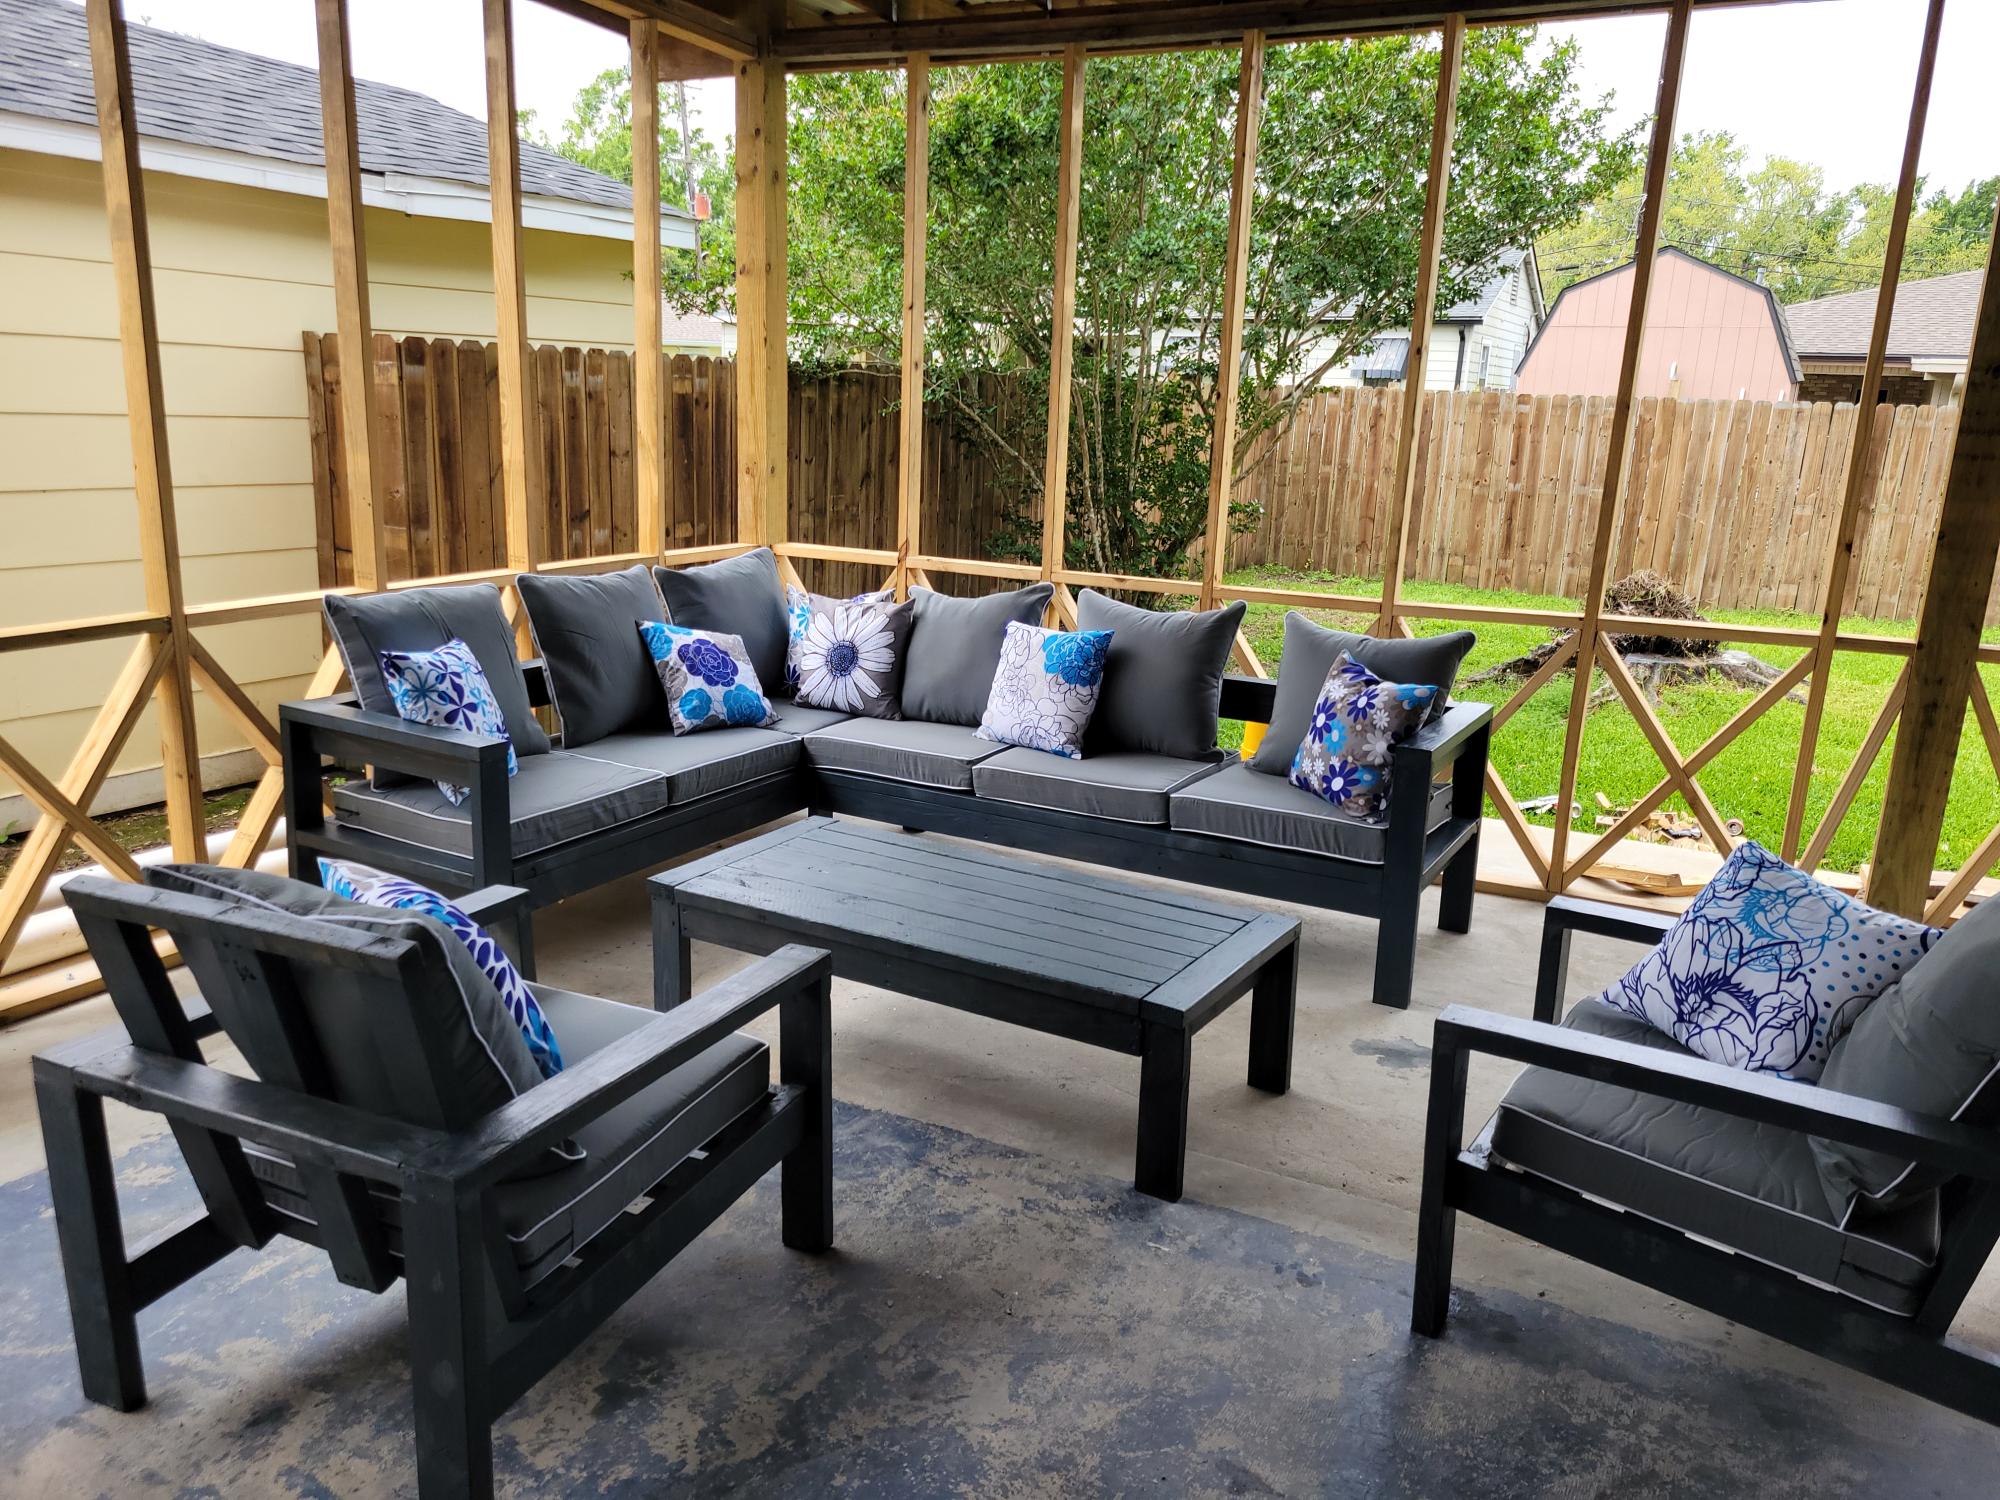
This project was fun! My kids help me! We still got to stain the table legs. Thank you Ana for everything! We got are cushions from home Depot $25 each 6x25x3
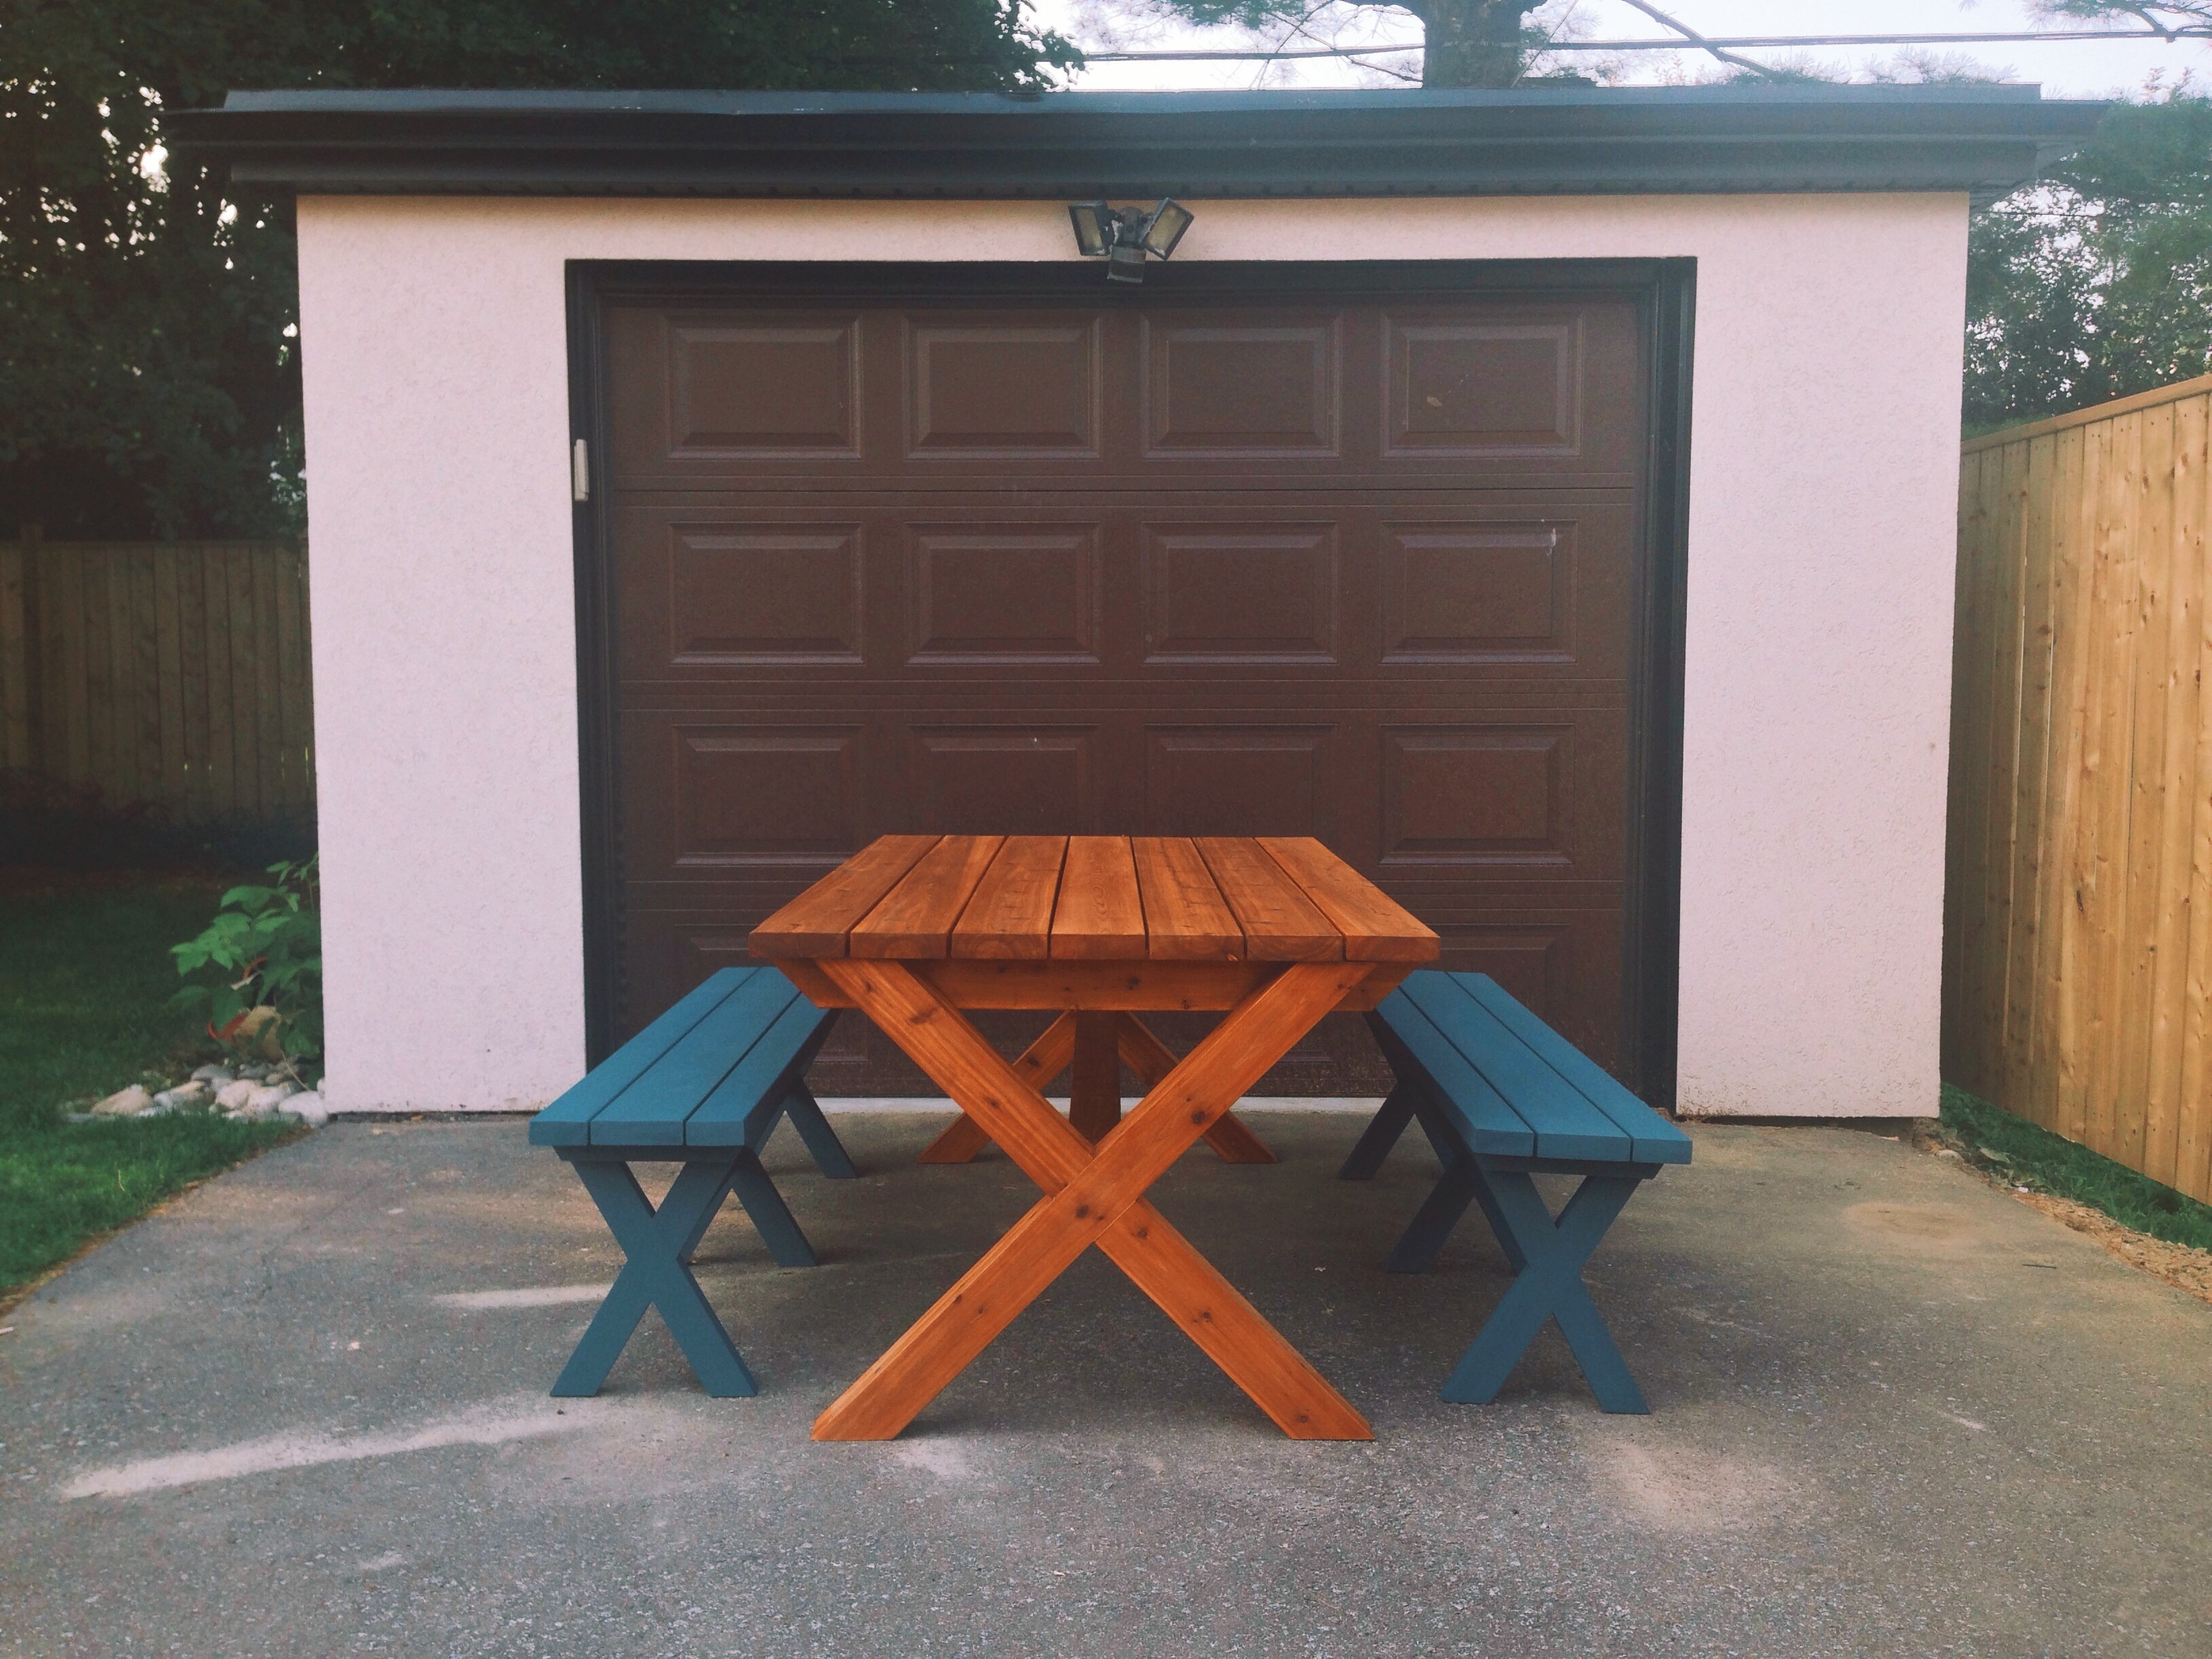
First project of my husband. He had no experience at all in making furniture but when he stumbled on this website he was inspired.
I wanted to contribute so I volunteered to stain both the table and benches.
Modification: used 2x4 for the legs of the table
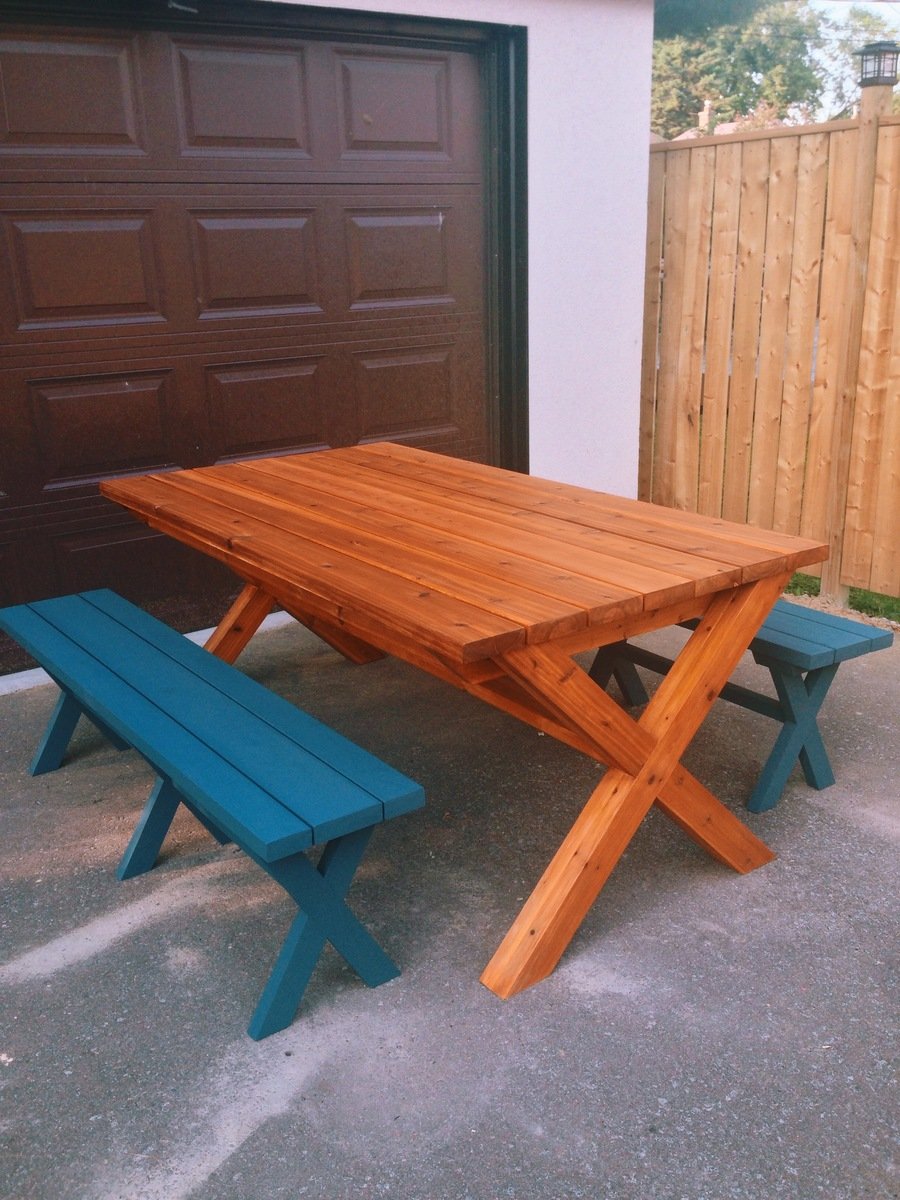
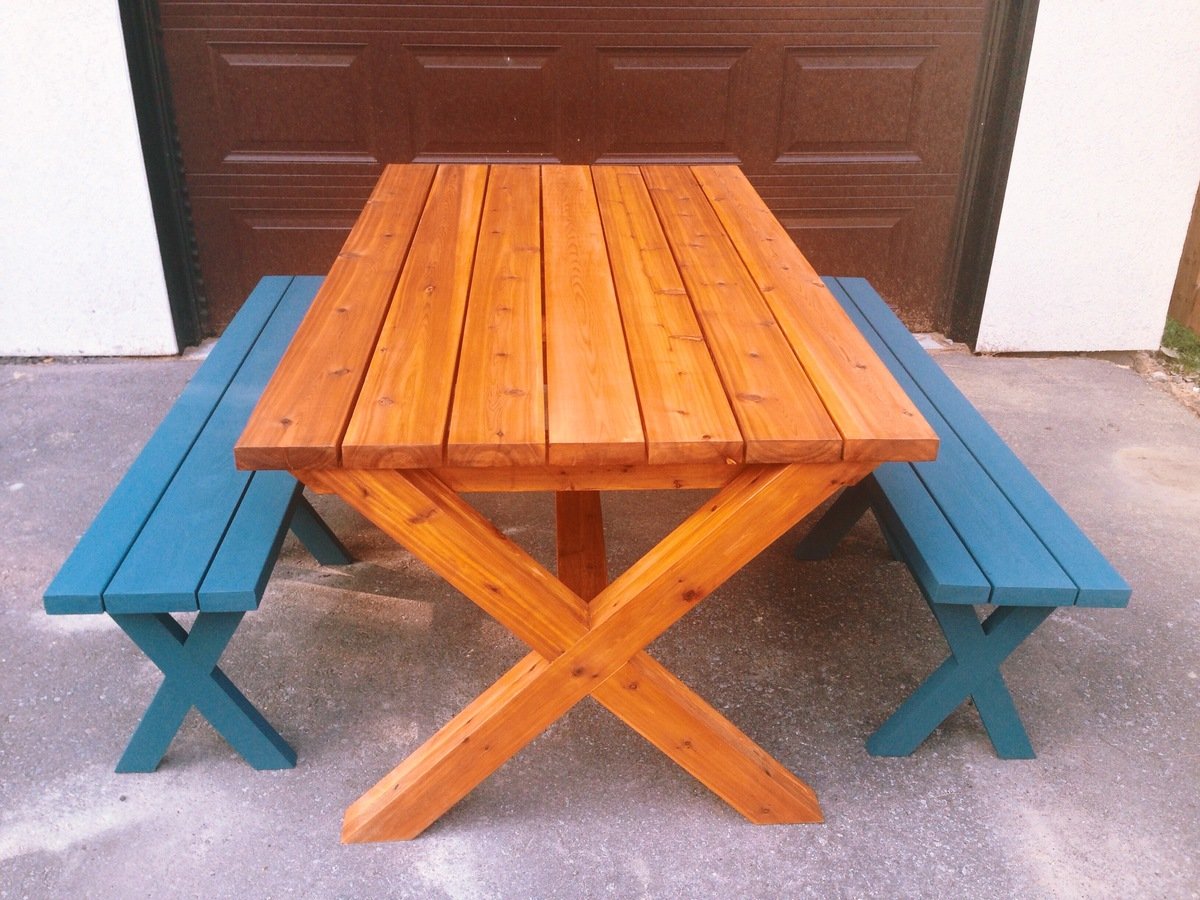
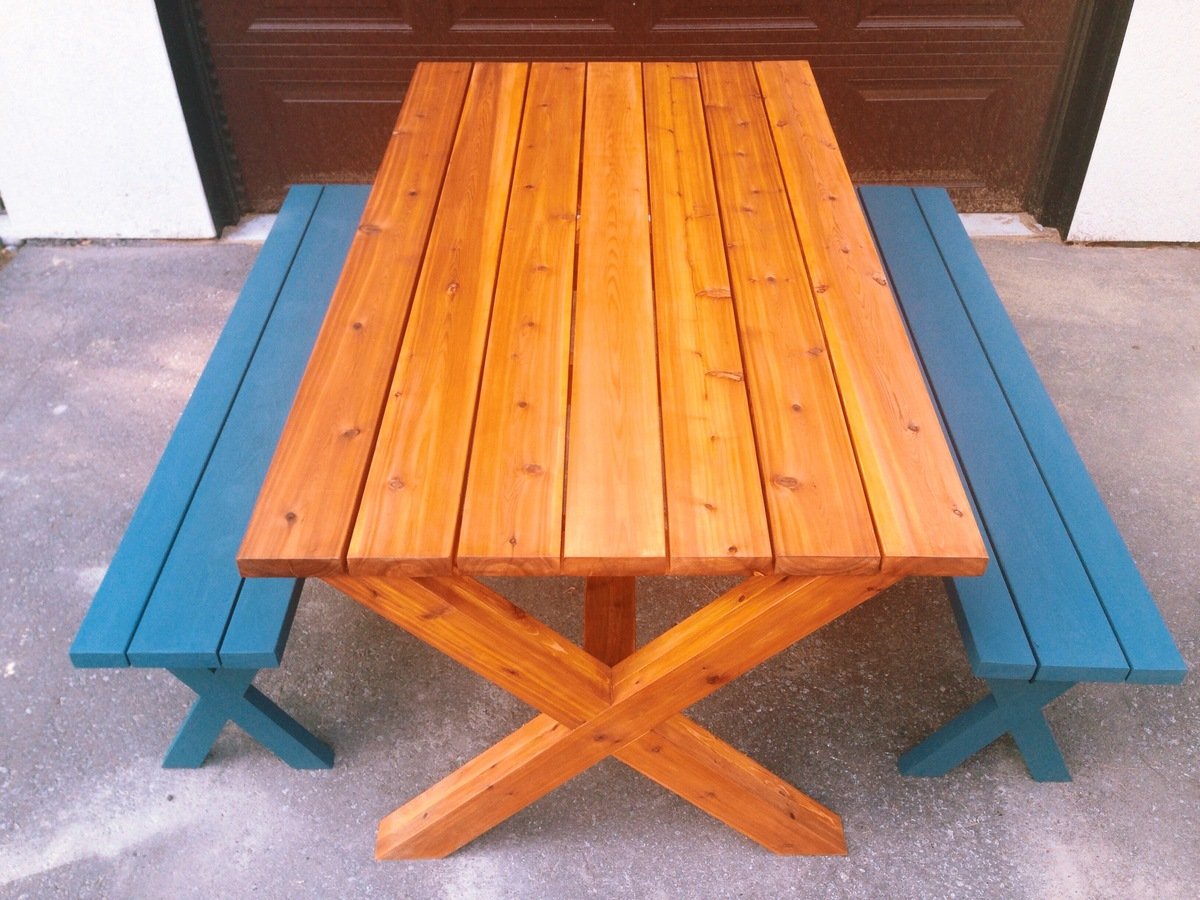
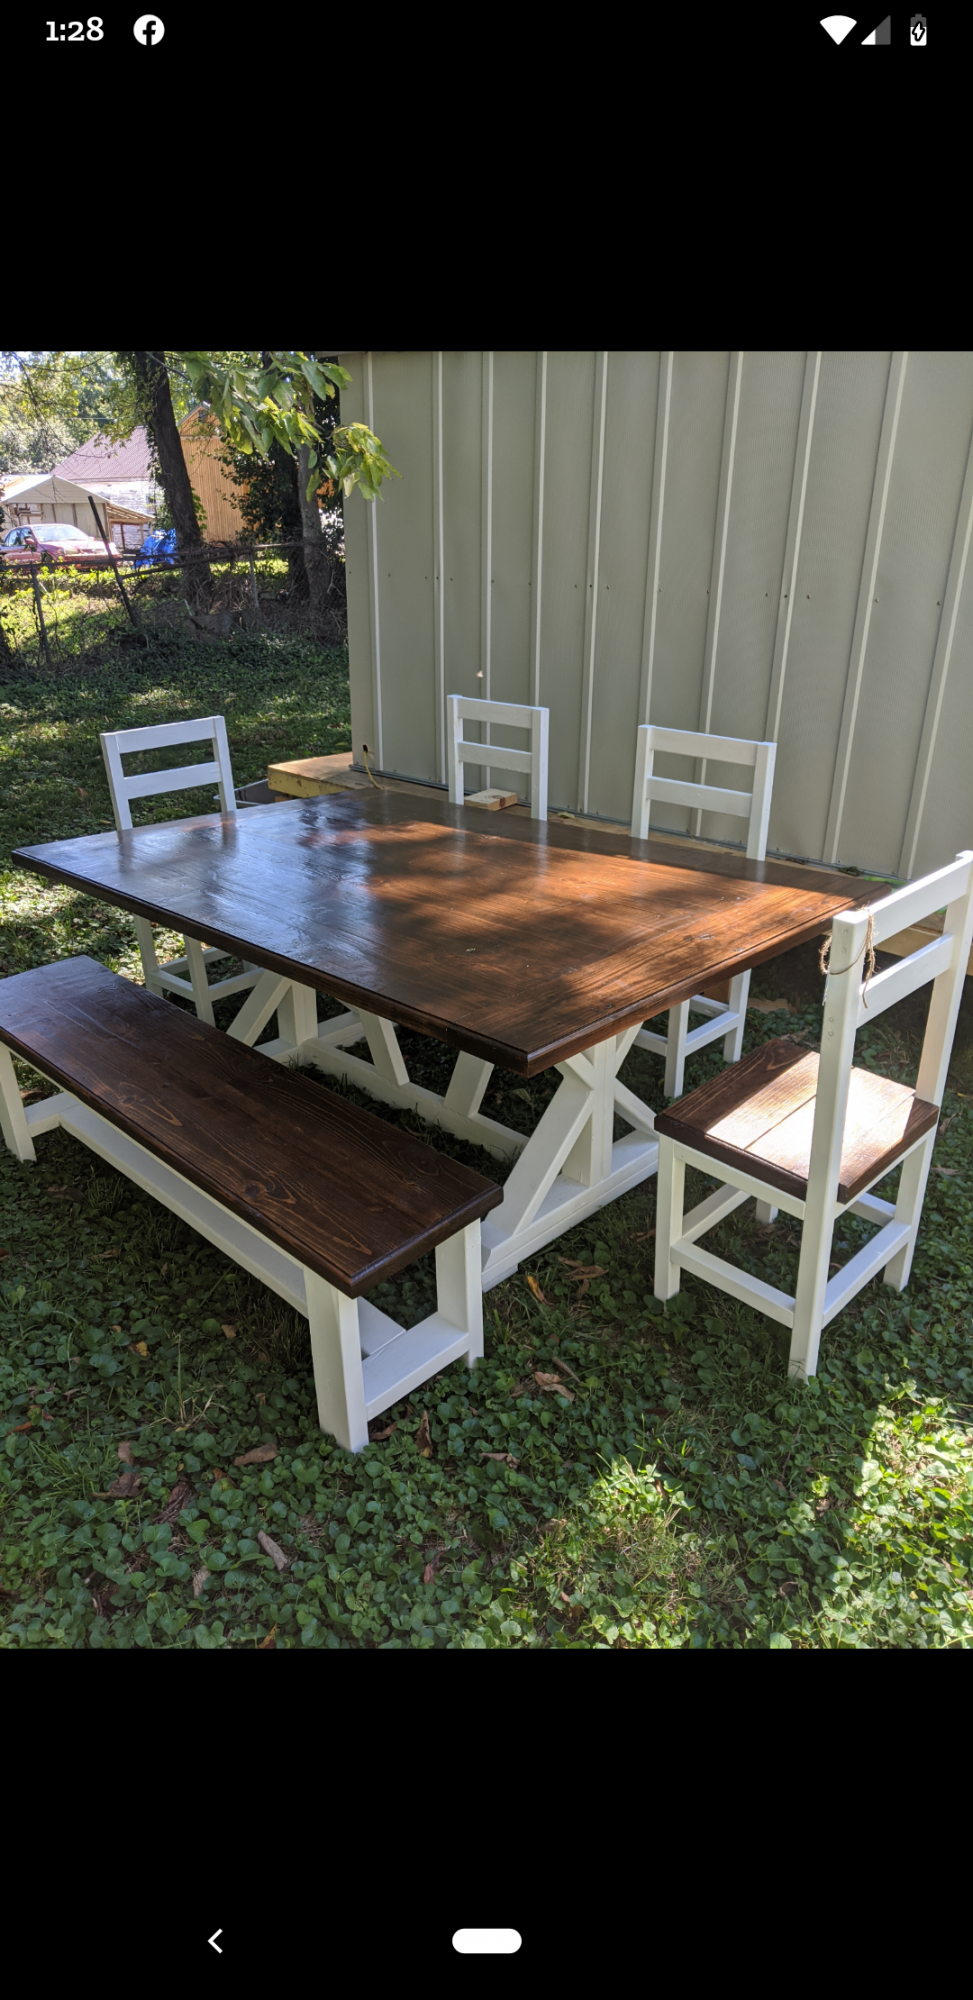
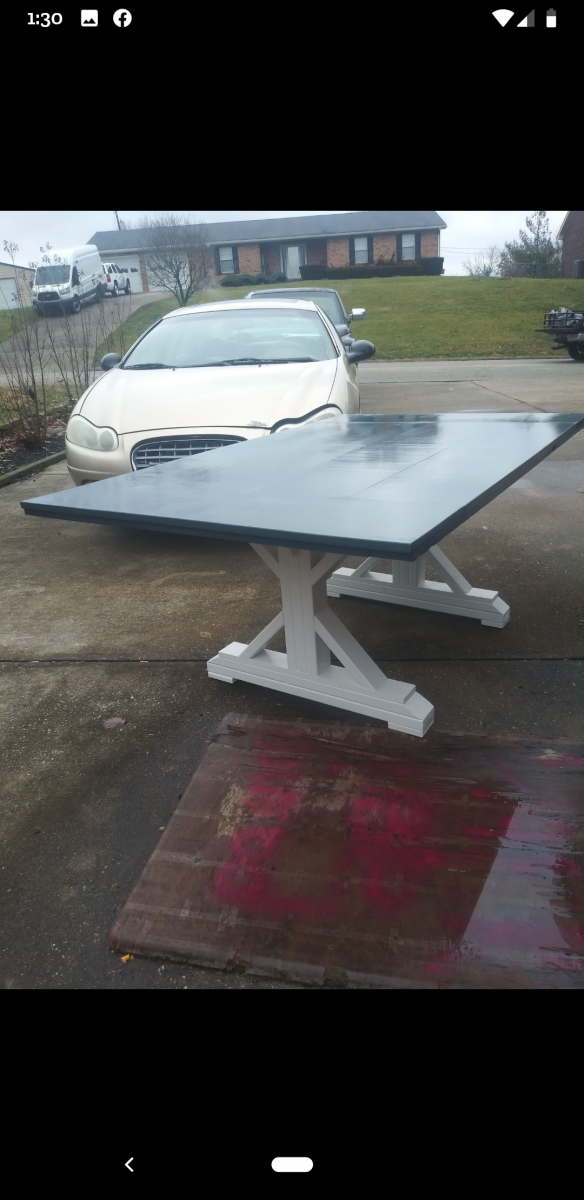
Just a few of our Fancy X farmhouse tables. Along the way, we where able to put our own spin on the original plans by Ana White.
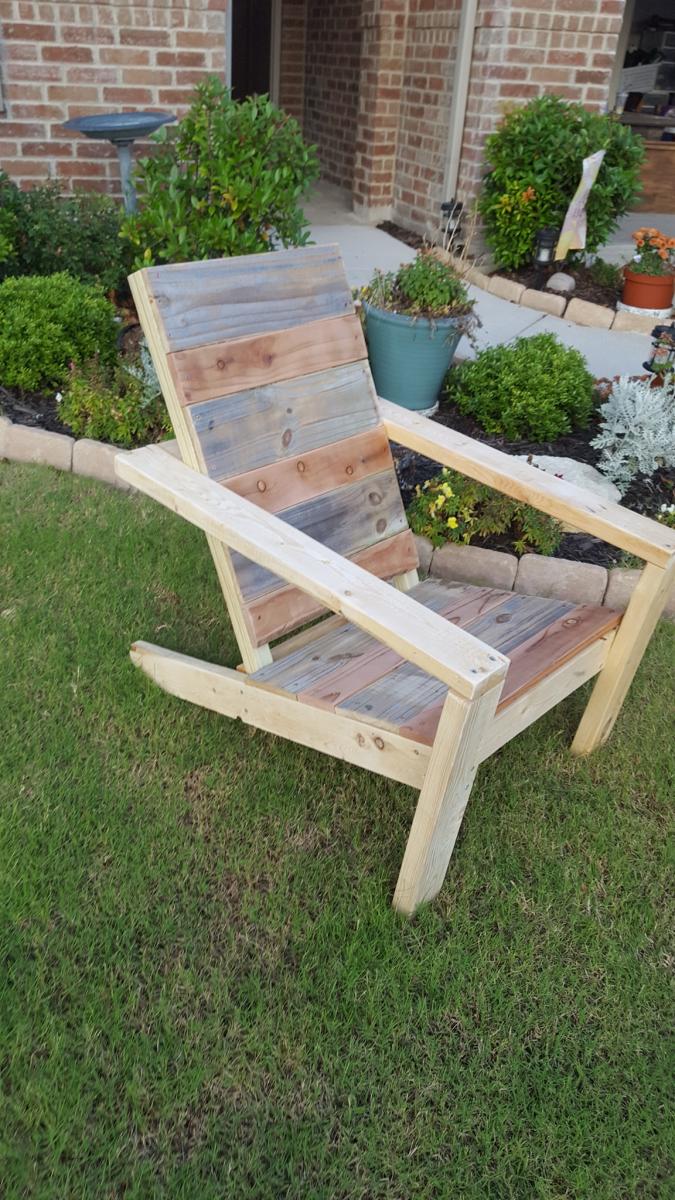
I love these chairs. I have made about 10 of them. I have several orders for 16 more. I use old fence planks for the seat and back. I also changed the back supports to 35 in. My husband is 6ft and he wanted to be able to rest his head back when he sits. Cutting the legs is the hardest part. I also changed the arms to jig holes so the Screws would not show.

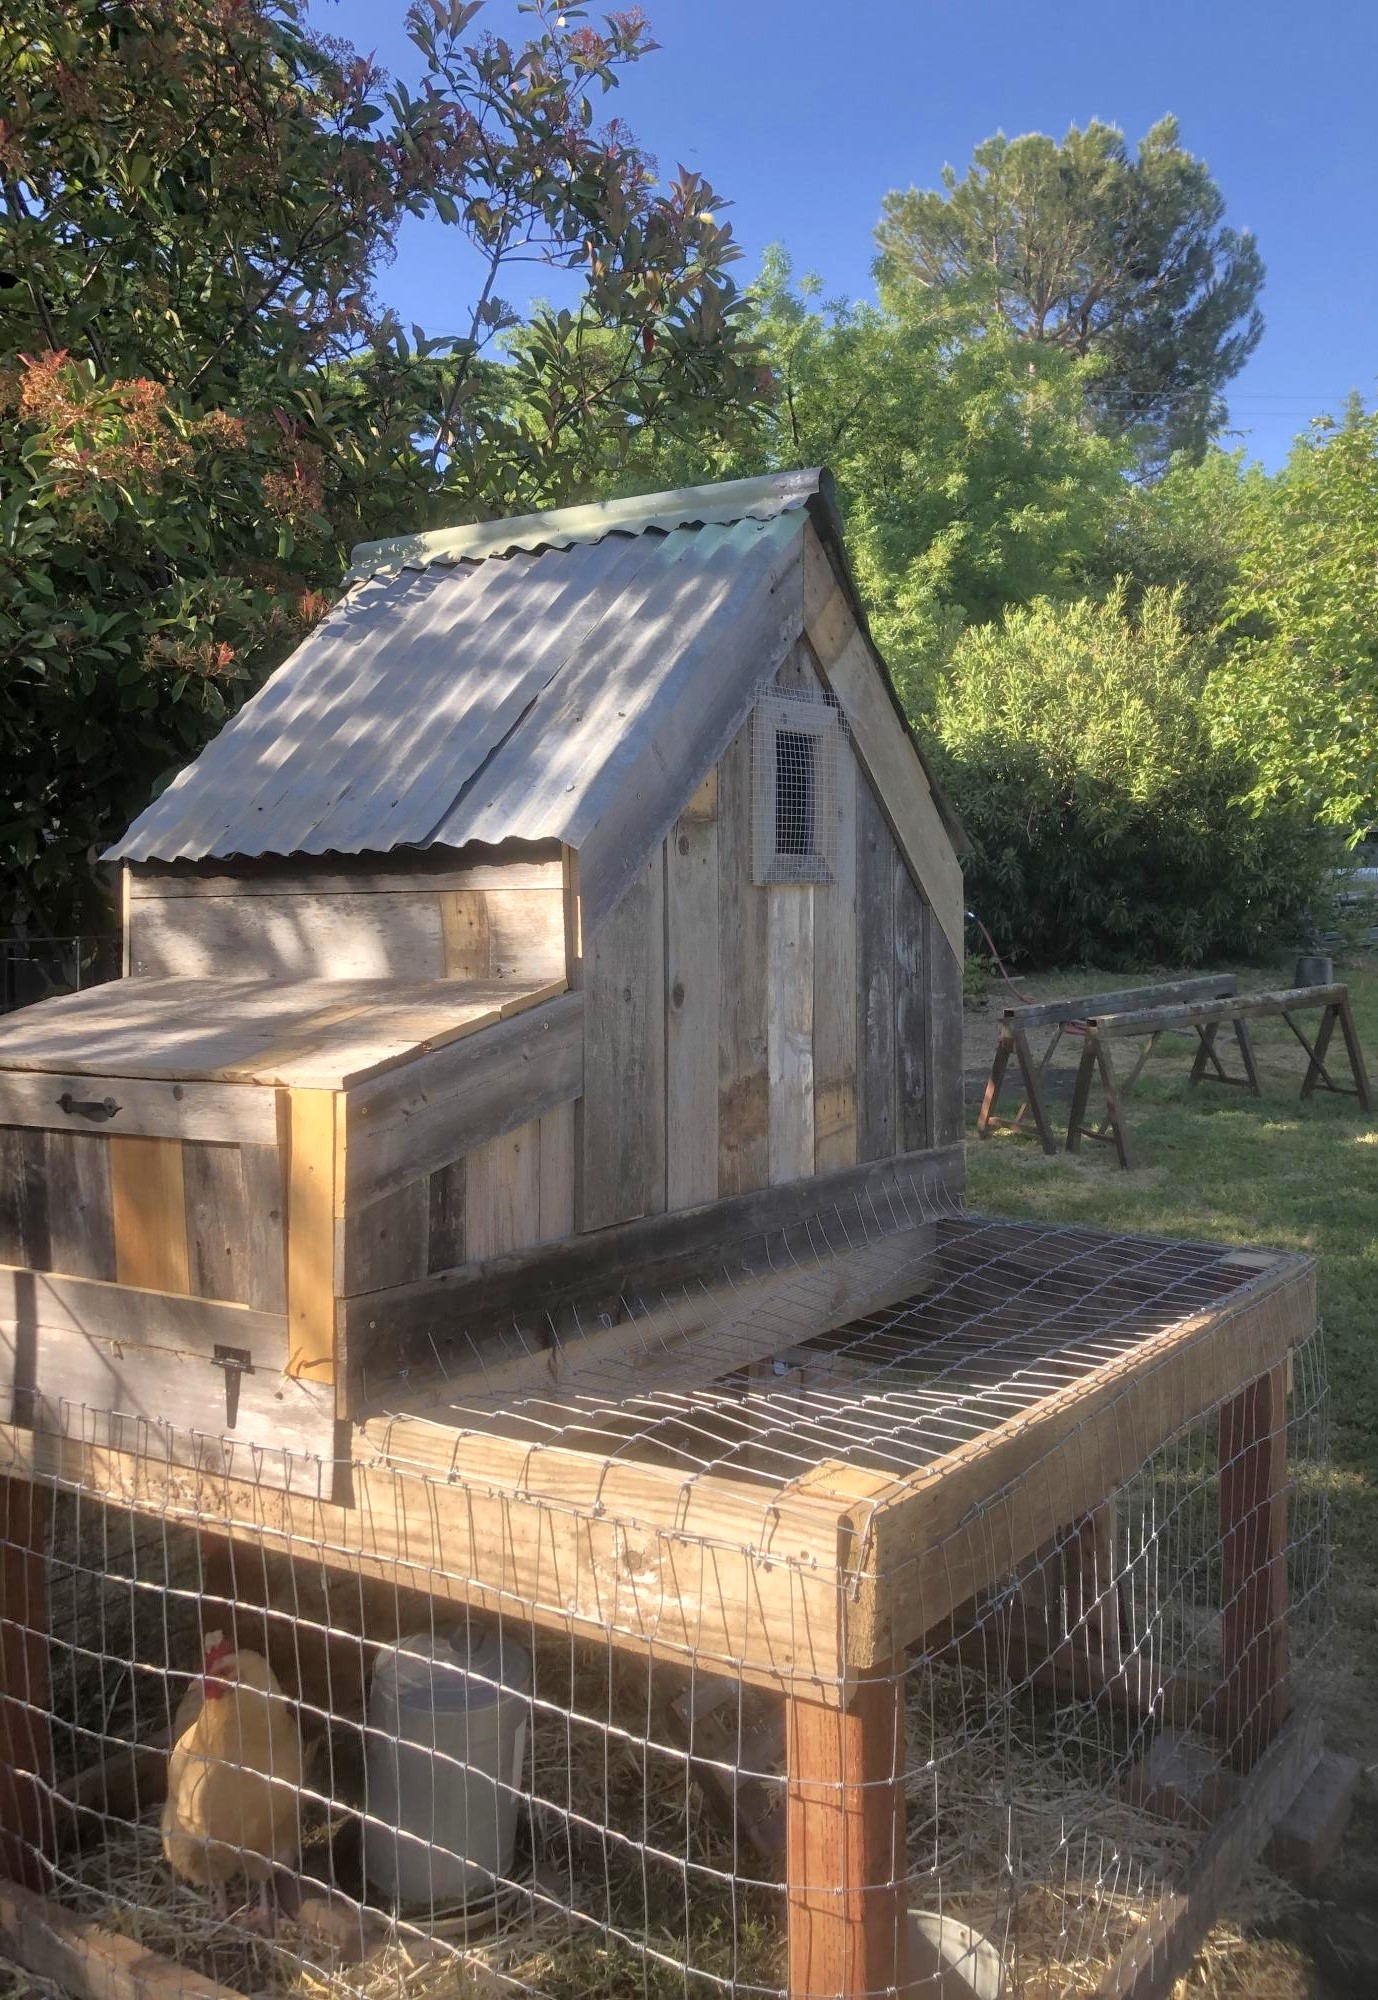
This is a coop I built from plans on the site. I modified by covering the ply with old cedar boards and used tin for a more rustic look. I opted not to add the planter just covered it with wire.
Love your plans! So easy to follow!

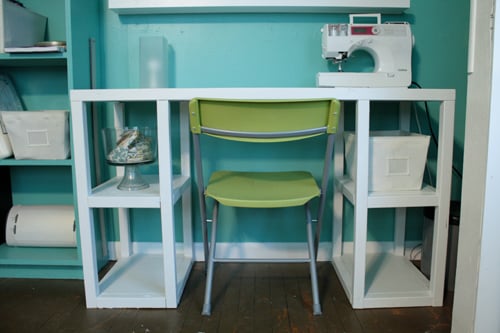
When I was given a stack of MDF sheets from a friend, I knew this was the desk I wanted to build with it first! We recently moved into my husband's grandmother's house, and have been making some improvements. We took out the dark old built in, and I replaced it with three 4' long gallery shelves, and the Parson's Desk modified to 4' long. It fits perfectly in my space, and looks so chic and modern against our teal walls. It's the perfect craft nook and workspace! I added a mason jar pendant light I DIY'd from the IKEA bulb kit, and also sewed a reversible runner to match my handmade duvet cover. The fabric is Deer Valley, from Free Spirit. I also had the glass top from the original desk cut down at Lowe's for free, and it's a perfect fit.


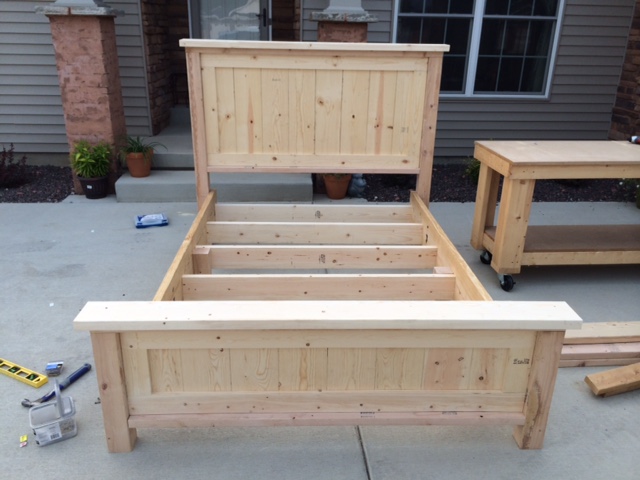
Thank You Ana-White for the amazing plans for this beautiful farmhouse queen bed! Not bad for the first try!
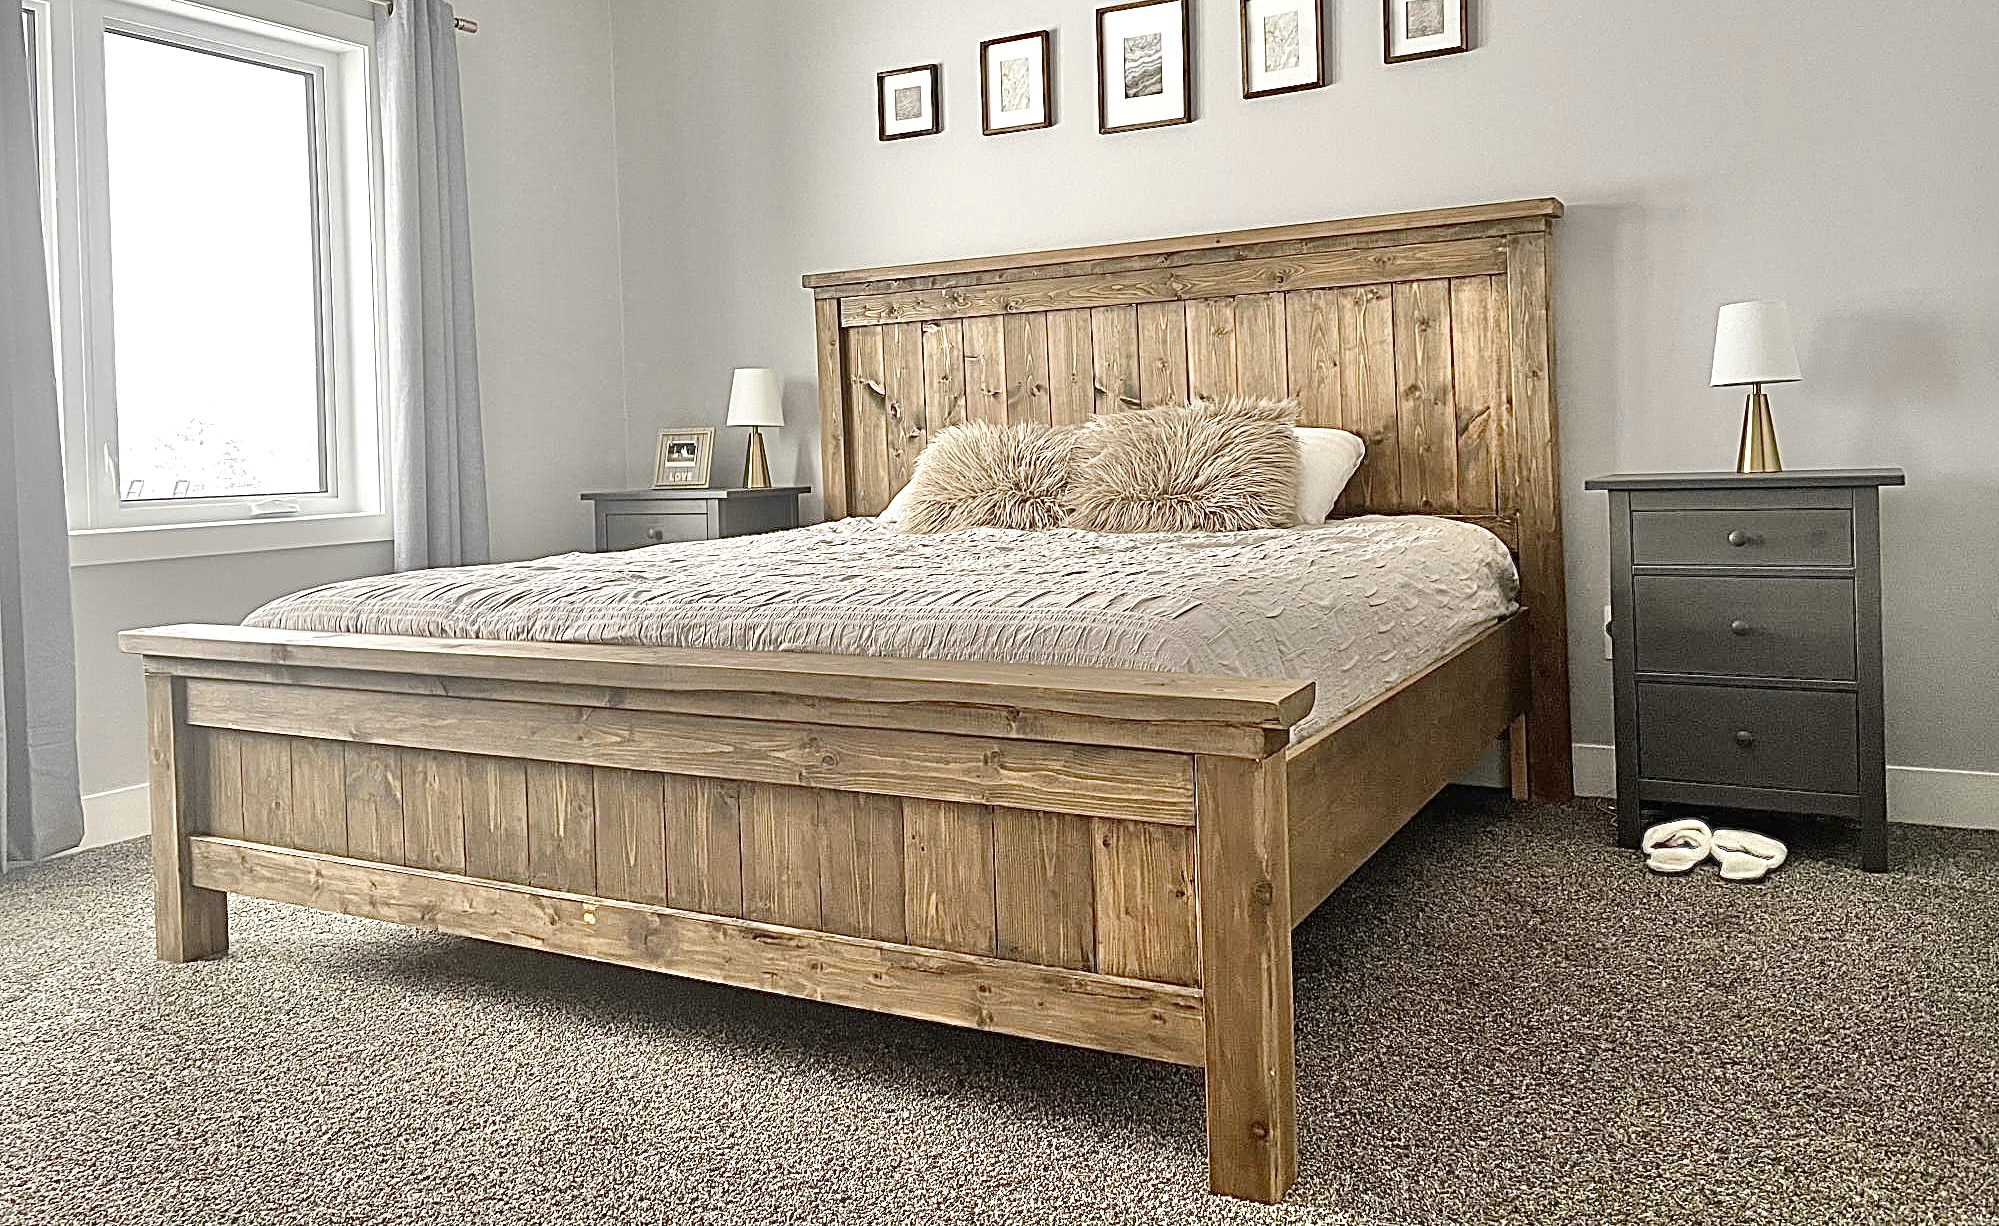
My husband and I had worked on this bed together, and we are so happy with it! We went with taller side tables that we purchased, and just stained the wood instead of painting it.
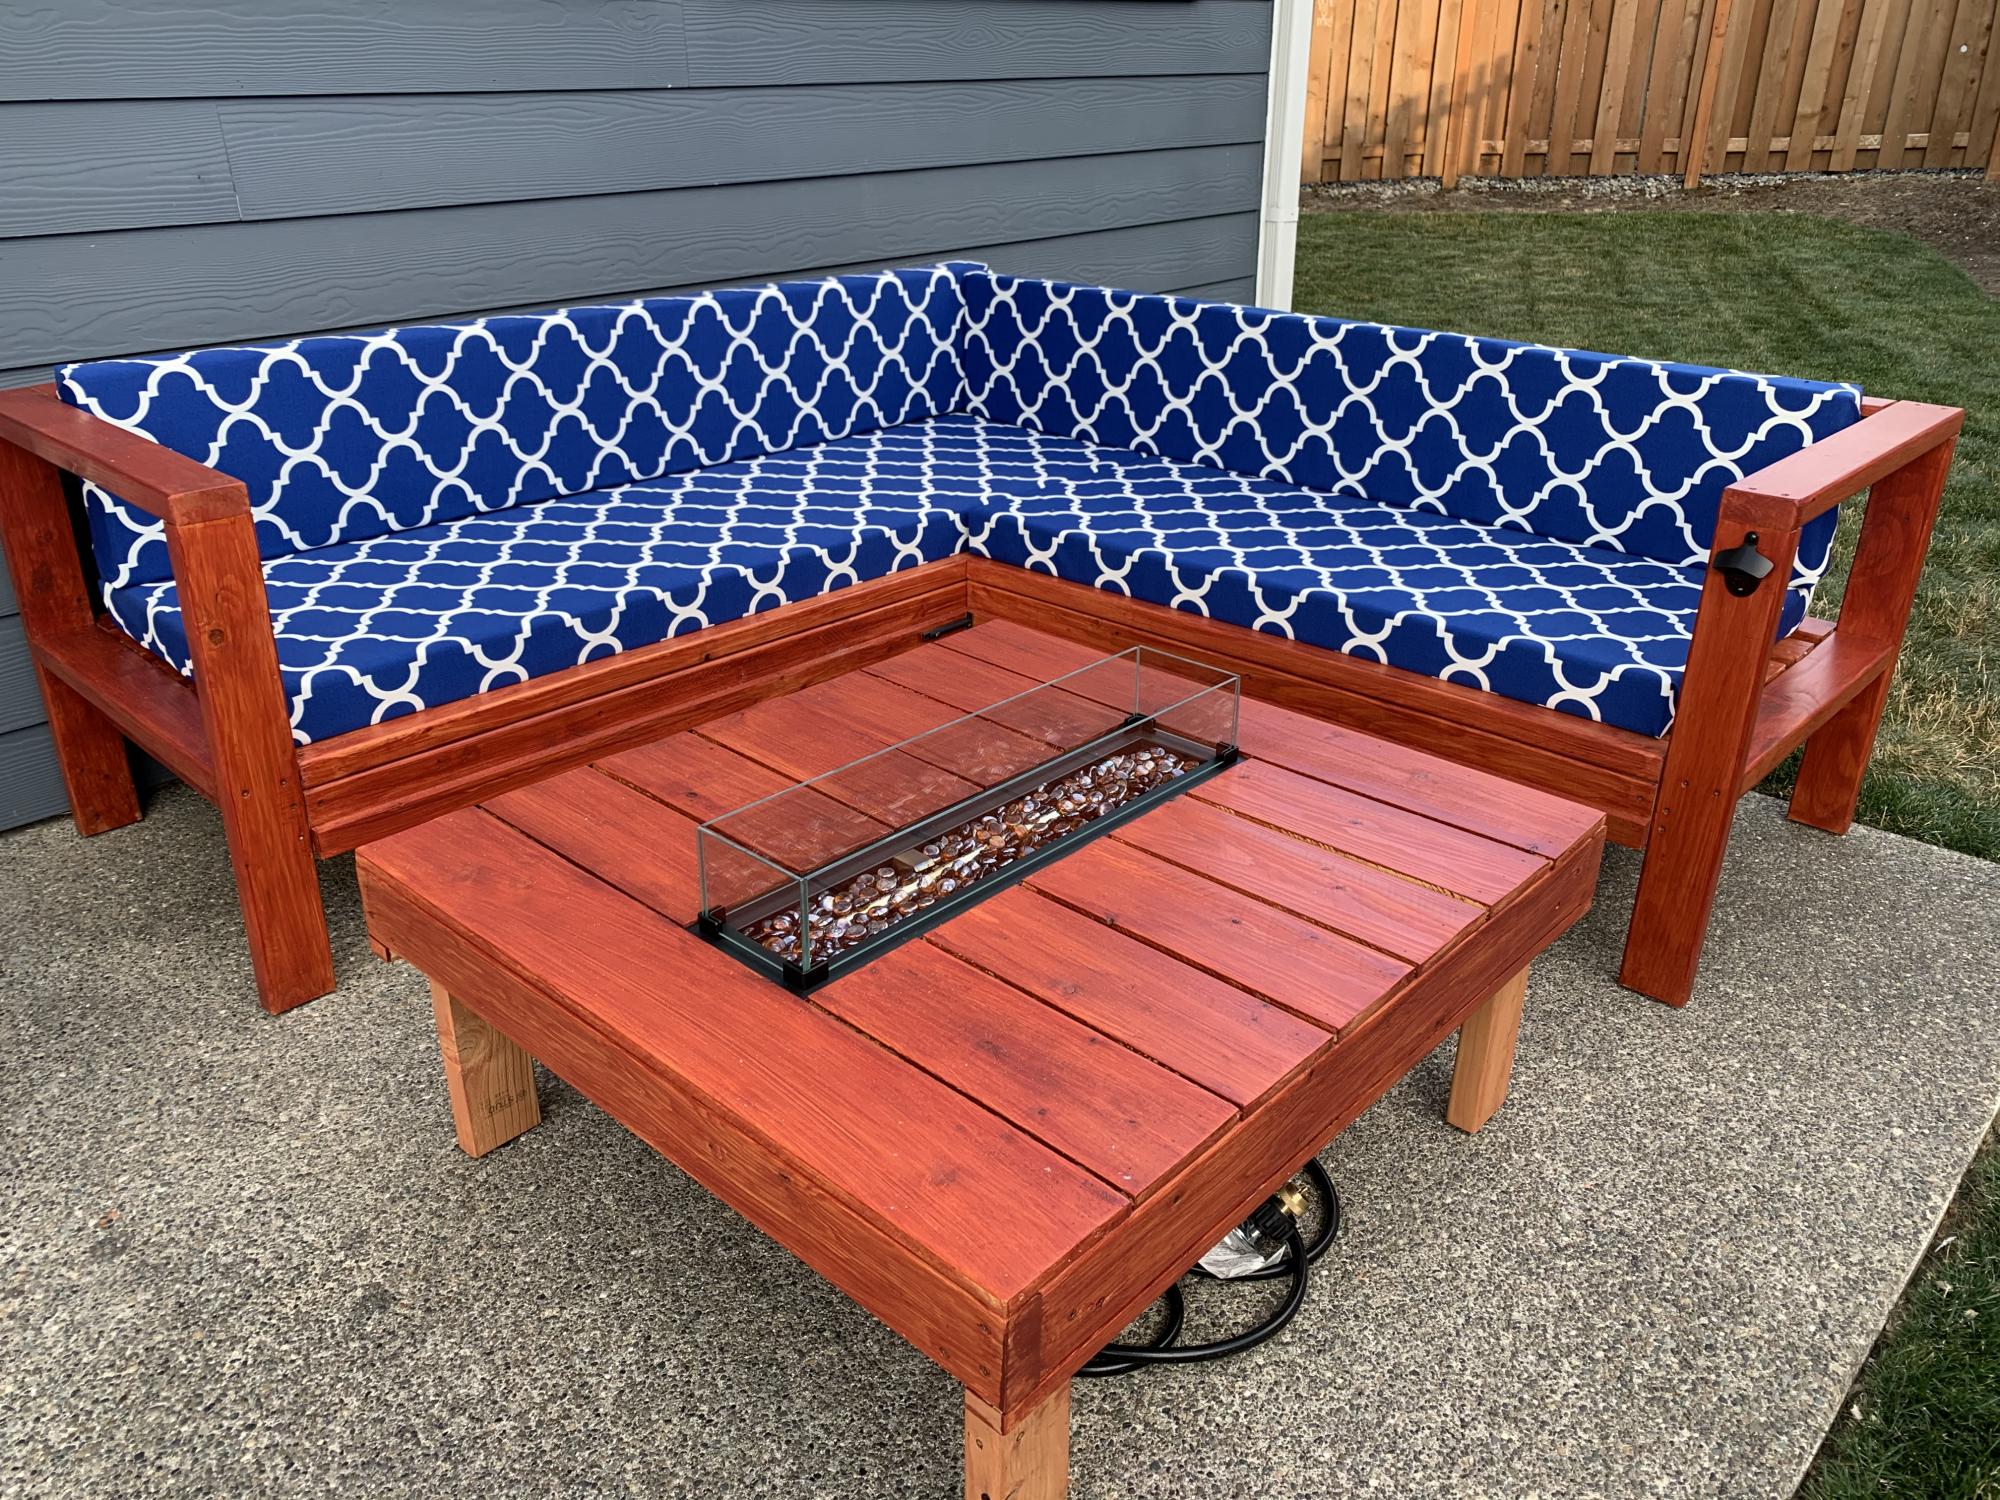
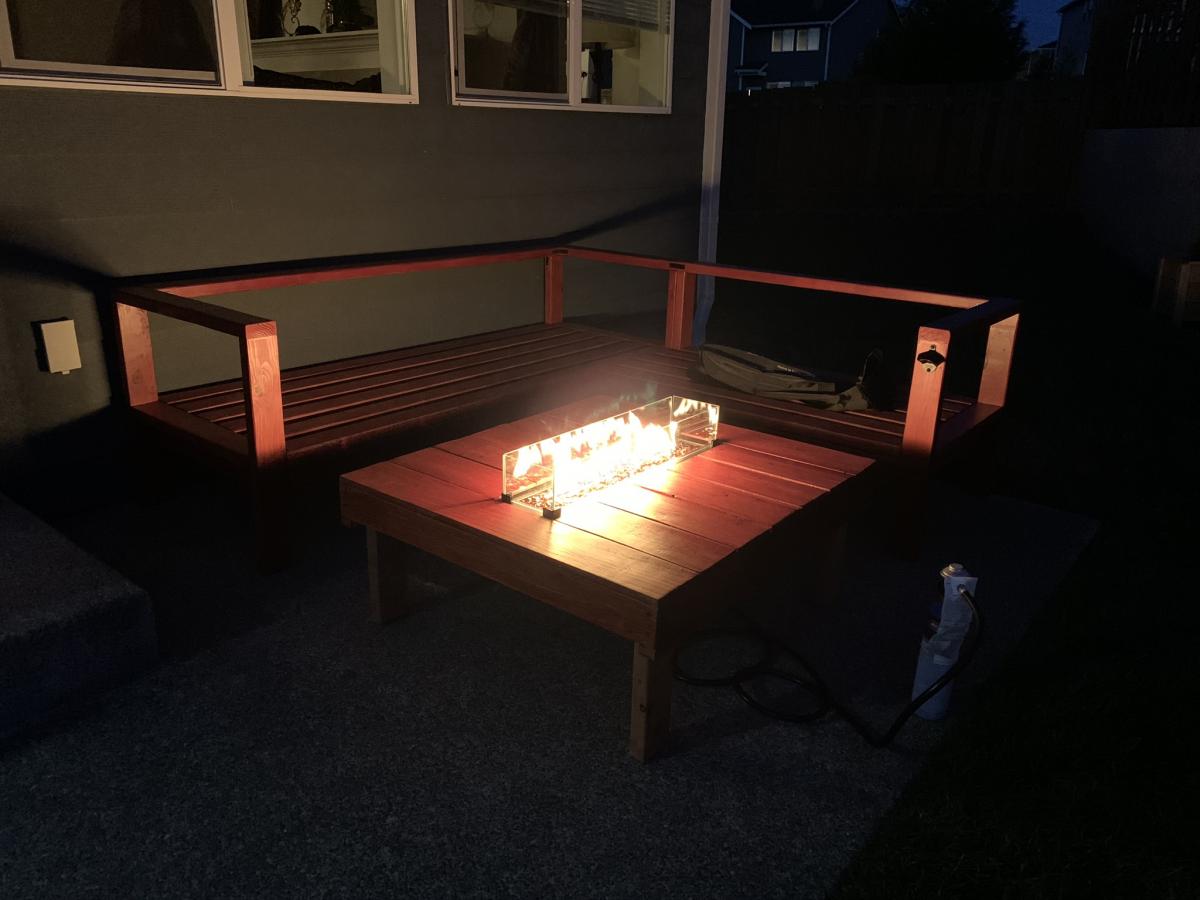
Your easy to follow 2x4 proje ts turned out amazing. My outdoor set is complete. The chairs, also, came from your plans. I built all of it by myself in one weekend. Thank you

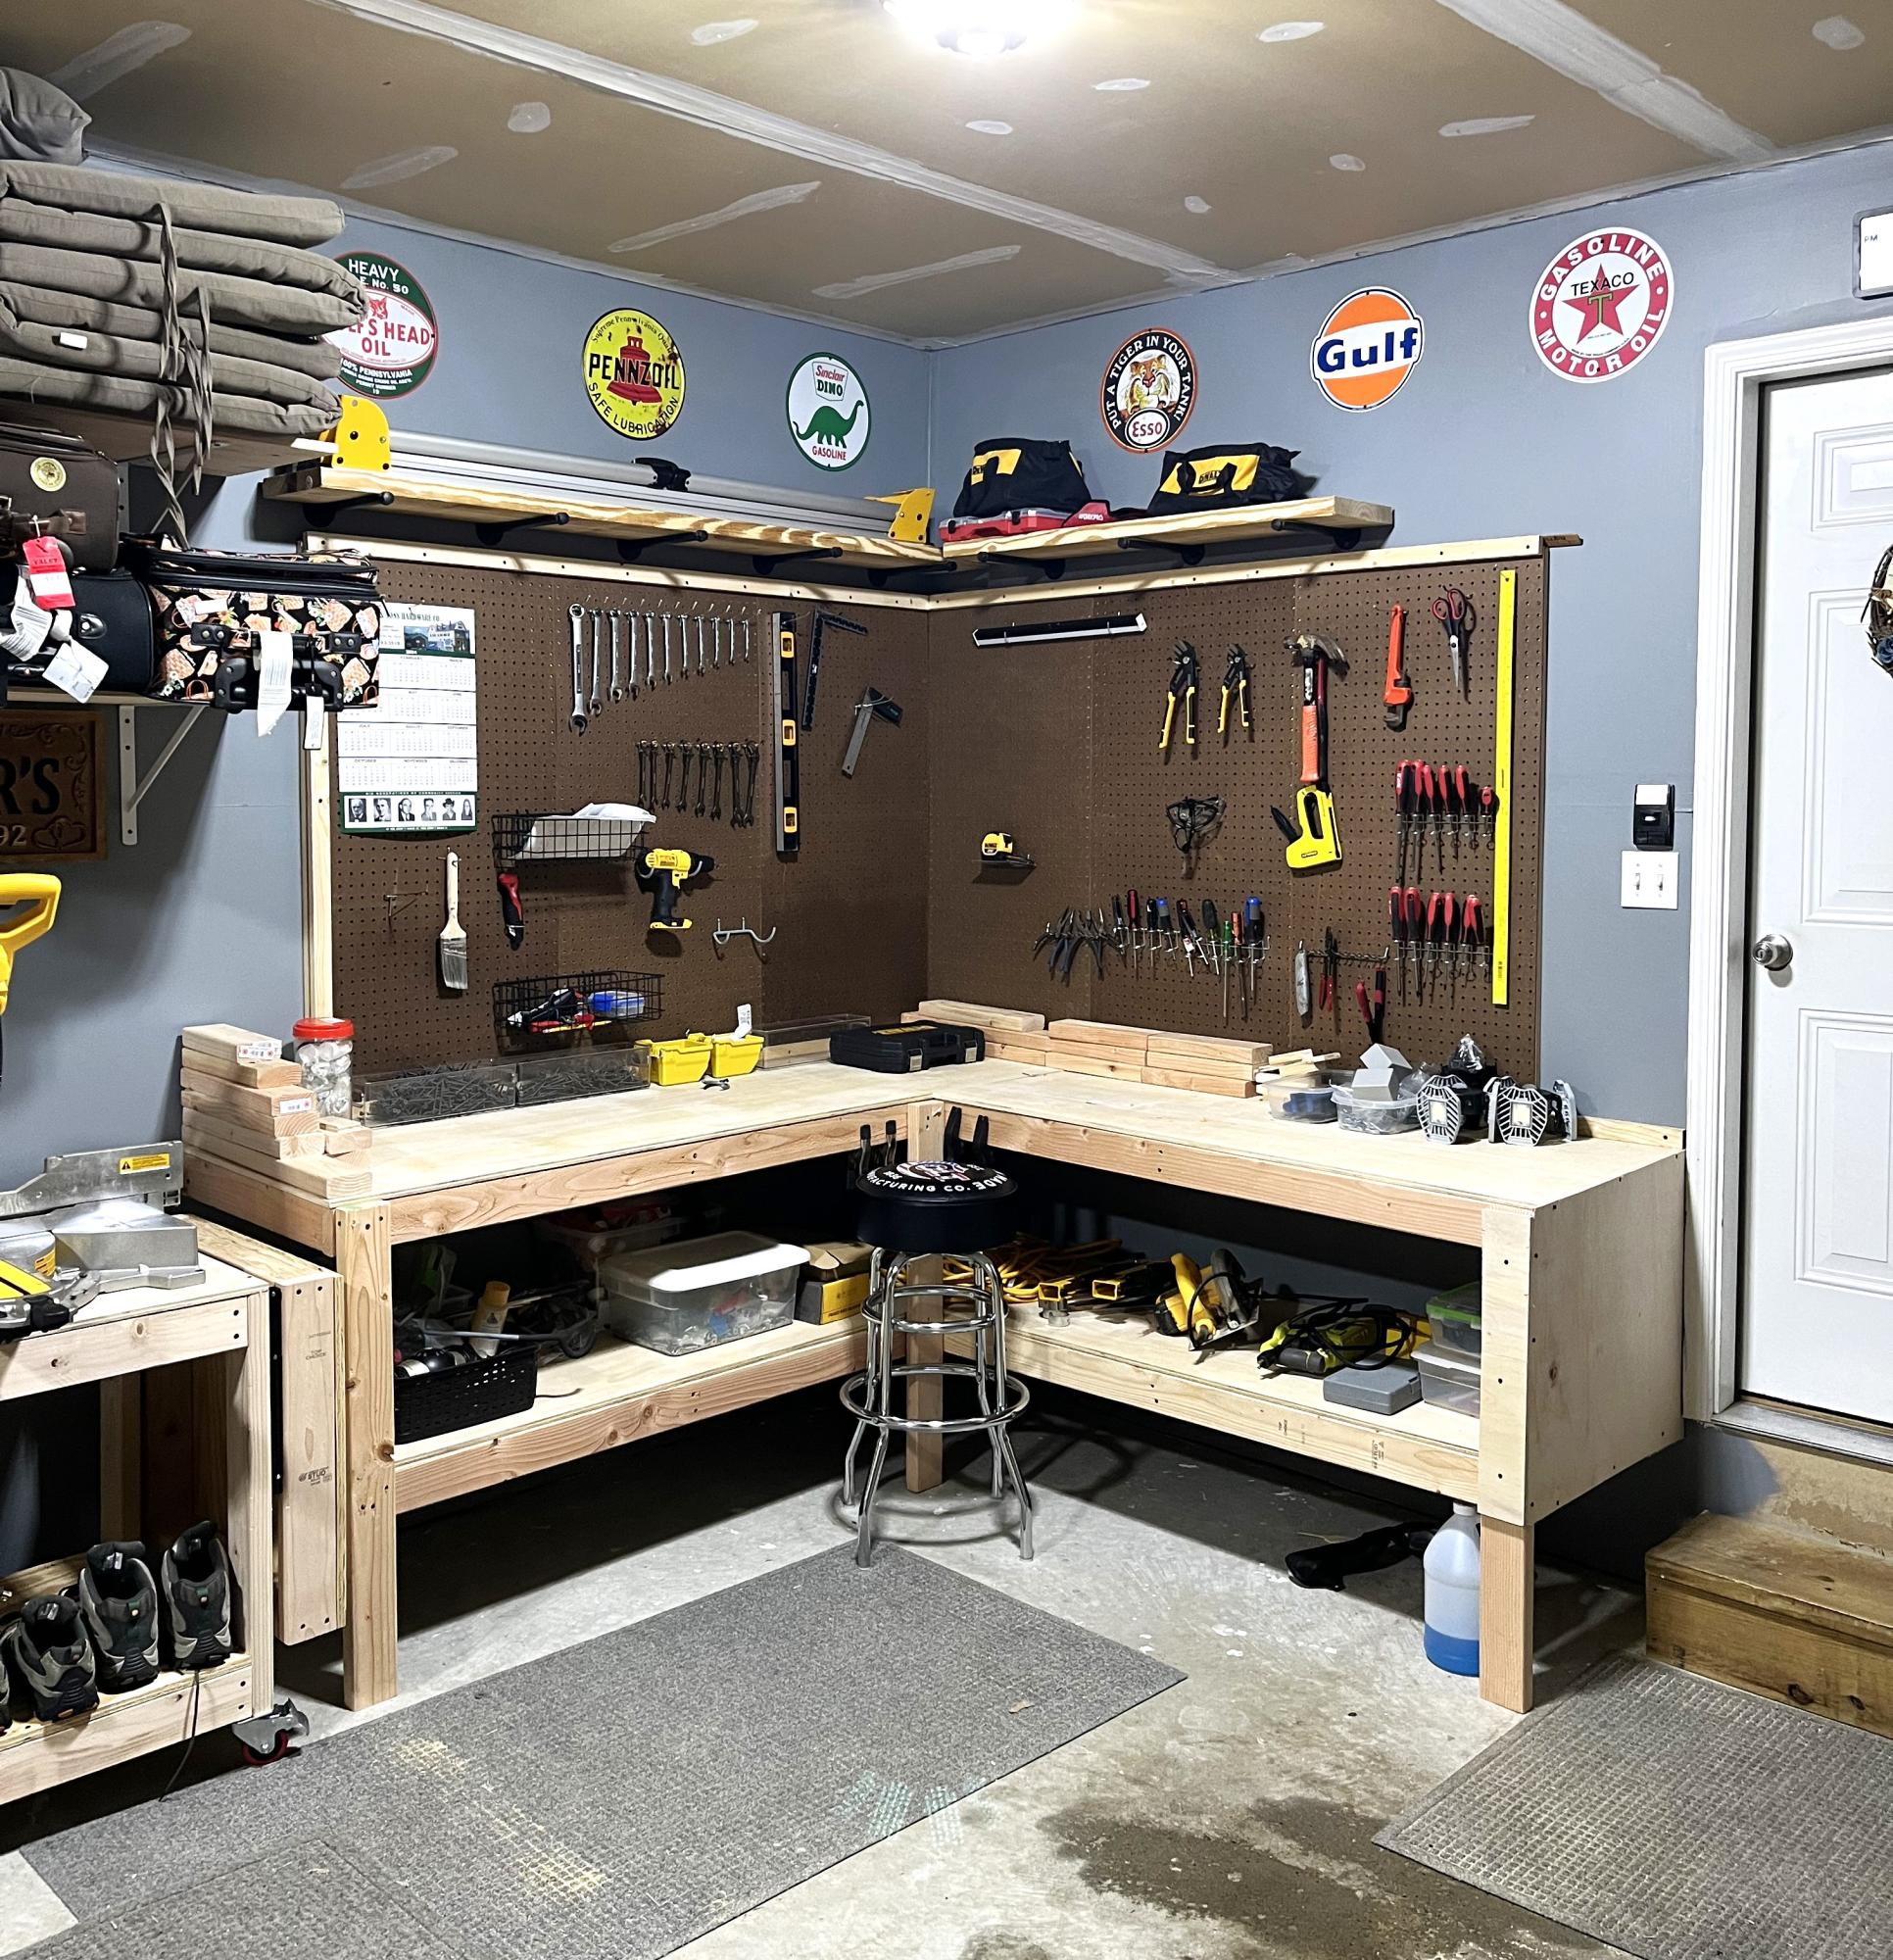
I wanted to clean up my garage and tools when I saw your work bench idea. Fun project and great organizer.
Mark Roessler


Comments
Ana White Admin
Fri, 04/14/2023 - 13:16
Fabulous plant wall!
Thank you for sharing, it looks awesome!