Community Brag Posts

Sandbox with built in seats/lid

6'x6' with 12'' Treated Sides, 1x4 and 1x6 SPF tops/seats and 2x4 Brace under Seats to accommodate the 6 foot span. Sanded and Painted.

Completed in 2 days, couple hours each day, sanded/painted all boards before assembly.

Built from Plan(s)
Estimated Time Investment
Day Project (6-9 Hours)
Finish Used
Exterior Grade Paint.
Recommended Skill Level
Beginner

10 foot long Provence Table with 4x4's

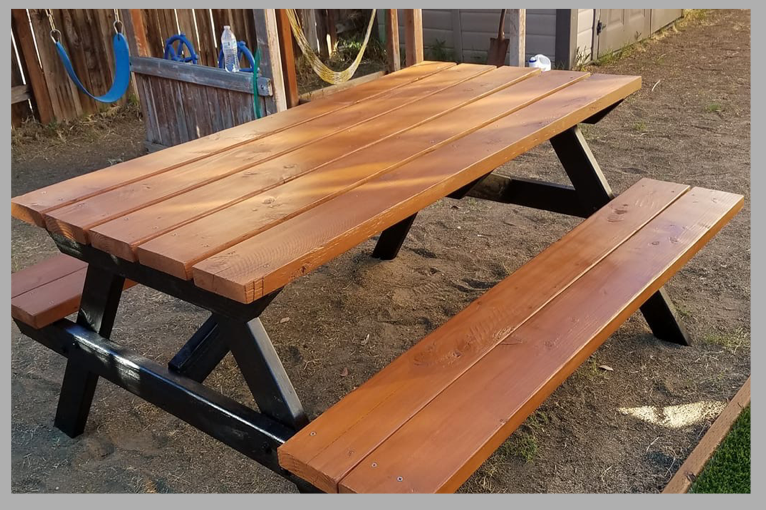
My mom was looking for a new outdoor table, and asked me to come up with something. I found the link for these plans (http://www.thedesignconfidential.com/2011/04/free-diy-furniture-plans-t…) to knock off Restoration Hardware's $4000 Provence Beam outdoor table. Overall I liked the plan, with the chunkier look of the 4x4's. But there were a lot of errors in the diagrams, and the finished height is 34" which is ridiculously tall for a table. So we took it apart and cut the legs back down to change the finished height to 30". We chose rough-cut cedar for it's look and outdoor properties, not wanting to use treated lumber for a dining table. We couldn't find 2x10's like the plan, so we substituted seven 2x6's just like Ana's plan, but left a 1/2" gap in between so water can drain and not pool on top and rot the wood. Also, since we were working with 4x4's for the legs, we chose heavy duty lag bolts instead of screws to join them together. I love the finished look they give. Overall it's a sturdy, yet lightweight table that my mom loves and has already used for entertaining!

Built from Plan(s)
Estimated Cost
$230
Estimated Time Investment
Day Project (6-9 Hours)
Finish Used
outdoor sealer
Recommended Skill Level
Advanced

Comments

brookifer86

Wed, 04/25/2012 - 10:02

Thanks Brook! It was so much fun to build. I put my dad and husband to work while I was the "project manager" ;)

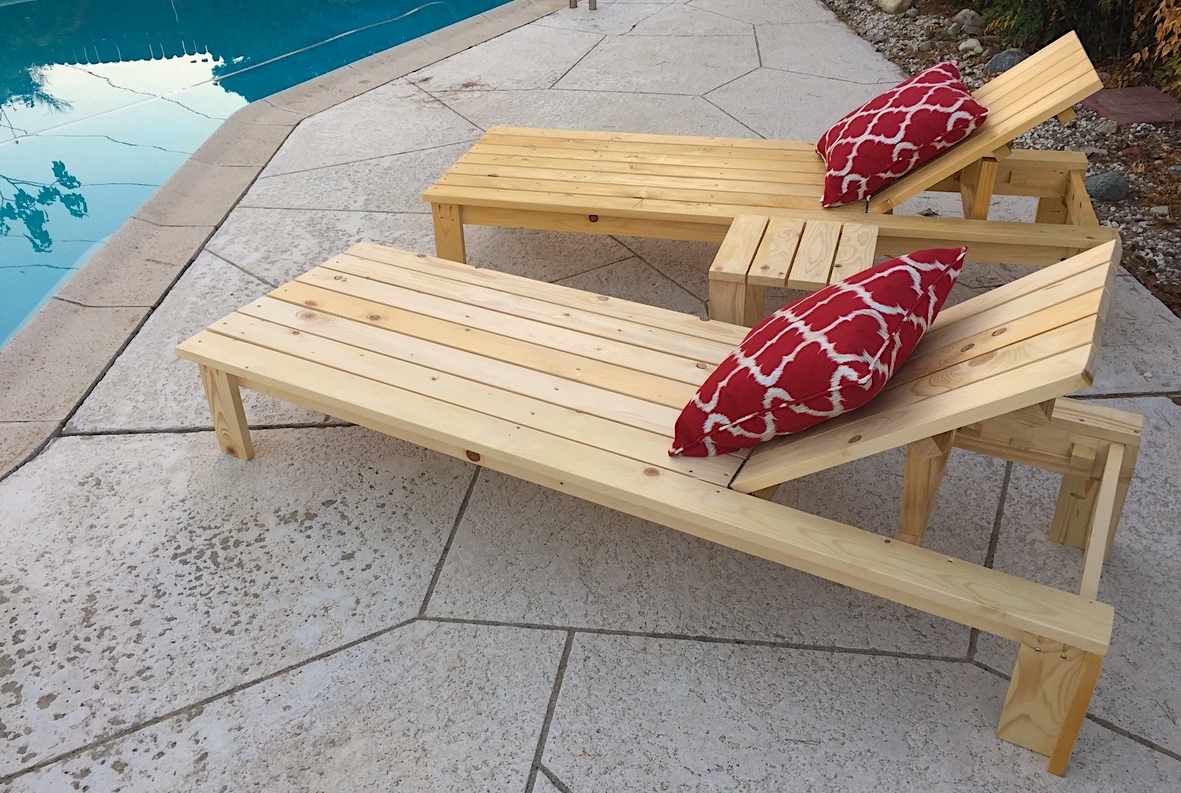
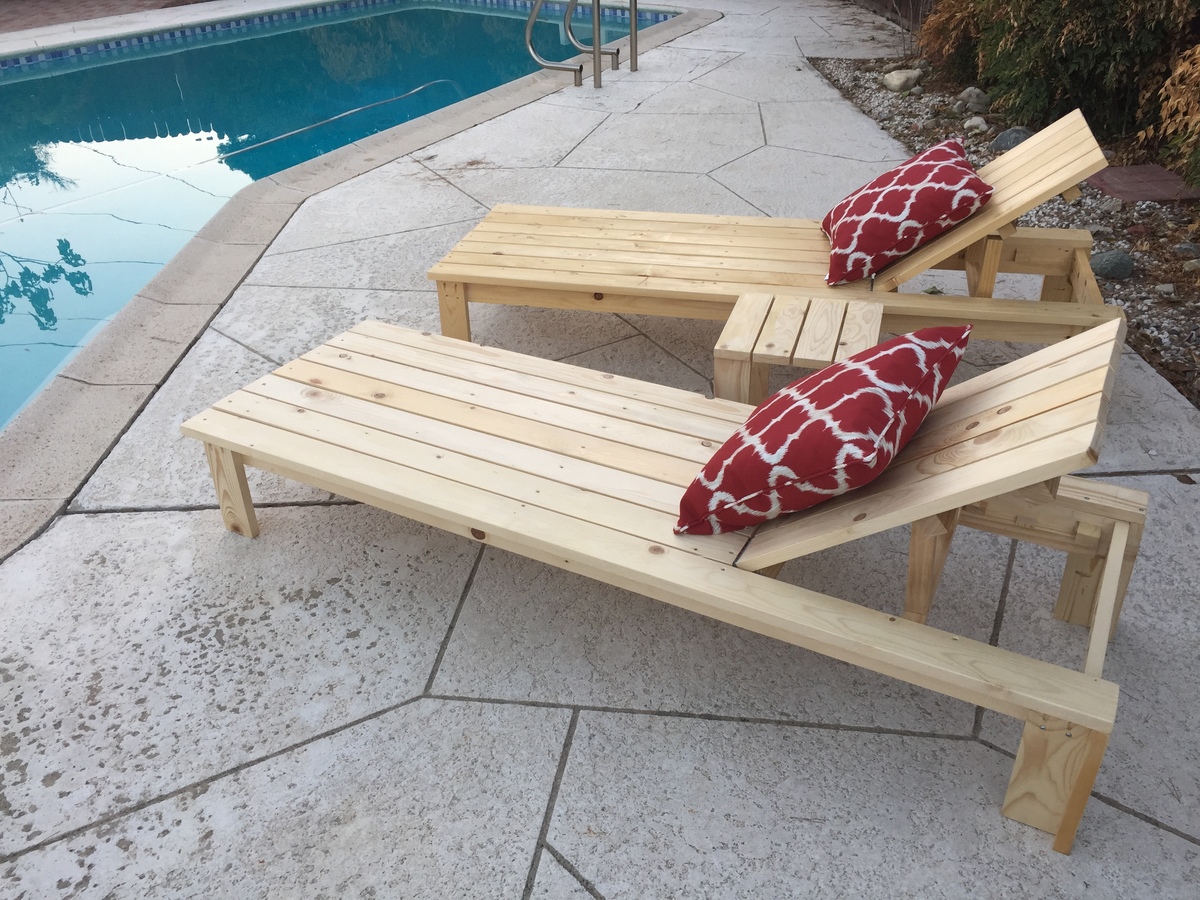
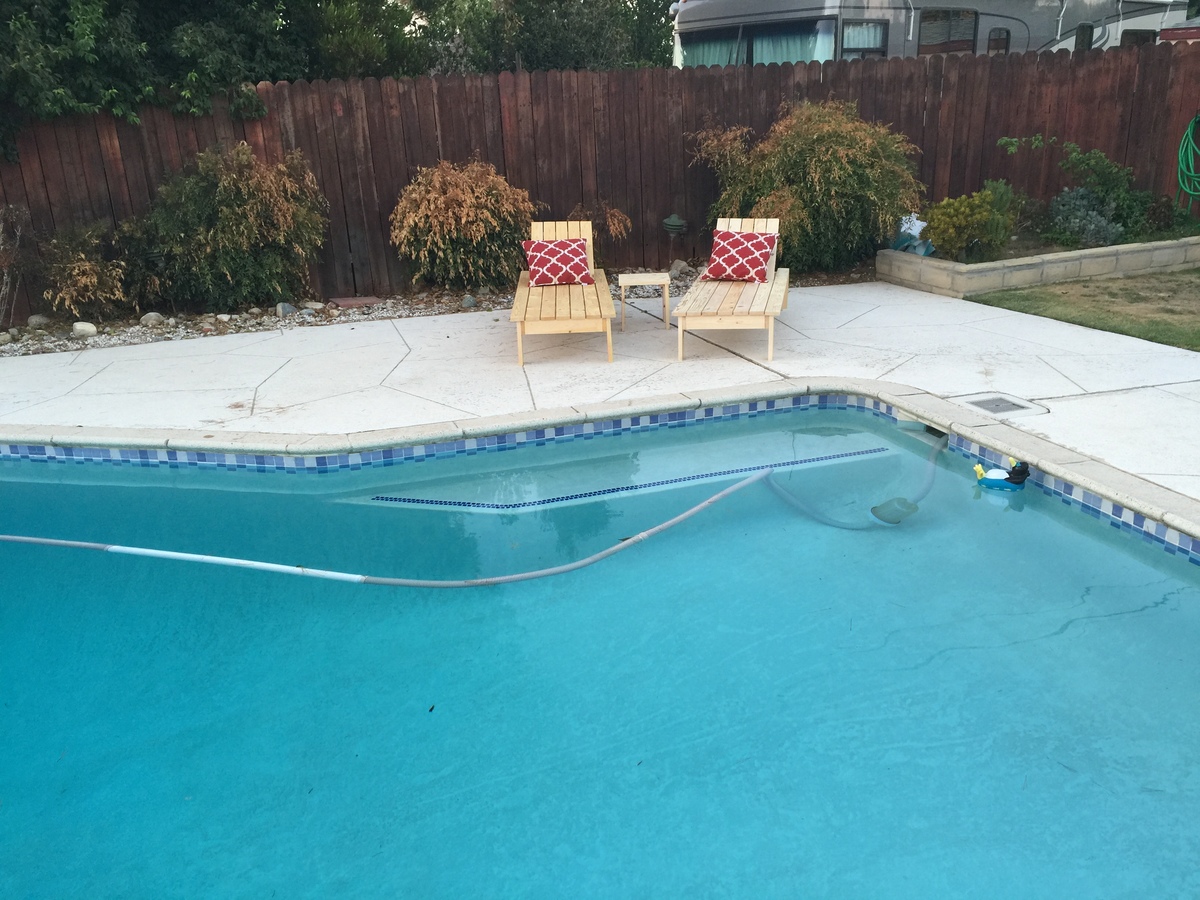
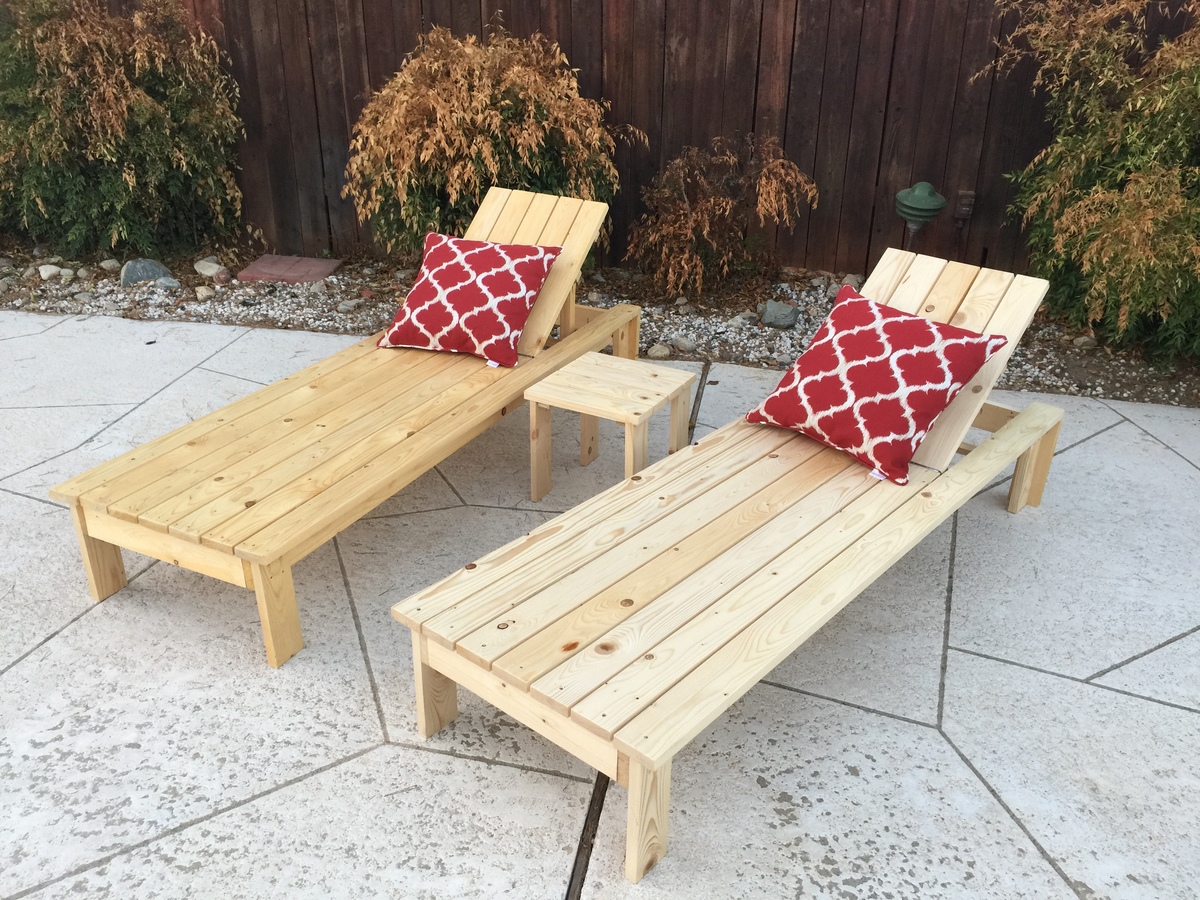
I HEART Ana White Outdoor Chaise

Submitted by Anonymous (not verified) on Sun, 07/24/2016 - 19:57

THANK YOU ANA FOR ALL THE GREAT PLANS!!


I am in southern california (mild weather) so i just used pine and coated them with urethane. 

Estimated Cost
$60 each
Estimated Time Investment
Day Project (6-9 Hours)
Finish Used
Urethane
Recommended Skill Level
Beginner

outdoor patio furniture

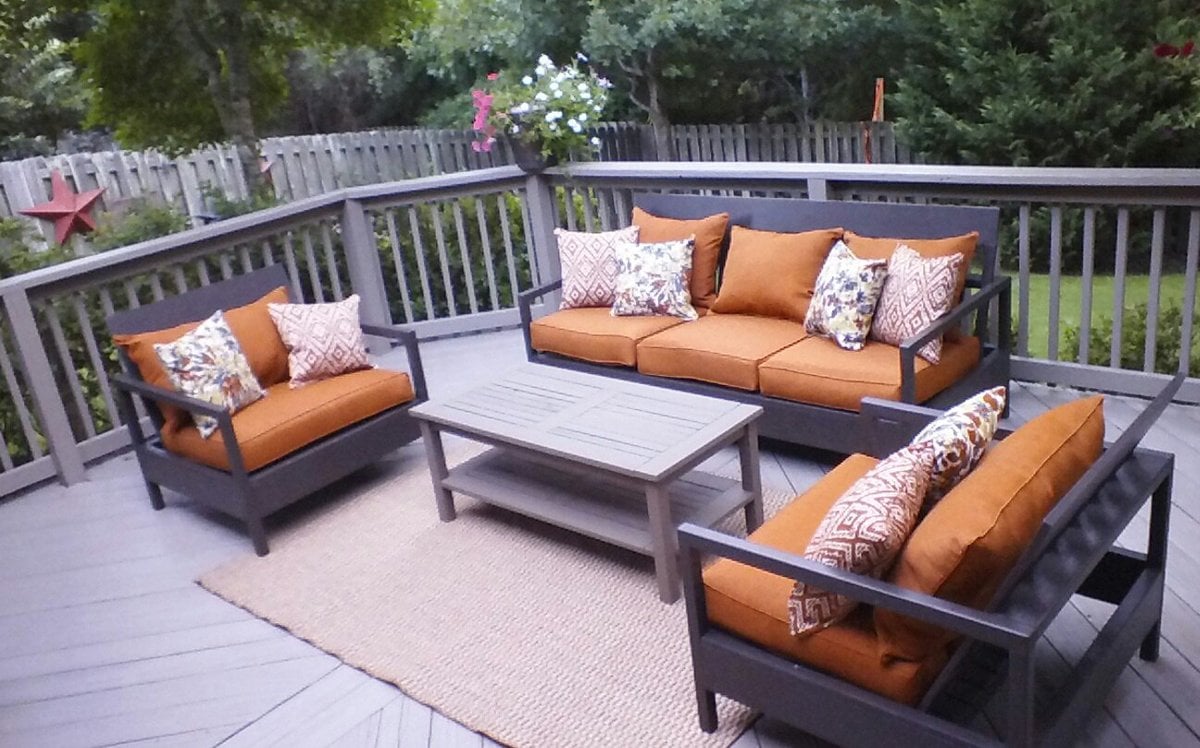
Well this was first project my hubby and I tackled together. He actually let me use the power tools. The plans were great! Loved having a shopping list! I made the cushion s myself. I have to say, I wish I had made the couch and chairs the size of cushions available at Lowes . AFt e r you buy foam batting fabric and chording I found set at lowes for a lot less but I am so happy how it all turned out . Thks for providing plNz!

Estimated Cost
500 with cushions
Estimated Time Investment
Day Project (6-9 Hours)
Finish Used
Non transparent stain.Olympic elite stain an sealant n one
Recommended Skill Level
Beginner

Comments

charitydtrull

Sun, 05/24/2020 - 14:45

I can't find the plans for these pieces. I found the one using 2x4, but these pieces look like they use 2x2. Can someone tell me where to get the plans?
Thank you,

Seasonal And Holiday

Folding Work Bench

Submitted by Anonymous (not verified) on Tue, 08/11/2020 - 16:03

First build.

The plans and cut list were a tad off but I made a saw guide a cut it down from 36 to 24 after assembled.

I had HD do all my cuts but have since done my own!

Built from Plan(s)
Estimated Cost
Not sure bought tools, wood and hardware at same time ($160)
Estimated Time Investment
Afternoon Project (3-6 Hours)
Finish Used
None
Recommended Skill Level
Beginner

Garden Tool Storage

Submitted by meisterx on Sun, 08/30/2020 - 12:20

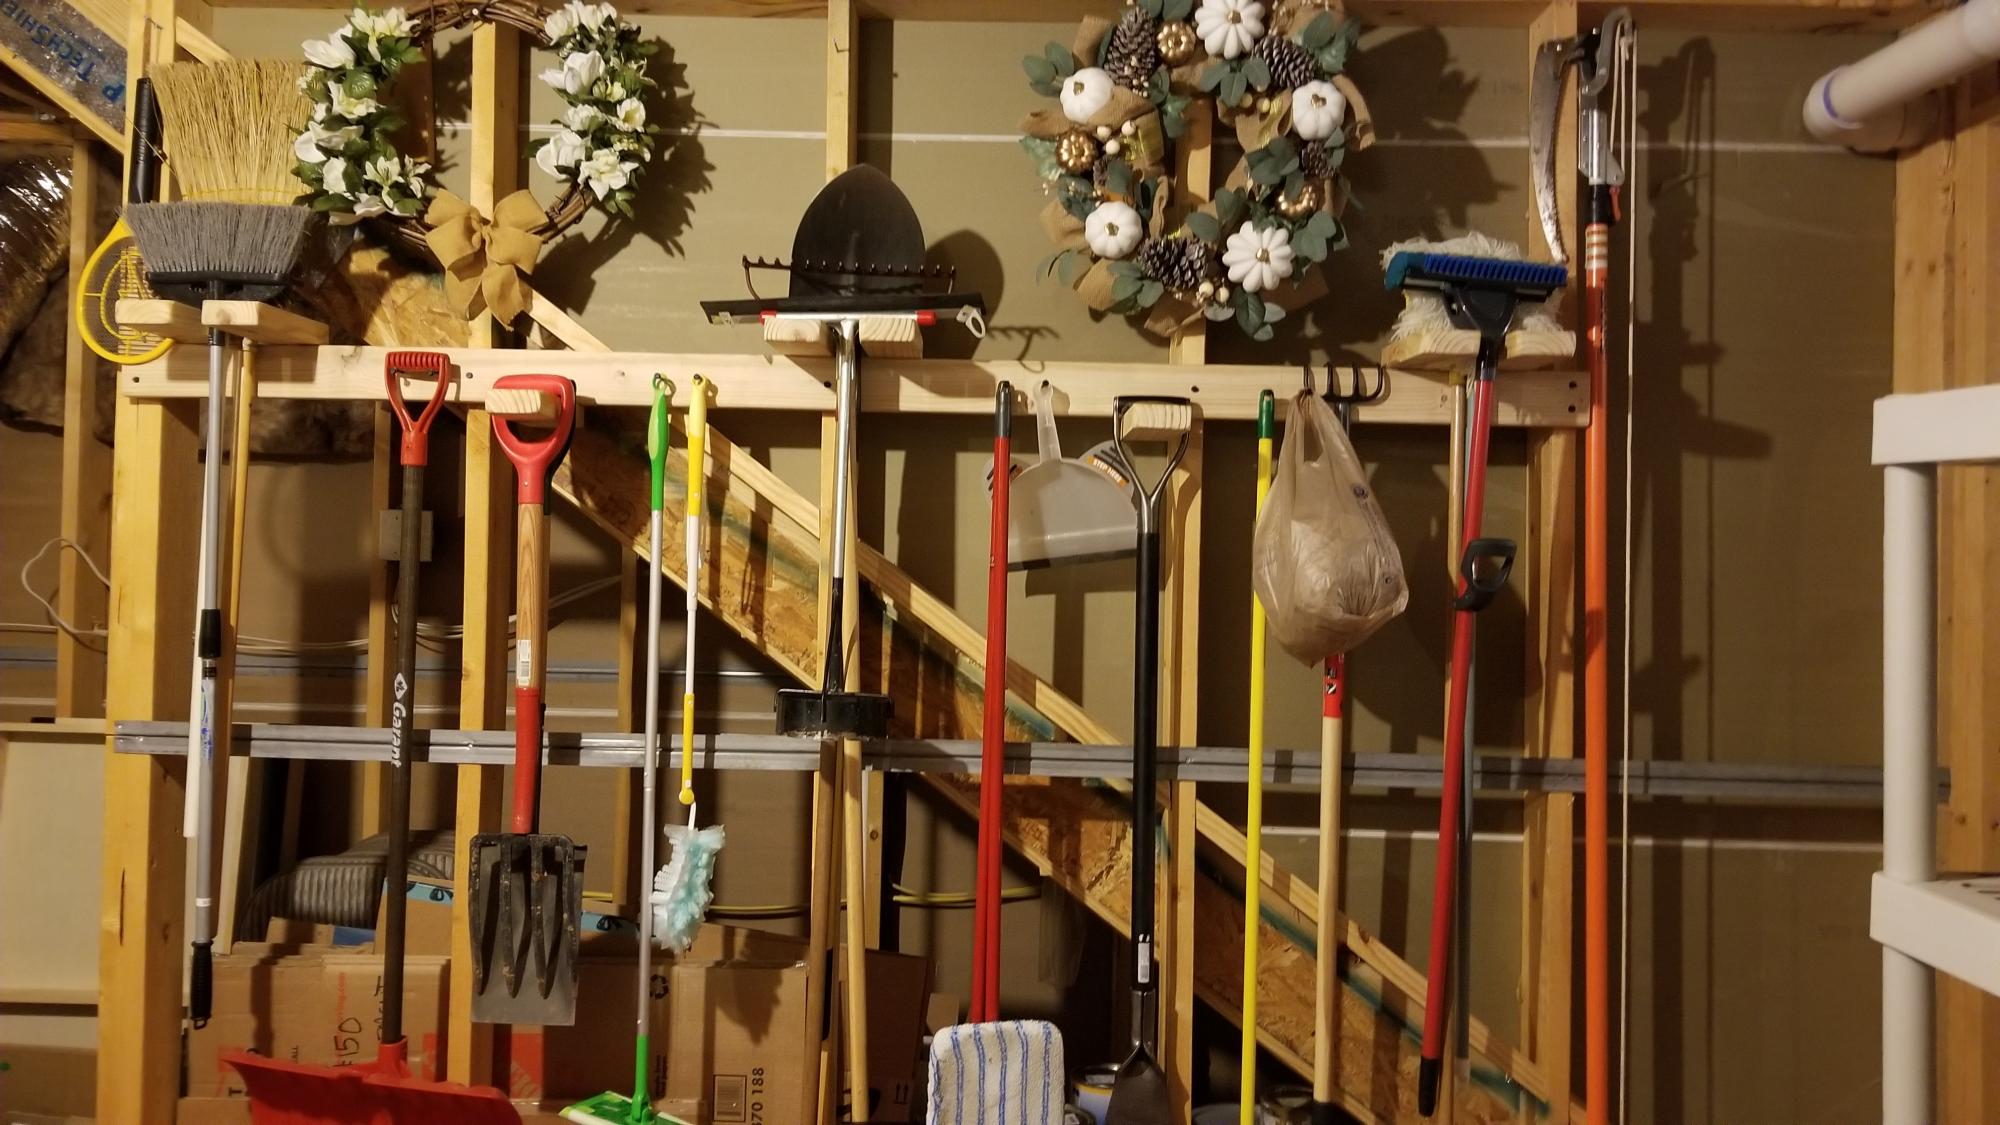
Super easy and useful project. I made mine 8 ft. long because my studs are on 24 in. centers and I had a lot of tools to hang. It was fun building it and even more fun getting all those tools and things off the floor.

Built from Plan(s)
Estimated Cost
$13.00
Estimated Time Investment
An Hour or Two (0-2 Hours)
Finish Used
None
Recommended Skill Level
Starter Project

Comments

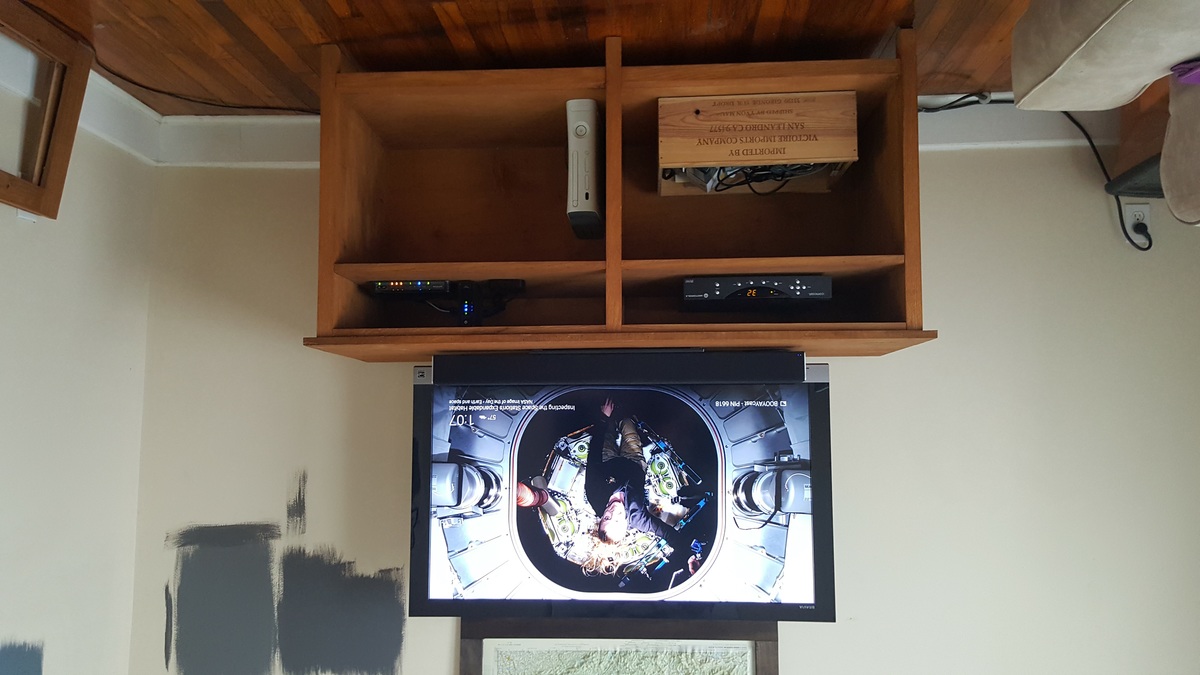
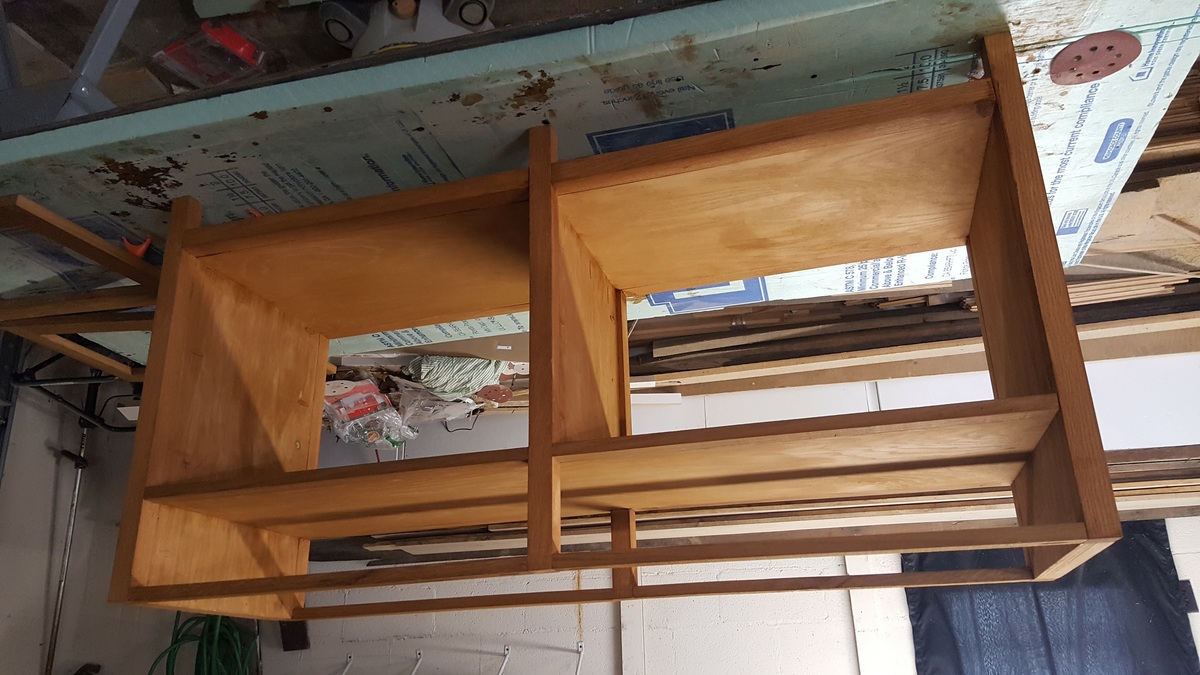
My attempt at the Benchmark Media Console

Submitted by Anonymous (not verified) on Mon, 01/02/2017 - 11:05

Had oak from my family farm that made up the top and trimwork. Purchased oak board for the legs. Sides and middle/bottom shelf from maple plywood. Decided against the flip down doors. Wasn't happy with he fit of the main doors due to a little off-kilter craftsmanship on my part, so will probably leave it open and add crates / some shelves the same height as the top row giving like 6", 6", and 11" or so.

Built from Plan(s)
Estimated Cost
$225 due to cost of Oak board (had to buy entire board $120, but have 5ft uncut left) and Maple plywood ($60), and used TransTint Vintage Maple dye instead of stain.
Estimated Time Investment
Week Long Project (20 Hours or More)
Finish Used
TransTint Vintage Maple dye mixed with water (about 1oz for a large mason jar) and Spray on Poly in Clear Satin. Wiped on dye liberally, wiped off excess as I went.
Recommended Skill Level
Intermediate

Bathroom Storage Tower

Submitted by Quintin79 on Sat, 01/26/2013 - 08:53

I loved the look of the Craft room Storage tower but modified to suit my wife's bathroom theme/decor. The inside back (MDF beadboard) is painted a milk coffee color to lighten it up. The door inserts are plexiglass, which was more expensive than glass but with 2 boys 6 and 2 it is well spent, and the MDF beadboard. Covered the plexiglass with self-adhesive film for glass on both sides to hide the towels inside. This project took me about 12 hours to complete but over a 3 month period, mostly spent on finishing the project with my boys underfoot or at 12-2am. YIKES!!! If i keep this up she will want to buy instead of letting me build.
Price List:
wood: $100
Stain/Paint: left over from house reno. would have been $15 stain $20 Varnish 30$ quart of paint
Handle: $7
Hinges: $4 basic style
I wanted to use Eurostyle hinges but opted to buy the Kreg system instead of Forstner drill bits.

Will be building another just different dimensions for laundry room makeover.

Built from Plan(s)
Estimated Cost
100$ CDN for lumber everything is more expensive in Canada
Estimated Time Investment
Weekend Project (10-20 Hours)
Finish Used
Saman's waterbased stain Chocolate Varnish applied
Recommended Skill Level
Starter Project

Comments

Quintin79

Sat, 01/26/2013 - 12:18

Thanks! It was my first furniture building project! I did a huge reno that i did on my house but that is construction and 1/8th in isnt as big of an issue as in furniture.

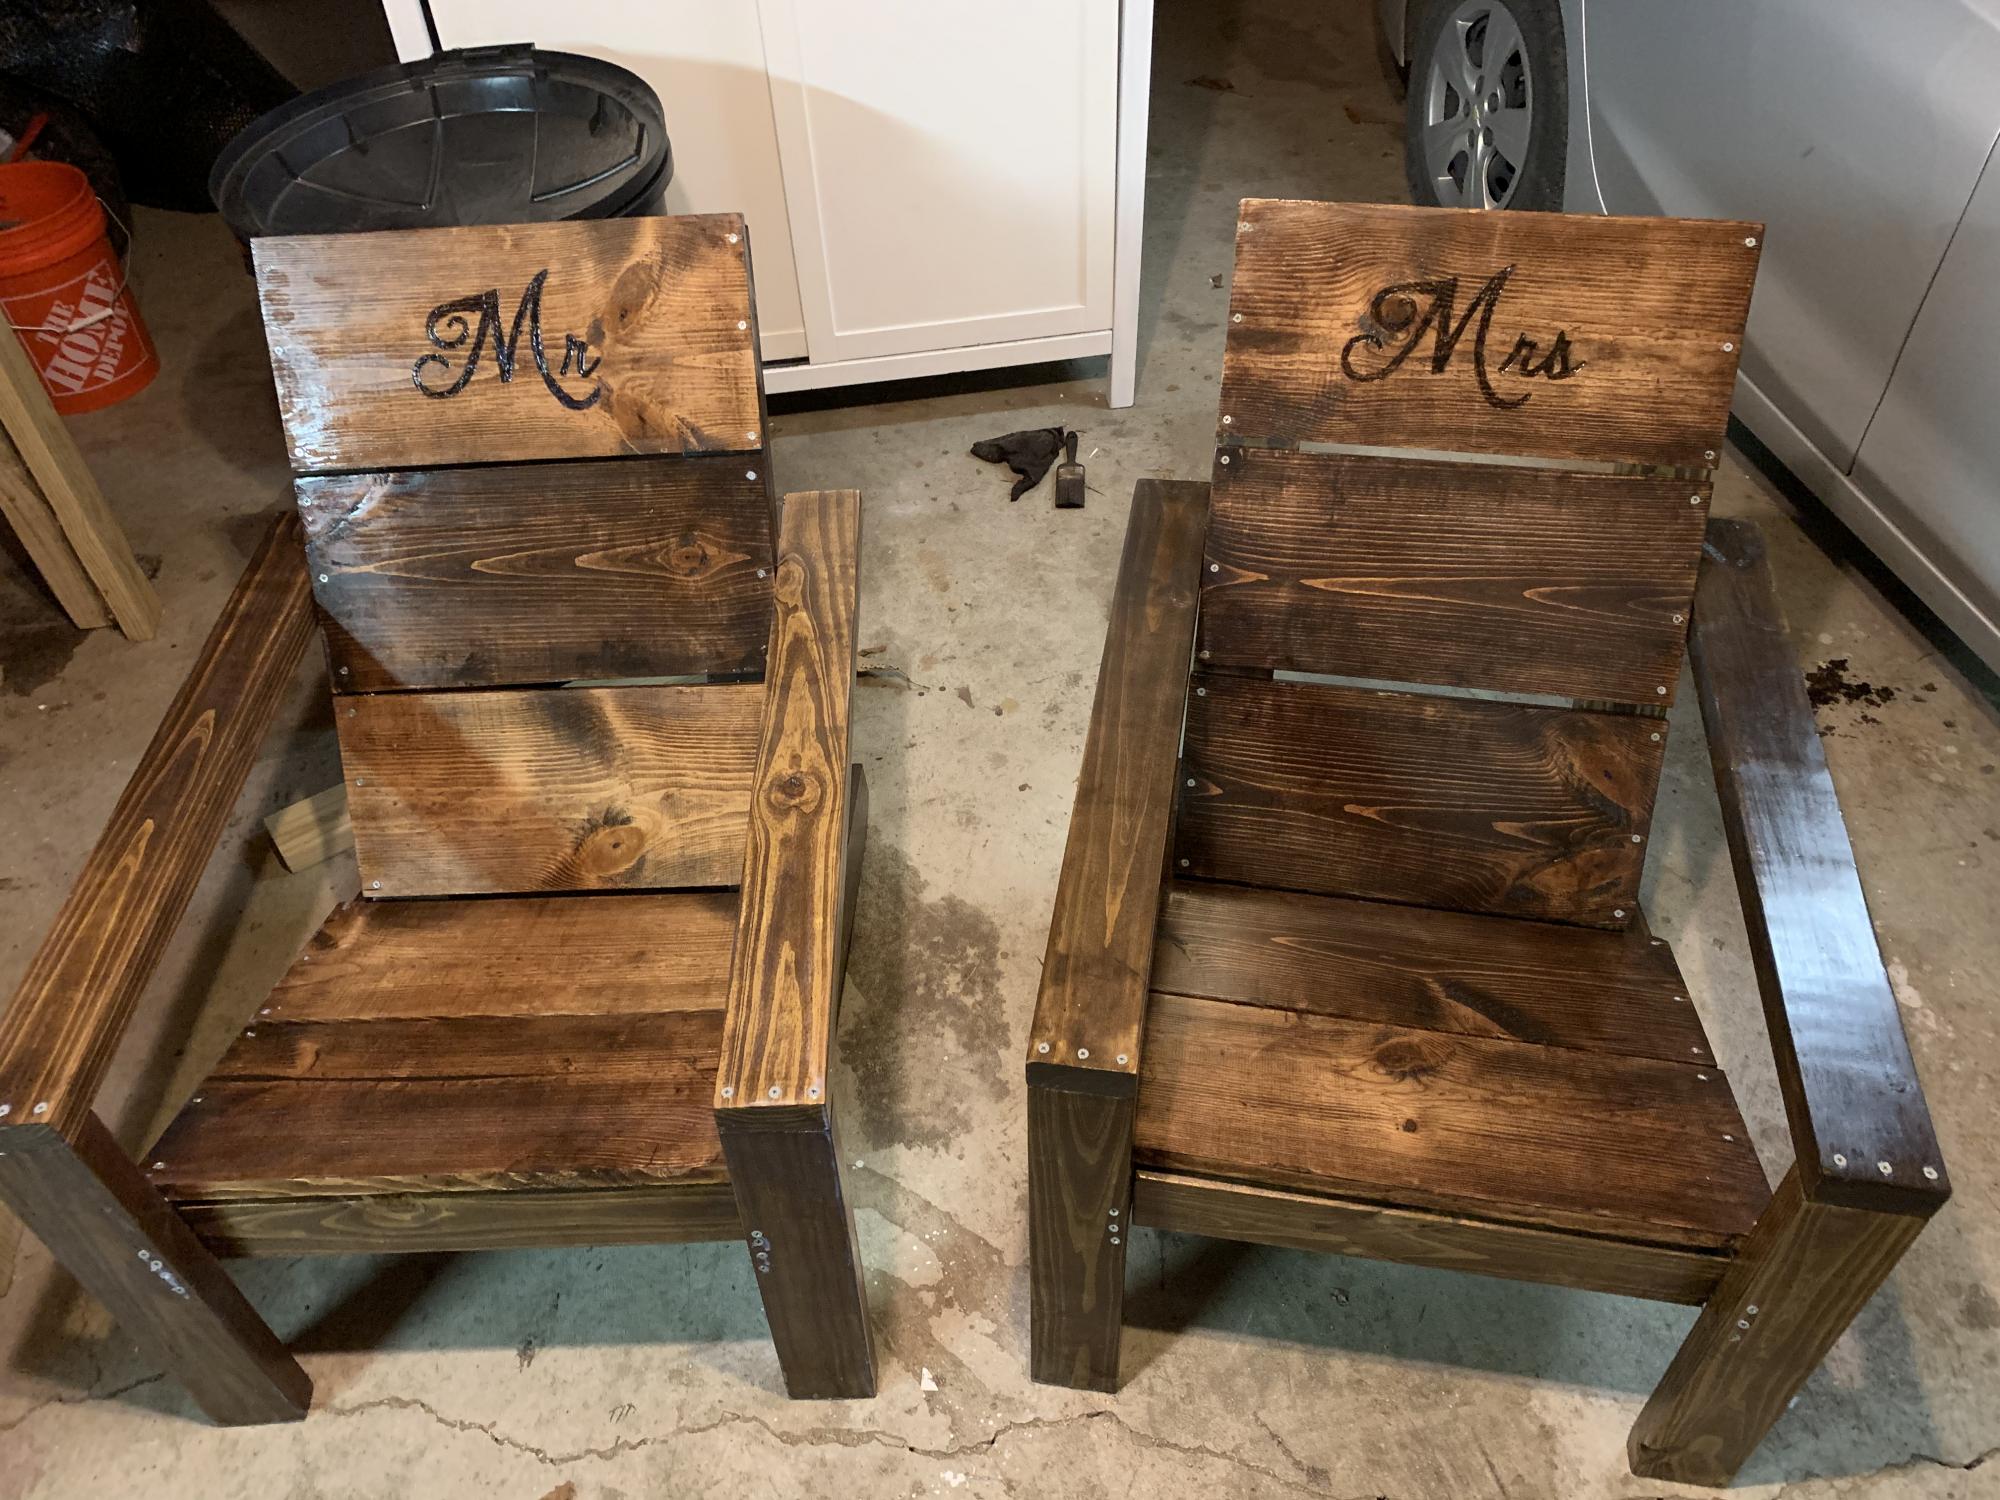
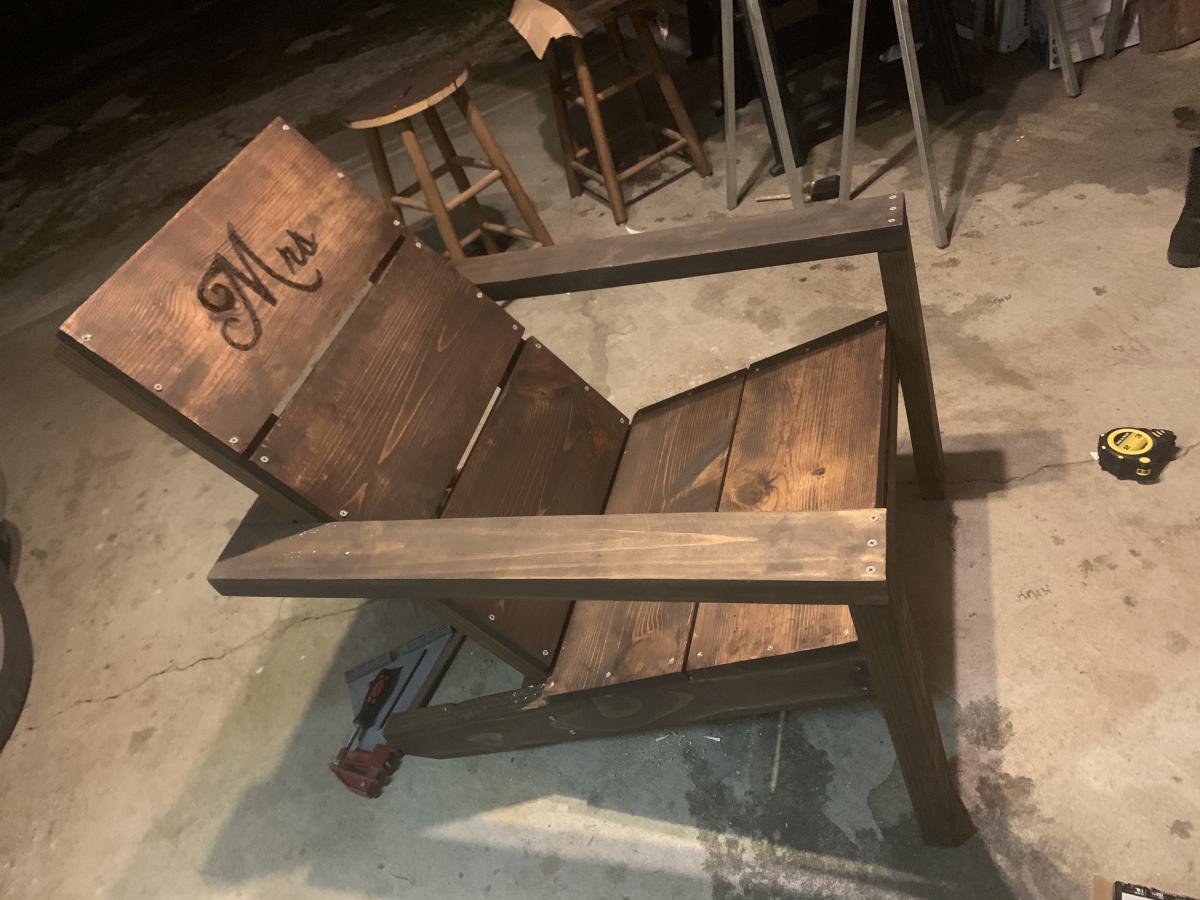
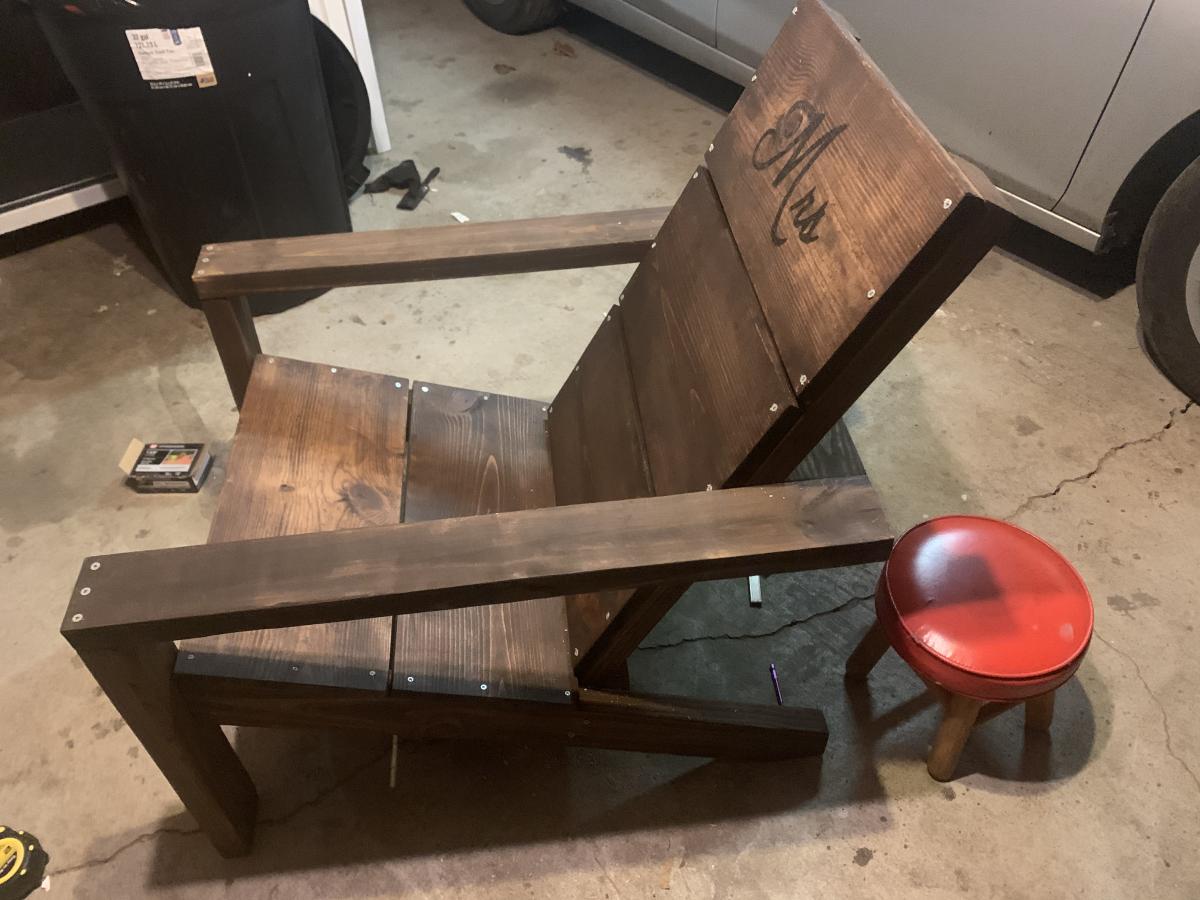
Mr and Mrs wedding presents!

Submitted by emilacious on Wed, 03/31/2021 - 12:59

My friends were getting married so I chose these as their wedding presents due to them having fold out chairs for their new home. Wood burned the mr and Mrs. Used wood conditioning and stained with the rust oleum Kona. Then used the rust oleum glossy polyurethane x3 coats.

Estimated Time Investment
Afternoon Project (3-6 Hours)
Finish Used
Rustoleum Clear Gloss Polyeurethane over Rustoleum Kona Stain
Recommended Skill Level
Beginner

Comments

Monika

Thu, 03/28/2024 - 08:43

Our friends are tying the knot soon! It's such an exciting time for them, and I've gained a newfound respect for platforms like https://myeden.me/ They've met each other there. Now, my husband and I are brainstorming the perfect wedding gift. We want something unique, something that truly reflects their love story and will be cherished for years to come. Any ideas for Mr and Mrs wedding presents that will make a lasting impression? We will be glad to have a good recommendation.

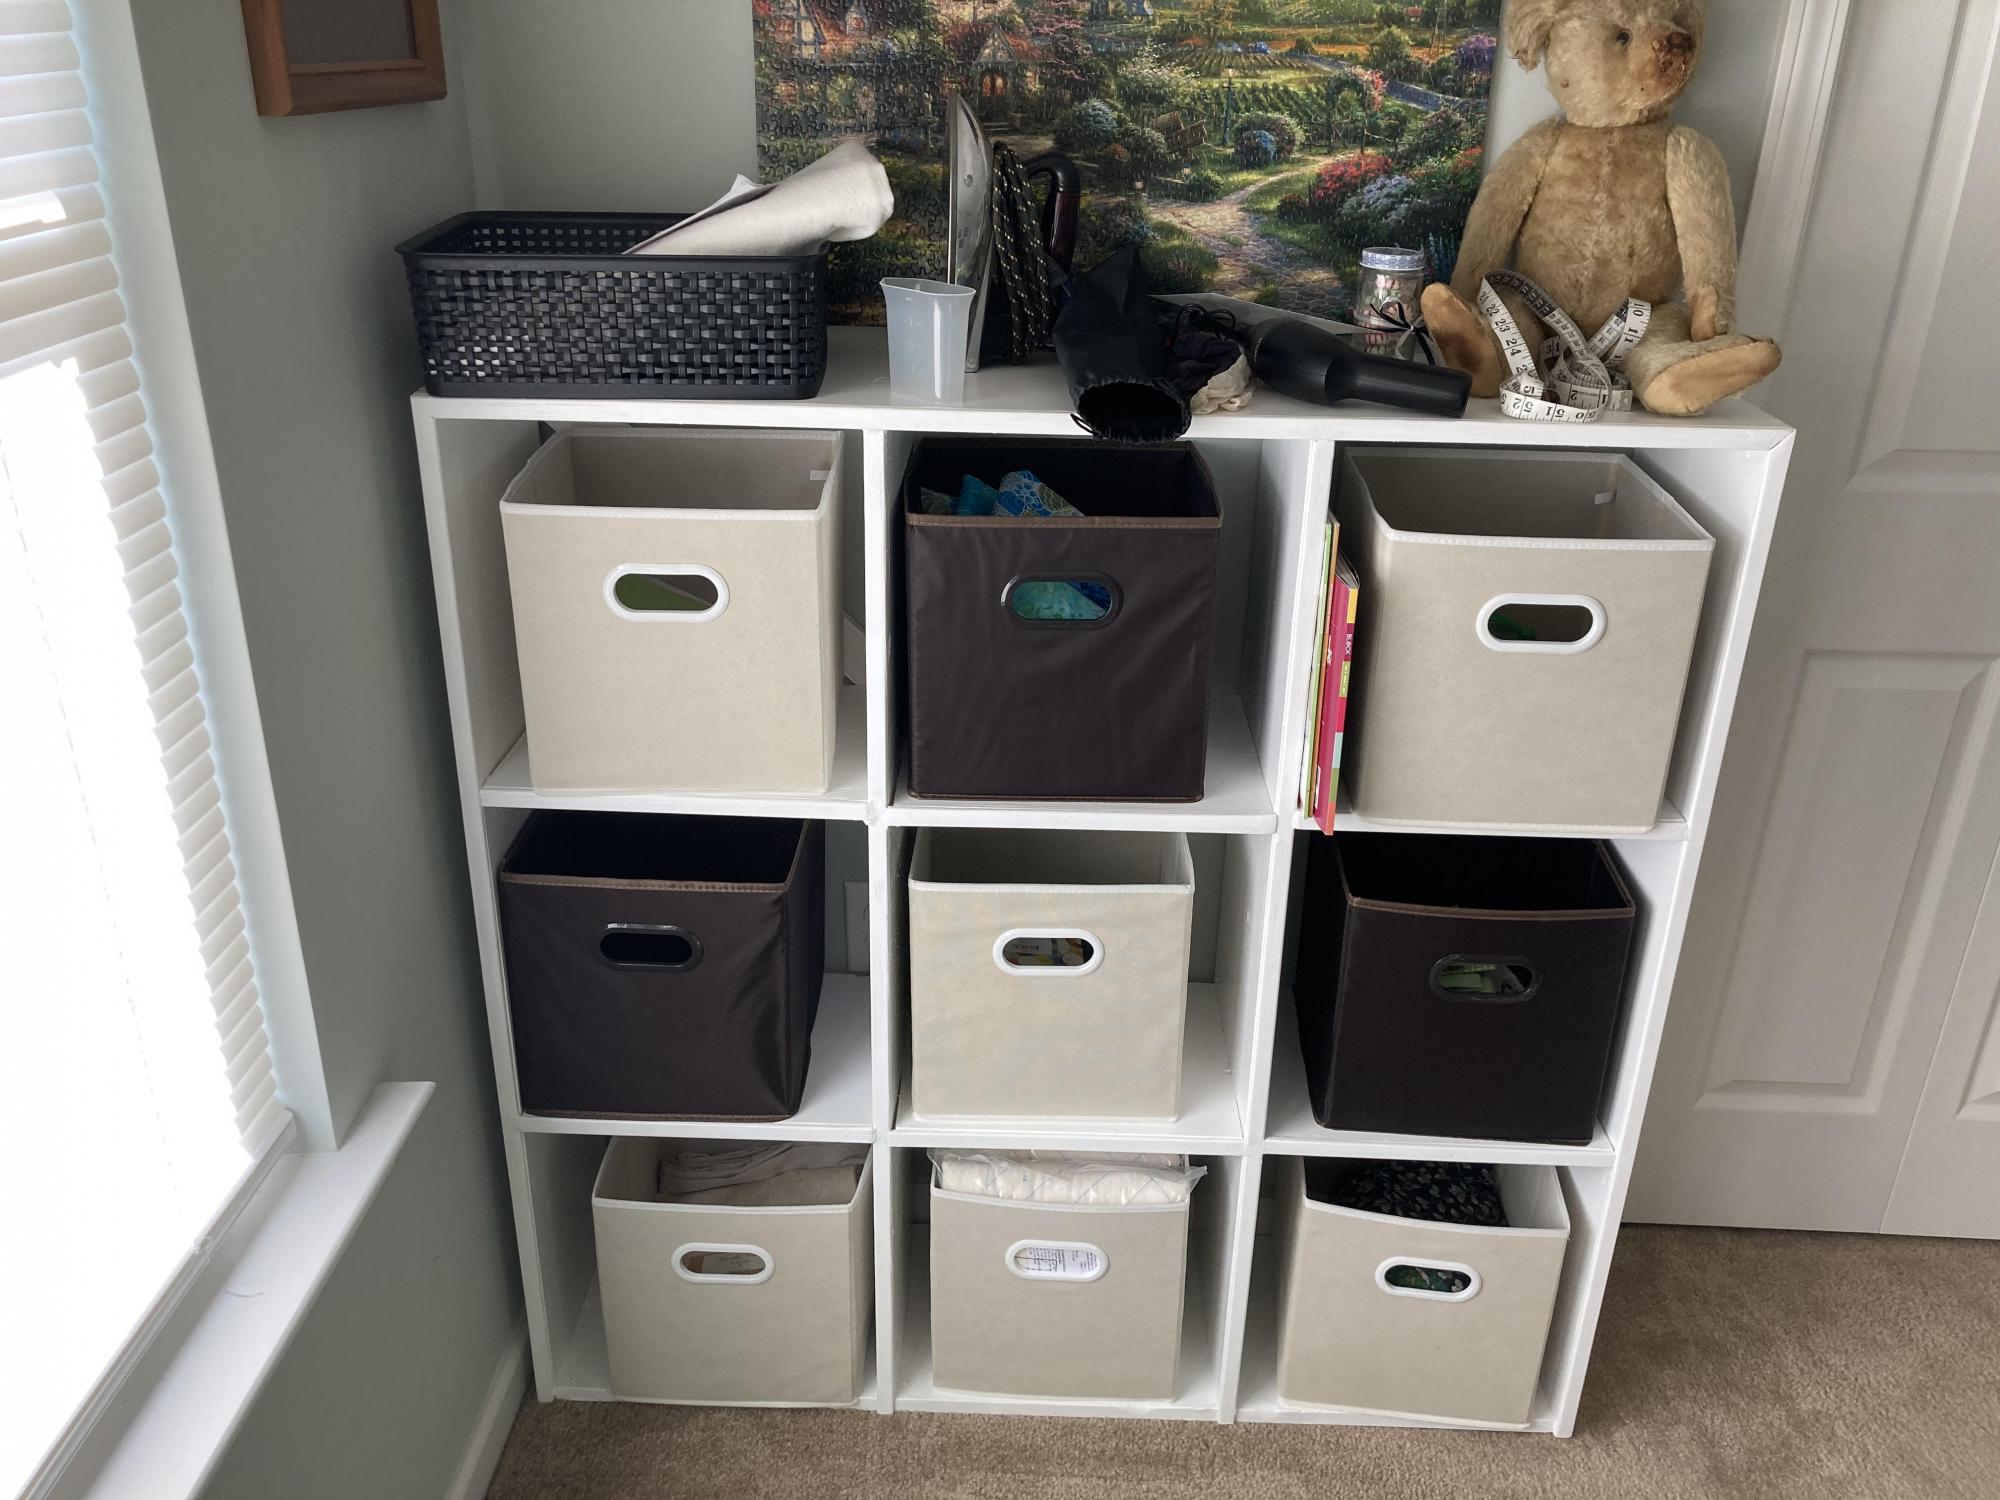
Cubby Bookshelf - Large

My wife is a crafter, and her room is chockful of material for projects planned and projects waiting to be inspired. Our house is not a large house, and I had this desire to give her some organization. She already had a cubby bookshelf similar to this one, but that was store bought. I have only recently begun building things in my retirement, and I wanted to give her something that was me. It turned out nice, if a little wobbly, but I fixed that with a couple diagonal cross pieces across the back. It fit the space we had perfectly. The important thing is she loves it, and has (obviously) filled it up nicely.

Built from Plan(s)
Estimated Cost
75.00
Estimated Time Investment
Day Project (6-9 Hours)
Finish Used
Paint - two coats
Recommended Skill Level
Beginner

Comments

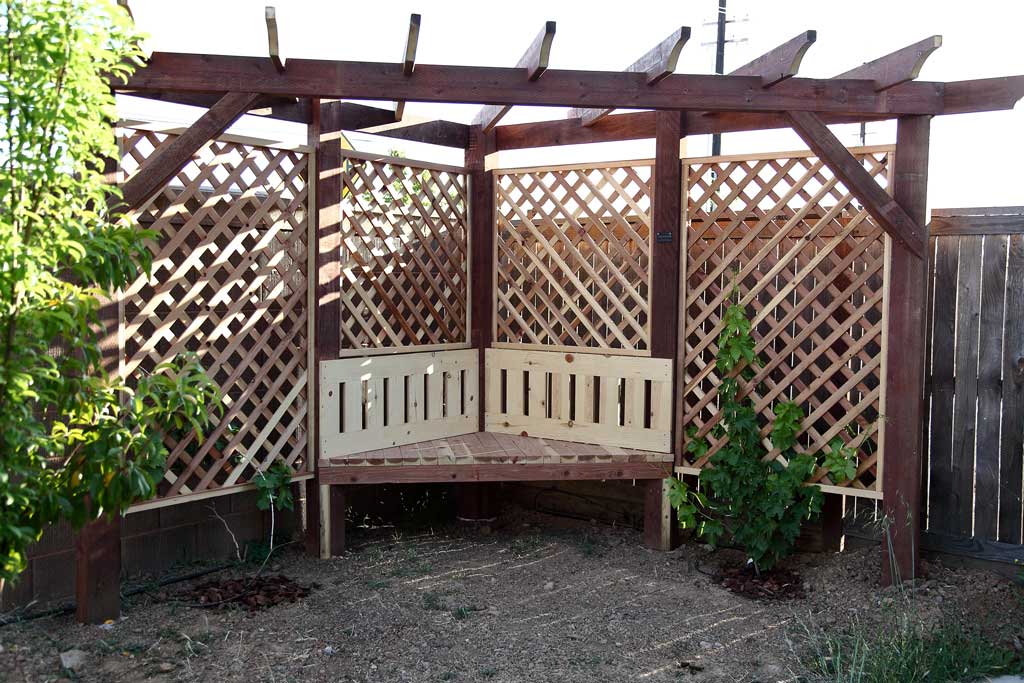
How to Build a DIY Garden Arbor with a Bench

Submitted by thediyplan on Fri, 06/18/2021 - 14:34

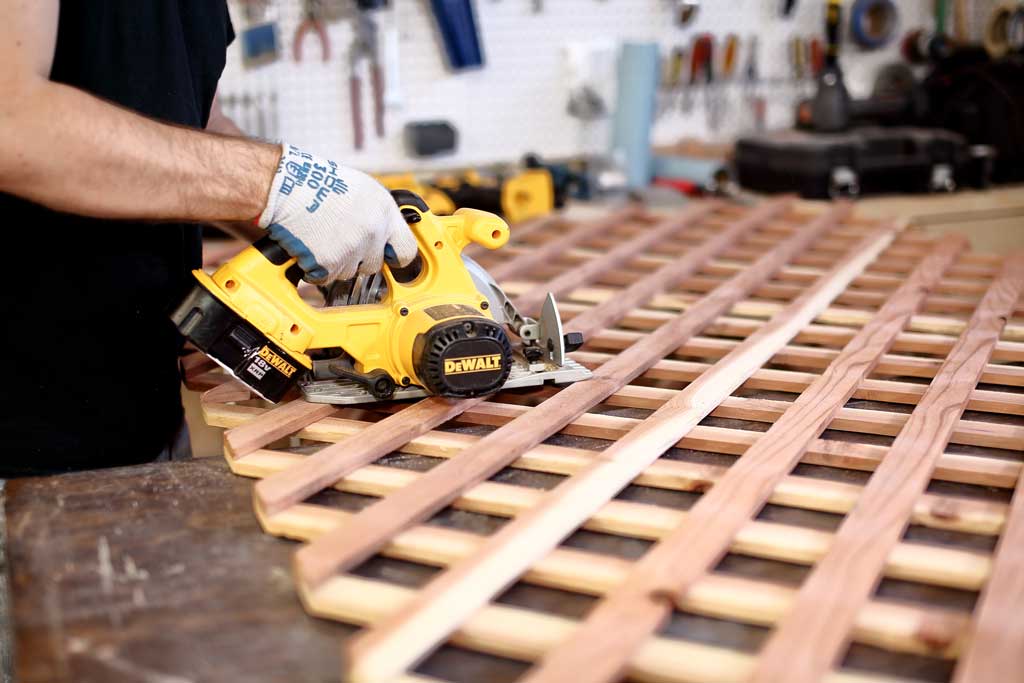
My brother-in-law planted a small grape plant in his backyard and wanted a trellis structure behind it for the grapes to climb on. He asked me to design and build it in the corner of his garden. After going through some designs, we decided to go with a corner arbor. When the project was complete, I created PDF plans on how to build a DIY Corner Arbor with a Bench that includes a trellis for the grapes to grow on.

See my website for additional pictures and how I've built it, TheDIYPlan.com

Estimated Cost
$850
Estimated Time Investment
Weekend Project (10-20 Hours)
Recommended Skill Level
Intermediate

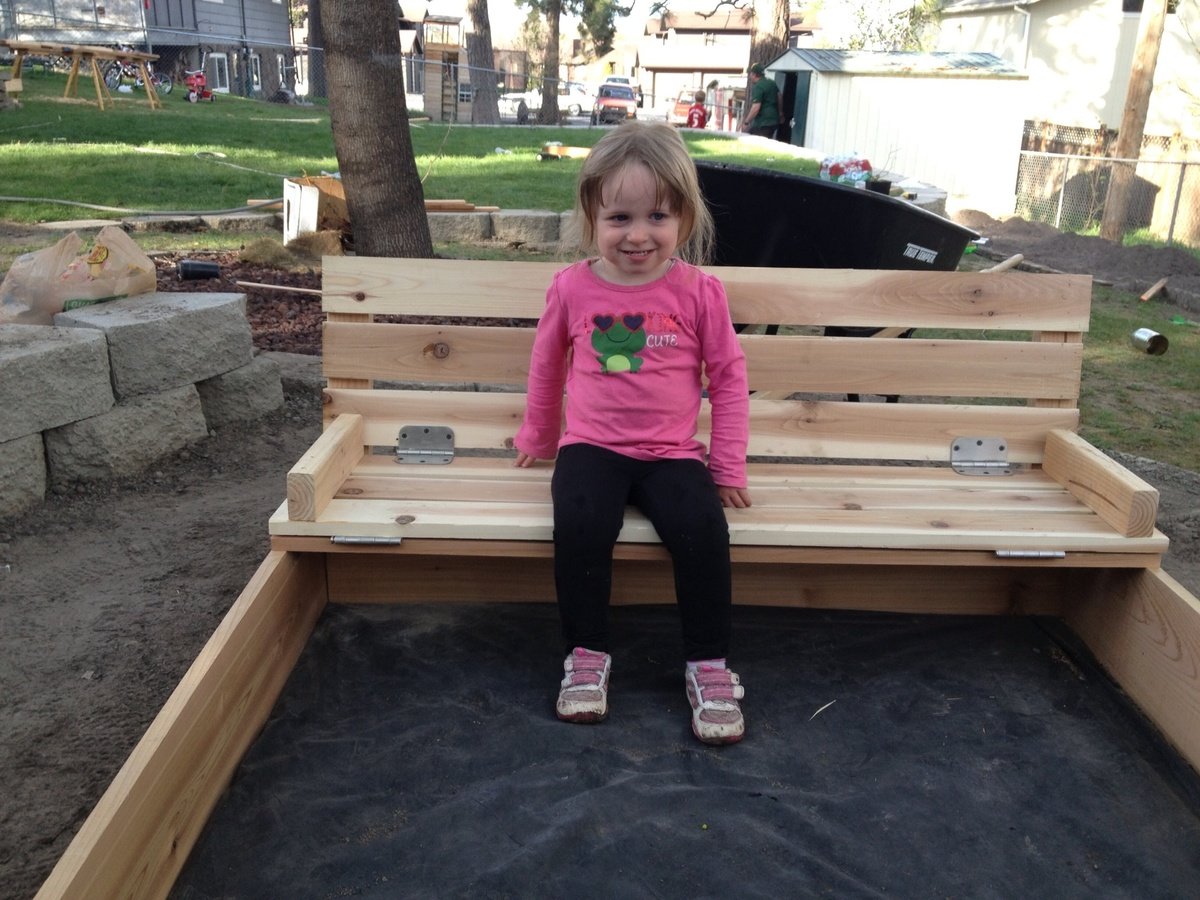
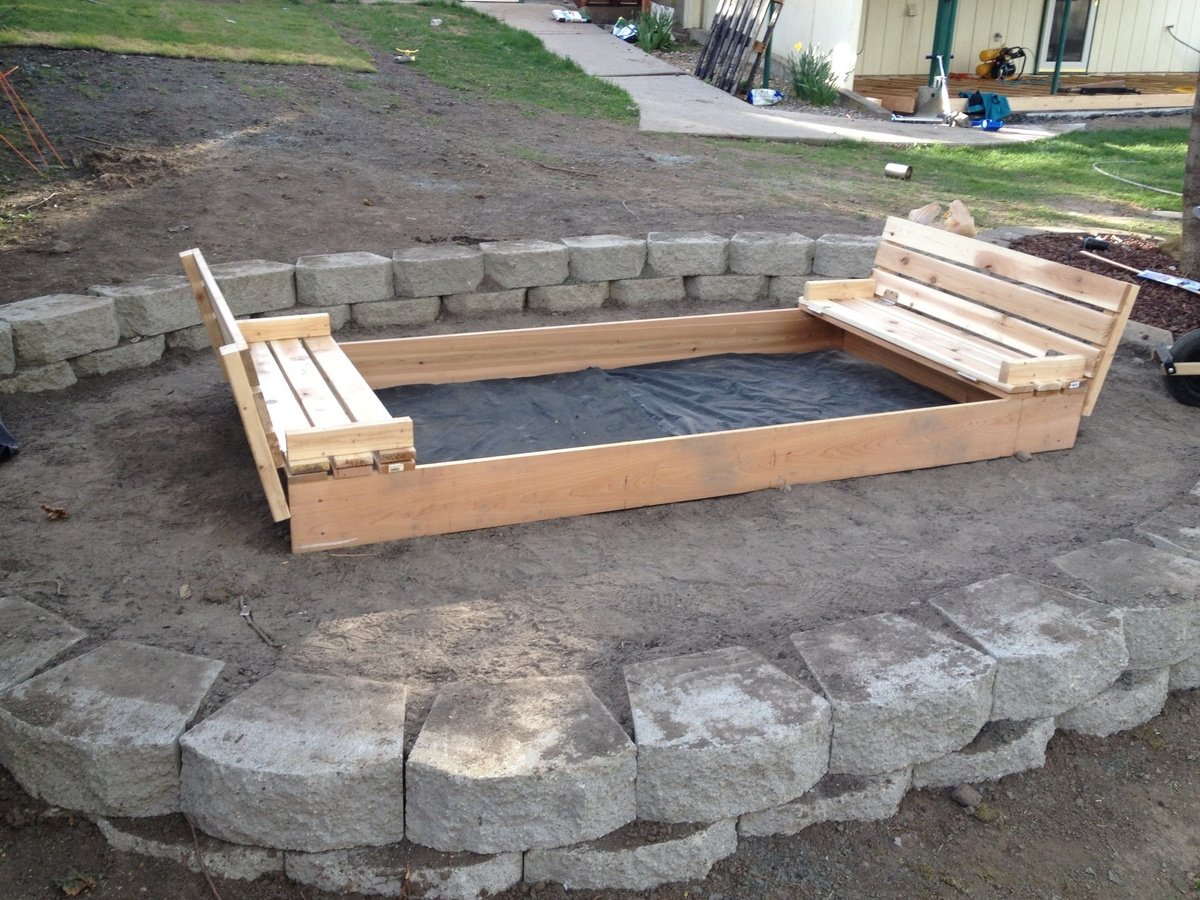
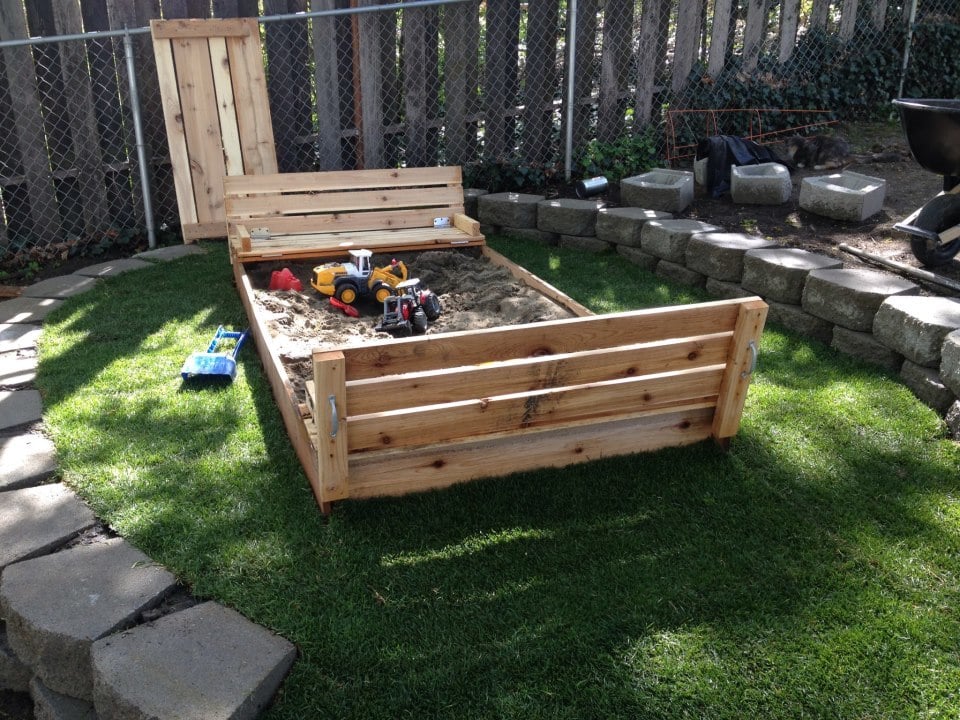
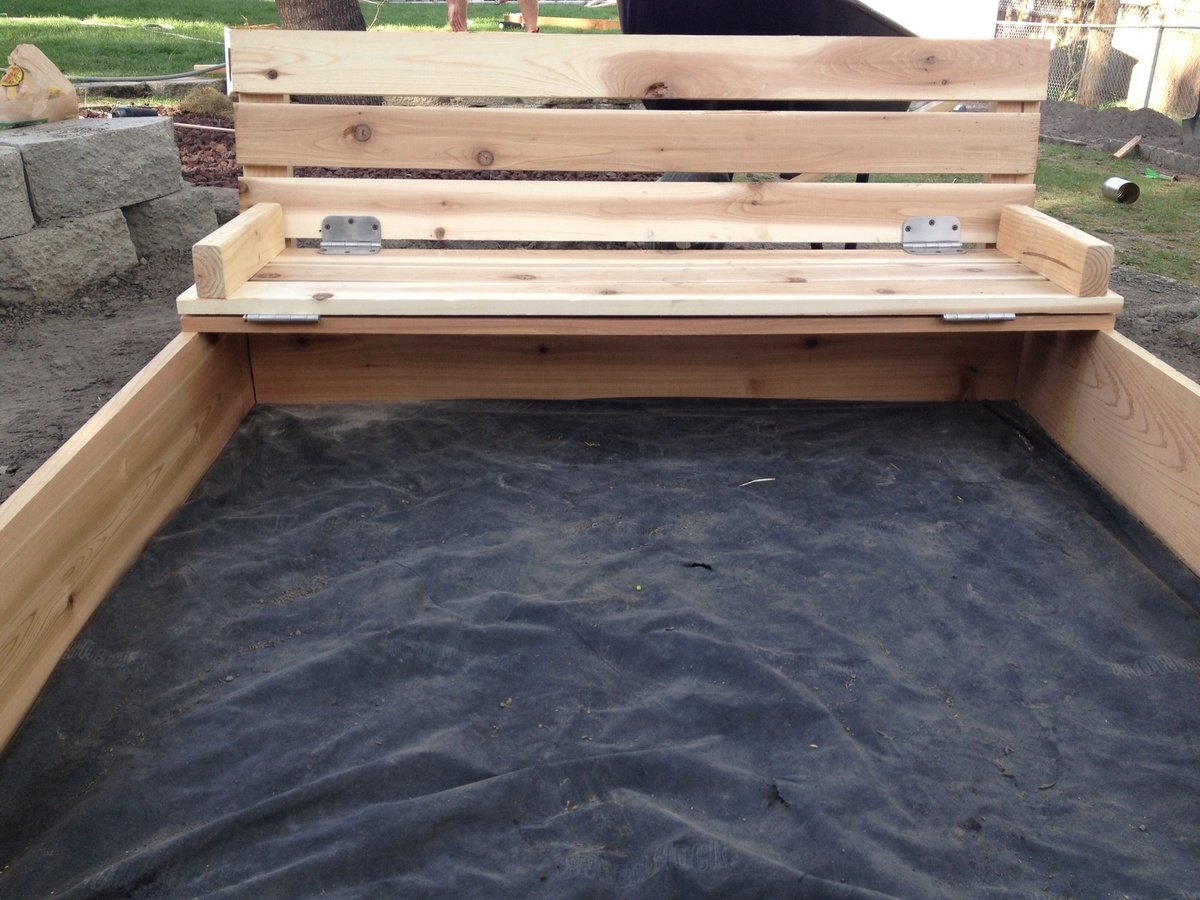
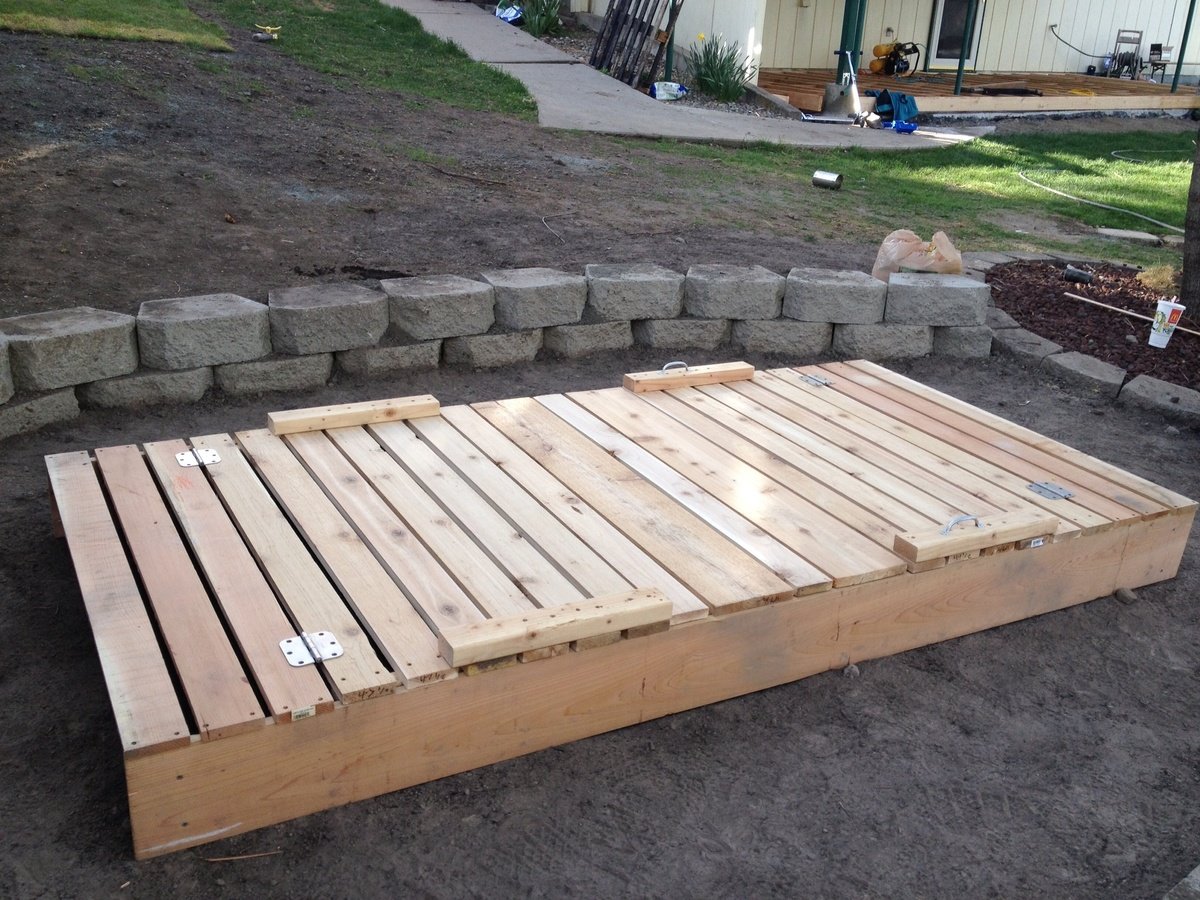
Sandbox with lid

This was my first EVER wood working project.

With that being said, it took me more than just an afternoon.
I used cedar, and all the materials on the cut list had to be sanded , since I didn't like the roughness of the cedar.
I also made the box 4x8. I didn't take into account that that would require a minimum of 48 inches for the top planks. So, some of my top planks are shorter.

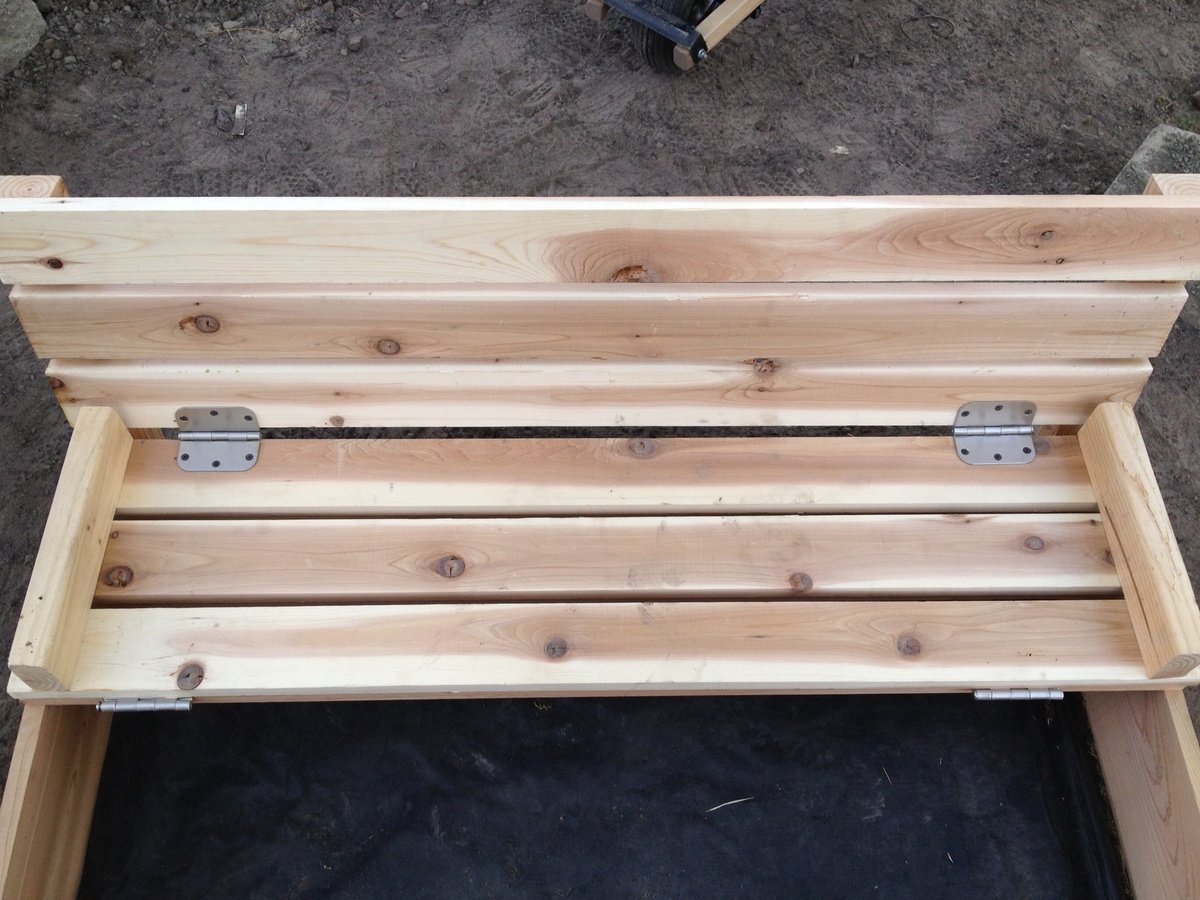
I also wished I had a little more instruction from which side to screw the screws in. May sound a little needy for some of you, but I never did anything with wood before. The instructions simply read attach top planks to arm rests (or something int that manner) and I wish it would have told me from which side to screw in (or give me a picture). Looking at some of the brag posts helped a lot.

Because its larger size, I decided to make the seats 3 top planks wide (and also the back rest) and made another middle cover piece to bridge the additional gap when both seats are folded down.

Also, the cedar was VERY expensive, and all the screws, hinges, and handles almost cost me as much as the wood.

The sand to fill the box ran us another $80 (for good plays and), but that was because we made it so big.

All in all, a rather pricey sandbox, but worth it because of the large custom sizes, and the cute little seats.

Pictures show the sandbox without sand, and with some of the handles still missing. I also still need to fill the holes.

Will add a picture of finished box filled with sand when it is available.

Built from Plan(s)
Estimated Cost
$250
Estimated Time Investment
Weekend Project (10-20 Hours)
Finish Used
None
Recommended Skill Level
Beginner

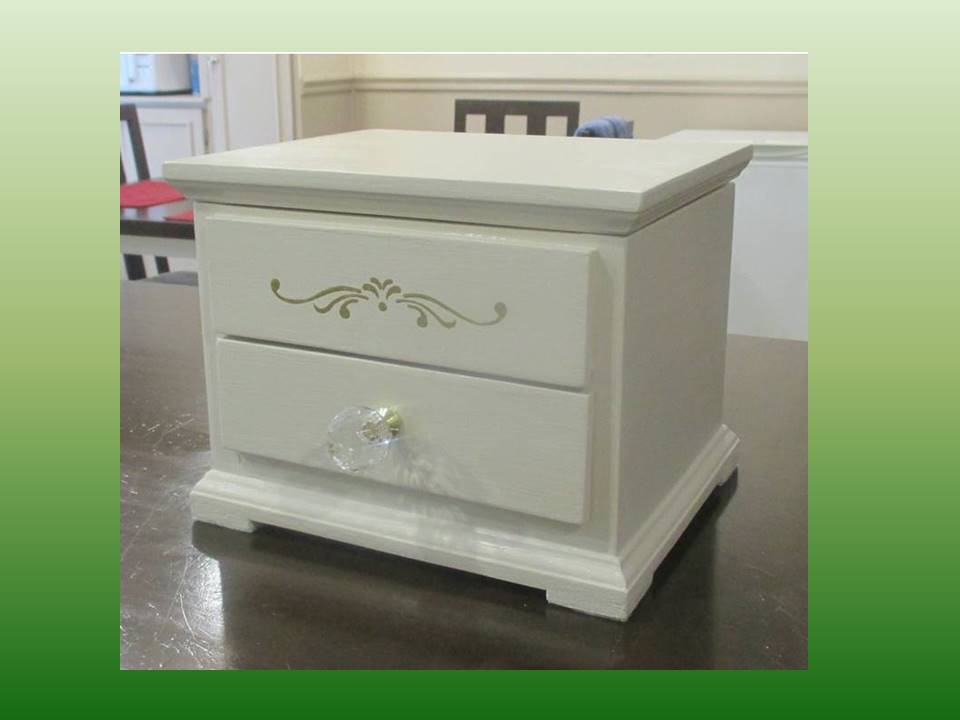
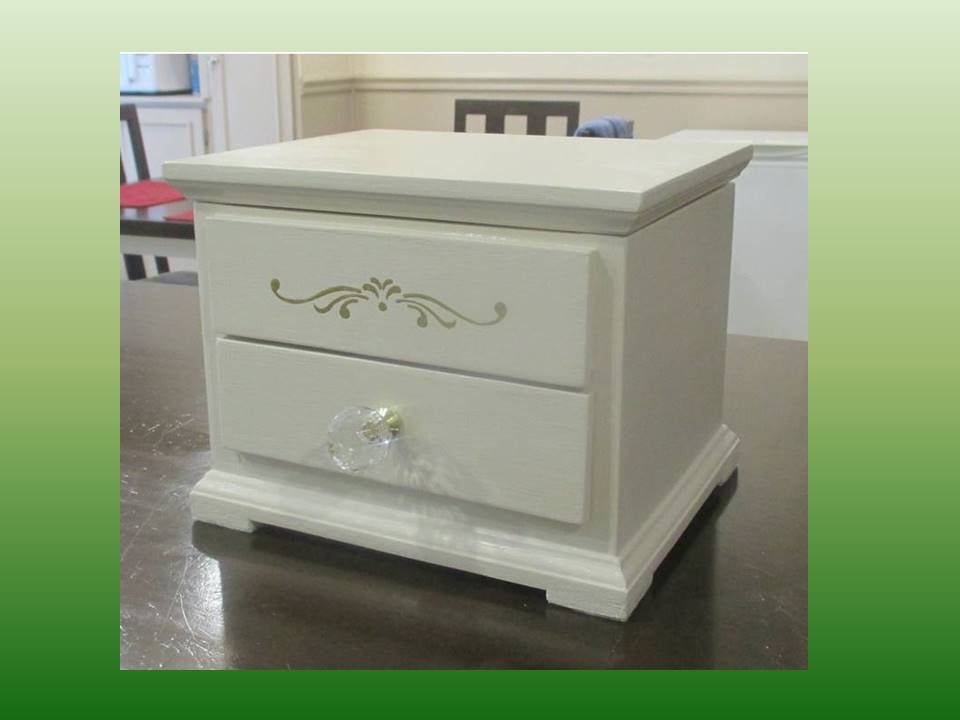
Jewelry Box Retirement Gift

Submitted by JoanneS on Mon, 04/20/2015 - 17:19

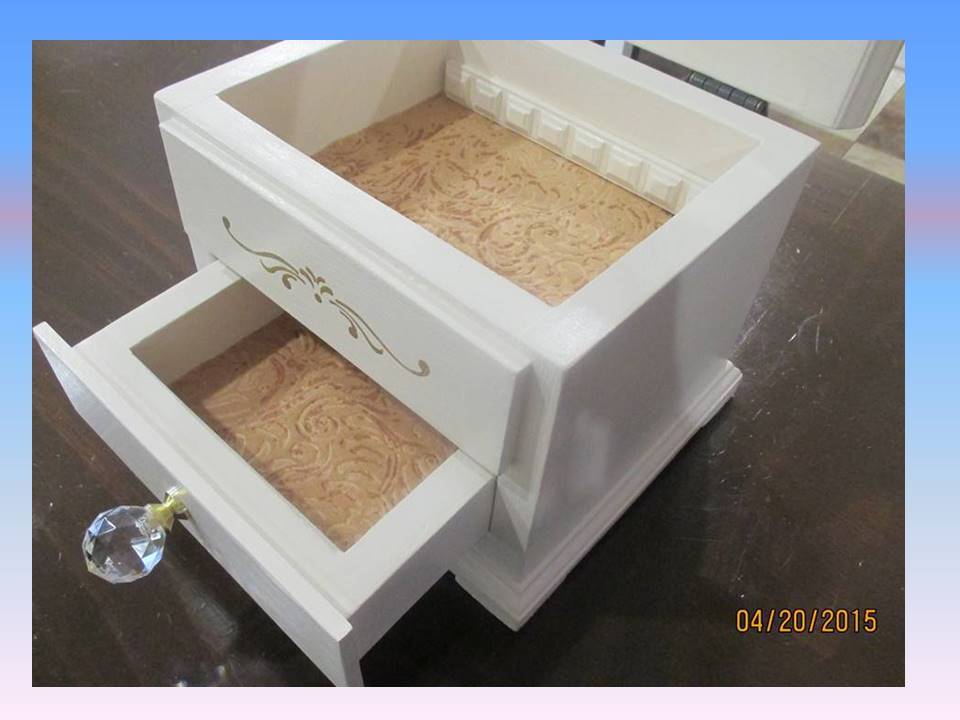
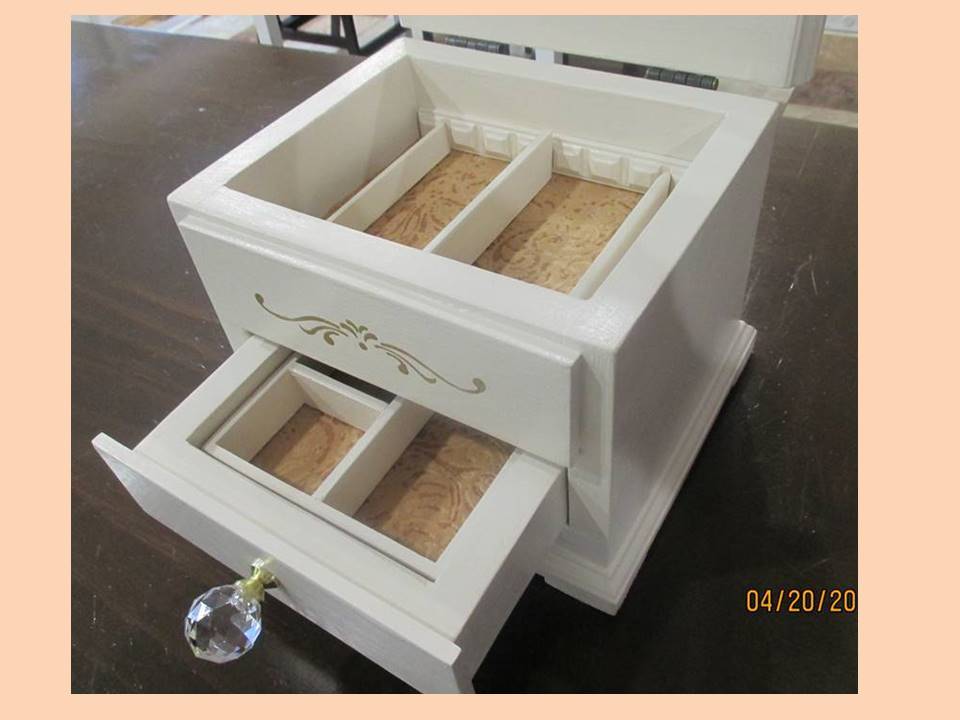
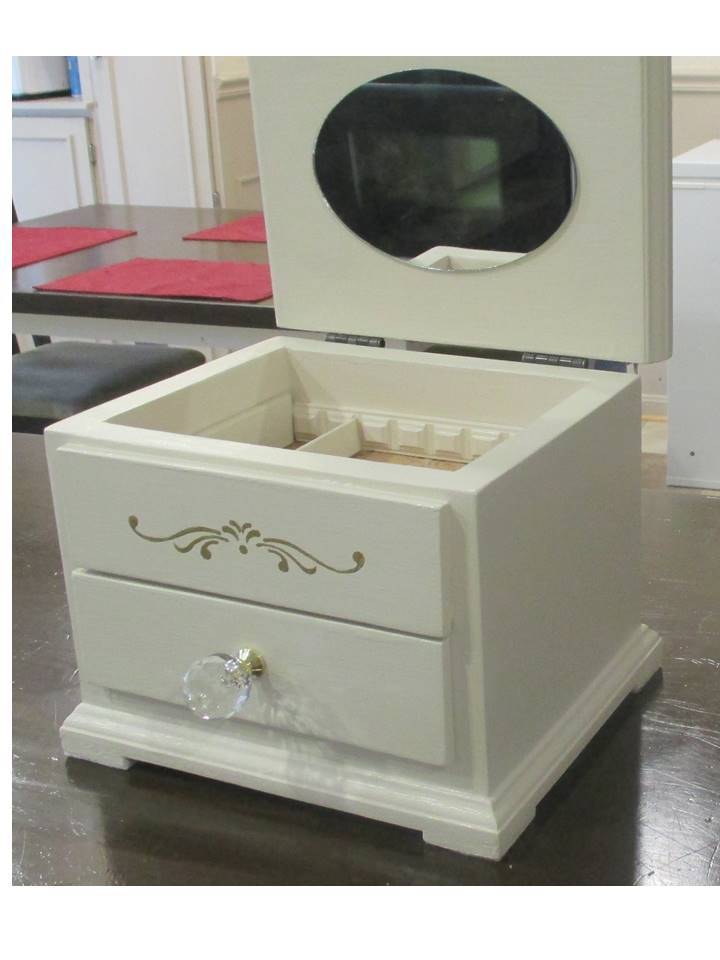
This jewelry box is a gift for a friend at work who is retiring.   It is a variation of the Easy Jewelry Box, with the following modifications:

Hinged lift-up top with mirror

Overlay drawer fronts from ¼” craft wood (Gold stencil on top false drawer front, and drawer boxes are 1/8” shorter than the shelf from front to back, to ensure the fronts sit flat against the box front and drawer back doesn't touch the box back at all)

The bottom is 2 pieces thick, to allow space for the drawer overhang and attaching the bottom moulding.

Solid wood back (instead of plywood)

Top and bottom edged with mini stop moulding to make the overhangs, and added feet made from lattice

Removable drawer divider tray and 2 heights of removable dividers for the top, made from dentil, lattice and screen bead mouldings

I really took my time on this build to get everything just right with the build and the finish.   Probably spent about 6 hours spread out over the last few weekends. 


Built from Plan(s)
Estimated Cost
Cost: 1x8 and 1x2 Lumber and finishes were already on hand (left over from other projects) and I spent about $25 for the mirror, hardware, felt, mouldings, and craft board.
Estimated Time Investment
Day Project (6-9 Hours)
Finish Used
3 coats Clark & Kensington semi-gloss paint + primer in Crushed Peanut, sanded between coats. Stencil: 1 coat Americana Gloss enamel metallic in glorious gold. Soft wax on the shelf and drawer bottom.
Recommended Skill Level
Beginner

Comments

Linda7

Tue, 04/21/2015 - 18:57

This is your best one yet, Joanne. Love it! :-)

JoanneS

Wed, 04/22/2015 - 18:29

Hi Linda, thank you for the nice comment! This was a fun build, and I'm very glad to say the gift was a big hit! :)

Modern outdoor chairs and tables

Submitted by mcneece on Mon, 12/18/2017 - 14:10

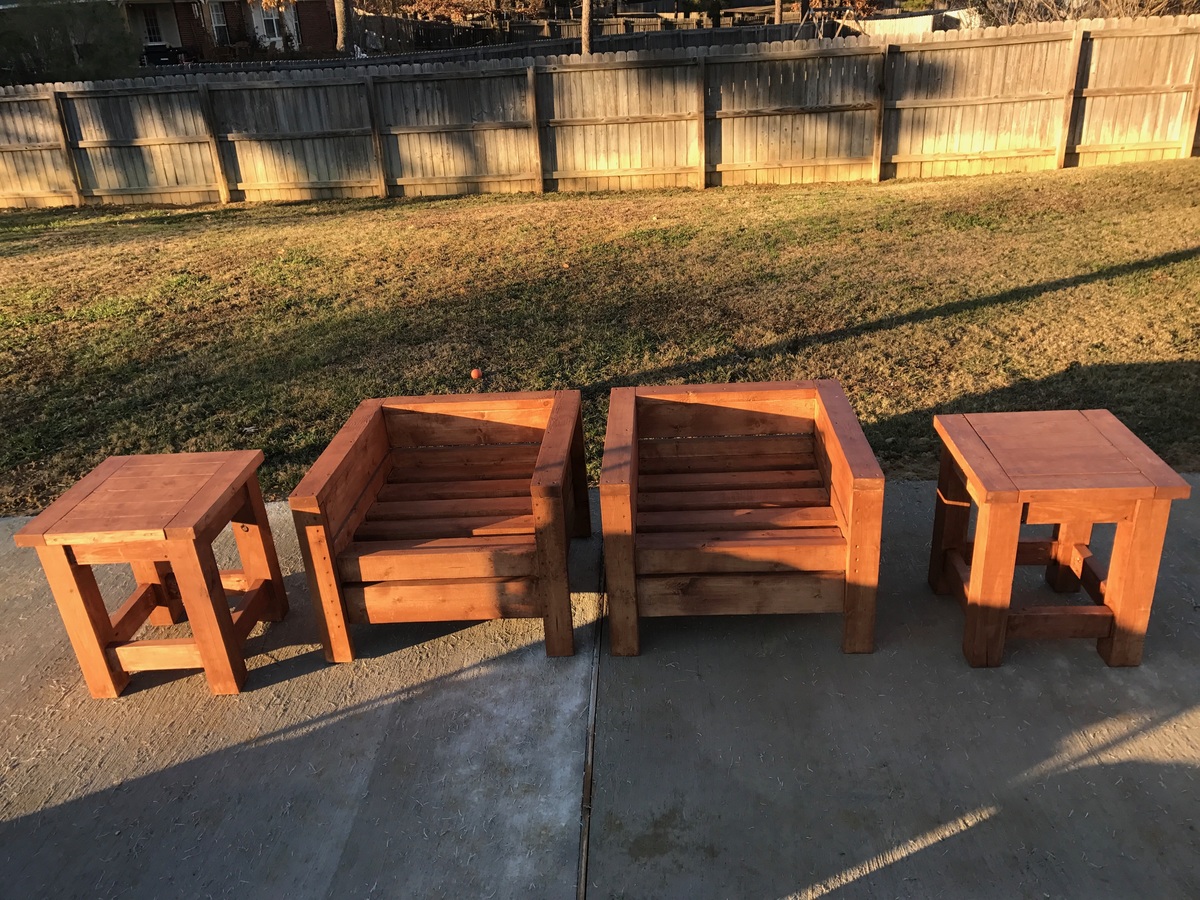
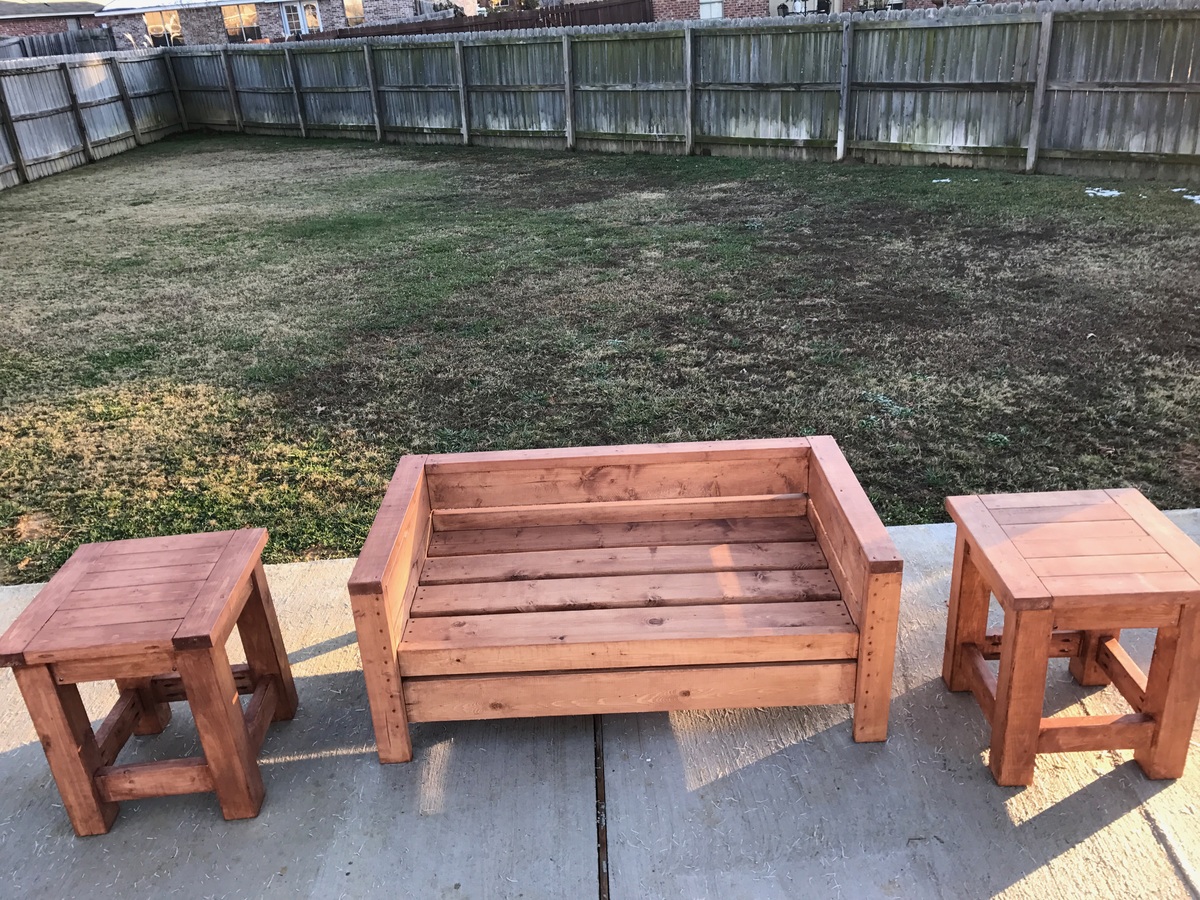
Project is still in progress but so far this has consisted of a firepit, 20x20 slab, 4 cypress columns, bistro lighting, 2 modern outdoor chairs, 1 modern outdoor bench, 4 matching tables, and a project screen.  To come: flower bed, projector storage stand with casters and hinged top, outdoor speakers, and possibly a green egg stand, and extending power to the back of the slab.

Estimated Cost
$75 per chair, $100 per bench, $40 per table
Estimated Time Investment
Week Long Project (20 Hours or More)
Finish Used
Thompson waterseal (transparent)
Recommended Skill Level
Intermediate

Puzzle table

Submitted by Anonymous (not verified) on Sun, 12/26/2021 - 13:35

This is a table that will fit a large 1000 piece puzzle. The drawers can hold the pieces you believe would fit in that particular corner of the puzzle. When you need the room on your table this puzzle table is easily picked up and moved without disturbing the puzzle
Comments

Child Beach Chair

Submitted by jsle_bel on Thu, 06/09/2011 - 21:39

Will be making MANY more of these, so easy and a fun gift! This one was for my niece.
Recommended Skill Level
Starter Project

Comments

Twin Fancy Storage Bed

I built my girls' beds using two of Ana's plans. I used all whitewood boards for the construction. It took a few hours to build both beds and I love the result! I used my brad nailer and gorilla glue for both the headboard and bed base. I also used drywall screws (my fav) to attach the bottom bed pieces. You can see more details at http://www.shanty-2-chic.com/2011/01/beds-finished-well-almost.html !

Estimated Cost
Under $100 for each bed
Estimated Time Investment
Weekend Project (10-20 Hours)
Finish Used
Two coats of custom cream color you can find in my blog post above. I use Whizz 4" rollers on almost all furniture painting... LOVE.
Recommended Skill Level
Beginner