Community Brag Posts

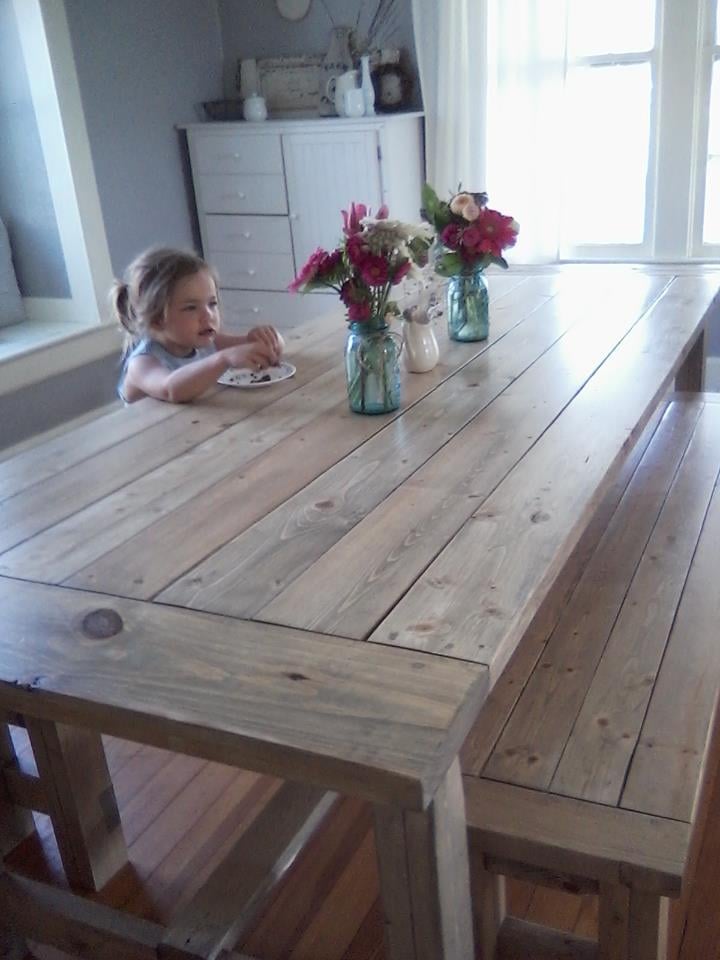
Farmhouse table and bench - white base with stained top

Submitted by Anonymous (not verified) on Mon, 05/15/2017 - 19:36

We went off the Farmhouse table and bench design but had to customize the length of the table and bench so that it fit in our kitchen space. The table was our first ever project and we made a few mistakes but learned from them and built the bench and are hoping to move up to the Farmhouse bed and then the fullstorage bed. 

Estimated Time Investment
Afternoon Project (3-6 Hours)
Finish Used
Used everlasting in chalk paint for bottom and top then brushed blue over the top let dry then stained the top with minwax dark walnut and wiped off. Applied a few layers until desired look. Dry brushed more blue and white in between stain layers then used polycrylic semi gloss finish
Recommended Skill Level
Starter Project

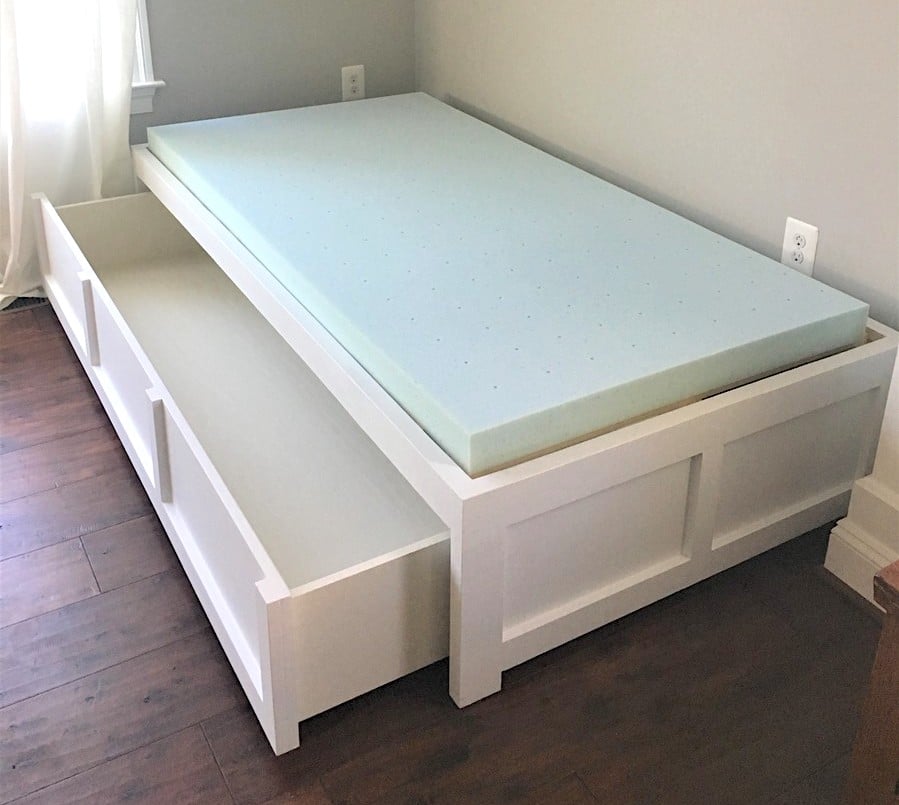
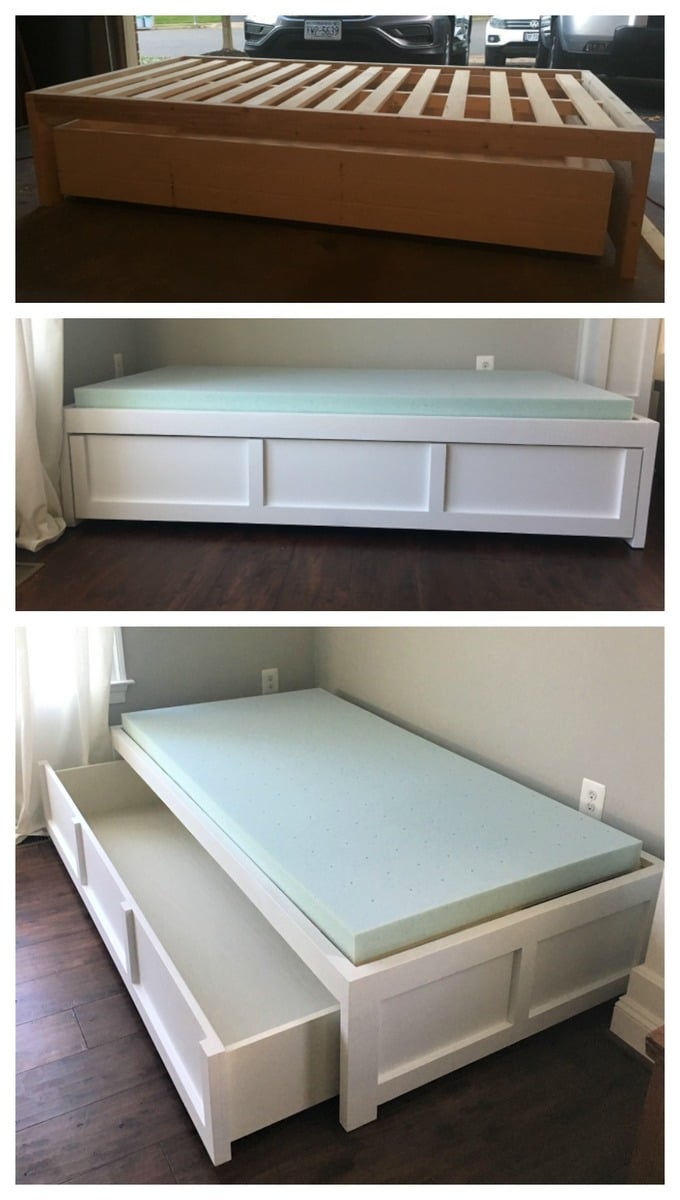
Daybed with Storage Trundle

Submitted by Crafty-Mom on Sat, 01/27/2018 - 10:38

This was my first project from Ana's website and I'm hooked! I'm a beginner, but thank goodness for my Dad's help because I have a lot of learning to do!

I wanted the drawer to be 1 drawer instead of 3. I feel like it looks cleaner (without having to adjust 3 drawers constantly to make it look good when you push them in). I was thinking the bed could actually be used as a trundle bed in the future too! I use this to store toys right now and it is Awesome!

I increased the bed size to fit a twin mattress and increased the height of the bed slightly so that the drawer would be a little bit deeper. We also added a back to the bed and carried around the trim to make all sides look the same. We added a bumper to the back and sides of the inside of the bed so the drawer is easy to push in and fits in snug. Finally we reinforced the bottom of the drawer with more 1x4 boards so that if a child does sleep in it, it would be more sturdy. I now have kids come over and jump into the drawer (literally) and I'm glad we reinforced it.

The changes we made did add to the cost and our time (as well as being newbies), but I think it's worth it and the bed turned out beautiful!
Estimated Cost
$180
Estimated Time Investment
Weekend Project (10-20 Hours)
Finish Used
Behr Marquee (I'll have to find the name of the white color we used). We almost went with chalk paint, but after talking to the HD guy, he talked me into this paint and I'm glad we used it! So much cheaper and turned out beautiful.
Recommended Skill Level
Beginner

Comments

Nisssc

Mon, 10/12/2020 - 07:51

This looks great! Any suggestion if I want cubbies instead of a trundle? Also, cubbies only on side as bed would be against the wall. Thanks for the inspiration!
Sandy

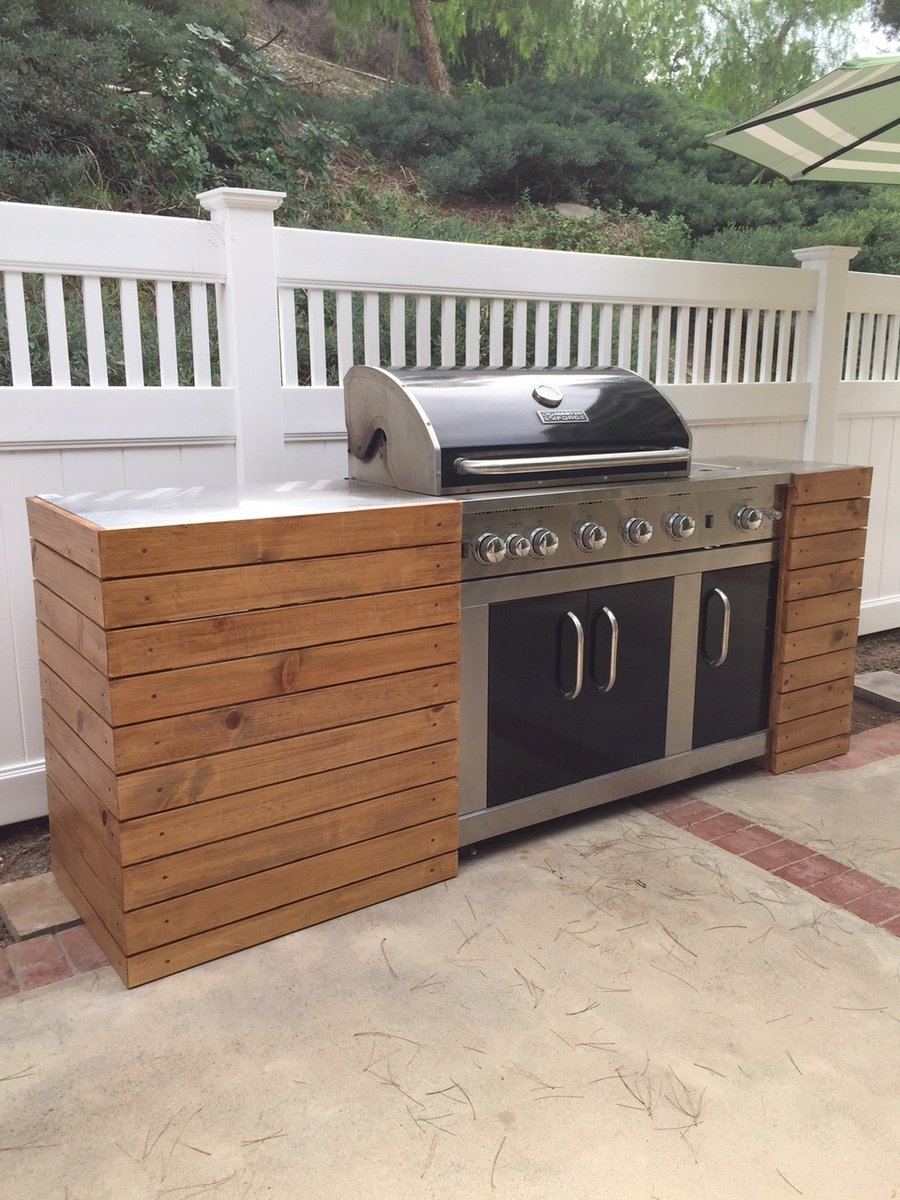
Barbecue/BBQ Quick Built-in

This was just a standard BBQ with an attached folding table. I used a combo of Ana's plans to add a little character and style to the BBQ and it made a huge difference in not only the BBQ, but also the backyard. 

Estimated Time Investment
Weekend Project (10-20 Hours)
Finish Used
Golden Oak
Recommended Skill Level
Beginner

Comments

mdwstgrl

Mon, 05/23/2016 - 12:29

Hello:  Very interested in which plans you used to build the BBQ Built In. Thank you.

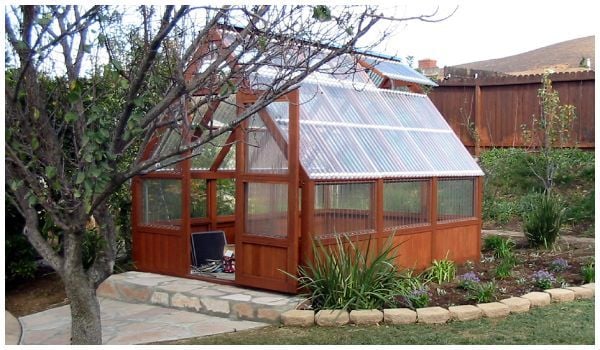
I used the corrugated polycarbonate to cover the greenhouse I made from a chalet style Sun Country Greenhouse Plans. Thanks for the idea.

Submitted by Anonymous (not verified) on Sat, 03/09/2019 - 06:34

I saw the barn shaped greenhouse plan but preferred a regular roof pitch. I did however incorporate the corrugated polycarbionate as a covering. I find it odd that you guys installed the polycarbonate horizonitally instead of vertically.

Anyway thanks for the info on polycarbonate.

Built from Plan(s)
Estimated Cost
Using cedar framing... 9 x 16' @ $3000 +/-
Estimated Time Investment
Week Long Project (20 Hours or More)
Finish Used
Behr
Recommended Skill Level
Intermediate

Comments

hauxy

Tue, 09/01/2020 - 17:47

Love this! I really prefer the roofline on your greenhouse. Did you modify Ana's design, or did you get plans from another site? Would love to replicate your design if possible-very elegant.

Seasonal And Holiday

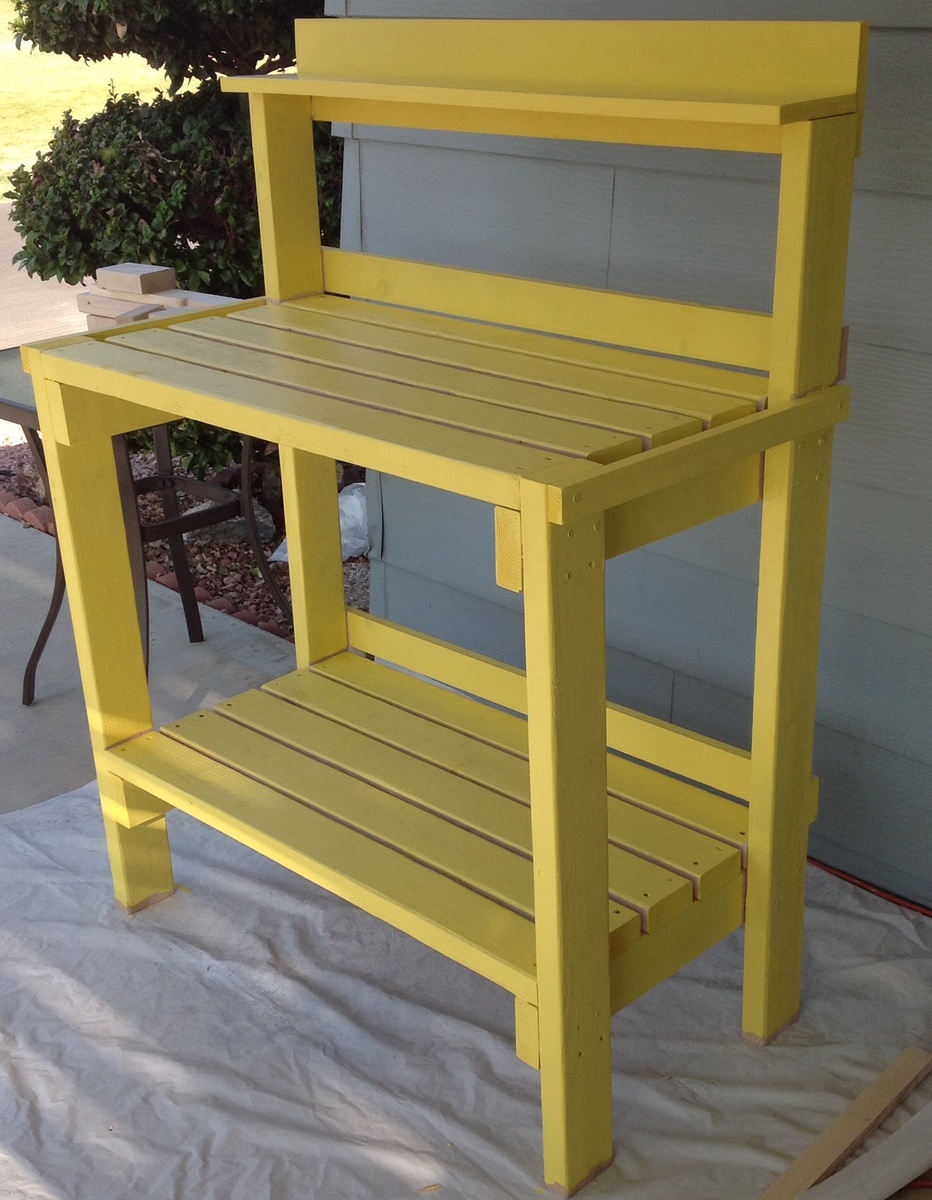
Daffodil Yellow Potting Bench

Submitted by CathyS on Sun, 10/27/2013 - 18:53

I'm so happy to have found your site! I've been wanting a potting bench for a while. Today the Hubs and I built this one in Daffodil Yellow! It is only partially painted, but I already love it! The hubs wants to build a modified one for his heavy electronics equipment. Thanks a Bunch!

Built from Plan(s)
Estimated Cost
$40
Estimated Time Investment
Afternoon Project (3-6 Hours)
Finish Used
Daffodil Yellow paint
Recommended Skill Level
Beginner

Outdoor Sectional

Submitted by flarbort on Wed, 10/30/2019 - 06:36

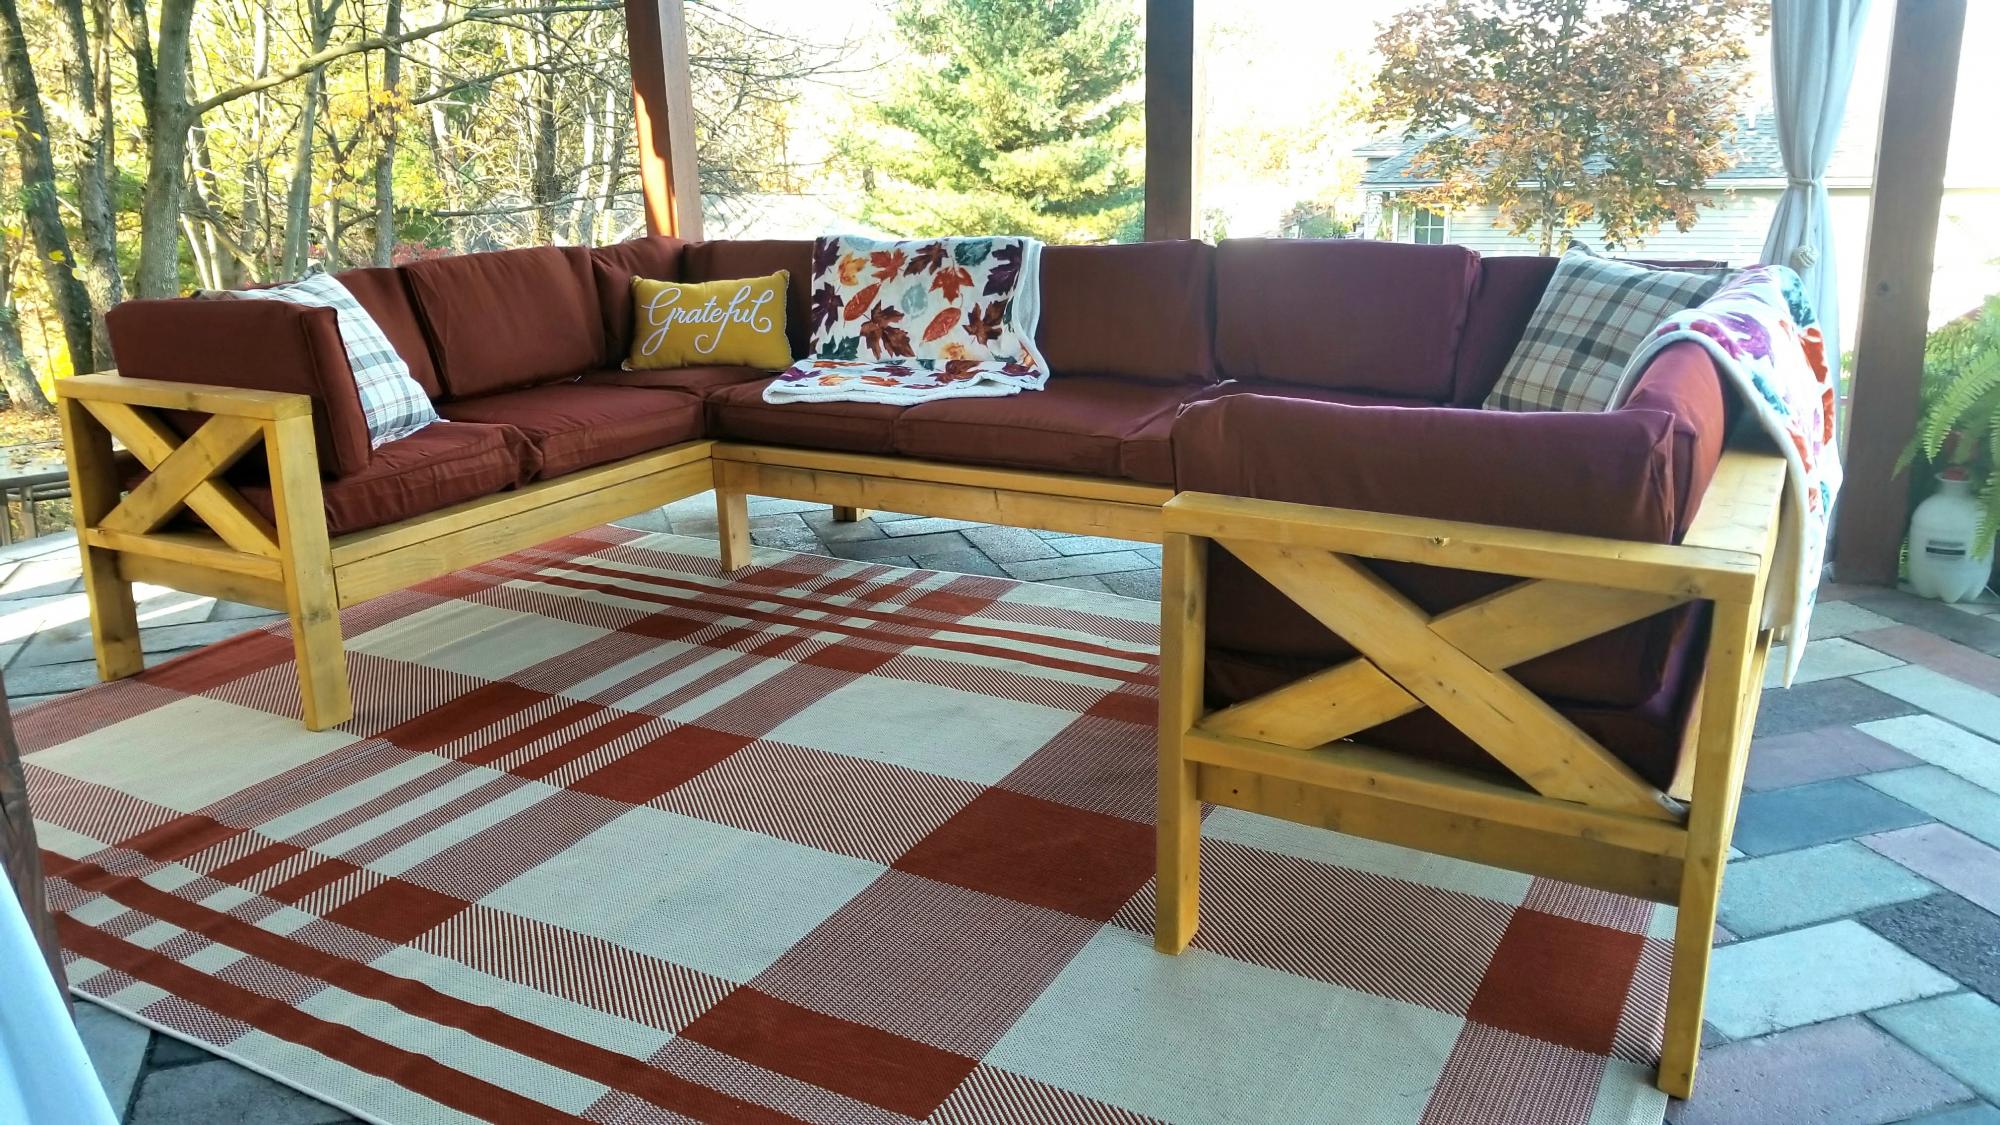
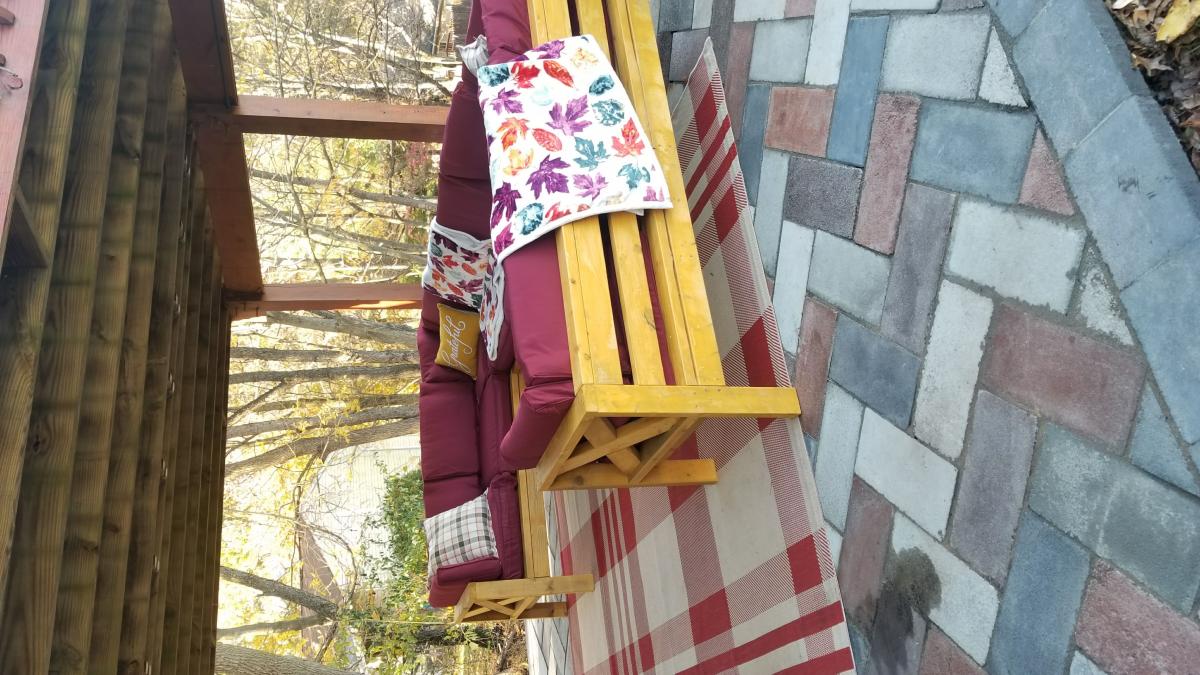
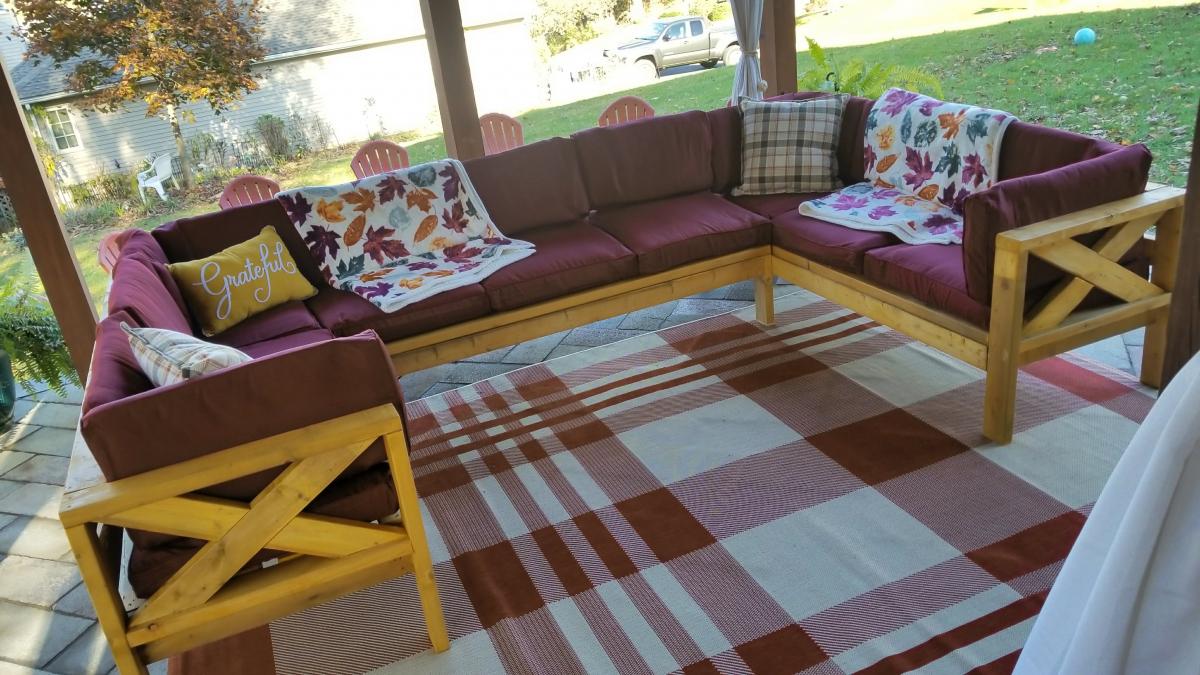
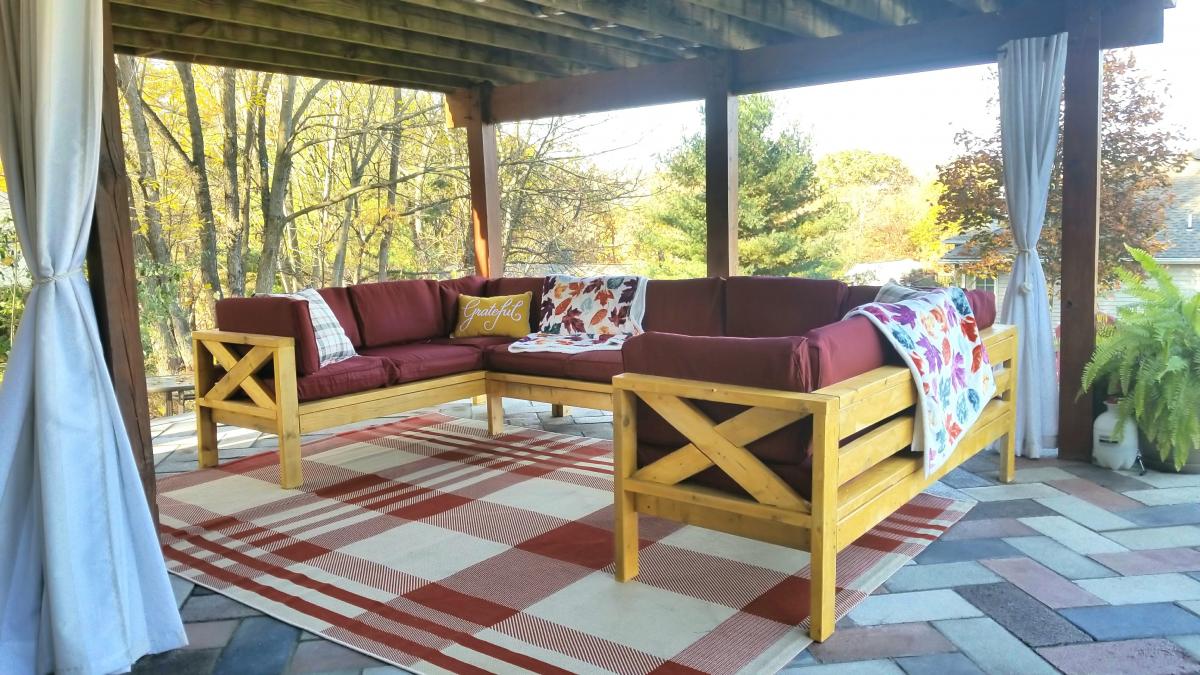
Just put the final stain on the outdoor sectional and I'm so psyched at how great it came out. Believe it or not, this is a very beginner piece (just 2x4s, NO pocket hole screws, all straight cuts- x ends optional) and anyone can do it with a circular saw, some clamps, a sander and an impact drill. Just takes some planning ahead of time. I bought the 2x4 wood and the cushions off Facebook Marketplace to save money so the total cost of this whole sectional was only $140 (wood, cushions, stain, screws). If you price similar new wood sectionals (U shaped, 9 seats) they're well over $1500+. Now, my sectional isn't as perfect as a brand new sectional but I do feel way cooler for saving a ton of money and doing it myself. In all it only took 4 days, working no more than 2.5 hours per day from start to finish to build this and stain it. It's made up of three pieces and I finished one piece a day and stained on the last day. You can make it while your toddler naps;-P Or if you had no other distractions you could bang it out in one long day. As for any of Ana's outdoor sectional plans the biggest expense is going to be the cushions. The cheapest new ones I could find were $40 a set (a 25" seat and a back cushion). That would have made this at least $400 in cushions ALONE! So what I did instead and I recommend this for anyone trying to save cost on this project is that I got a whole bunch of cheap and random cushions off Craigslist and Facebook Marketplace and then I bought cushion covers off Amazon. https://amzn.to/2BRBeeZ I cut some of the cushions to fit the covers and added stuffing to others.

Estimated Cost
$140
Estimated Time Investment
Day Project (6-9 Hours)
Finish Used
Golden Honey
Recommended Skill Level
Beginner
Seasonal And Holiday

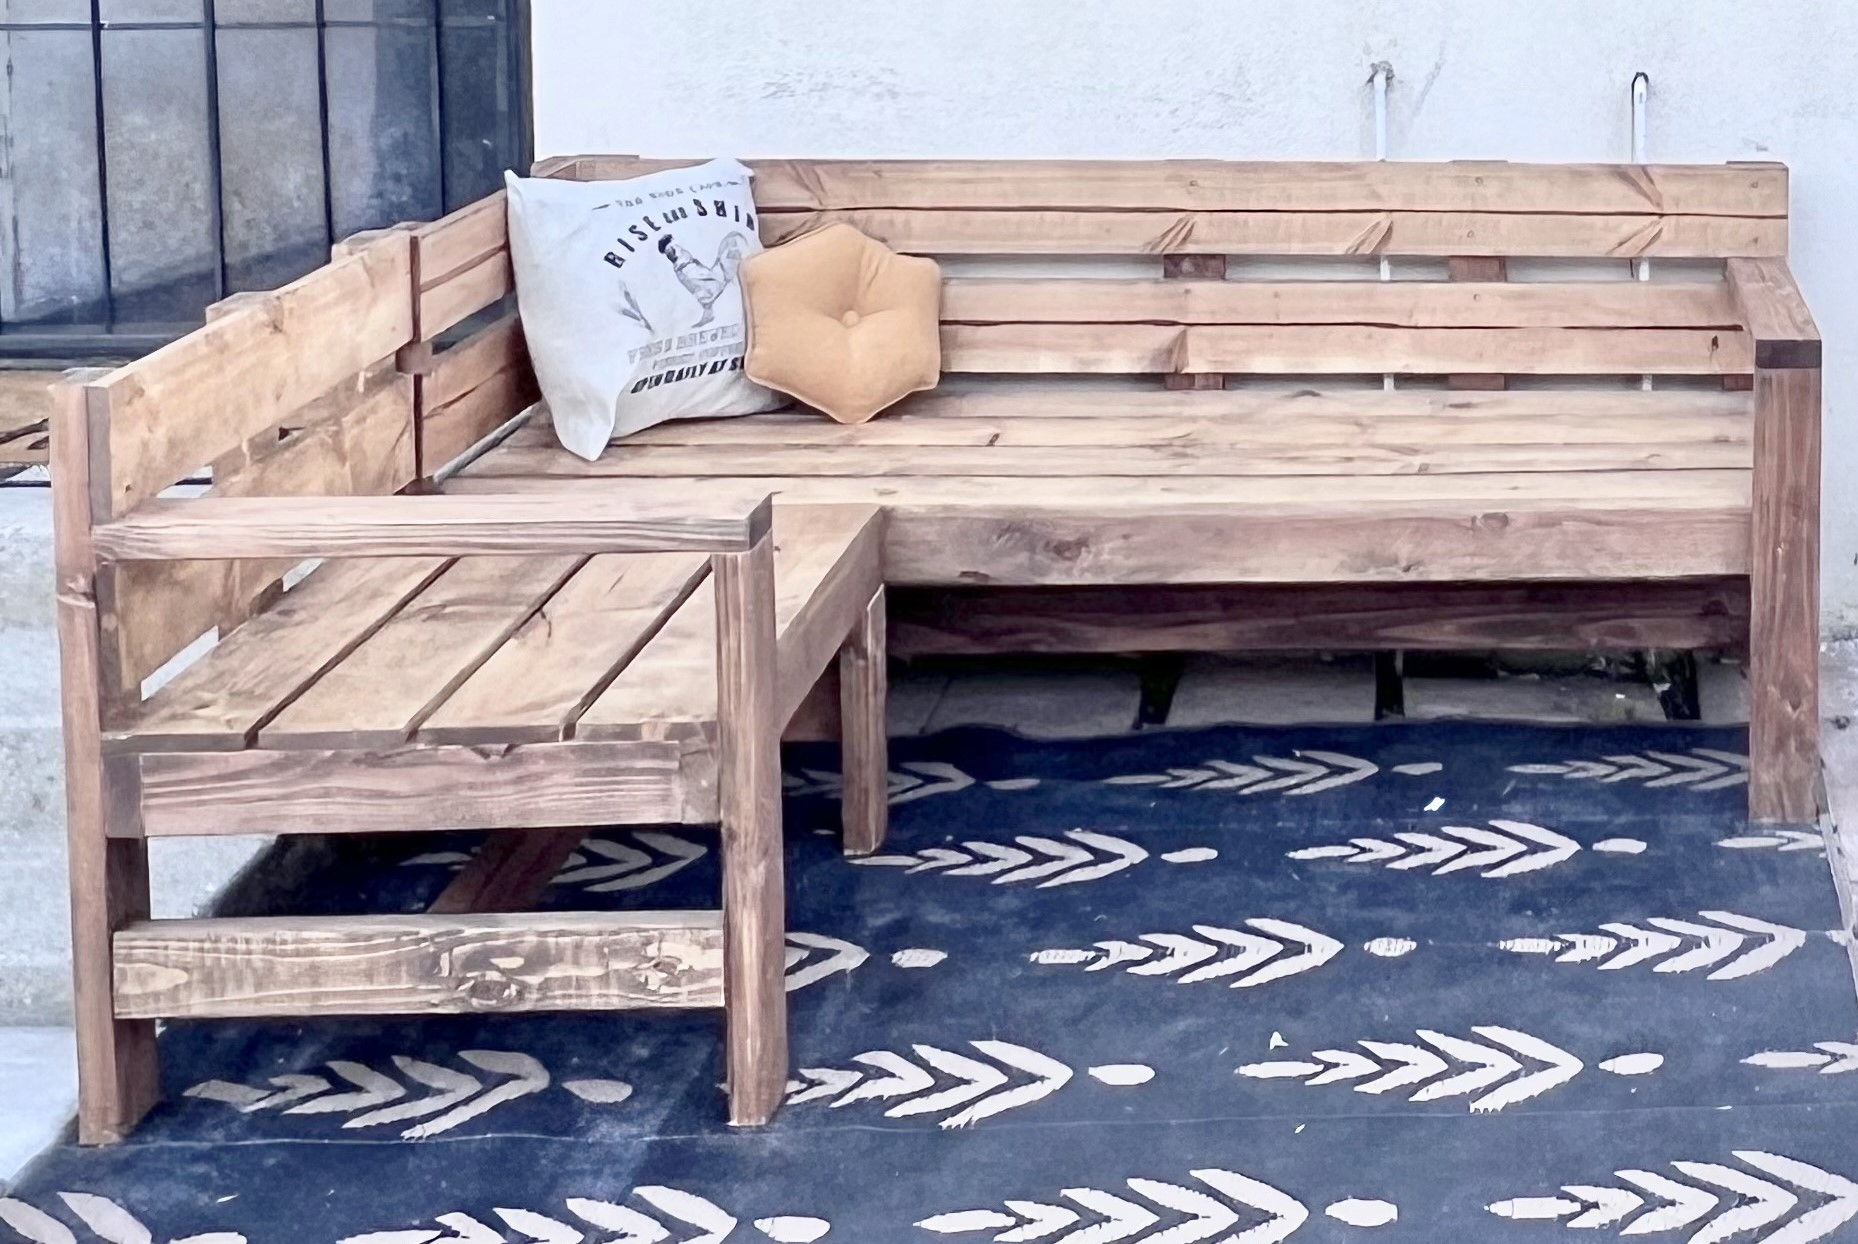
L-Shape Outdoor Bench

Submitted by ShannonG on Mon, 07/24/2023 - 13:21

Modified to make an L shaped bench . Absolutely love it! Thank you!

Built from Plan(s)

Comments

Sausha’s Washer/Dryer Pedestals

Submitted by TLinskey on Mon, 02/10/2014 - 06:24

After reviewing the comments I was a bit hesitant to start this project but then I realized I will build then make my own opinion. I am very happy I did because these pedestals are sooo wonderful and beautiful. This project must be built with extreme detail and everything must be square, etc to avoid any vibrations and complications. I did include extra center supports and thought of it like building a house frame.

Estimated Cost
80
Estimated Time Investment
Week Long Project (20 Hours or More)
Finish Used
Satin White Dove Ben Moore, PolyAcrylic
Recommended Skill Level
Intermediate

Comments

bclute

Mon, 02/10/2014 - 11:38

Looks solid! Did you follow the plans? We have a samsung front load washer / dryer as well. It's not the same as yours, but we have a hard time keeping it from moving around. We have tried making it as level as possible but still have a problem. Did you find by putting it on a pedestel that you had any issues? I was thinking maybe if I did build a pedestel, I could drill or recess holes on the platform for the feet to go in to prevent it from shifting around. Let me know your thoughts, thanks.

TLinskey

Thu, 02/13/2014 - 10:50

Thank you for your comment! I will send you a follow up note with my comments this evening. Thank you and have a great day! Happy Building.

TLinskey

Sat, 02/15/2014 - 12:33

Hello - Yes we did follow Ana's plan with some minor modifications. My suggestion would be to knotch it like a corner deck post so the 4x4's can go through the platform. If you don't understand I will happy to forward you a drawing. Just let me know. Thank you! Good luck!

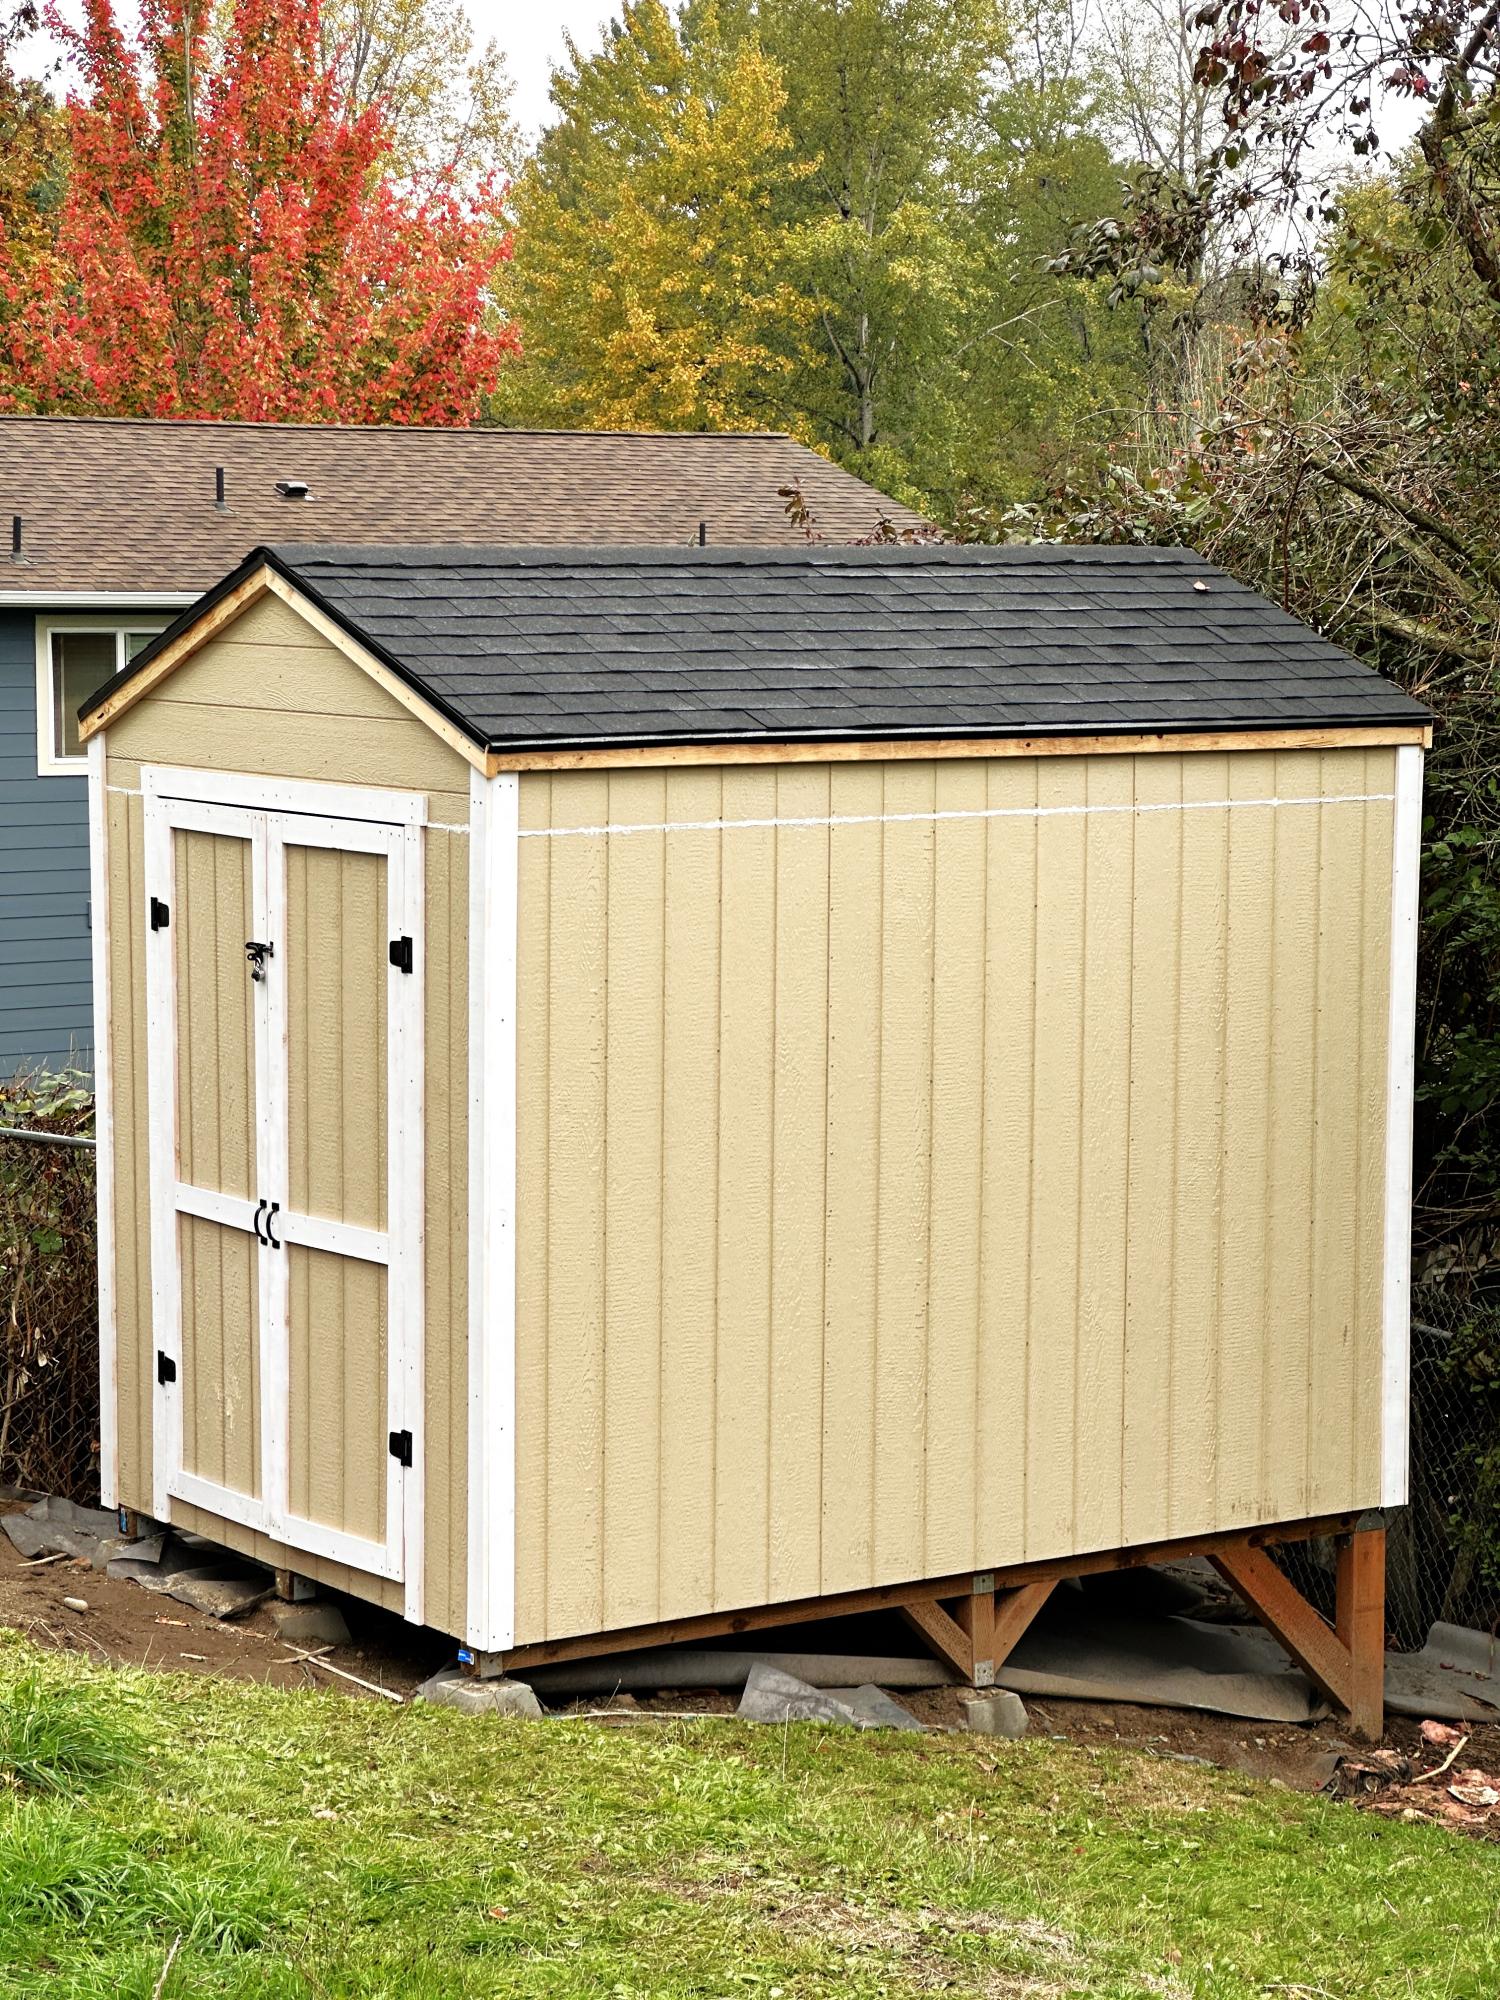
DIY Shed

Submitted by Anonymous (not verified) on Mon, 11/06/2023 - 11:07

8’ by 12’ shed with extra 15” of height. Thanks for the plans!

Built from Plan(s)

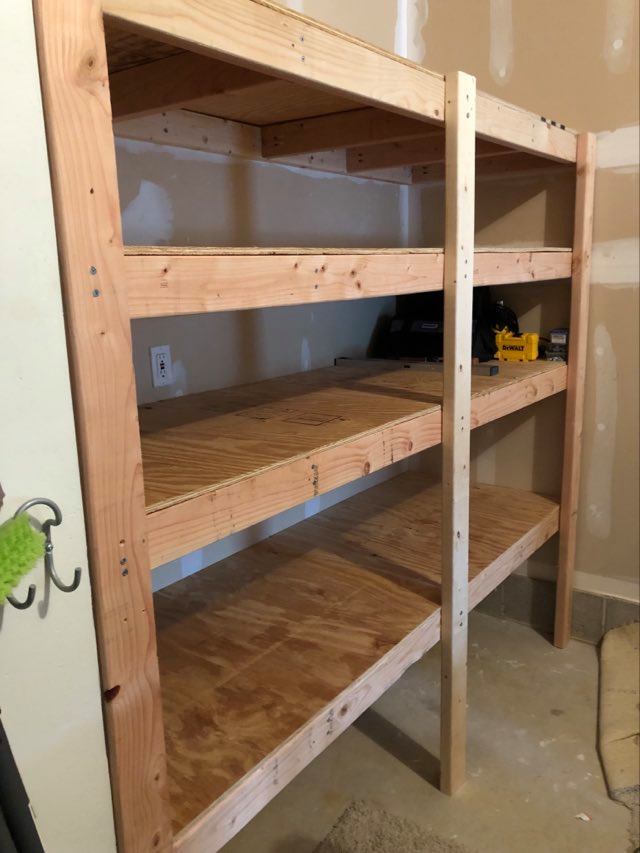
Awesome Garage Shelves

Submitted by scrapngurl on Sun, 04/19/2020 - 14:24

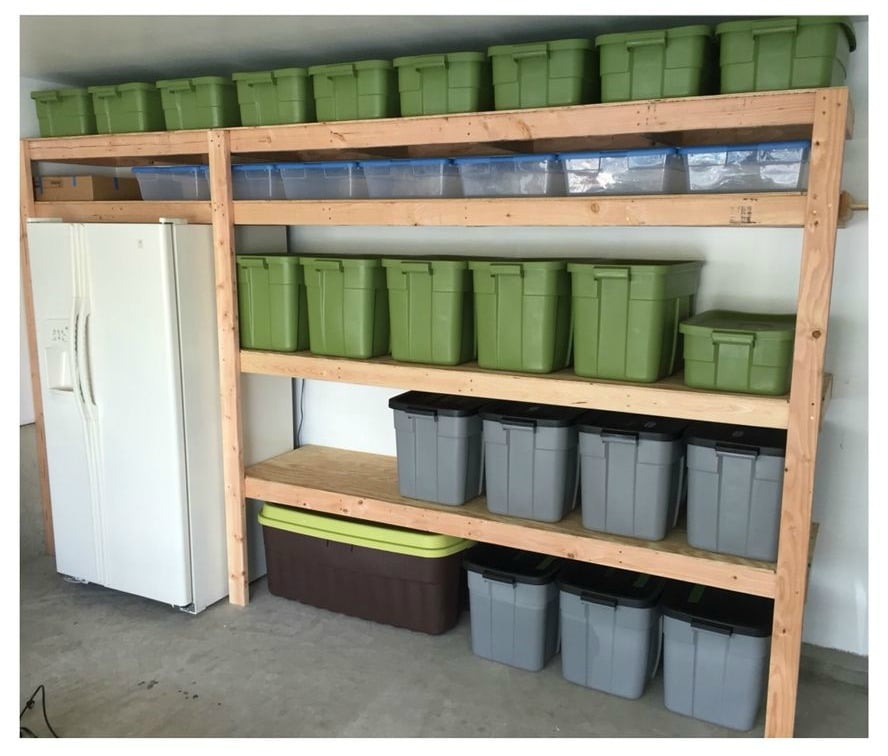
Thank God for these garage shelf plans! :D We have a one car garage that was disorganized and full of stuff. We tried to organize with some metal shelves, but they were very disappointing. They could not hold a lot of items because they were unstable and their measurements did not maximize the space we have. This was my first build and my husband thought I was crazy to attempt it. Neither of us knew what we were doing. However, the plans are simple, clear, and straight-forward and we had no difficulties. I can fit so much on these shelves because they are so sturdy. Love them!

Farmhouse Table

We used pine and finished with one coat of Weathered Oak by Minwax and three coats of Minwax Polycrylic.

Finish Used
Weathered Oak by Minwax and Minwax Polycrylic
Recommended Skill Level
Beginner

Comments

Hhtuck

Mon, 04/11/2016 - 19:11

I like the finish you used on the table. I built my table, but have not stained it yet. This is my first diy wood project ever so could you break down exactly how to stain the table? I have minwax weathered oak and the polycrylic. I brush the stain on? And then how long did you let the weathered oak sit on the wood before you wiped it off?

Floating Bathroom Shelves

Submitted by Kamoanui on Mon, 06/29/2020 - 15:58

Very quick and easy! We did 6 in. boards and weathered the boards with stain, paint, and sanding. Looking for other places in the house to use this plan!

Built from Plan(s)
Estimated Cost
$25
Estimated Time Investment
Afternoon Project (3-6 Hours)
Finish Used
To get the weathered look, I used pre-stain, then Jacobean stain, then chalk paint. Let it dry overnight, then sanded it with a hand sander and applied another coat of the Jacobean stain. To finish and protect it, I used polycrylic clear matte sealer.
Recommended Skill Level
Beginner

Fire table sectional and conversation set

Submitted by Tbacks on Wed, 10/05/2016 - 04:54

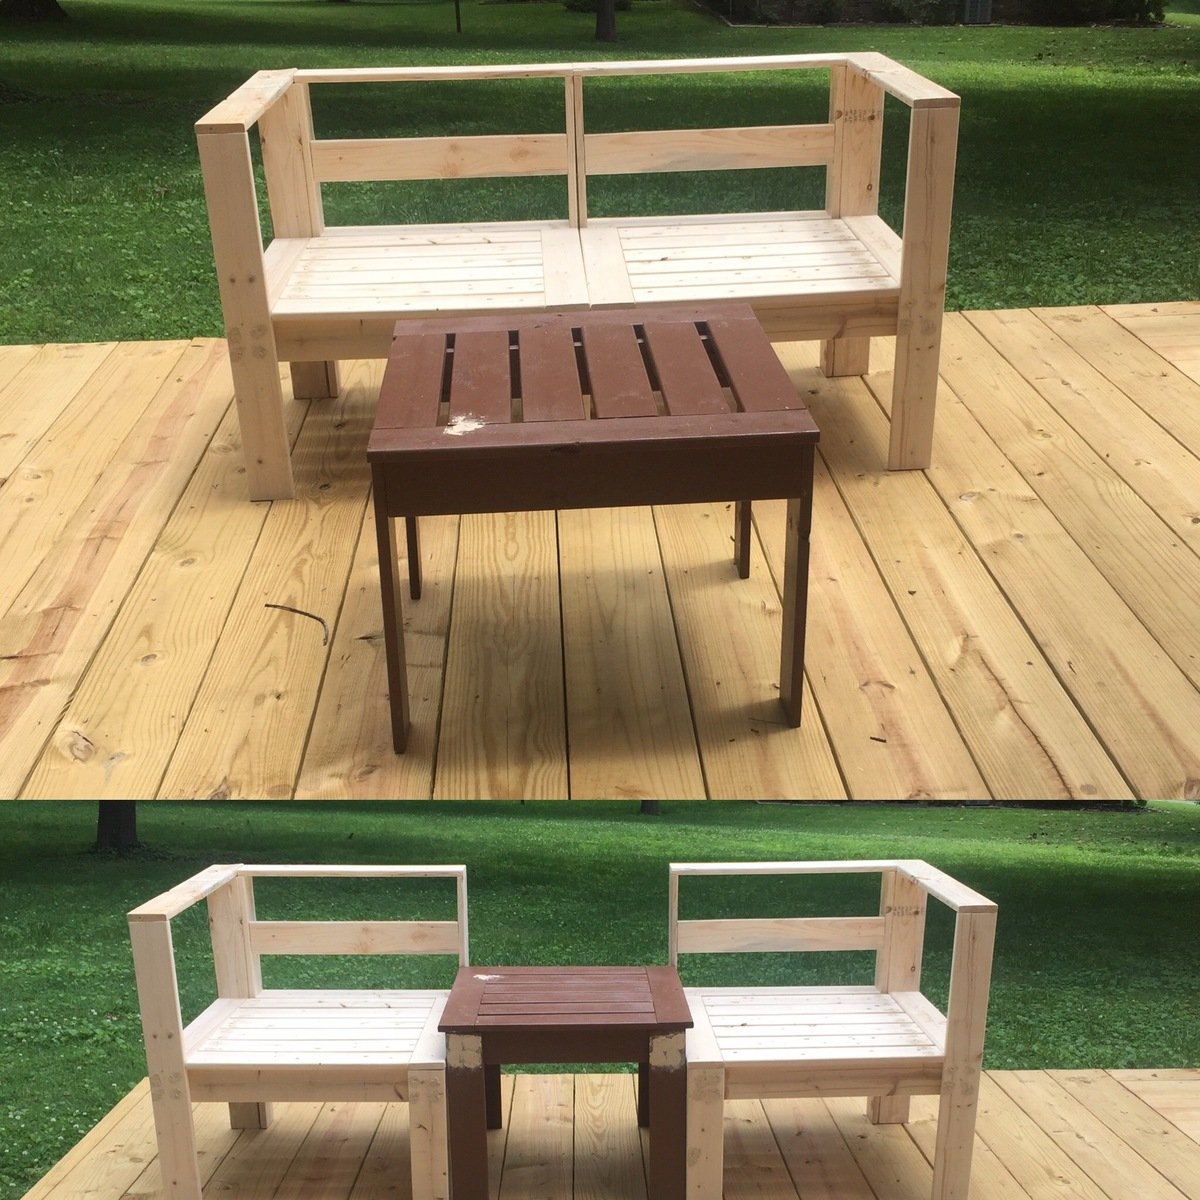
Thank you for making these patterns available online!!  I was able to create wonderful seating areas for entertaining on our new deck.  I extended the ottoman legs by 4 inches to create the raised table in conversation set.  These were my very first woodworking projects and your patterns made it a fun adventure.  They add such a beautiful touch to our new space.


I chose to stick with the original pattern and love the results!  Very sturdy!  Only thing I would do differently would probably be to go pick my own wood instead of having all the wood needed delivered by Home Depot,  some pieces that I received I would have passed by had I selected them.

Finish Used
painted all seating with exterior paint and used Anna's online cushion pattern and Sun Shade water resistant fabric purchased on Amazon along with marine grade cushion foam that is mildew and mold resistant also purchased on Amazon.
Recommended Skill Level
Beginner
Seasonal And Holiday

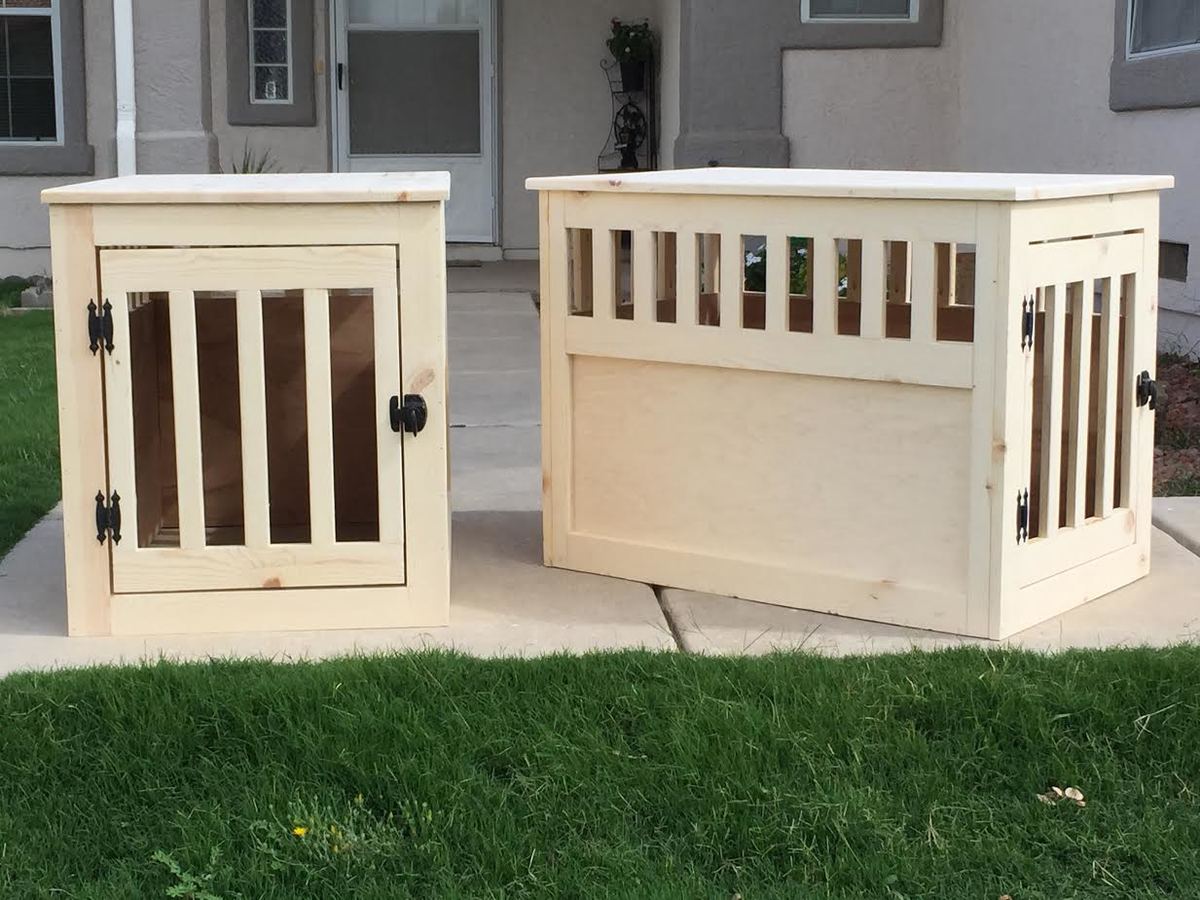
Pair of wood pet kennels

Submitted by Zack on Mon, 09/22/2014 - 20:55

Someone on Facebook reached out to me after seeing a gallery of some items I've built from this site. She asked if I could build a couple of the large pet kennel end tables from the plans posted here. This is the final result. This was a very fun project.

Built from Plan(s)
Estimated Cost
$150 for both
Estimated Time Investment
Weekend Project (10-20 Hours)
Finish Used
Unfinished. Will be stained to match the rest of the furniture she is having built.
Recommended Skill Level
Beginner

Comments

Farmhouse Style Toy Box / Blanket Chest

Submitted by Anonymous (not verified) on Tue, 01/17/2017 - 11:17

I built this for my daughter after Christmas sinse she had the living room covered in toys. The dimensions are 37" x 18" x 20" 

Estimated Cost
$75
Estimated Time Investment
Weekend Project (10-20 Hours)
Finish Used
Watco Danish Oil - Medium Walnut (2 coats) with a light sanding between coats with 220 grit, I allowed 24 hours between each coat to dry. To protect the surface I used water based polyurathane matte finish (3 coats) with a light sanding - 400 grit.
Recommended Skill Level
Beginner

Comments

jwelch

Wed, 01/18/2017 - 13:06

Great job! Can you share more about how the legs were constructed and joined? Was this project based on Ana White's "Simple" toy box plan? Any info appreciated.

jgreaff

Tue, 01/09/2018 - 05:51

HI Anna, 

Can you provide more pictures or instructions on how you assembled this toy box? i want to make one just like it! 


Thanks!

apezz

Wed, 03/10/2021 - 16:31

Looking at the wall panels they look like the long edge of each panel has a small bevel cut on it. This gives each panel edge a more pronounced or well-defined edge? Is this true? Was it done with a router?

Floating Corner Desk

Submitted by dmaidon on Sun, 12/05/2021 - 07:36

I was looking to build a desk for my wife. I searched around on YouTube for ideas and came up with this one: https://youtu.be/IN0j34WDlg4. I made a few modifications and added a few features to come up with this corner desk.

1 sheet 3/4" blond wood plywood.
1/4 sheet of 1/2" plywood for the drawers.
1 box 10mm laminate flooring.
1/4" trim cut from poplar for the edges of the plywood.

It took my wife and I about 2 days to complete the project.

Comments

Cedar Garden Shed

We needed a way to get all of the lawn & garden stuff out of our garage and organized. I found Ana's plans for the Small Cedar Shed & adjusted them to fit our space. We used 2x4s as our studs & added front walls on the sides. Our shed measures 9.5'x30". We had a concrete slab poured for our foundation. We are experienced DIYer's but had never taken on a project of this scale from scratch. This project was much easier than I was anticipating, and we were able to complete it in one weekend! Similar shed kits were way more expensive and not the size that we were looking for. Thank you so much for the inspiration!

Built from Plan(s)

Comments

Seasonal And Holiday

Double Tilt-out trash bin

Submitted by lindy19 on Wed, 10/23/2013 - 17:47

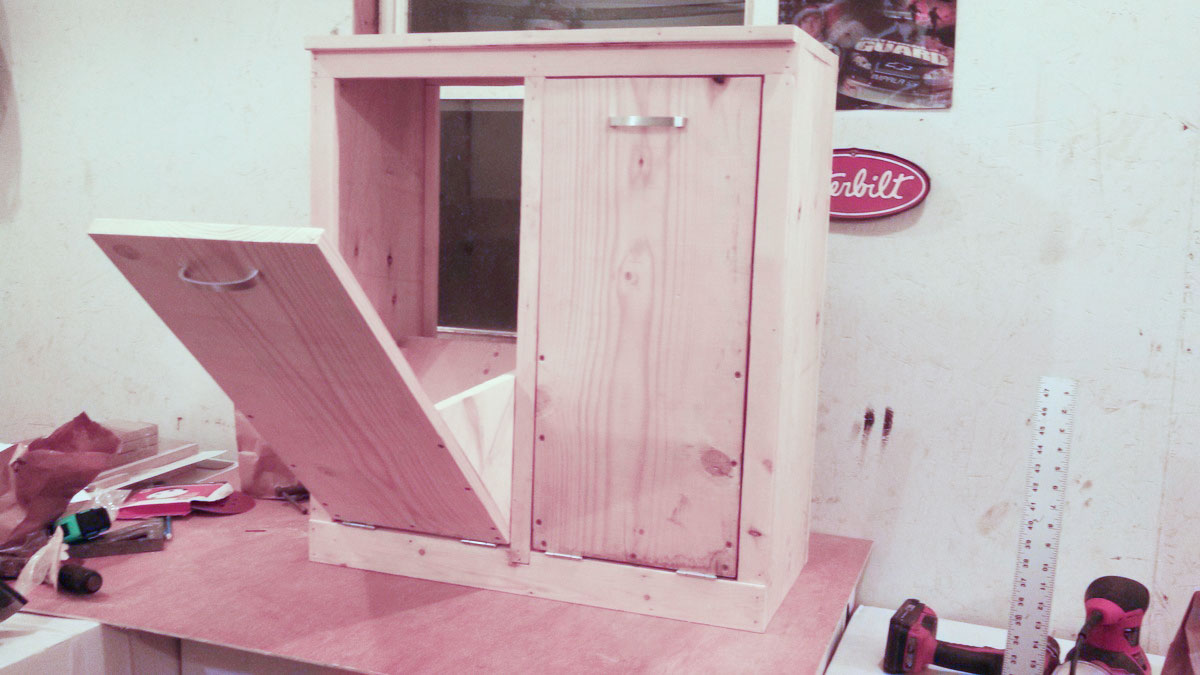
Really wanted one of these but everything I found was way too expensive so I found these plans, tweaked em a bit to fit the space I had and voila, double tilt-out trash bin. Thanks for the wonderful plans!

Estimated Cost
$50-75
Estimated Time Investment
Day Project (6-9 Hours)
Recommended Skill Level
Beginner

Comments

ADeboer

Sat, 05/02/2020 - 14:36

This is the exact Style I've been looking for!! I see that you made this ages ago - any chance you still have the dimension modifications you made somewhere?