Community Brag Posts

Wooden Sandbox with Convertible Bench / Cover

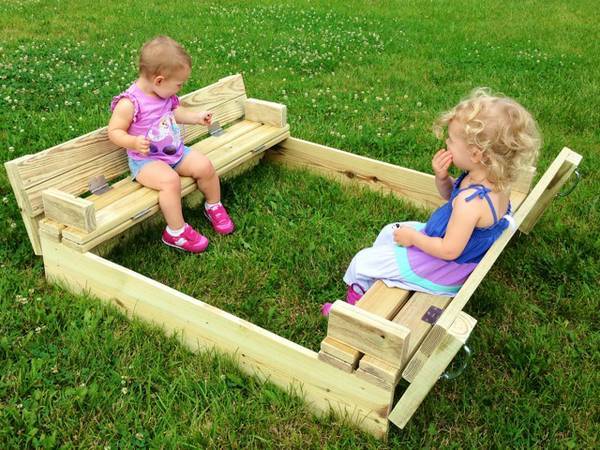
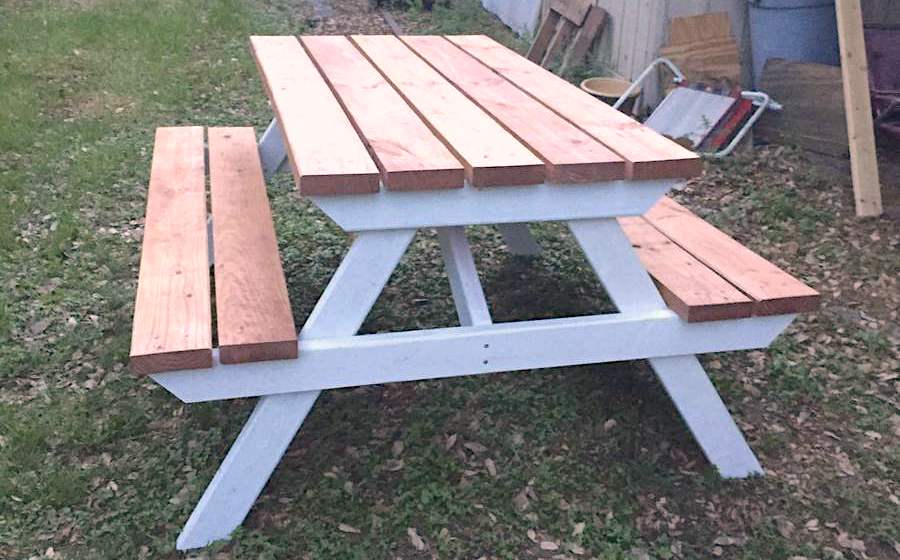
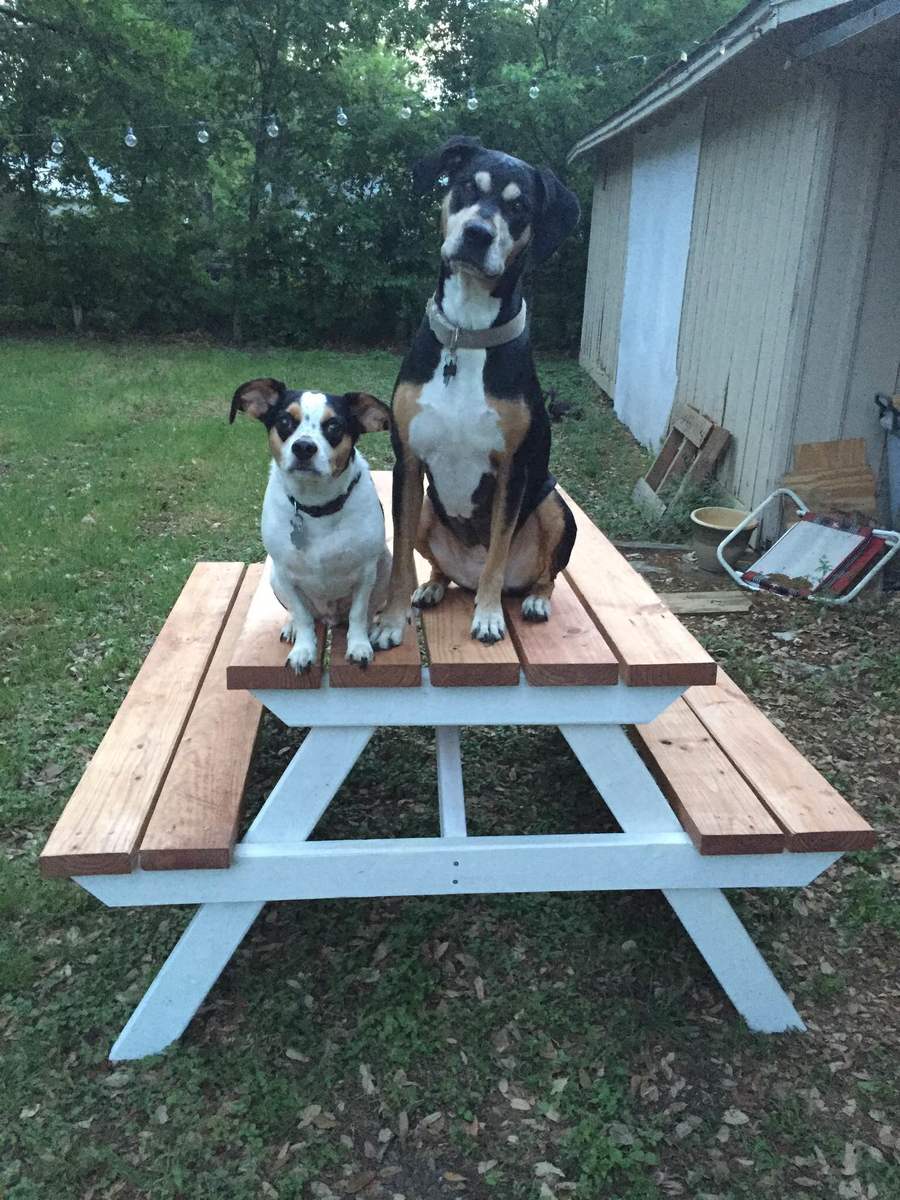
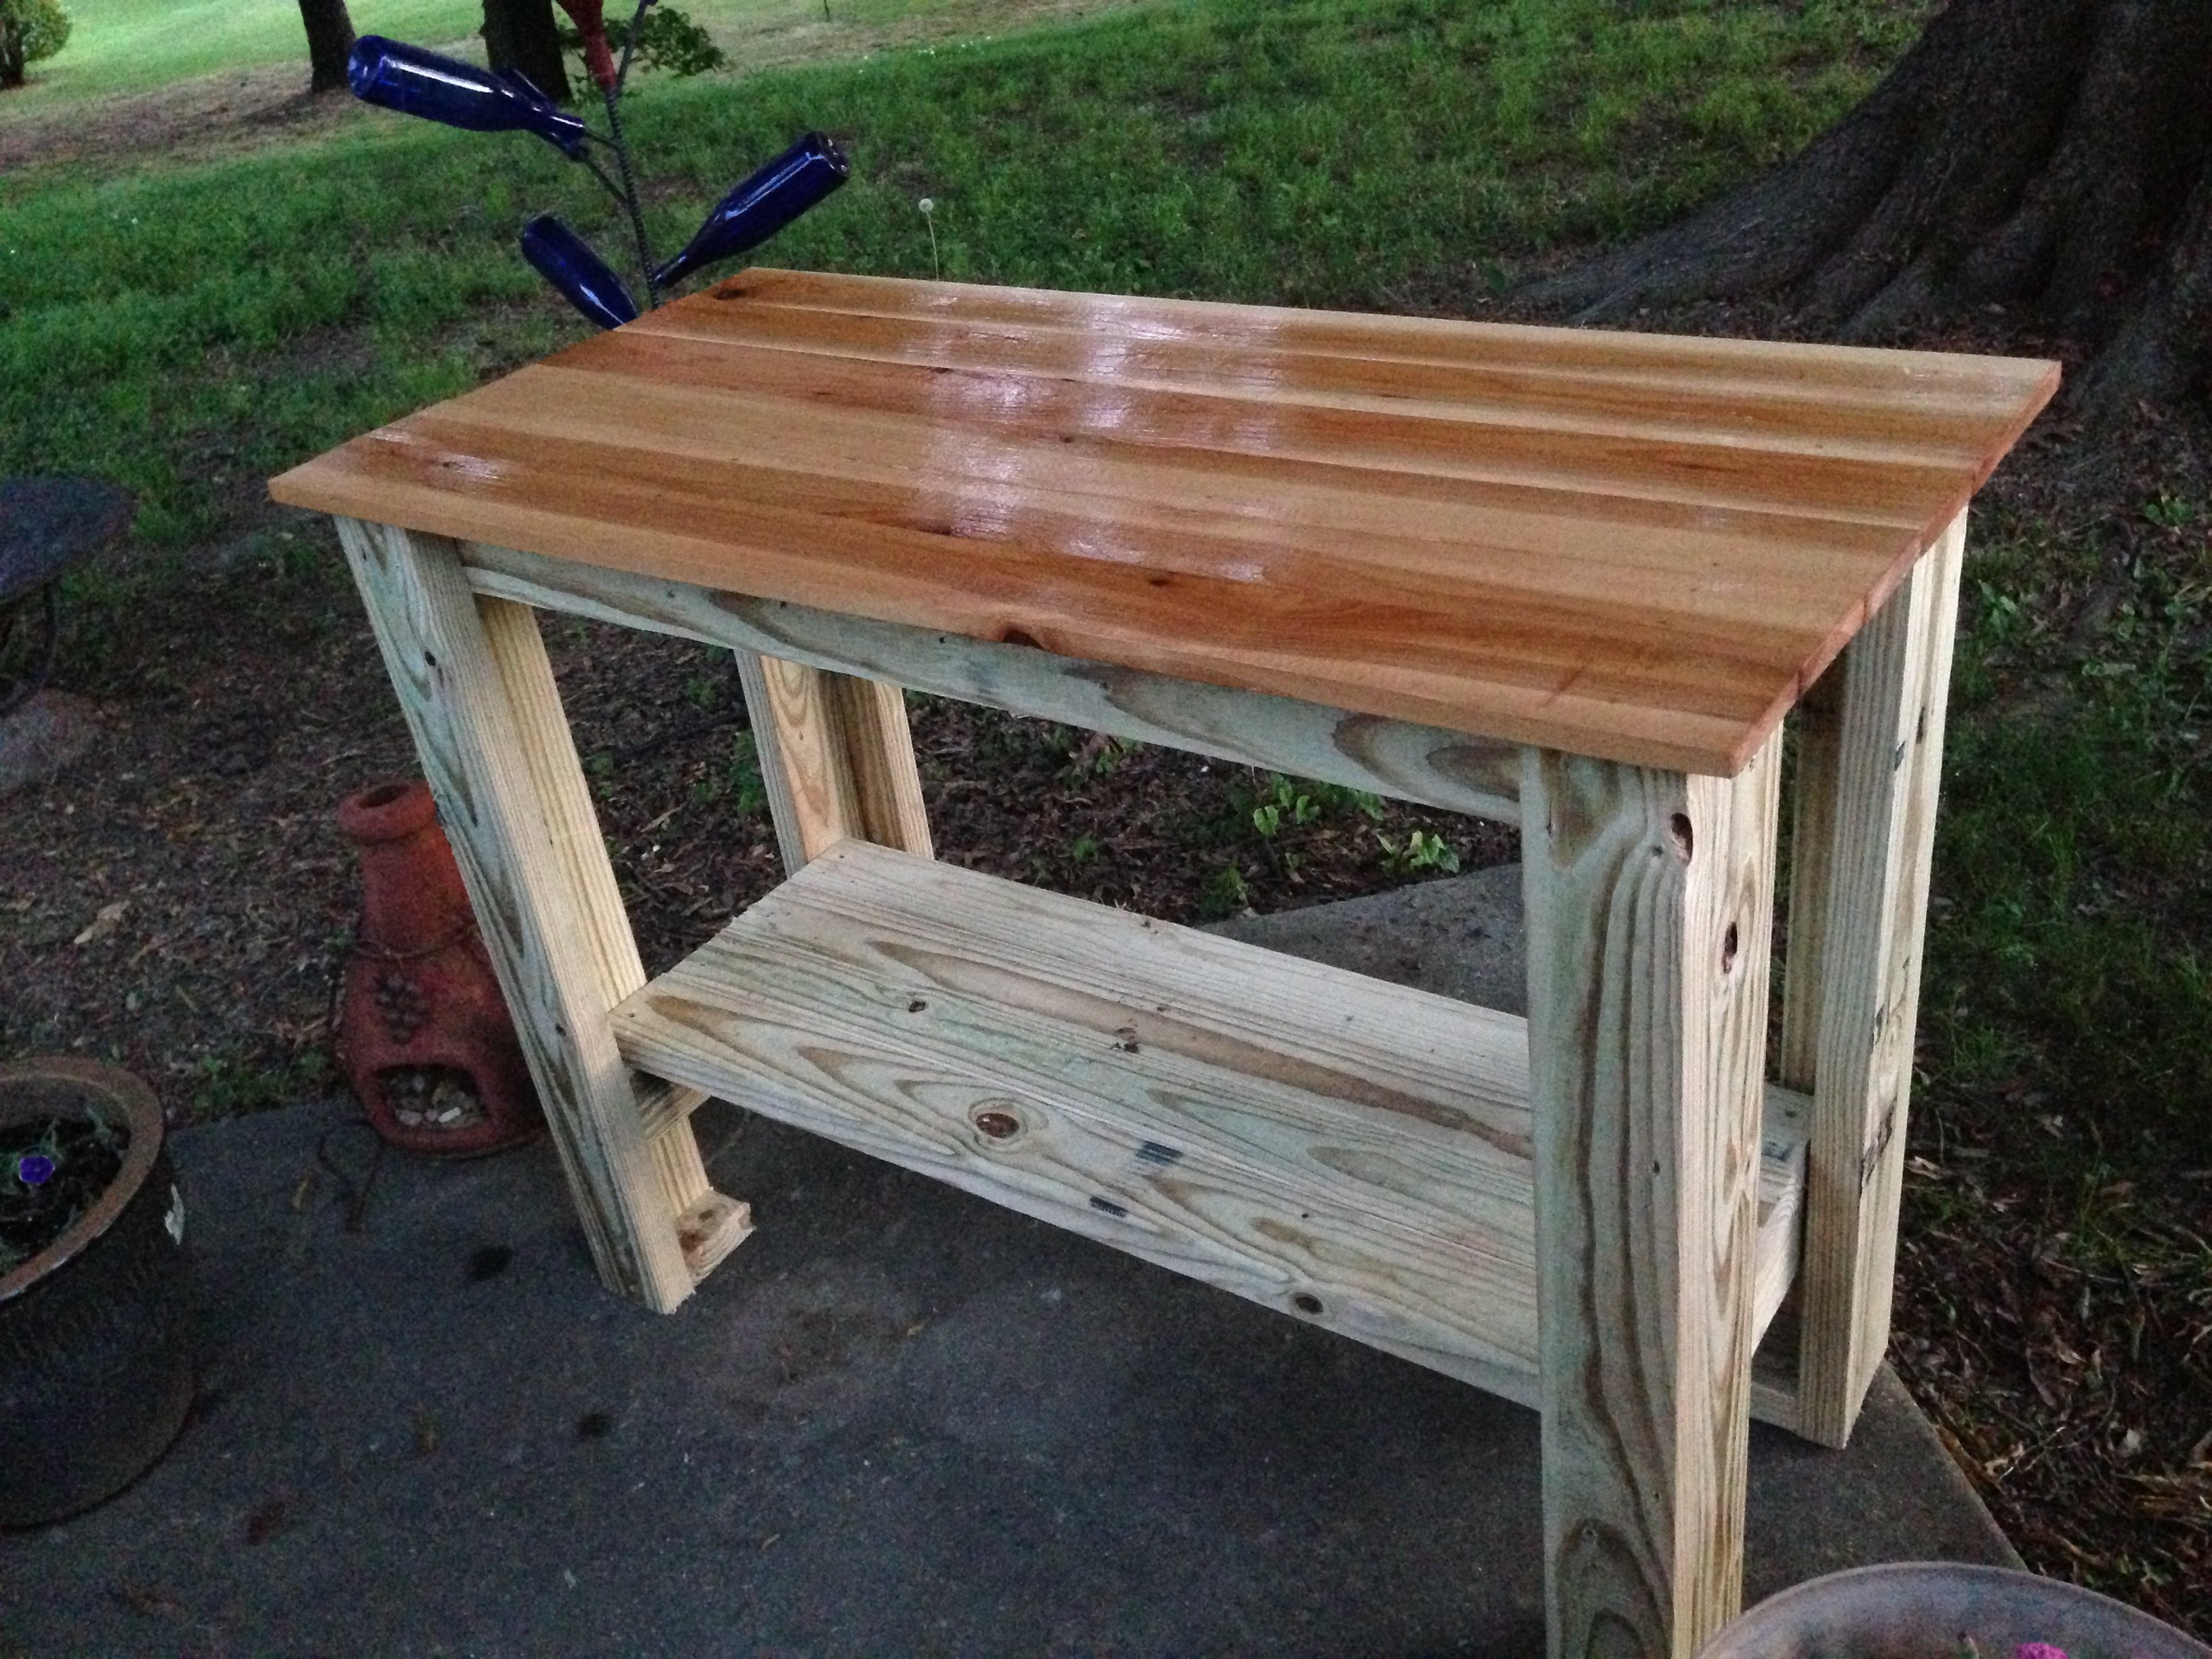
I make and sell kids picnic tables on craigslist and a buyer asked about making one of these. I took it on and found the plans on here very easy! I now list these on craigslist also and hope to sell more before the summer is over.

Built from Plan(s)
Estimated Cost
~$100
Estimated Time Investment
Afternoon Project (3-6 Hours)
Finish Used
none, until PT has dried
Recommended Skill Level
Beginner

Comments

Outdoor Sectional

Submitted by Anonymous (not verified) on Mon, 07/27/2020 - 12:15

Modified the plans of the outdoor sofa and sectional piece to create this set, then added cushions from IKEA.

Finish Used
SuperDeck Cedar Tone Natural

Comments

Seasonal And Holiday

Outdoor Sectional and Pallet Coffee Table

Submitted by Anonymous (not verified) on Sun, 11/20/2016 - 17:56

Hi Ana! 

My husband used your plans to build the 2x4 outdoor cedar sectional :) He did it in 1 day and it couldn't have been easier! He even tried first time working with pallets to make a small table and it came out perfectly too! Can't wait to enjoy family time on our new back porch.

Thanks Again & Love From Austin ❤️

Kathleen 

Estimated Cost
$350
Estimated Time Investment
Day Project (6-9 Hours)
Finish Used
Stain
Recommended Skill Level
Beginner

Comments

meredithl

Thu, 10/24/2019 - 16:35

Hi, your furniture is beautiful.  May I ask:   Where did you find your cushions?  And what color/ brand stain did you use?  Lovely job.

Seasonal And Holiday

Wedding Picnic Table

Submitted by leeannraye on Mon, 04/13/2015 - 06:27

I made this picnic table for my upcoming wedding with the intent of using it as our guestbook.  I'm hoping to have people sign, carve, and woodburn their names or a message on the table.  I painted the legs and supports white and stained the top and seats with a cherry stain.  I still need to put some finish on the whole thing, but overall I'm really happy with how it turned out.  And so are my dogs.

Estimated Cost
about $70
Estimated Time Investment
Weekend Project (10-20 Hours)
Finish Used
White paint and cherry stain
Recommended Skill Level
Beginner

Comments

Linda7

Mon, 04/13/2015 - 09:46

I love your idea for a picnic table as a guest book! There are several brags showing benches used as guest books on this site, but no picnic tables. Not wanting to sound like a know-it-all, I would caution you to use paint pens rather than a permanent magic marker if you have guests who aren't comfortable using a woodburning pen (such as an elderly person). Magic marker ink smears when you apply a finish over it. (I read a comment from a mom who made her daughter a guestbook bench. They used permanent magic marker, then applied a poly finish over it, which then ruined all of the signatures.)

leeannraye

Mon, 04/13/2015 - 11:08

Thank you for your suggestion about the paint pens. I hadn't had much time to do research and was planning on just using sharpies. But now I can avoid making that mistake. :)

Outhouse

Submitted by taimysha on Thu, 01/20/2022 - 18:13

This is the 1st Ana White project I ever built. I now have several items of hers under my belt. I built this the summer of 2017 for the solar eclipse. We live directly in the path with longest viewing times. I placed an ad and got responses from all over the country of people wanting to stay on our property. This outhouse like all of Ana's other plans were easy to adapt to fit my needs. I extended the roof to include the covered porch and only used tin. I also added a couple of shelves a 2 mirrors. Almost everything I used to build this were things we already had. It's mainly built used our old swimming pool deck that we had torn down. The versatility and the clarity of Ana's project plans make this my go to building site!!

Comments

Shoe organizer

Submitted by Liz H. on Wed, 06/01/2011 - 21:26

I took the 25 cubbies plan and changed the dimensions to fit shoes. I made a simpler version for my husband too. This project went together quickly and was so fun to build.

Estimated Cost
$10
Estimated Time Investment
An Hour or Two (0-2 Hours)
Finish Used
White paint
Recommended Skill Level
Starter Project

Secretary/Storage cabinet

Submitted by Kirch3333 on Mon, 11/02/2015 - 05:39

Inspired by the Tall Secretary with mail slots but with my own twist/needs incorporated in it. Finished with pure white satin paint.

Estimated Cost
$150
Estimated Time Investment
Week Long Project (20 Hours or More)
Finish Used
Pure white Behr satin enamel paint, finished with Varathane Matte Soft Touch Polyurethane
Recommended Skill Level
Intermediate

Murphy Bed Cabinet

Submitted by Aventusman on Mon, 11/30/2015 - 14:07

I made this cabinet to house my murphy bed.  I used the Toy or TV Armoire plans as a start and adjusted the measurements as needed.

Estimated Cost
$250
Estimated Time Investment
Weekend Project (10-20 Hours)
Finish Used
Painted White
Recommended Skill Level
Beginner

Comments

My wife built a bed.

Submitted by AKMan279 on Sun, 06/02/2019 - 20:45

We looked for a simple plan for a bed and found this one on Ana’s site.  Easy to build in a weekend.

Estimated Cost
$140 with all lumber and stain.
Estimated Time Investment
Weekend Project (10-20 Hours)
Finish Used
Poly stain
Recommended Skill Level
Beginner

Comments

Farmhouse Bed with Storage and Bookshelf footboard

Submitted by rbgreene04 on Sat, 05/21/2016 - 15:50

I altered the plans just a bit so that I could make use of the drawer closest to the headboard, while using bedside tables as well (not the ugly ones in the pictures, but some that only exist in my mind as of now). With the plan as is, I didn't think that first drawer would be able to open if you have a nightstand. So I left about a 17" gap that can be used as an open shelf for storage, and still had room for 3 drawers. I also wanted to include a bookshelf as the footboard to make it multifunctional. We have a ton of books and no place to store them (fear not, a large bookshelf/media center is coming soon!) I also altered the top of the headboard just a bit to give it more texture and visual appeal (hopefully, but beauty is in the eye of the beholder so I've been told). Lastly, I did not put the 1/4" plywood backing on the drawer carcasses. They were pretty sturdy as is, and only got more sturdy as they were attached to the headboard and footboard; I'm not worried about racking at all. Leaving the back off also allows me to pull the drawers out and access some hidden storage in between the two drawer carcasses. 

I wanted a simple finish, so I rubbed it with dark walnut Danish oil. Super simple finish and I think it'll hold up as the bed is not like a desk that needs poly or something. 

Estimated Cost
Cost? Great question! I build things, but don't keep track of receipts. Whoops! It's a major flaw of mine, and I'm working on it. I'd estimate just shy of $300.
Estimated Time Investment
Week Long Project (20 Hours or More)
Finish Used
I sanded to 120 and then lathered on Dark walnut Danish oil. I let it soak into the wood, and boy was the wood thirsty. Then reapplied after about 30 minutes and wiped off the excess, which there wasn't much excess--did I mention the wood was thirsty?
Recommended Skill Level
Intermediate

Comments

ciara5545

Sun, 08/28/2016 - 19:50

This bed turned out amazing.  I love the modifications and agree the first drawer will be more usable.

chicken coop

Submitted by namaste7 on Mon, 05/11/2020 - 22:10

Modified to make the coop bigger and the planter smaller. Added 1" foam insulation on the inside and changed the design to use the "deep litter" method. This means the coop bottom goes all the way to the bottom of the support beam rather than using a removable tray. Added a steel roof with a ridge vent at the top. The chicken run under the coop is lined with buried hardware cloth so no animals can dig under the coop. All hinges are mortised and doors flush mounted. The coop is wired for power for a heat lamp. The planter is lined with a metal tray. The coop can be separated into two pieces so you can move it or rotate the top 180 deg if needed (so you can get to the eggs from the left or right side). Great plans, thanks Ana!

Estimated Time Investment
Week Long Project (20 Hours or More)
Finish Used
cedar deck stain. Olympic. brand
Recommended Skill Level
Advanced

Comments

Seasonal And Holiday

Den Console

Submitted by Anonymous (not verified) on Mon, 09/26/2016 - 09:16

Cool project!  My wife liked it without the doors!

Built from Plan(s)
Estimated Cost
$55.00
Estimated Time Investment
Afternoon Project (3-6 Hours)
Recommended Skill Level
Starter Project

Simple Armoire

This project actually was a lot bigger than we thought it would be. Hubby and I are almost newbies, and we thought we could knock this off in a week or two! It actually ended up taking us 6 months to finish, although to be honest we didn't work on it consistently.

We needed a replacement for an old coat closet that was falling apart, and decided to tweak the design for the simple armoire to fit what we need, which is basically coats, table cloths, shoes, and just about anything else we want to hide away in our dining room. It's 18 inches deep by 36 inches wide. Since we couldn't find 18 inch wide wood planks, and aren't skilled enough to make them yet, we went with a hardwood plywood and covered the edges of the plywood with iron on veneer. It turned out very well; you can't really tell that it's plywood unless you know what you're looking for.

I will say that I couldn't find the kind of hinges called for in the plans, not even on the internet. So hubby and I went with 1 inch non-mortise hinges. They worked well, though they were a bit hard to hang for a couple of novices.

Built from Plan(s)
Estimated Cost
$300-$400
Estimated Time Investment
Week Long Project (20 Hours or More)
Finish Used
I brushed on Zar Provincial oil stain and finished with two coats of Minwax satin poly (three coats on the doors).
Recommended Skill Level
Intermediate

American girl 3 story doll house and furniture

For my daughters 8th birthday I decided I would make her a doll house for her American Girl dolls. Then I decided to make all the doll furniture too. Then I started thinking that I might as well sew all the bedding and cushions. She loves it!! 

Estimated Cost
$220-250
Estimated Time Investment
Week Long Project (20 Hours or More)
Finish Used
A lot easier with the alloy wheels.
Recommended Skill Level
Beginner

Comments

Modern outdoor chairs

Submitted by Anonymous (not verified) on Tue, 06/08/2021 - 08:01

Love these plans! Made a modification and added backs to the chairs. Also, built ottomans to match the chairs which can also be used as additional seating.
Many compliments on the set. Thanks Ana!

Comments

Woven back bench

Submitted by JoshMonroe on Tue, 04/30/2013 - 15:30

I started building a different bench, but I decided halfway through that I didn't like my design. I found this, and loved it, so I modified my partially built bench to incorporate the woven back design. I substituted in a few mortise and tenon joints for strength, and used either kreg or waterproof glue for the non-structural joints. The seat bottom is made from 2x4's I resawed in half. I also rounded over the edges of the 'Y' pieces, which I think makes it look a bit more like they're woven together. Thanks for the plans, this is a great addition to my front porch!

Built from Plan(s)
Estimated Time Investment
Day Project (6-9 Hours)
Finish Used
None yet, will be painted.
Recommended Skill Level
Advanced

Comments

spiceylg

Wed, 05/01/2013 - 05:35

Beautiful build! I love the details such as the edges of the Y pieces as you said. It definite adds more dimension and the curves on the arms as well!

JoshMonroe

Wed, 05/01/2013 - 11:01

Thanks! I saw a cabinet in a book on wood finishing that had adjoining edges routed like that. It looked so good there, I decided to try it here, and I'm glad I did!

Grillin' and Chillin' - Outdoor Grill Food Prep Station

Needed a table for food prep with my grill and found your plans! I used treated lumber for the base and nice cedar planks for the top. The treated lumber had a whiter than usual color which made the base really pop out. I put a nice pecan stain on top and a few coats of poly so the BBQ sauce wouldn't stain it! This was so easy, literally took 2-3 hours to build, stain and poly was done over the next few days. Ready for my next ana-white project. Thanks for posting these plans.

Built from Plan(s)
Estimated Time Investment
Afternoon Project (3-6 Hours)
Finish Used
Simple pecan stain and minwax poly. Brushed on the stain and kept brushing until I got the darkness I wanted
Recommended Skill Level
Starter Project

Comments

tr7dul

Wed, 07/09/2014 - 16:24

I was looking on Pinterest and found this table. It was exactly what I was looking for. You inspired me to go out and buy a miter saw and some wood and make the table. It turned out wonderful. It now has a permanent place on my patio and gets used when I grill mostly. I was hoping to be able to upload a photo but don't see the option to do so. Anyway, I want to say thanks for the great plans/instructions.