Shabby Chic Farmhouse Table
Finally got a chance to try my hand at whitewashing and I just love the outcome!
Built entirely from 2x4 - 22 studs altogether - the tricky part was cutting a rebate into the trims so that they look like 1x4 from the front. adjusted plans to suit australian king size mattress & made everything lower & used plenty of kreg screws to put everything together (inspiration from plans in the book). here studs are sold 'rough headed' - so there was an insane amount of sanding - not helped by the fact that I was a novice to the belt sander. Took the best part of 4 weekends to get it all together
I made a few modifications to the Modern Outdoor Chair build, including adding a larger backrest and making a couch version that can fit 3-4 people. I felt the original plan didn't hold up the couch cushions well unless it was against a wall, so the modification solves this simple problem!
Wood was Douglas Fir for the price point, although I would've preferred a harder wood. The stain was Minwax Wood Finish in Gunstock 231, Which I felt really sold the Doug Fir as a darker, more elegant wood.
Cushions were from Target and were the cheapest I could find. They've already started to flatten a bit but I plan on restuffing them soon.
Sketchup file available if you need it, but didn't see a way to upload it directly.
Fri, 05/01/2020 - 08:02
Hello how can I get the sketchup file for these? I'm really interested in making both the chairs and the couch.
Sun, 05/17/2020 - 16:11
Hey smarincak, I'm not sure how to send you the sketchup file but if you send me a private message I can email it to you.
Sun, 05/23/2021 - 05:54
Hey Matt, I would LOVE to see the modification plans you made if you don't mind sending them to me. Thank you! Do you feel like the mods you made to the back were comfortable?
Fri, 05/22/2020 - 08:15
This is perfect and they look great! I was hoping someone had already created these with a higher back. If you don't mind sharing your plans, I would really appreciate it!
Fri, 05/29/2020 - 12:31
Love the chairs but would like the the sketchup file for the modification of the higher back. Thanks.
Sun, 06/21/2020 - 18:55
I would also like the sketch of modifications for higher back please!
Fri, 04/23/2021 - 09:28
Matt- Would you please share with me the plans and materials list for this project! I love it.
Fri, 04/23/2021 - 19:21
Love the modification! May I please get a copy of the sketchup file? Thank you!
Modified DIY Coat Rack! We call this our "Bear Proof" helmet rack. My daughter's chihuahua (named Bear) likes to mark anything at his level, lol. So I took Ana White's free coat rack plan and added helmet hooks to keep everyone's helmet off of the floor and safe from our little Bear. Thanks so much Ana! We all thank you so much for your generosity!
Paula the Crafty Grandma edited to include *
My husband and I loved this idea but we don't have much wood working experience. My brother and sister in law were visiting and we decided to make this project together. Our son loves Turtles and we already have a bunch of Teenage Mutant Ninja Turtle "stuff" so we thought that would be a great theme. The guys cut all the wood and assembled and the girls did the painting. Then my brother in law who is super talented added in the details.
This was my second project from Ana White, and overall it was successful. I used a miter saw for the cuts (struggled with the bevel because my 12 inch saw isn't a slider, a kreg jig to attach everything (struggled to attach the 1x3s to the legs due to the angle of the dril and tight space), but everything eventually was held solidly together and it's really very sturdy. My husband is about 160 and he was able to jump on it with absolutely no give.
The paint is just small samples we had on hand from home depot to coordinate with other projects in the kids' rooms, and I handpainted the letters. I finished it with a double coat of polycrylic.
I used Ana's plans for the Rustic X Desk and made it a little longer to add the second side of shelving. I squared off all the edges of the 2x4s and 2x6s, so had to figure new measurements. I also widened the space between the shelf towers. I used drawer slides on the bottom shelves on each side for easy access to the printer and other items. I used whitewash stain for the body and Early American for the shelves and desktop with wipe-on poly.
Wed, 12/09/2020 - 11:04
Super cool build, thanks for sharing, love the sliding shelves!
I built this Coffee Table from plans I found online. It's made from furniture and construction grade Pine, with a two-tone stain. I sealed it with polyurethane. Now if I could figure out a way to keep the cats off of it!
Paul DiGiorgio
For the paint and stain:
The Wife and I really wanted a rich red color, but didn't want it to be so bright that it stood out funny against the rest of our furniture and settings in the living room. So, I went and picked up some Espresso Water Based Stain from Woodcraft, from the brand "General Finishes" for the base coat and the for the 1/4 board back. As you can see in several of the photos, I didn't cover the entire thing and in some areas I purposefully was SLOPPY (Yes my Wife's name is Amy). Afterwards... for the red coat with the finish.... my wife loves using this Annie Sloan paint that she uses to refinish other projects... Basically follow any tutorials on youtube or on her webage. It can be a hard to find paint, but I think a milk paint and clear wax and a brown wax will do the trick also.
For the build:
I took the planked wood sideboard plans and pretty much threw out the middle doors and drawers. I have a pretty serious entertainment center in our living room and the center channel speaker is by no means small.. It's so large that at the box stores, I could never find a media console that it would fit. I chose 3 shelves because I wanted it to look fairly even. For reference... the center shelving area is approximately 25 inches wide.
Nothing really special here, if you need some hints or tricks that I used message me and I'll help the best I can. I'm by no means an expert at this, Just take your time and anything you do will come out looking great. Plus. YOU MADE IT!
Mon, 01/12/2015 - 12:41
Your media center is gorgeous. Would you be able to share the dimensions you used for your cabinet? I would like to make something similar to what you have in size. My email is [email protected] if you would like to contact me personally.
Thanks,
Jessee
Tue, 09/13/2016 - 17:56
if there is any chance you still have the plans and your modifications I would love a copy. I love the rustic sideboard however it's too long and as a beginner I don't trust my own measurements
We did it and we love it! Hand made by the LeFebvres in Canada. First attempt at cabinets and drawers. Definitely visit Hilary's site and follow her tips which make this so much easier to construct! Finished cabinet is not only big but VERY heavy to move. Love it.
Farm table and bench.
Bill Morris
From the Modern Square Farmhouse table.
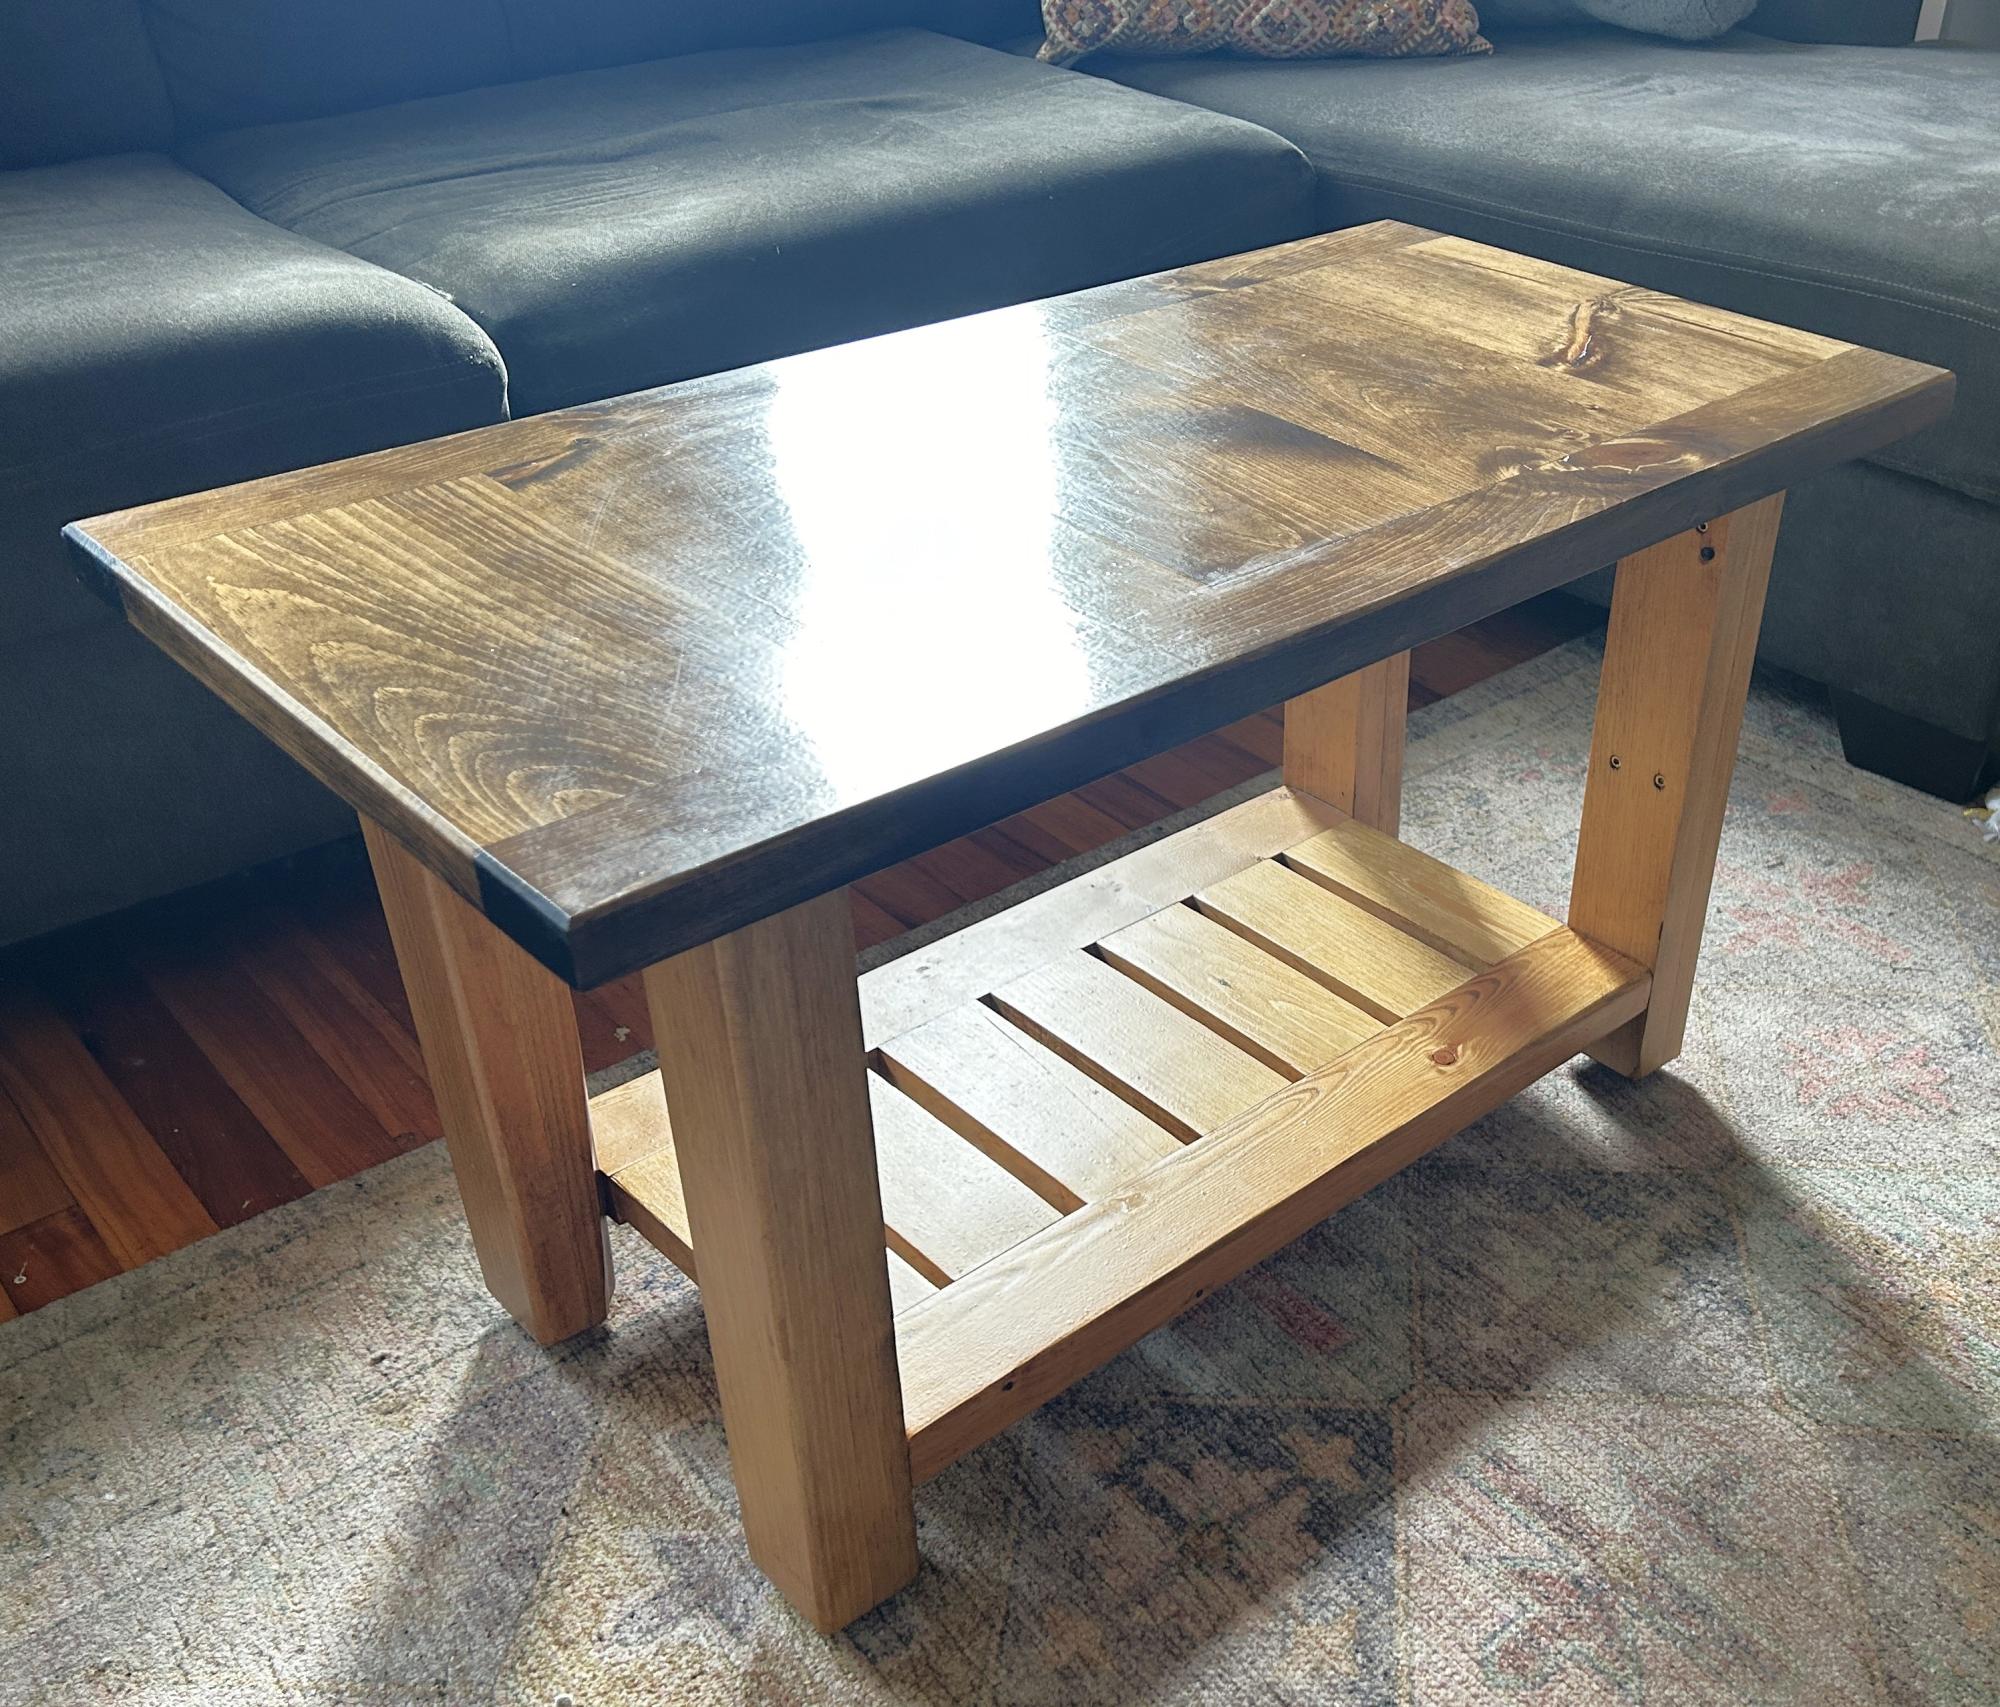
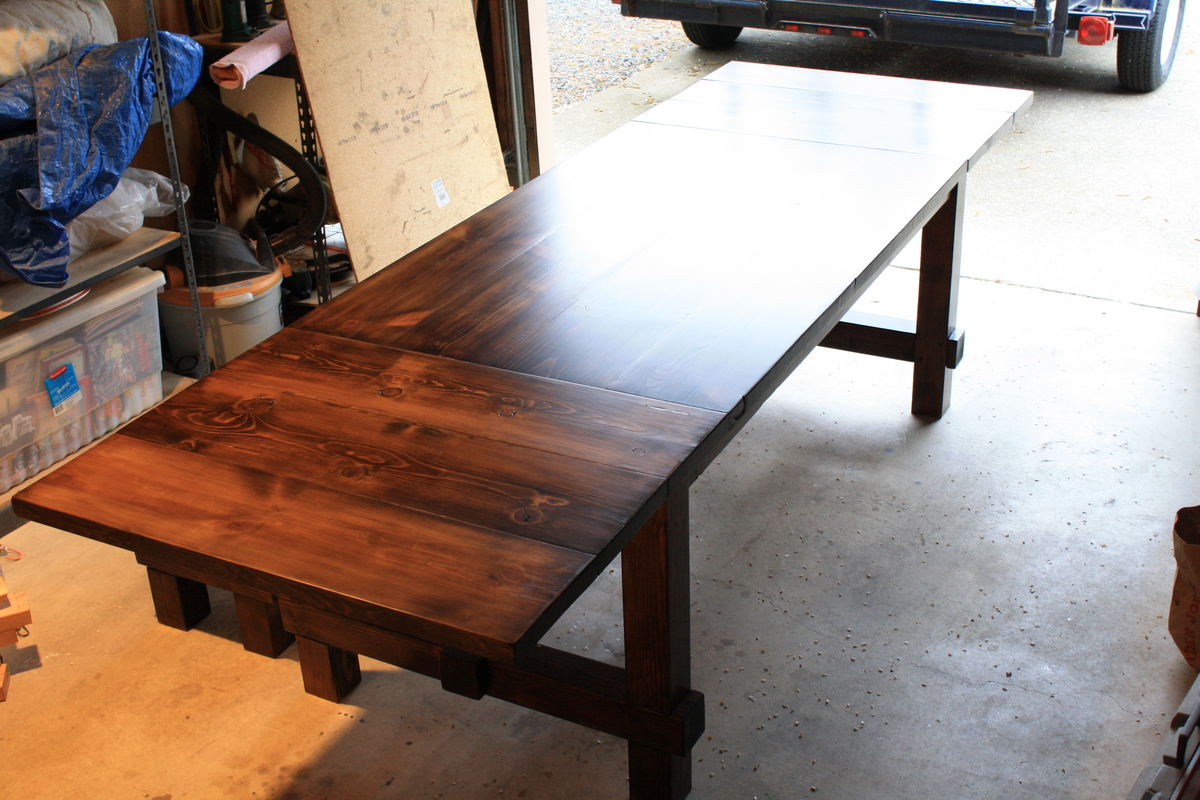
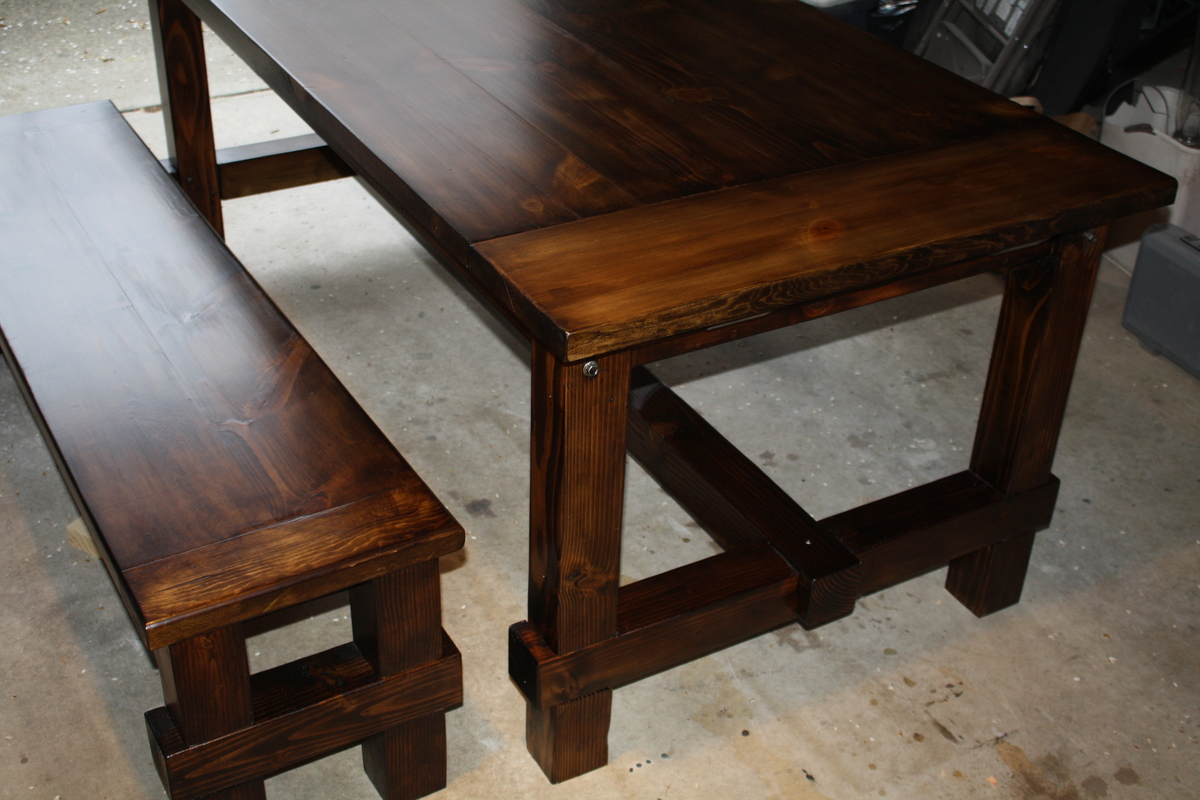
My niece's husband is career military and they move a lot. She saw the farmhouse table on Ana's site and asked if I would build her one that could be disassembled for moving and have extensions for large group gatherings. Challenge accepted!
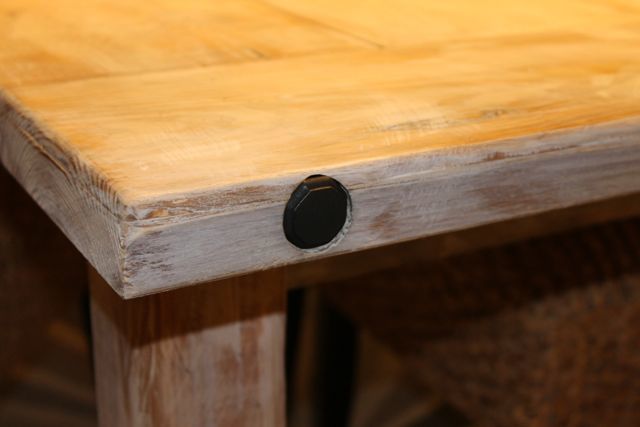
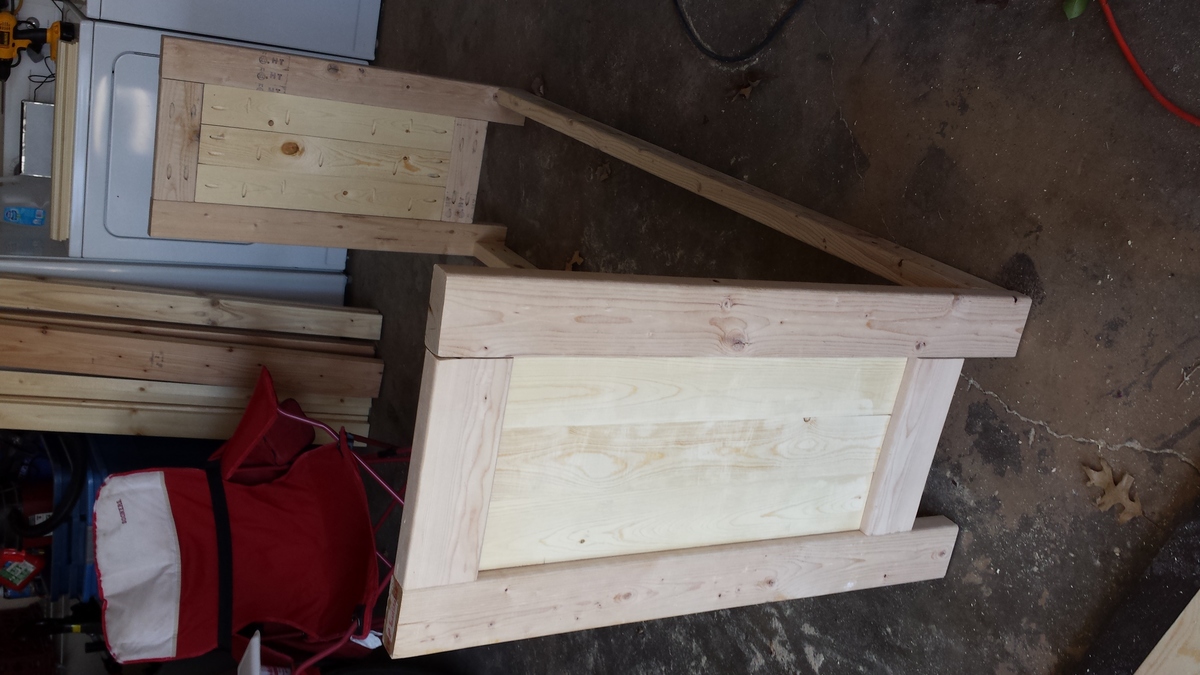
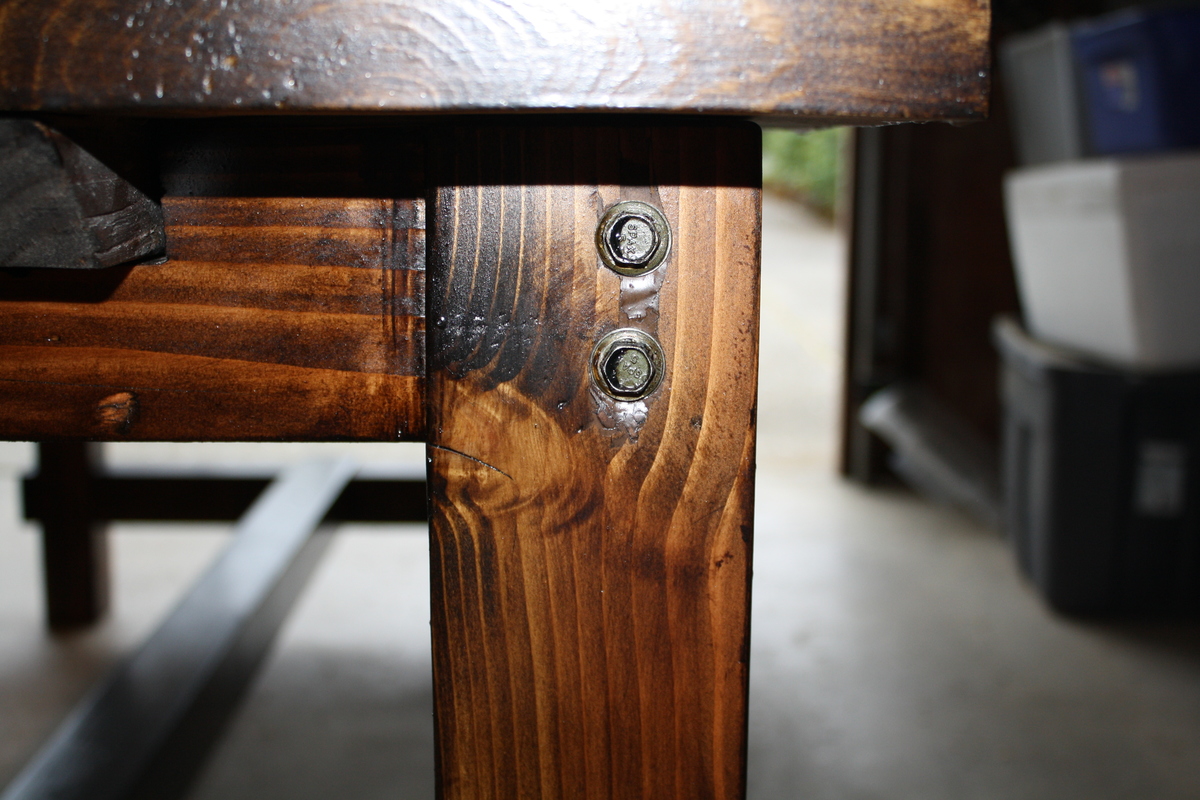
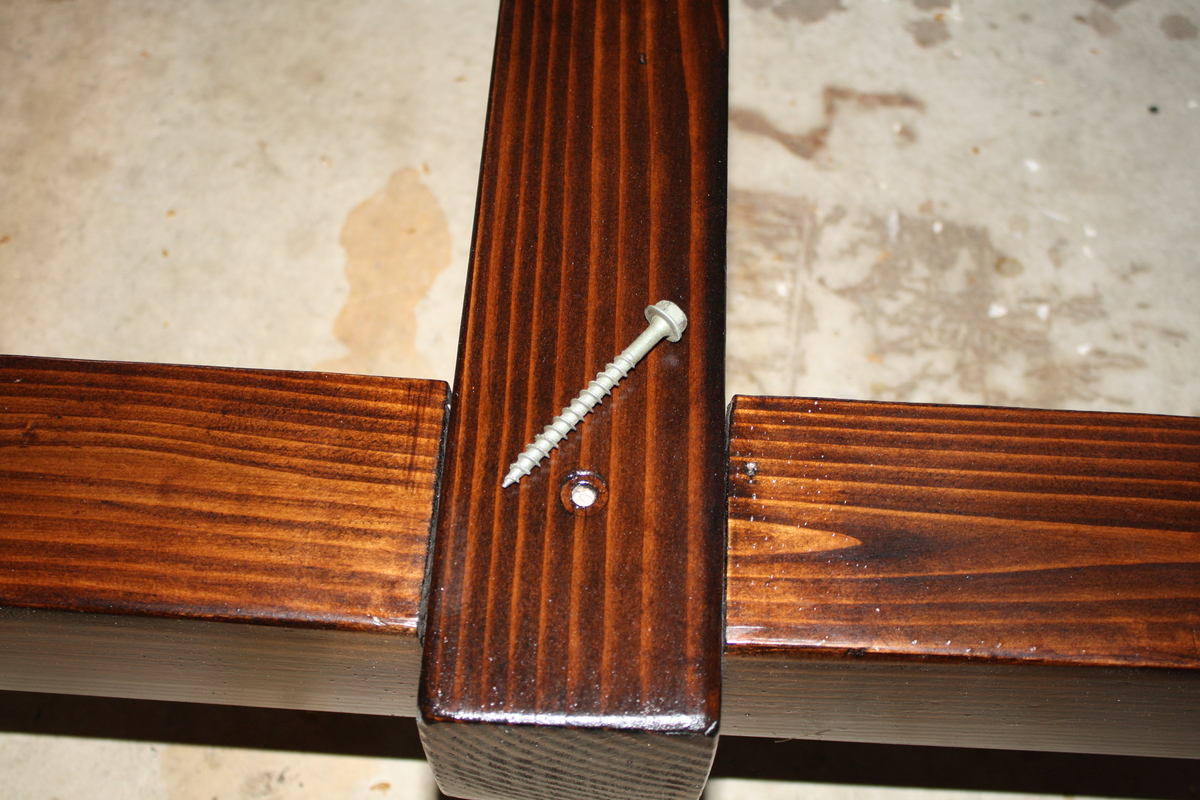
In order to take the table apart, I used 2 - 6 inch long lag screws at the top of each leg that screwed into the 2x4 supports for the table top. Due to the weight of the table, it is advised to turn the table upside-down when removing the screws or assembling the table. Next, I used 3 inch lag screws to secure the beam under the table. Again, the lag screws are easily removed for moving.
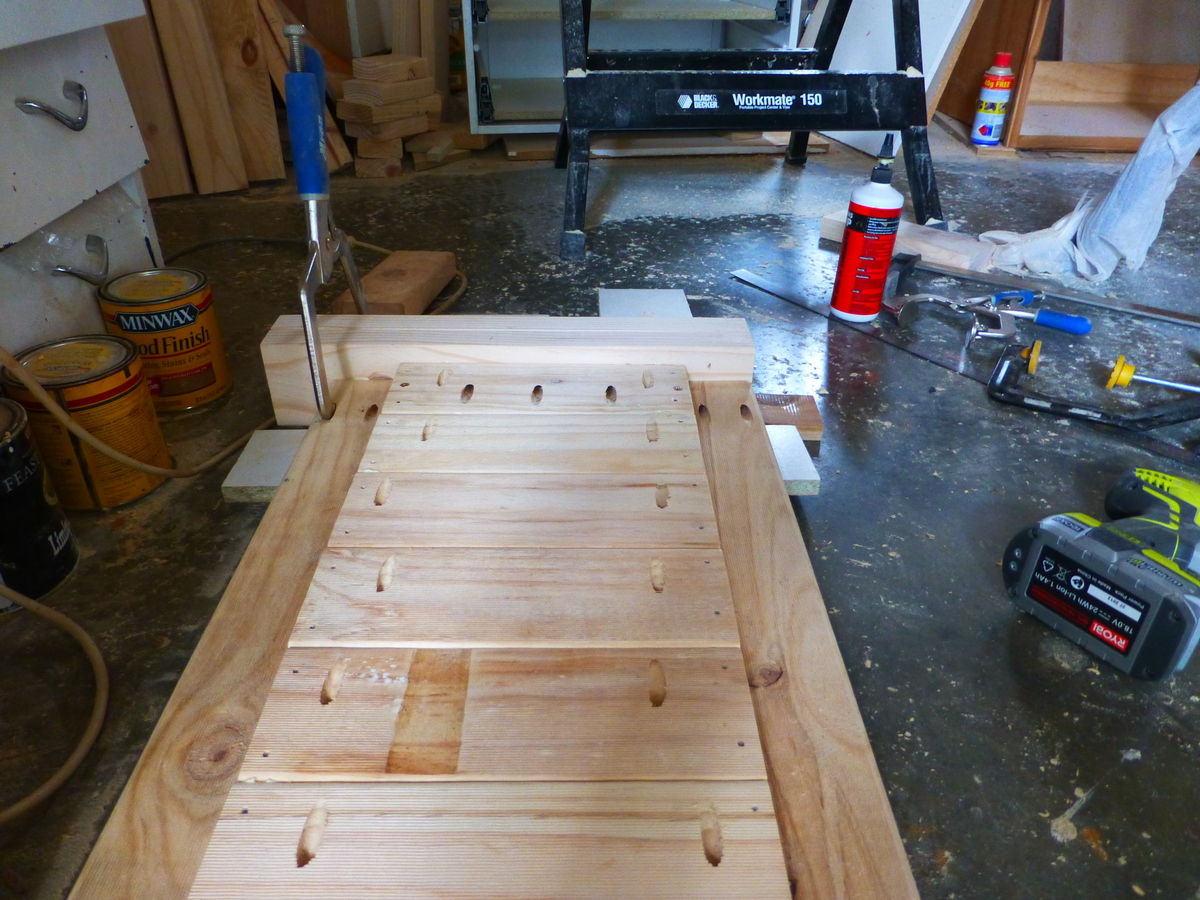
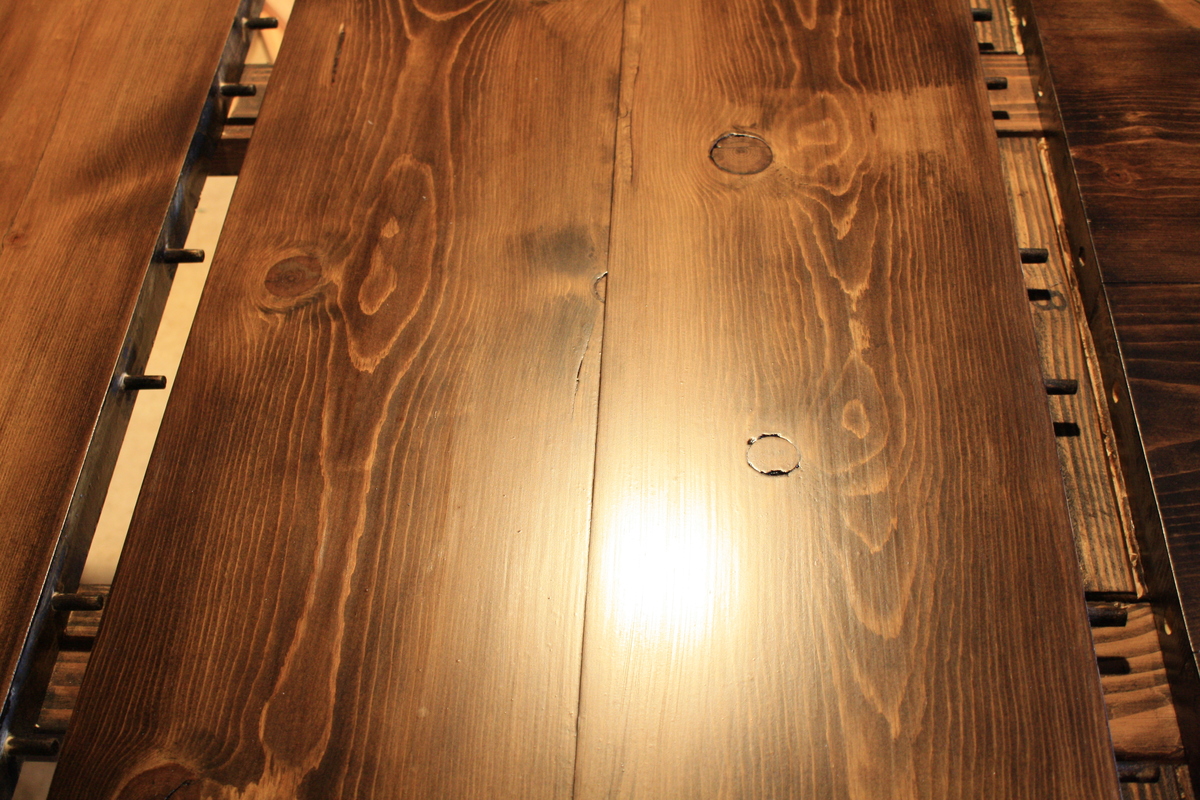
For the leaf inserts, I utilized a dowel jig so the leaf extensions could be easily inserted and removed on the sliders that support the breadboard ends. (It is necessary to drill the holes out a little larger that accept the leaf dowels. If this is not done the leafs will fit too tight and it is difficult, if not darn impossible, to remove them.) This was advantageous for two reasons ... (1.) The leafs are easily installed and removed; and (2.) No need for leaf extensions that have their own 2 x 4 sliders. This reduces storage space for the extensions and eliminates the slider insert hole cutouts on each end of the table because the slider is never removed.
The table, when disassembled, is in (8) sections:
(2) table leg sections
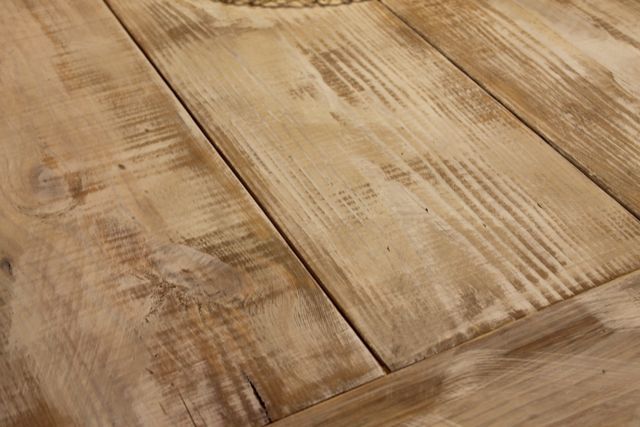
(1) table top
(1) Main beam from under the table
(2) Leaf extensions
(2) Breadboard ends attached to 2x4 sliders
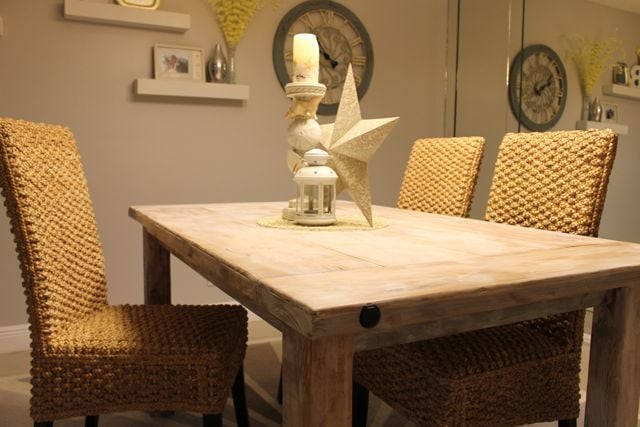
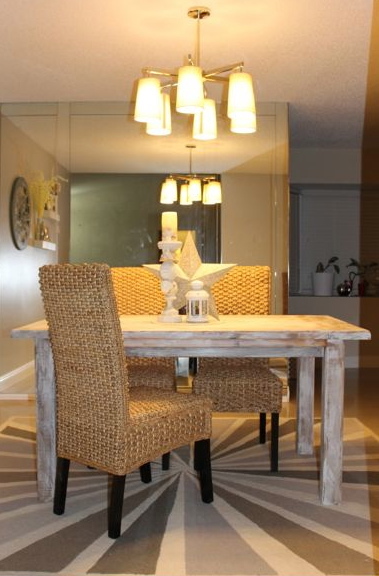
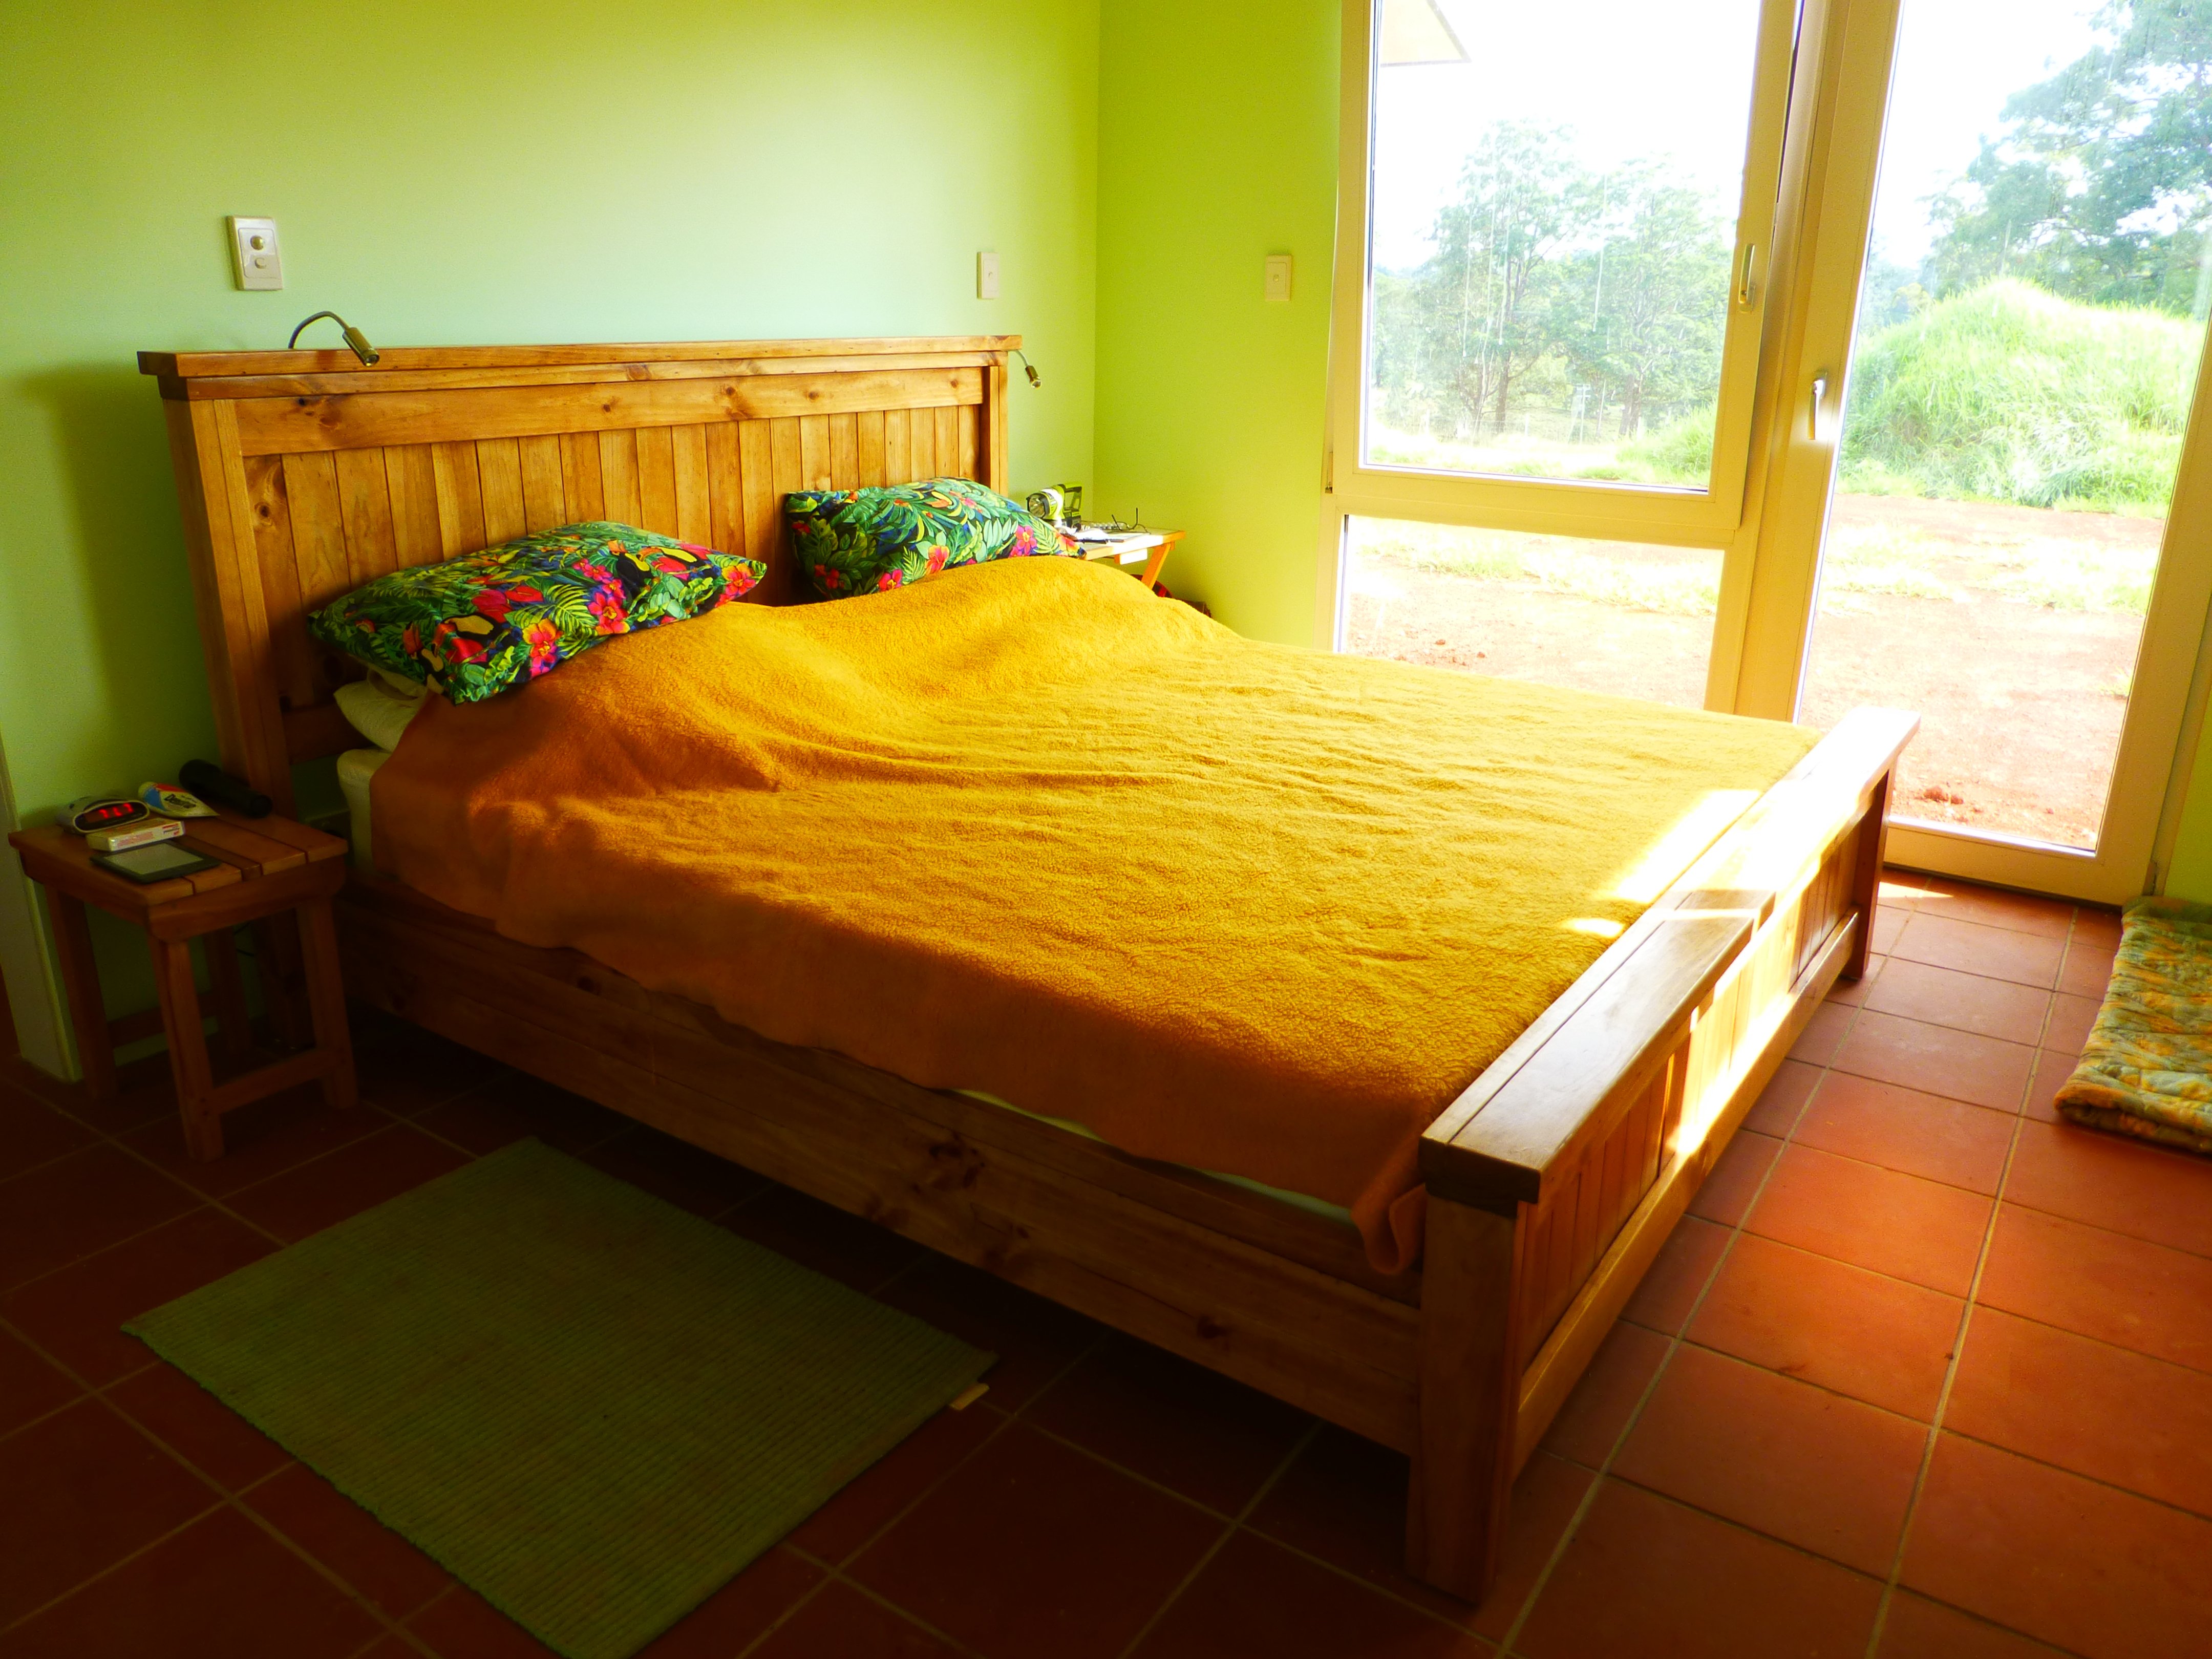
My niece is simply thrilled with the table.
Tue, 04/15/2014 - 10:39
This table was built for me! I like it for several reasons, but the main reason is that because we are a military family. Therefore, we move every two to three years and our furniture always seems to break. I have always wanted a solid farm house table, but not only are they expensive, they are hard to manuver and move. My uncle customized this table so that it would serve three important purposes for our family. One, it extends with two easily storable extensions, two, it comes apart, giving us the opportunity to move with it; and three, it is incredibly sturdy, therefore, making our next move a guaranteed success. So excited to have everything I want in one table for 1/4 of the price.
Fri, 04/25/2014 - 07:59
Thank you so much for sharing your wonderful gift. I am retired military myself, so I know how hard it is to move so often. I appreciate your sharing with us how to make it so it can be disassembled. I am going to try to build this with your instructions.
Great instructions and a great finished project
I loved this plan for sturdy, yet economical Adirondack chairs. They were exactly what I needed for one of our Airbnbs. I liked the look of smaller back and seat boards, so I used 1x4s in place of 1x10s. The seat spacing worked out on the seat but on the back I had to rip one of the boards on the back down to 2.5 inches or so for it all to to fit. If I make them again, I’d probably just add a 2 inches or so to the length of the back 2x4s so the back board spacing would work out.
Thanks again, Ana, for proving such great plans for us all.
I built the kids play table stool for a birthday gift, handpainted with a single letter monogram.
We followed Ana's plans almost exactly. We decided to do without the slower board that ran the length of the table and it is still super sturdy and we love it. When we were finished building, we filled all the cracks in the table top {between boards} with wood filler and then stained the top. I wish I would have filled the cracks on the bench too because there is a LOT of food that gets stuck in the cracks with little ones. I also wish I had done a self-leveling resin on the top right away too because when we moved the table, it did crack some of the wood filler that was in-between boards. It is still much better than having cracks that food can get stuck in, but I will for sure be doing the resin in the near future to make it more of a solid surface and make it so the soft wood can't have writing marks in it from my kindergartener.
We painted the legs to make it two toned. Once I had 3 coats of white paint on it, I sanded the edges and then rubbed the whole surface down with the same stain that we used on the top. This made the edges that we sanded stand out but also made the white paint not so white. It is exactly how I wanted it to look. It came together so perfect
We put 4 coats of clear coat on it too and its shiny and beautiful. This was the first big project that my hubby and I built and I am quite impressed with how well it turned out. The finishing is what took the longest. We had the table built in a day or two but it took me all week to get it painted and clear coated.
With all the wood, paint, stain and clear coat this cost us about $225 for both the table and bench.
I made this cabinet first, actually two of them, that way I would know the exact depth to build my other wall cabinets. The depth without the face frame came to 11 3/4". I built it exact to the plans, Thank you Ana! I did modify the height to 36" and the rails of my face frames are 2 1/2" to accomodate the trim at the top and lighting at the bottom. I have never built cabinets before and never made a pocket hole before either! But I couldn't invest the $15,000 that Lowe's quoted me, this house is too old. So I found a really nice set from craigslist and went from there. I built all my wall cabinets to a custom height of 36". The doors came from FastCabinetDoors and they are great quality doors. The door I chose was "Camden" in oak frames and panels. I used Rustoleum Cabinet Transformations in Pure White for the finish. I hope to be finished in 5 weeks.
Great plan to work with. I made this for my wife’s Mother Day gift. I did add a brace leg on the back. My wife picked the color.
Comments
Brooke B. (not verified)
Sat, 11/17/2012 - 13:12
What were the final
What were the final dimensions of your table? I've been wanting to modify the plans so it will fit in our space as well. Thanks so much!
johnzaci
Wed, 07/24/2013 - 06:49
Shabby Chic frame house table
Hello I ahve seen your post here. I liked it, but one thing which i want to make sure that, these same things i found much expensive here on the http://www.biglovestyle.com/
I am not confirm what makes you to keep low:(
By the way, I am a little bit late to read your post. :(
Last Sunday me and my wife has changed all the old furniture and replaced it with the new.
I hope next time i will go to your shop first:)