Community Brag Posts

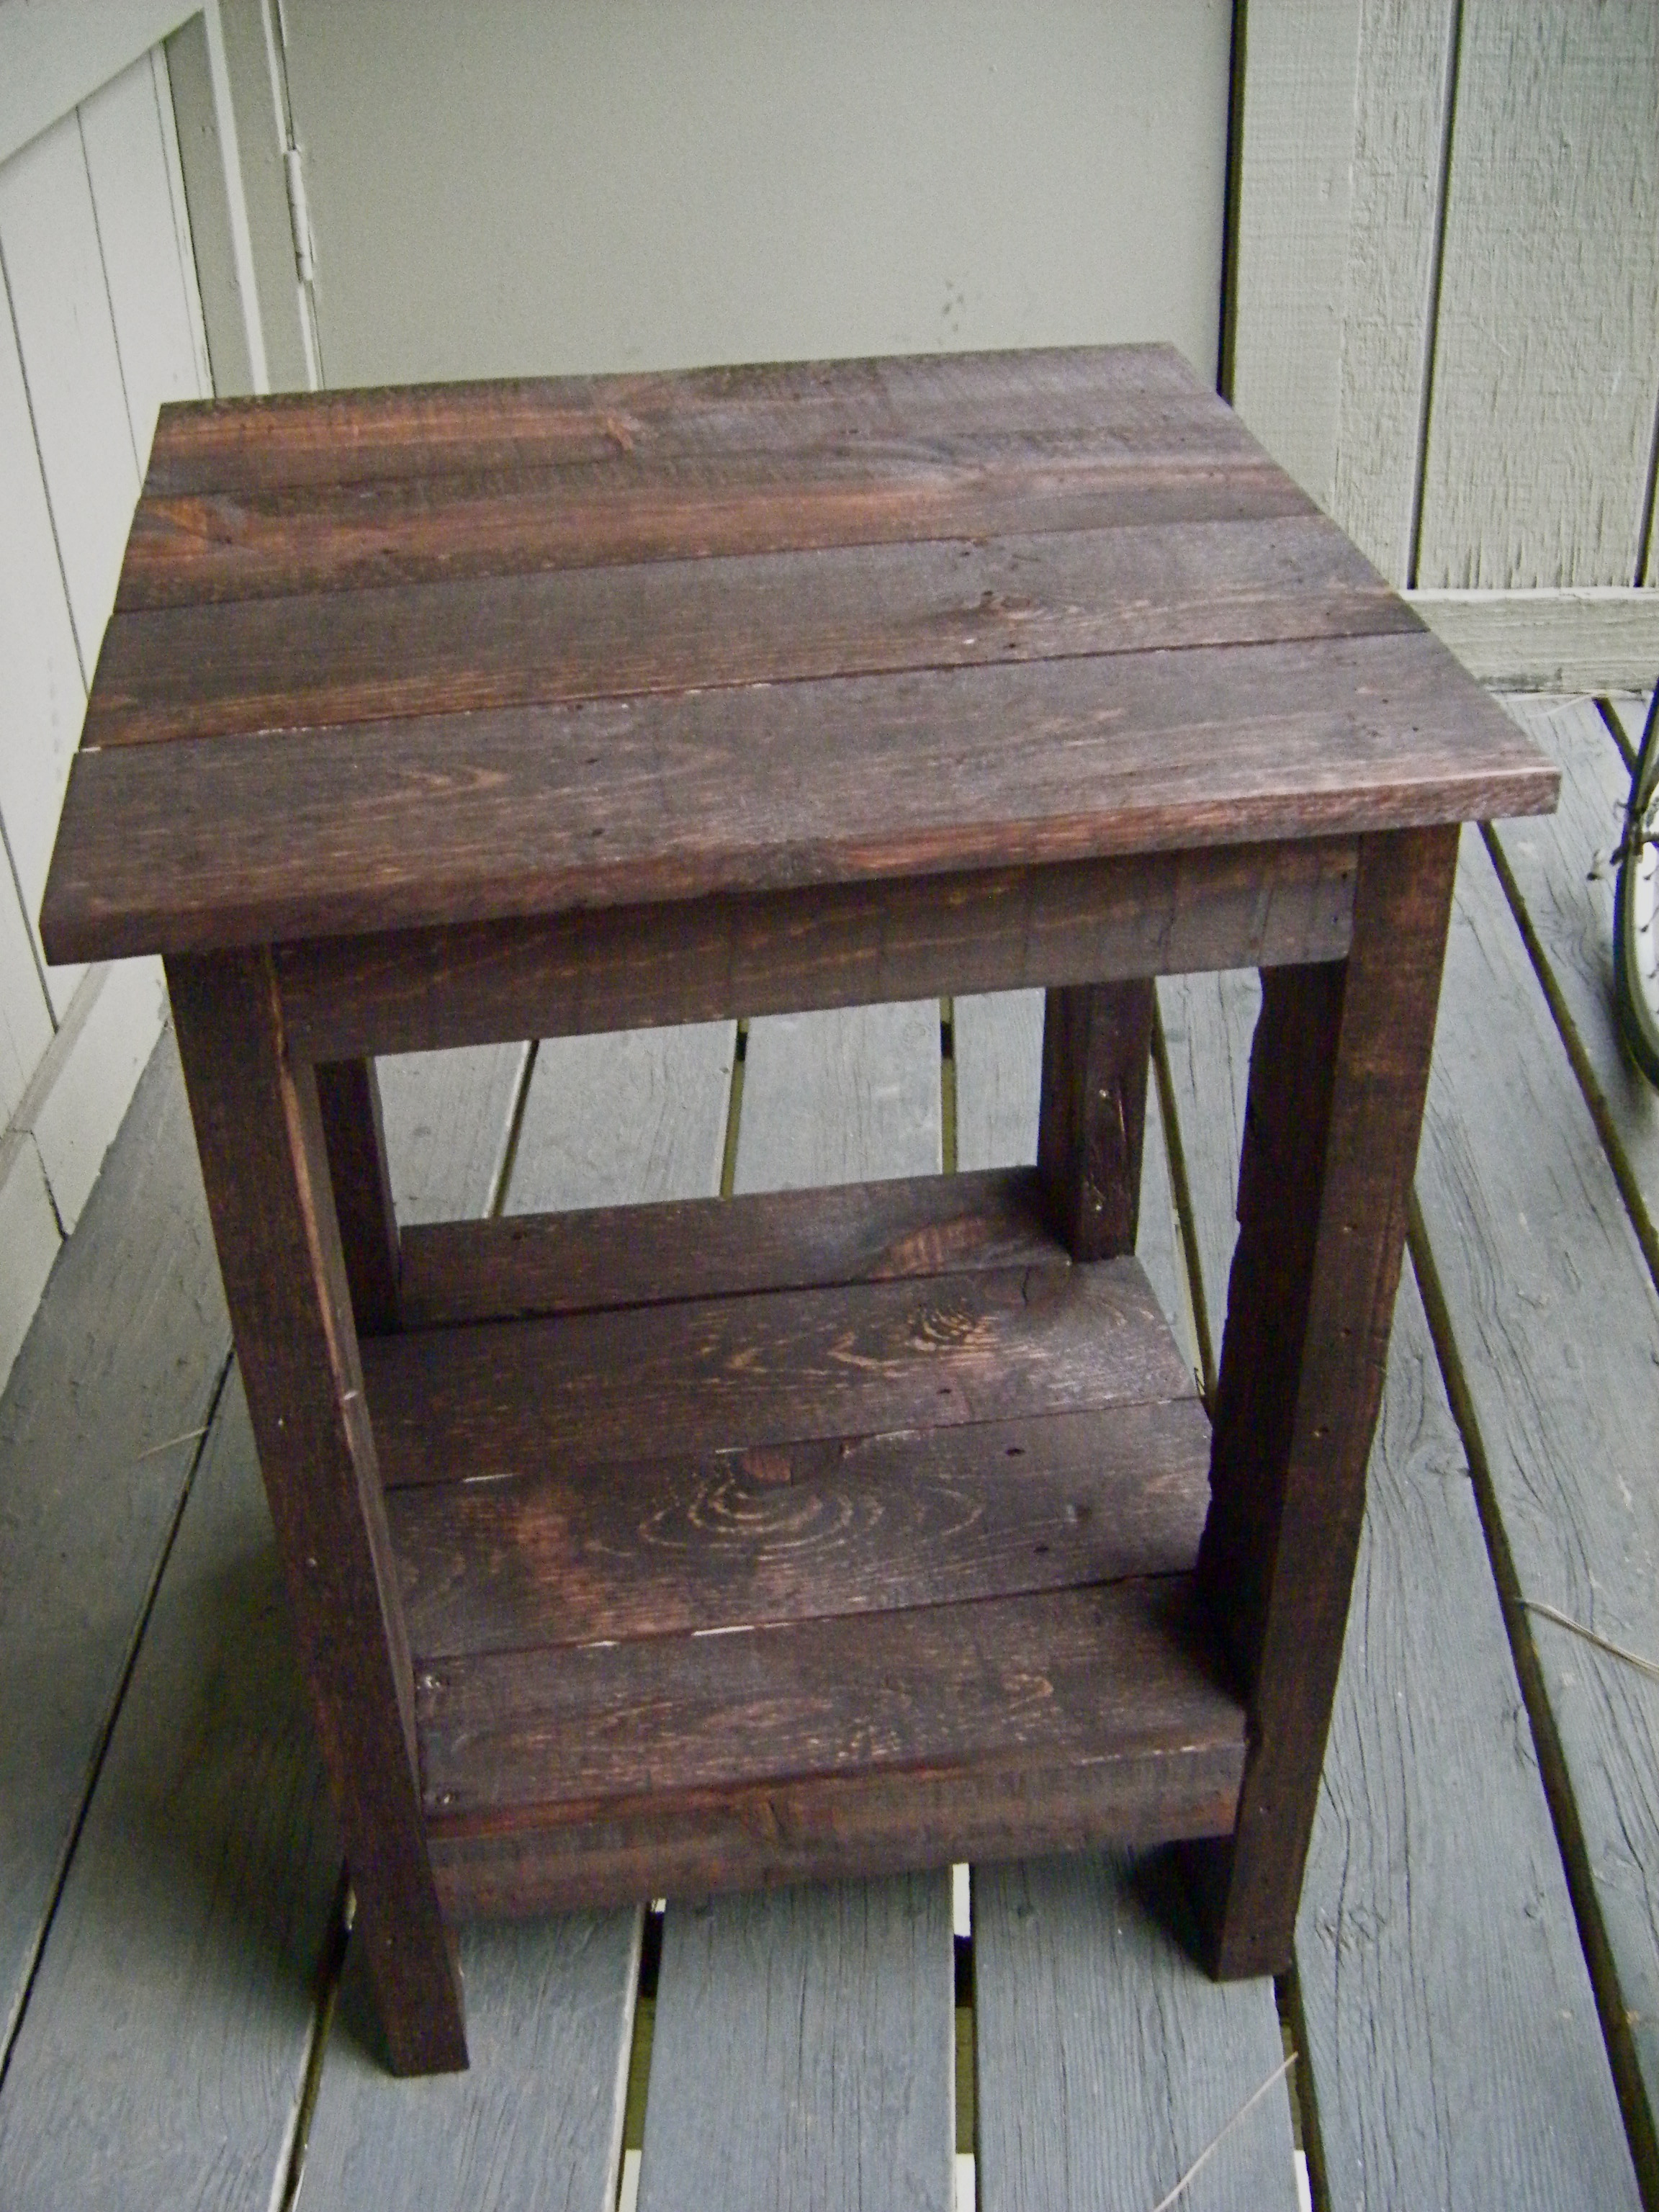
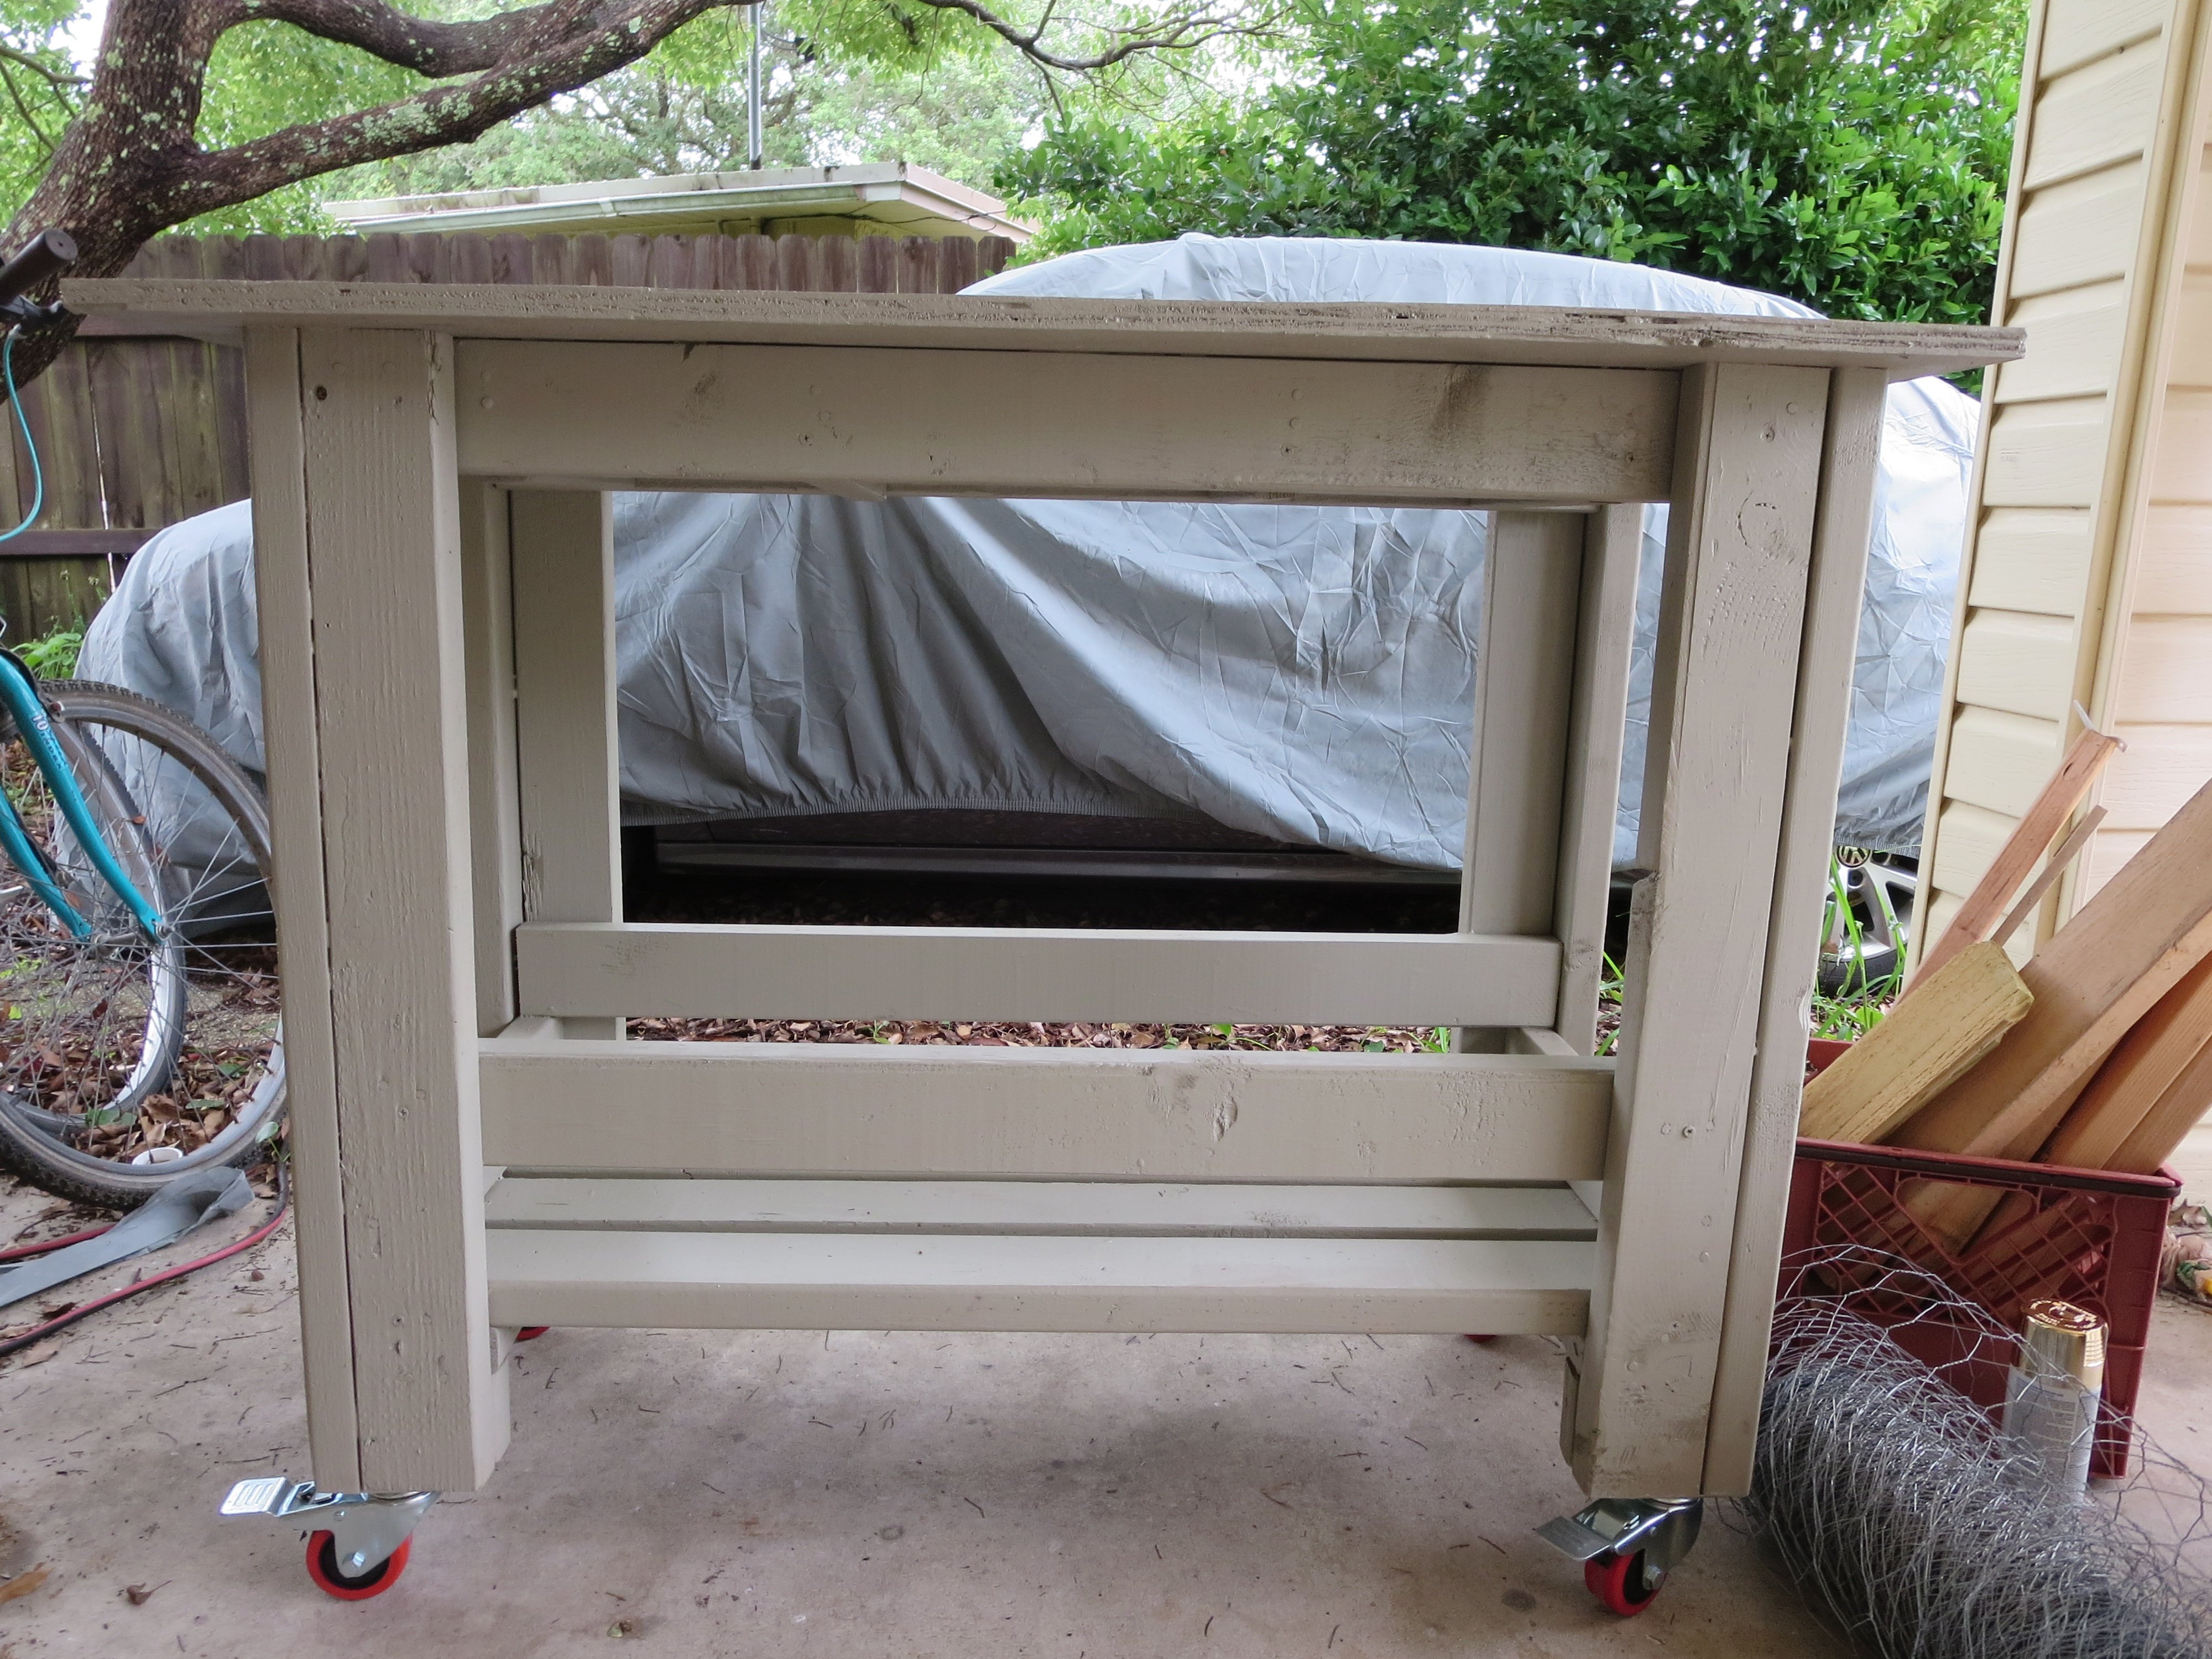
Tall Pallet Entryway Table

Combination of the Farmhouse table (http://ana-white.com/2009/12/plans-farmhouse-table-knock-off-of.html) and the simple, cheap, easy console table (http://ana-white.com/2009/11/plan-simple-cheap-and-easy-console.html).

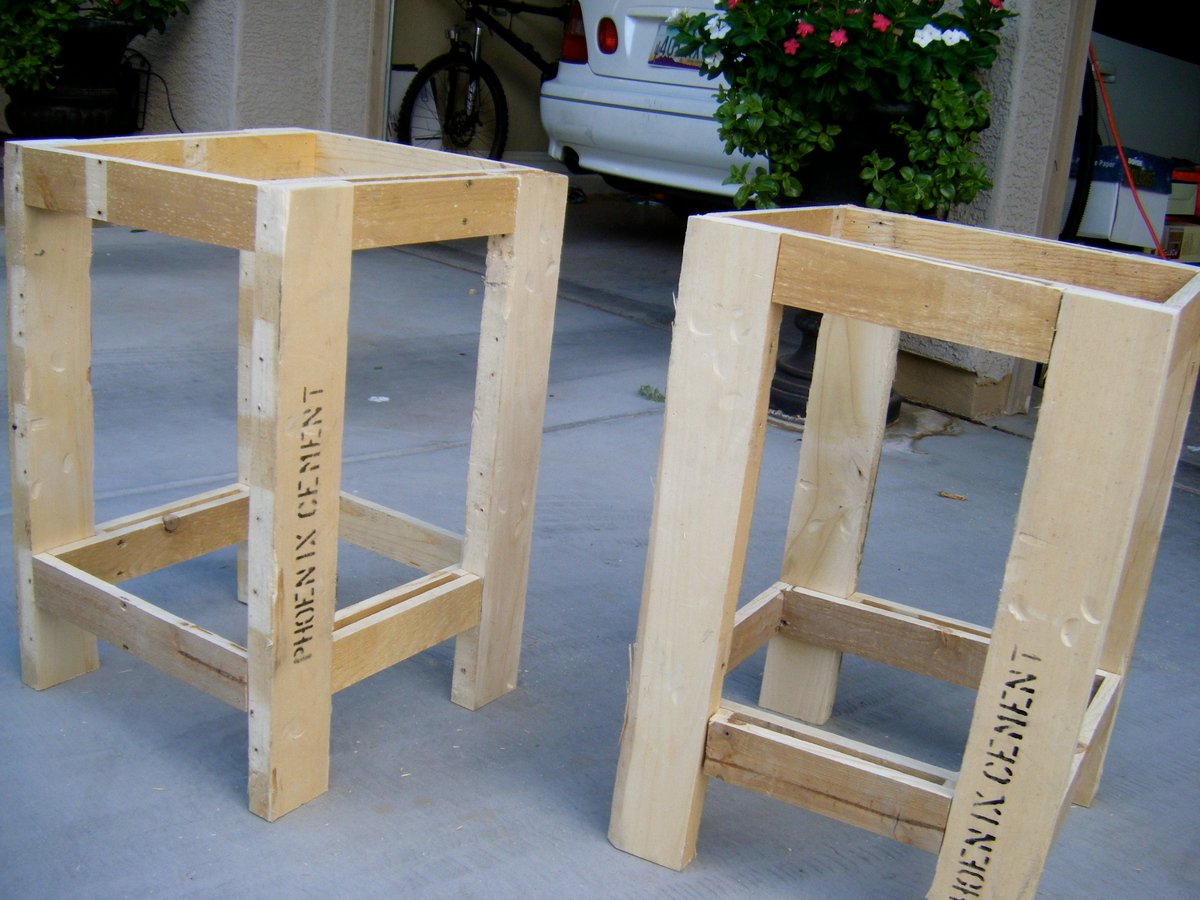
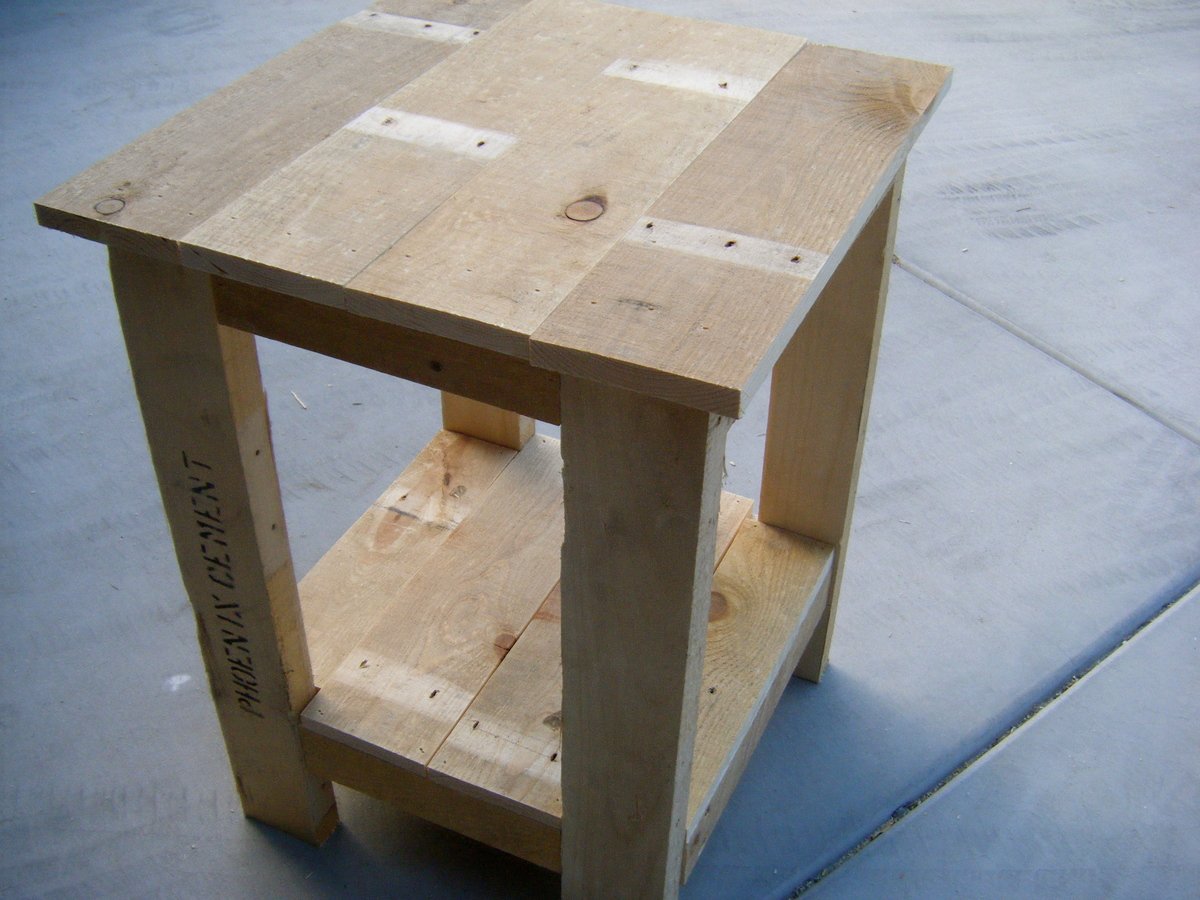
I wanted it taller so that I could make rolling crates to push underneath and might add a shelf later on to maximize storage potential. I kept the lengths of the pallets except for the side supports which I just cut in half, I wish I had cut a little more off the side supports making it so that I didn't waste as much pallet wood cutting the wood for the table top but I love it nonetheless and I have bonfire wood for our next get together. Right now I'm enjoying it since it's my first Ana-White project.

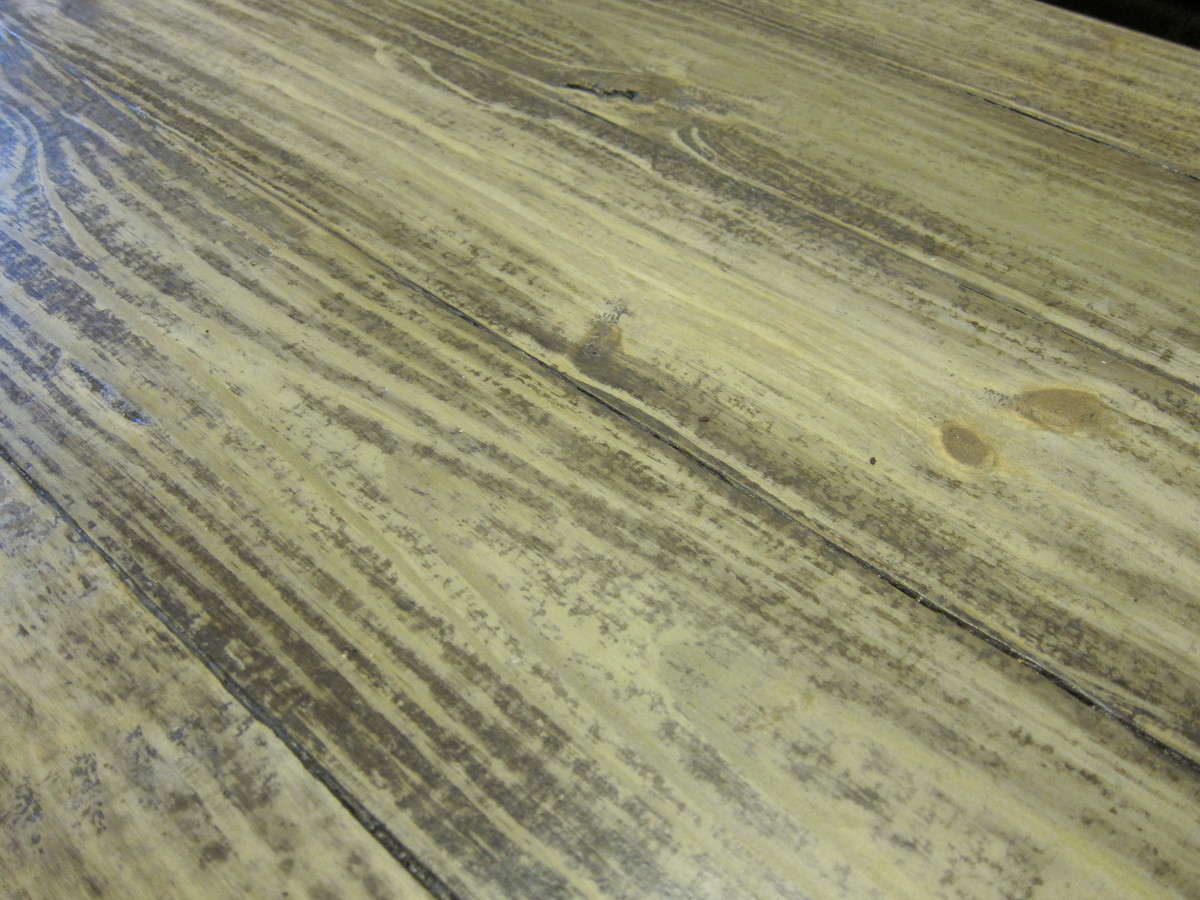
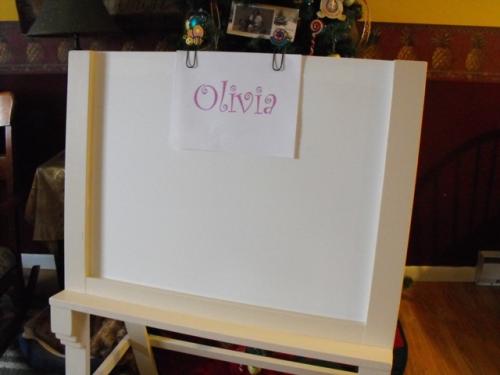
I used two free pallets I scored on a yard sale group on Facebook, lots of sanding, and I had the paint (one coat to keep it rustic) and screws on hand so it was a free project. I only received one splinter (should of been wearing gloves) and added an embellishment with chalk board paint (stating the year that my husband and I met since he just left on deployment). It took me 5 hours (I told you it was a lot of sanding) over the weekend. Fun project, can't wait to get started on the next one :)

Estimated Time Investment
Afternoon Project (3-6 Hours)
Finish Used
I used a combination of latex paints, colors: sunflower yellow and brownie brown, with a little paint thinner and brushed it on.
Recommended Skill Level
Starter Project

Flat Book Shelf How-to

Our home is small, about 1600 sq/ft, so I am on a mission to create as much out of the way storage as possible. It feels like a loosing battle, but I suppose with 2 young children most mothers feel like this with or without more square footage. You might wonder why I don't buy furniture to solve my problems? My answer to that question is that most of the furniture out there is too expensive, it doesn't fit the space available, and just doesn't suit all of our needs. Most importantly, I know that I can make it myself, build it better, and use quality materials. No particle board here, thank you.

So, my storage solution for my boys books was inspired by the Ana Whites Flat Wall Book Shelves (http://ana-white.com/2010/04/plans-wall-book-racks-easy-and-inexpensive…). I wanted to maximize my storage and make a good use of space in our already cramped home.

Please visit my blog for a complete DIY on my version if you are interested.

Built from Plan(s)
Estimated Time Investment
Weekend Project (10-20 Hours)
Finish Used
Reddish oops paint from Lowes and 2 clear coats
Recommended Skill Level
Beginner

Patrick’s Router Table

Submitted by Anonymous (not verified) on Thu, 06/18/2020 - 14:44

As a beginner woodworker I was searching for a router table project and came across this one. I constructed it entirely out of birch plywood. I will admit is was a challenge for me as I had never done drawers before. The biggest challenge was the small drawer for bit storage. I used a Rockler table top and it worked perfect. Overall I’m pleased with the way it turned out and have already used it in several projects

Built from Plan(s)
Estimated Cost
$200
Estimated Time Investment
Week Long Project (20 Hours or More)
Finish Used
Linseed Oil
Recommended Skill Level
Intermediate

Tryed Side Table- Pallet Redux

Submitted by haystacks2 on Wed, 08/15/2012 - 17:38

Made these side tables for our master bedroom using the wood from 3 wooden pallets. The pallets took about 45 minutes each to disassemble and the plank sizing required us to ripped the boards to 3 different uniform widths.

Estimated Time Investment
Day Project (6-9 Hours)
Recommended Skill Level
Beginner

Comments

Jaclyn Lieneck (not verified)

Fri, 09/14/2012 - 15:06

Do you have a blog? I commented on someone's blog and they sent me to this site, but now I cannot find their blog!!

Outdoor Sectional

Submitted by diychica on Fri, 06/06/2014 - 16:40

I used 2x12 instead of 2x4 for the base and four 2x6 instead of six for the seating area. So this modified version is higher and narrower compare to the original plan.

Estimated Time Investment
Week Long Project (20 Hours or More)
Finish Used
Redwood transparent stain
Recommended Skill Level
Beginner

Fathers Day Gift

Submitted by vtmama on Sun, 06/21/2020 - 17:56

This was my second bigger builds. It came out beautifully and I am so proud to have built this for my husbands very first Fathers Day. Easy to build.

Estimated Cost
100
Estimated Time Investment
Day Project (6-9 Hours)
Finish Used
Special walnut Minwax
Recommended Skill Level
Beginner

Rustic X Coffee Table

Submitted by FatBobK2 on Sun, 08/19/2012 - 05:54

I changed the design a little, using 4x4's for the legs, eliminating the side X's, and tried to save a little money by cutting the top 2x6's so that I could use the same board for both the top and bottom shelf, so i didn't have to buy the 2x12's recommended in the plans for the bottom shelf.

I used Rustoleum Sunbleached for the finish, then covered in 2 coats of brown wax, let it dry for a day, then removed some wax with Motsenbockers Paint and Varnish remover, which is Biodegradable and low VOC. I think this really gave the wood the look of old reclaimed barn wood.

Built from Plan(s)
Estimated Cost
$45
Estimated Time Investment
Weekend Project (10-20 Hours)
Finish Used
Rustoleum Sunbleach, and Brown Wax
Recommended Skill Level
Beginner

Comments

Jutka (not verified)

Mon, 10/22/2012 - 20:36

I looooove how this turned out. I am straight up stealing this. Keep my flings crossed that mine turns out as well as yours did!

amycourts

Sat, 08/03/2013 - 09:25

LOVE what you did here. I was wondering if I could do the same thing - use 2x6s for top & shelf! That'll make it a little easier to narrow it as well. And I'm ditching the X's also. They just don't appeal... so you know, just write up new plans for what you did, eh? :) Great job!

amycourts

Sat, 08/03/2013 - 09:26

LOVE what you did here. I was wondering if I could do the same thing - use 2x6s for top & shelf! That'll make it a little easier to narrow it as well. And I'm ditching the X's also. They just don't appeal... so you know, just write up new plans for what you did, eh? :) Great job!

amycourts

Sat, 08/03/2013 - 09:33

sorry for the extra comments. One other thing - For the bottom shelf: It looks like you used 2x4s to attach to the 4x4 legs; is that right? What did the dimensions of your table end up being? And, if you don't mind my asking, what *would* they be, if you eliminated one of the top 2x6s? Thanks!!

Djun Finney

Sat, 03/28/2015 - 13:22

Hi Bob, your table looks awesome, what did you do for the base support under your top and bottom pieces? Thanks !

Octagon Table Finished!

Submitted by kkwong5 on Mon, 06/09/2014 - 08:43

Finished building this table with the plan provided by Ana White! Worked out great. I stained it in a with a transparent deck stain in natural sequoia. Happy to help if anyone has any questions!

Tips: Definitely cut as you go. If you get the angles are off in the center when all the long pieces connect is it makes each top piece larger or smaller.

Estimated Time Investment
Week Long Project (20 Hours or More)
Recommended Skill Level
Intermediate

Double Trestle Outdoor Table

Submitted by Anonymous (not verified) on Fri, 09/09/2016 - 15:19

We built this for our mother.

Used the plans provided but we beafed up all the sections to make a robust table.

Andy & Ralph


Built from Plan(s)
Estimated Time Investment
Week Long Project (20 Hours or More)
Recommended Skill Level
Intermediate

Modern Farmhouse Coffee Table

I built this coffee table with off the shelf lumber and finished with Varathane Sun Bleached and Weathered Gray Stains, and Minwax satin polyurethane. I applied a fairly even coat of the Sunbleached Stain and added a few streaks of the weathered gray. I used 1 ¼" pocket screws instead of the brad nails. I used a hammer and a couple of finishing nails for the braces.

Estimated Time Investment
Day Project (6-9 Hours)
Finish Used
Varathane Sun Bleached Stain
Varathane Weathered Gray Stain
Minwax Satin Polyurethane
Recommended Skill Level
Intermediate

Modified Rustic X Coffee Table

Plans are from the Rustic X Coffee Table. Since my miter saw only can make miter cuts up to 55 degrees it was too tough to make exact 60 degree cuts. My wife and I decided to put columns on the sides of the table instead of X's. I think the table looks really good without anything on the sides as well. Also, we added some addition table top supports with two, 2x2s, placed horizontally across table.

Built from Plan(s)
Estimated Cost
Less than $80
Estimated Time Investment
Weekend Project (10-20 Hours)
Finish Used
Dark Walnut color wood stain
Recommended Skill Level
Beginner

Comments

jlynchtx

Fri, 01/05/2018 - 23:05

The table looks great. I am thinking of building one soon myself. I noticed you built this quite a long time ago. Have you had any problems with the table warping or splitting? Did it hold up well over time? Thanks!

Work bench

I was inspired by this workbench post to create a workbench, especially since I needed one! I painted it with exterior paint and added wheels. I also added extra wood around the bottom to make it sturdier.

Estimated Time Investment
Afternoon Project (3-6 Hours)
Recommended Skill Level
Starter Project

Farmhouse Queen

Submitted by Anonymous (not verified) on Sun, 09/11/2016 - 16:49

Instead of just screwing the rails to the bed, I used bed rail hooks to connect the bed for easy disassembly. 

Built from Plan(s)
Estimated Cost
$200
Estimated Time Investment
Week Long Project (20 Hours or More)
Finish Used
White satin paint, roughed up with sanded edges
Recommended Skill Level
Intermediate

KCup holder

Submitted by lolalove77 on Thu, 06/25/2020 - 06:58

I am so thrilled to share this. My very first build and I am so happy with it and so excited to share the build. My very first ever build of any kind whatsoever. I am inspired and buying a new home. Thank you for all the plans that will be so helpful to me with the upcoming house.

Mini Media Stand

Submitted by Aisha on Thu, 08/23/2012 - 18:53

The minute I saw this mini media stand I knew that I would have to make it for our playroom. I tweaked the measurements slightly since my wood sizes were slightly different from Ana. This was a pretty easy build for me and I would consider myself a beginner.

Estimated Cost
$100 for wood and hardware
Estimated Time Investment
Weekend Project (10-20 Hours)
Finish Used
Two coats of Varathane's Ipswich Pine and two coats of semi gloss poly.
Recommended Skill Level
Beginner

Comments

Joni

Fri, 08/24/2012 - 07:19

I can't believe that this plan only came out 2 weeks ago, and you have already created and posted this! It is awesome, and your stain/finish looks amazing. I love your modifications, and your stain & cabinet handle choices.

BLUE BENCH

Submitted by spustay74 on Mon, 06/16/2014 - 05:26

This was my wife and I's first Ana White project. We are now hooked, and loved spending time together building something we will enjoy for years, and our dog mindy of course was the first to test our beautiful bench out!

Thanks Ana,

Steve & Courtney

Built from Plan(s)
Estimated Cost
80$
Estimated Time Investment
Day Project (6-9 Hours)
Finish Used
Rustoleum Spray paint, Clear coat sealer. If we did it again, we would use regular exterior paint instead of spray paint.
Recommended Skill Level
Beginner

Comments

"The Most Beautiful Bed in the Whole World"!

Submitted by Anonymous (not verified) on Tue, 09/13/2016 - 20:08

My husband and I just moved into a new home with our 3.5 year old little girl. We wanted to utilize the space in her room as efficiently as possible yet still accommodate her request for the "most beautiful bed in the whole world!" We found your plan and decided to adapt it to her style...and this was the end result!!! Thank you so much for the plans, we both love your work!

Estimated Cost
$225 due to our decorative additions and decision to use 4x4 cedar posts for added stability. Cedar was the only untreated 4x4 lumber available in our area, and raised the total project cost by nearly $80.
Estimated Time Investment
Weekend Project (10-20 Hours)
Finish Used
We used a basic primer and sealer followed by Behr interior semi gloss in "Cotton Sheets". The pink used was a custom blend with cool undertones. I used "Crystal Clear" polyacrylic on the bed and wished I hadn't. It wasn't nearly as clear as it claimed and left yellow stains on the finish that I had to cover later. The stairs were done using project paper from JoAnn Fabrics decoupaged with mod podge/extreme glitter mod podge and finished with a coat of semi gloss poly.
Recommended Skill Level
Beginner

Comments

Back