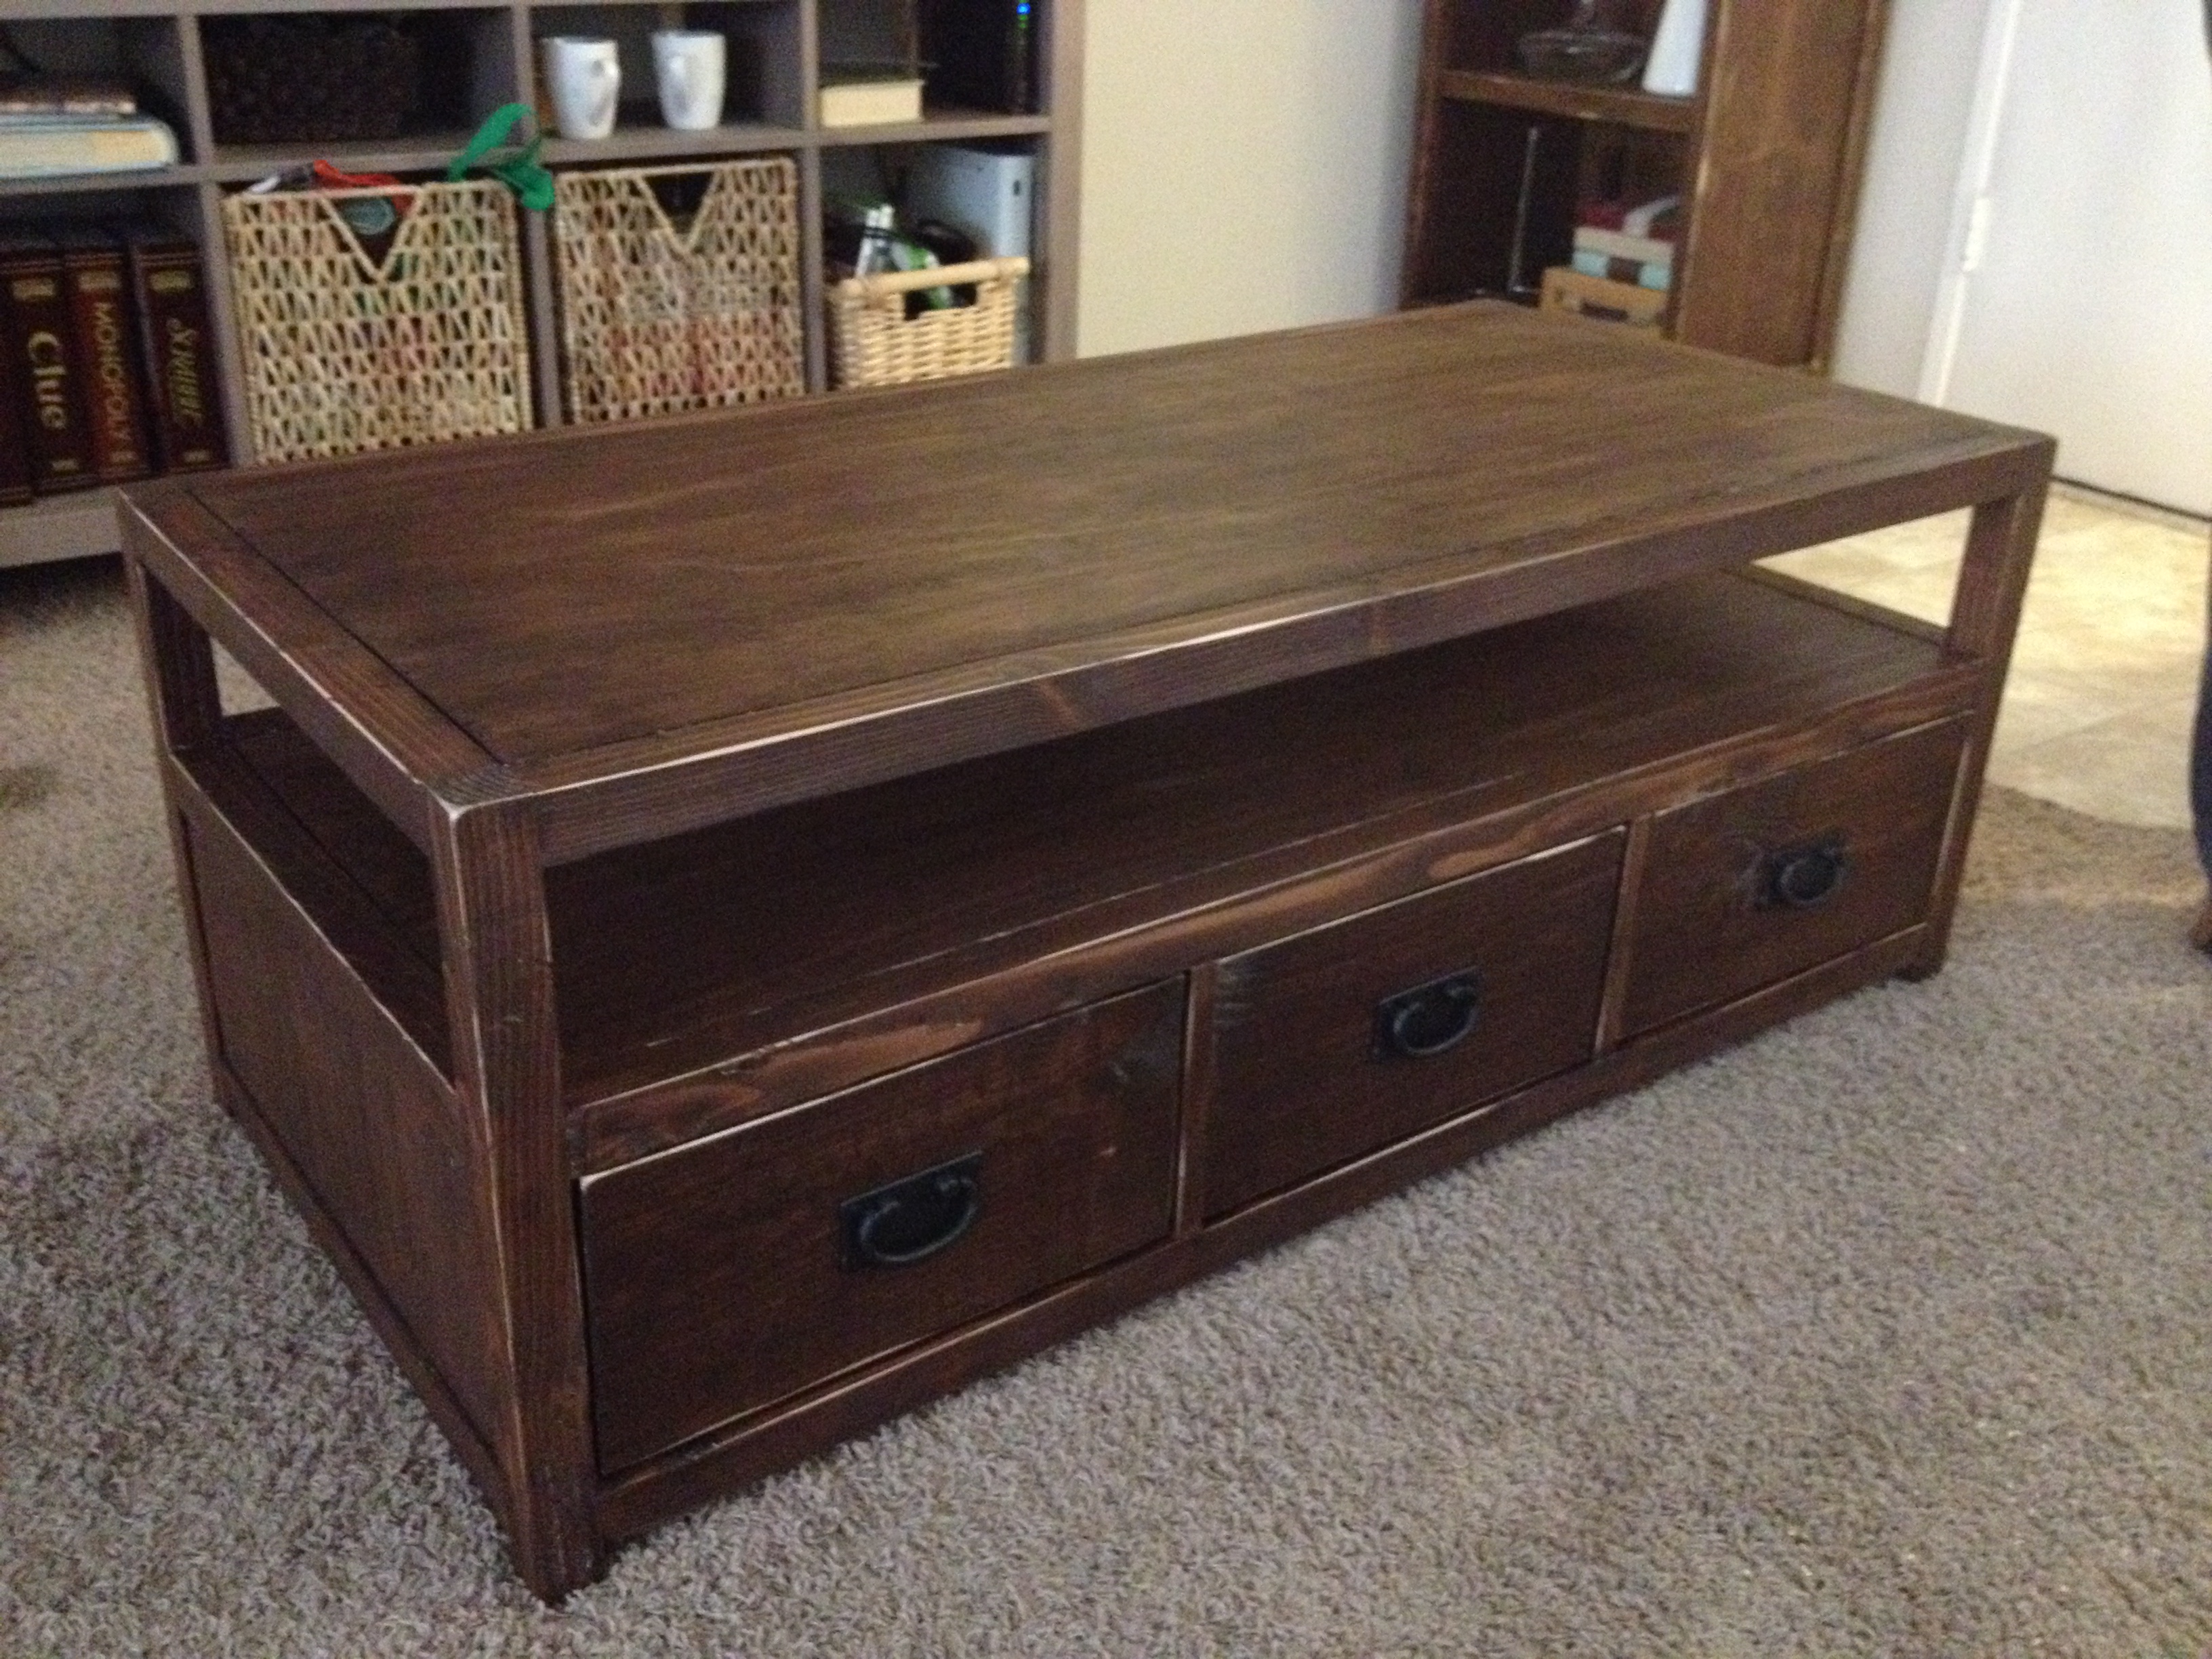
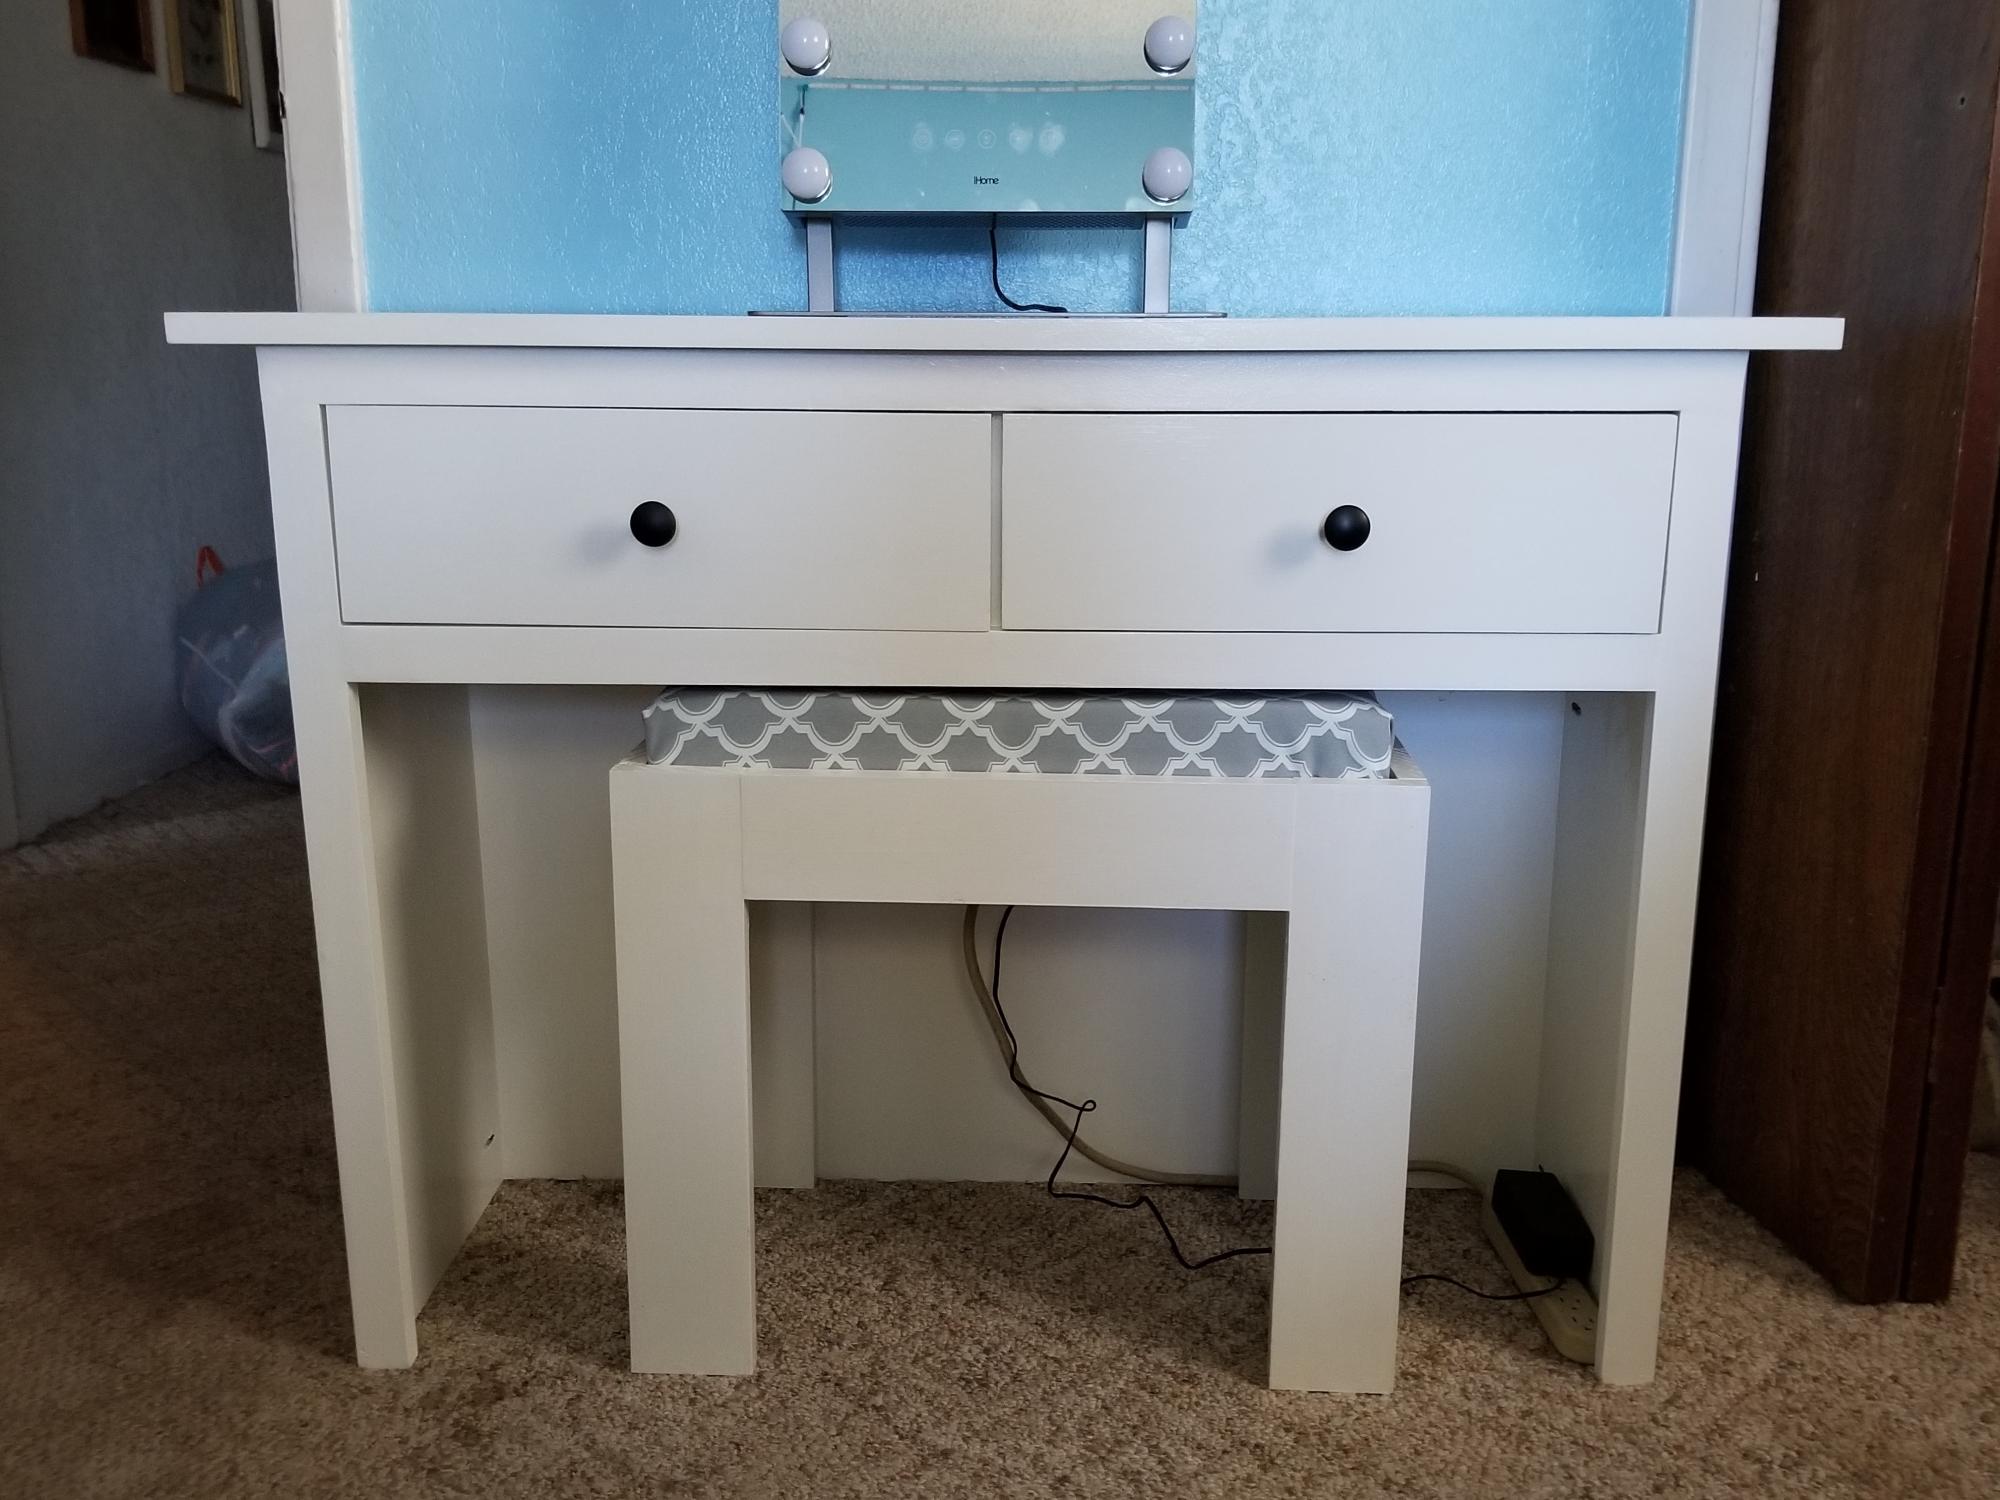
I made this project for my gentleman friend. He didn't have much of a childhood, so I made him this toybox and then filled it with toys from the 80's as a birthday present. These plans were perfect for the occassion.
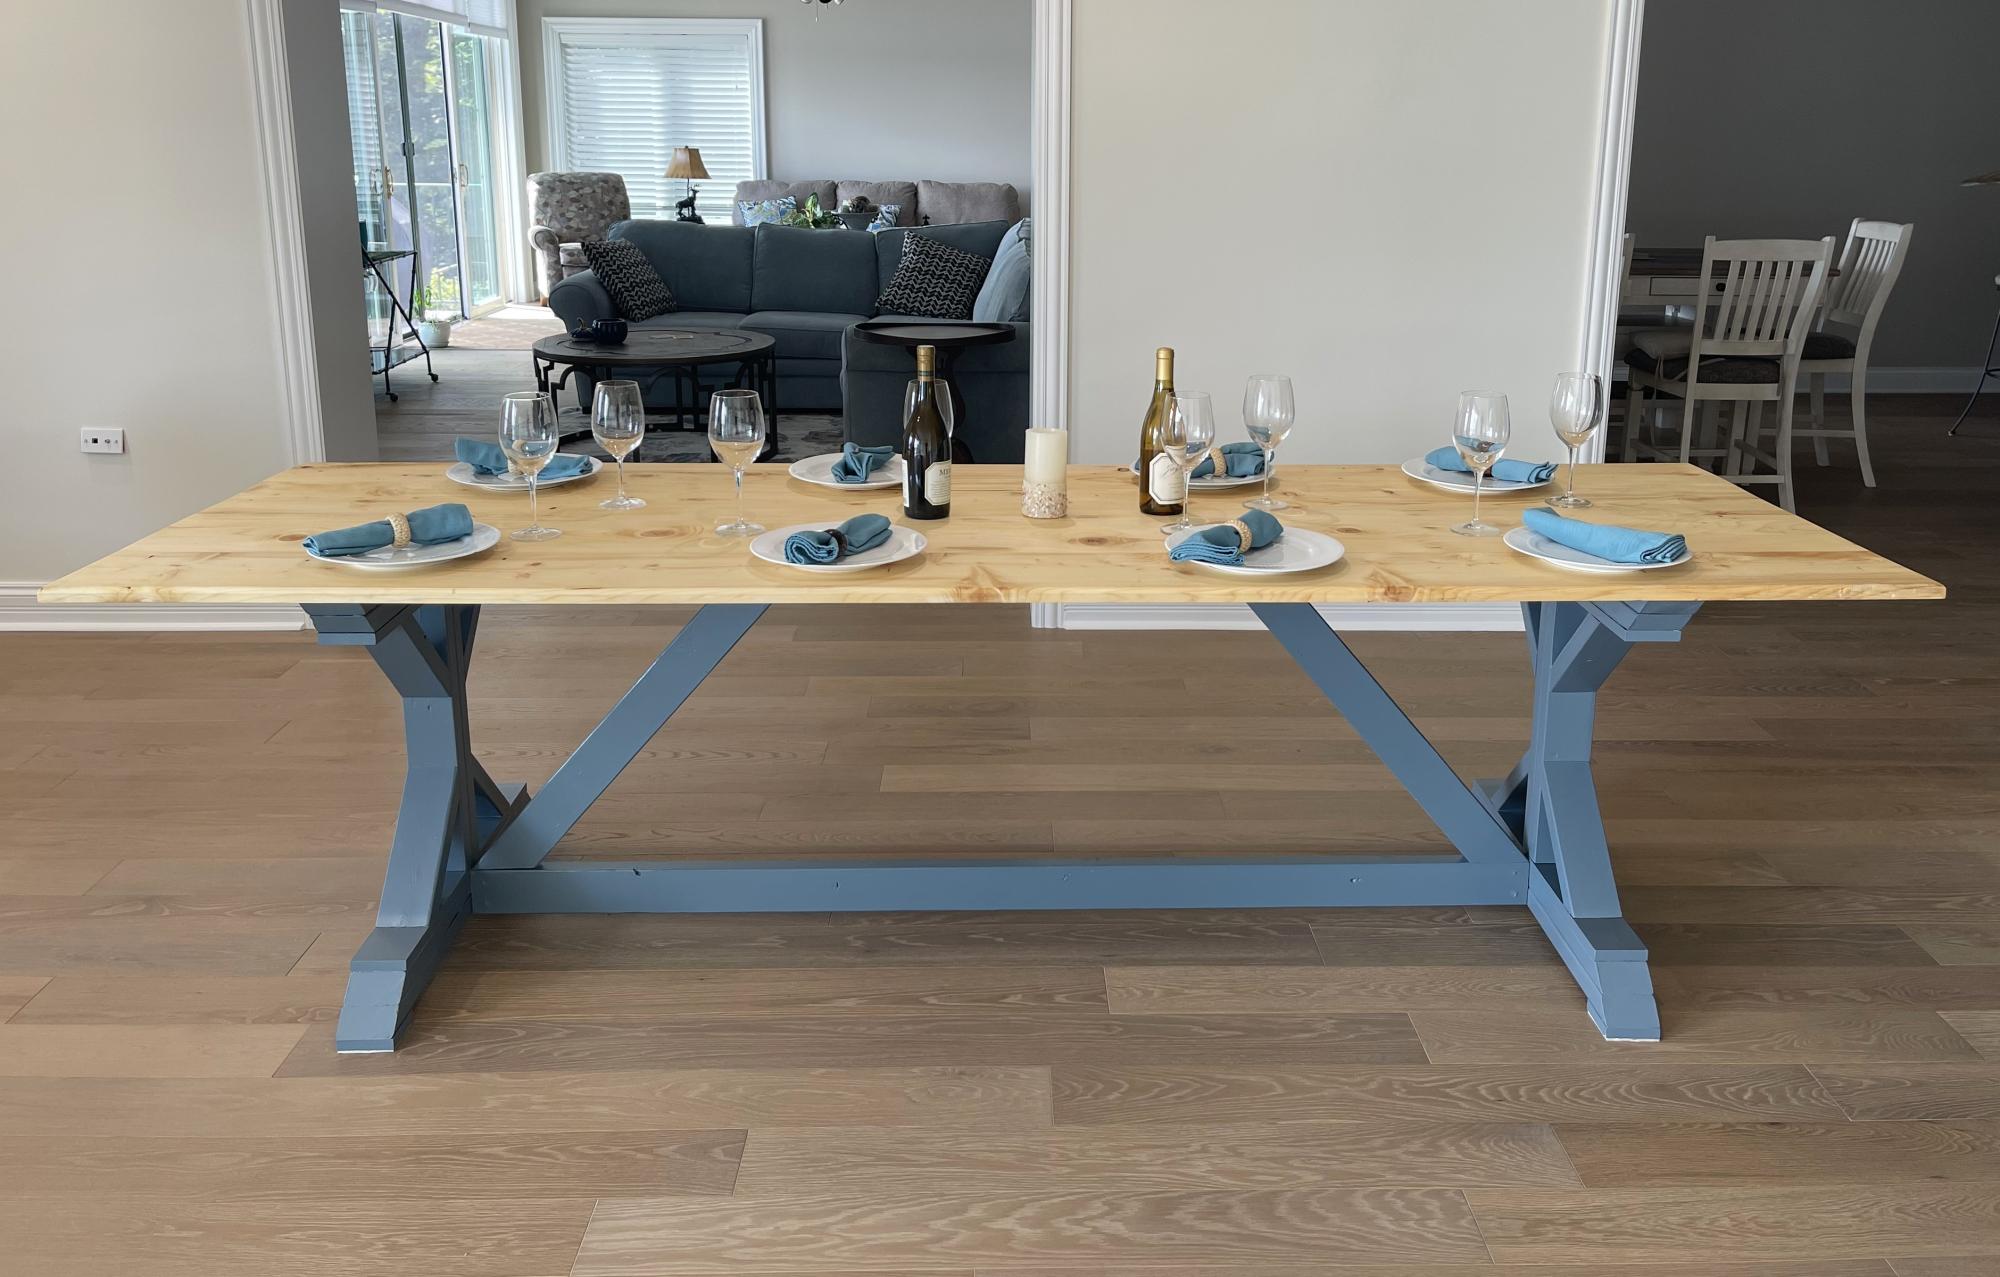
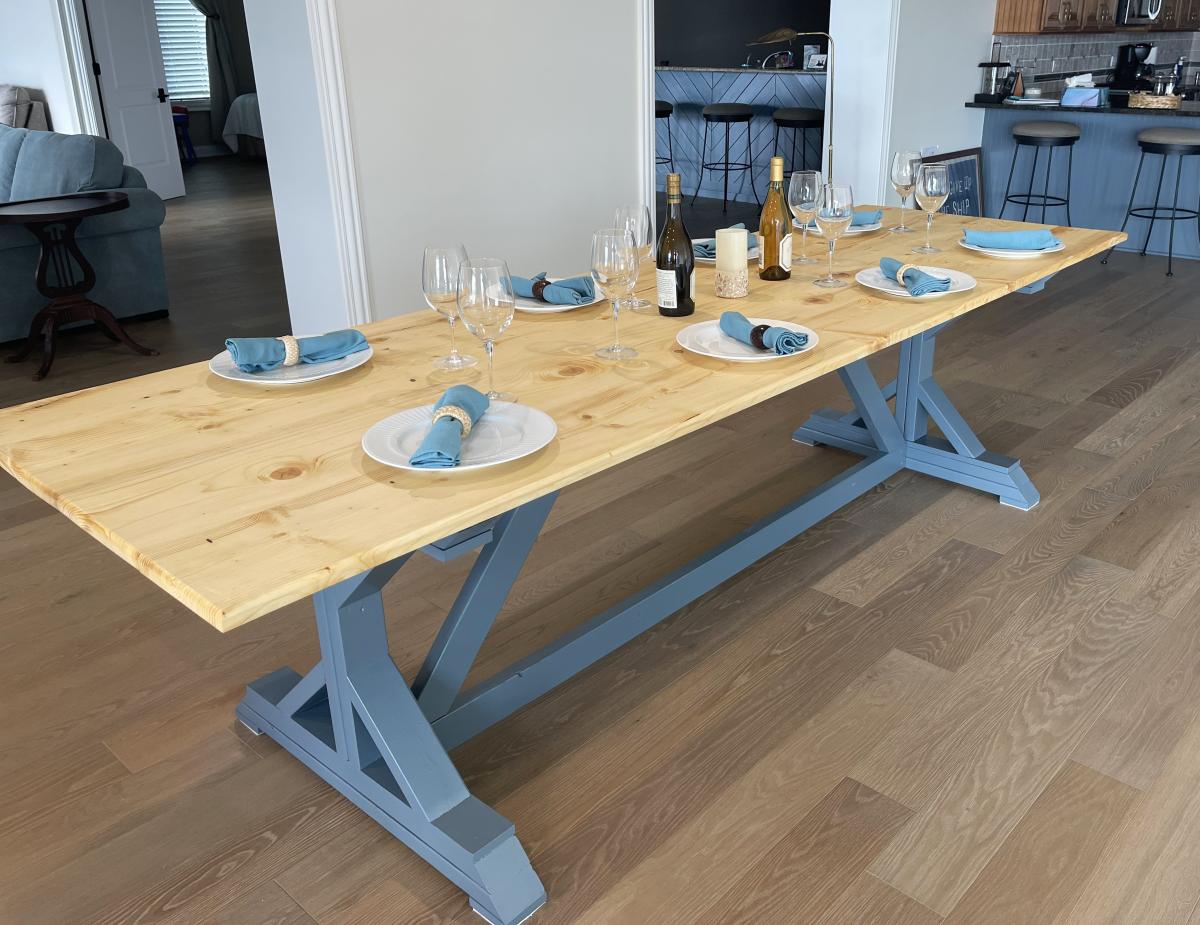
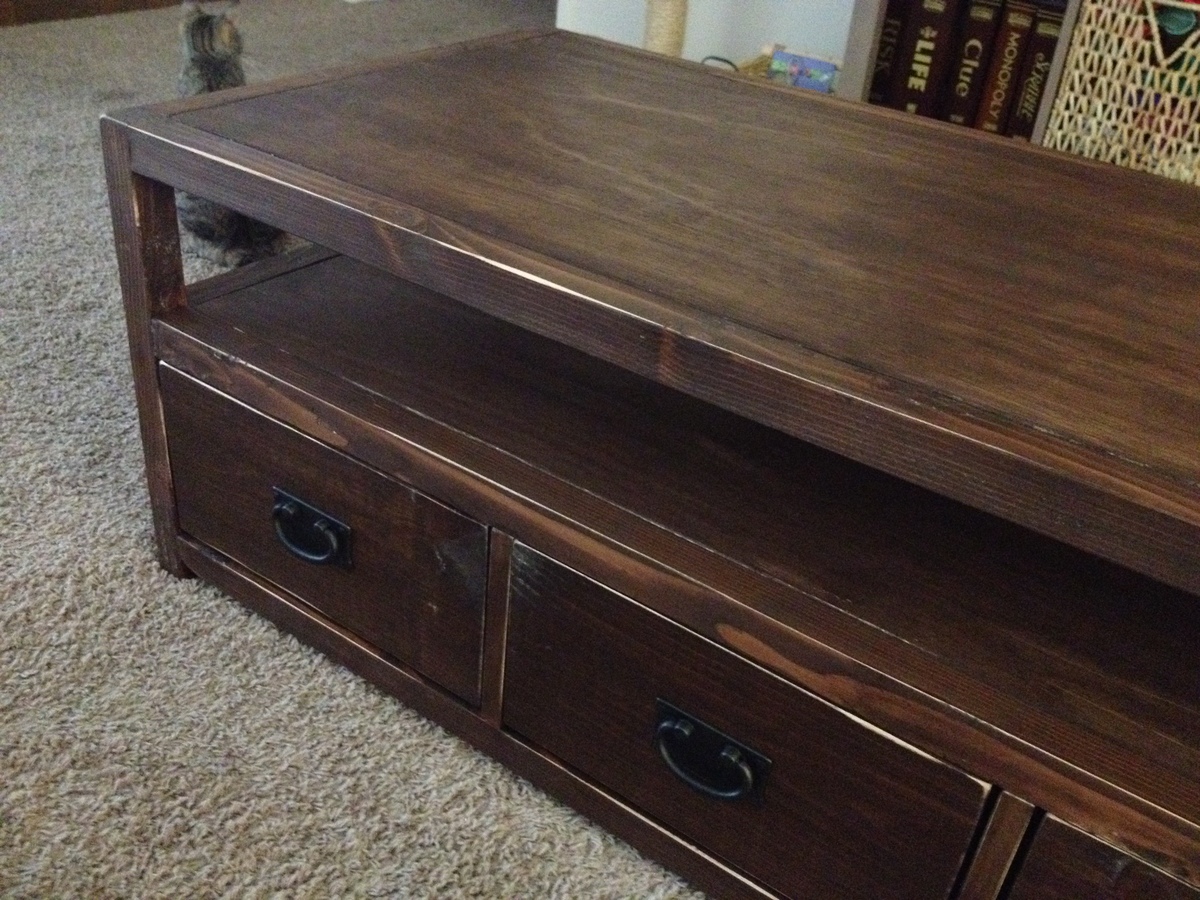
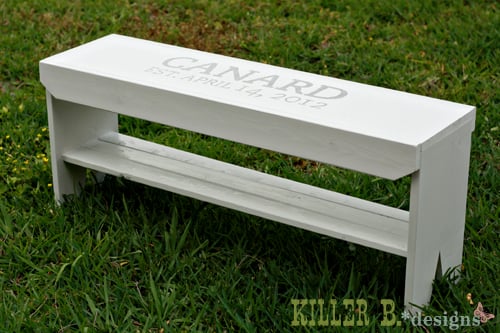
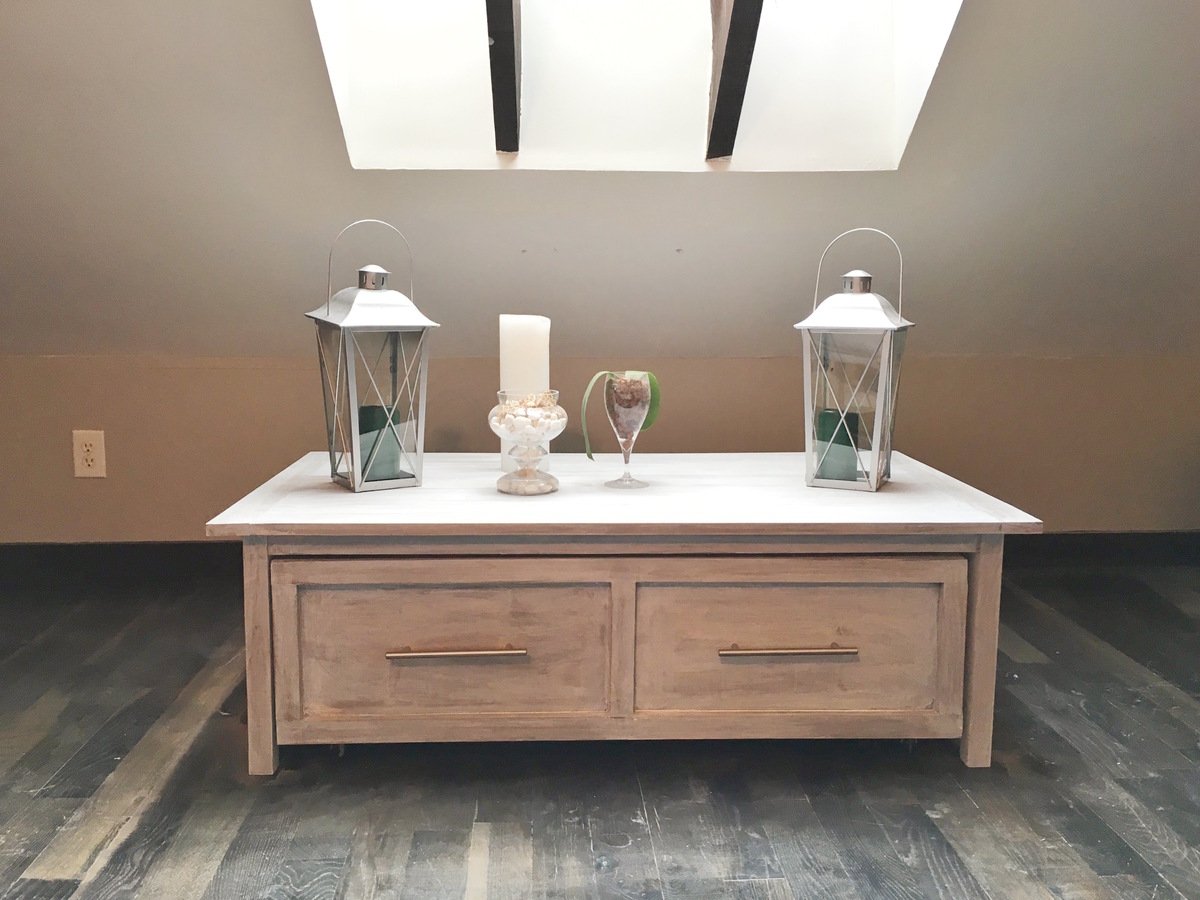
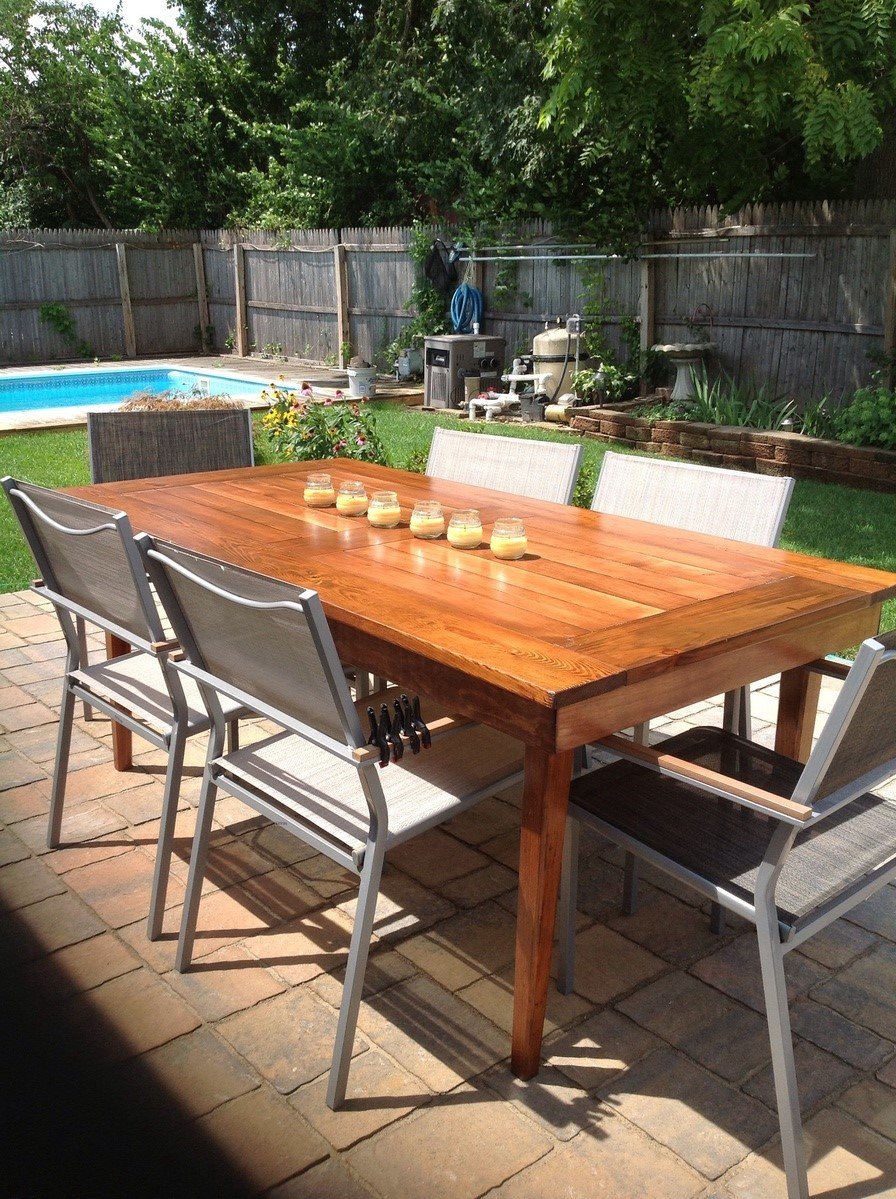
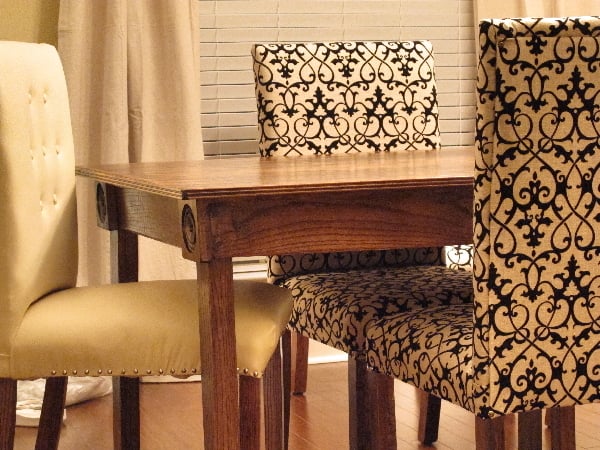
I certainly spent more than the estimate. This was likely because I used select pine boards, and my finish was rather complicated including some pretty pricey hardware. However, the thing I like most about being able to make my own furniture is that I can make it exactly how I want it, and sometimes that ends up costing more money. In the end, I have a table that "looks like a Leonard project" according to my uncle, which is pretty much the highest compliment that can be bestowed on such things by any one of my uncles.
I also spent more time than was mentioned by others. All told, I spent about 24 hours on the project over a four day stretch. I did the project on my own, and my process for filling holes and sanding is rather laborious. I actually went through that process twice even though sanding is, by far, my least favorite task. The finish was also quite time intensive.
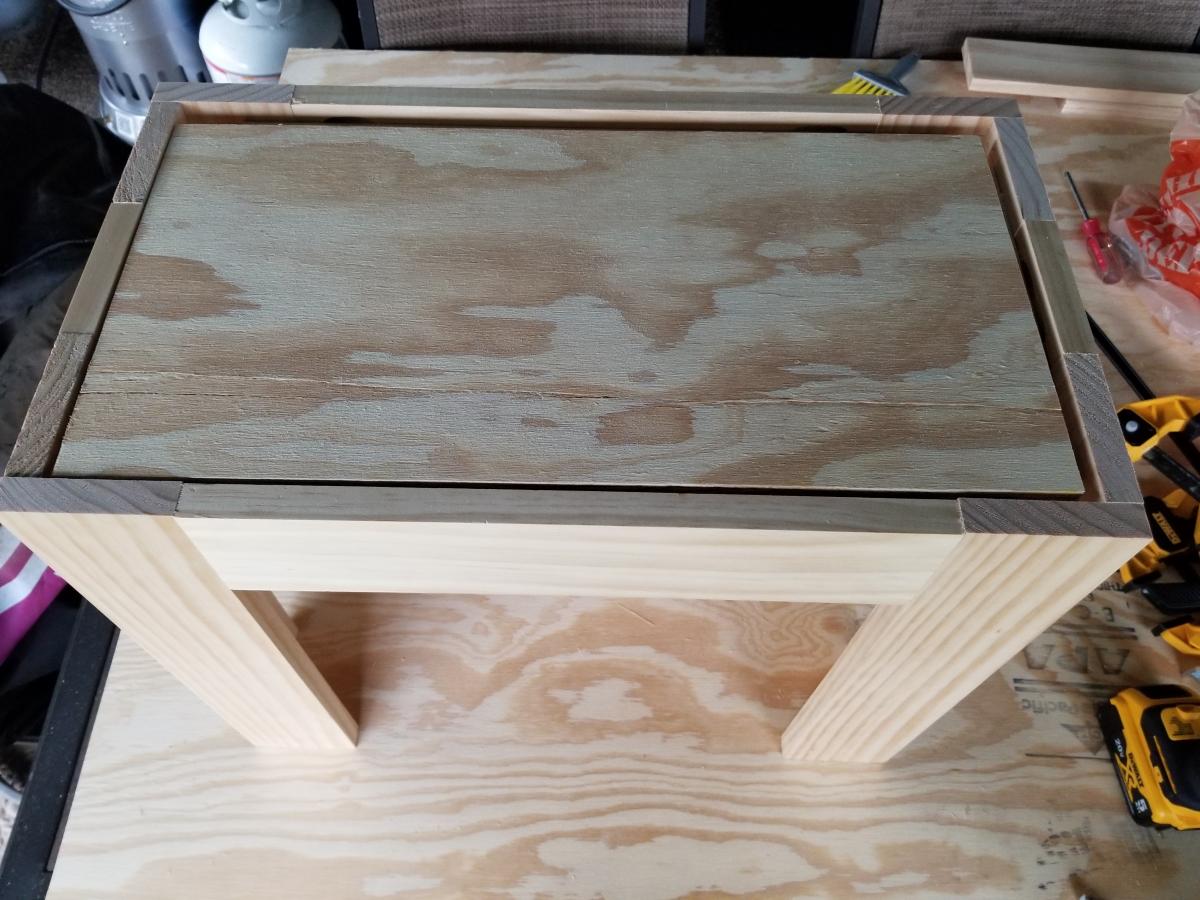
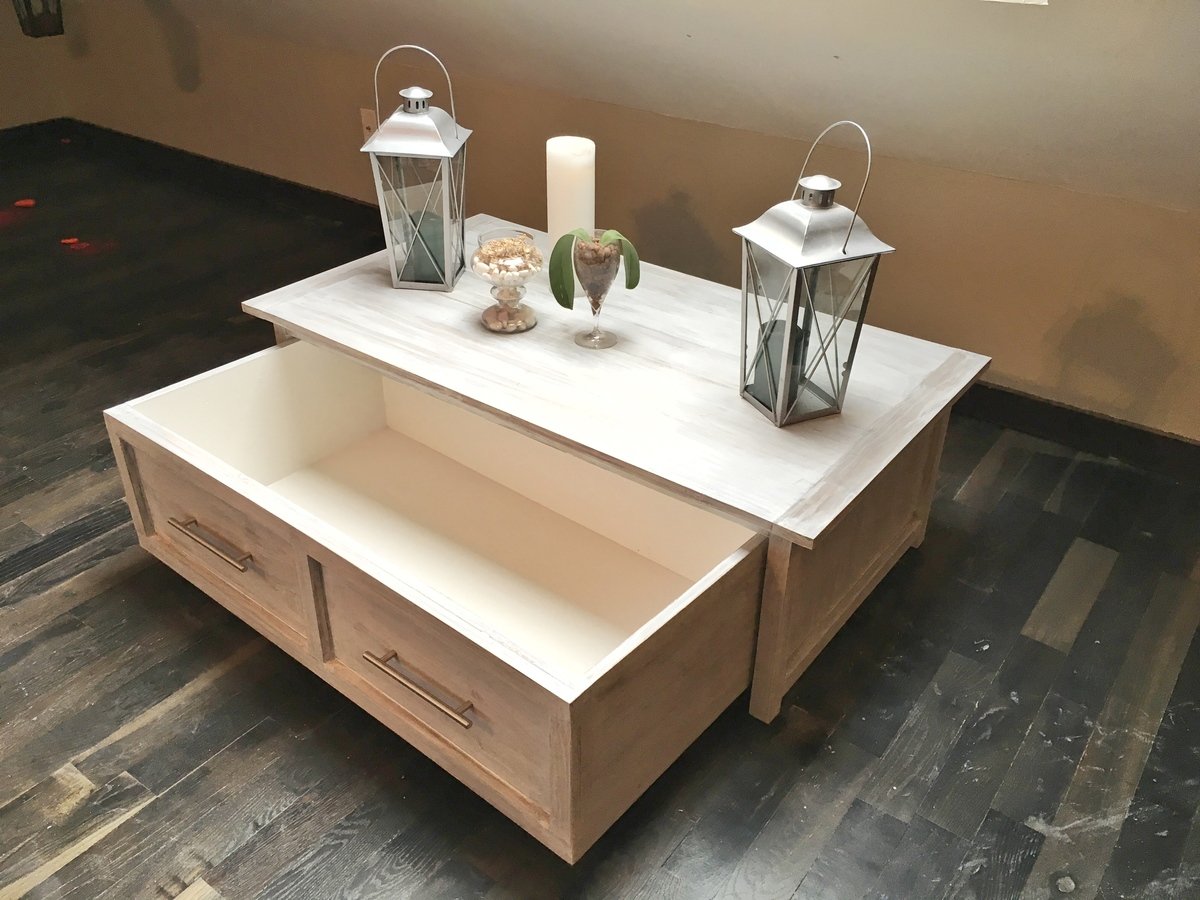
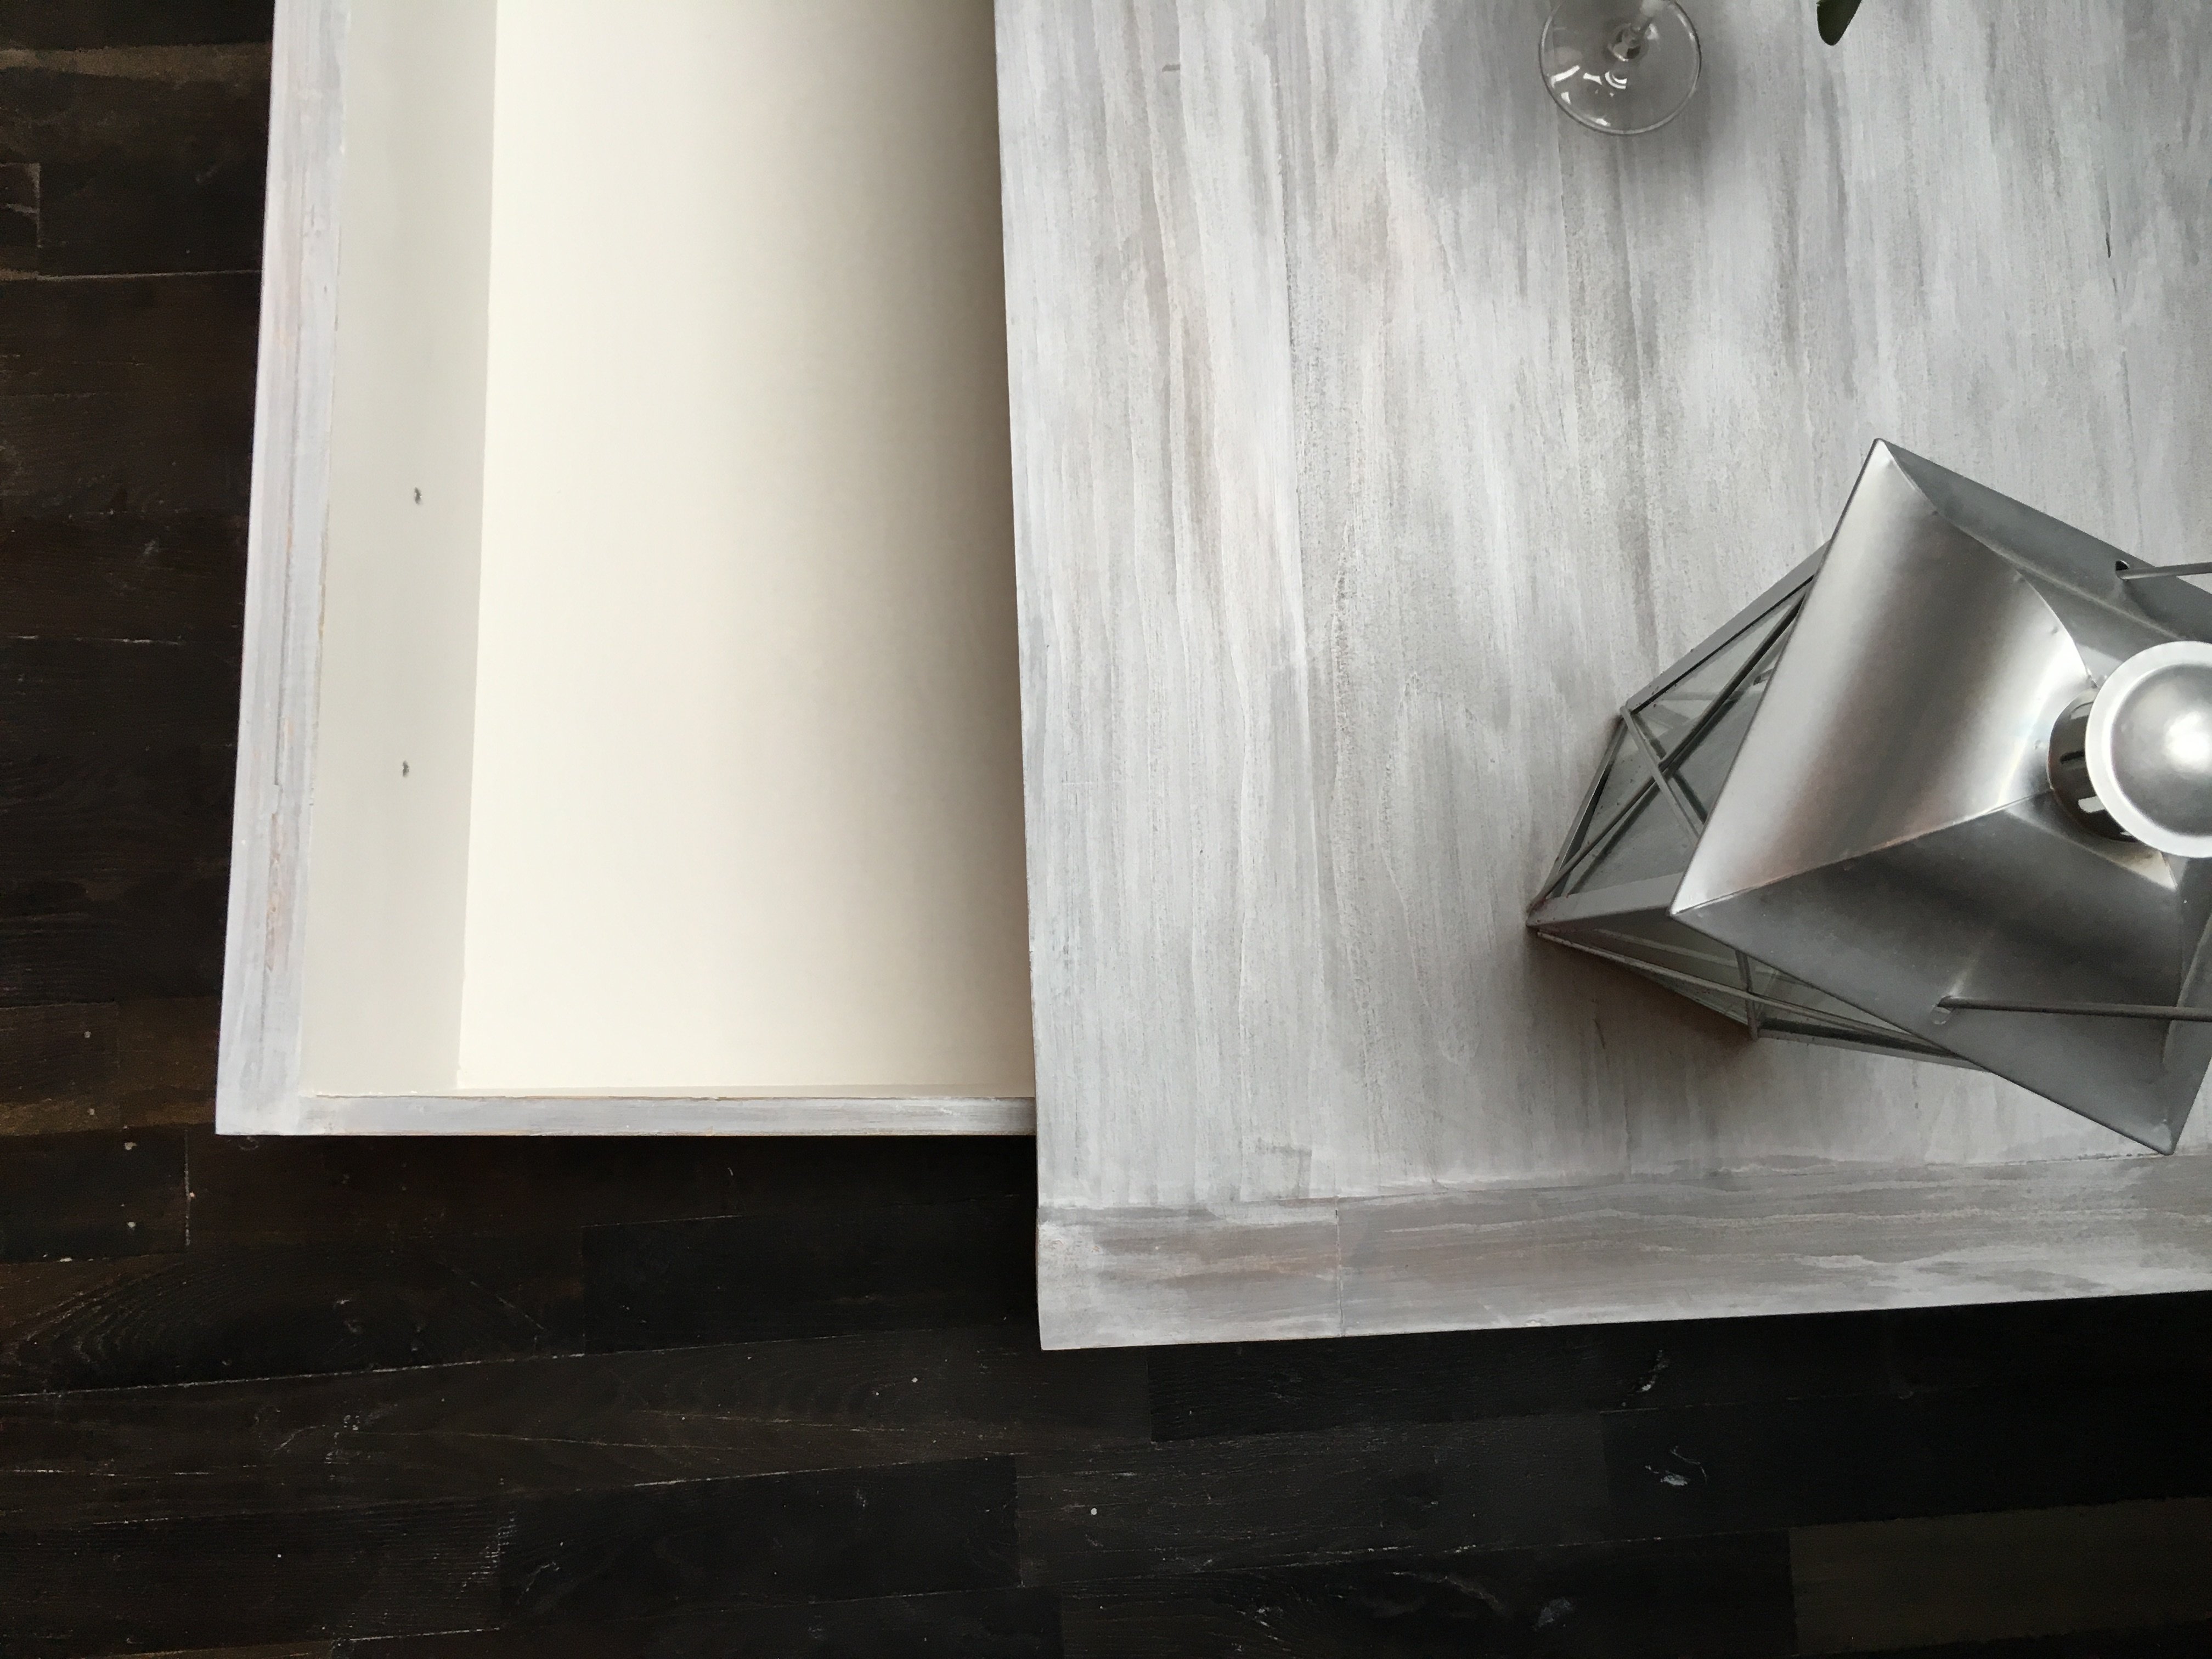
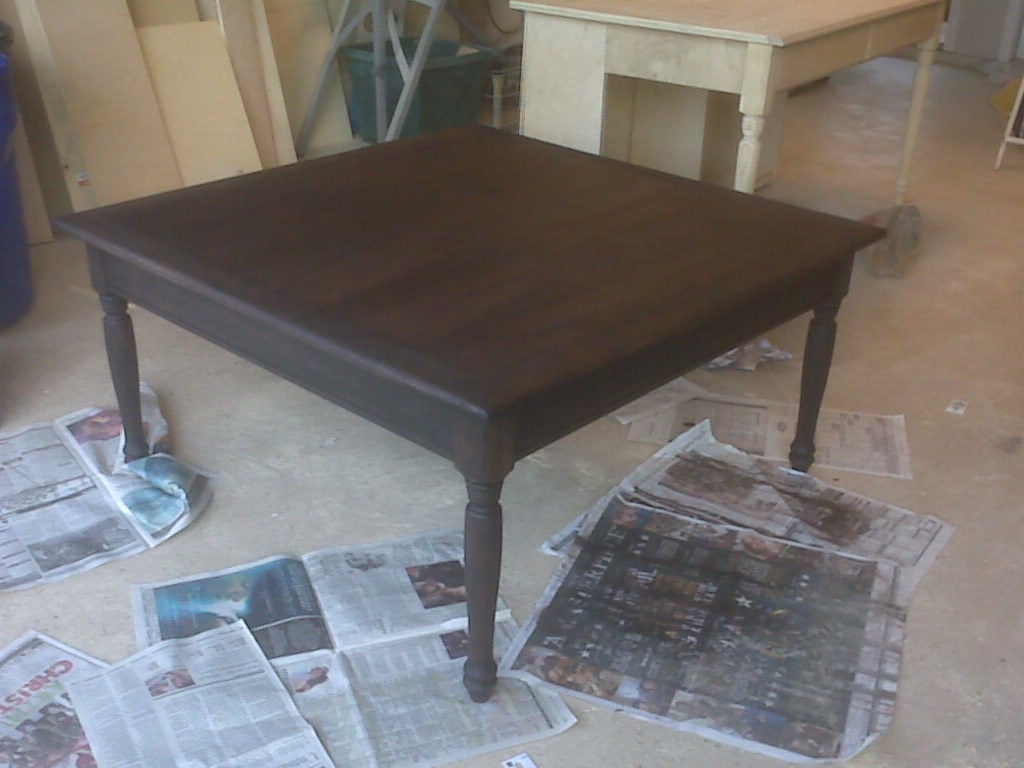
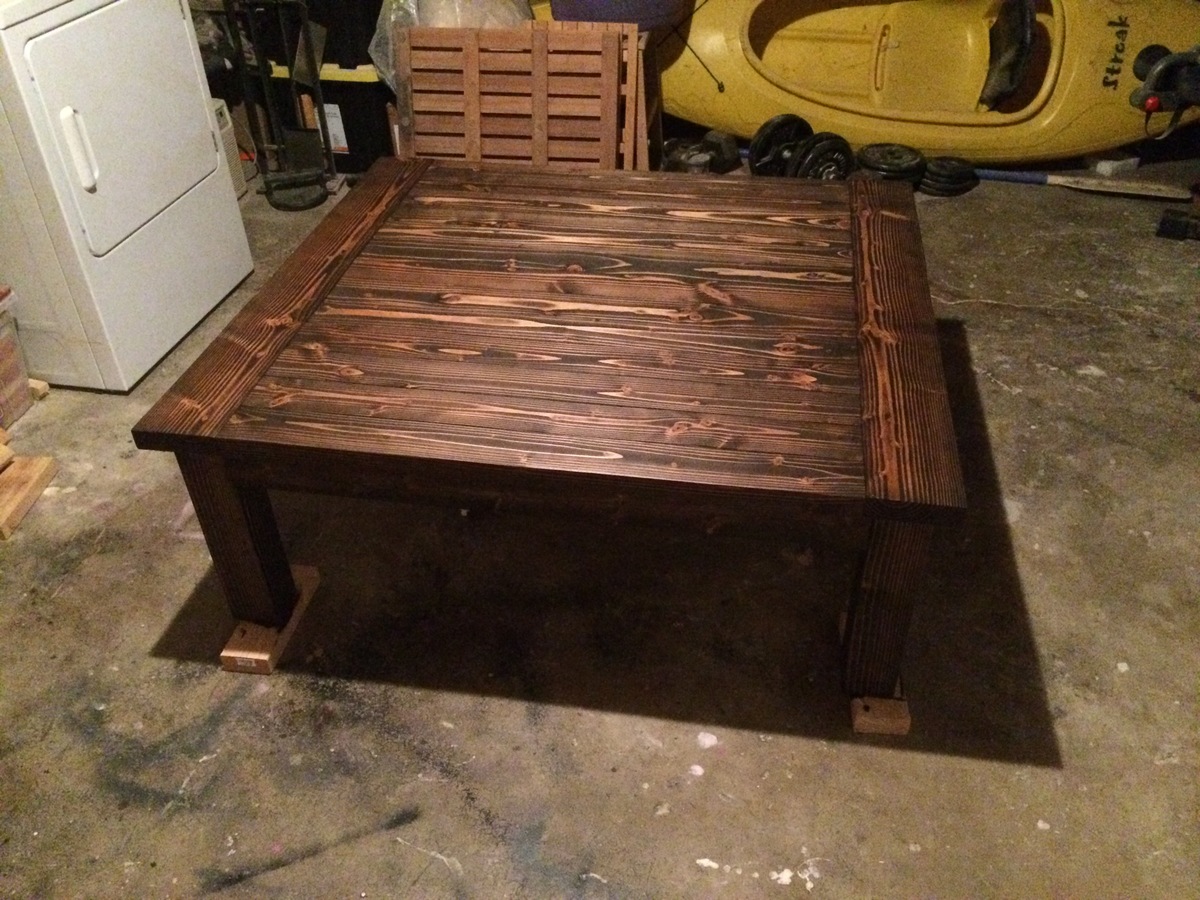
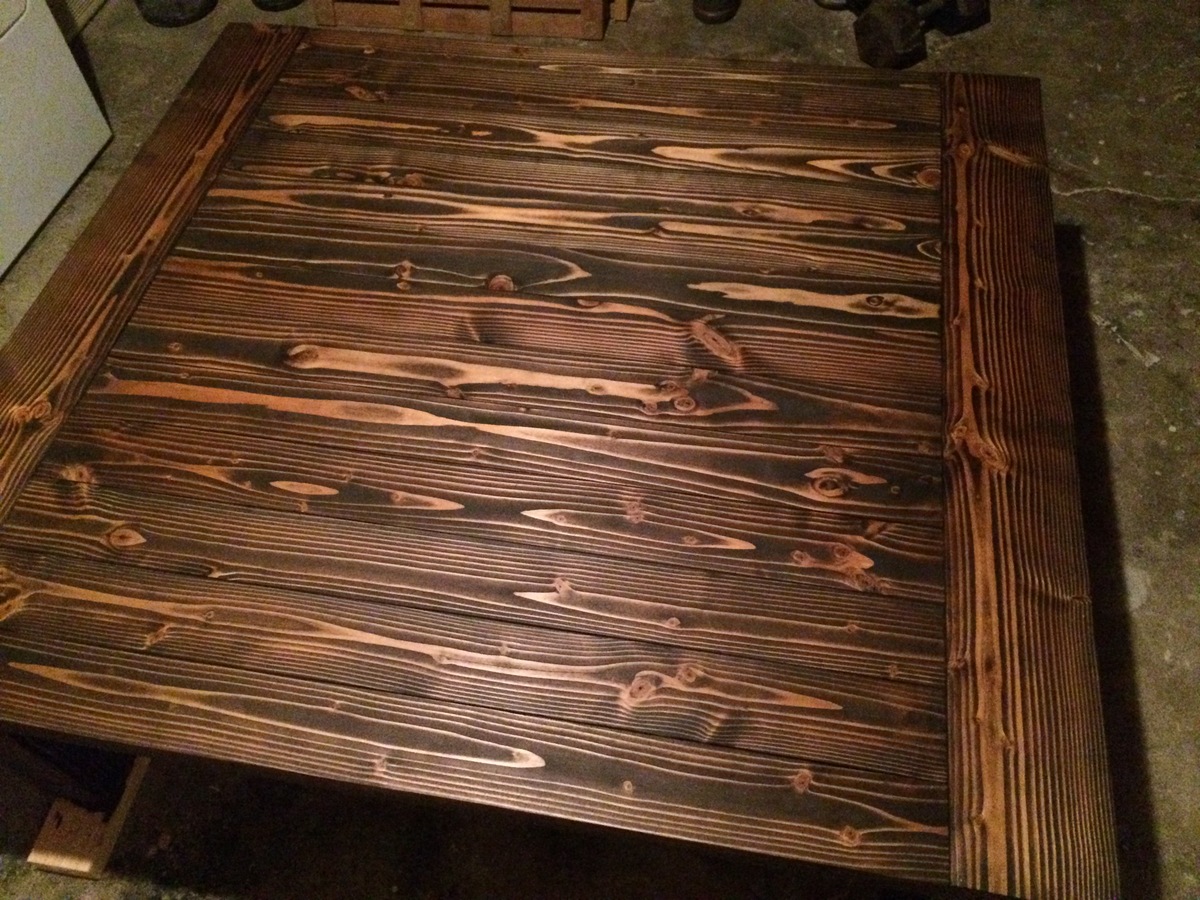
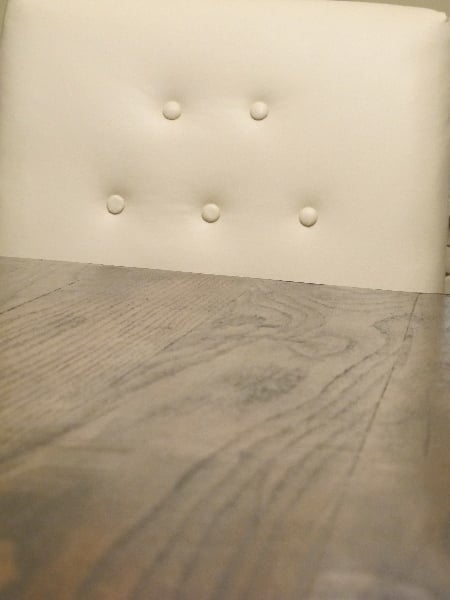
Speaking of the finish, this was done in all water based since I live in a condo with very little ventilation. I started with Minwax waterbased stain in American Walnut. I then applied two coats of white wash before sanding it down to reveal more of the wood grain. I'm so pleased with the finish!
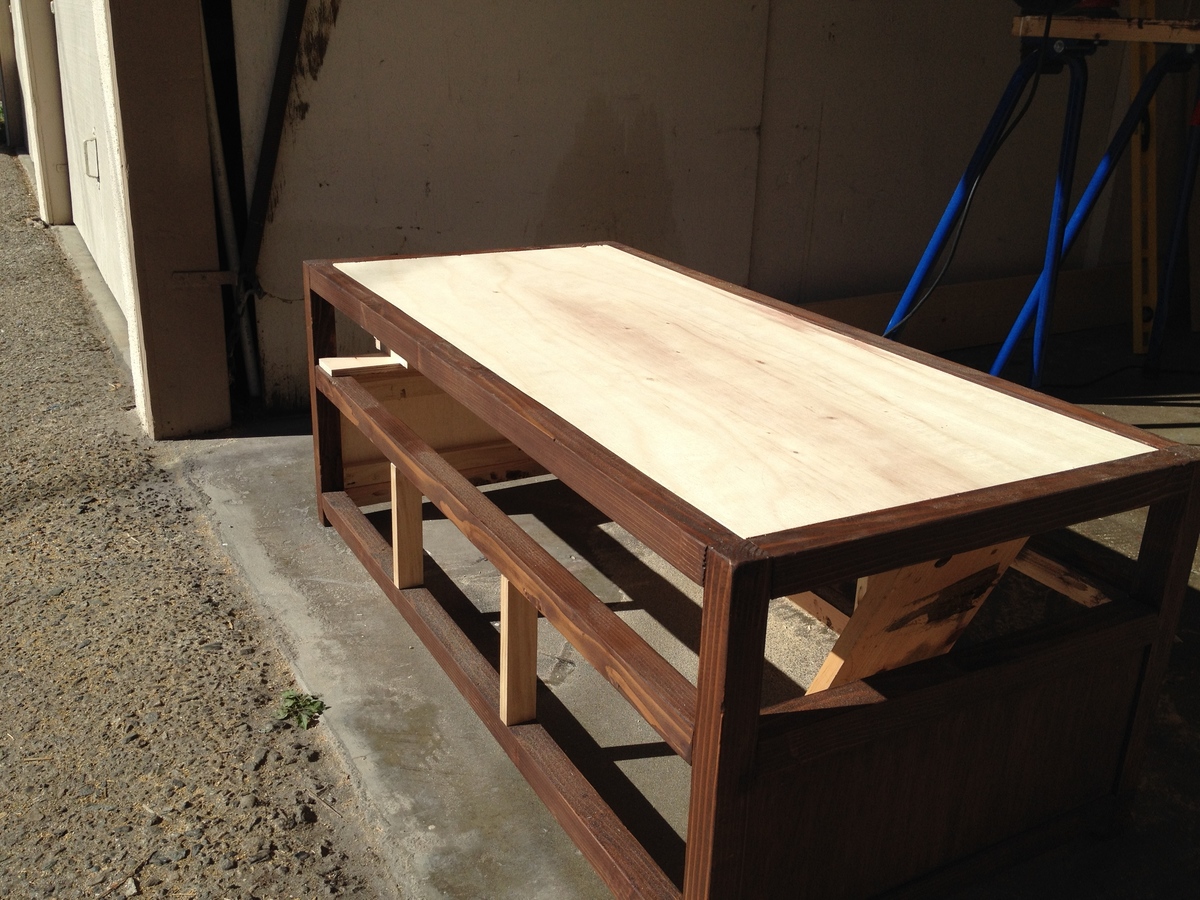
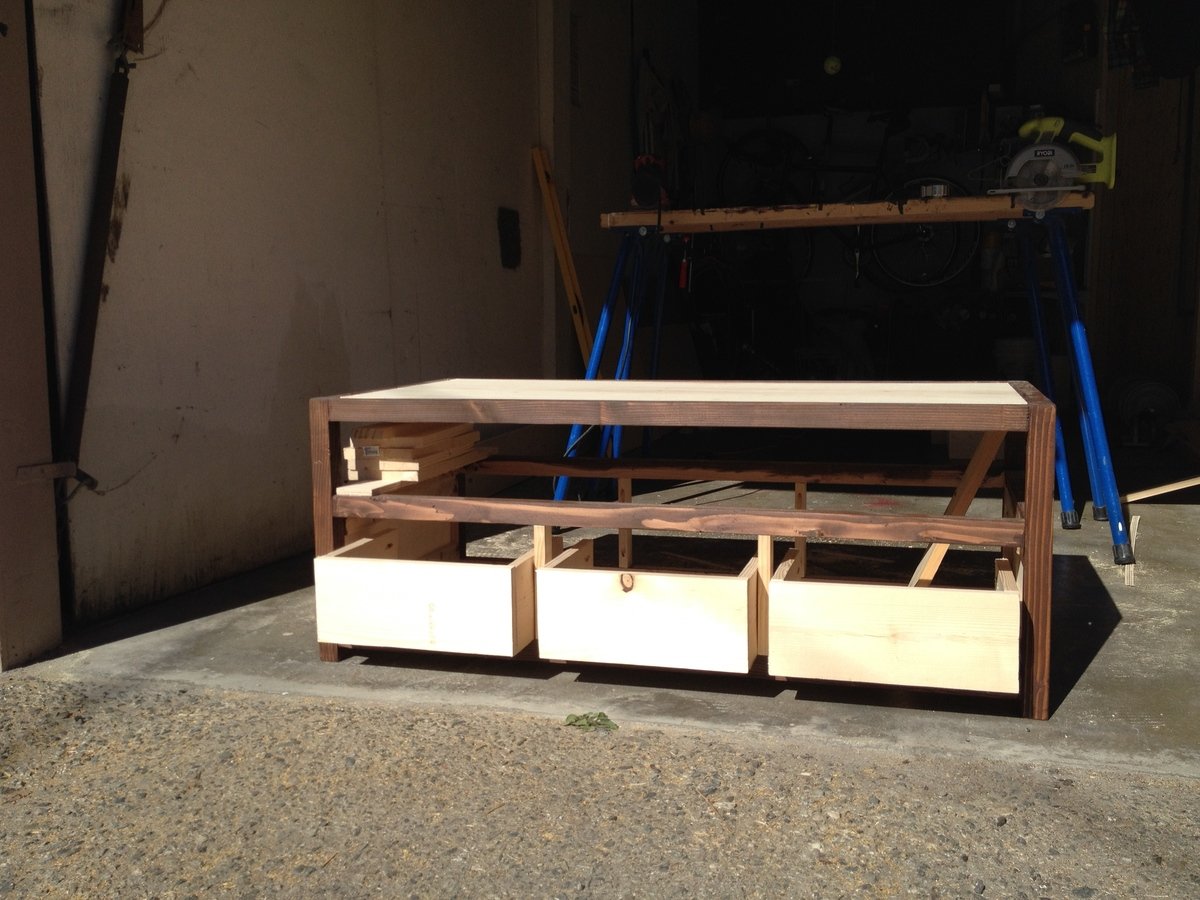
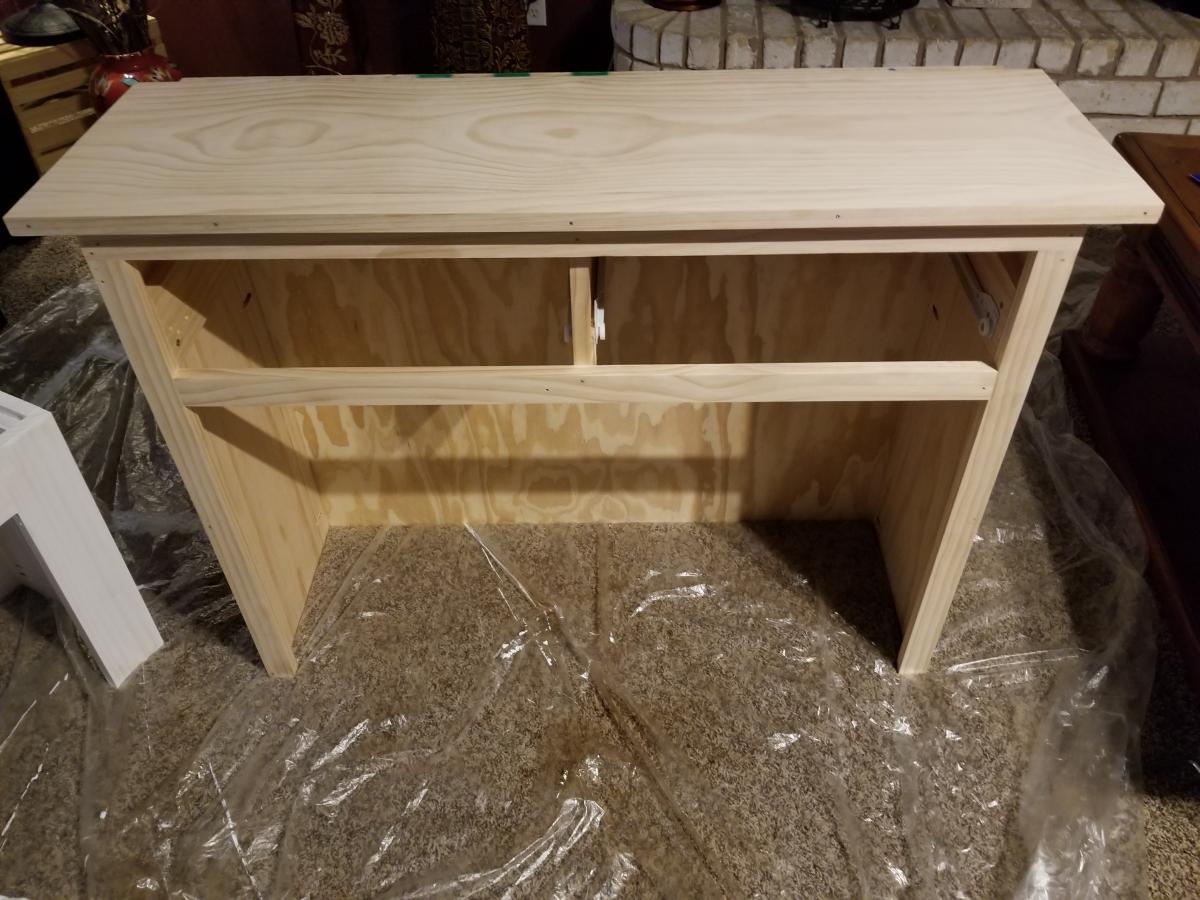
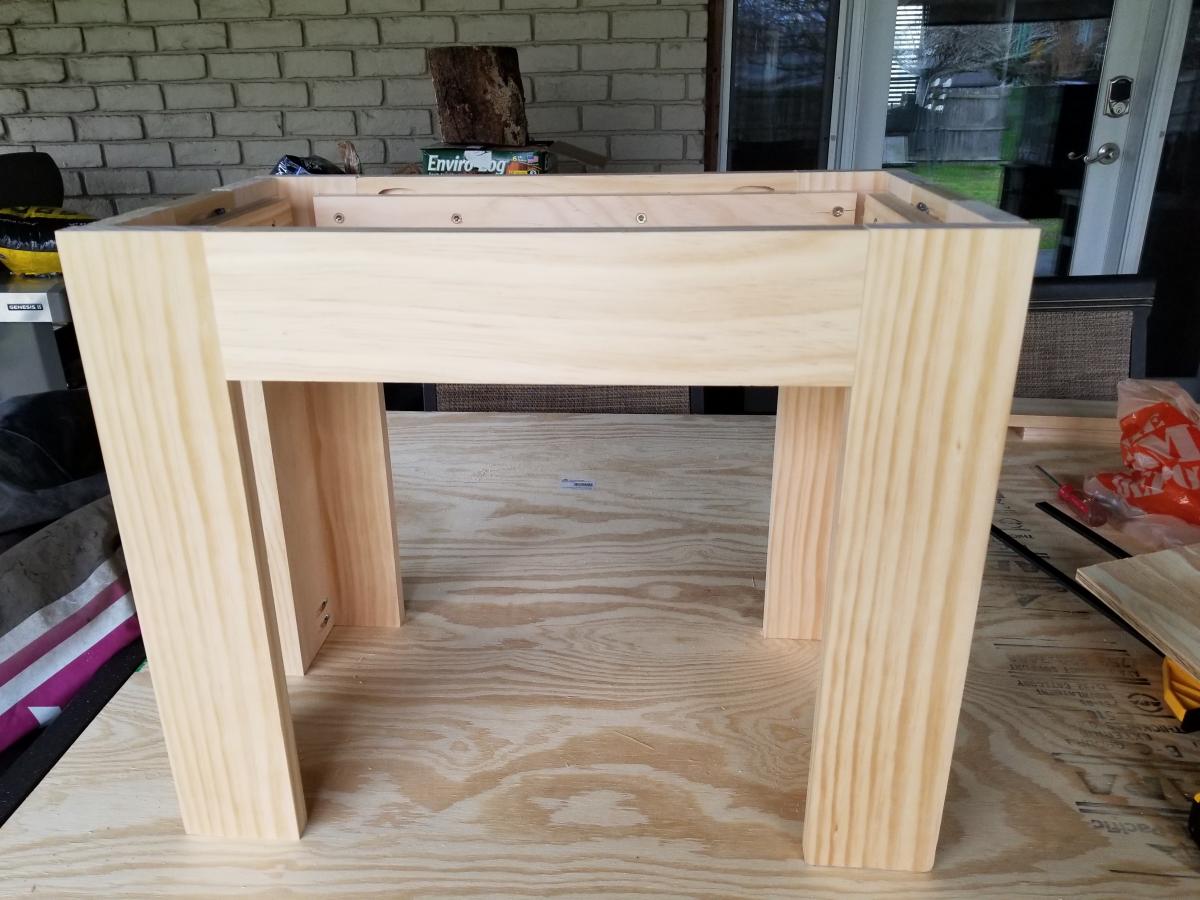
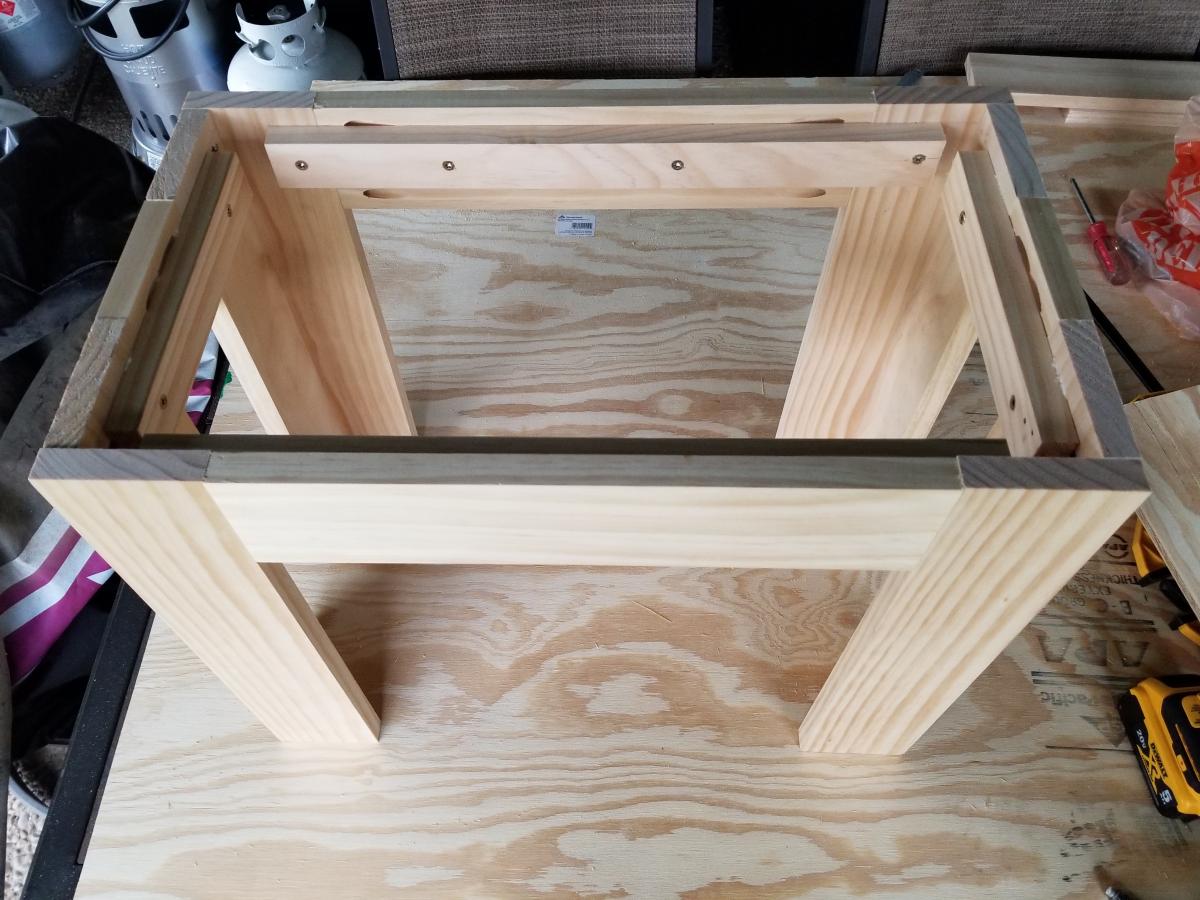
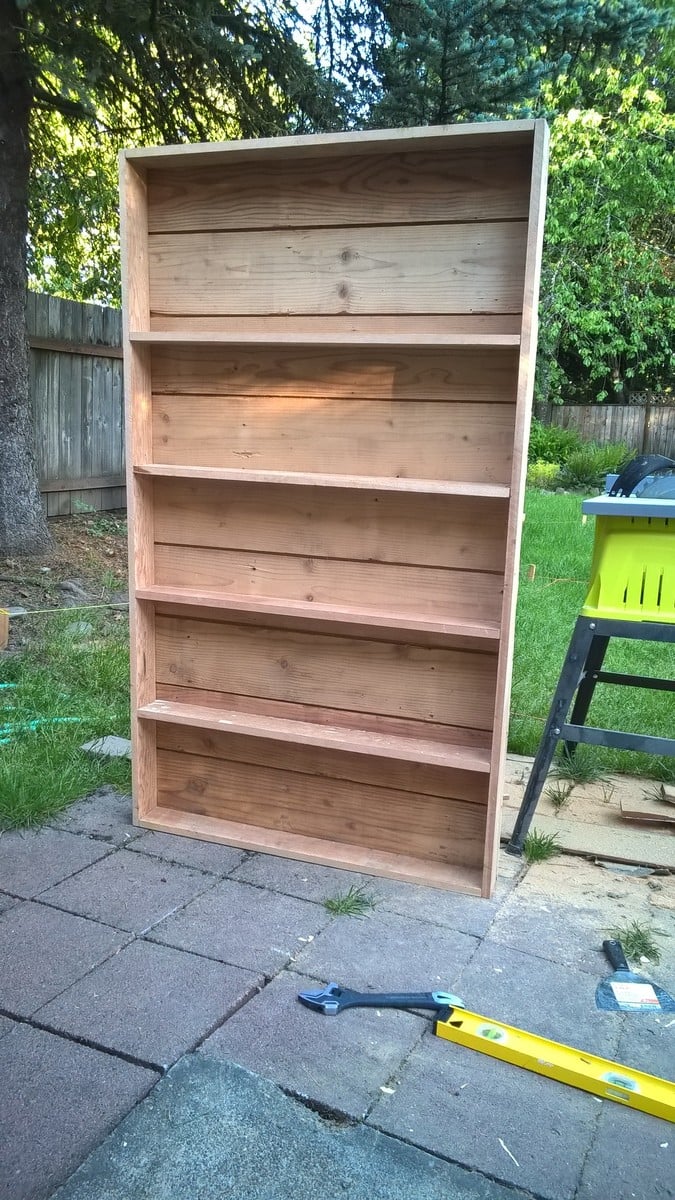
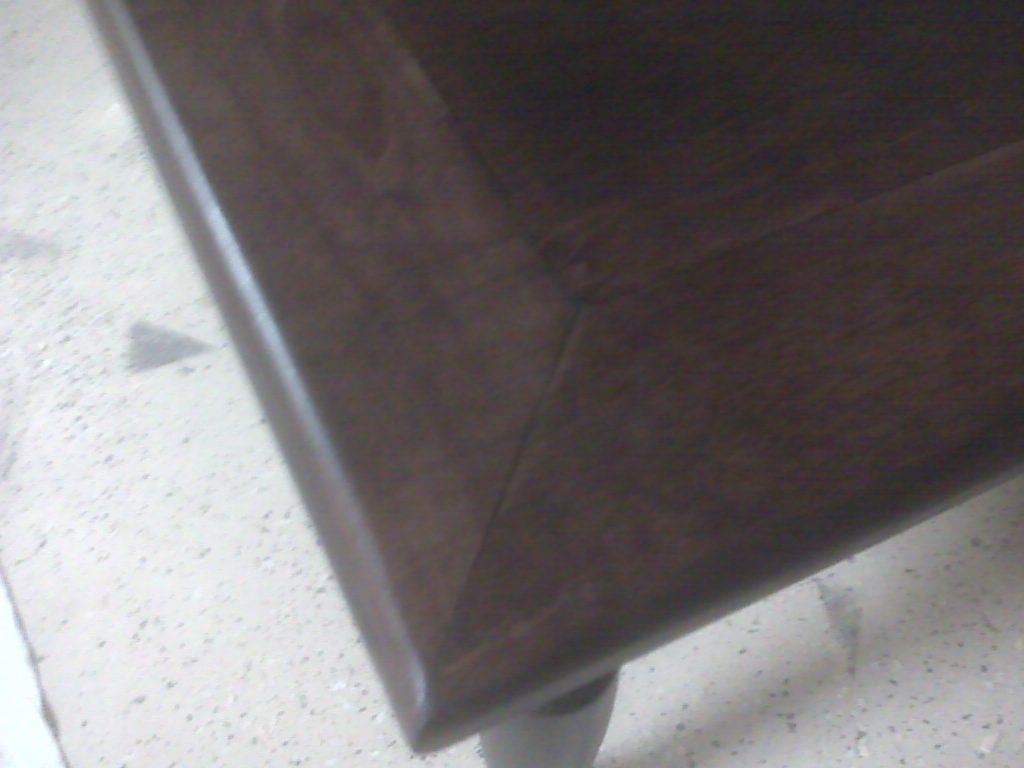
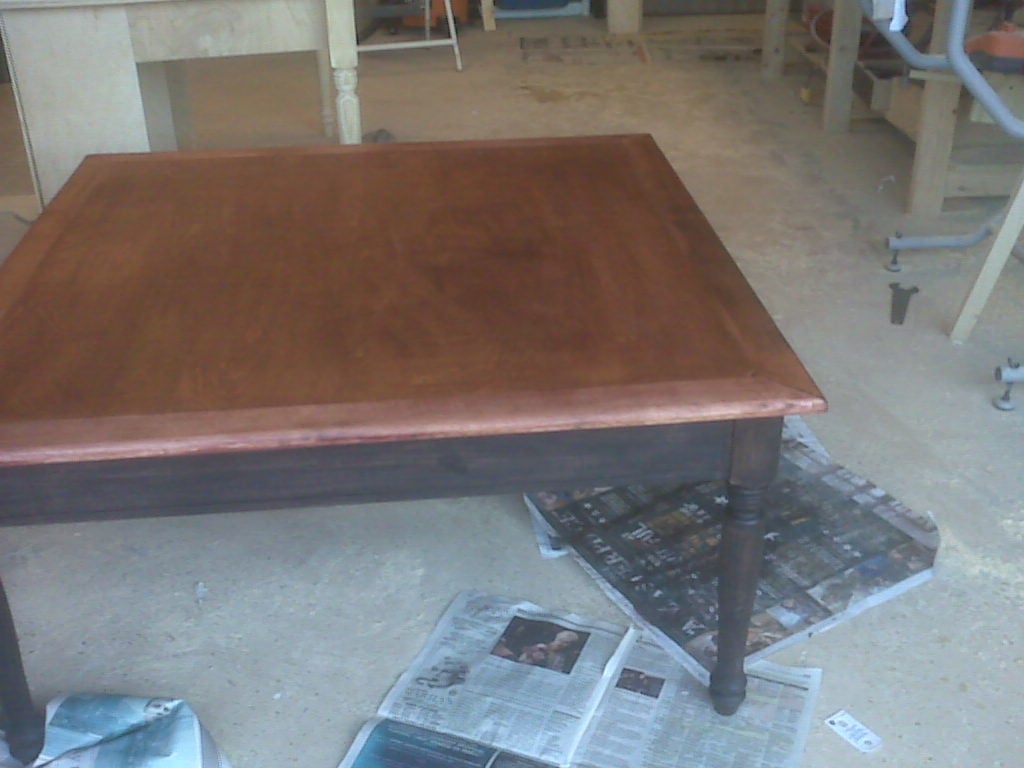
However, the thing I'm the most proud of is how square this thing is. Math teachers could build accurate trigonometry word probems off of this thing! I decided to reverse engineer the most important bits in order to ensure squareness. For example, I built the table top first. I then drew out a perfectly square outline on the bottom side. I then used counter sunk screws to attach the frame to the bottom side as well as the Kreg jig to fit the pieces of the frame together. Similarly, I cut the bottom piece of playwood perfectly square, and then I attached the 1x12s to the plywood to ensure everything stayed square. Those 1x12s are just too swervy otherwise, which can become rather unweildy.
All told, I am very pleased with the finished product. I love having the ability to build high quality furniture that will live on for a long time to come.


Comments
Ana White
Thu, 01/30/2014 - 10:32
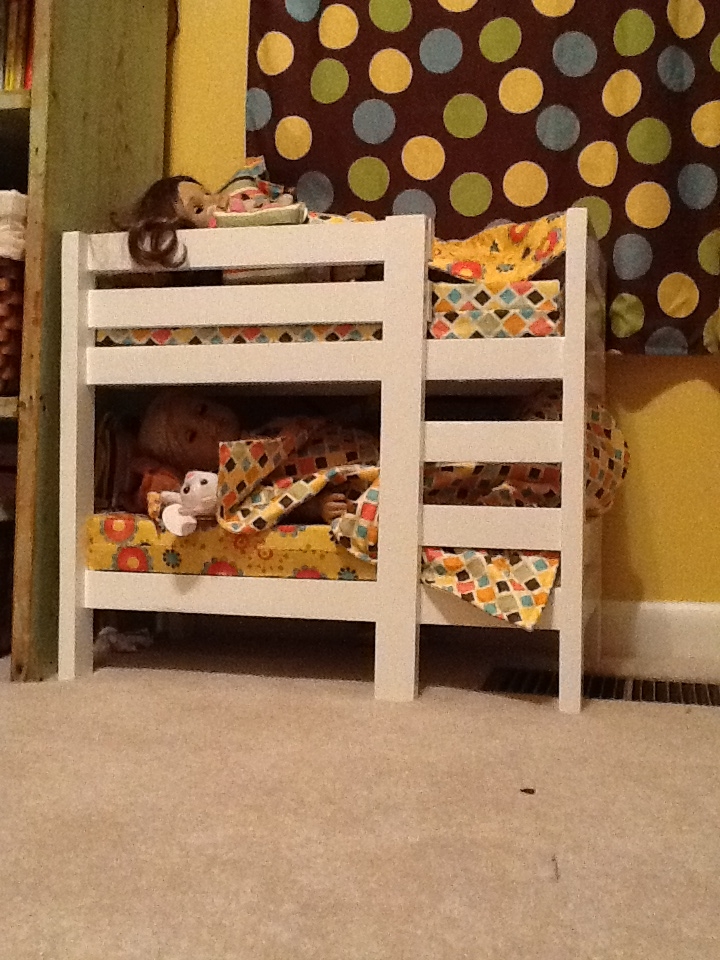
Adorable!
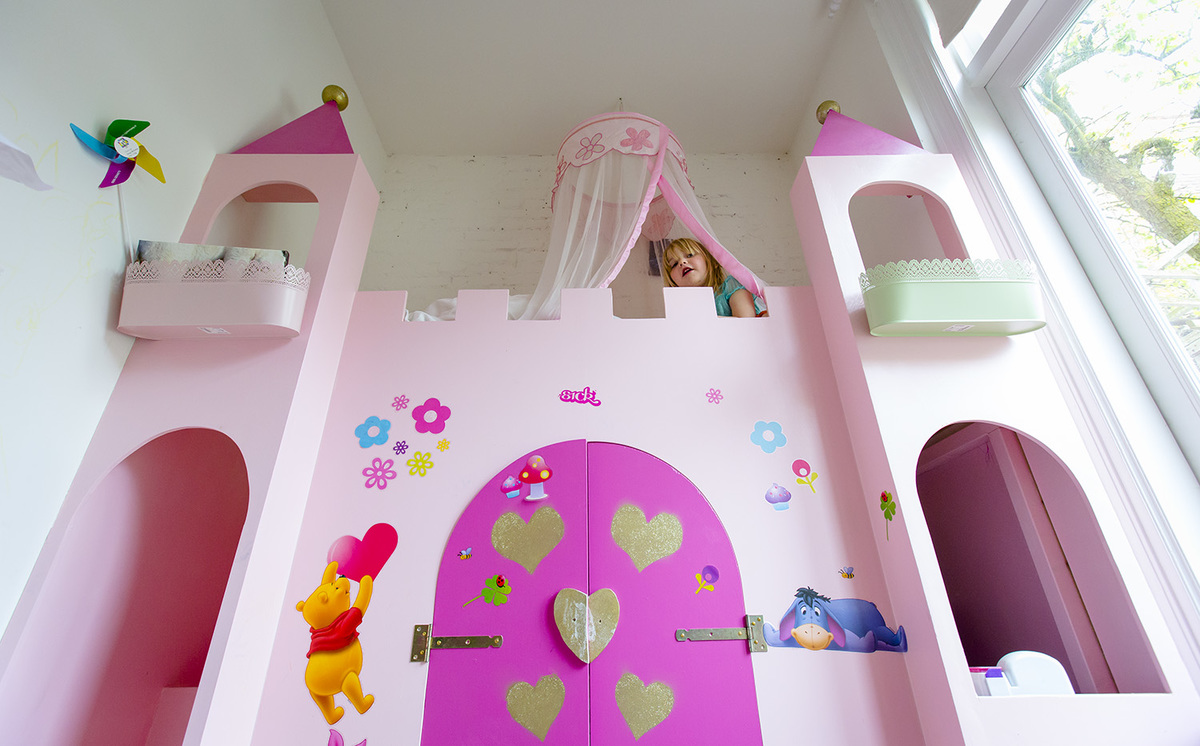
What a lucky little girl, great job on this build!
ShushiGirl
Fri, 01/31/2014 - 13:29
Thank You Ana!!
Thank You Ana!!
birdsandsoap
Fri, 01/31/2014 - 20:41
Ah! I love it! I love the
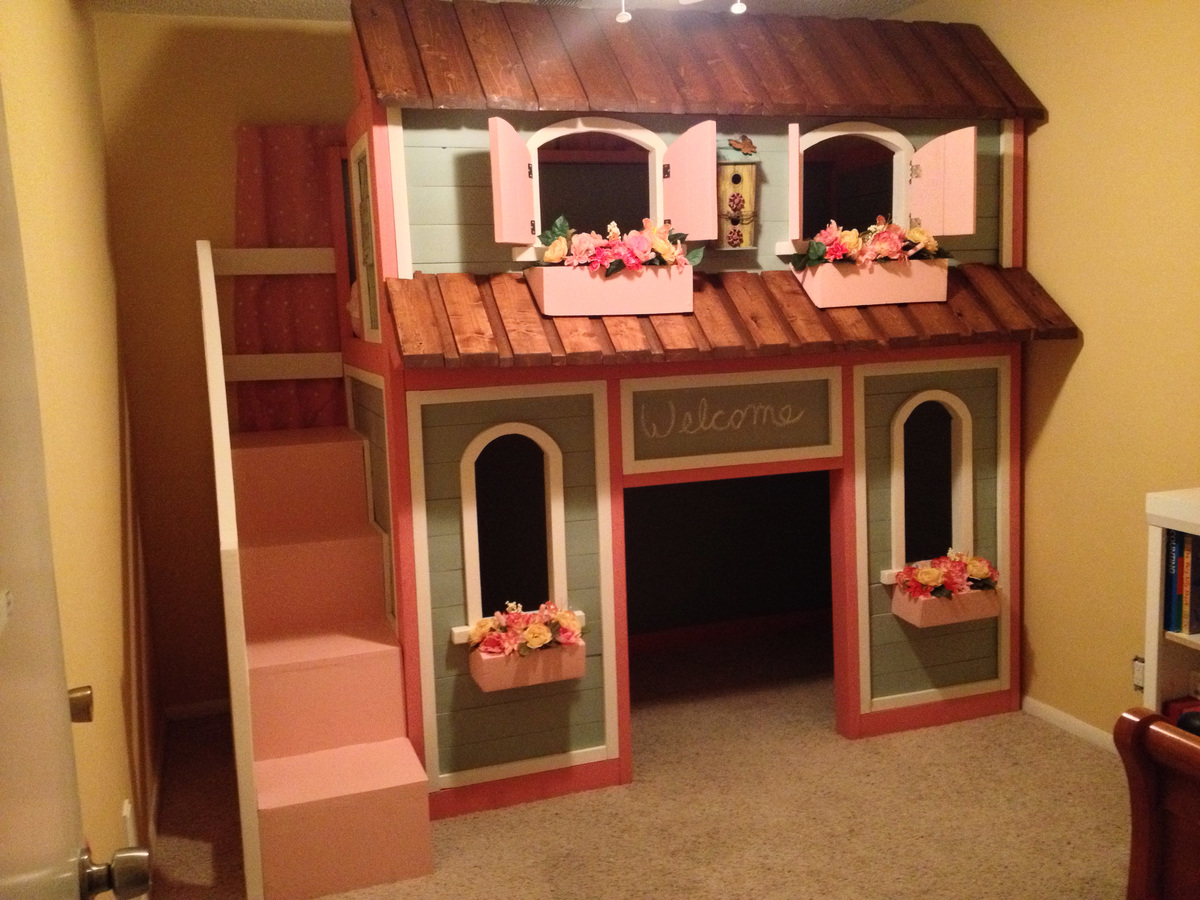
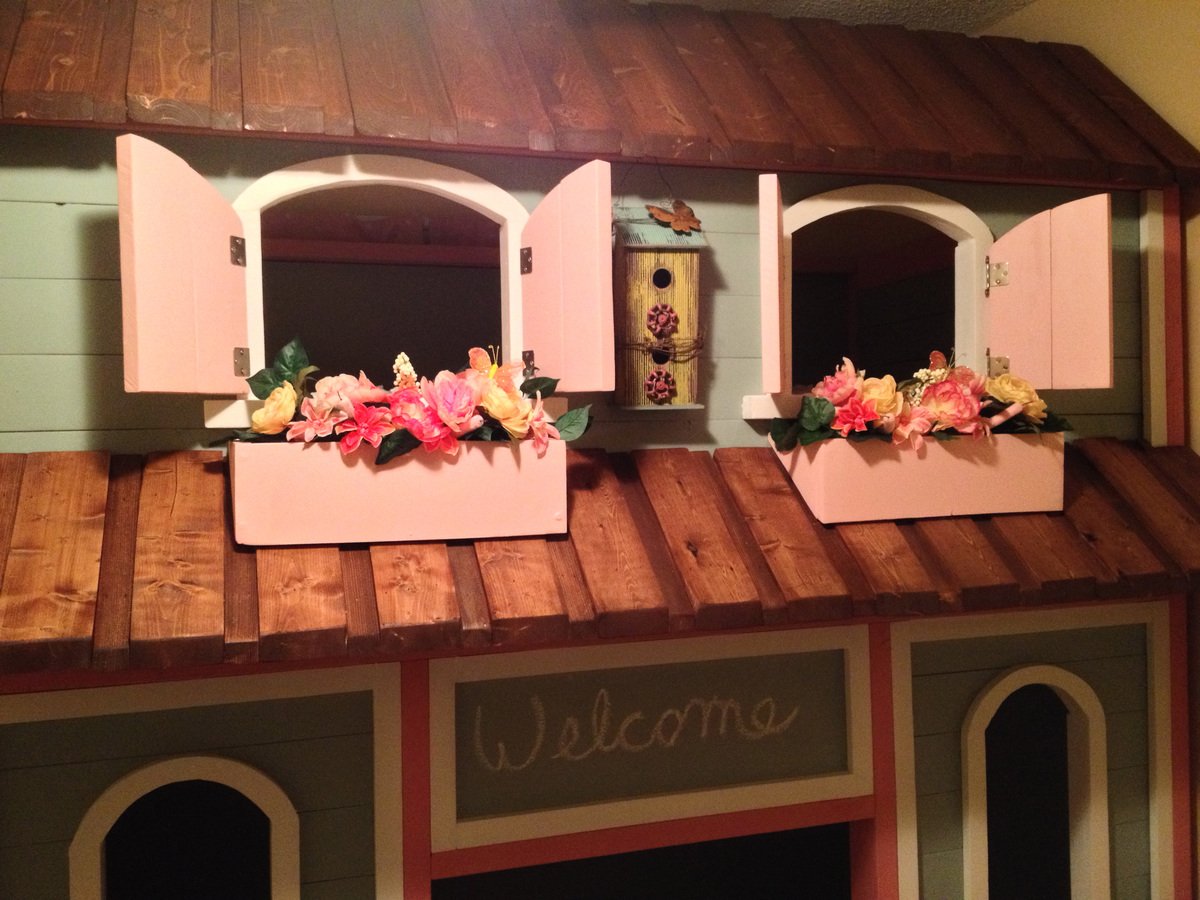
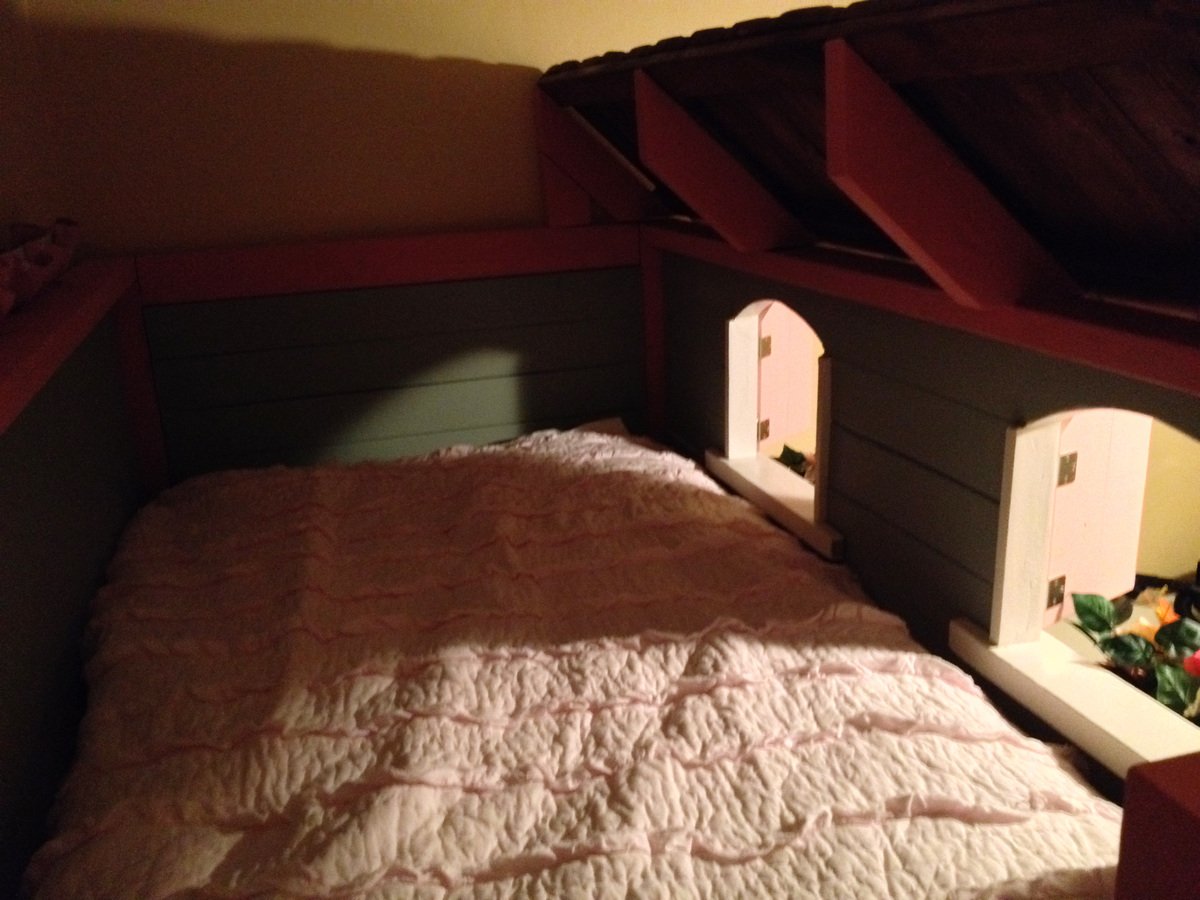
Ah! I love it! I love the roof on the lower level, this turned out adorable!
ShushiGirl
Sun, 02/02/2014 - 18:32
Thank you!
We had fun making this as a family :)
junior2725
Sun, 02/02/2014 - 22:11
Awesome Job
I am looking at making this for my daughter and I also want to do a playhouse on the bottom as she is a single child. Did you just extend the opening to the bottom bunk to the floor and then extend the bottom windows down some to let in more light? Also, I love the idea of switching the storage from the stairs to inside the playhouse. If possible could you elaborate on how you did this. Thank you.
ShushiGirl
Tue, 02/04/2014 - 15:46
Sure Thing
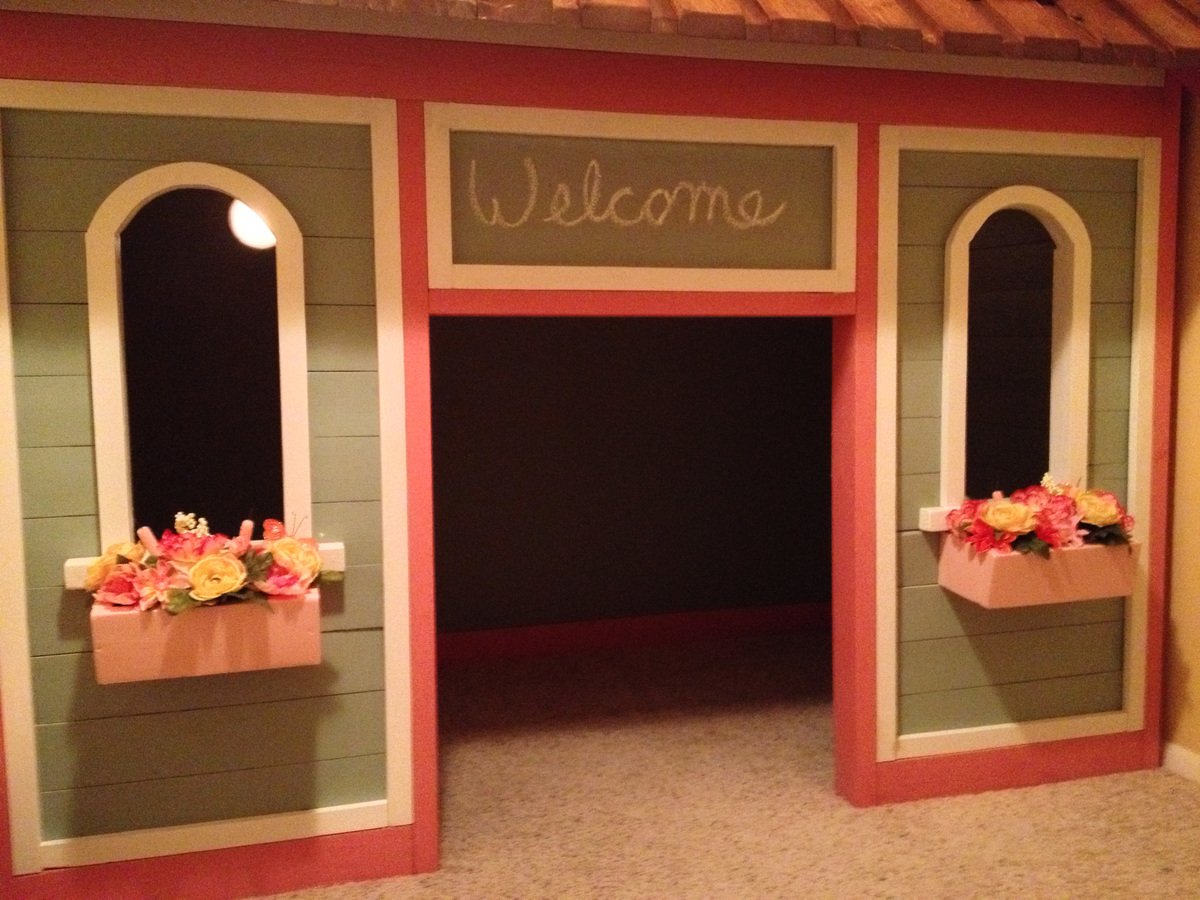
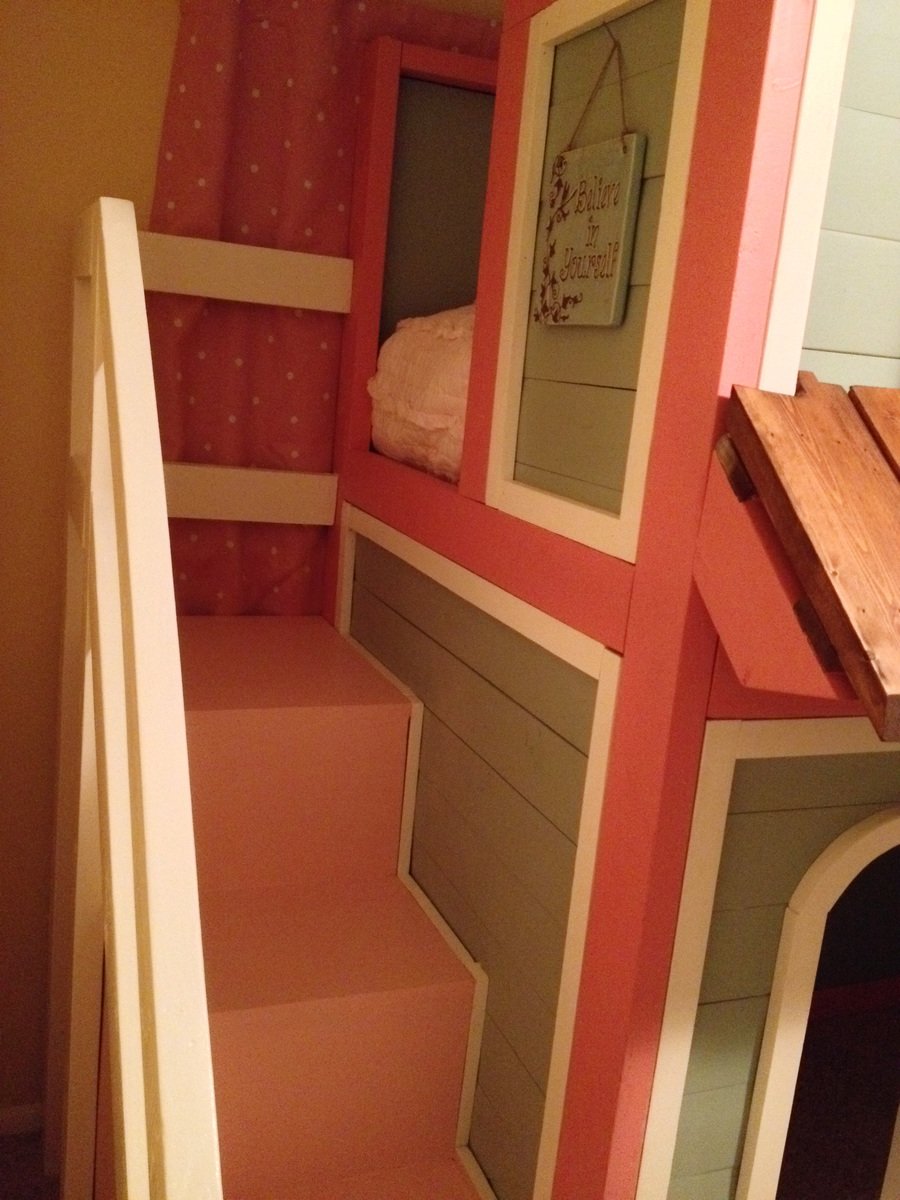
We omitted the bottom bunk and took it straight to the floor. We left the side panel clear but the frame until we built the stairs then added trim & side boards around the cubbies.
nadia37
Sat, 05/24/2014 - 07:51
Oh, the colors!
First of all, what an amazing job on your build! I was looking for ideas for a playhouse and I will be modifying the plans for Sweet Pea Bunk beds and your build let's me know how get it can be. But what colors did you use? The look great together!
E81firegirl
Sun, 07/17/2016 - 14:49
So adorable!
I love the changes on this! I had a question. What did you use for the roof and is the lower roof section built to the same specifications as the upper roof?
MummaKrissy
Sun, 06/20/2021 - 08:12
I LOVE THIS!! Thank you for…
I LOVE THIS!! Thank you for sharing!