White Wash Wood Console - A First Woodworking Project!

This is my first build ever! I skipped the X accents and white washed it with traditional paint making it easy to paint over if I choose a different color in the future.
Laura G

This is my first build ever! I skipped the X accents and white washed it with traditional paint making it easy to paint over if I choose a different color in the future.
Laura G
I really like how this table turned out. This table is a beast its very heavy but very sturdy also. I used a 4x4 on the bottom so i could cut a hole out for the umbrella which worked great all I used was a spade bit for the hole.
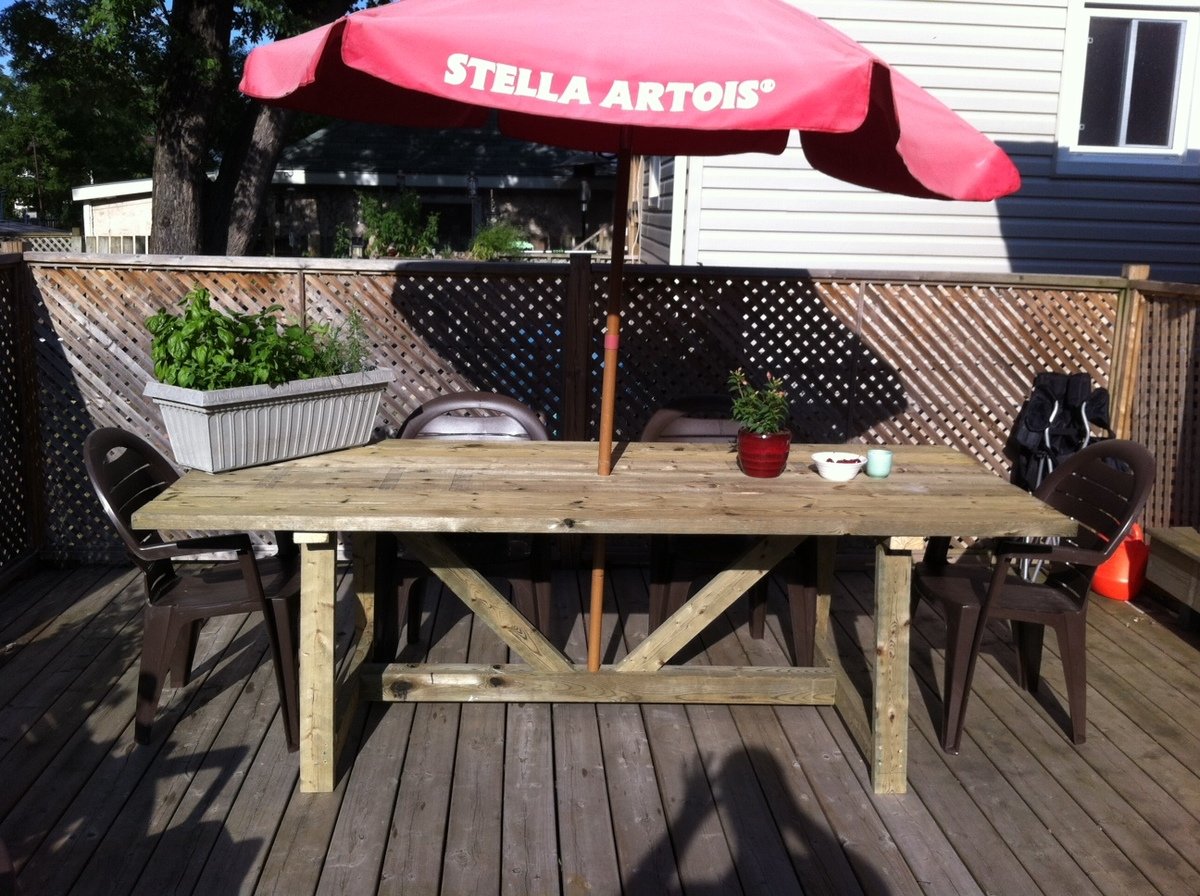
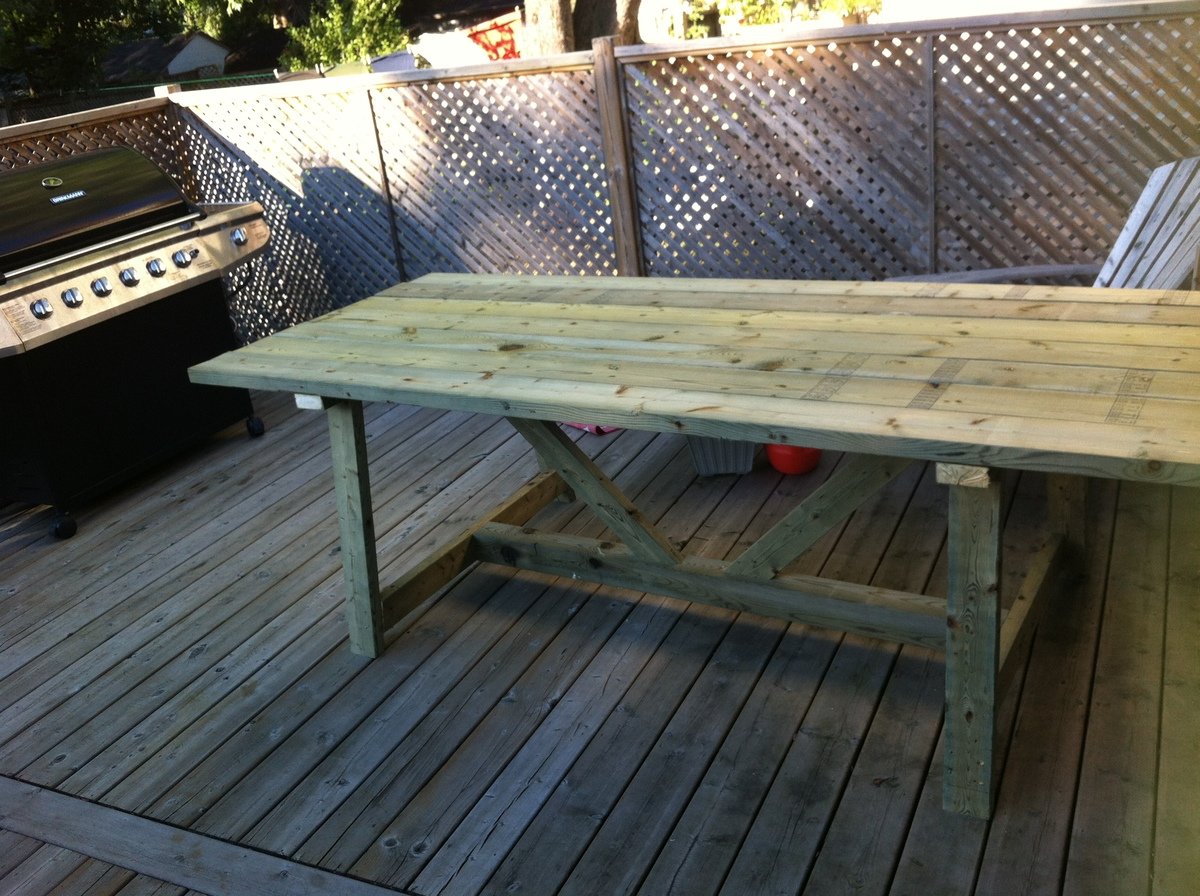
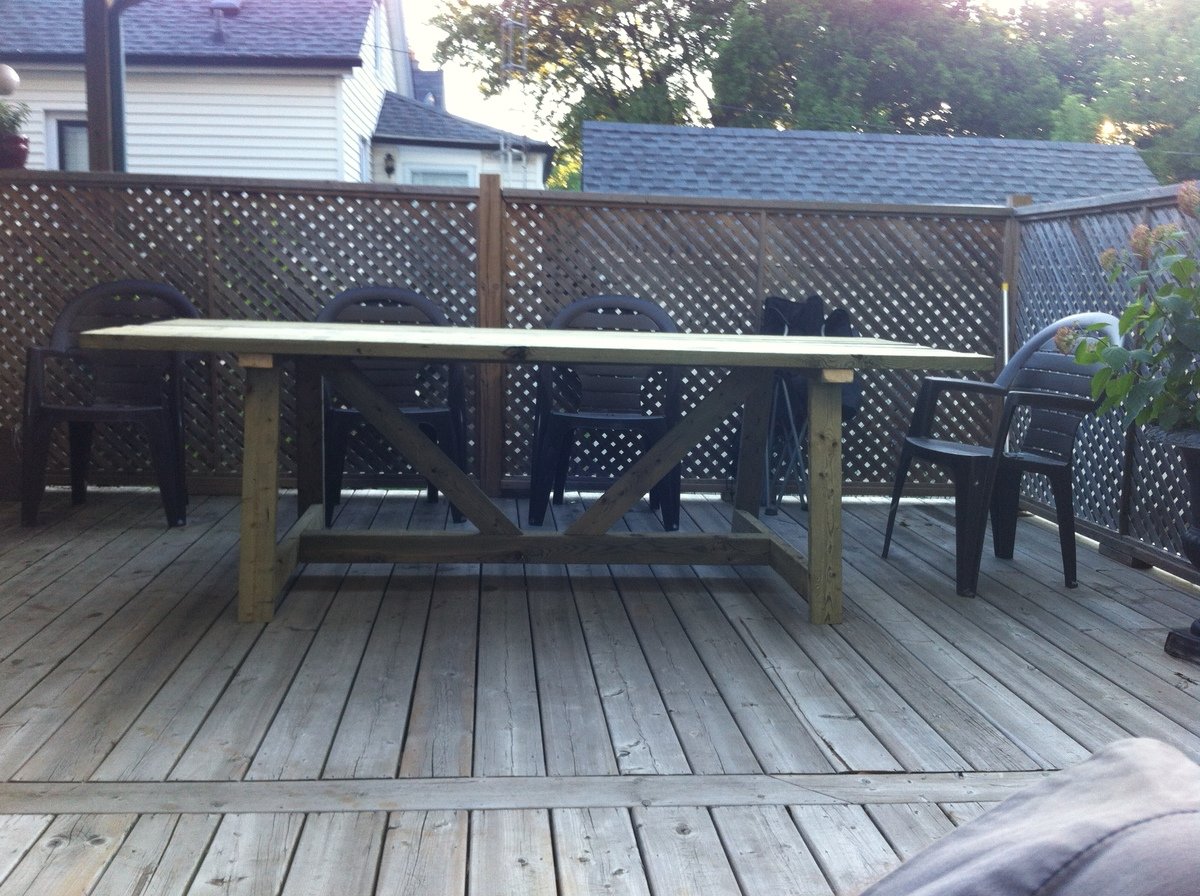
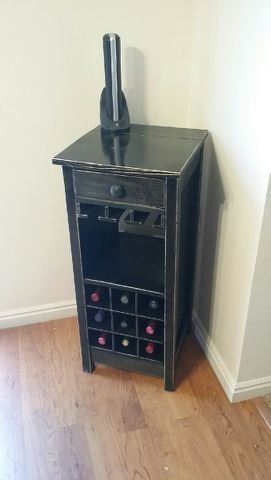
First project I have done and loved it! Building it I got it done pretty fast it was the polyurethane layers that took the longest.
Modified the Grandy Sliding Door to be three doors only. Stained top and doors, added polyurthane, and painted the rest with chalk paint. We couldn't find the hardware ourselves so we made it based on the website recommended in Ana's plans.
We are running low on counter top space so I built this little coffe bar to house all things coffee for my wife!
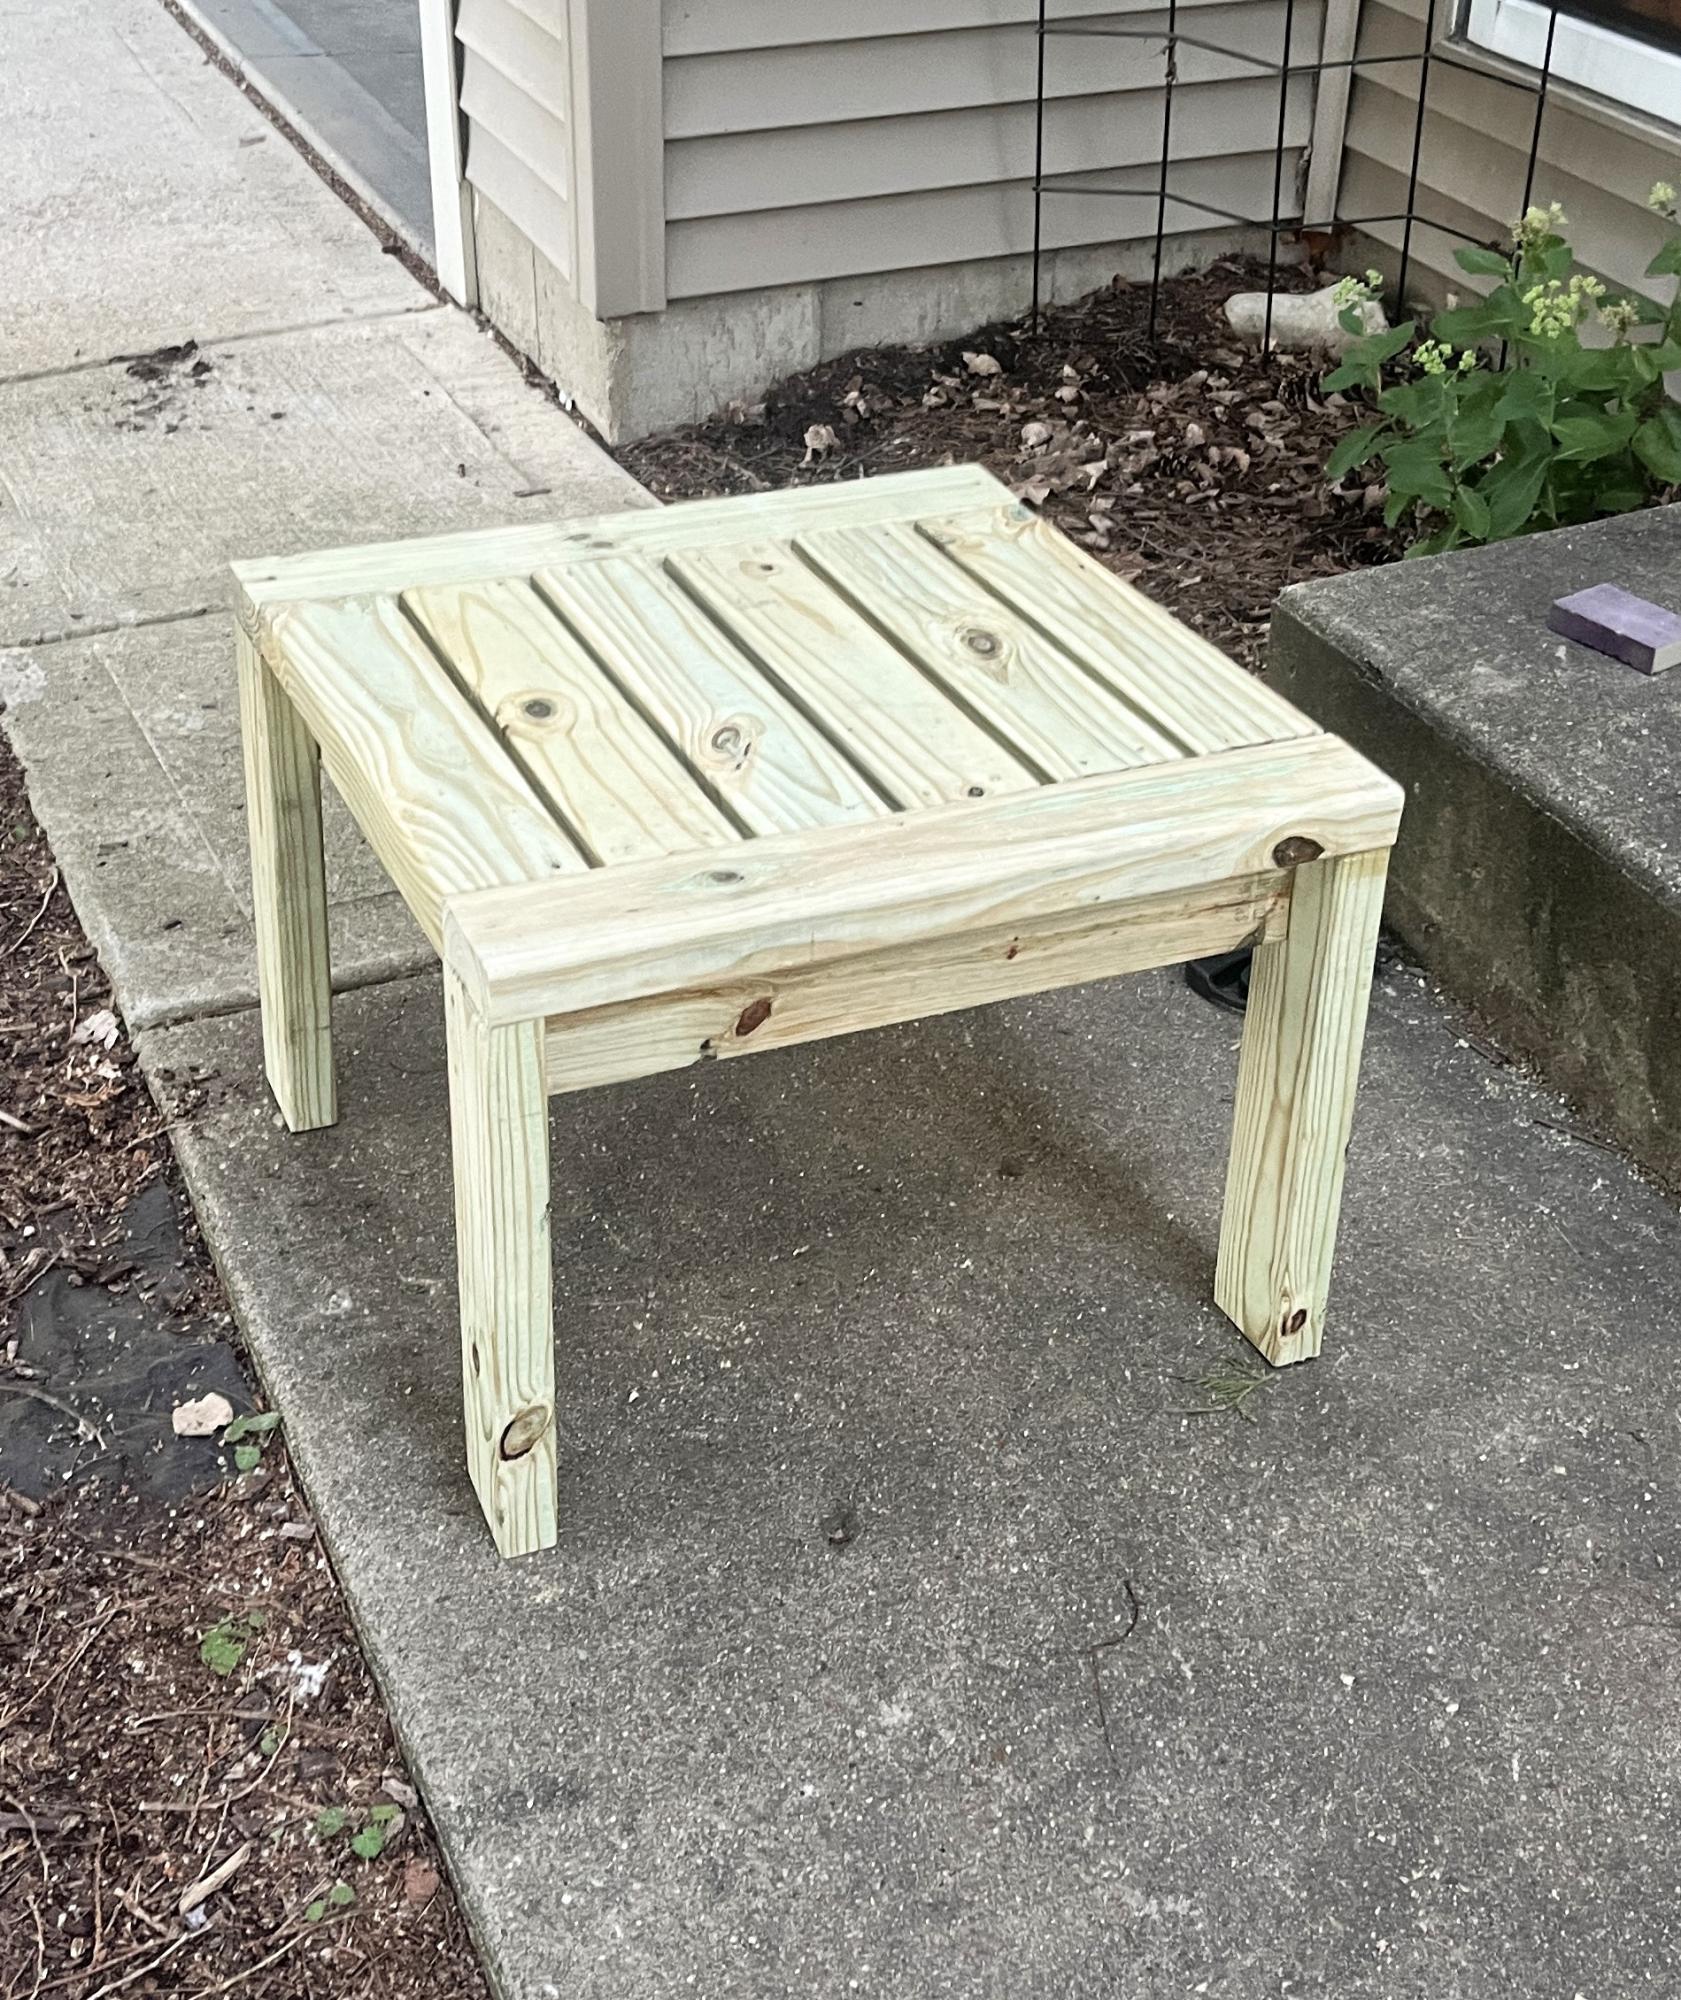
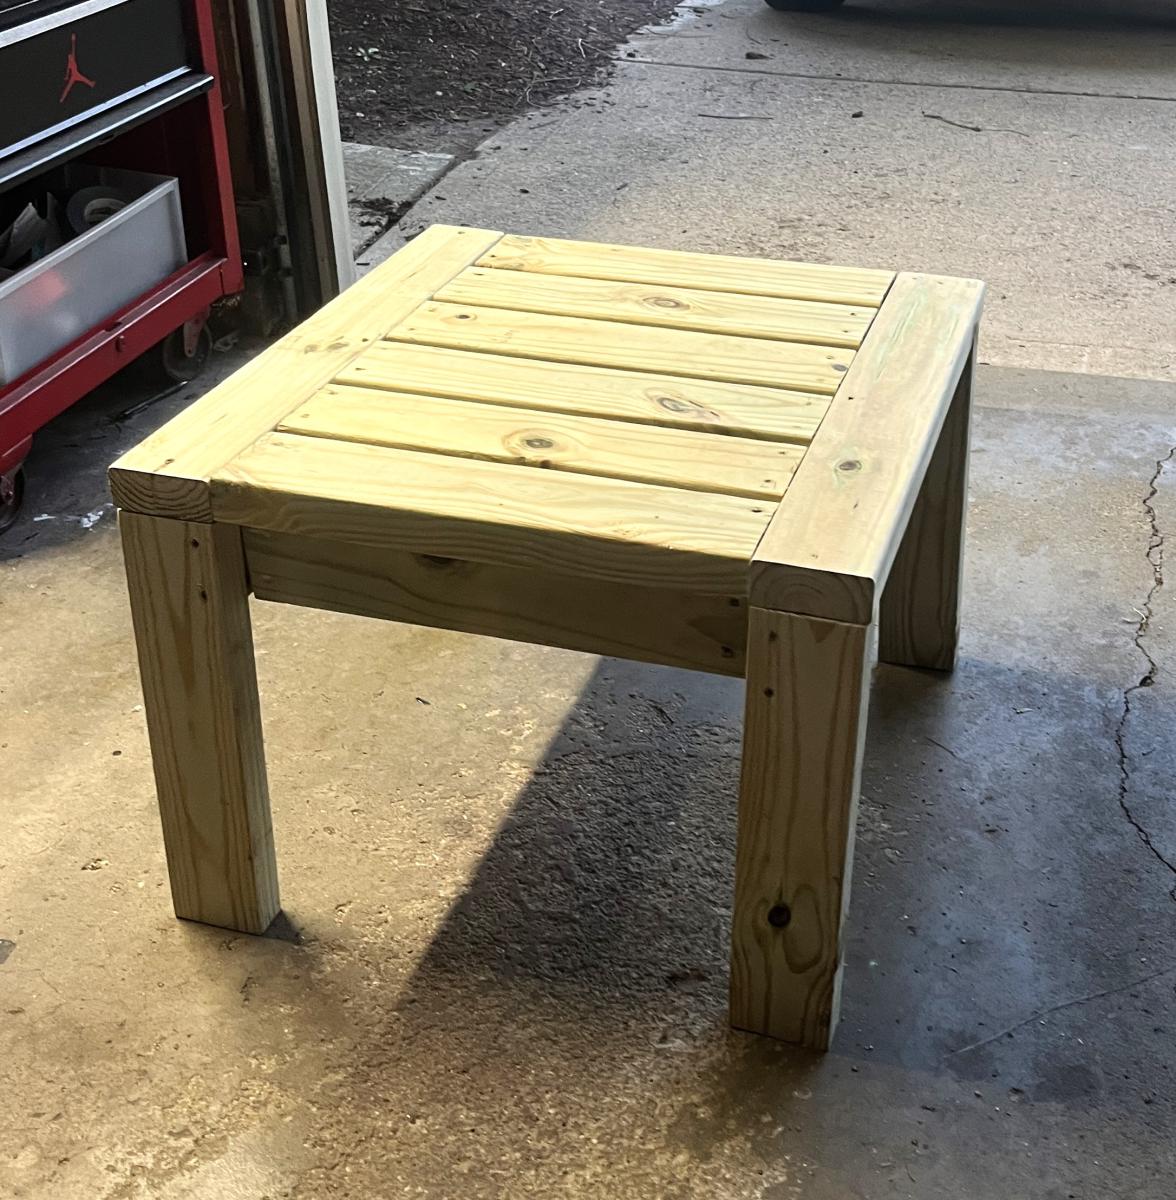
Outdoor Wood Side Table by gianahannant
I am a computer programmer by trade, a husband/father/cook/baker by avocation. I can read and write music. I am new to woodworking, and look forward to building with Ana's excellent plans.
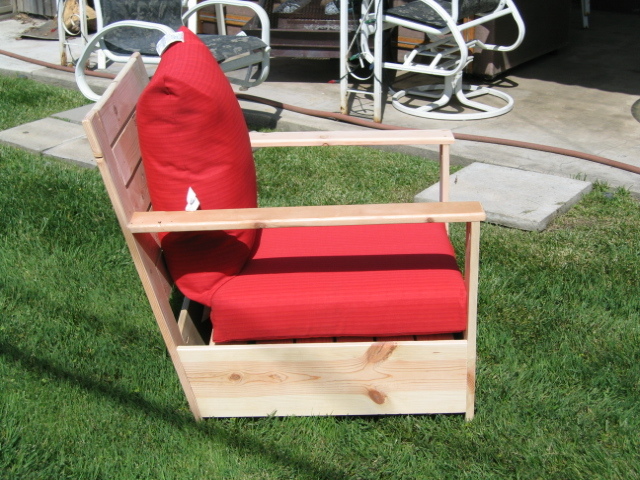
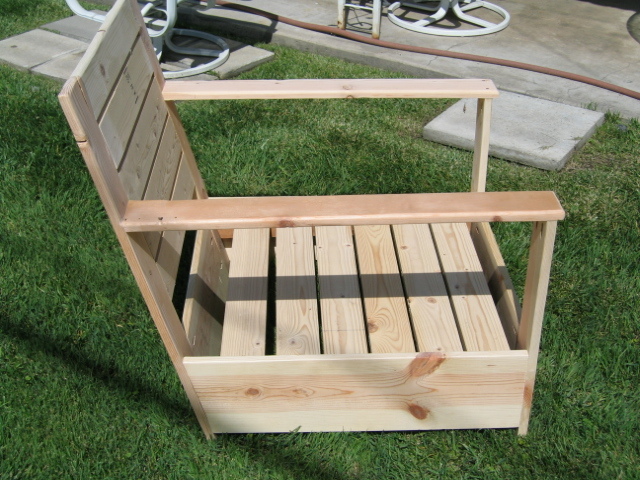
Bristol Outdoor Lounge Chair
Friends,
This is my first woodworking project in a long time. When I found the plans from OPD at Ana's site, I thought, I can do that! It turns out I was both right and wrong.
I bought the wood; I ordered a Kreg Jig from amazon; I searched for inexpensive pillows. My wife is a terrific seamstress, and we looked for fabric and foam. Yikes, is foam expensive!
Anyhow, I measured everything twice, made my cuts and figured out how to cut the 15º angled cuts. Then I drilled all of the pocket holes - what a chore.
My good friend has a complete wood shop. He has more power tools than Sears. Me, I've got a hollow-core door on two plastic sawhorses, a jig saw, chop saw, power drill and screw gun. I wanted to do this myself, so I did not use any specialty tools.
I built the chair without glue. Since this is a prototype, I wanted to be able to dismantle it. I built it to the specs provided, and discovered three things:
1. Attaching the back as a separate piece at a 15º angle is weak. "Weak as water," someone has said.
2. Butt joinery is an imprecise science when soft wodd is used.
3. The chair was too dang big!
So I took it apart. I changed the width of the front and back panels to 20 1/2", and re-used the arm supports.
I cut one end of each side panel to 75º.
The two back supports are a single piece of 1" x 4", 32" in length. This, coupled with the angled cut on the side panels, eliminates the weak joint at the back.
I shortened the depth (from front to back) by about 3", but the box for the bottom cushion is still too big. Next time the box will be 25" square.
In using butt joinery, I found that the back supports and side rails and the front apron all went together well. Perhaps I set the depth gauge incorrectly on the Kreg drill bit, because the 90º joints are not as clean as the flat joints. Then again, the more I do this, the better at it I will get.
I know that some of the joint holes are too deep, and this let the screw penetrate through the joint. Careful measurement before drilling all of the holes is crucial, and demands one's attention. I found myself checking the stop ring on the drill bit several times as I progressed, to make sure it was still set properly.
Using the Kreg Jig is not hard; it takes a bit more effort than they lead you to believe. I found myself wishing for three hands when joing 90º joints.
When the chair was assembled, I rounded the edges with a 3/8" router bit, followed by a thorough sanding. We found very inexpensive 4" foam pillows at Wal-Mart, and you can see the result.
I think the chair looks good, it is really comfy, and there will be more projects before the leaves fall this autumn.
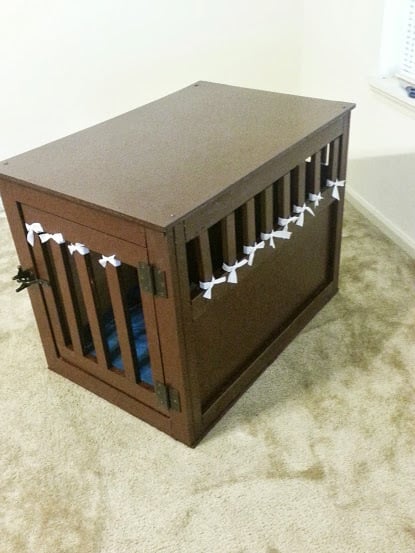
This was my first project ever. I did it around April 2013. I worked with my boyfriend on it, and I think it turned out really well. I plan on making more for friends and family. I didn't use finishing nails the first go round, so I am going to make sure to do that this time. Also, I bought the cheap pine from Home Depot, but it split terribly, and the bowing made for inconsistent cuts. I ended up going back and getting red oak to finish it up, so about 75% of the box is pine and the rest is red oak(not including the MDF board, or plywood, etc). I did an MDF board on top and plywood on the bottom.
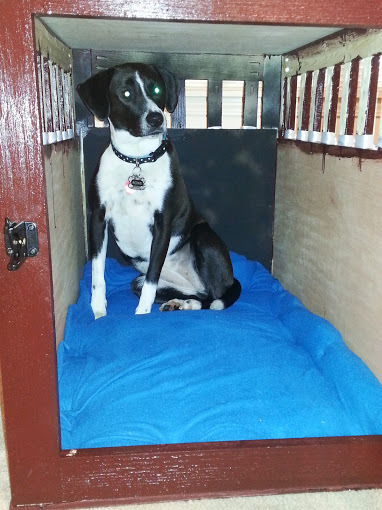
We ended up painting the crate instead of staining, and we did a polyurethane coat on the top to help protect from the eventual spills that will occur. I didn't paint the inside of the crate, mostly because you don't notice it is unfinished and I was a bit lazy. Originally I did line the bottom of the crate with cushioning and fabric and stapled it to the bottom (pictured) as a bed for Roxie; but, with the "Snowmageddon" this past winter here in Birmingham, I was stuck out on the road all night and while my apartment manager came and fed her and took her out, she did decide she was going to pitch a fit by eating the handmade bedding. Not a big deal though, now she has a bed from TJ Maxx that works perfectly.
Roxie is a border-collie/lab mix, and she tends to be more border collie in size (50 lbs, about knee height). I went directly from the specifications here on the site and Roxie fits in this well with plenty of room to stretch out. I work and go to school, so she is in the crate for about 8 hours a day, give or take, and she has been doing just fine with it.
I should note that my dog did not really like her original wire crate. We trained her with it, and she would go on command, but she never liked it. After this was built and the first time we let her check it out, I was amazed. She went straight in and laid down. Now it's her favorite spot in the house (other than on my bed of course).
I have received more compliments on it than I can count, and I have people begging me to make one for them. This was definitely worth it! Great plans!

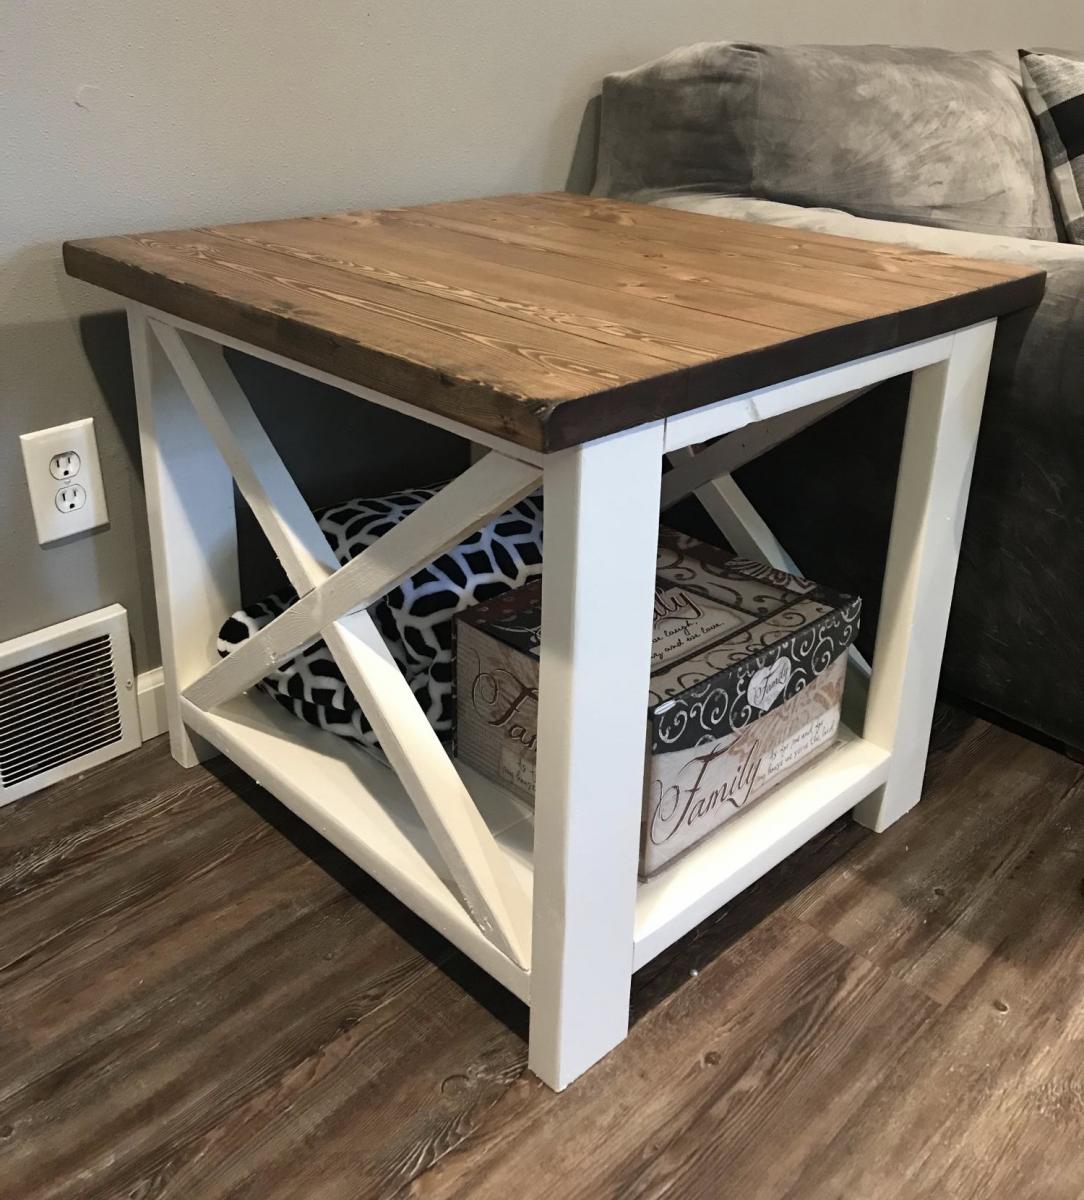
Rustic X end table I just finished. Our pattern throughout our house is White painted bottom with stained top in Jacobean stain.
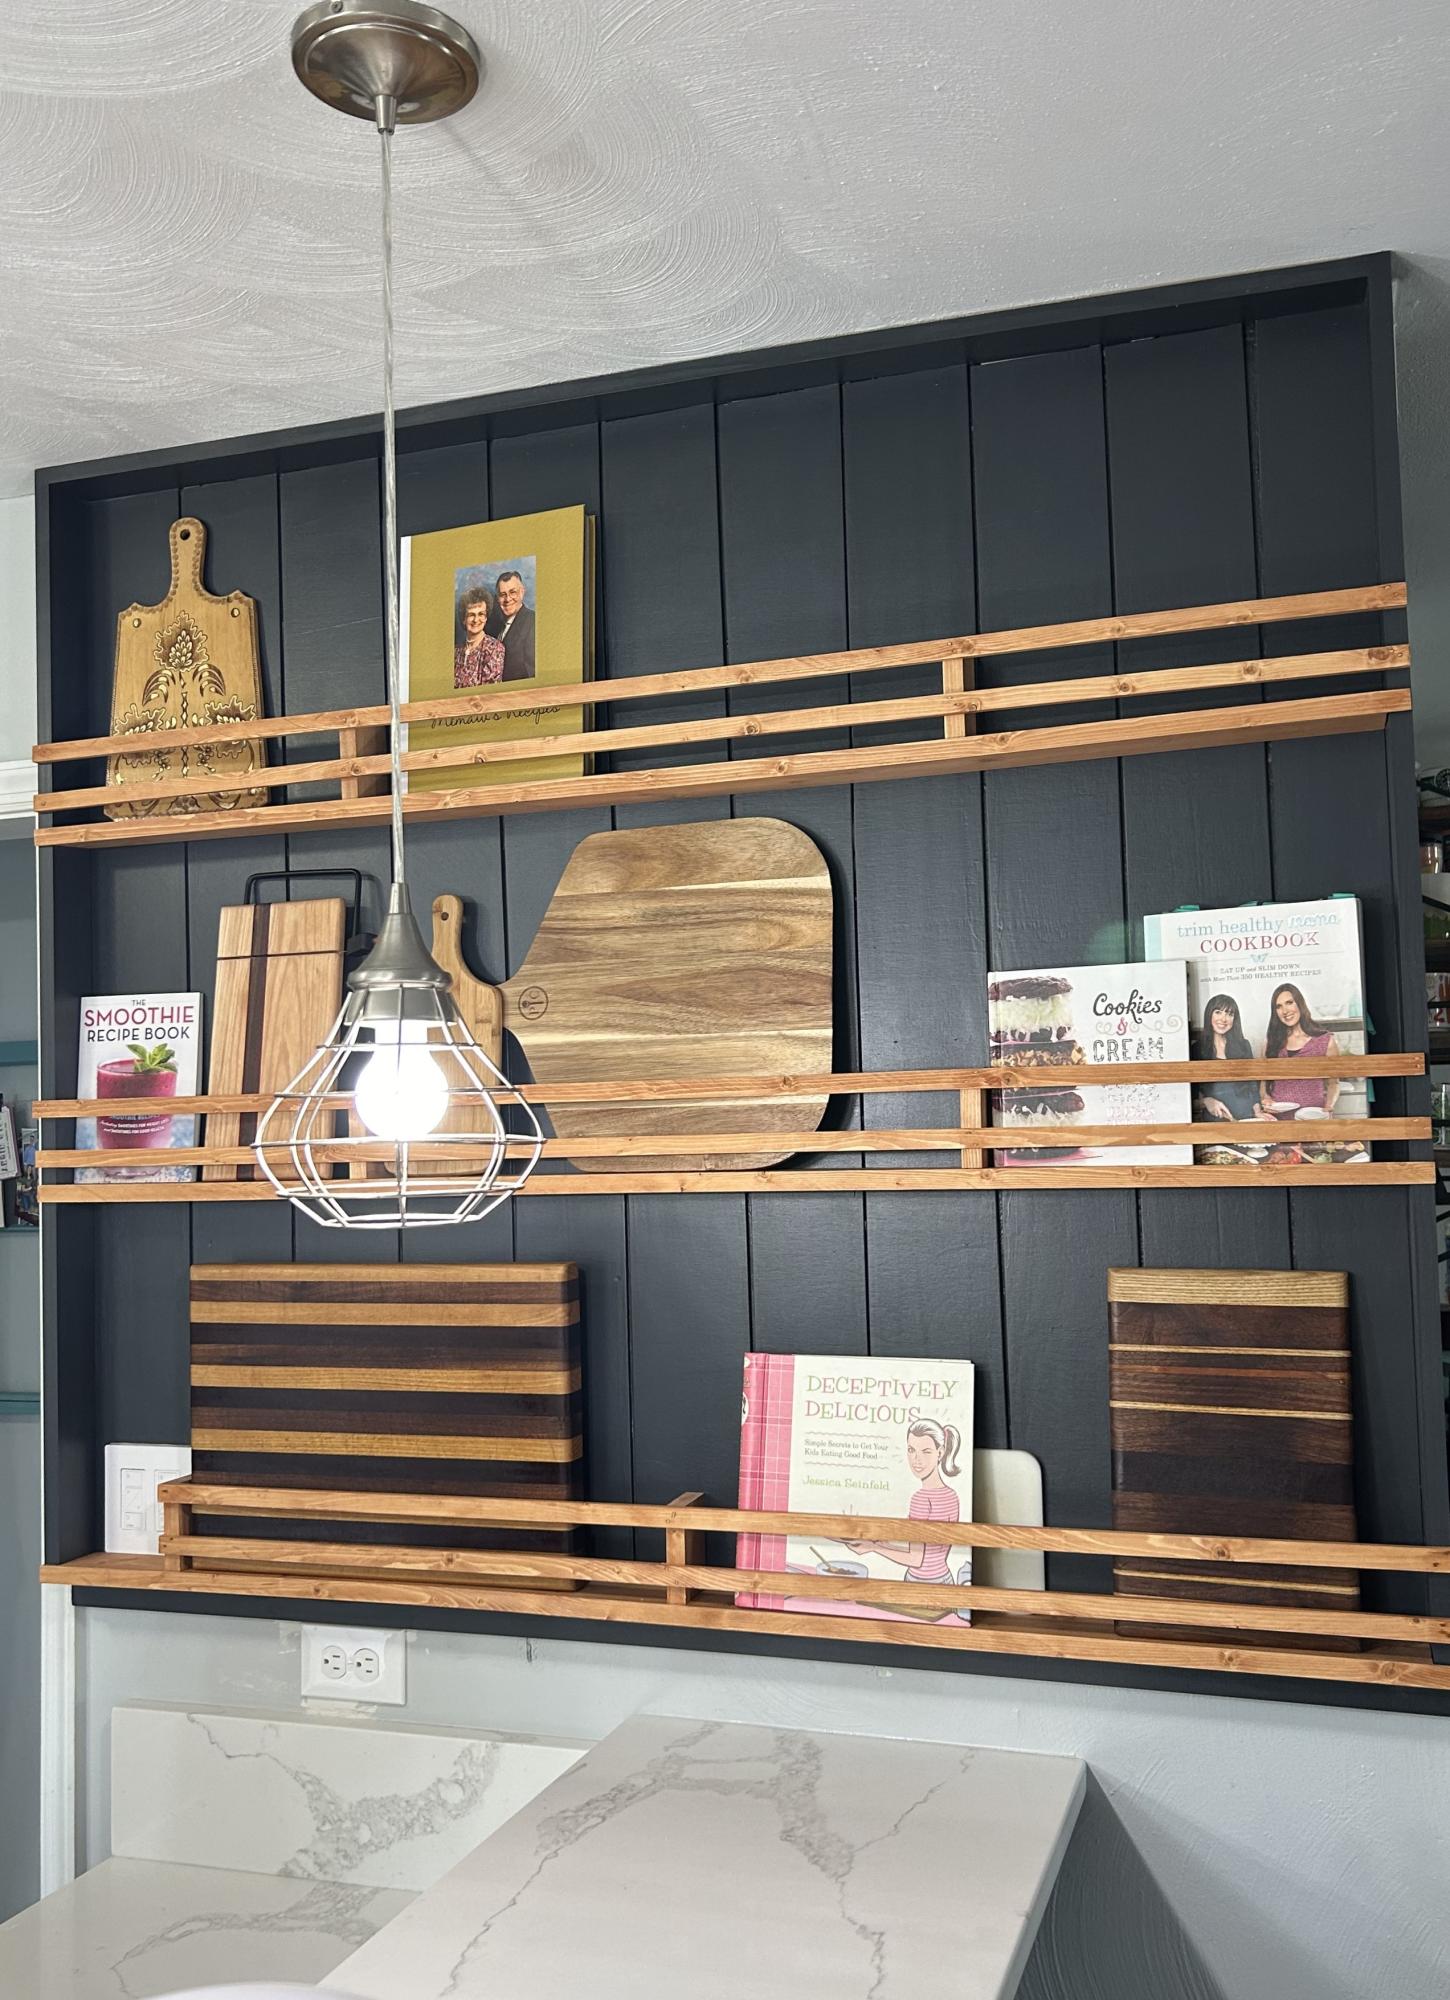
I took Ana Whites plan and made it my own. Our kitchen is pretty small, so this gave me some counter space back while adding some character to the space.
Ivyfamy5
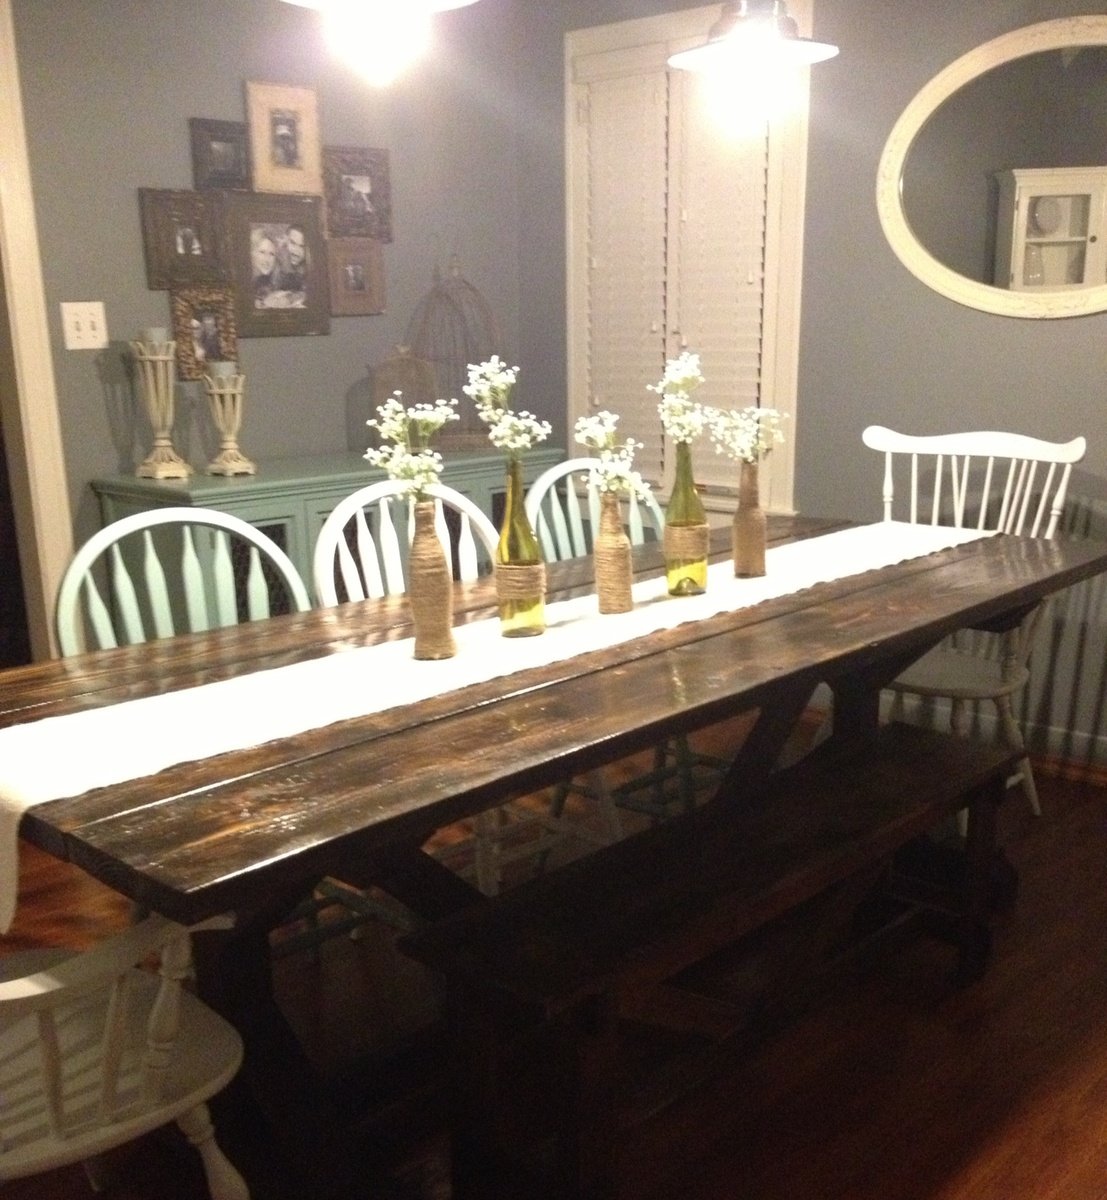
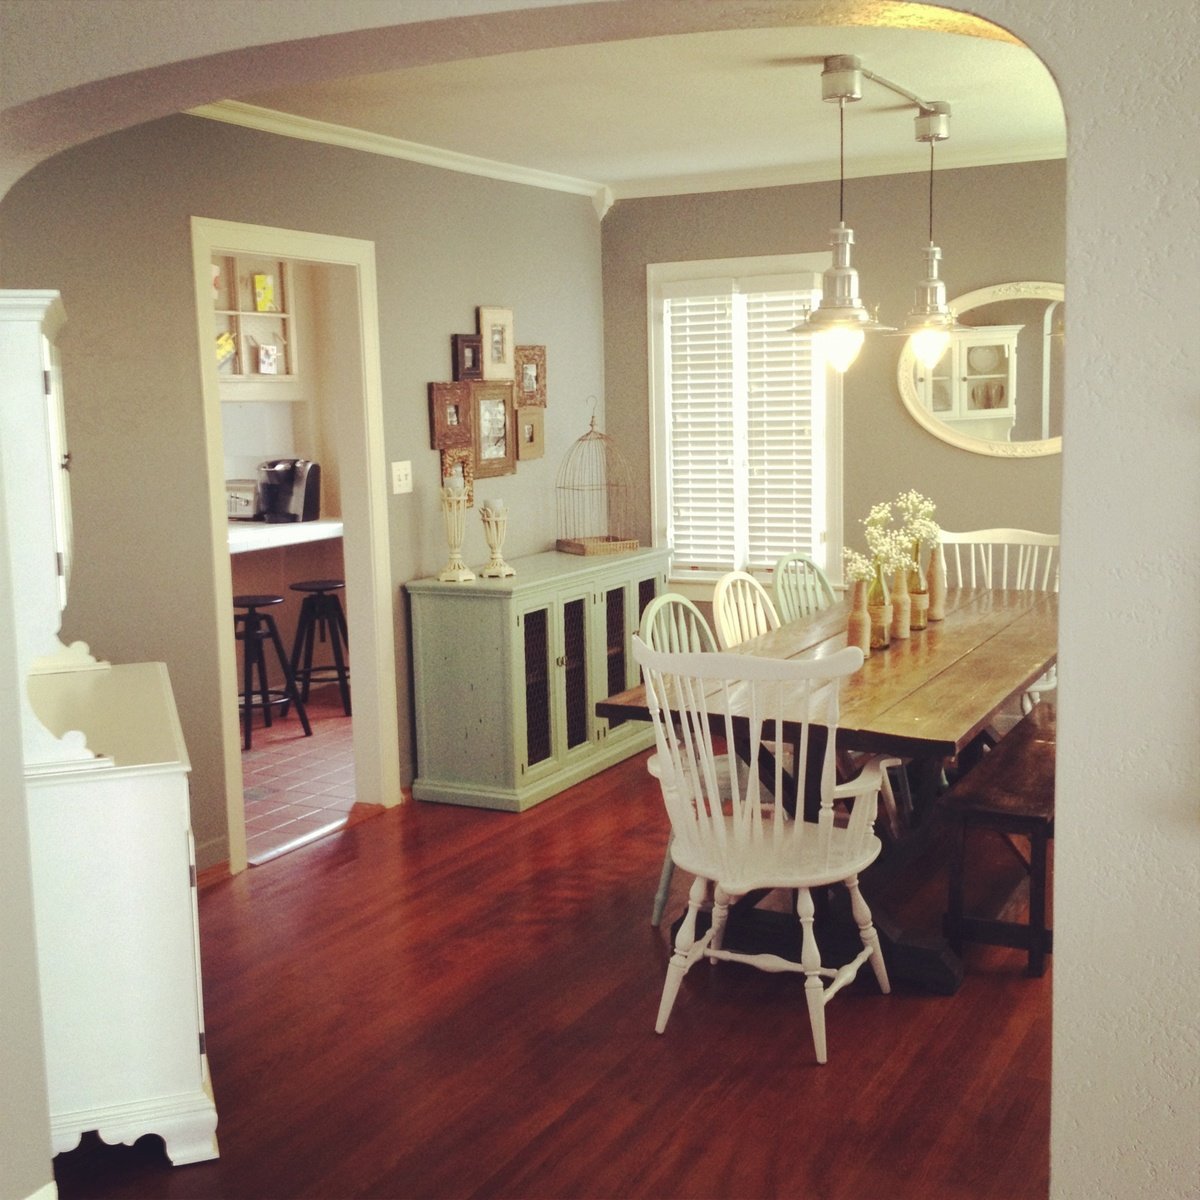
Fancy X table and bench
Fri, 10/12/2012 - 09:10
That second picture looks like it's straight out of a magazine! Everything looks beautiful!
I was in need of a new bookshelf so I searched online and all I could find were cheap, plain bookshelves at a pricey cost. So I decided to make my own. This was my first piece of furniture I have ever made. I love it! Super easy and the Kreg Jig will quickly become your new BFF!!
I did shorten the bookshelf so that top was accessible.
Tips:
Building this console table was built over two weekends. Cutting the wood and assembling the pieces was fairly easy but choosing the right colors for the stain was not. We finalized on hickory for the frame and mocha for the top and X's. We decided to build it 6 inches taller then the plan and als to trim the inner edges of the 2x6's to eliminate the crumb catchers. We also rounded the feet because they were chipping on the garage floor during the build.
We loved the final result!
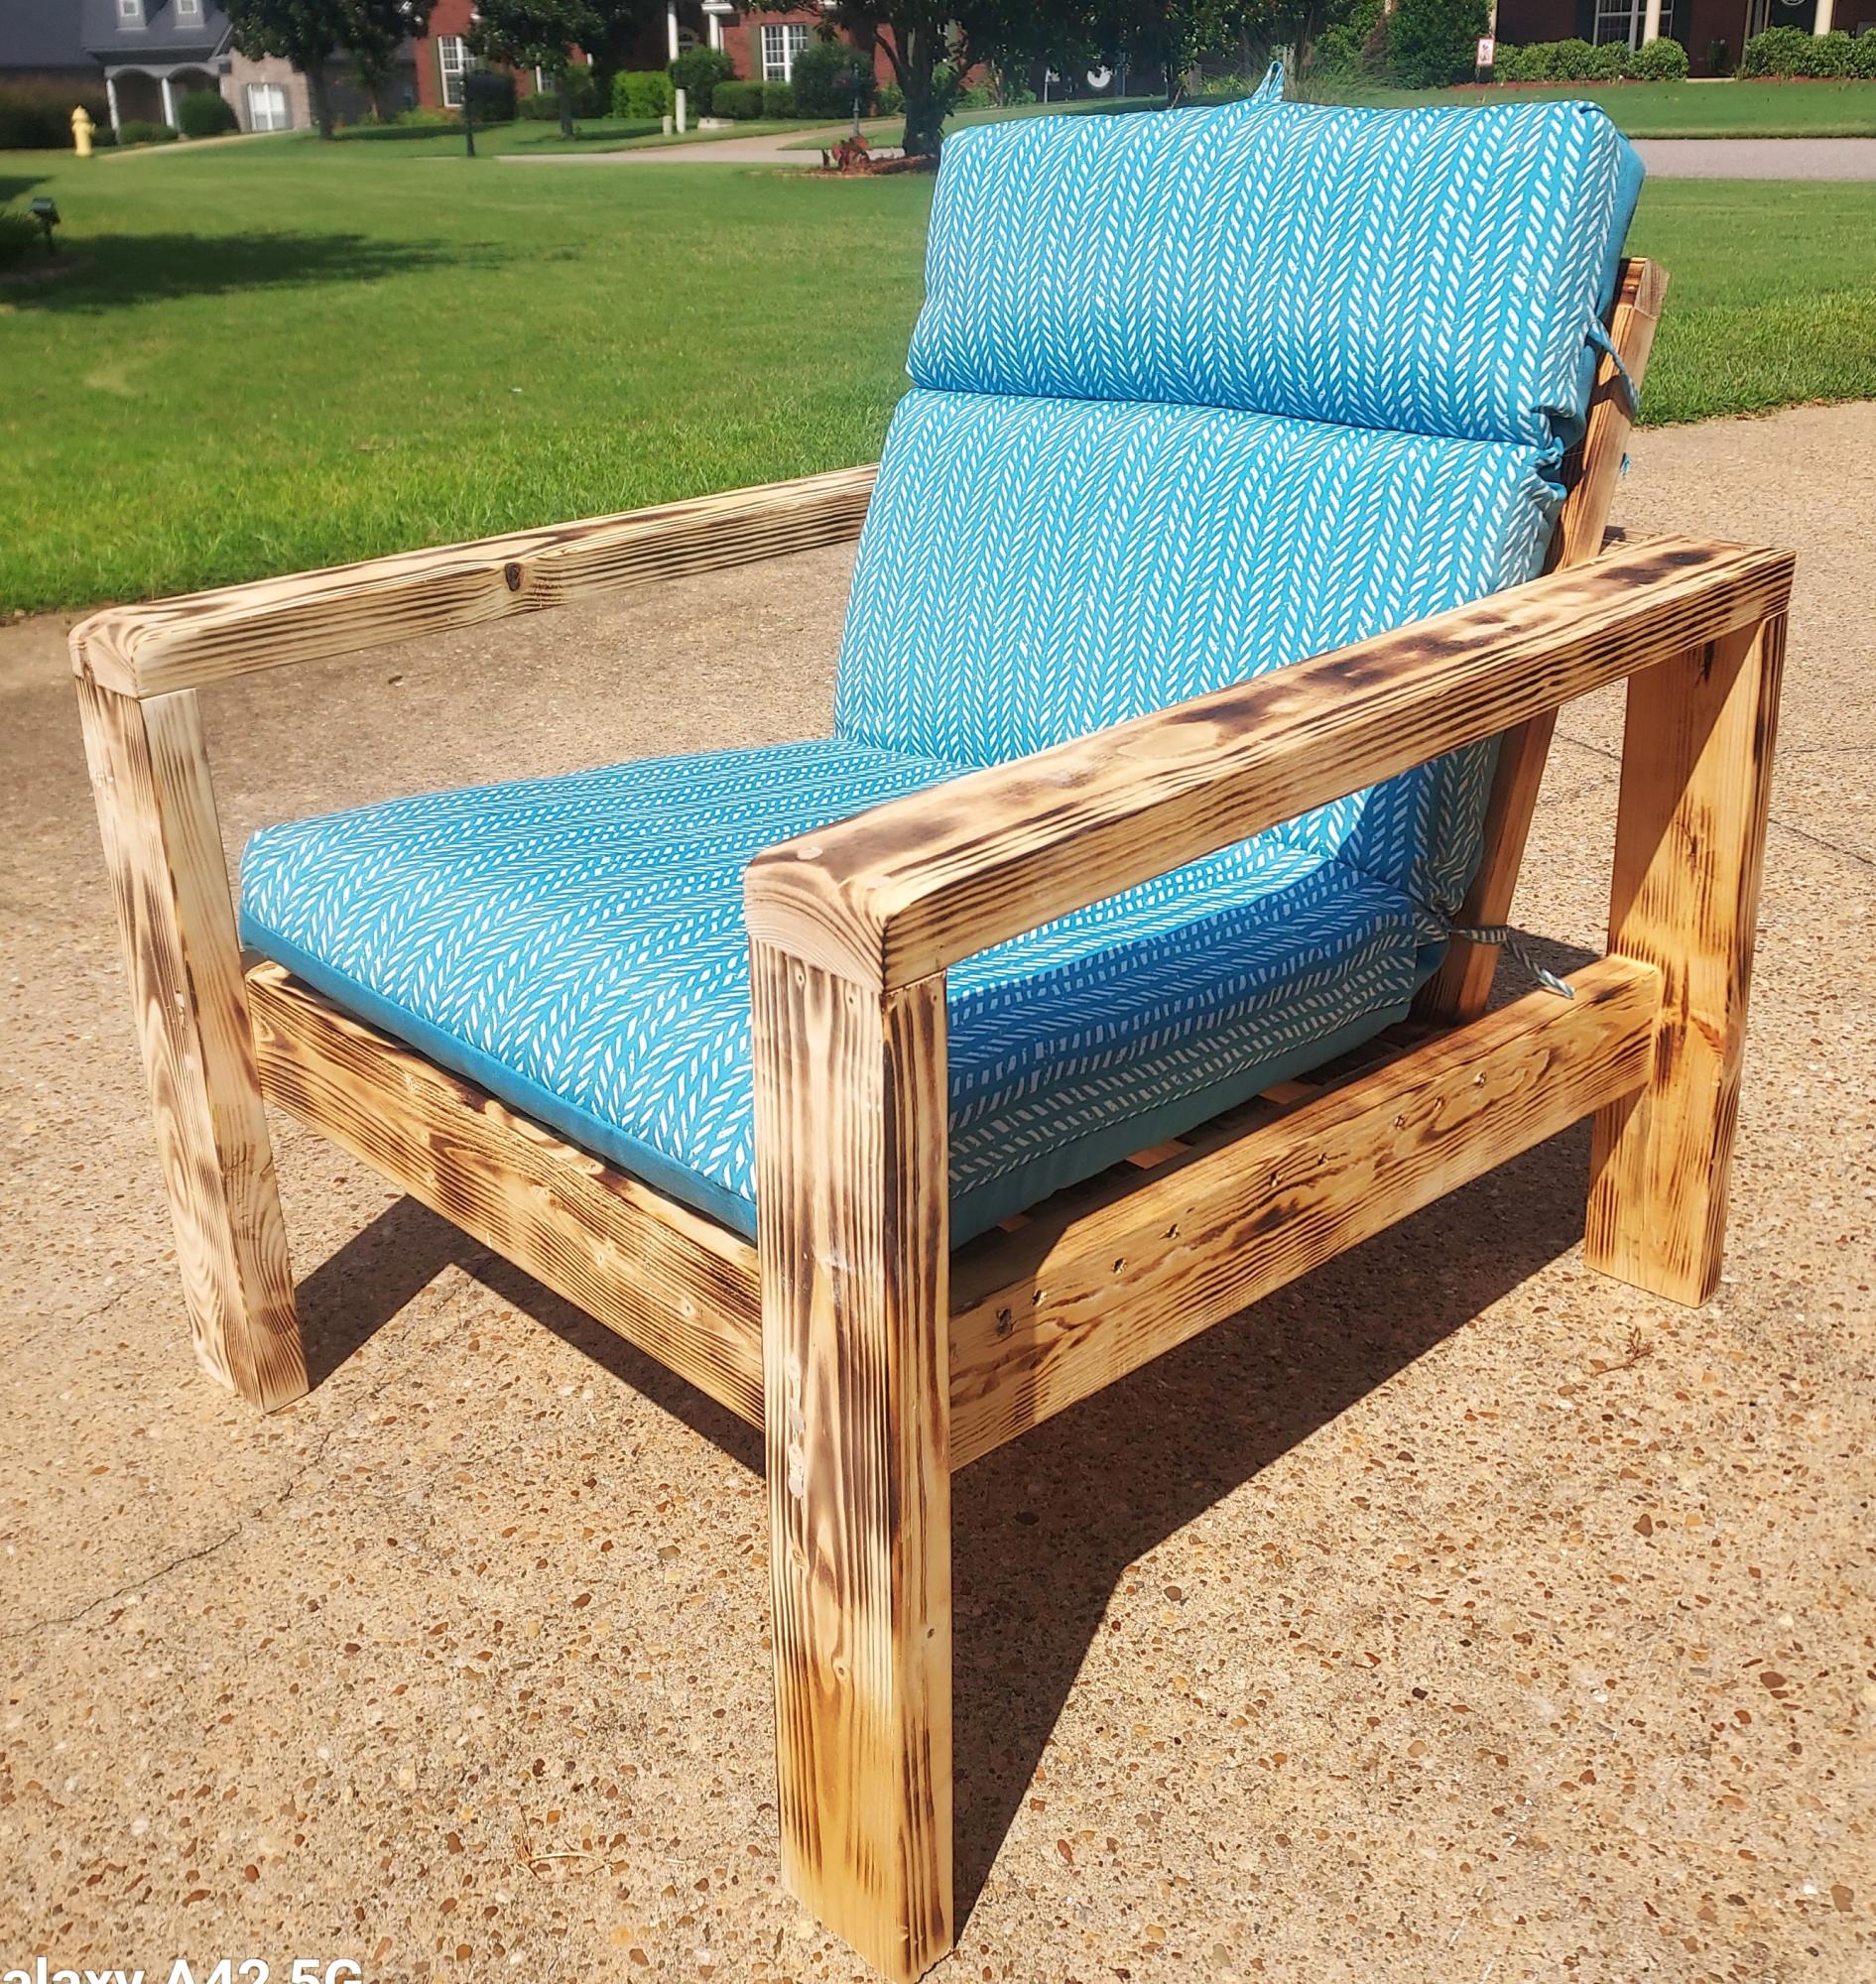
Outdoor patio chair from your collection with torched and polyurethane finish.

This is a project that I really enjoyed making. I did it in a hurry though because I really wanted to build a playhouse under a loft bed and felt like i should build the stuff that will go inside the playhouse before I but up the playhouse walls. So, here is my sort of finished play kitchen. I still have a few details I wanna add but I'm over it for right now... ready to build the playhouse! The best part was that I made this kitchen for free out of leftover scraps from other projects.

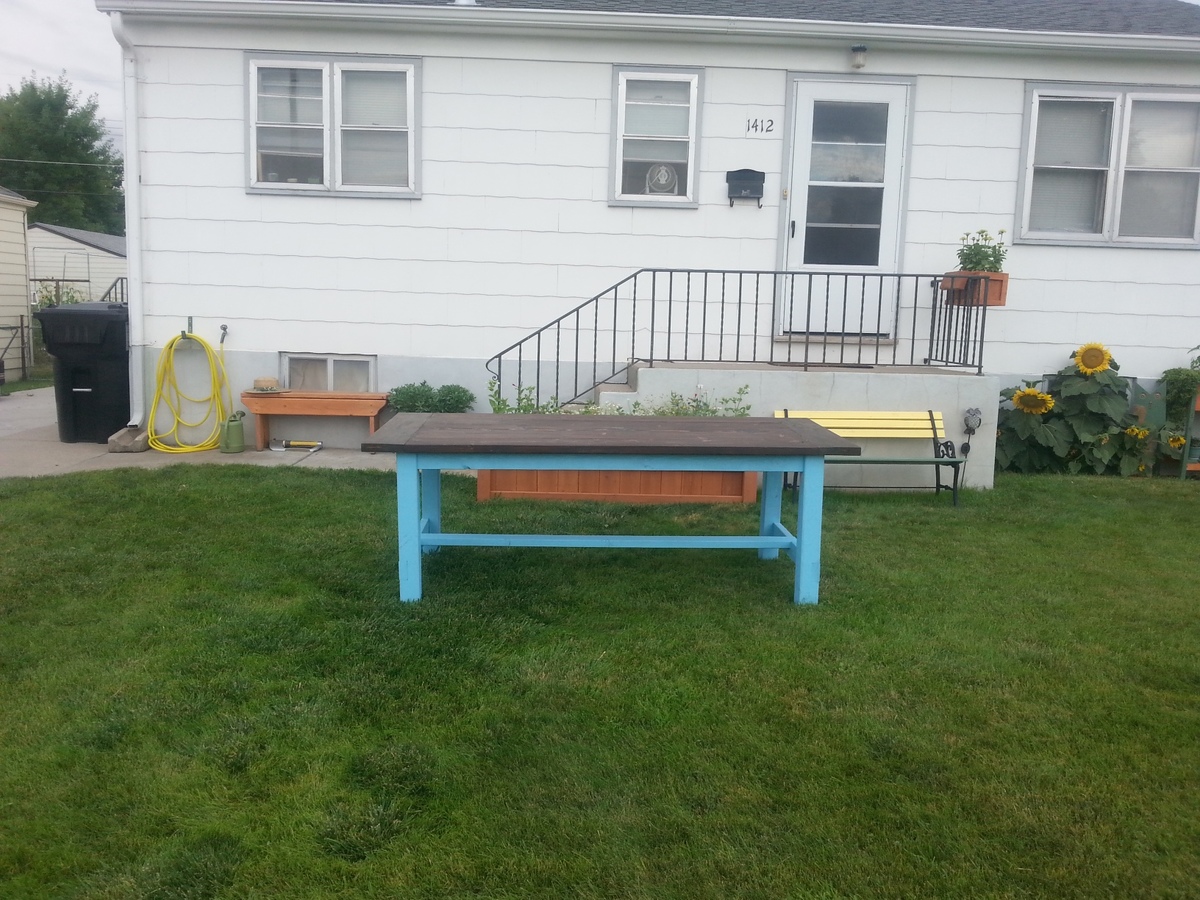
This was easier than I expected, and worth every minute I spent on it. I followed the plans to a "t".
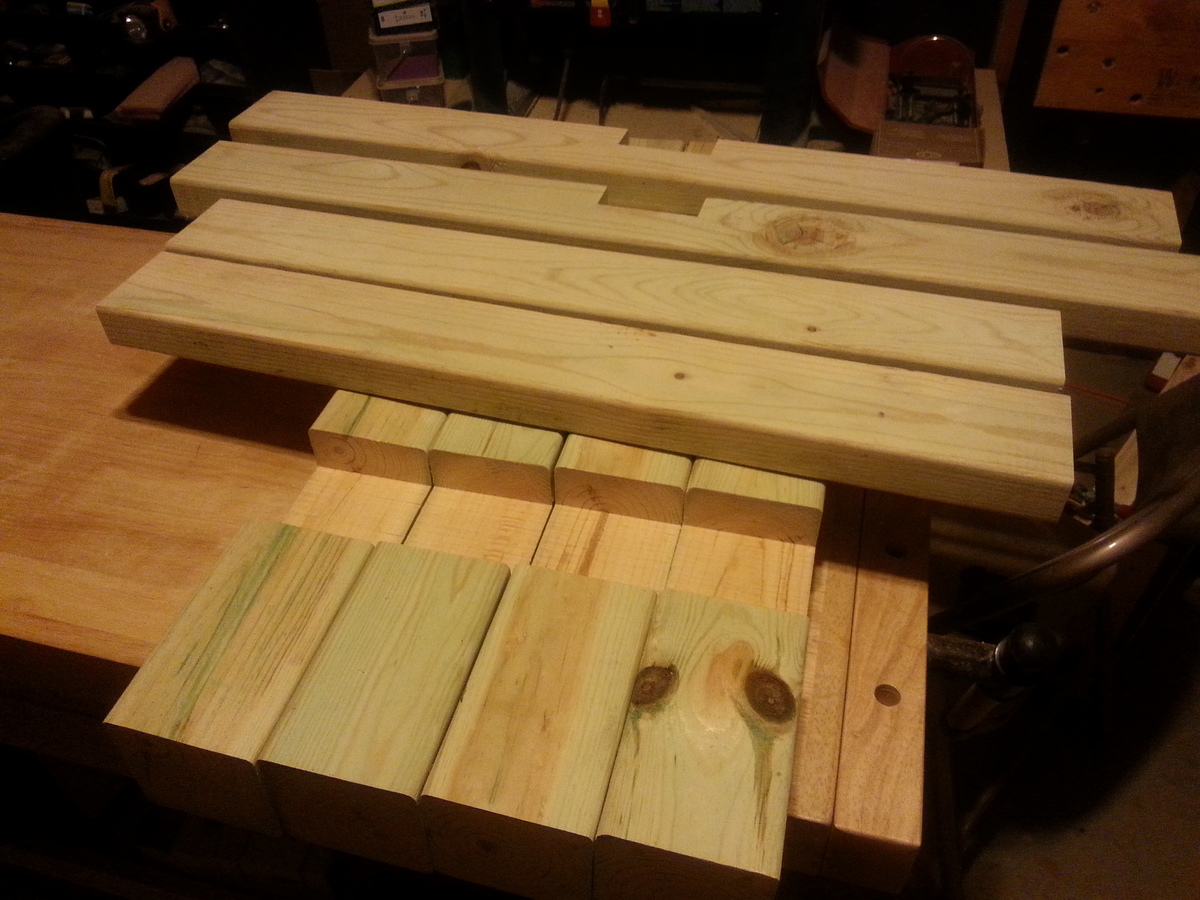
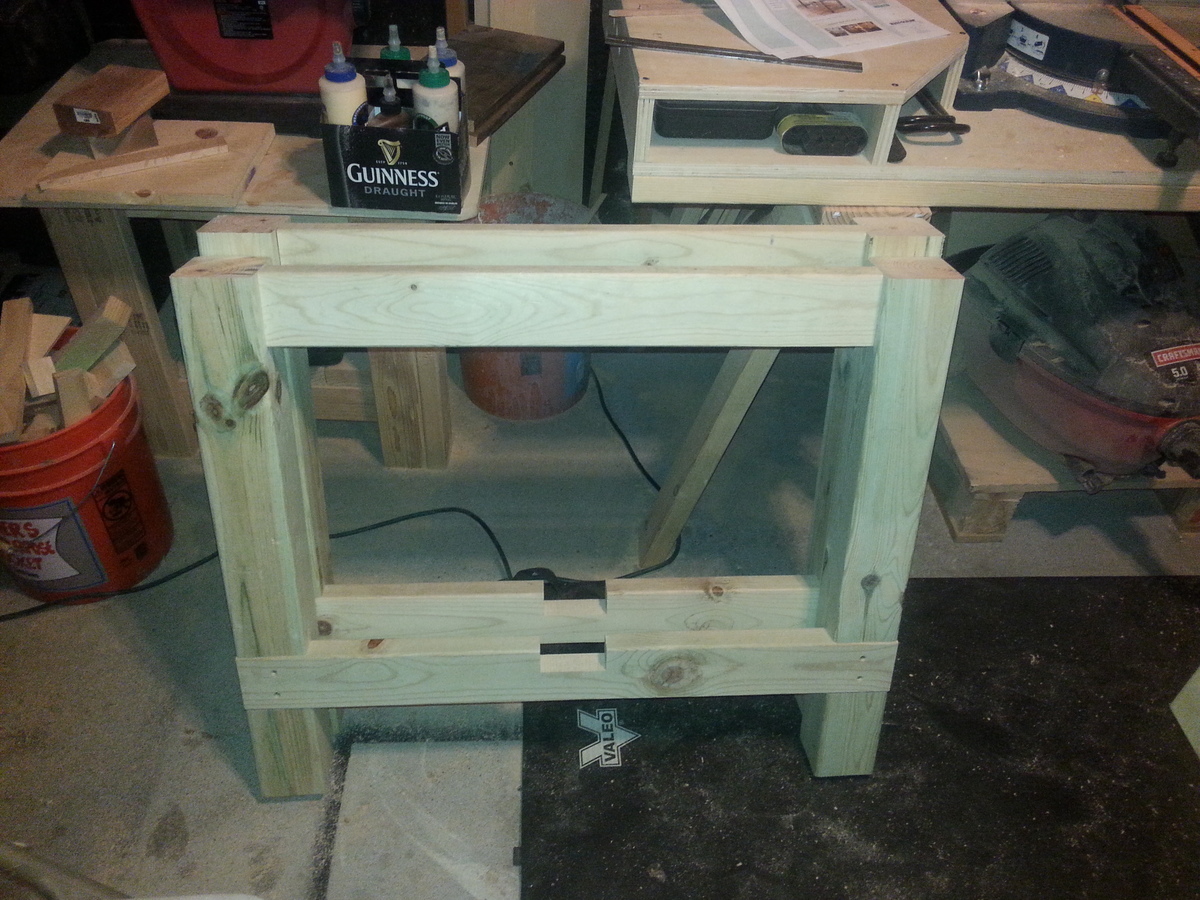
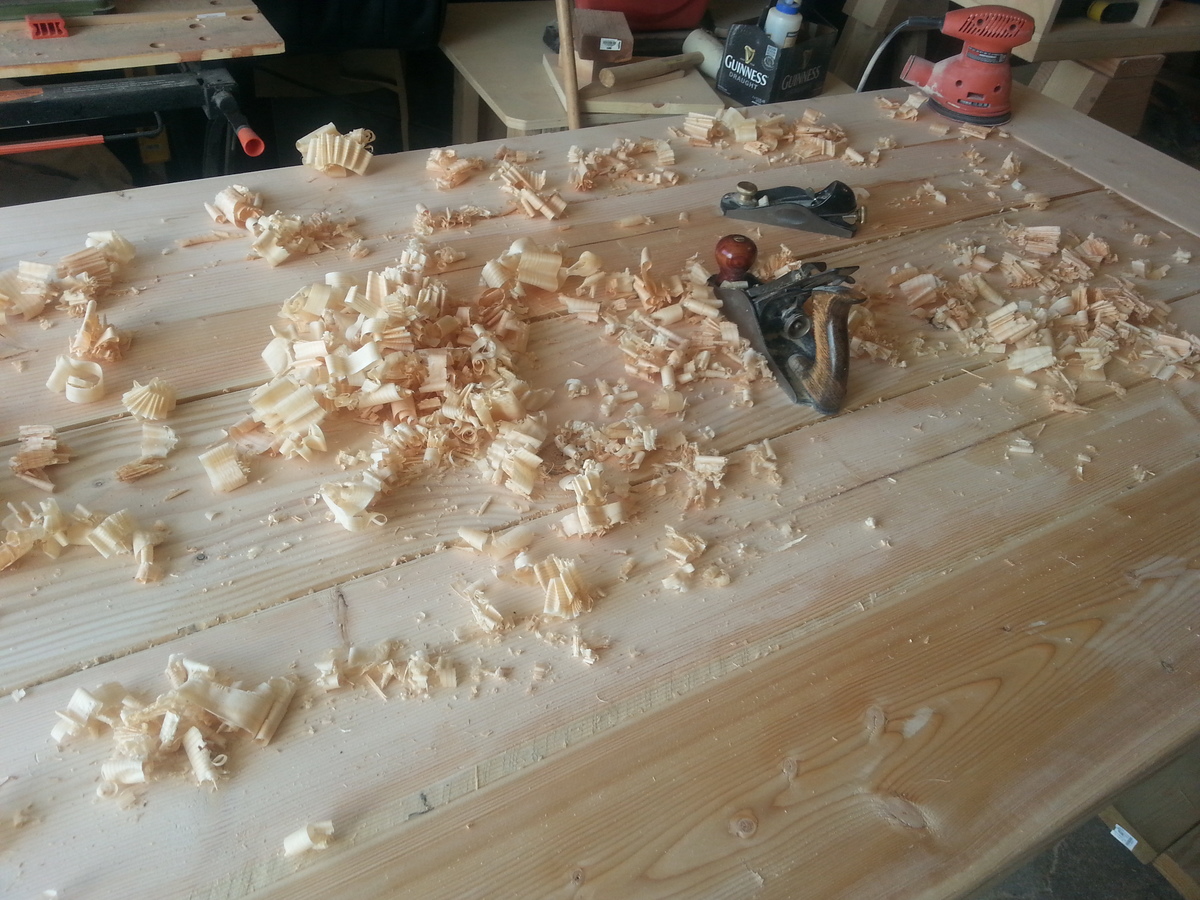
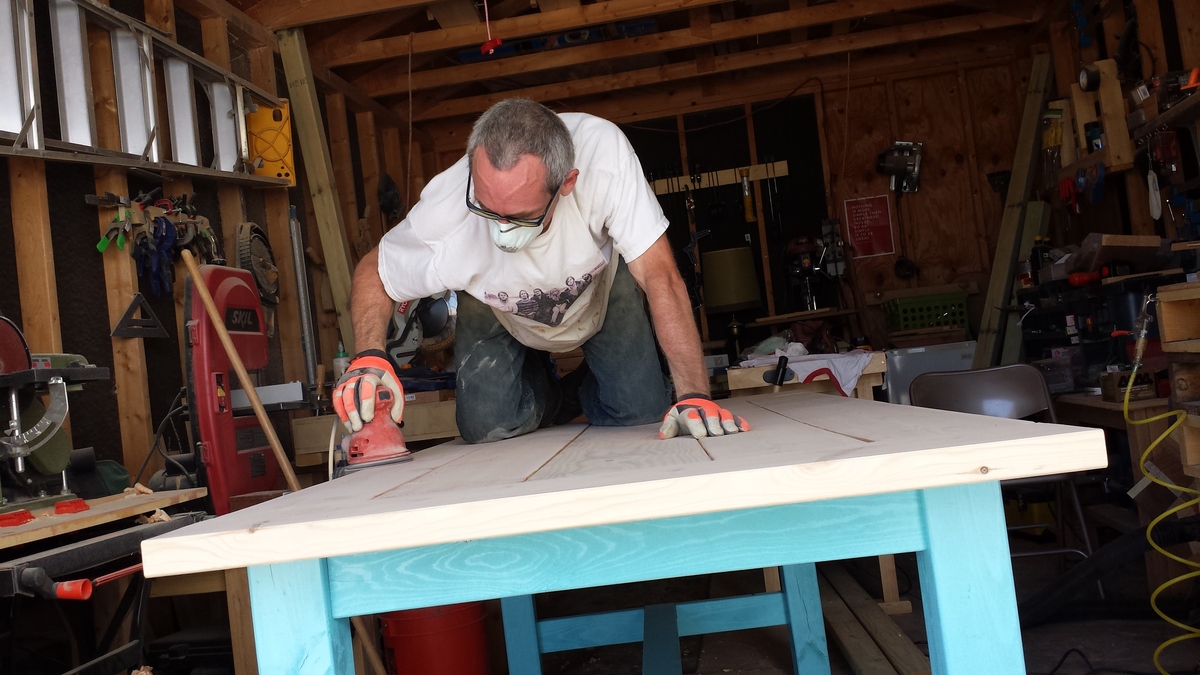

Dear Ana,
Thank you for inspiring my friend Erik to build your farmhouse style table. I was inspired by him, so I decided to build your farmhouse style kitchen island. It was not an easy DIY project for a first time DIY. However, I'm thankful that your plans are easy to follow and that there are plenty of Kregjig tutorials on YouTube! This project took 15 hours, but in the end- the time spent didn't matter. I love the finished product, finally a space to prep and cook. Thank you for inspiring all of us. Not perfect, but beautiful. Used Minwax Golden Pecan Wood Finish and 2 coats semi gloss. Thanks again! -Leo C. @1LeoChen Instagram & Twitter
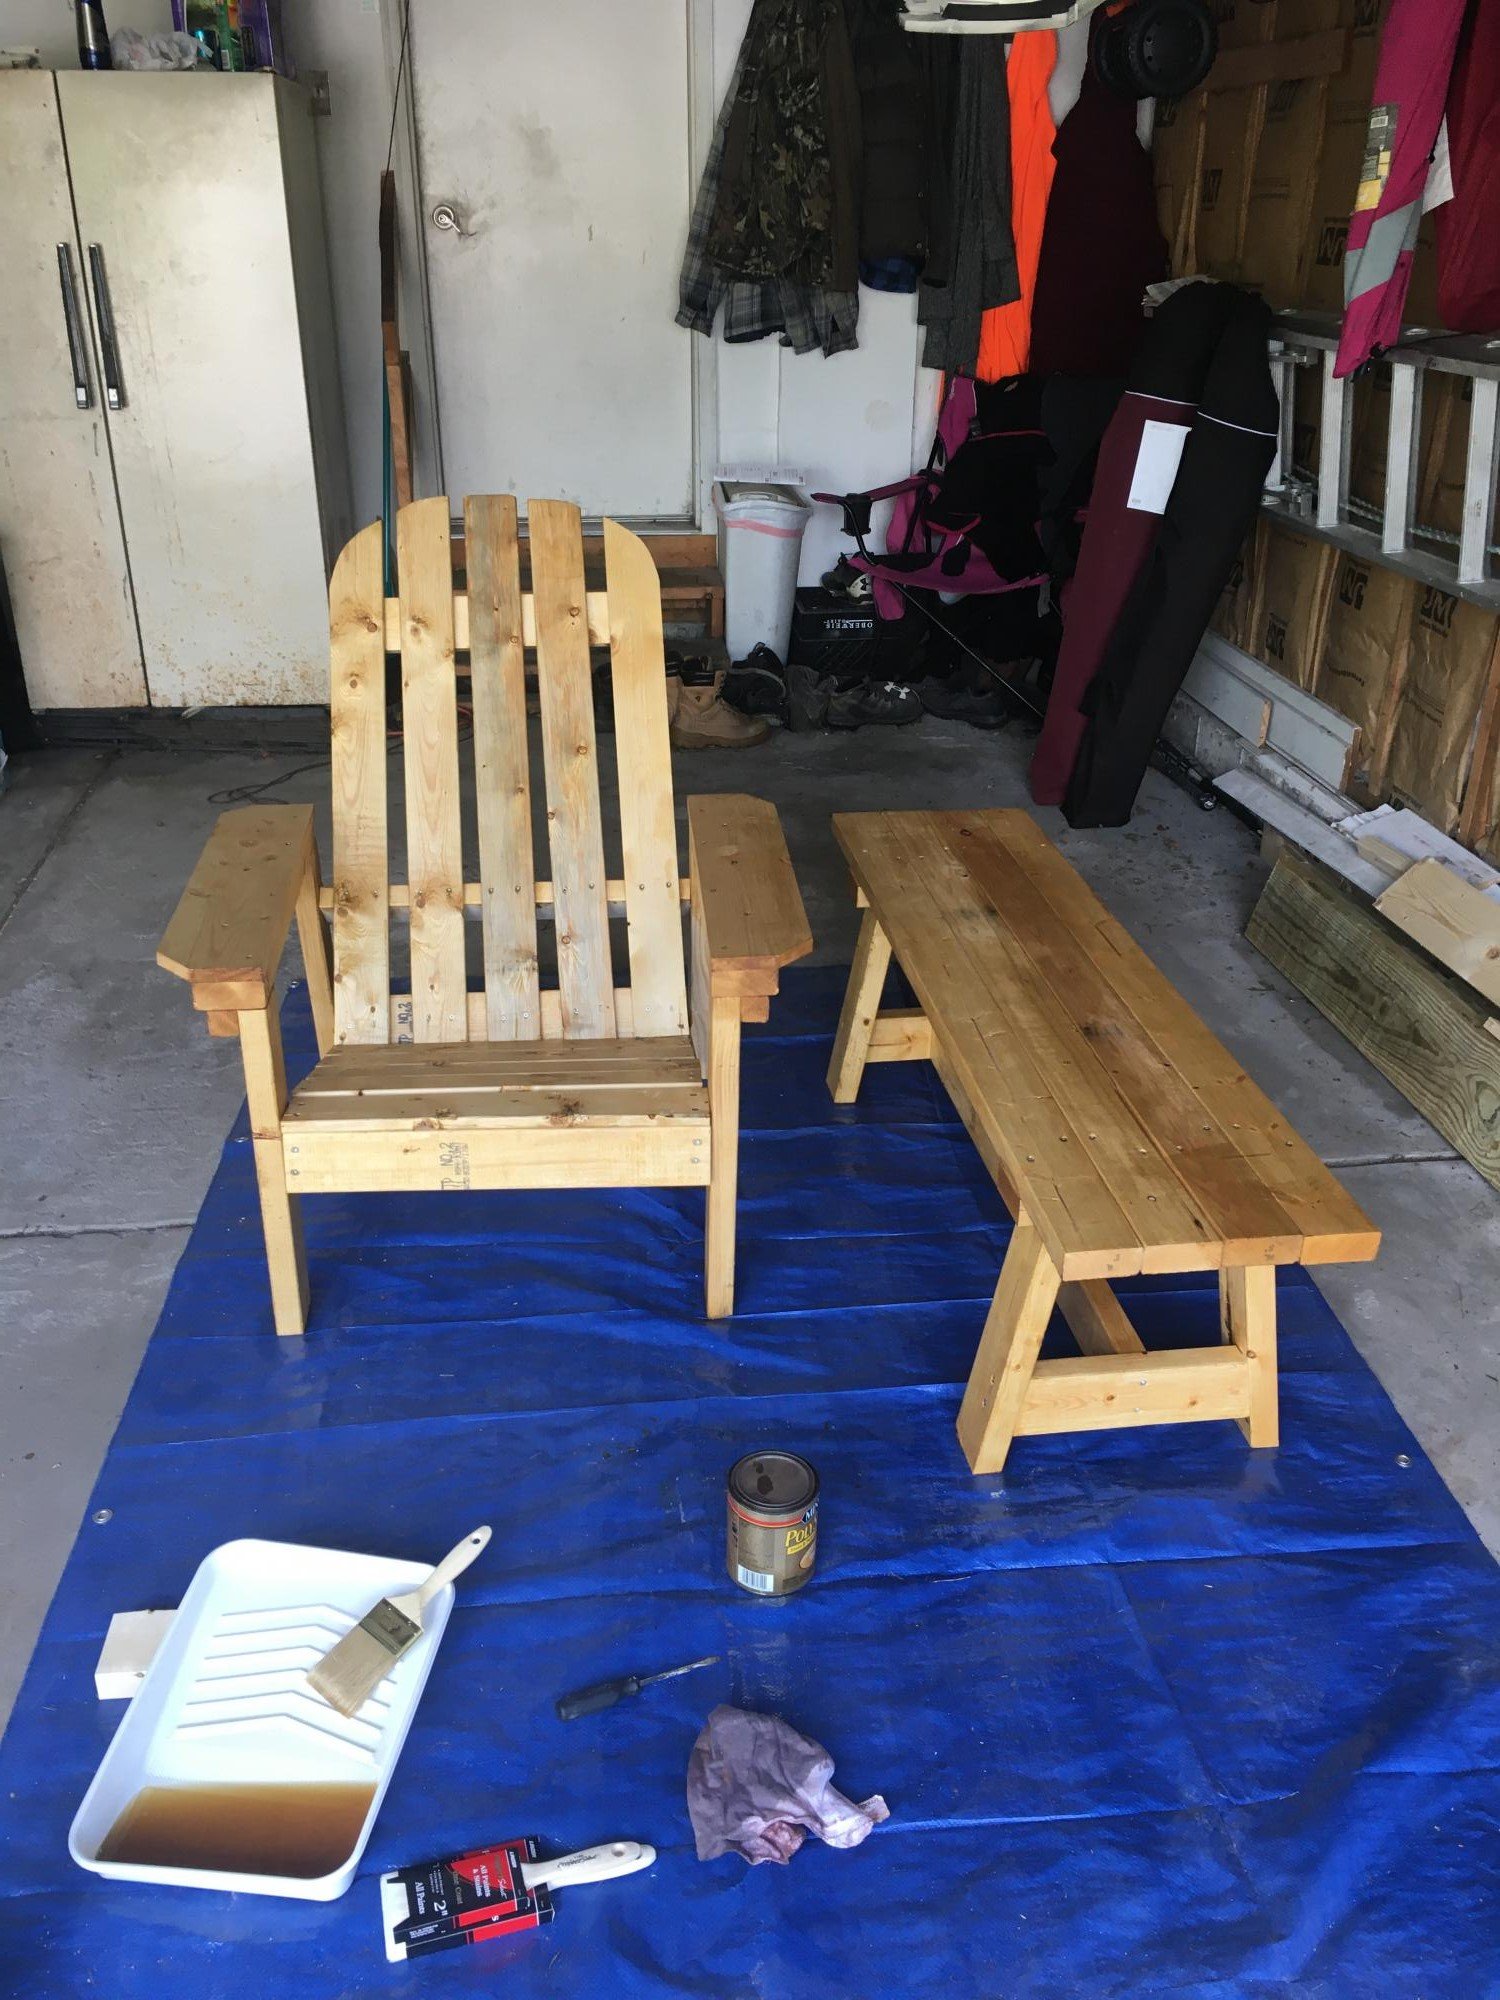
Had already posted the truss bench but since I was staining both it and the Adirondack chair together thought I’d share both side by side. Thanks for the wonderful, simple plans!
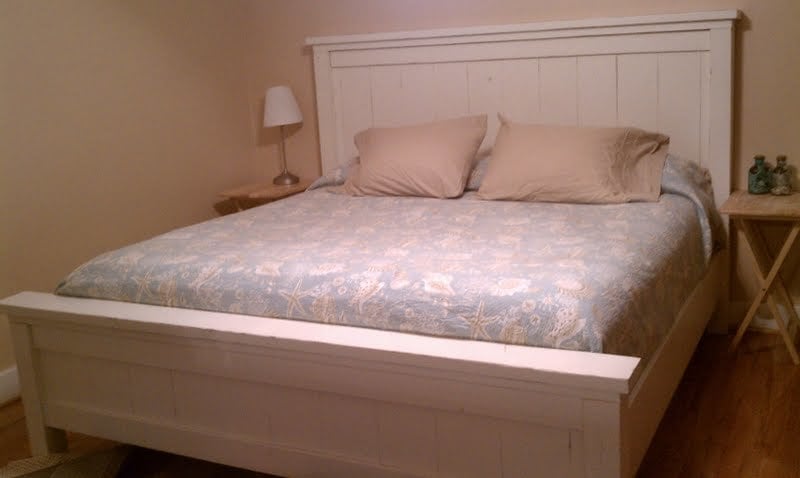
I was so excited to see the plans for this on Ana's website. I knew that it would be on my list of things to one day do. That day finally came about 6 months ago. I know it's not suppose to take that long but I work full time and go to school at night so they only time I had to work on this was on the weekends (if I was lucky). After the build, I stained with a Chestnut color and used a color by Sherwin Williams named Greek Villa. I distressed it with a sanding block and finished with 3 coats of a poly satin finish. I finally finished this project about 4 hours ago and I could not be happier with the outcome!! Can't wait to start on the nightstands to match!