Nursery Shelves
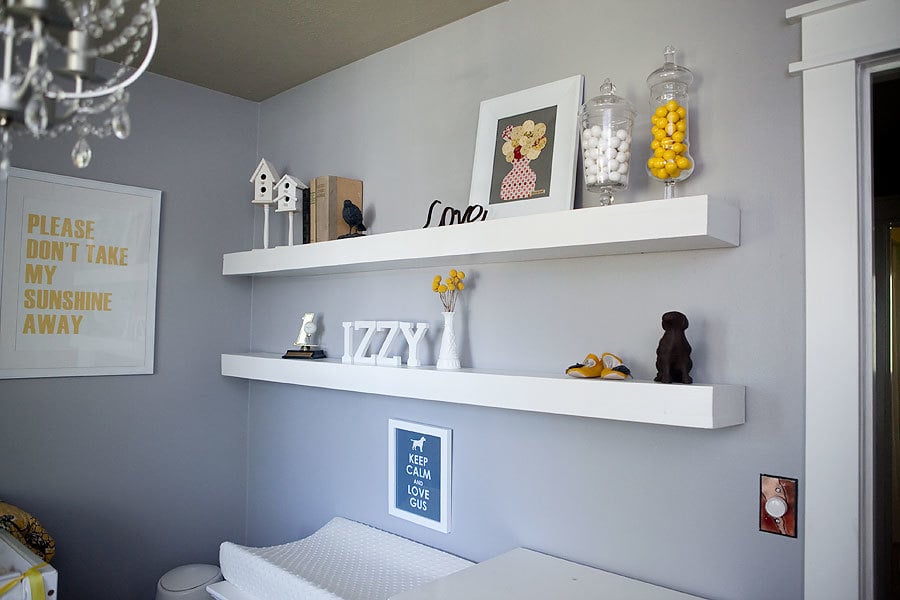
I used Ana's plans to build floating shelves and the ledge shelves for my nursery.
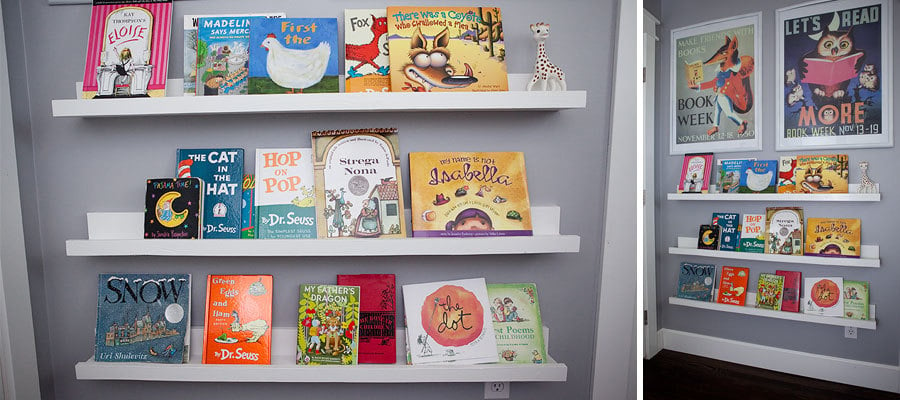
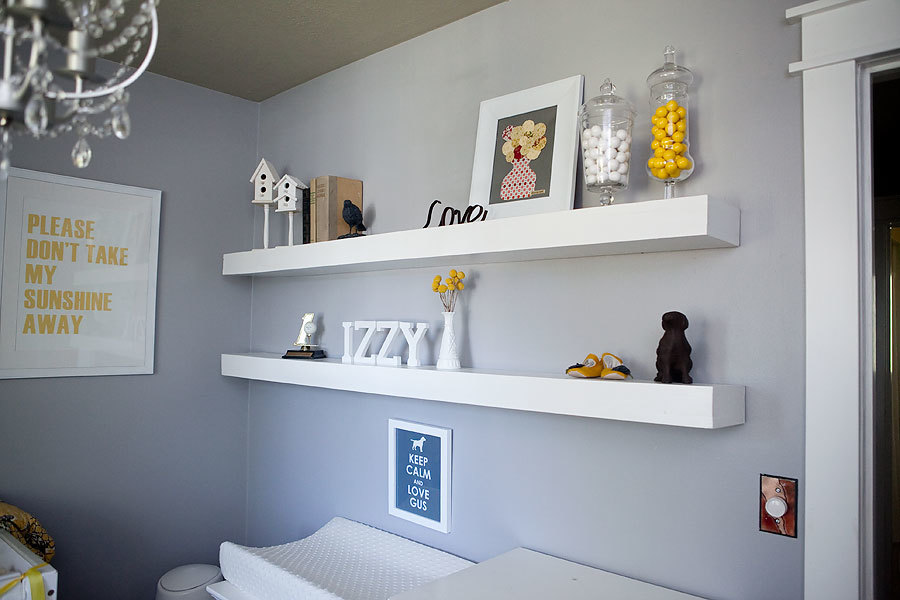
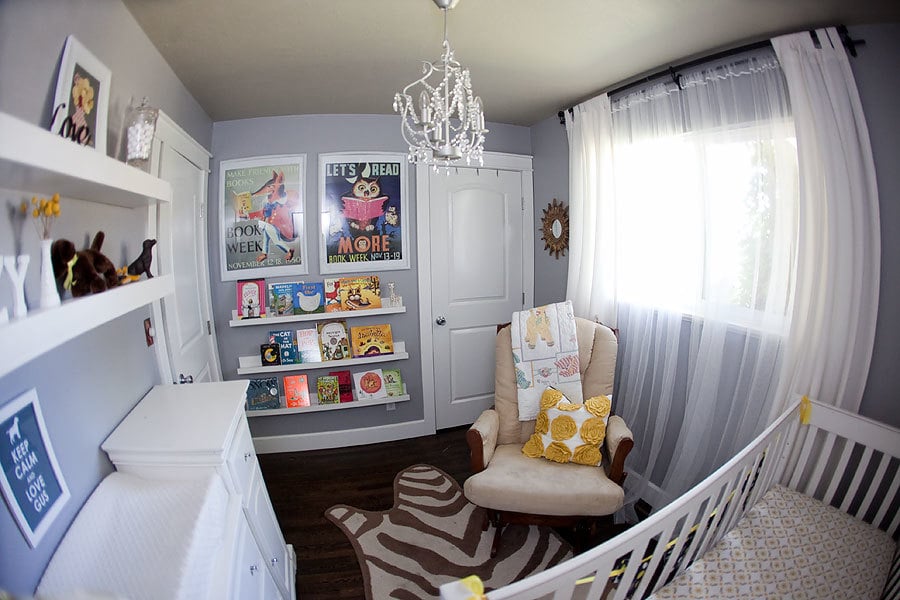

I used Ana's plans to build floating shelves and the ledge shelves for my nursery.


This was my first project! We just bought a house and have no furniture except a mattress on the floor! But soon, we will have a home full of custom built furniture :)
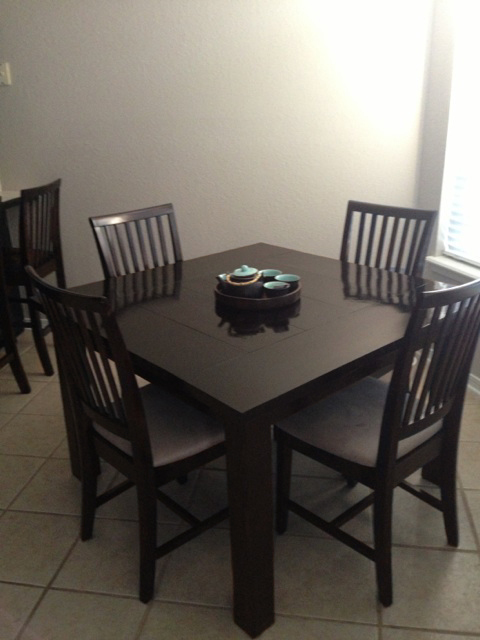
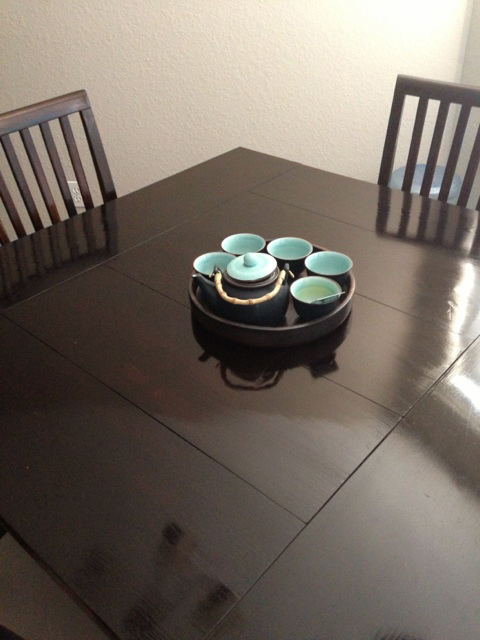
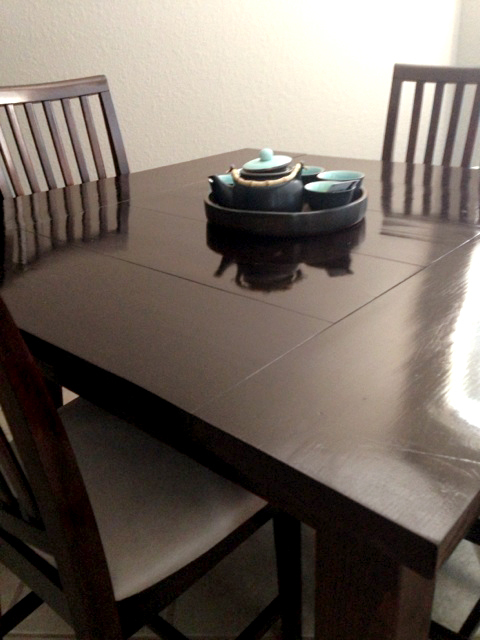
I modified this plan quite a bit so it would fit in my space better. My husband really wanted a square table, so I came up with this one based on the farmhouse table. I changed the table top pieces to 2x10’s simply because I like how they look. It took me quite a while because I wanted the top to be super smooth with minimal gaps between the boards, so I ran the boards through a planer quite a few times until they were perfectly flat. Also, since it is square and smaller, we didn’t need the support beam along the middle.
I really wanted chairs that matched the table, so I ordered chairs that were unfinished and stained them to match the table. This took FOREVER and they were a little expensive, but they turned out great! We also got 2 barstools that match.
Like any other project, the finishing took the longest. I sanded for what felt like 20 years, then stained and poly’d for another 10. I am pretty happy with it considering it was my first try!
Thu, 08/22/2013 - 11:21
I ordered them from a manufacturer in California called Maywood Shops, LLC. The chairs weren’t that expensive themselves because they are a wholesaler, but I had to pay around $175.00 to ship them!! After that, they were comparable to store-bought chairs.
Mon, 08/26/2013 - 11:39
Not exactly what I was going for, but it turned out pretty good!!

The Channing Snack Cabinet was the perfect fit for a coffee bar in our little kitchen/dining room. We modified the plan slightly by adding two inches to the height, and putting two drawers in behind a pair of barn doors made from plans by Shanty 2 Chic. The top drawer holds k cups, coasters, etc, and the bottom two drawers hold coffee cups, extra water bottles, and tea.


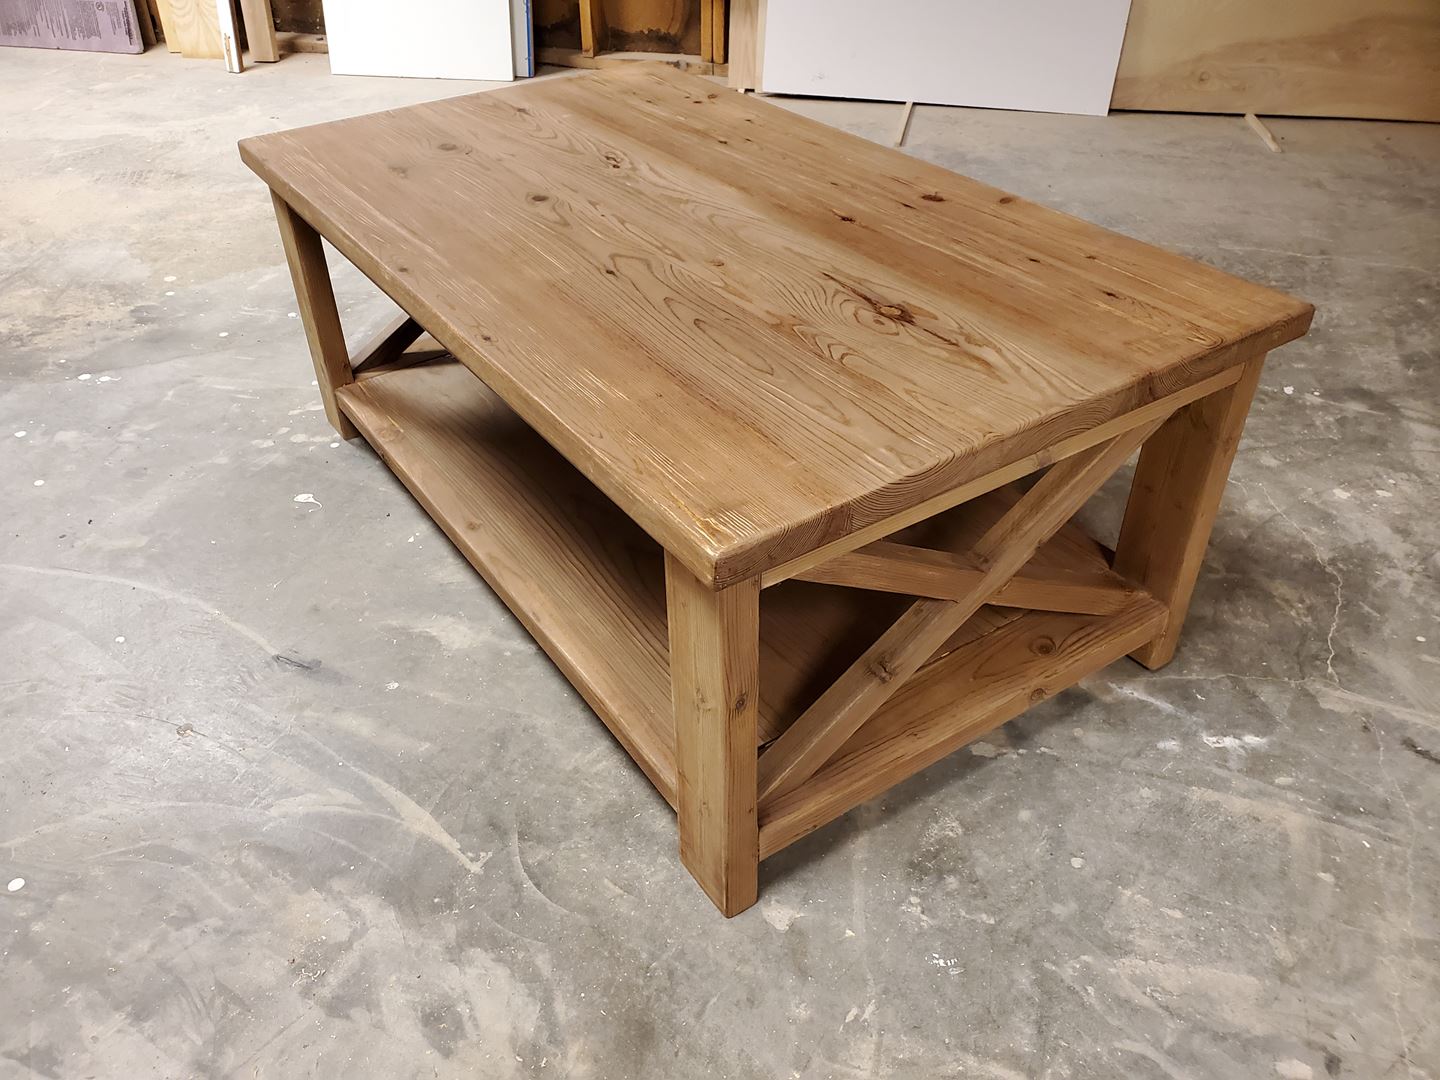
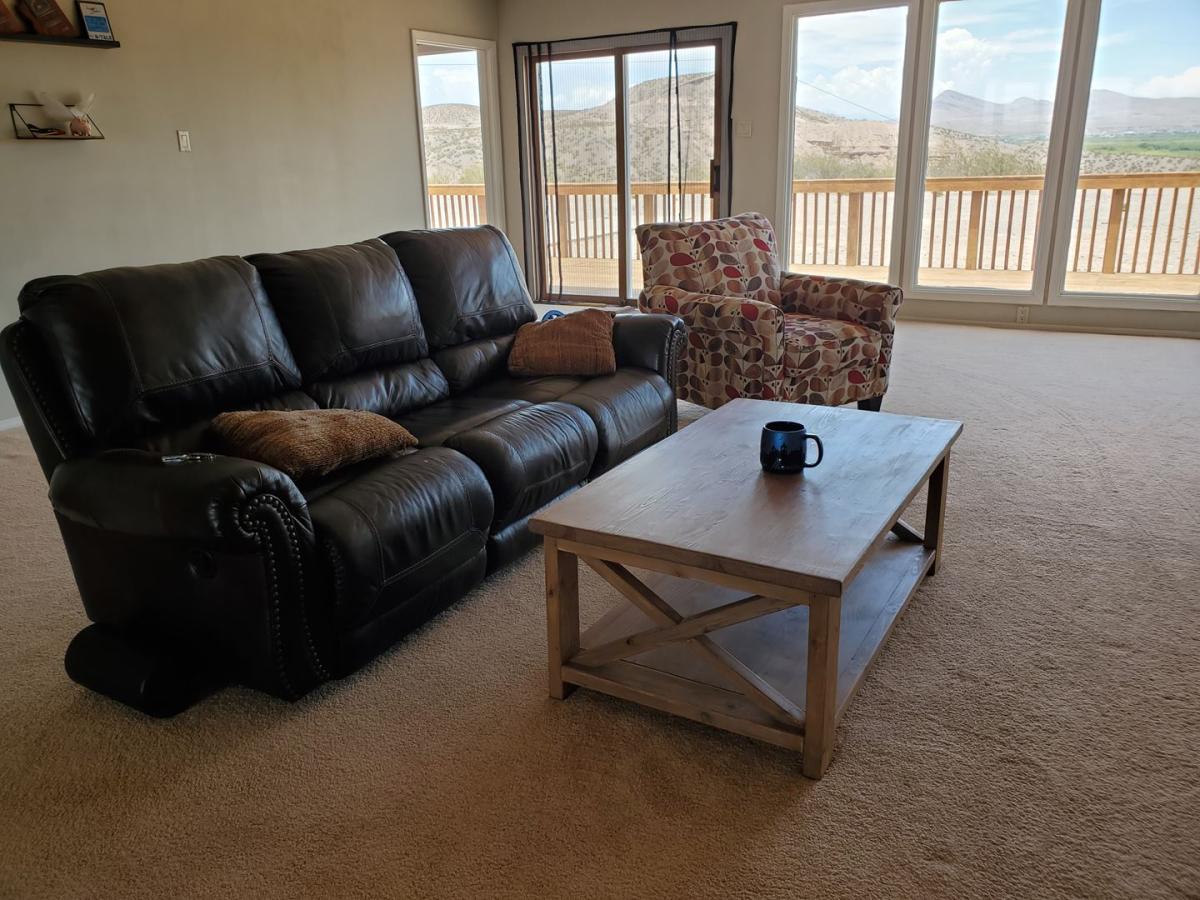
My first coffee table and I'm happy with the results. I certainly learned alot about woodworking which was part of the goal. More details on my blog: http://jdfinley.com/a-table-with-coffee/ Thanks for the neat designs Ana!
Sun, 06/26/2022 - 19:25
Way to go, this looks fantastic, can't wait to see your next project!
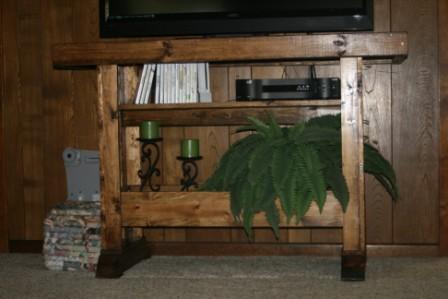
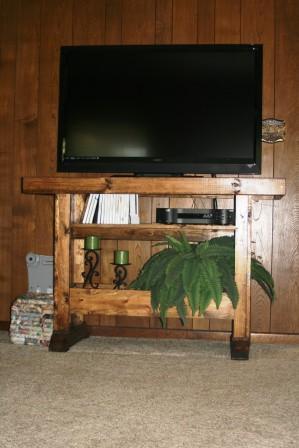
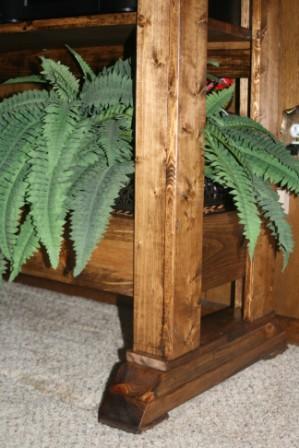
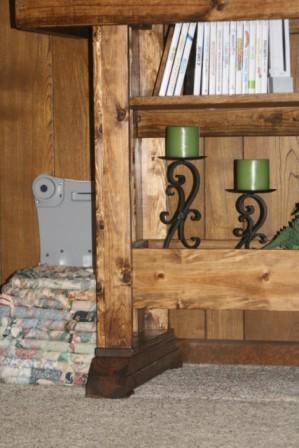
What started as Ana's workbench console for my dining room ended up as a media console for my living room. I shortened the width by 10 inches, and then I added a shelf for our DVR and Wii console. I made a few mistakes, but I'm not talking about those. ;)
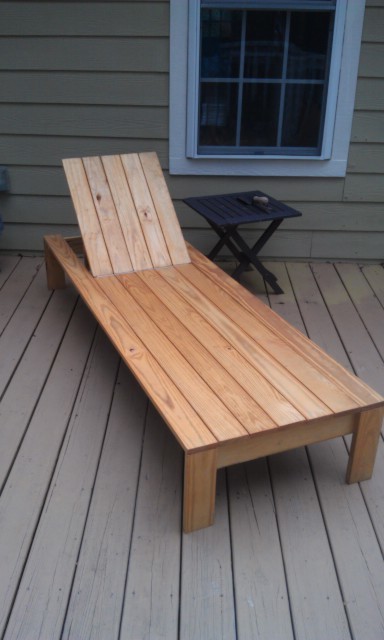
This was my 2nd wood working project. I found it was nice to have a 2nd set of hands to line up the top boards and put on the hinges. I did use a piano hinge for the back like another poster mentioned. It is smaller (not as thick) and helps keep the boards all even on the end when the back is lowered.
I really like the look of this lounger. I was worried that the boards on the edges would need more support, but they seem sturdy enough. If I notice them sagging later or starting to move, I will put some braces underneath.
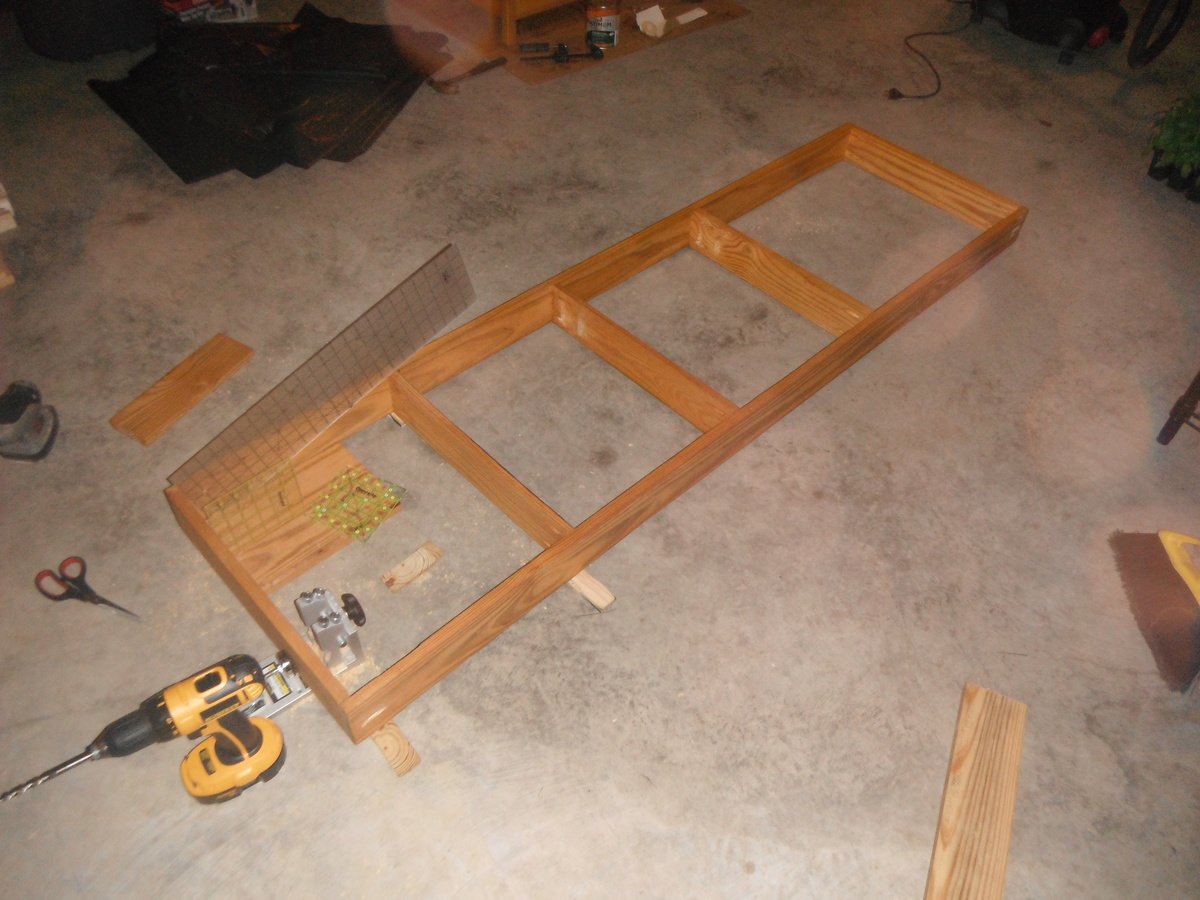
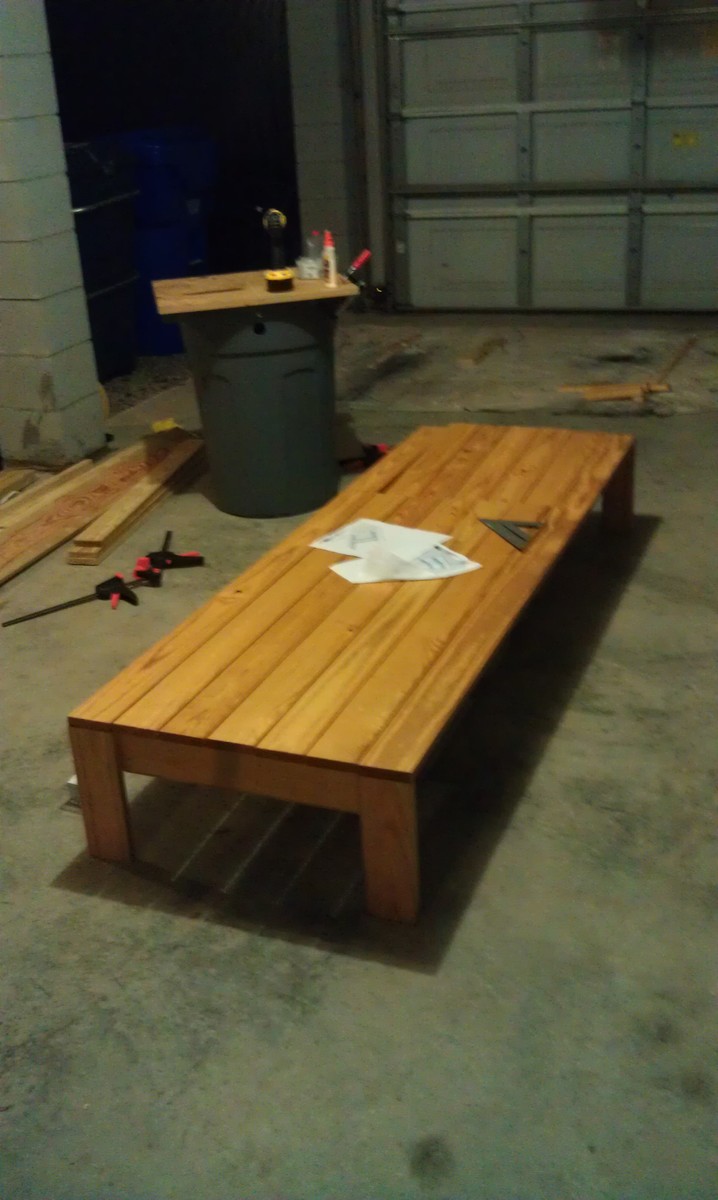
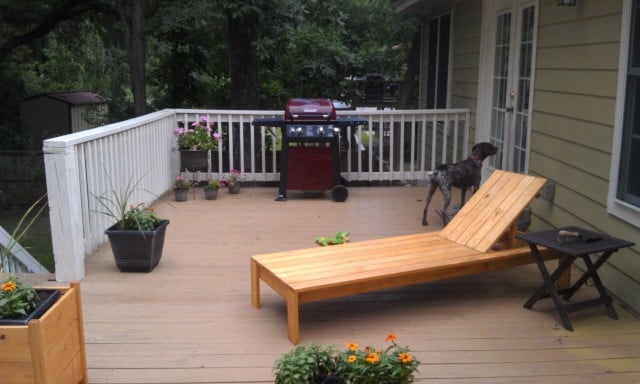
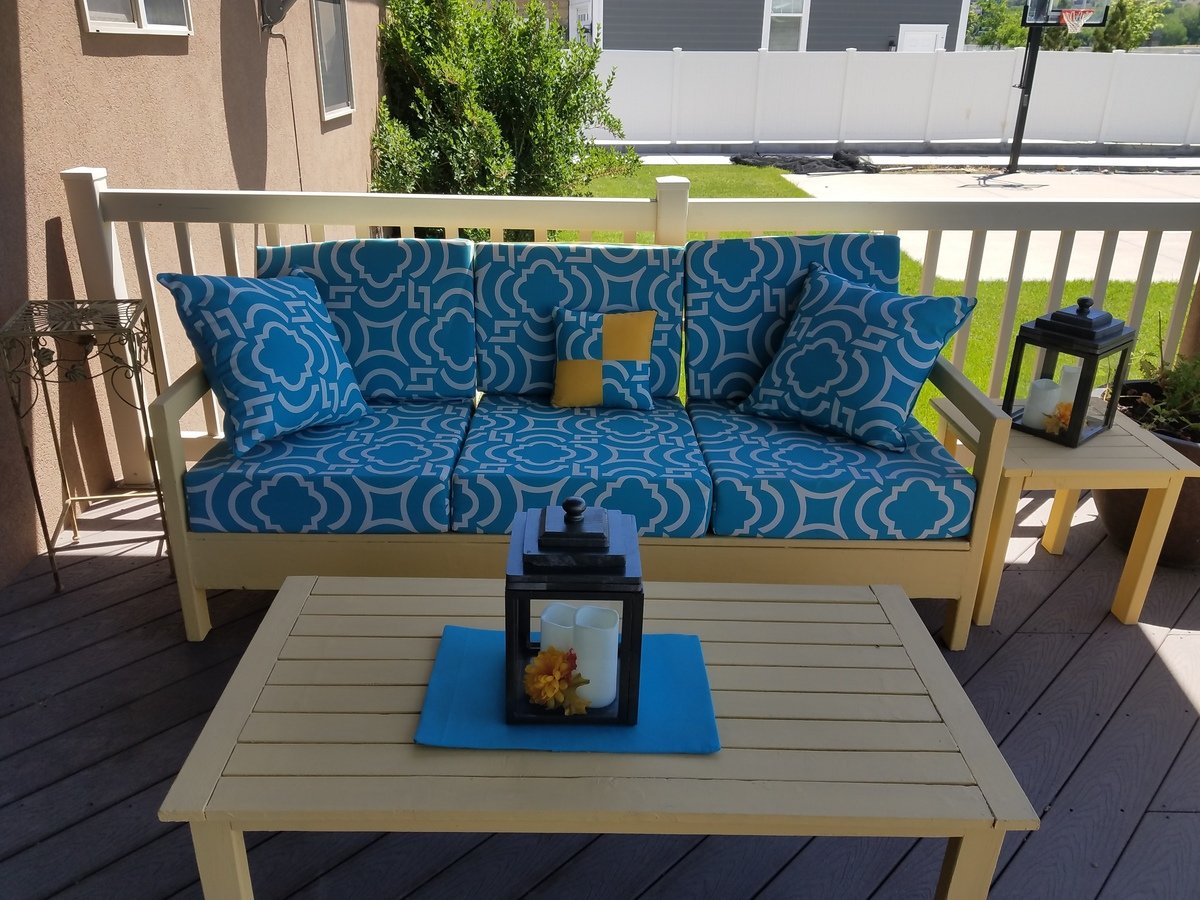
Thanks Ana for the great, easy plans!
Note: I used an exterior deck paint to paint this furniture. Although it has a rough texture, it doesn't bother us because of the cushions. Very easy to spray off, and has been through two seasons with no chipping or discoloration. Yay for less refinishing time and effort!
I made a few small changes to the plans. used 3x3's for the legs, and 1x3 slats for the top (instead of solid 1x12). used 1x3 for the aprons and the base and made them 2 inches shorter to account for the 3x3 legs. I used pocket hole screws for everything.
This little table is built entirely from scraps! My husband and I needed a table near the porch swing to set our coffee on and put our feet up at the end of the day, and it had to be small because we don't have a lot of space on the patio. It didn't cost a penny to build, and it's just the right size!
More details about how I built it can be found on the link.
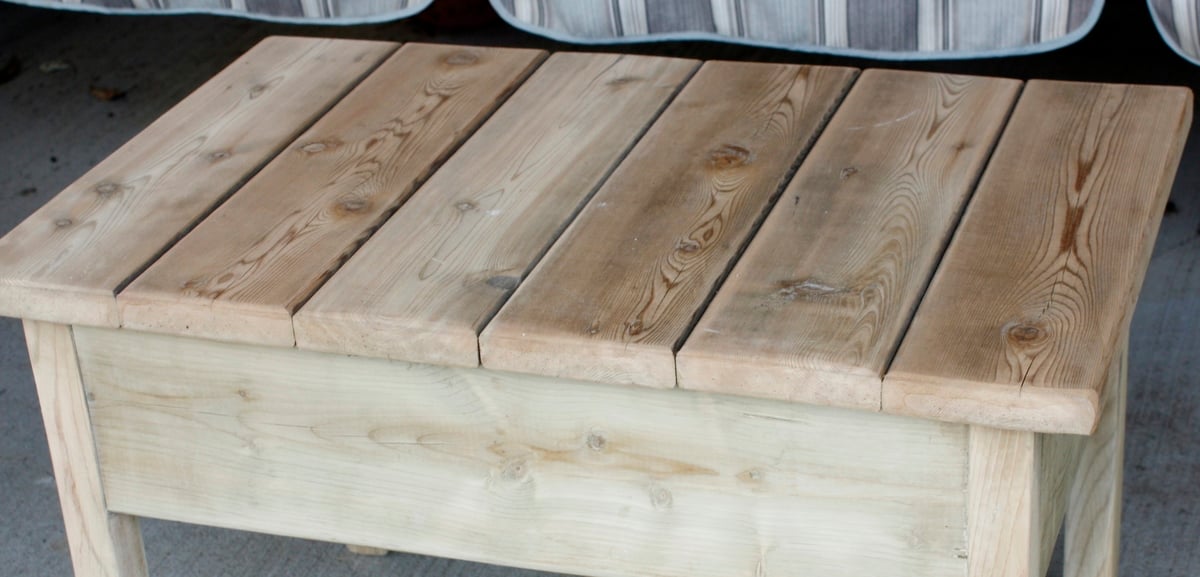
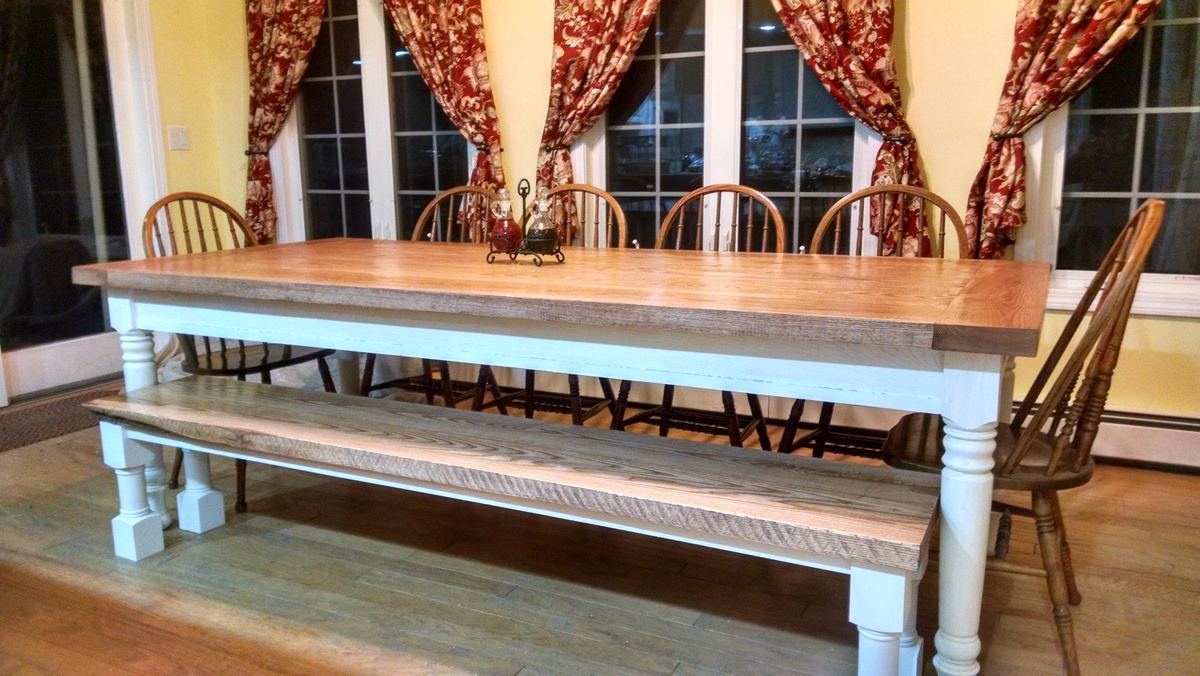
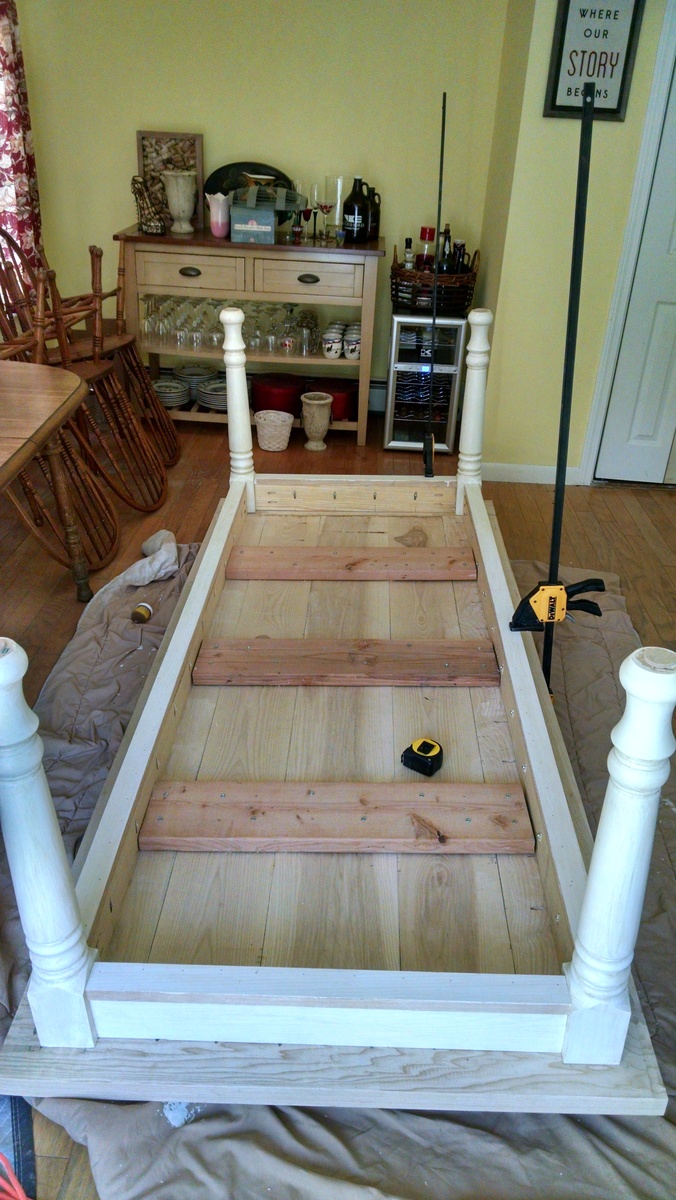
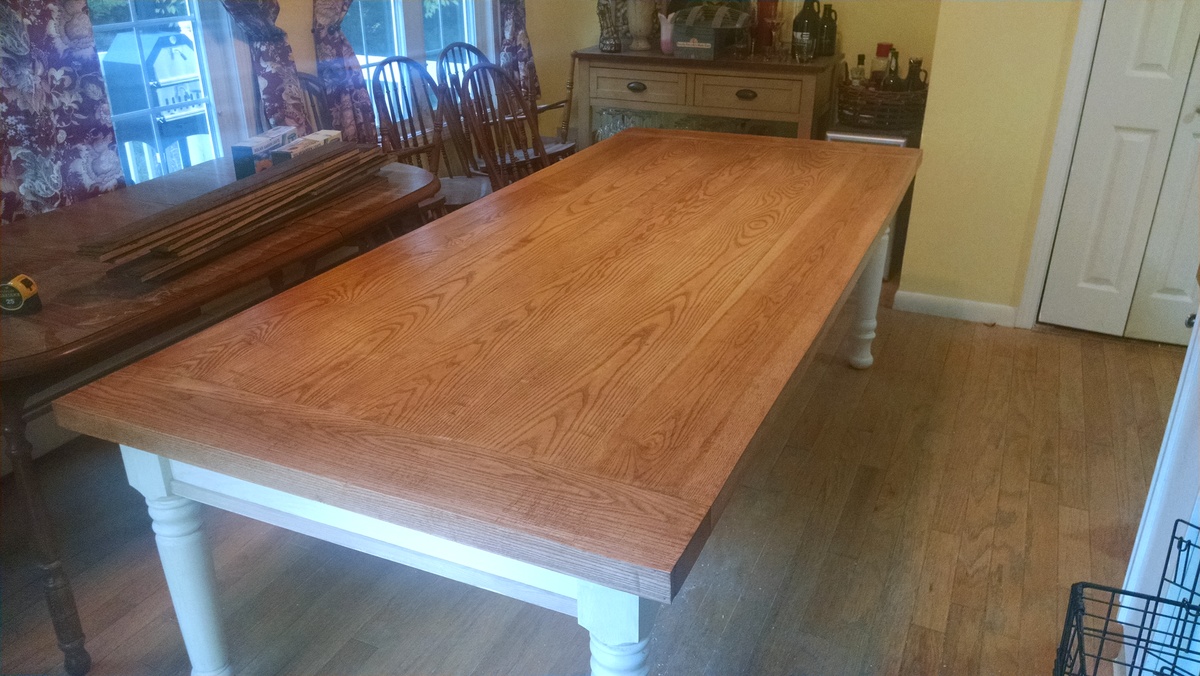
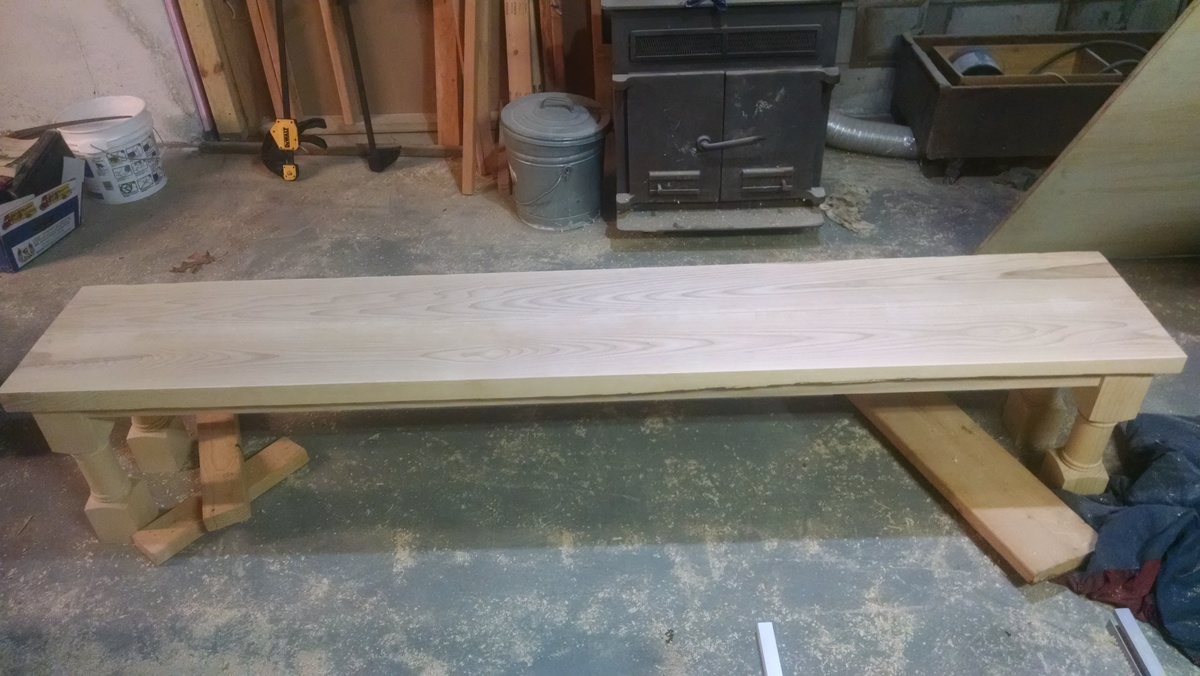
This table is massive with the top being 96" x 42" and 2" thick and sitting 31" high. The table can be done in a weekend and the bench was assembled the same way as the table out of scraps and was finished in about 4 hrs.
Sun, 10/11/2015 - 11:17
That is one beautiful set up you have there, thanks for sharing!
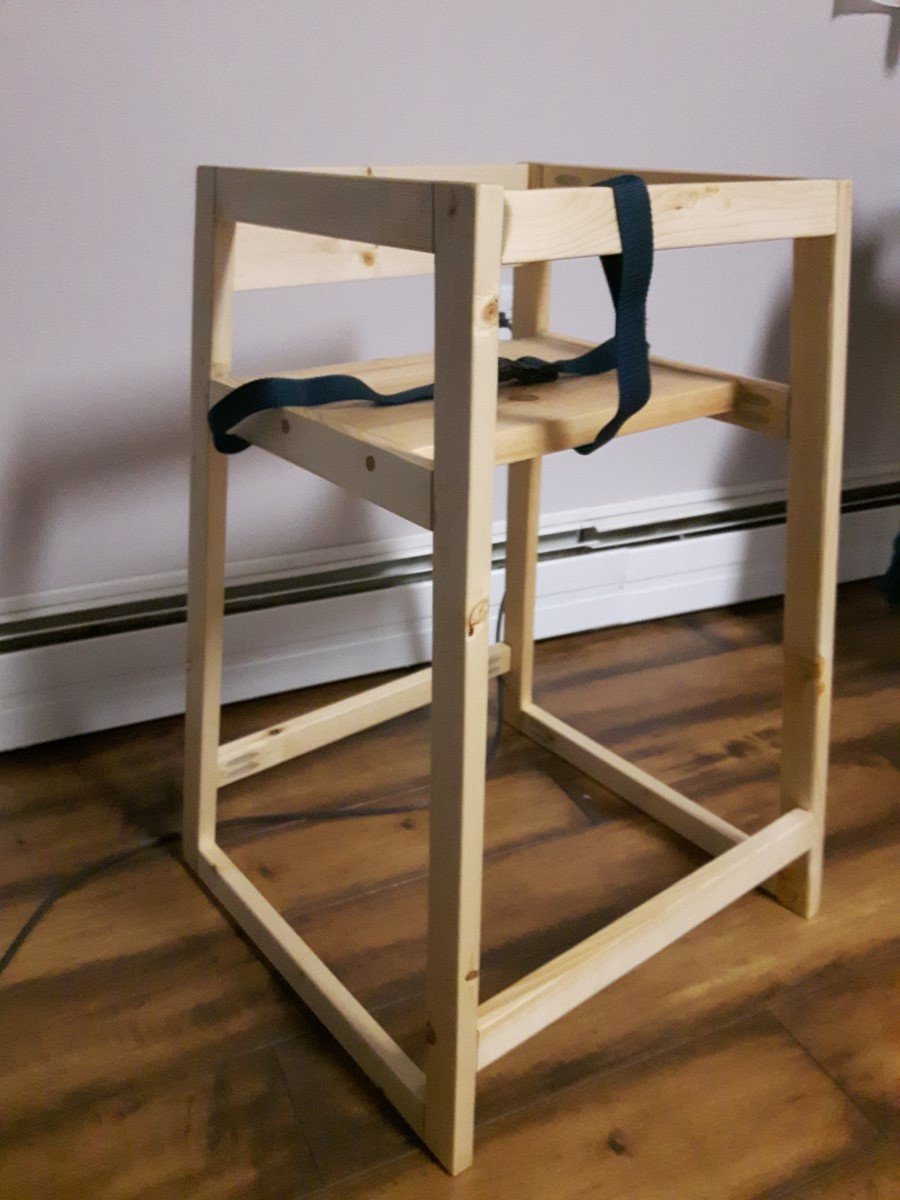
Thanks so much for the plans. Built it for my visiting nephew. Had a hard time with wood splitting, definitely predrill once you have the pocket holes lined up. I finished with food grade mineral oil, may go over it with beeswax.
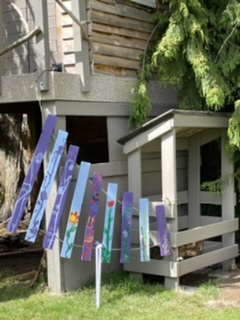
This is smaller version of Ana’s Firewood shed. We just need to load it with wood! It’s about 4 feet long, 2ft wide, and 5.5ft high. I so appreciate all the great plans available to the public! Thanks.
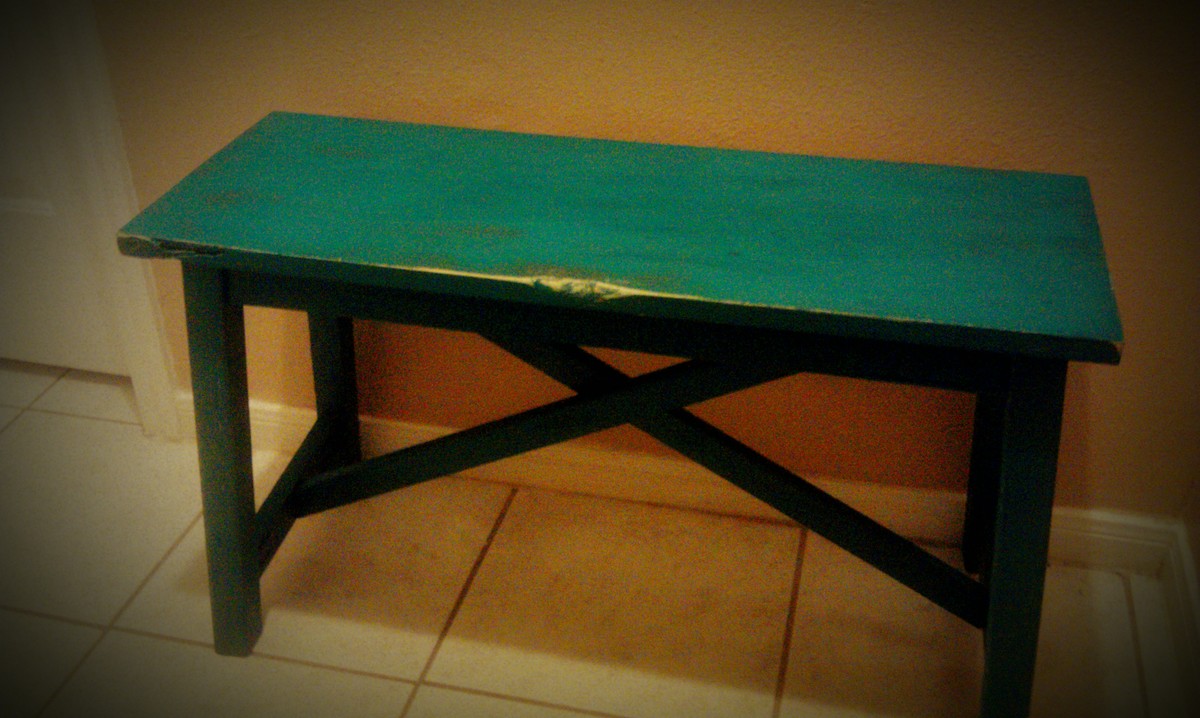
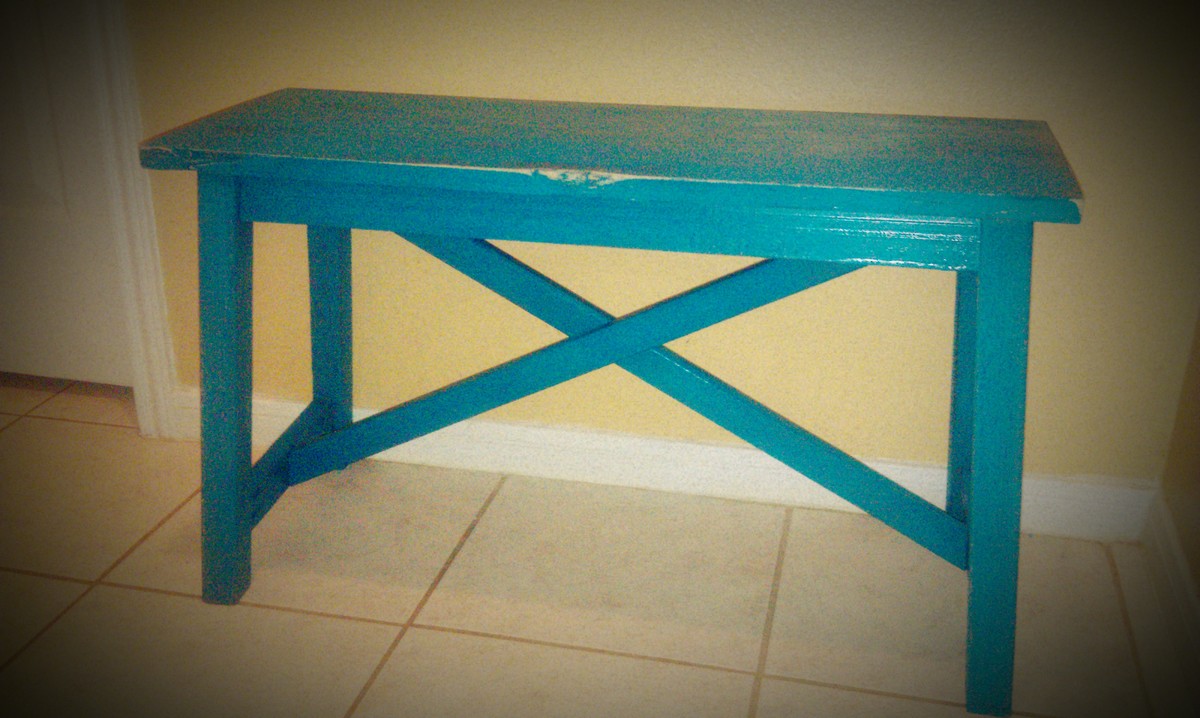
My first shot at the "easy" rustic X bench...not so easy that X.
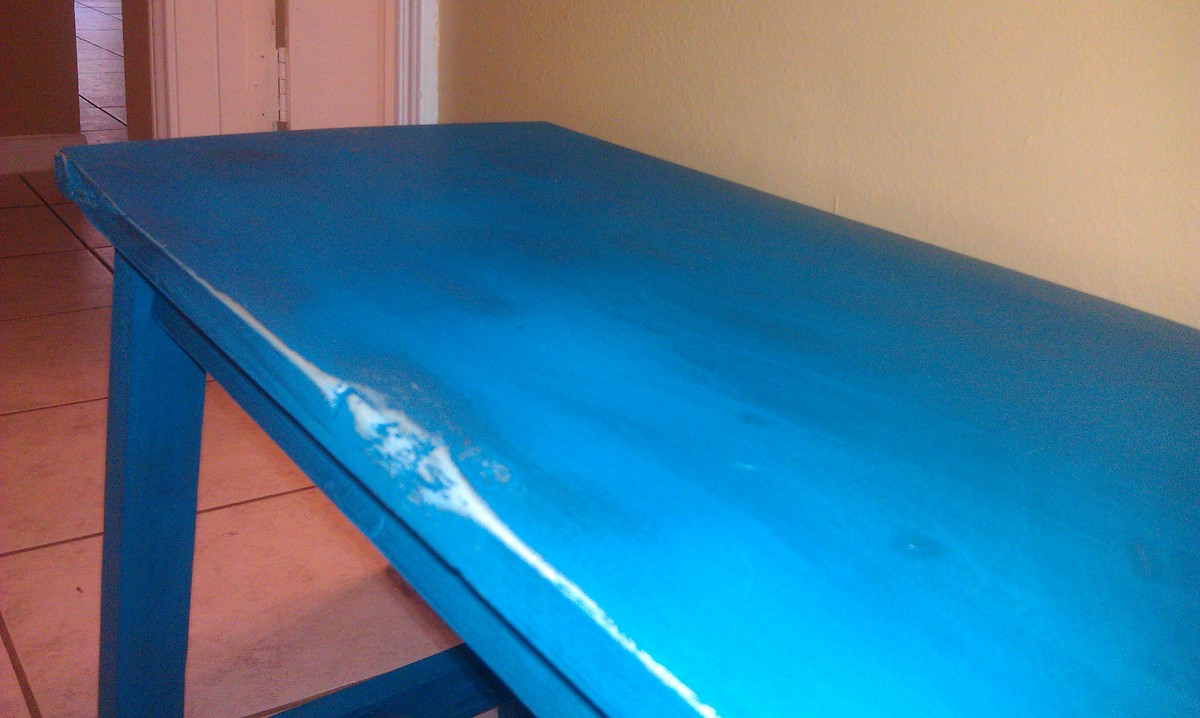
Turned leg farmhouse table from Ana White's plans. The legs are from Osborne Wood and lumber is from a big box store.
It took 2.5 hours to build, including cuts and drilling pocket holes with a friend's help. It took about 30 minutes to stain plus time to wait for the stain to set before wiping it down. I list this as a weekend project because of the time it takes to cure the stain (1 coat) and for each coat (3, total) of the acrylic to dry.
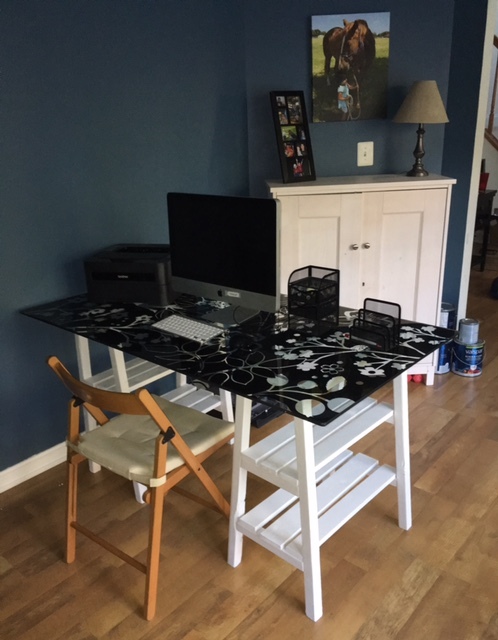
I needed new bases for my glasstop desk. I found the Sawhorse Leg Storage Desk and thought it would be perfect! I am a beginner and this was my first time cutting an angle like 5 degrees parallel and not paralell. The pictures in the instructions really helped me out with that. The units came together pretty easy and I decided to plank the shelves instead of using plywood (because I had scraps on hand and wanted to use those rather than cut plywood). I am a beginner and am still a little weary of using my circular saw too much, so planking the shelves was a better fit for my skill level. I think it turned out really good. I used white satin spray paint and got small clear plastic "bumpers" to pad the top where the glass sits on the bases.
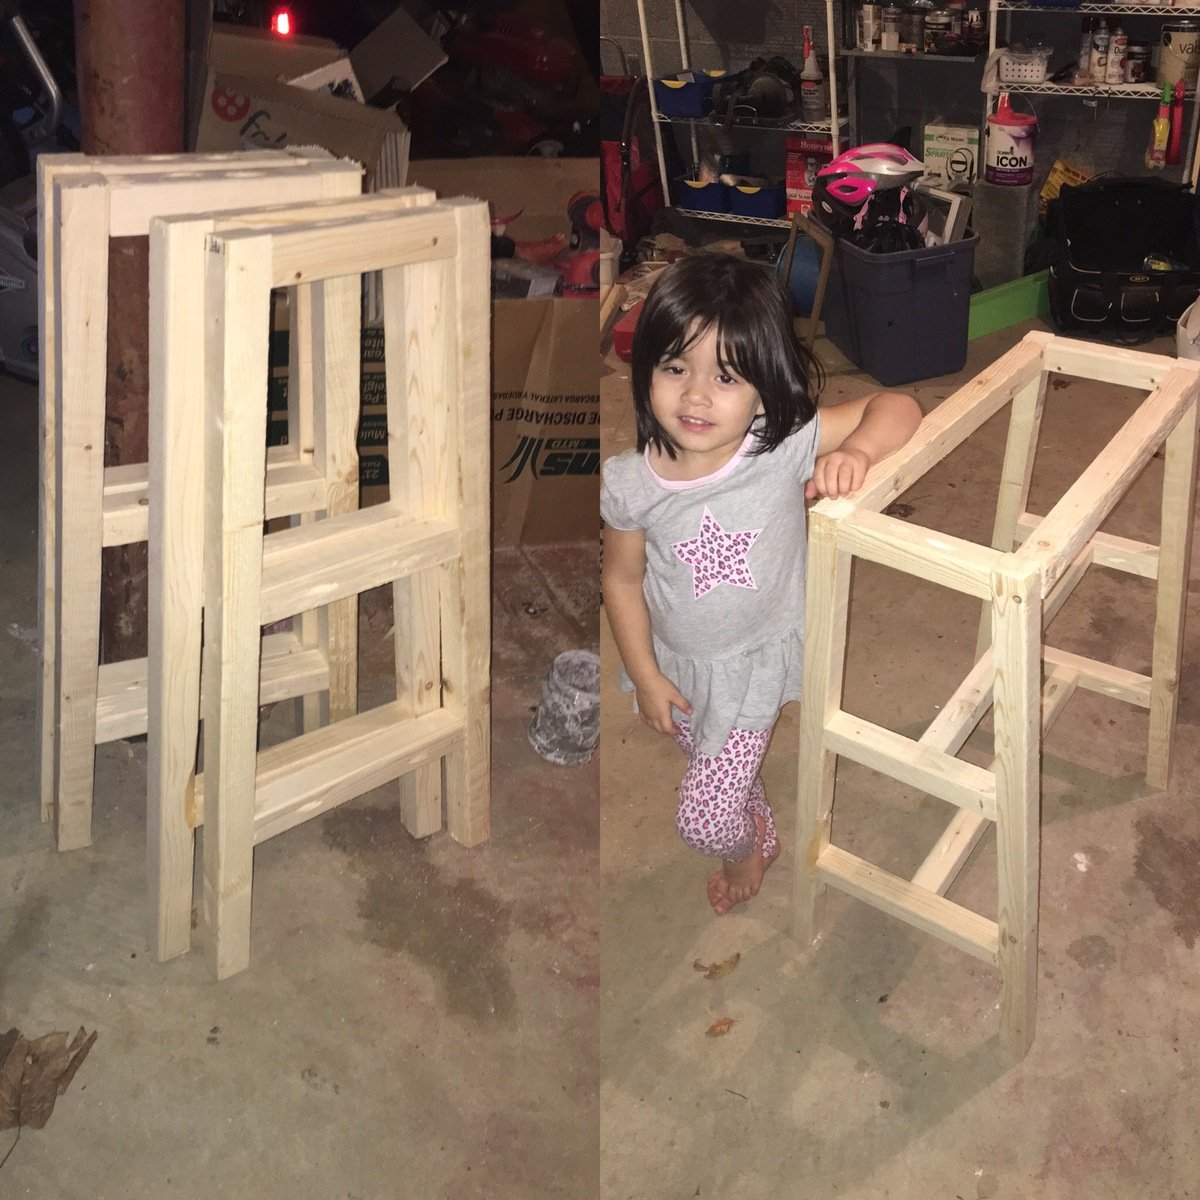
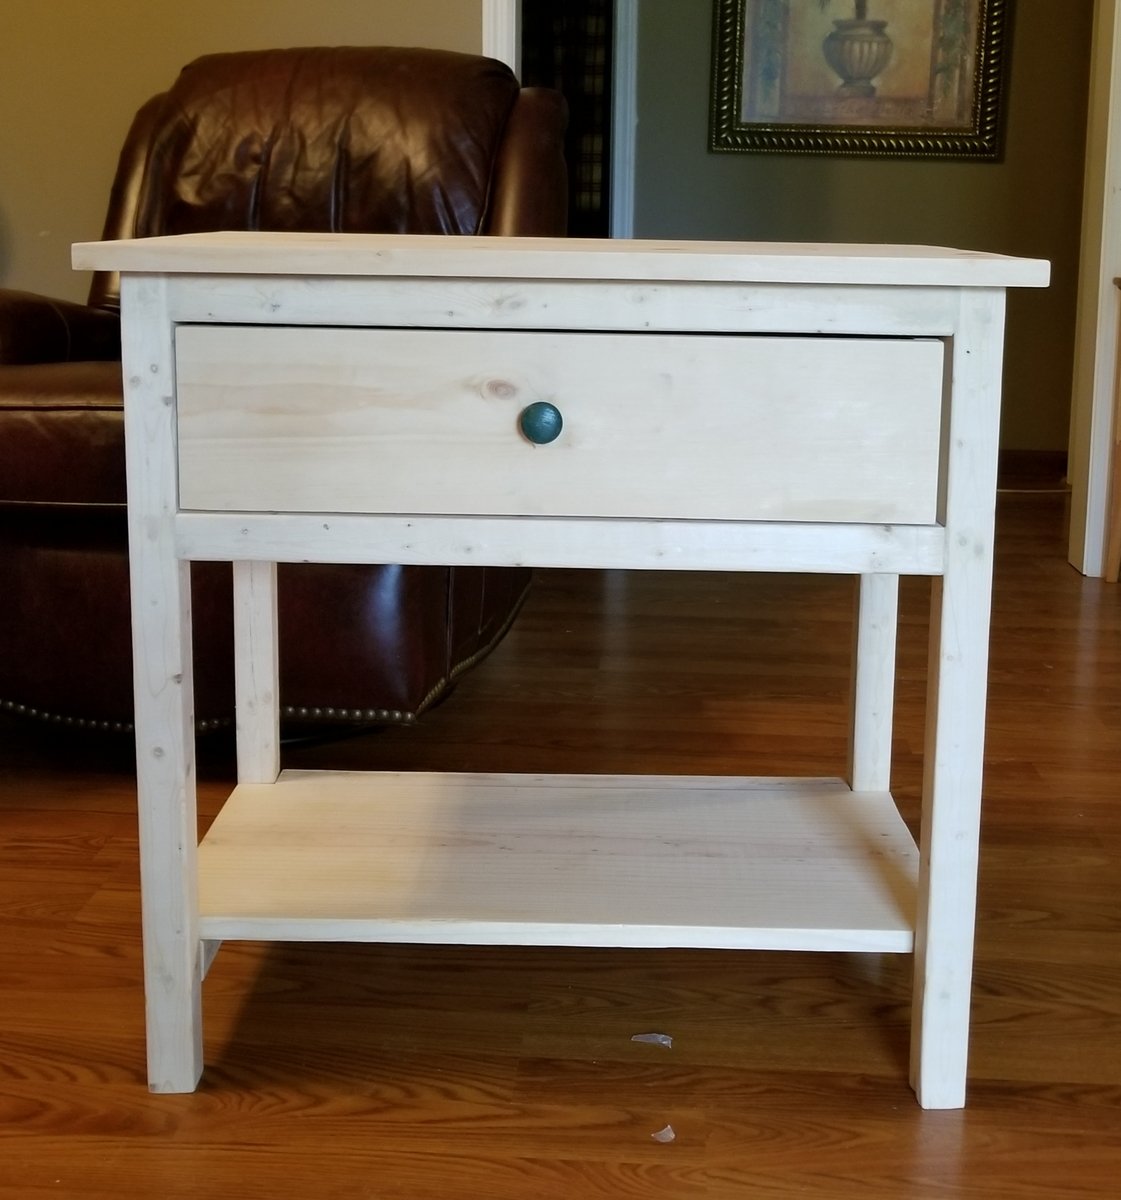
I built this for my son and his fiance. I am leaving the staining up to my son. It is only the 3rd or 4th piece of furniture I have built. I still have to build the match for it. I'm sure it will be much better, since I have learned from my mistakes with the first one.
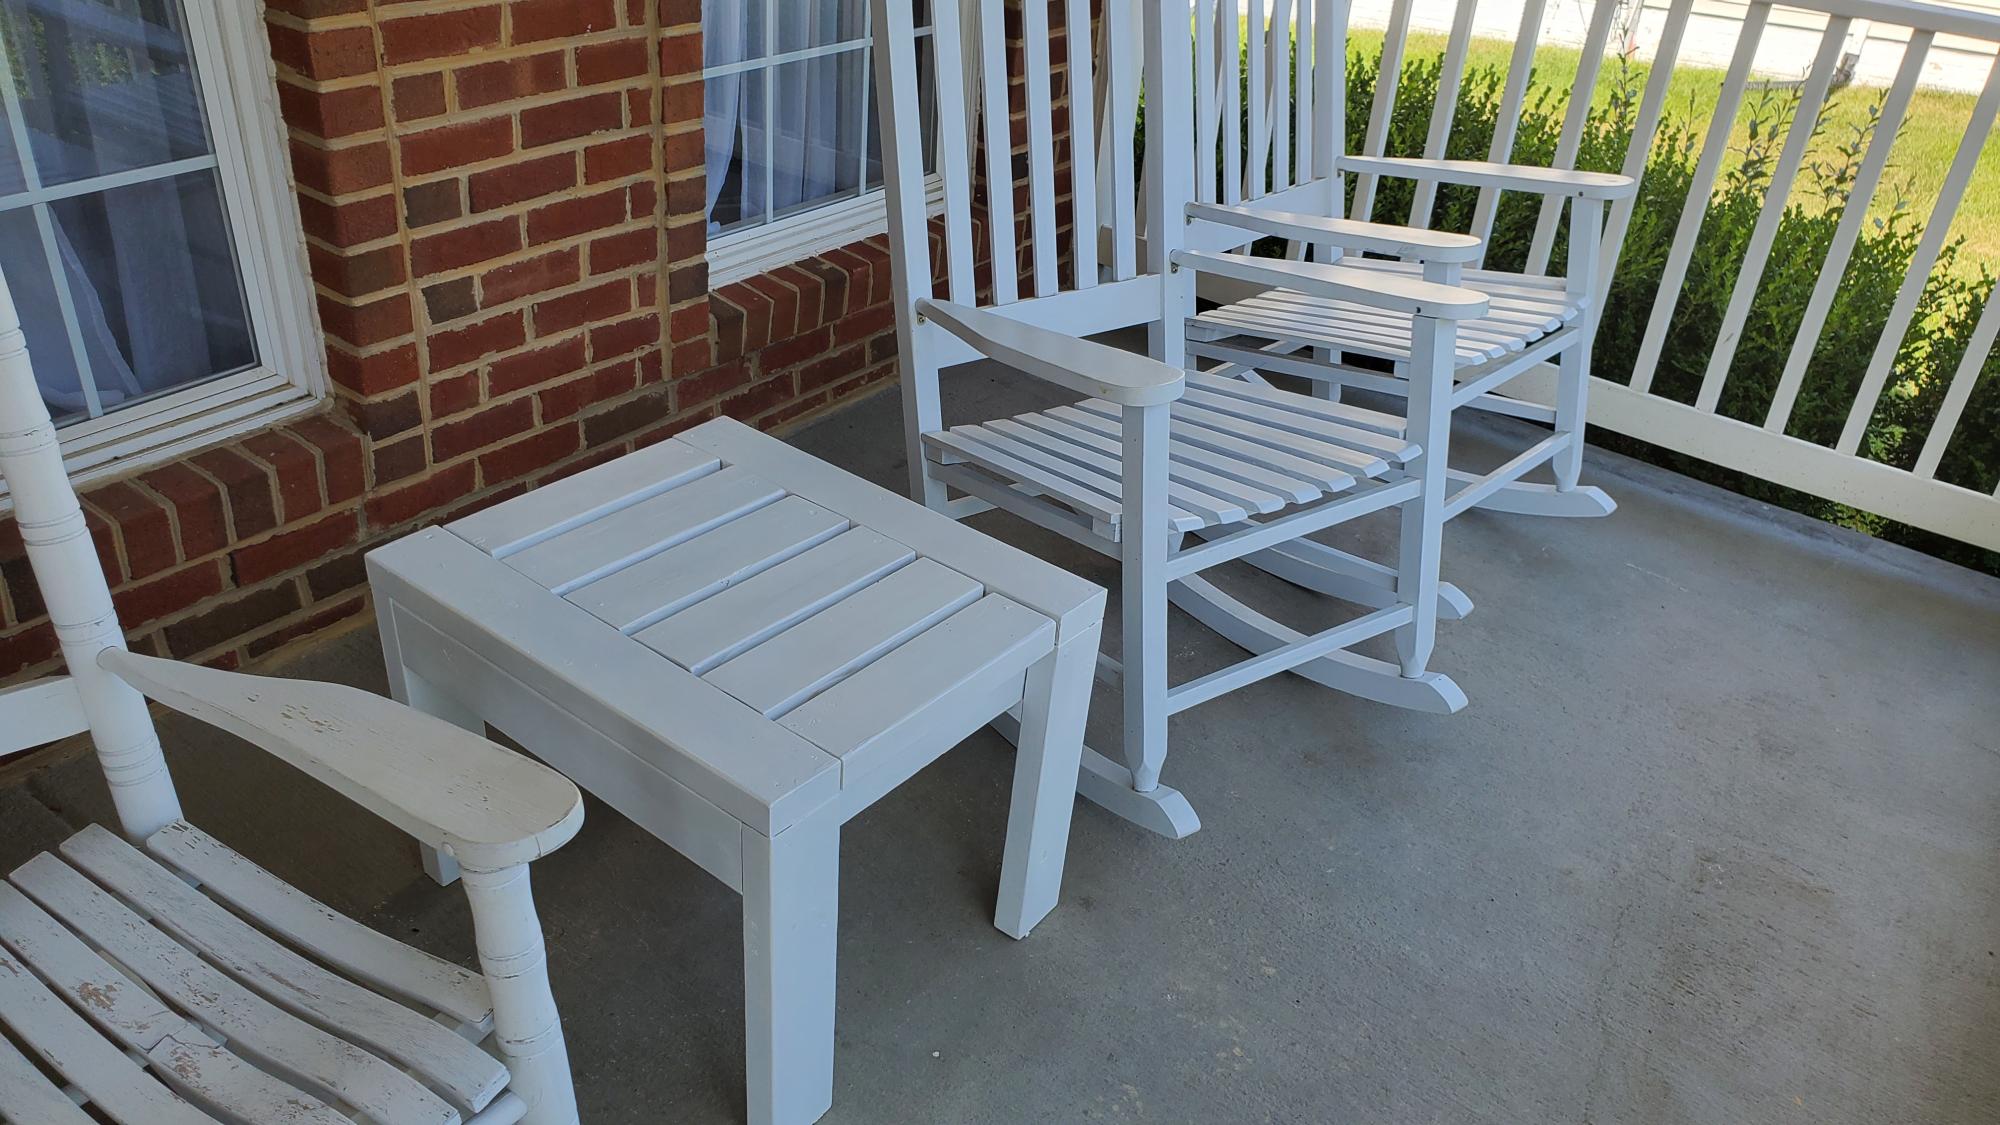
Thank you the inspiration!
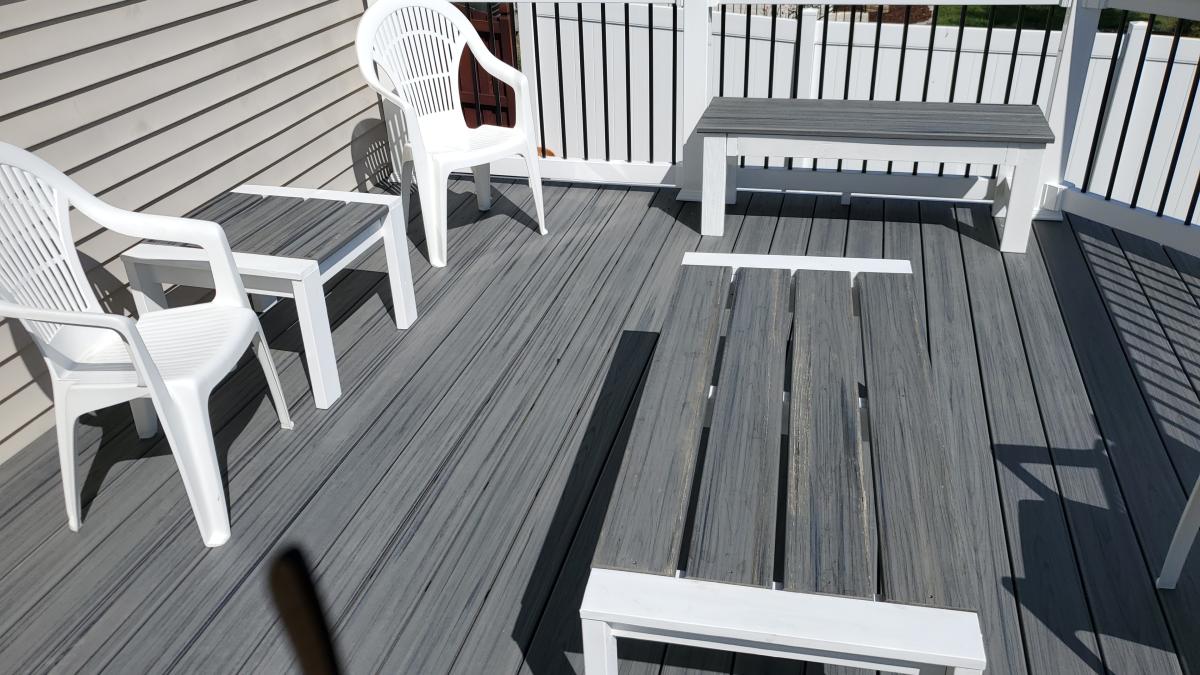
I'm a retiree and beginner woodworker, through your videos I used leftover lumber and Trex decking from new deck to make two side tables, coffee table, and a bench.
Thank you so very much!
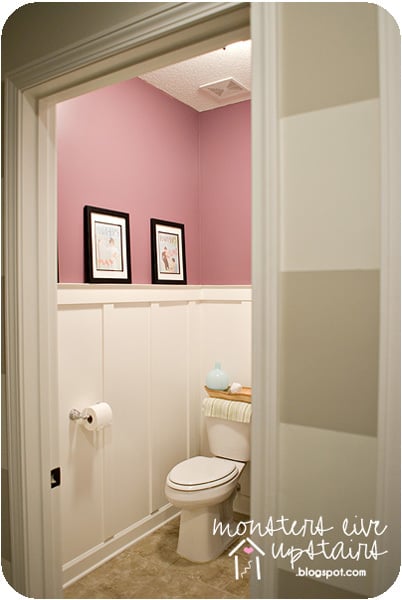
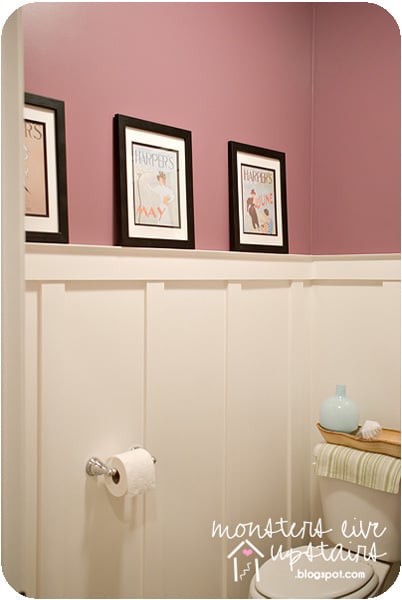
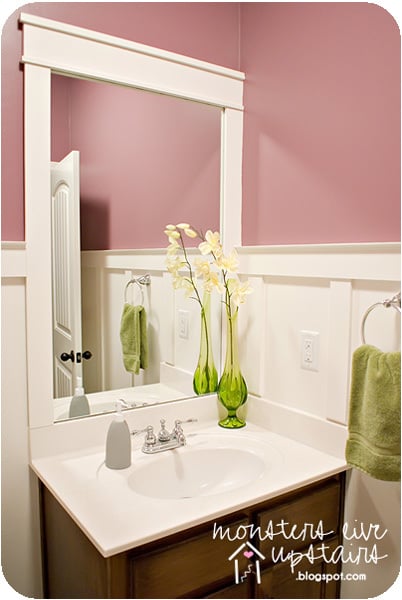
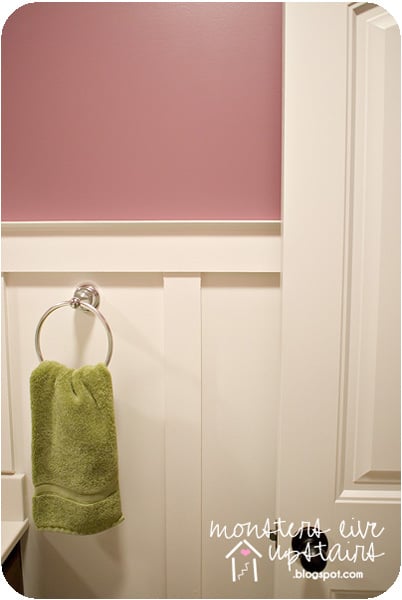
Board and batten makes such a huge difference in any room for very little money and I knew this is just what we needed for our very small but very tall half bathroom. We did have to modify our boards at the bottom and cut them at an angle to meet our baseboards but it is still perfect. Such an easy way to dramatically change a room.
Sat, 08/06/2011 - 13:41
What a beautiful transformation! I went to your blog and loved how you've put aside a little money each month to improve your home. Beautiful photos too!
Sat, 08/06/2011 - 13:57
Thank you, Ana! We wouldn't be able to stay on that budget if it wasn't for you and all of your ideas! You've really changed how things are done at our house. We no longer "have to buy it right now"...but take our time to see if we can do it on our own and make it ours. That is a very powerful thing!
Fri, 08/12/2011 - 04:41
My husband and I just had to build a few walls to cover in a new furnace and duct work. Neither of us wanted to deal with the mud, tape, and sanding that would surely follow. So I suggested that we do a paneling like yours. I used furring strips vs. typical pine or moulding. It looks great!
Thu, 08/18/2011 - 13:47
I loved the bathroom so I checked out your blog, We have a mudroom followed by a small bathroom and then a small laundry room. I love your mud room area and the stripes, we are totally going to use your ideas to spruce our place up!
This is my second project. (My first was the canopy doll bed.) It just took a couple of days to get it all cut, put together and sanded. This was my first time with the Kreg Jig and I loved using it. So awesome.
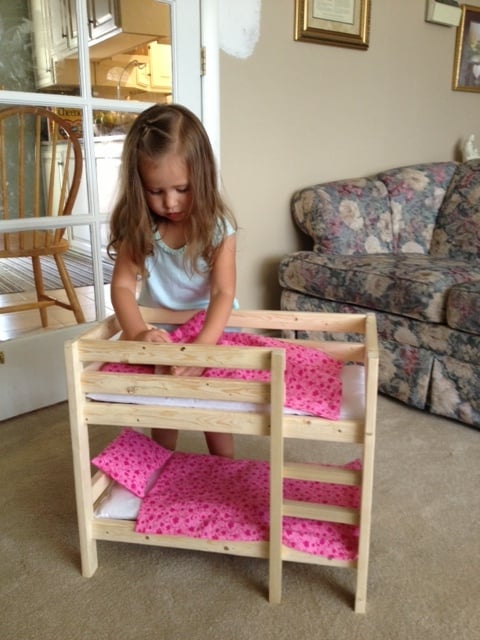
The first 'from scratch' project my husband and I have completed. For extreme beginners, definitely simple to put together for an amazing finished piece.
Comments
Guest (not verified)
Sun, 07/24/2011 - 09:03
Looks Great!
It looks great! Also, where did you find the vintage reading week posters? I'd LOVE to know! Thanks!
spiceylg
Mon, 07/25/2011 - 08:07
Wow
Great job and I love that nursery!
Lori E (not verified)
Tue, 07/26/2011 - 08:10
What a beautiful nursery!!
What a beautiful nursery!! Nice job on the shelves!
CapriciousElle
Sat, 08/06/2011 - 14:36
So pretty!
Great job! Looks so beautiful!