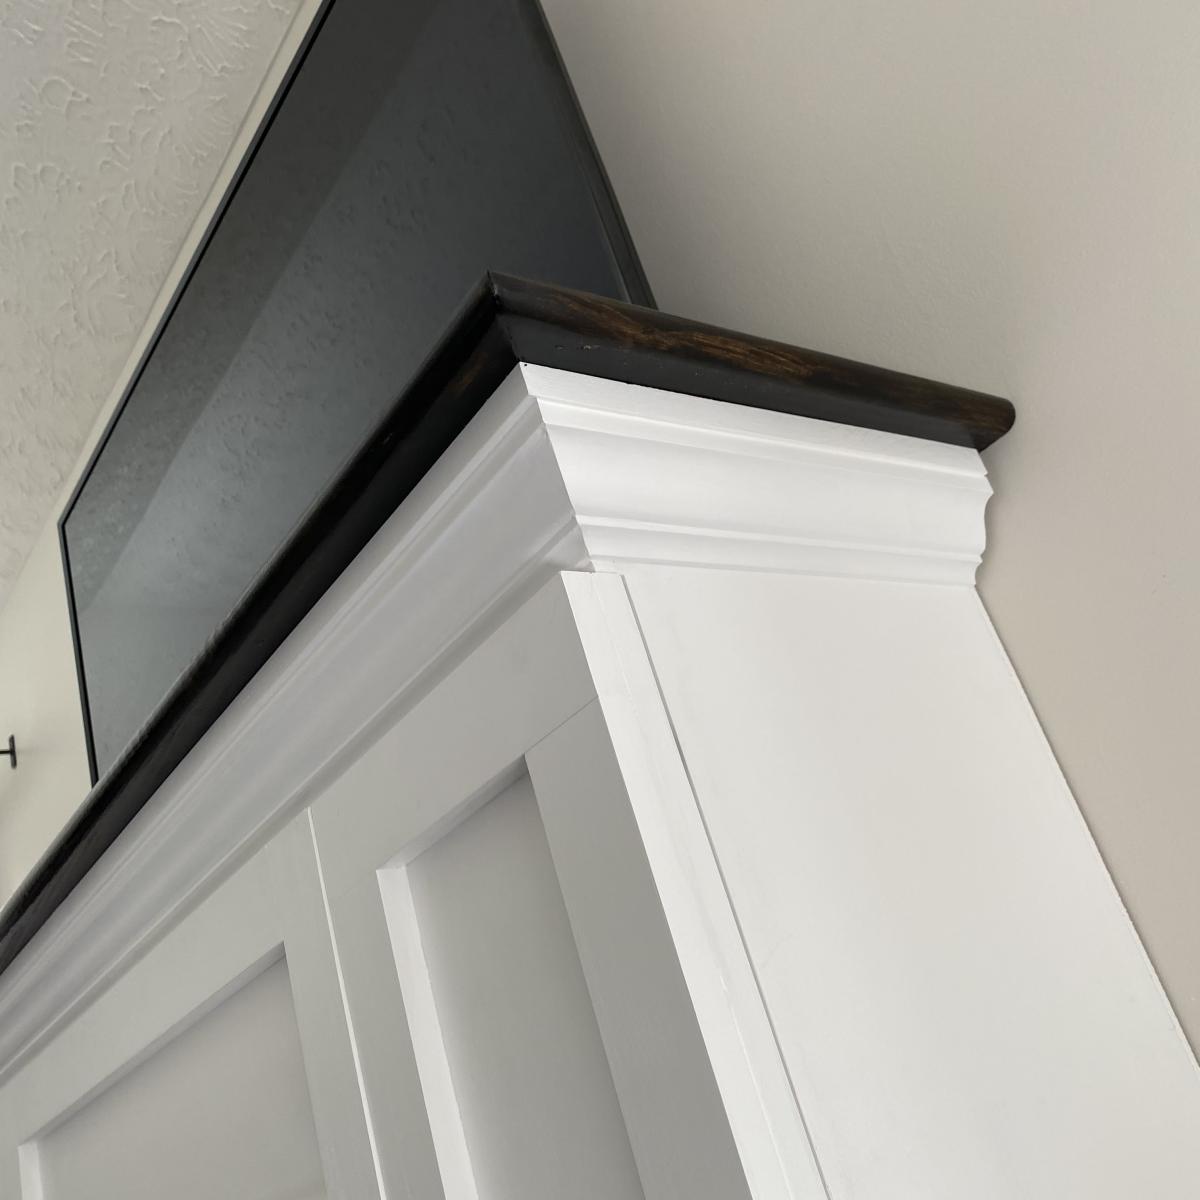
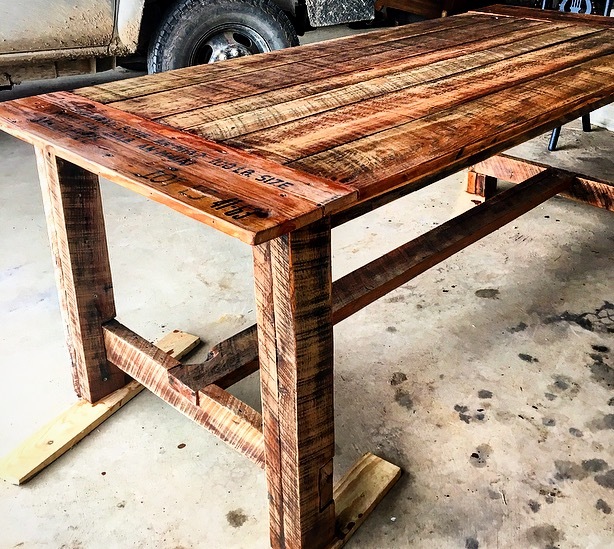
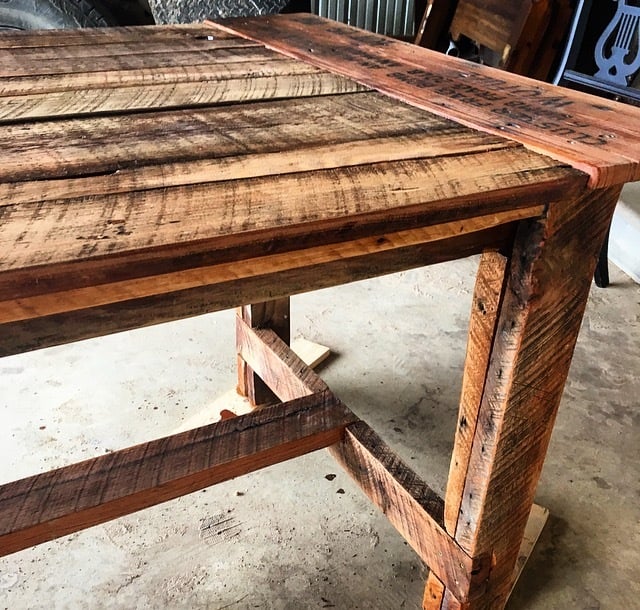
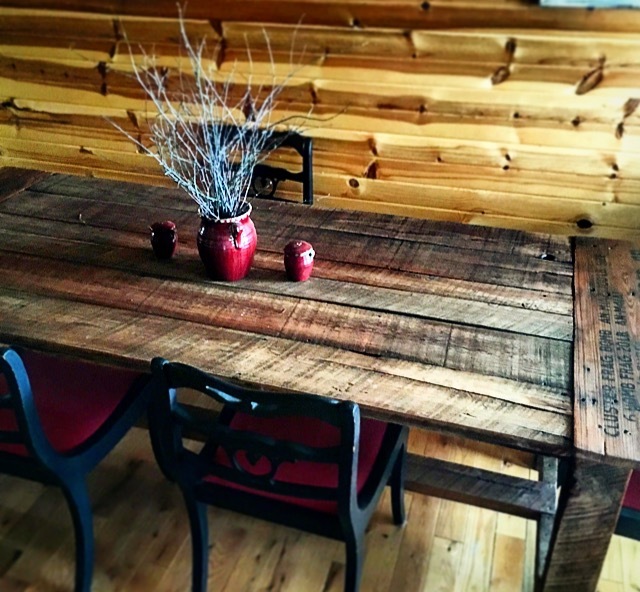
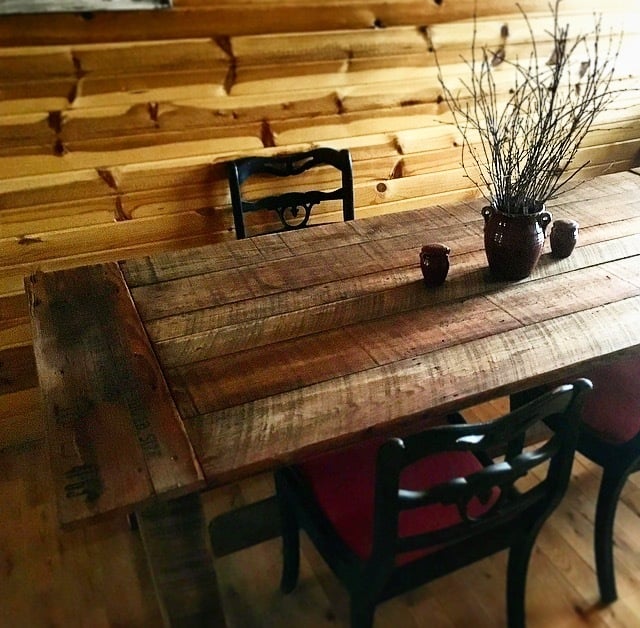
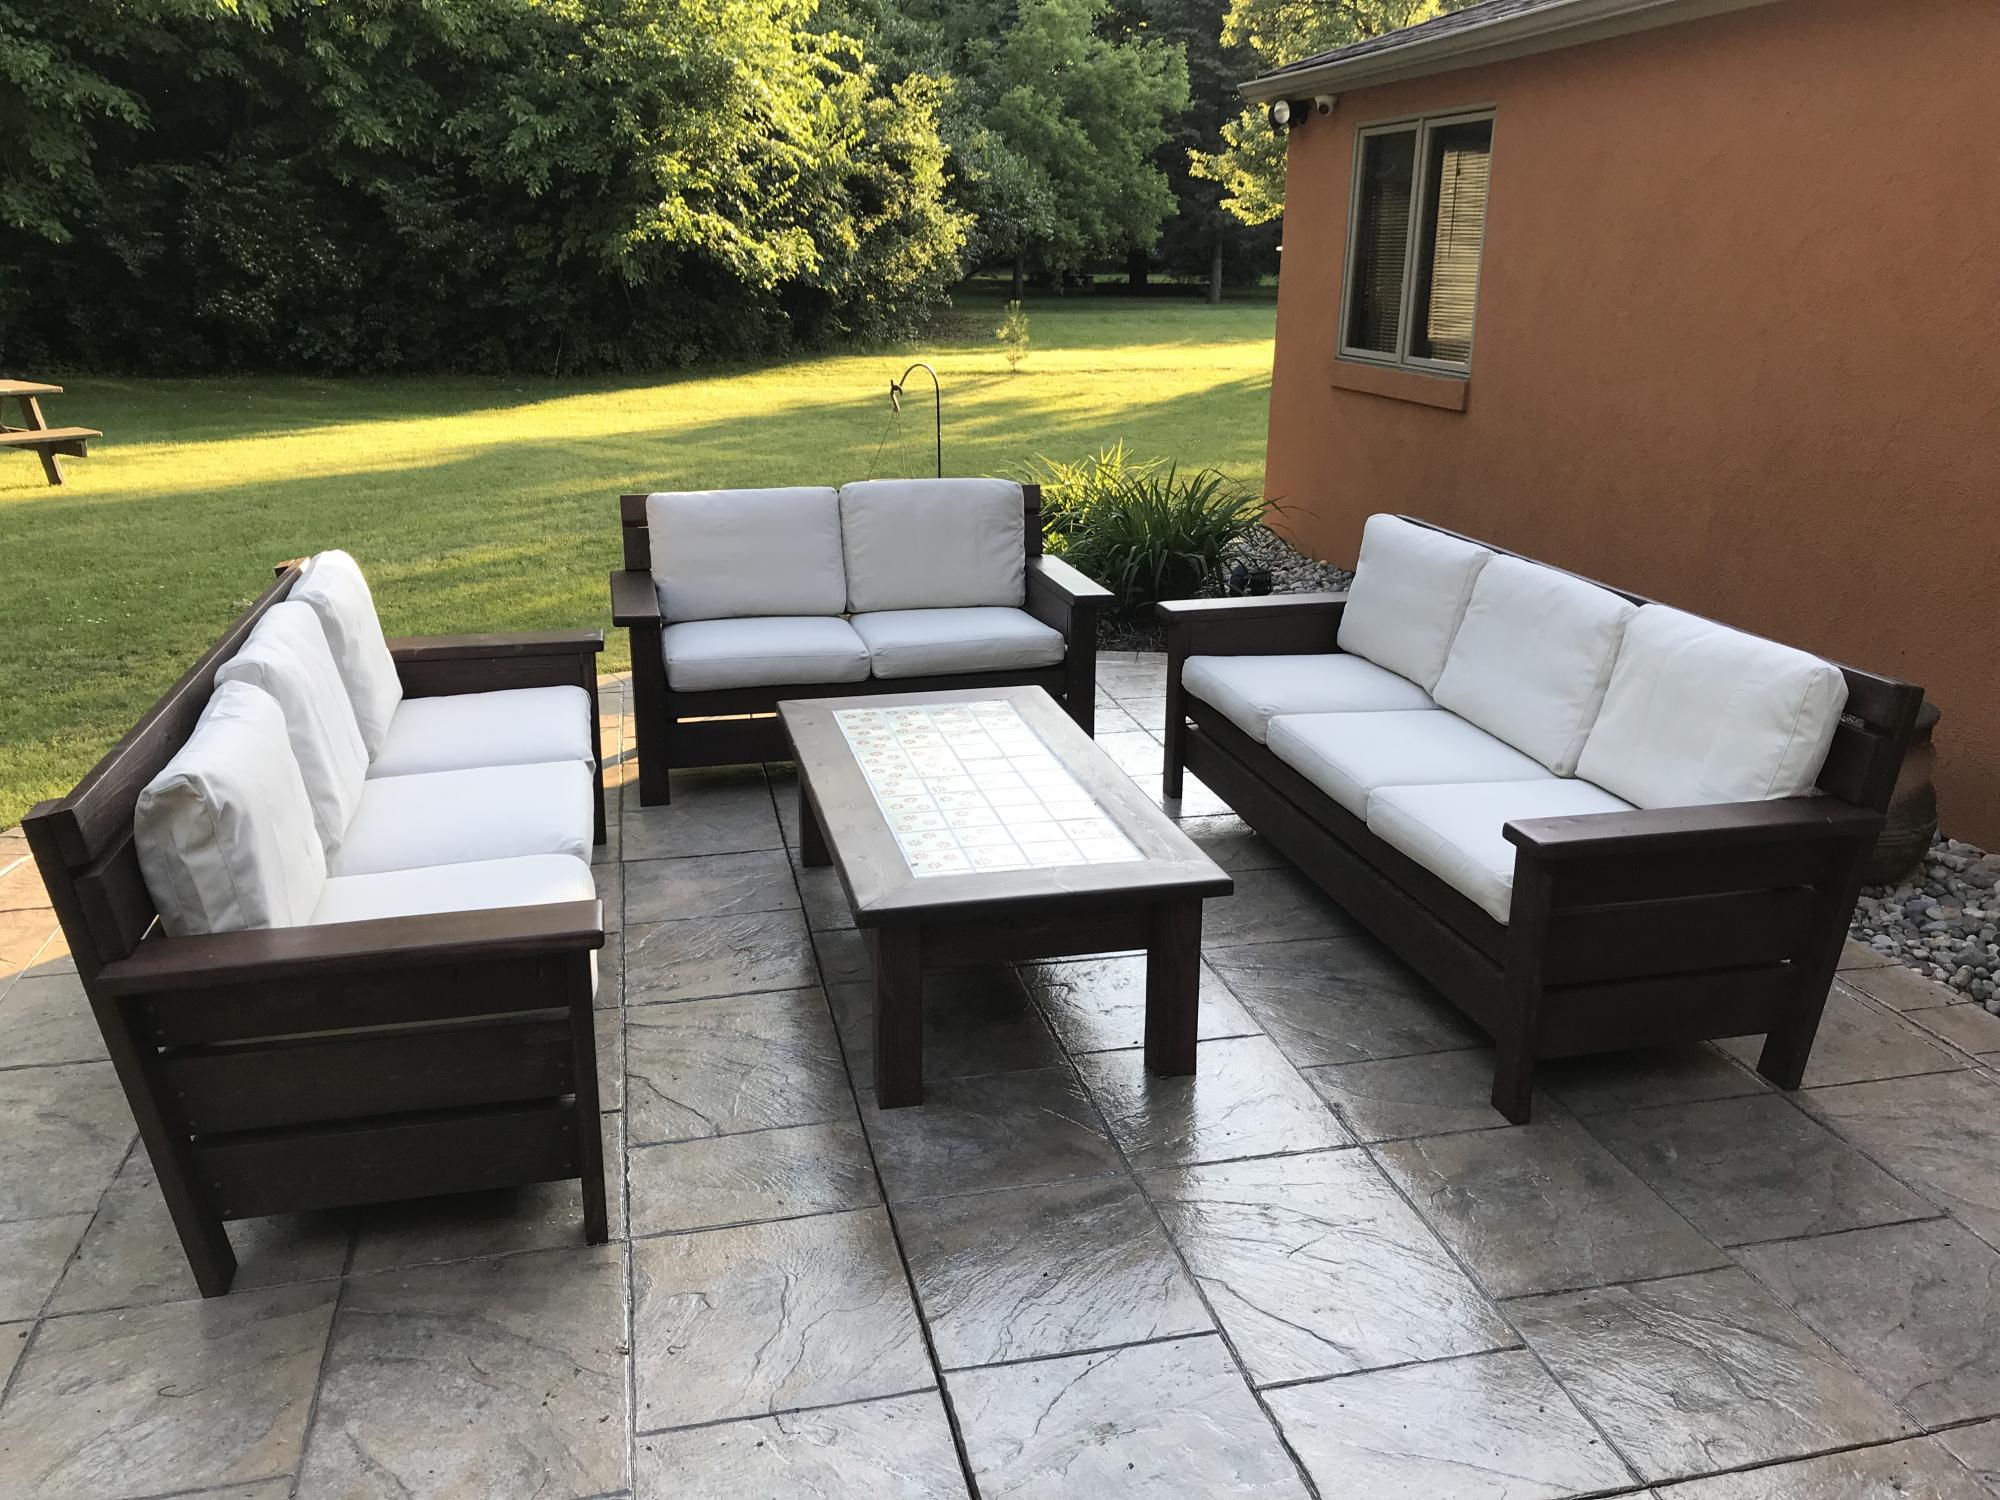
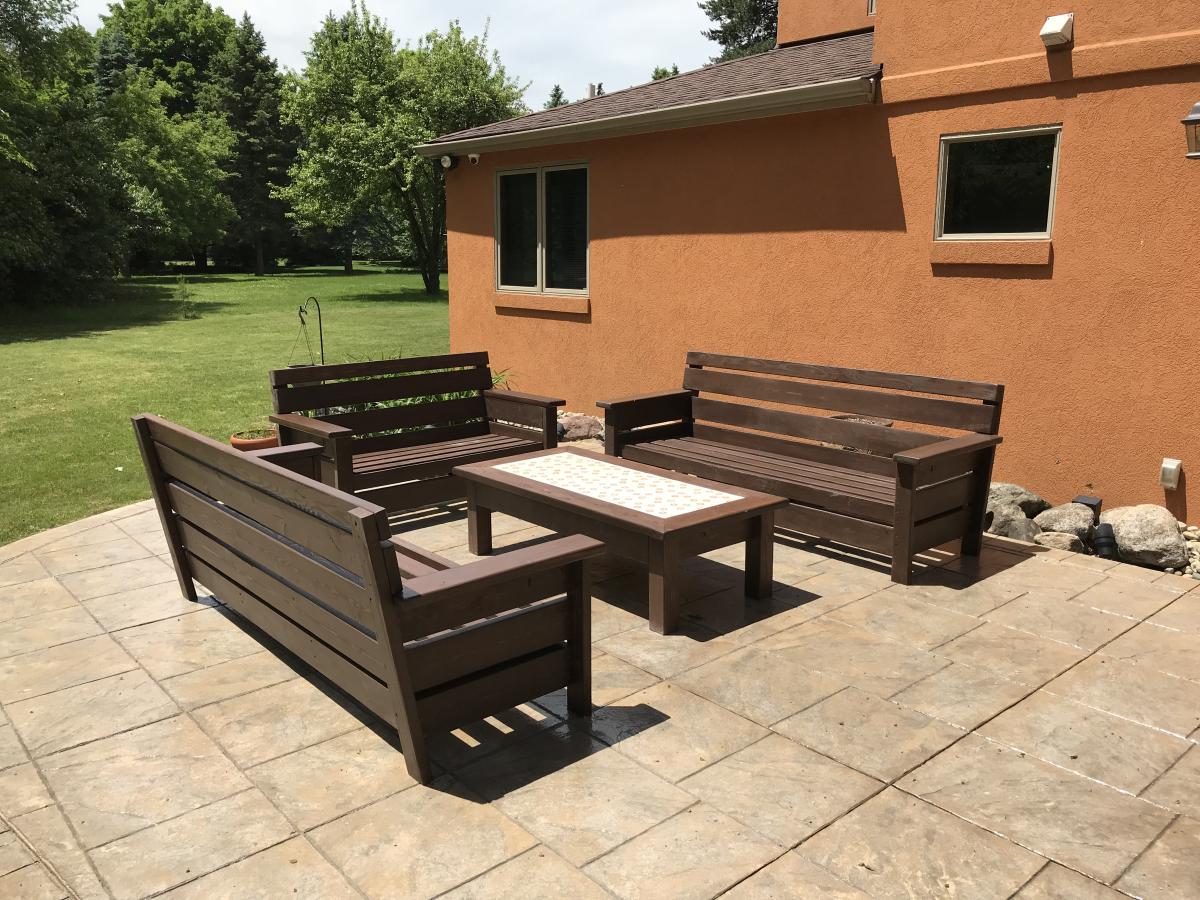
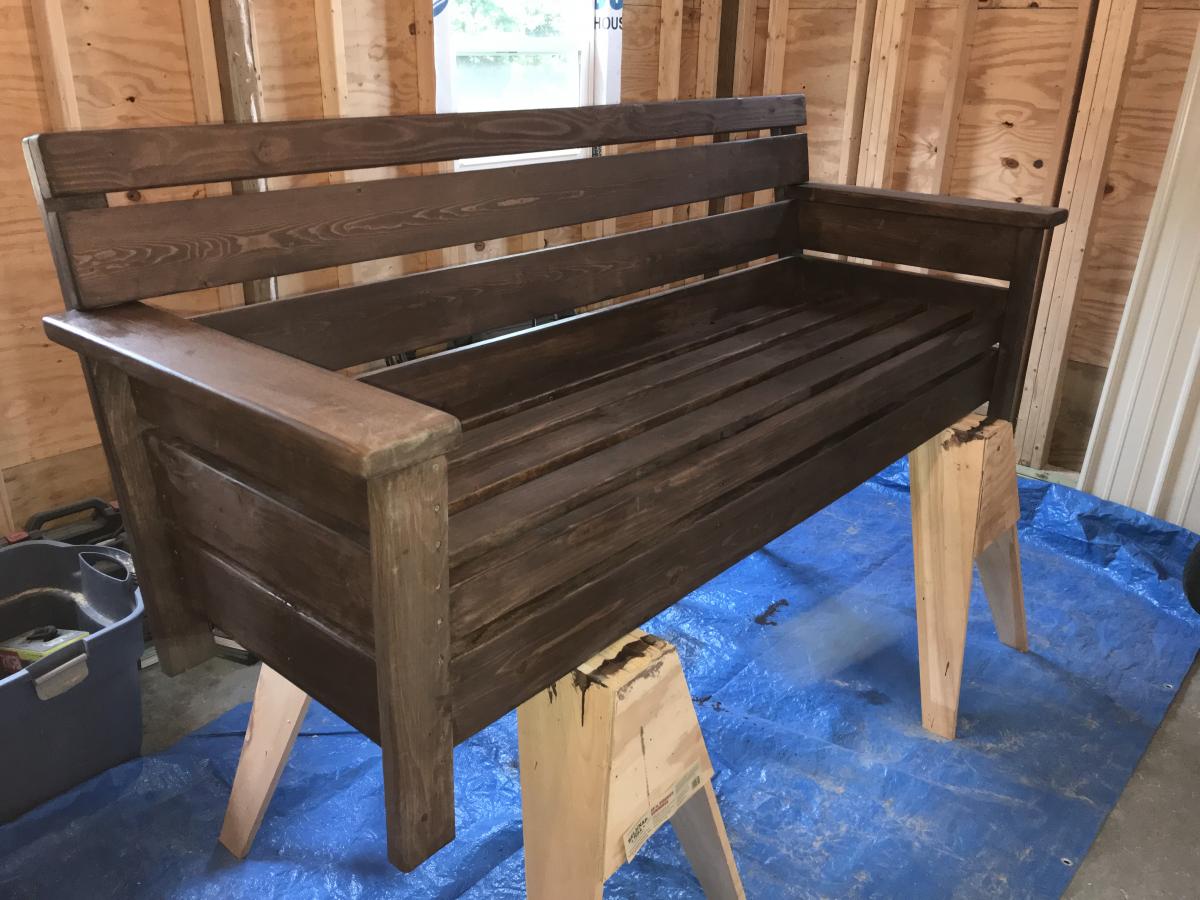
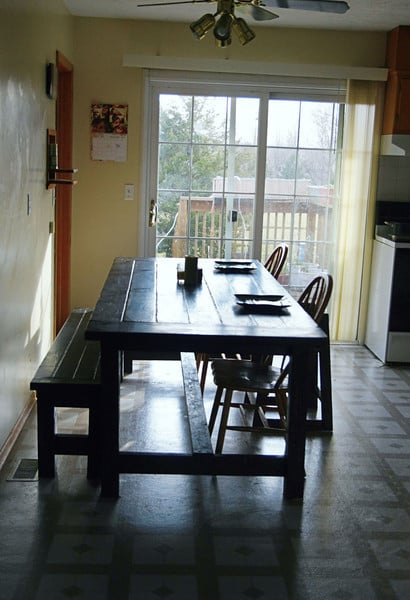
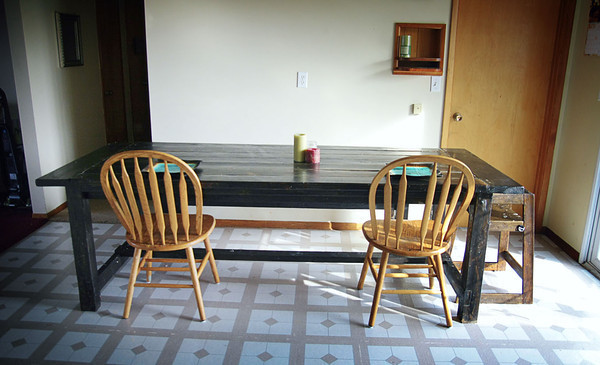
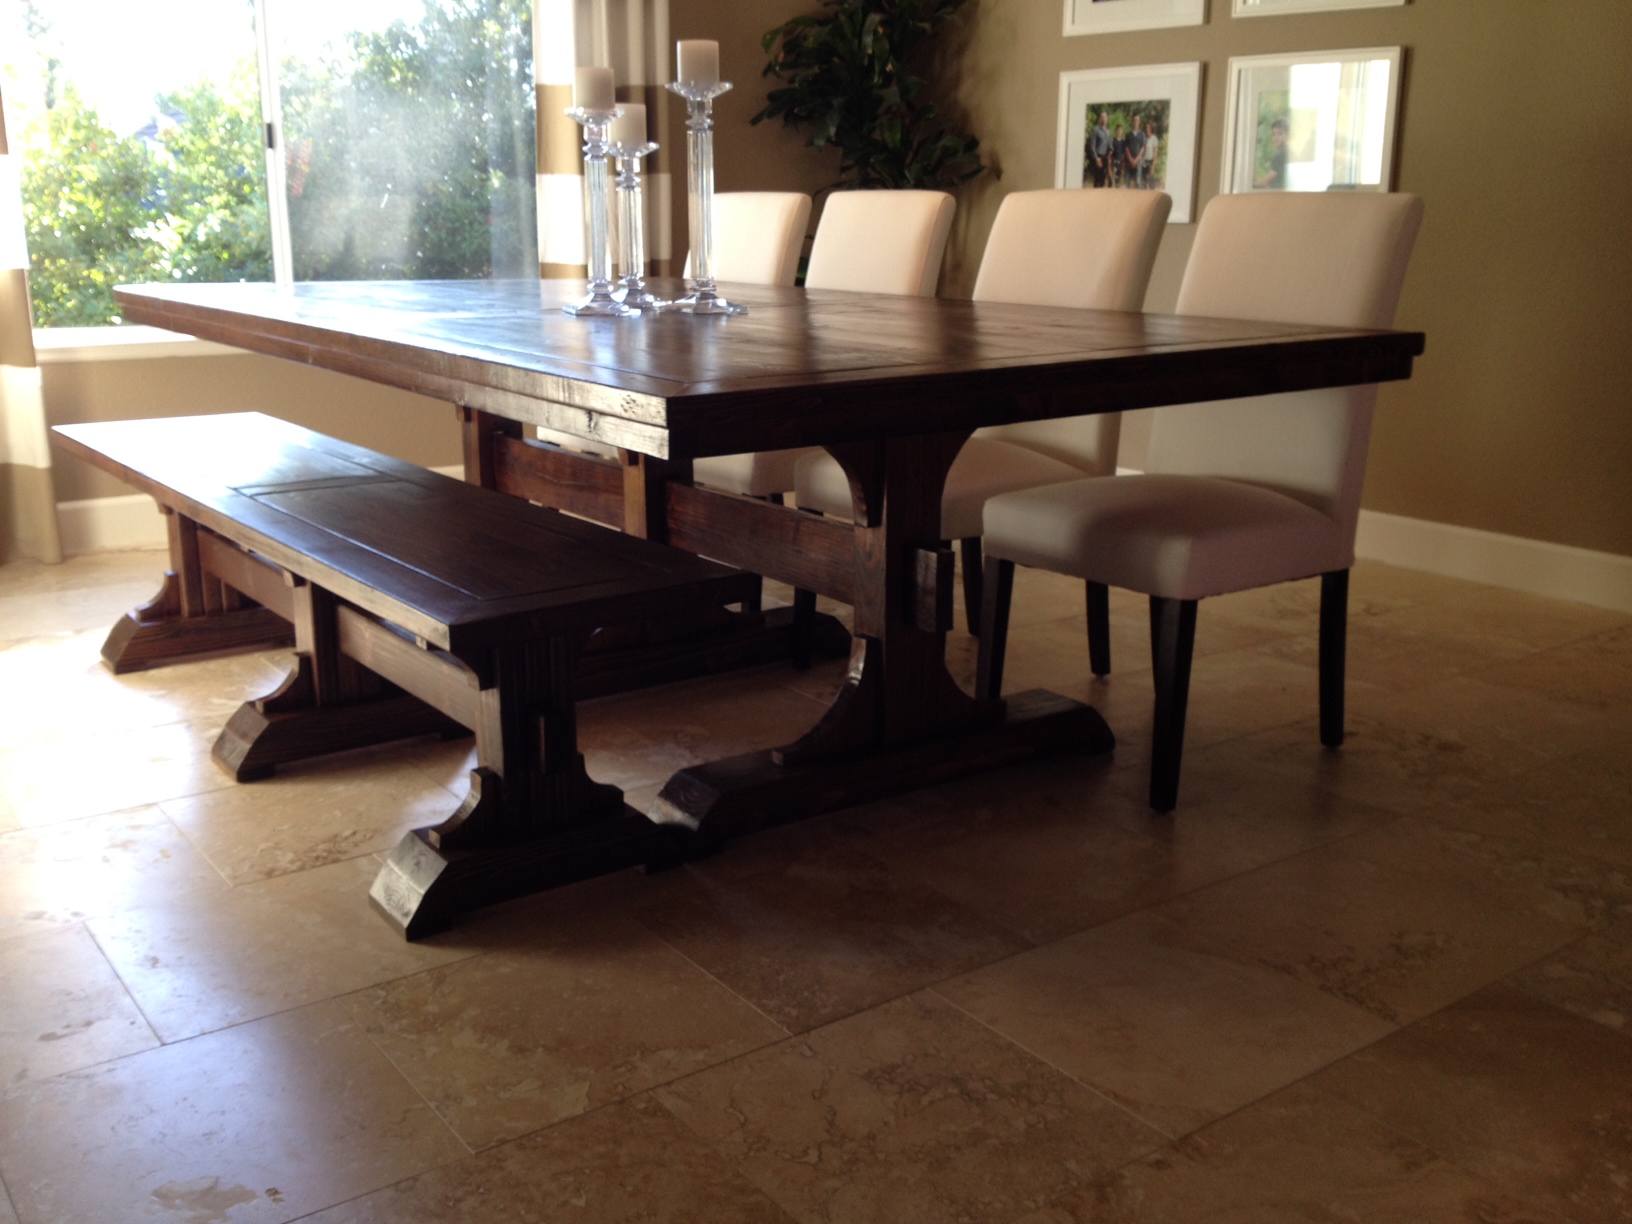
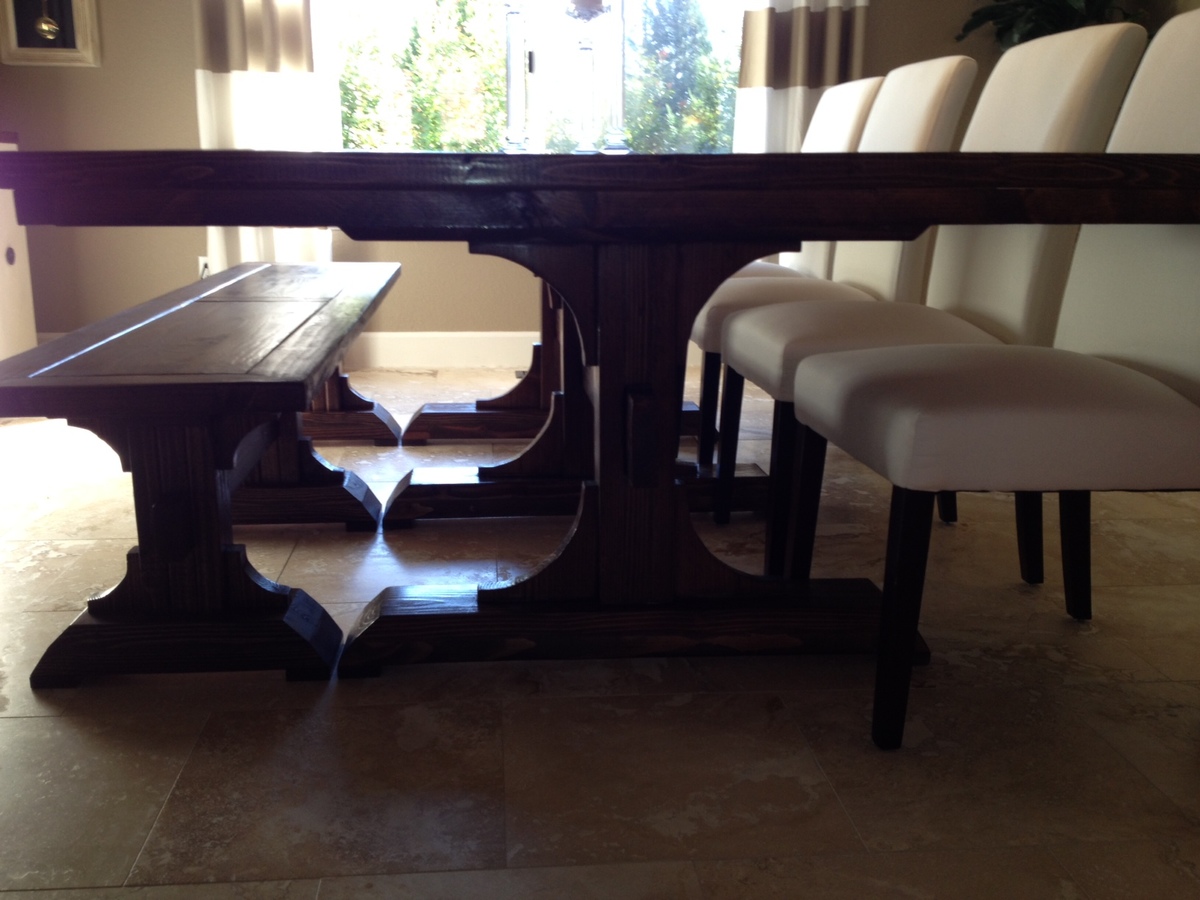
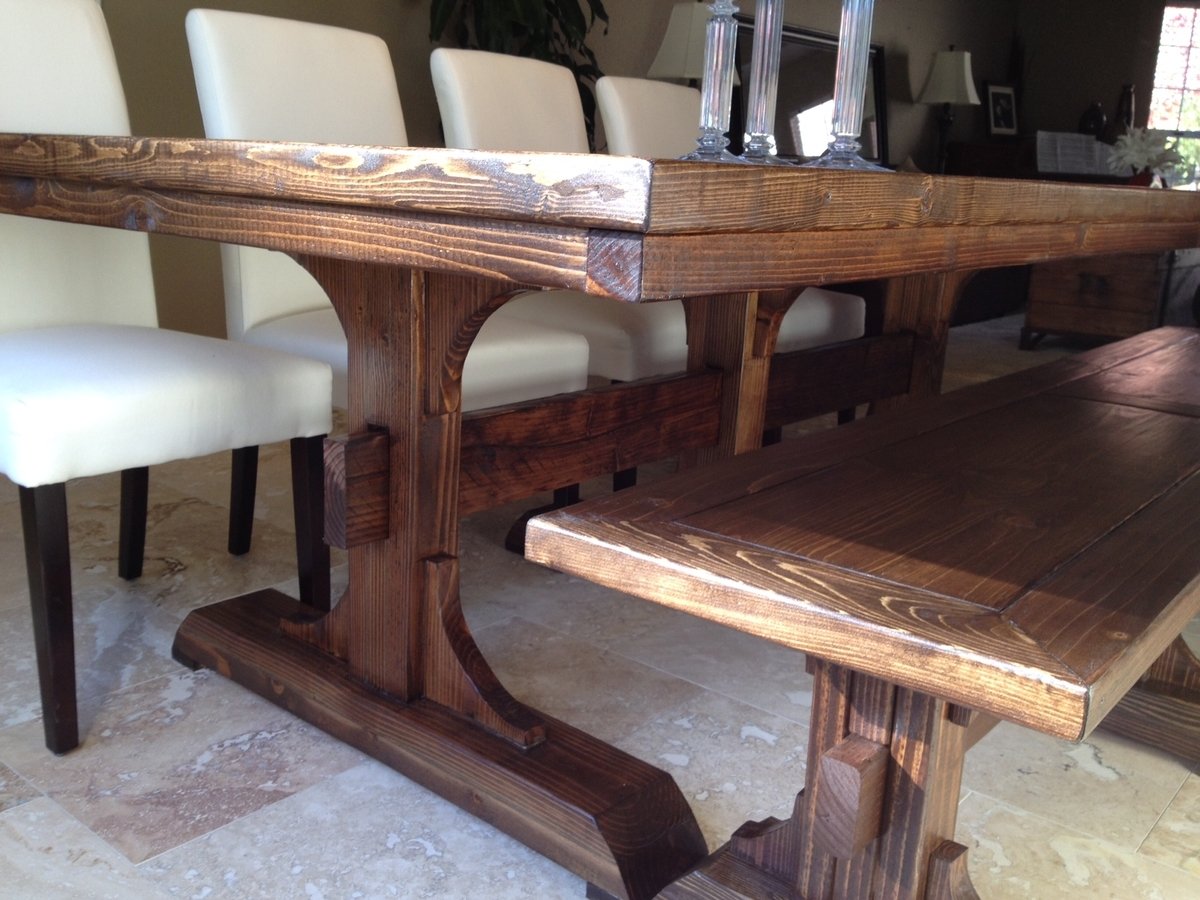
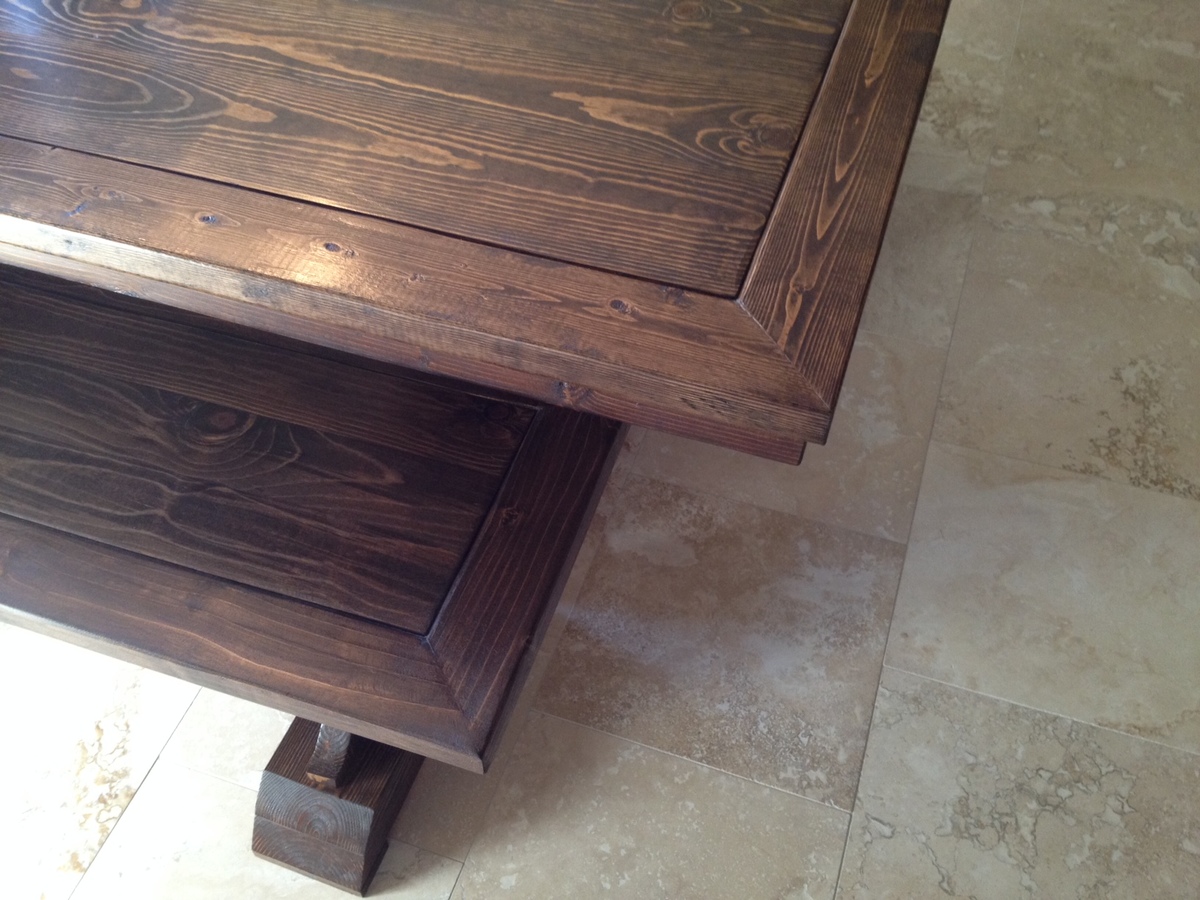
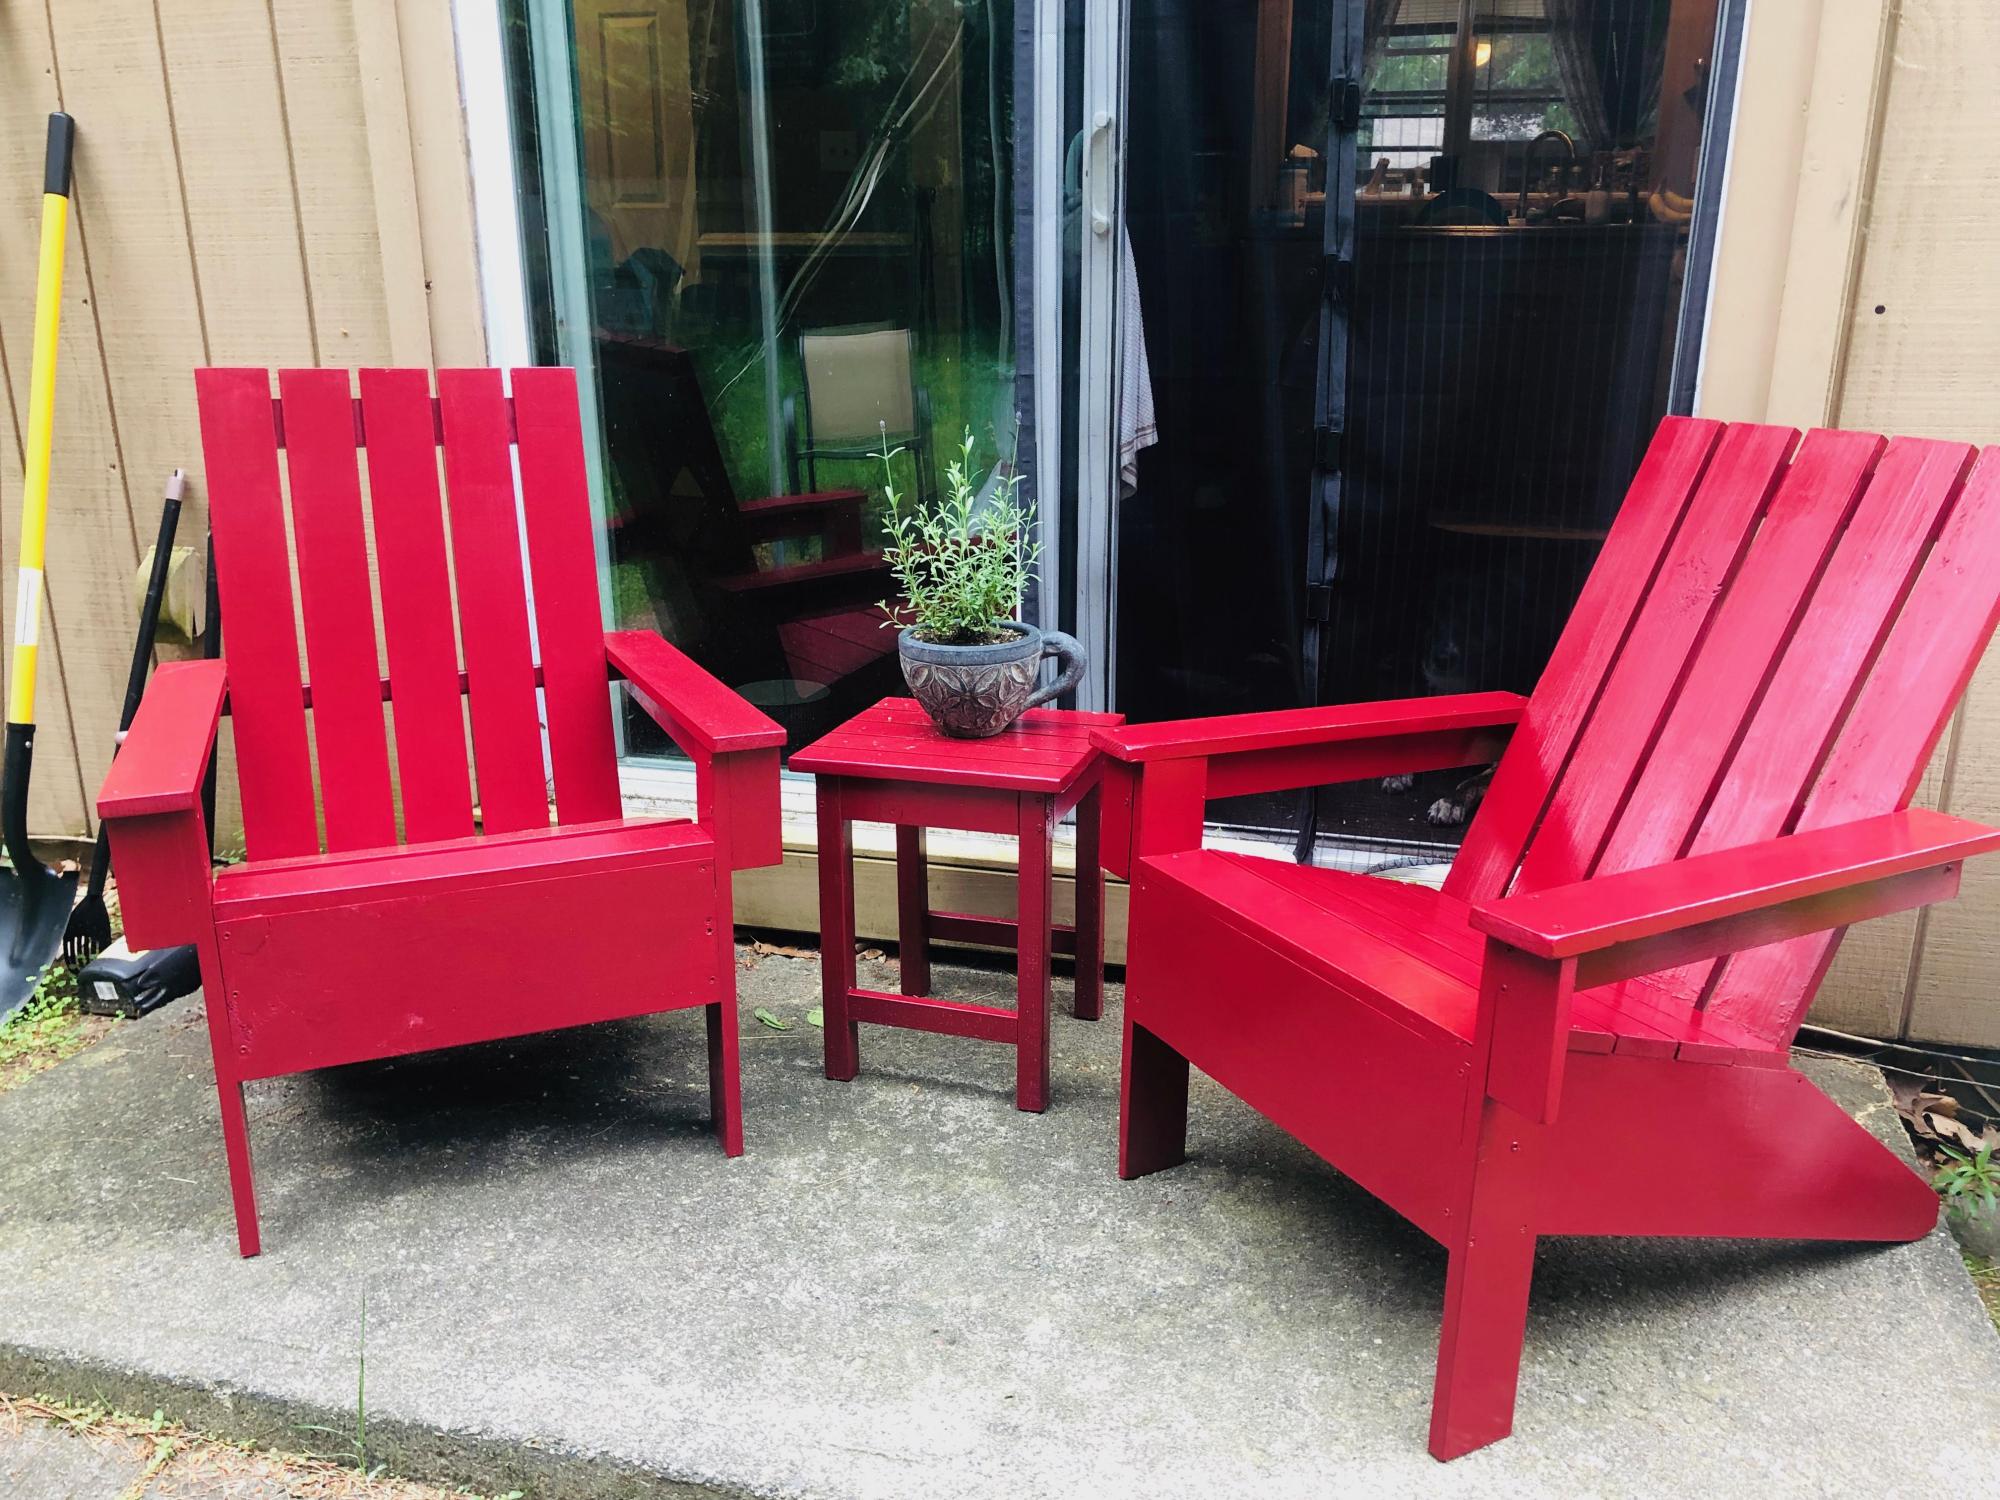
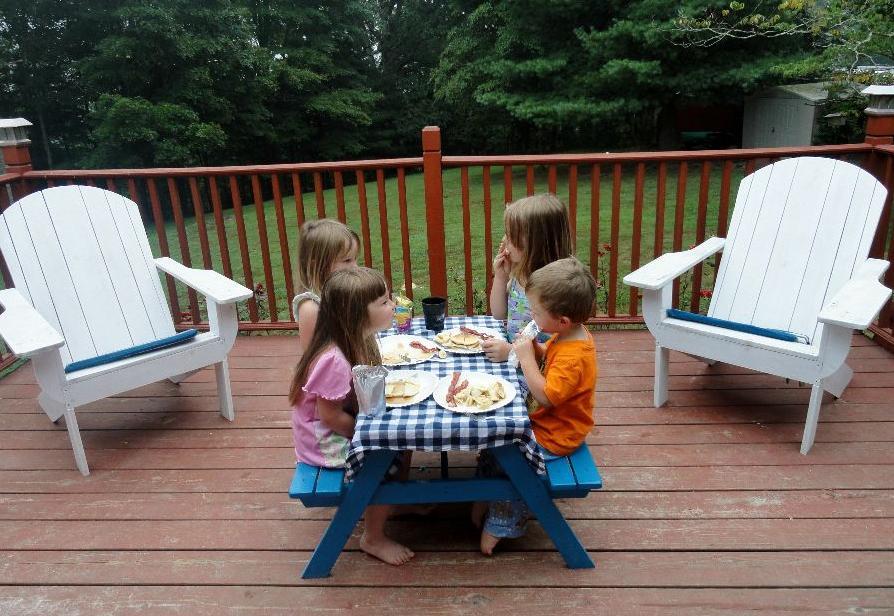
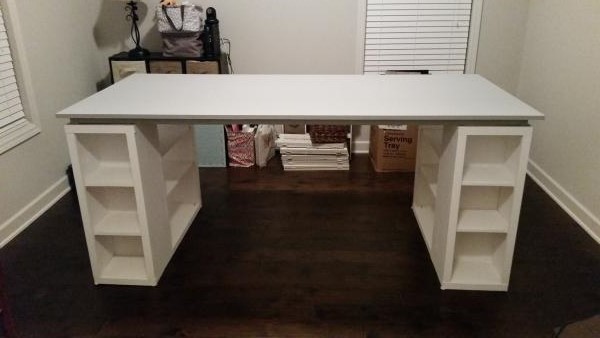
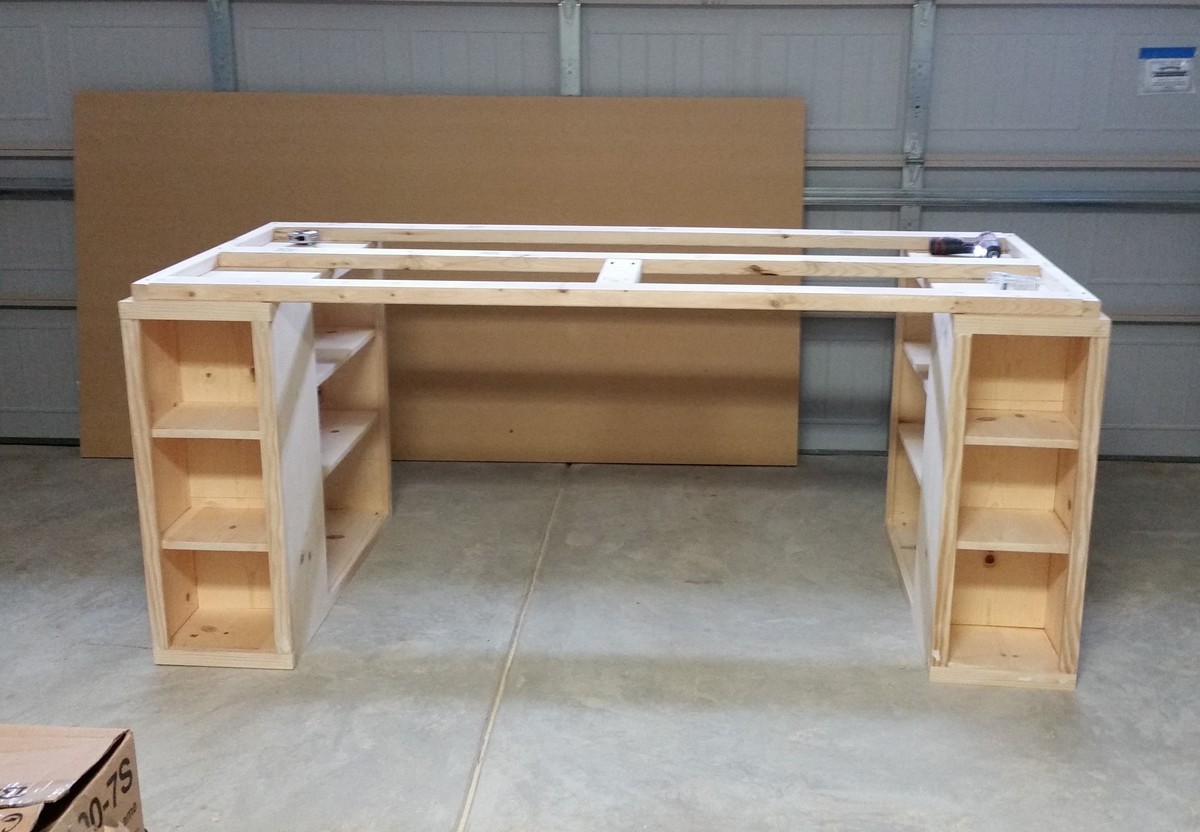
I created two sofas, a love seat and a table by modifying the modern chair. I added a back extension, tipped the back back 10 degrees, and angled the seat platform down a few degrees. Considered doing Adirondack arms, but my wife preferred the rectangular shape. The table is a variation of the 2x4 patio table (base construction similar), but we substituted pine 4x4 legs for the 2x4s, and implemented a 2x6 "picture frame" around Mexican tile on top.
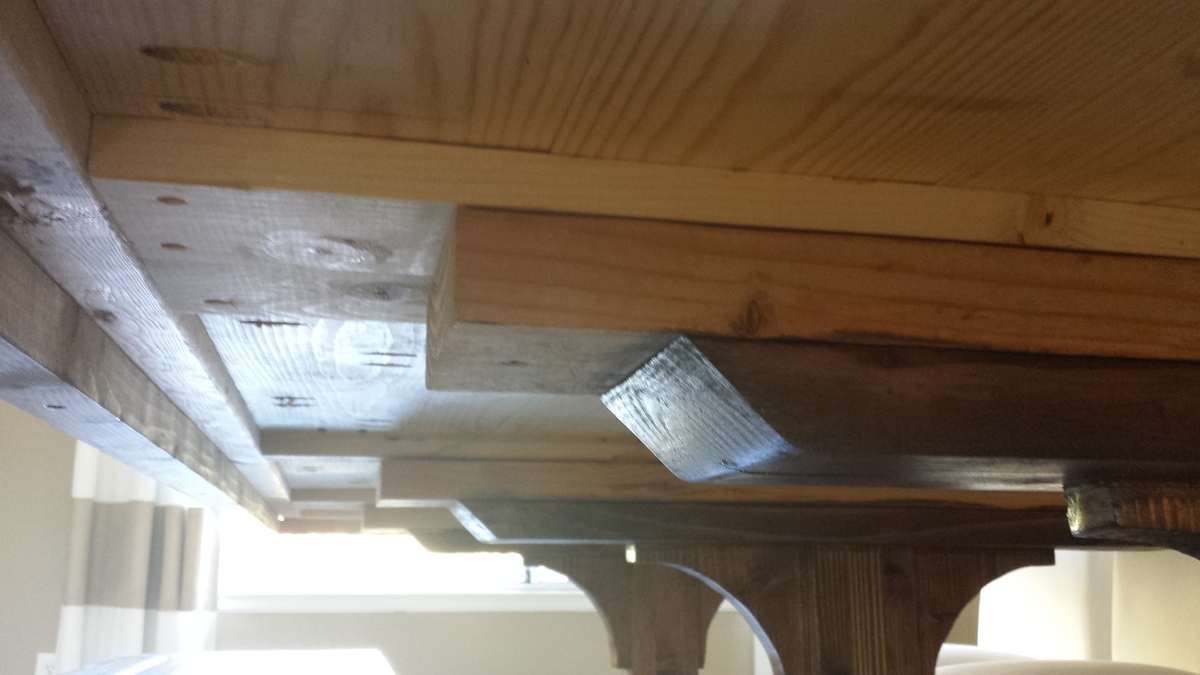
I used pocket screws to attach the arms to the sides, and also to hide screws on the table "picture frame".
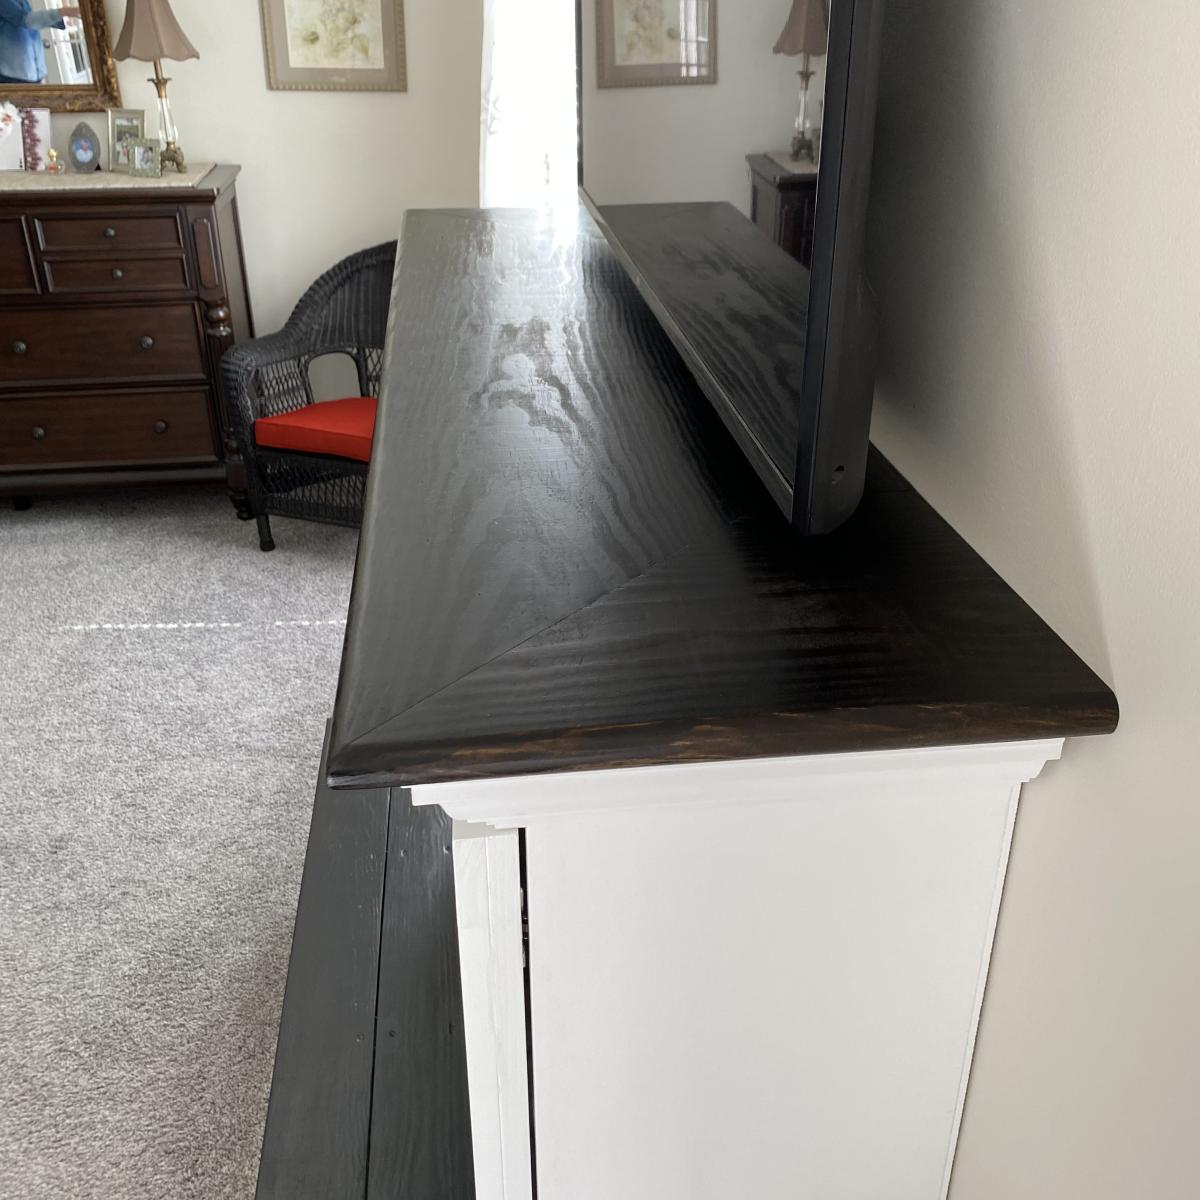
All-in-all, I would say this is an elegant-looking patio set that should last quite a while. Very solid, very heavy to move around (my only complaint).
We plan to add some colorful throw pillows.
Estimated Cost
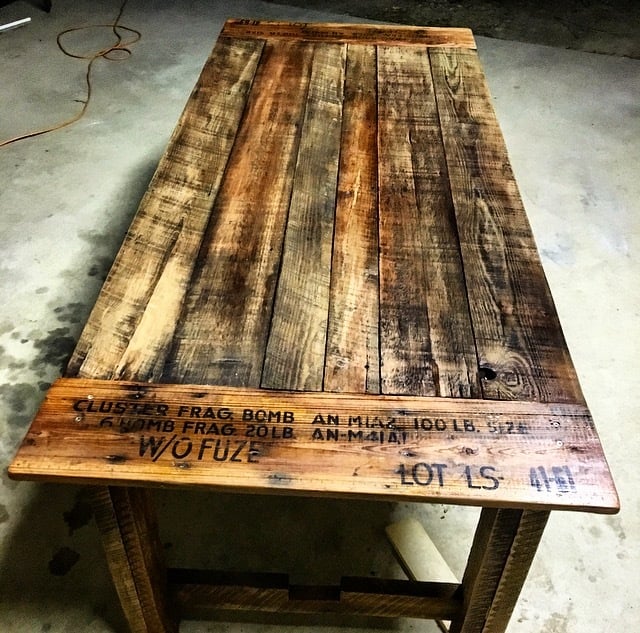
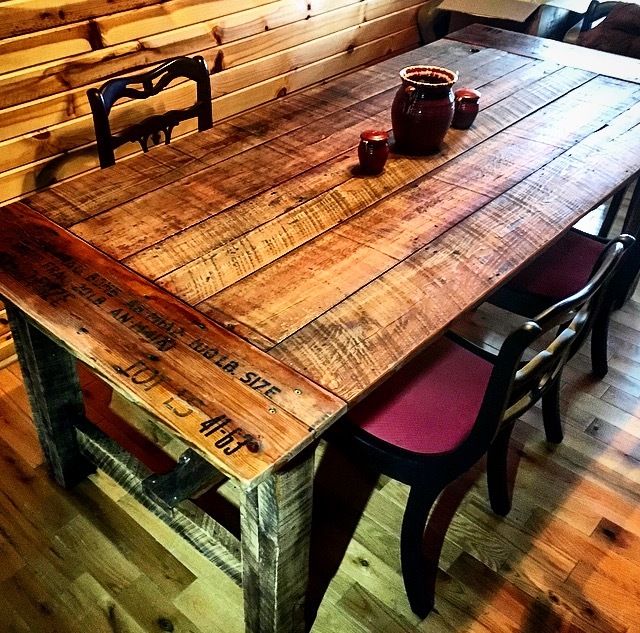
This project was created from a Menard's metal siding trim "shipping crate" that they refused to take back on return - so the many 16 foot 2x6s came to me for free. With hardware, stain, sanding pads and the pocket screw jig, I would guess I have about $300 there. The cushions were somewhat expensive, but are built to last - got those from Ikea - "Duvholmen" and "Folsom" haha - 24 1/4" x 24 1/4" cushions, 24 1/4" x 16" back pillows. Those were about $65 (per SEAT) .. so 8 for this project ($520). The cushions only come in this light tan, or medium/dark grey.
Estimated Time Investment
Week Long Project (20 Hours or More)
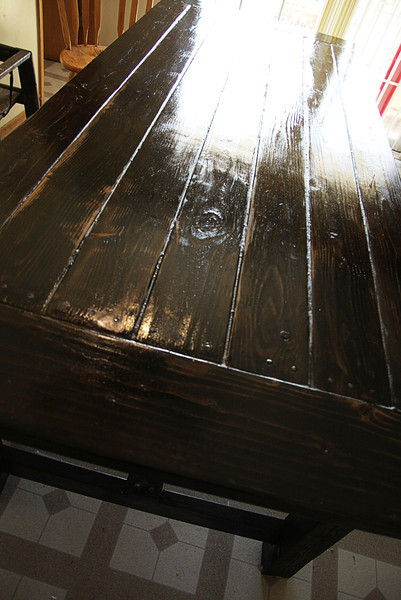
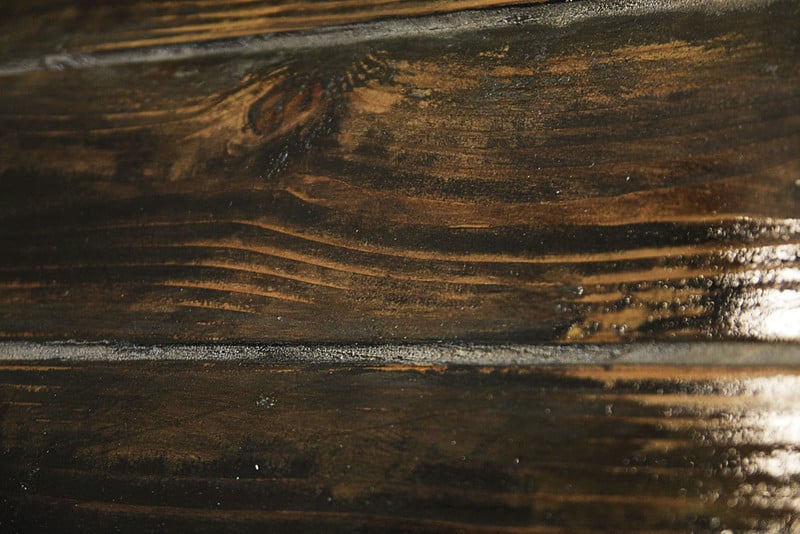
Finish Used
Behr semi transparent outdoor stain (Padre Brown). First sofa was assembled then stained (mistake). The other pieces were cut, sanded 60/120 and stained. Arms were additionally sanded with a 320 grit prior to staining. Stained all pieces two coats with small roller, then brushed over. Assembly after staining produced a cleaner look on the stained finish.
Recommended Skill Level
Beginner