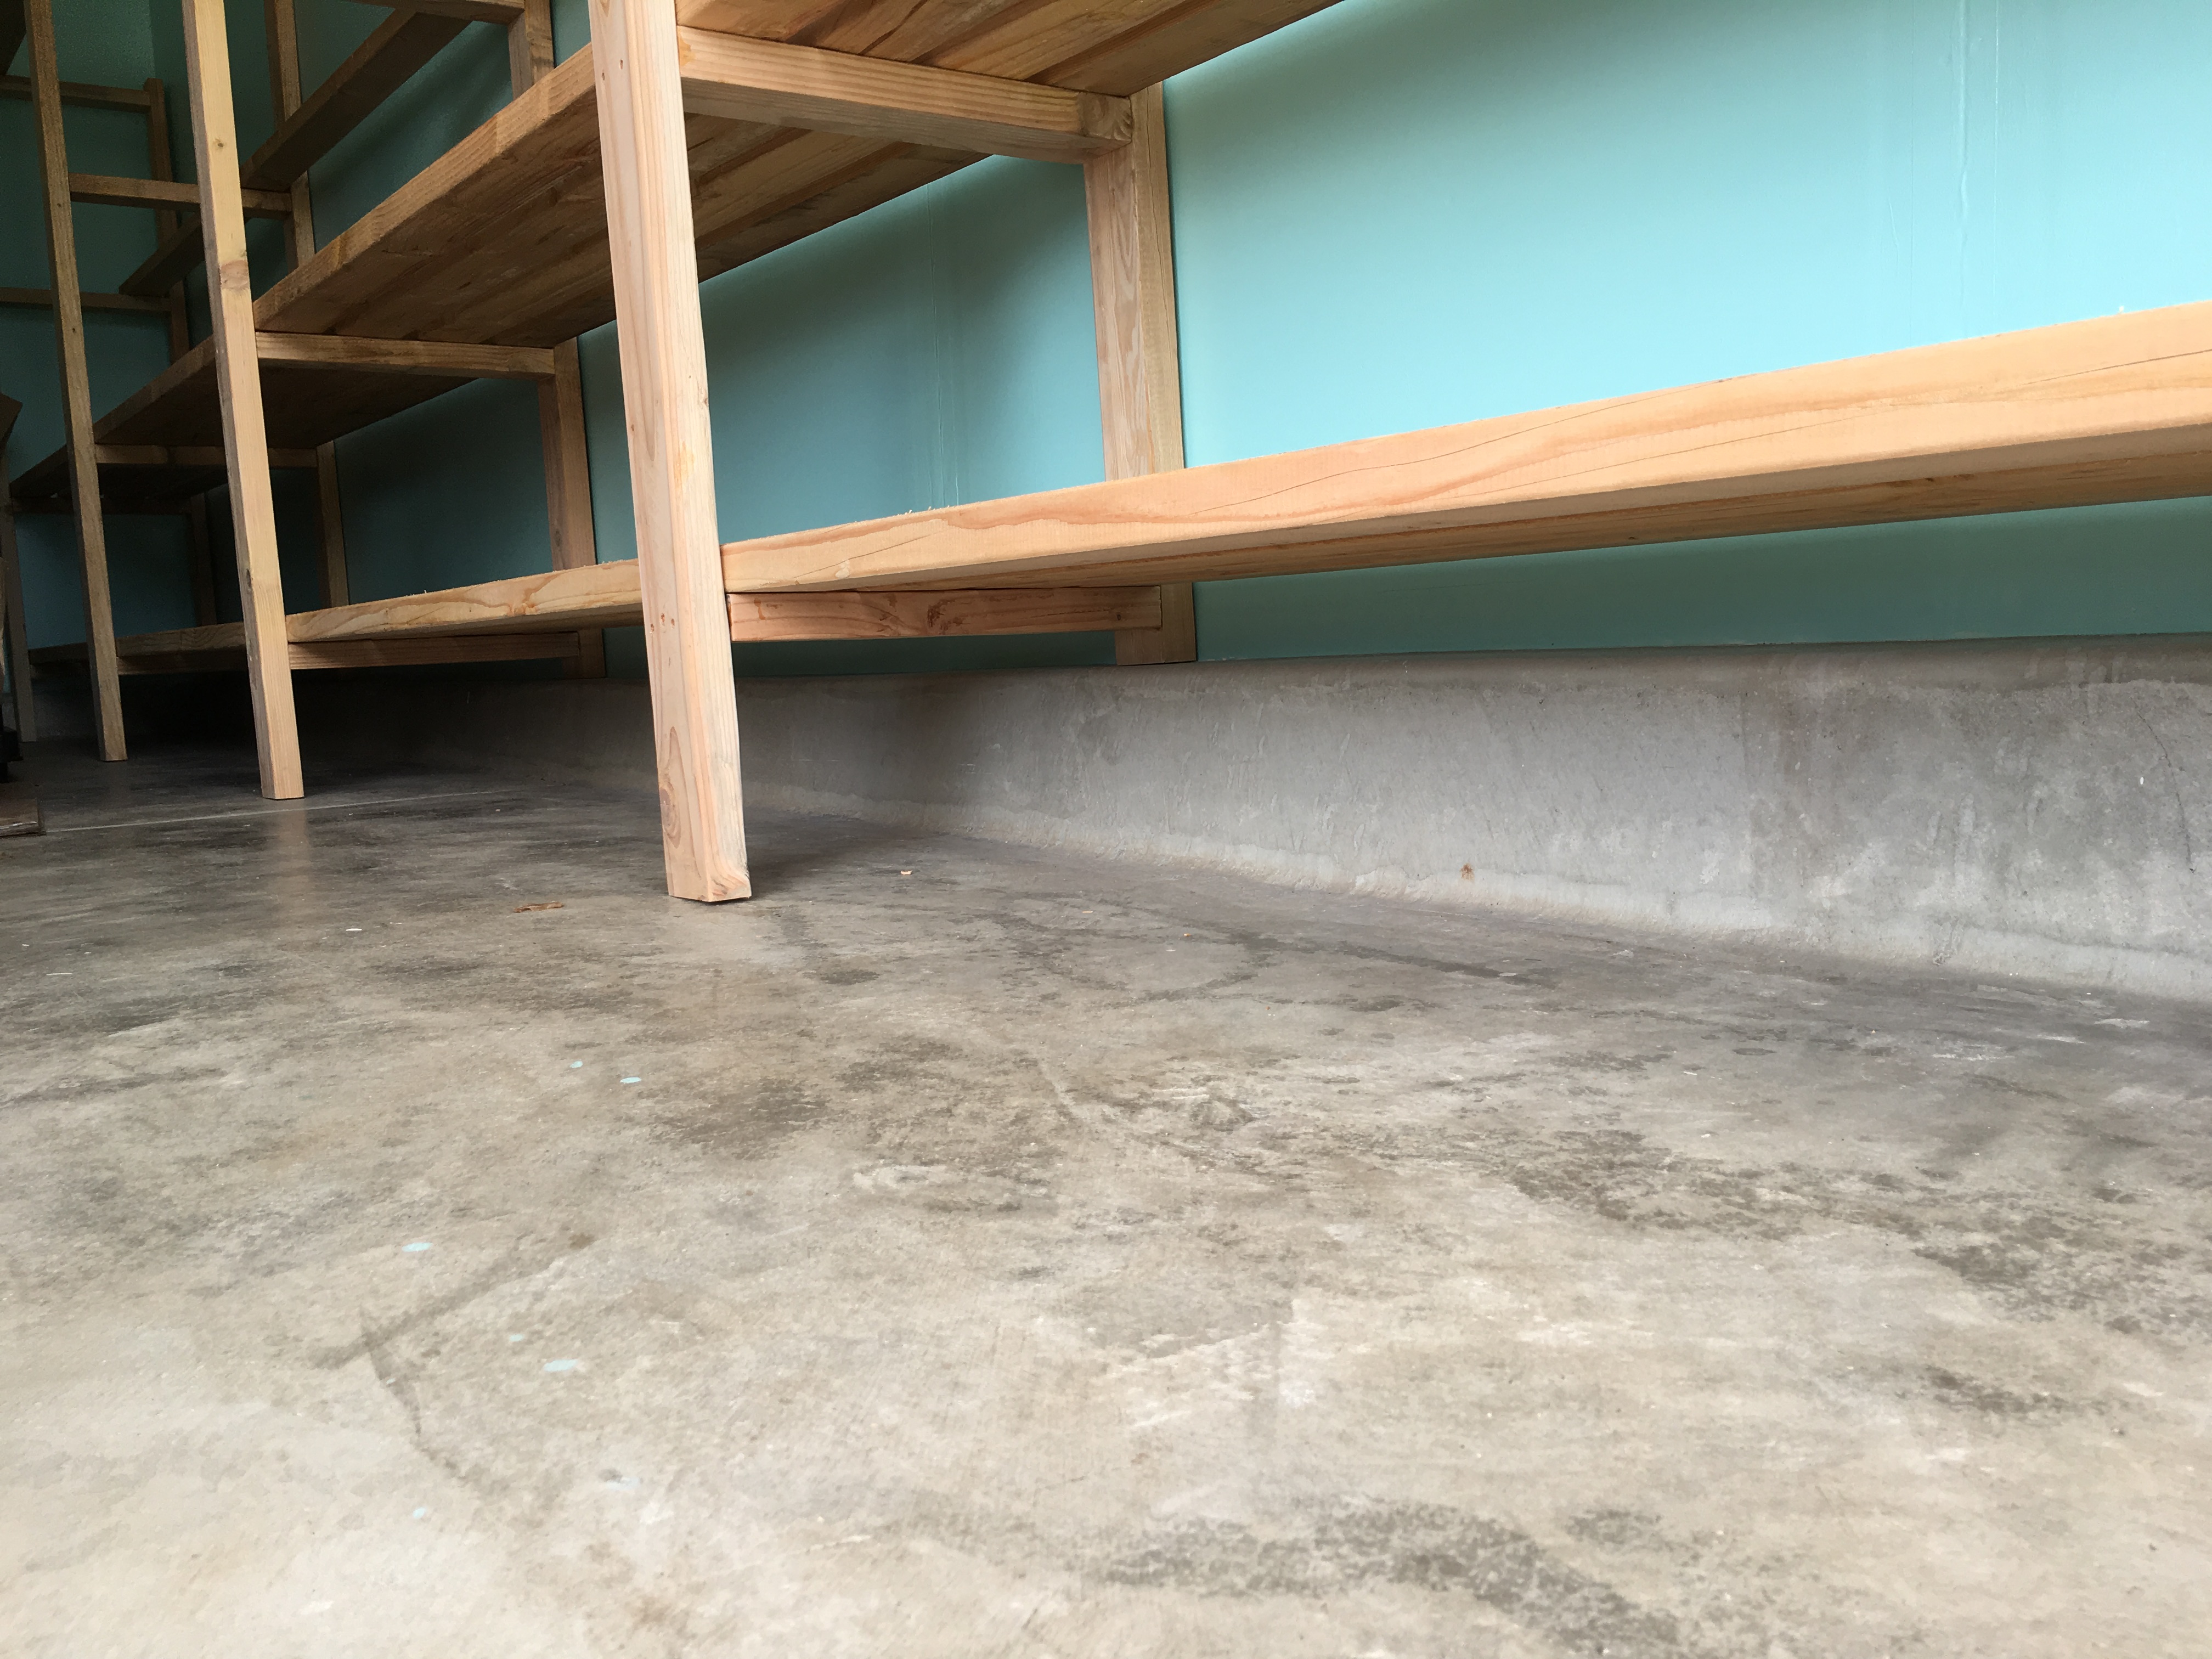
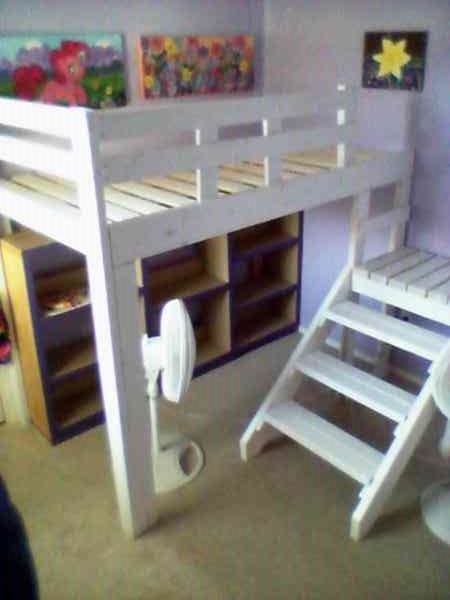
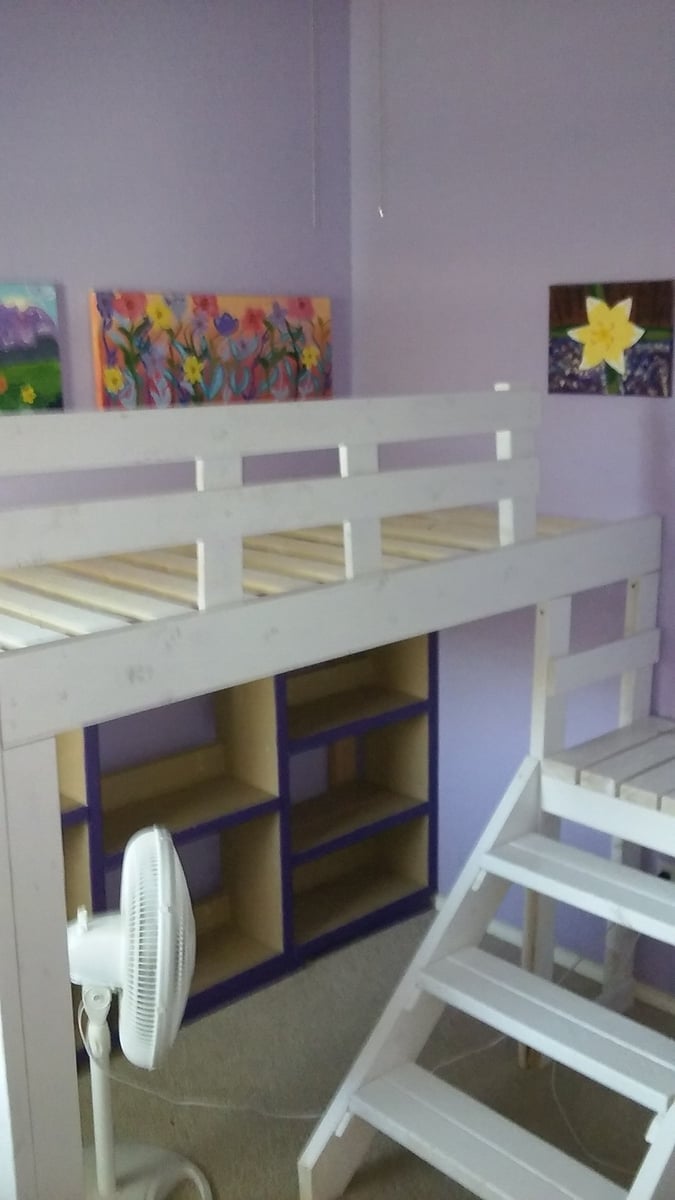
Brannum's Indoor Basement Playground with Monkey Bars
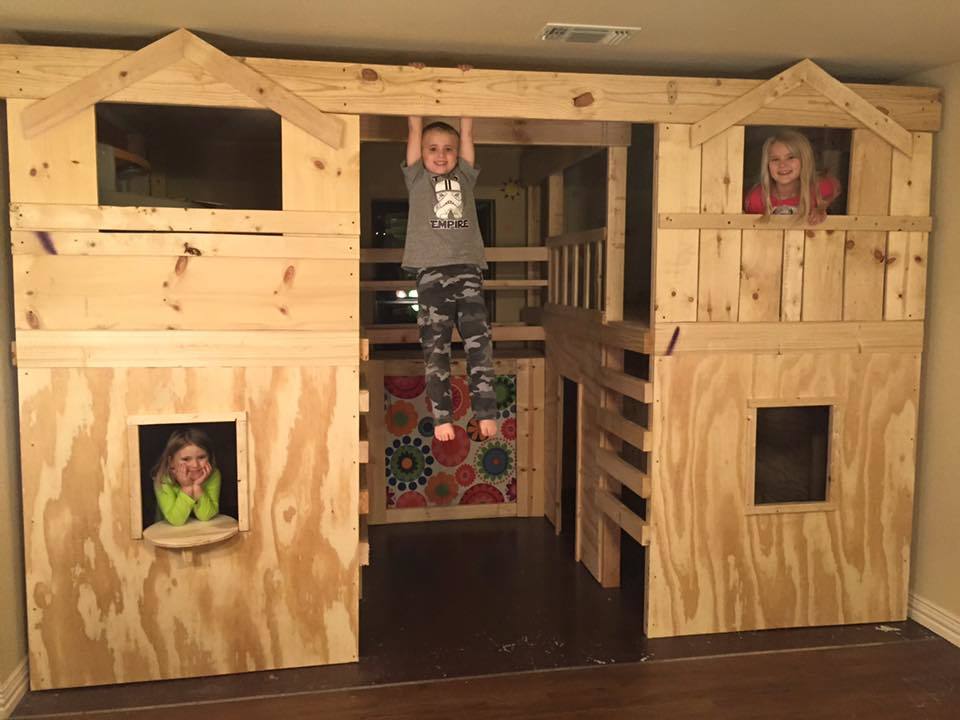
Modified to fit a smaller space by Tracy Brannum. Took 2-1/2 days to build, the kids love it! Shared on Facebook. https://www.facebook.com/photo.php?fbid=10207847978933419&set=o.1921239…
Built from Plan(s)
Recommended Skill Level
Intermediate