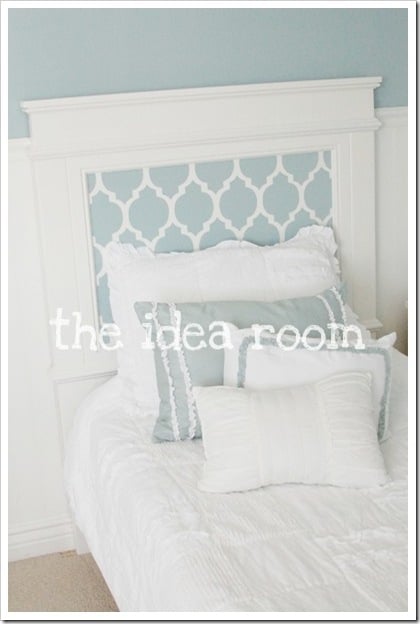
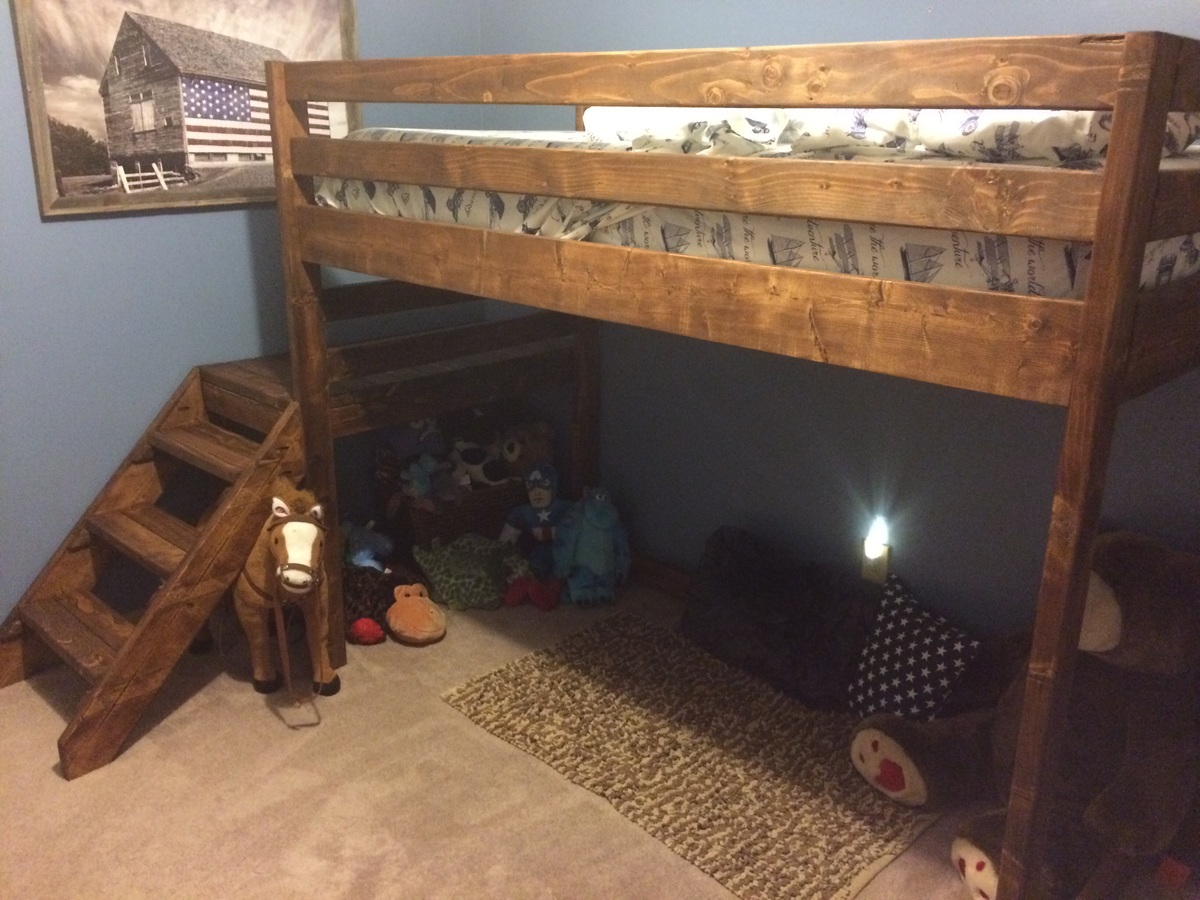
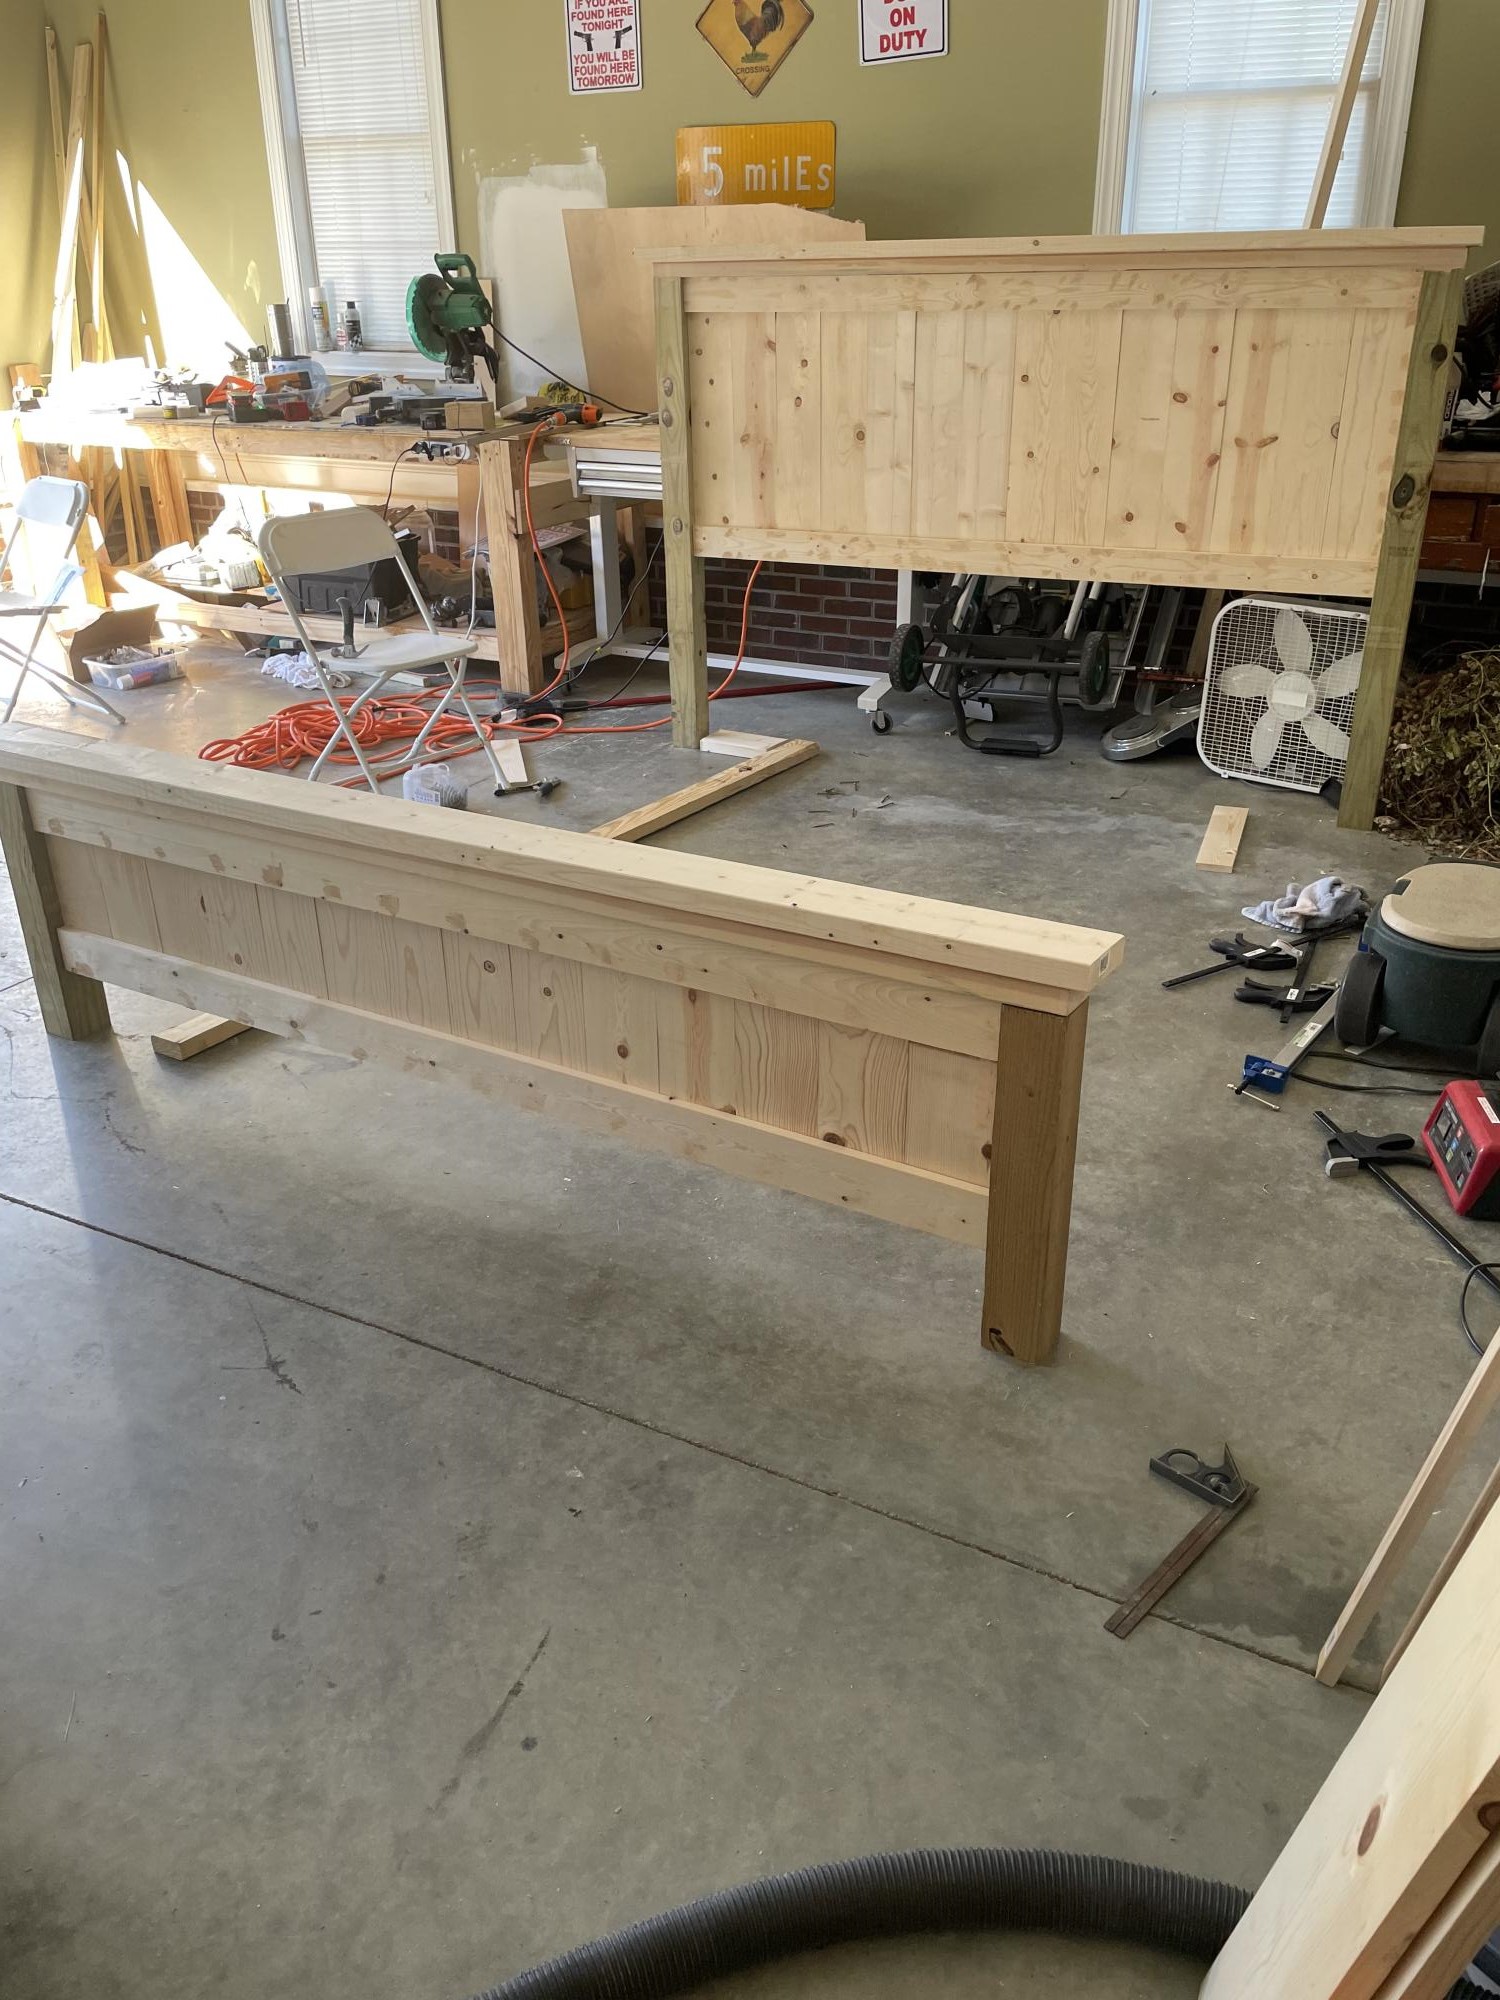
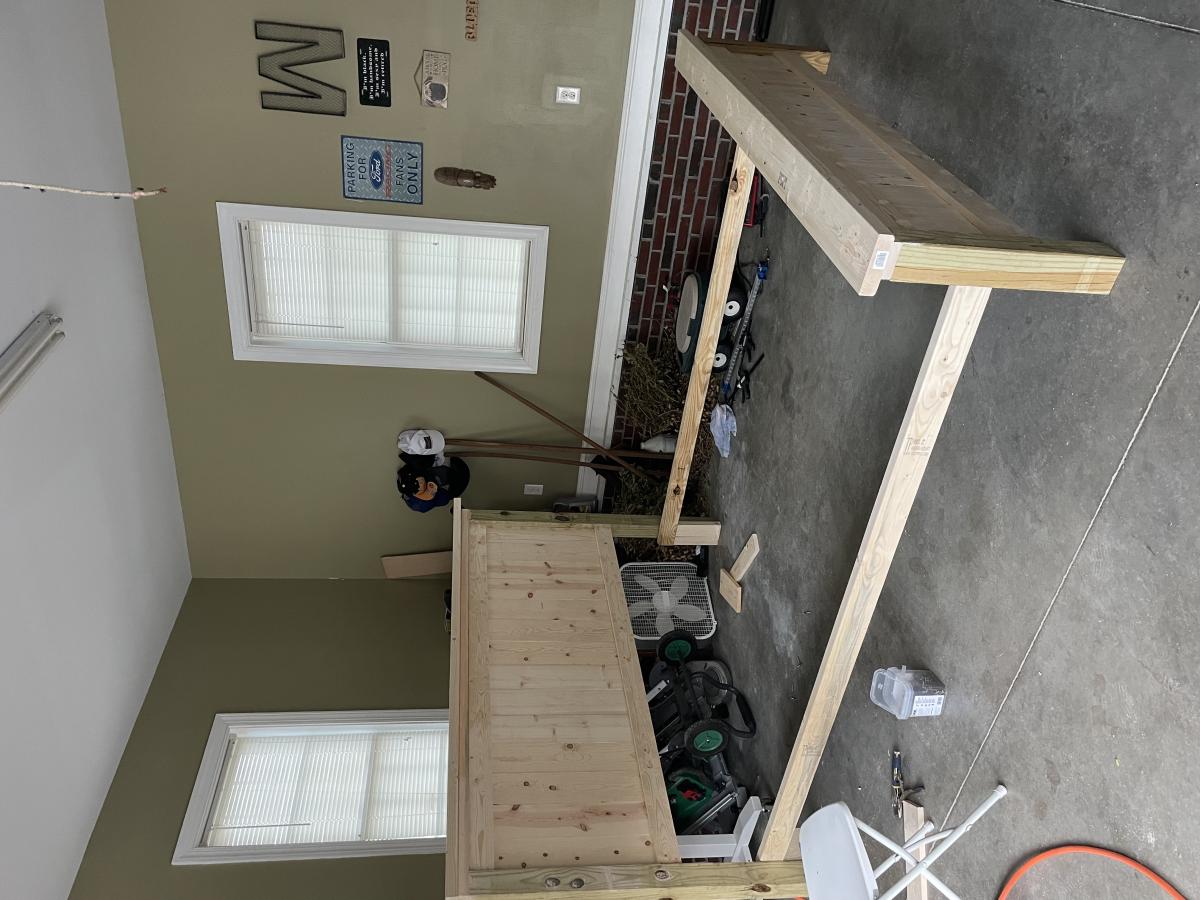
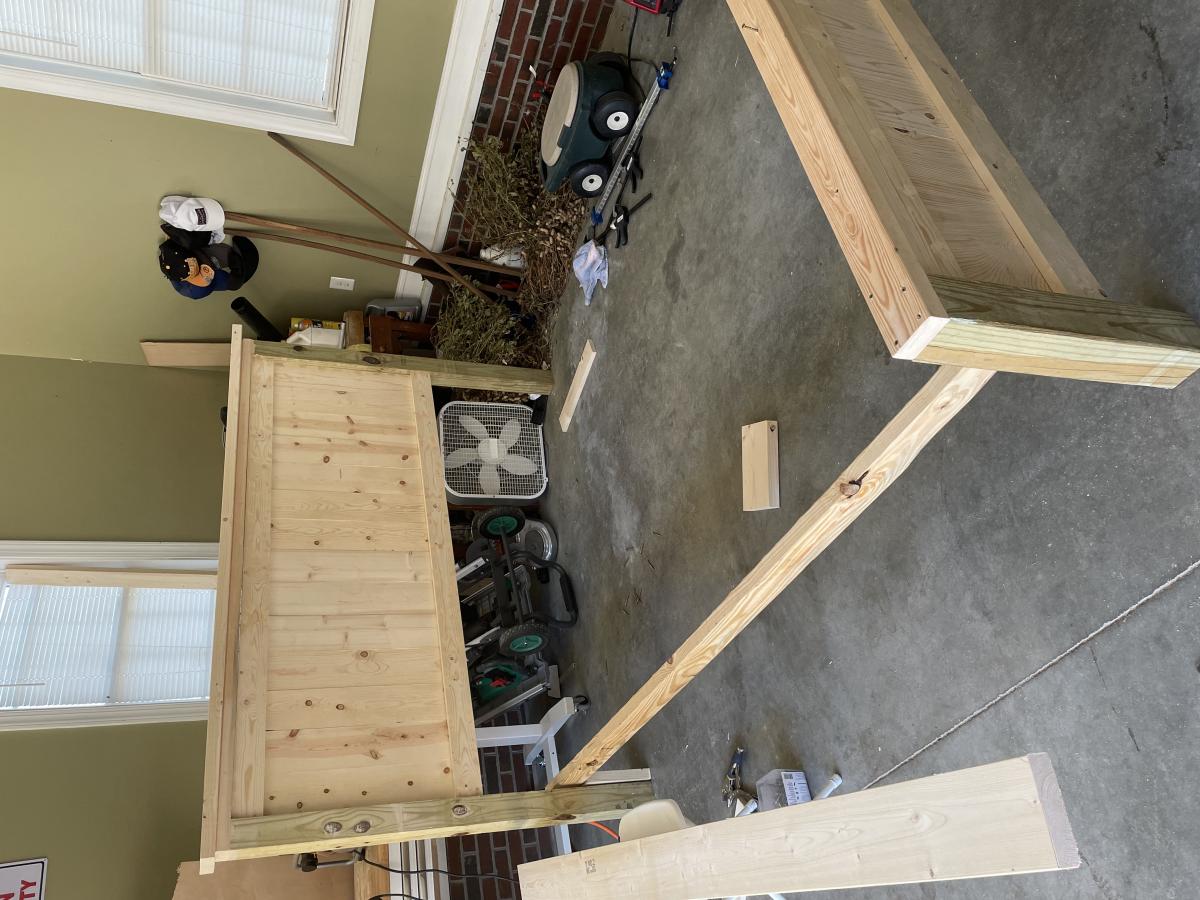
This was my first build and I definitely learned alot about the new pocket hole techniques. Nothing too technical about it except I made things more difficult by adding a metal bedframe kit because I was in a hurry to finish because of some company arriving. The only issue is that you can see the support legs of the bed frame kit so I'm sure I will dissassemble it once the company leaves and build a lumber frame and remove the metal one.
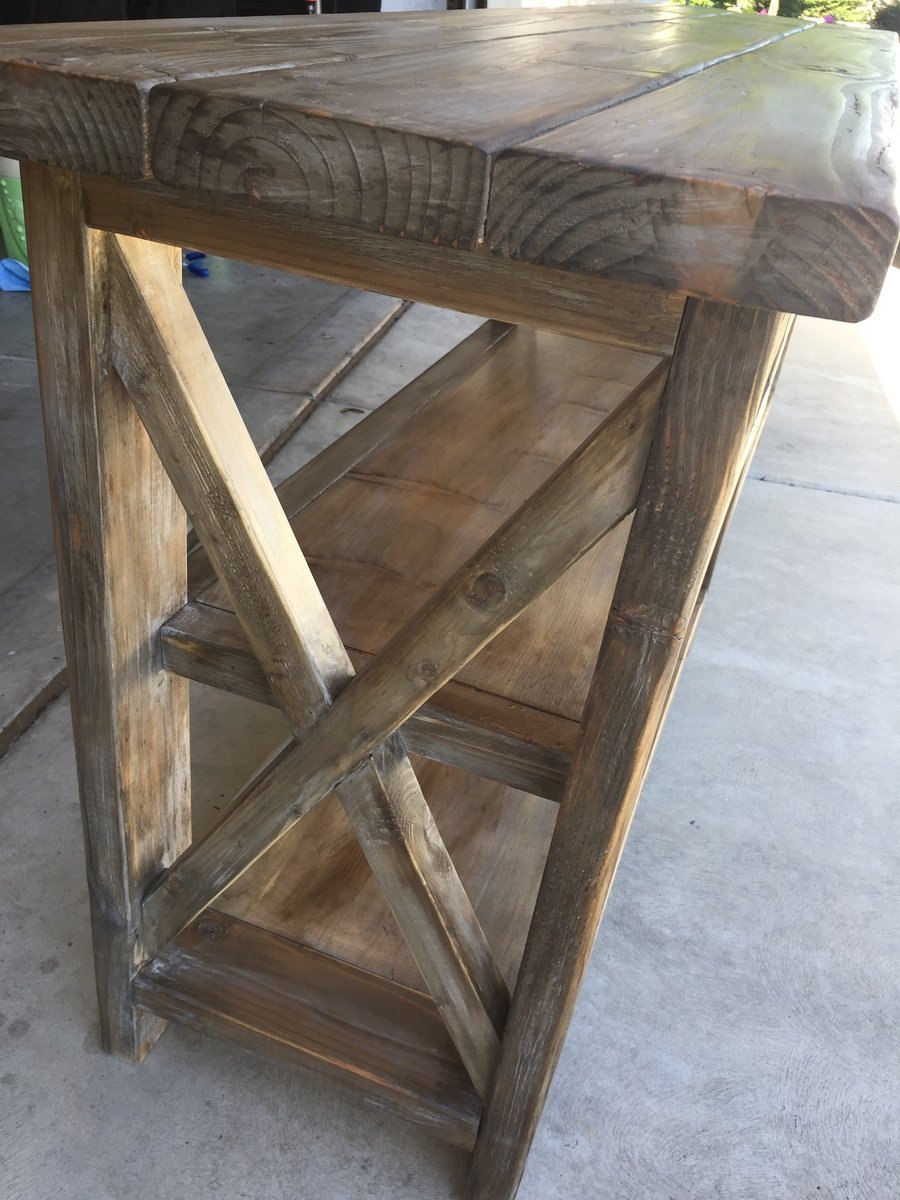
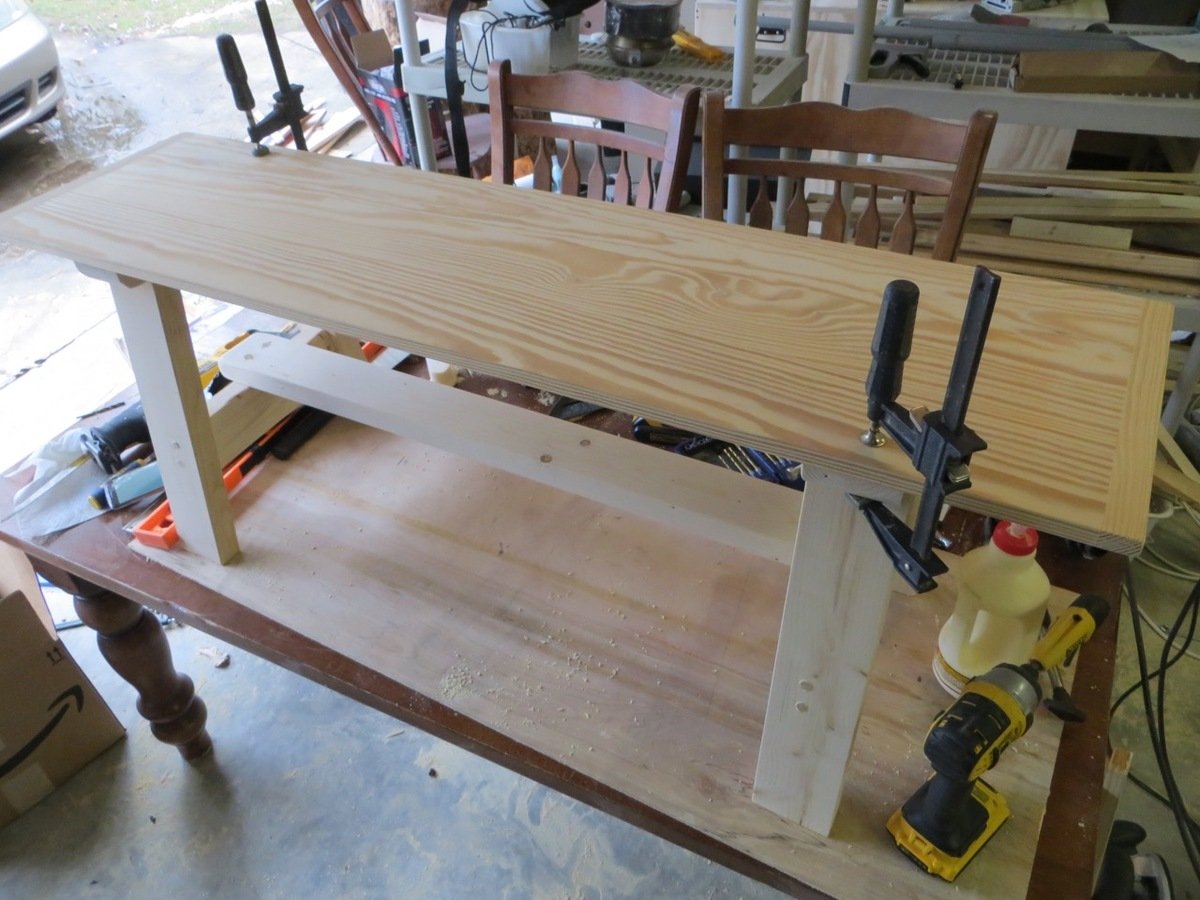
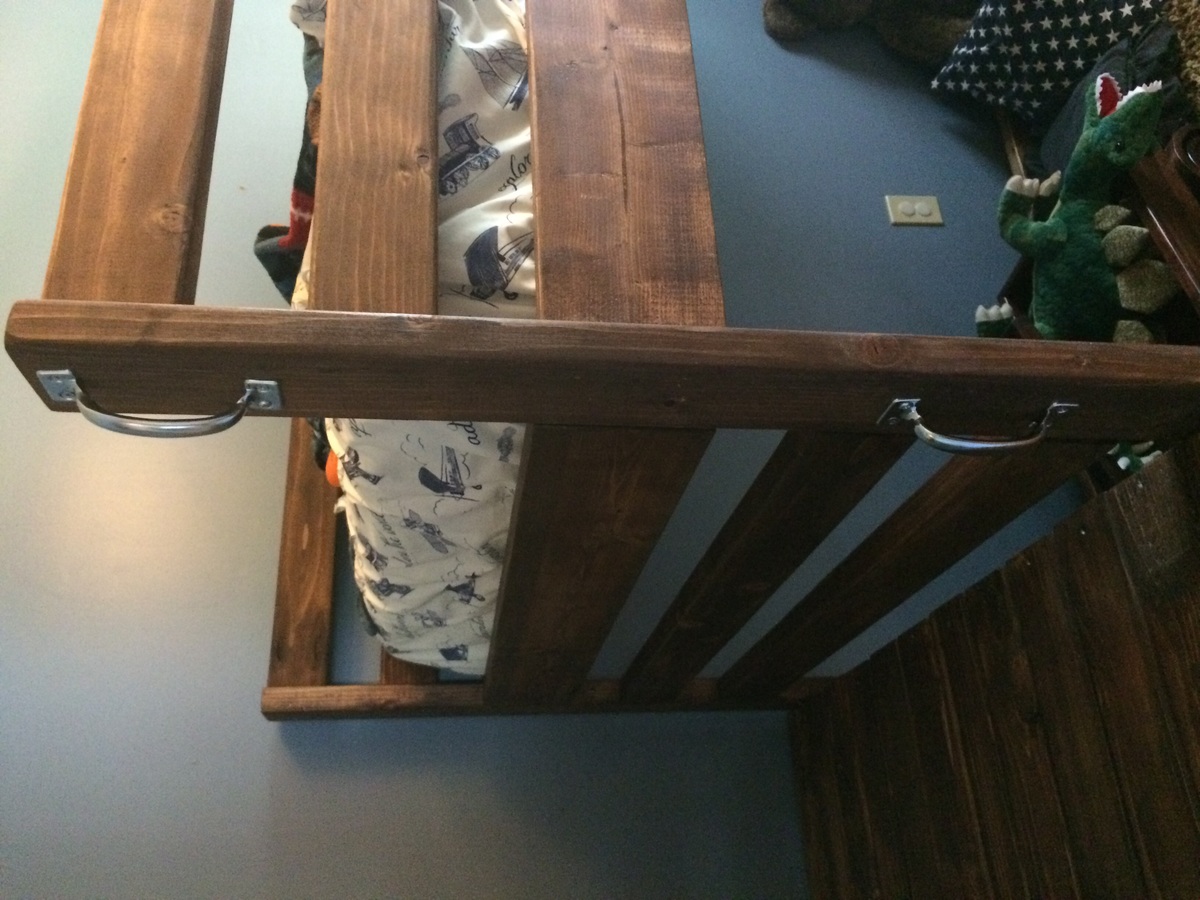
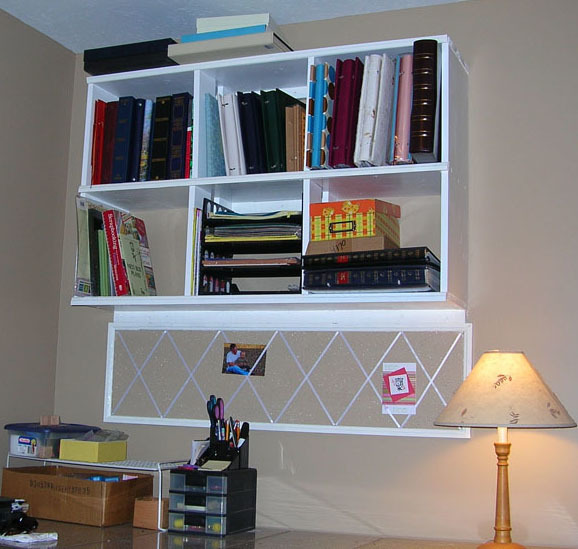
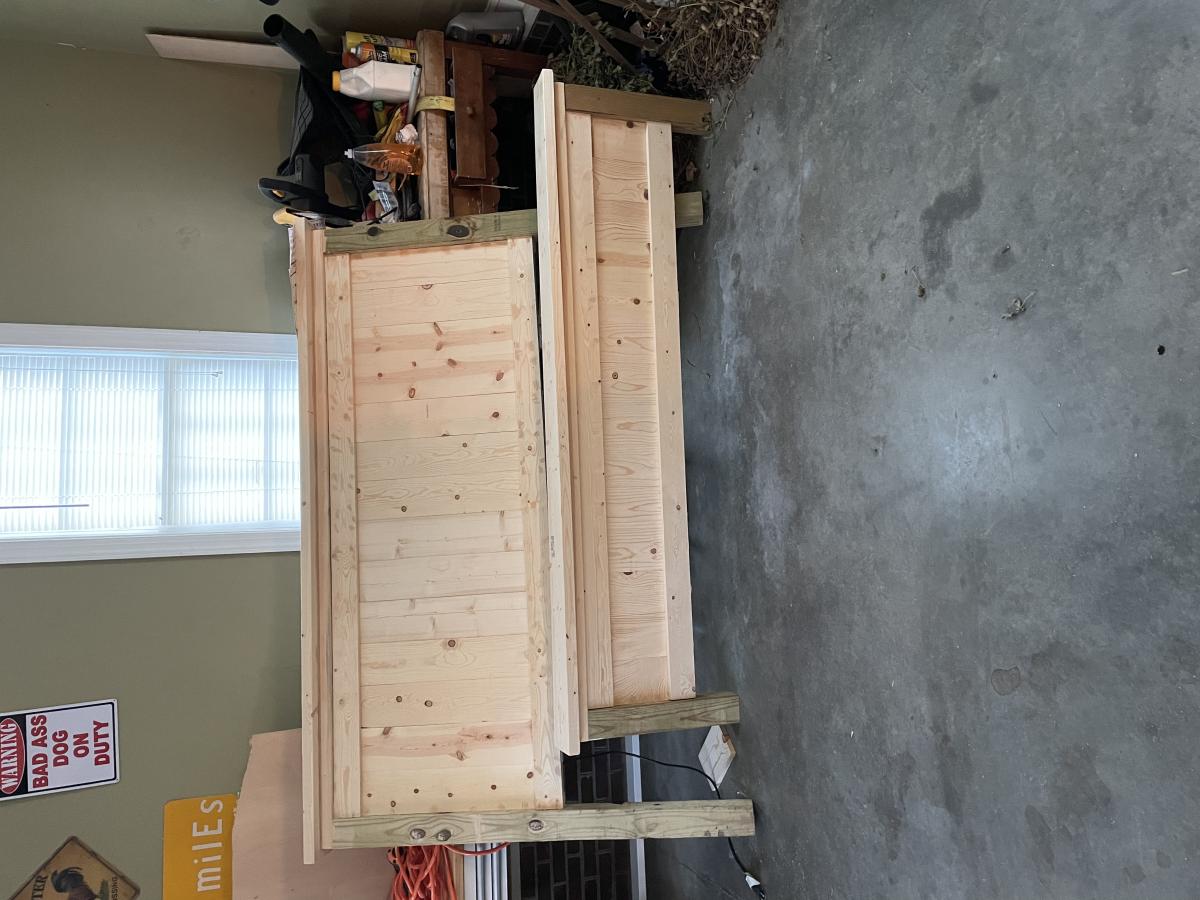
Otherwise, the only two variations from the Ana White plan was that I added the Arch trim board and I also used 1.25" sheetmetal screws on either side of the pocket holes that attach the verticle boards. I pulled the boards up tight to the horizontal trim boards and made a cleaner line. I also learned to sand and prime every board before assembly next time, there are several hard to reach areas that need sanding once it is assembled.
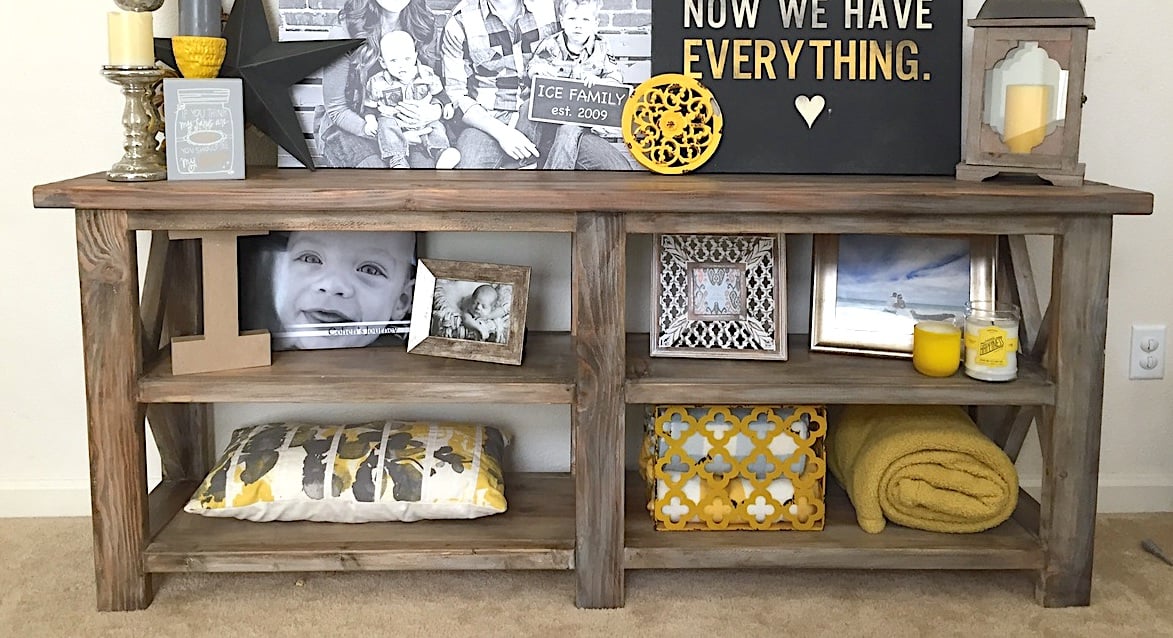
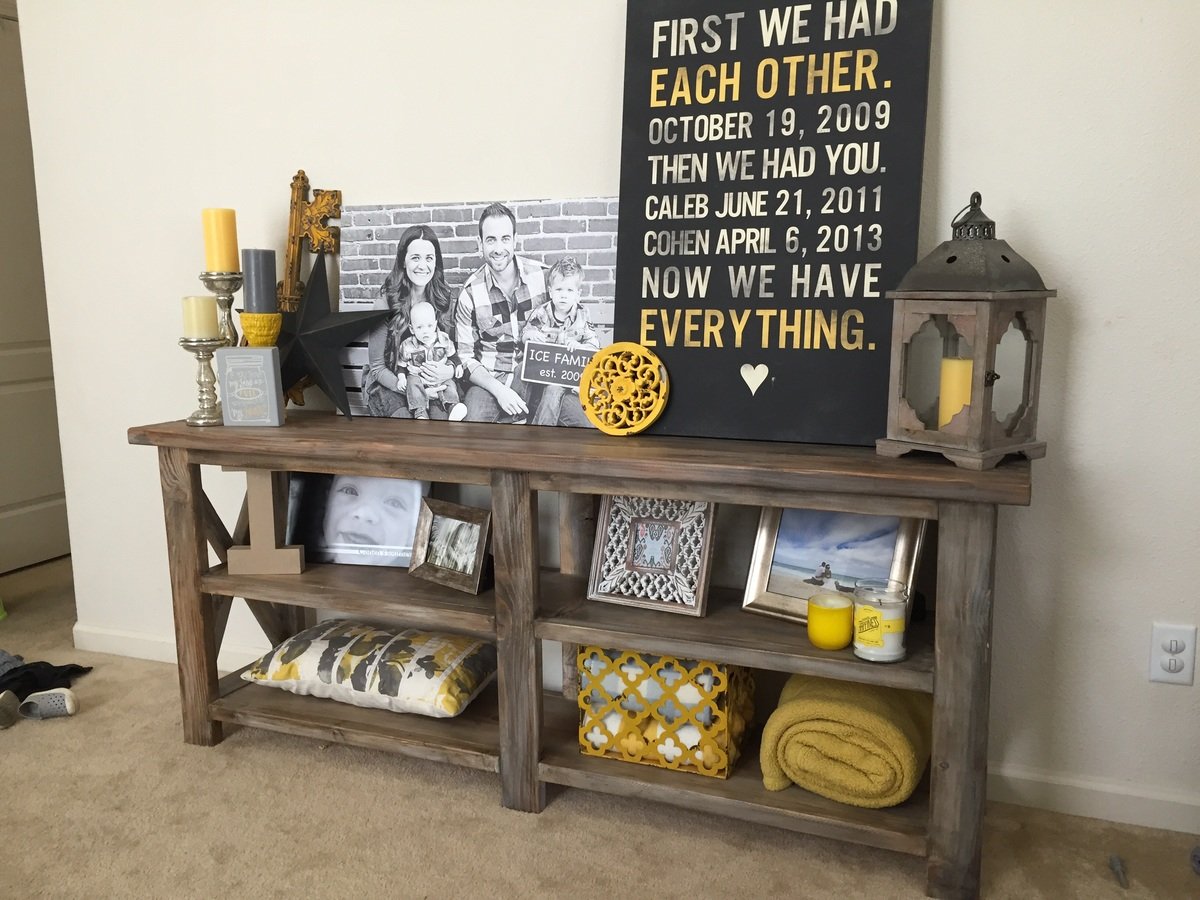
This bed is built like a tank and is beautiful.
Estimated Time Investment
Weekend Project (10-20 Hours)
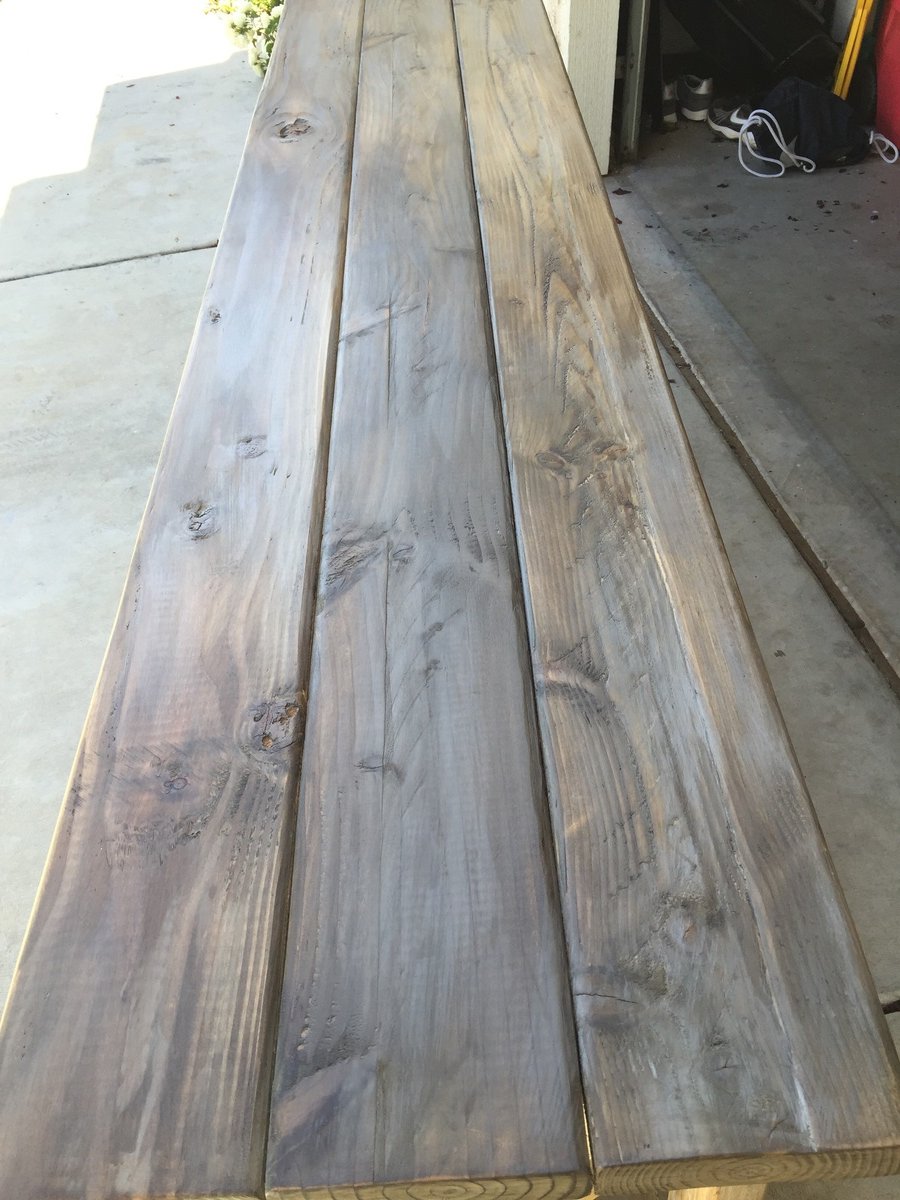
Finish Used
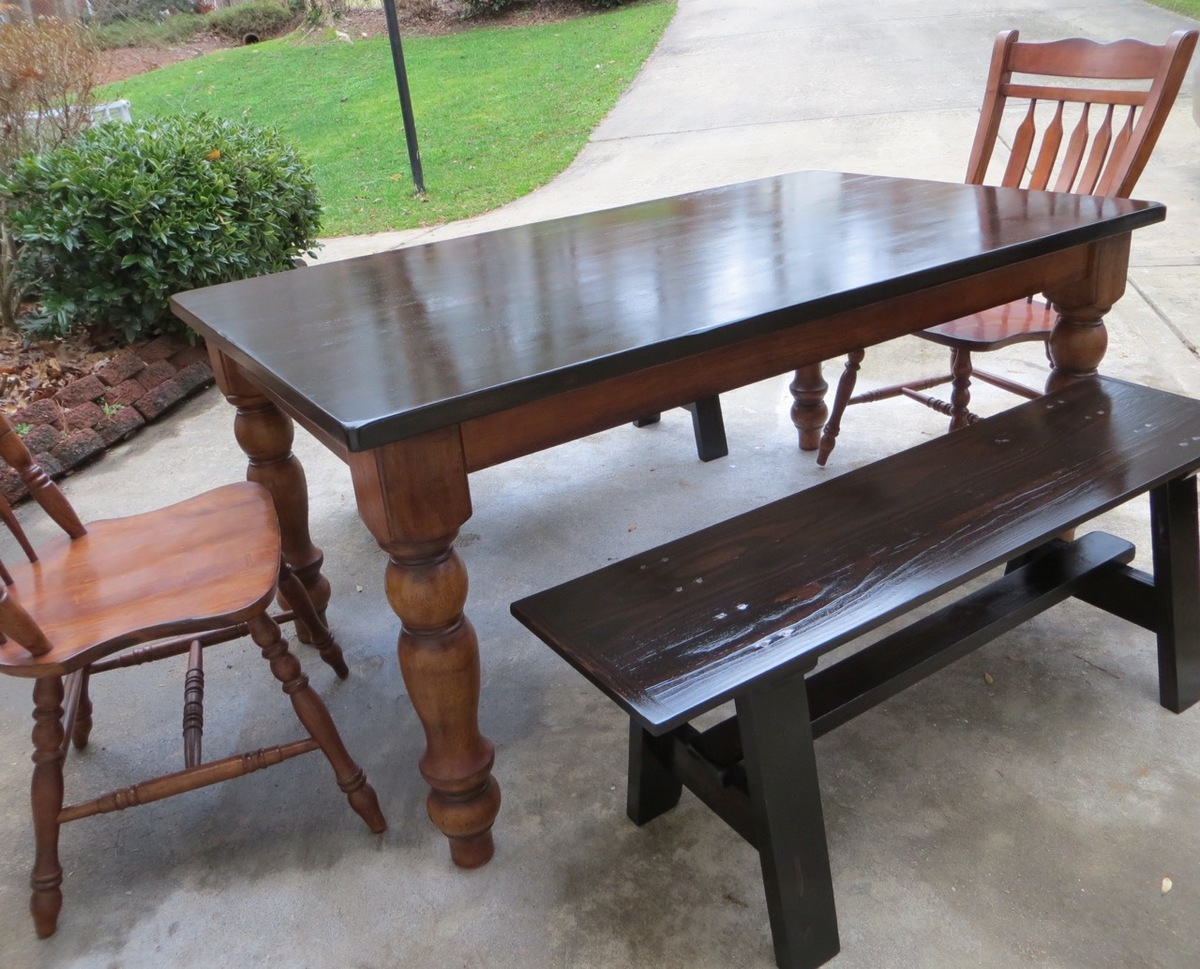
Killz Latex primer then two coats of Valspar Brilliant White. I assembled, sanded, wood filled, sanded, primed, caulked all seams, then two coats of paint.
Recommended Skill Level
Intermediate


Comments
Ana White Admin
Mon, 05/04/2015 - 10:16
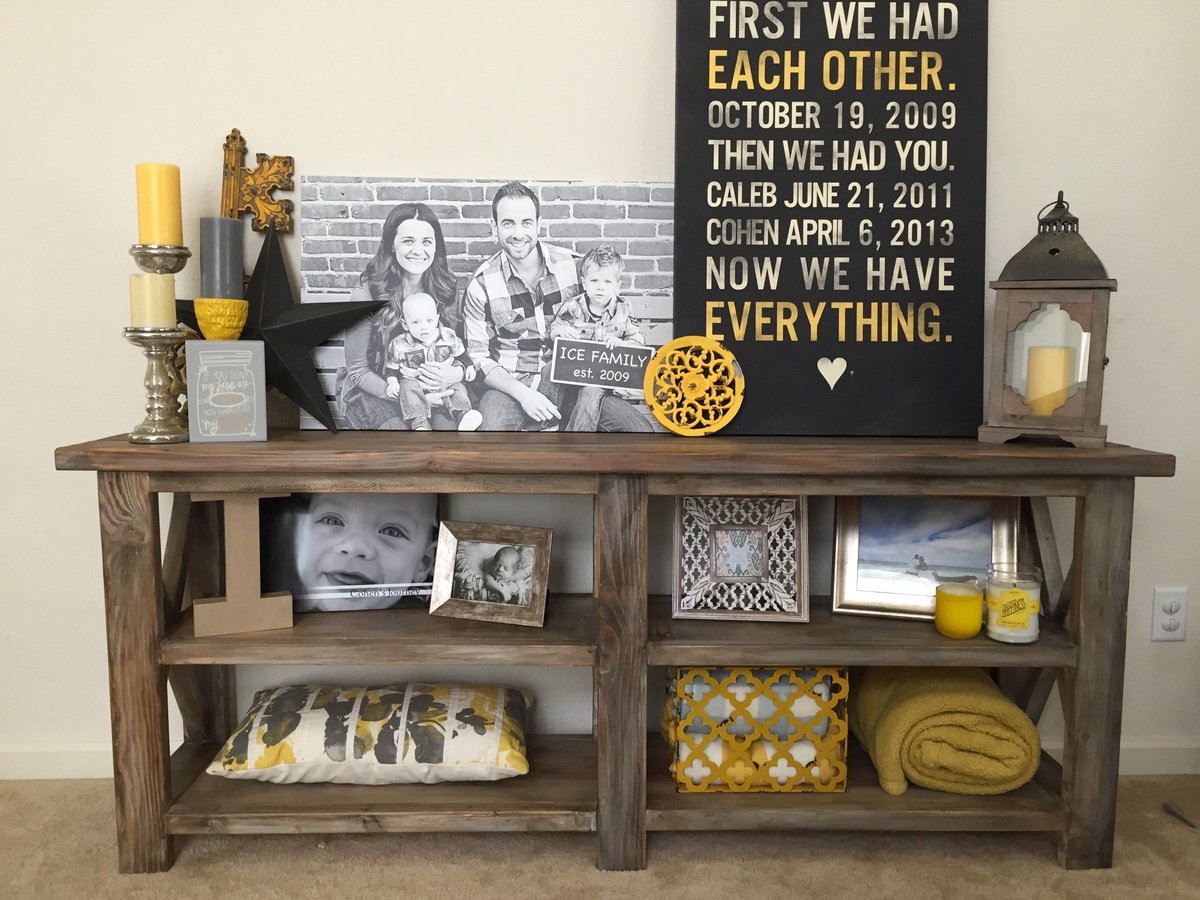
Love this build and sign!
Thanks for sharing, great job on the decor and finish!