Community Brag Posts

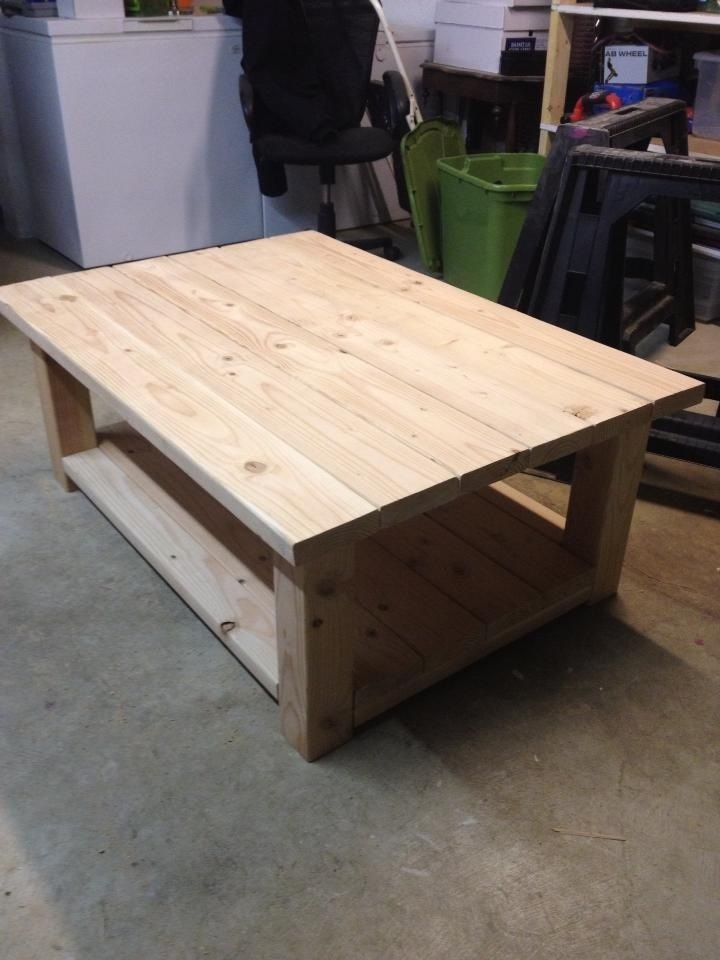
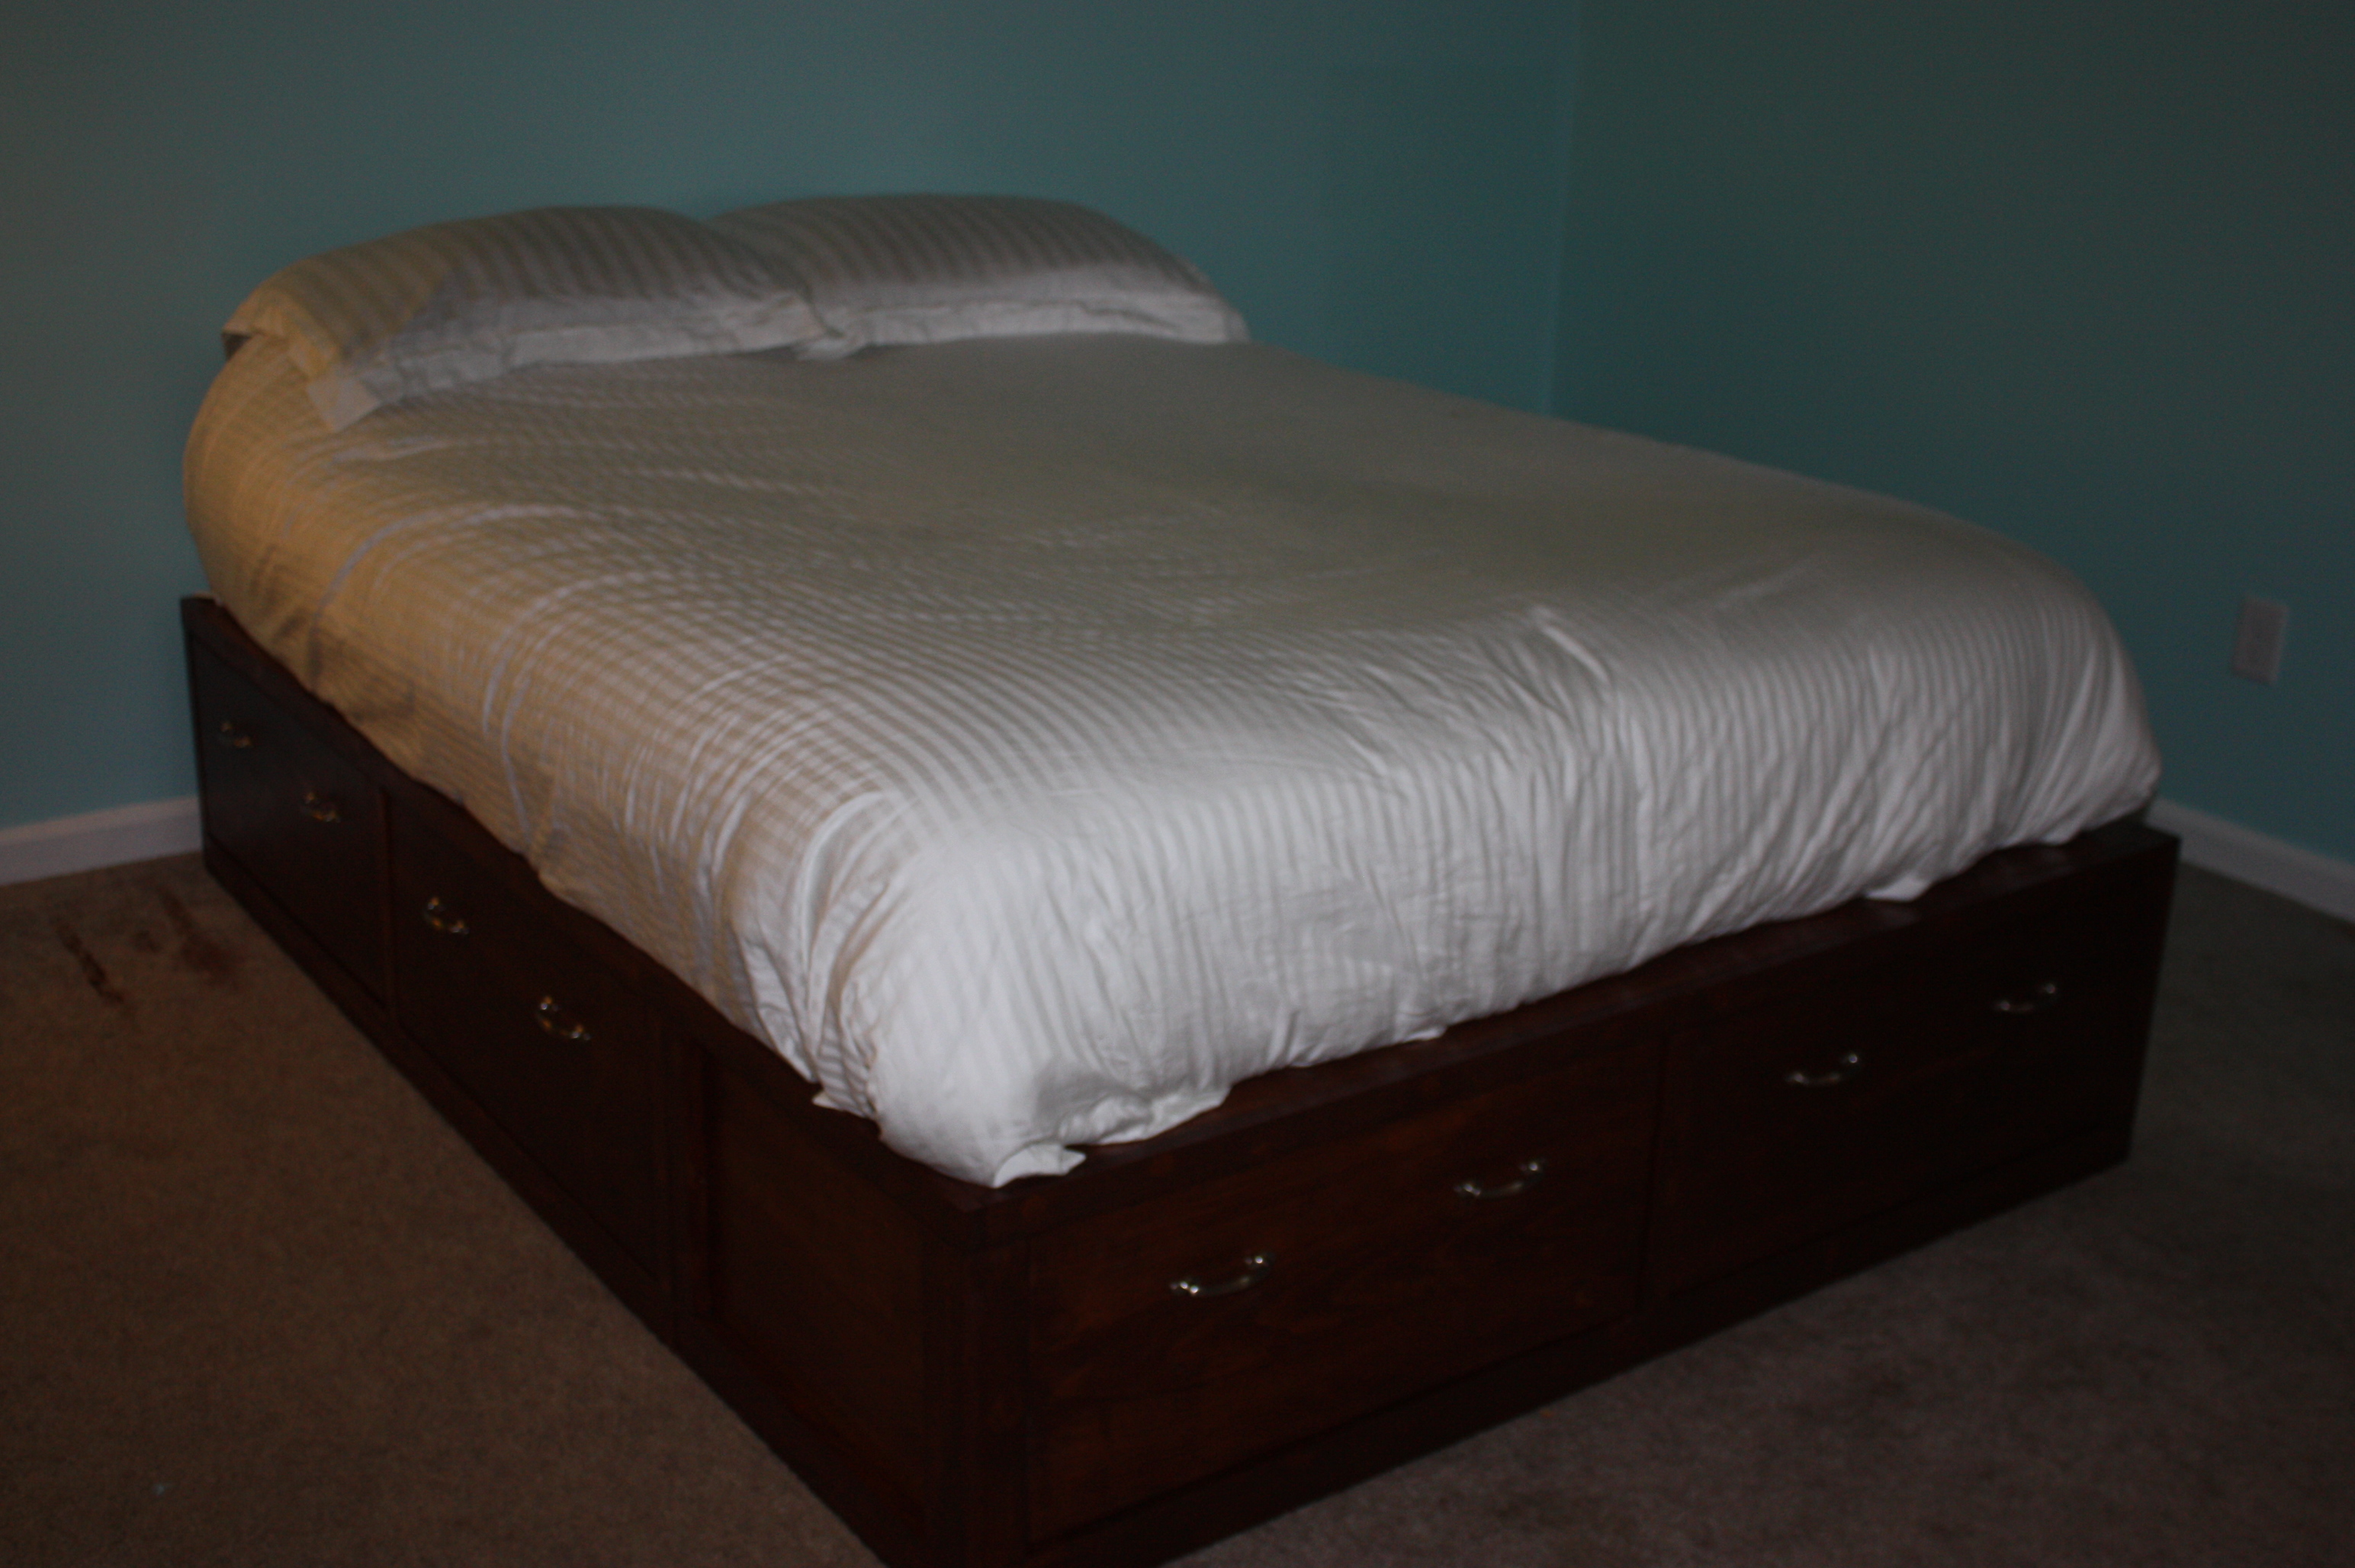
Queen Storage Bed with Drawers!

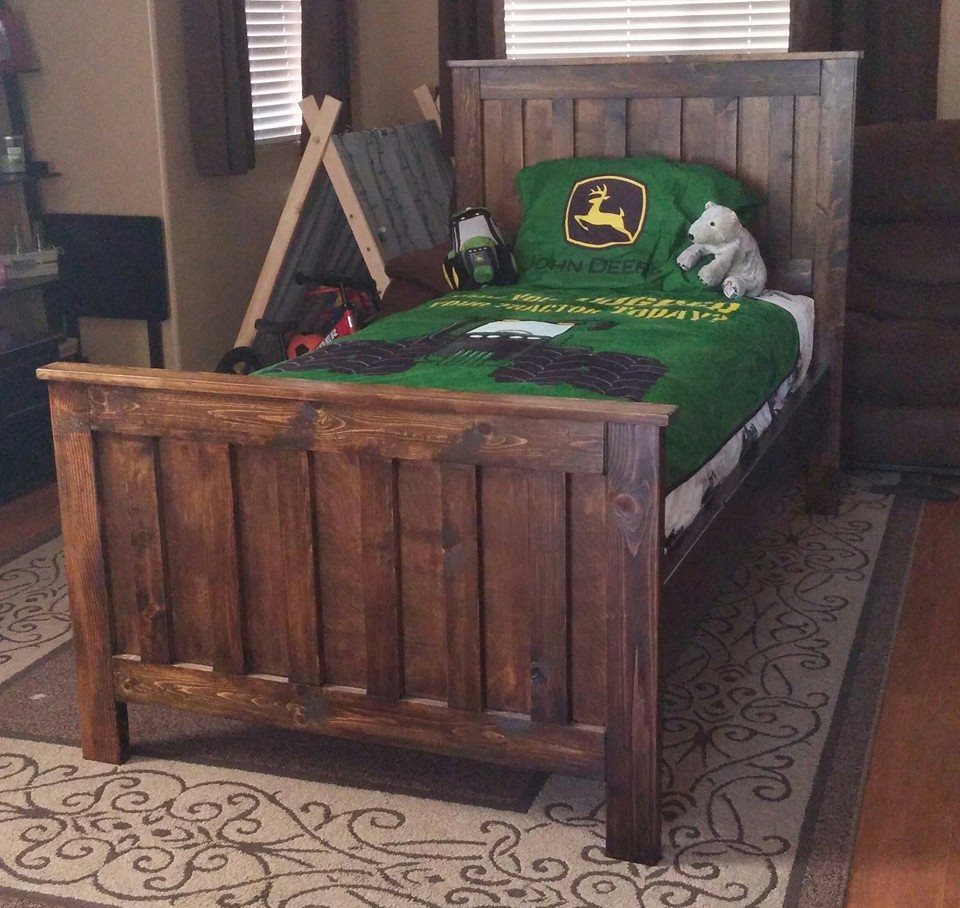
This was our third major building project (I've built some frames and small shelves in my free time but our other two big projects were the bunk beds and the tryde coffee table).

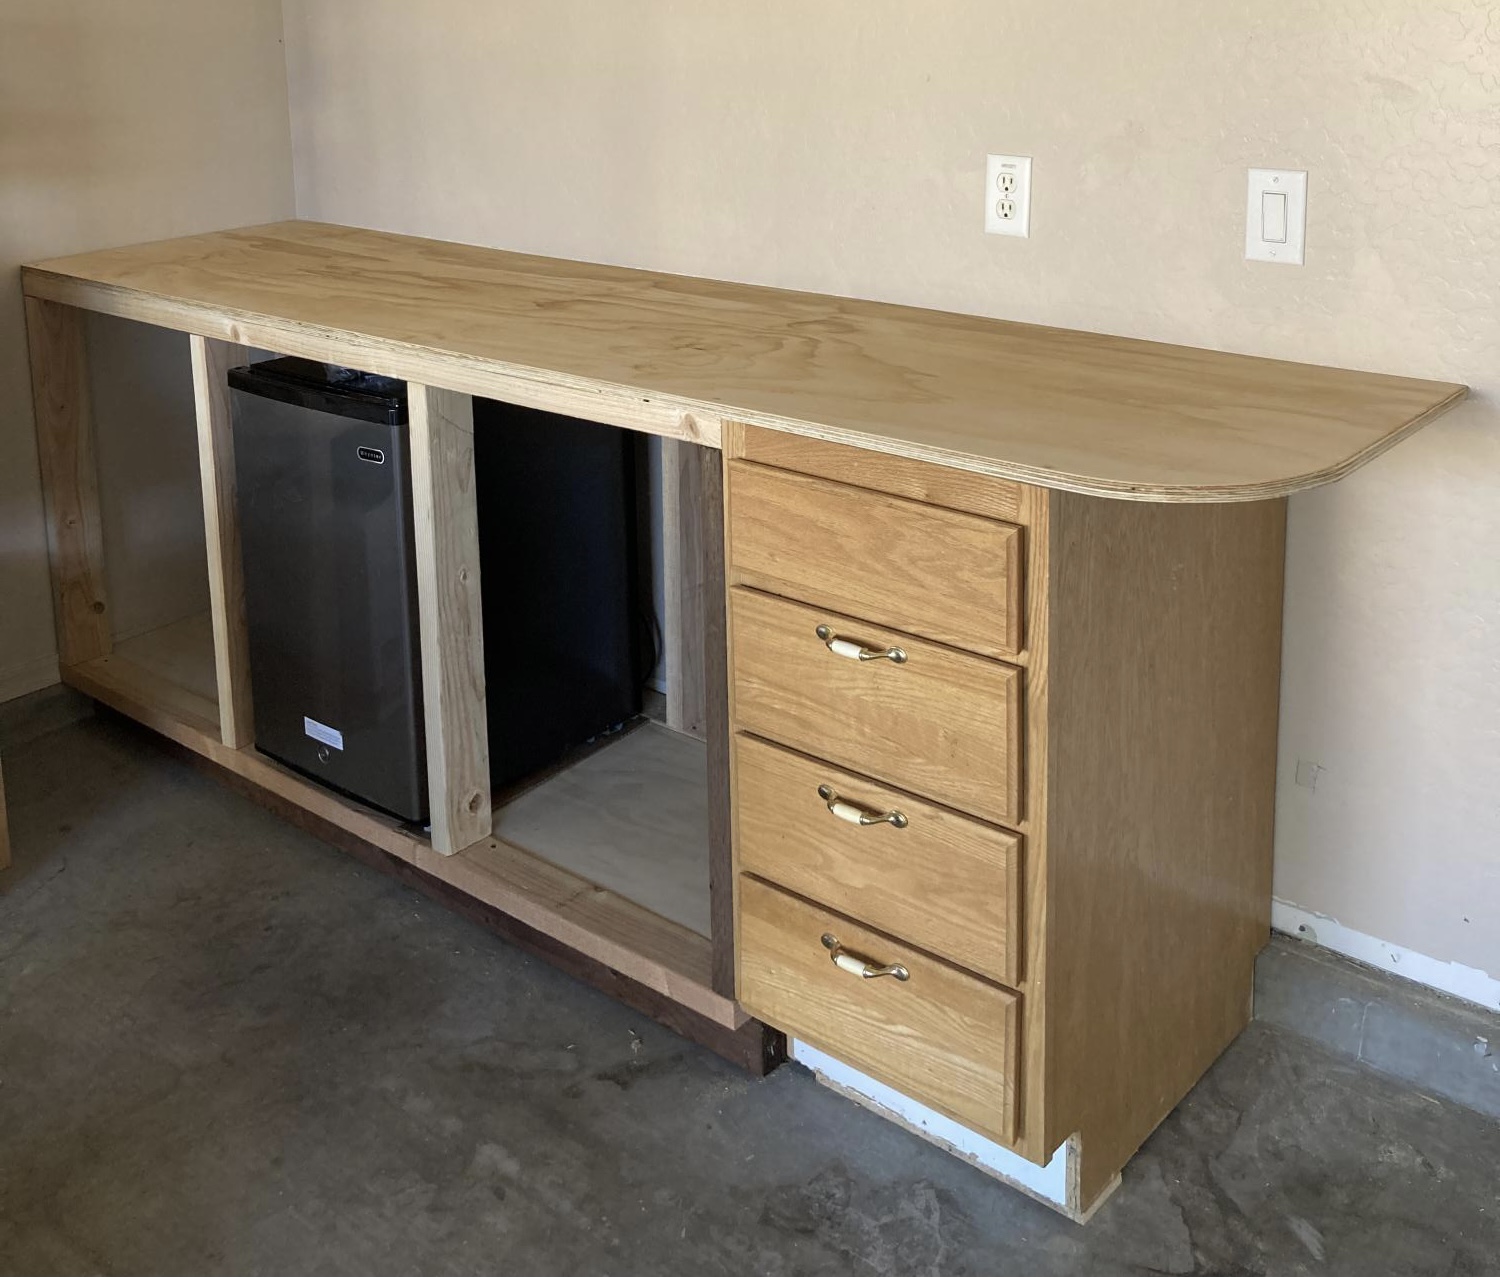
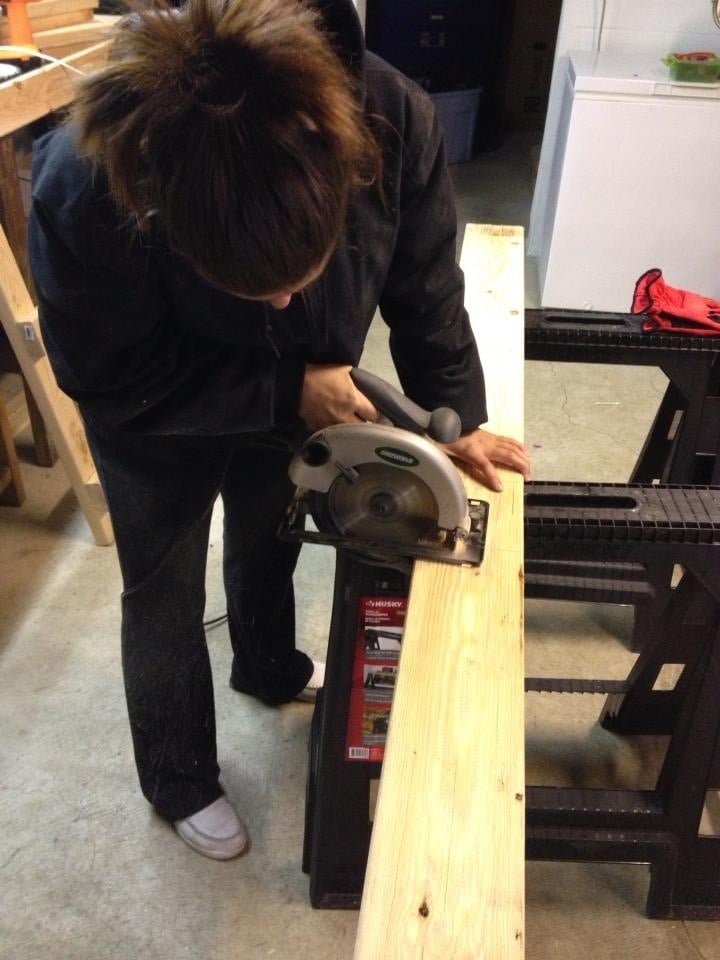
This was our first time cutting plywood boards and it was a huge chore at first, until we got the hang of it and built a good circular saw guide that cut our cutting time by more than half.

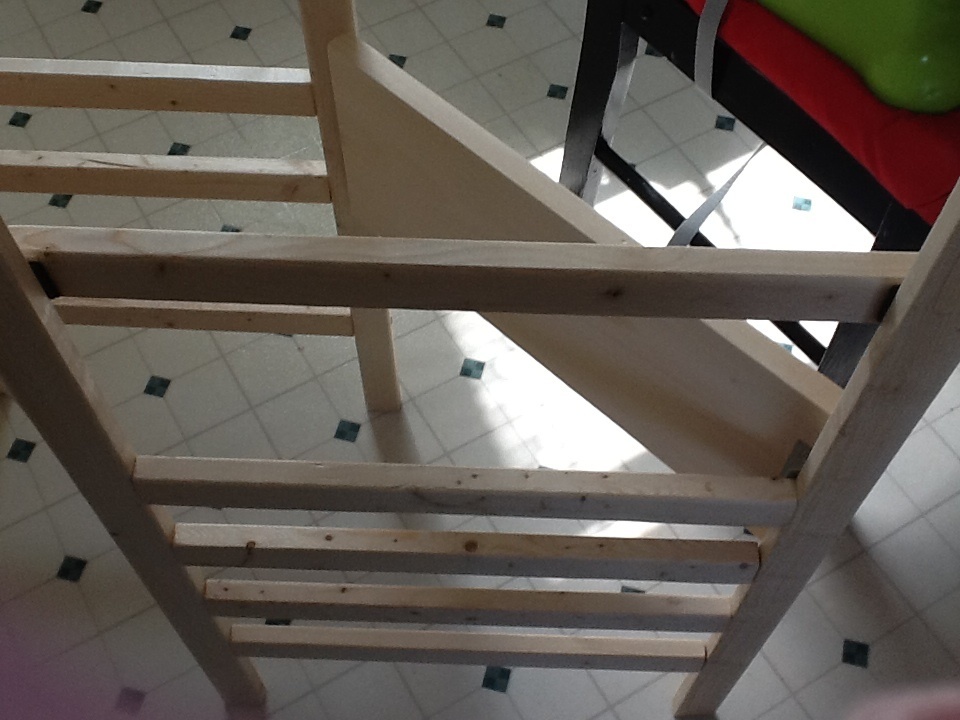
We couldn't find the type of drawer slides we needed so we decided to forget them and built our own wood slides. They basically are just L-shaped brackets made of 1x3 (on the bottom) and 1x2 (on the top), adjusted to the right spot to hold the drawers in place. A little candle wax (a trick learned from my husband's grandfather) is all you need to make them slide nicely. All in all, we built drawer slides out of wood for the about $20 total. Huge savings and honestly I think I like it better that way.

Things I learned during this project:
Plywood is a lot heavier than I ever imagined.
Cutting plywood is not fun.
I will never complain again about cutting boards with the miter saw!
Stainable wood putty is a joke. You can clearly see every spot I puttied. From now on we buy the colored stuff that already matches the stain!
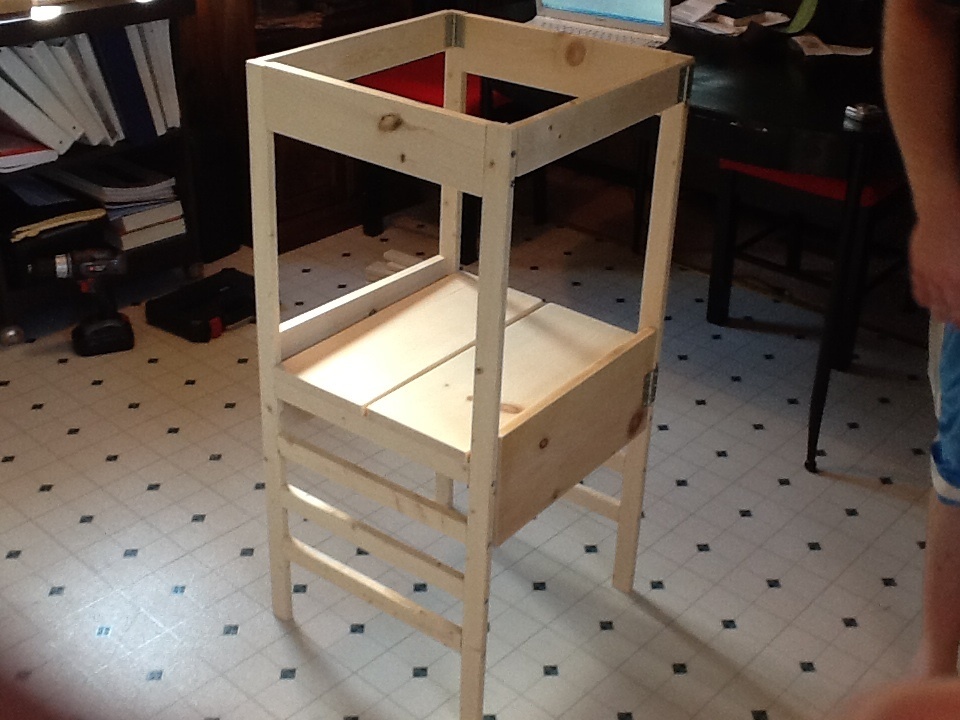
Building drawers isn't scary--I thought it would be. I actually built all the drawers by myself in one morning, when hubby wasn't even around to help.
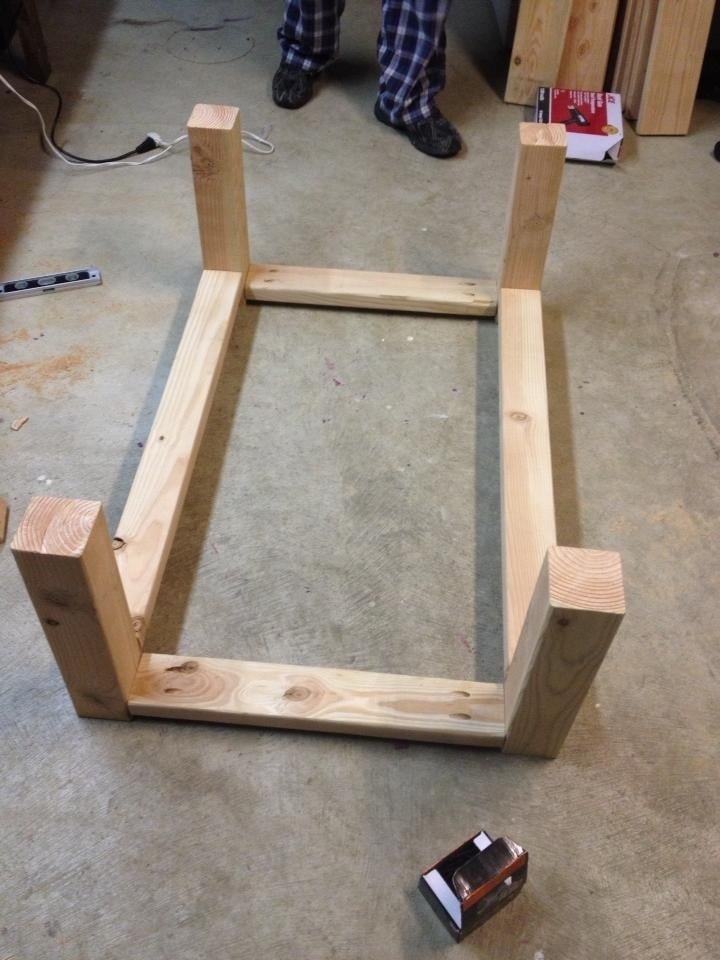
90-degree gripper things are a must have. And the more you have, the better.
Elmer's wood glue is really stronger than nails. We glued something and didn't like it and were unable to break it off so we had to nail it as it was!

This project took us nearly a month, but to be fair, I was out of town for two weeks of that time and this is definitely a project for four hands, not two.

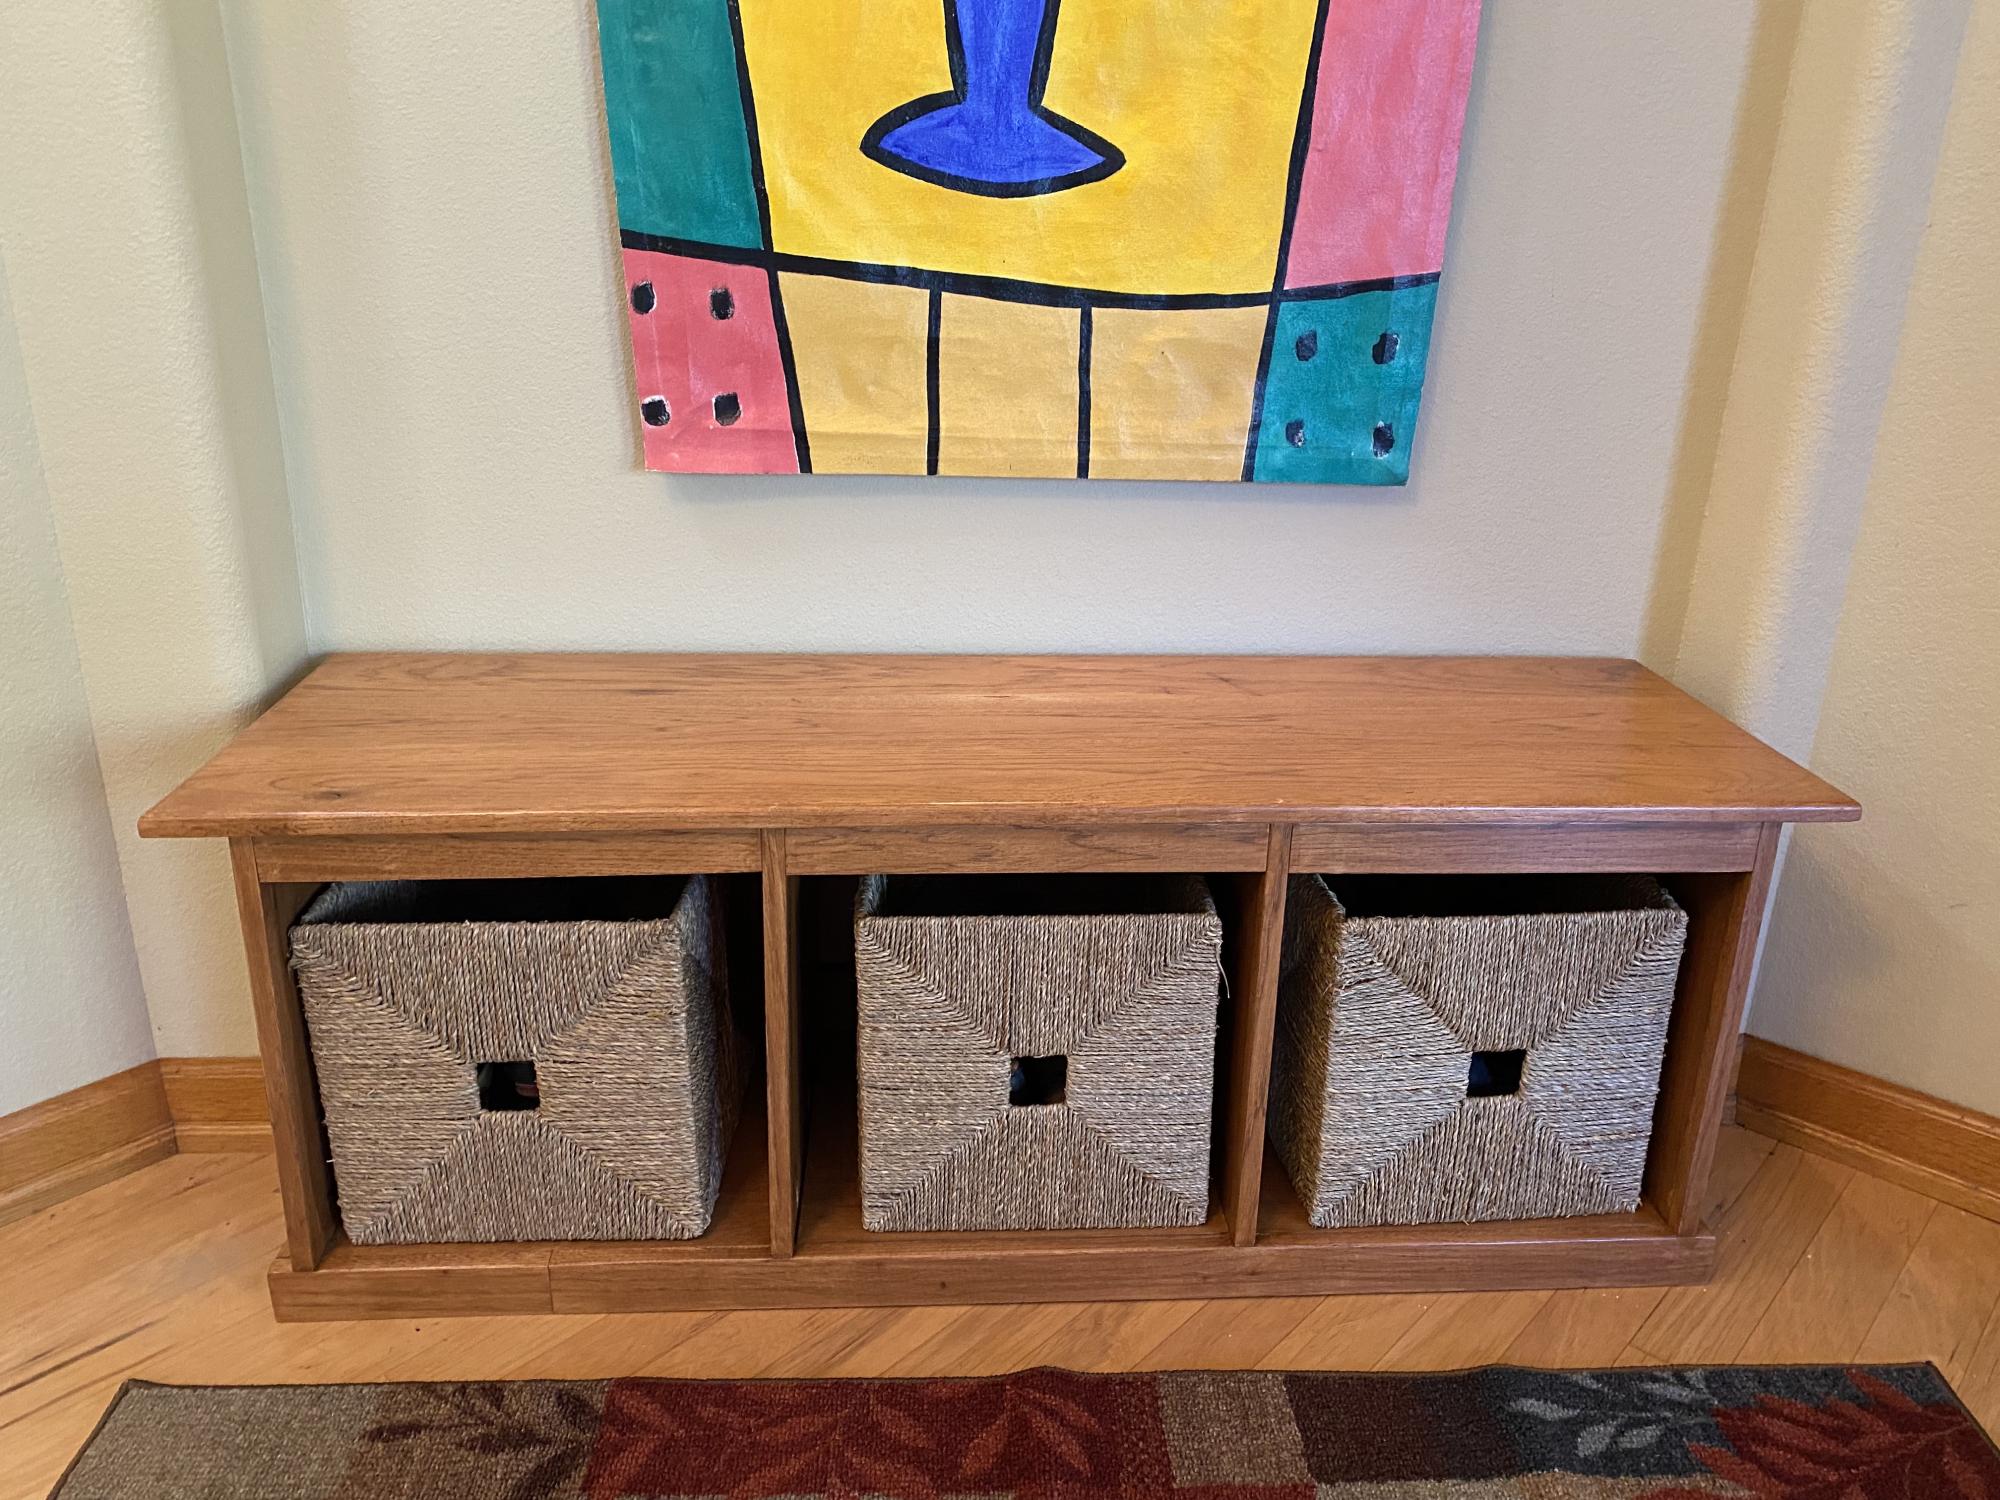
Overall, it was a great experience and I'm so excited for the extra storage--our house is small but we don't want to move so we are trying to make use of every inch of space, without the house LOOKING like we are making use of every inch of space.

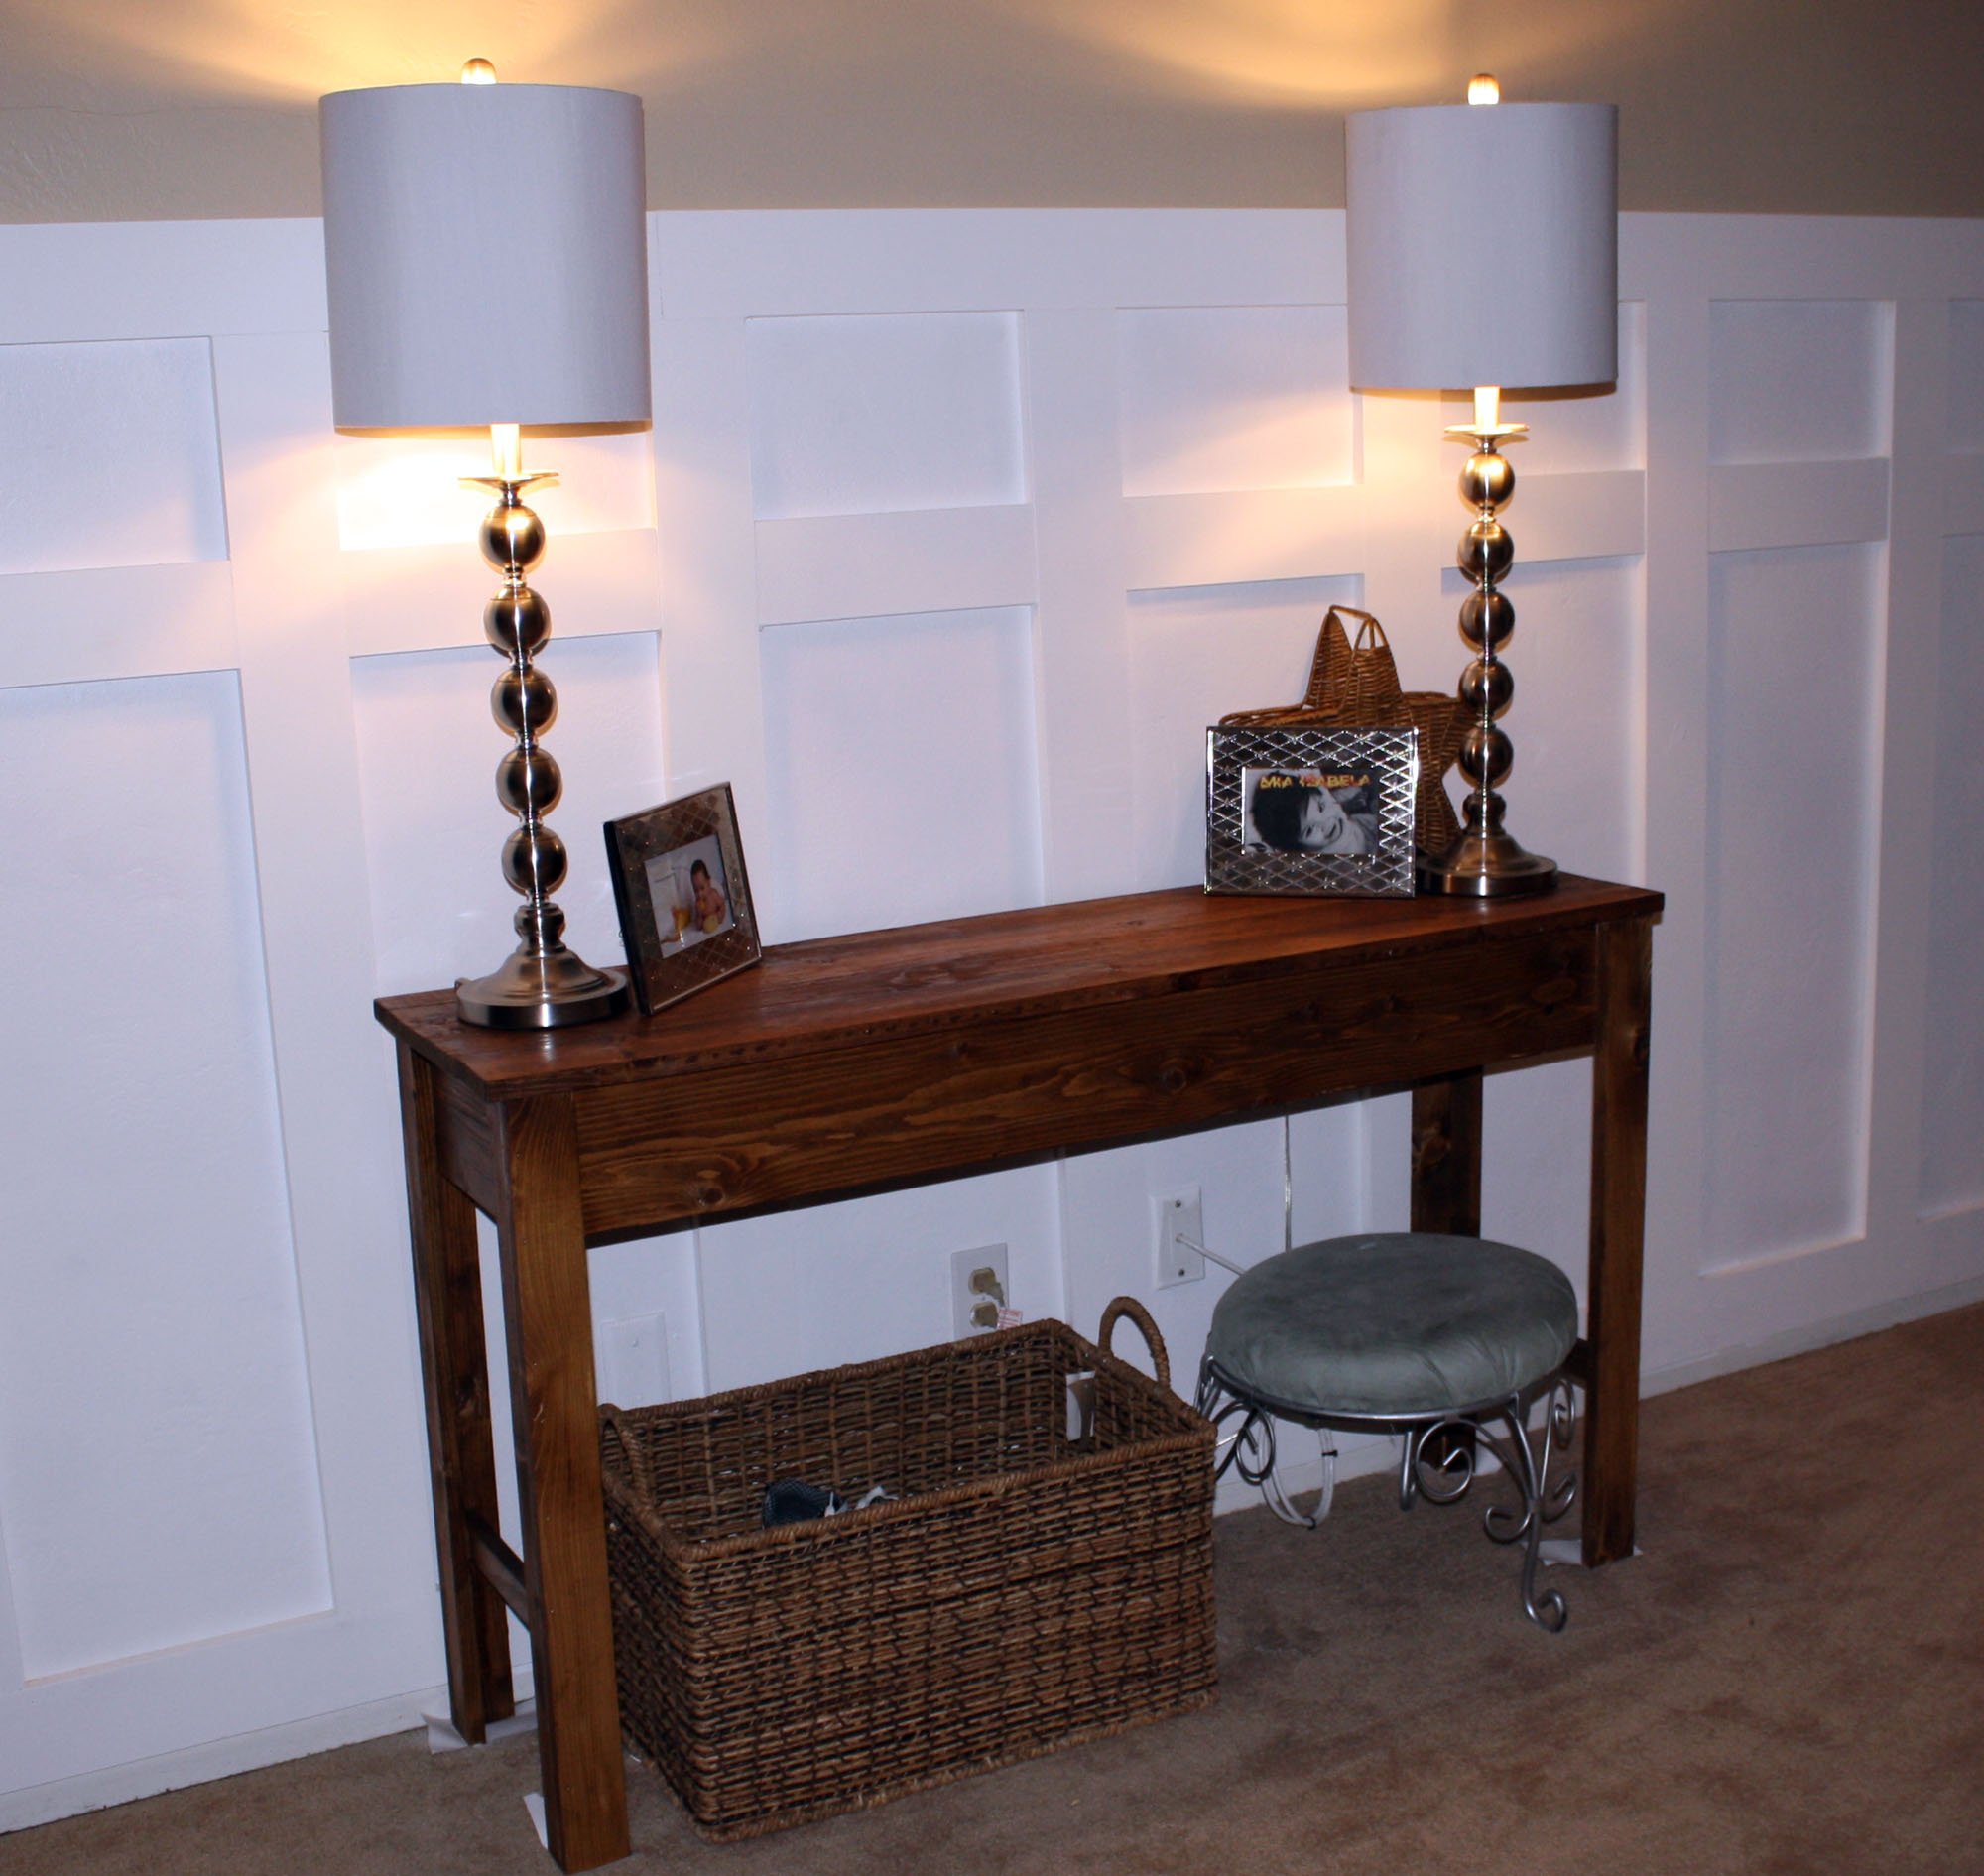
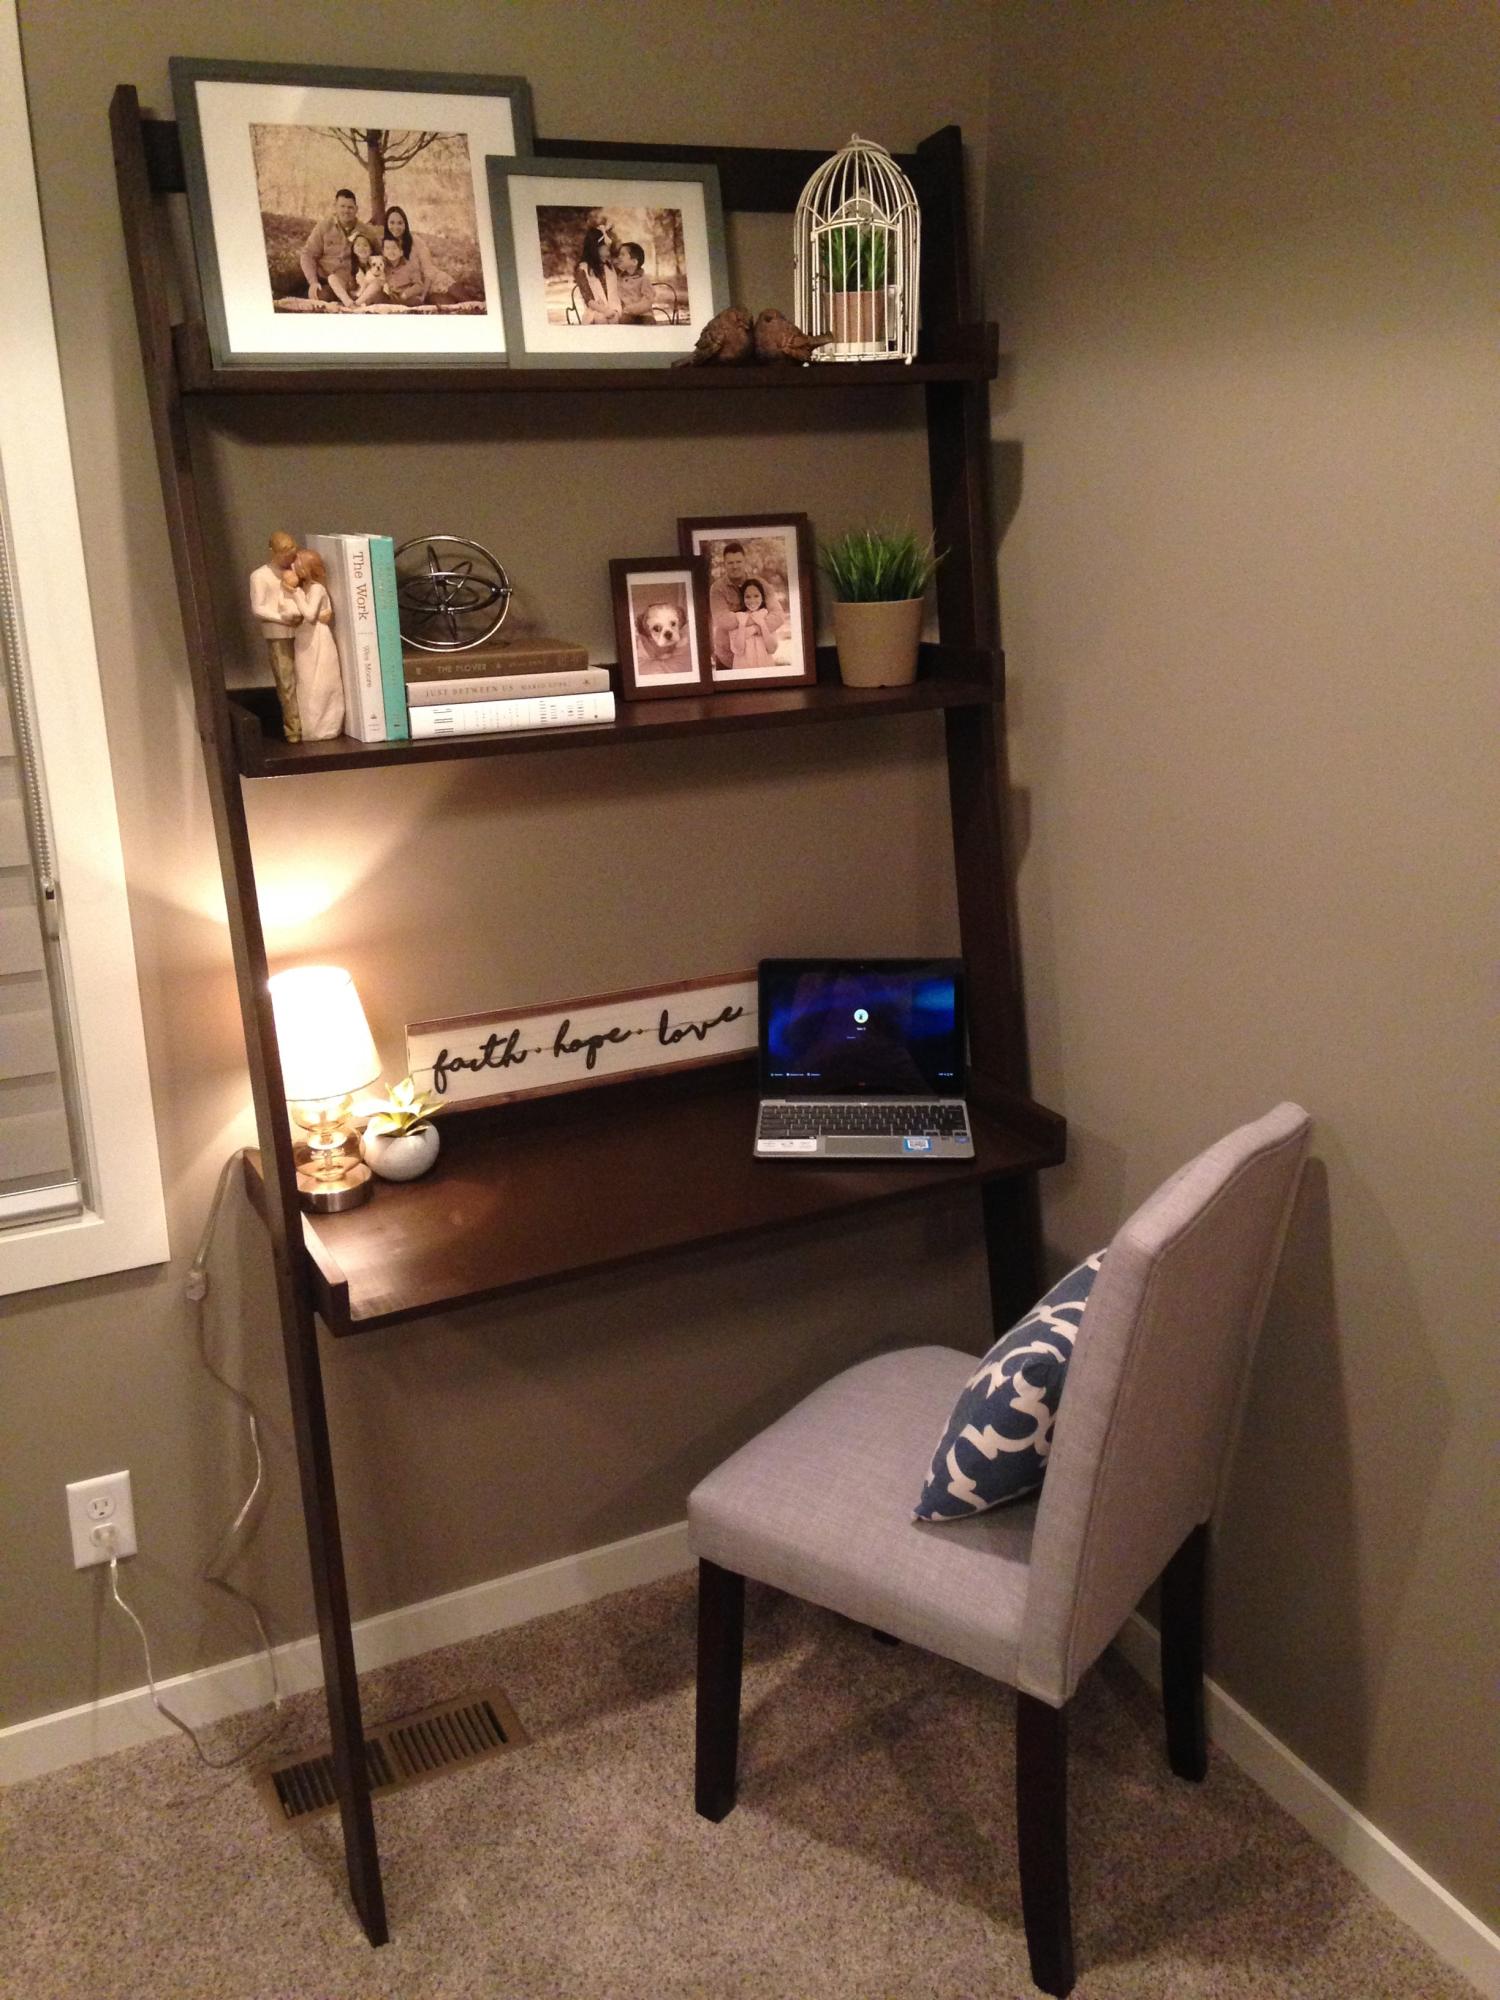
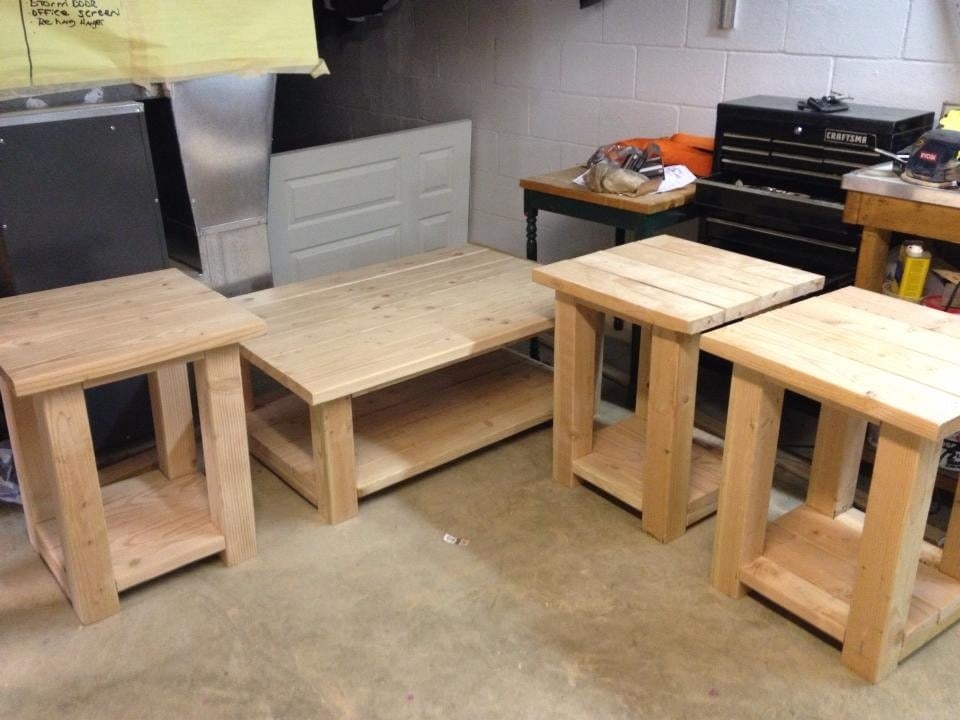
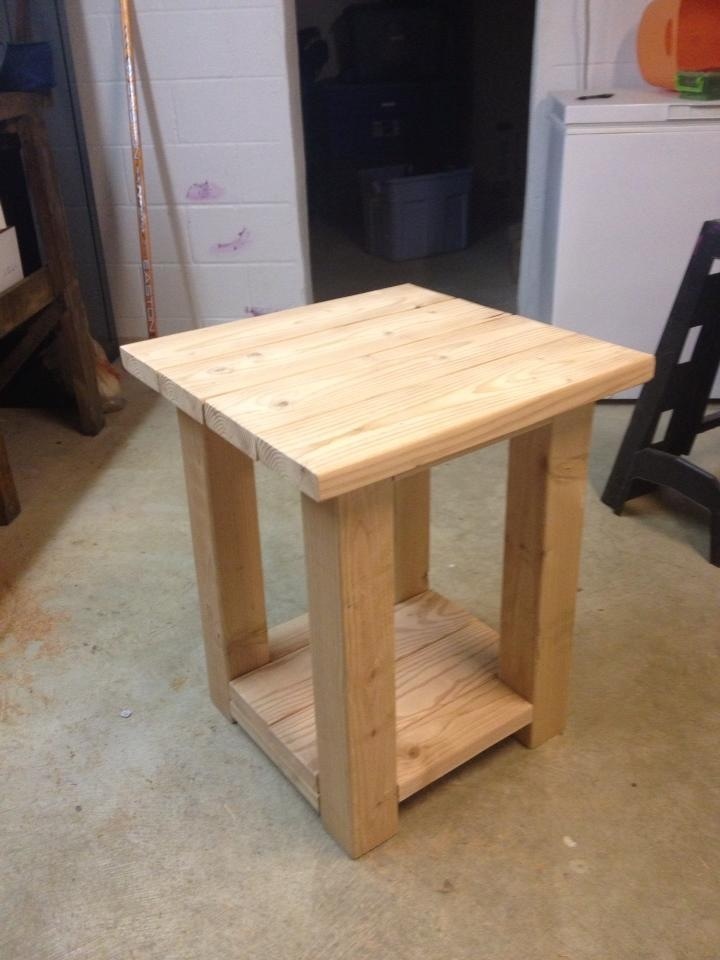
Next up: new bedside tables to match the bed.

Built from Plan(s)
Estimated Cost
$400-$500
Estimated Time Investment
Week Long Project (20 Hours or More)
Finish Used
Varathane American Walnut: two coats. Applied with paint brush, allowed to soak and then excess wiped with old socks (loved the old sock trick, thanks, Ana).

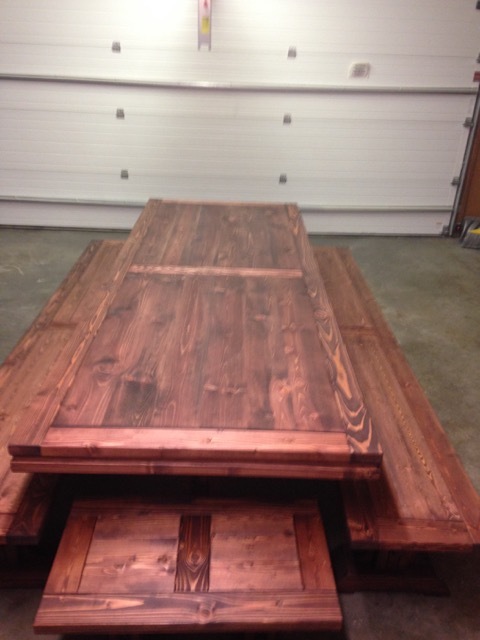
One coat of minwax semi-gloss poly.
Recommended Skill Level
Intermediate

Sandbox (plus stage and puppet theatre)

I started with the original plans for the sandbox with the benches, and then just sort of took off with the modifications.

When it's open, it's a 4'x6' sandbox with a bench on one side and a canopy overhead. When it's closed, it's a stage complete with curtains, or can also convert into a puppet theatre.

I had to make several adjustments to the original plan to allow for enough support for the stage to be walked (and danced) on, including an extra armrest in the bench, and a few blocks built up from the base of the sand area. I also used 1x6 boards for the top instead of 1x4, to cover the entire 4' with only the one bench.

Thanks so much for the plans, my girls love it! (and thanks to KnittingEmily for posting the plans for the 6' sandbox, which gave me a jumping off point for the sizing I used.)

The story of how I built it can be found here:
http://www.thislemonyogurt.com/a-box-of-sand/

Built from Plan(s)
Estimated Time Investment
Weekend Project (10-20 Hours)
Recommended Skill Level
Beginner

Comments

Lasso the Moon

Fri, 06/28/2013 - 07:51

Oh, this must seem magical to those little ones. It looks like so much fun. Great job!
Anna

Rustic X End Tables

Submitted by BeauKSU on Mon, 06/15/2015 - 09:46

I made one table following your original plans and it turned out great! The top is American Walnut Polyshades from Minwax (stain and poly in one), topped off with paste wax. The bottom is just regular white paint that we had lying around the house. The plans were easy to follow and introduced me to the Kregg Jig. How did I ever live without it?! Thanks for posting them for everyone to see, we're so happy with how they turned out!

Built from Plan(s)
Estimated Cost
$70 per table
Estimated Time Investment
Weekend Project (10-20 Hours)
Finish Used
White pain on bottom and Minwax Polyshades - American Walnut on top, finished with paste wax.
Recommended Skill Level
Intermediate

Work Bench

Submitted by Anonymous (not verified) on Sun, 12/26/2021 - 20:58

Had to tweak the pony wall plans a bit because the garage floor had a 2” x 3 1:2” cement retainer. I also wanted to incorporate an end cabinet I already had, so I shortened up the base to 69” and tied it together with the top.

Built from Plan(s)

Comments

Entry table

Submitted by Marisol on Wed, 05/04/2011 - 20:14

2nd project, but learning quickly! :)

I first started with the wall treatment, love board and batten walls, they add such a crisp look and tons of character, but then the entry way was a little bare. So I needed a table for our keys and some lighting...so this table was perfect, narrow and Pottery Barn looking...

It took about 1 hour to build, including cuts and everything....the staining was the task...my God was I impatient!
I started with the wood conditioner, which only gives you a 2 hour window to add the stain, but do need to wait 15 minutes to start...then I did 2 coats of dark walnut stain and after 8 hours of drying time came in the top coat...which takes 4 hours to dry and then a 2nd coat needed to be added (which I skipped) but I love the color, love the turn out.

So light, I carried it ALL by myself. :)

Built from Plan(s)
Estimated Cost
$15.00
Estimated Time Investment
An Hour or Two (0-2 Hours)
Finish Used
Minwax wood conditioner & Minwax Dark Walnut
Recommended Skill Level
Starter Project

Little helper

Submitted by dijo284 on Sun, 06/30/2013 - 14:01

We used ana's plans and they were great!
We did not do the curved pieces we made it square all the way around. We did the modification and used hinges.
We have all the pieces for the anti-tip and will be adding that later.
We added on extra side pieces for safety using industrial strength velcro so they can be removed in the future when our 15 mo old gets big.
We do not own a kreg jig....so we just did screws and wood glue...making sure to pre-drill holes since the wood is thin and could split...

Estimated Cost
$40
Estimated Time Investment
Afternoon Project (3-6 Hours)
Finish Used
We will be painting or staining in the future.
Recommended Skill Level
Beginner

Baby changing table

It seemed as though this project started out as a nightmare. I didn't think it was going to happen. Working with 2x2 and soft doug fir is no fun. I bought a kreg jig and was super siked to use it but really couldn't figure it out yet so I just pre drilled and blasted screws in from the sides. Luckily I took some time to wood fill and do clean up work and you have no clue. I am so proud and excited about how this came out. It brought tears to my wife's eyes and maybe even a little to mine. Added some dipped blue legs and a simple blue band molding to pop off some color. Went to babies r us and purchased some canvas cubes and crazily enough the blue matched exactly!!! That was not planned.
All in all this will be in use for years to come.

Estimated Cost
120
Estimated Time Investment
Weekend Project (10-20 Hours)
Finish Used
No voc paint
Recommended Skill Level
Intermediate

Barbie Dollhouse

Submitted by Anonymous (not verified) on Mon, 12/27/2021 - 10:18

My granddaughters are into Barbie’s and I was looking for a dollhouse that worked worth the 12” dolls. I constructed this in my basement and gave to the girls for Christmas. They played with it all day!

Comments

Crate Cart

You would think I would build this first because it was EXTREMLY easy. This was so fun to make and it's perfect for my daughters toys (junk). I used all reclaimed pallets except for the sides. The only reason it cost $8 is because the wheels were $5.

Built from Plan(s)
Estimated Cost
$8
Finish Used
Sanded
Recommended Skill Level
Starter Project

Bottle Cap Tray

Submitted by Jann Antos on Wed, 07/03/2013 - 18:29

How to build a Bottle Cap Tray AND what NOT to do.

These Bottle Cap Trays are sold for 45+ Bucks online. I spend maybe 15$ on it.

You need a lot of Friends drinking a lot of different Beers... For this tray i needed 88 Caps. I also asked Bartenders and Co-Workers to collect Caps. As more colorfull you get as better. Twist off Caps are the best behause they do not have dents.

I bought the Tray at Hobby Lobby for 3.99$ (you can also build one from a Plan from this Side) and after sanding with 220Grid i stained it to fit my Home Bar. After lay out the "Design" i removed them all and lay them in the back of the now empty tray.

2 Ways to glue the Caps to the Board:

1. Hot Glue (be carefull the Caps get very Hot)
2. I poured just a small amount of the Epoxy in there and pushed the Caps into the Ressin...

How to mix Ressin...

Read the Manuall!!! The first 2 Trays i poured to much and then it gets very very hot and ruin everything (see second last Picture). 2nd Glue the board to the Walls, if the Ressin runs out of the Tablet it is also a great mess!

I Used 2 small cups messured it and Mixed it in the Red Solo Cup...

Put the Tablet on an even surface (protect it) and pour a small amount into the tray... Level it and then put the Caps in there and use a torch to get rid of the Air Bubbles. I needed 3 layers to Cover all Caps. Keep it Dustfree during curing - very important .

I let it cure for 12 Hours bevor the next layer was applied. Total Curie after 72 Hours...

Sorry for Bad English - i am German...

Hope that helps to build your own Bottle Cap Tray...

And made it as colorfull as possible. I aranged them to face One Side but you also can turn them happy around.

Thanks for comments and Reading

Jann

Estimated Cost
15$
Estimated Time Investment
Weekend Project (10-20 Hours)
Finish Used
Minwax Espresso Stain
Polyurethane
Shellac
Recommended Skill Level
Starter Project

Parsons dining table (with extension leaves)

Here we have a Parsons style dining table built out of solid Alder wood. The table length is 72" but can extend up to 110" with two drop in leaves on either end. The table was clear coated with a satin poly.

Estimated Cost
$400.00
Estimated Time Investment
Week Long Project (20 Hours or More)
Finish Used
Clear coat of water based poly
Recommended Skill Level
Advanced

Comments

Disentanglement Puzzle

Submitted by mtairymd on Fri, 01/12/2018 - 05:46

This is my take on a classic rope and ring disentanglement puzzle. The goal is to separate the ring (the light colored one) from the puzzle strings. As with most disentanglement puzzles, the solution isn’t intuitive. Can you figure it out from the pictures? If not, refer to the video for the solution.

Build Instructions: https://www.instructables.com/id/Disentanglement-Puzzle/
Solution: https://youtu.be/cwdpTndAEw8

Estimated Cost
$5
Estimated Time Investment
Afternoon Project (3-6 Hours)
Finish Used
Oil
Recommended Skill Level
Beginner

My entry way bench in Hickory

Submitted by Anonymous (not verified) on Tue, 12/28/2021 - 12:19

The bench plans were super helpful!!

Built from Plan(s)

Comments

Crate Caddy

Submitted by rhonit on Tue, 05/10/2011 - 14:25

Using old barn wood, too short for anything else. Love that four regular Mason jars can fit in it, and it is ideal for taking silverware outside for the BBQ's.
Cost was zero, all wood was from the scrap pile. Put together with a brad nailer, the is no finish on the wood. Actually build time was less then a hour. "Including clean up"

Estimated Cost
$0
Finish Used
none
Recommended Skill Level
Starter Project

Medickep's simple console table

Submitted by Medickep on Sun, 07/07/2013 - 07:24

I made this entry table to go by our front door. It's a spin off from the "console table" posted by Anna. I read some of the comments from people who had problems with her plans as a result of different standards in lumber and decided to alter this some!

I cut the side braces short enough so when I included the measurements of the legs the actual table top extended approx. 3/4" further past the legs and apron of the table. I also went with one sheet of wood on the table top and finished it up with some trim around the edge of the table top.

Estimated Cost
80-100
Estimated Time Investment
Afternoon Project (3-6 Hours)
Finish Used
Finish Used: I wanted to paint the table to matched a near bye coat rack I made. I primed the table first and painted it with three coats of Behr premium paint. I also used a polyacrylic to protect it a little from my boys. I did three coats on all of it and two additional coats on the front of the legs, apron, table top and bottom brace. Make sure you sand with 300-400 grit between coats!
Recommended Skill Level
Starter Project

Comments

Kentwood bed

Submitted by Wiscogrl on Sun, 06/28/2015 - 06:59

I built this for my four year old son! He even helped me out so that made him love it even more :)

Built from Plan(s)
Estimated Cost
$100-$120
Estimated Time Investment
Day Project (6-9 Hours)
Finish Used
Minwax Oil based stain- Dark walnut
Recommended Skill Level
Beginner

Leaning wall desk

Submitted by nanpannapa on Mon, 01/15/2018 - 09:56

Thank you Ana for the plan my husband loves it. So functional yet requires very little space. I made it a littlest wider- 38 inches overall width and 83 inches overall height.

Built from Plan(s)
Estimated Cost
$50
Estimated Time Investment
Afternoon Project (3-6 Hours)
Finish Used
Painters touch Expresso
Recommended Skill Level
Beginner

Our Chicken Coop (Aka Dollywood)

When we became accidental chicken owners, we had to build a coop fast. I found the plans for Ana’s replica of the Williams Sonoma chicken coop and got to work. They were very easy to follow and easy to modify to fit our own needs and aesthetic. We decided to enlarge the coop and remove the planter in the original plans to accommodate more chickens while keeping the original footprint. Instead of plywood, we used cedar reclaimed from an old fence we had recently replaced. We also enlarged the rear door to make clean-out as easy as possible. I cut pieces of polycarbonate to fit inside the door and windows to winterize the coop when temps drop below freezing. The run is designed to follow the shape of the coop and is large enough to give our 5 chickens plenty of space to roam when they aren’t free ranging in the yard. The planter box runs the length of the chicken run, providing plants to munch on inside and shady vines that will eventually cover the outside.

Comments

10 Dollar Ledge Shelves

Submitted by ValGal222 on Wed, 05/11/2011 - 20:40

Thanks Ana, I no longer "Think I Can"- I KNOW I CAN! : )

Estimated Time Investment
Afternoon Project (3-6 Hours)
Finish Used
None yet, need feedback on what color...
Recommended Skill Level
Starter Project

My New Livingroom

I found these amazing tables that i fell in love with! so i decided to take matters into my own hands! i adjusted the measurements to fit my needs and style, and after we purchased the wood, i got to cutting! with a little help from my daddy the project came to life in no time! now i have furniture for my living room that i can completely appreciate and adore forever! i was amazed at how easy this was and how beautiful! and for the price?! theres simply not a store to beat it! and i love all the compliments i get on them and the surprised reaction when i tell people i made them myself! i still plan on building the console table to match!

Estimated Cost
$250
Estimated Time Investment
Weekend Project (10-20 Hours)
Finish Used
mahogony
Recommended Skill Level
Intermediate