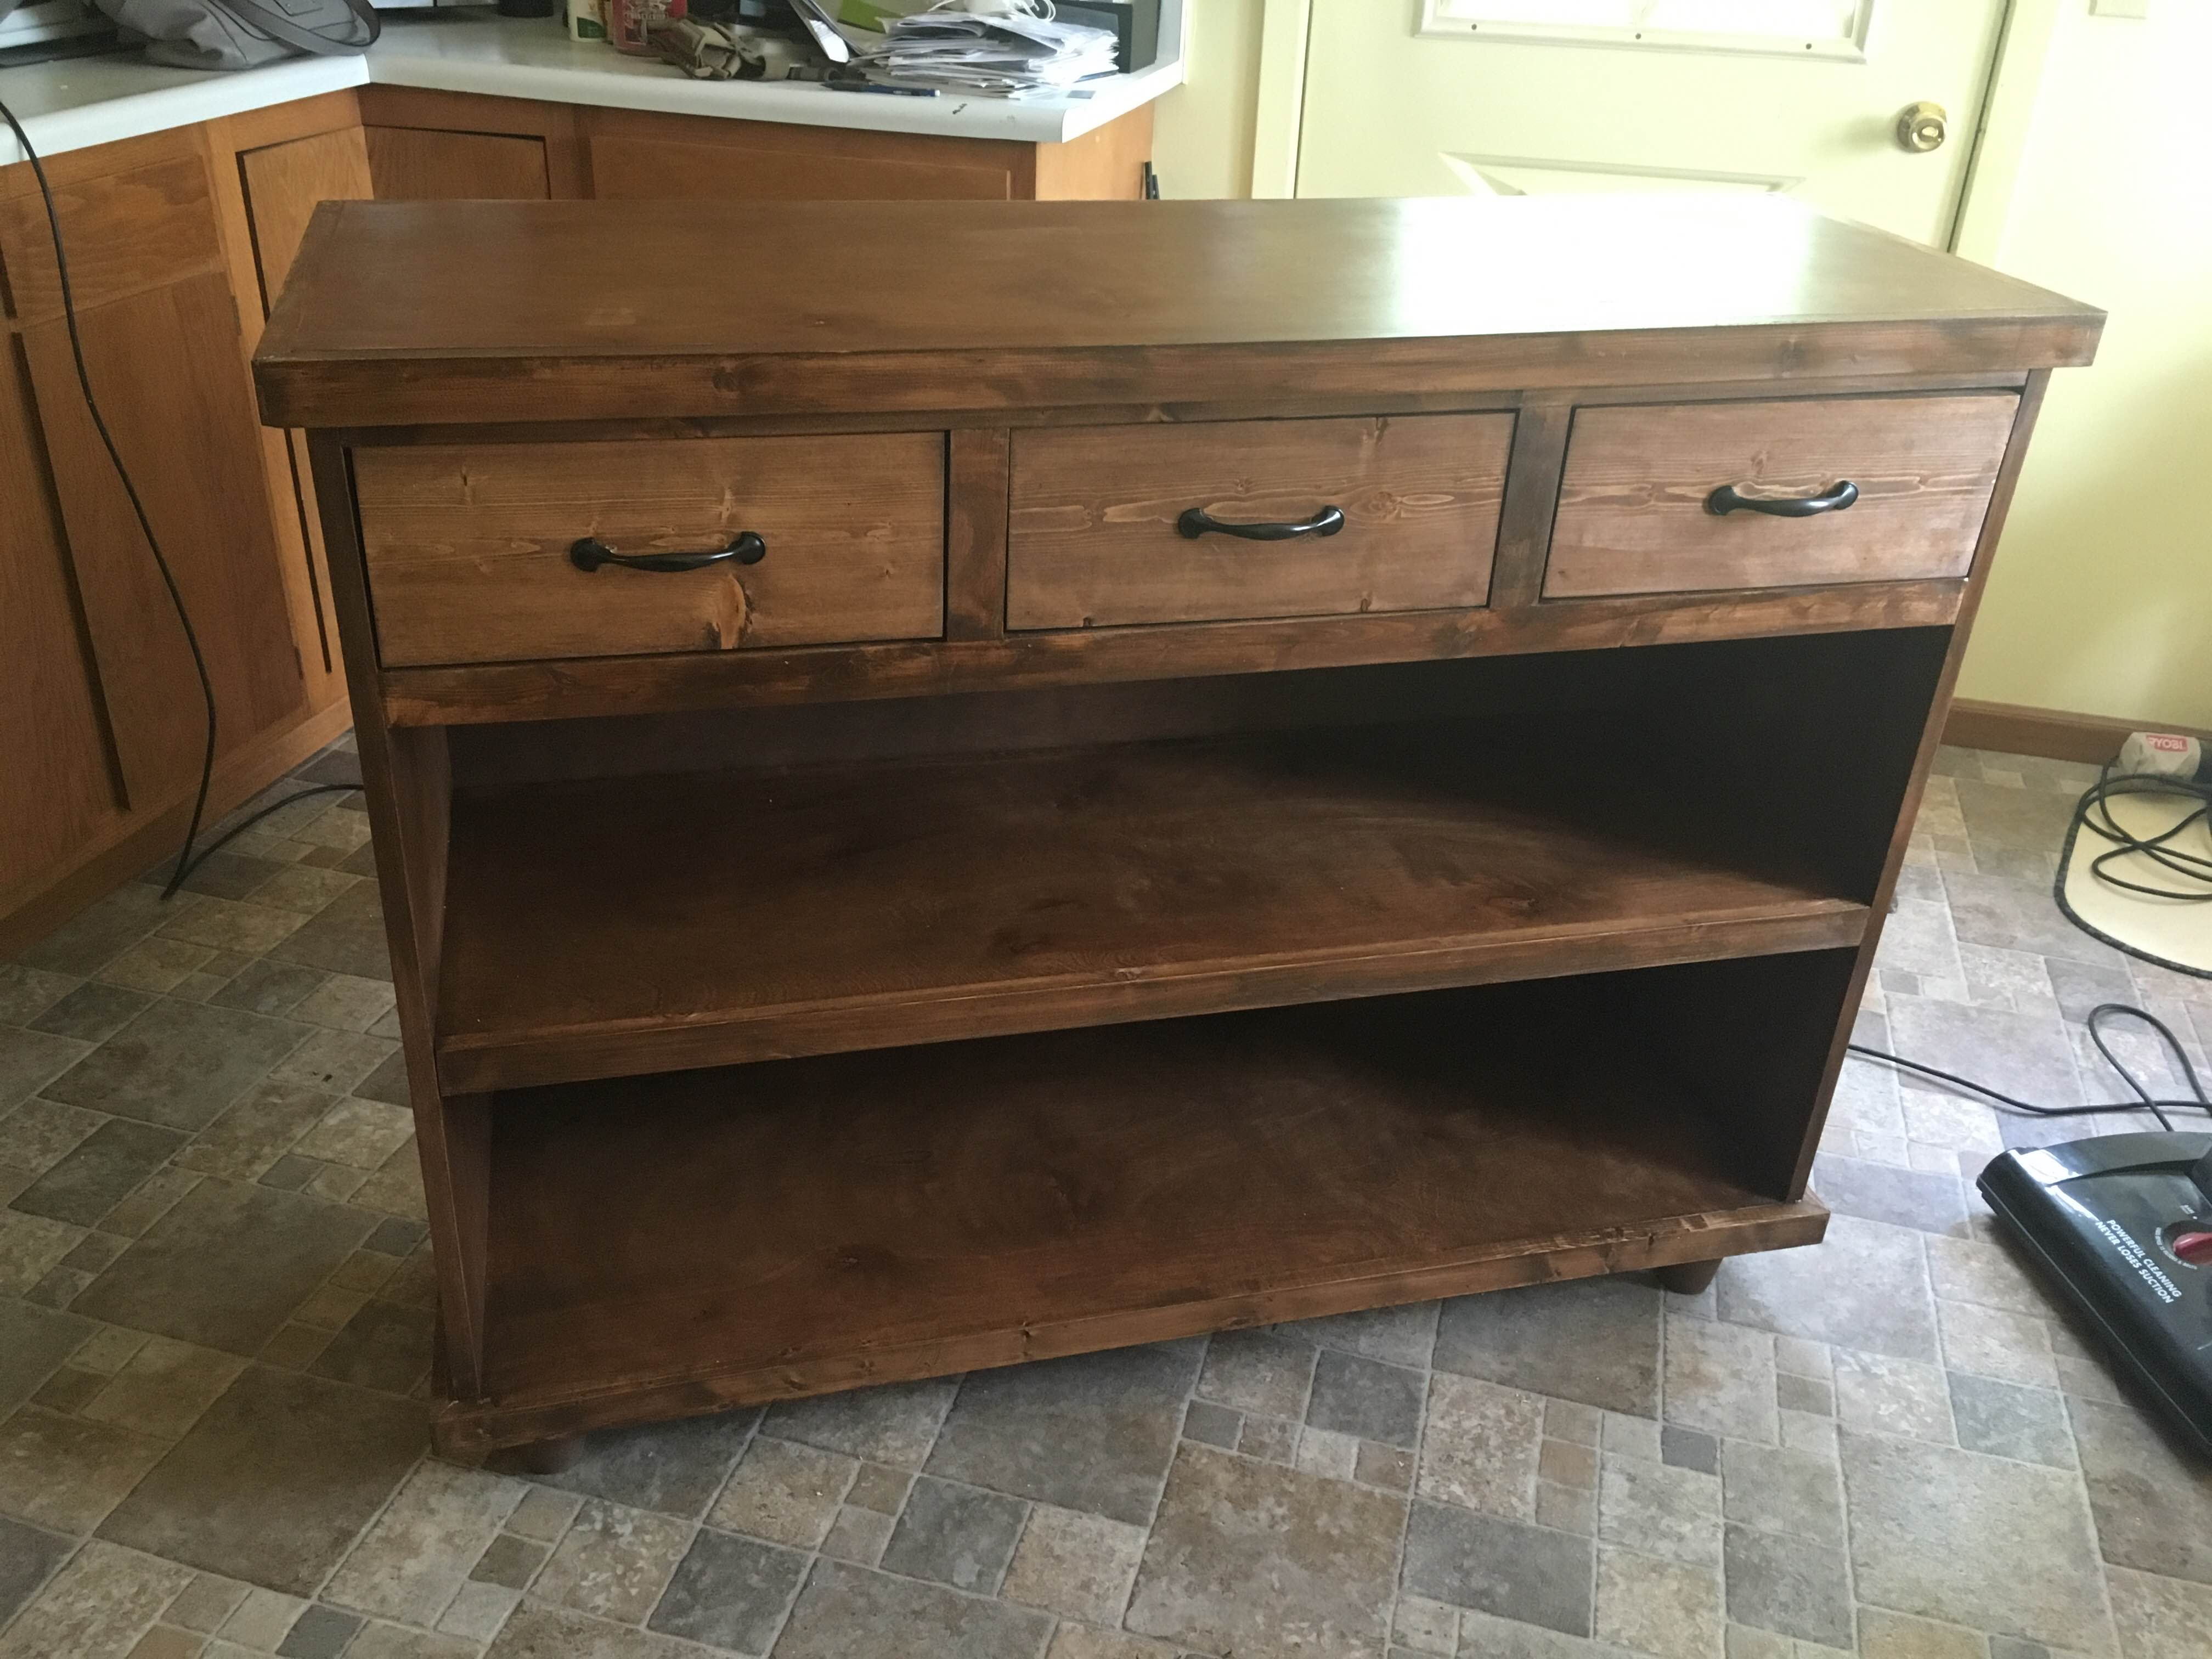
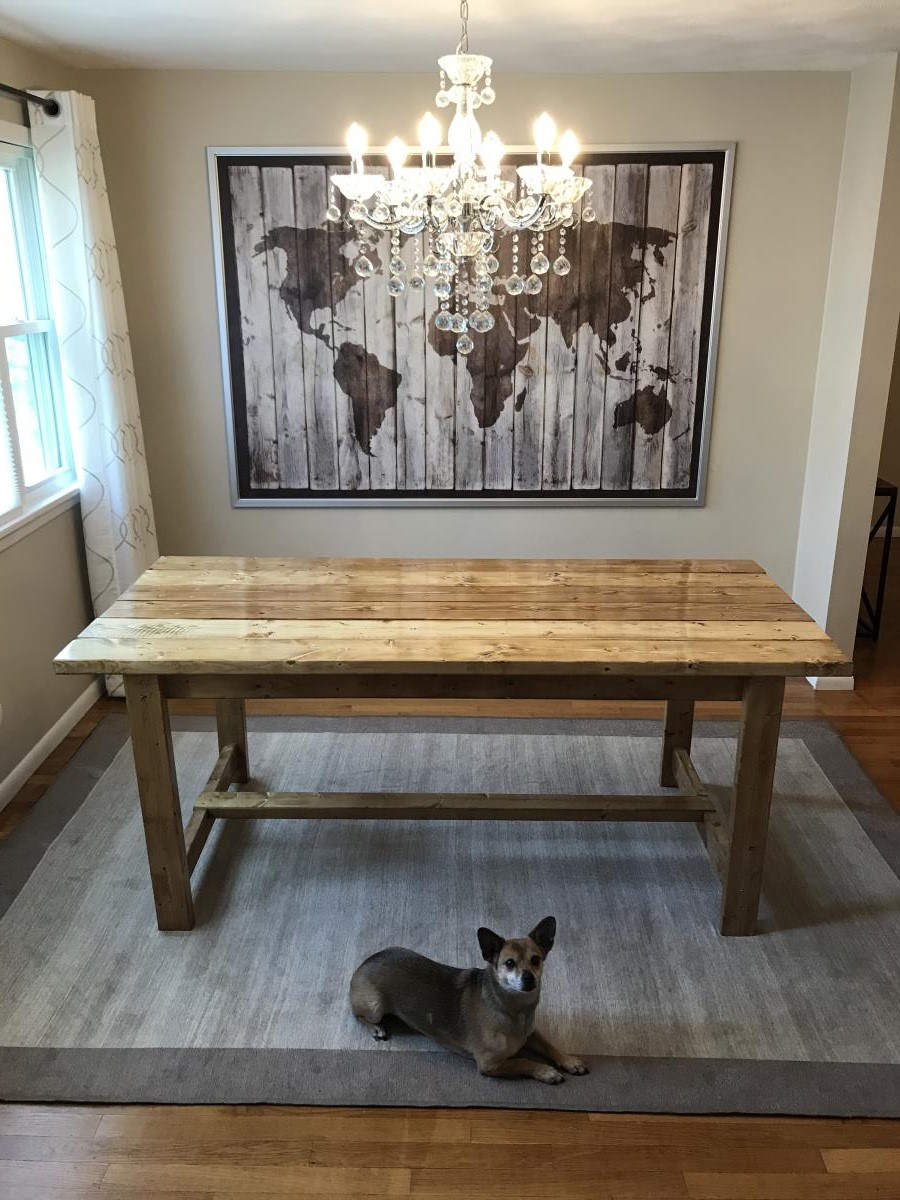
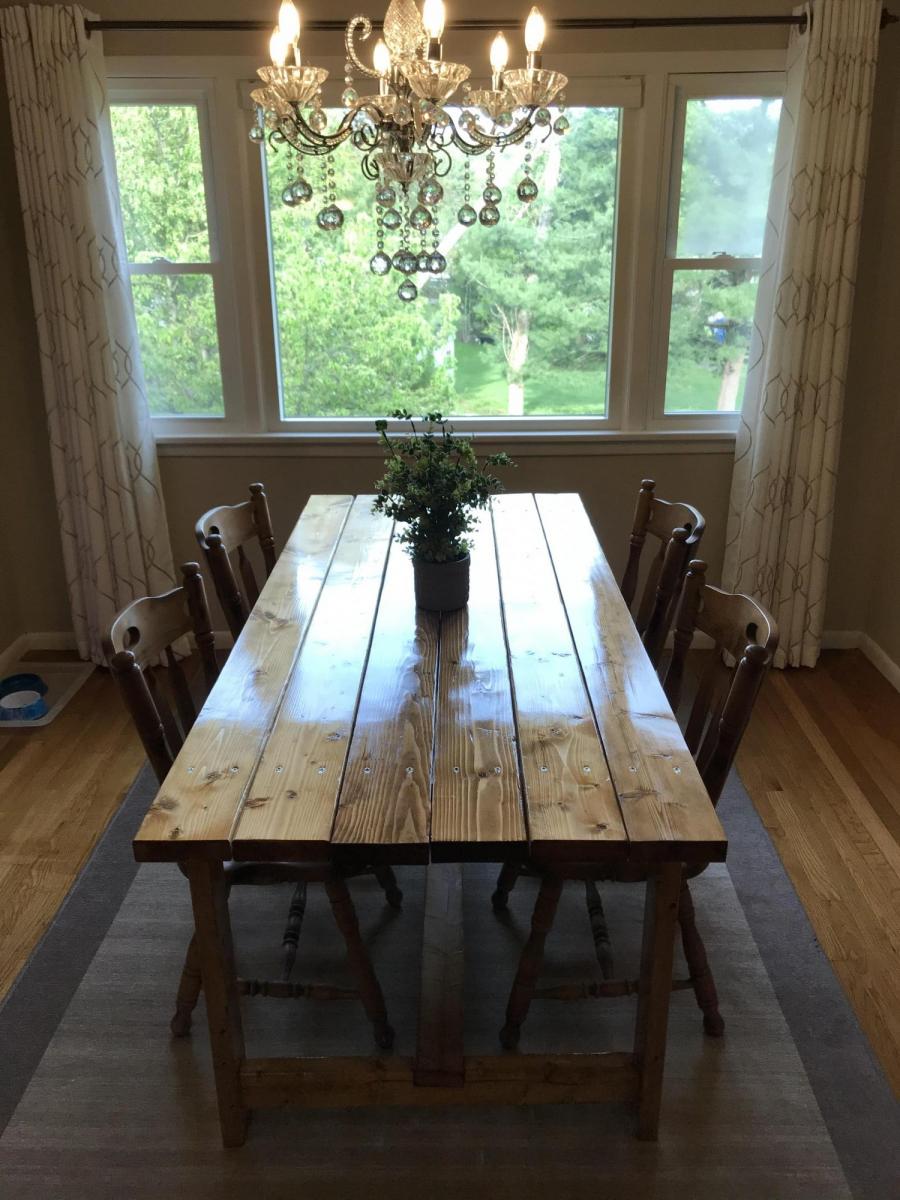
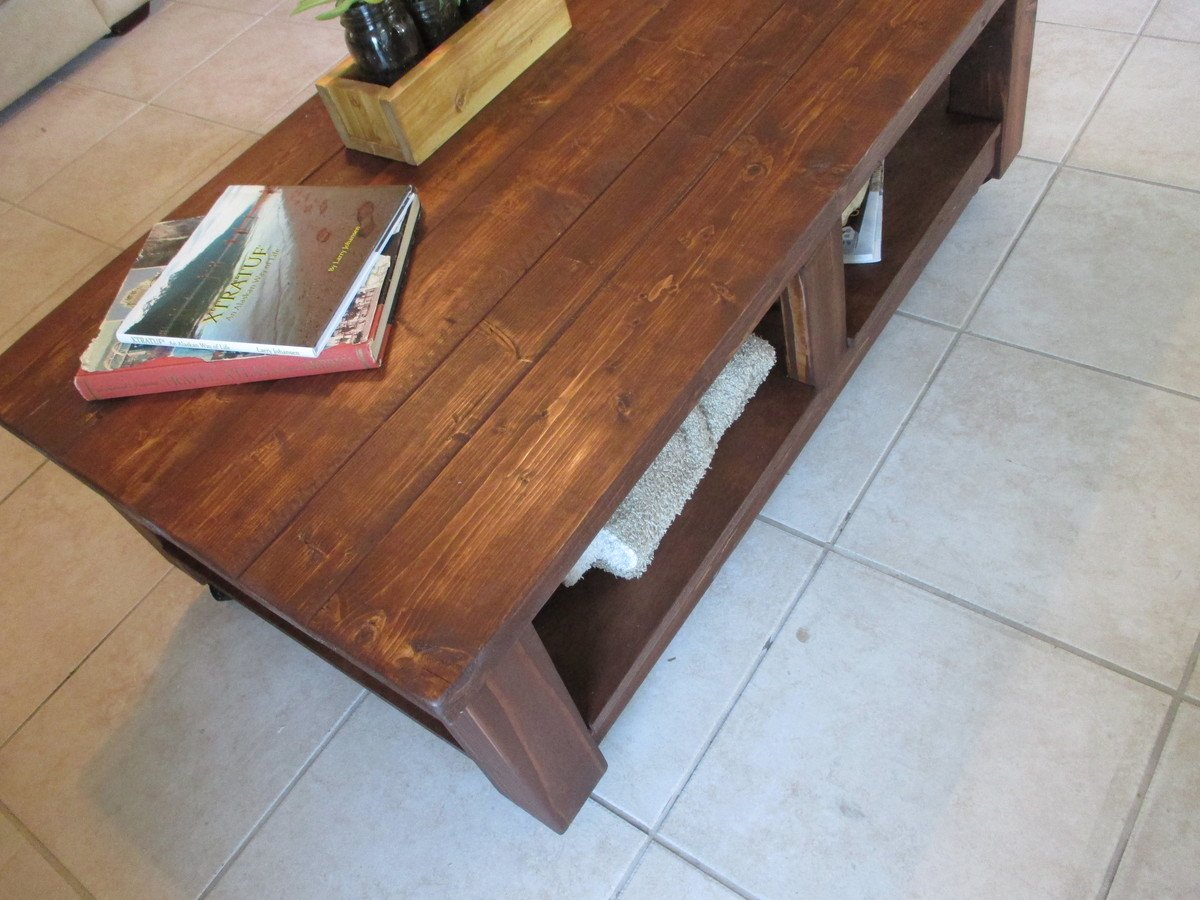
I've made several of Ana's pieces, but this is my first brag post.
I actually made this for one of my husband's co-workers, but now I want to make one for myself.
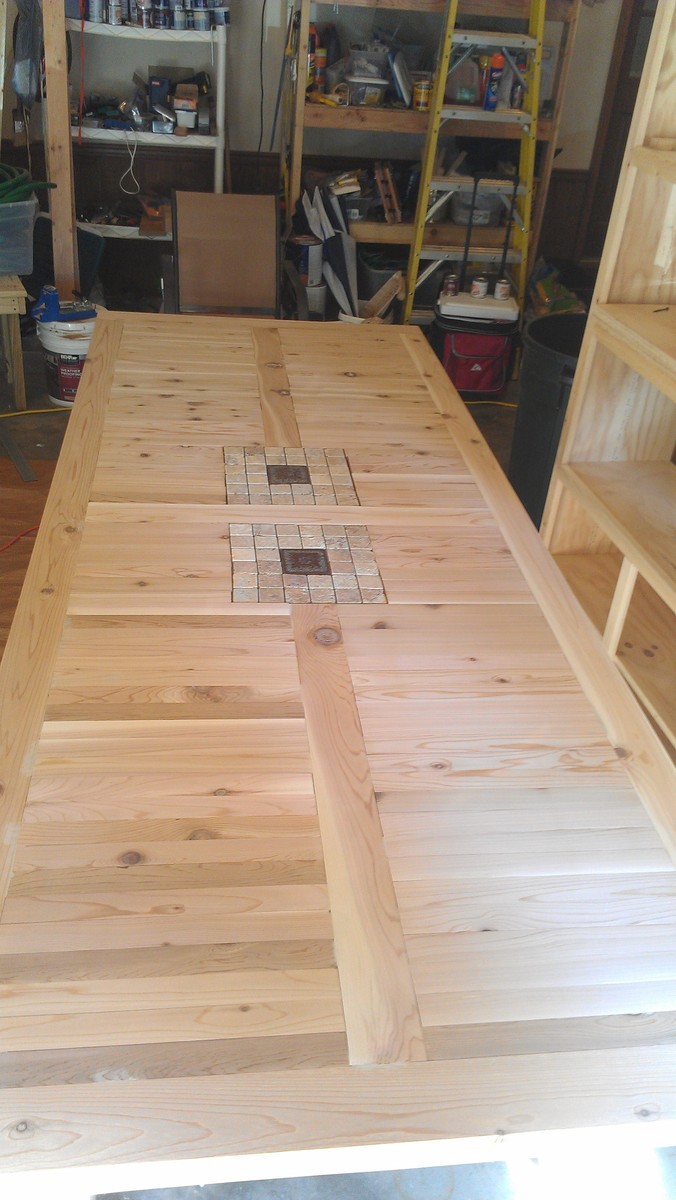
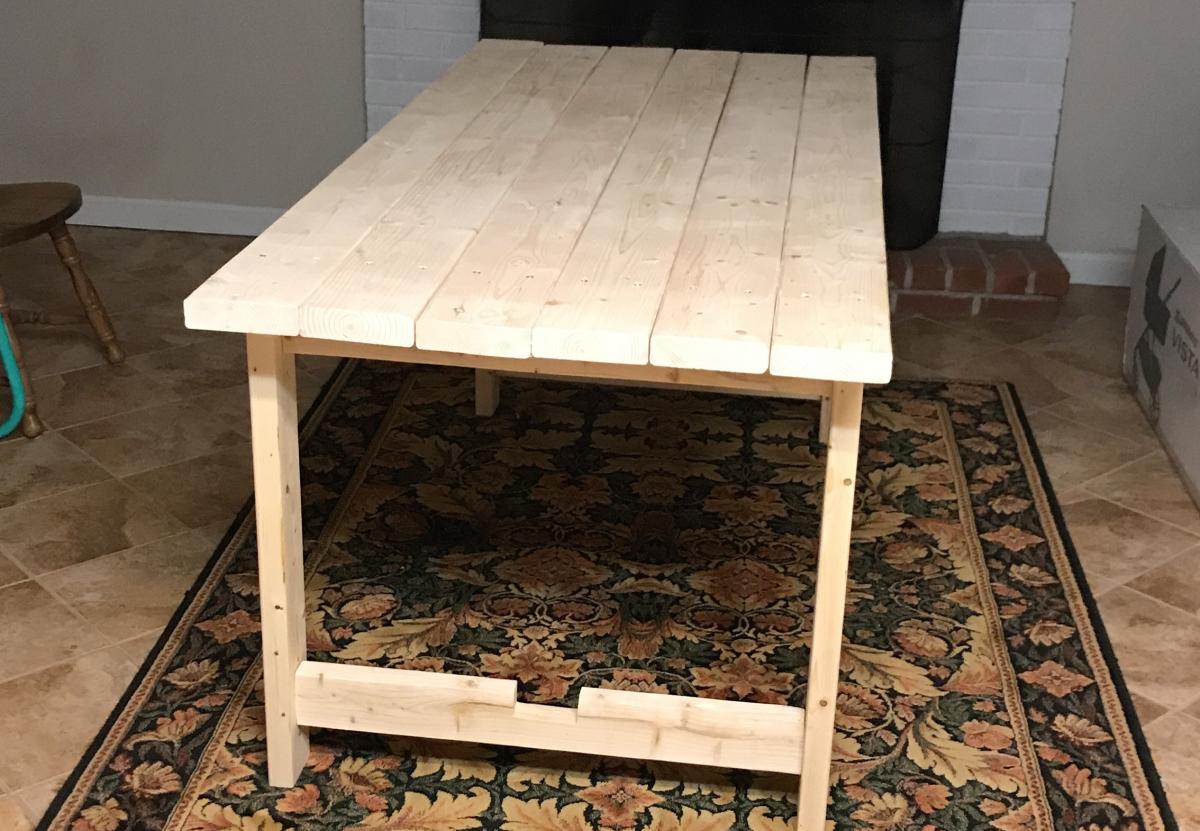
I don't know the actual amount of hours it took, but like any project, the sanding was the most tedious part!
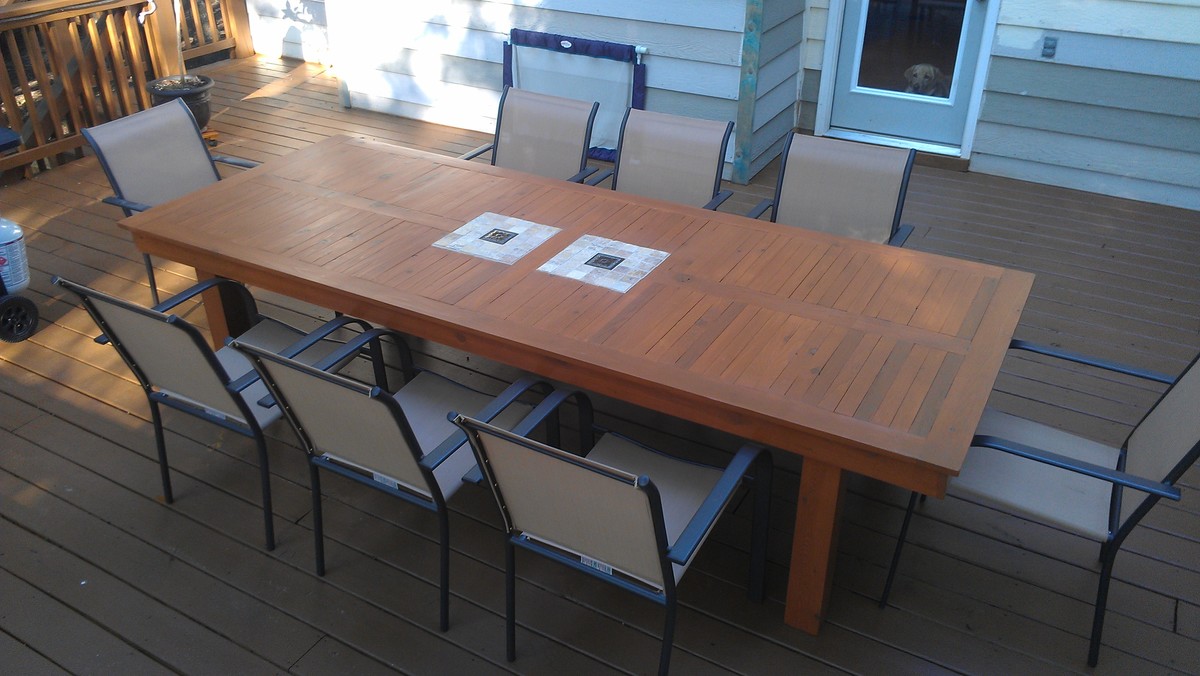
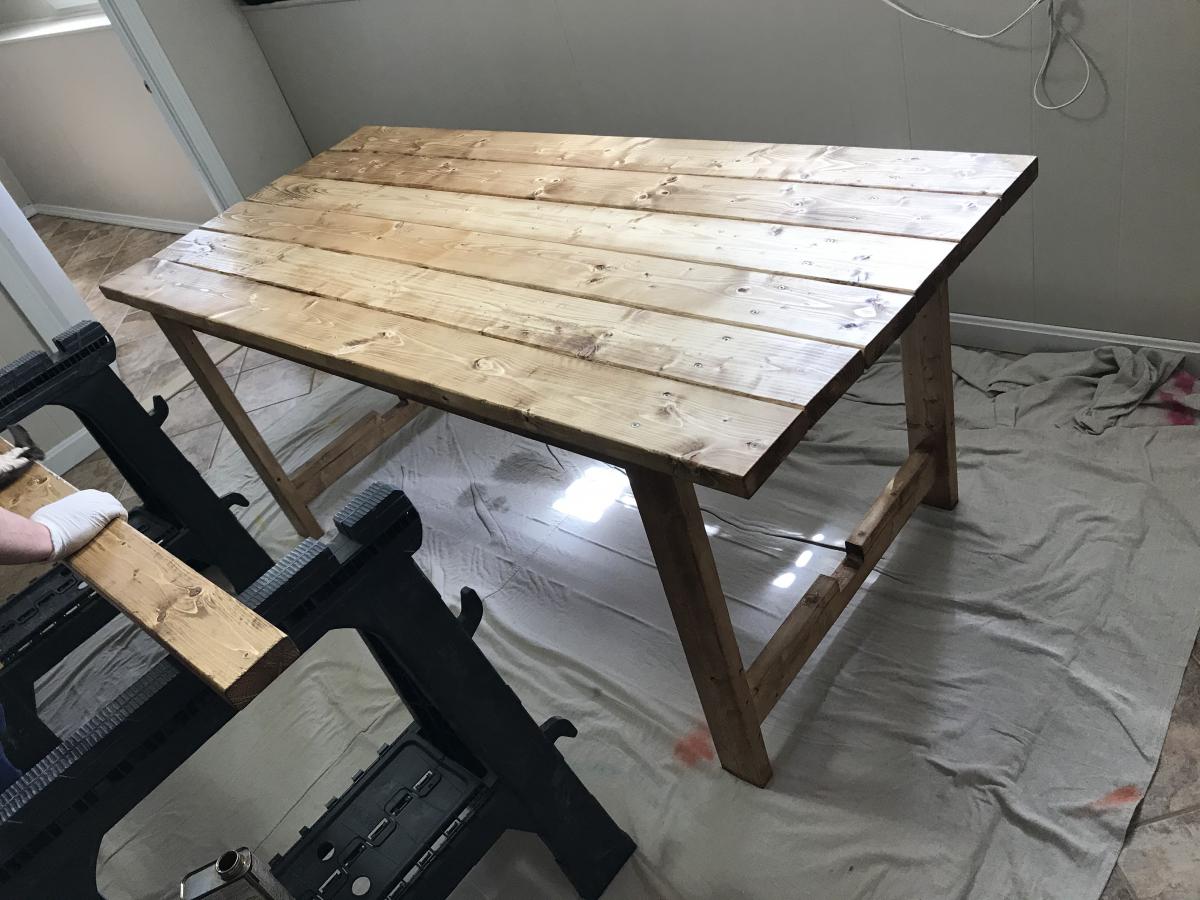
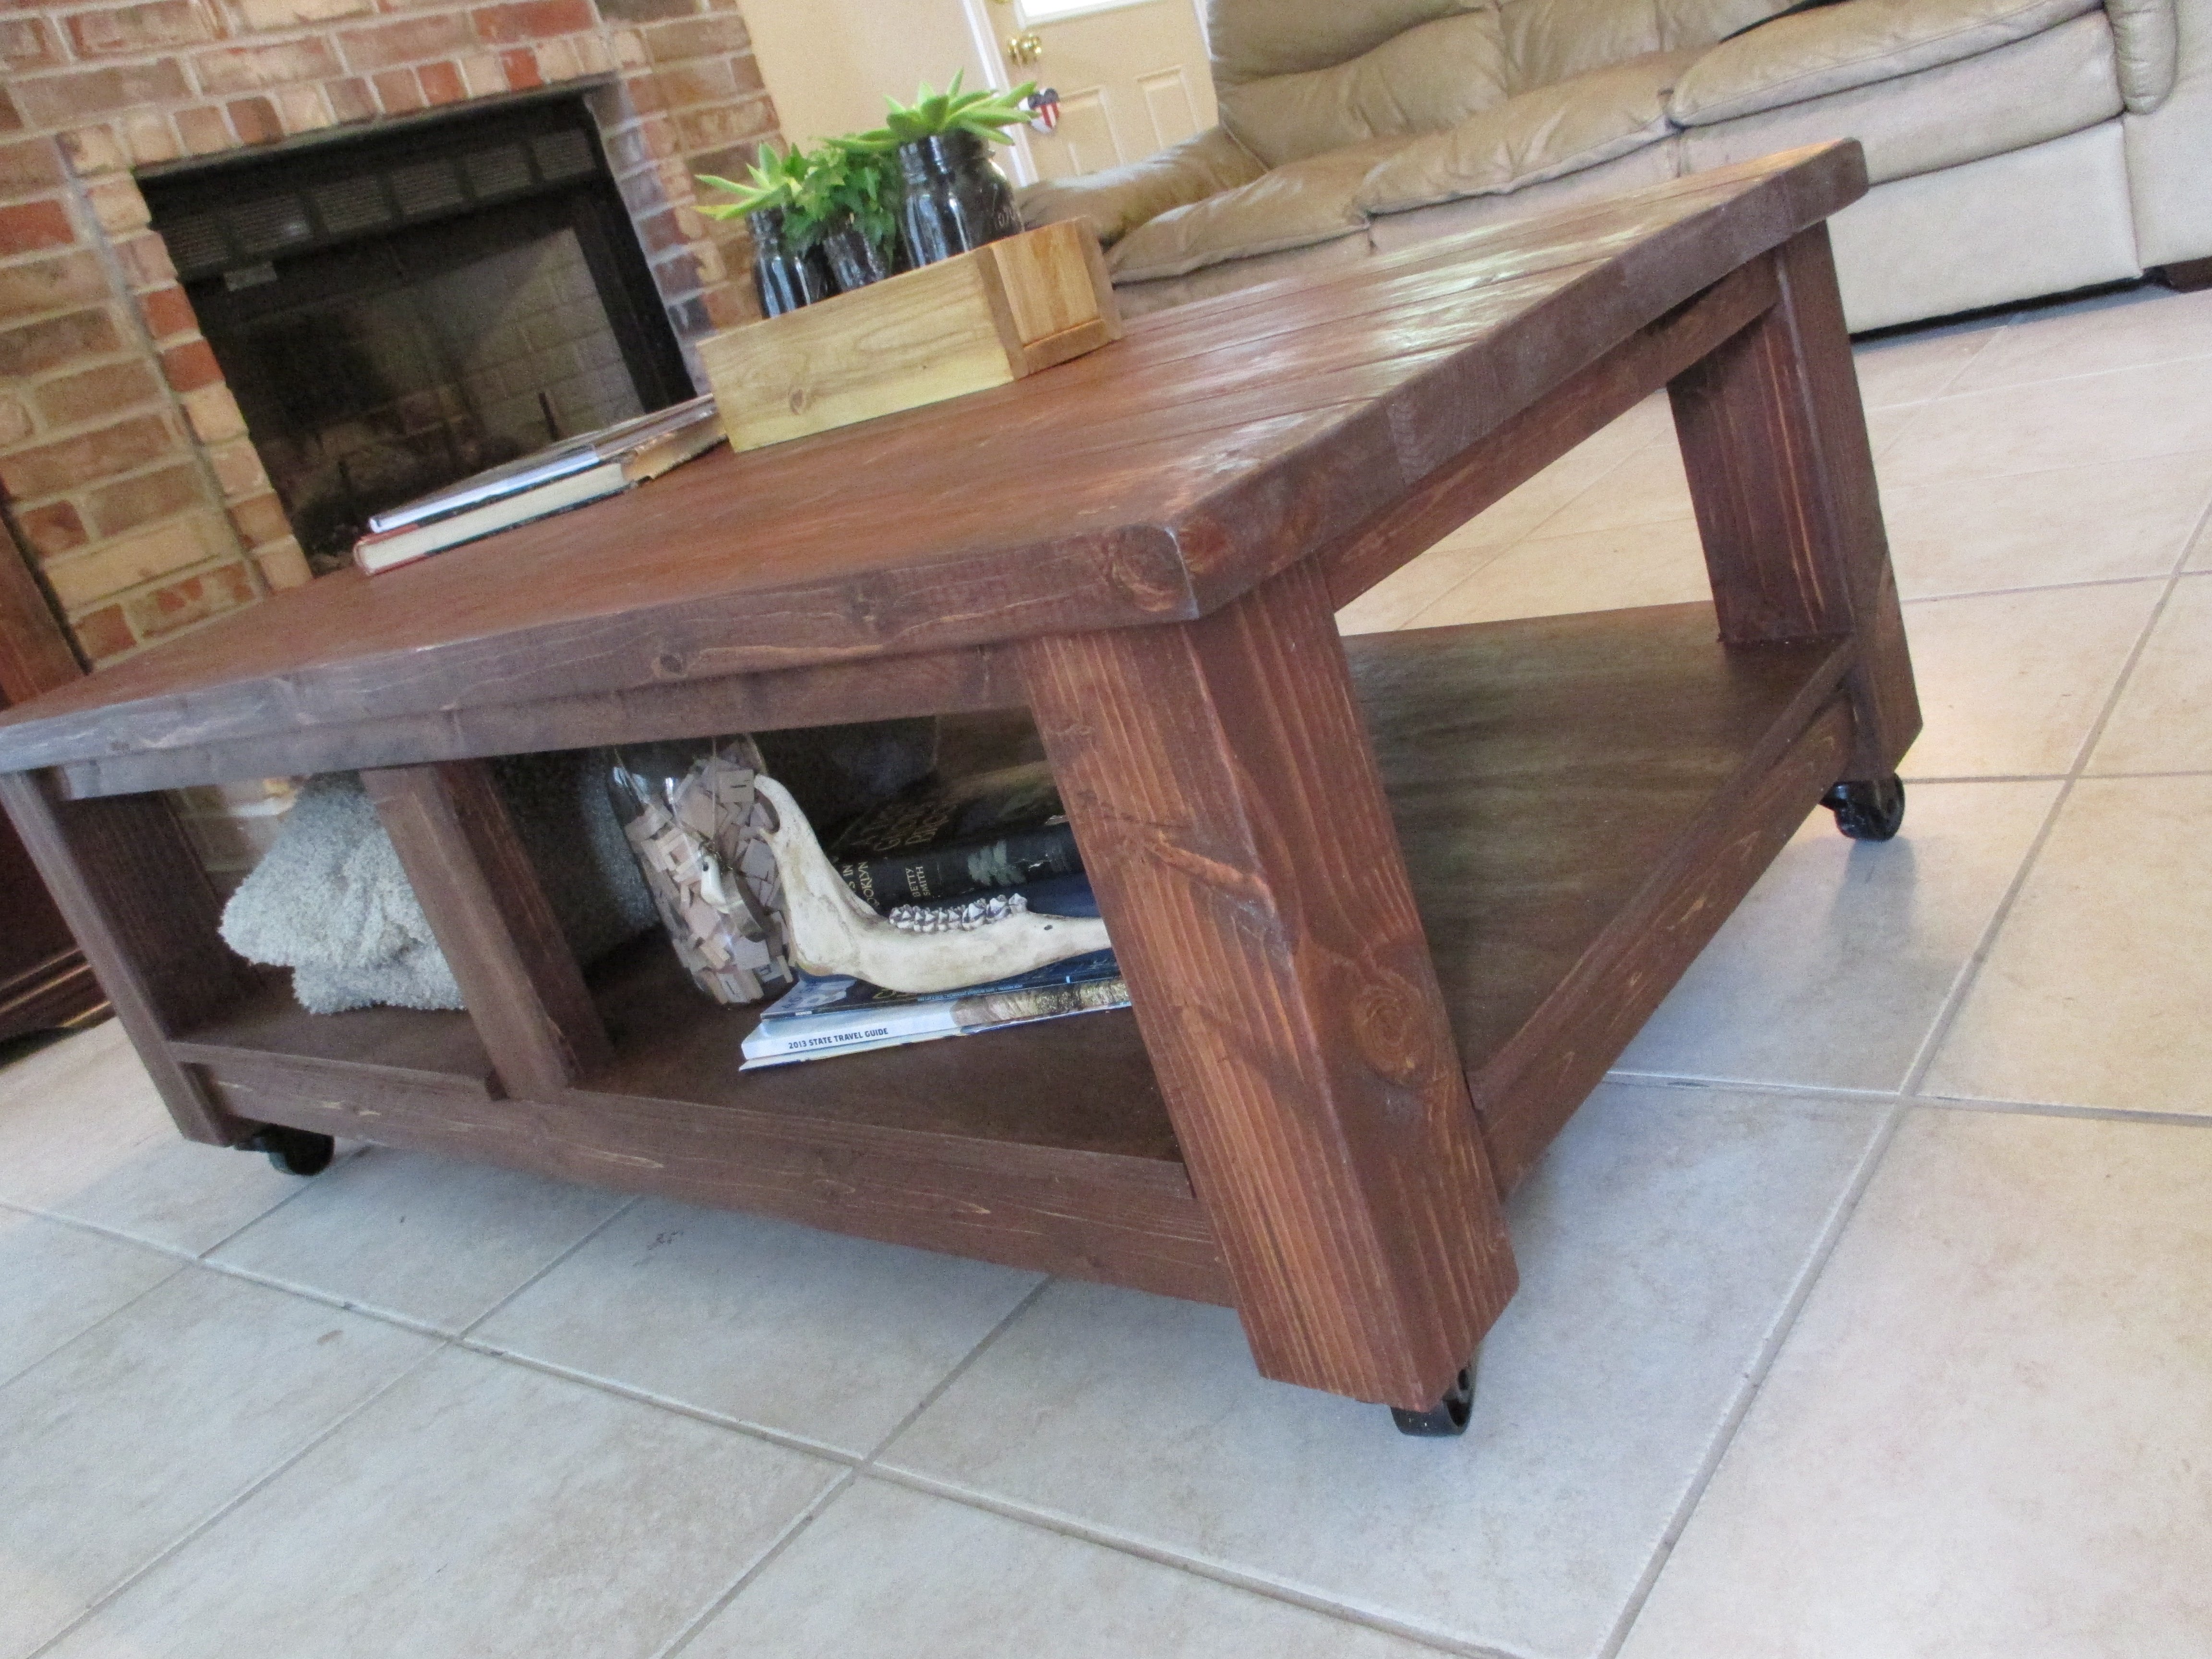
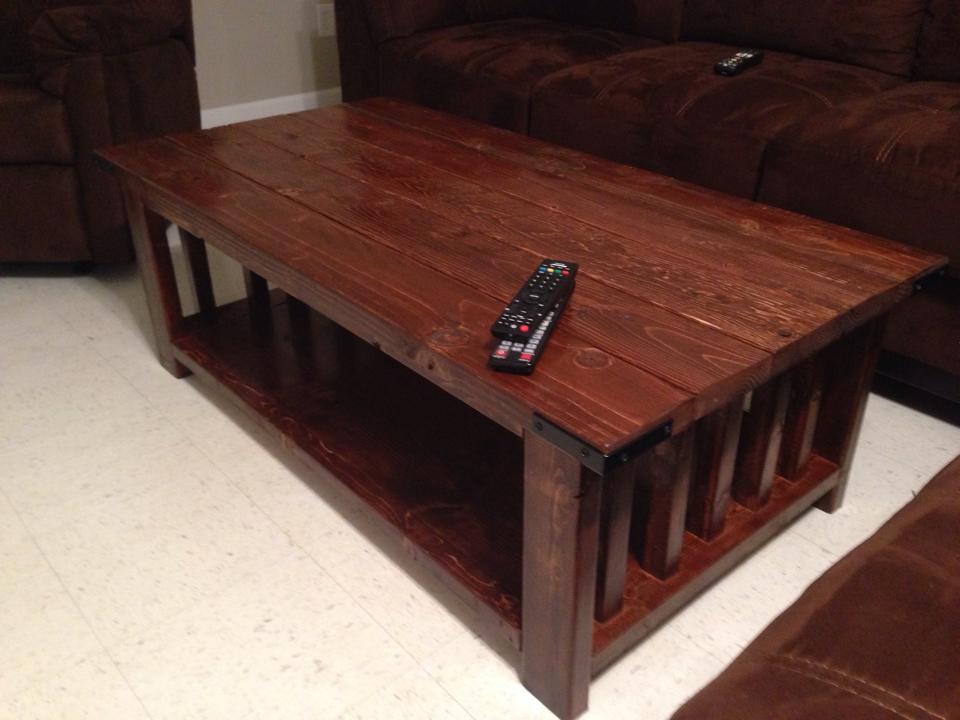
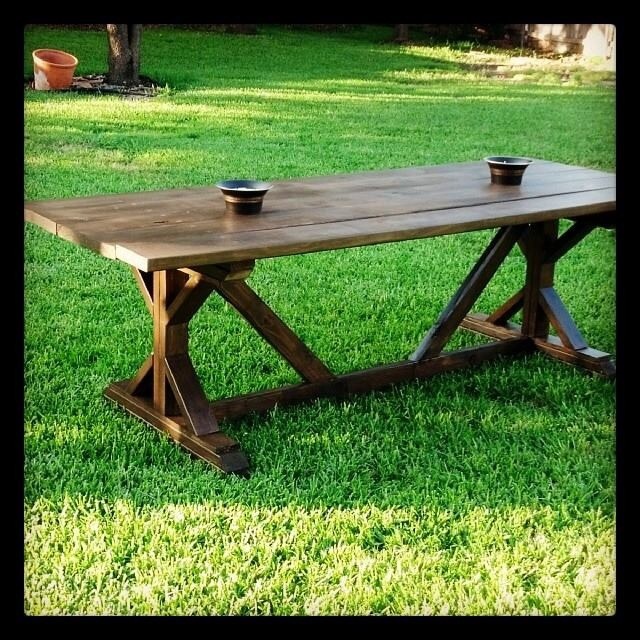
This one was built with 4 2x6, and 2 2x4 boards on top, as the friend wanted it a little wider than the original plan. I modified the other dimensions accordingly.
The wheels used in the Shanty2Chic build post were too large for my 4x4 posts. The wheel plates were too wide. They measured about 3.75" and my 4x4's were only 3.5". Also, speaking of the 4x4's, I used untreated Douglas Fir, purchased from my local Lowes. I typically shop at Home Depot, but they did not carry any untreated 4x4's.
The wheels I used were the same style by Everbilt, but the next size down, the 2" wheels. However, their overall height was 3", and so the height of the table ended up being perfect anyhow!
I finished the table in Minwax English Chestnut and used the Minwax rub on satin polyurethane.
I put the time as a week long, primarily because of sanding and finishing. But, I think that if you devoted your time to it, you could do it in a weekend.
OH! Also, Ana doesn't mention it in the plans, but the Shanty Chics do... put the plywood shelf in BEFORE adding the second side. I had to remove pieces which were already glued, and it made that step a bit annoying!
Otherwise, all was well. Enjoy!