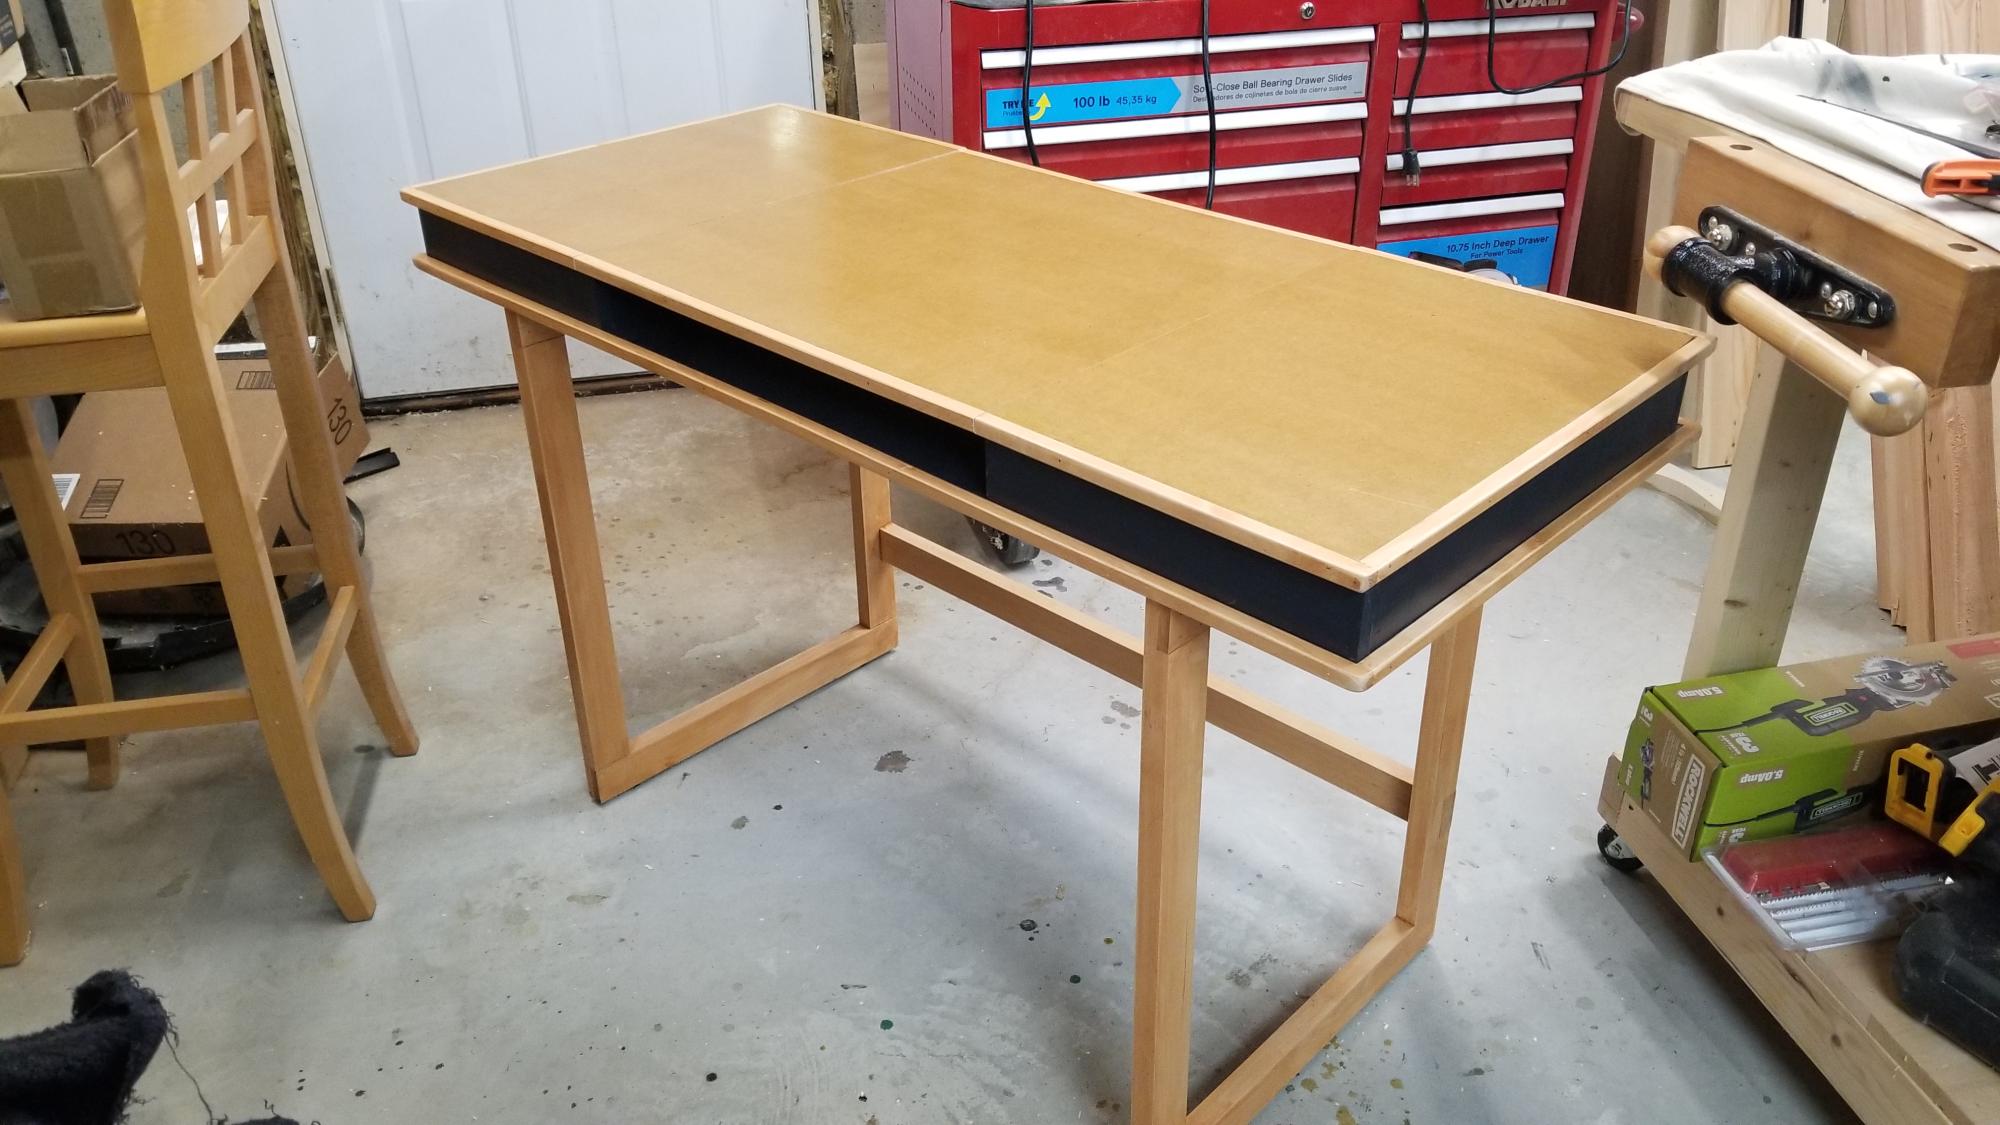
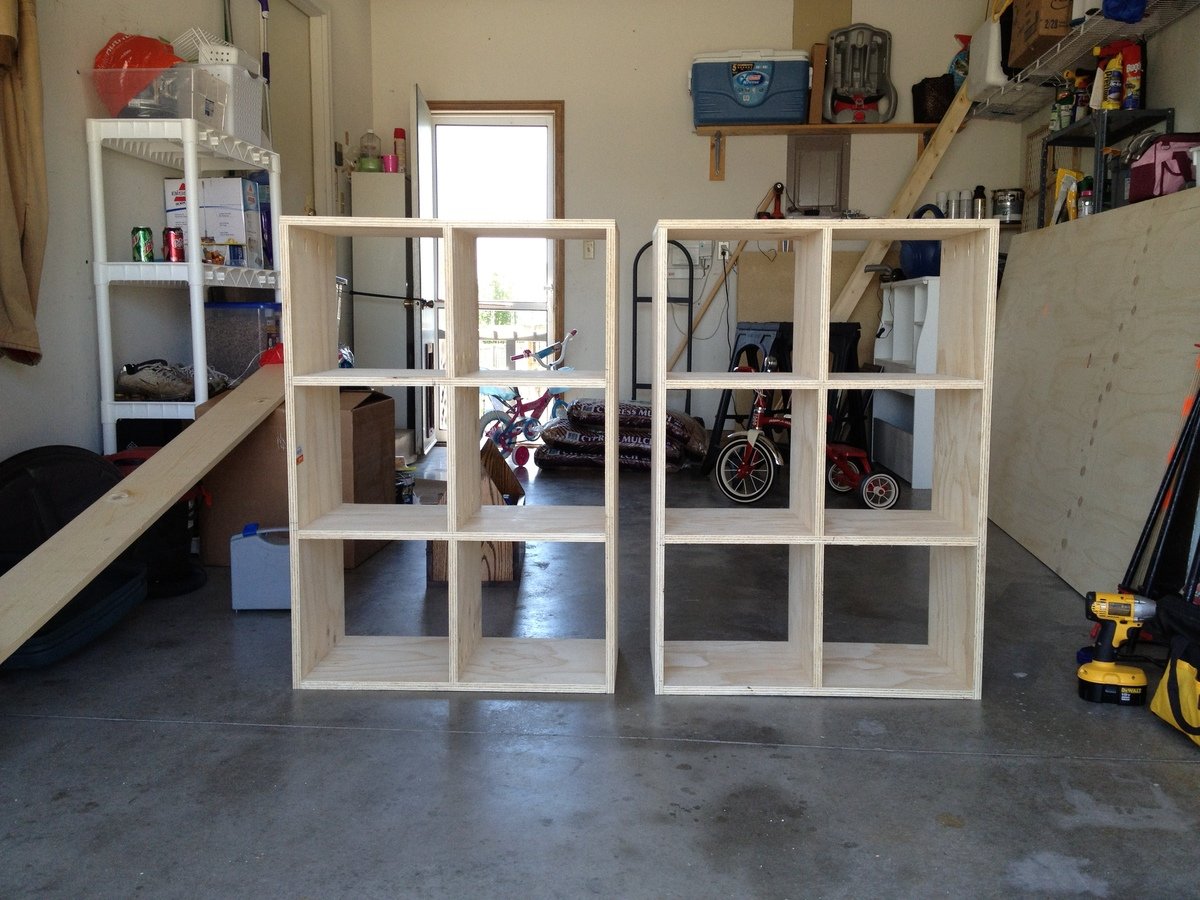
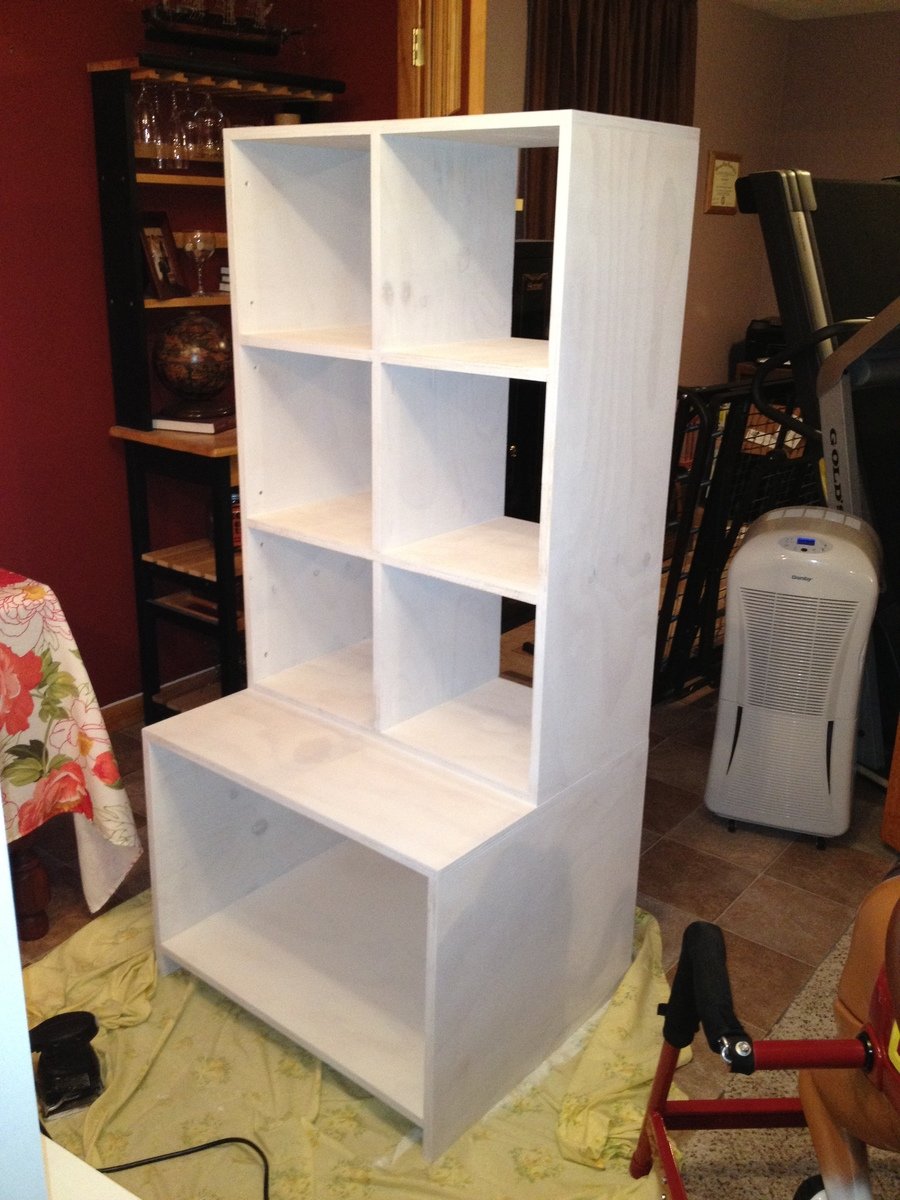
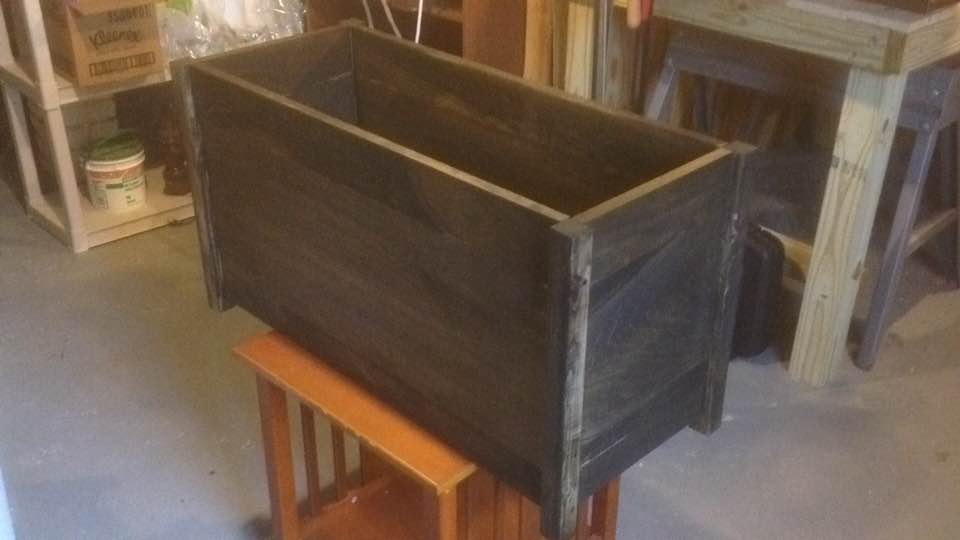
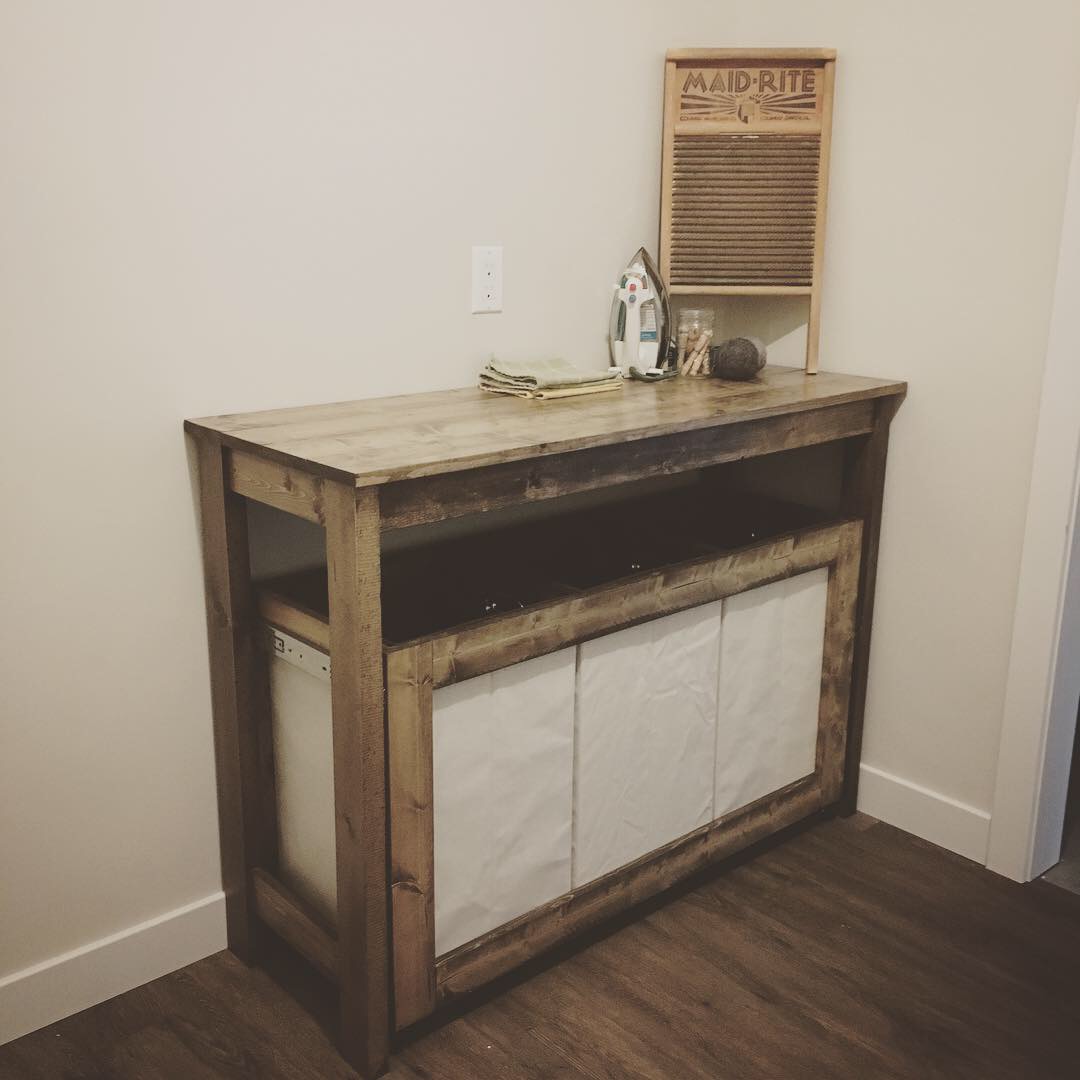
Joe Shape
Fun and easy project. I couldn't be happier with the end results. Great plan from Ana White.
Built this with my son after watching tutorial. Very comfortable need to sand and stain. Thank you for the info.
Hey all my DIY friends!
This is my first build of the Rekourt Dining Table. Big thanks goes out to Ana and Jen for providing these awesome plans.
I think I achieved this table quite well, except for a minor detail where I forgot to sand two pot holes. It actually created a very rustik look to this table. I decided to try the steel wool and vinegar solution combined with the black tea for the finish of this table. I realized it adds so much richness to the wood, it's incredible. The stain is Minwax's Dark Walnut and I topped it off with a Satin Oil-based Polyurethane. The top and legs were also physically distressed using a variety of tools I found in my tool chest. Those included screw drivers, lag bolts, worm hole puch I created out of a leftover 2x4, chains, sanding disc, knife, hammer and much more! That part, although tedious, was fun as it gave me the permission to bang stuff up intentionally :)
For the finish, I first started off by sanding very well, talking hours for the entire table. I then went out and distressed the tops in a very random fashion, trying to not repeat any patterns. As I was doing this, I was waiting for my black tea to seep and be ready for application. I poured boiling water in a large Mason jar and added 4-5 bags of black orange pekoe tea bags. I waited about 2 hours before applying it with a foam brush, very liberally. I allowed the tea to dry overnight and the following day, I applied the steel wool and white vinegar solution. My solution had been sitting for about 5 days, enough to start seeing a bit of rust in the Mason jar. The rusty solution ended up giving the wood an orangy/redish tone, which when seen under the dark walnut, added lots of depth and richness to the color. Once dry and the wood had turned greyish/orangy/redish, I stained it using Minwax's Dark Walnut stain. I did section by section, leaving the stain no more than 3 minutes before wiping dry. I followed this (once the stain was dry) with two coats of oil-based polyurethane in satin (Varathane (Canada's version of the Rust-Oleum poly). I sanded the poly in between coats with 220-grit sandpaper using my orbital sander.
Since then, I have gone out to build about five of these, all in different lengths and sizes, including some with removable bases. The angles in the X's are a little tricky when you don't have plans for a specific size, but I have noted these down based on spacing between legs. If any of you need andgles for specific table lengths, let me know and I may be able to help :)
Let me know what you think and happy building!
Tue, 12/16/2014 - 12:22
I just clicked on your other images, boy would we love to see the turquoise island and that amazing rolling console up close:)!!!!
In reply to One more thing! by Ana White Admin
Tue, 12/16/2014 - 12:31
Thanks Ana! Can I post pictures in these replies?
My wife and I loved the look of the Rolling rustic wood dresser. We didn't care for the wheels so instead I opted for legs, 2.5" long. I simply made a couple of tweaks to the frames (the bottom 2x2 was shortened to 59.5" and the side 2x2's were extended to 34"). I then built a really simple topper that fits a changing pad and a couple of baskets my wife bought for miscellaneous supplies. The topper is removable so when my son is no longer in diapers, we can simply take the topper off and he can have a flat surface on top of his dresser. All-in-all, we are all really happy with the end product!
Sun, 03/19/2017 - 11:54
Excellent idea! This will last for years to come, thanks for sharing!
Made two of these fabulous kitchen helpers! One for my niece and one for my own active 2 1/2 yo daughter. She loves to bake with me and is always underfoot while I'm cooking dinner. This has made her so independent, she gathers her own supplies and pushes it around the kitchen to reach whatever she needs. Came out of the shower to find her scooping ice cream into her bowl for breakfast... Thanks Ana!
We could not find a large enough coffee table that we wanted so we decided to make our own. We loved the Rustic X plan and thought if we put two tables toghether we could get the pefect table size for our living room. Project cost us around $120 and it took us a week to complete, but we are happy with the results. The color is a dark expresso.
I love this farmhouse style. It's 7'x3' and 30" high. I got the plans from Ana white. I just made a few changes.
My son was finally ready for a big-boy bed and I found the plans for this bed on this website (ana-white.com). My husband and I built it w/o too many problems (this being our first attempt at building a piece of furniture). I stained it with "classic black" stain for a rustic look and my son, Max, picked the "cars, trucks, construction" theme and I ran with it. I installed some rope lighting and a closet rod (along with curtain clips and a bed sheet) for a super cool play area underneath. Along with some vintage signs, new signs, old license plates and automobile decals - my son now has a big boy room he LOVES!
Sun, 02/17/2013 - 07:20
So cool. It turned out great. Bet your son loves it.
This was a fun project for my three nephews for Christmas (ages 3, 2 and 2). I thought they'd each like their own little personalized desk for coloring, blocks, snacks, etc.
This was a relatively simple build with the only tricky part being the leg holes (and getting the legs to open at the exact angle I wanted). I had to fudge a couple of them with some patches that you can see in one of the photos.
I would suggest using lock nuts on the bolts. The original nuts I used were turning as the legs opened and closed. I thought that eventually the nuts might work themselves off the bolt.
The frame was built completely out of 1x6 scrap wood I had lying around my garage that had been used for shelves. I cut the 1x6s down to 1x2 and 1x3 with my table saw. I did buy a small sheet of plywood underlayment for the top.
Here is my version of Ana White's X desk with a drawer. This desk was made out of poplar wood.
built for my mother, for all the grandkids
Made a couple of mods because I didn't want shelves on the two ends and changed to "z" doors. I had a welder make the hardware.
This is my #1, go to, piece to make and sell! I love these plans and I'm so grateful for Ana for posting them!!
This is my first project. My husband was out one morning so i decided to try to figure out how to work his tools and create this dress up cabinet. I love the way it turned out and it was so easy! I am praying God will bless me with a little girl, so I made this for her--for I WALK BY FAITH not by SIGHT! Thanks Ana, your plans are amazing!
I saw an outdoor Pottery Barn Table that Shanty 2 Chic did, and used the same plans they collaborated with Ana White on.
Table created for the chartering organization for Troop 4900 in Woodstock, GA (Woodstock Community Church).
Some deviations from the plans...we notched two of the cross member that support the seats and glued/screwed them together for greater strength in the center. That left 4 supports to be installed with pocket screws (weak). We added two small 2x6 supports where all these members join in the center and screwed the supports to the cross members, reinforcing the center and taking load off the pocket screws (see photo). Also, as you can see, we built the framing for the seats and table top, then added legs and placed the table top last to assure a level table top.
Finally, a recommendation - use 1x6 boards for the table top and seating areas for a lighter and more manageable table.
Made this for my wife who is an English teacher. I renovated a spare room into her an office space. She loves the desk.
Wed, 02/03/2021 - 10:28
Very nice and I am sure she loves being able to work and look out the window!
Wed, 03/27/2024 - 03:27
Creating a cozy and functional workspace with the modern writers desk has transformed my writing experience. And with help of useful reviews from https://paper24.com/reviews I found the perfect tools to enhance my productivity and creativity. Now completing a difficult writing task no longer seems like a big problem to me.
My wife's Christmas present. I modified the Cabin Wide Dresser plan to include two extra bottom drawers. I also built the drawers without metal slides which made the drawers a little bigger. Technically, I need to finish this with some nylo-tape to make the drawers slide more smoothly. A similar style/size dresser made of solid wood was easily over $500, this cost less than $200 in materials and my boys were able to help out.
Thanks for the great plans. I modified them slightly by building a 60x40 farmhouse style top and a double pedastel. The other change is that I made the side 4x4s into 2x4s.
Fri, 08/12/2016 - 12:58
Your table looks great! Love the farmhouse top and your revisions.
Would you mind sharing what dimensions you went for the table top and what width you went on the doubt pedestal length?
THanks so much!!! I hope I get to have one like yours someday soon :)