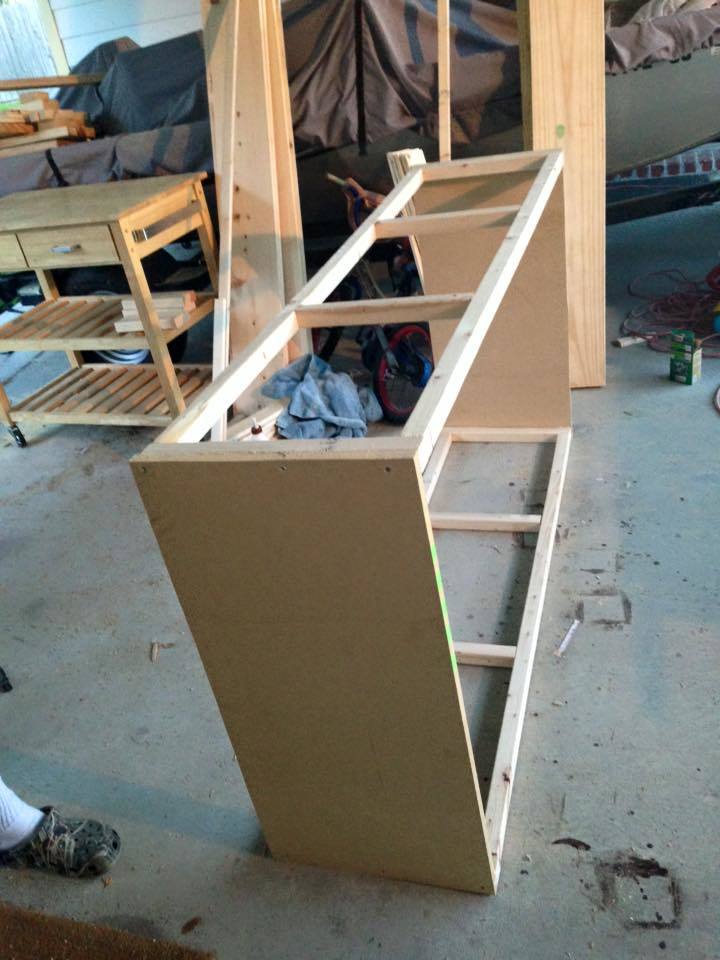
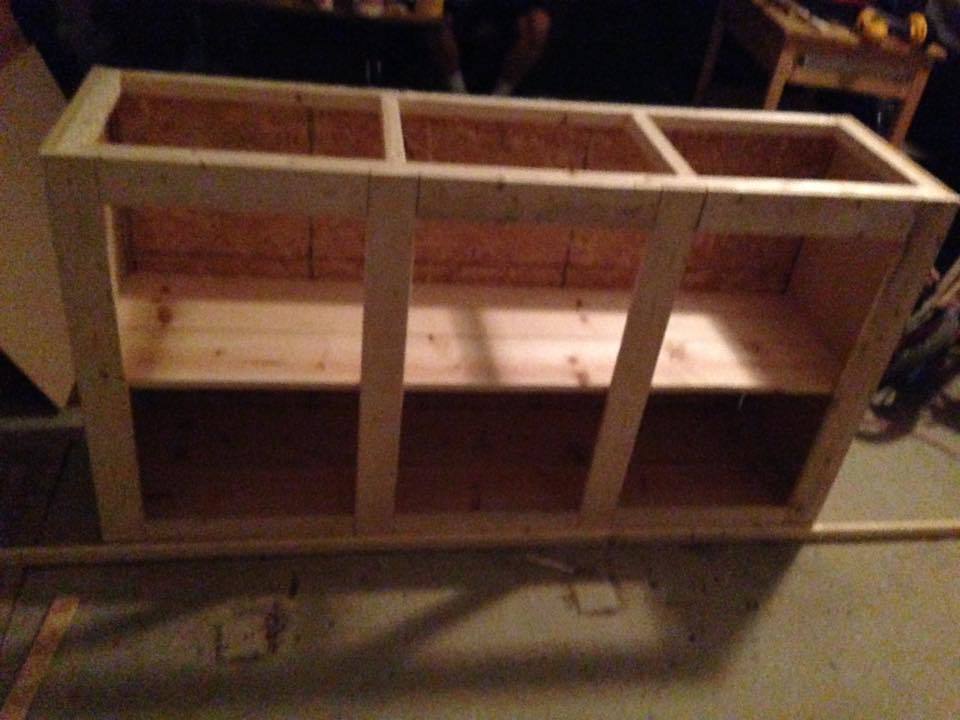
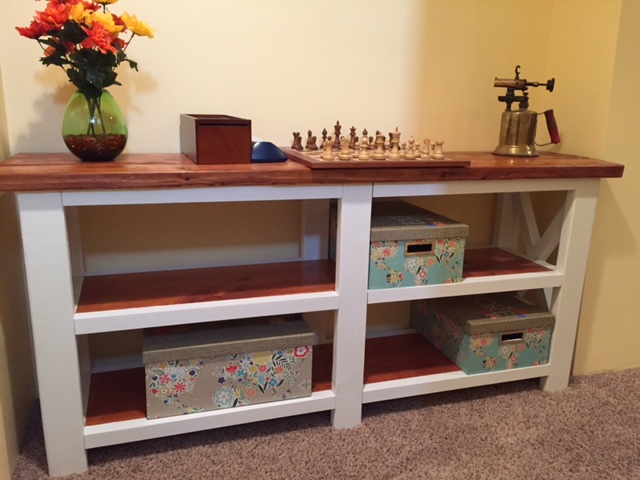
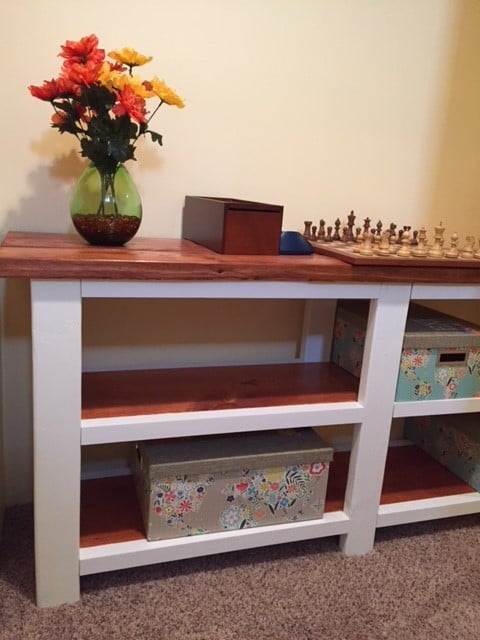
Storage Island
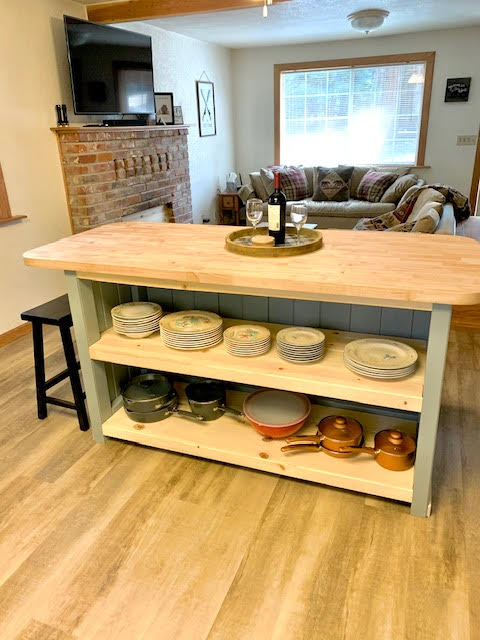
Great storage island project!
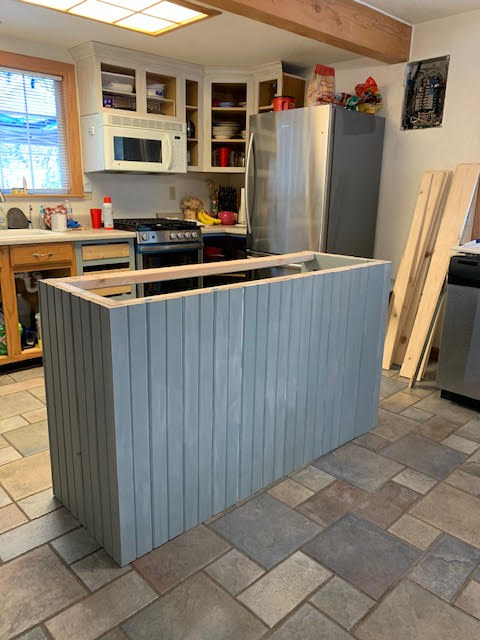
Built from Plan(s)
Great storage island project!
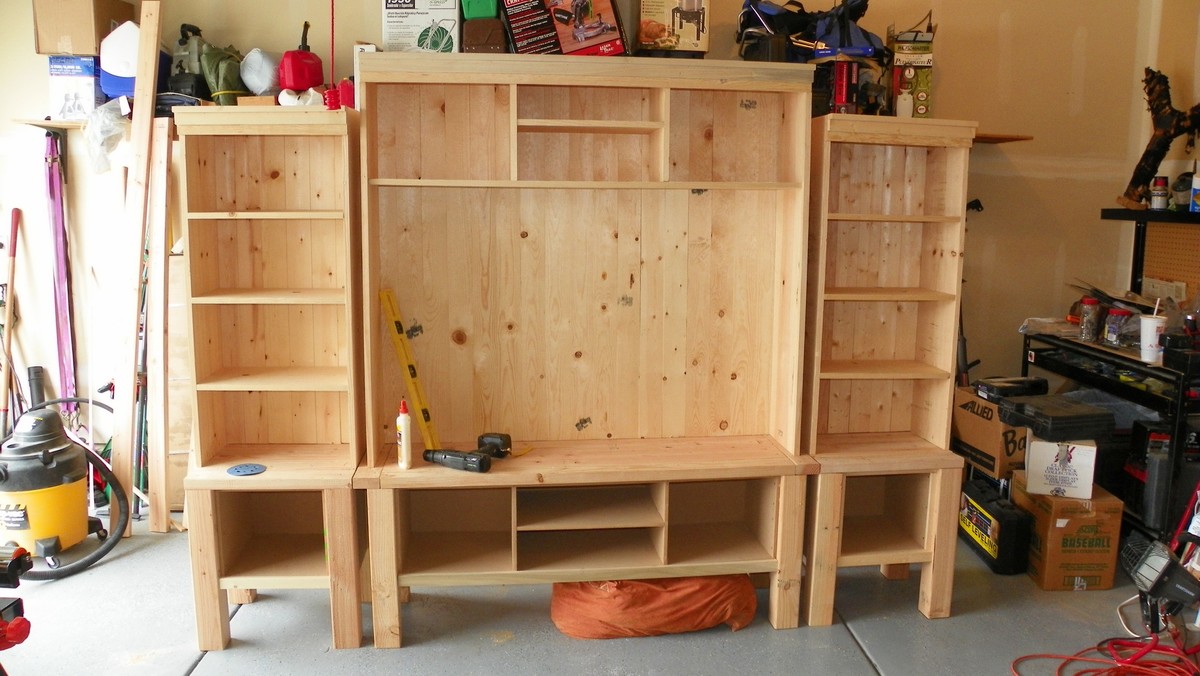
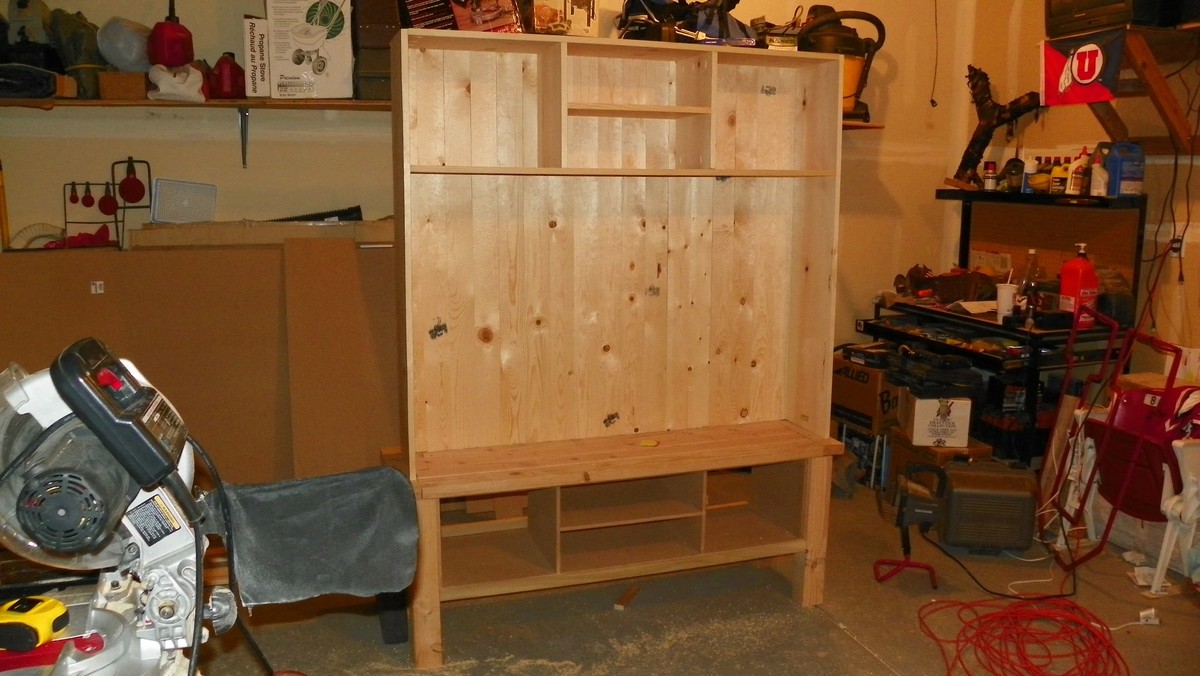
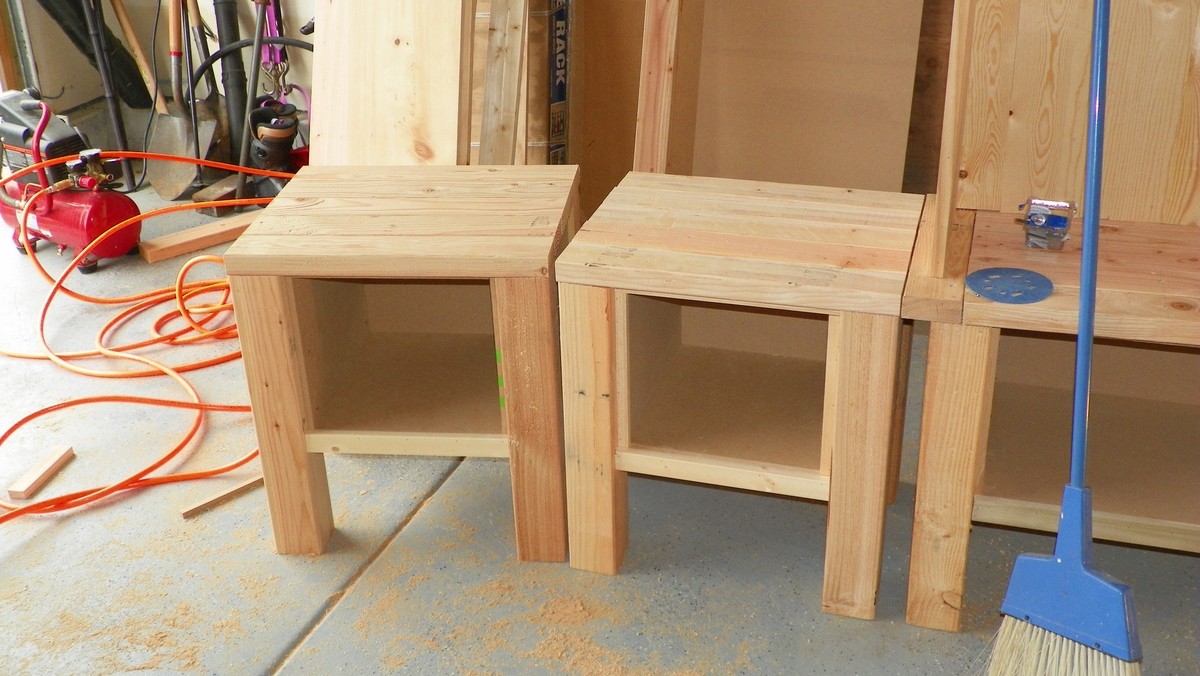
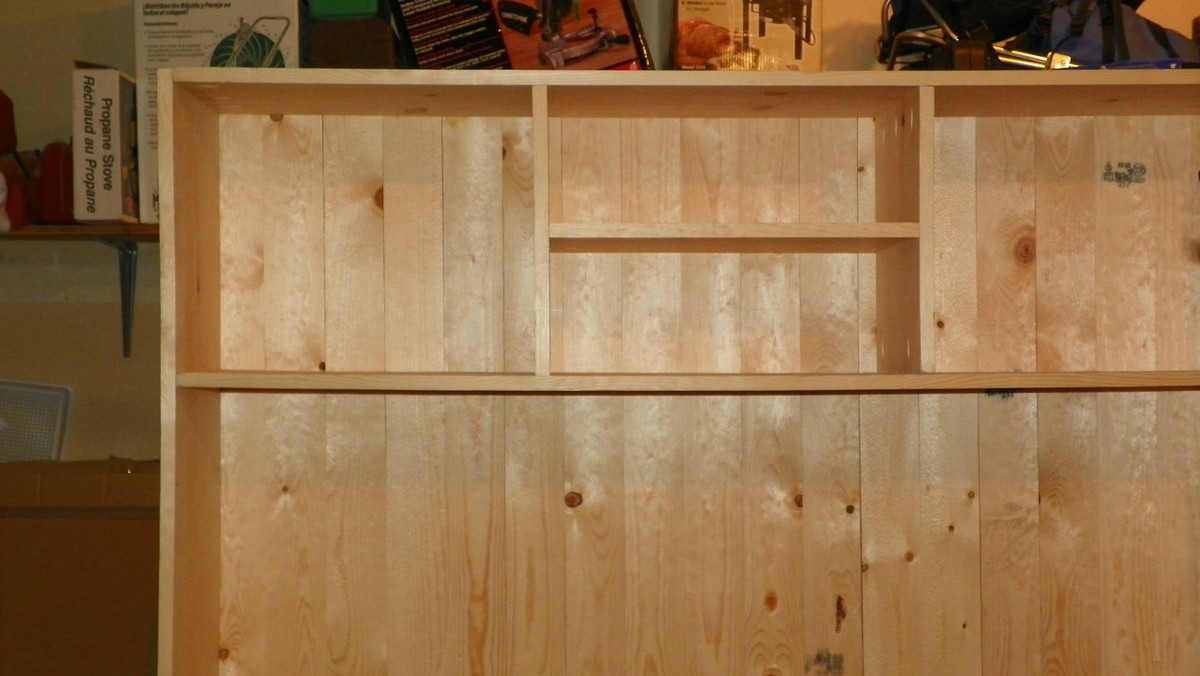
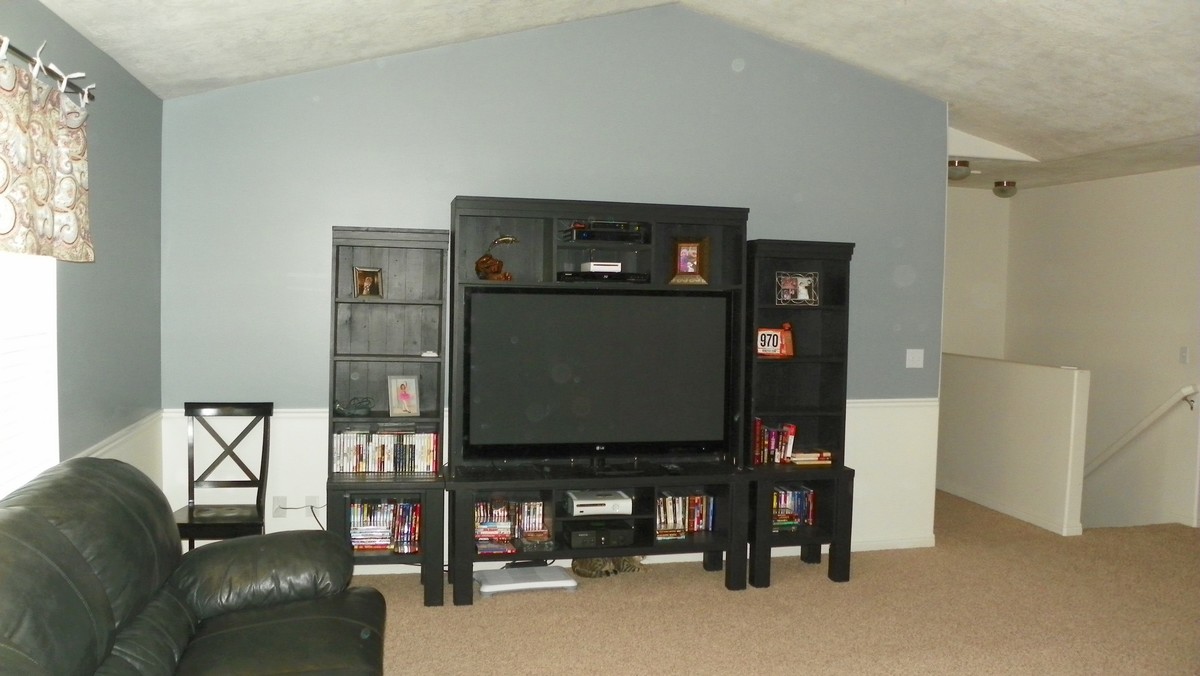
I built the Tryde Media Console with a few modifications. I had to increase the size to of the console to accommodate the 60" T.V. that it would be housing. You will also notice that I added a shelf in the top center of the console so that I could fit more components on the top. I also modified the console plans to create new plans for building two matching bookcases, one for either side of the console, giving it the "built-in" appearance. This turned out beautifully and we couldn't be happier with the plans that we downloaded from Ana-white.com! P.S. - The Kreg jig was a must for this project. All of the boards creating the back of the console are joined using pocket screws, pre-drilled with the kreg jig. After using this inexpensive tool for about ten minutes, I couldn't believe how long I had gone on without it!

Tue, 07/05/2011 - 18:41
Very custom look - my eyes immediately went to the awesome spaces you have for the xboxes :-D
Tue, 07/19/2011 - 13:14
anyway you could post dimensions of the main console that you had adjusted to fit your TV as well as cabinets that flank it? Looks great!
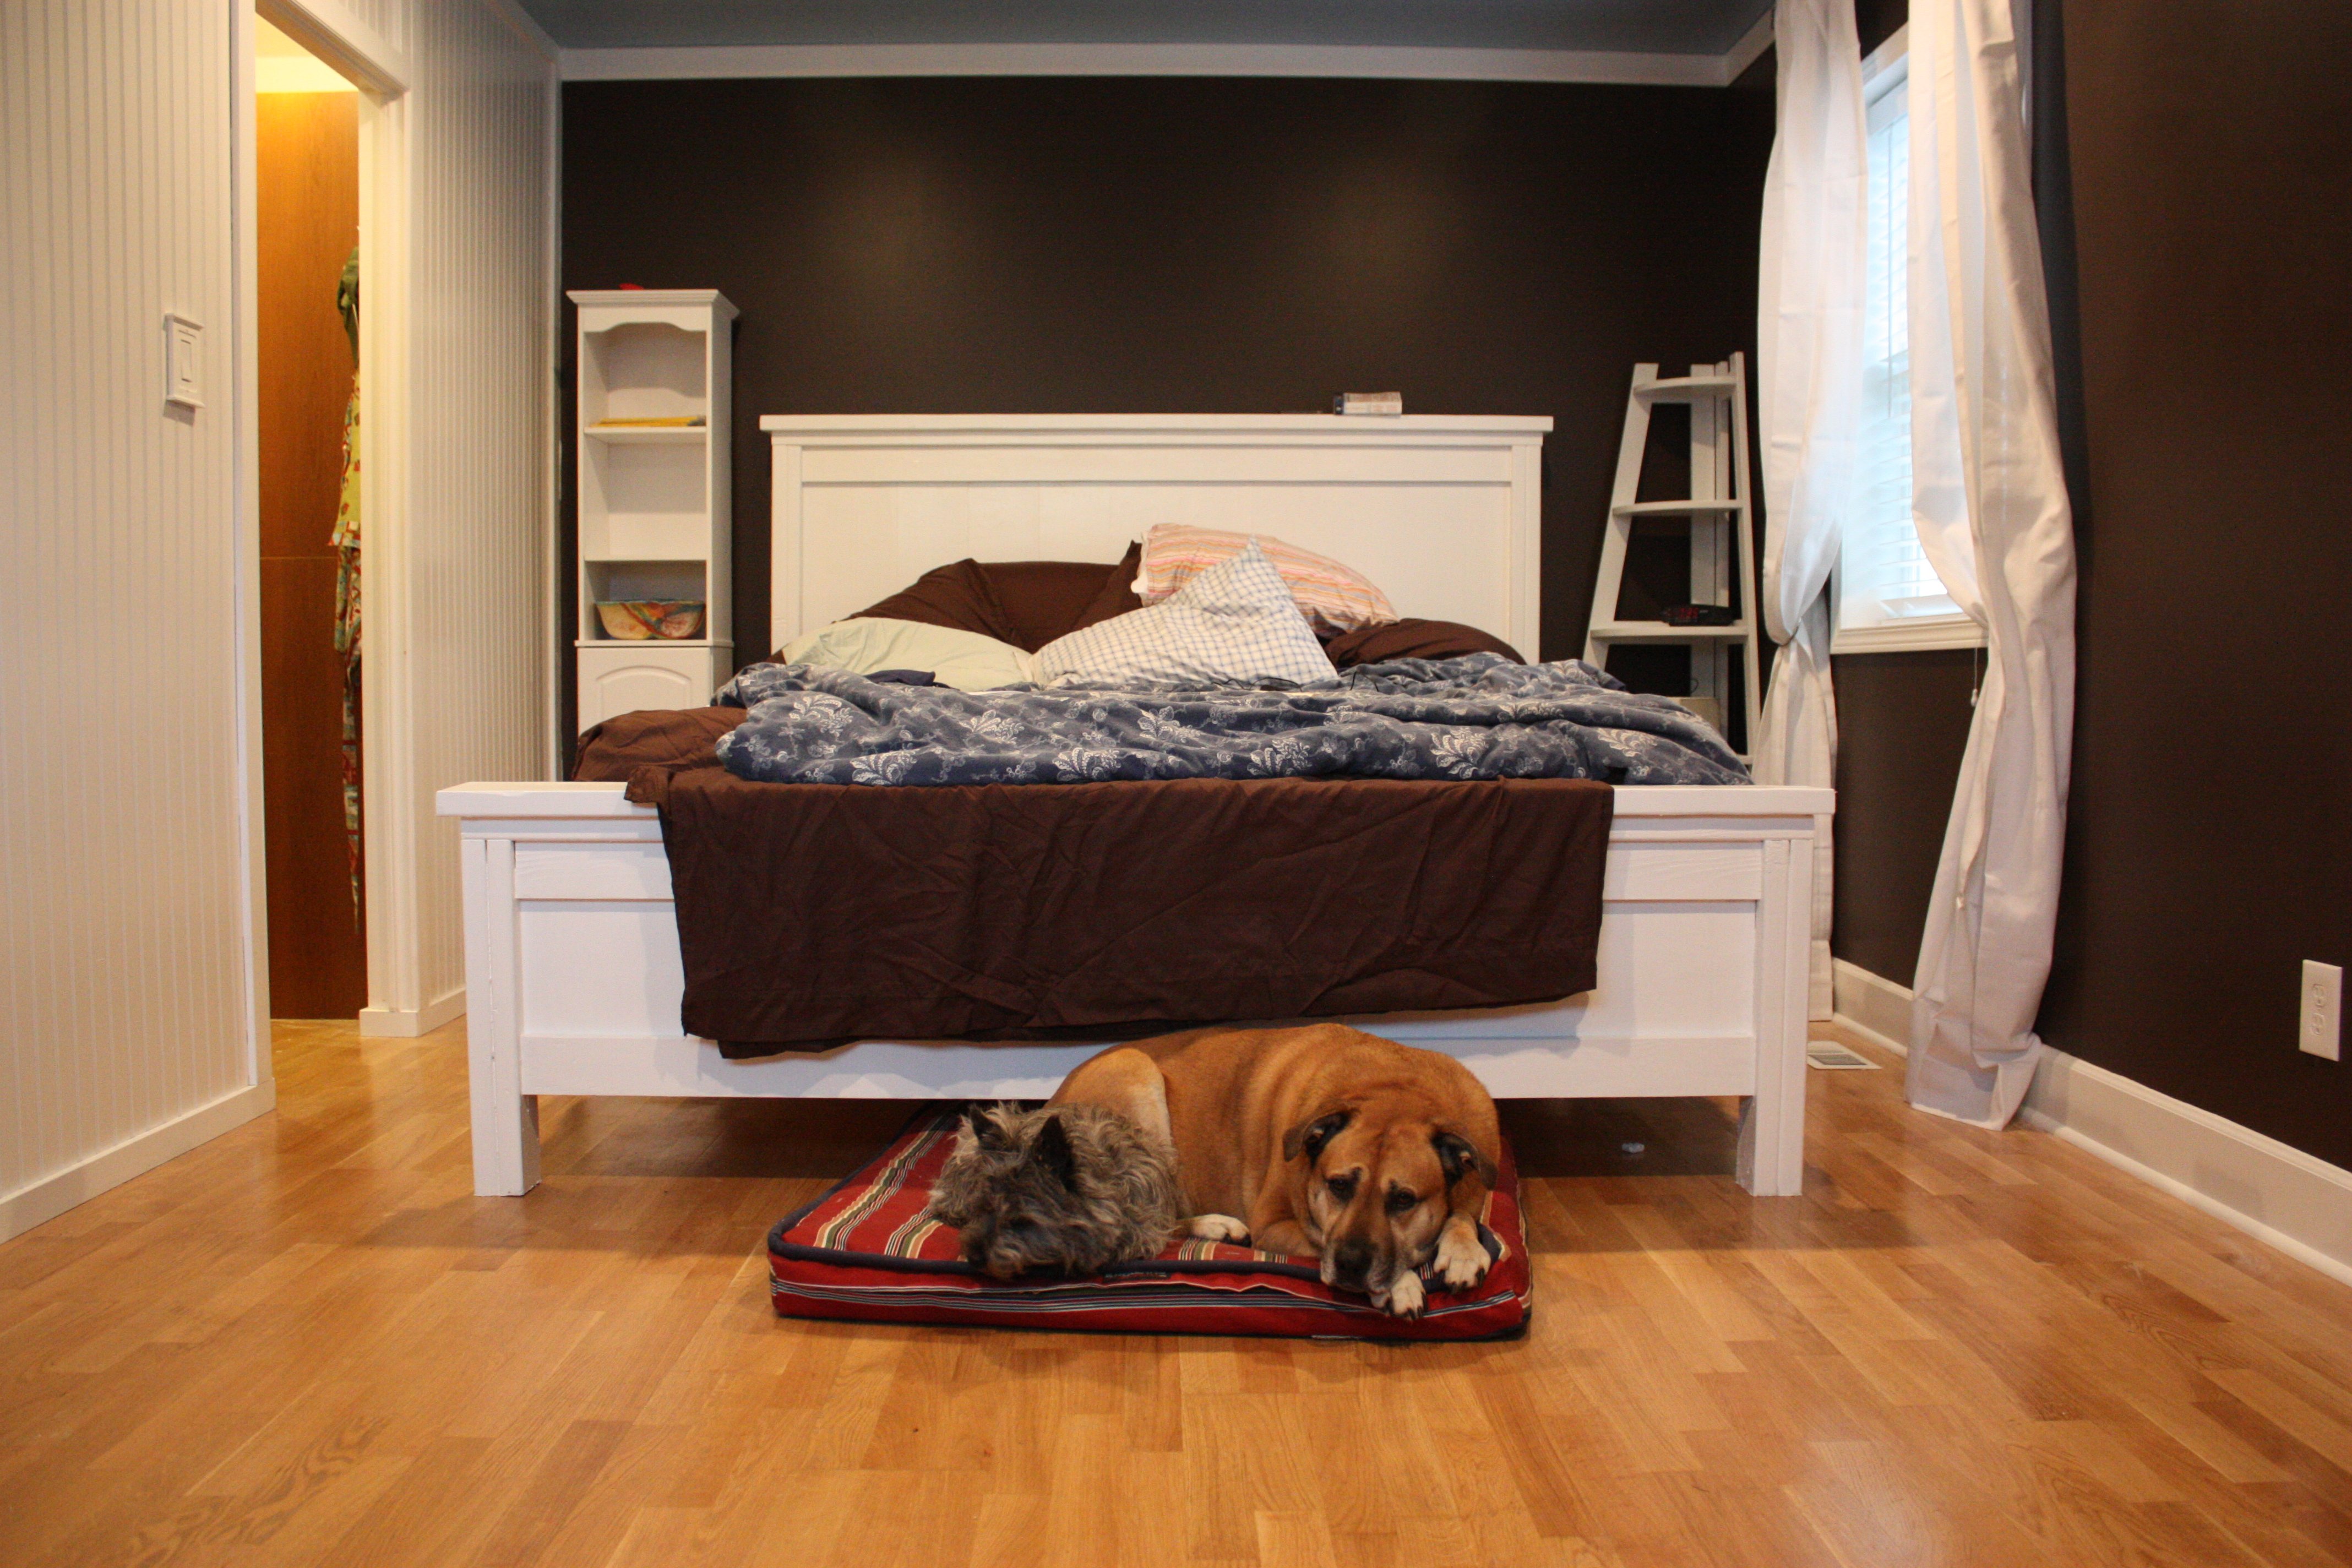
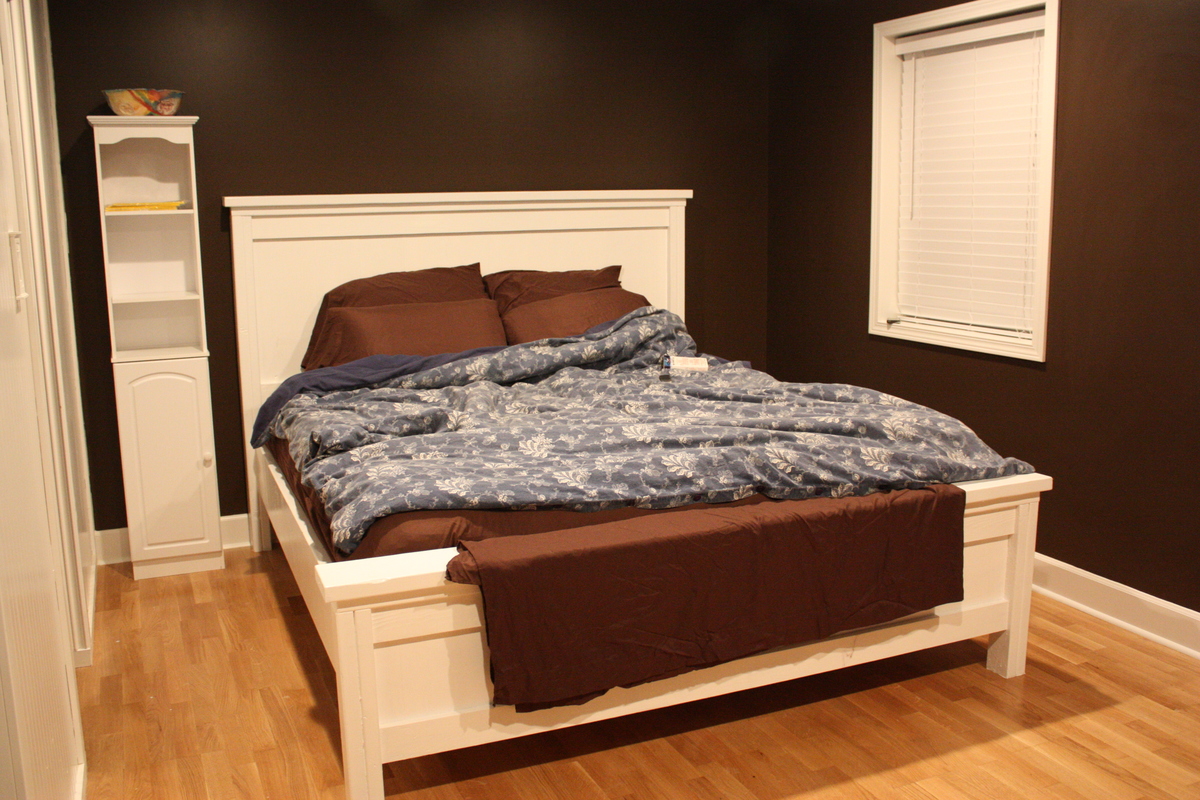
I saw the plans for this on Ana White. It looked great so we decided to make one. We had just gotten a cal king mattress. We took the list of materials and cuts we needed to our local Home Depot. They cut all our wood for us. When we got home assembly was easy. Bed put together and paint on in 4 hours. We love it as do our dogs. One of our dogs is getting old so my husband made steps so she could get up on the bed. We love it!!!!
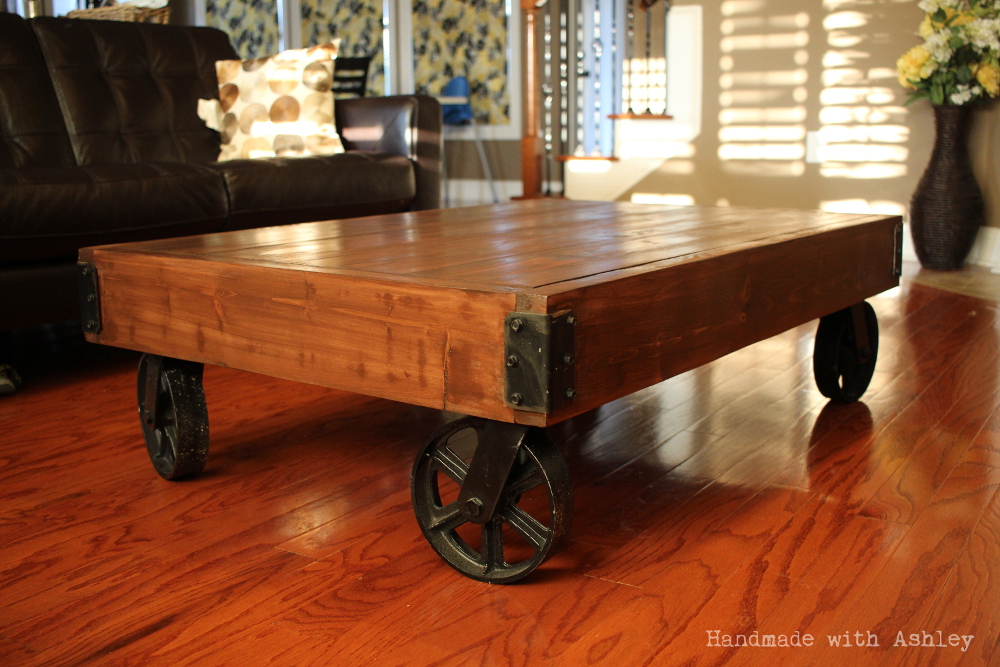
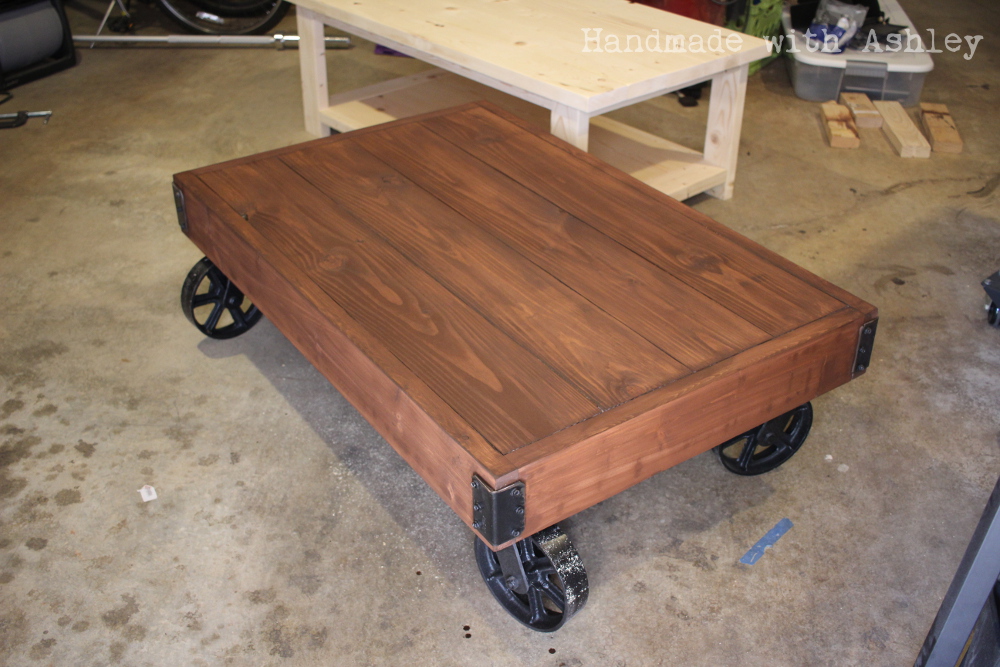
I am so in love with my new coffee table. It the perfect addition to my living room. My only regret is that I did not purchase a pair of caster wheels with brakes as my little man enjoys rolling the table around!
I took me a little over a month to complete, but you could easily knock this project out in one weekend.
Hi fellow builders!
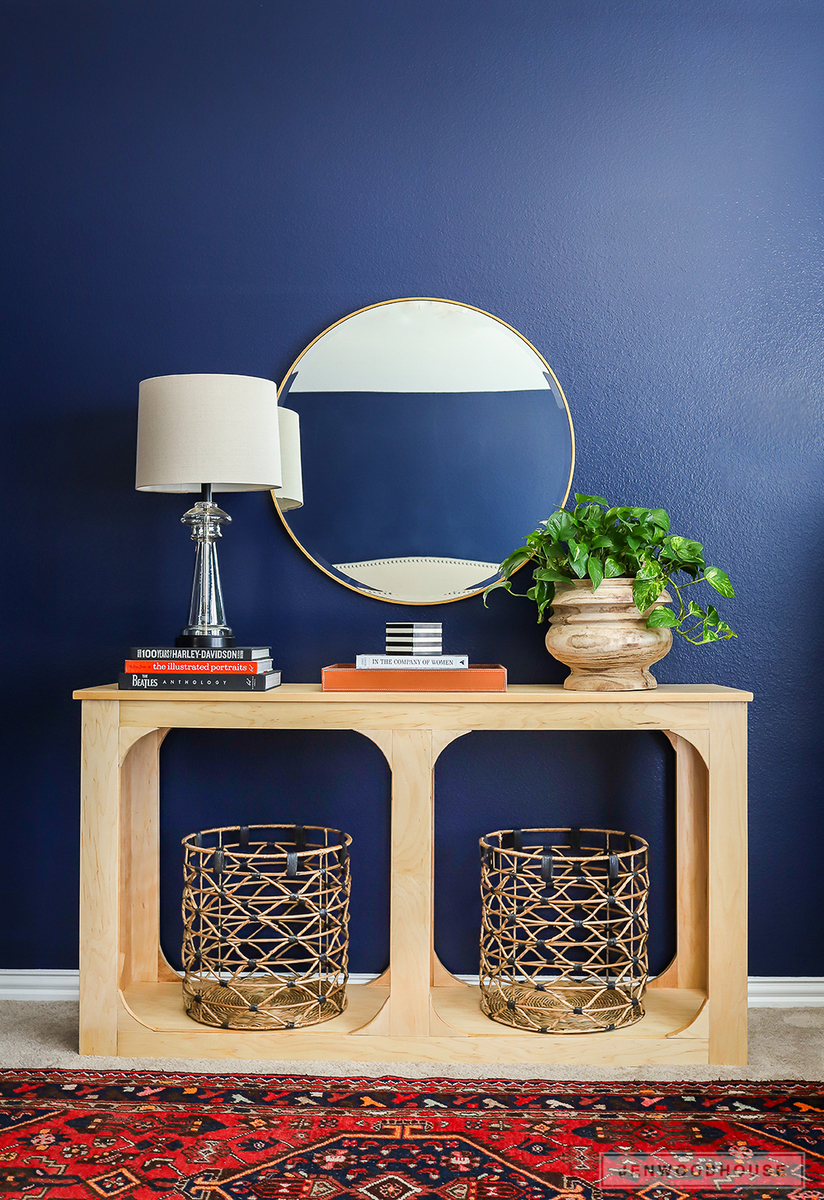
It's Jen from The House of Wood! Today I’m sharing an easy project that takes only a single sheet of plywood to build! Its sleek design is so versatile - it'll look great in an entryway, hallway, or any other room in the house. You can get the build plans on my One Sheet Plywood Console post over at JenWoodhouse.com.
This was my first project, an introduction to saws and drills, after my pug ate a bag of chocolate that was sitting next to my bed. The plan was picked because it said "simple" and had a drawer to safely store remotes. And chocolate.
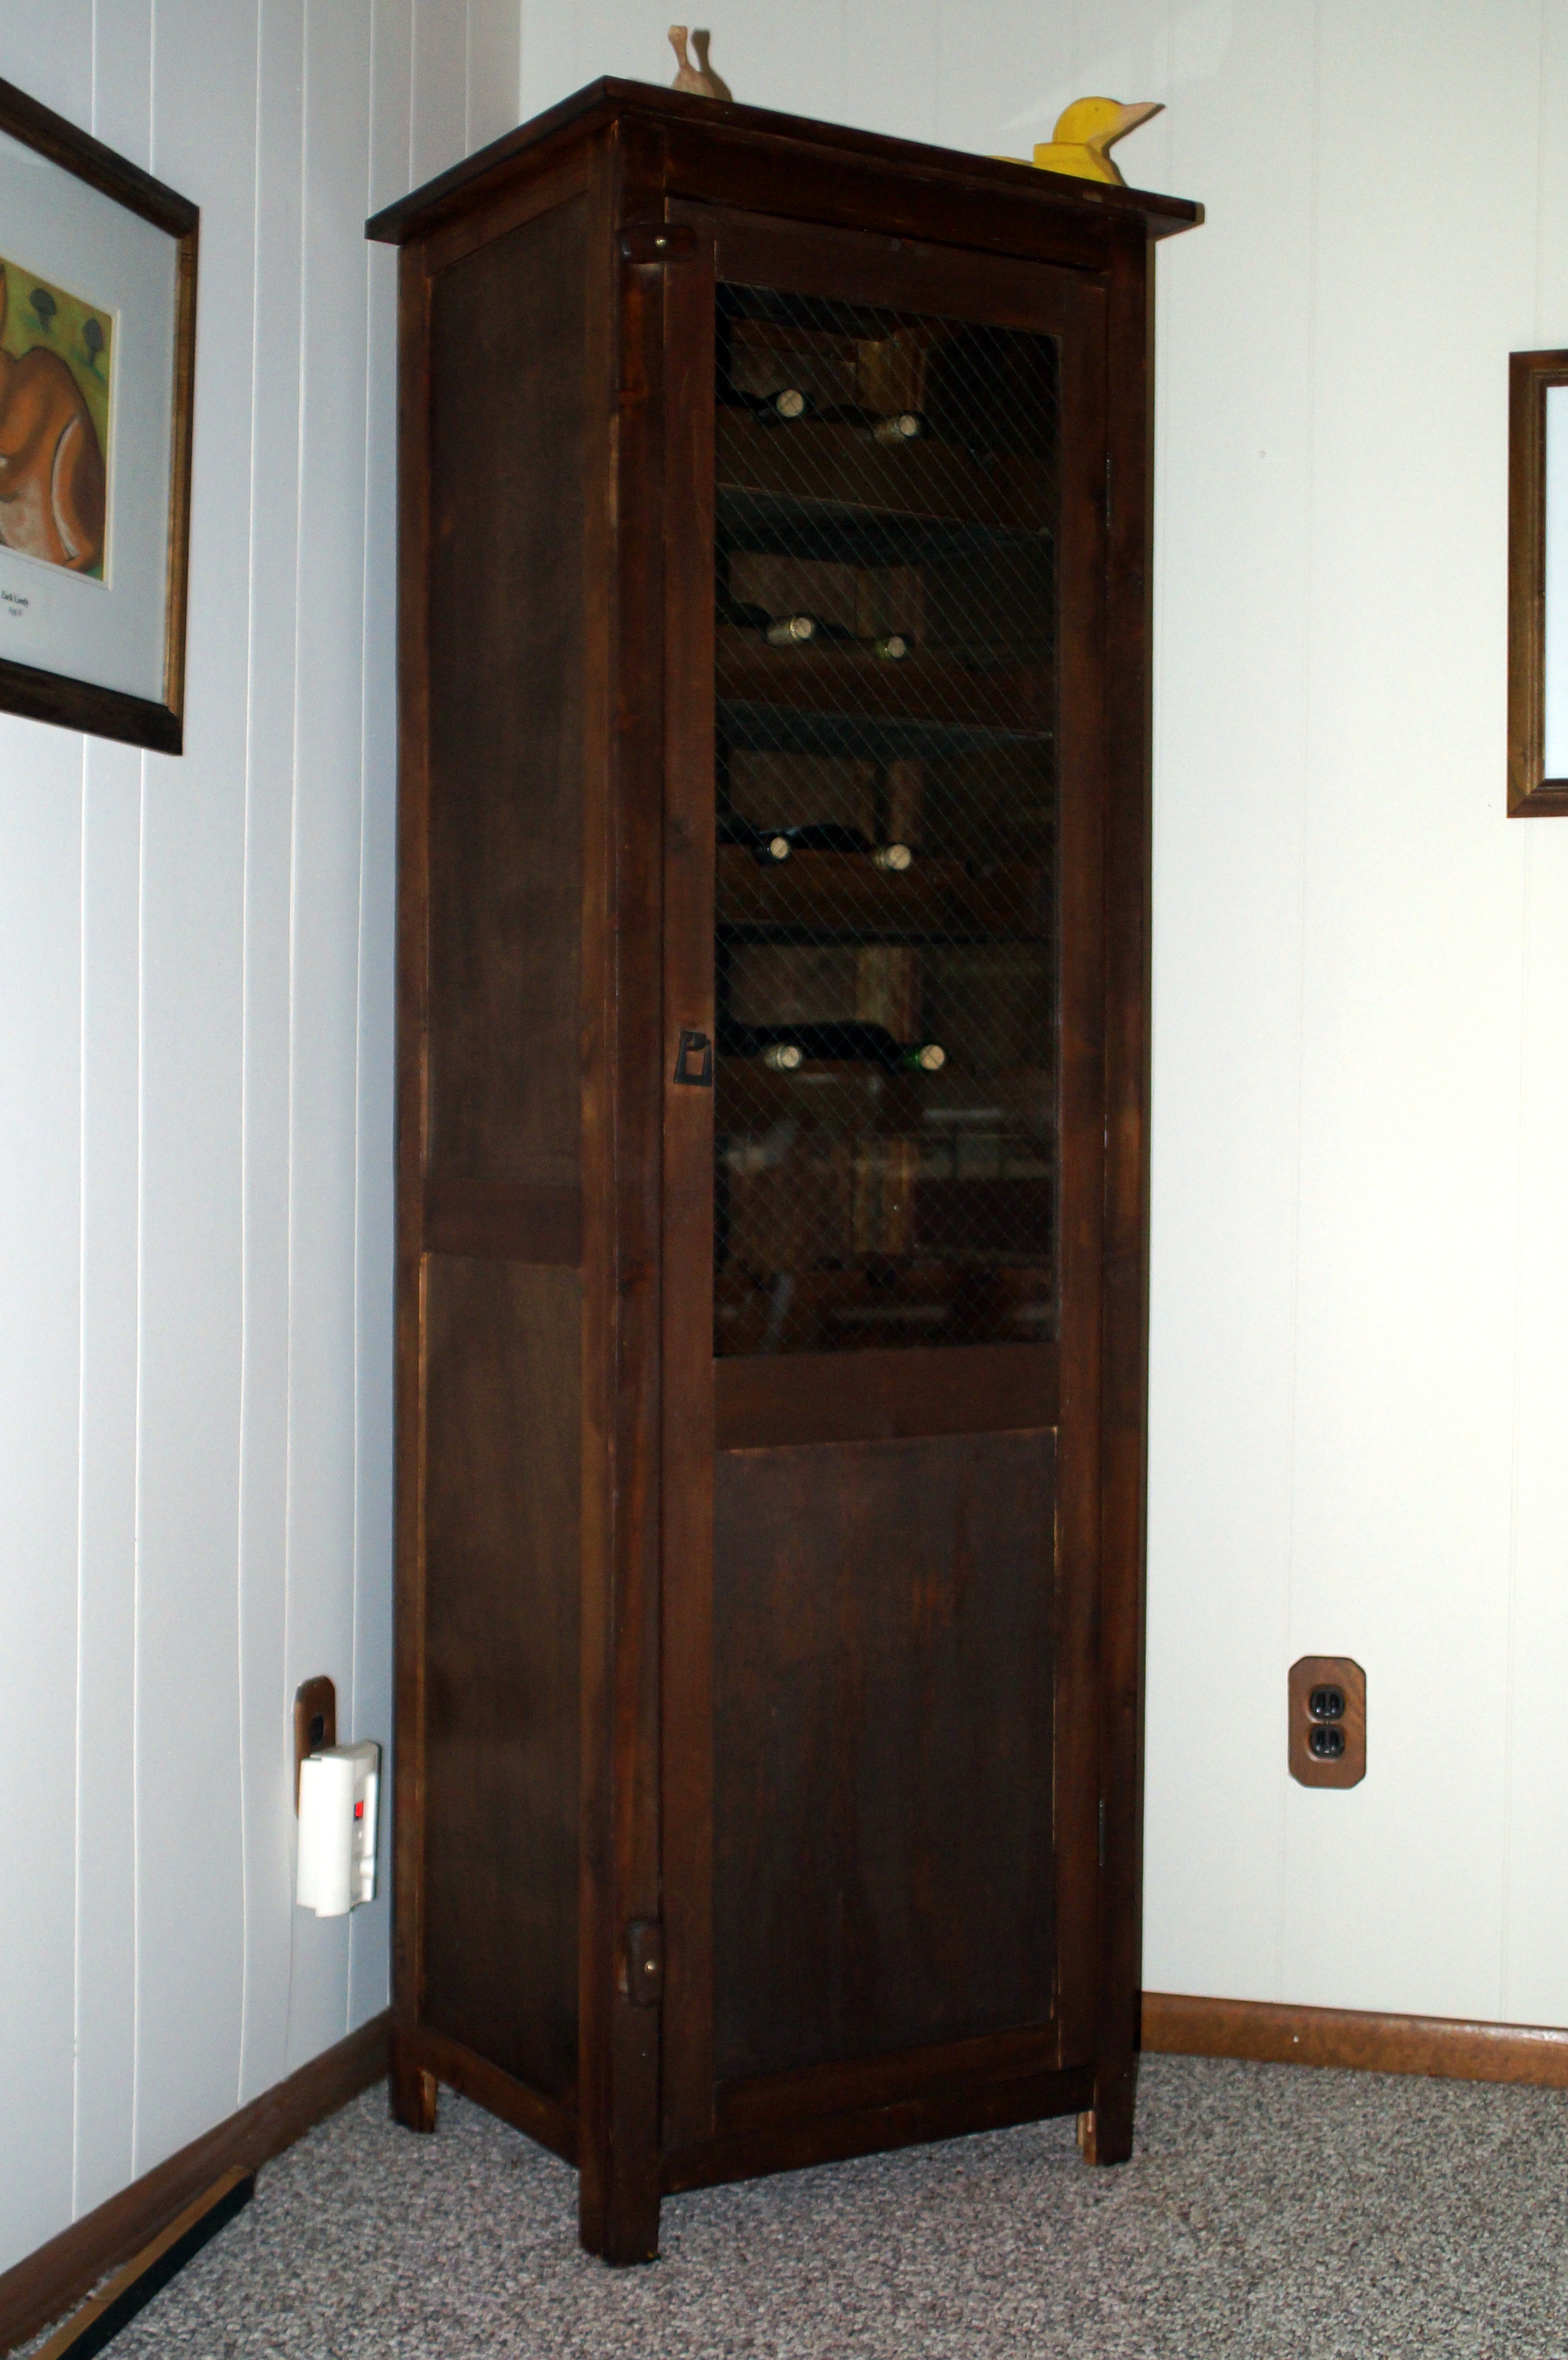
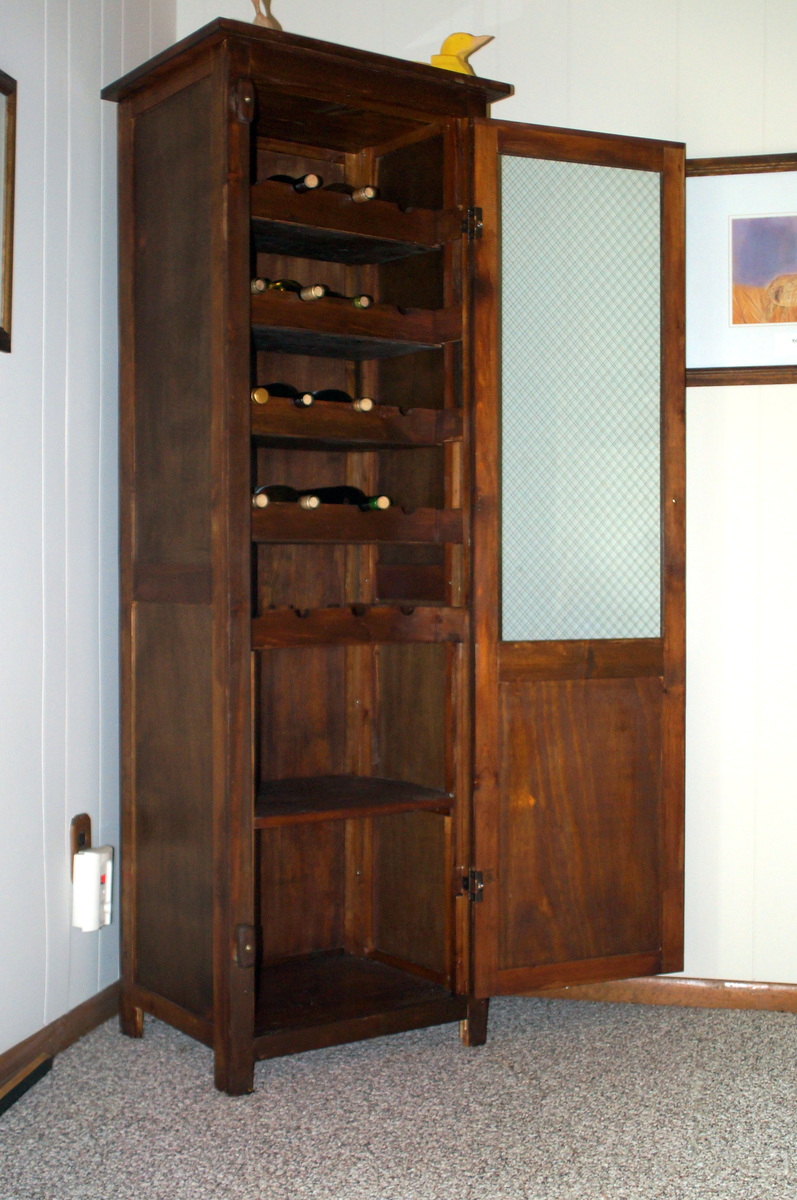
I made this wine cabinet for my daughter Alicia from a picture she sent me from one she had seen someplace
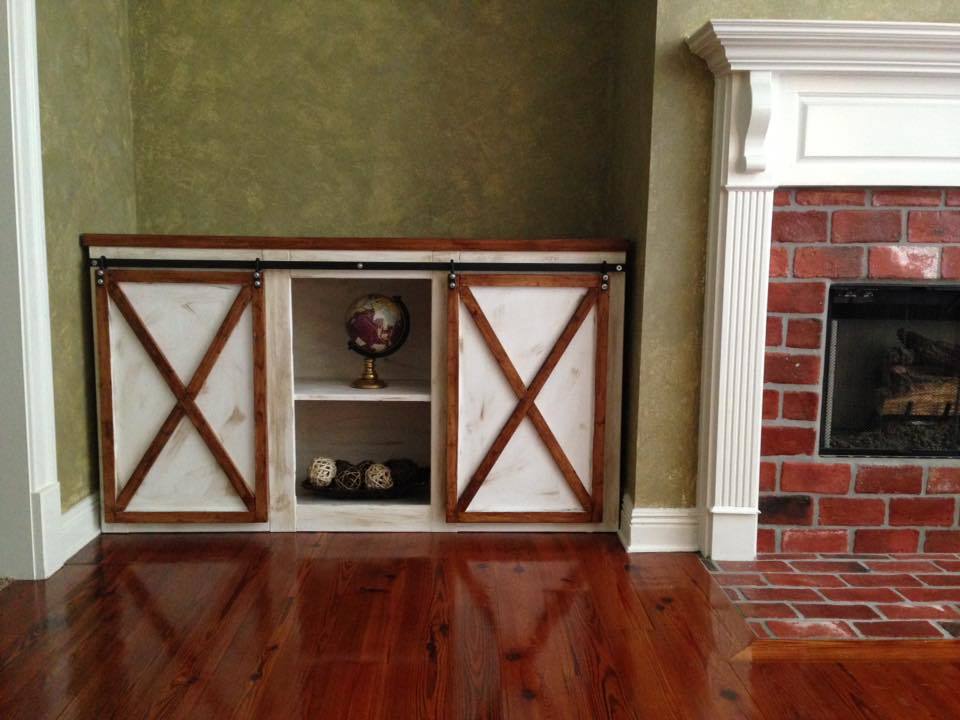
I loved the sliding doors on this project! We decided to go with J hooks instead of wheels and did three spaces for shelves instead of 4 due to the amount of space we were filling.
This was an easy plan to follow, I just wish it would have had specific instructions for the sliding doors itself. I had to go on a search for an explanation on how to achieve it.
My husband and I work on our projects a few couple hours a day, so I would say this took about 6-8 hours, the staining of course takes time to dry, so I did not include that in the assembly time line.

Fri, 12/11/2015 - 19:55
Looks great! Any chance you could share how you did the doors and j hooks? Thanks!
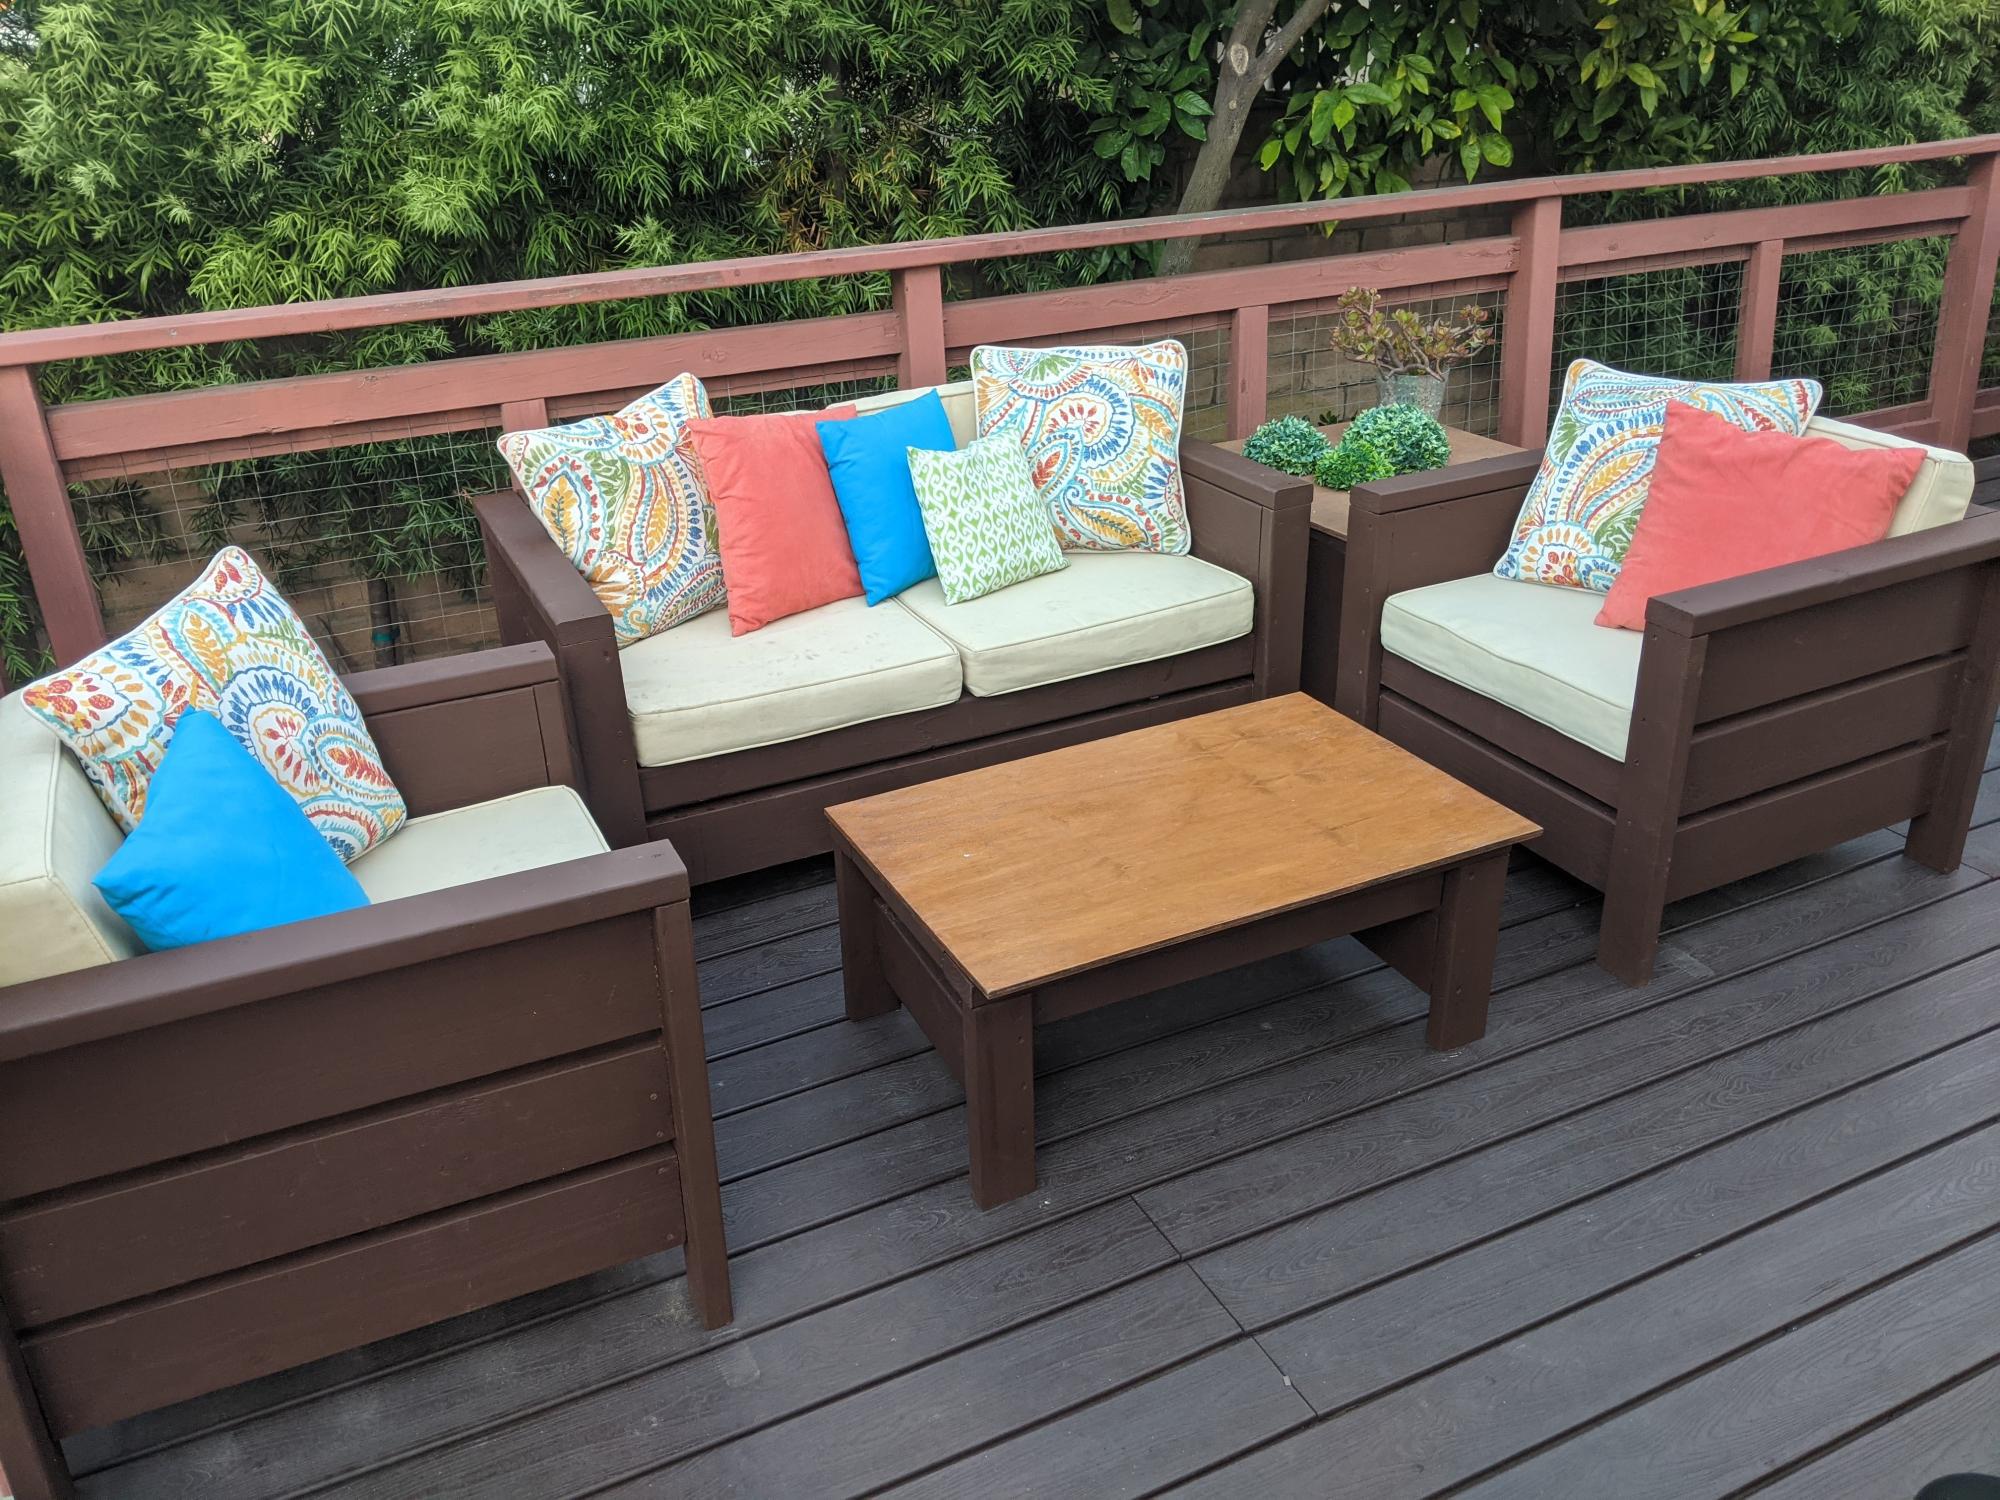
When our outdoor furniture started falling apart, we decided it was too expensive to replace until we found your plans for the “Modern Outdoor Chair from 2x4s and 2x6s.”
The design was almost exactly right.
The only change we made was to make the arms taller so the cushions from our original set would work. Instead of 2x6s for the sides we changed one of the boards to 2x8 and adjusted the arm height by a couple of inches. We made the chair first.
We then used the plans for the Loveseat and completed our set.
After painting the first chair after assembly, we decided it was easier to cut the wood and paint the parts prior to assembly and touch it up after.
The design adjustment matched perfectly. We also created a coffee table using the same type of assembly.
We know these loveseat and chairs will last!!!
Thanks so much
Kim and Scott Griffin
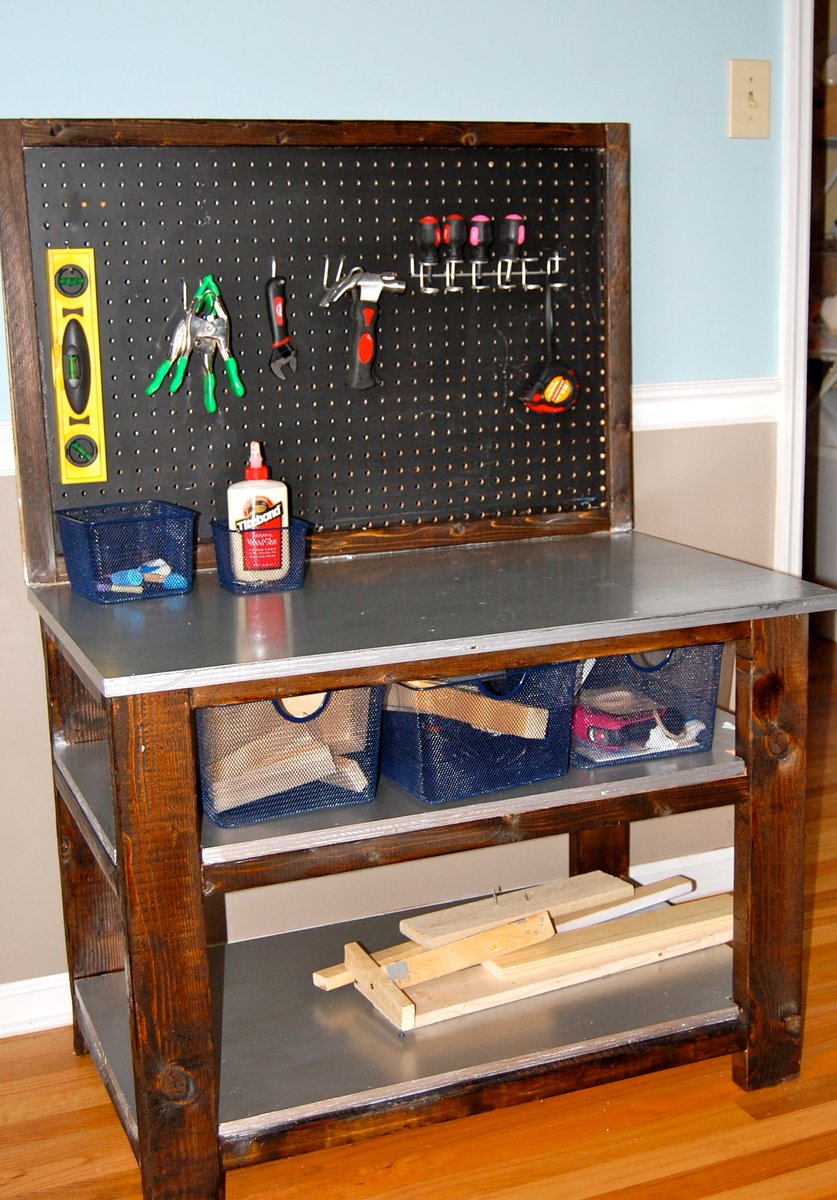
I made this workbench for my son's 5th birthday. It's a bigger style real workbench for kids. He also received real tools for his birthday. I modeled after a one that PBK used to sell.
Sat, 08/06/2011 - 19:50
This is perfect for my little boys, and I really want to build this for my son's birthday in September. I am just learning how to build though so I can't look at a picture and figure out how to build it. Would it be possible for you to send me the measurements and as much information as possible? You did such an amazing job.
Tue, 09/13/2011 - 20:39
Hi,
I would love to make this for my soon-to-be sever year old son, for his birthday. I'm a total novice where building something like this is concerned; any chance you could send me the measurements? Gabe would be so grateful!
Thanks again, and amazing work!
Denise
Tue, 12/06/2011 - 20:10
Desperately need dimensions for this in time for my son's 6th birthday in January. Can anyone help????
Tue, 12/27/2011 - 16:12
This is an awesome workbench!!!! My husband and I would love to make this for my sons seventh birthday. If possible could you please email me the dimensions and details foe this project. I love your work and creativity!! Thanks for the inspiration!!!
Sun, 03/04/2012 - 11:45
My 6 year old is begging me to make this for him,
Can anyone send me the specs or dimentions/ directions?
I think he has more building skills than I do.

Wed, 08/22/2012 - 05:52
Hi. Love your mod using the pegboard. Can you please tell me exactly how you put the frame around it? Did you sandwich between two trim pieces or router in a grove for it to sit? Thinking of making some of these in the smaller size for a craft show so any tidbits to make it go faster would be much appreciated!
Fri, 05/24/2013 - 07:48
I would love the plan details for this workbench.
Are they available some where on your site?
Thanks!
Tue, 05/28/2013 - 07:24
I would love to make this for my son for his birthday. He would be thrilled! Could you please send me the plans/dimensions?
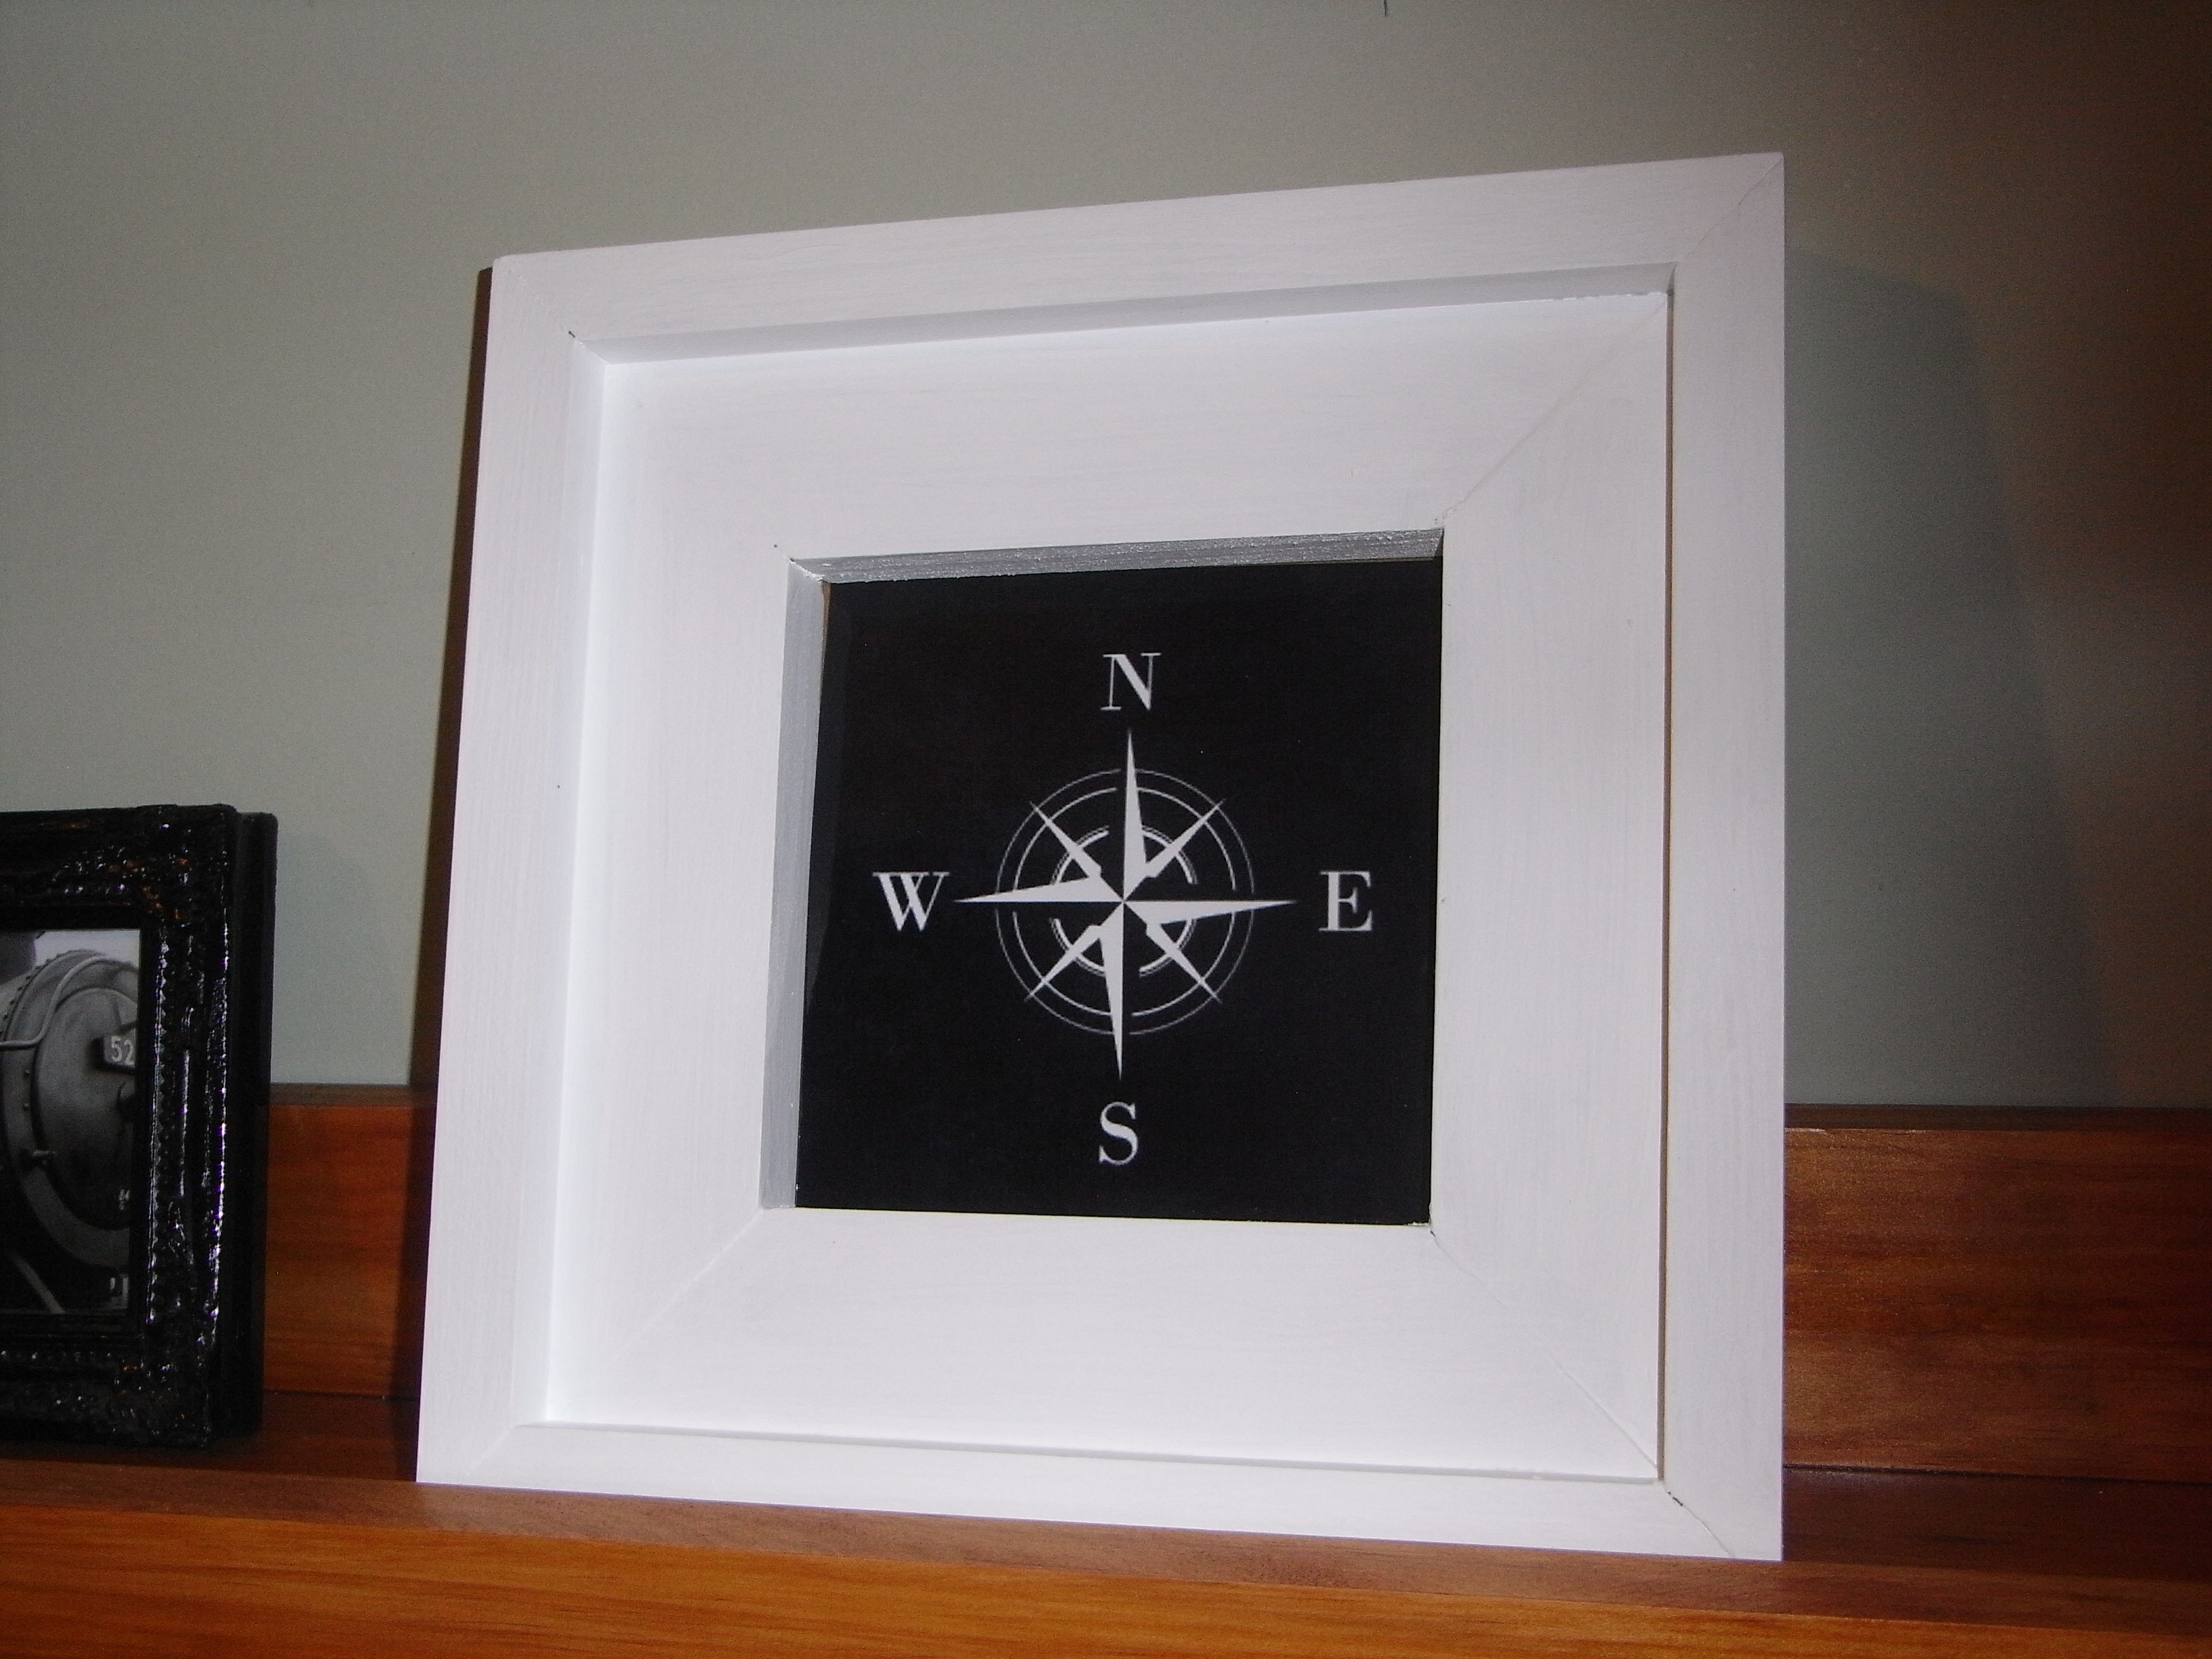
Quick and simple little picture frame.
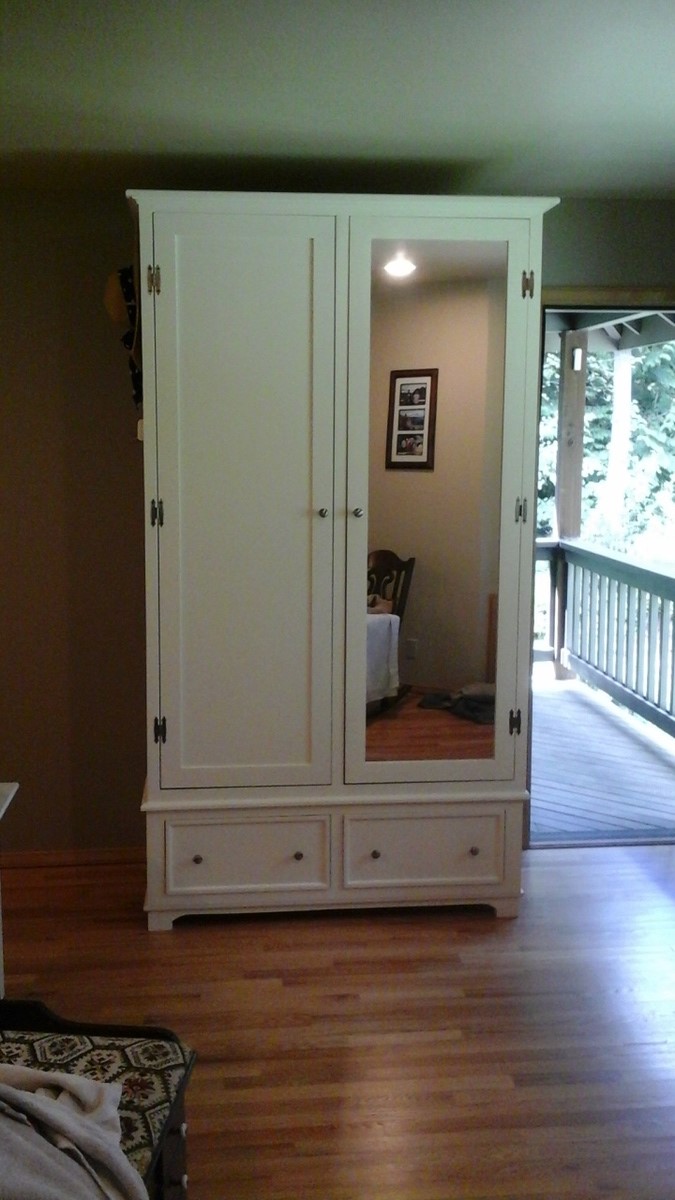
Built this armoire for the master bedroom and constructed it to match the existing furnishings. This thing is huge and weighs a ton. 7 1/2 feet by 4 feet. I had to make sections in the shop and then assemble and paint it in the second story bedroom. If we ever need to move it out of the house we are fortunate to have a balcony off the bedroom. With help from a whole bunch of guys we should be able to lower it down ... if it ever comes to that!
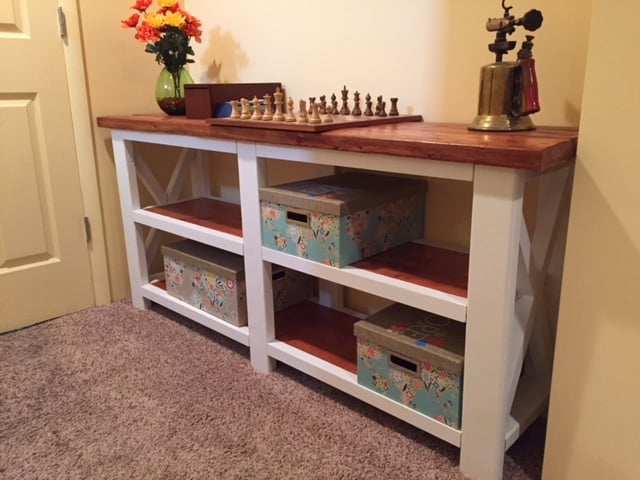
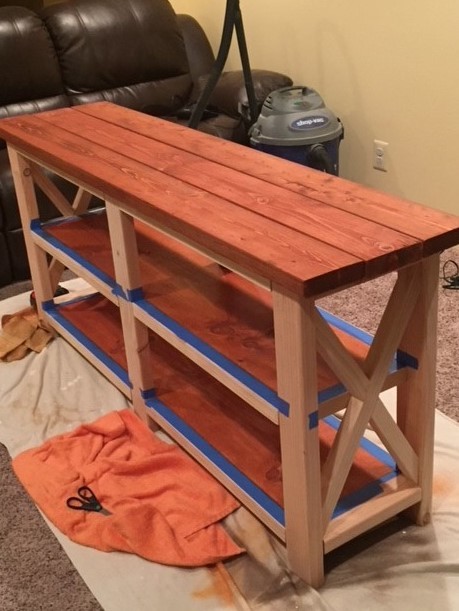
This was my first project after discovering the "Ana White" web site. After looking through the brag photos I zeroed in the Rustic X Console. I was specifically inspired by the photos from "Celeste808" and "aDIYguy". It also gave me an opportunity to try out my new Kreg Pocket jig. I hope you like the pictures.

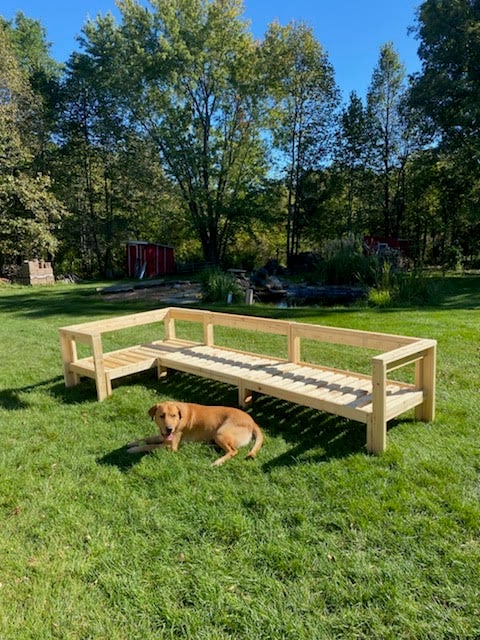
Outdoor wood sectional!
by Elizabeth

This was actually my first build. I had just about had it, went with all three kids, got the wood, and built it while my hubby was at work (24 hr. shifts at the fire station). And yes, that was after I finally Googled, "How to unlock a Dewalt Compound Miter Saw" after 30 minutes of unsuccessful prodding! :-) I'm super happy with how it came out (despite the poor flashy picture)! And it was great "practice" for doing my girl's farmhouse beds.
Sun, 05/20/2012 - 22:18
I think it is beautiful! I love the stain! This was my first build also, I used old red barnwood, but a friend wants me to build her one, so I'm thinking about going with the same finish you used, absolutely gorgeous!
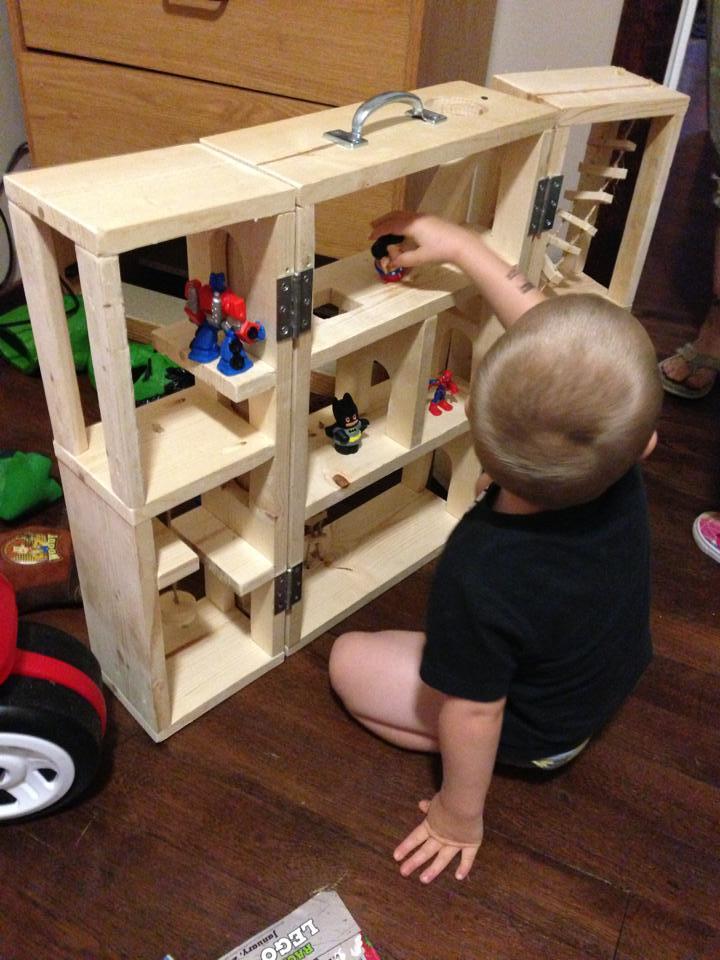
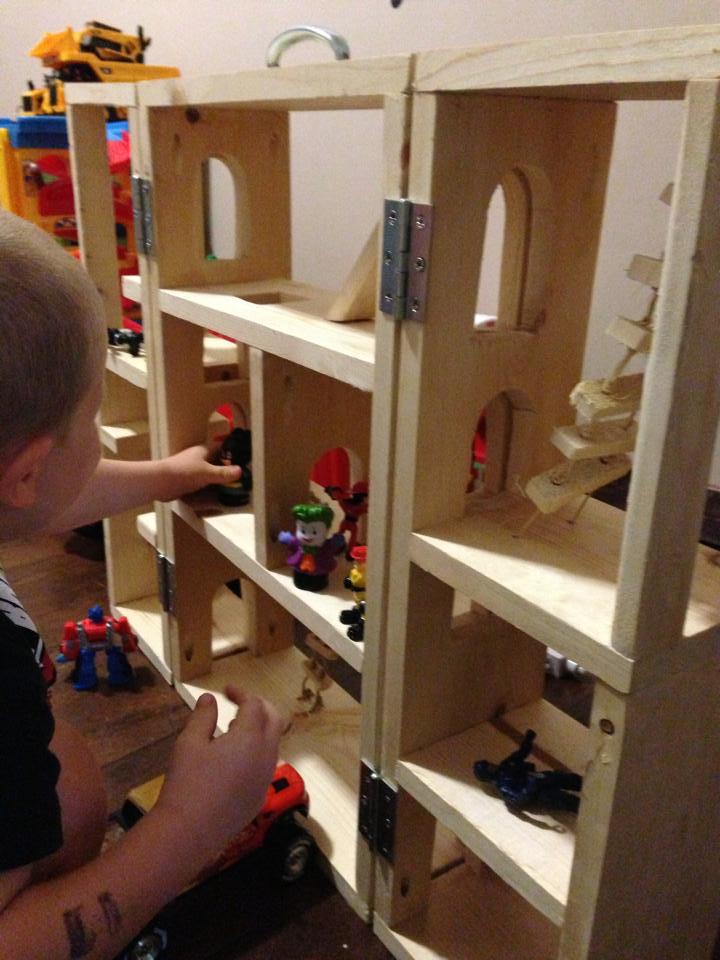
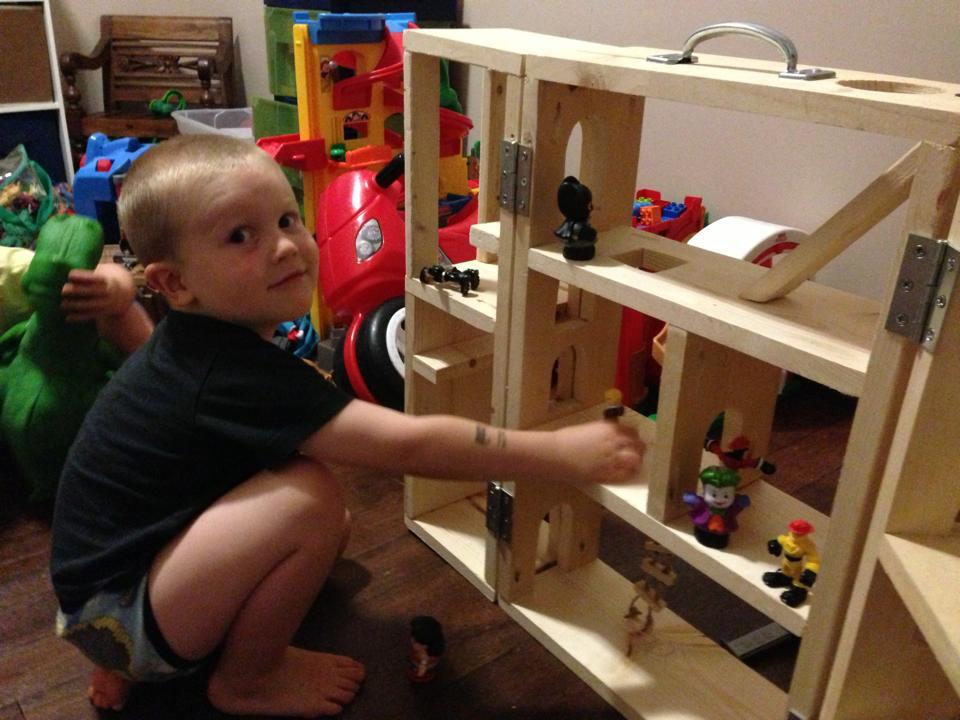
This was hard for me because I am horrible at using the jigsaw. If I do another one I'll probably not do as many door openings.
It took longer than expected due to filling in all the pocket holes an waiting for the wood filler to dry.
My grandson loves it, he didn't care about my mistakes on it.
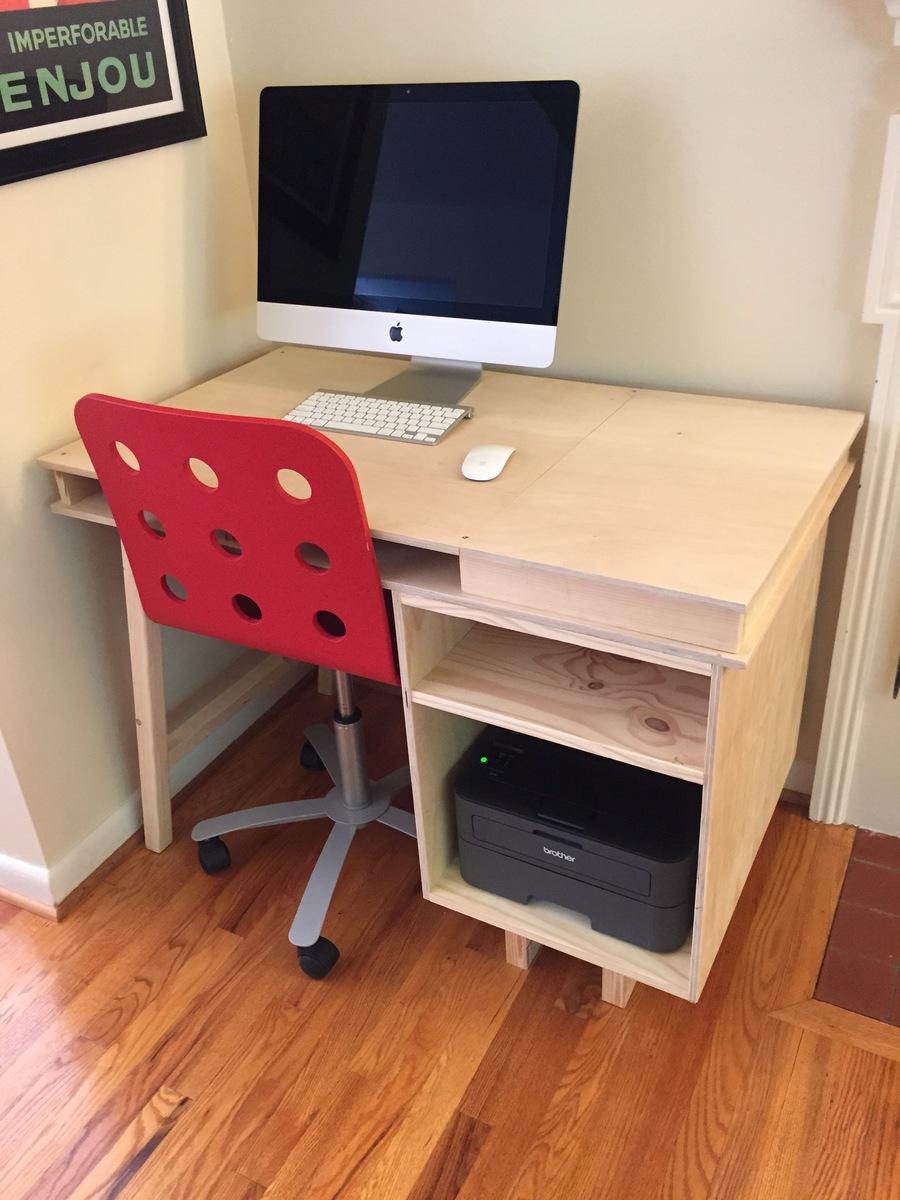
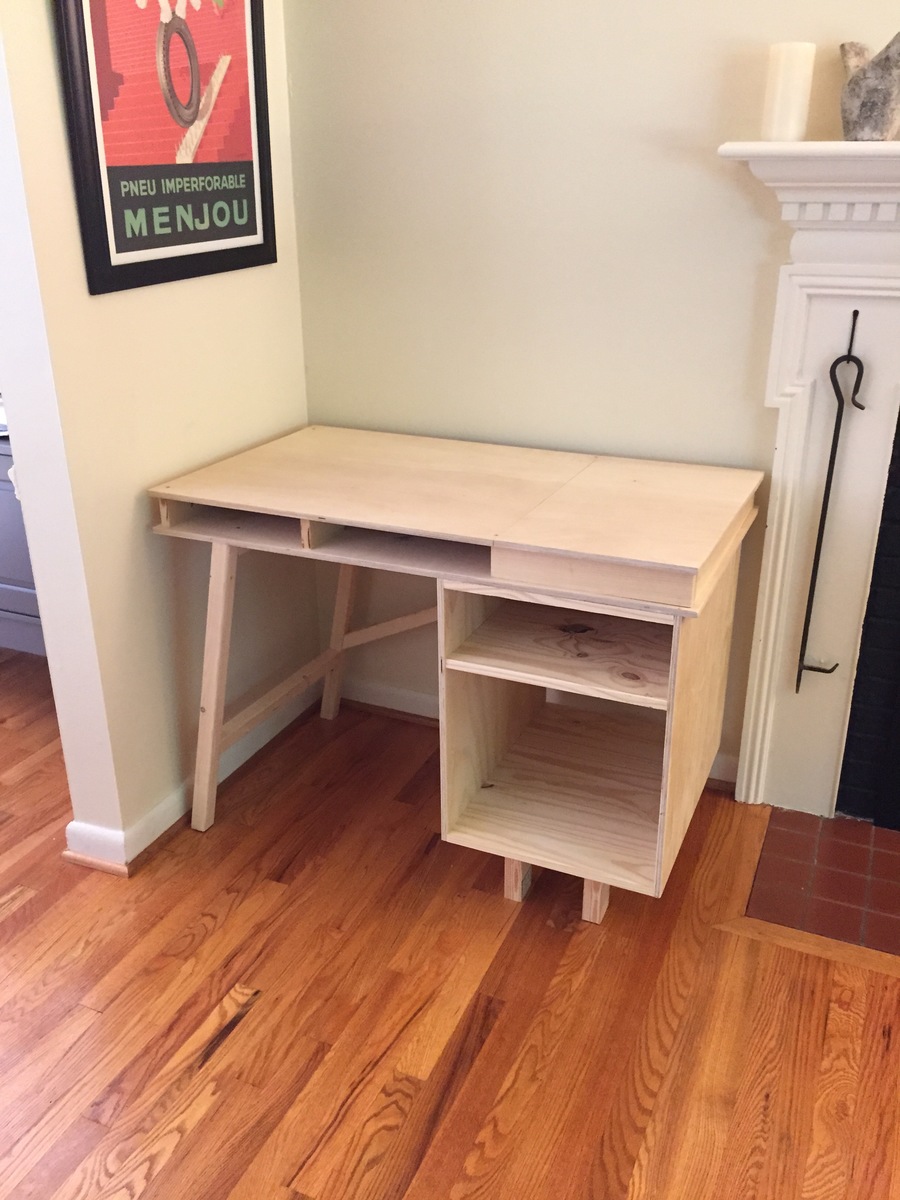
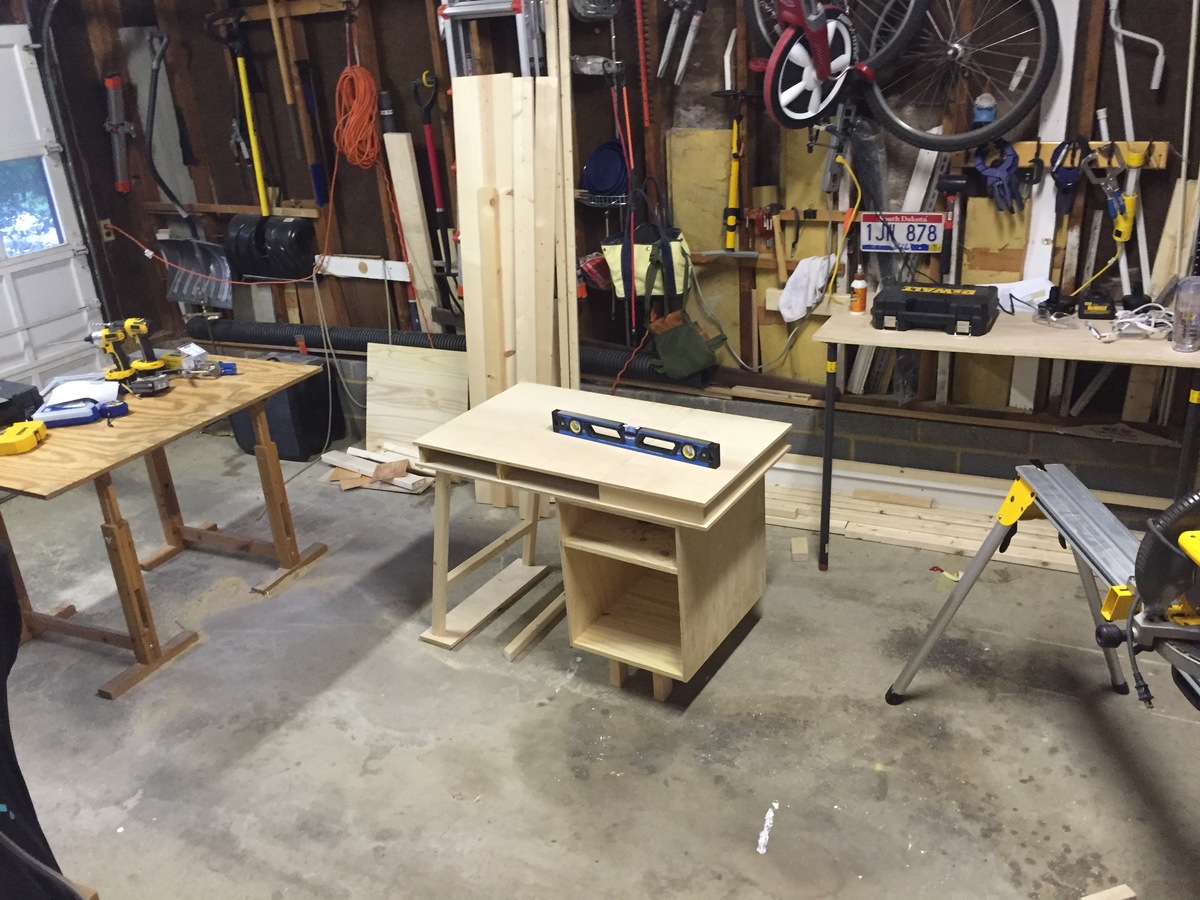
I modified the plans in several ways. First I made the desk smaller to fit the space. In doing so I decided it would work better to have only one part of the desk flip up for storage. I also made the box that makes up the base larger to fit a printer. That left a smaller space for a chair. Turns out the chair I had fit perfectly. I decided not to finish with paint, stain or varnish. I may do that later. Over all I am very happy with this project.
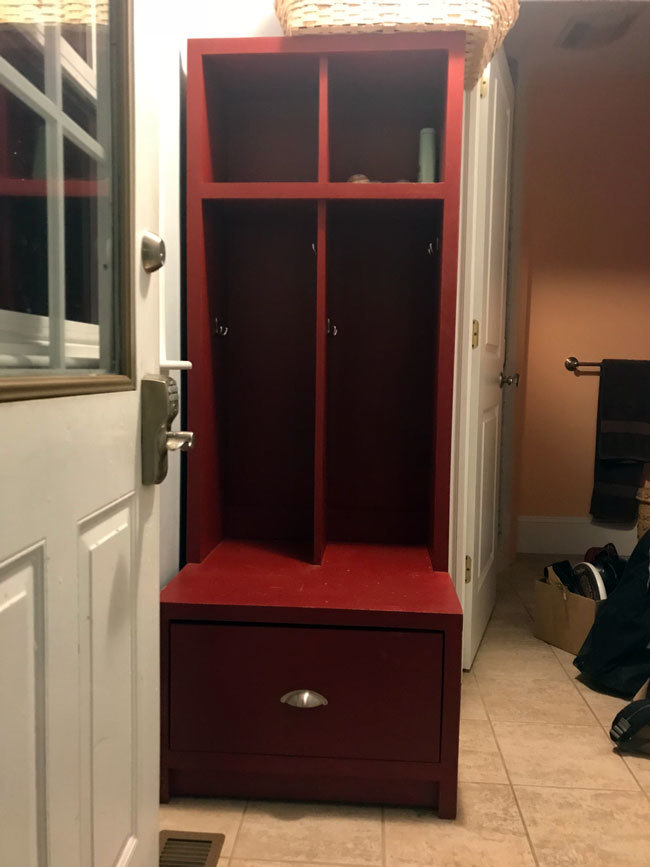
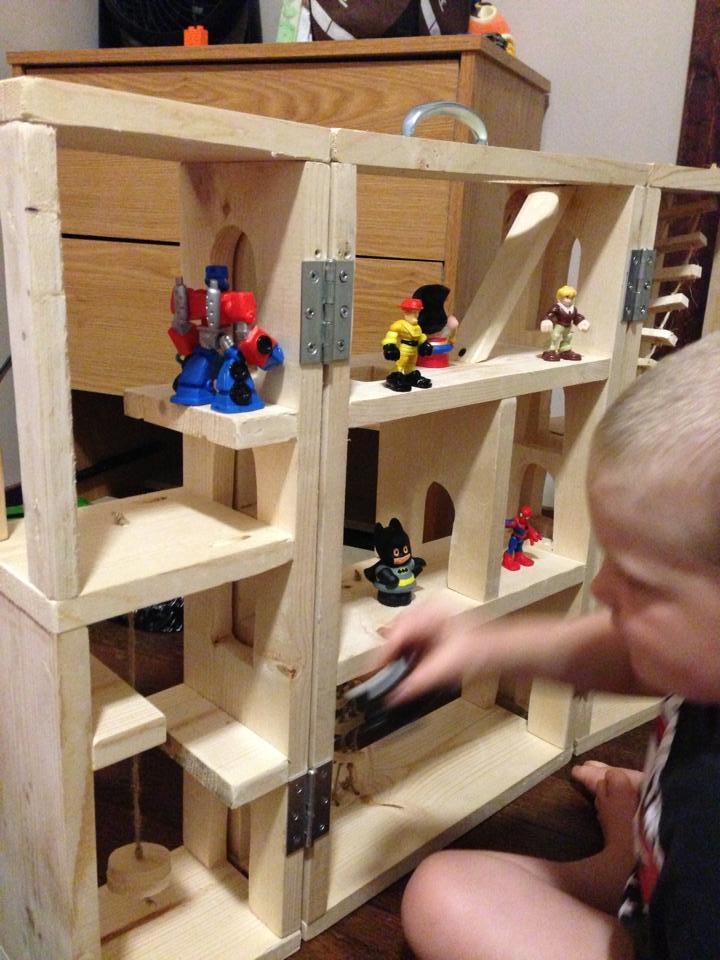
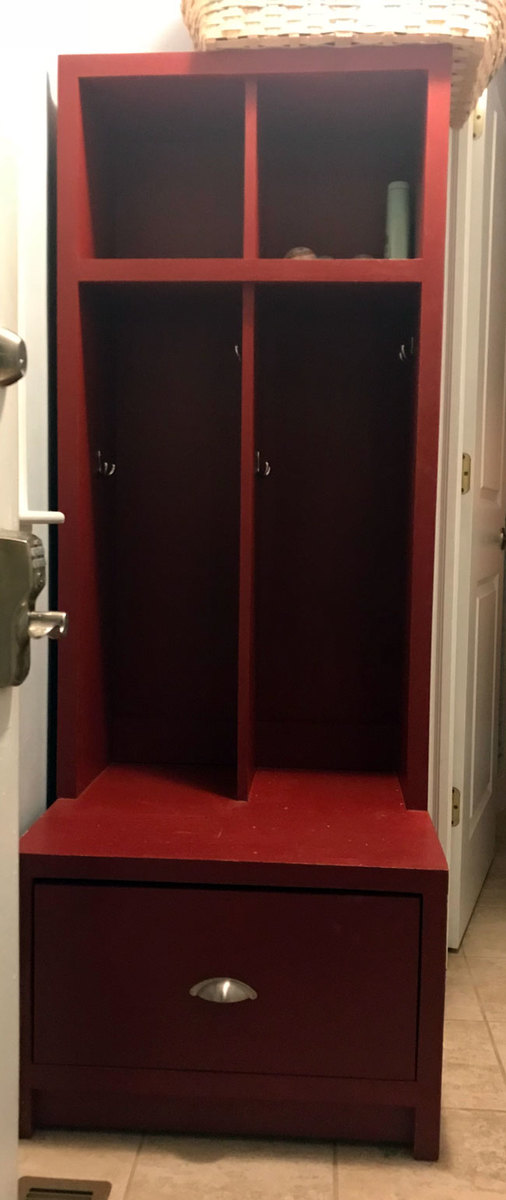
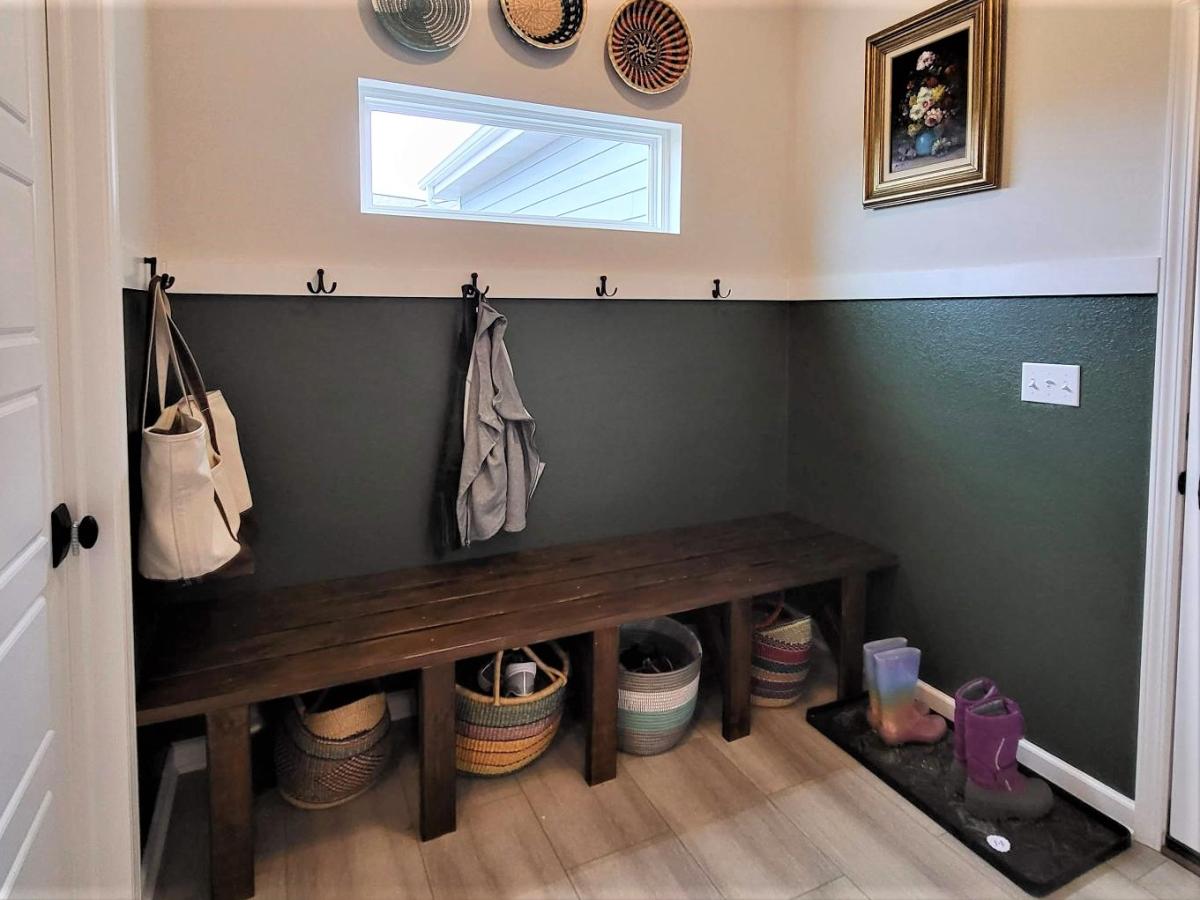
Entry Cubby-First Project

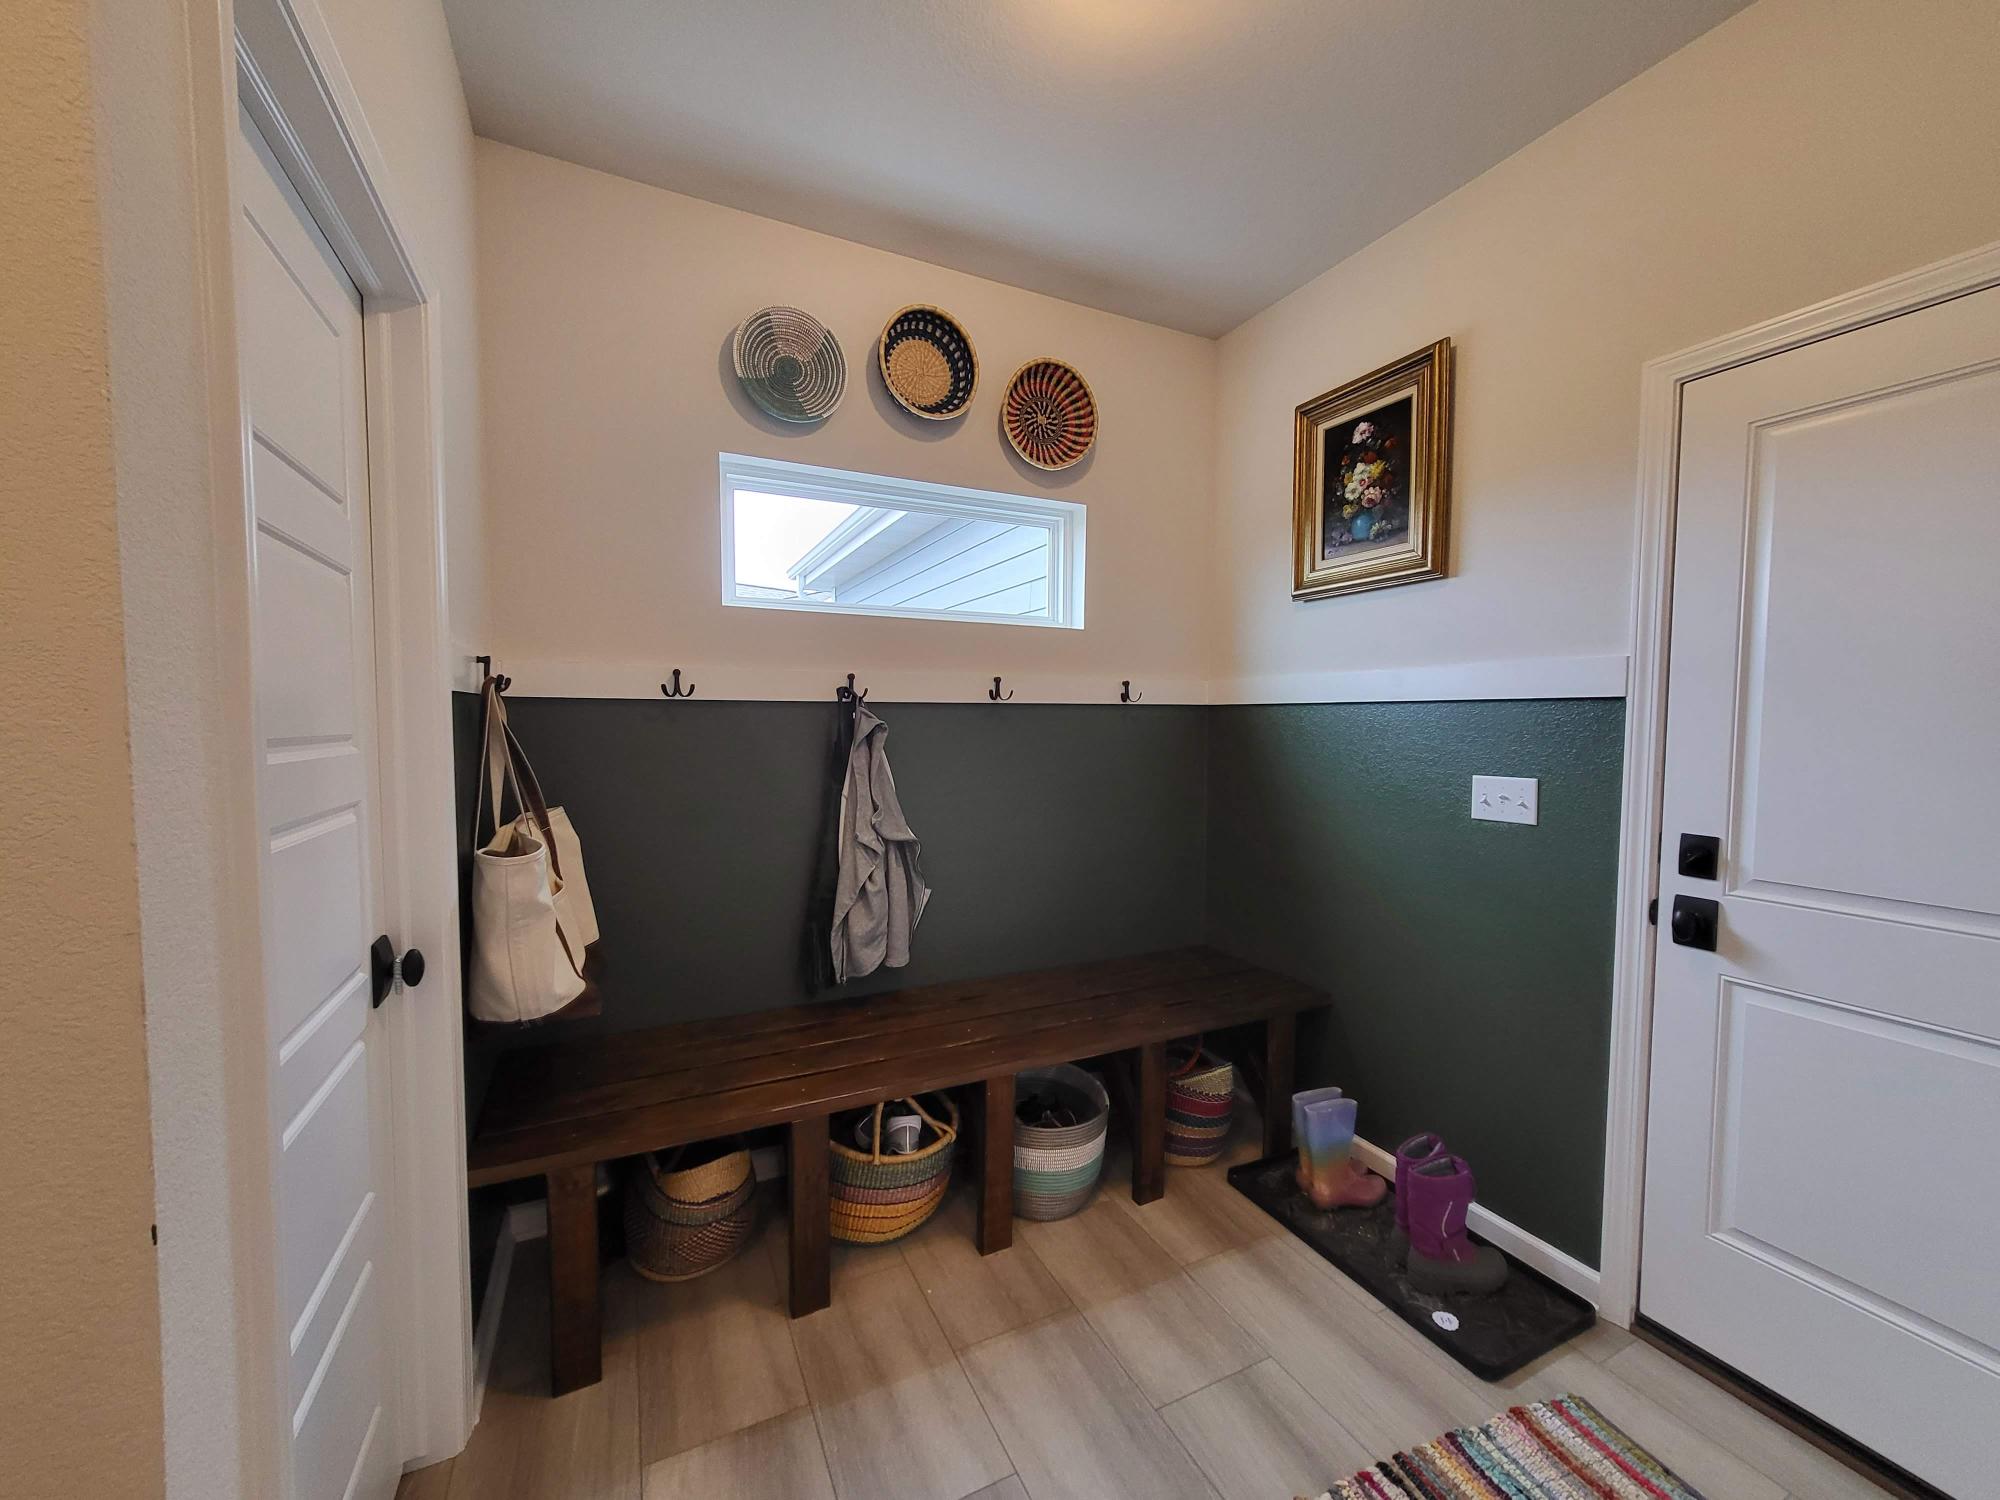
Used the warming hut bench plan to build this rear foyer bench! I used Behr Stain & Poly in Mission oak (2 coats) and love the way it ties in with the rest of our house. Plus I love saying "Thanks, I made it!" when people see it and ask where I found something that fit so perfectly. :)
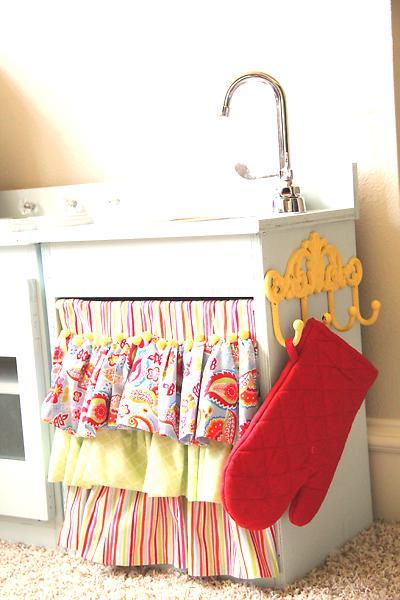
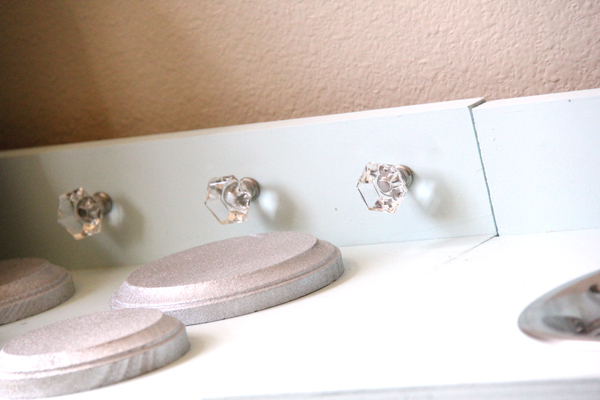
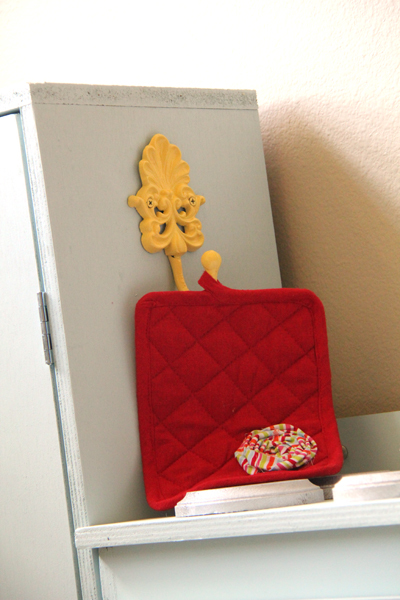
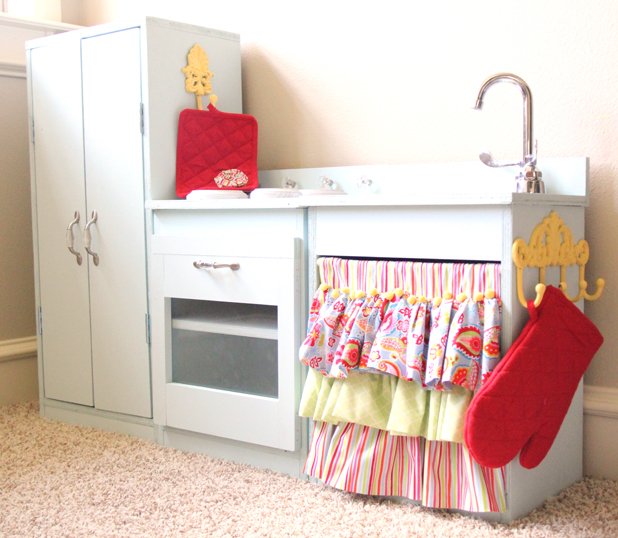
I used Ana's plans for the play stove, fridge and sink. I LOVED Crafting Chick's take on it so I copied her great accessories. I found my knobs at Walmart and my hooks at Hobby Lobby. I also found the fabric at Hobby Lobby. I used 3/4" hardwood plywood, but if I could do it again I would have used MDF. It's much smoother! I still love it though! Oh... So do the kids ;-)) You can read more details at http://www.shanty-2-chic.com/2011/07/play-kitchen-reveal.html.

Thu, 12/22/2011 - 16:05
Hi! We are building this kitchen right now and can not figure out how to mount the hinges!
Not sure what kind of hinges you used? we bought some regular door hinges but they are only able to mount to the outside of the doors. please help. thanks!