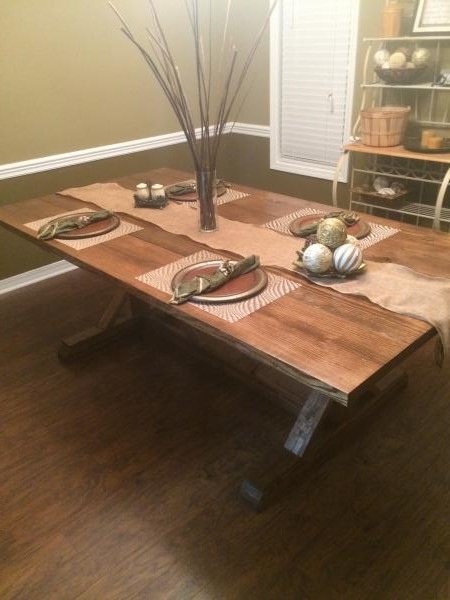
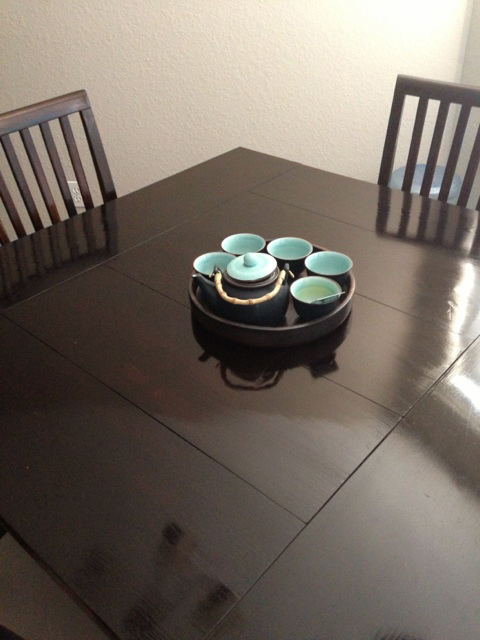
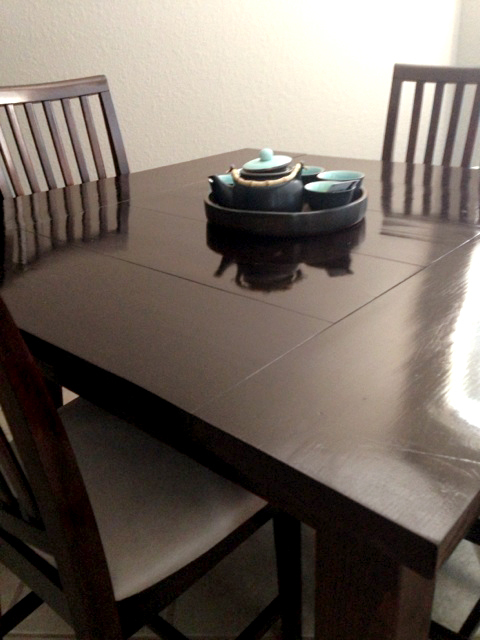
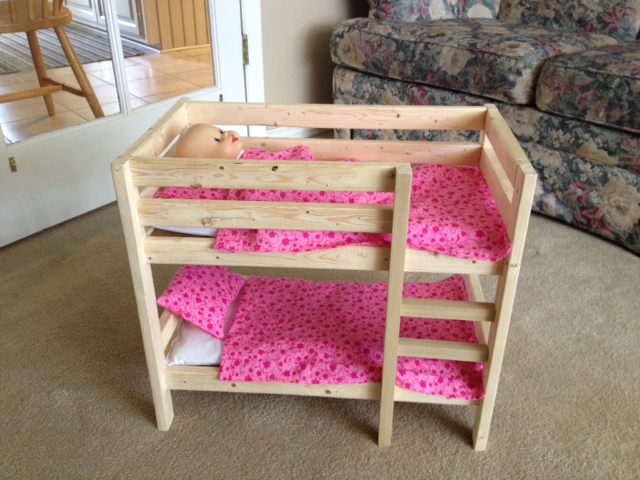
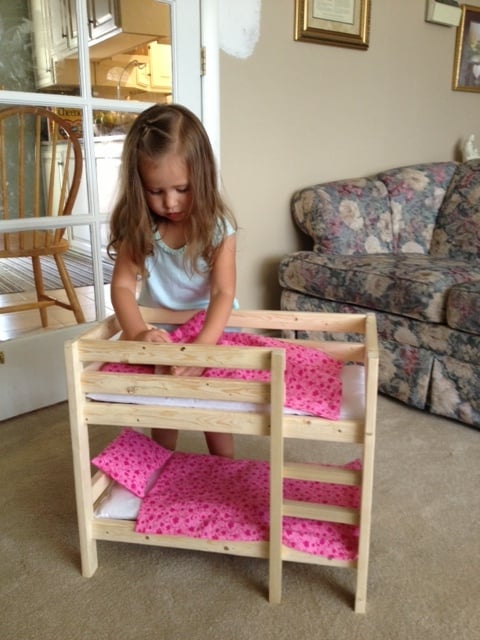
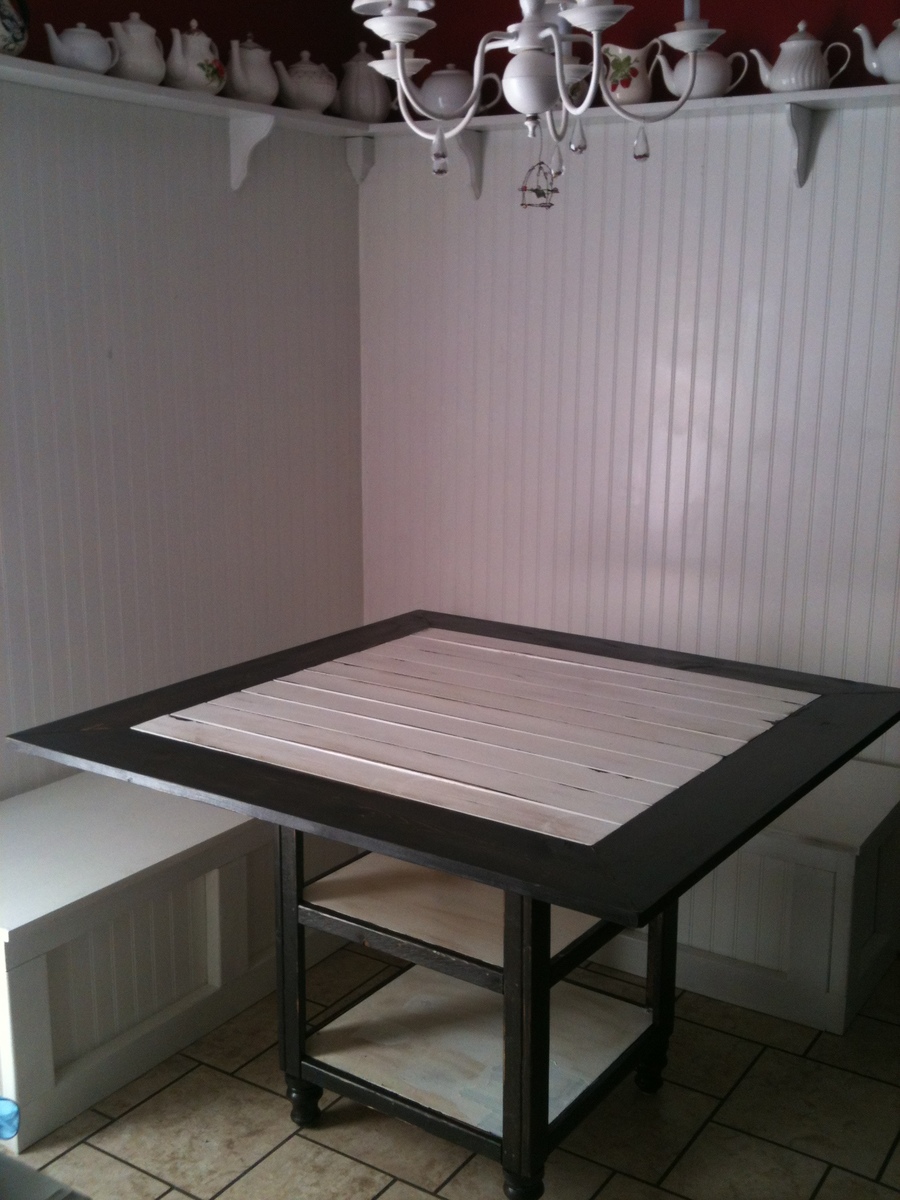
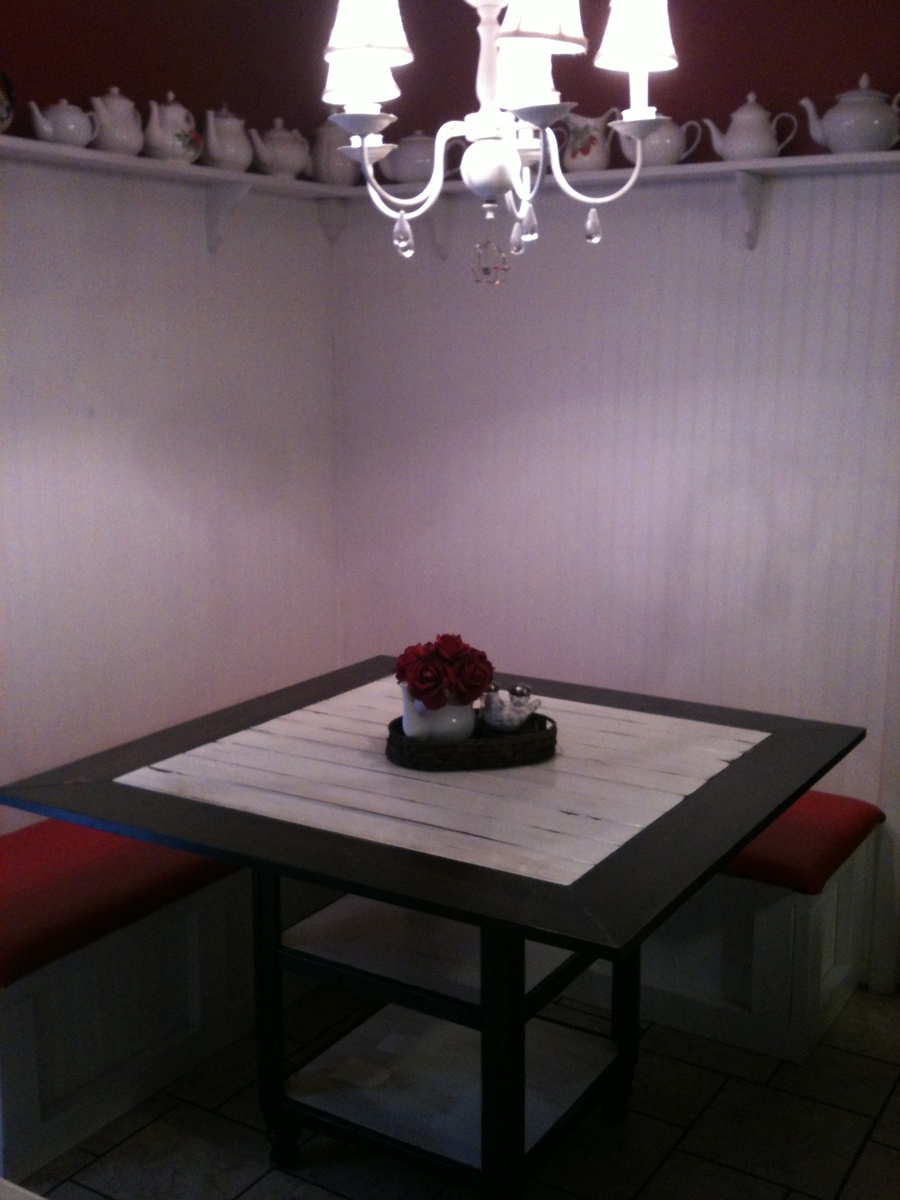
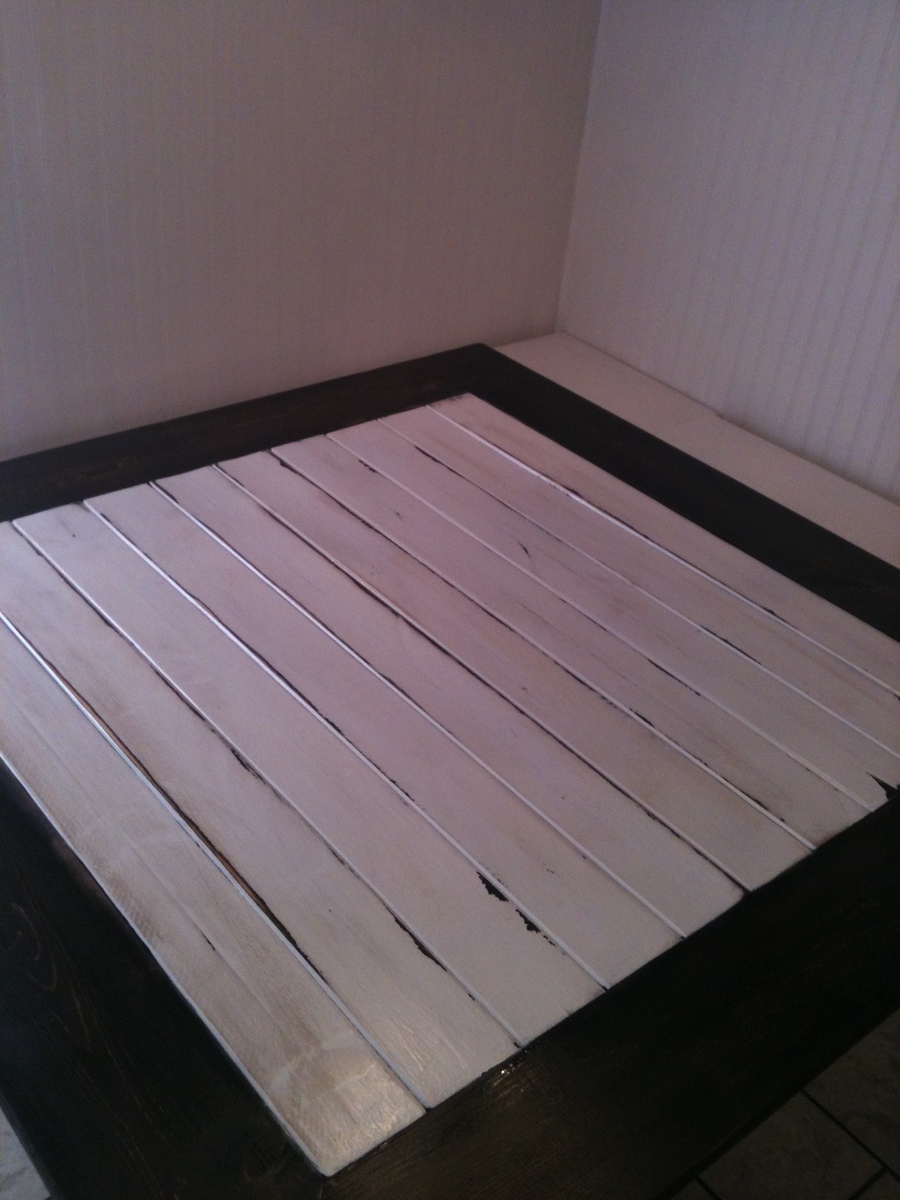
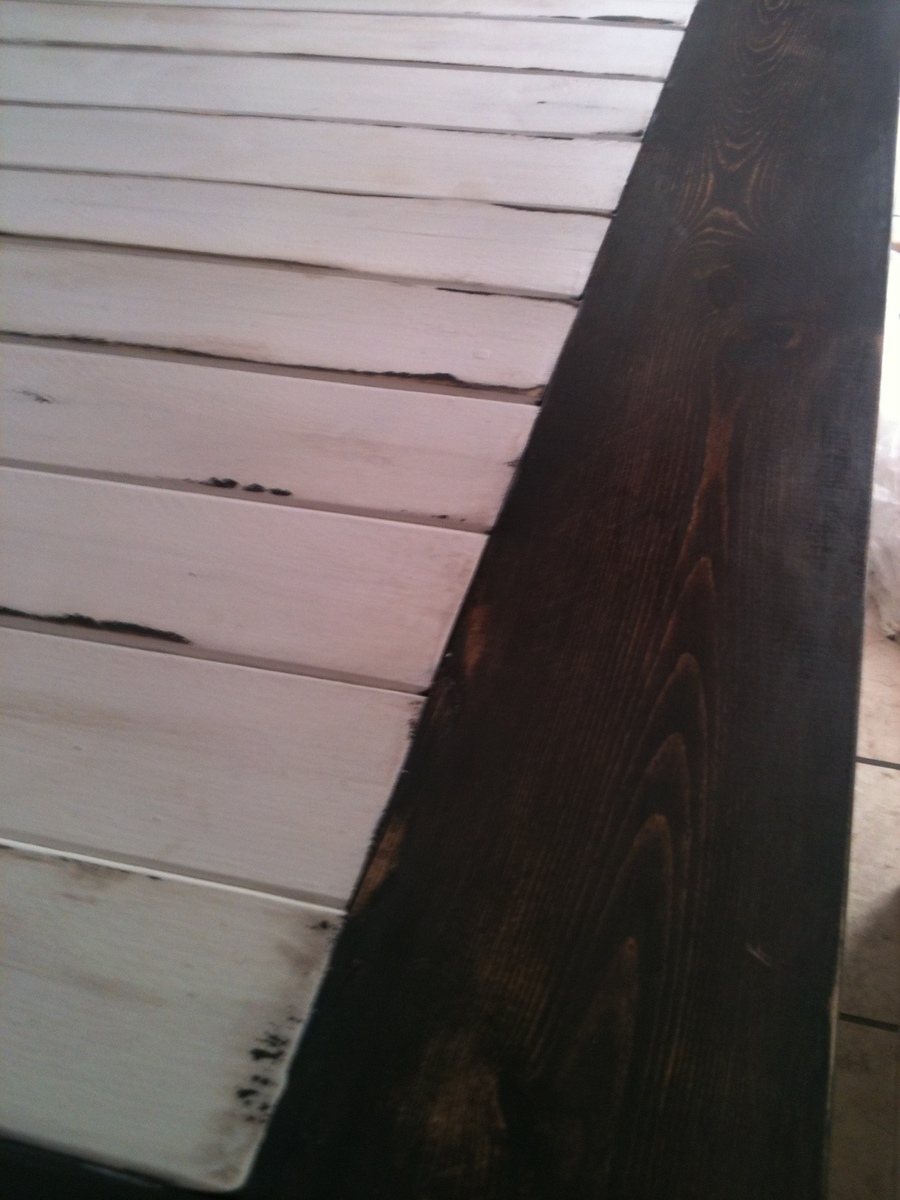
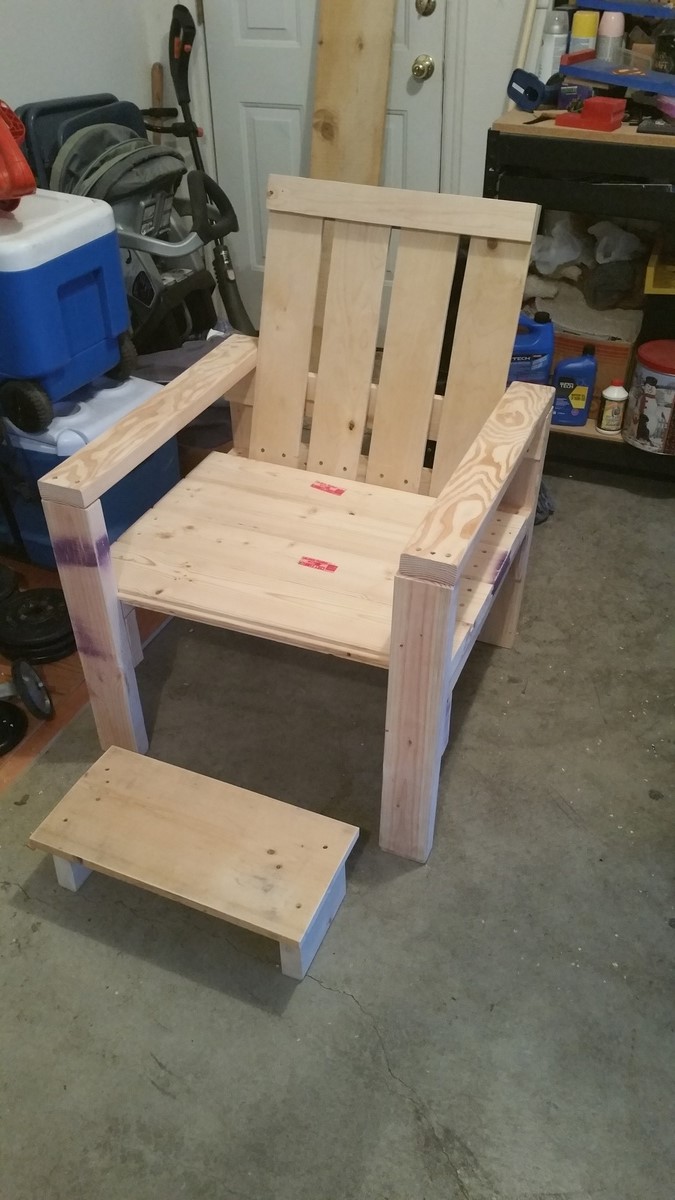
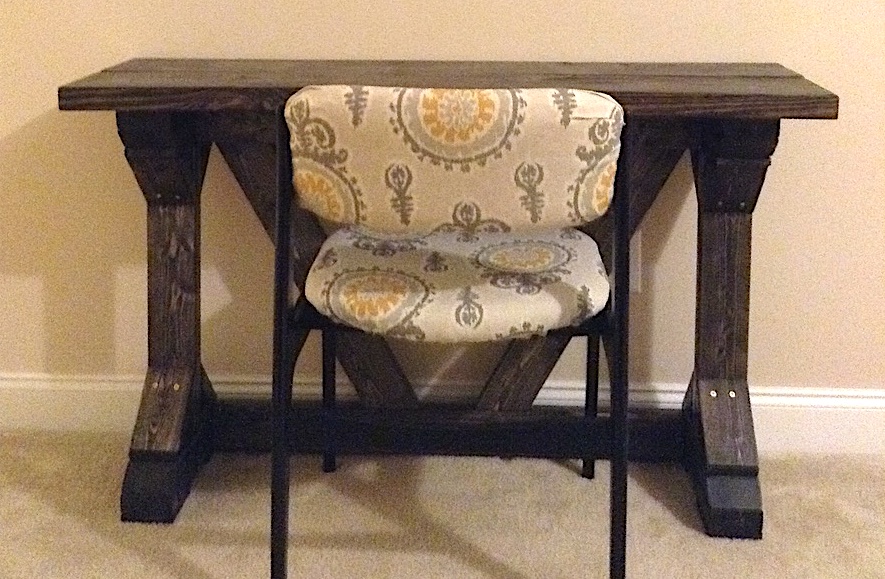
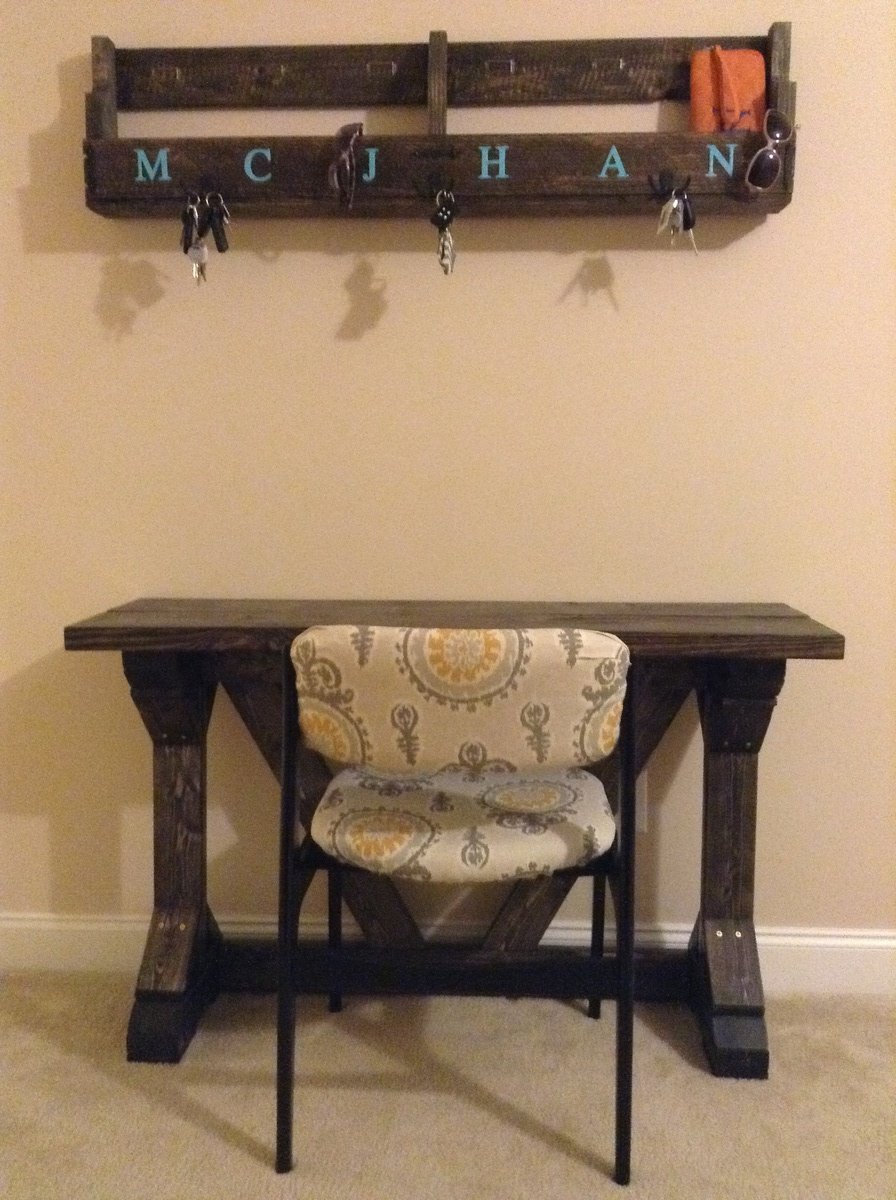
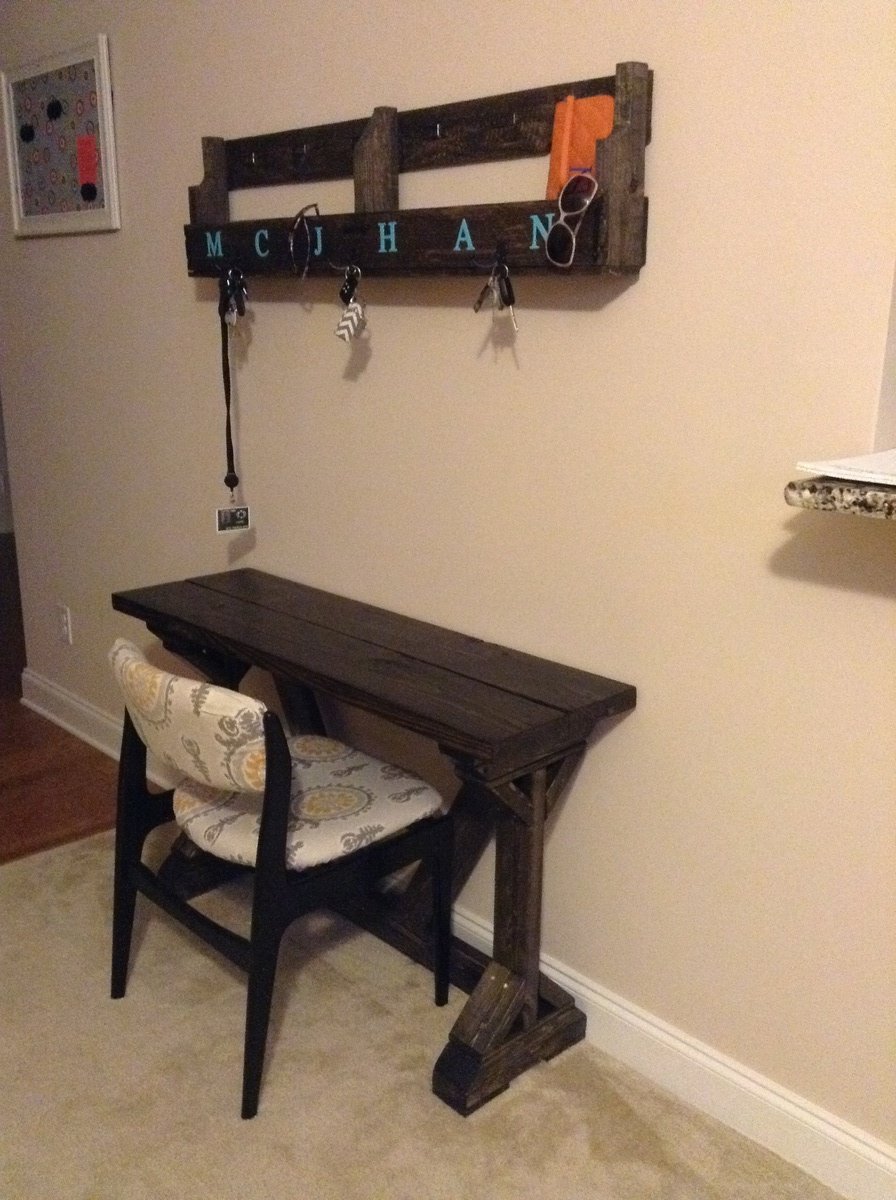
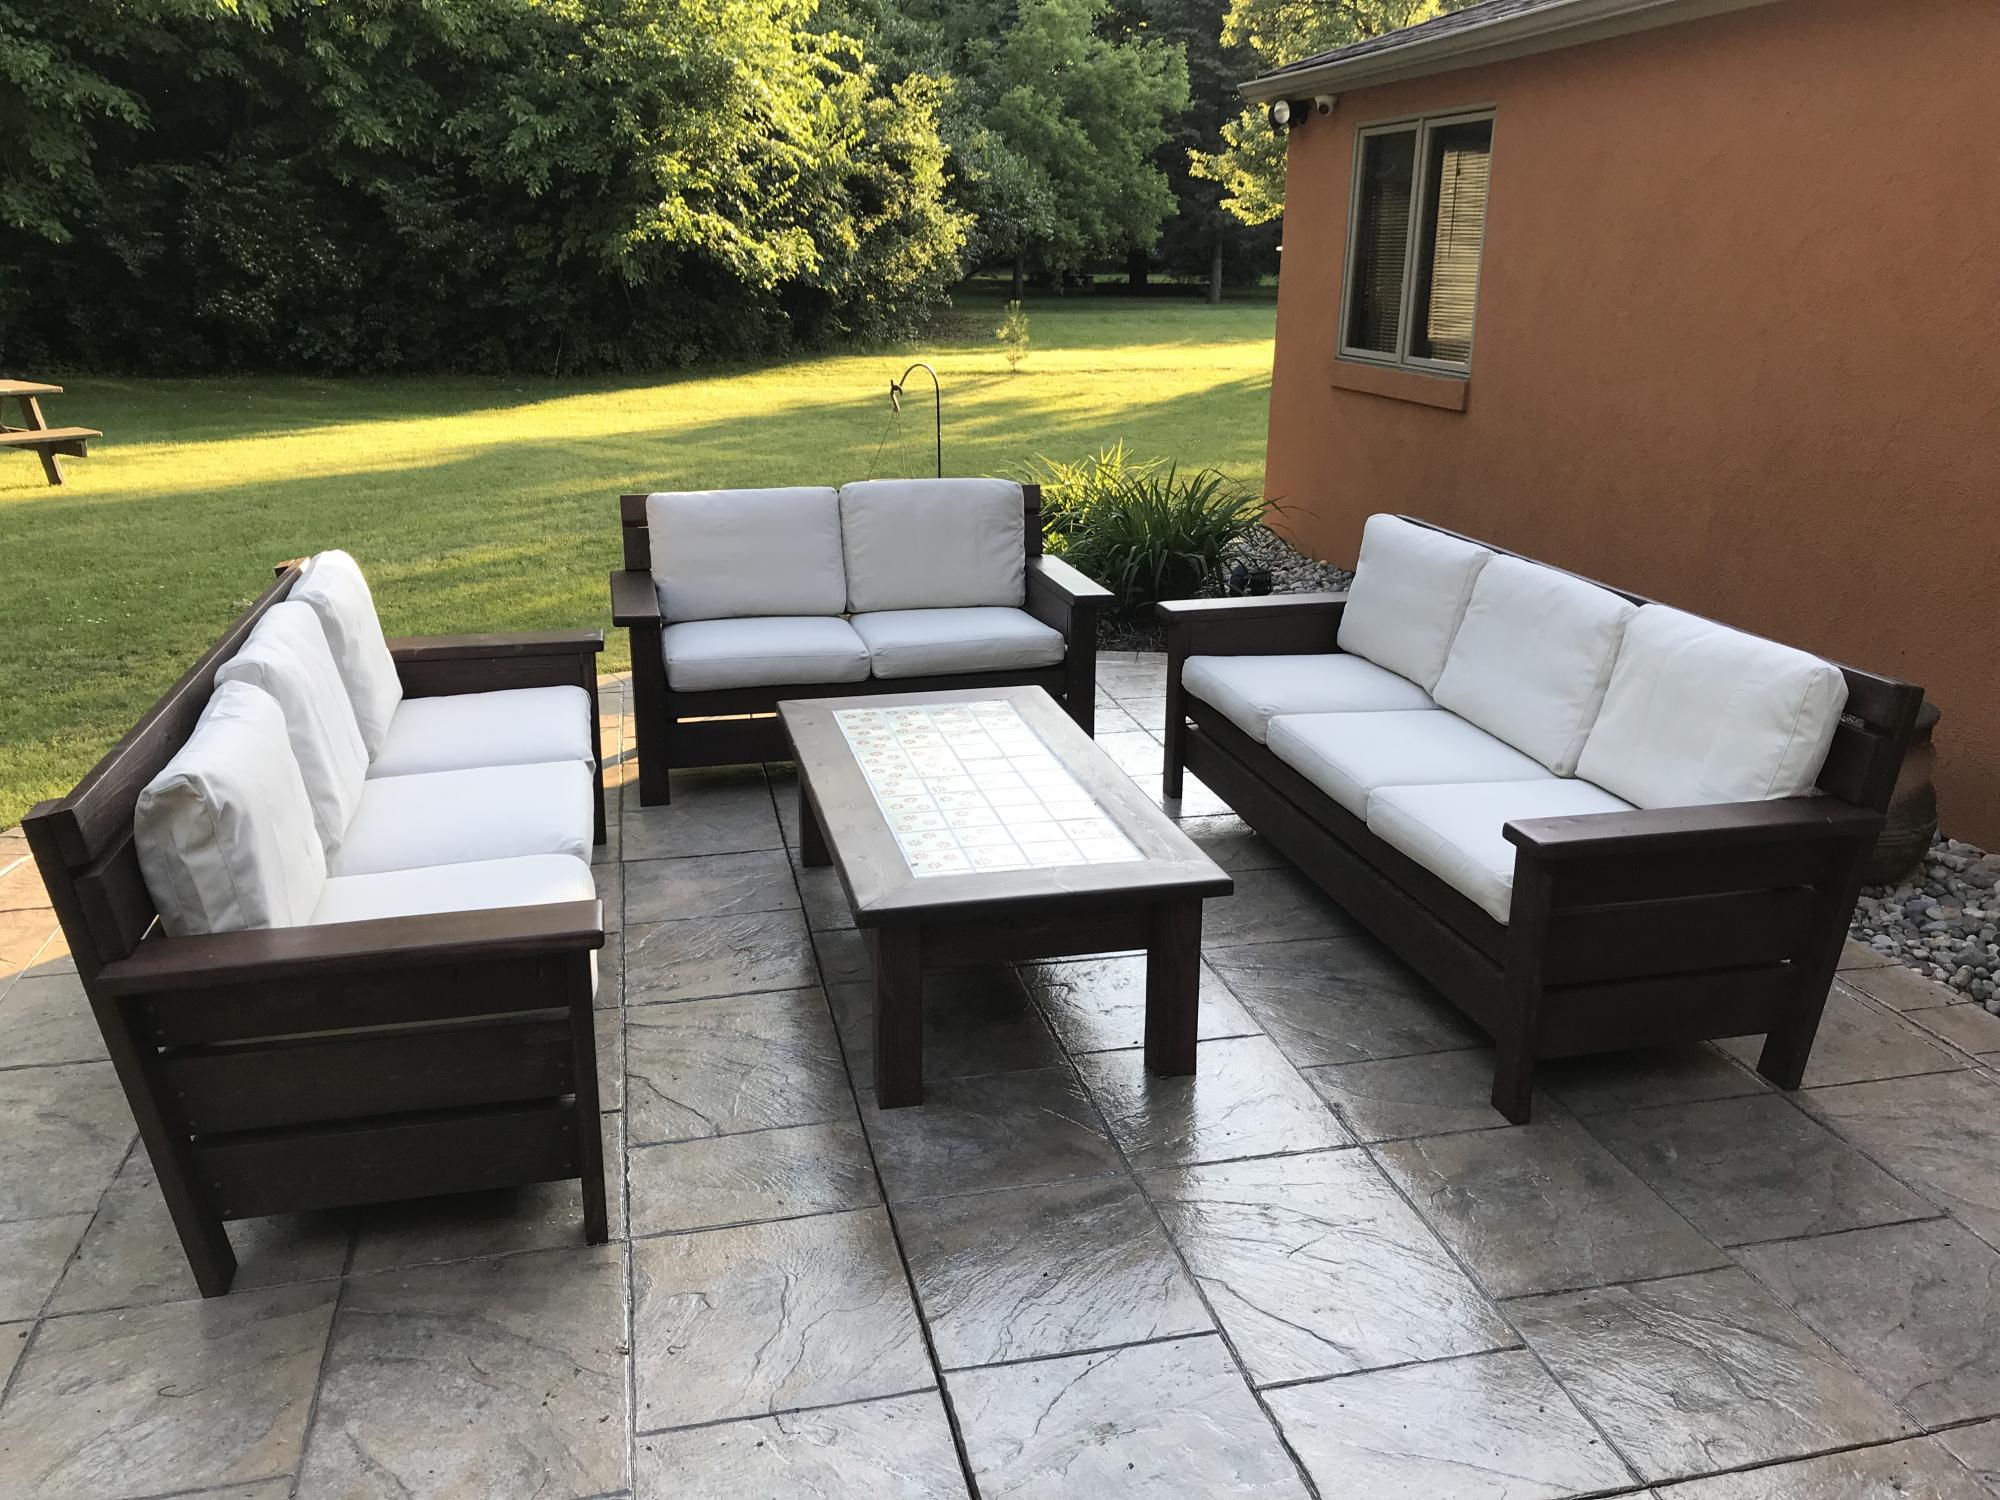
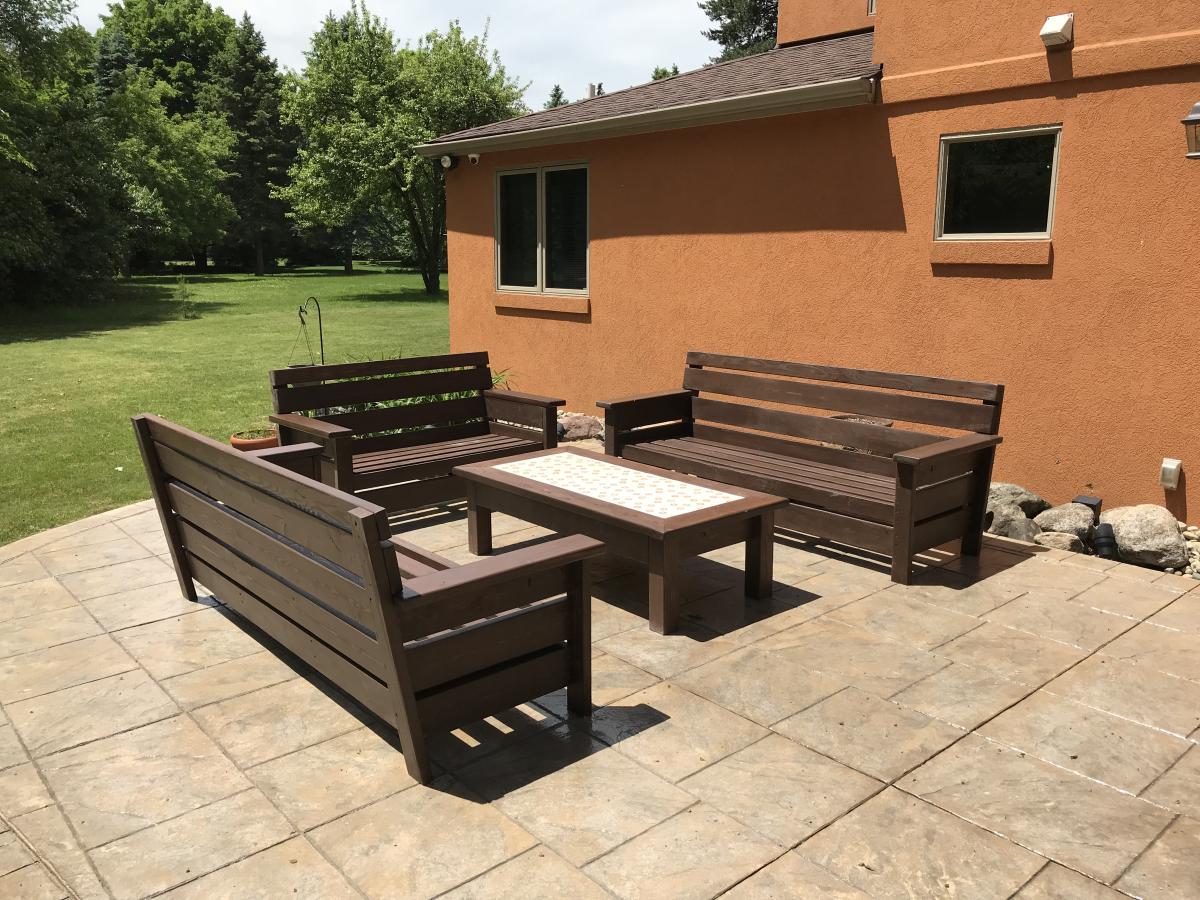
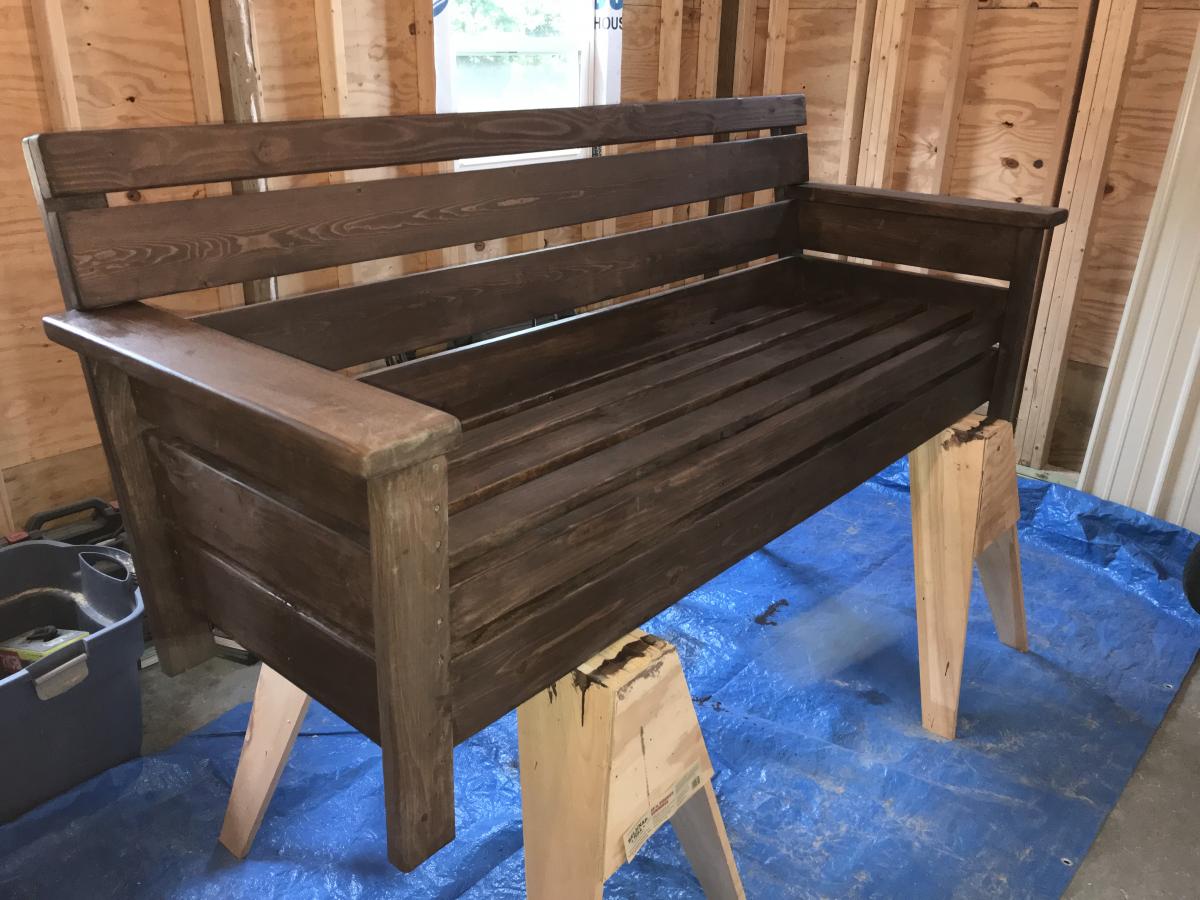
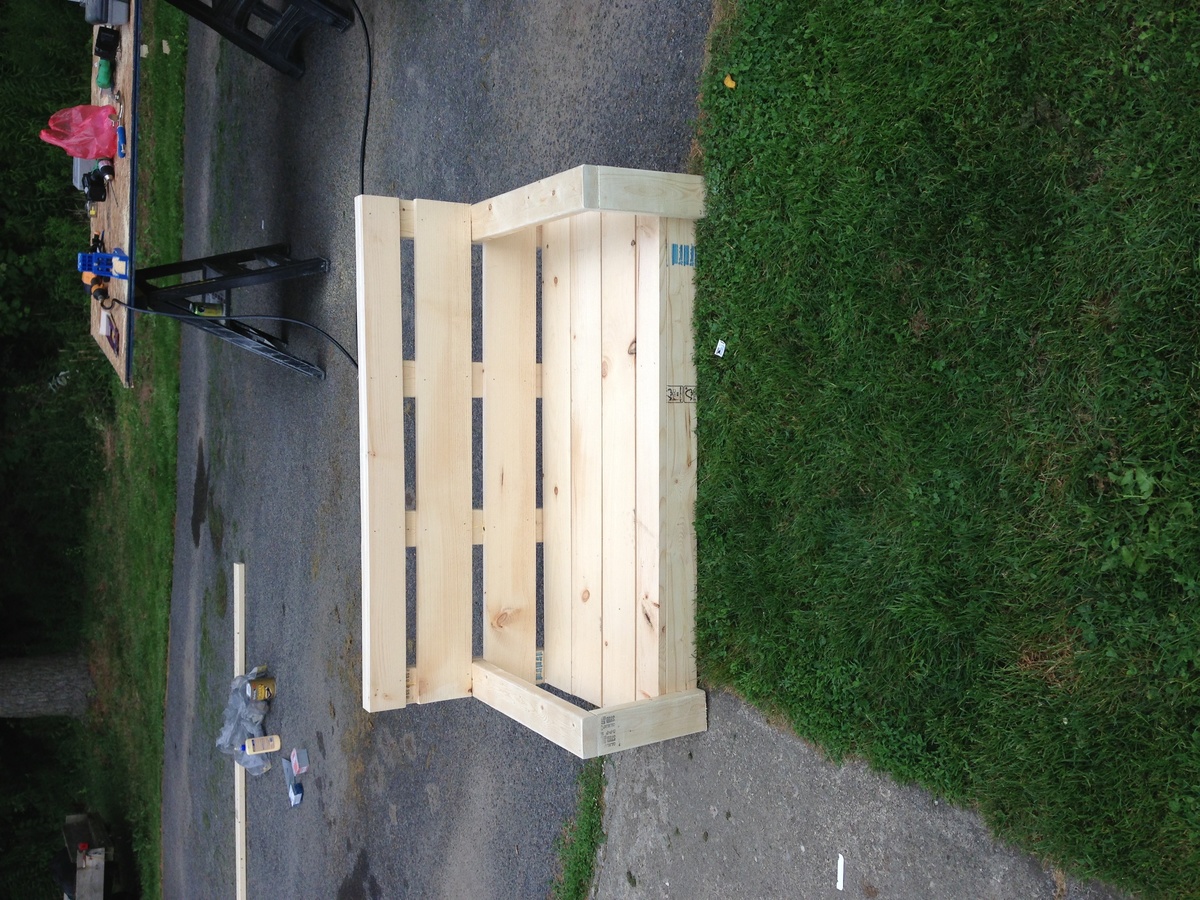
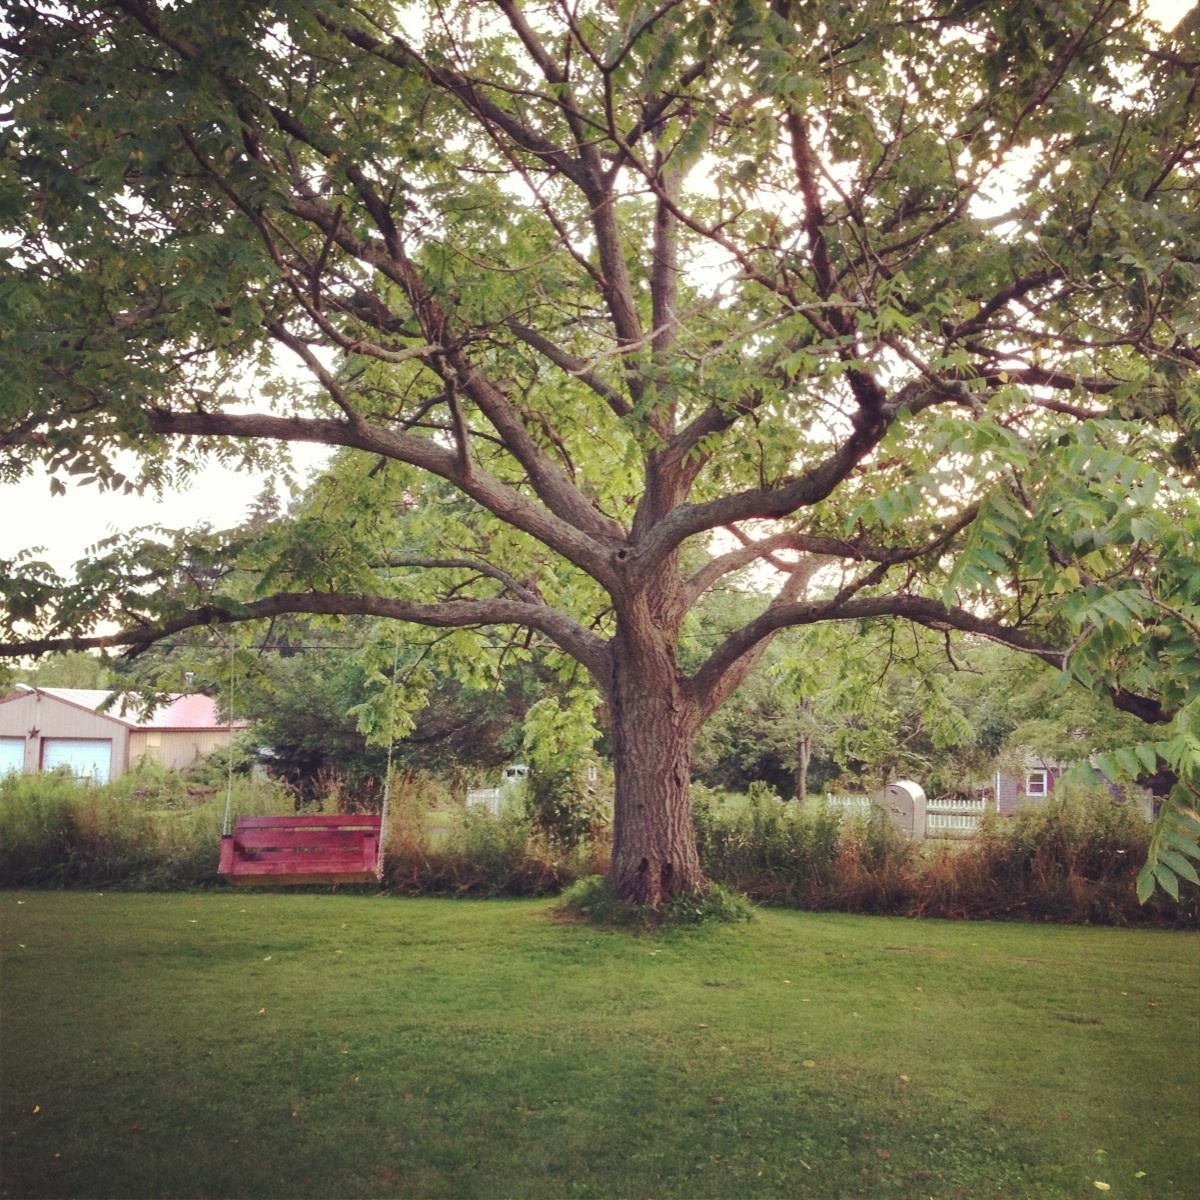
Community Brag Posts

First Project

Submitted by Mightyd40 on Tue, 07/30/2013 - 07:08

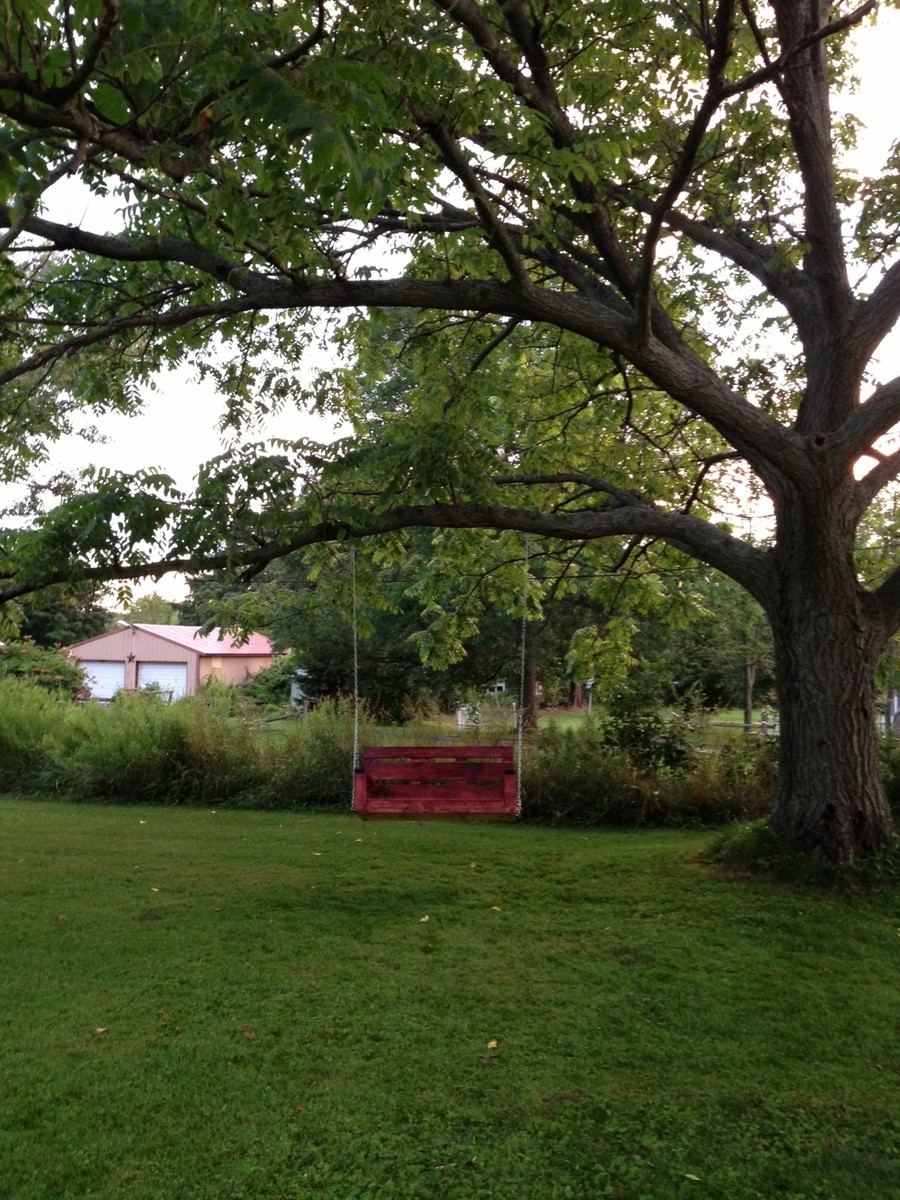
After a couple years out of bodybuilding because of a bad injury, I decided I really needed a new hobby. I've always been impressed with woodwork but it just seemed out of my reach. I wanted a porch swing and saw these plans and though, "even if I mess up it'll only cost me a couple hundred dollars". I bought the kreg jig kit and some lumber and thankfully have all the other tools I need. This only took me a few hours to build and it was so easy and a really good time. I watched a few you tube videos with both ana and Jeff devlin from Kreg Tools and it really prepared me. The job was fun and I plan on going back to the lumber store this week just to build more stuff I probably don't need lol.

Built from Plan(s)
Estimated Cost
$250 for lumber/ kreg jig and a few other reusable initial purchases
Estimated Time Investment
An Hour or Two (0-2 Hours)
Finish Used
Minwax Bombay Mahogany stain and Poly mix
Recommended Skill Level
Starter Project

$10 Ledges Reading Nook

Submitted by kelli224 on Wed, 06/29/2011 - 15:22

We needed something to help with our book storage problem - something easier for the kiddos to get to and also clean up. We've made the ten dollar ledges before for our kitchen, but this project was way more fun!

Built from Plan(s)
Estimated Cost
$10
Estimated Time Investment
An Hour or Two (0-2 Hours)
Recommended Skill Level
Starter Project

Comments

Farmhouse Table and Benches

Submitted by Keri Lee on Sat, 07/09/2011 - 09:35

It isn't perfect, but it's beautiful and made with love!

Estimated Cost
$100
Estimated Time Investment
Week Long Project (20 Hours or More)
Finish Used
I used MinWax stain in Dark Walnut and three coats of MinWax Fast-Drying Polyurethane in Satin finish to seal the stain. For the paint, I just used some white, satin Olympic no VOC paint right off the shelves at Lowe's. It was left over from painting my house. To date, I have not sealed the paint and I may not bother since it's holding up just fine. As far as my "technique" is concerned, I just followed Ana's tips about sanding between coats. I applied the stain and poly with a small white sponge roller. I used a paint brush for the legs since I feel like I get better results, even though it takes more time.
Recommended Skill Level
Beginner

Comments

Guest (not verified)

Tue, 07/12/2011 - 13:53

this looks awesome. What wood and stain did you use. I think we may try to do this.

Guest (not verified)

Tue, 07/12/2011 - 20:59

Same question! That is a beautiful finish; I'd love details on how you achieved it!

Guest (not verified)

Fri, 09/30/2011 - 04:31

This is EXACTLY what I was hoping to do with the table we just built. Would you be willing to share your finishing process here? Beautiful job.

Guest (not verified)

Tue, 10/18/2011 - 14:18

Im dying to know what the name of the color of stain you used for your table. It's beautiful! The color of the white part would be nice too:)

Keri Lee

Fri, 11/18/2011 - 14:03

Thank you so much for all your compliments! I apologize for not responding to your questions sooner, I never realized I had comments on this post! I used MinWax stain in Dark Walnut and three coats of MinWax Fast-Drying Polyurethane in Satin finish to seal the stain. For the paint, I just used some white, satin Olympic no VOC paint right off the shelves at Lowe's. It was left over from painting my house. To date, I have not sealed the paint and I may not bother since it's holding up just fine. As far as my "technique" is concerned, I just followed Ana's tips about sanding between coats. I applied the stain and poly with a small white sponge roller. I used a paint brush for the legs since I feel like I get better results, even though it takes a little more time.

Lady Bug Table

Submitted by heidii on Tue, 07/12/2011 - 10:07

This was my first try with an Ana White plan. It was tons of fun, and my husband came up with an awesome paint design. Here it is:

Built from Plan(s)
Estimated Cost
$15 plan + $15 spray paint
Estimated Time Investment
Weekend Project (10-20 Hours)
Finish Used
I used spray paint and then lacquer. It would be simpler with regular paint because you wouldn't have to tape so many times.
Recommended Skill Level
Beginner

Comments

heidii

Tue, 07/12/2011 - 10:09

Use a piece of cardboard or sturdy paper to make the cut-outs for the spots.

Petite Planters for the Potager

Submitted by JoA on Mon, 08/19/2013 - 06:23

After building a large planter from Ana's plans and my salvaged fence wood I thought 2 smaller planters for the entrance to our kitchen garden would be nice. The complete instructions are on my blog, Let's Face the Music. Jo

Built from Plan(s)
Estimated Cost
$12 each
Estimated Time Investment
Day Project (6-9 Hours)
Finish Used
Benjamin Moore Exterior Semi-gloss in Bunker Hill Green over exterior primer.
Recommended Skill Level
Beginner
Seasonal And Holiday

Tweaked 6 cube Cubby and Bookshelf

Submitted by Ryan57ford on Sun, 09/09/2018 - 07:56

I used the 6 Cubby plans and just started tweaking.  First was the plan to just do 12 cubbies, then decided to just put in adjustable shelves for aethetic purposes and not having it look too "Boxy"  After that decided it would look better with doors too.


as for the shelf on top, I used the cubby bookshelf plans and just made it wider to match the width of the doors and then decided to also make it adjustable shelving as well.  (used the kreg shelf pin system.)


Overall turned out pretty good. I am making a even bigger one for my other room.

Estimated Cost
$250ish
Estimated Time Investment
Weekend Project (10-20 Hours)
Finish Used
Kona Stain
Recommended Skill Level
Intermediate

Square Farmhouse Table

Submitted by blawson972 on Wed, 08/21/2013 - 14:50

This was my first project! We just bought a house and have no furniture except a mattress on the floor! But soon, we will have a home full of custom built furniture :)

I modified this plan quite a bit so it would fit in my space better. My husband really wanted a square table, so I came up with this one based on the farmhouse table. I changed the table top pieces to 2x10’s simply because I like how they look. It took me quite a while because I wanted the top to be super smooth with minimal gaps between the boards, so I ran the boards through a planer quite a few times until they were perfectly flat. Also, since it is square and smaller, we didn’t need the support beam along the middle.

I really wanted chairs that matched the table, so I ordered chairs that were unfinished and stained them to match the table. This took FOREVER and they were a little expensive, but they turned out great! We also got 2 barstools that match.

Like any other project, the finishing took the longest. I sanded for what felt like 20 years, then stained and poly’d for another 10. I am pretty happy with it considering it was my first try!

Estimated Cost
$75.00 - table only
Estimated Time Investment
Week Long Project (20 Hours or More)
Finish Used
I used Minwax Dark Walnut oil based stain for everything and finished with 2-3 coats of Minwax polyurethane in satin. I really didn’t want the table to be so shiny, but oh well! Looking back, I probably would have used polycrylic. It doesn’t protect as well, but it is much less shiny!
Recommended Skill Level
Beginner

Comments

blawson972

Thu, 08/22/2013 - 11:21

I ordered them from a manufacturer in California called Maywood Shops, LLC. The chairs weren’t that expensive themselves because they are a wholesaler, but I had to pay around $175.00 to ship them!! After that, they were comparable to store-bought chairs.

Doll Bunk Bed

This is my second project. (My first was the canopy doll bed.) It just took a couple of days to get it all cut, put together and sanded. This was my first time with the Kreg Jig and I loved using it. So awesome.

Estimated Cost
$5 for lumber
Estimated Time Investment
Afternoon Project (3-6 Hours)
Finish Used
Haven't put a finish on it yet...
Recommended Skill Level
Beginner

Shanty Open Shelf Coffee Station

Submitted by A_Soto on Wed, 10/21/2015 - 13:01

The first 'from scratch' project my husband and I have completed. For extreme beginners, definitely simple to put together for an amazing finished piece. 

Built from Plan(s)
Estimated Cost
$120
Estimated Time Investment
Day Project (6-9 Hours)
Finish Used
Extra storage in our main living/kitchen open area. Gave us tons of extra counter space by having a place to put our Keurig and espresso machine. Flat white paint, Charcoal stain used on top with polyacrylic finish. Spray painted hardware with Soft Iron spray paint.
Recommended Skill Level
Beginner

New Dining Nook

Submitted by nfontenot on Wed, 09/04/2013 - 10:16

I have always thought a comfy nook would be perfect for this corner in my dining area. Our house is small and lacks storage, so I also wanted a bench with storage. Our previous dining table was bar height and was uncomfortable for some guests; therefore, I wanted a standard height table and seating. Pre-made banquets are quite pricy and way out of our budget. I've been dreaming of this little nook for about four years and always thought it would be expensive to make. A few weeks ago I finally decided it was time to make it. Once I figured out the plan and measurements for the project and priced materials, I was astonished that the project would only cost me about $150-$200! The bench frame is made of 2x4 studs with MDF for the lid and leftover bead board for the bench face. I pre-cut my studs, assembled them, and attached the frame to the wall before I cut the tops. Once the bench was built, I started on the table. (I wanted to do all my painting at once.) I made the base using the plans for the storage dining table, and designed the 46"x46" square top in order to obtain the maximum amount of table top space I could get. The top is made up of 1x4s in the center and 1x6s (mitered at the corners) as the outer frame. I painted the entire bench with white semi-gloss paint. I stained the entire table dark brown and then painted the shelves of the base and the 1x4s on top with 3 coats of white. I then sanded the white to give it a distressed look and to allow the stain to show through. I also did a very light glaze of the stain in order to tone down the white. I sanded the stained parts of the table as well and then highlighted the natural wood showing through with a goldish stain. I finished it off with three coats of semi-gloss polyurethane. I padded the bench top using an egg crate mattress topper from the dollar store covered with a few layers of batting. I then covered it with red vinyl for easy cleanup and made the throw pillows for comfort and coziness! Considering that decorator fabric can be expensive, I waited for a Labor Day sale at the fabric store combined with store-issued coupons in order to get the best price for my fabric. I bought half a yard of the decorator fabrics at 50% off for pillow fronts and 3 yards of a coordinating clearance fabric (which was also on sale for an additional 50% off) for the backs. The vinyl was not on sale, so I was able to use a "40% off a regular priced item" coupon. I also used an in-store "Take an additional 15% off your entire purchase" coupon. I ended up saving about $70 on fabric! The total cost of my project was about $250, and it was custom-made! You can't beat that!

Estimated Cost
$250
Estimated Time Investment
Week Long Project (20 Hours or More)
Recommended Skill Level
Beginner

Comments

spiceylg

Wed, 09/04/2013 - 11:54

This came out so nice. Love the fabric and what awesome savings you got!

nfontenot

Wed, 09/04/2013 - 12:19

Thank you! It seemed like I would never finish because I had to do it all around my work schedule and other planned activities! It was my source of stress relief after long days at work! Definitely worth it!

drekin

Tue, 02/11/2014 - 10:32

This is exactly what I have in mind for my dining room. Can I ask how you did the corner of the bench? Did you build a frame for the corner as well?

Solid Sturdy Chair

Submitted by Rodax74 on Wed, 10/28/2015 - 18:34

I built this from a set of older plans on this site. Next, to paint and deliver ! It is a gift.

Awesome site, so many great ideas. I was also lucky enough to find all this wood in the bargain bin (70% off) at Home Depot. So my total out of pocket cost for the wood supplies was $5.68. So I was pretty lucky.

Built from Plan(s)
Estimated Cost
5.68
Estimated Time Investment
Afternoon Project (3-6 Hours)
Recommended Skill Level
Beginner

TV Console

Submitted by rjustice21 on Thu, 09/26/2013 - 07:49

My wife and I needed a new TV console. Our previous console was small and not useful. We took a weekend and made this. Couldn't be more pleased with the result.

Estimated Cost
$100
Estimated Time Investment
Weekend Project (10-20 Hours)
Finish Used
Special Walnut and White Paint
Recommended Skill Level
Beginner

Small Garage Workbench

Submitted by dmozer74 on Fri, 12/18/2015 - 21:17

Easy project. I needed this bench a bit smaller due to space constraints so this is 28" x 42". I kept the height the same and finished the surfaces with some thick polyurethane. It should be noted my cost was a bit higher due to buying a sanded plywood, coated self-tapping screws and a more expensive polyurethane. I also went a bit slow on this project and it took about 2.5 hours including application of the single coat of poly.

Estimated Cost
$75
Estimated Time Investment
An Hour or Two (0-2 Hours)
Finish Used
Satin polyurethane.
Recommended Skill Level
Beginner

Comments

Small desk for Family Command Center

Submitted by CAHJMAMA on Tue, 10/01/2013 - 17:40

Easy project and so cheap. I love the way it turned out! We tweeted the measurements to fit in the small space we had for the desk. It looks an d works great.

Built from Plan(s)
Estimated Cost
$35
Estimated Time Investment
Day Project (6-9 Hours)
Finish Used
Black ebony stain (one coat) and 2 coats of polyurethane
Recommended Skill Level
Beginner

Simple Outdoor Loveseat with Storage

Submitted by kareylynn on Wed, 10/19/2011 - 10:20

I added storage to the bottom of the simple outdoor loveseat by creating one big board from 2 2x6 boards for each of the front, back, and side aprons using my KregJig. Then I added cleats around the bottom for a sheet of plywood, extra cleats around the top edge for the seat, and put the hinge on the original seat support board.

Estimated Cost
$120 for the lumber and $300 for the cushions.
Estimated Time Investment
Week Long Project (20 Hours or More)
Finish Used
Provencial stain with two light coats of Poly.
Recommended Skill Level
Advanced

Comments

Seasonal And Holiday

Farmhouse desk

Submitted by beingbrook on Wed, 10/26/2011 - 20:21

We wanted a desk for our sons bedroom and I love the farmhouse table plans. My husband modified the plans to make the table much smaller. The desk was finished with a vinegar/steel wool mixture to oxidize the wood and then clear wax was applied.

Estimated Cost
$30-$40 (we built this from scraps so it cost us $6 since we needed one extra board)
Estimated Time Investment
Afternoon Project (3-6 Hours)
Finish Used
Aged/oxidized wood using vinegar and steel wool. Full tutorial can be found http://beingbrook.com/farmhouse-desk/
Recommended Skill Level
Intermediate

Comments

Julie Terawaki (not verified)

Thu, 10/27/2011 - 00:43

I love the look of the wood. Inspires me to make one myself!

Julie Terawaki (not verified)

Thu, 10/27/2011 - 00:43

I love the look of the wood. Inspires me to make one myself!

hammertime

Thu, 10/27/2011 - 04:49

I really love that finish. I want to make a toddler bed for my BFF's little guy, but was wary of using stain, etc. This finish looks gorgeous and seems very organic.

RachelD

Thu, 02/05/2015 - 19:35

This table is beautiful! I'd love to modify this plan to be the size that you've built. I'm a novice and would love if you'd be willing/able to share the dimensions that you used.

patio living room - modified from modern chair plan

Submitted by herbsuprb1 on Wed, 06/12/2019 - 09:09

I created two sofas, a love seat and a table by modifying the modern chair.  I added a back extension, tipped the back back 10 degrees, and angled the seat platform down a few degrees.  Considered doing Adirondack arms, but my wife preferred the rectangular shape.  The table is a variation of the 2x4 patio table (base construction similar), but we substituted pine 4x4 legs for the 2x4s, and implemented a 2x6 "picture frame" around Mexican tile on top.

I used pocket screws to attach the arms to the sides, and also to hide screws on the table "picture frame".

All-in-all, I would say this is an elegant-looking patio set that should last quite a while.  Very solid, very heavy to move around (my only complaint).

We plan to add some colorful throw pillows.


Estimated Cost
This project was created from a Menard's metal siding trim "shipping crate" that they refused to take back on return - so the many 16 foot 2x6s came to me for free. With hardware, stain, sanding pads and the pocket screw jig, I would guess I have about $300 there. The cushions were somewhat expensive, but are built to last - got those from Ikea - "Duvholmen" and "Folsom" haha - 24 1/4" x 24 1/4" cushions, 24 1/4" x 16" back pillows. Those were about $65 (per SEAT) .. so 8 for this project ($520). The cushions only come in this light tan, or medium/dark grey.
Estimated Time Investment
Week Long Project (20 Hours or More)
Finish Used
Behr semi transparent outdoor stain (Padre Brown). First sofa was assembled then stained (mistake). The other pieces were cut, sanded 60/120 and stained. Arms were additionally sanded with a 320 grit prior to staining. Stained all pieces two coats with small roller, then brushed over. Assembly after staining produced a cleaner look on the stained finish.
Recommended Skill Level
Beginner

Comments

25" Turned leg bathroom vanity

Submitted by Anonymous (not verified) on Thu, 01/21/2016 - 02:01

I created this 25" single door turned leg bathroom vanity for the powder room. I used a grey base coat, then glazed it with a dark brown coat and finally put on a coat of satin indoor polyurethane to finish. The sink is a Kohler Persuade single hole sink with a Delta Cassidy faucet.

Built from Plan(s)
Estimated Cost
$250
Estimated Time Investment
Weekend Project (10-20 Hours)
Finish Used
I painted it with a light grey base coat, glazed it with a dark brown glaze then coated it with polyurethane.
Recommended Skill Level
Intermediate

Comments

rely1129

Thu, 11/17/2016 - 08:32

It looks great!  Can you share what paint you used for this vanity? I love the color and wish to replicate it.

jo2max

Sat, 12/10/2016 - 22:26

Thanks!  I used Home Depots BEHR Marquee interior satin enamel base paint with primer  "Moonquake N450-4" (medium base 7454). Then I used Rust-Oleum transformations decorative glaze "java brown" to finish it off.