Community Brag Posts

Great Garage Shelving

Submitted by Anonymous (not verified) on Fri, 07/15/2016 - 10:55

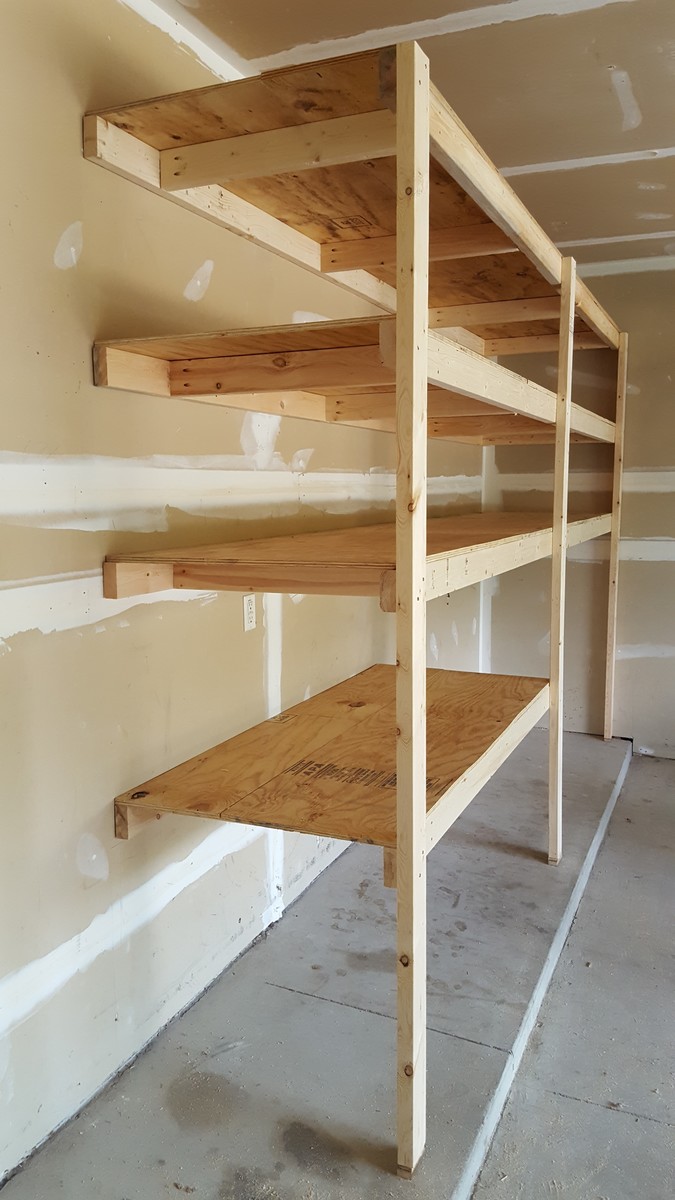
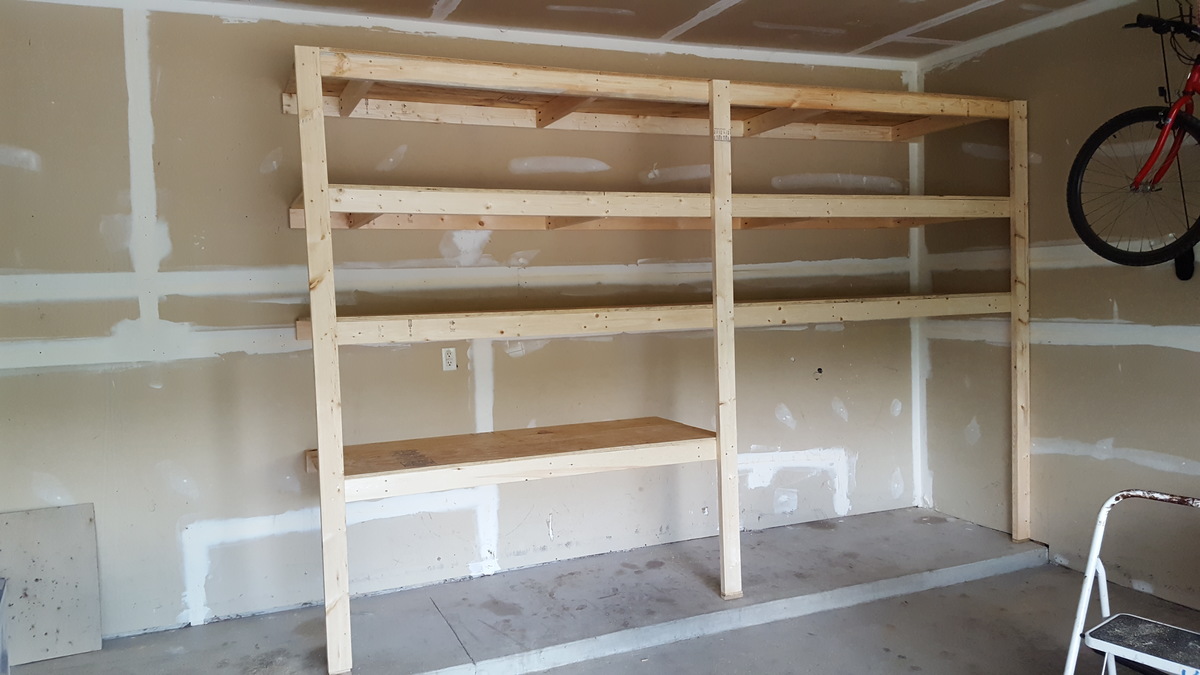
My husband and I built these shelves in our garage this past weekend.  This is one of our first diy projects and we are very happy with how it turned out.  The shelves are 30" deep, around 8 feet tall and 12 feet long.  This was also our first time using the Kreg jig, which we loved!

Estimated Cost
~$150 dollars. We added extra cleats and used thicker plywood (5/8" thick) because our shelves were deeper than original plans.
Estimated Time Investment
Day Project (6-9 Hours)
Finish Used
none
Recommended Skill Level
Beginner

Grandy Console/Couch Table

Submitted by Anonymous (not verified) on Mon, 07/18/2016 - 05:15

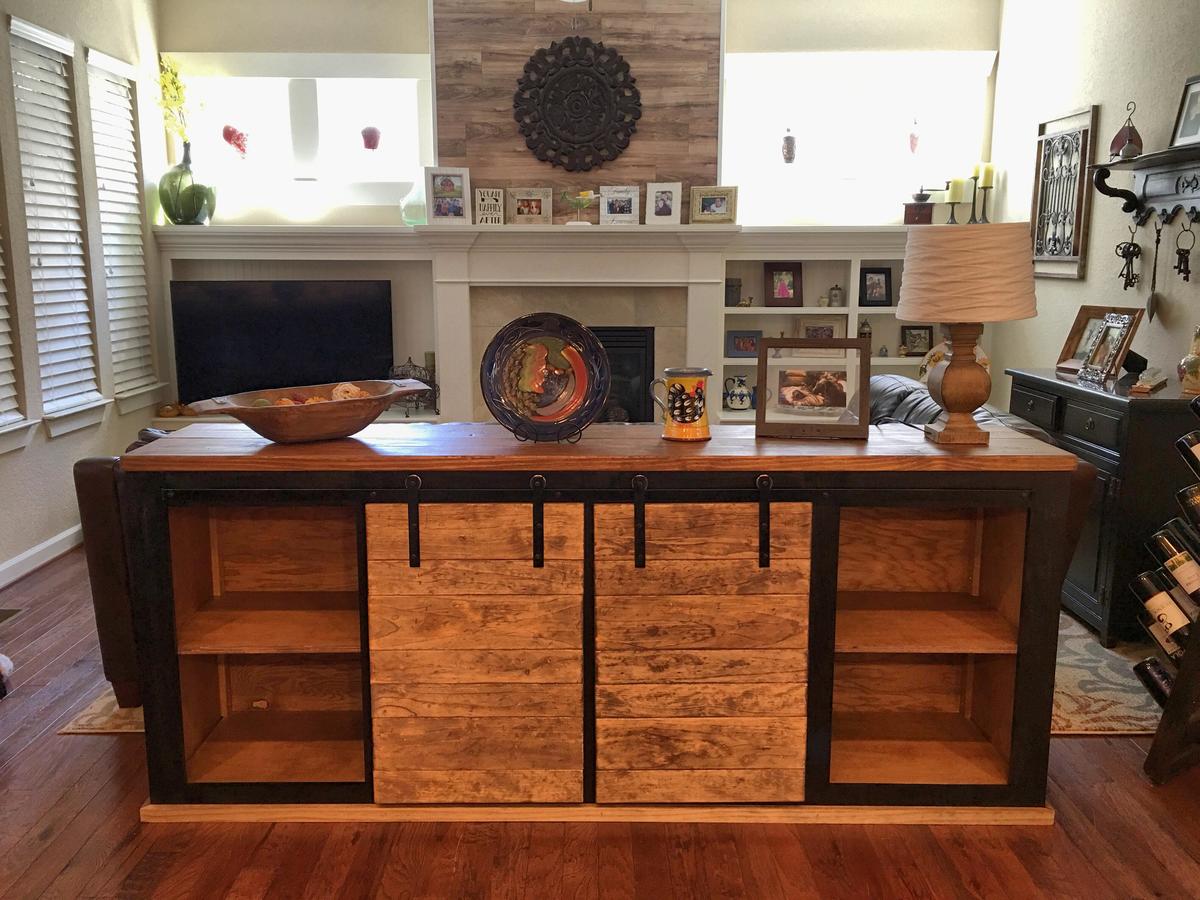
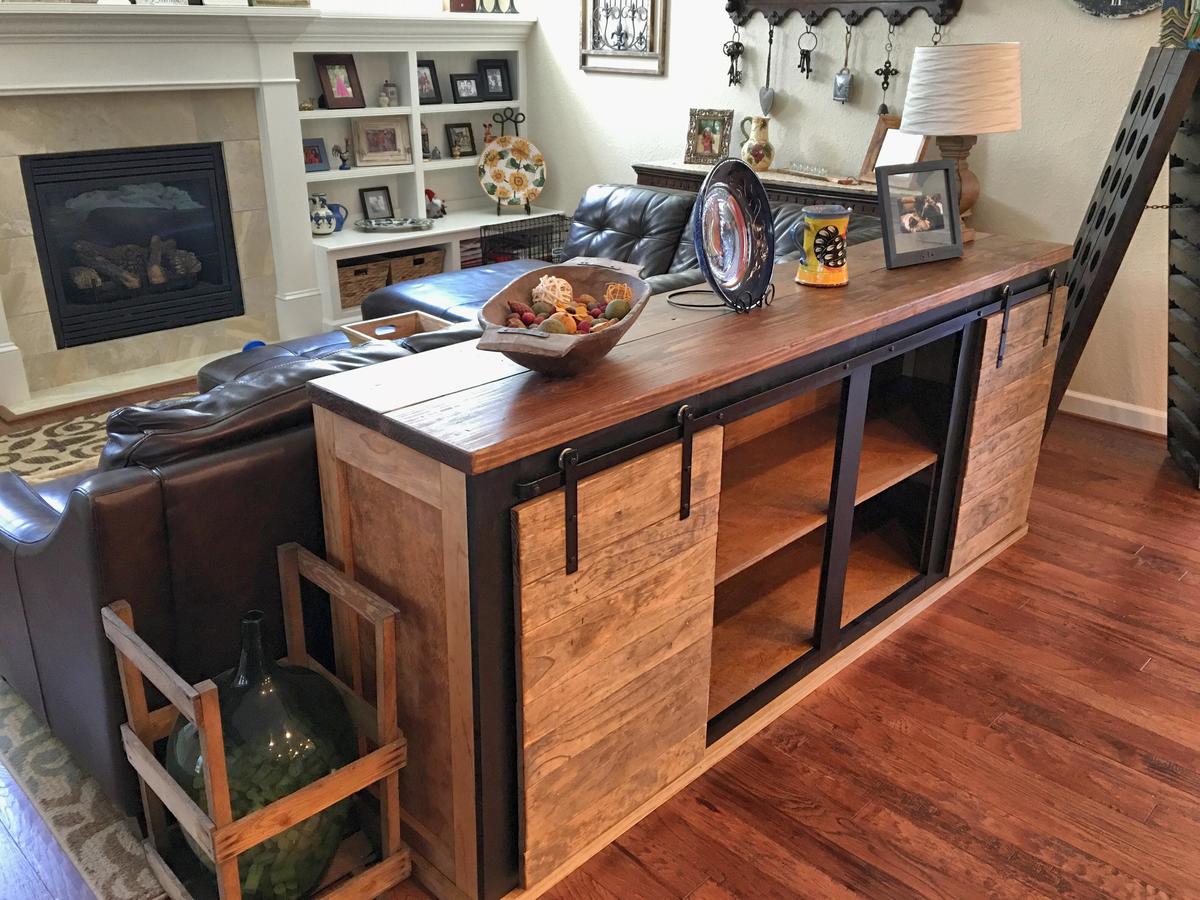
Thank you for the plans!

I used the following for the wheels,  they are AMAZING and dont require you to tear apart any pulleys. These wheels have bearings in them too,  which make them slide super quiet and smooth!

http://www.homedepot.com/p/Barton-Kramer-1-1-2-in-Precision-Bearing-Stainless-Steel-Wheel-2-Pack-43/205649620


Tony S.


Estimated Time Investment
Week Long Project (20 Hours or More)
Finish Used
Early American
Recommended Skill Level
Intermediate

Comments

Codding58

Tue, 07/19/2016 - 12:49

Wow, you did a great job on this project!   I really like the finishes that you used, they contrast very well!   I have been eyeballing this build for some time now, I think I'll give it a shot!

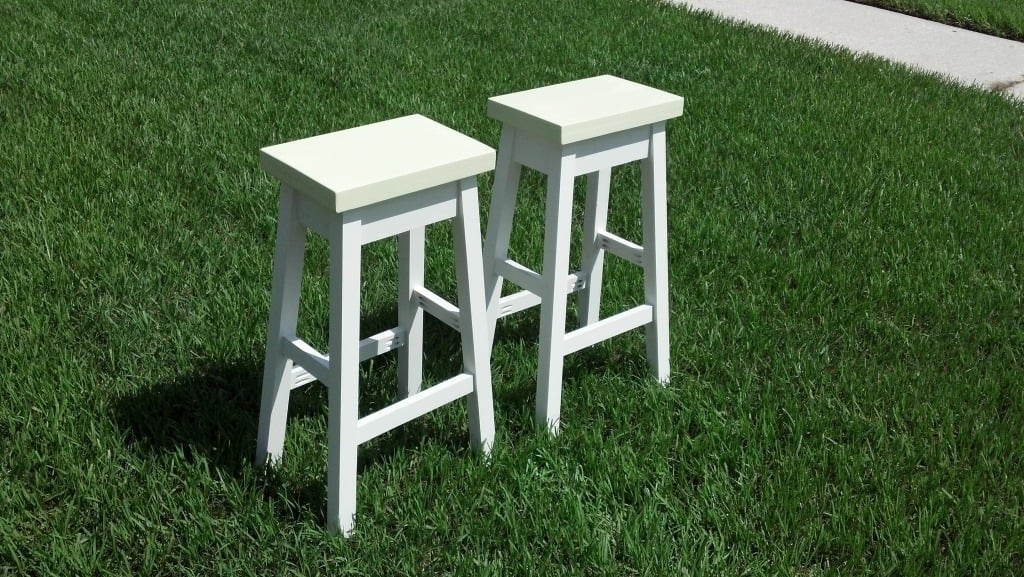
Bar Stool

Submitted by beansurfin on Thu, 07/05/2012 - 17:15

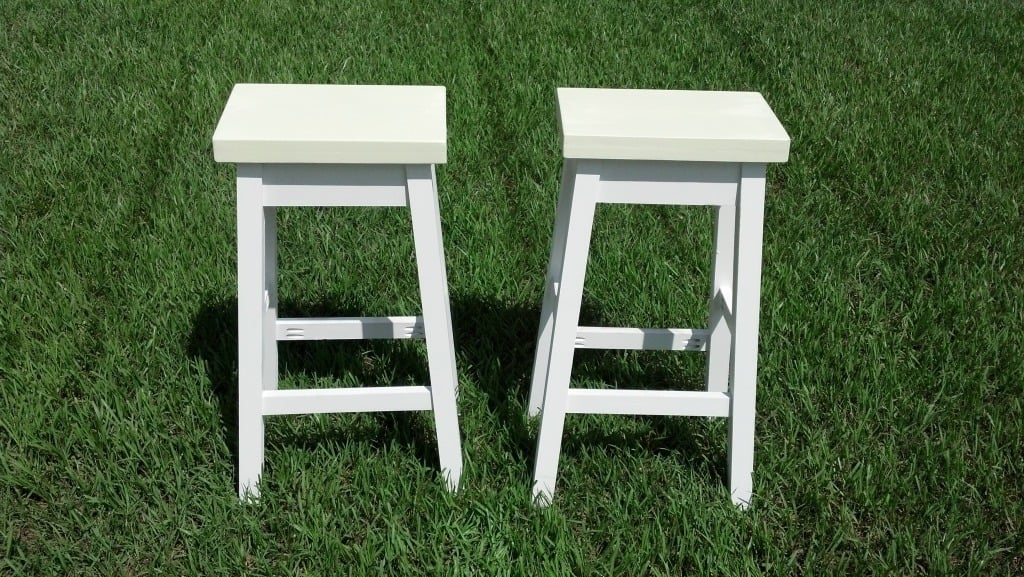
My wife and I needed bar stools for the kitchen and could not find ones we liked. Also, finding ones that were the height we wanted was a challenge. So, after seeing the plans for the Simplest Stool we decided to make them. It was really quite simple with the plans given. Even the angle cuts were not that bad. Thanks for the plans for this awesome stool.

Built from Plan(s)
Estimated Cost
<$50
Estimated Time Investment
Afternoon Project (3-6 Hours)
Finish Used
Painted with urethane top coat
Recommended Skill Level
Beginner

Comments

Jeromy (not verified)

Wed, 01/02/2013 - 10:35

Hi there
My wife loves your design so guess I'll be donning the old tool belt soon...!
Are there any plans of these to get me going?

Jeromy (not verified)

Wed, 01/02/2013 - 10:37

Hi there
My wife loves your design so guess I'll be donning the old tool belt soon .......!
Are there any plans of these to get me going?

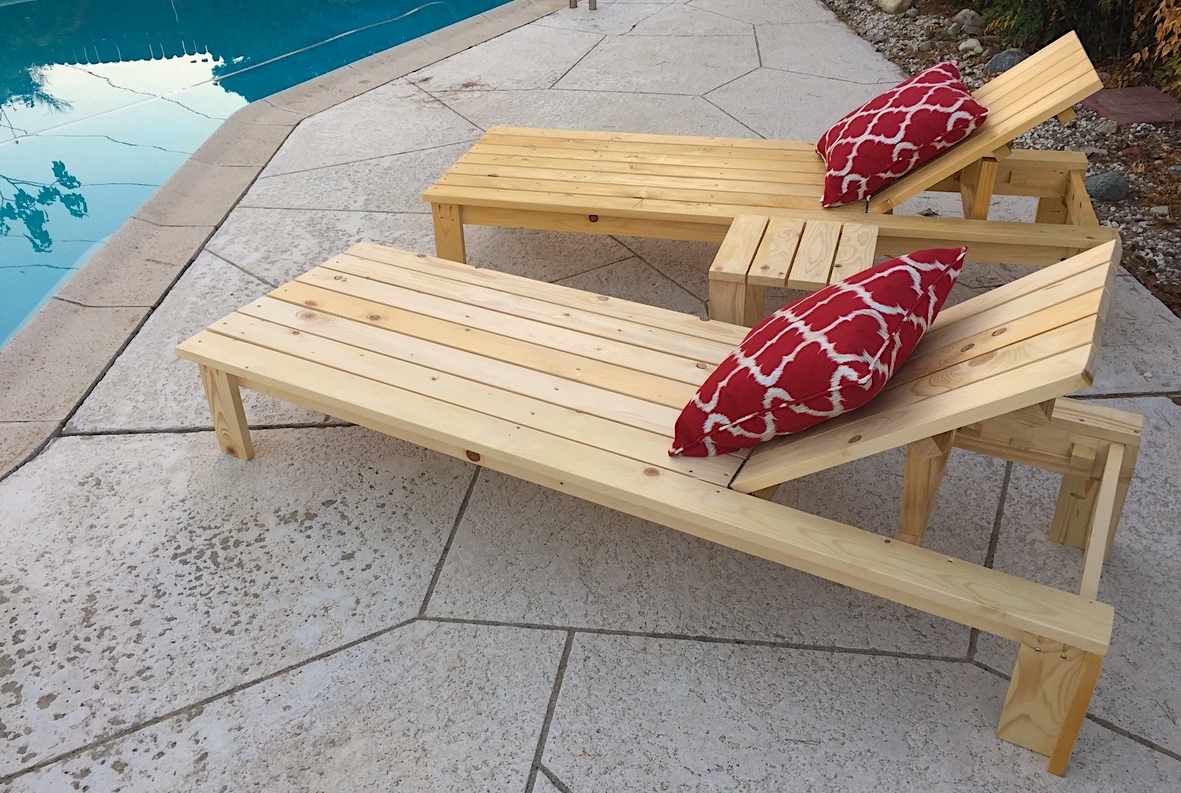
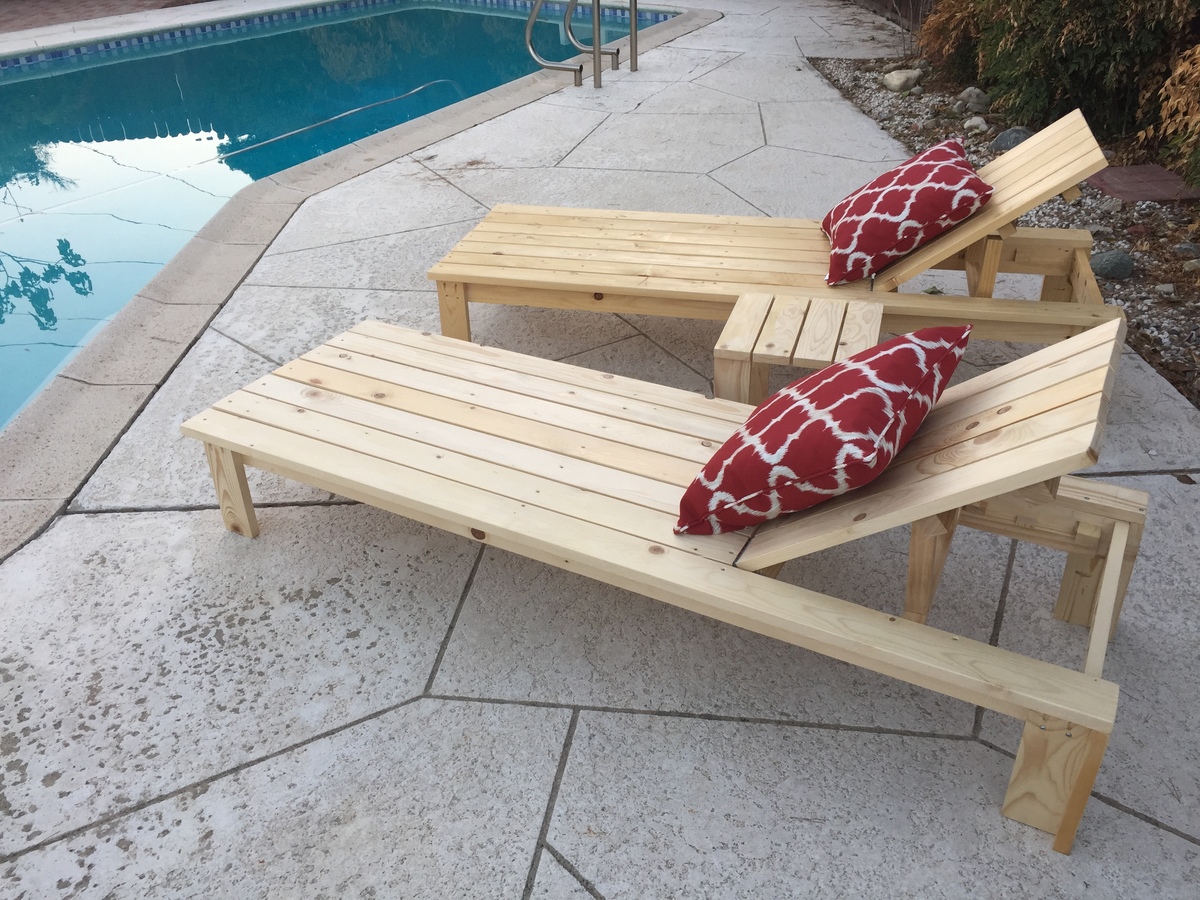
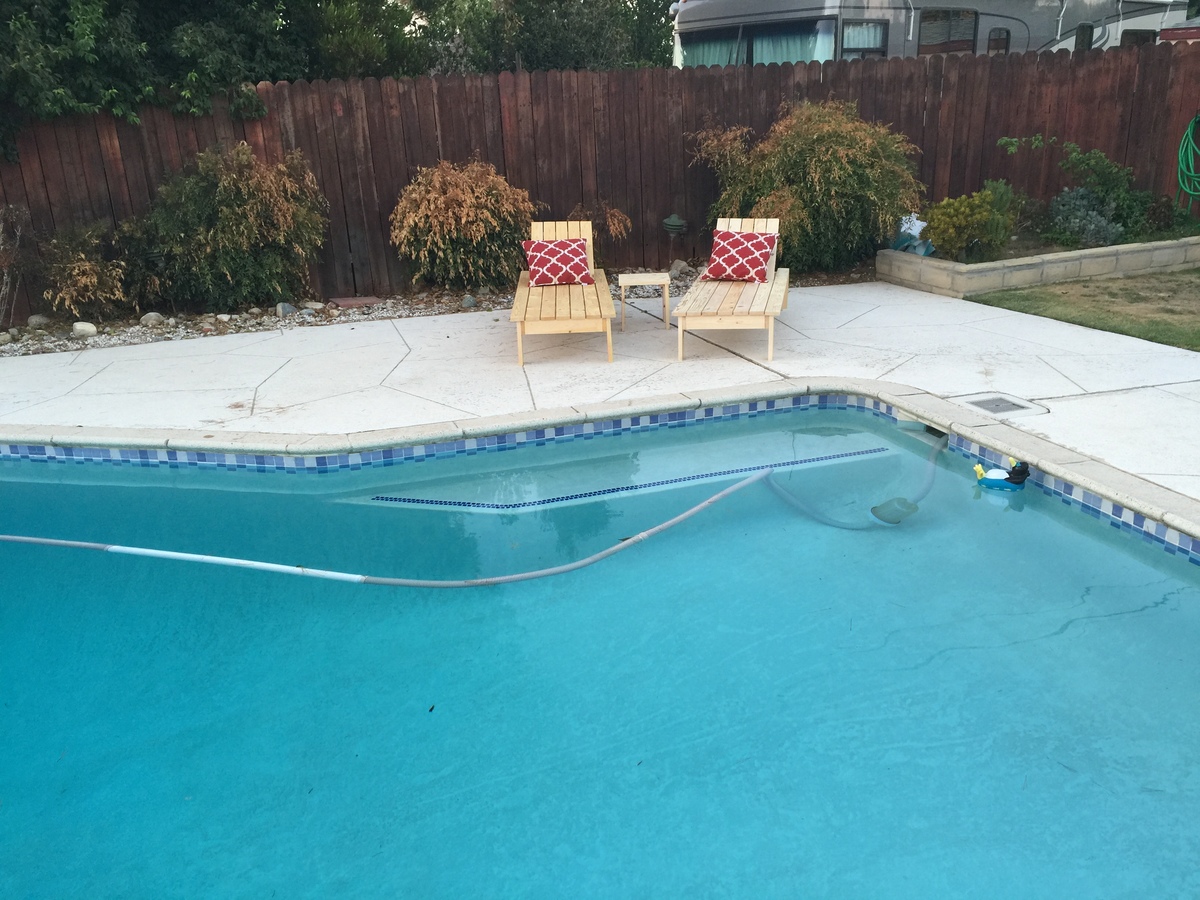
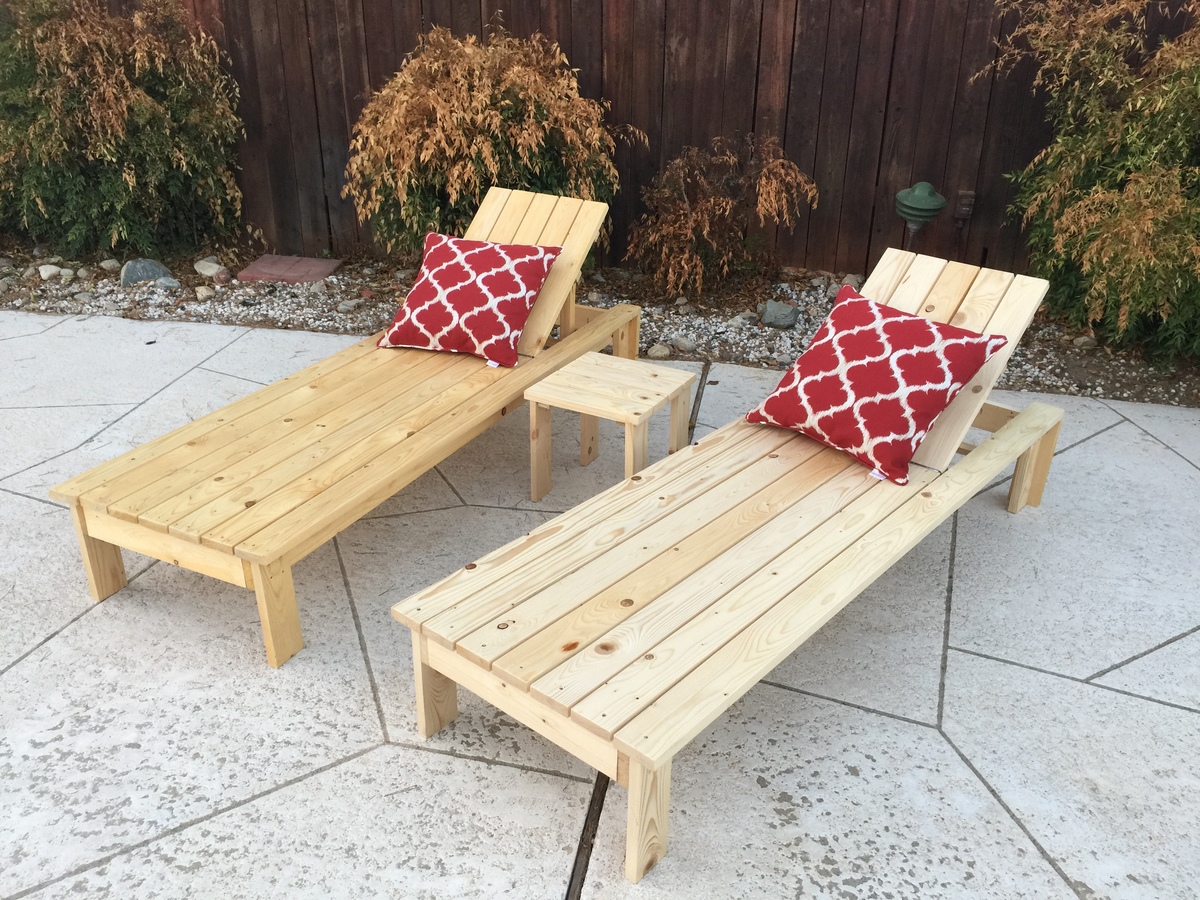
I HEART Ana White Outdoor Chaise

Submitted by Anonymous (not verified) on Sun, 07/24/2016 - 19:57

THANK YOU ANA FOR ALL THE GREAT PLANS!!


I am in southern california (mild weather) so i just used pine and coated them with urethane. 

Estimated Cost
$60 each
Estimated Time Investment
Day Project (6-9 Hours)
Finish Used
Urethane
Recommended Skill Level
Beginner

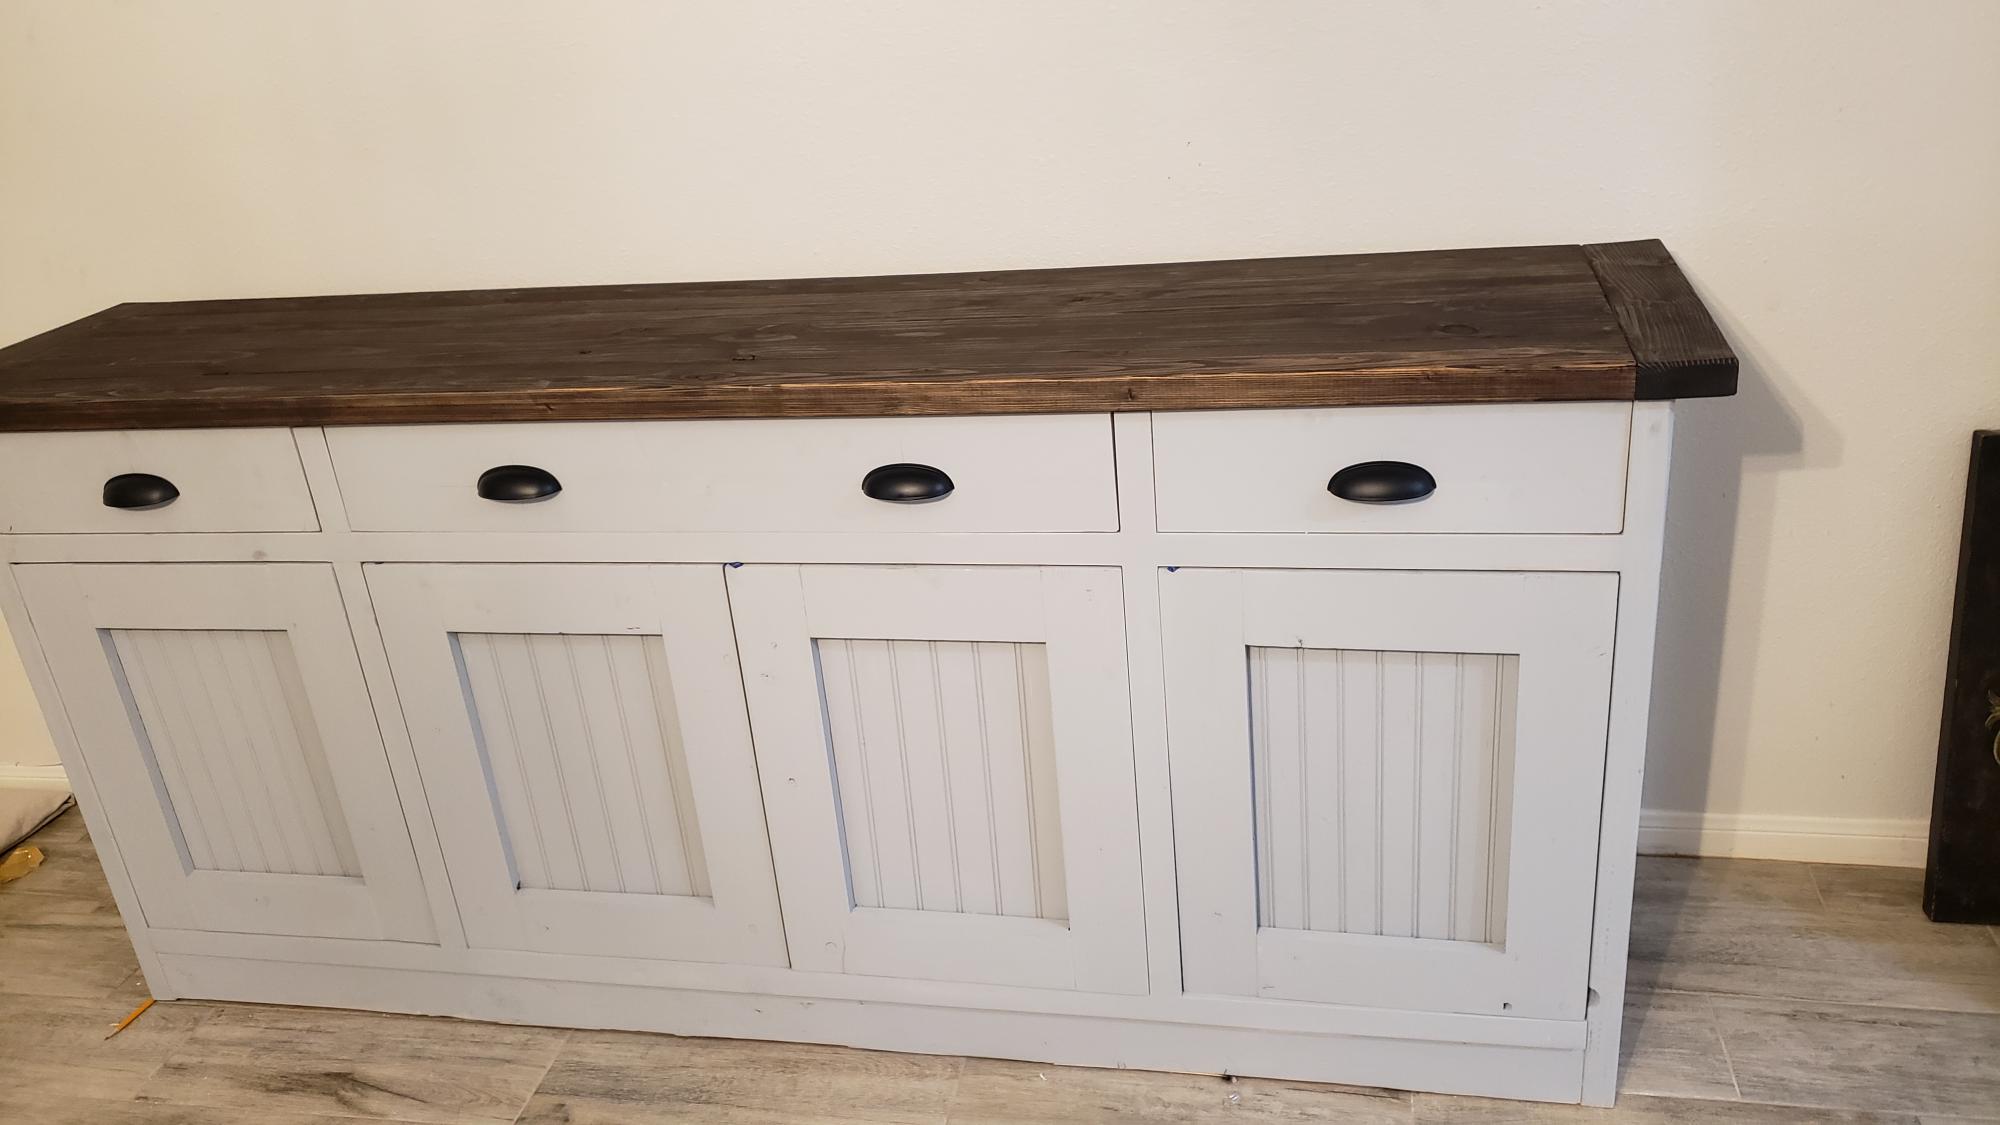
Planked Wood Sideboard

Submitted by dlmurphy25 on Sat, 05/16/2020 - 01:36

Build was very satisfying. It did present some challenges and a decent learning curve. Drawers almost drove me mad, my own doing, buffet wasn't level and top had not been attached and the drawers wouldn't line up. Failed to ensure i was level on the tile floor I was working on.

Built from Plan(s)
Estimated Cost
$300
Estimated Time Investment
Week Long Project (20 Hours or More)
Recommended Skill Level
Advanced

Rustic Modern 2x6 Platform Bed

I recently moved to Boulder, CO and finally have a garage where I can actually work on projects. Since I moved here with practivally nothing, I decided I should build my own bed. This is probably one of the most ambitious wood working projects I've attempted. I also tend to be slightly anal, so I've probably spent way more time on this project than most people have or will.

After reading the plans and other Brag Posts, I felt I was ready to start. I ordered the Kreg Screws, and a few other supplies I would need for the Project on Amazon and was off to the races. Several trips to Home depot to get various pieces of wood, (since I wasn't going to fit it all in my Subaru in one go), I finally had most of the lumber for the bed frame. Let me tell you, it's not easy getting straight pieces of lumber (as mentioned before, I'm a little anal). I decided to go with oversized lumber, since I would have more usable leftover pieces for other projects.

I spent several hours after work during the week, and several more on the weekend, sanding down all the lumber with 60 Grit, then applied the first coat of Stain, to raise the grain. I was out of town for the weekend, and let the stained wood sit in my garage while gone. When I got back, I noticed a lot of marks which I didn't notice before staining. Some of these were from the belt sander I used to knock down really rough parts of some of the lumber. But most of the marks were because I put too much pressure on my random orbital sander.

Lesson learnt: Sanding takes time, and patience! DO NOT press down hard on the sander, if you don't want marks on your wood. These marks will be significantly more prominant after staining.

I decided to sand everything again, 60 grit, then 100, then 150. I gotta say, the wood feels so much nicer to touch and I'm glad I decided to re-sand. I spent a few hours after work to get most of the head board pieces done, but noticed that the 2x4 had warped beyond repair... I'm going to get the upper and lower 2x6 pieces ready to assemble with my kreg jig this weekend, and then decide if I want to add a 2x4 in the middle like the plans call for.

I decided to go with just 2x6s for the headboard, I used the Kreg Jig to put it all together, I also attached 4 supports made of some scrap Plywood I got from my neighbor for the headboard.

I stained it all with a Staining pad twice, then applied 3 coats of Poly with a brush. I didn't sand between coats since I was applying very thing coats and I had already sanded everything down with 150 grit. 
Estimated Cost
$100-150
Estimated Time Investment
Week Long Project (20 Hours or More)
Finish Used
Stain: Minwax Oil based Dark Walnut - 2 coats with a staining pad
Varnish: Satin Water based Indor Polyurethane by Varathane - 3 coats with a brush.

http://www.homedepot.com/p/Minwax-1-qt-Wood-Finish-Dark-Walnut-Oil-Based-Interior-Stain-70012/100376185

http://www.homedepot.com/p/Varathane-1-qt-Clear-Satin-Water-Based-Indoor-Polyurethane-200241H/100169146
Recommended Skill Level
Intermediate

Comments

username.

Fri, 03/02/2018 - 19:17

Sick job dude! What stain is that? I like the color of it and might use it for mine. Did you notice a stain odor at all after applying the stain and covering it with the poly? 

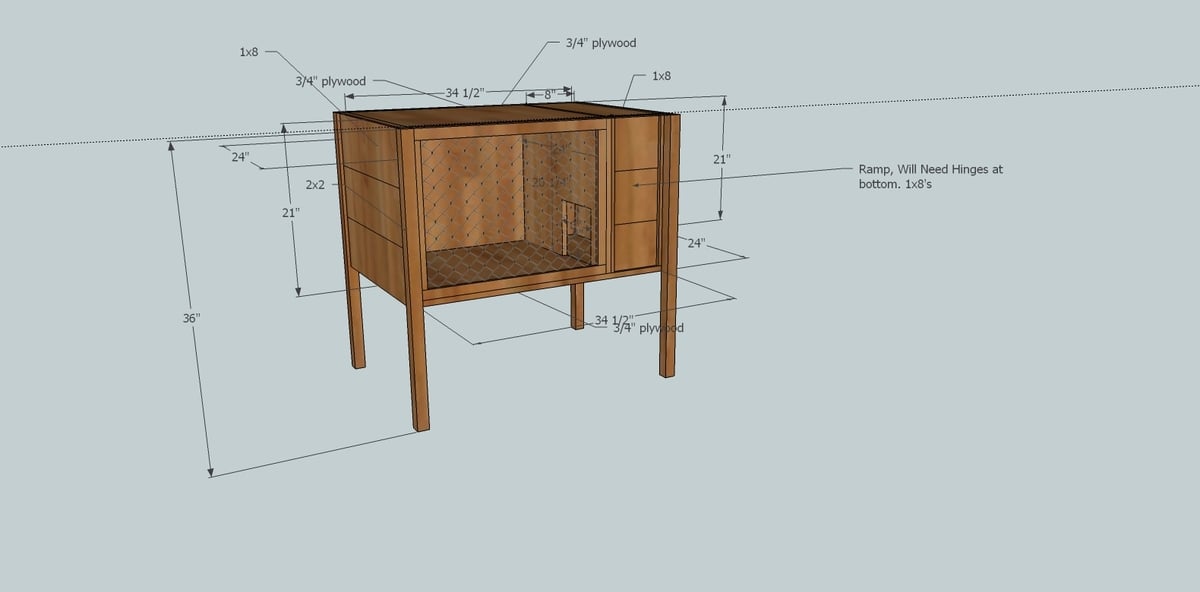
Rabbit Cage

Submitted by blouden on Fri, 07/13/2012 - 23:30

I have a pet ferret that has little room to run around. So I seen this rabbit/ferret cage at the pet store. It was about $150 or so. So I took a pic of it on my phone, and found the Google Sketch app, and watched some videos, and now I have plans for the cage. Some 2x2's, 1x8's, plywood, chicken wire, and some locks and hinges for the ramp an lid.... Still tweaking it, but hopefully it will work out.

Estimated Cost
$50-60
Finish Used
Stain
Recommended Skill Level
Beginner

Comments

Bunk Bed Shelf Organizer

Submitted by BethStew5 on Wed, 07/18/2012 - 21:51

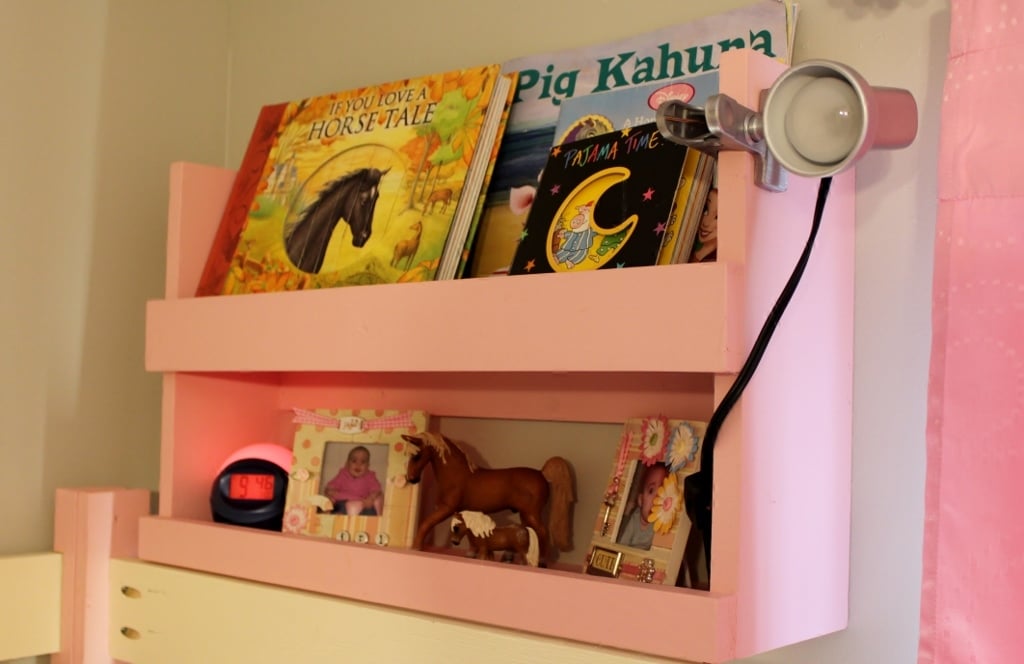
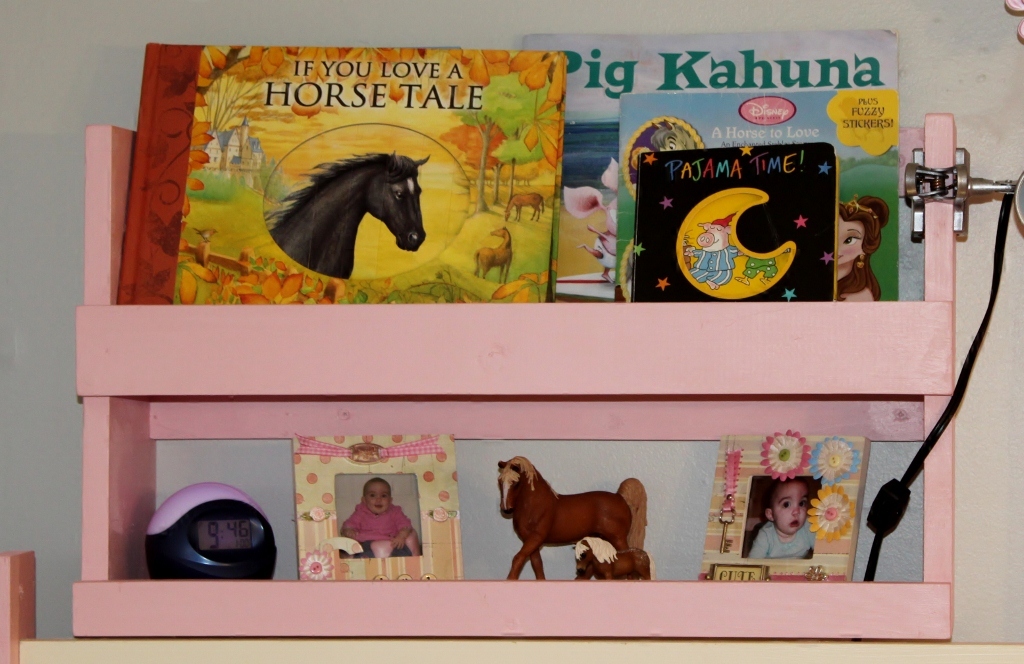
I had just finished my daughter's playhouse loft bed when I saw this plan. It was super easy to build and I used all left over wood from the playhouse. I used 6-inch boards for the sides and shelves since that was what I had left over. Other than that, I followed this plan exactly. Thanks for posting!

Built from Plan(s)
Estimated Time Investment
An Hour or Two (0-2 Hours)
Recommended Skill Level
Beginner

Comments

Outdoor Lounge Chair

Submitted by Goldy272 on Mon, 05/19/2014 - 09:44

Simple outdoor lounge chair for use on our deck. This is a good design though if I had to do it over again I would make a few alterations:

- It's a bit flimsy, so for the chair frame, I would use 2x4's instead of 1x's.
- We are going to use them for seating at our patio table so I will make the others a bit shorter. The depth is awfully big for a dining chair but would be good for lounging.
- Used a 1x4 on the inside of the back frame to make the chair back more upright (as it said in the modified plans) would definately recomend.

Built from Plan(s)
Estimated Cost
$25
Estimated Time Investment
Afternoon Project (3-6 Hours)
Finish Used
None yet.
Recommended Skill Level
Intermediate

OutDoor dining table

My wife and I were looking for a larger table for our deck and after searching and seeing that everything out there was 300 dollars and up for something decent I decided I would try building something. This table was perfect for our needs and looked easy enough for me to put together. The most time consuming part was staining all of the boards as I went but it was totally worth it in the end. I also deviated from using screws and used my nail gun along with some glue to put the top frame together and the slats on but I did use some 2inch deckmate screws to attach the legs. One problem I did run into was I was about half a board short on the slats which wasn't a big deal just ripped one on the table saw, not sure if I miss measured or what but either way. We love our table and will entertain around it for years to come.

Built from Plan(s)
Estimated Cost
Around 80 Dollars
Estimated Time Investment
Day Project (6-9 Hours)
Finish Used
I used a Behr deck stain that was solid the color is called Russett and I did with a 3inch brush.
Recommended Skill Level
Beginner

Truss Shelves: Cheap Garage Storage

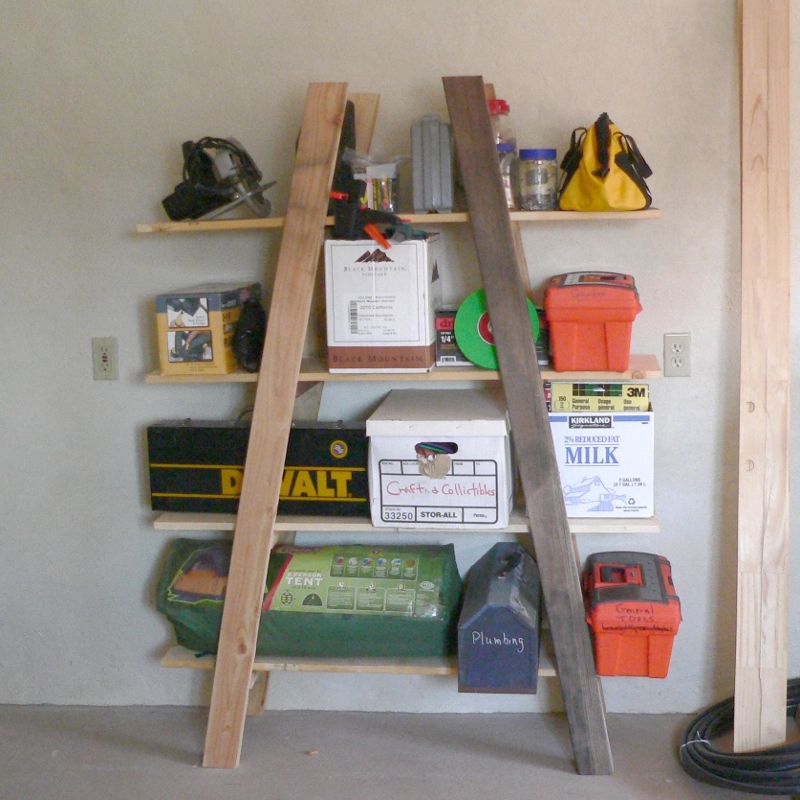
Made of old fence rail (the dark pieces) and cheap 2x4s and 1x12s .

This is not as stable as I hoped, but for an afternoon's project that got all those tools off the workshop floor, it's not bad. I will add a diagonal brace at the back later. Much later.

NOTE: My engineer friend notes that 2 braces at the rear, below the bottom shelf and below the top shelf, would minimize side-to-side wobbling, and 2 braces front to back, both under the bottom shelf, would minimize the front-to-back wobbling, They could be a scrap of plywood, a 1x6 or wider scrap. Just nail them in two or more places on each of the ladders and they make the structure more rigid. Screw them in if you want a shelf unit you can disassemble.

TIPS:
If you are using pockethole screws, start the screws in all the holes before you put the crosspieces on. Stop when you see the tip of the screw come through the first piece.

Clamp scrap 2x4 to the uprights to hold the crosspieces in place as you drill.

To get the shelves in place, lean the ladders against each other and attach the bottom and top boards on one side. Than pull the other ladder out as far as it needs to go and screw that side of the shelves in place.

Don't try this without clamps.

It could have been cheaper if I had used all reclaimed fence 2x4s, and if my errand runner had bought cheaper 1x12s. He bought top-grade when #2 would have worked for half the price,

Estimated Cost
$ 30
Estimated Time Investment
Afternoon Project (3-6 Hours)
Finish Used
None
Recommended Skill Level
Intermediate

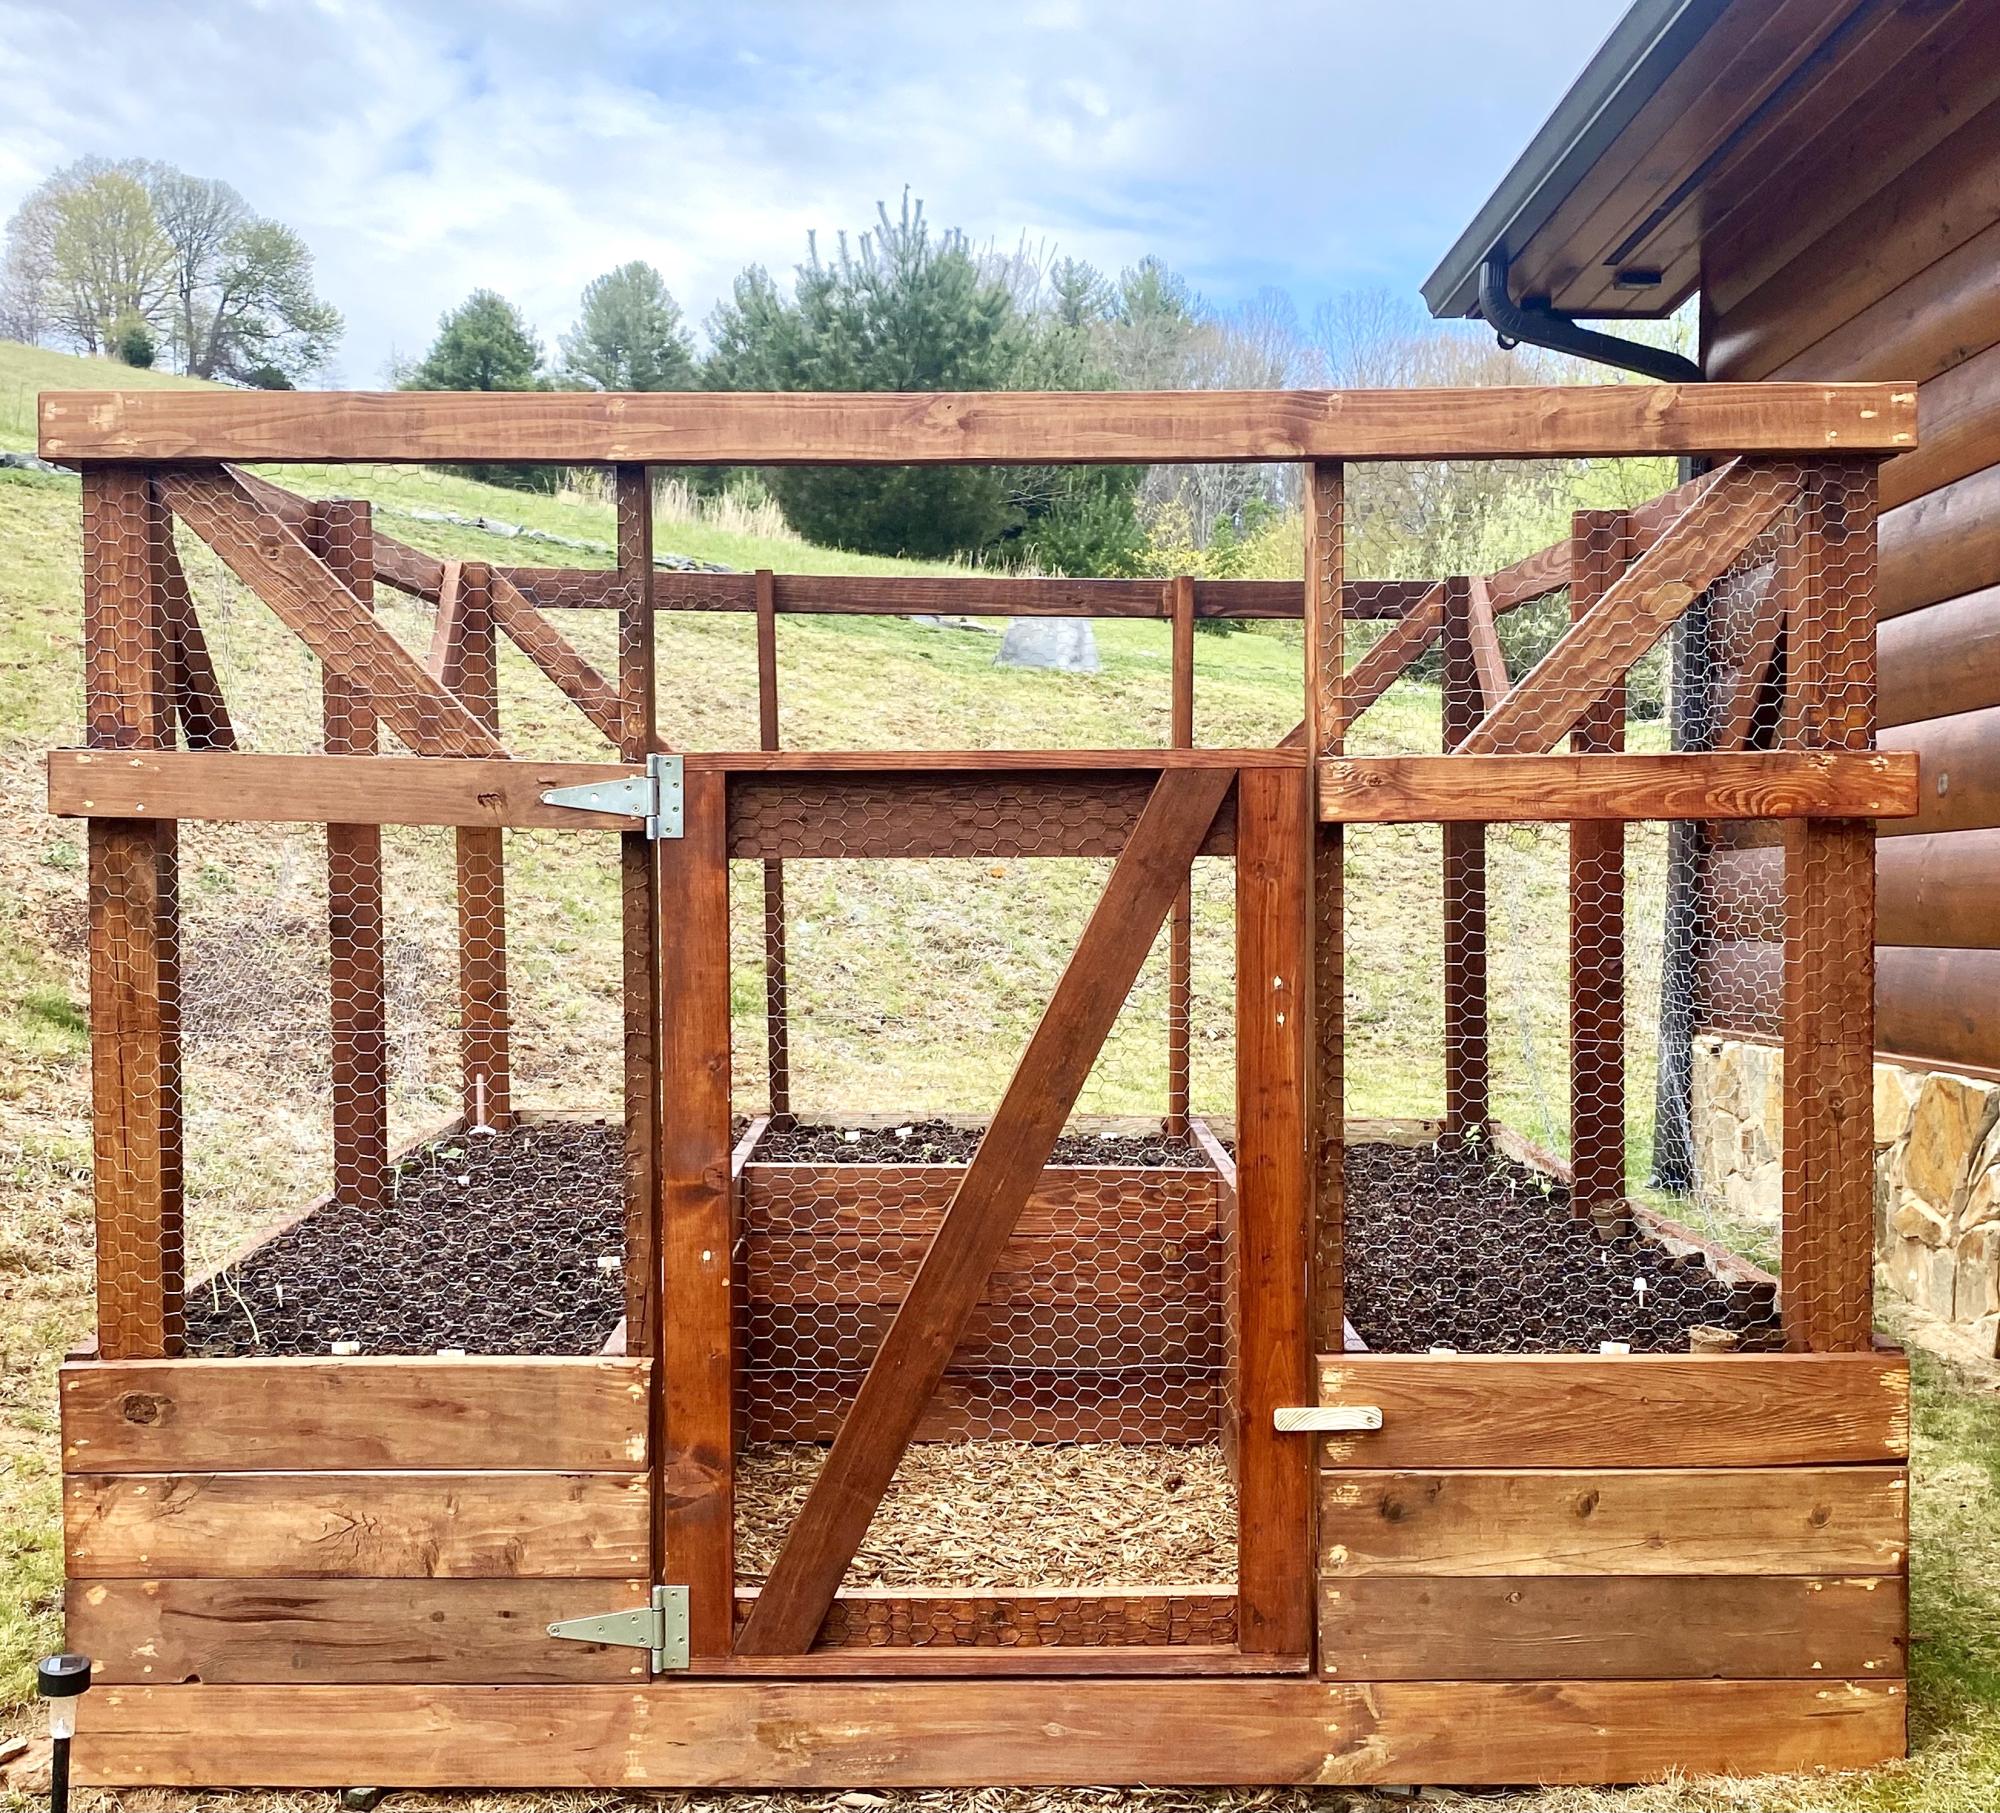
Garden Enclosure with Raised Beds

Submitted by Anonymous (not verified) on Sat, 04/20/2024 - 07:39

I finished my first project. Although there are some cosmetic errors, I think overall it’s amazing. We had a lot of wood left behind by the builder of our log home. So, I was able to use a lot of that. I made some adjustments to the height of the boxes to help the back!

Michelle M - Jefferson, NC

Built from Plan(s)
Seasonal And Holiday

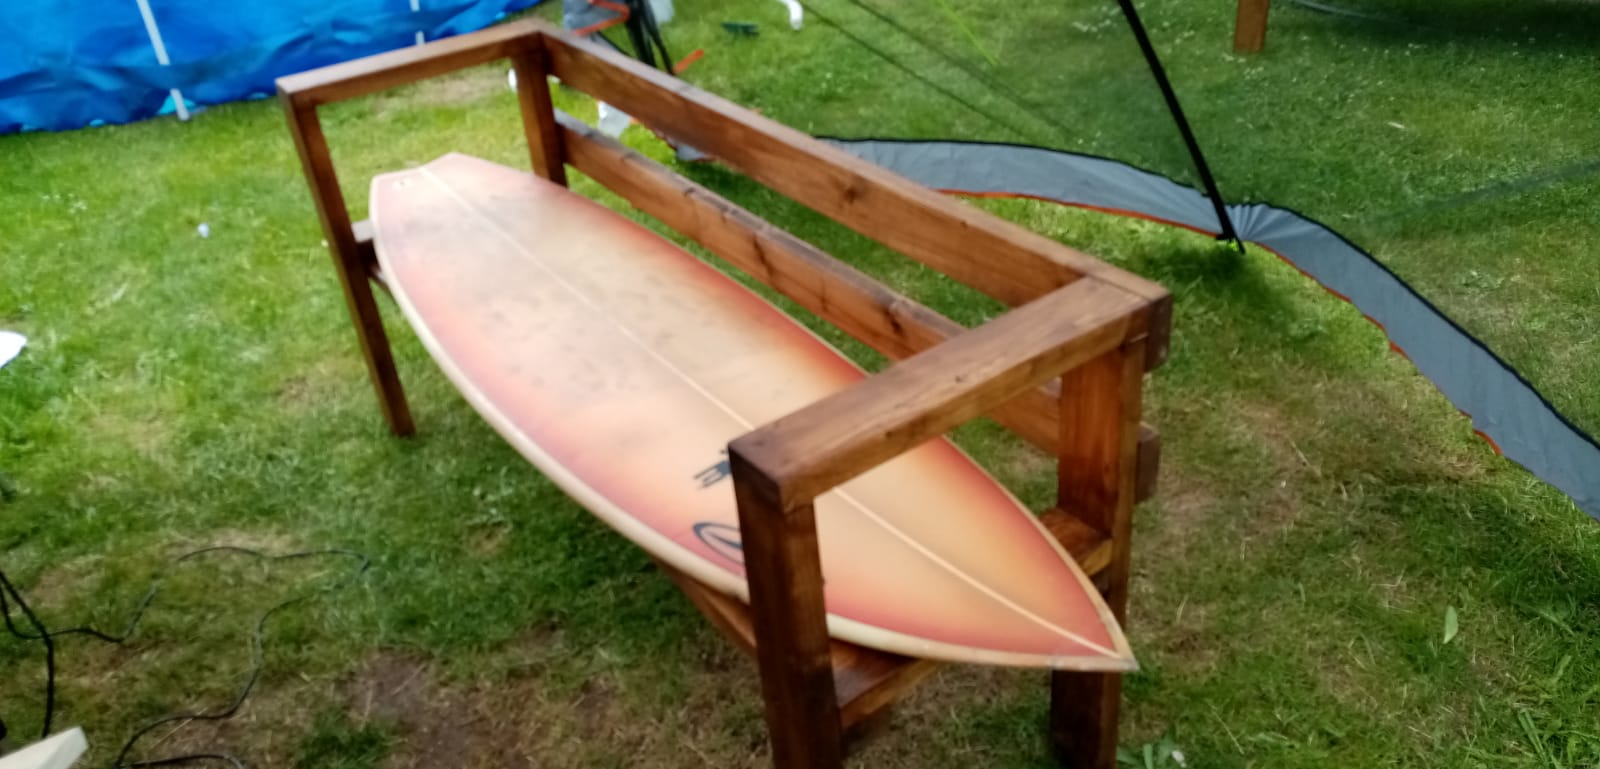
Surfboard bench

Modified the sofa design and created a surfboard bench

Estimated Cost
£30
Estimated Time Investment
Afternoon Project (3-6 Hours)
Finish Used
Dark Oak woodstain

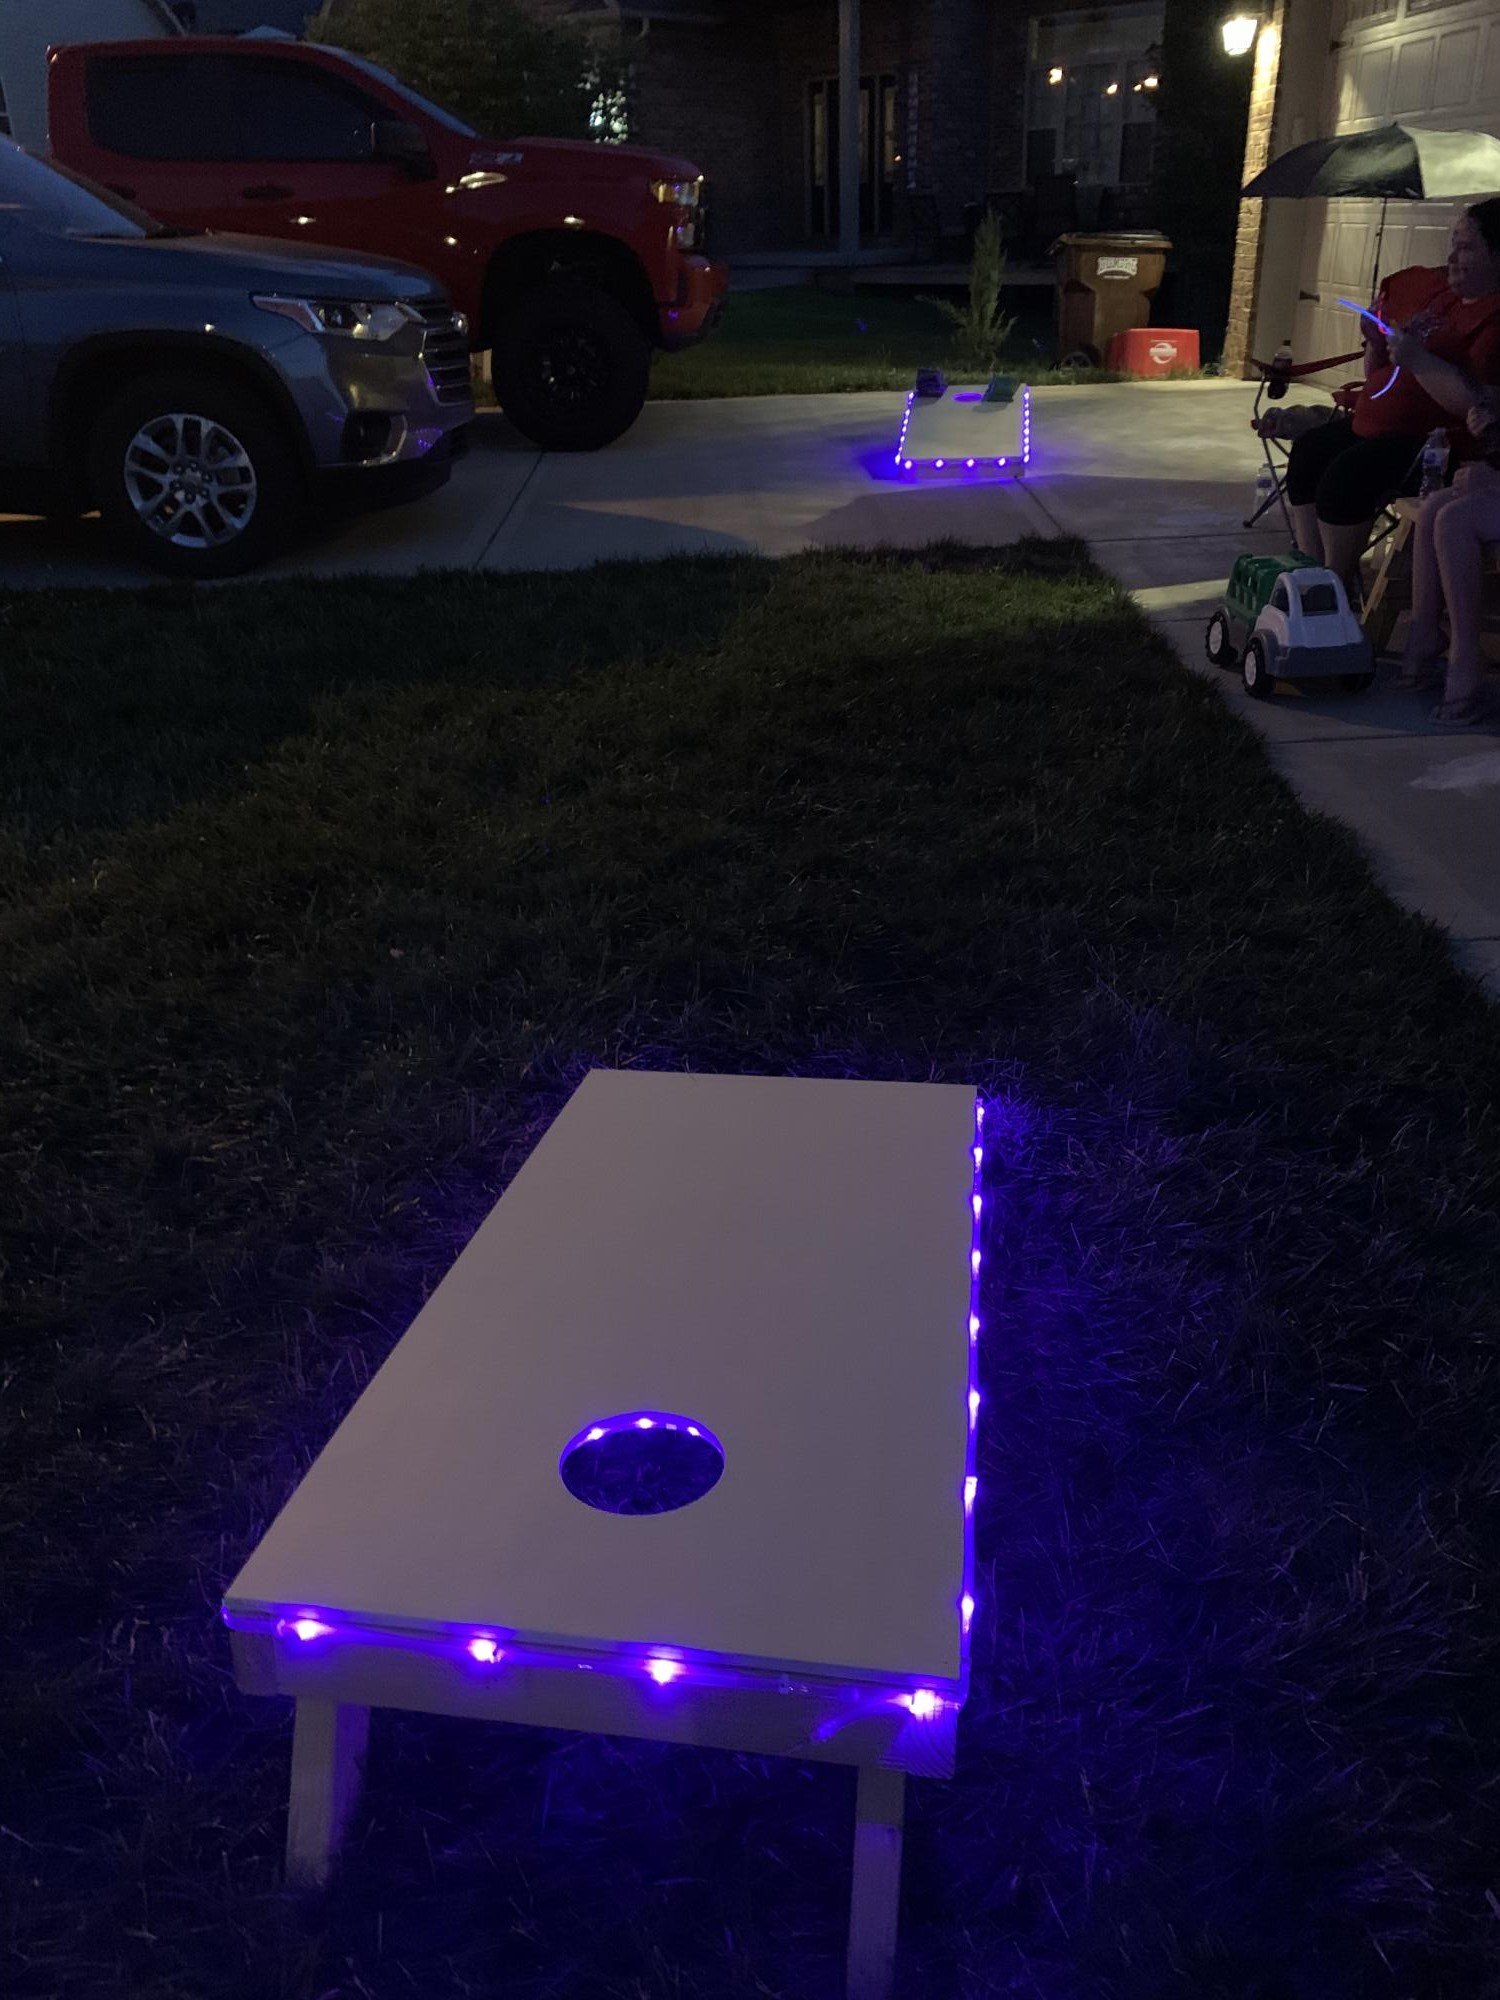
Led cornhole boards

Submitted by boneill on Mon, 07/06/2020 - 20:19

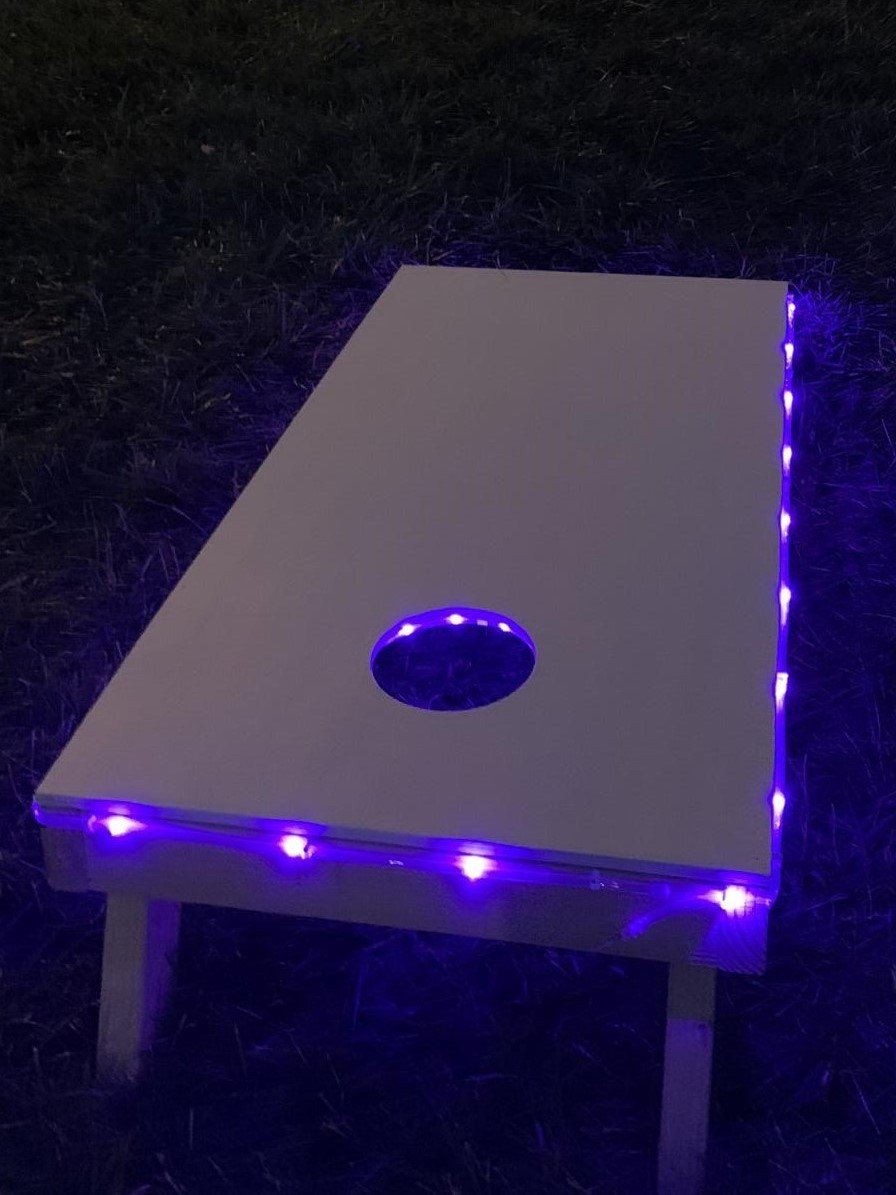
Made some cornhole boards and added led lights to make it super fun. We call it cosmic cornhole lol. Love it.
Estimated Cost
$60.00
Estimated Time Investment
An Hour or Two (0-2 Hours)
Finish Used
Unfinished
Recommended Skill Level
Beginner

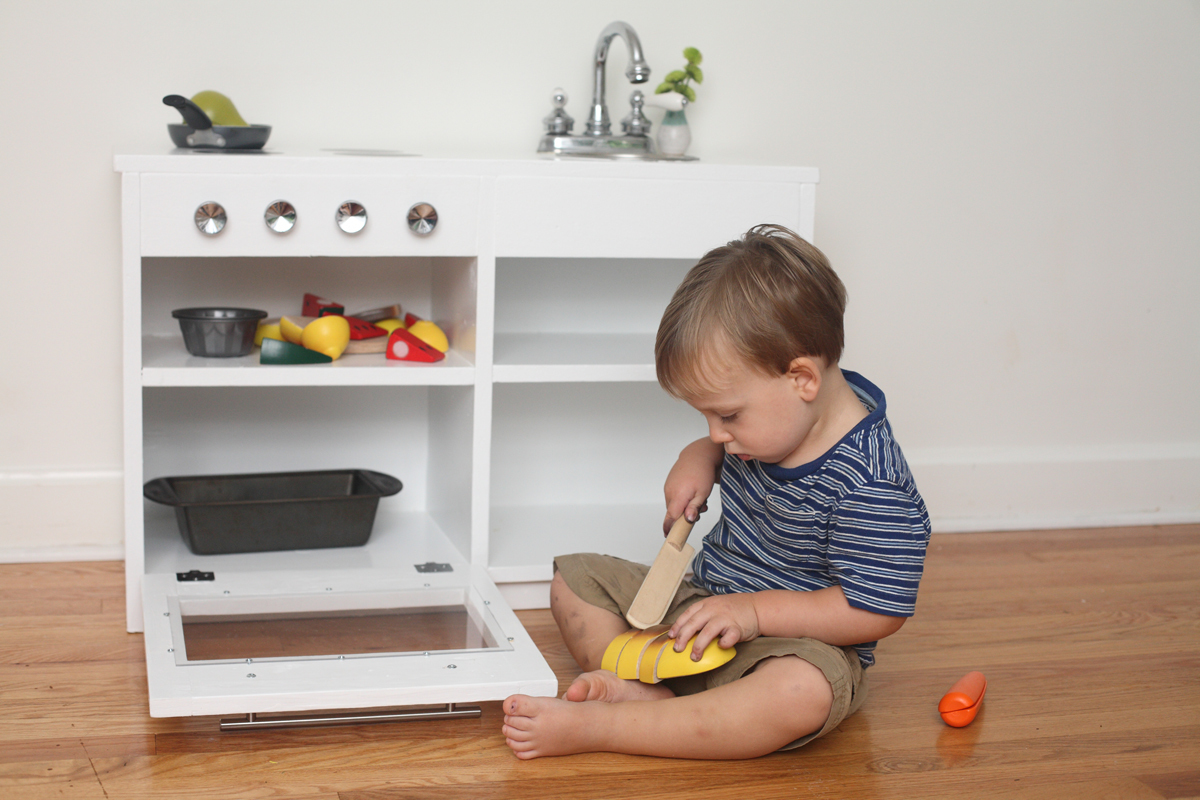
Play Kitchen

Submitted by keribeth on Tue, 09/04/2012 - 12:36

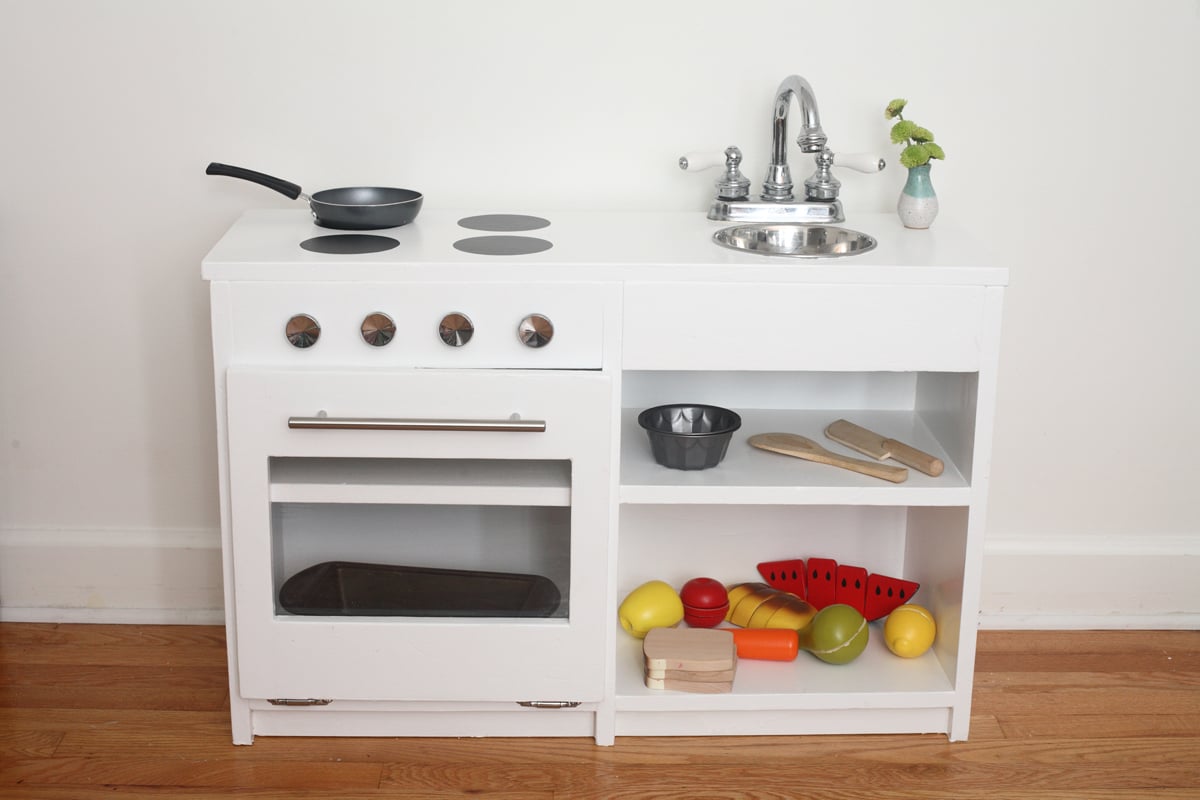
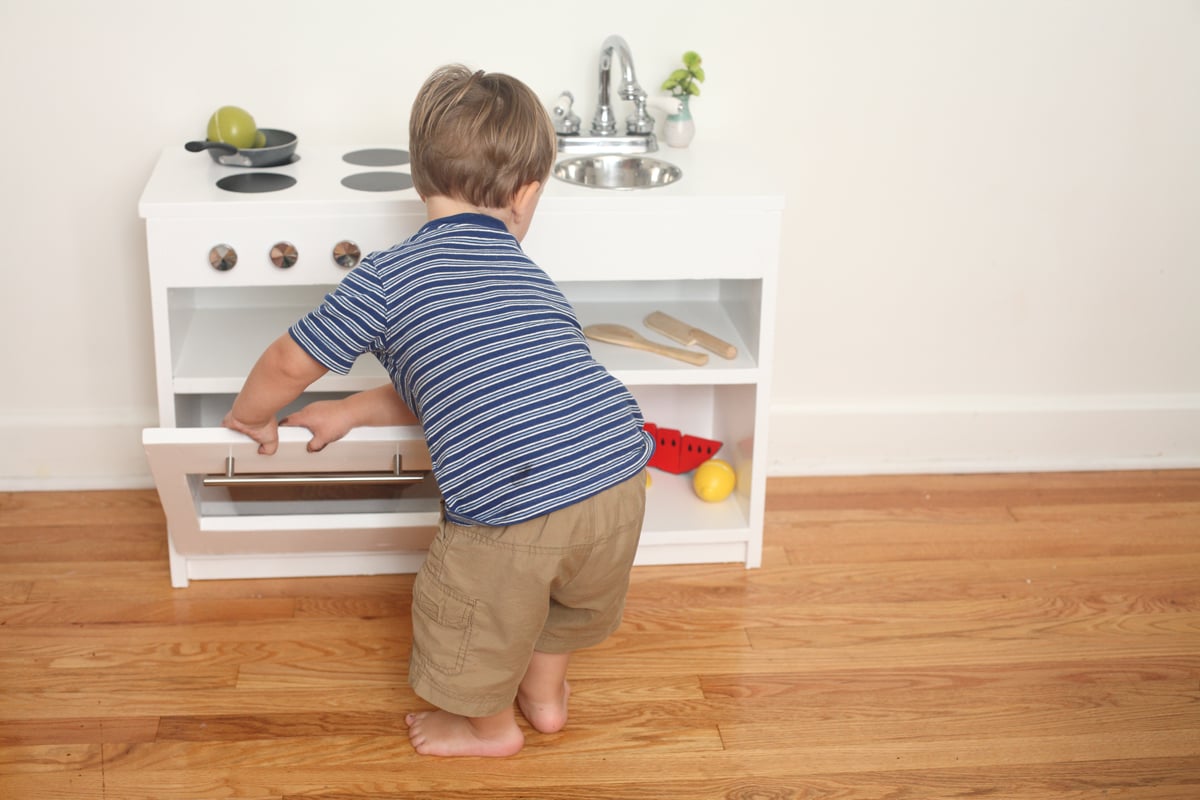
I combined the play sink and play stove into a one-piece kitchen by having them share a side. I found a bathroom faucet at my local Habitat ReStore for $15 (and that included a sink I didn't even need!). Time investment does not include painting. Here's my cost breakdown. Lumber: $25 (I used some scraps.) Faucet: $15 Dog bowl: $7 Hardware: $13 Primer and paint: $19 Screws: $4 Sandpaper: $5 Plexiglass: $3 Prepping dinner while my toddler works in his play kitchen beside me: Priceless.

Estimated Cost
~$90
Estimated Time Investment
Day Project (6-9 Hours)
Finish Used
Cheap white paint. It dripped like crazy and took forever to dry. My mantra was "It's a toy, it's a toy, it's a toy."
Recommended Skill Level
Intermediate

Comments

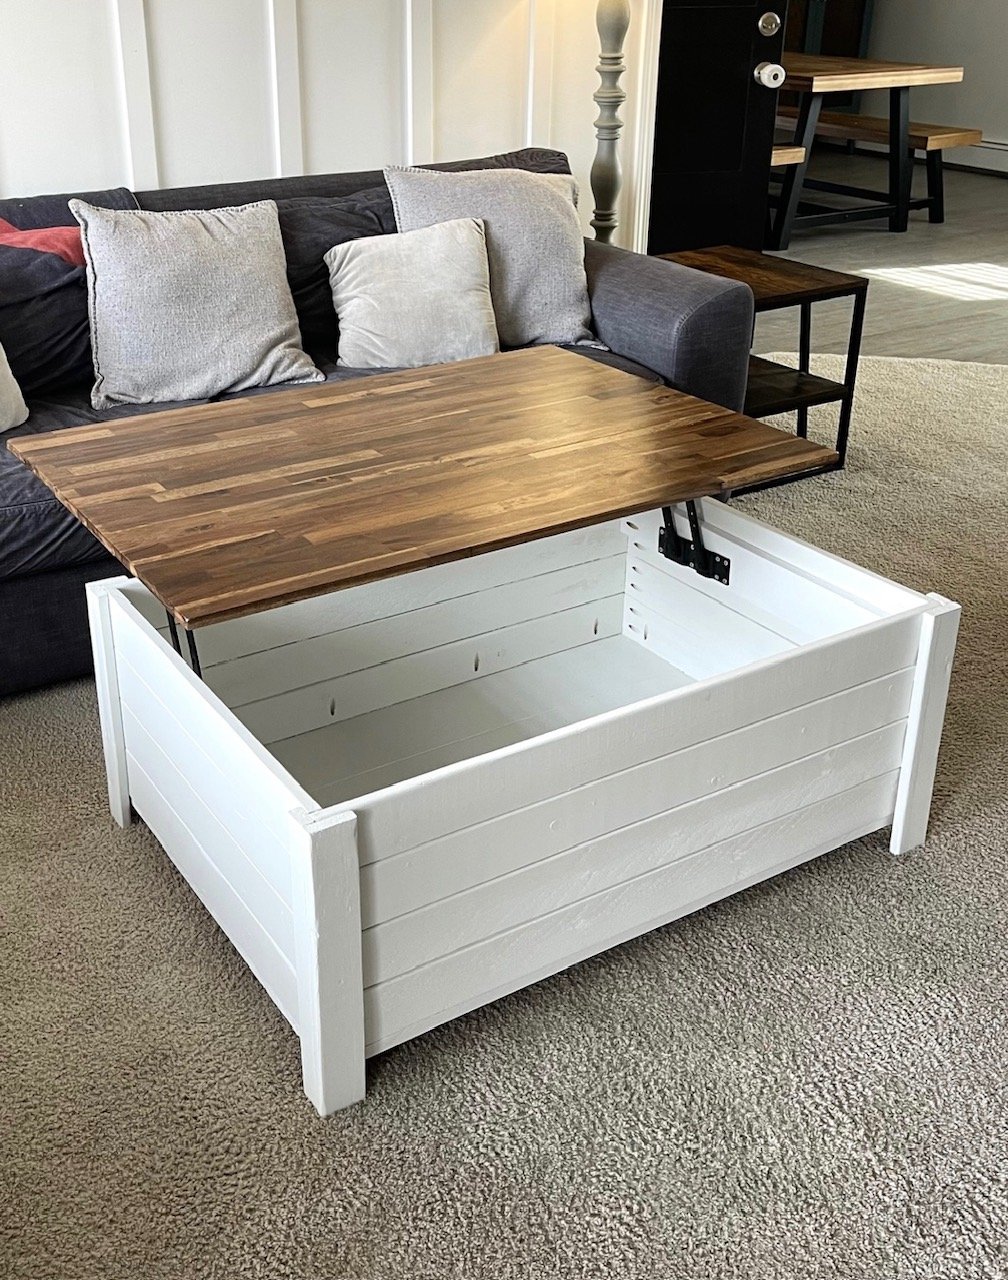
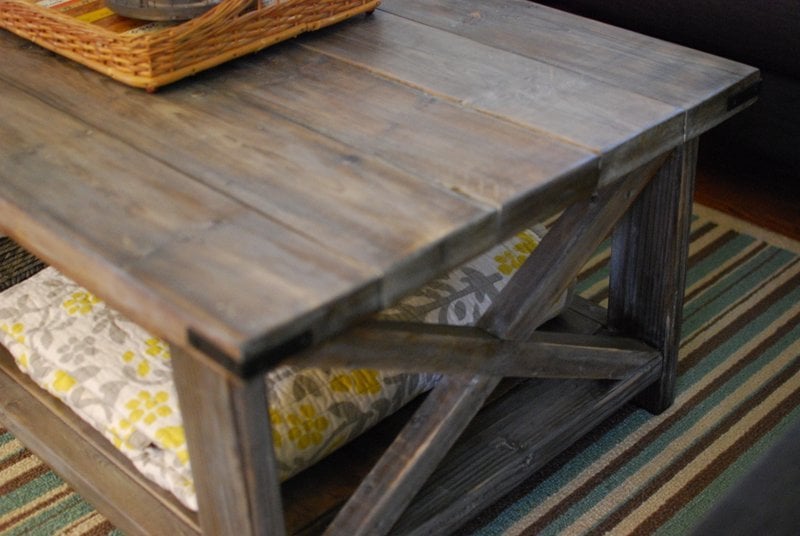
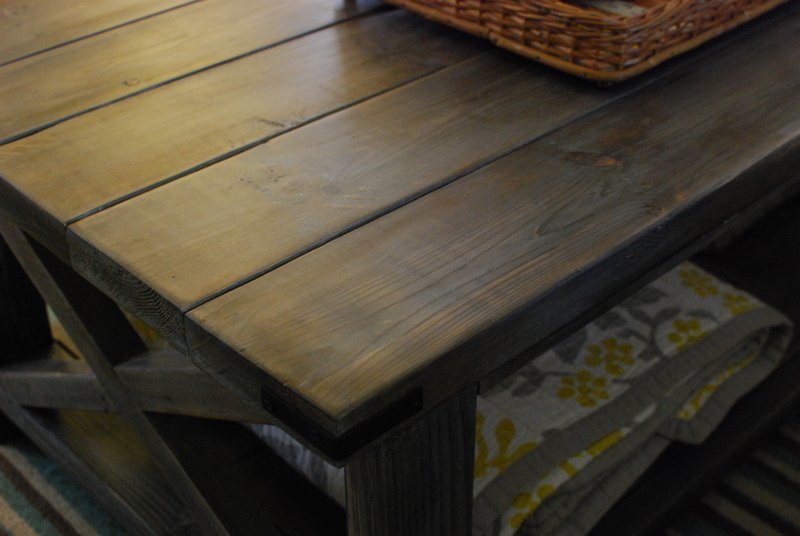
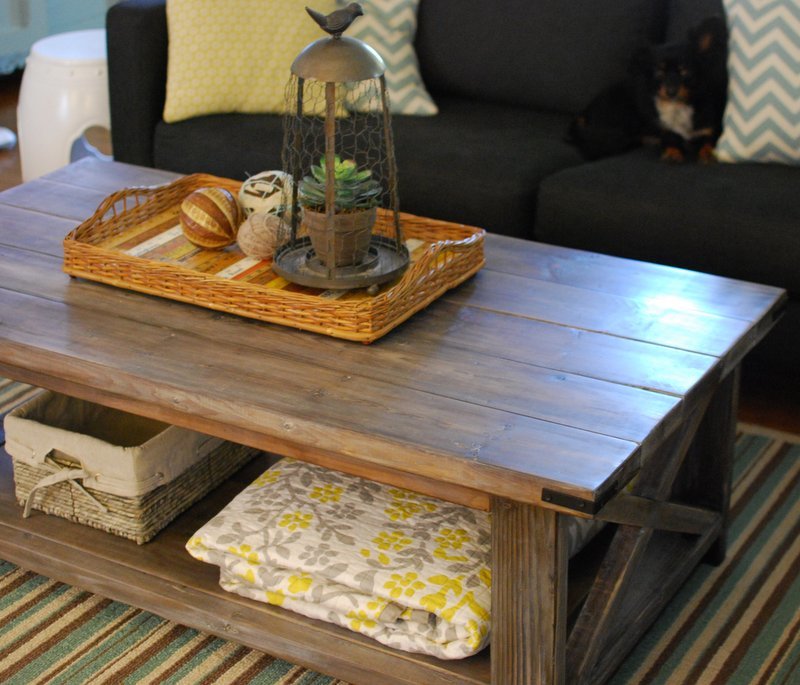
Rustic X Coffee Table

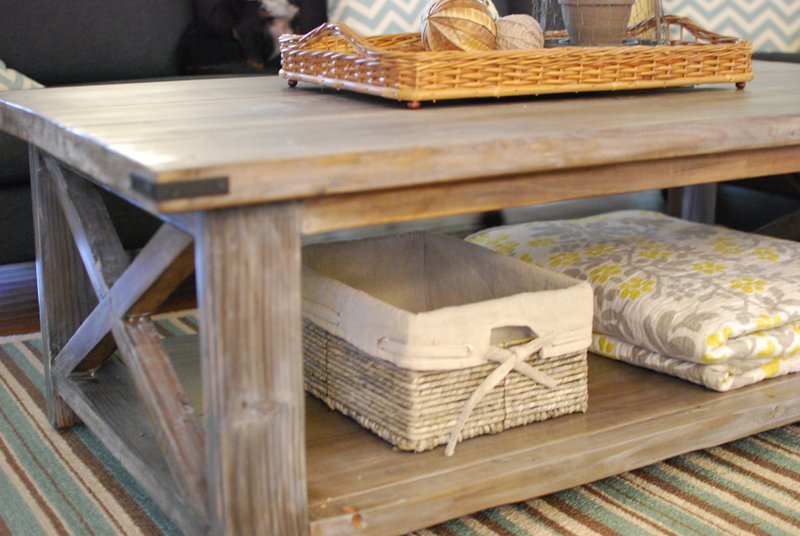
Thanks to the beautifully written as well as the example build post by Hilary, I found this project easy to build for a beginner like myself. I followed the plan as written and can't wait to start my next project.

Built from Plan(s)
Estimated Cost
Sixty Dollars
Estimated Time Investment
Day Project (6-9 Hours)
Finish Used
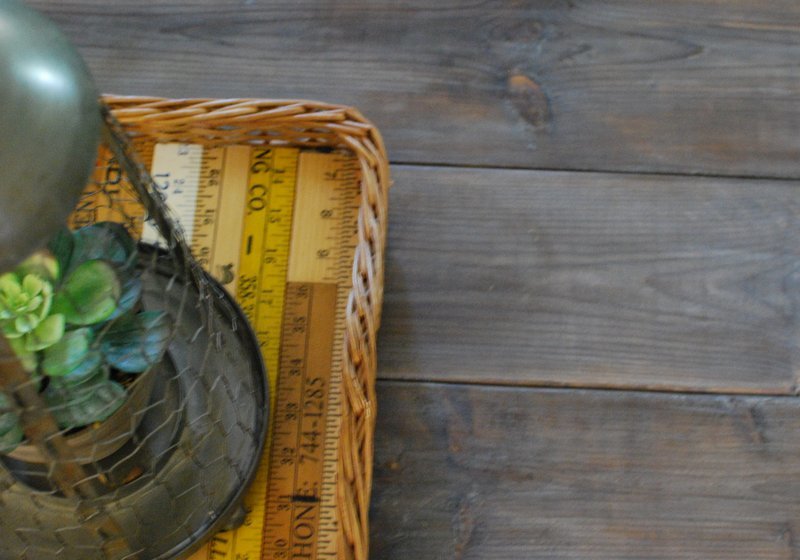
Vinegar and steel wool as described in the example post. I used wax as a protective finish. Clear mixed with a little brown wax, followed by a coat of liming wax then a final coat of clear wax.
Recommended Skill Level
Beginner

Comments

Tall Wedding Planters

Submitted by swhitead on Mon, 07/20/2020 - 10:14

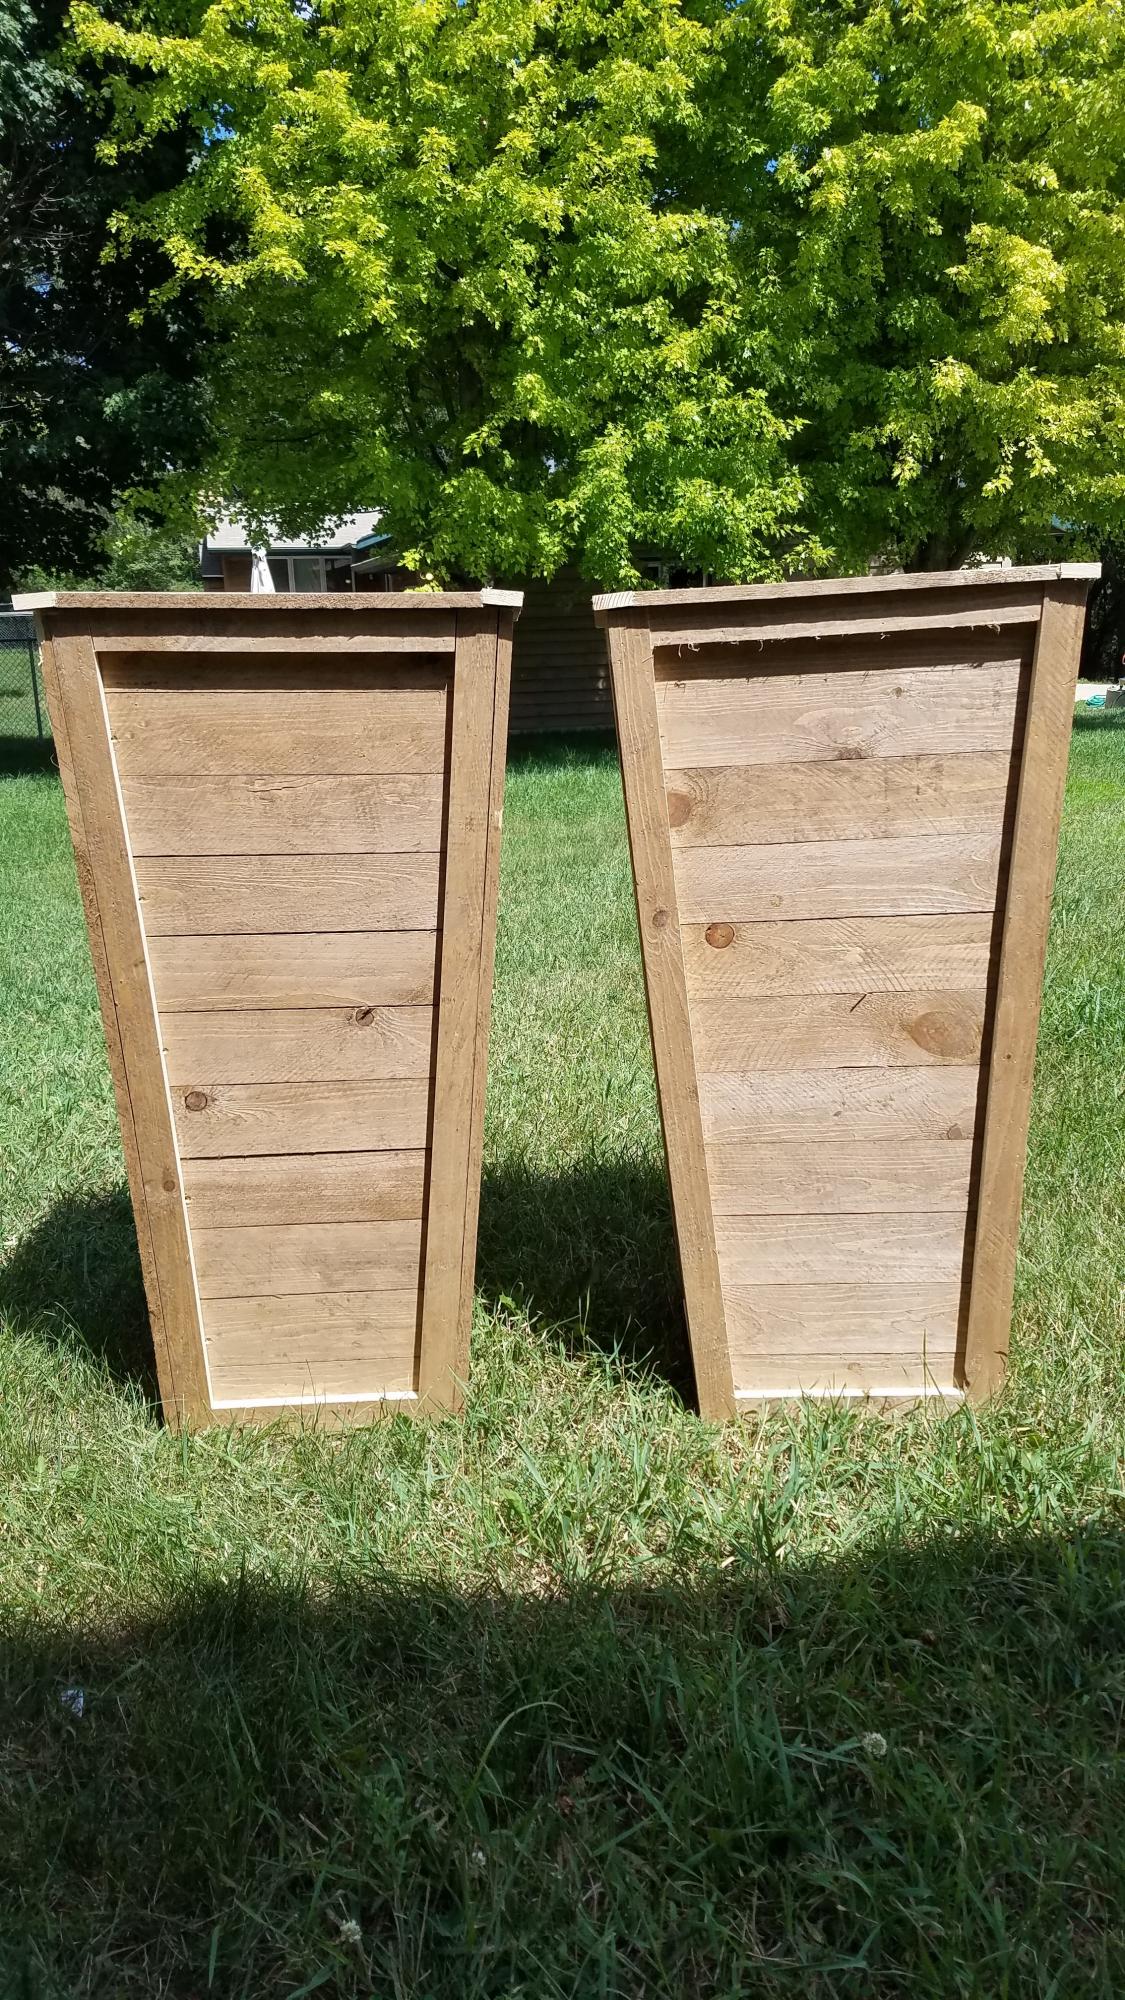
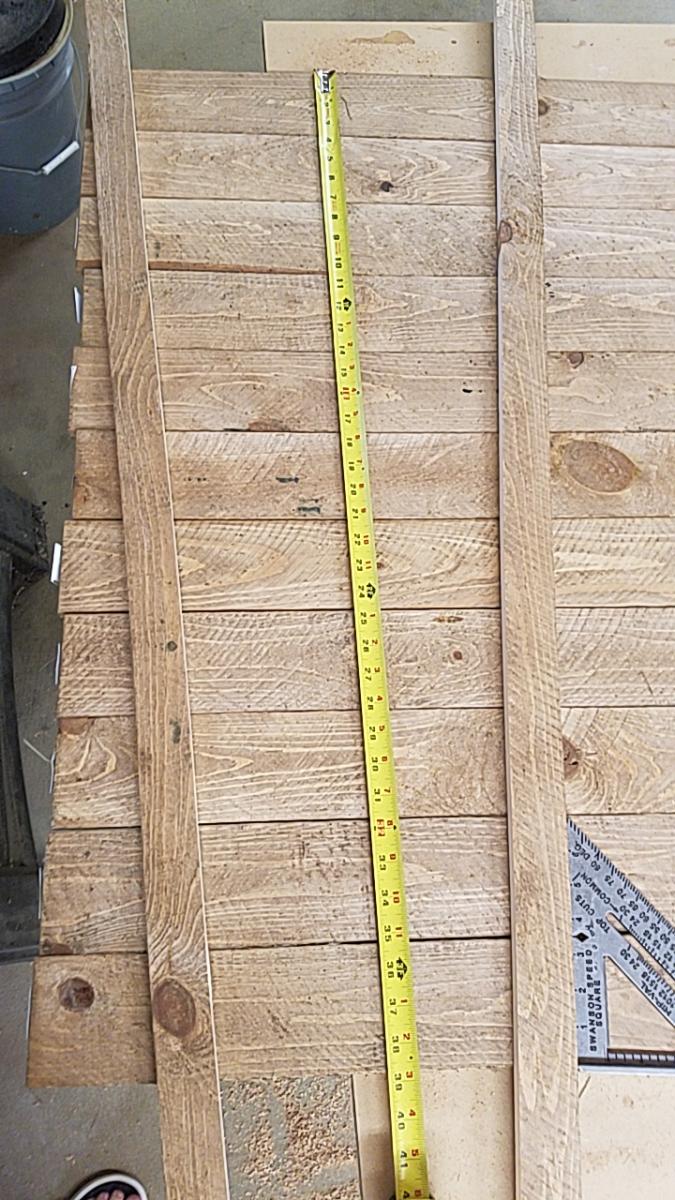
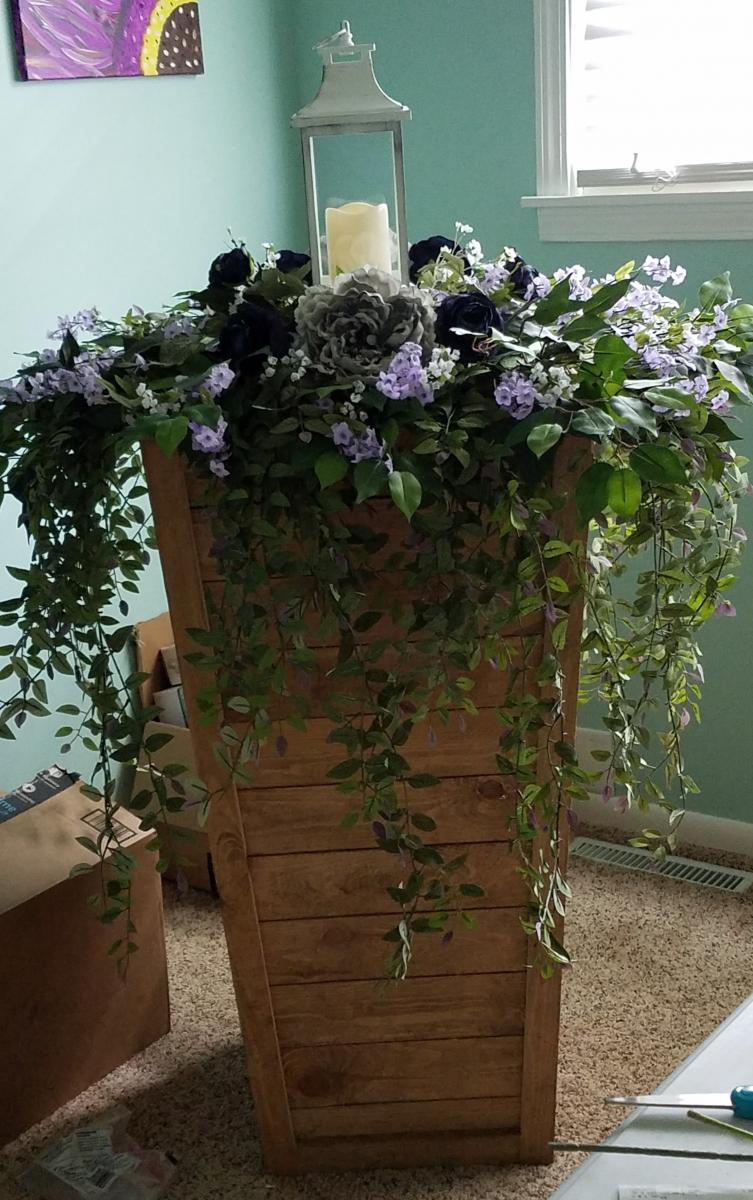
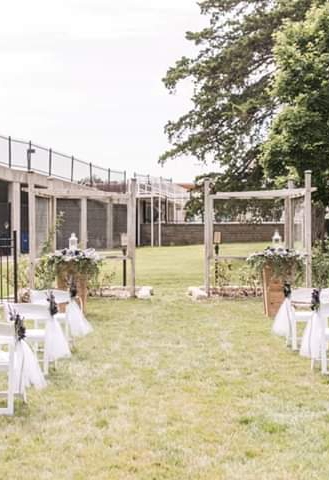
Made the planters to hold flowers for a small garden wedding. Used 3-1/2" wide fence boards as my HD was out of standard 5-1/2" boards. Used 11 boards for finished height of 38" top was 18" wide, bottom 12-1/2" using a 4° angle. Ripped fence boards to size to use in place of 1x2/1x3 boards. Added center trim as on another brag post, as well as, framed the top to finish off the planter.

Built from Plan(s)
Estimated Cost
$20 each
Estimated Time Investment
Afternoon Project (3-6 Hours)
Finish Used
None
Recommended Skill Level
Intermediate

Comments

DIY Crown Molding Shoe Organizer for Heels

Submitted by lbrown on Tue, 10/30/2012 - 18:52

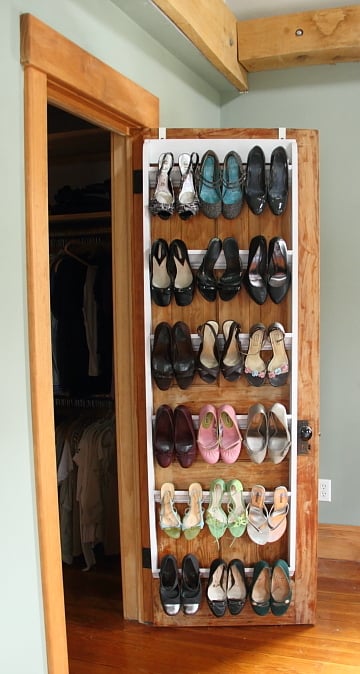
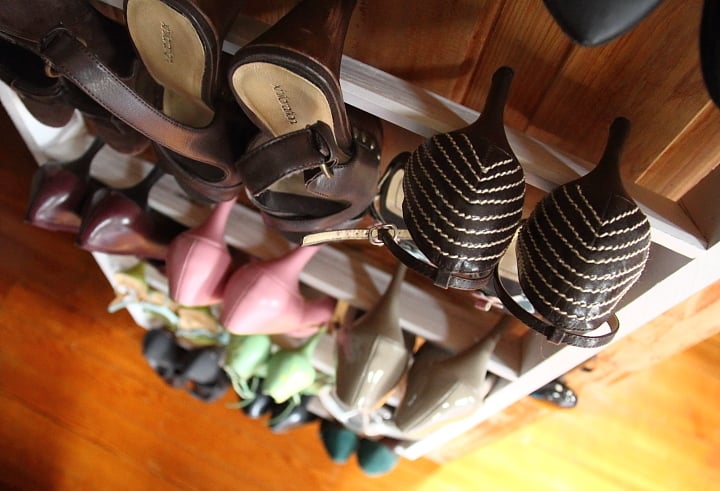
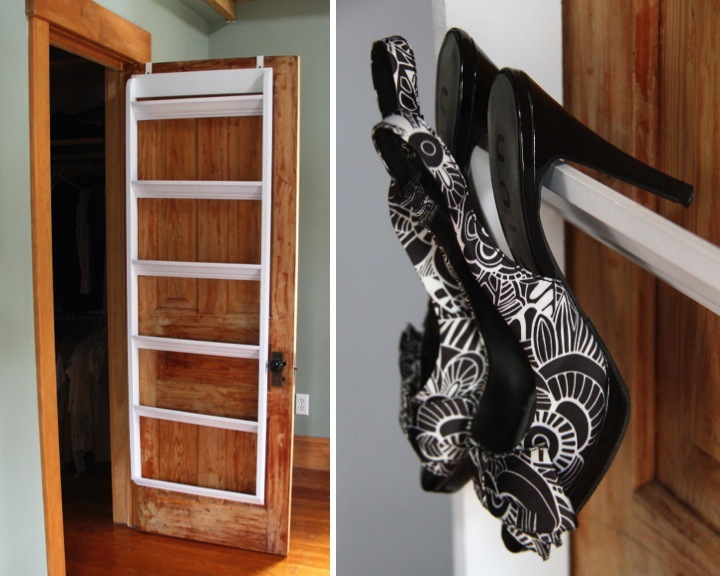
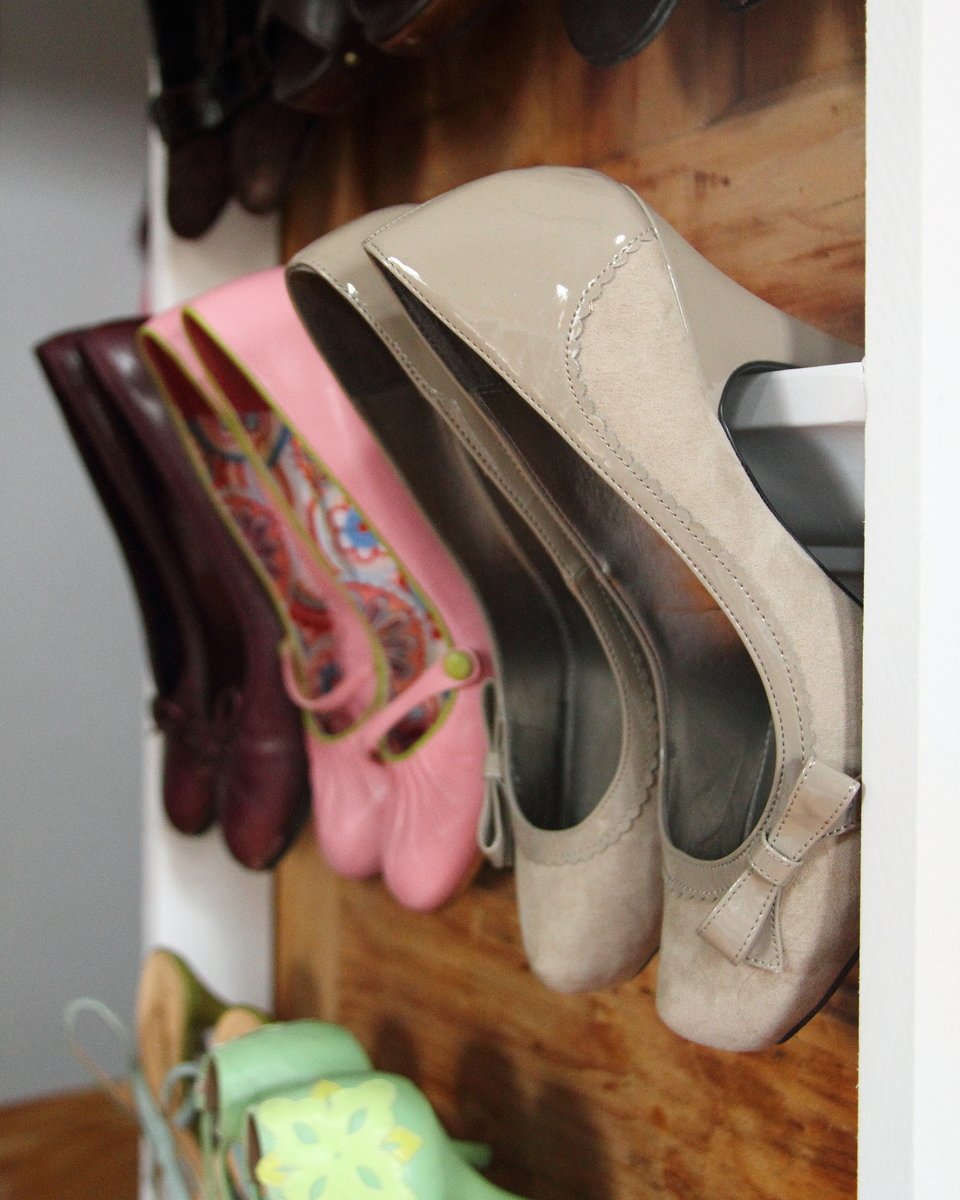
I made this over the door shoe organizer for my heels using a pair of 6' 1x3s, a scrap of 1x4 and some crown molding. It was quite quick to make and I am really happy with how it turned out.

For detailed instructions, check out my blog: http://homeandawaywithlisa.com/blog/2012/10/30/diy-crown-molding-closet…

Estimated Cost
$25
Estimated Time Investment
An Hour or Two (0-2 Hours)
Finish Used
White spray paint
Recommended Skill Level
Beginner
Back