Community Brag Posts

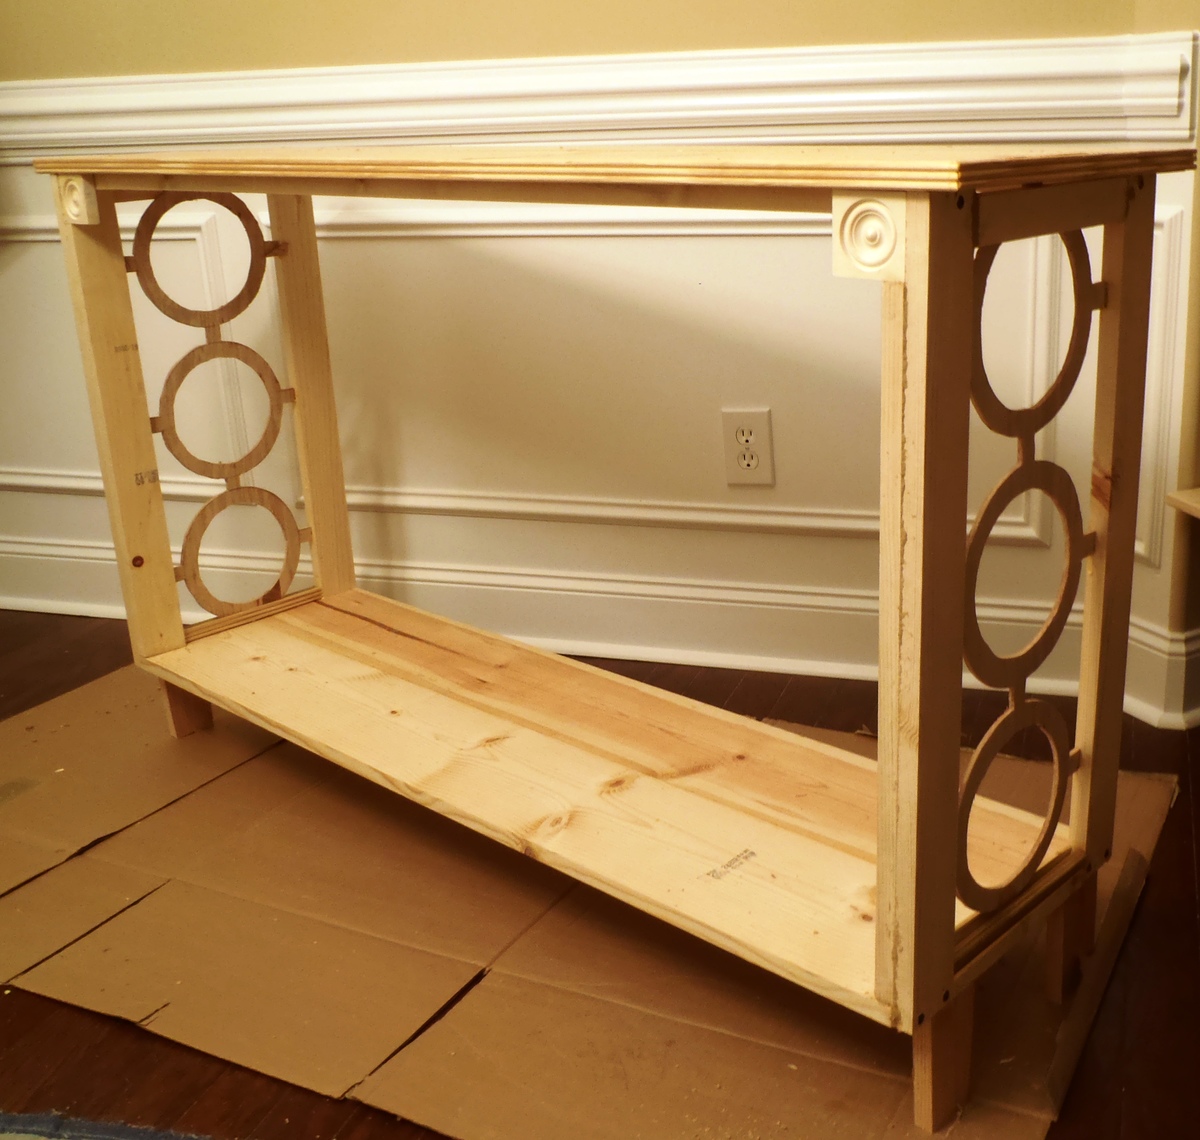
Narrow Console table

Submitted by lazyLiz on Sun, 03/25/2012 - 11:27

I wanted a hallway side table, using Ana White's Simple, Cheap and Easy console table directions (as usual with most of my built) and revising the measurement and adding some thing in here and there I was able to build me this! Thanks to my new jigsaw my husband bought me :) Measures 55" long, 34" height and 14-1/2" depth.

Estimated Cost
$ 45.00
Estimated Time Investment
Afternoon Project (3-6 Hours)
Finish Used
dark mahogany and poly
Recommended Skill Level
Beginner

Comments

vacookie

Thu, 04/12/2012 - 13:17

I am looking at making this soon and really like what you did with the sides. Any tips should I decide to go a similar route on mine? I haven't done that type of work before with my jigsaw and am not sure can pull it off but it looks so good!

daisy (not verified)

Tue, 07/24/2012 - 11:11

could you pretty please share how you did the sides and everything on this table...I love this exact table (the one you built) and it would be PERFECT in our family room under the t.v. Pretty, pretty please :)

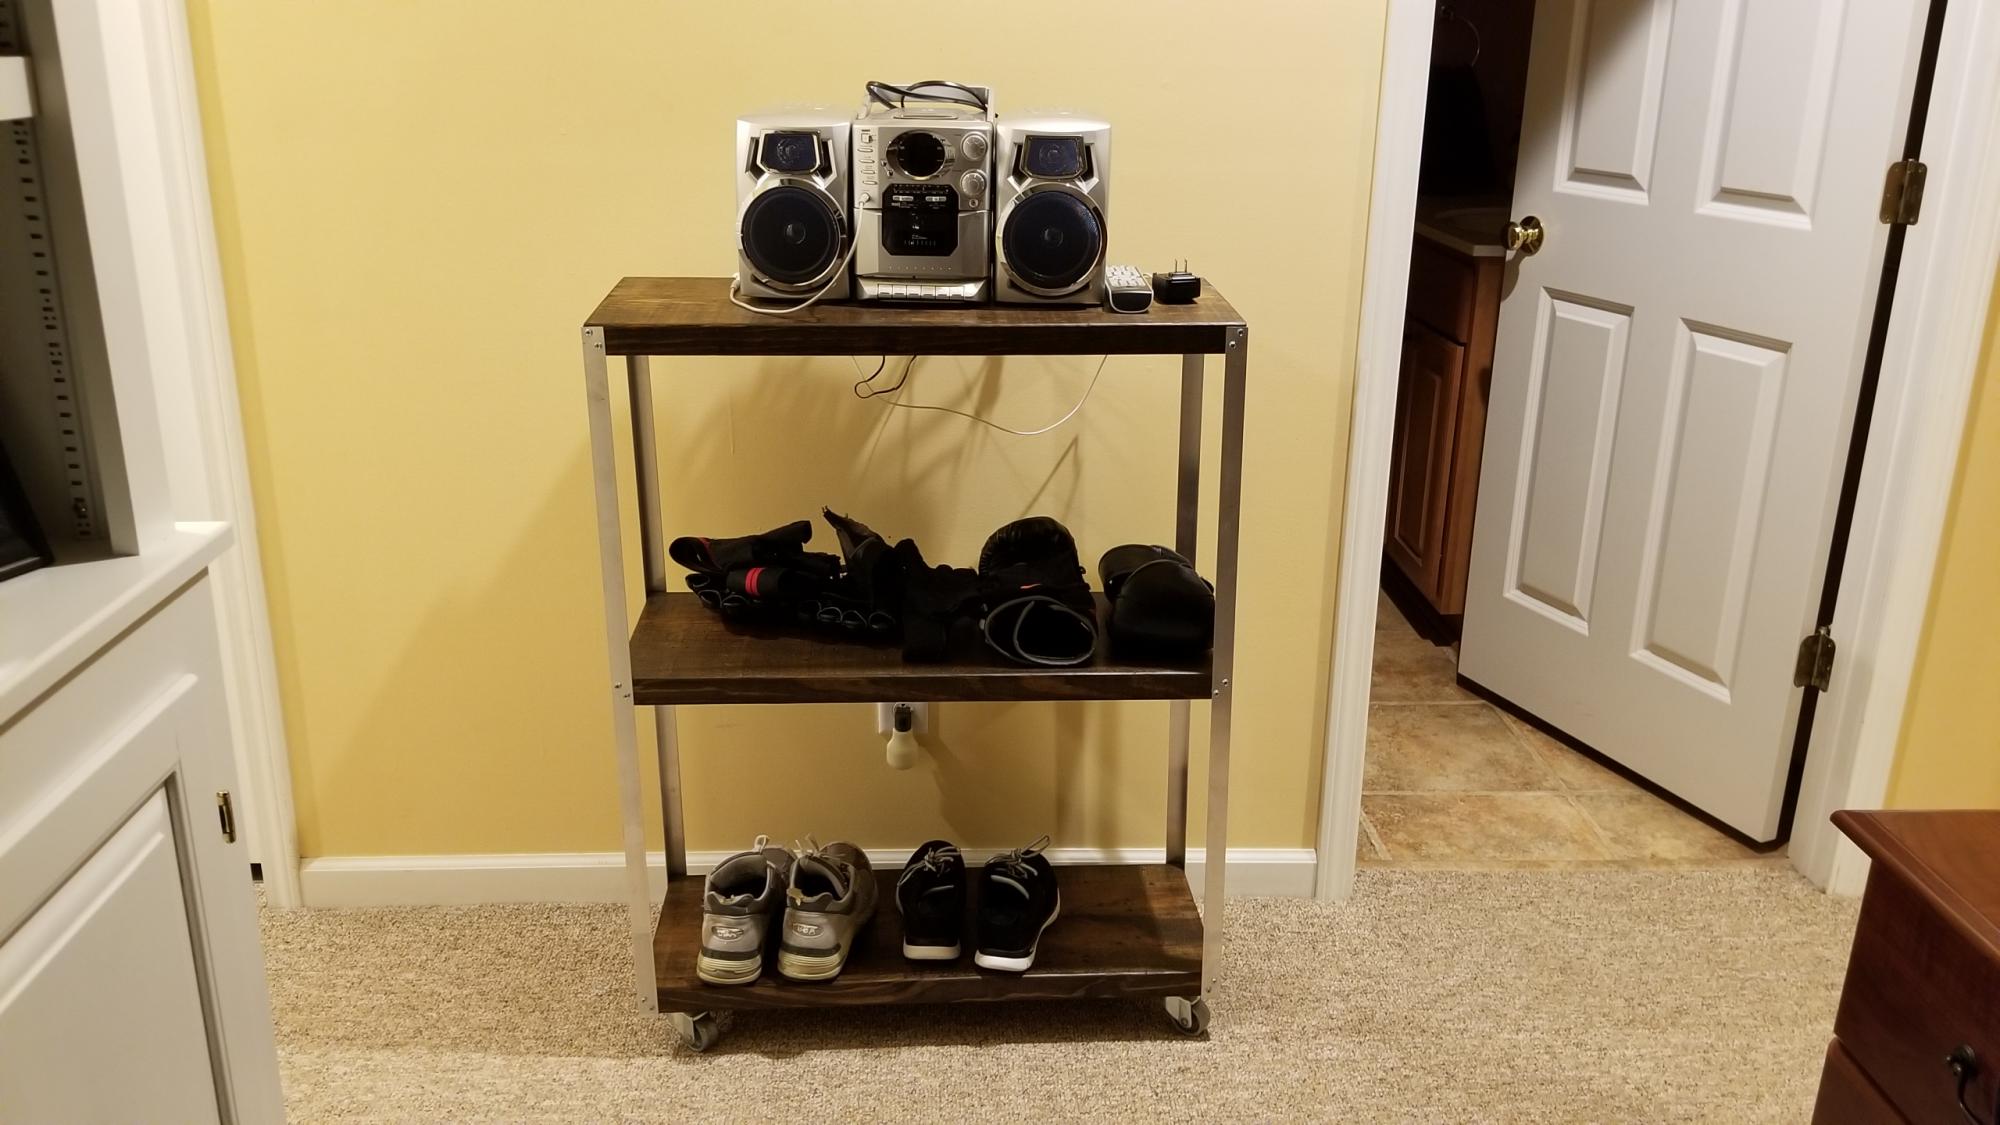
Easy Industrial Cart

Submitted by LampAtFeet on Thu, 12/12/2019 - 19:06

This was a super easy build, that provides a lot of storage!

Built from Plan(s)
Estimated Cost
$15
Estimated Time Investment
An Hour or Two (0-2 Hours)
Finish Used
Dark walnut stain with a coat of wipe on satin polyurethane
Recommended Skill Level
Starter Project

Command Center

We built this command center to hang in our kitchen so that we can organize incoming papers and jot notes on the chalkboard portion. Also a hook for keys!

Estimated Cost
Less than $50
Estimated Time Investment
Day Project (6-9 Hours)
Finish Used
Flat paint and primer in one; chalkboard paint
Recommended Skill Level
Beginner

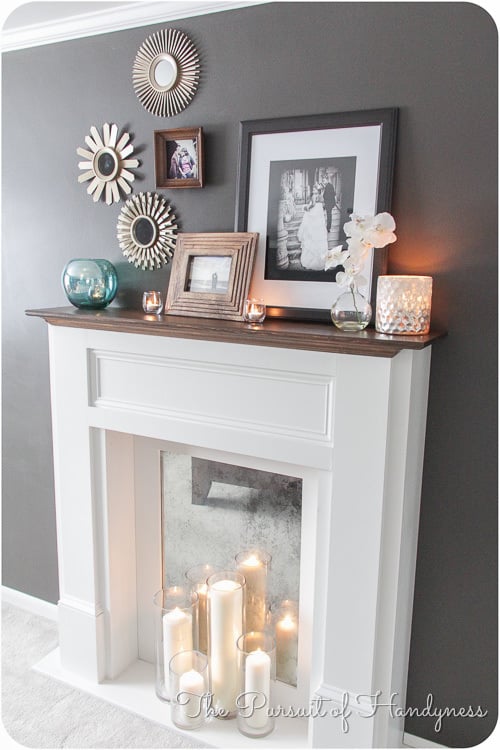
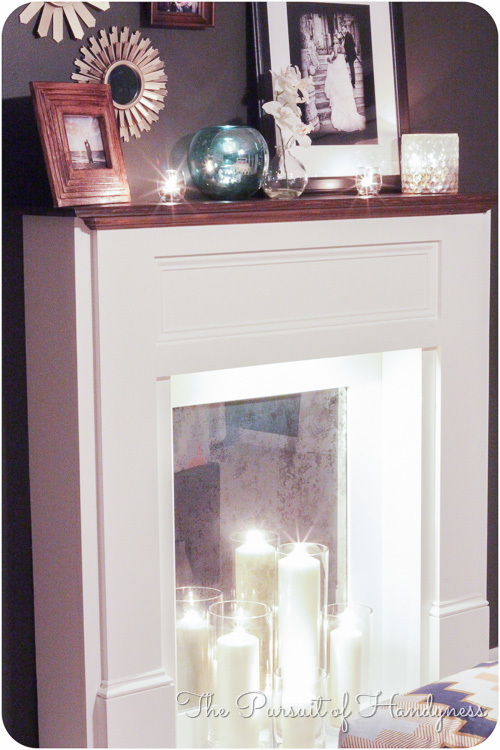
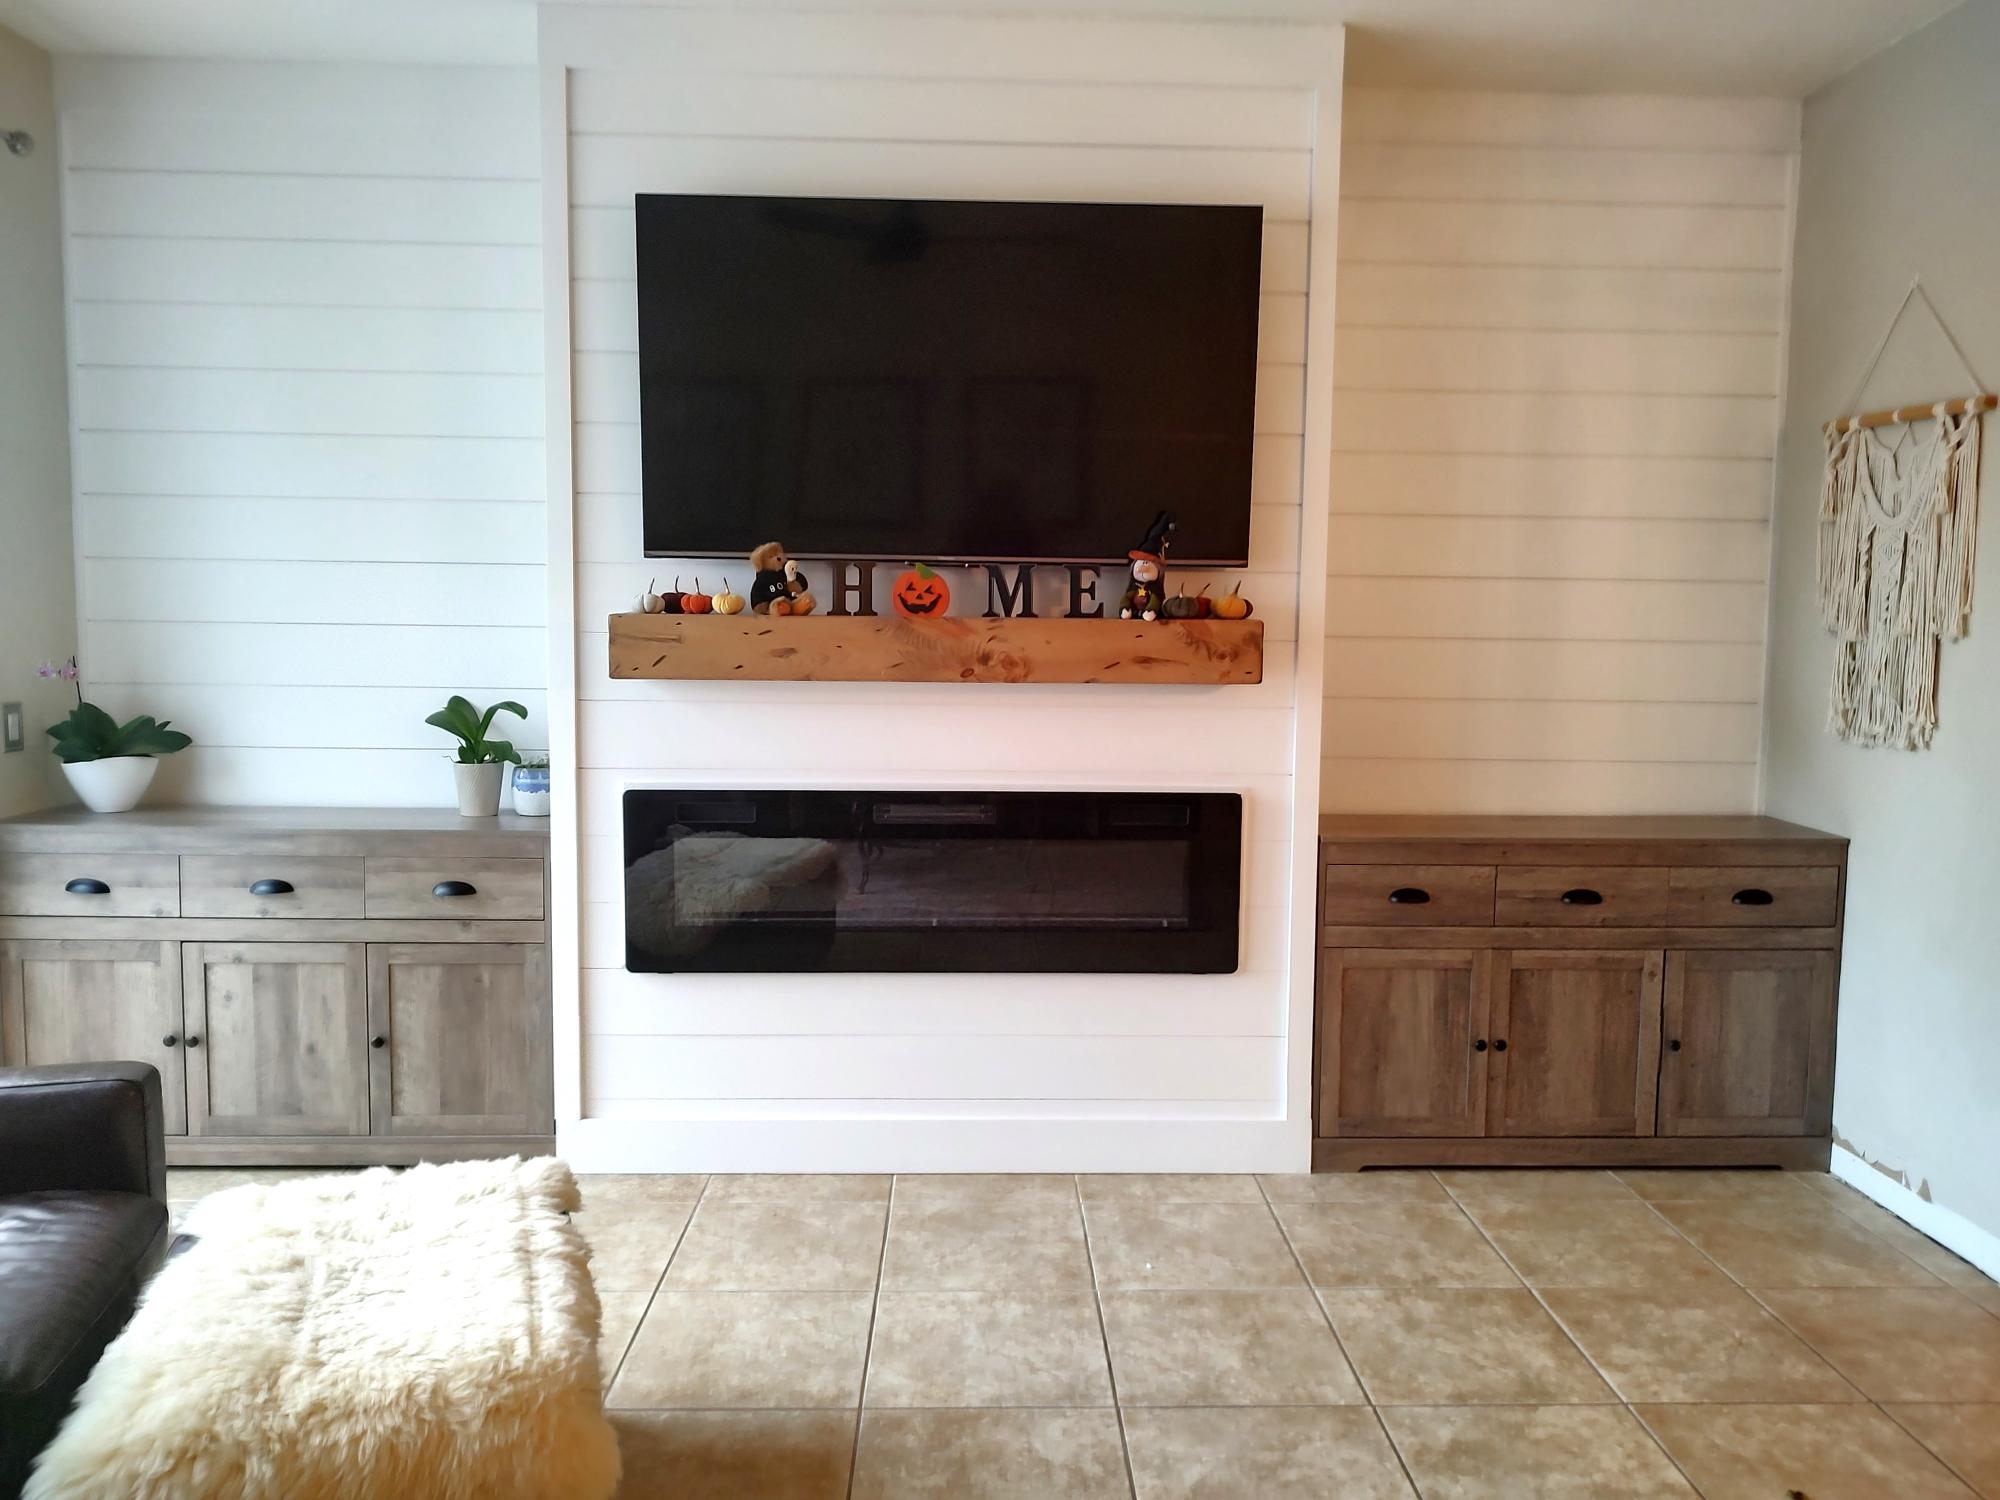
DIY Faux Mantle /Fireplace

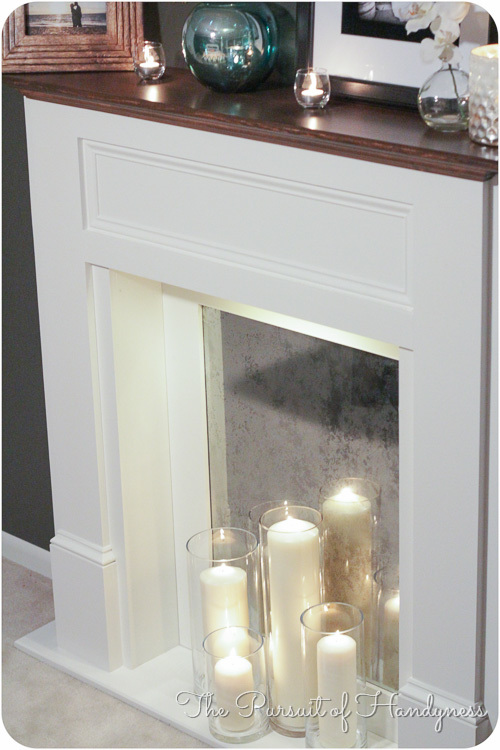
When I first saw Mimi's Faux Mantle I dreamed about building one for my house but I didn't know where. When I began renovating my Master Bedroom I found the perfect place for it on a bare uninteresting wall.

To add interest to the mantle, I stained the top and attached a faux hearth using a 1x12 painted the same color as the rest of the mantle. I also Diy'd a distressed mirror glass insert to bounce the lighting off. I added low voltage LED lights too.
It turned out better than I expected.

Visit my blog http://thepursuitofhandyness.com for a full tutorial of the building process and the distressed mirror glass.

Estimated Cost
$25.00 - $75.00
Estimated Time Investment
Day Project (6-9 Hours)
Finish Used
Behr Silky White in Satin & Rustoleum Ultimate Stain in Early American mixed with Dark Walnut. Sealed with Rustoleum Ultimate Polyurethane in Satin.
Recommended Skill Level
Intermediate

Comments

Panel bed with box springs

Submitted by Kait14 on Mon, 12/30/2019 - 12:36

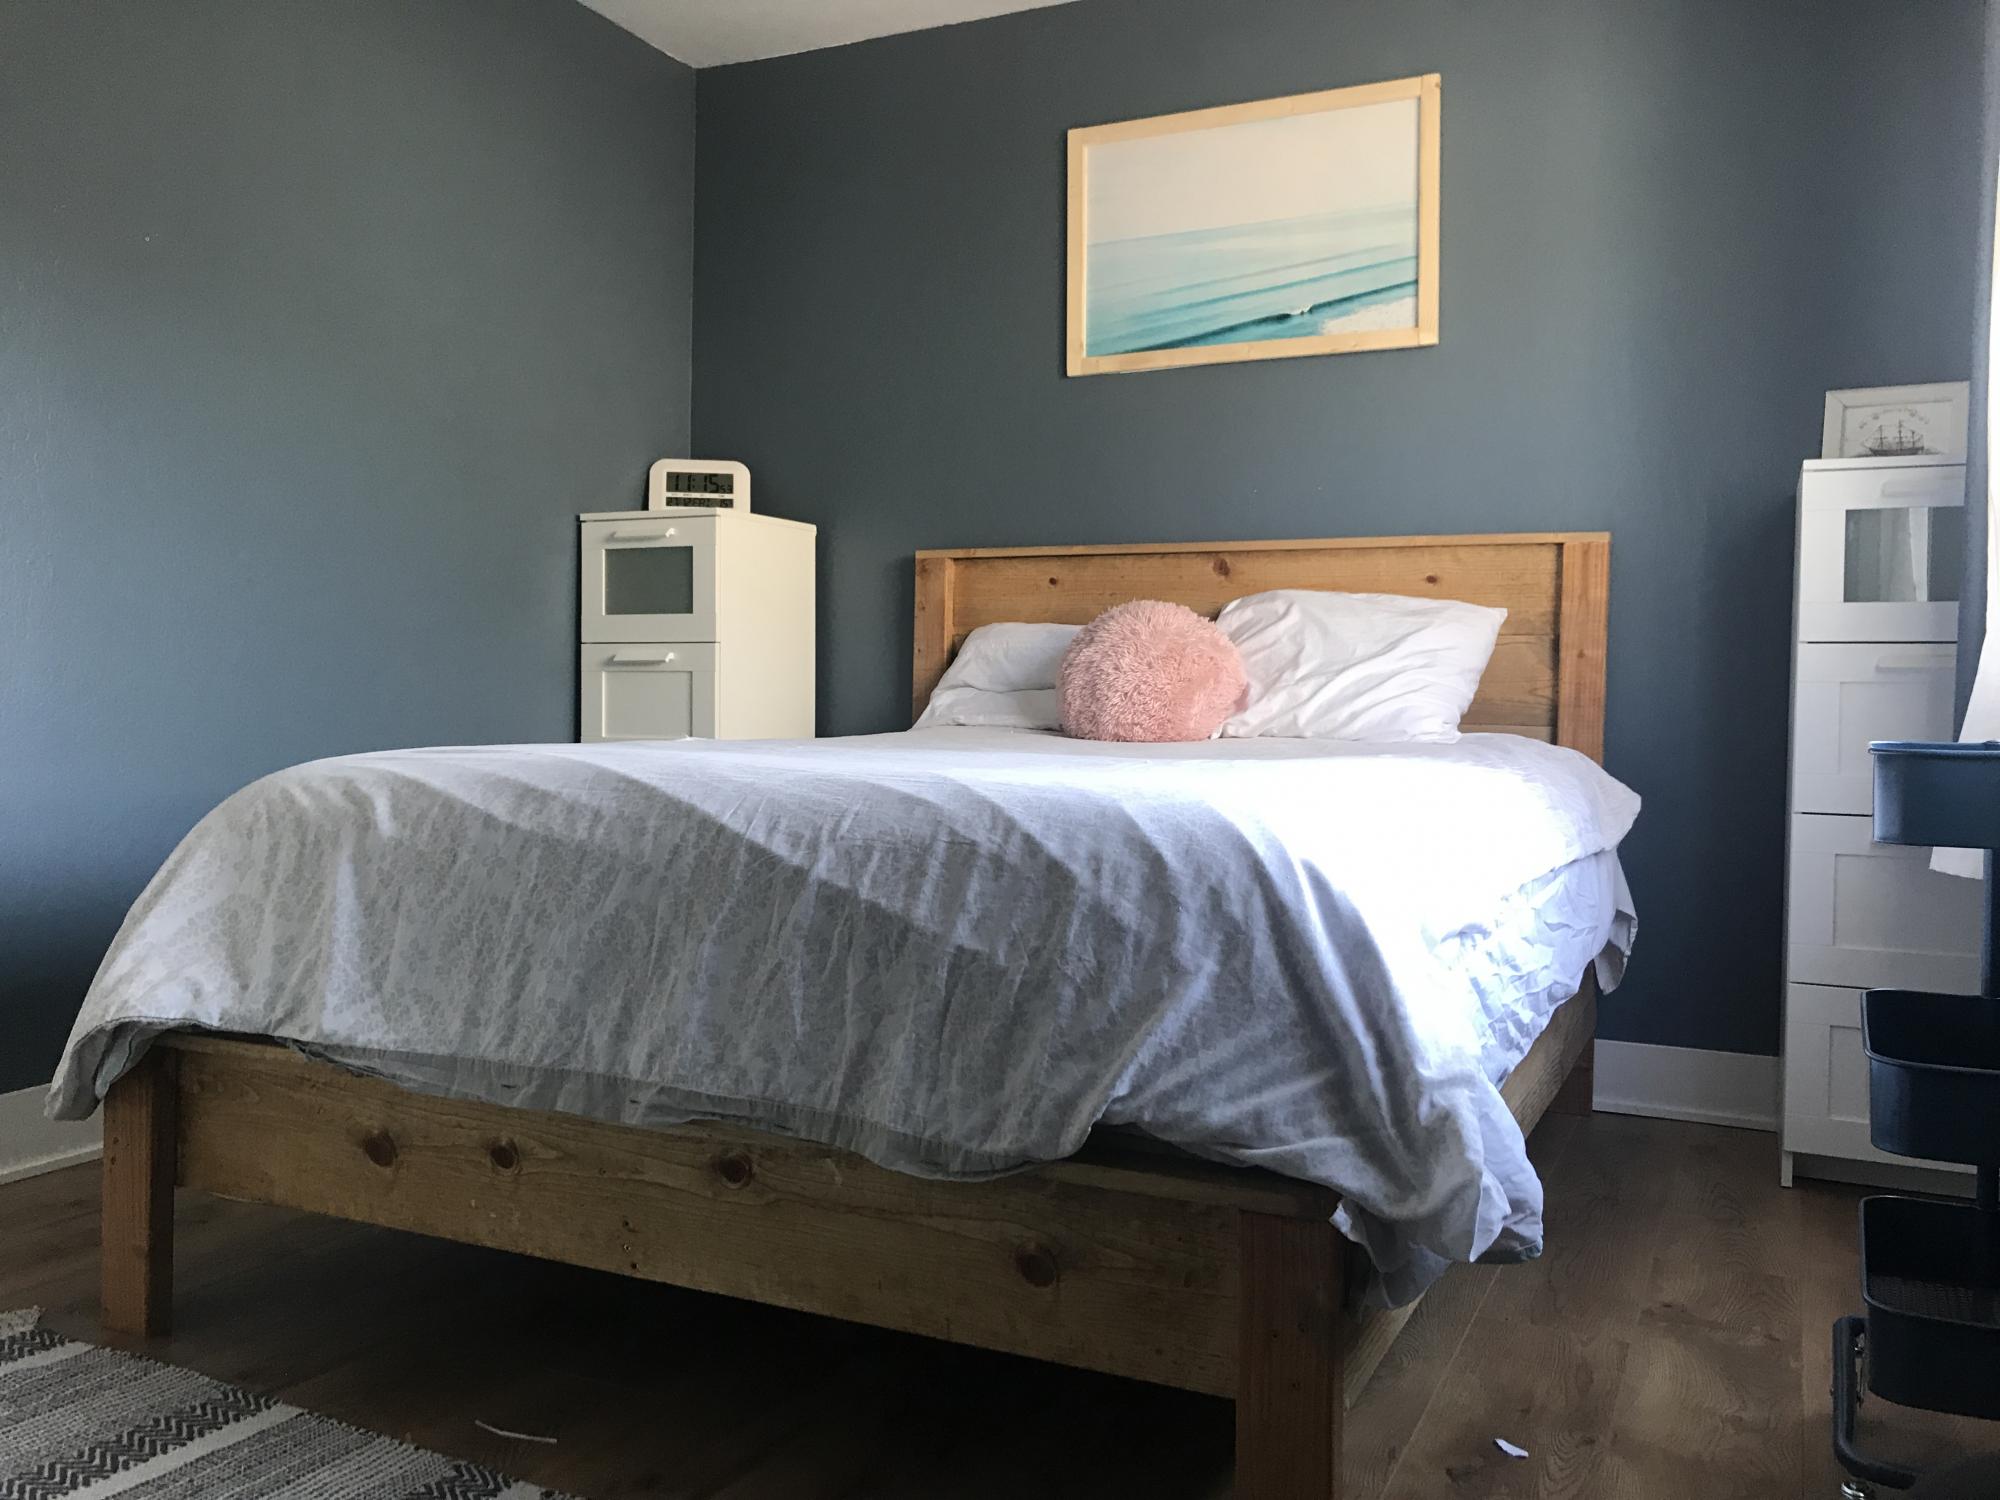
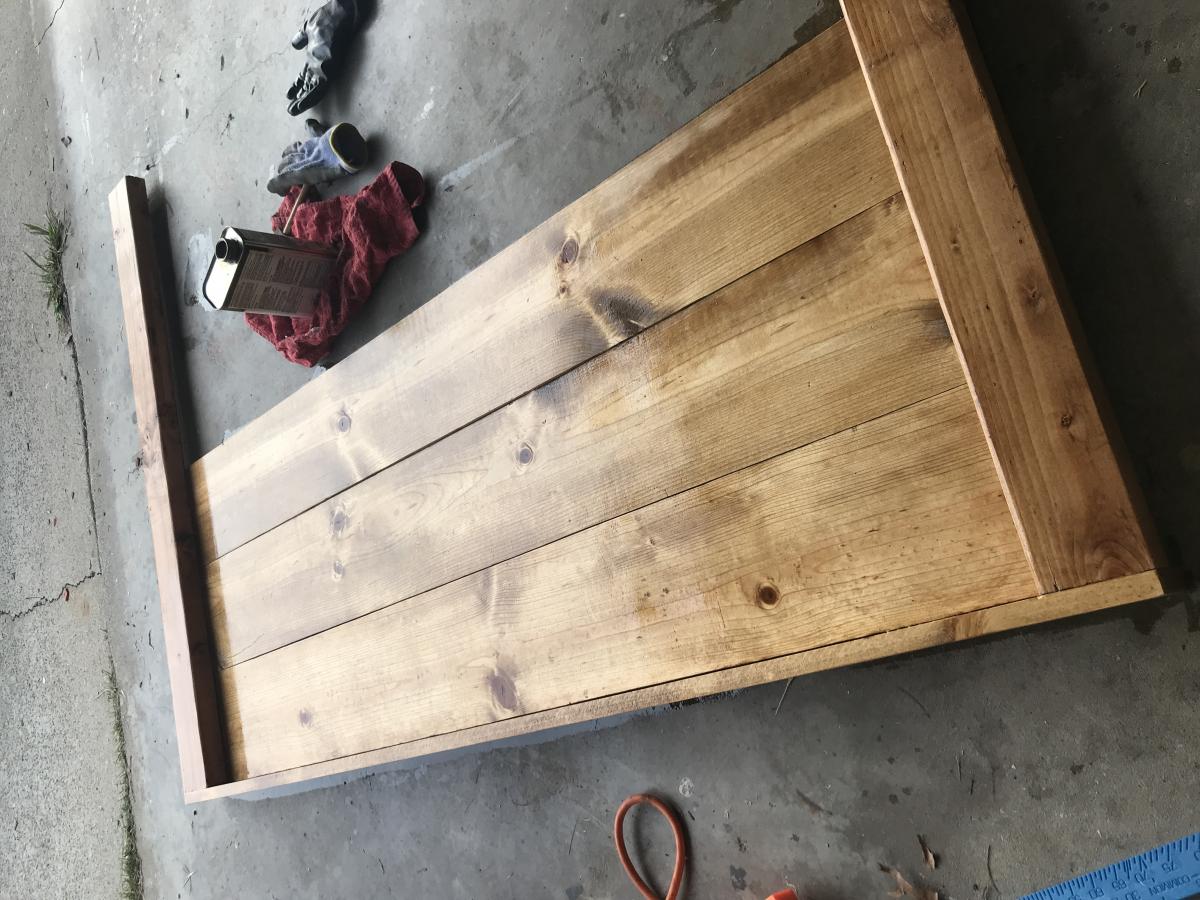
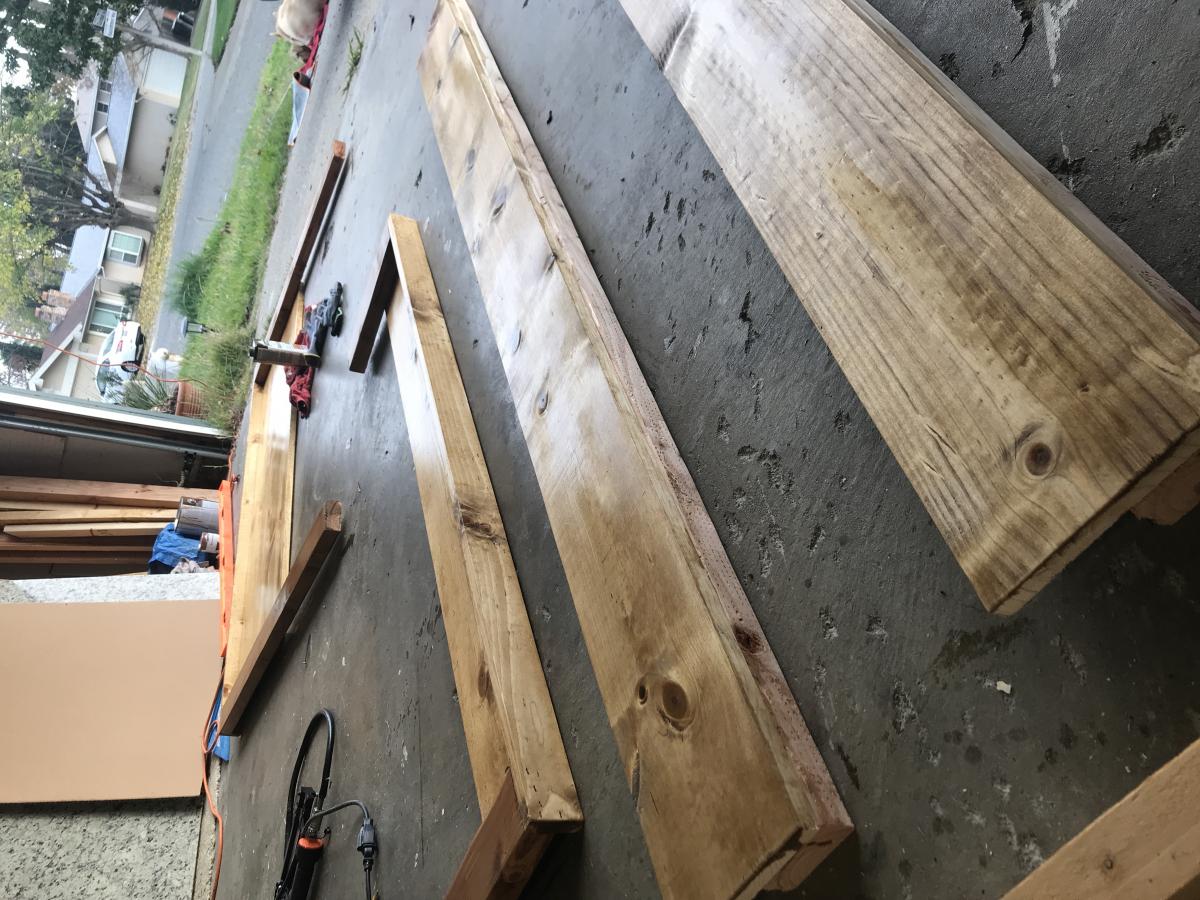
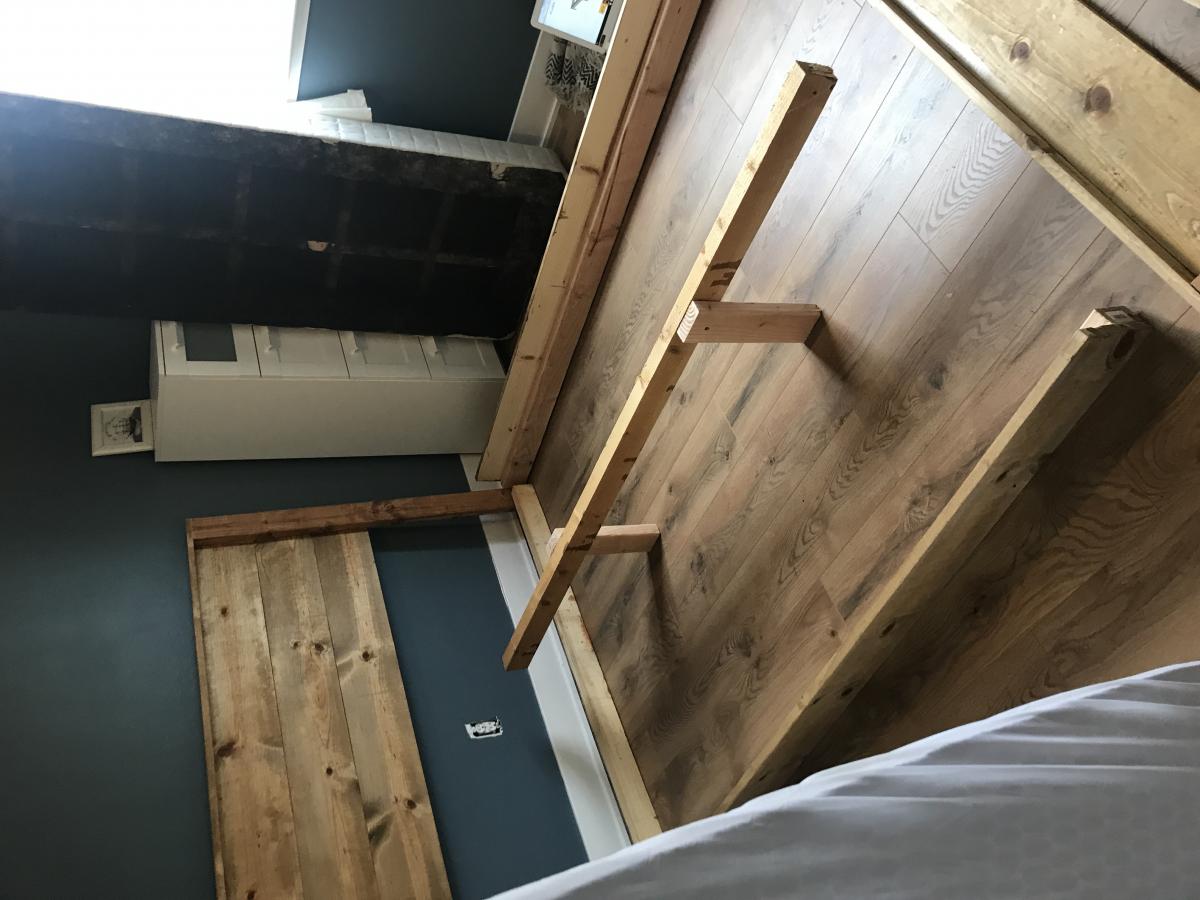
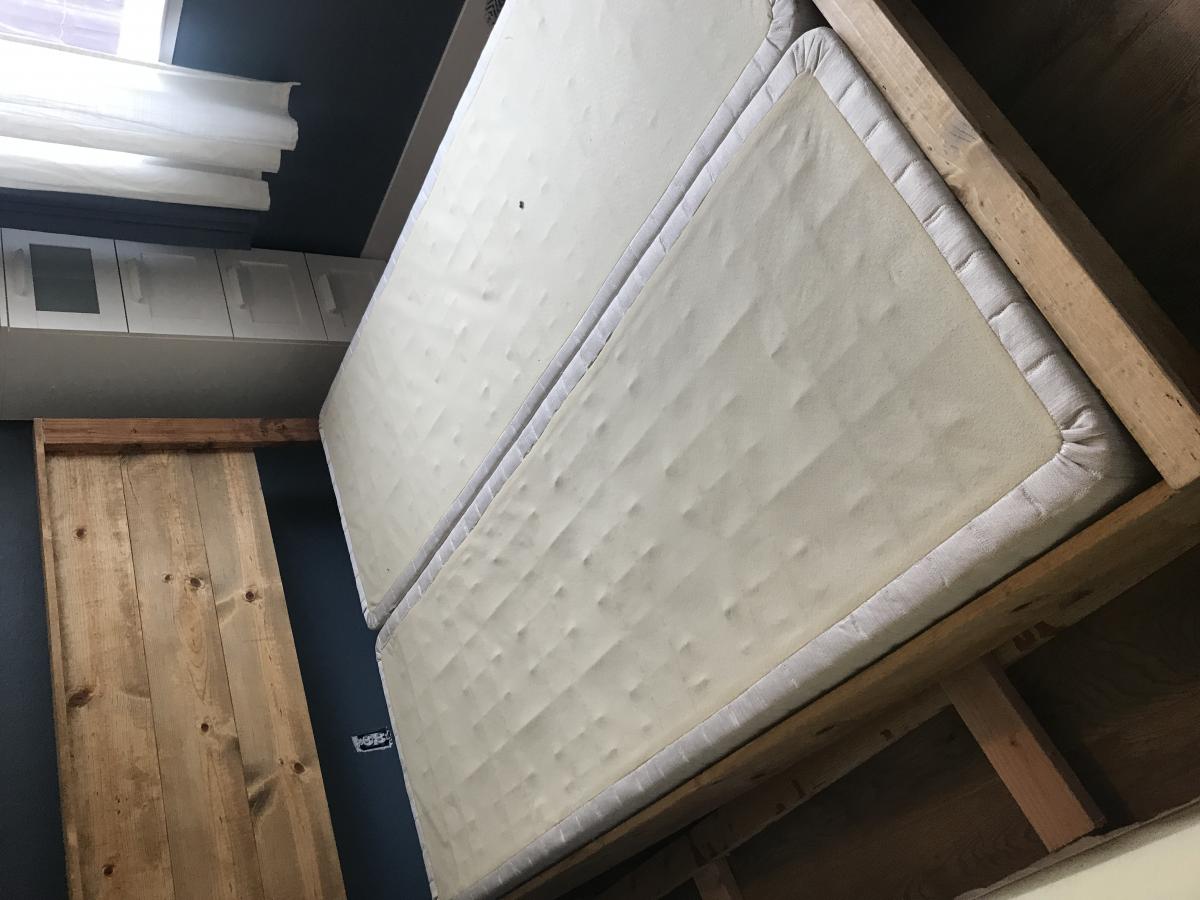
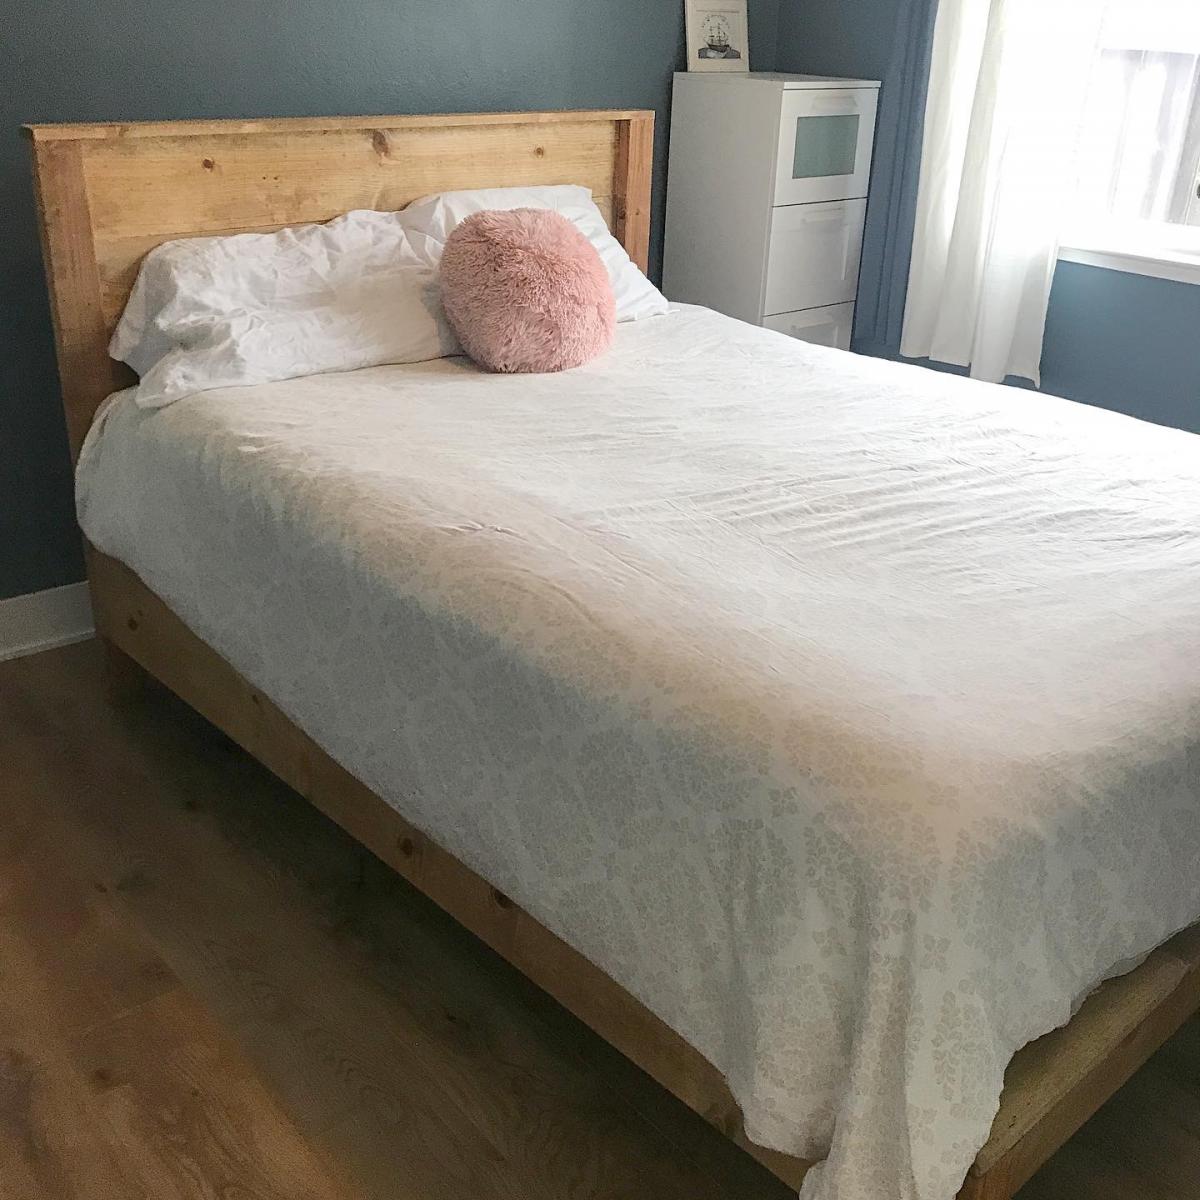
I built this bed for a guest room. Easier than I expected and took 2 days! I used watco danish oil in medium walnut. I was able to save some $ by using two twin box springs that I already owned instead of adding slats. I modified the height of where the box springs sit by lowering the cleat 2” and shortening the legs on the center support by 2” as well. It worked perfectly! 

Estimated Cost
75
Estimated Time Investment
Weekend Project (10-20 Hours)
Finish Used
Watco Danish oil medium walnut
Recommended Skill Level
Beginner

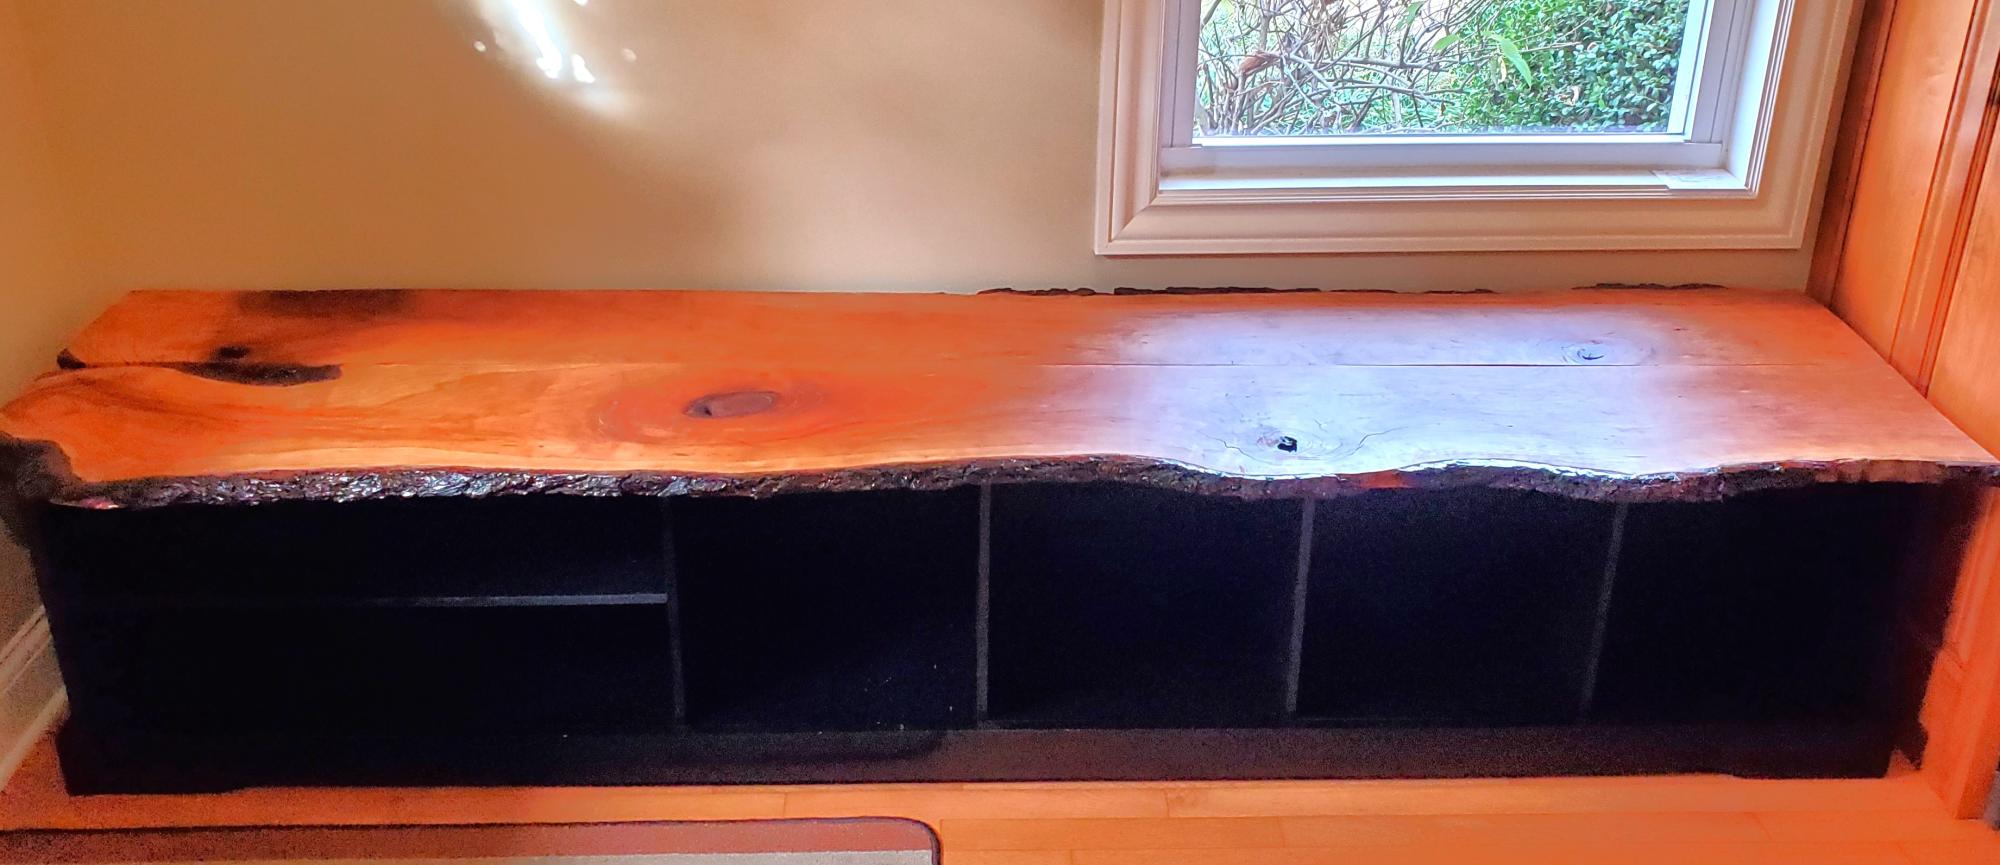
Live Edge Cubby Bench

Submitted by Anonymous (not verified) on Sun, 09/03/2023 - 20:34

Entry way bench. The top is made from a cherry tree off our property. It was milled into slabs then I had it dry for approx.2 years before the moisture level was appropriate to build this project. I applied resin to the live edge to protect the edge from breaking off and to provide a smooth finish. I applied Walrus furniture oil to complete the top. The base is made from pine wood and the shelving is made out of MDF board.

Mark Gilles

Built from Plan(s)

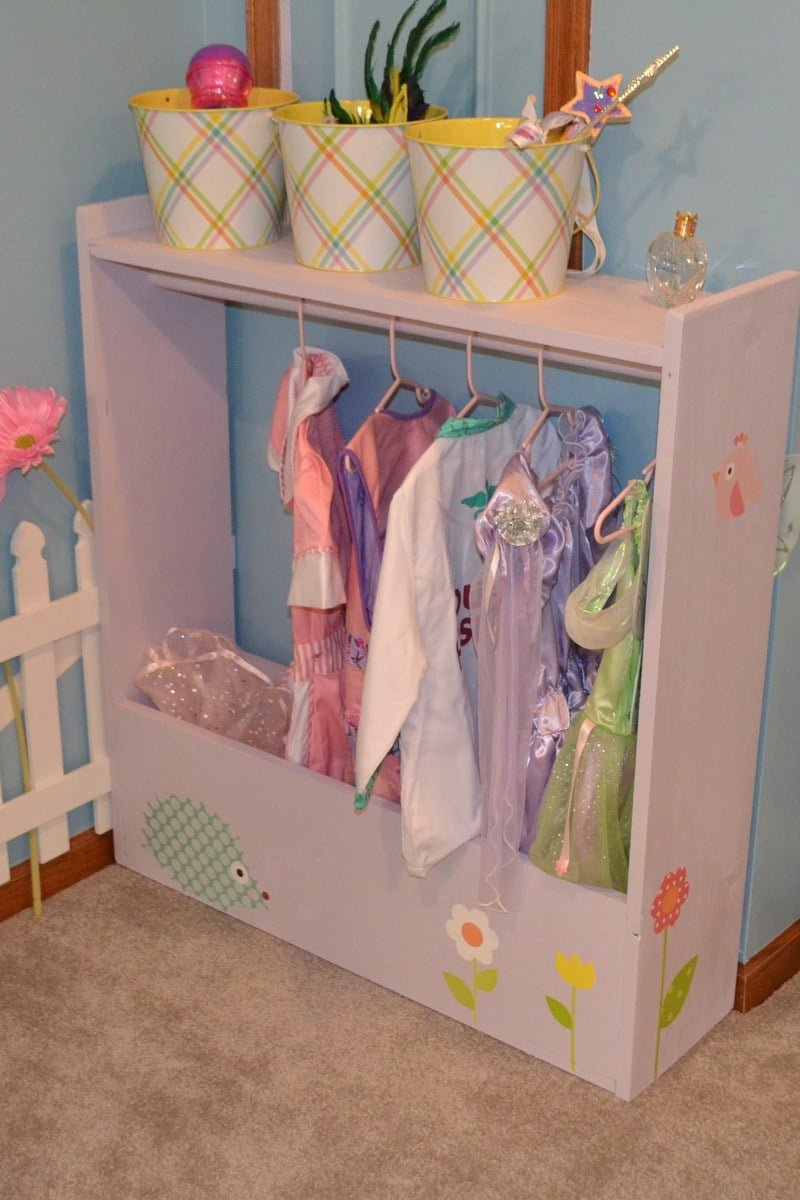
Dress-Up Storage

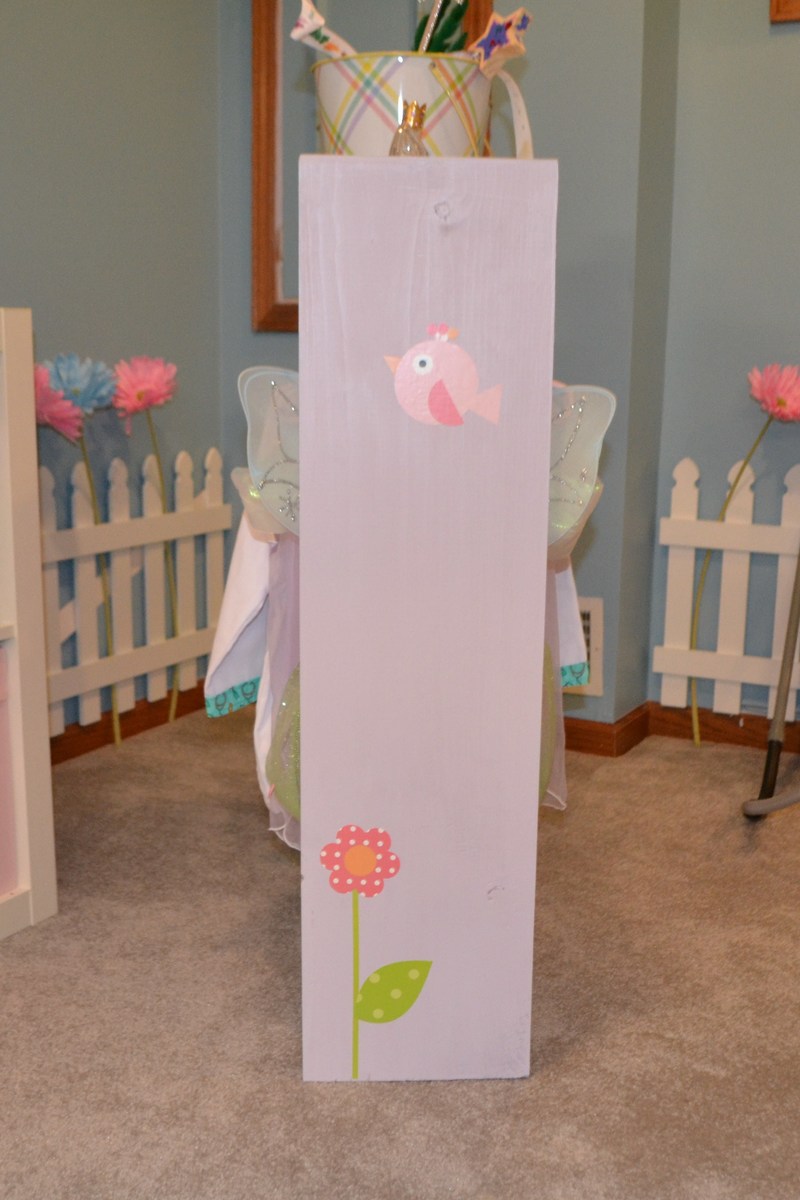
This was my first woodworking project, so I kept it simple. The one modification I made was to square the edges at the top, rather than rounding them out, as I just prefer clean lines. I used some leftover paint (Behr Foxgloves) and added a few vinyl wall decals that match the decal on the main wall of the play area. A few buckets on top store her jewelry and accessories.

I didn't add casters because we have rather thick carpet in the basement, but won't rule it out for the future.

Estimated Cost
$30
Estimated Time Investment
An Hour or Two (0-2 Hours)
Finish Used
Paint (Behr Foxgloves)
Recommended Skill Level
Beginner

Storage/Toy Box

Submitted by AndyH on Mon, 05/02/2016 - 19:55

Storage box made from left over 1 by 4 and plywood from recent projects and a top I made for another cabinet but didn't use.  All I bought was two 1 by 4s for the top trim and the hinges.

Built from Plan(s)
Estimated Time Investment
Day Project (6-9 Hours)
Finish Used
White satin paint and Sherwin Williams Foggy Day gray paint for top.
Recommended Skill Level
Beginner

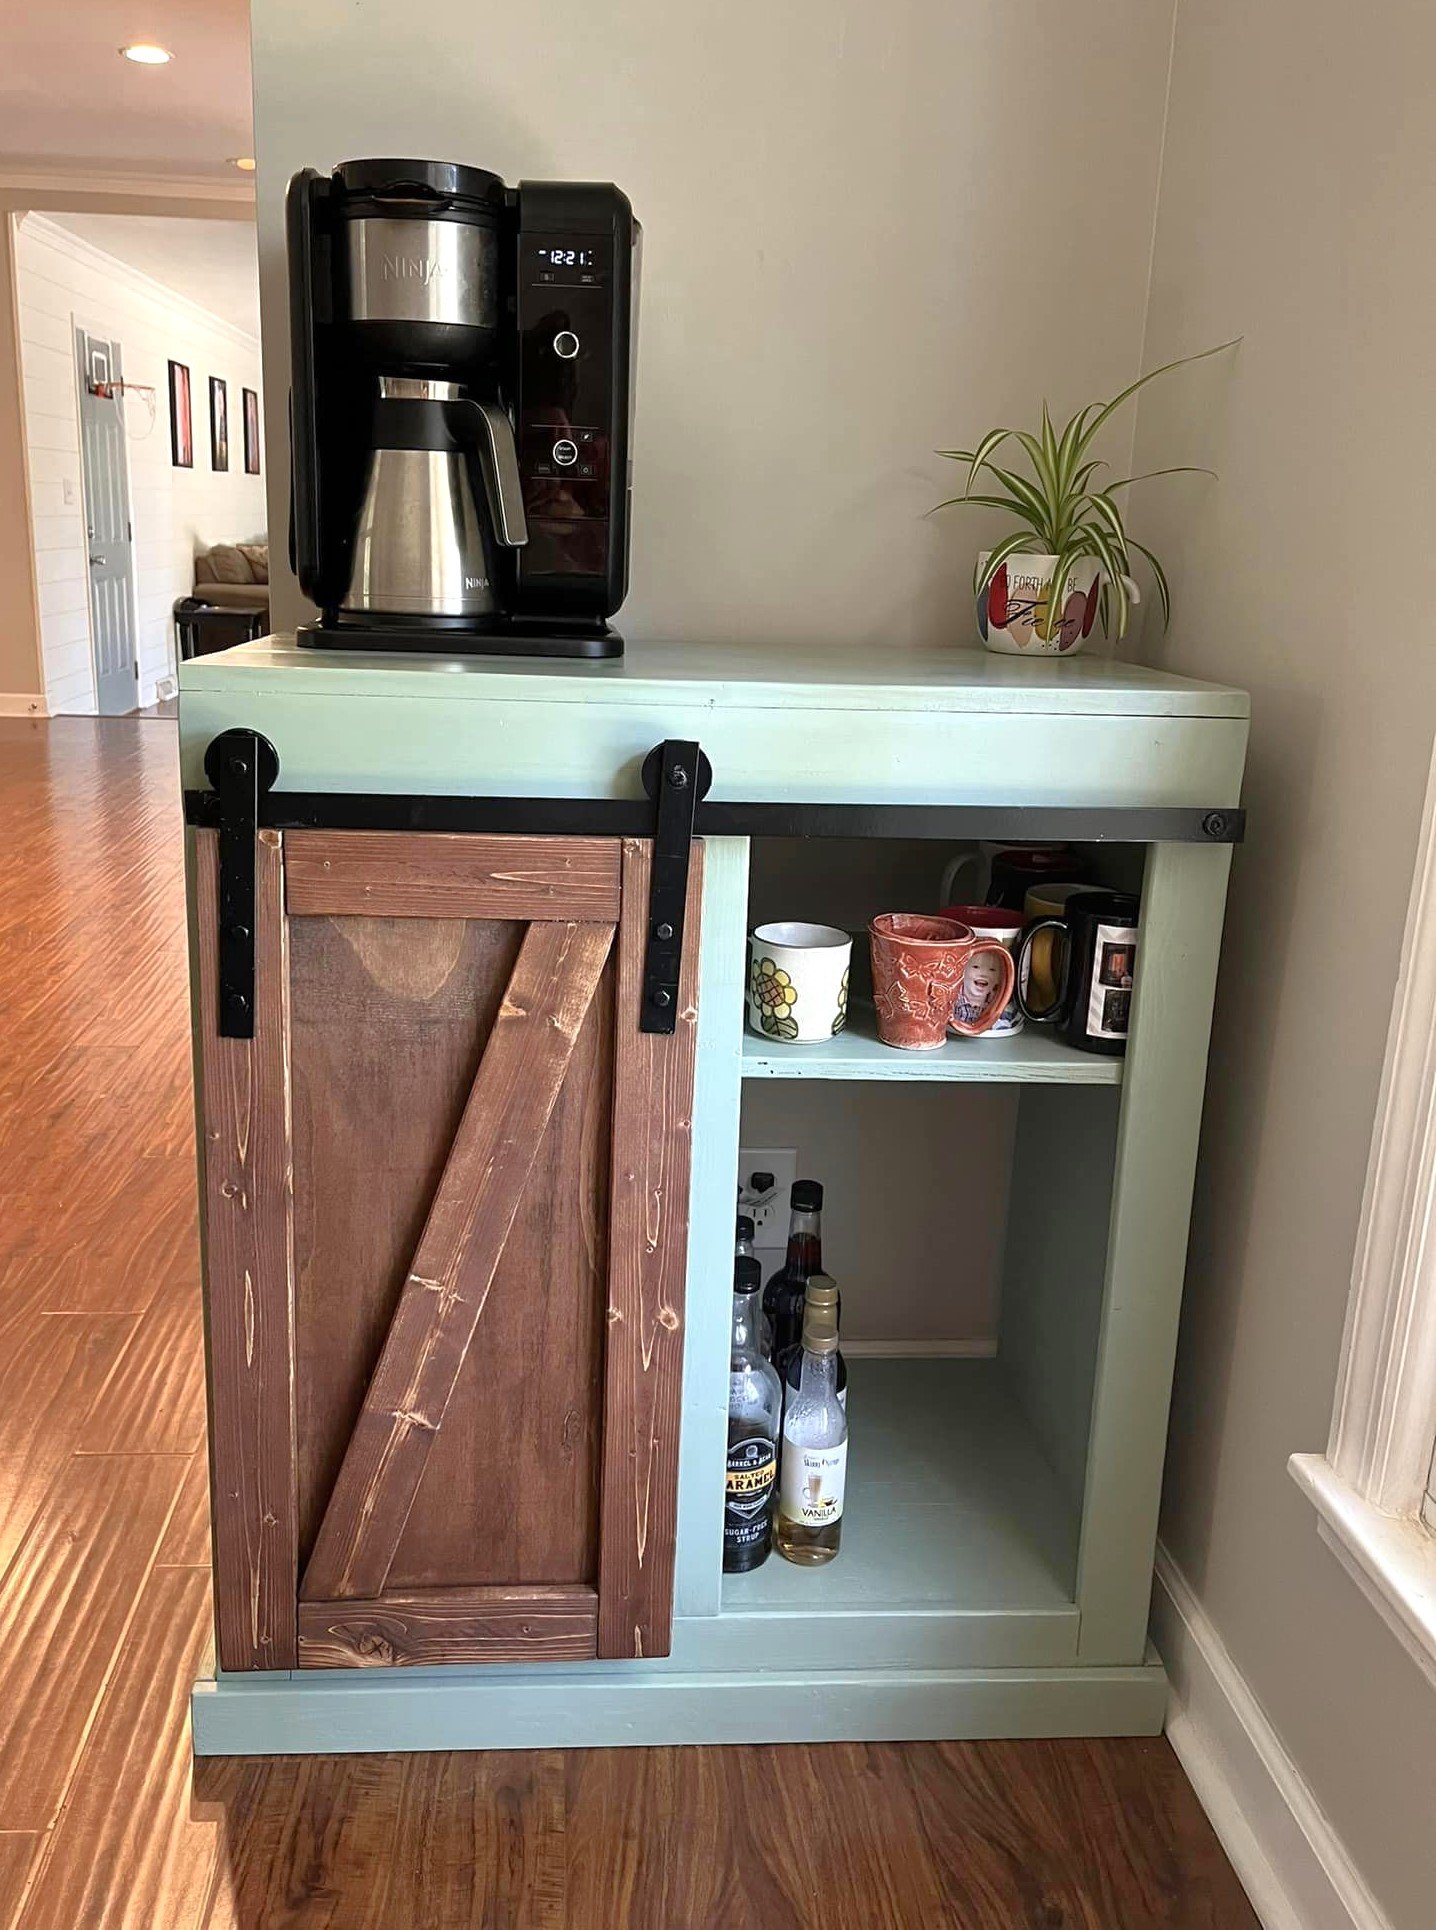
Mini Beverage Bar - Perfectly sized!

Submitted by Anonymous (not verified) on Fri, 09/22/2023 - 08:02

Couldn’t find a coffee bar to fit my space so I modified the Snack Cabient plans of Ana White's! Looove how it turned out! The barn door hardware was fun!

Laura Thompson

Comments

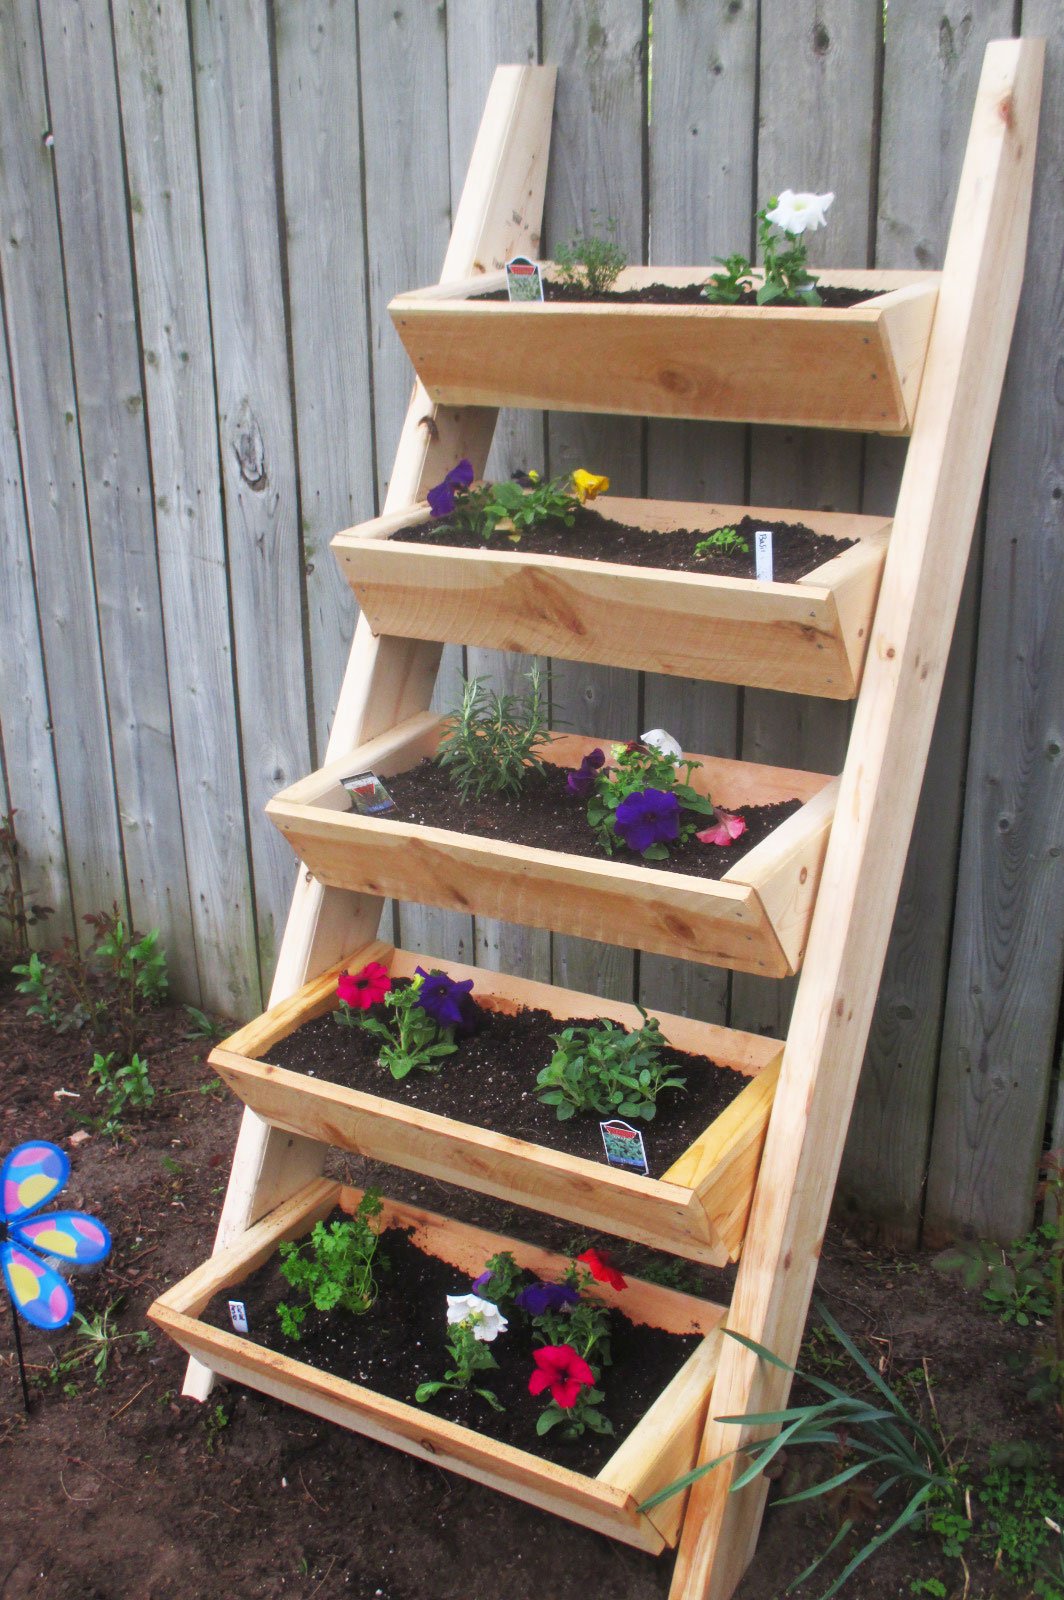
Herb & Flower Ladder

Submitted by Anonymous (not verified) on Mon, 05/09/2016 - 15:06

Living on a small city plot, this vertical ladder planter was just what I was looking for to grow my herbs and flowers. I am not an experienced builder but the plans were easy to follow. It didn't take me much time at all to complete this project. Now I am looking forward to fresh herbs and flowers all summer.

Recommended Skill Level
Beginner

Comments

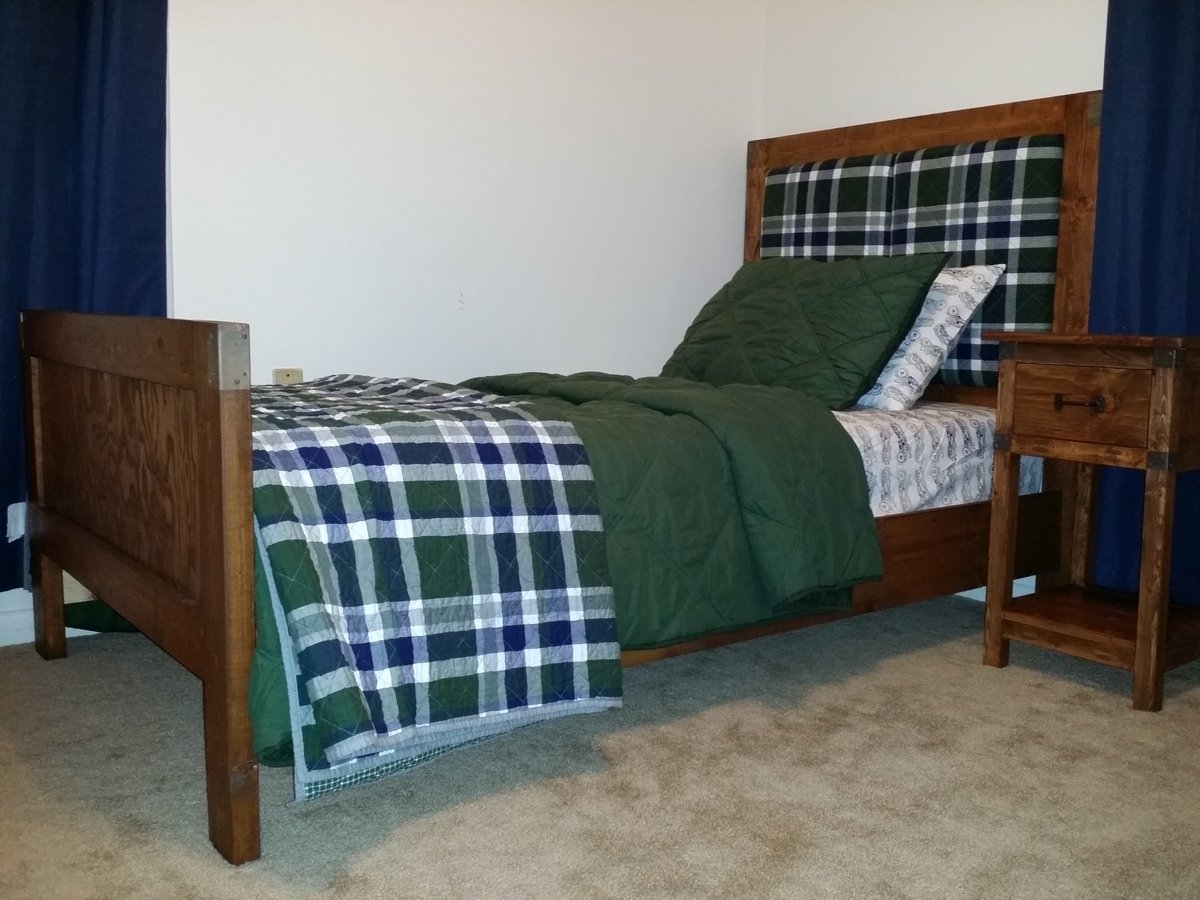
Rustic Twin Bed with Upholstered Headboard (Matching Nightstand & Dresser)

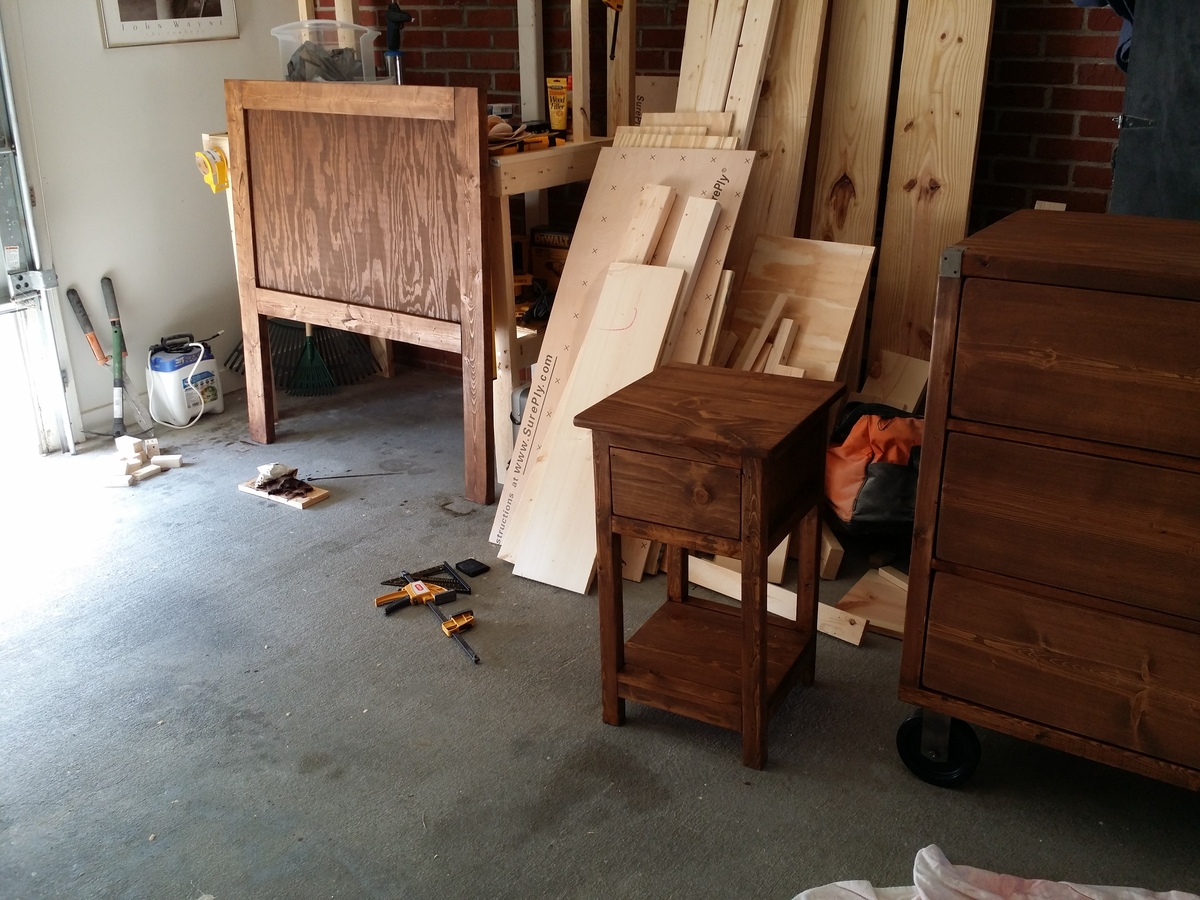
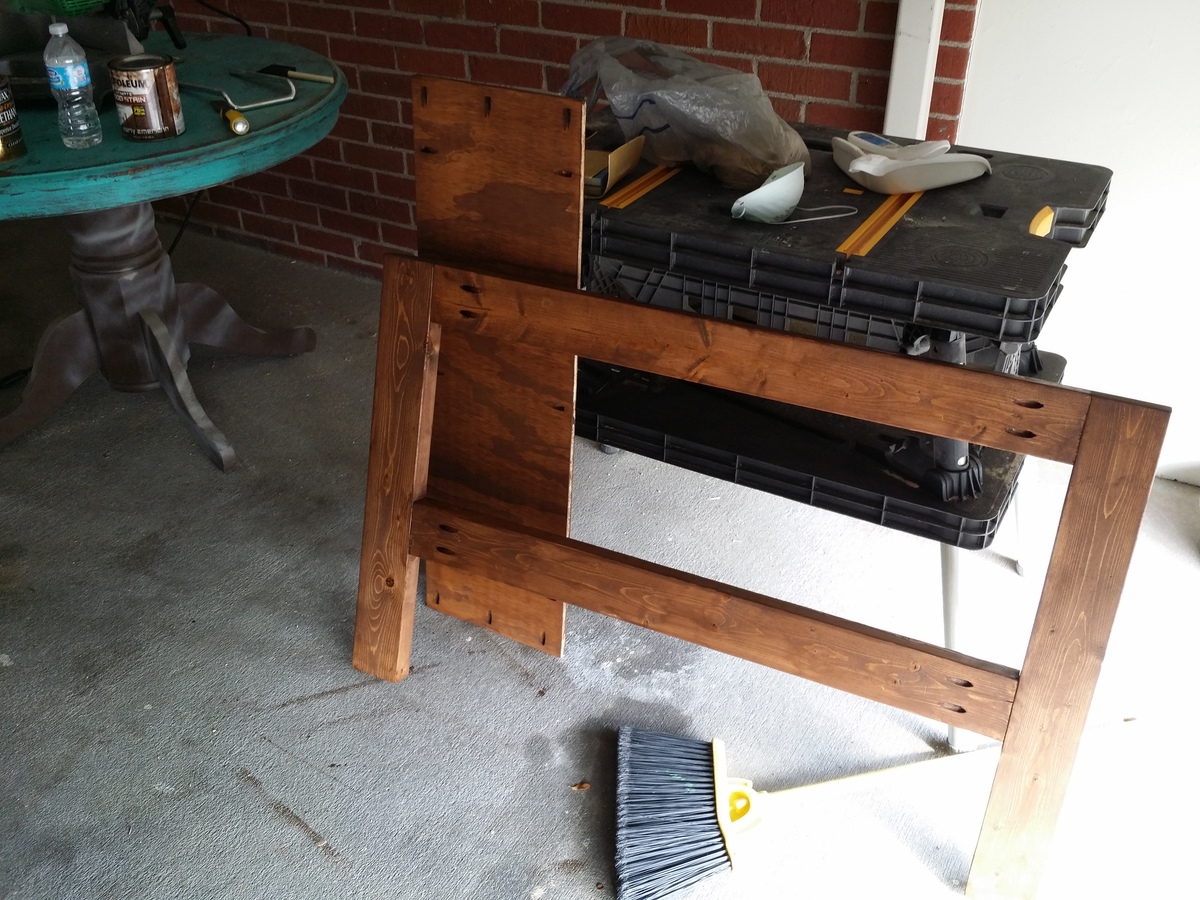
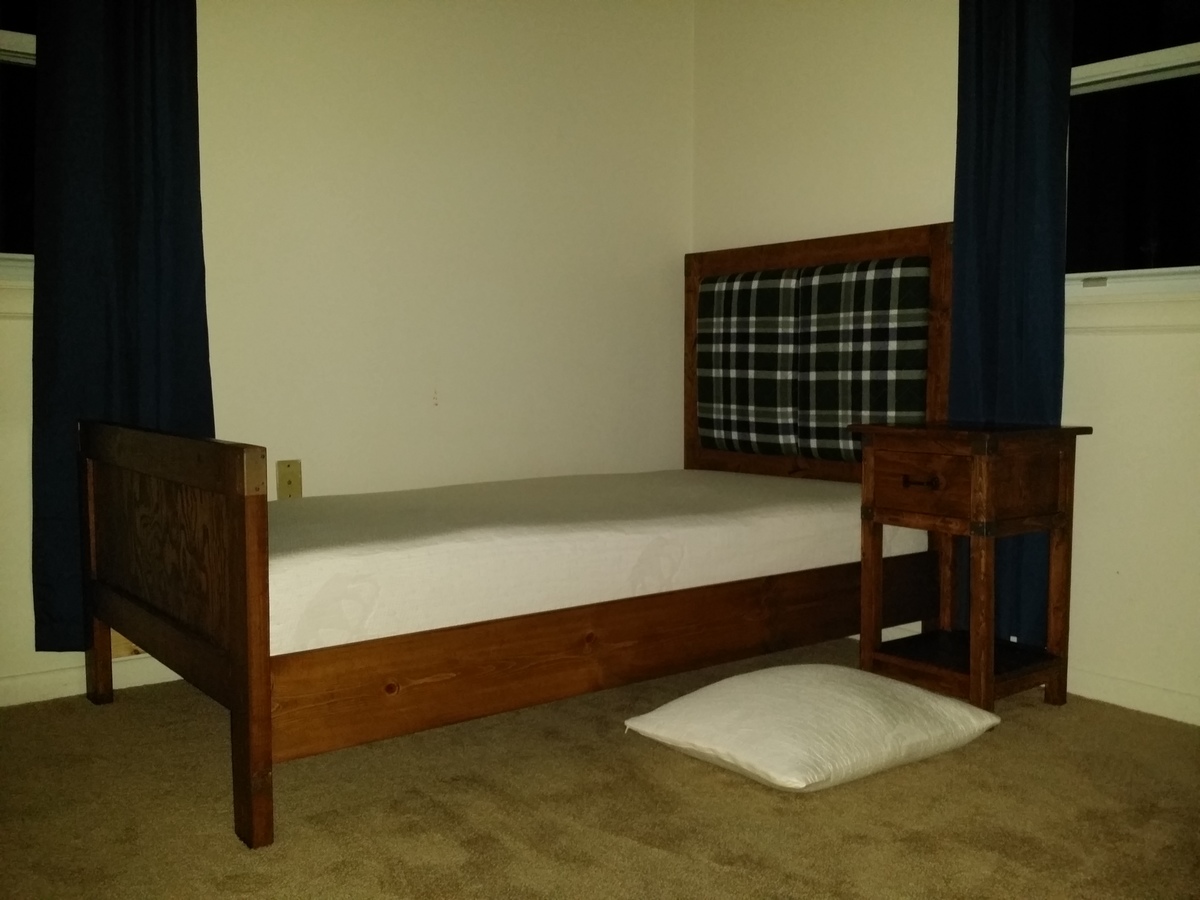
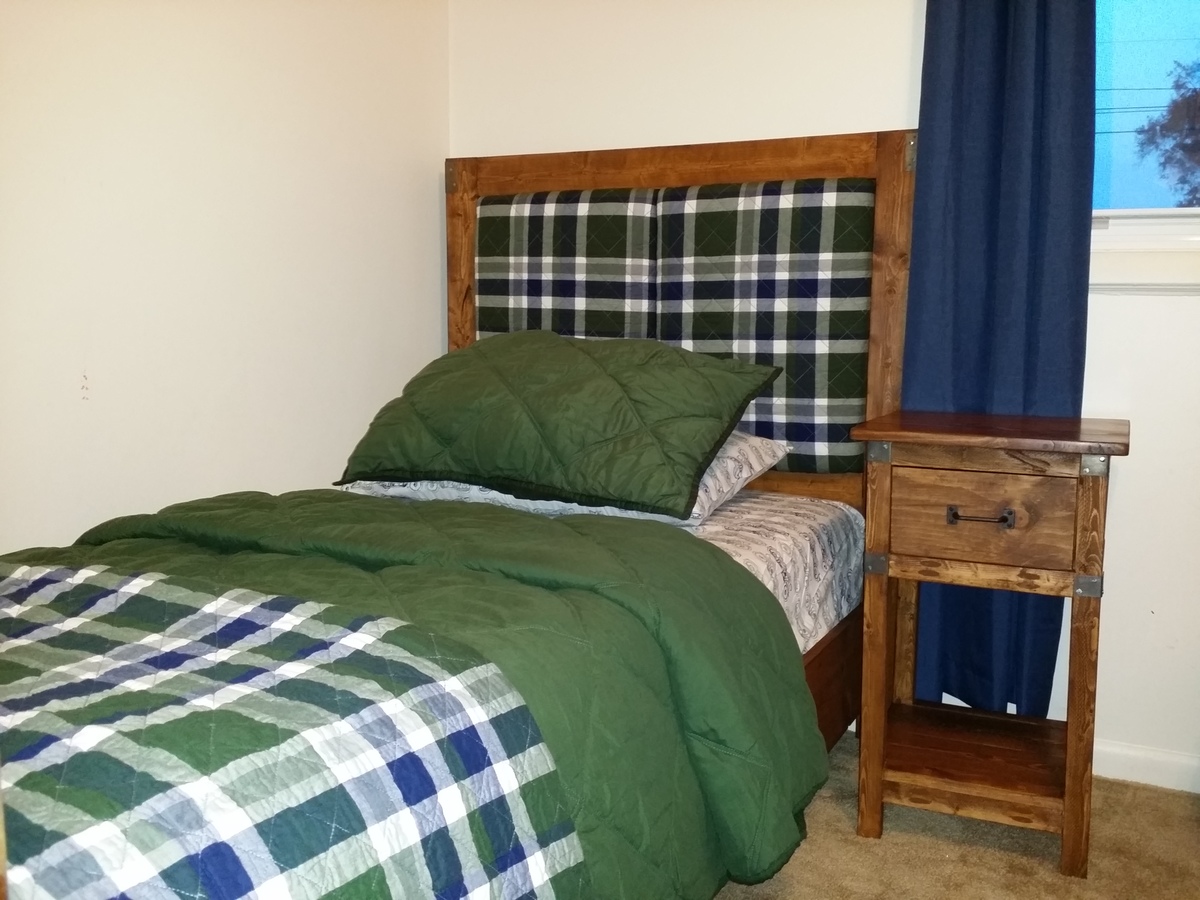
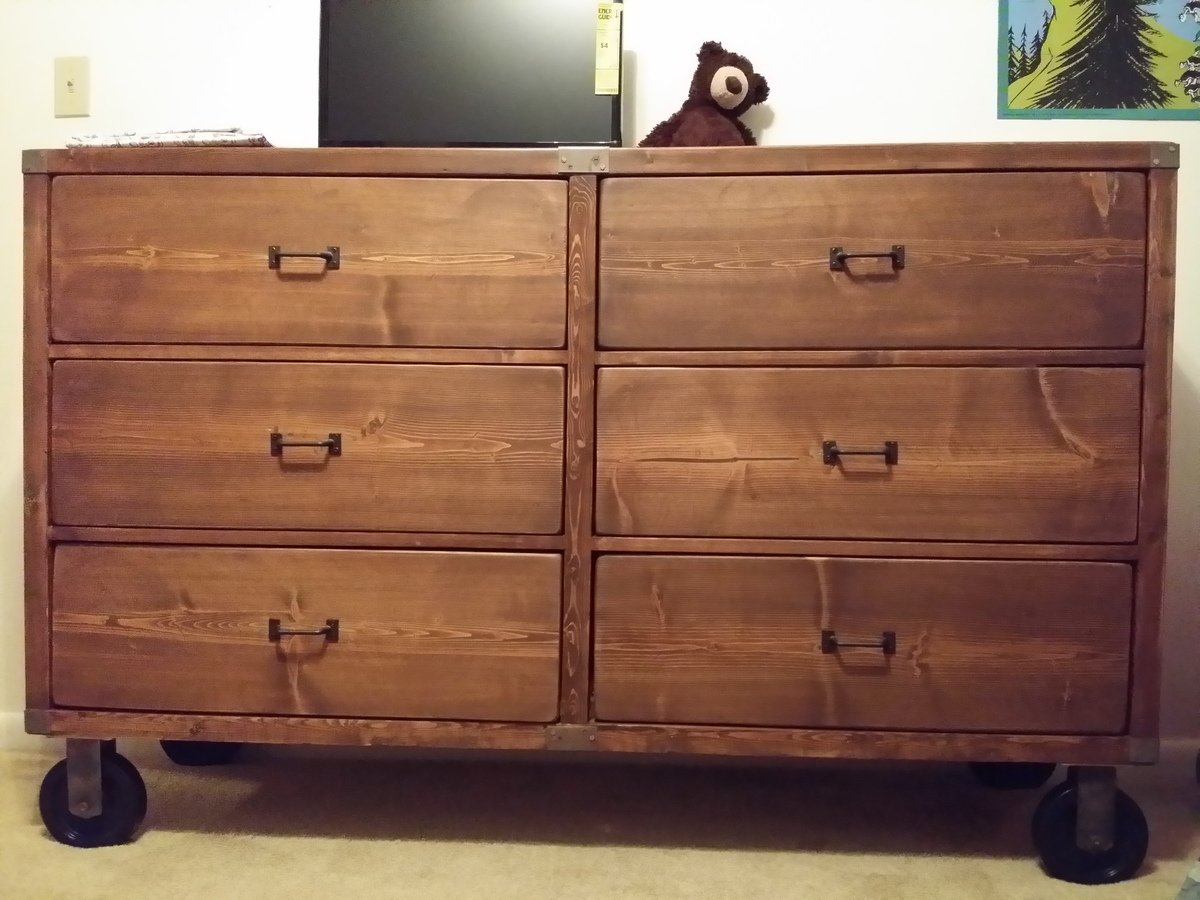
I started my son's bedroom set back at the beginning of January and have finally finished! I began by building the matching dresser (http://ana-white.com/2014/02/rustic-dresser-and-bedroom-set) and then started the bed only a week ago. The night table was taken from http://ana-white.com/2011/06/mini-farmhouse-bedside-table-0 - I had built it over the summer, but I couldn't get my pocket holes on the inside of the table because my drill wouldn't fit, so I wasn't going to use it.. until I realized it was the perfect little bedside table for a two year old who might destroy it anyways!

Back to the bed... I just had this vision of what I wanted my son's room to look like after seeing the rustic rolling dresser plan, and I stumbled on the Emme Twin bed plan. It was kind of perfect, but I didn't like the whole "window" look on the headboard. I still may add a divider on the foot board, but haven't decided yet. Regardless, so I envisioned something else with the same concept of the Emme twin bed. Building it exactly the same way without the dividers, I ordered the clearance shams from pottery barn that matched his new quilt and bought another piece of half inch plywood. I cut it in half and left about a quarter inch on each side of each piece of plywood to accommodate the fabric in between the 2 by 4s. I added one inch of foam and a couple layers of batting, matched up the two shams side by side, folded them each around the batting and foam, and stapled them. They fit perfectly into the headboard with some 1 1/4 or 1 1/2 inch screws (There is a gap from the fabric on the back, so your screw needs to account for that. You could put like a 1x4 onto each panel to screw through, but I placed the back plywoood attached to the 2x4s too far in, so it would have made the panels "float" and I wanted the fabric of the panels flush to the back plywood) holding them to the back plywood attached to the 2x4s. I wanted the padding on the back of the headboard because I always hear my son slam his head into the wall when he's sleeping and i just wanted to make sure he wasn't hitting the dividers that were on the EMME twin bed.

The bed was so easy to build, stain and finish. It turned out exactly how I had envisioned it. I had to lower the side rail 2x4s because I bought a ten inch memory foam mattress (You can see the foam mattress and pillow rising in the picture!) and didn't want it coming above the headboard, but now I don't think I'll need a guard rail since he is so close to the floor! The 2x4s sit 5.5 inches up from the bottom of each leg. I also added quite a bit of length to the foot board legs because I wanted the footboard to come above the mattress. I wish I had realized that there was much nicer plywood at Lowes, but when I asked, they told me "this is all of the plywood we have" and I got stuck with the ugly stuff.. I will fix the footboard with some nicer looking plywood, but it's good enough for now!
Estimated Cost
$50 for wood, added $30-$40 for the upholstered part, including the shams
Estimated Time Investment
Day Project (6-9 Hours)
Finish Used
Minwax Early American
Minwax Plyurethane, one coat and sanded, one coat of light wood minwax furniture wax to follow
Recommended Skill Level
Beginner

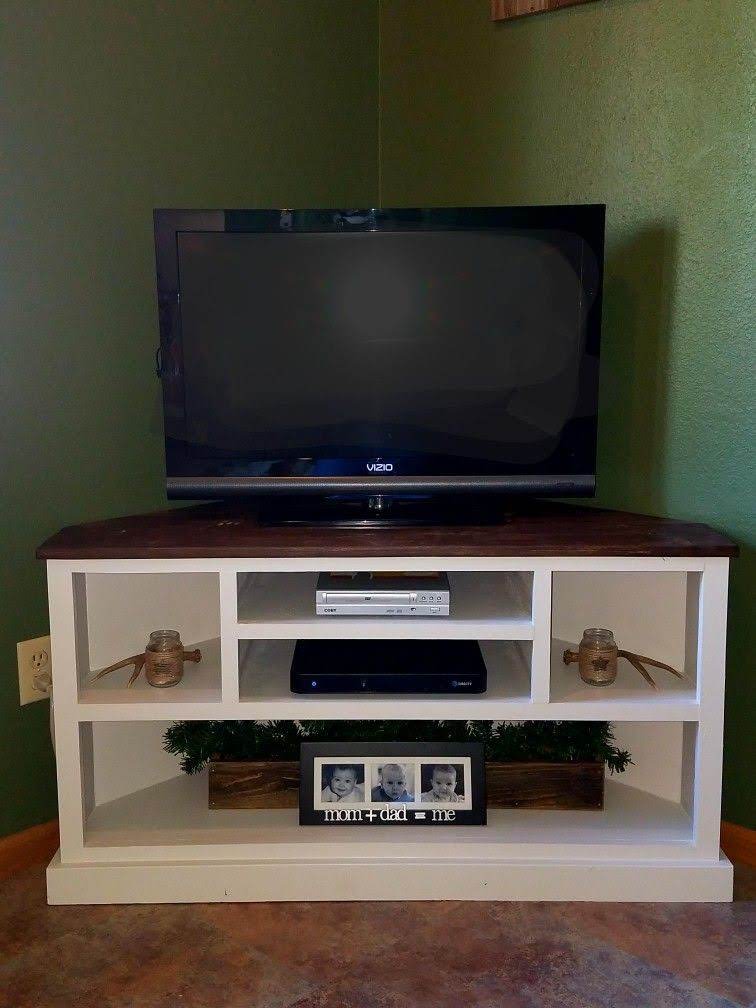
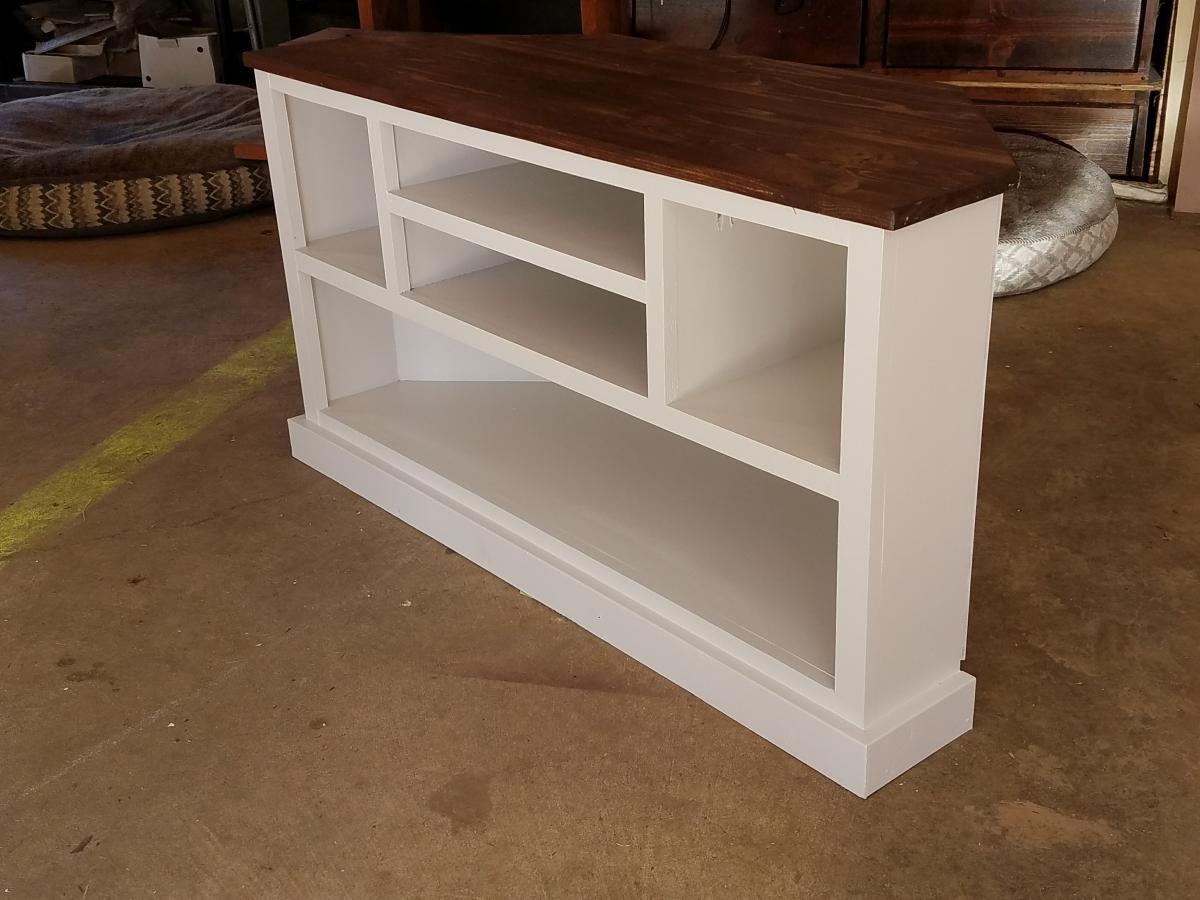
Corner Media Console

Submitted by craw4dz on Thu, 02/27/2020 - 10:39

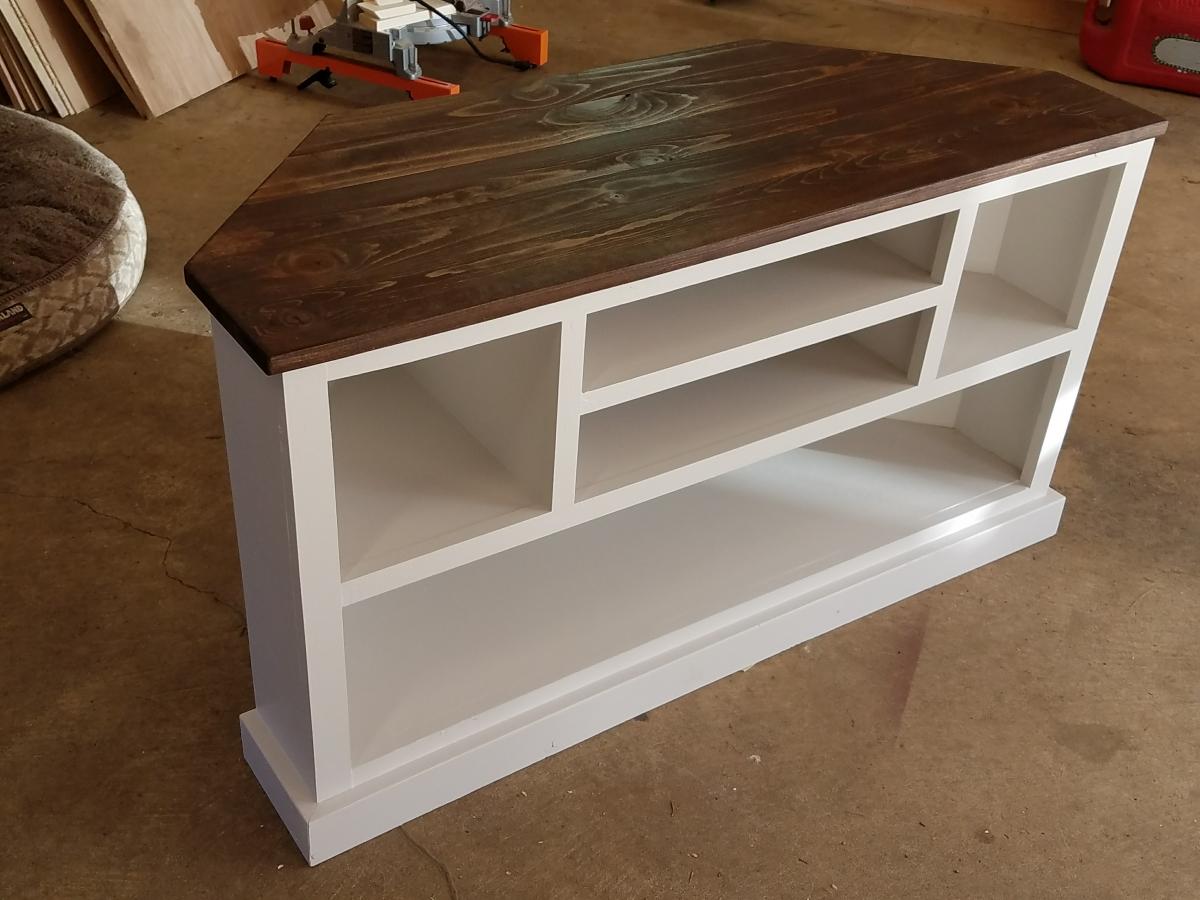
We had just moved into our new house and were using an end table for our TV stand I just didn't like it.  I found this and modified it so it's shorter and fits in our room better.  I also opted to not put doors on it and use it to display items instead.  This was a relatively easy build and I'm learning new things with every build I make.  It took about 2 days to complete not including filling holes/paint/stain.  I love it, it looks so great in our room and I am planning on building end tables to match as well as replacing our buffet with movies in it to match also.  Thanks for the easy-to-follow plans!
Built from Plan(s)
Estimated Cost
$45
Estimated Time Investment
Weekend Project (10-20 Hours)
Finish Used
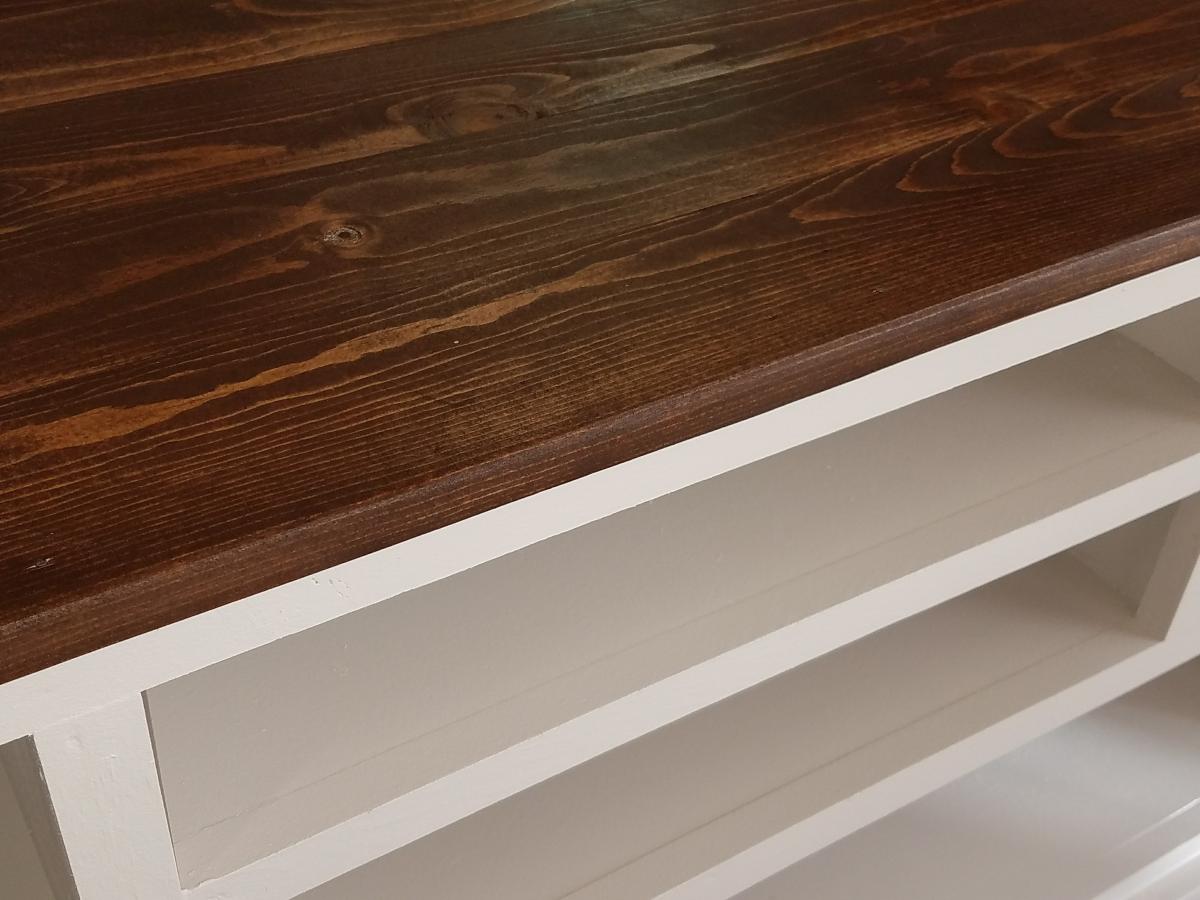
Whatever white paint I had on hand (haha) and Varathane Kona with a satin poly for the top.
Recommended Skill Level
Beginner

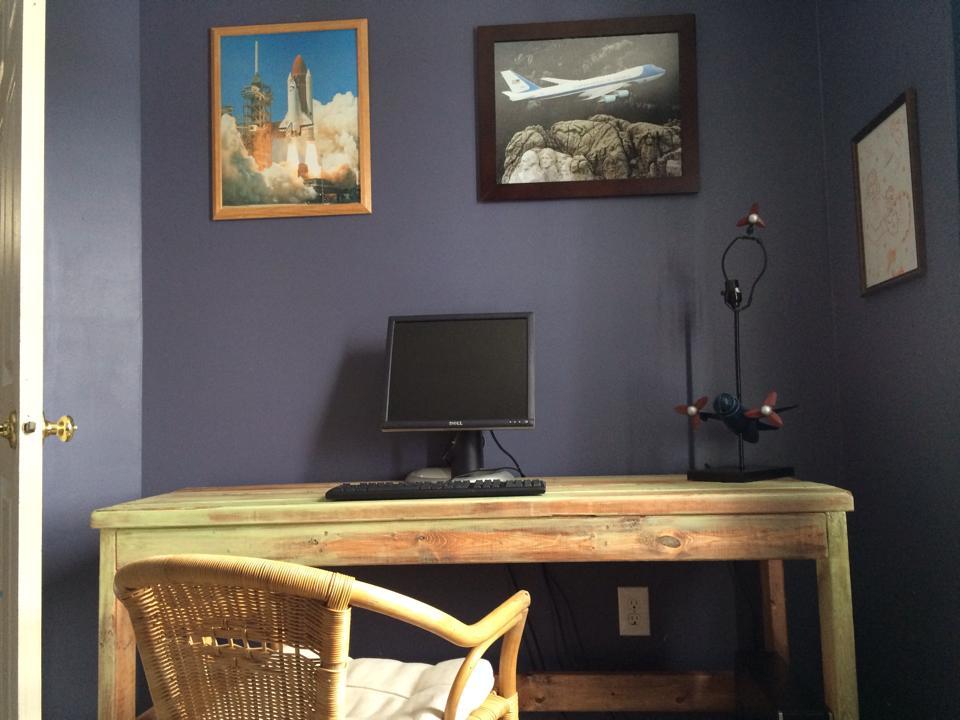
2x4 Desk

Submitted by Livvyhill on Mon, 03/03/2014 - 18:40

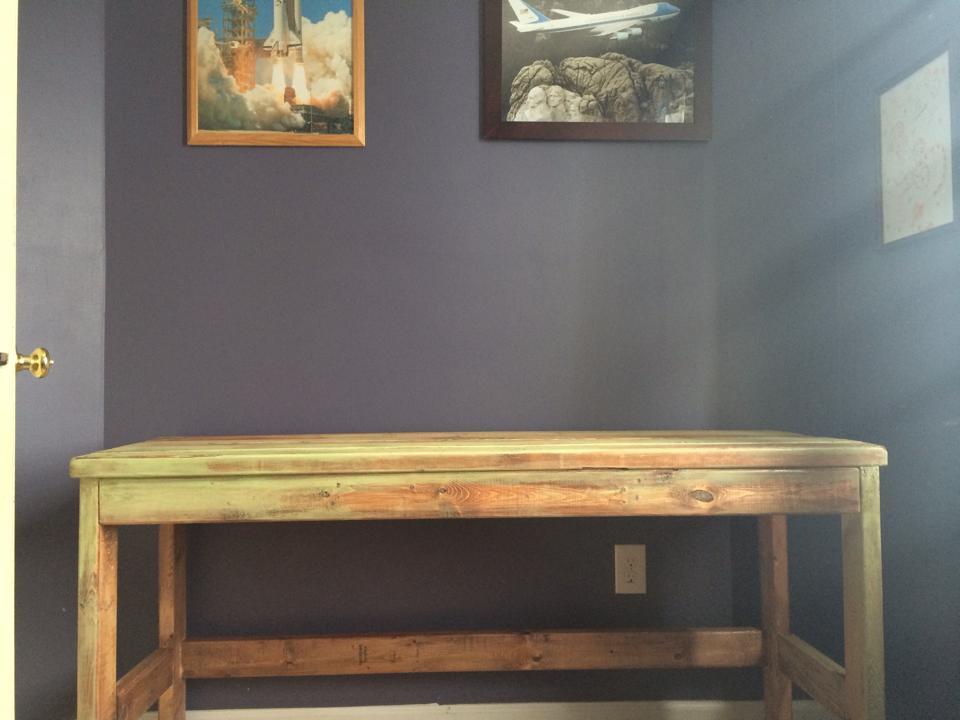
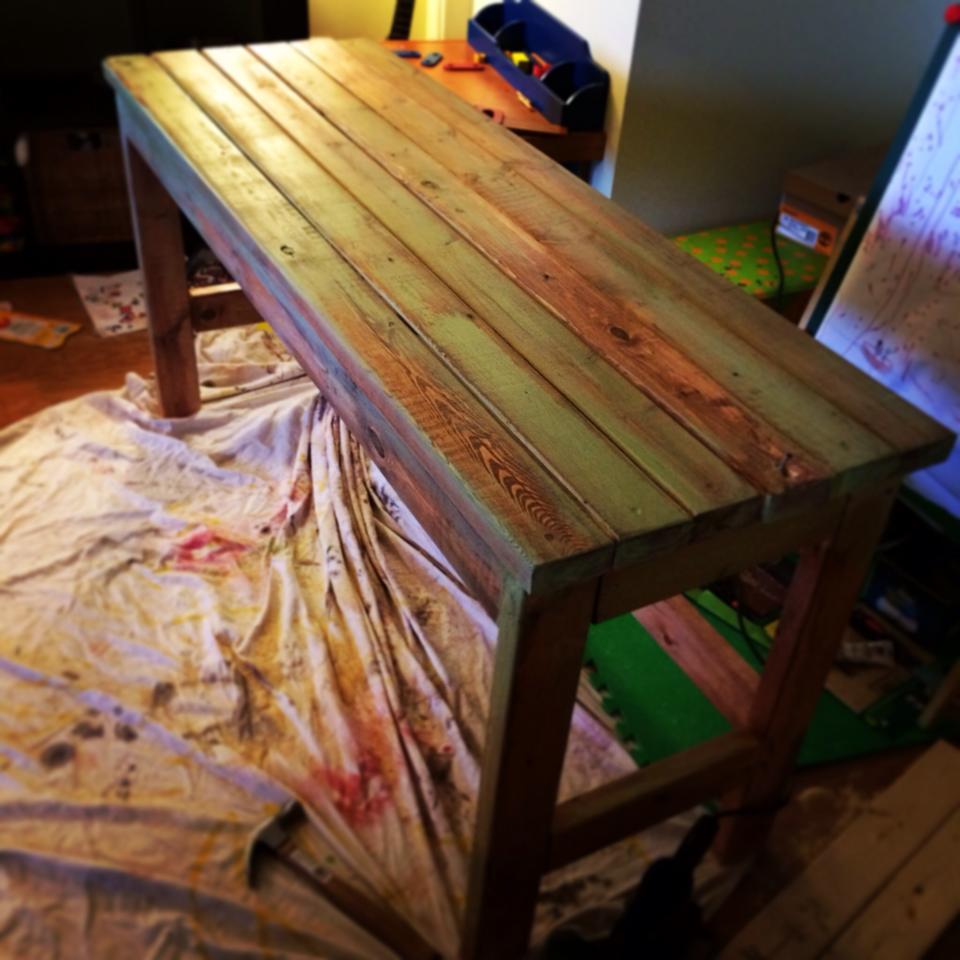
I had fun with this project. I needed a long and narrow desk for my son's room, and this was perfect. It was sooo easy. I used countersink drill bit and filled in with wood filler. I sanded to smooth it out and make soft edges. I stained first with a black cherry stain, then spread teal paint around (was inspired by a lot of rustic wood and teal pieces that I saw at homegoods), then coated it with kona miniwax stain to darken it up. I put a clear polyurethane finish on it to protect it. Super easy and I love it. Got all of my wood for under $30.

Built from Plan(s)
Estimated Time Investment
Afternoon Project (3-6 Hours)
Finish Used
Black Cherry miniwax, Teal paint, Kona miniwax, polyurethane finish.
Recommended Skill Level
Starter Project

Square Picnic Table

Submitted by Anonymous (not verified) on Sat, 11/04/2023 - 14:52

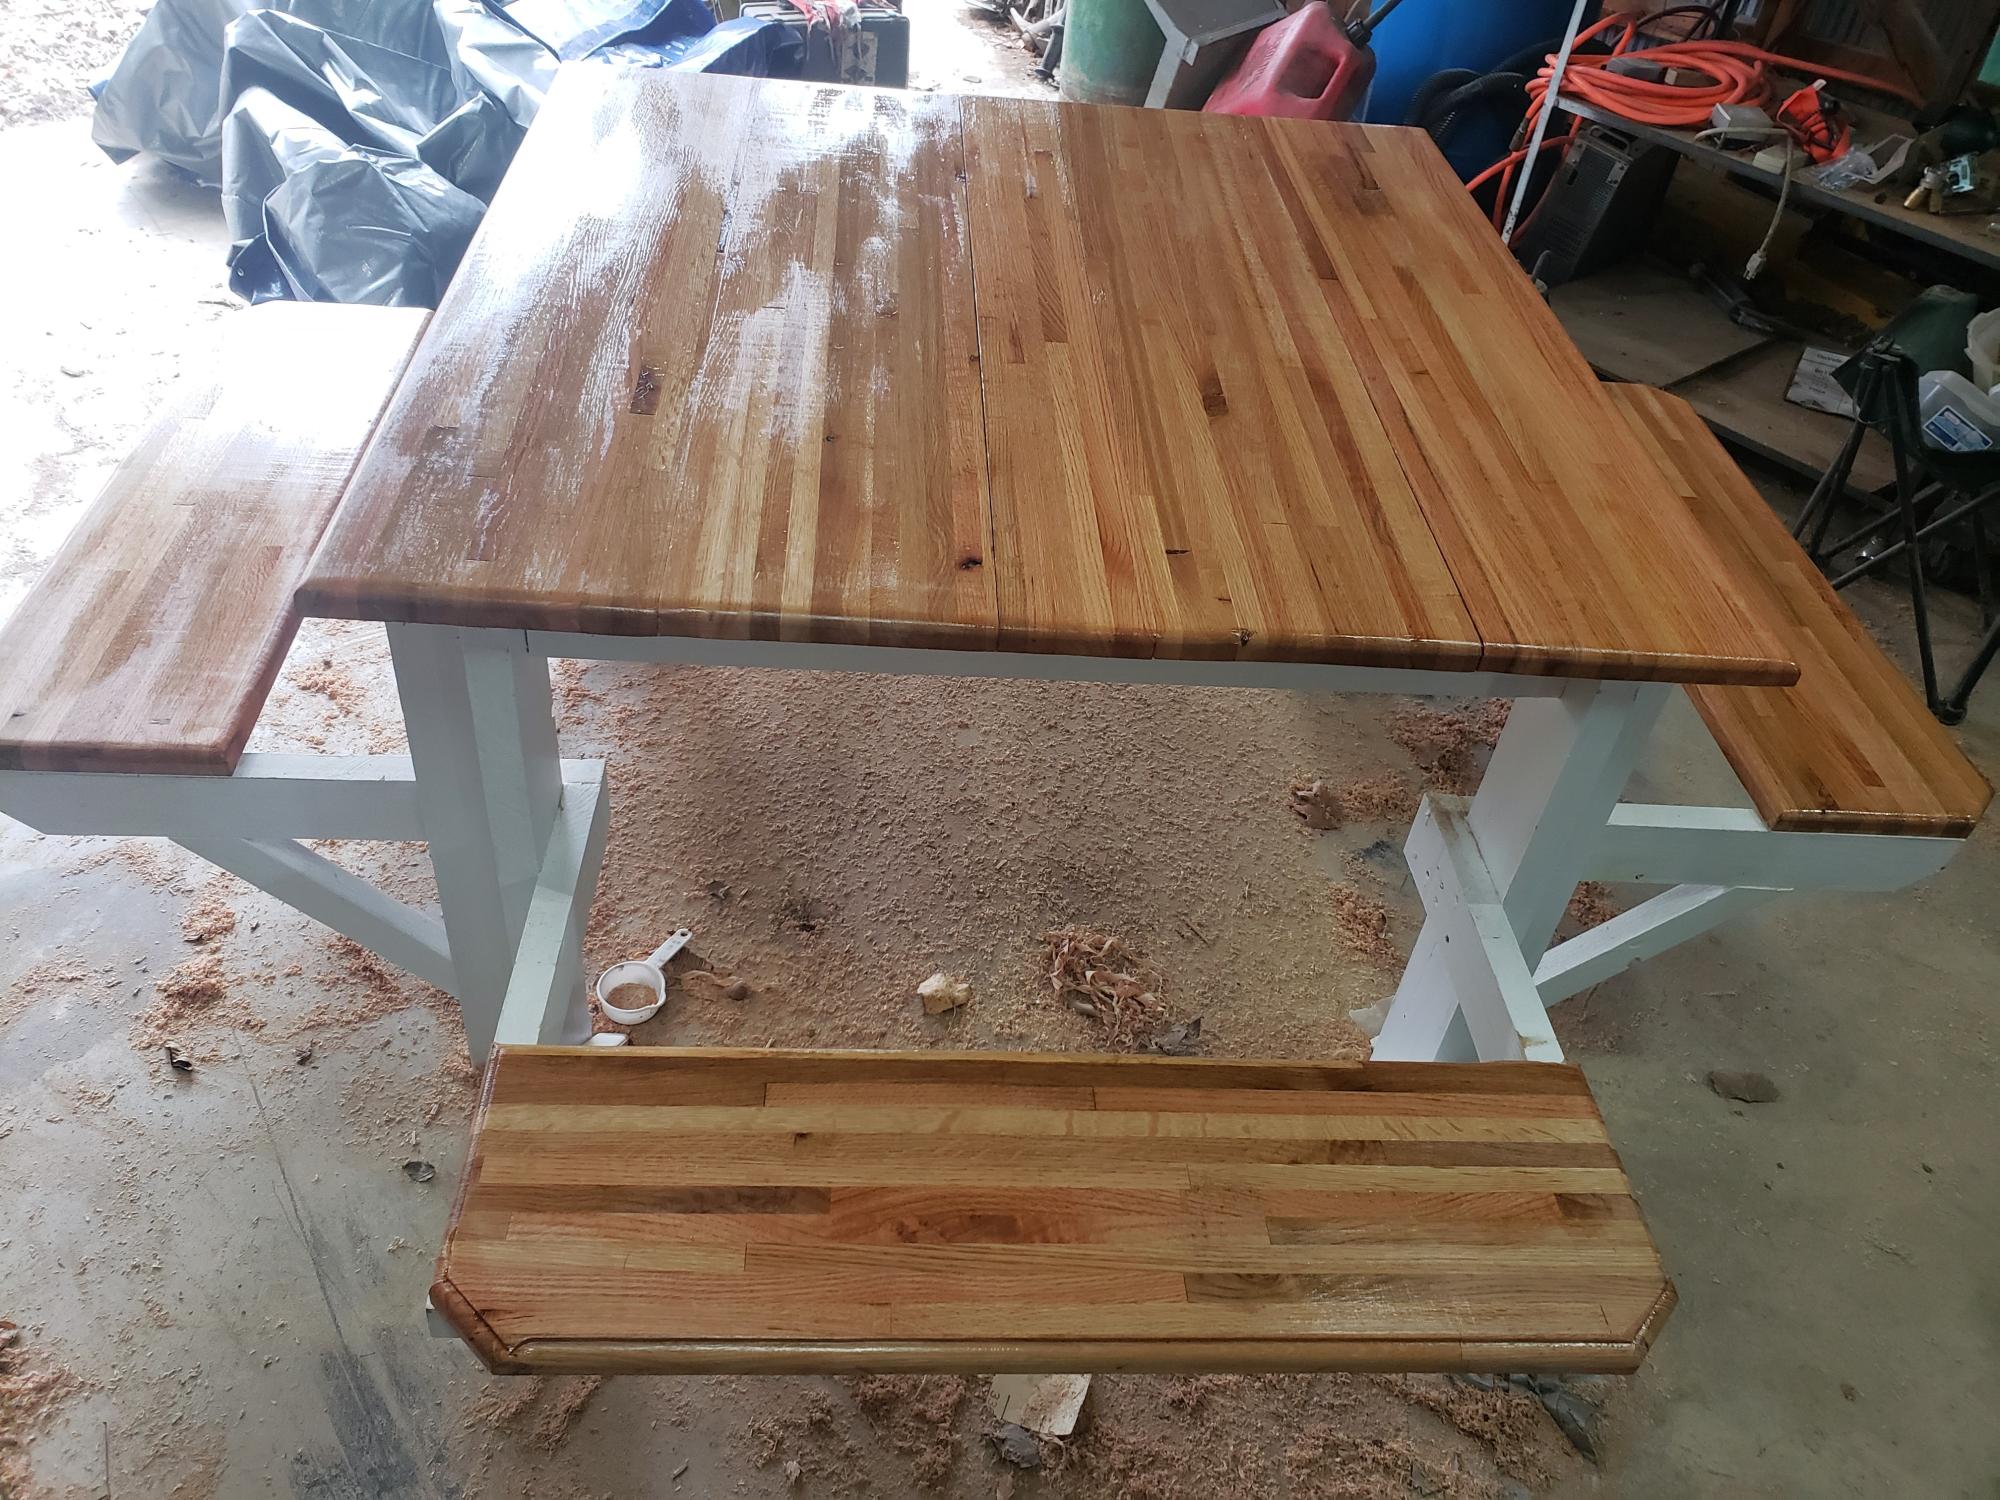
I used the picnic table plans with a minor modification for the top and seats. I used flooring for trailers that were rejects. I made this for my wife for her birthday and she loved it.
 

Alan Welch

Built from Plan(s)

Our First Wood Working Gift!

Submitted by JD_2030 on Thu, 03/26/2020 - 16:41

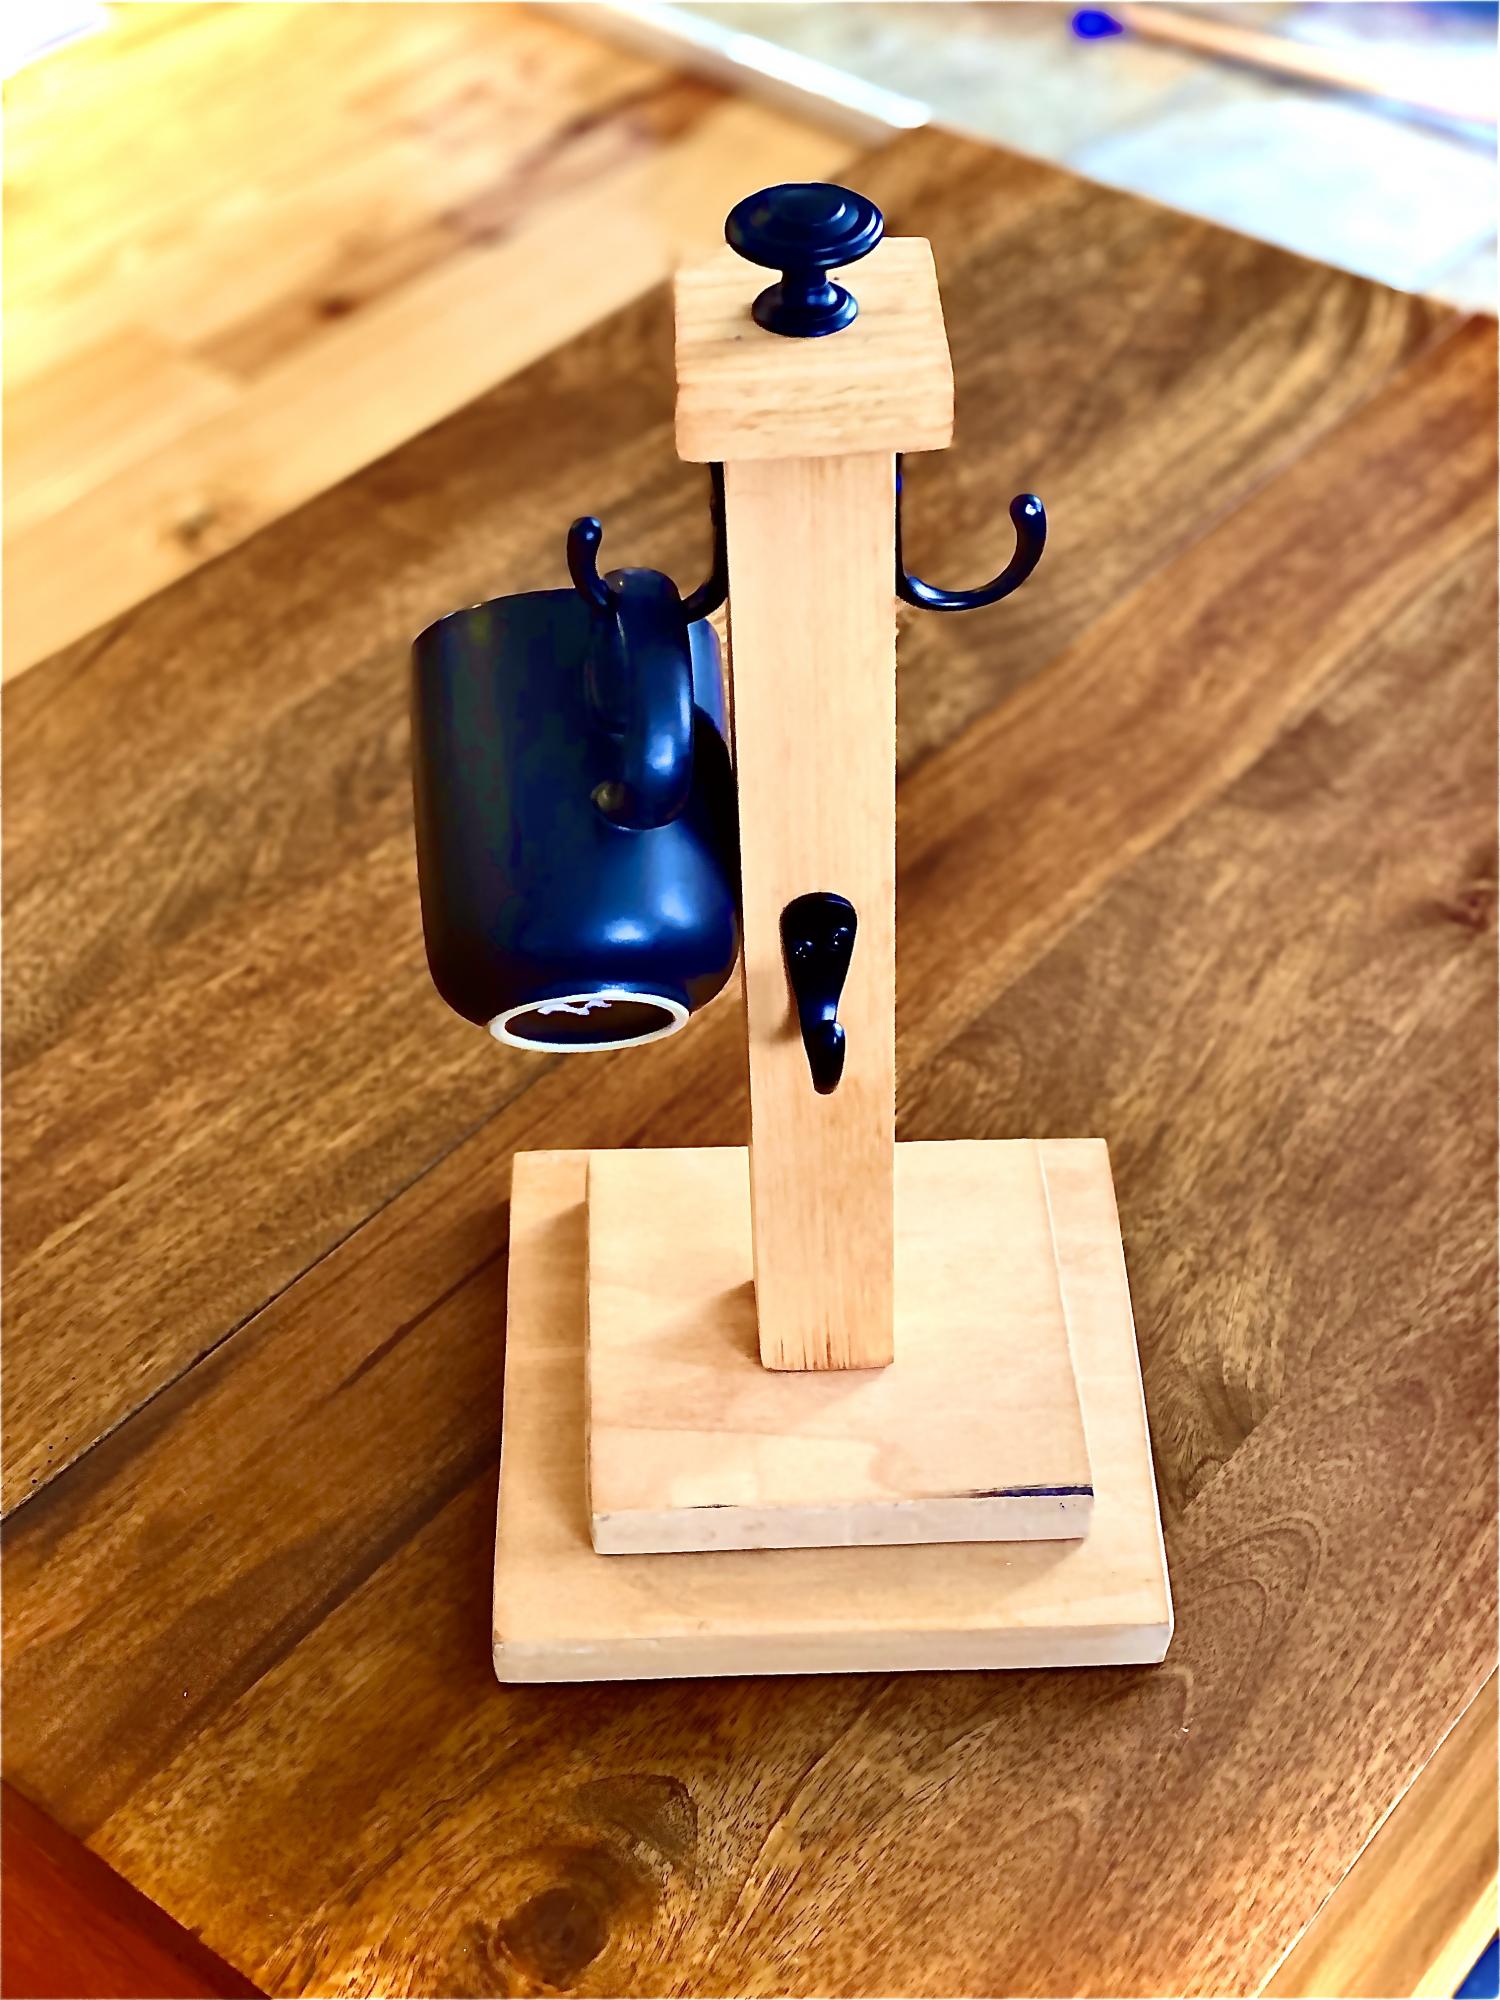
This cup tree was so easy to put together and made a wonderful birthday gift for my dad! For the bottom and top, we used scrap plywood that we had lying around. We used one light coat of stain to give it a warm hue. What an enjoyable project!

Built from Plan(s)
Estimated Cost
$6
Estimated Time Investment
Afternoon Project (3-6 Hours)
Finish Used
Stain
Recommended Skill Level
Starter Project

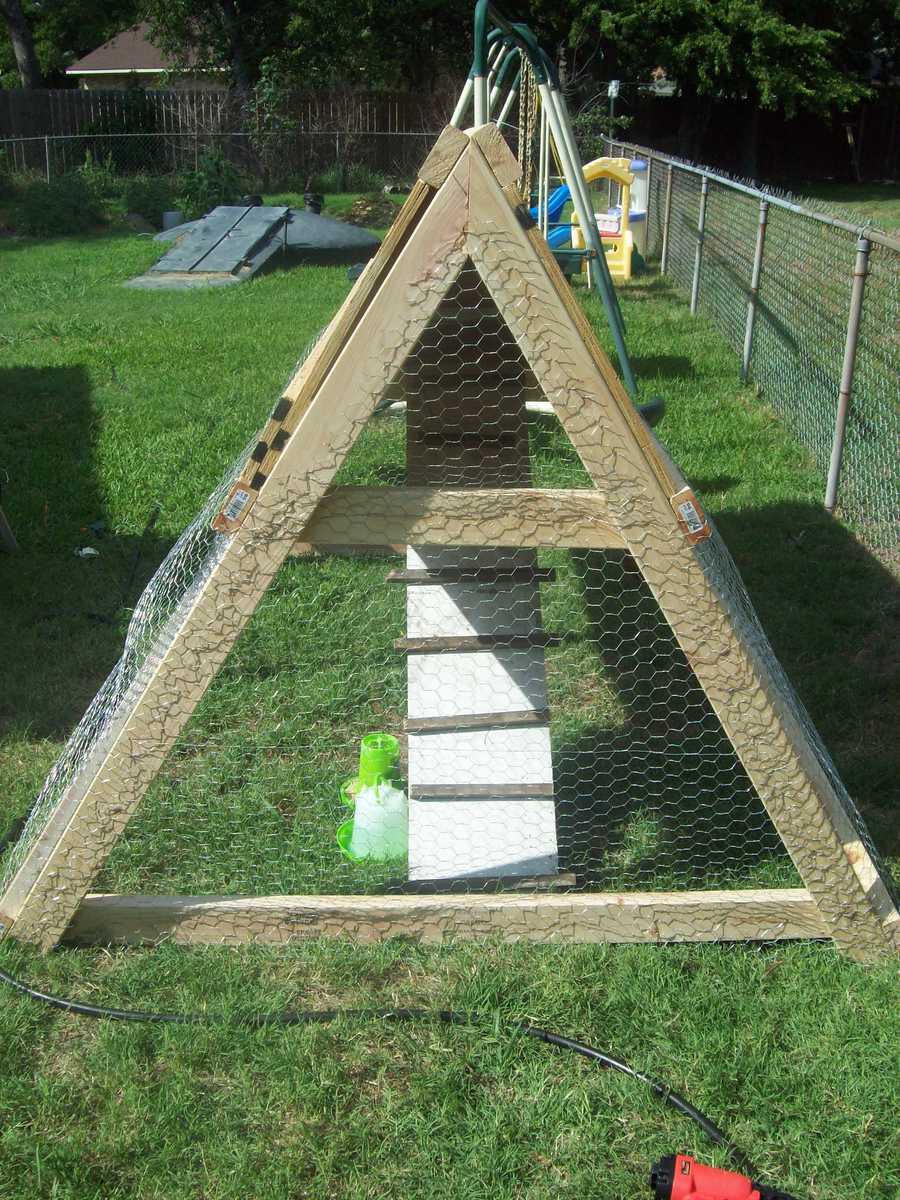
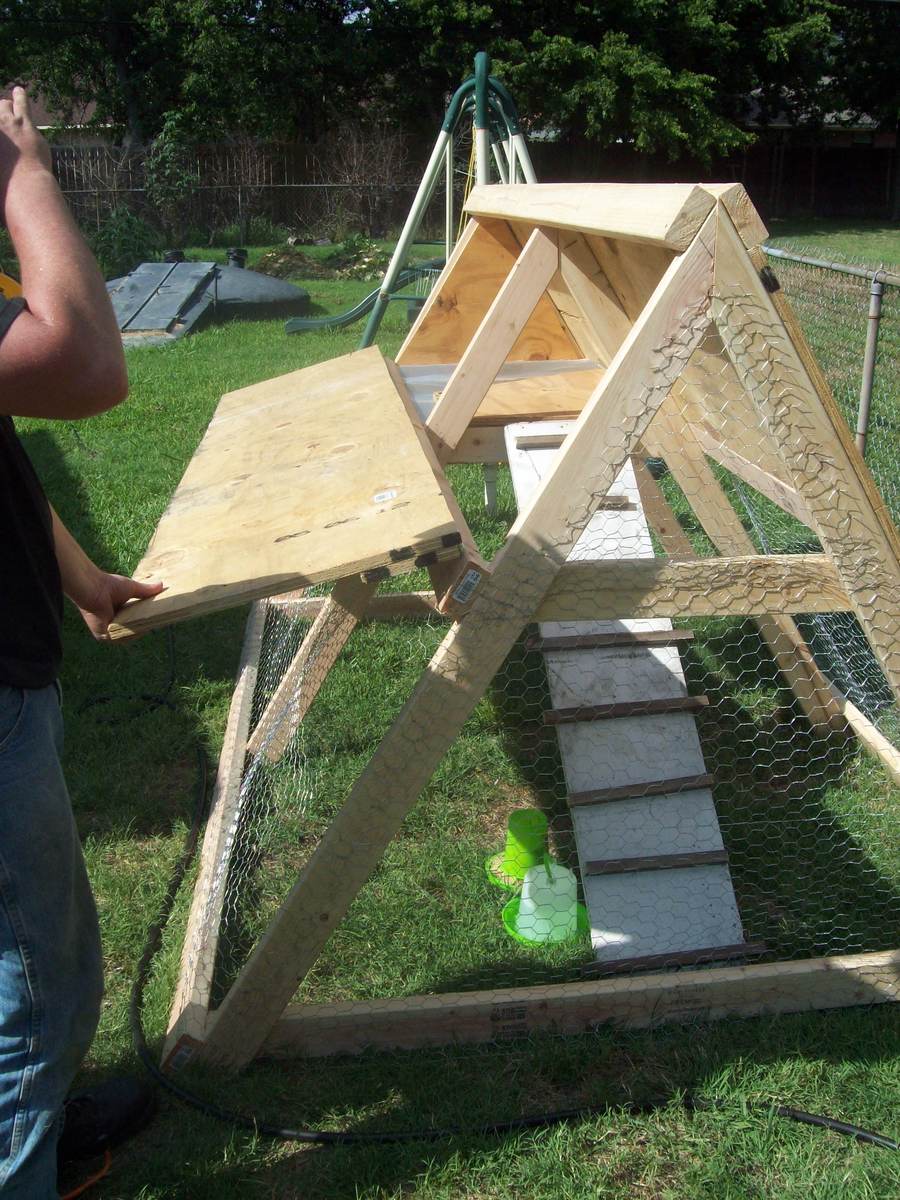
Penny the Chicken's new house

We needed a coop for our son's chicken Penny as she was big enough to move outside. We wanted one that would hold at least 2 chickens as we plan on getting a second soon. We found the plans for the a frame chicken coop here and the next day my husband and 5 yr old son got to work. Took them about 3 hours from start to finish and it turned out great. He plans on spraying the whole thing with outside deck sealer to protect the wood and had some trim on the edges to protect the kids from getting scratched by the chicken wire.

Built from Plan(s)
Estimated Cost
$169
Estimated Time Investment
Afternoon Project (3-6 Hours)
Recommended Skill Level
Intermediate

Comments

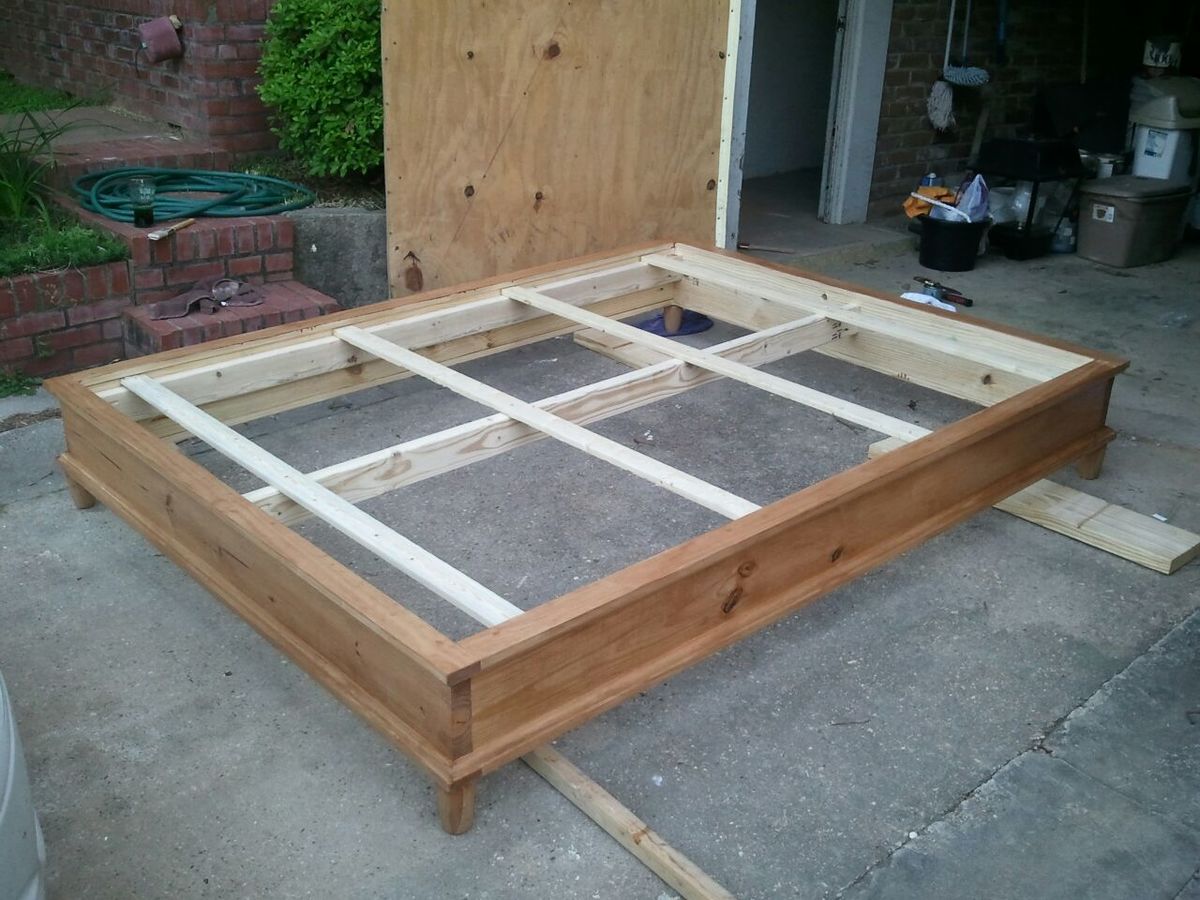
Chestwick Queen Bed

Submitted by maw0130 on Tue, 06/05/2012 - 19:29

Built this as a platform bed for guest bedroom. Nice, sturdy bed.

Estimated Cost
150
Estimated Time Investment
Afternoon Project (3-6 Hours)
Finish Used
Stained
Recommended Skill Level
Beginner

Comments

Niki Maddux (not verified)

Sat, 09/29/2012 - 04:11

I Love this Bed. Would love king size dimensions. This is exactly what I have been looking for.

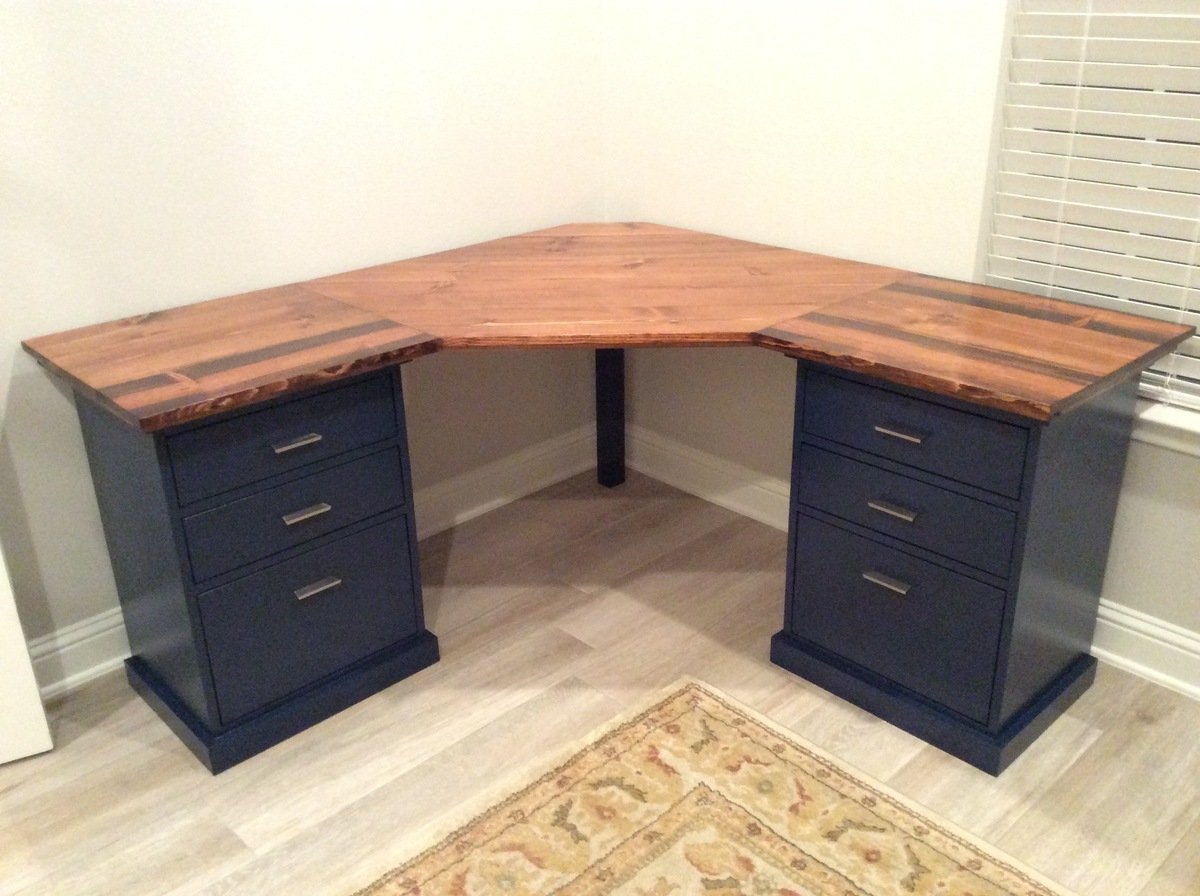
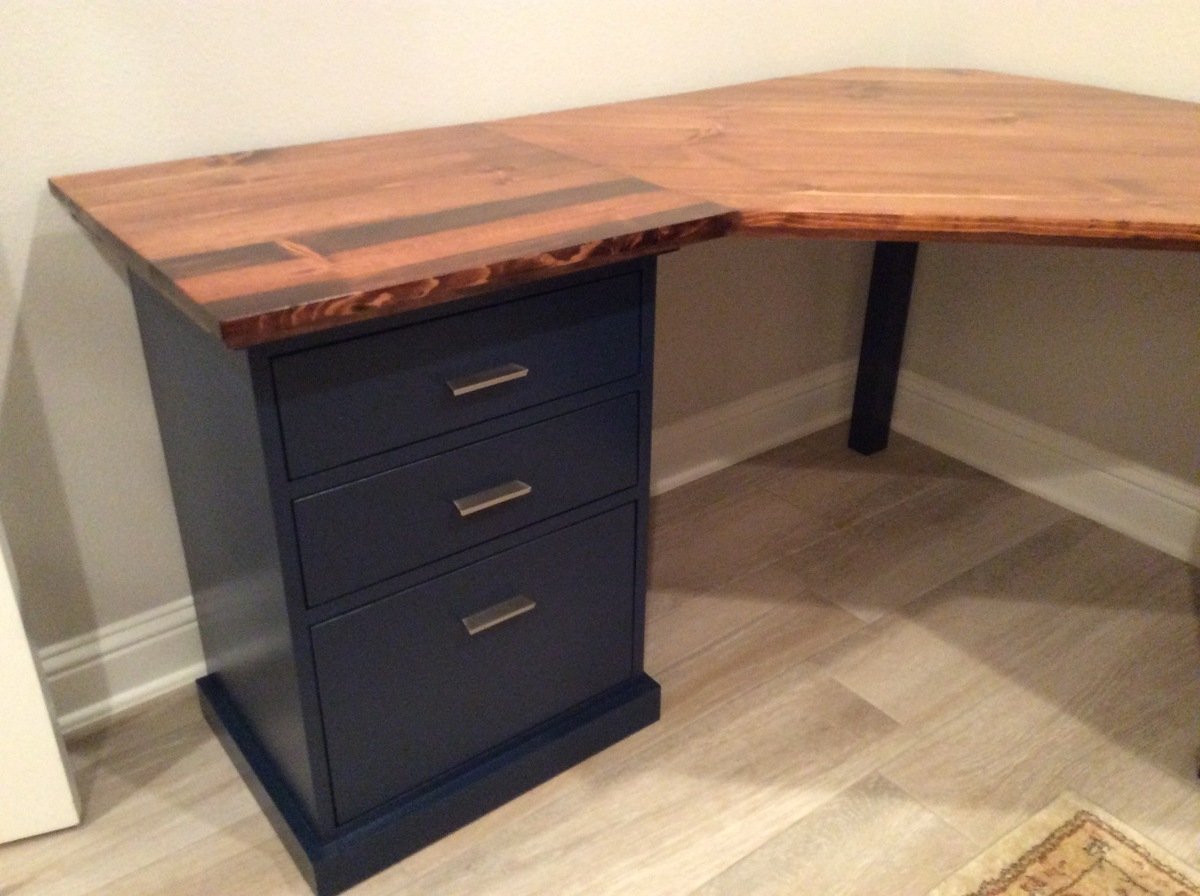
Colorful Custom Bedford Corner Desk with Live Edge Desktop

Submitted by Anonymous (not verified) on Fri, 06/28/2019 - 20:41

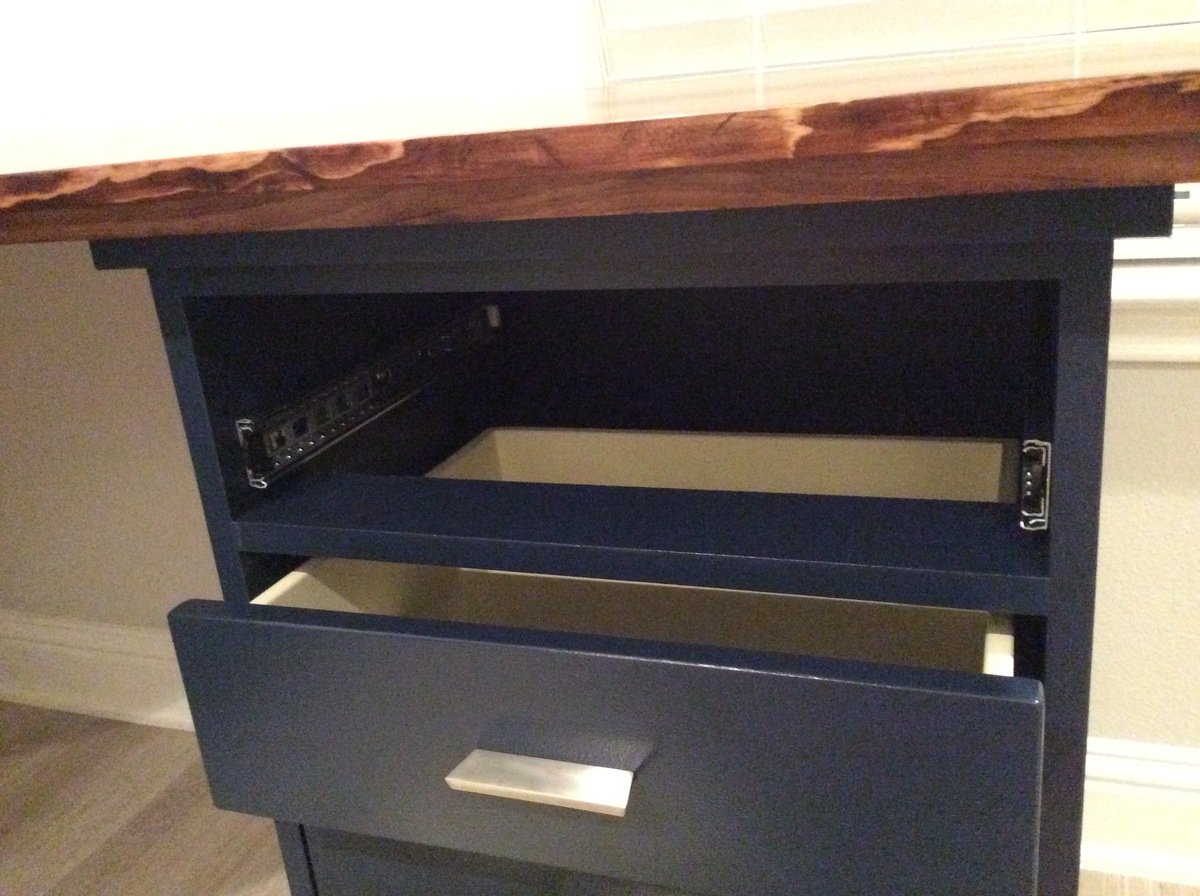
I followed the plans pretty closely. I added dividers to make 3 drawer units but I didn't find it necessary to have the top shelf go all the way to the back since it would never function as a shelf. I used scrap pieces for that and they weren't big enough to be full shelves.

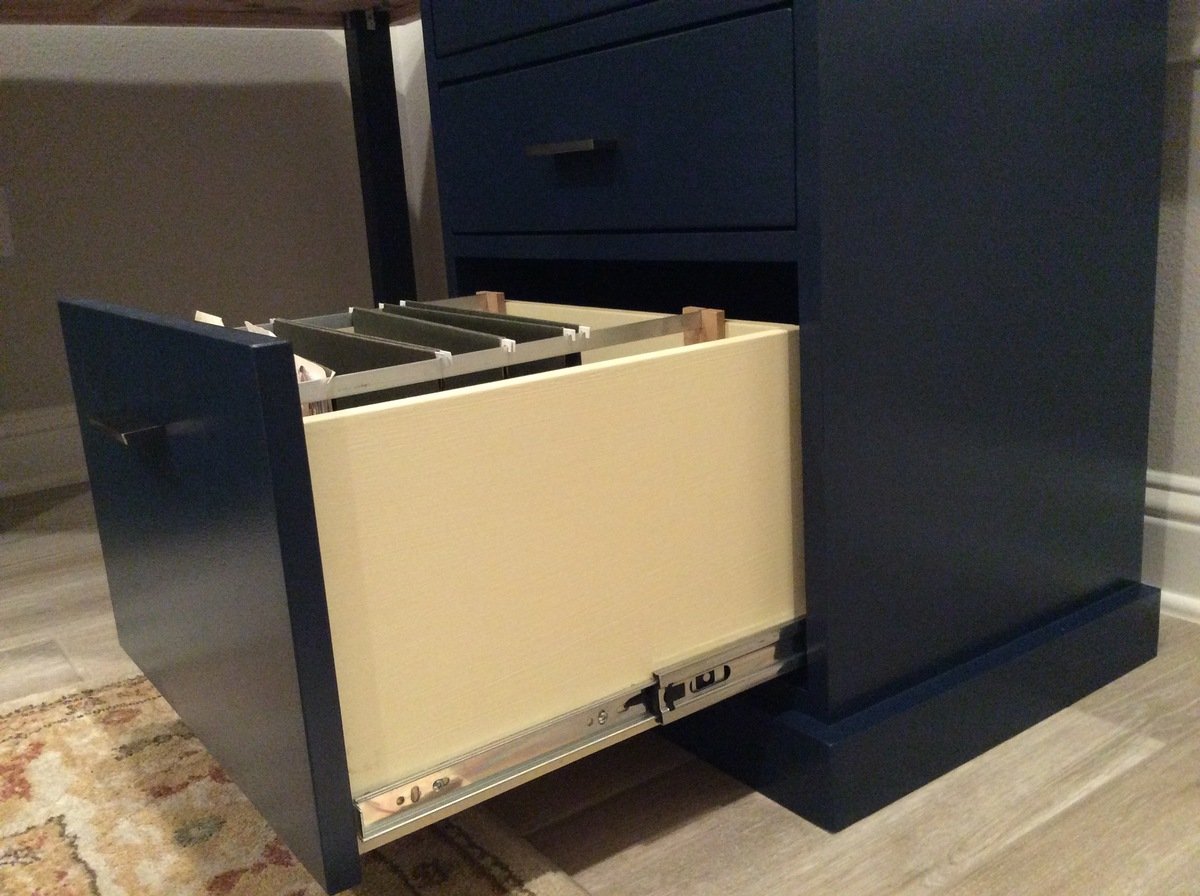
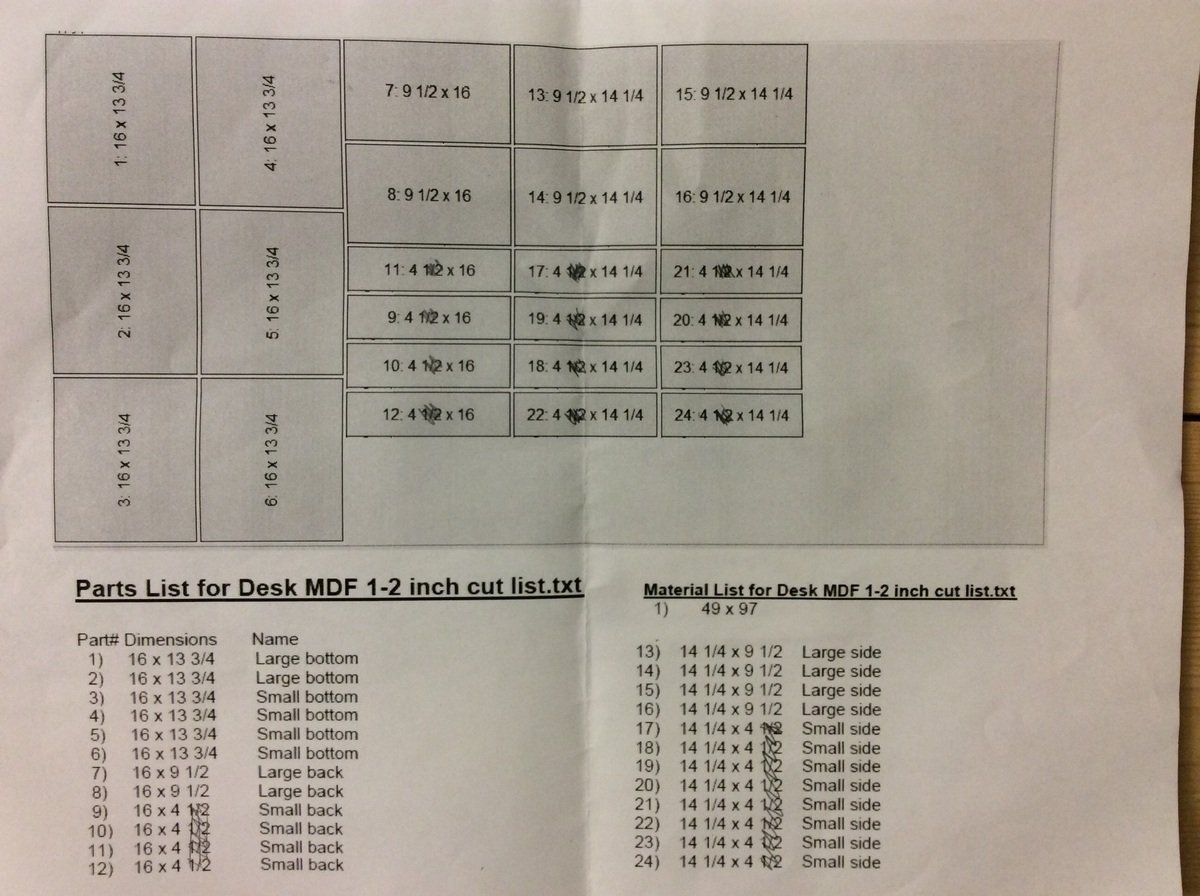
I used 1/2" MDF for the bottom, sides, and backs of the drawers to cut down on weight, cost, and general bulkiness. I used this free app called Cut List to figure out the easiest way to have the guys at Home Depot cut all the drawer panels after I learned I'm not that good with a circular saw. I used a hack saw to cut aluminum bars for hanging files and used scrap wood to make the little brackets to hold the bars upright in the drawer. The full extension drawer slides are functionally and asthetically better but it would have been so much easier to put in basic bottom mount slides. 

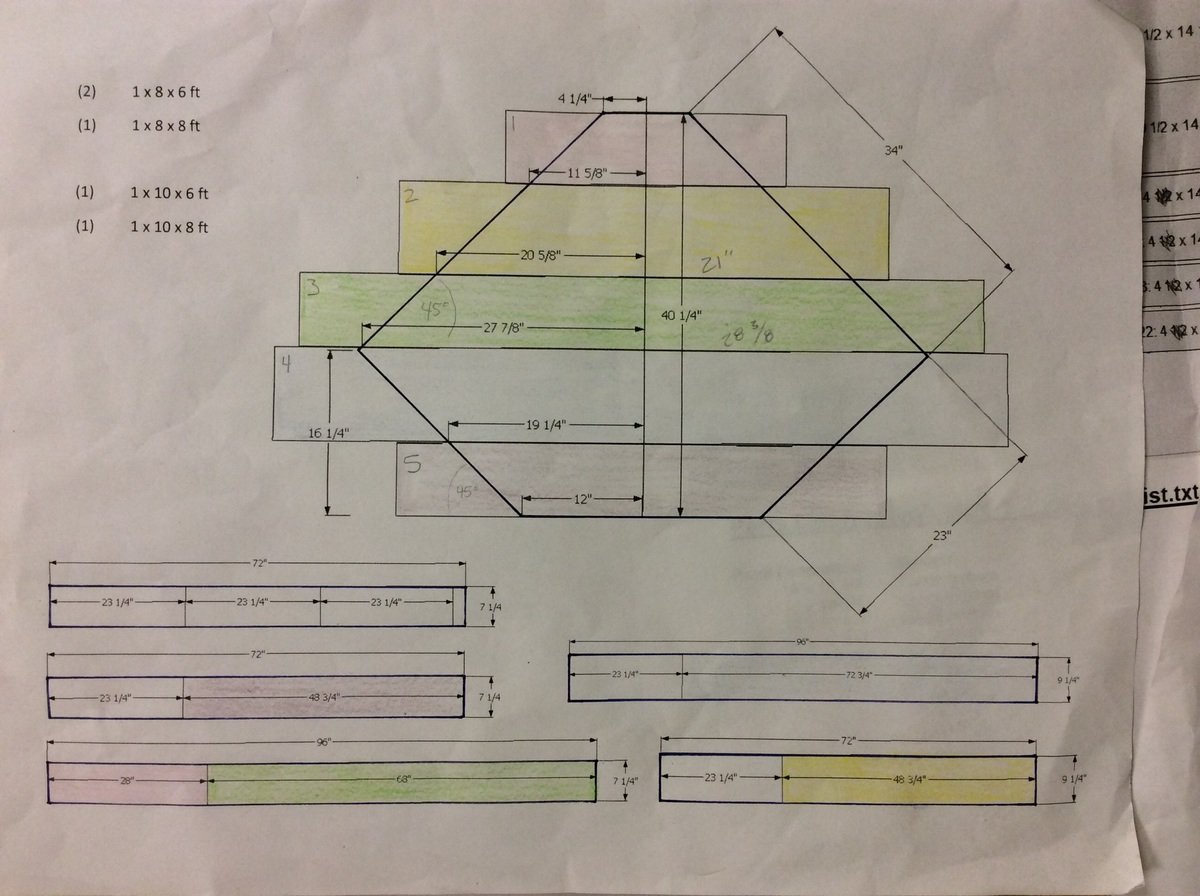
I wanted a wood grain top and ended up with common pine boards over more expensive poplar or oak and I would use pine again without hesitation. I used Google SketchUp to figure out the widths of boards I needed to make the top with minimal cuts. Then joined them with glue and mending plates and sanded the hell out of them. I altered the dimensions slightly to make it the same size desktop as the Bedford desk. My two wing sections are 23" x 23" but I should have made them 23" deep by more like 24" or 25" long. I had to hack the bottom bracing to make a spot for the drawer units to slide into. If you alter the dimensions make sure you can secure a brace between the main body and the wing of the desktop and still have room for the brace at the edge of the wing. 

My cost includes things like a Kreg jig, saw blade, clamps, paint brushes etc. so you may be able to do this for less. I could have gone with a middle of the line paint I think. This project was a beast for me because a) I'm not a furniture maker b) I don't own a table saw which would have been amazing c) I picked the hardest way to make the desktop and d) I modified some of the dimensions from the basic plans. I worked on this thing for weeks (granted sometimes I didn't touch it for several days or a week). But it was a fun and rewarding project. 

Estimated Cost
$500-$600
Estimated Time Investment
Week Long Project (20 Hours or More)
Finish Used
Behr Marquee, Minwax wood conditioner, stain (honey) and stain poly
Recommended Skill Level
Intermediate

Comments

Back