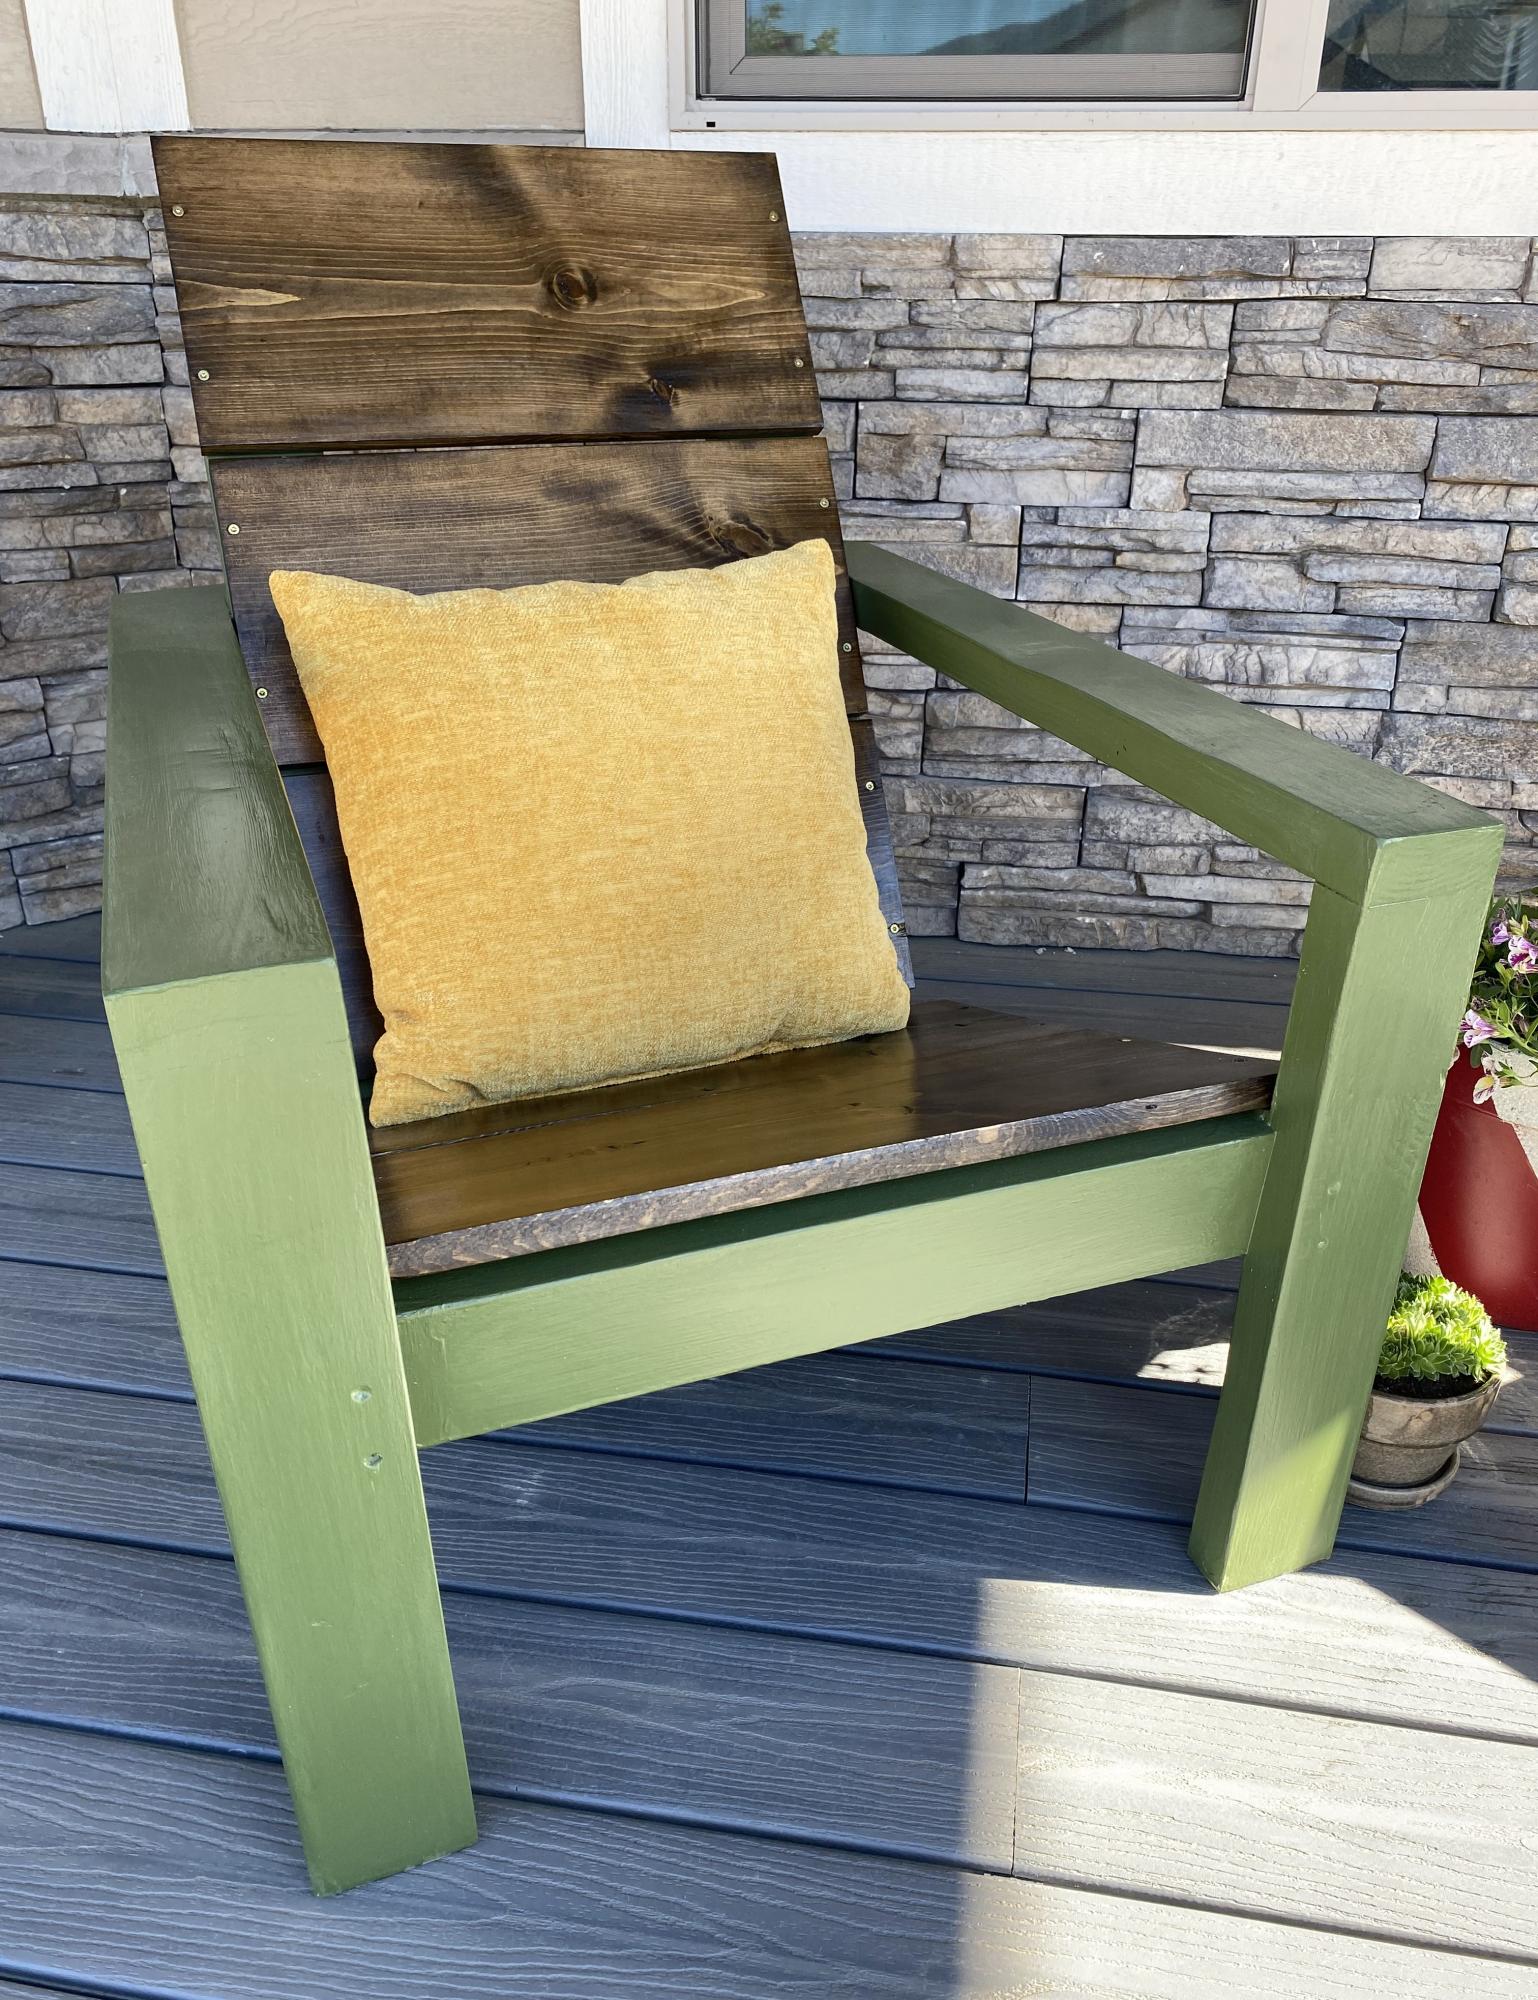
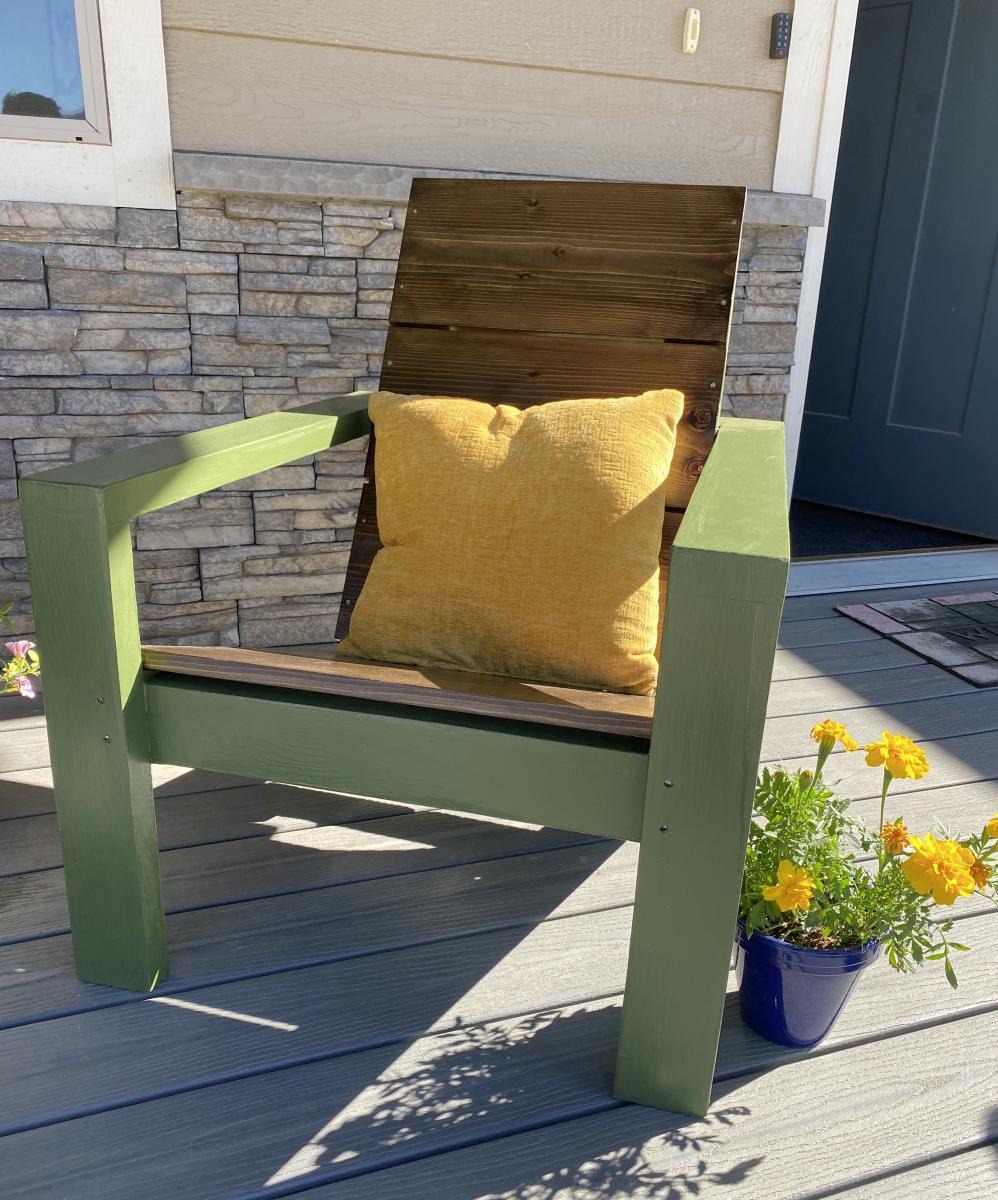
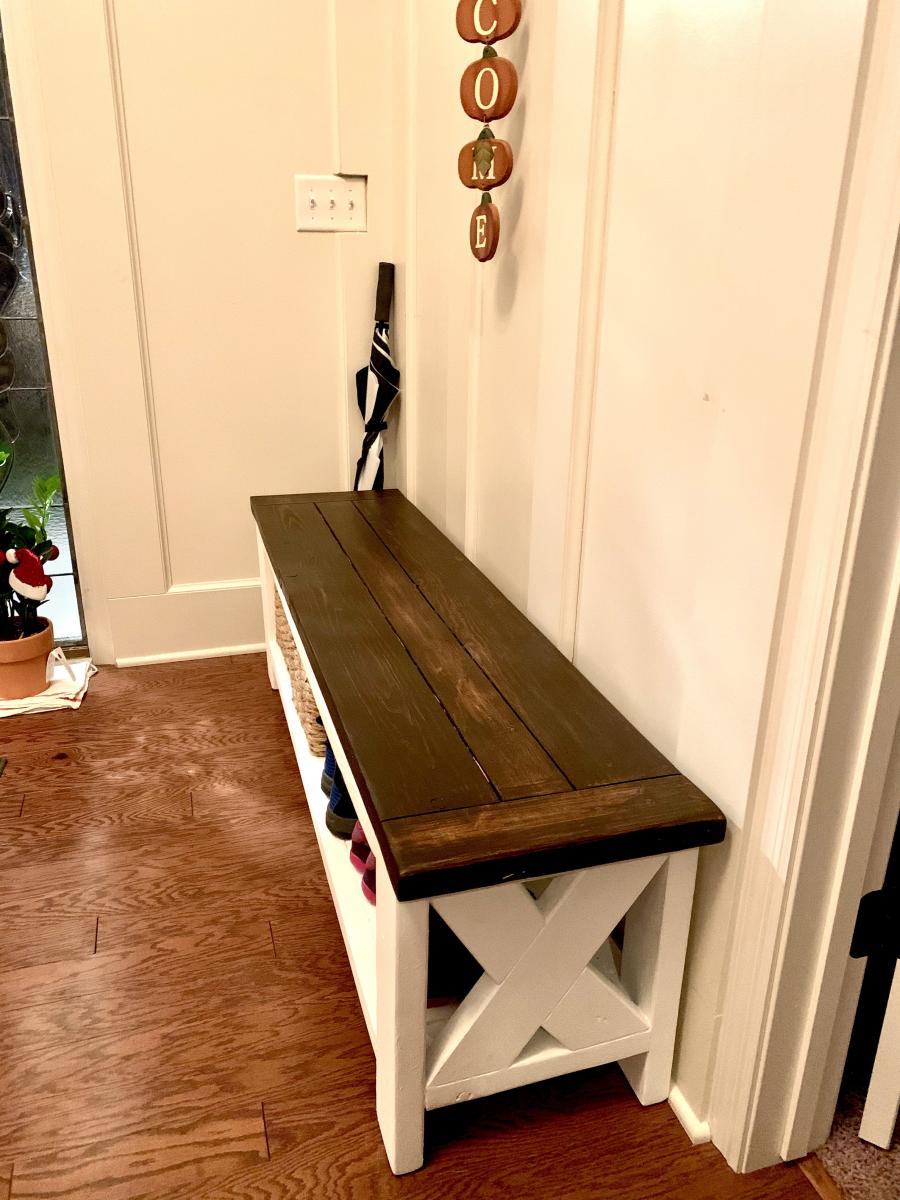
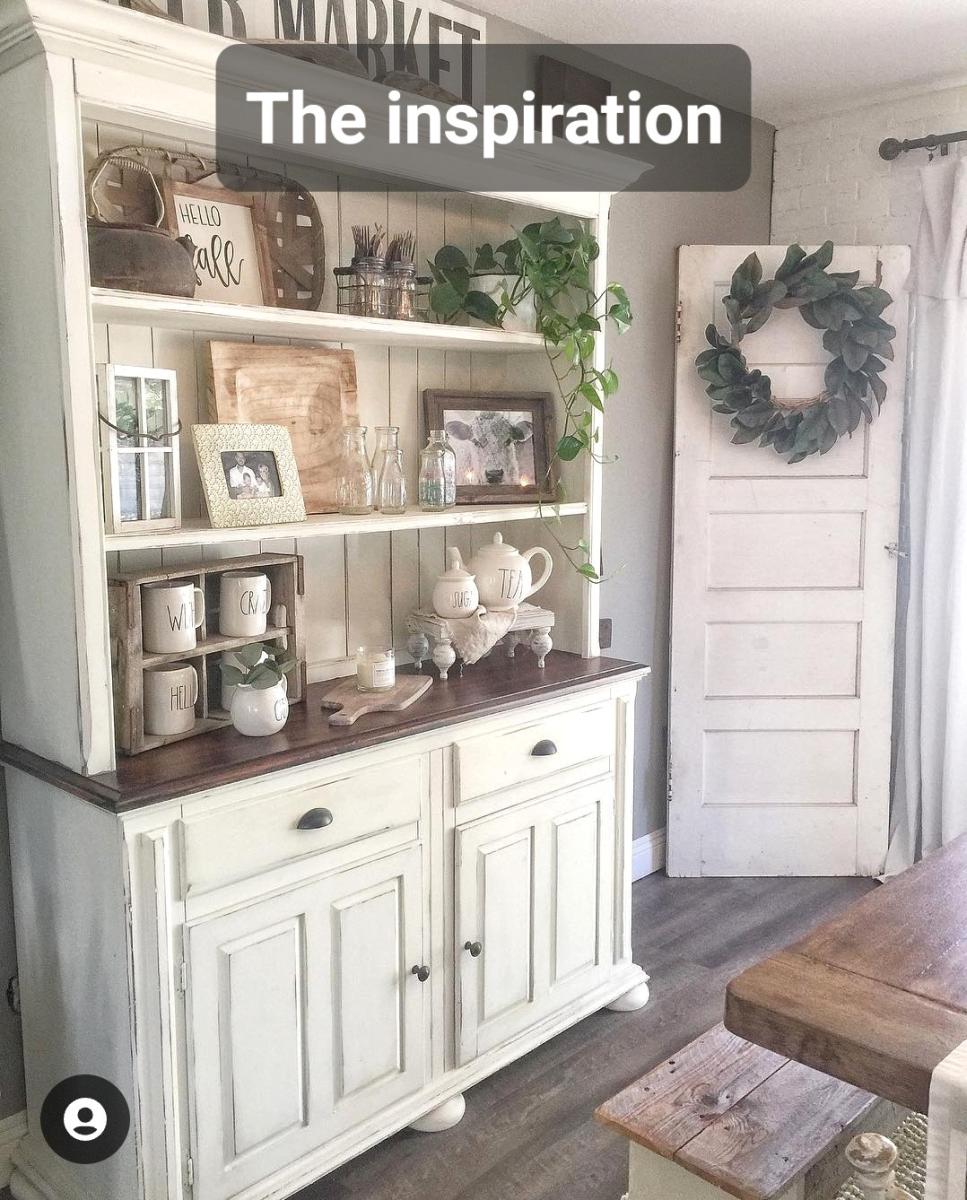
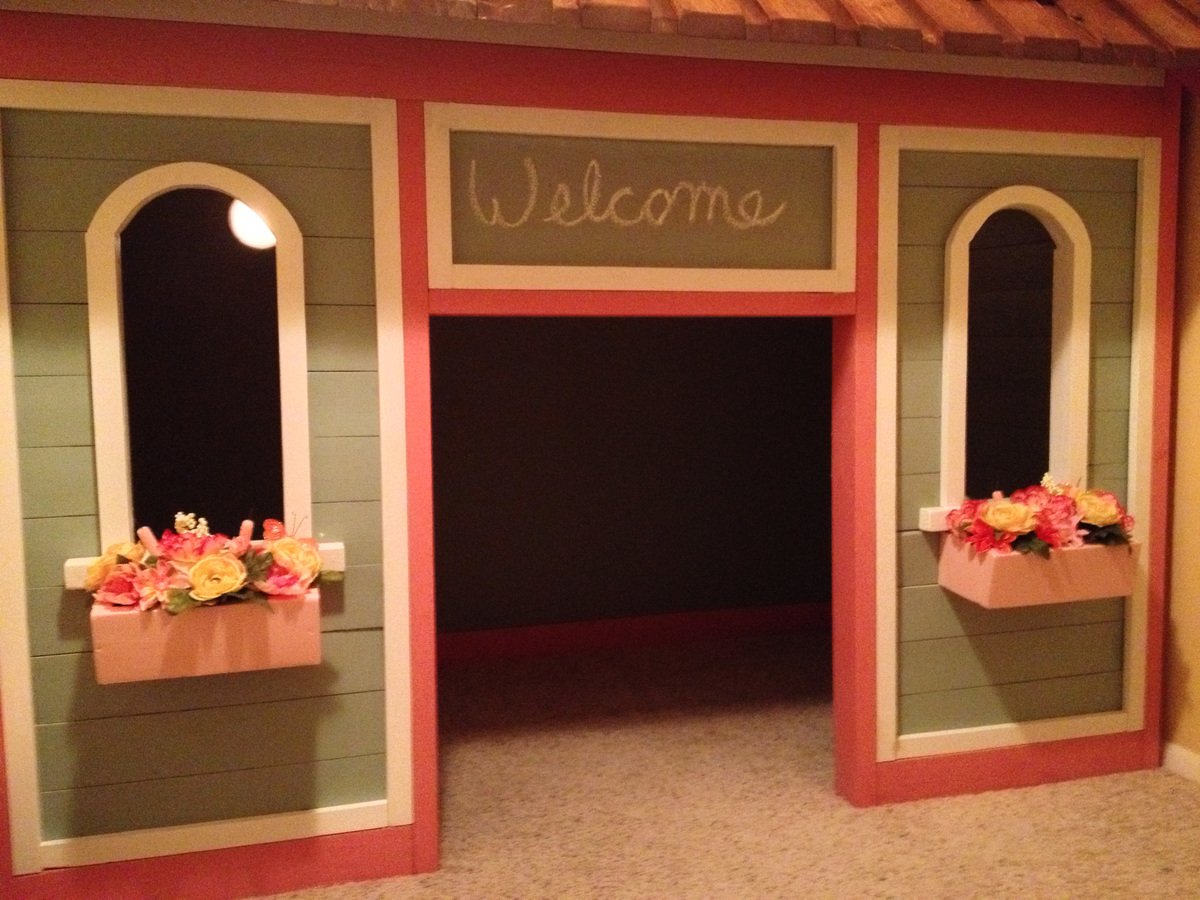
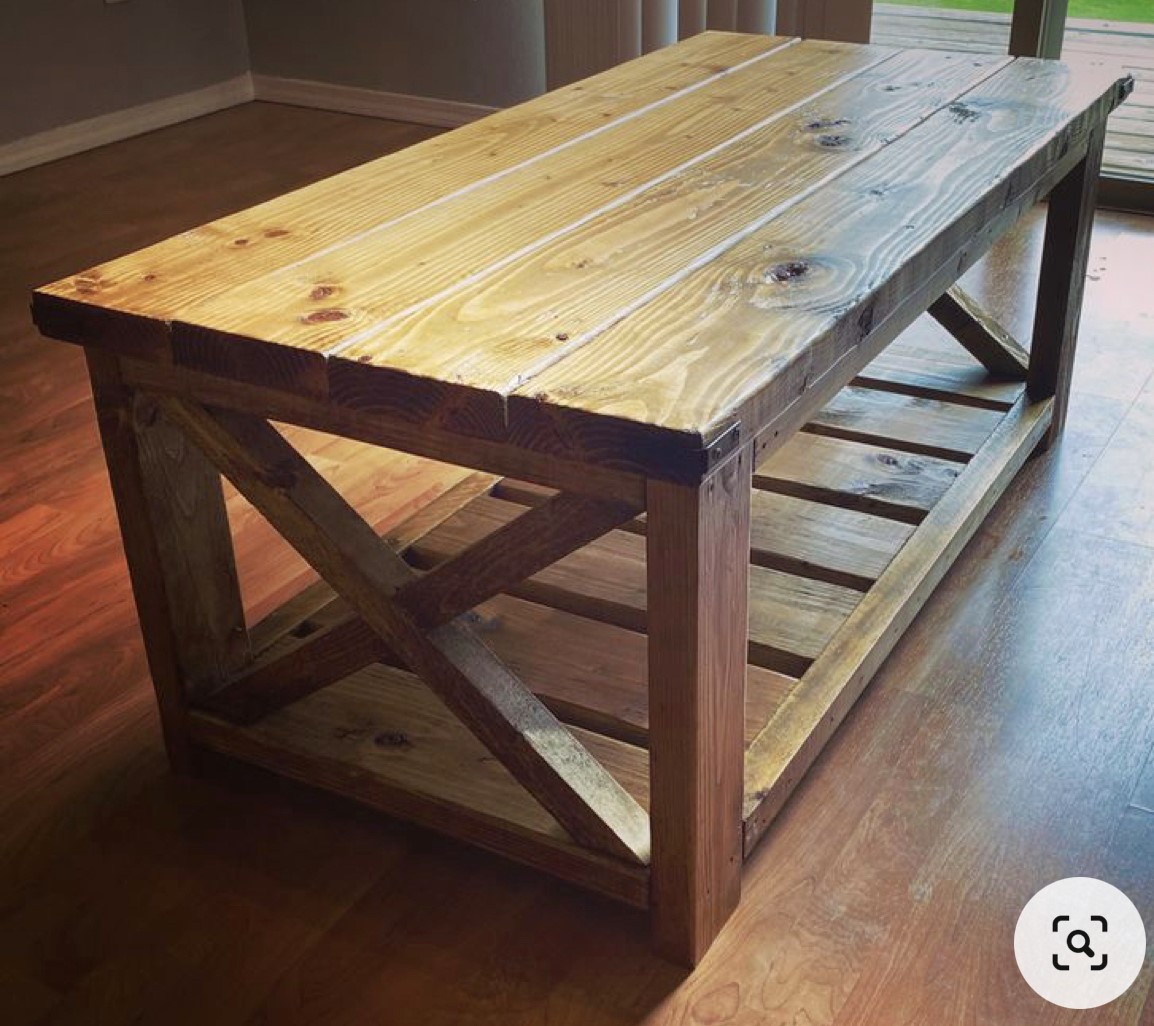
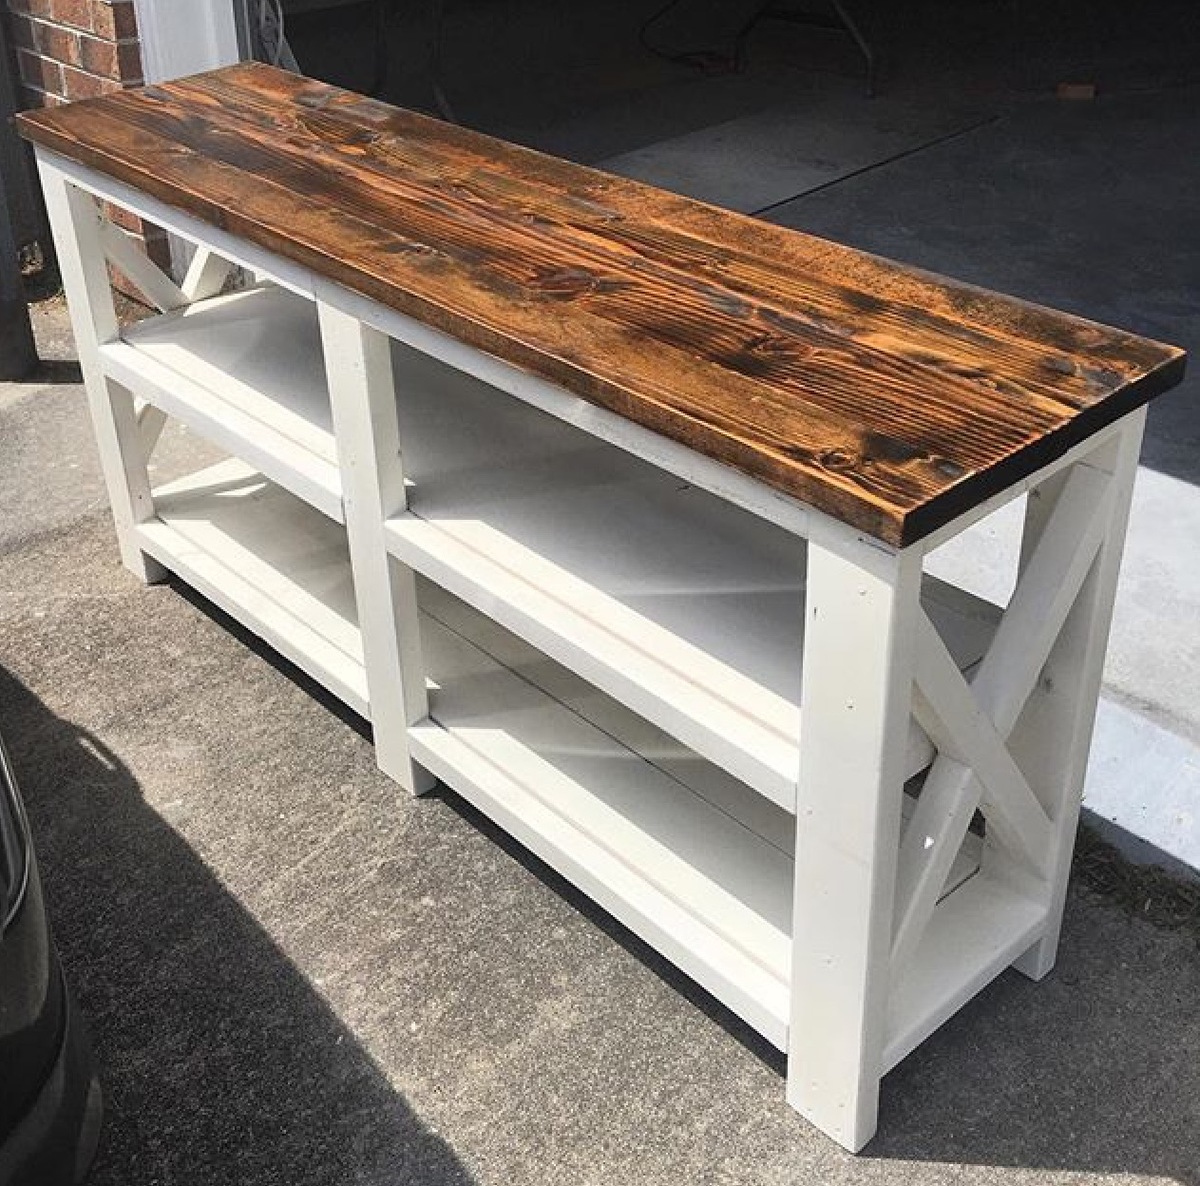
Who needs Restoration Hardware??

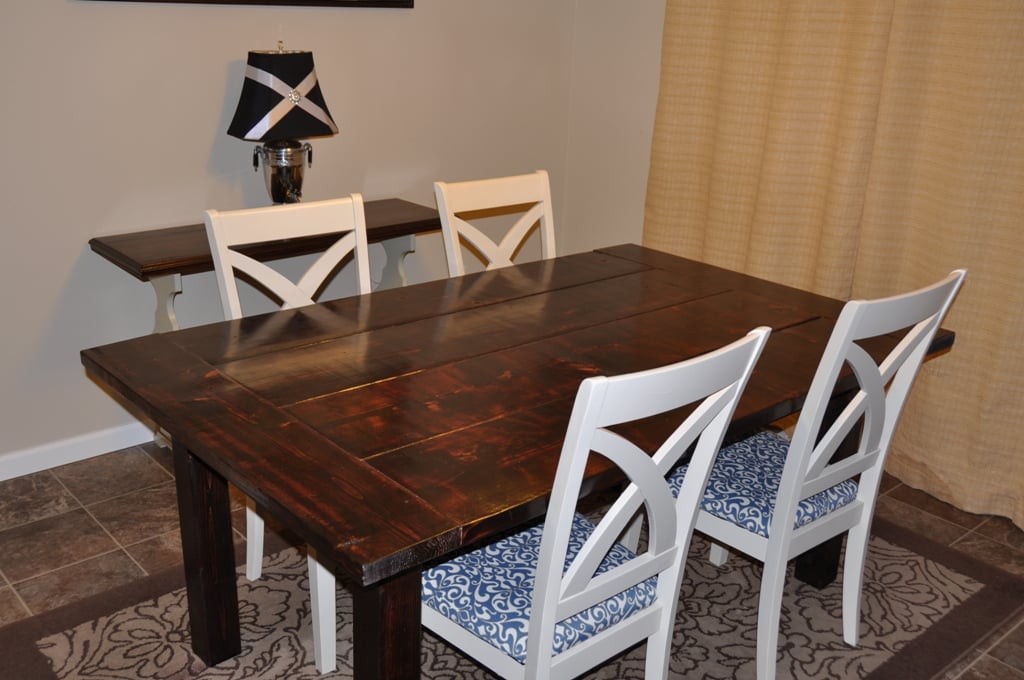
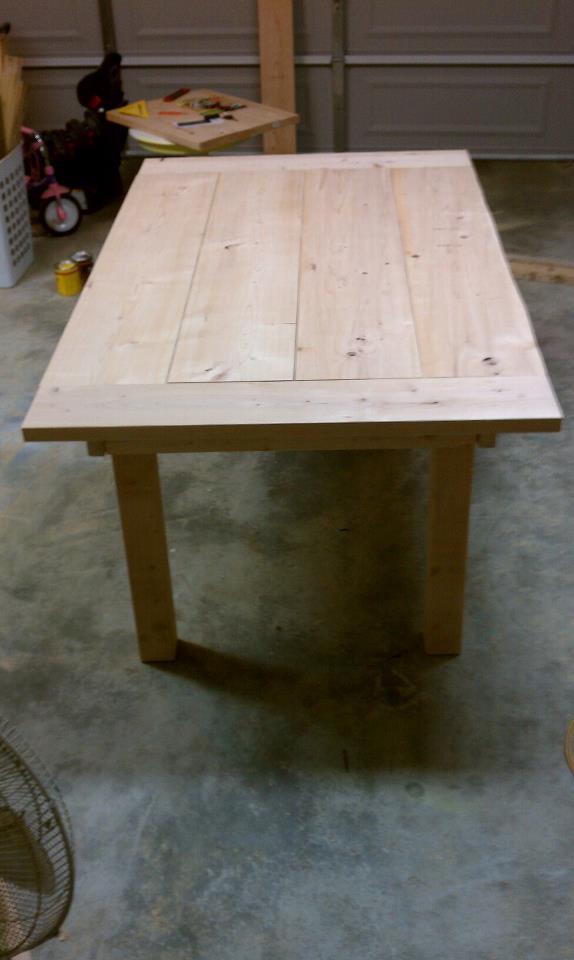
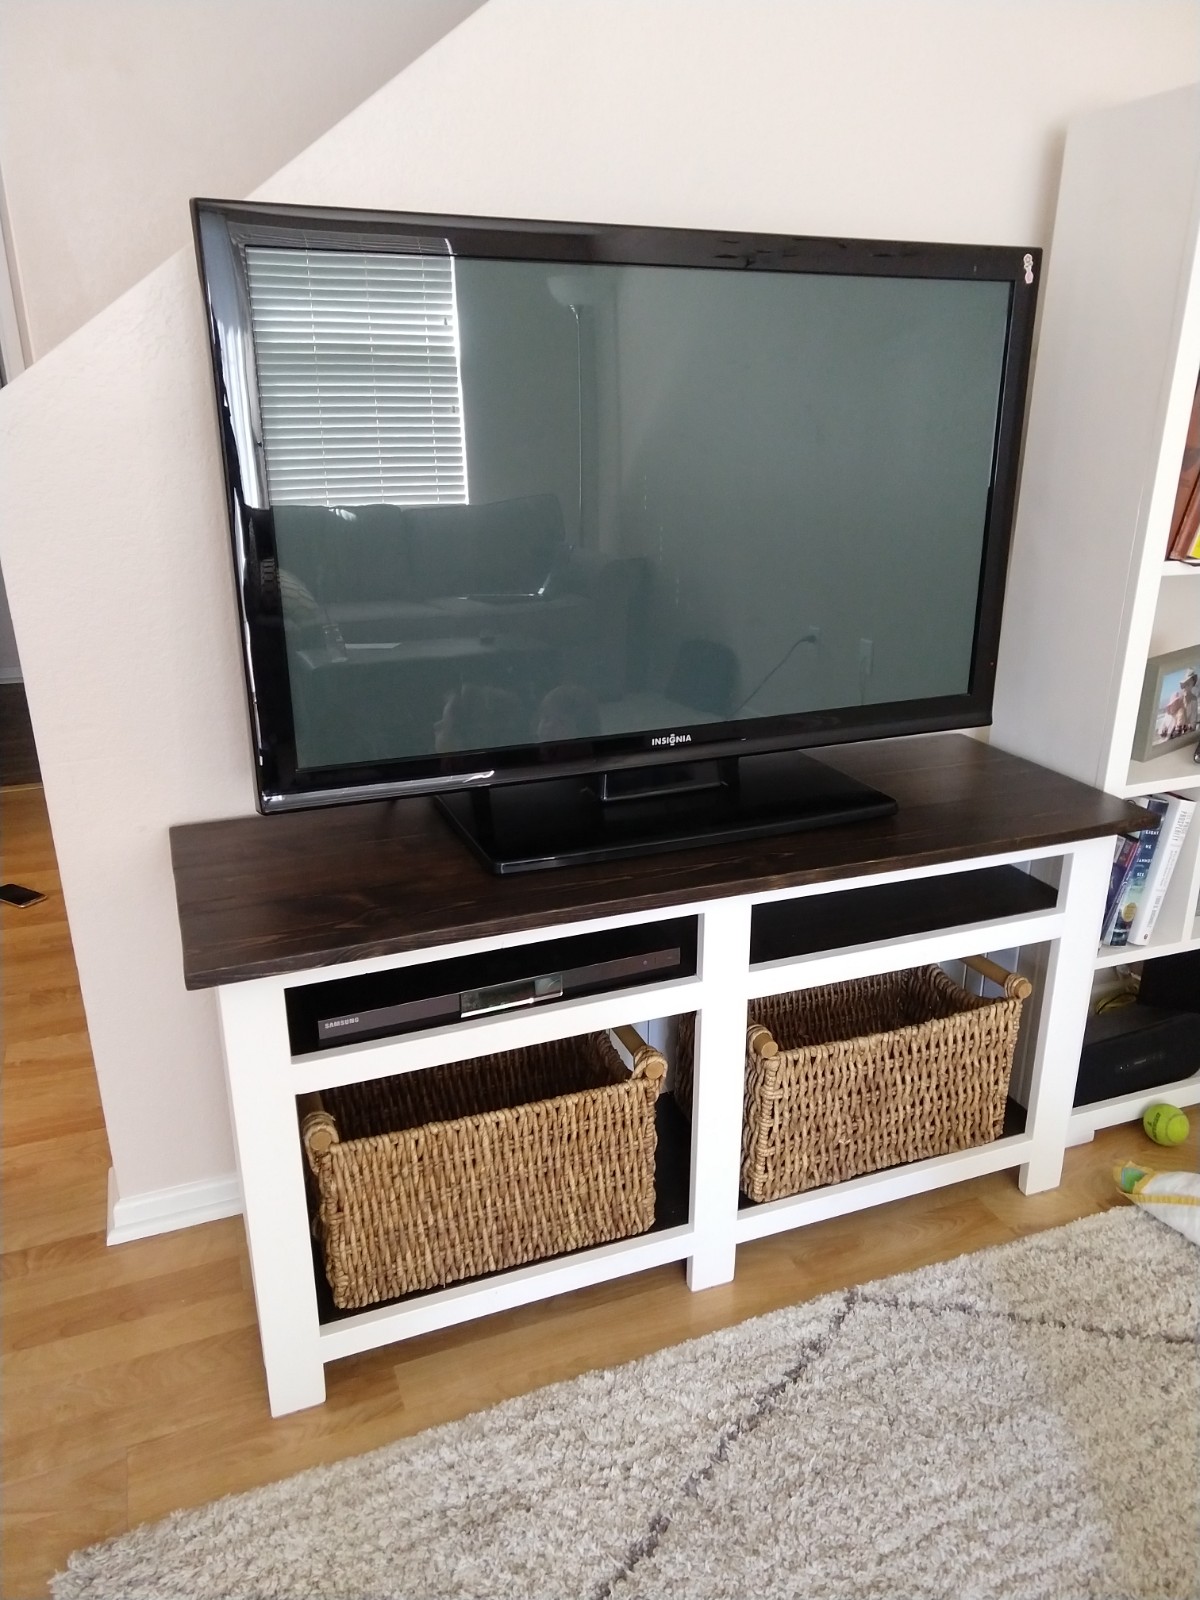
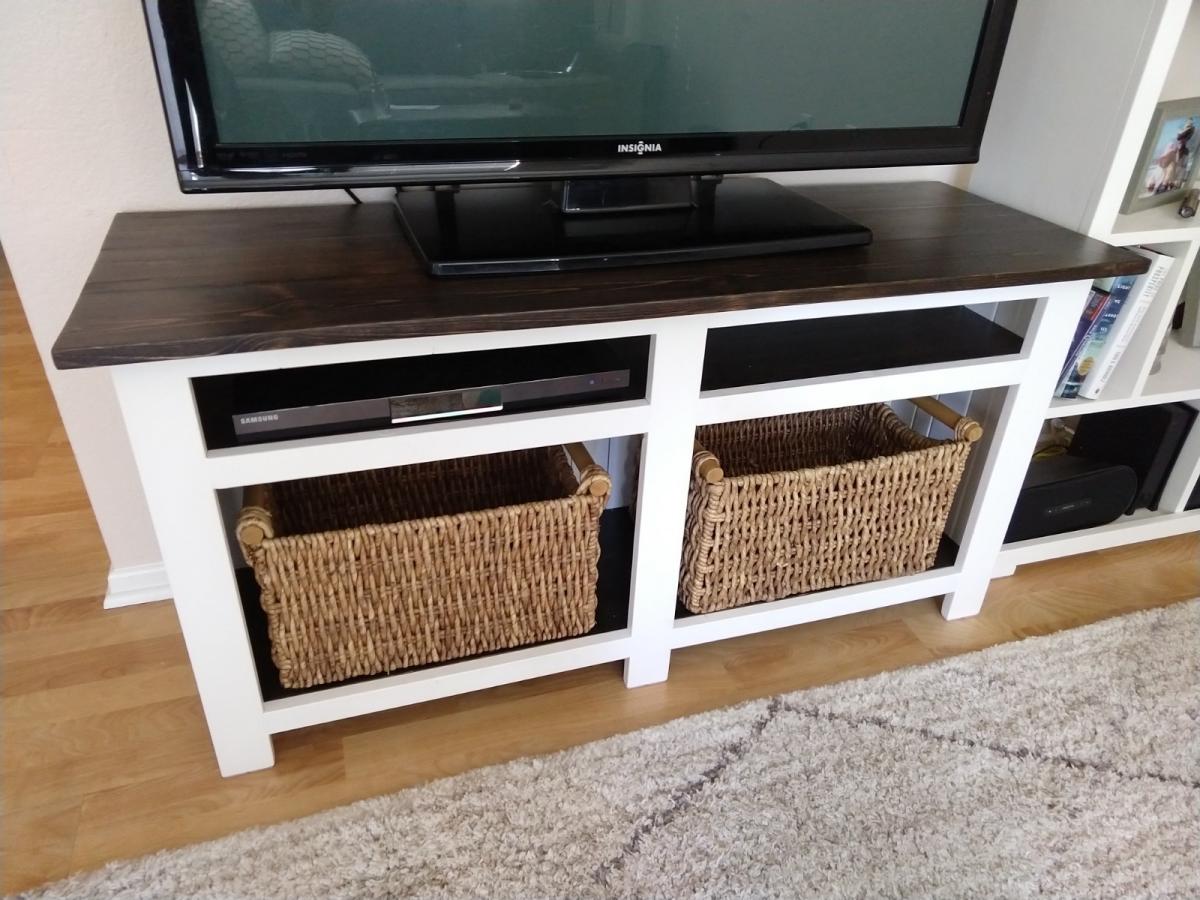
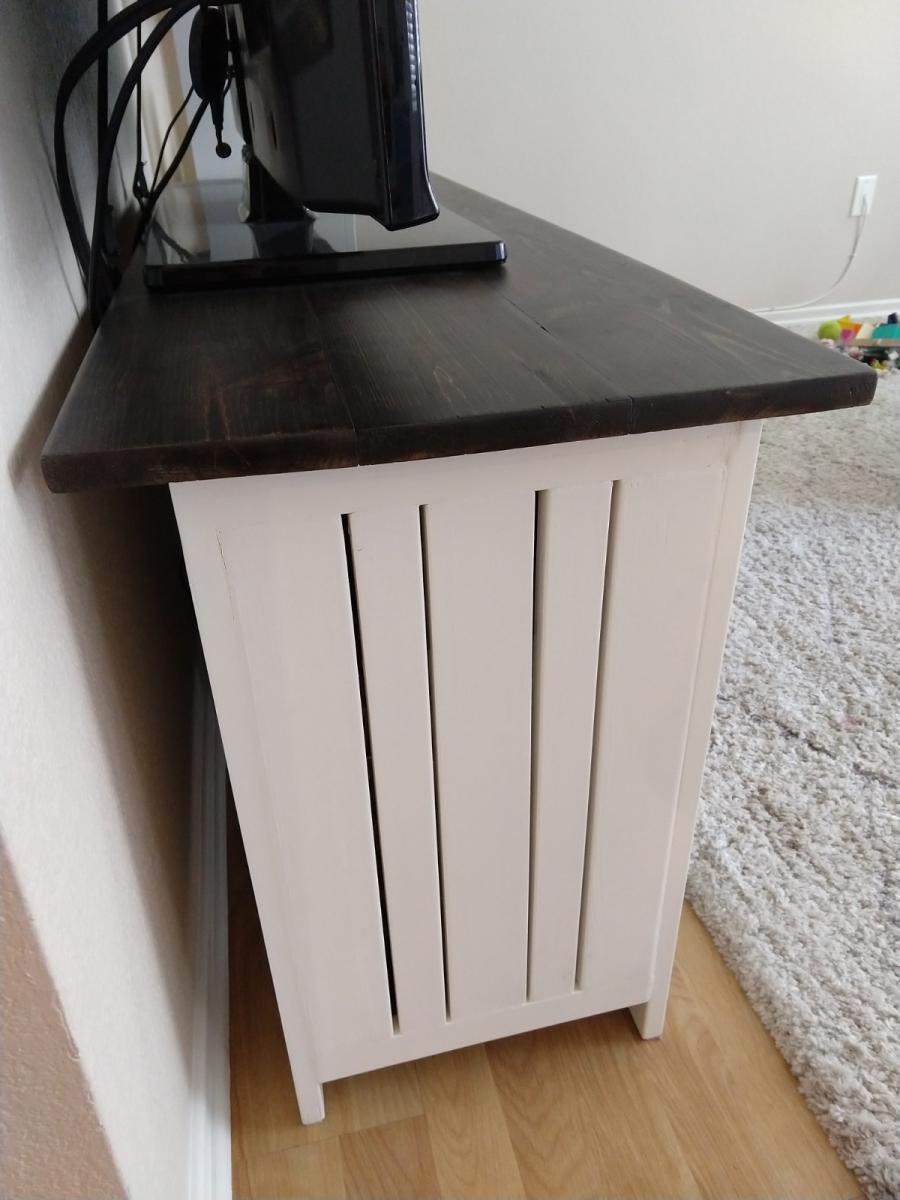
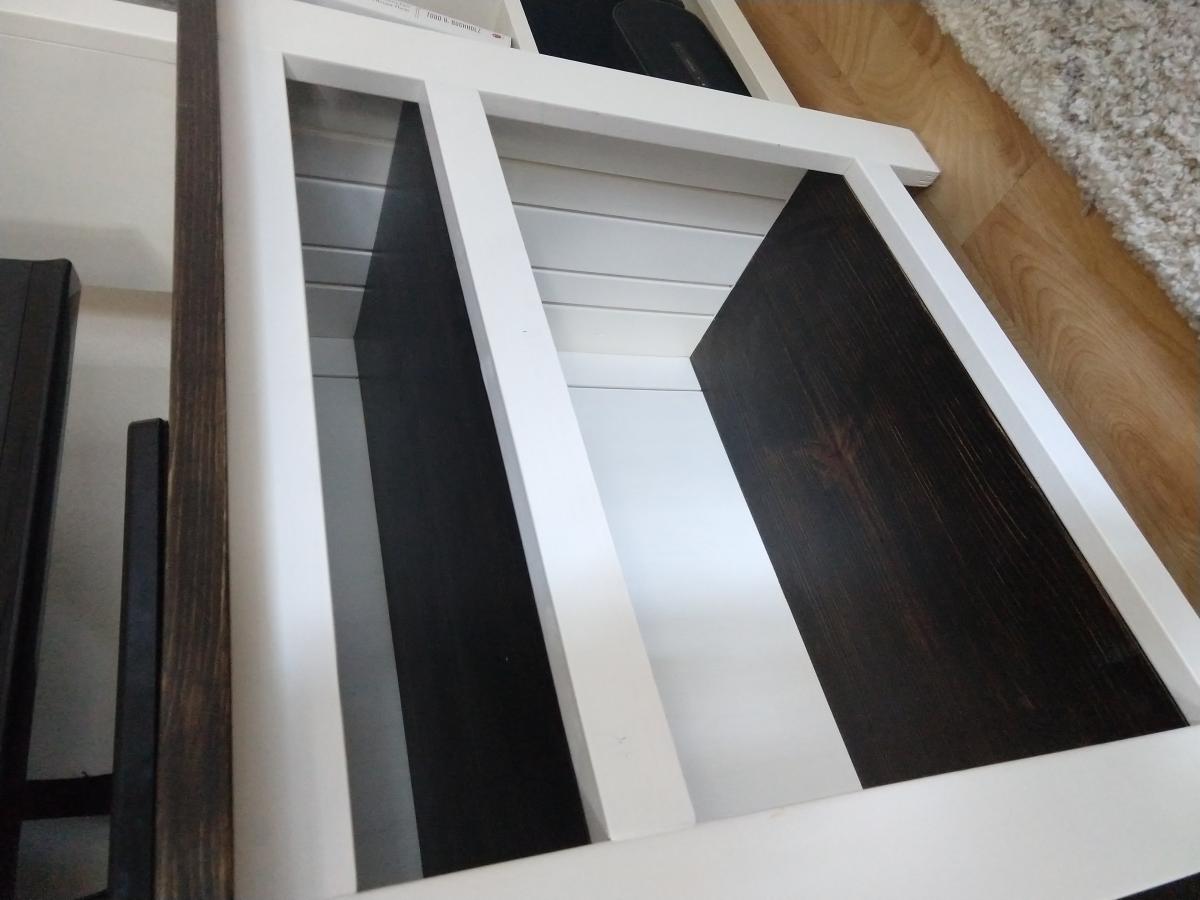
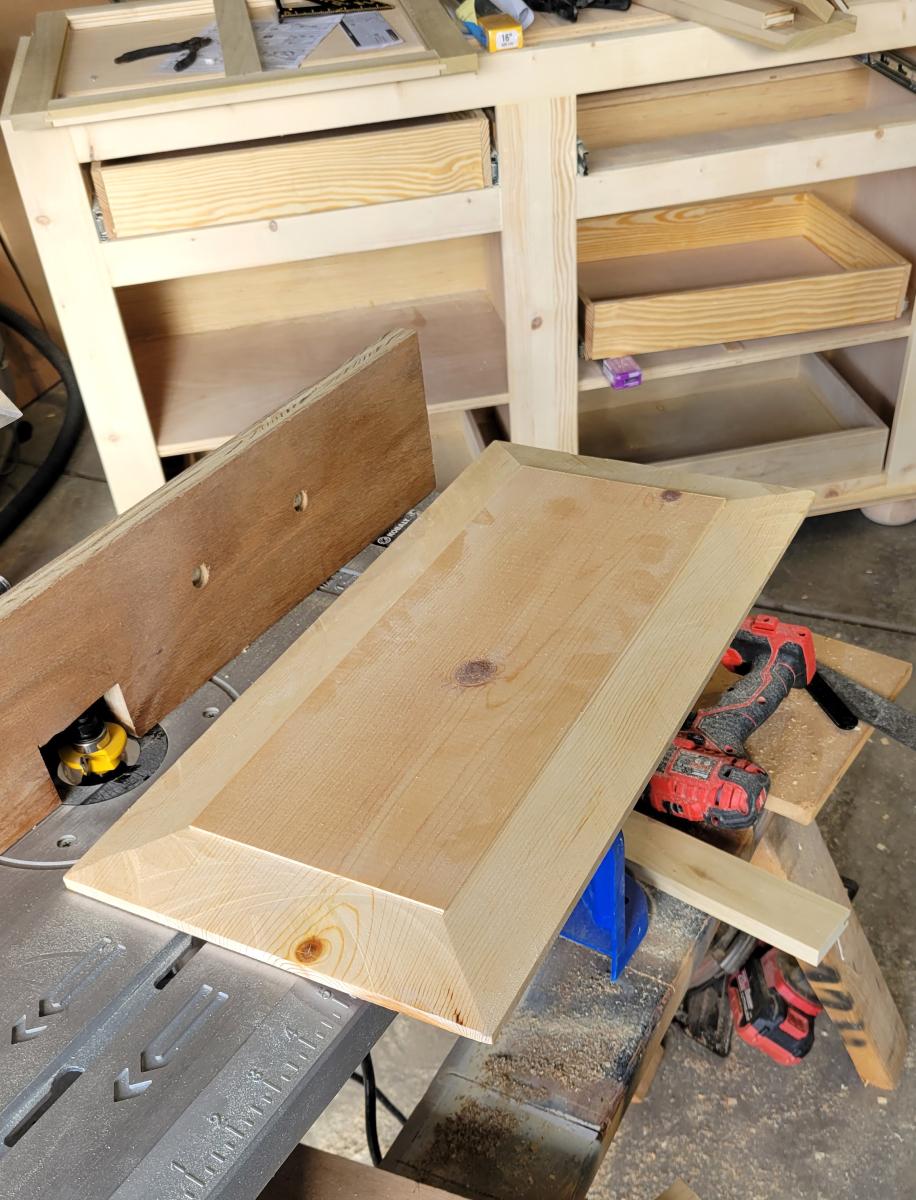
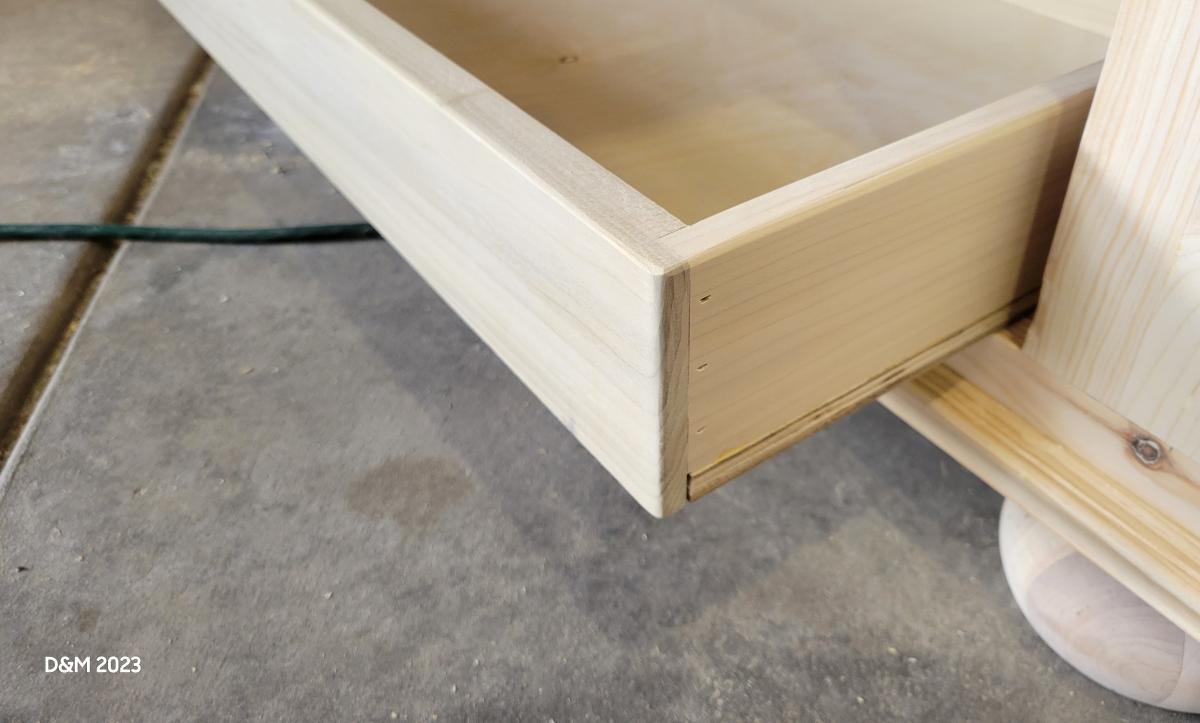
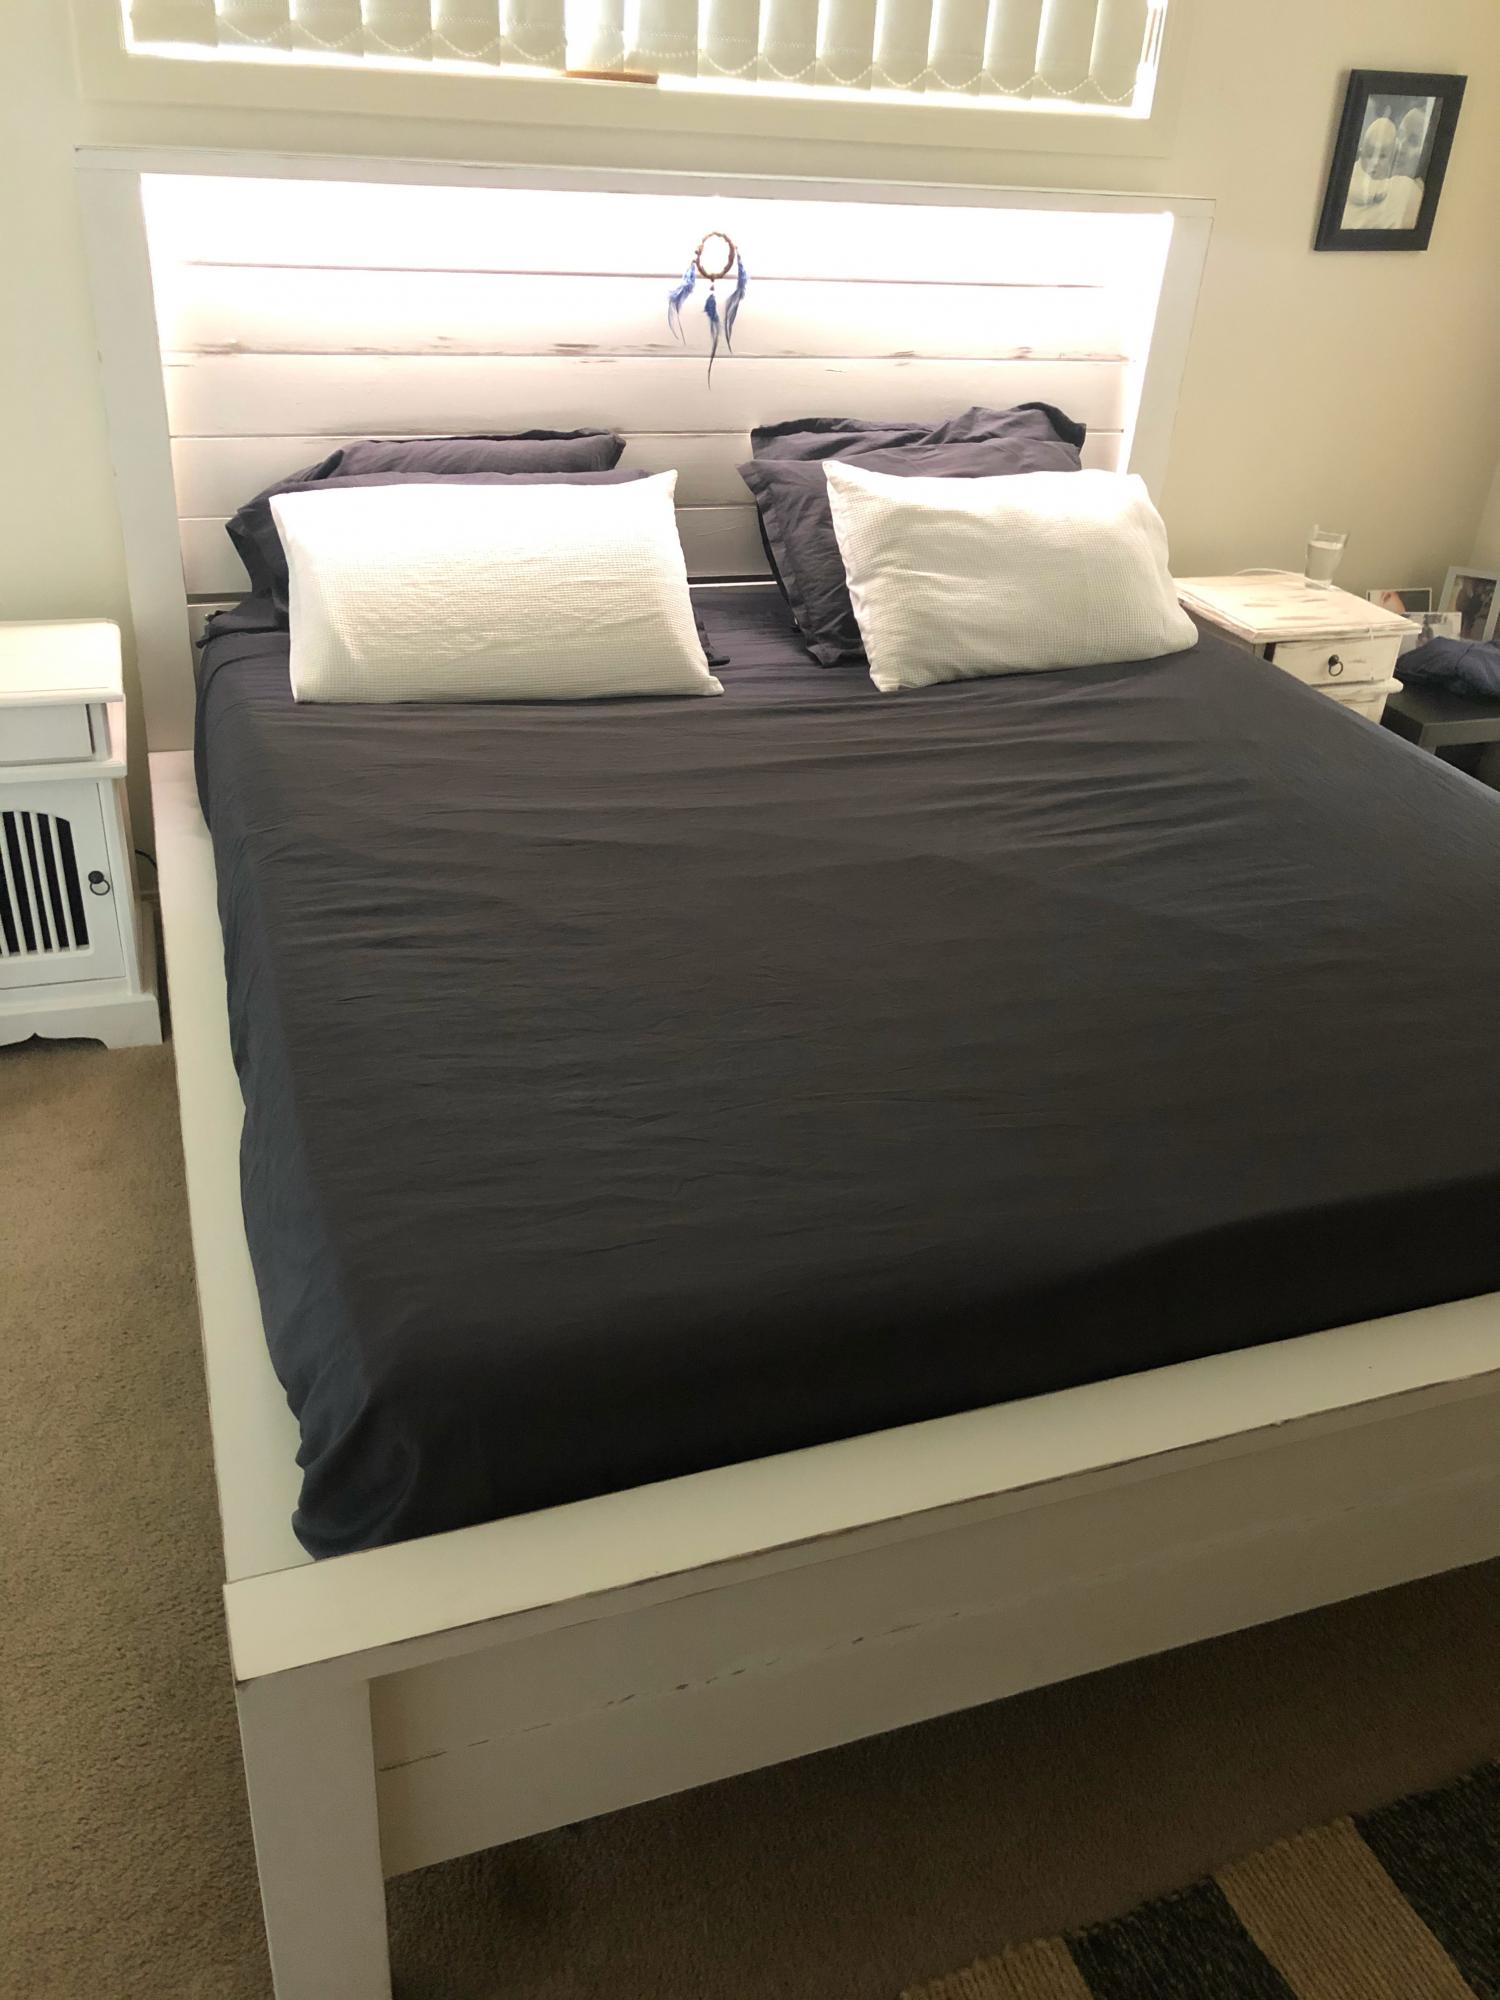
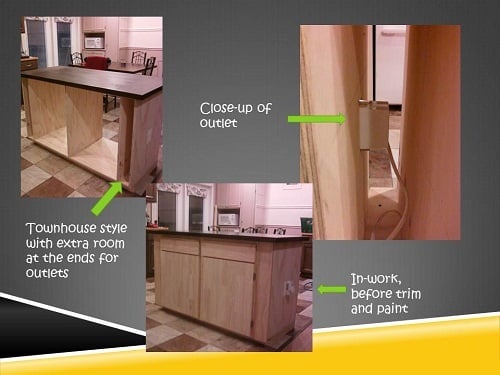
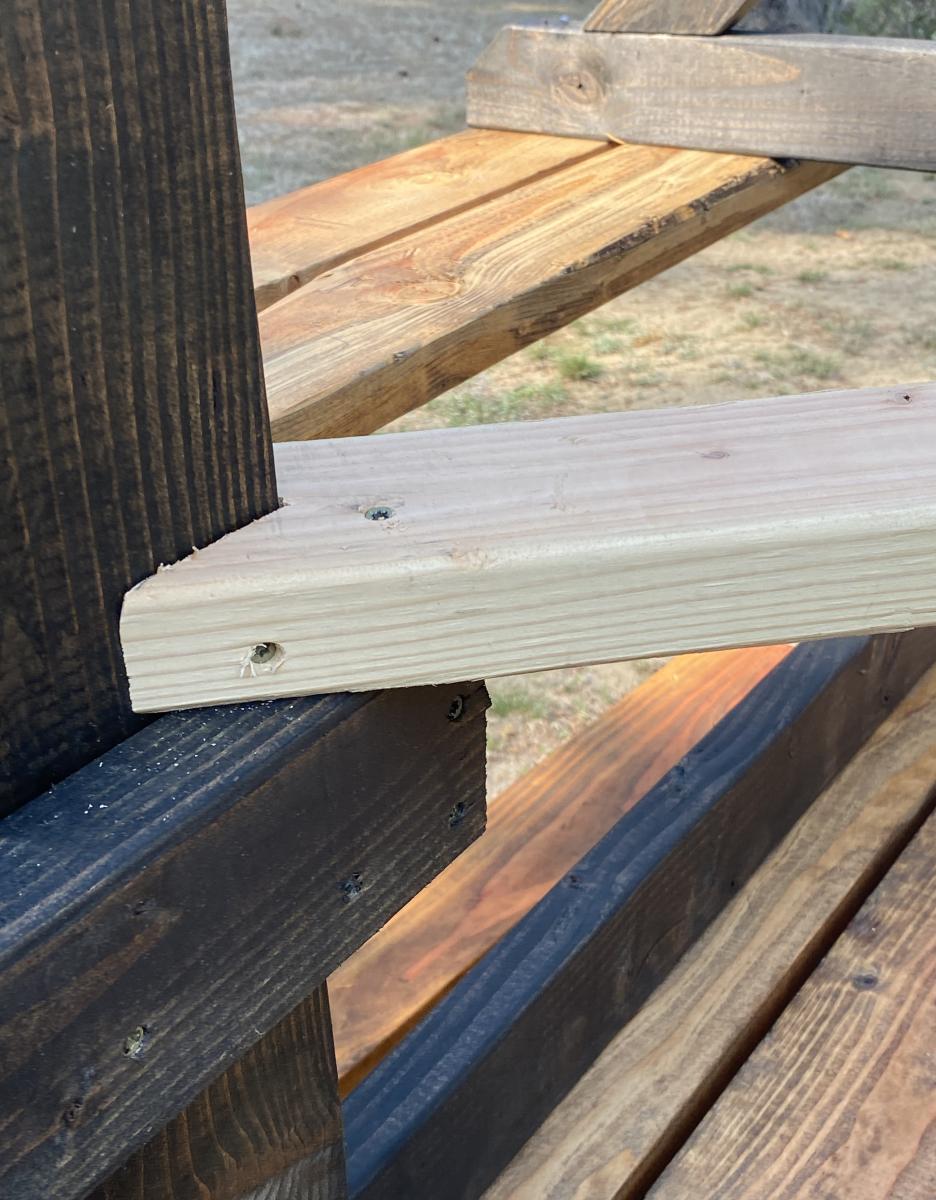
We have huge open walls in our new house. We needed something big! And like everyone else on here, we didn't want shell out $3-4000 for something we really wanted. These plans were perfect. I did make a few adjustments. The overall dimensions are 98"H X 63"W. I used some different trim. I custom made the bottom trim. I also added fronts to the shelves to cover the exposed plywood edges. Really happy I added those. Made a huge difference IMO. I really love it!
Built from Plan(s)
Estimated Cost
$350-400
Estimated Time Investment
Week Long Project (20 Hours or More)
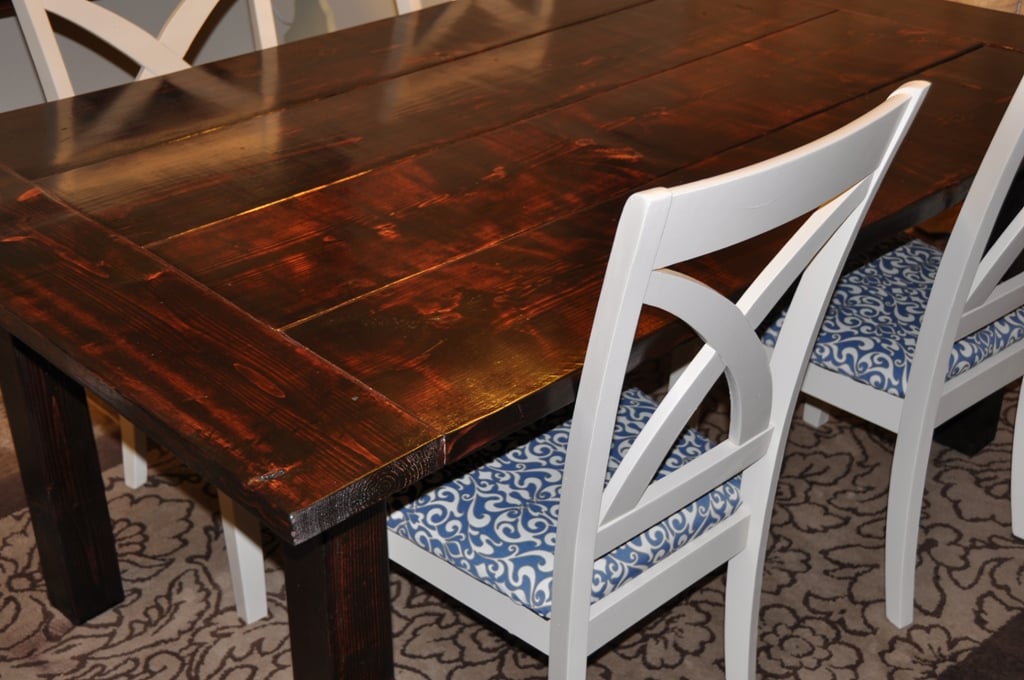
Finish Used
2 coats of Minwax Driftwood and Hellmans Spray Poly
Recommended Skill Level
Intermediate