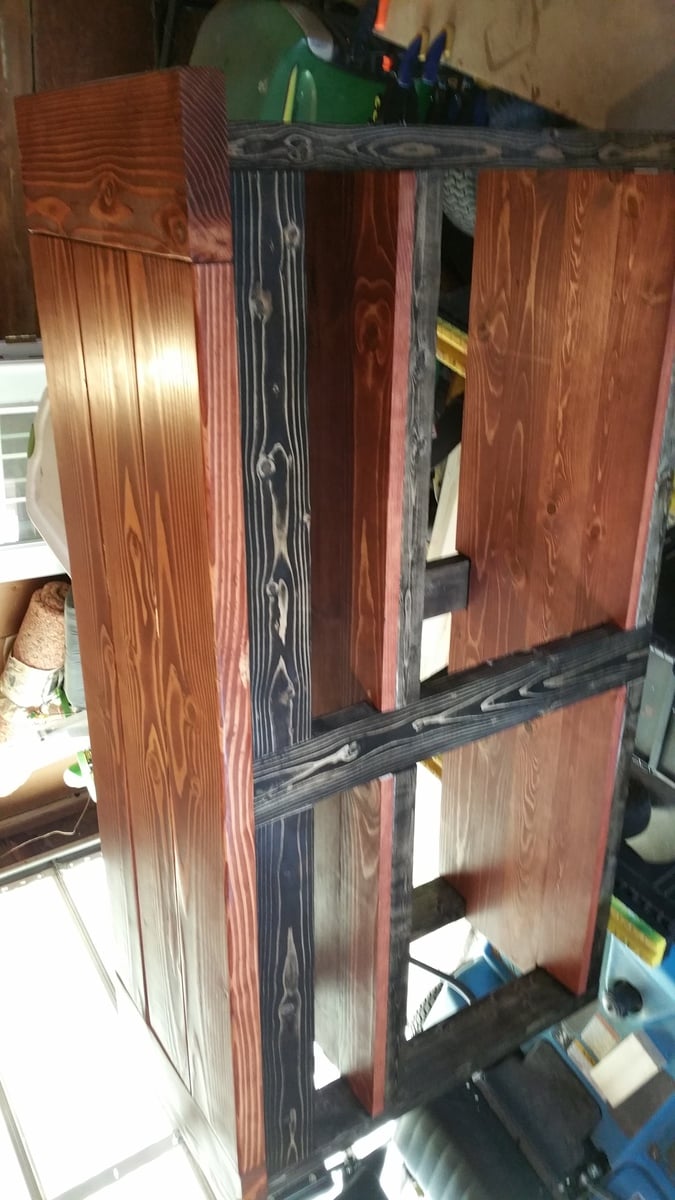
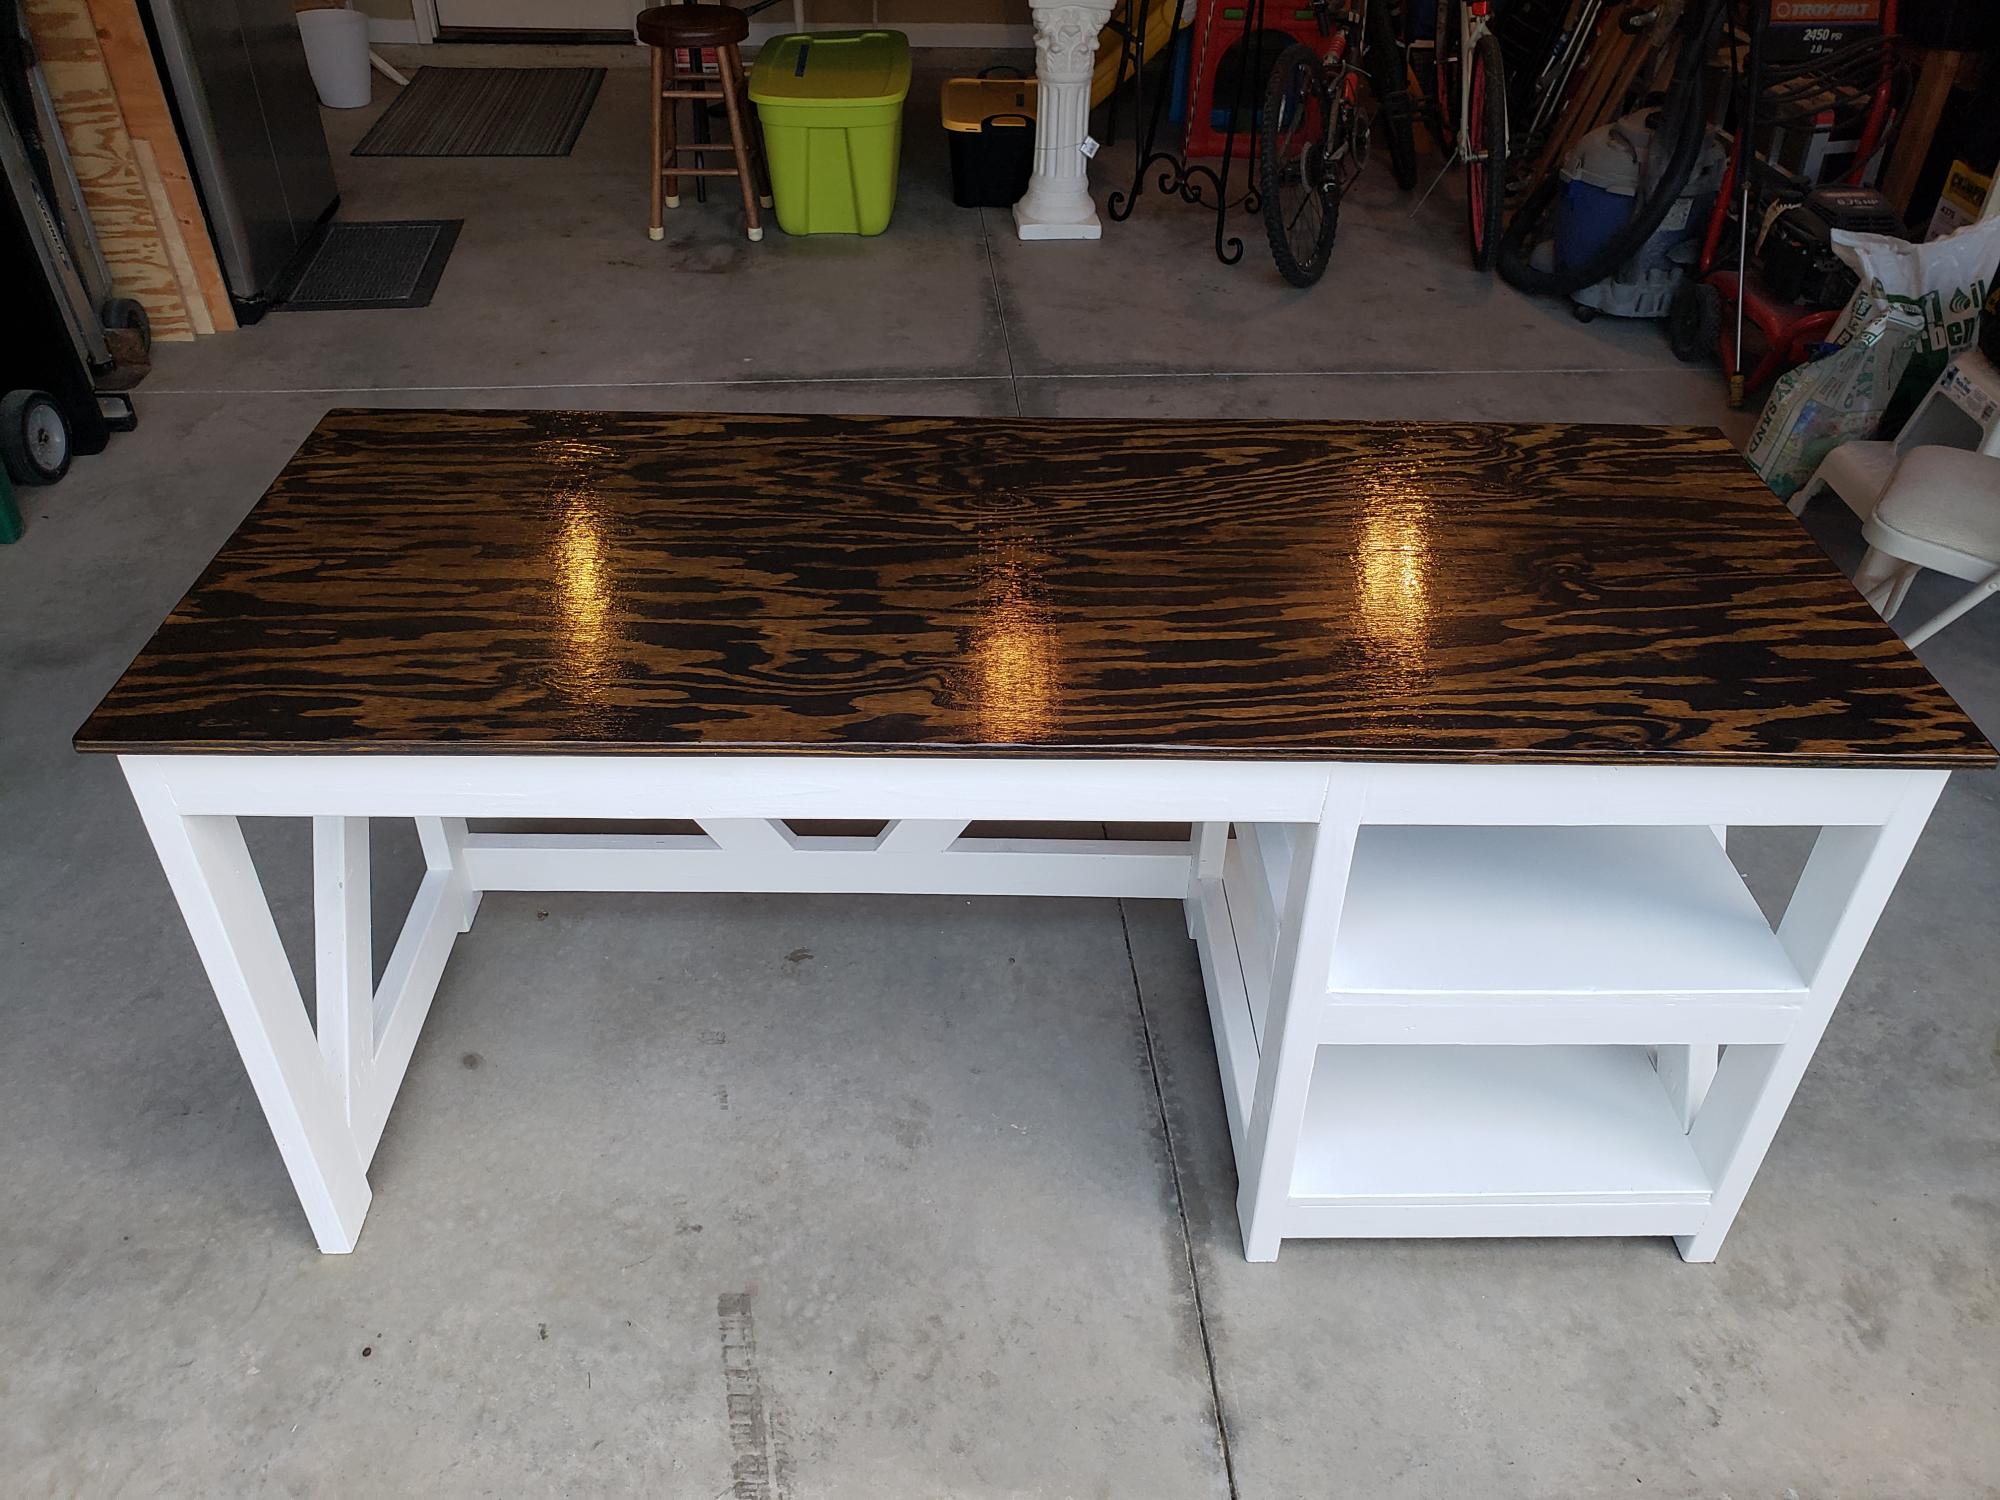
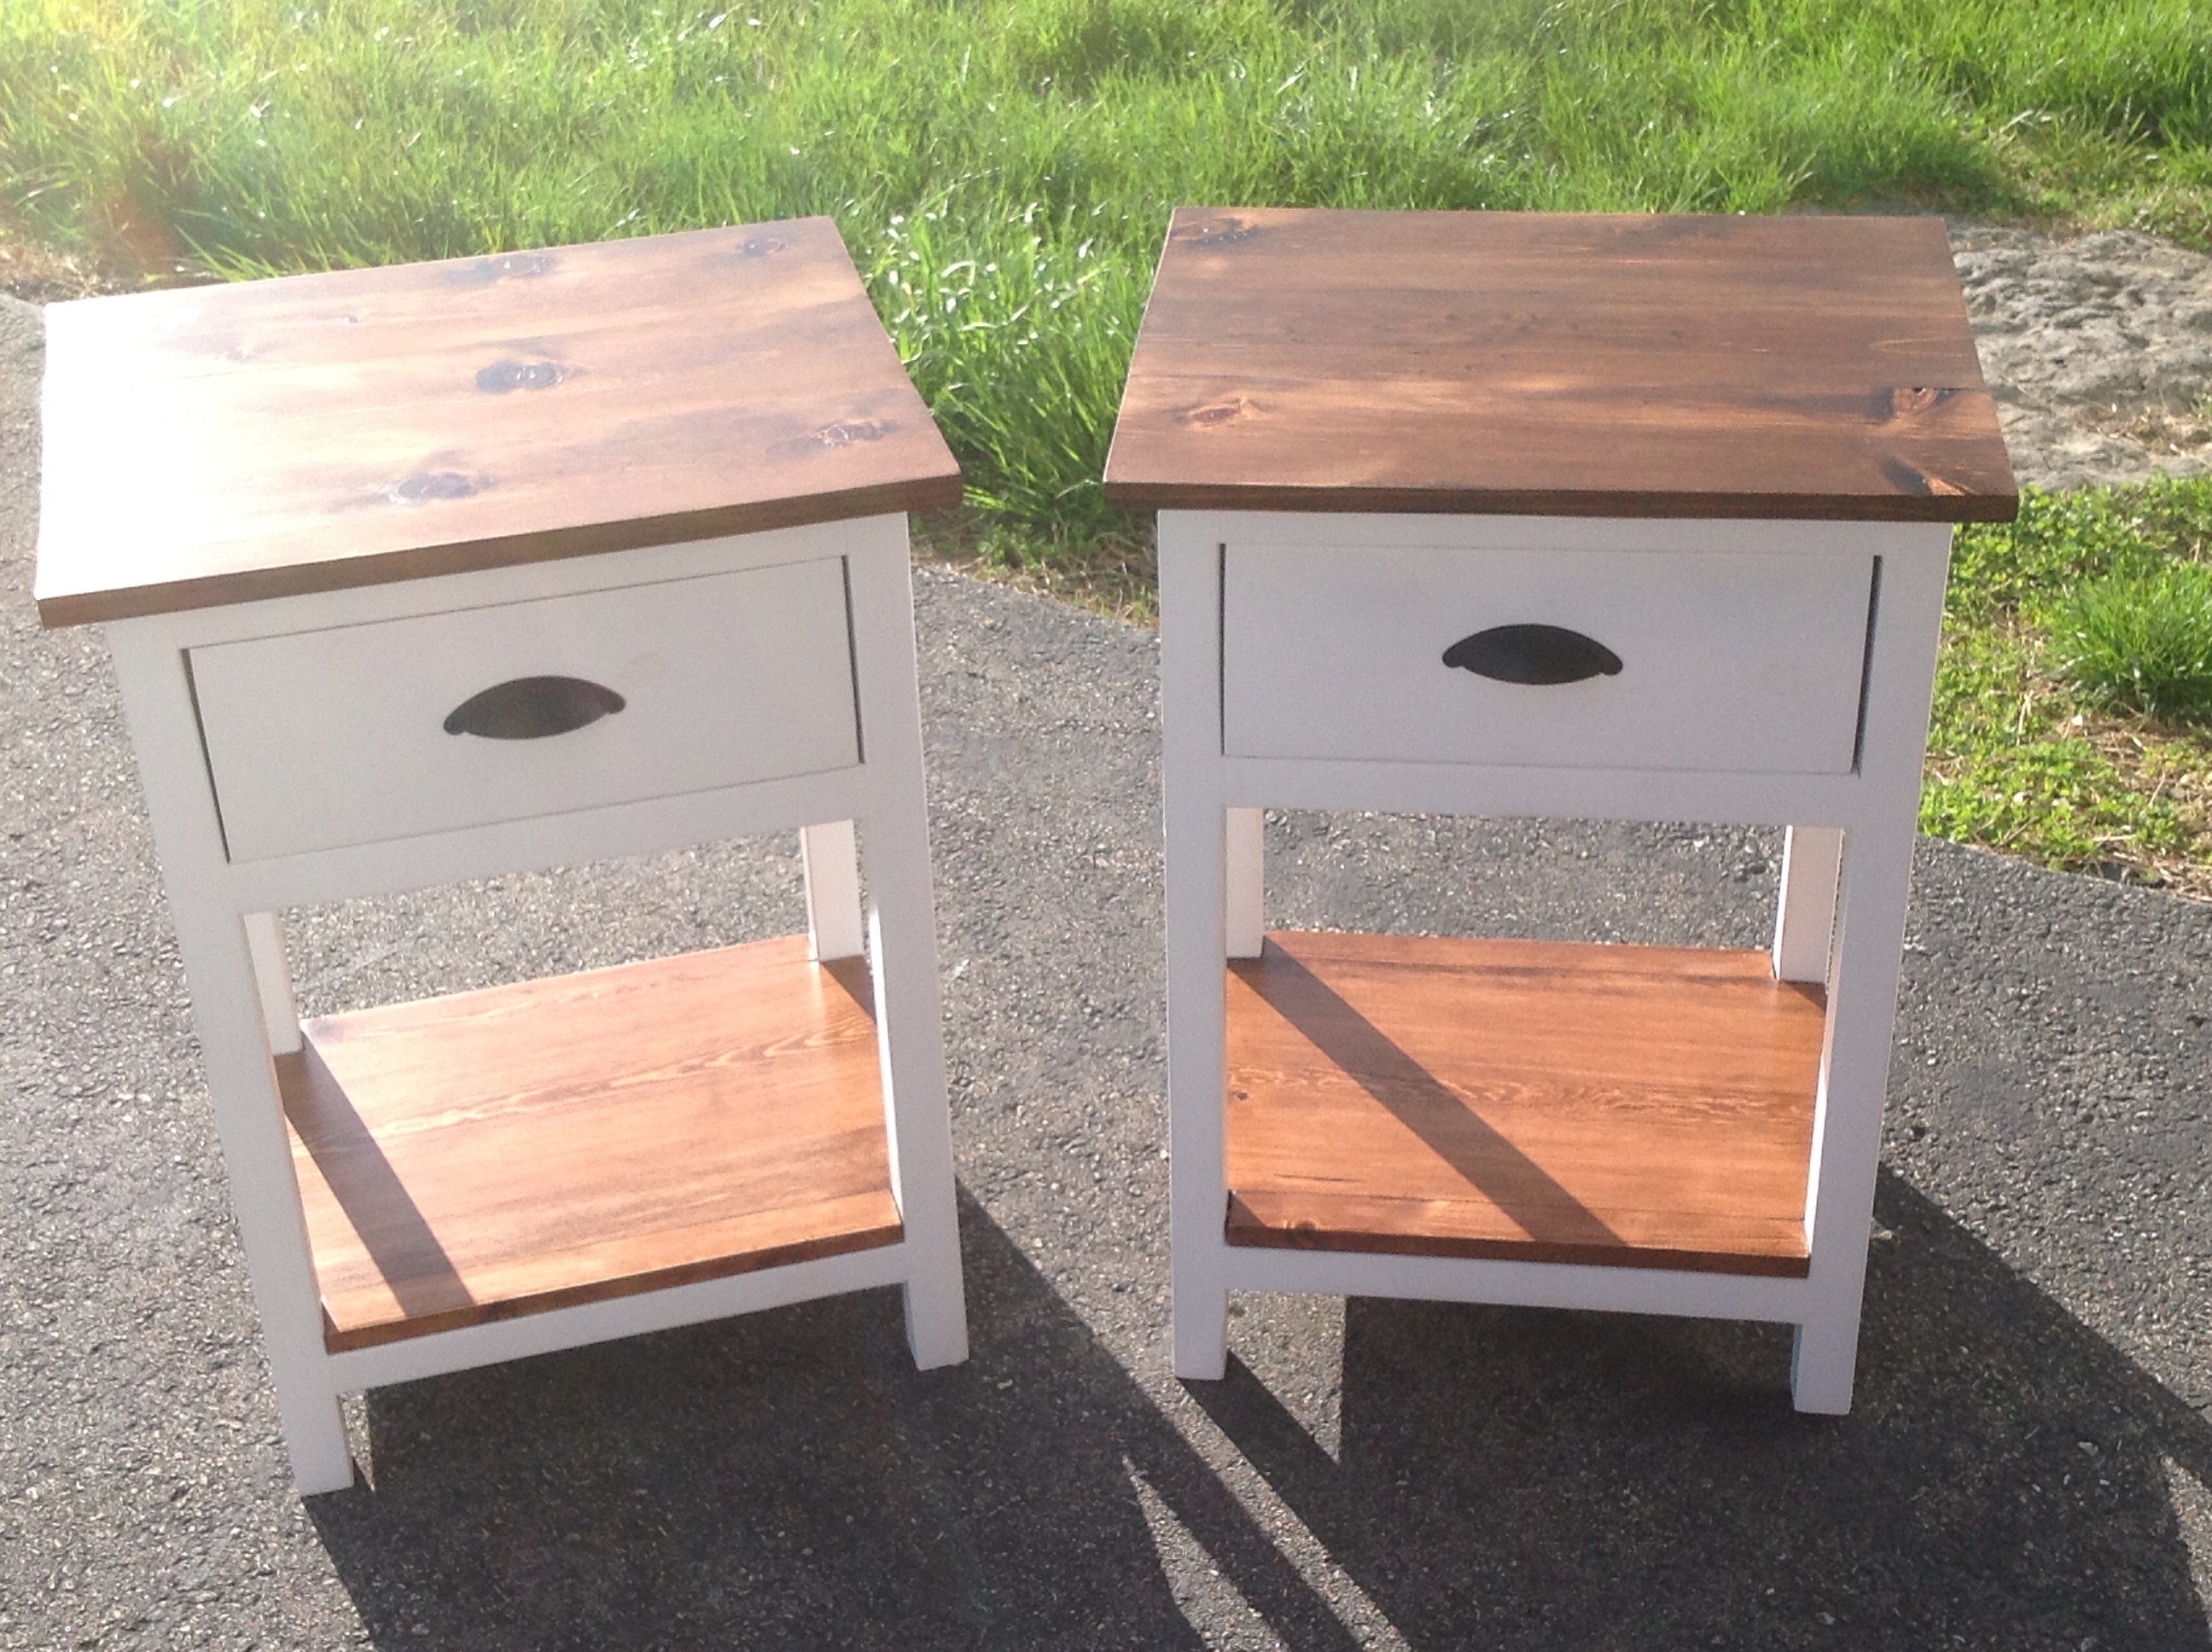
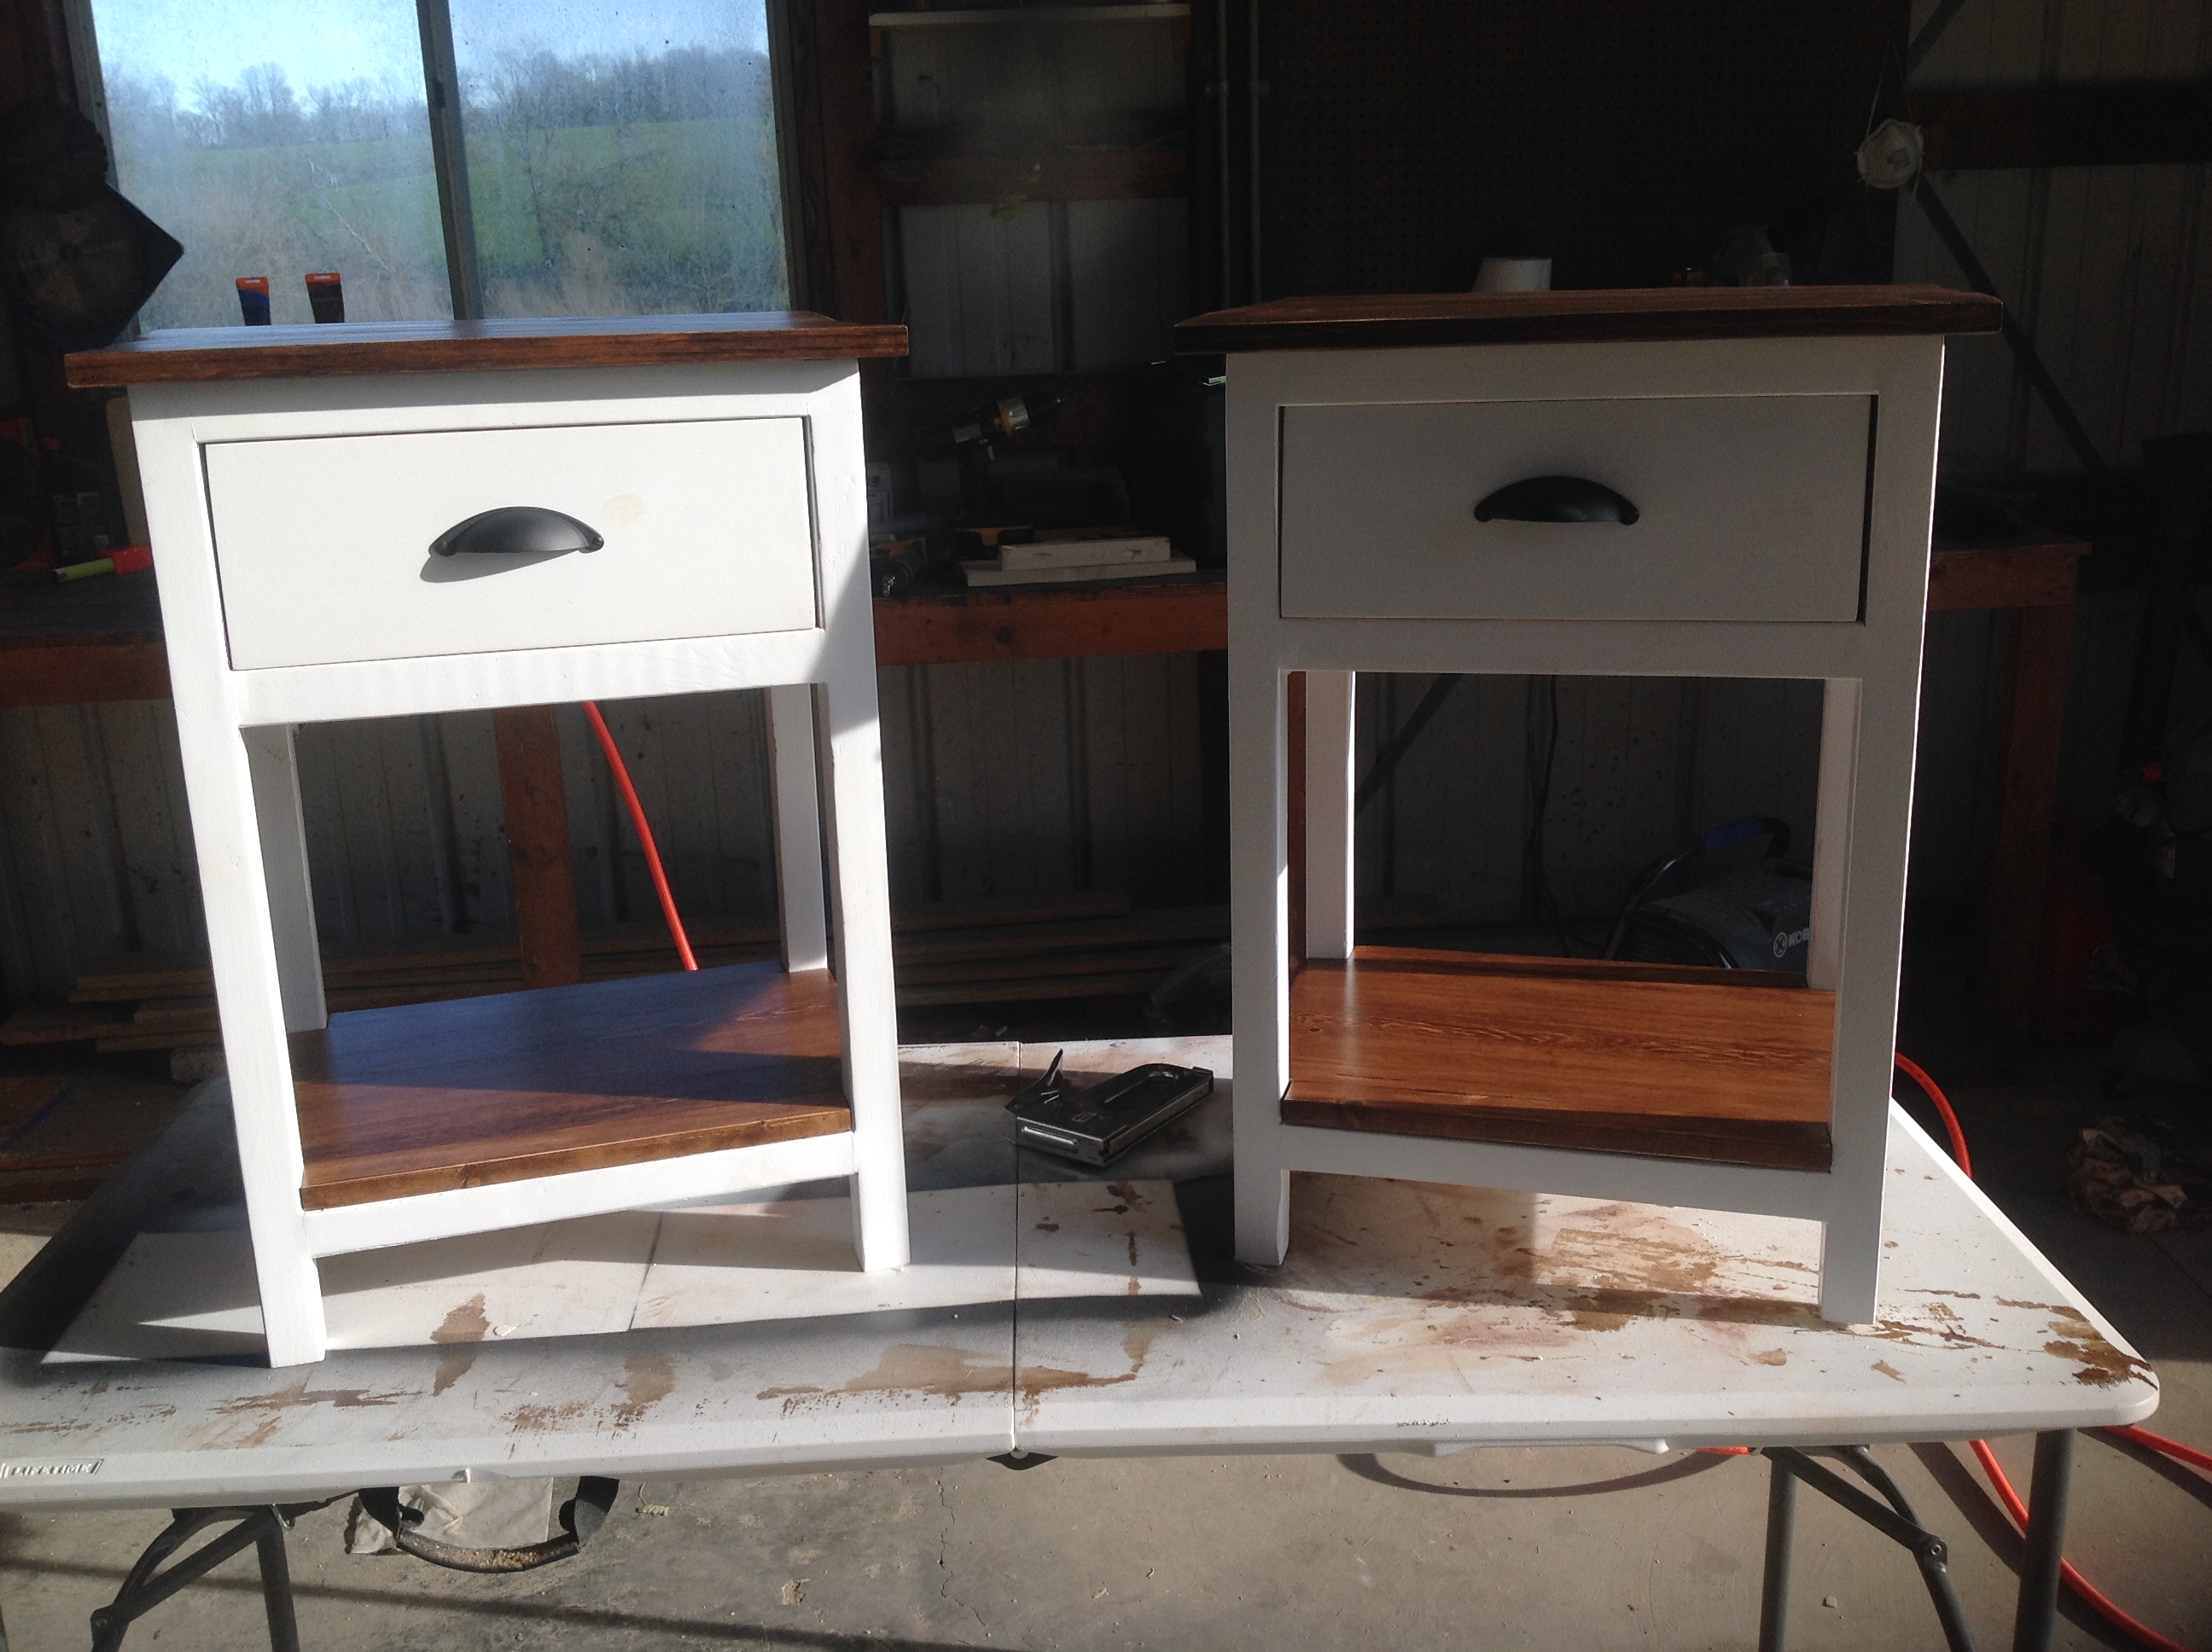
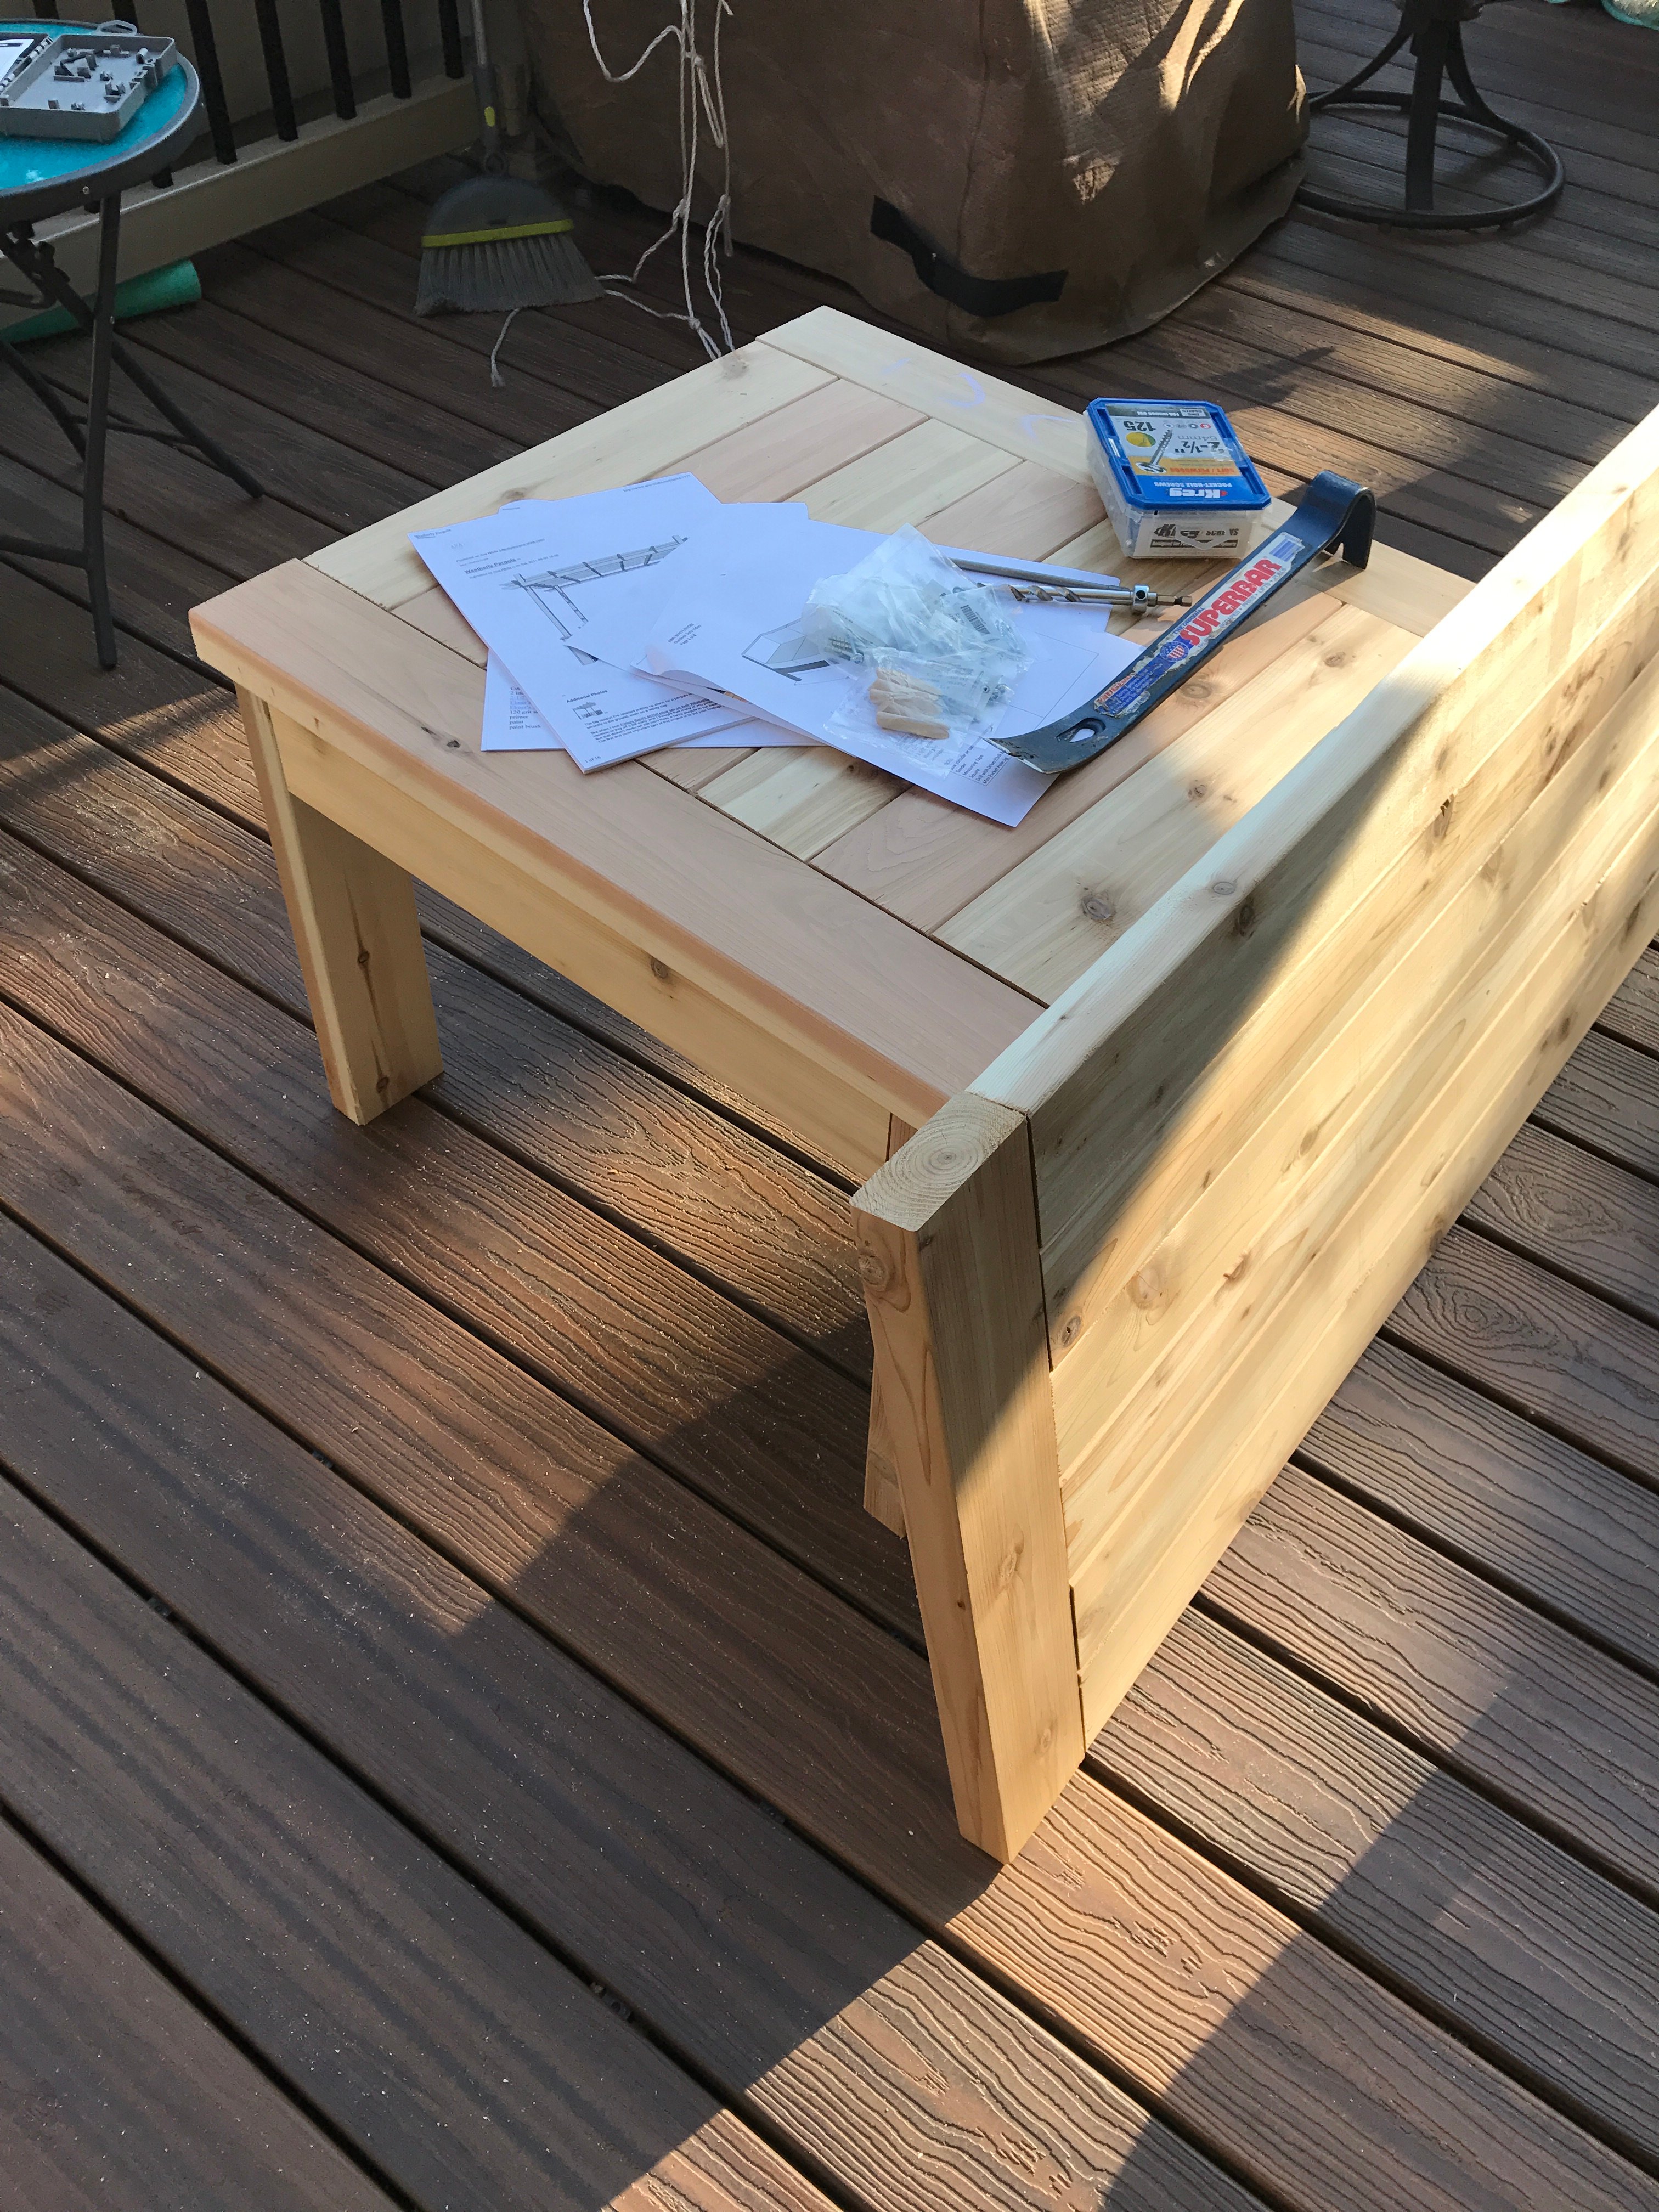
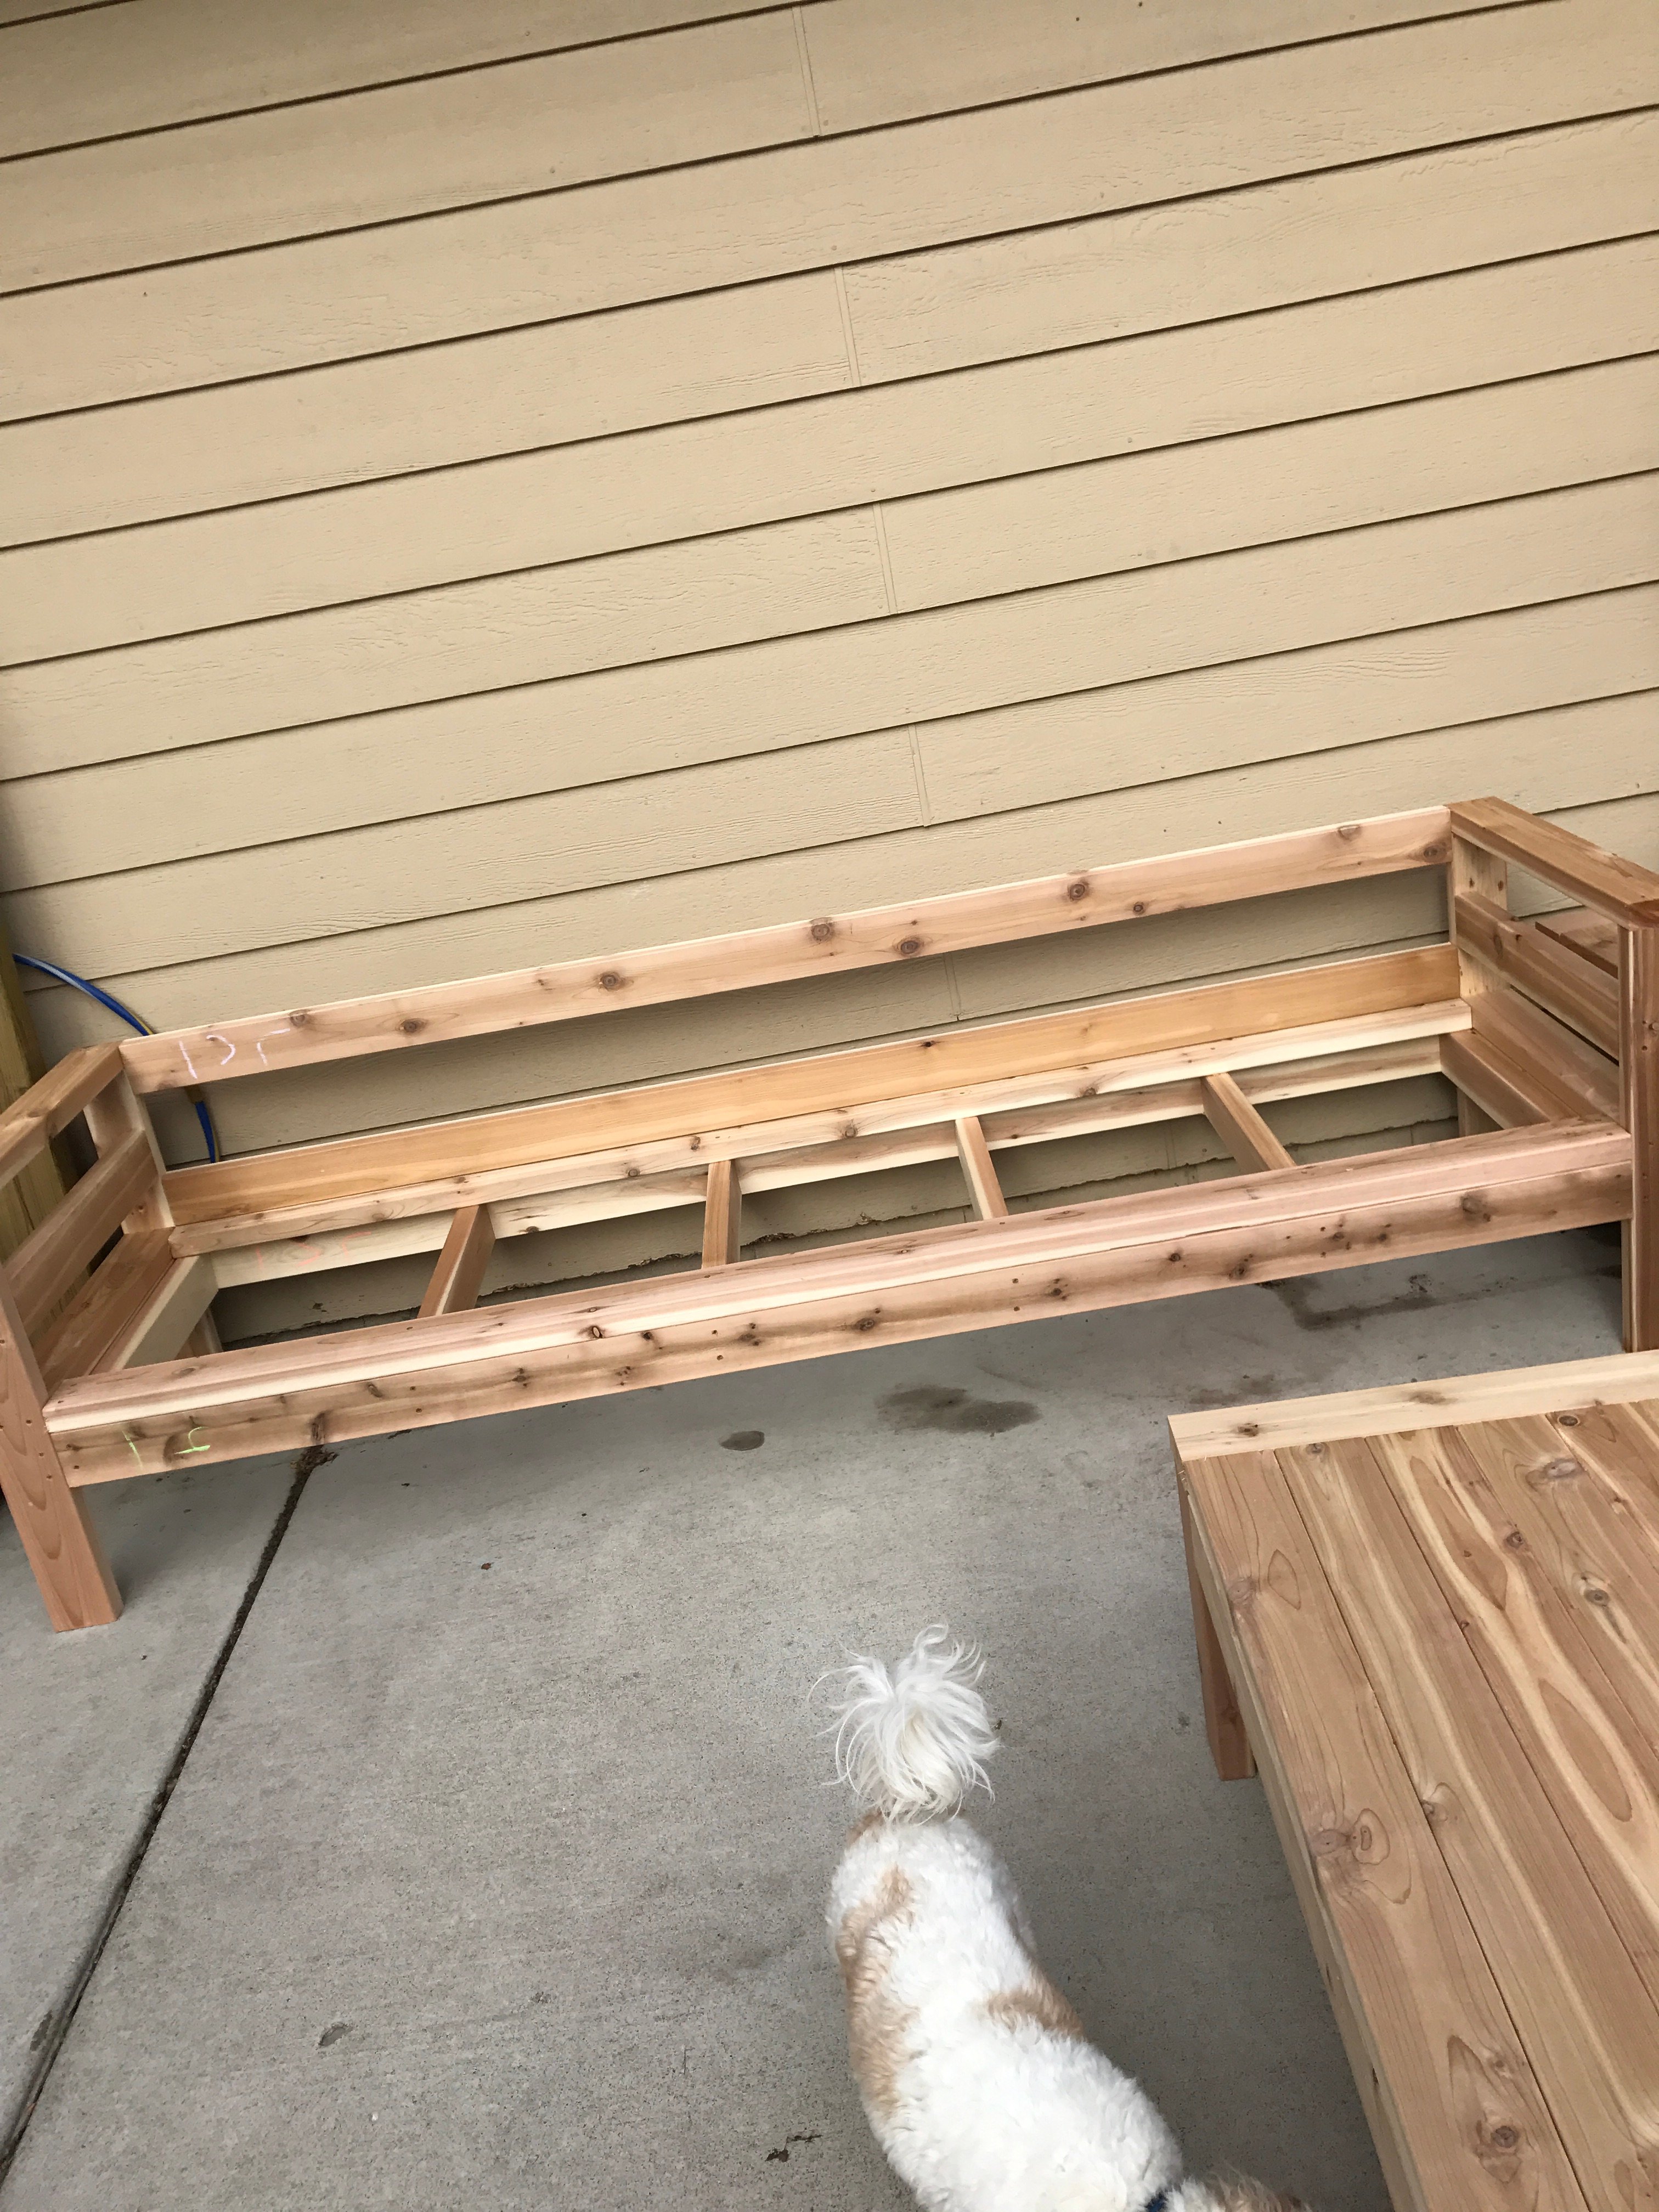
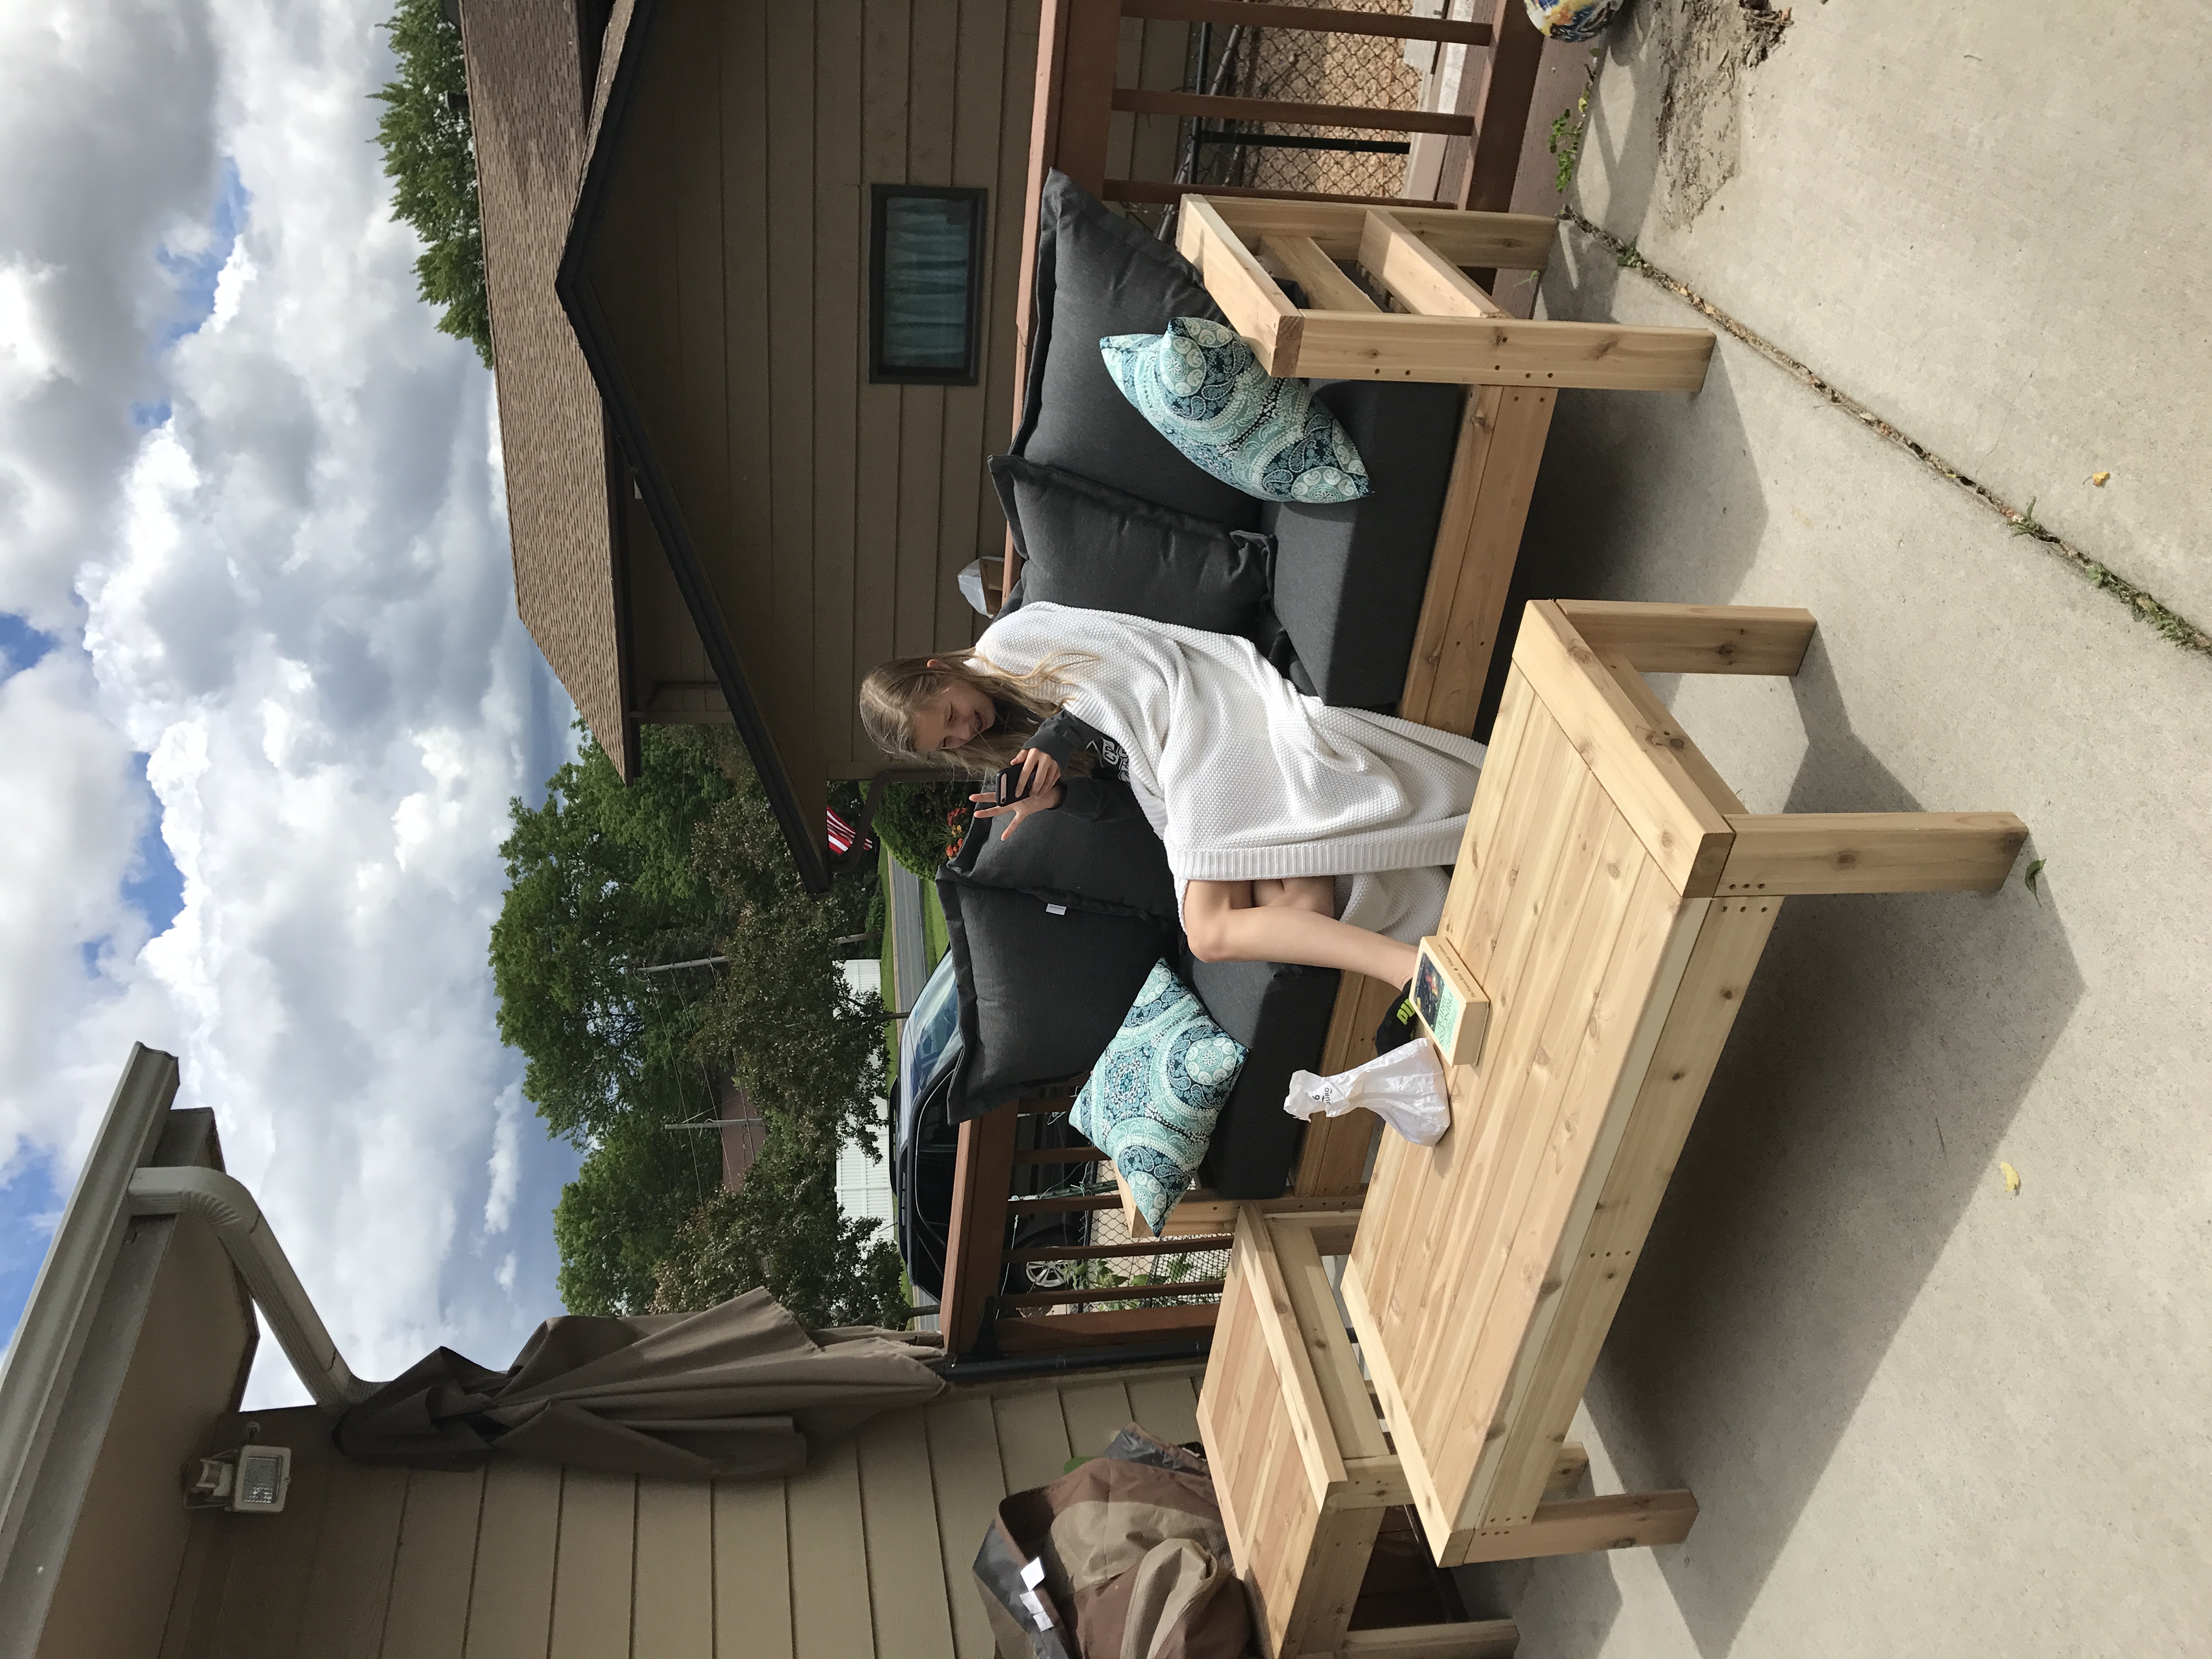
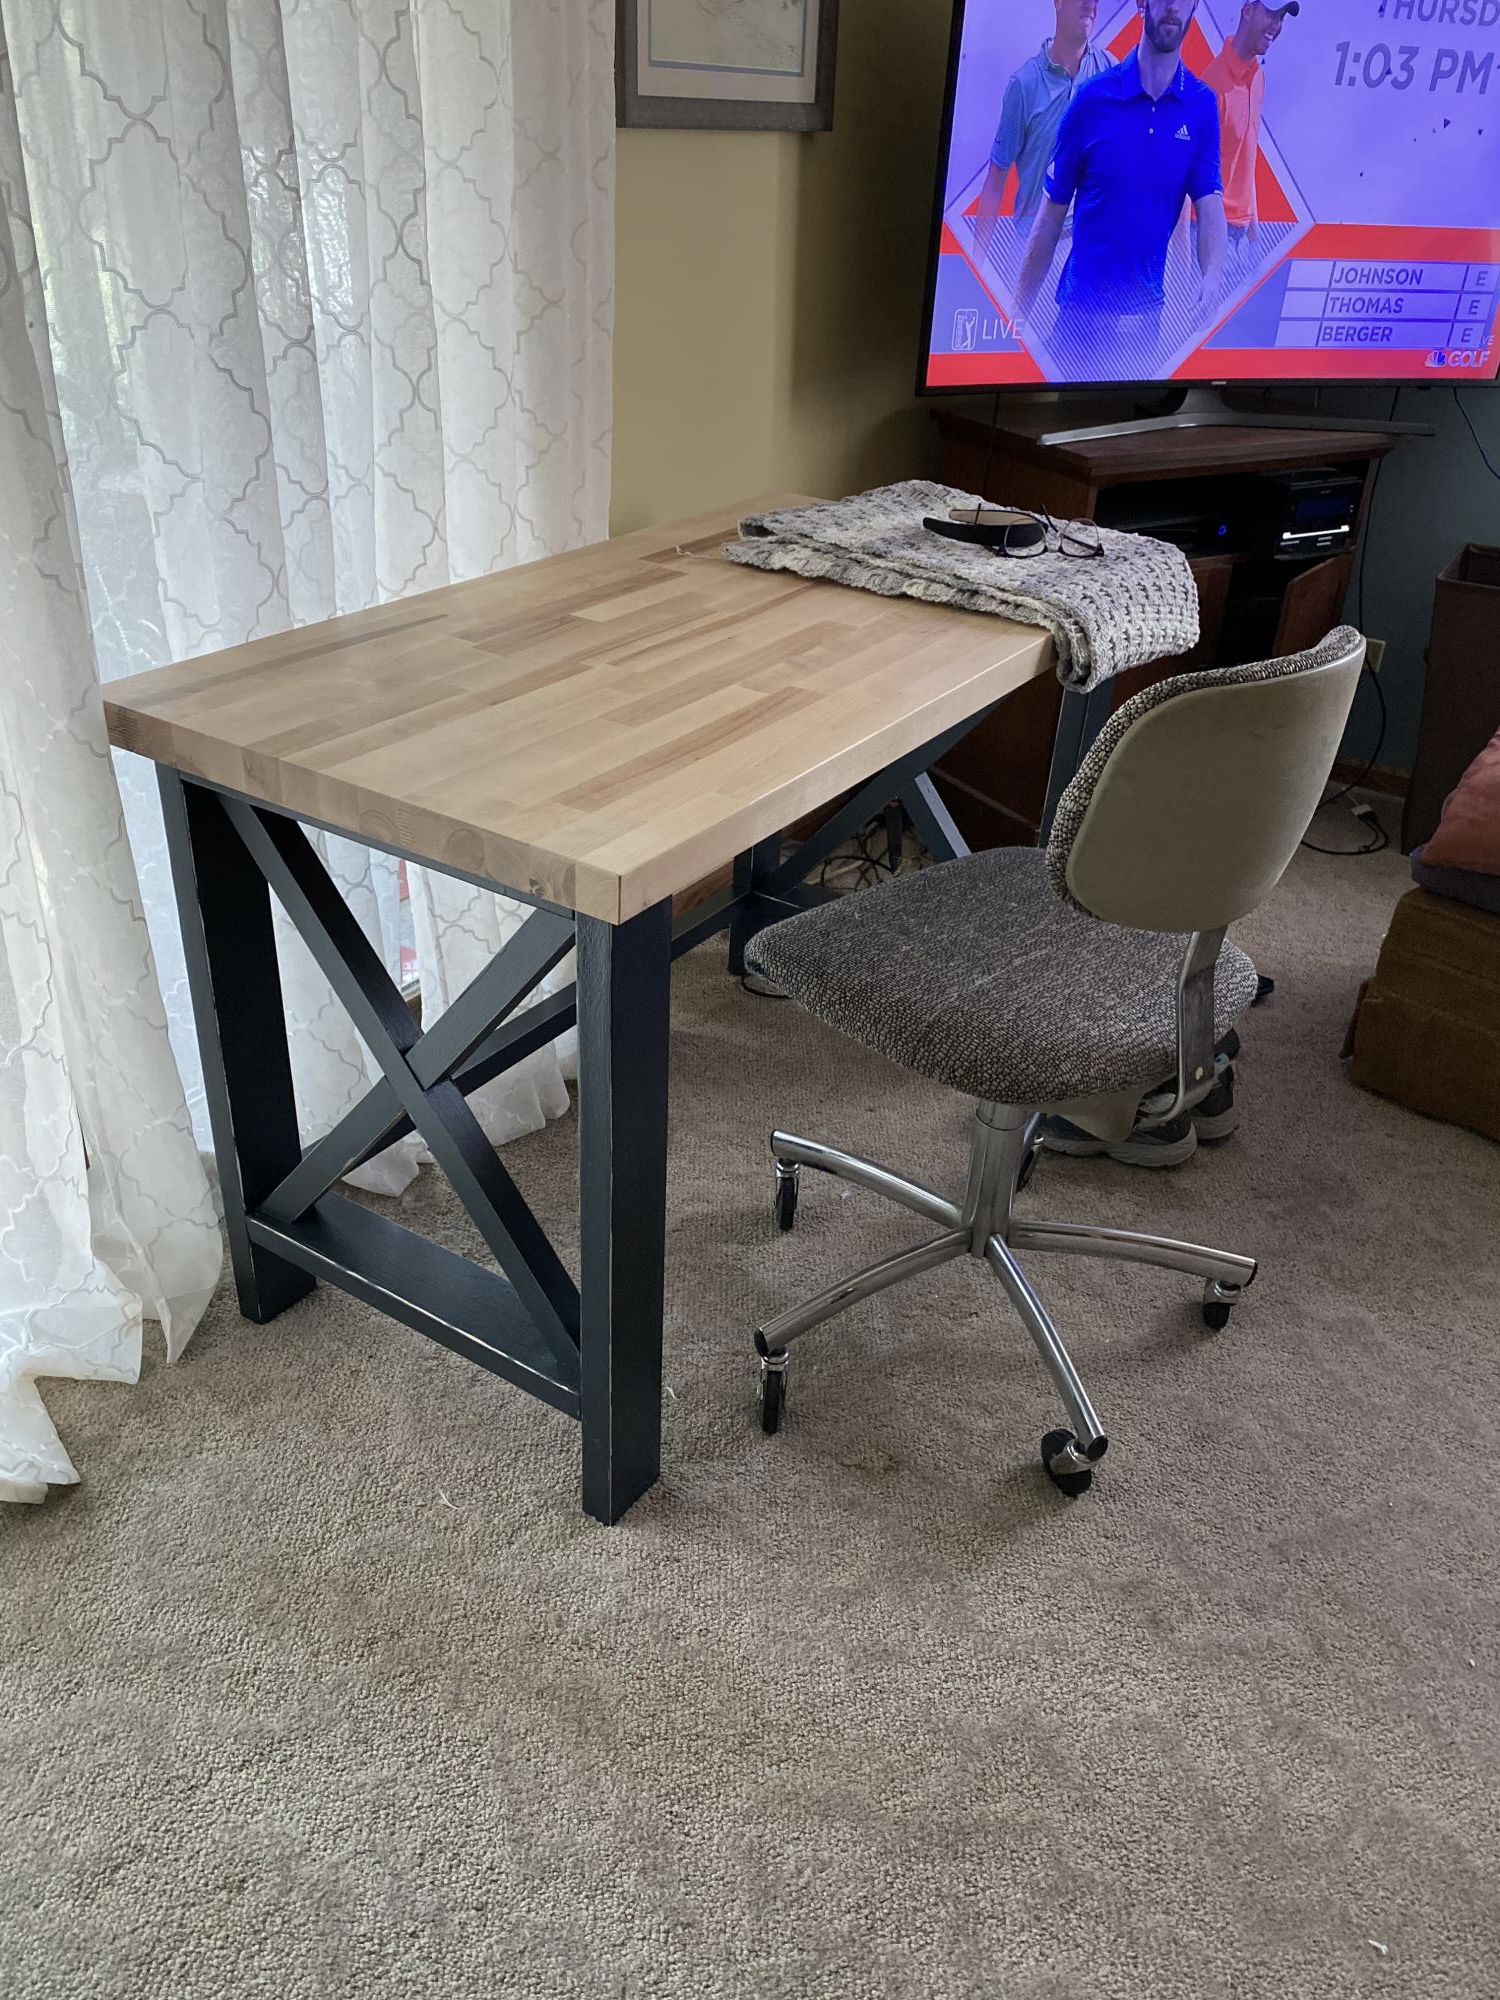
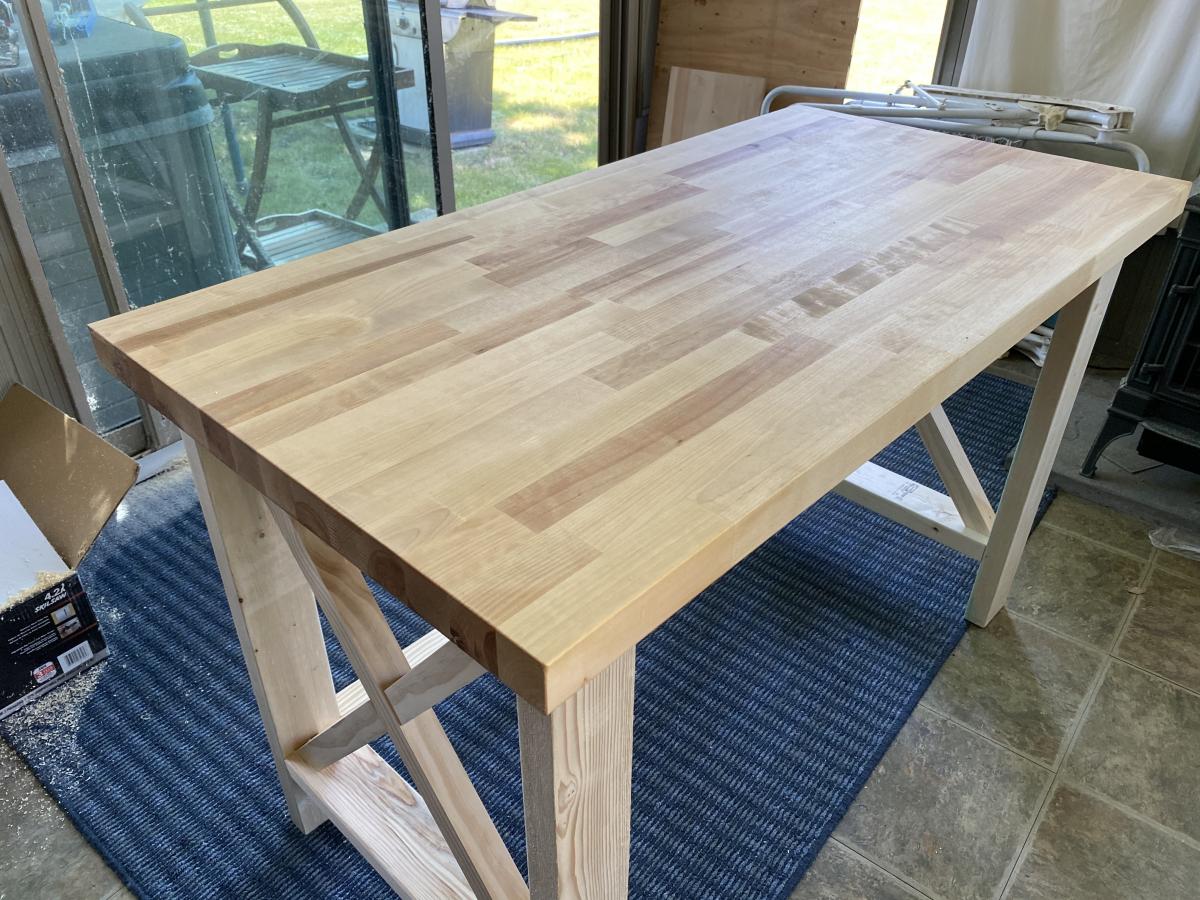
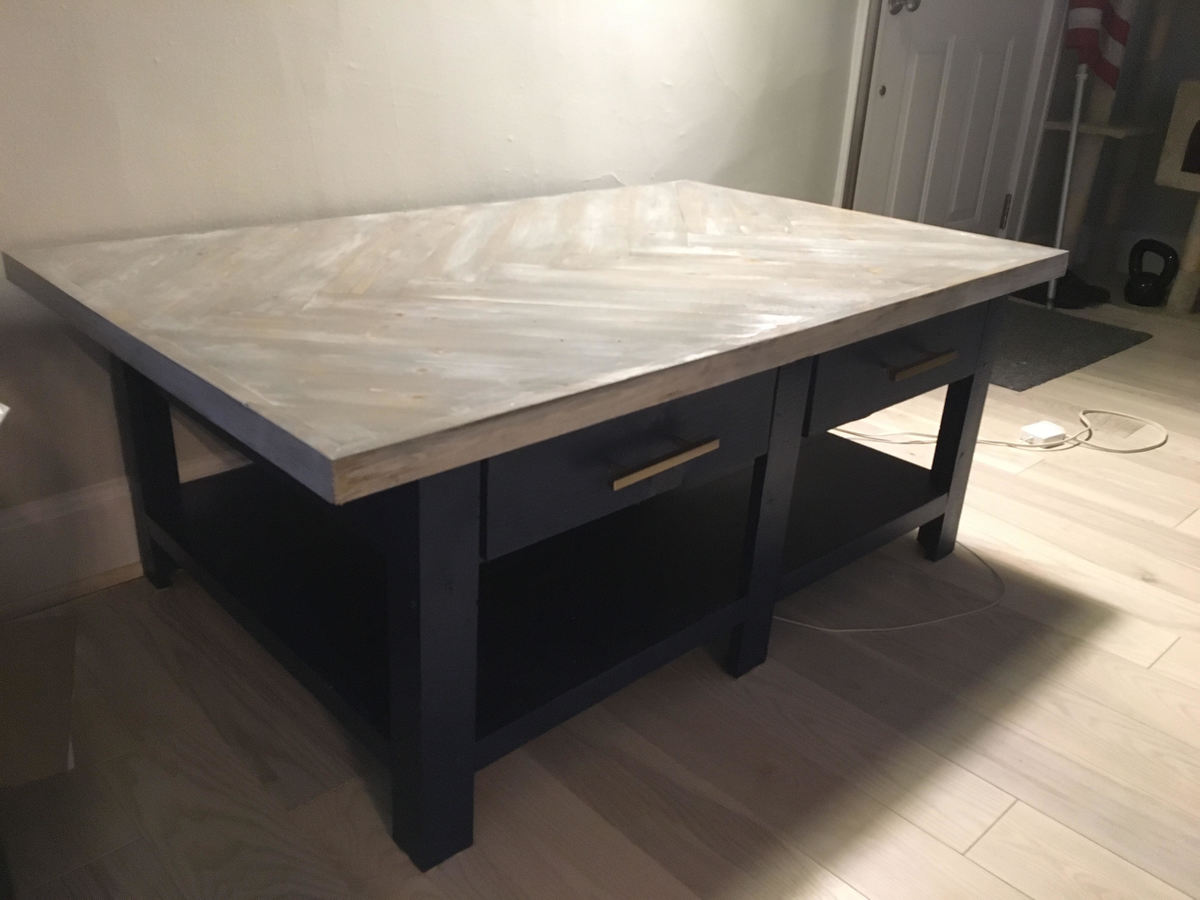
Chevron Coffee Table
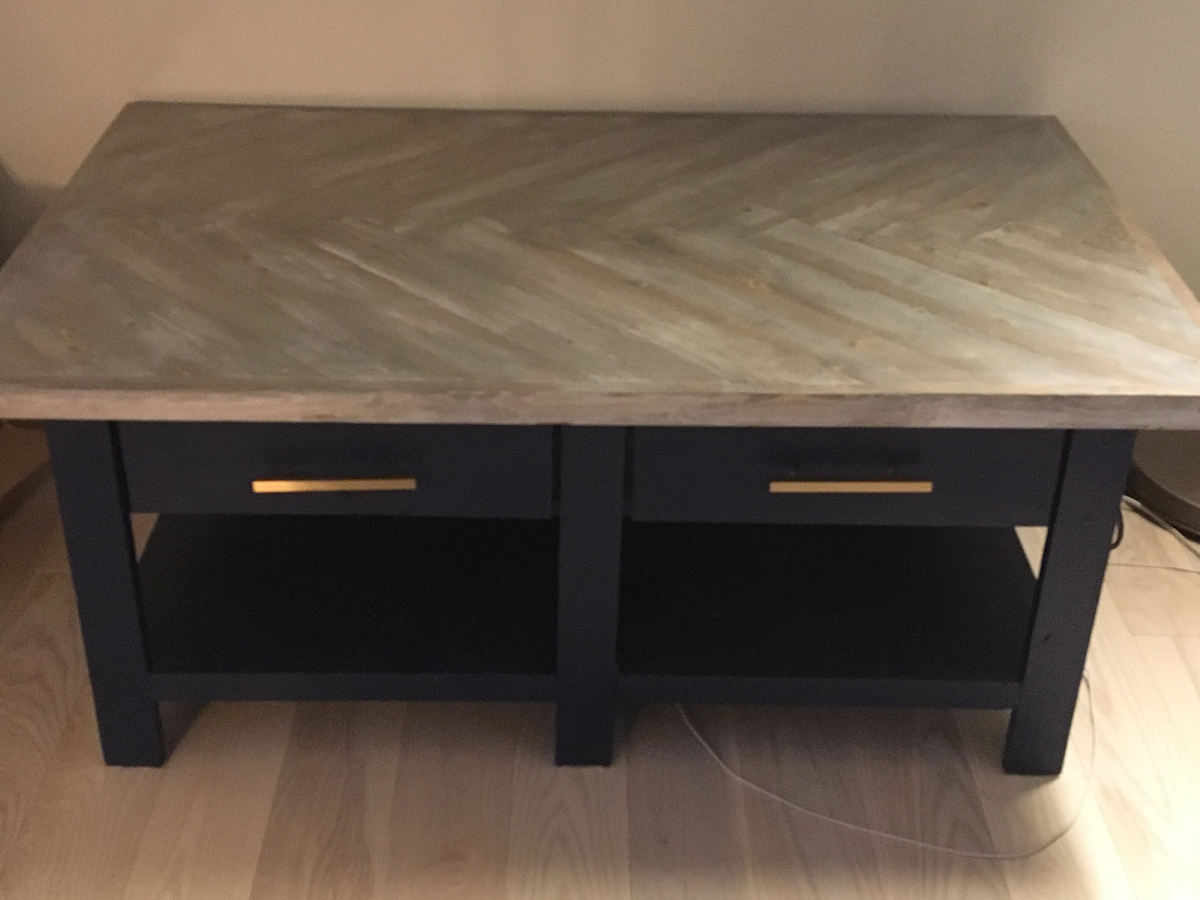
Based off of Ana Whi'te Benchright Coffee Table with a chevron/herringbone table top
A year and a half long Covid at home and eating and entertaining outdoors encouraged us to transform our back yard into an outdoors living and dining room.
It was also the perfect excuse to finally use all the scrap wood we had lying around and turn it into these super comfy chairs. Add pillows and blankets and we have a cozy back yard that we love to spend time in.
We used this occasion to finish ends of paint cans to paint the chairs in different colors and scraped the paint down for a weathered look, then finished it all with a couple of coats of varnish. Each chair’s back is slightly different depending on scraps we had on hand. We love Anna’s simple and practical plans and instructions!!!
Tue, 10/05/2021 - 10:06
Love the alternating look and colors, very attractive and inviting!
With a couple of projects under our belts, my husband and I decided to tackle the Farmhouse Table. We shortened it to 6' to better fit our dining room, and also chose 1x6's instead of 2x6's to give it a lighter look. We also nixed the stretcher, and opted for 3x3 poplar table legs, that made the overall cost jump quite a bit. I absolutely love how it turned out, and the bench really fits well. It's stained and painted to match.
Super Easy.. I like it better without the doors. Recommend getting a KREG Jig. I have the Jr and it was perfect for this project.
Adapted to fit in a corner
Together with my wife, we decided to start making our own furniture and it was our first project. It took us a week to complete it (it took us longer than most people as we had to learn from scratch how to use the tools for each of the steps such as the circular saw, sander, pocket holes, etc.). We also learned the hard way how critical it is to use straight boards and how difficult it is to find straight 2x2. Overall we loved the process and are very excited by the final result!
Custom tower shelves with hanging space and four shelves.
This feeder worked out great for Sammy, who is about 95#. He seems a lot more comfortable now (and has started using his water dish instead of the toilet! ;) I wanted a more rustic look but wanted the easy clean up of tile on top.
Went together fairly easy. Although instead of kreg jigging the top together I decided to use a plywood base and use thin re-sawed maple, Cedar, white oak, and tigerwood as to not experience movement issues.
The bookshelf, of which I made last year, was made from crates. I used Ana's Clubhouse Bed idea as the basis for mine but I deviated from it quite a bit. Instead of a front entrance I made a side entrance and added two windows. Additionally I attached it to the wall instead of making it two sided.
Very easy and quick to build. It is amazingly comfortable. There are no cushions needed. My wife loves it. I took parts of Ana’s Simple Outdoor Lounge Chair and Modern Outdoor Chair with a twist patterns and modified them to be a double seat instead of a single seat.
I've officially stopped stalking and started building! First project a modified spa bench. Still have to stain it, but it already makes the big pile of shoes by the door look neater! I'm a hands-on person and not afraid of power tools (got a band saw for my birthday!) but it's still a challenge building a piece of furniture. I've already learned lots of do's and don't do's for next time!
Thanx a bunch for your site, Ana! It definitely gets the mind plotting great projects to come!
I took the plans for the large dog crate and adjusted them to fit my needs.
I made the "light entry" sections taller so that the inside would not be so dark, I used plywood with a routed edge for the top and stained it a red mahogany color and used polyurethane to seal it.
So, after seeing a project my brother in law made I got the inspiration to try my hand at woodworking. Low and behold I stumbled upon Ana's WONDERFUL site! After spending the winter, rigorously studying plans and picking different projects I could use, I was able to afford gathering up some basic woodworking tools and get to work. First project was the 2x4 workbench off of kregtool.com (on a side note I <3 my new kreg jig). That went together easypeasy and came out great. Now i wanted to try my hand at something that took finish work and went inside my house, not out in the garage. We had just purchased a new TV and needed something other than the 2 side tables from our living room that where serving as it's temporary home atm. Needless to say that is how this project was decided on. I didn't make it from any specific plans from the site, but without this site I wouldn't have even known where to begin. I took some measurements and drew up a rough (and I mean ROUGH) plans. Then started chopping away at wood and drilling pocket holes. This is the end result.
I changed this plan and made it into Full size. Feel free to contact me if you would like more information about how to do this too.
This is one of two chairs we made for our two kids. They love it!
These were our second project. Again, chosen out of necessity for new bedside tables. These took a while to complete due to the finish work needed for the paint and our leaning curve. BTW, building jig templates will help ensure consistency between the two tables (drawer fronts, strechers, drawer stops, etc). Also, look through the wood on the shelf at the store for the best (and straightest) 2X2's to make the process easier. Finally, while spraying was easiest for the paint application, brushing on the poly finish coats worked best for us.
These tables are 3" wider than the plans and fit our room better, but the rest is the same.
Using the plans from this website for the 2x4 tables and 2x4 loveseat, we modified the sizes to fit the couches that we bought at Target. Used cedar wood and painted black when we were done to match out deck. Less than $300 in cedar wood.