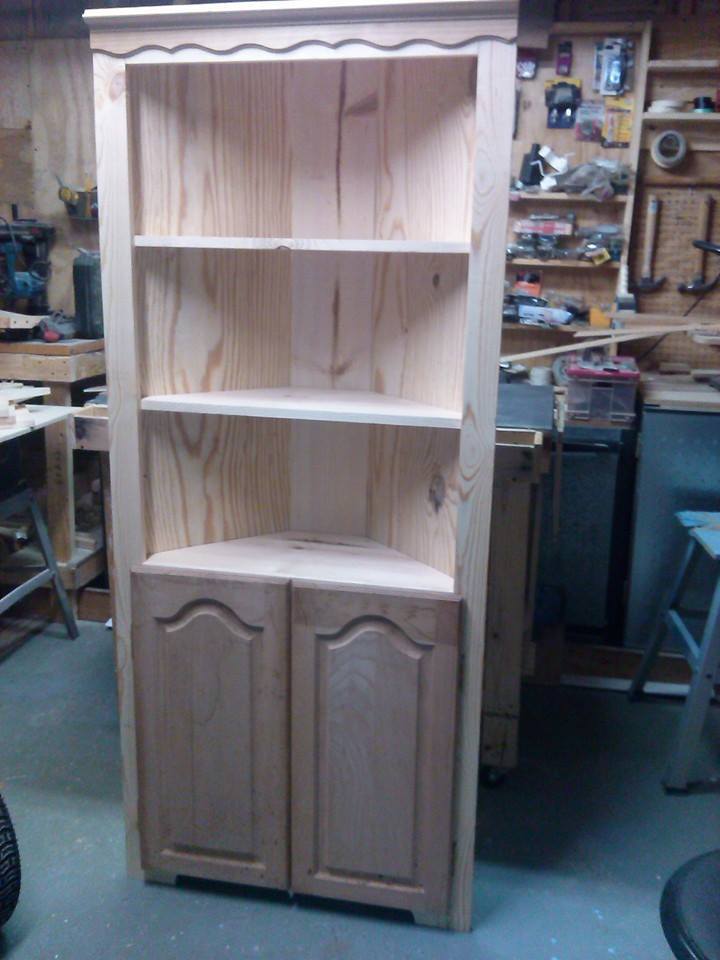
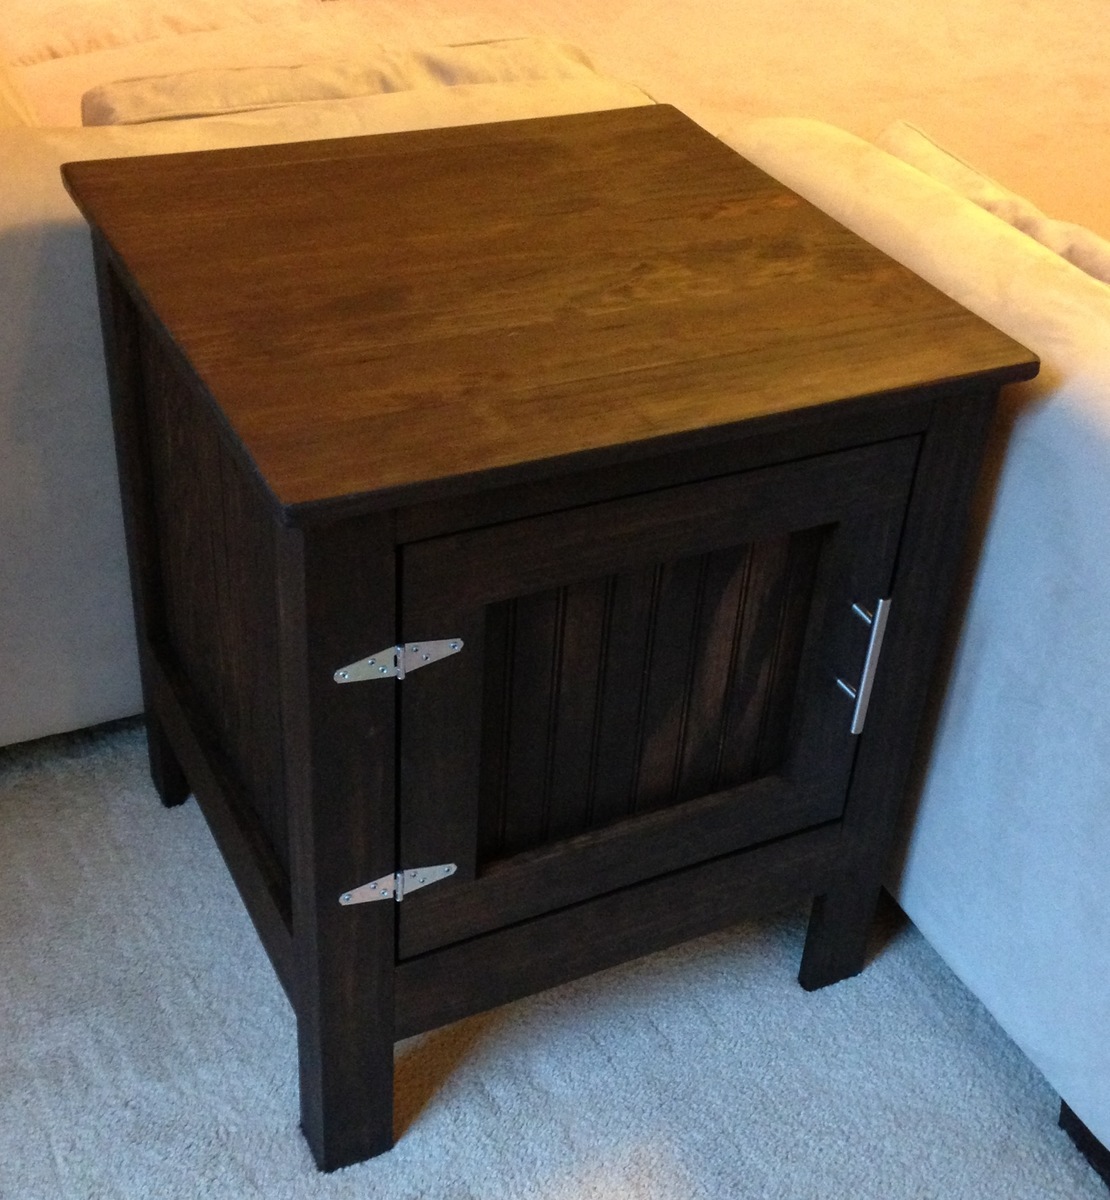
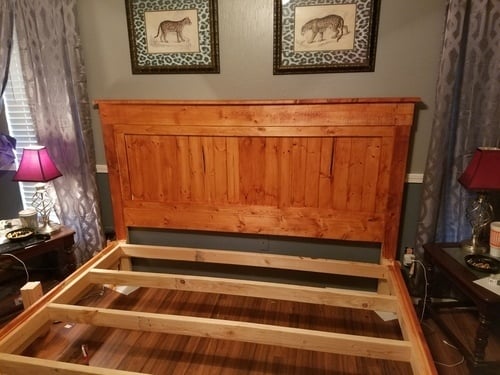
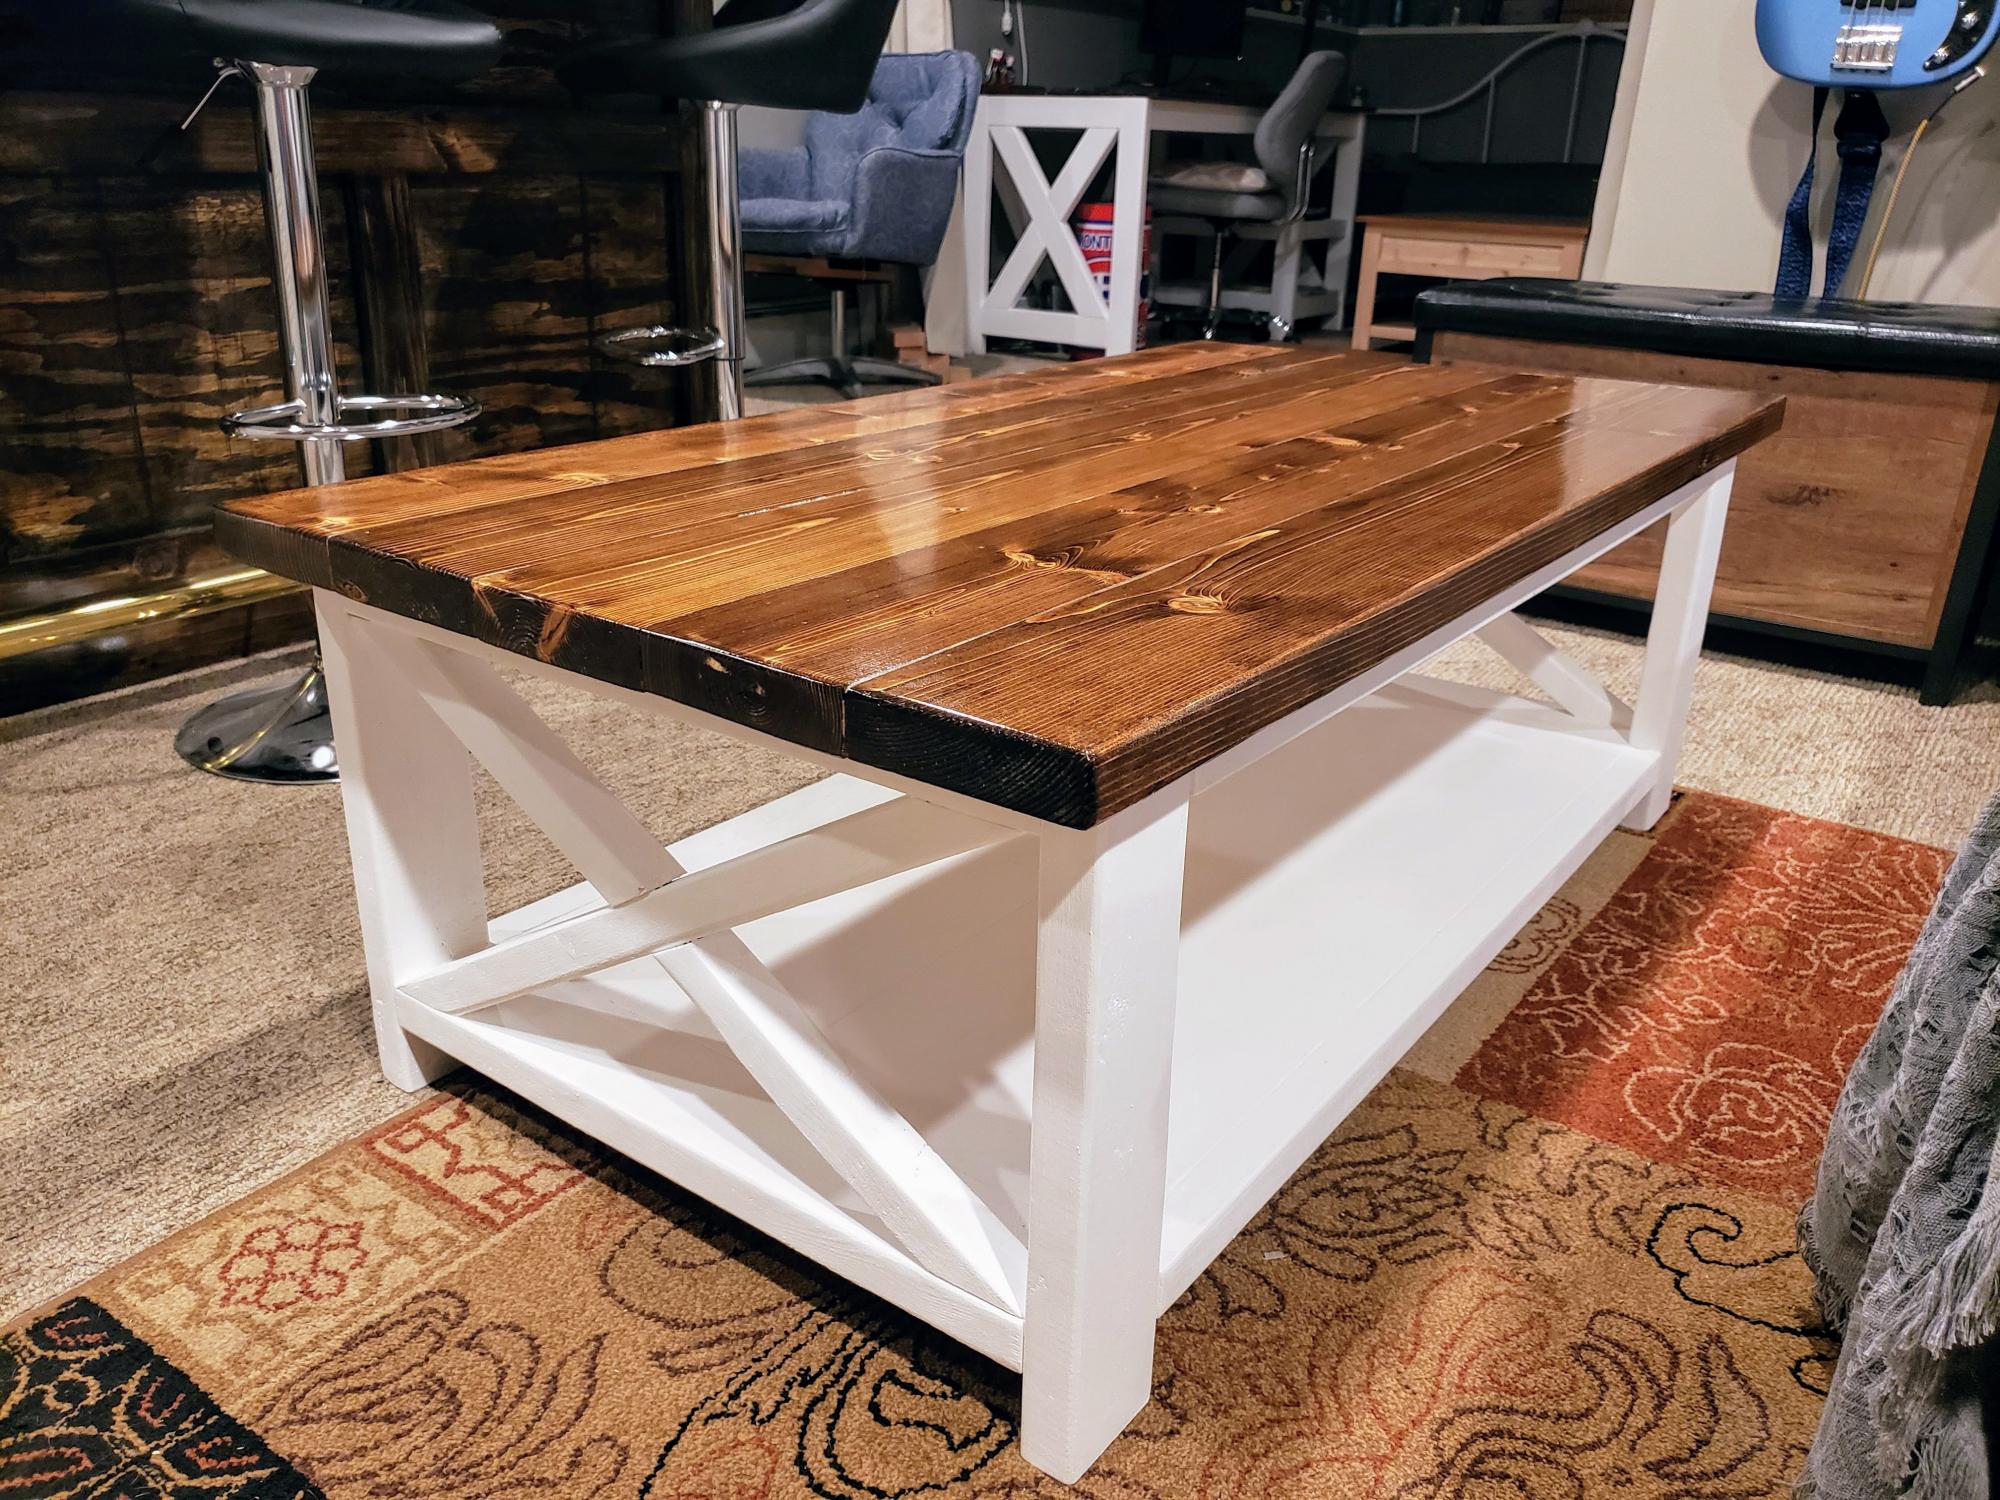
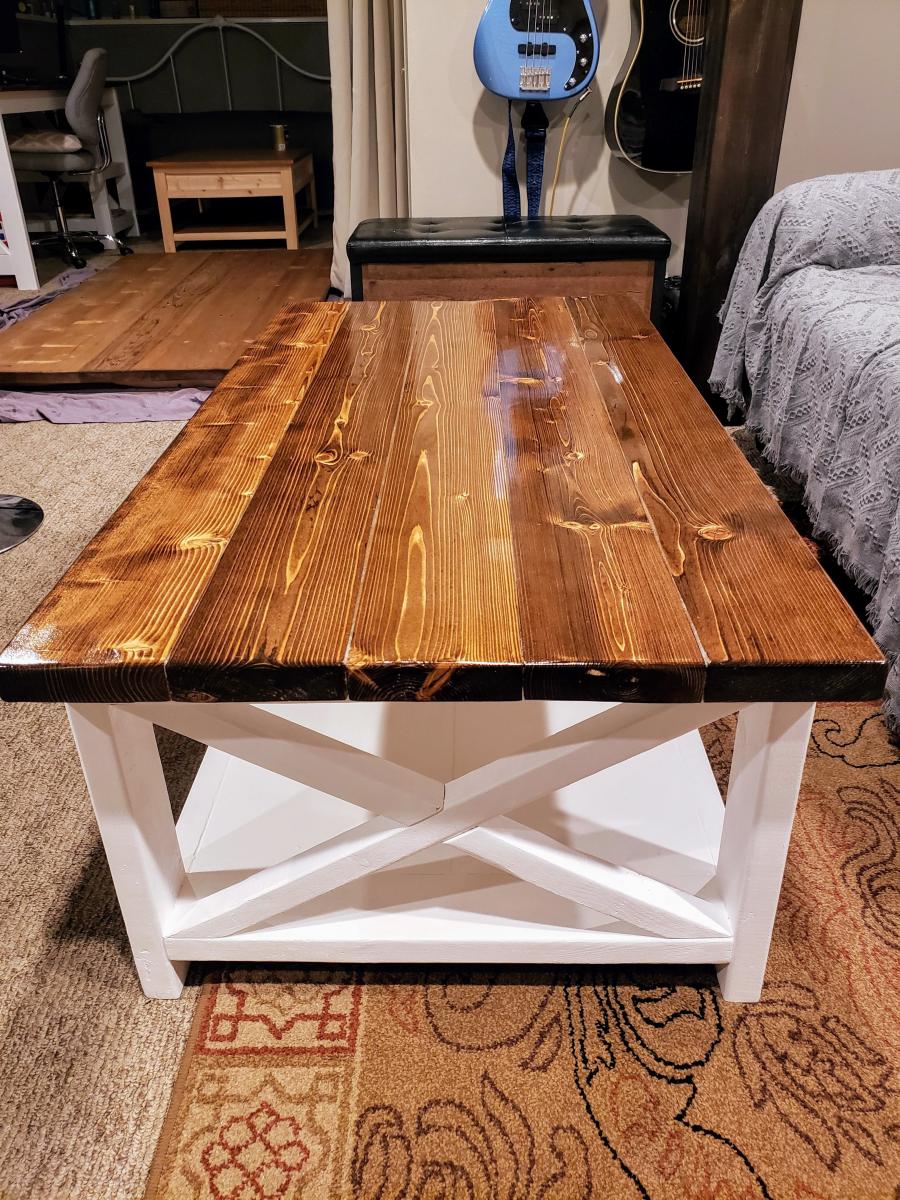
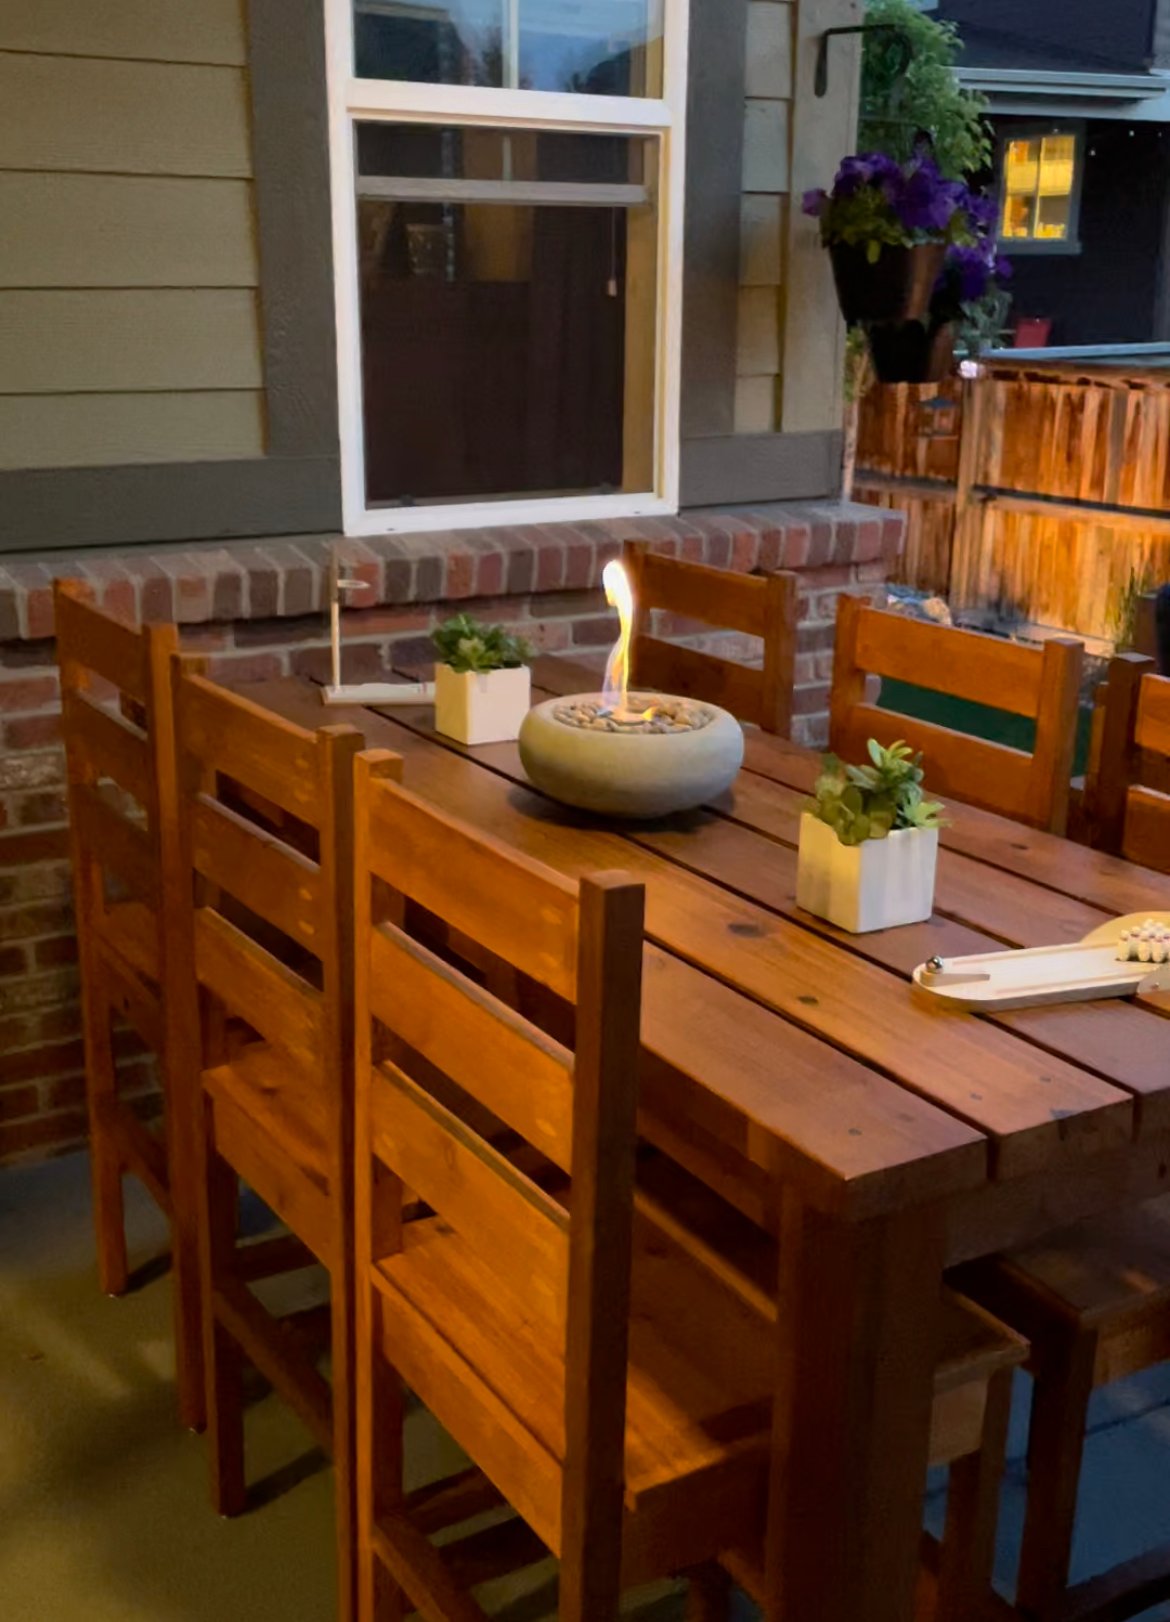
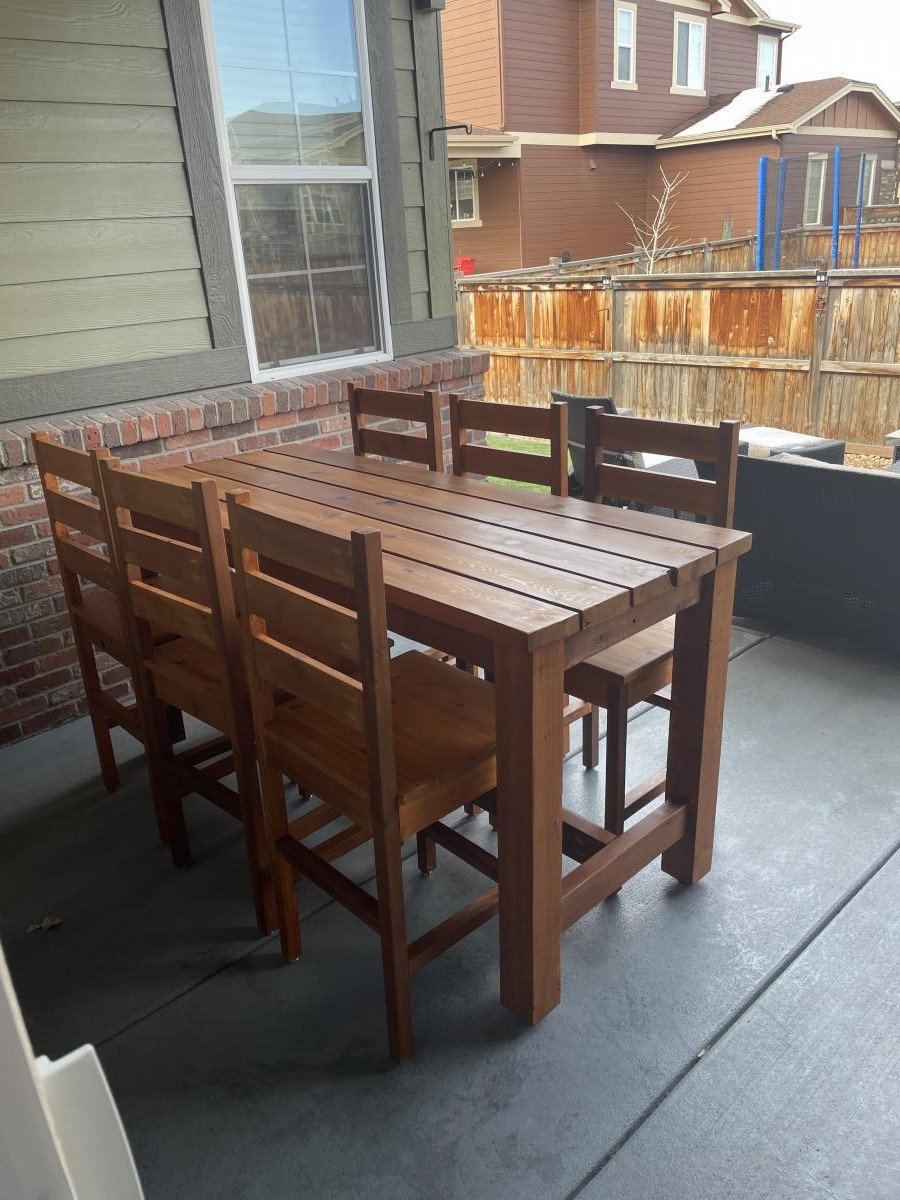
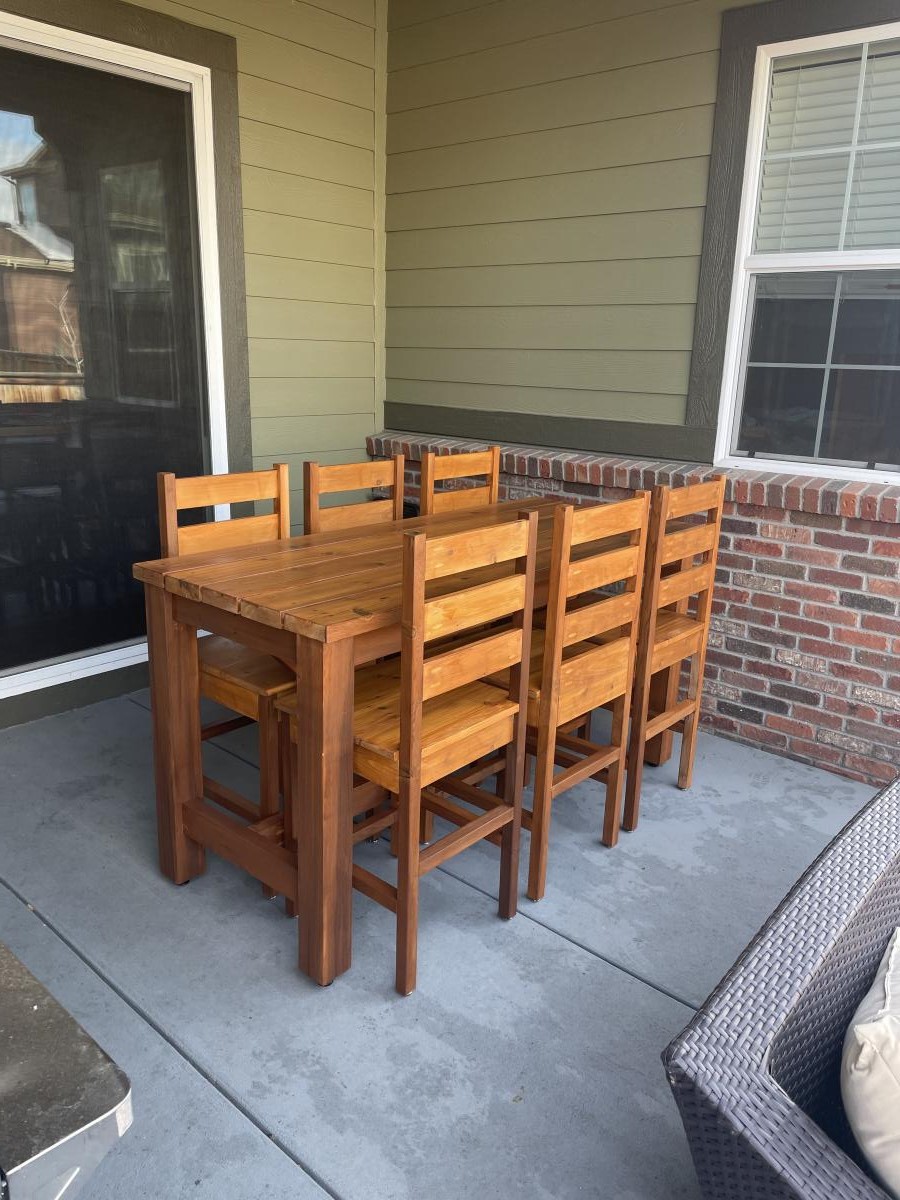
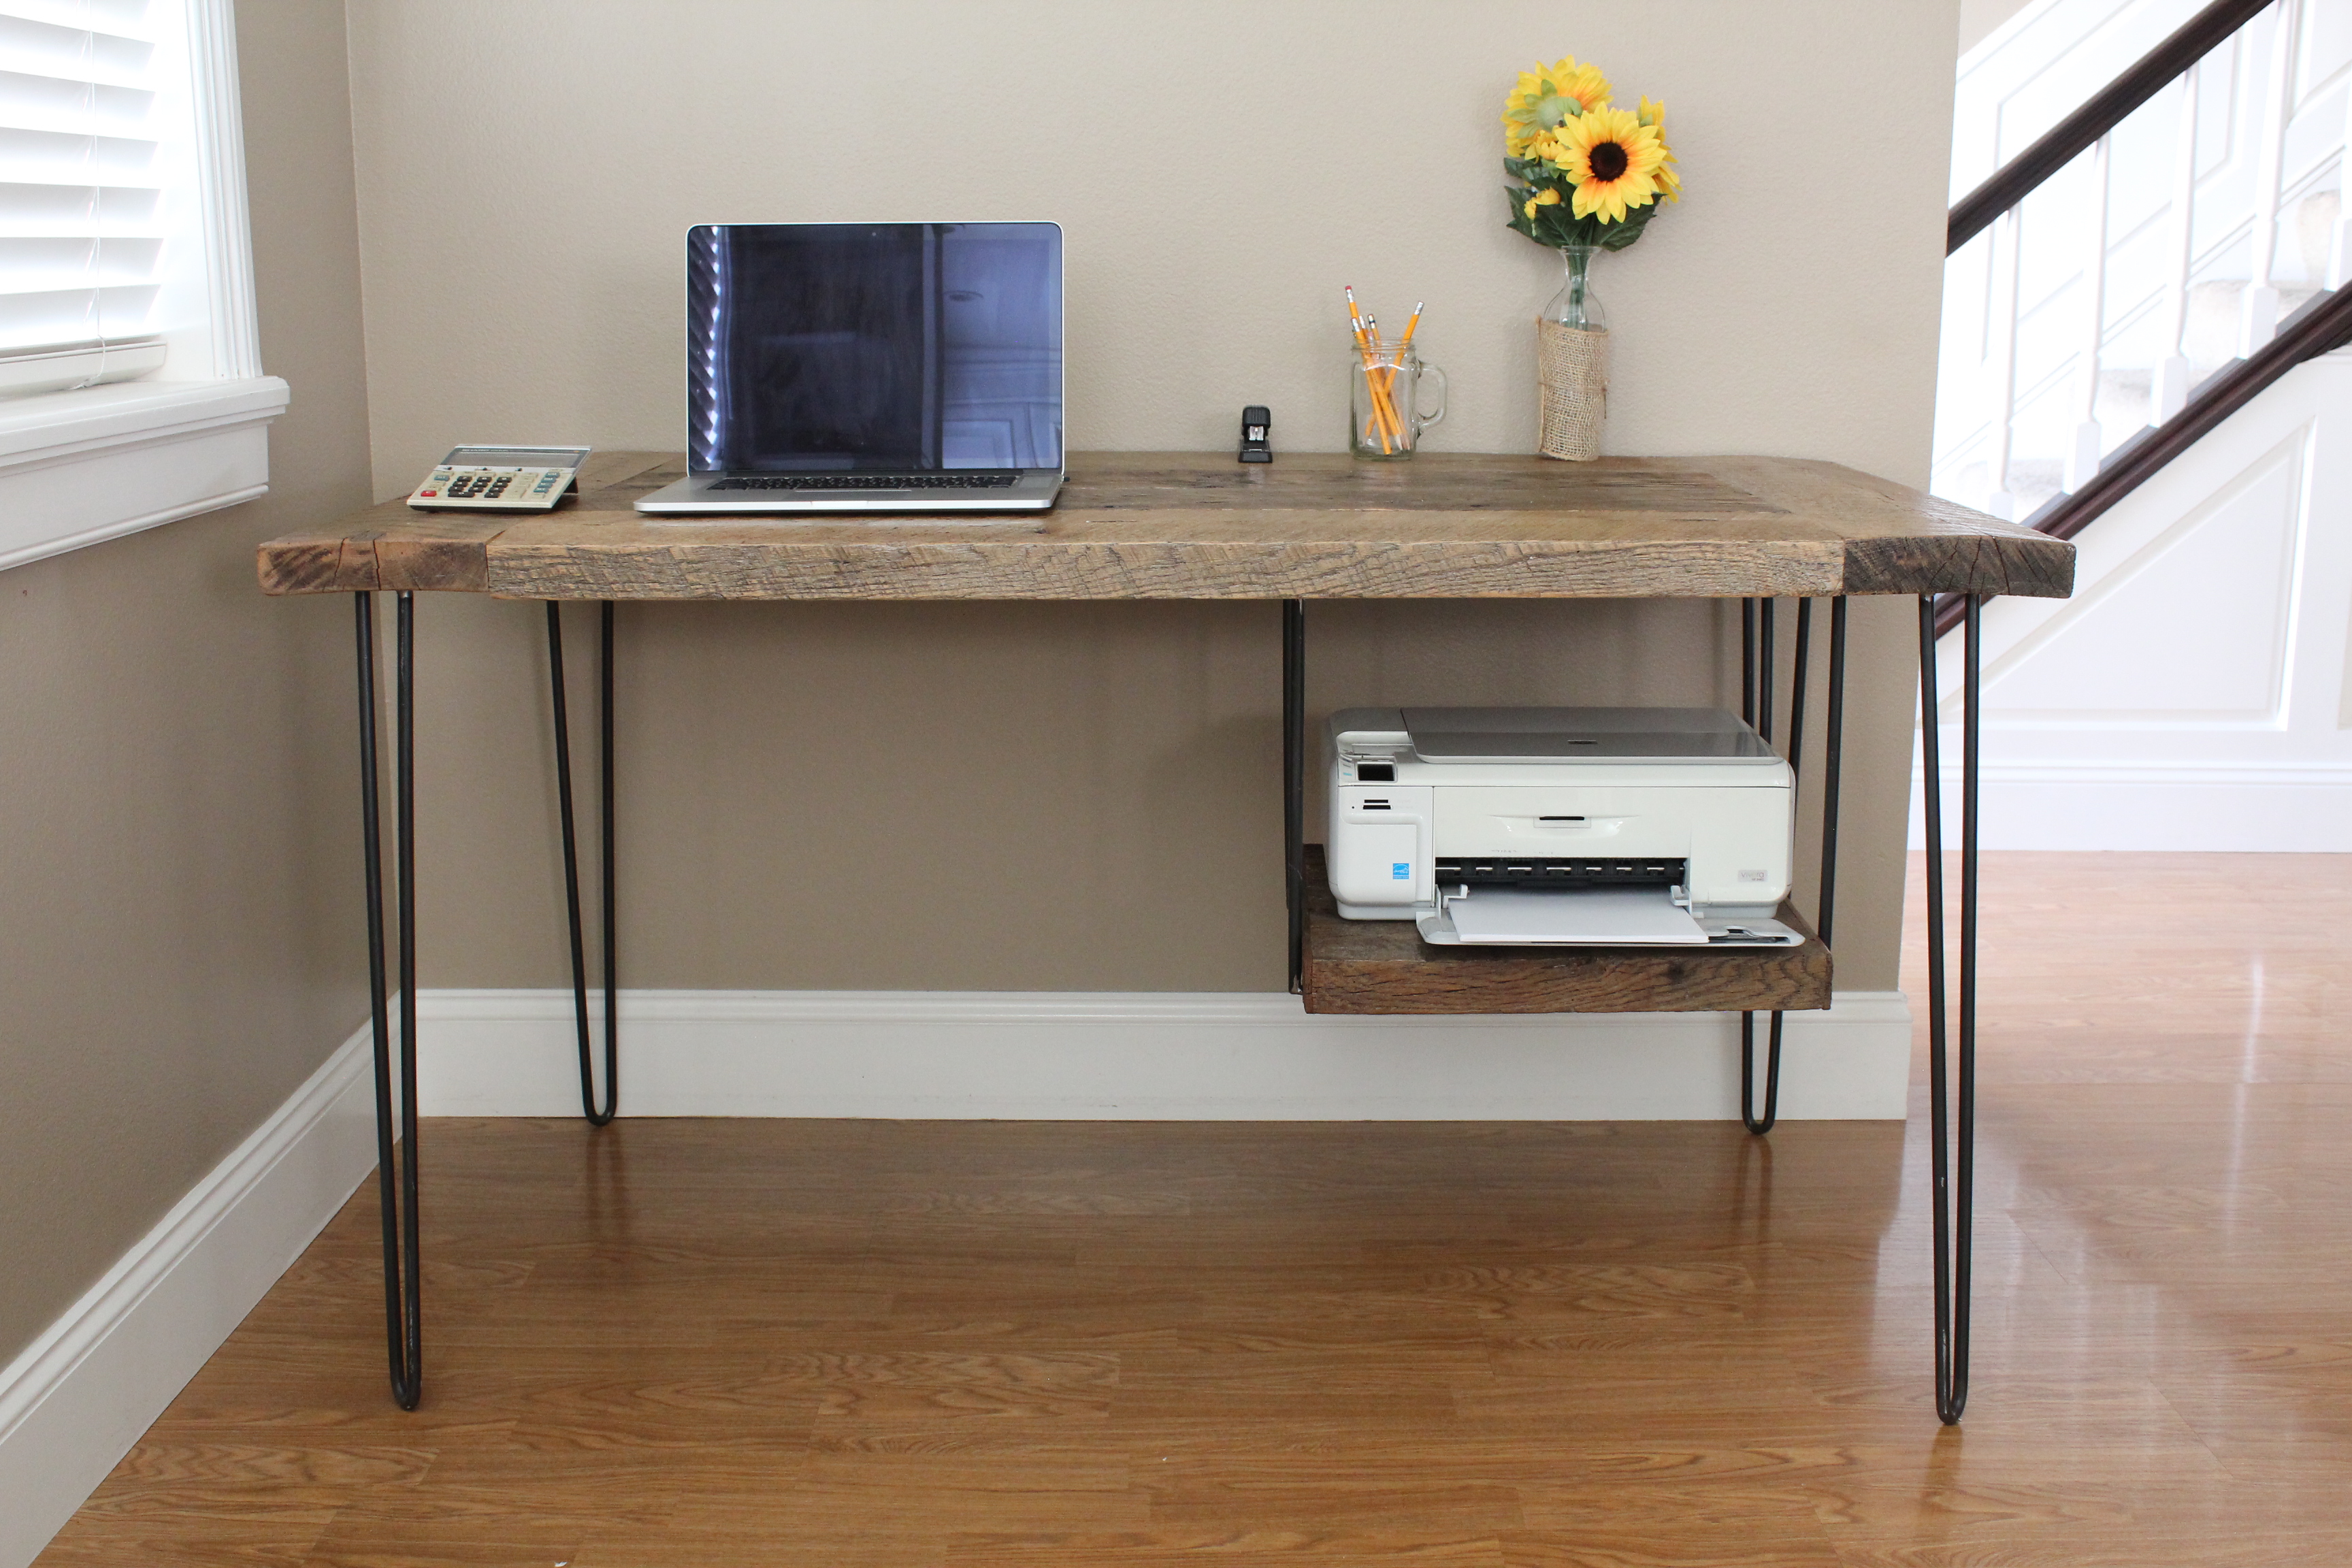
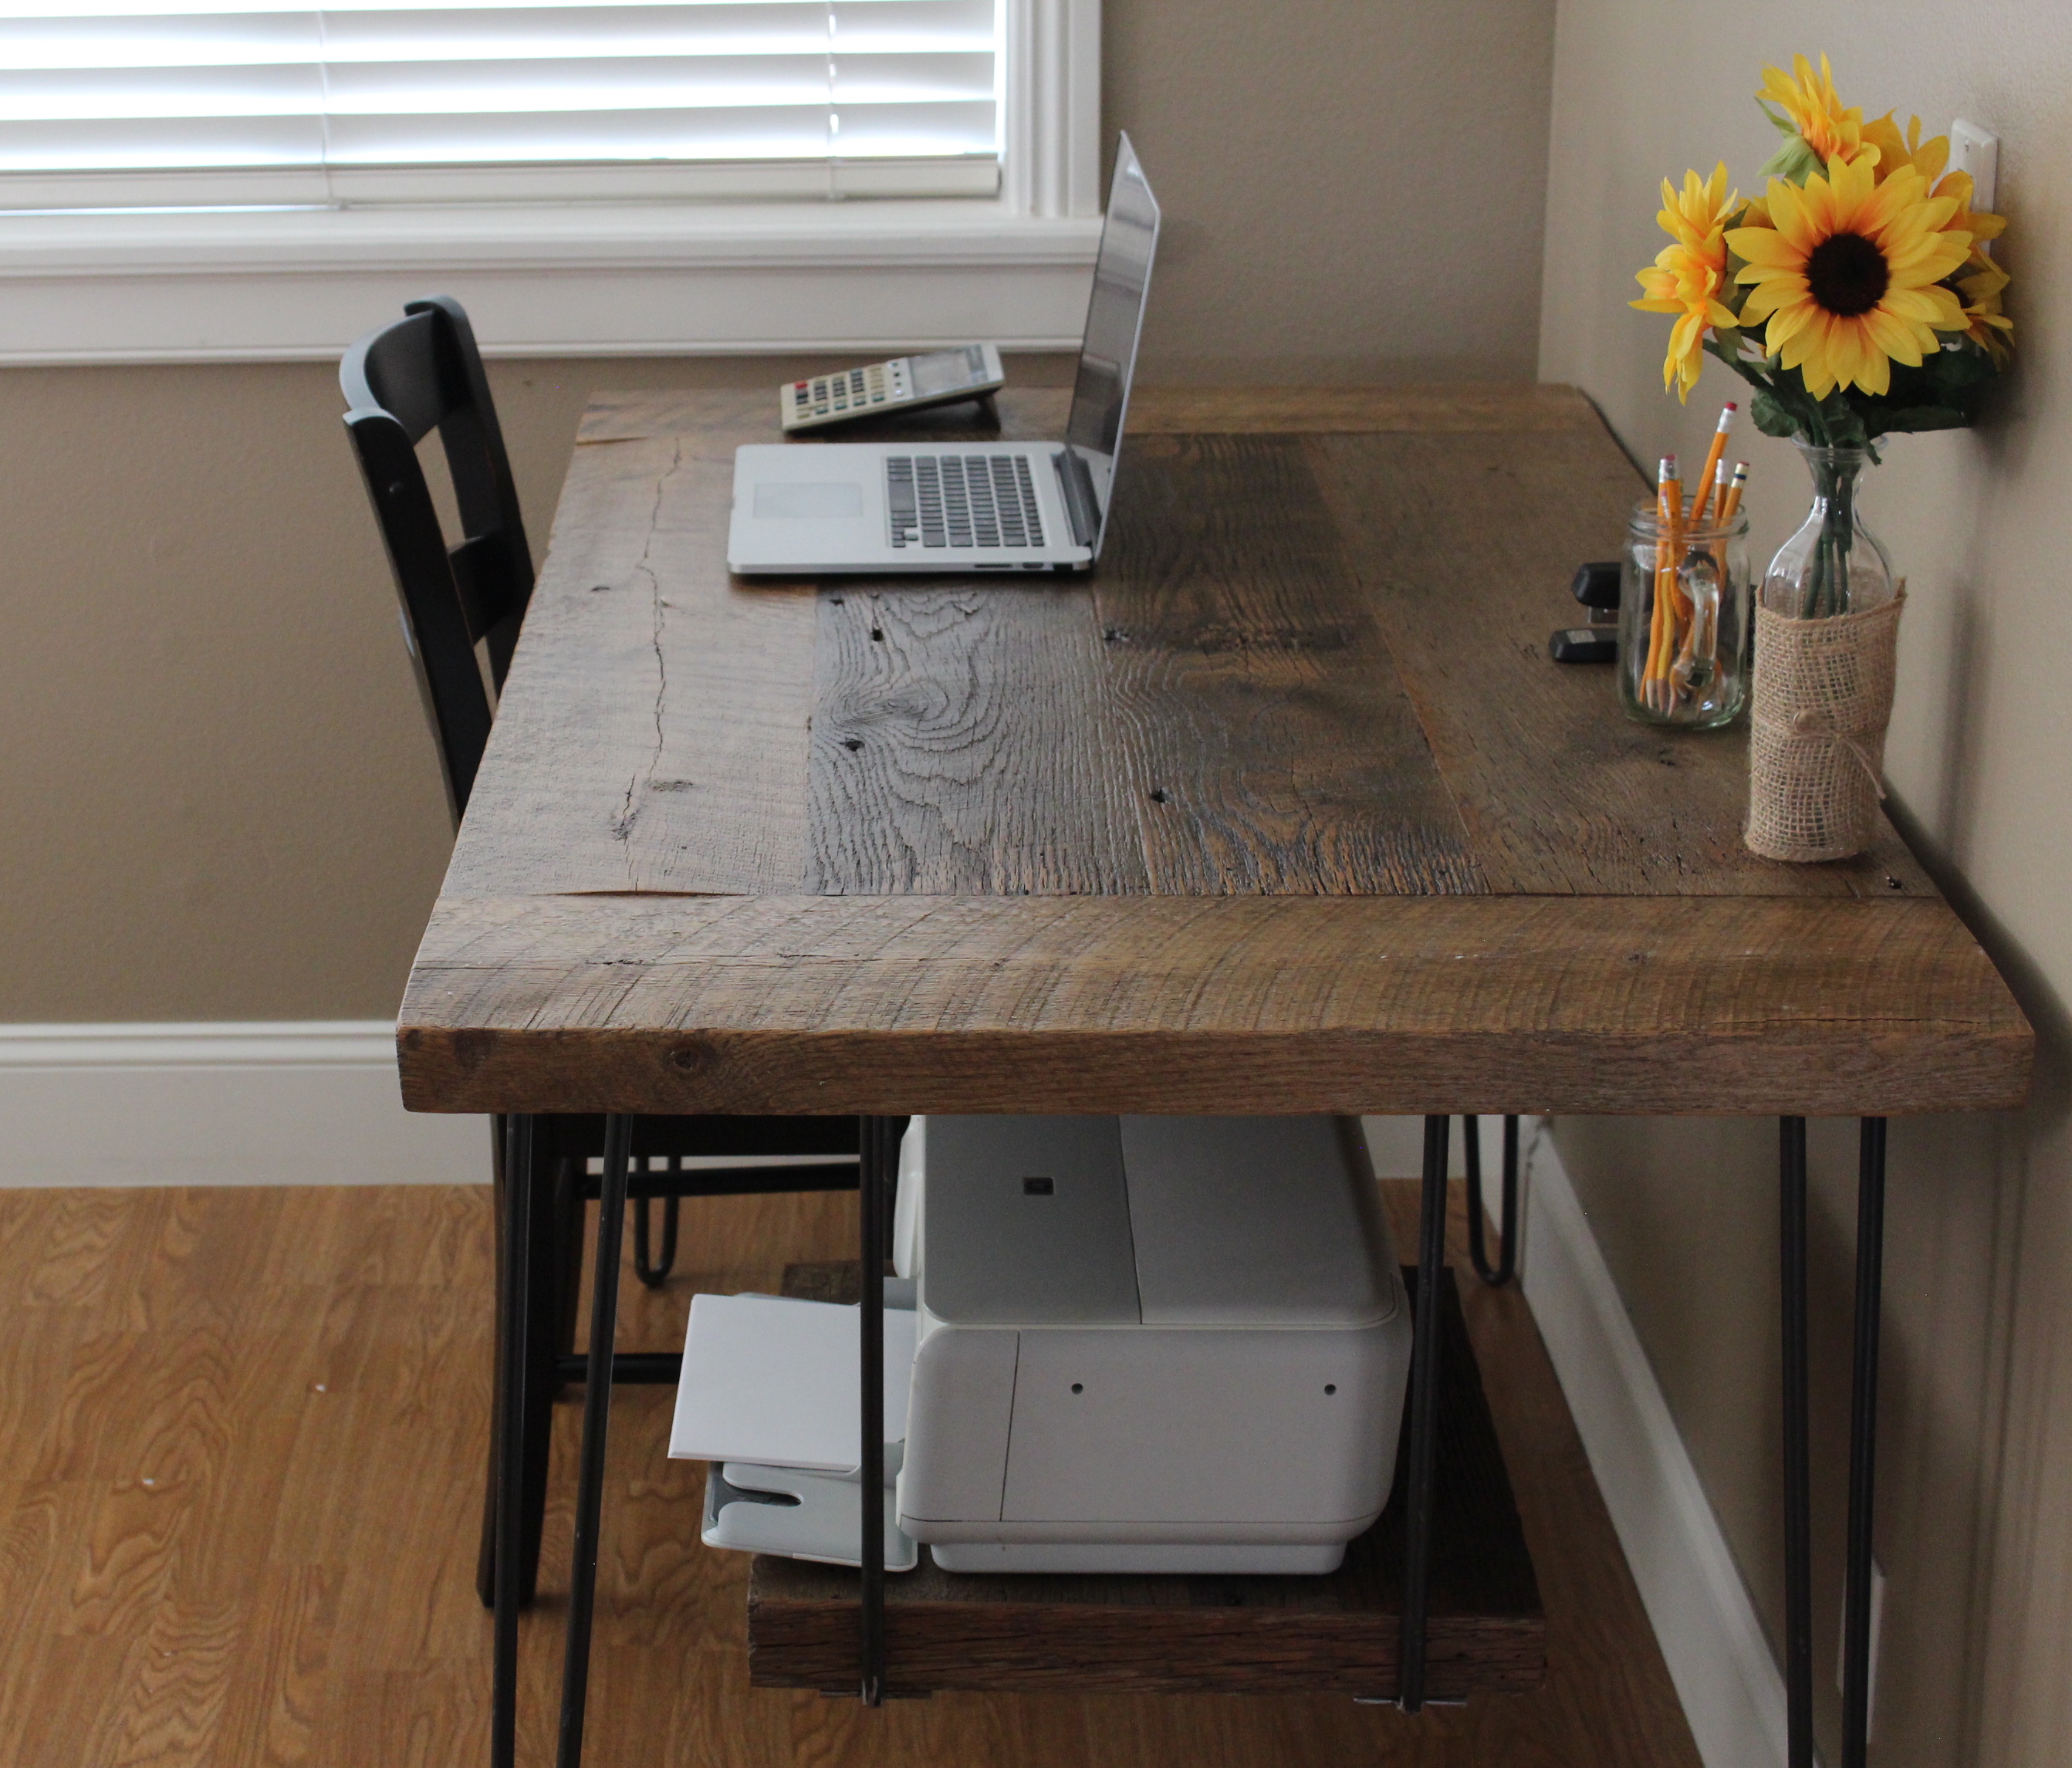
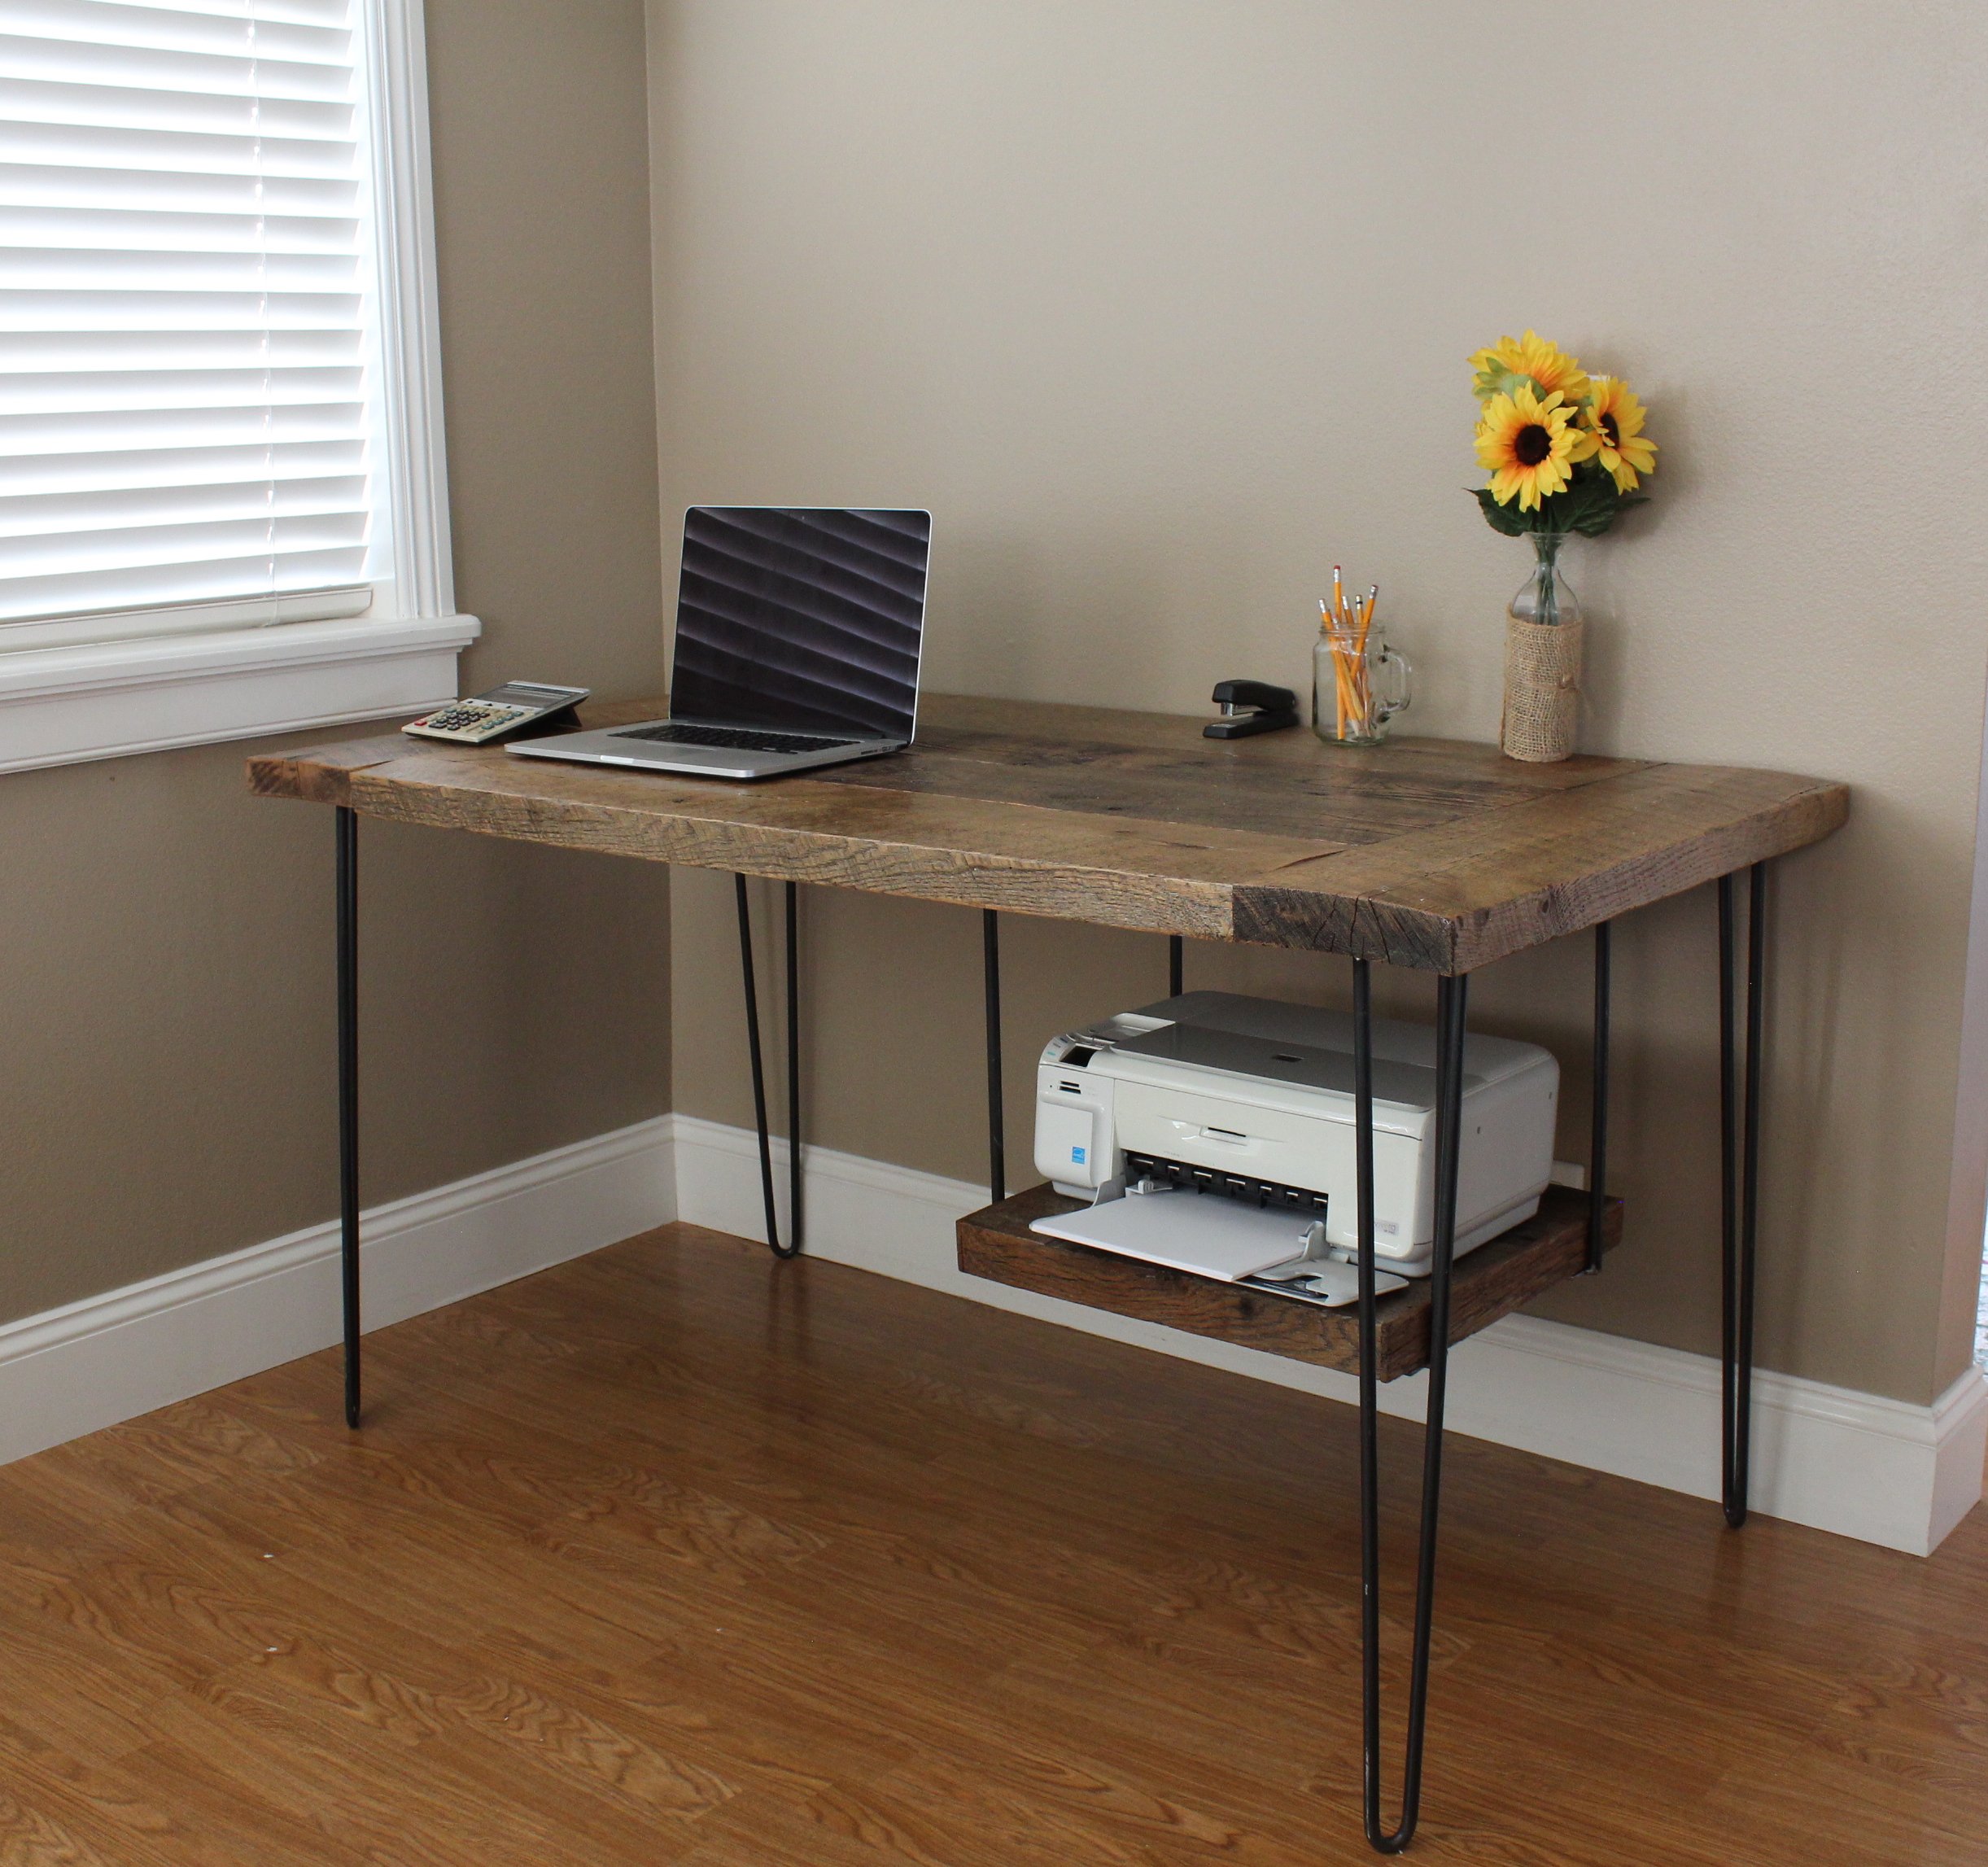
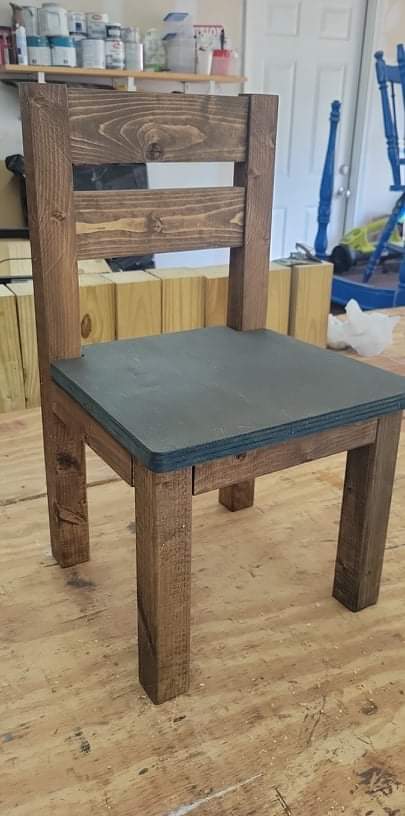
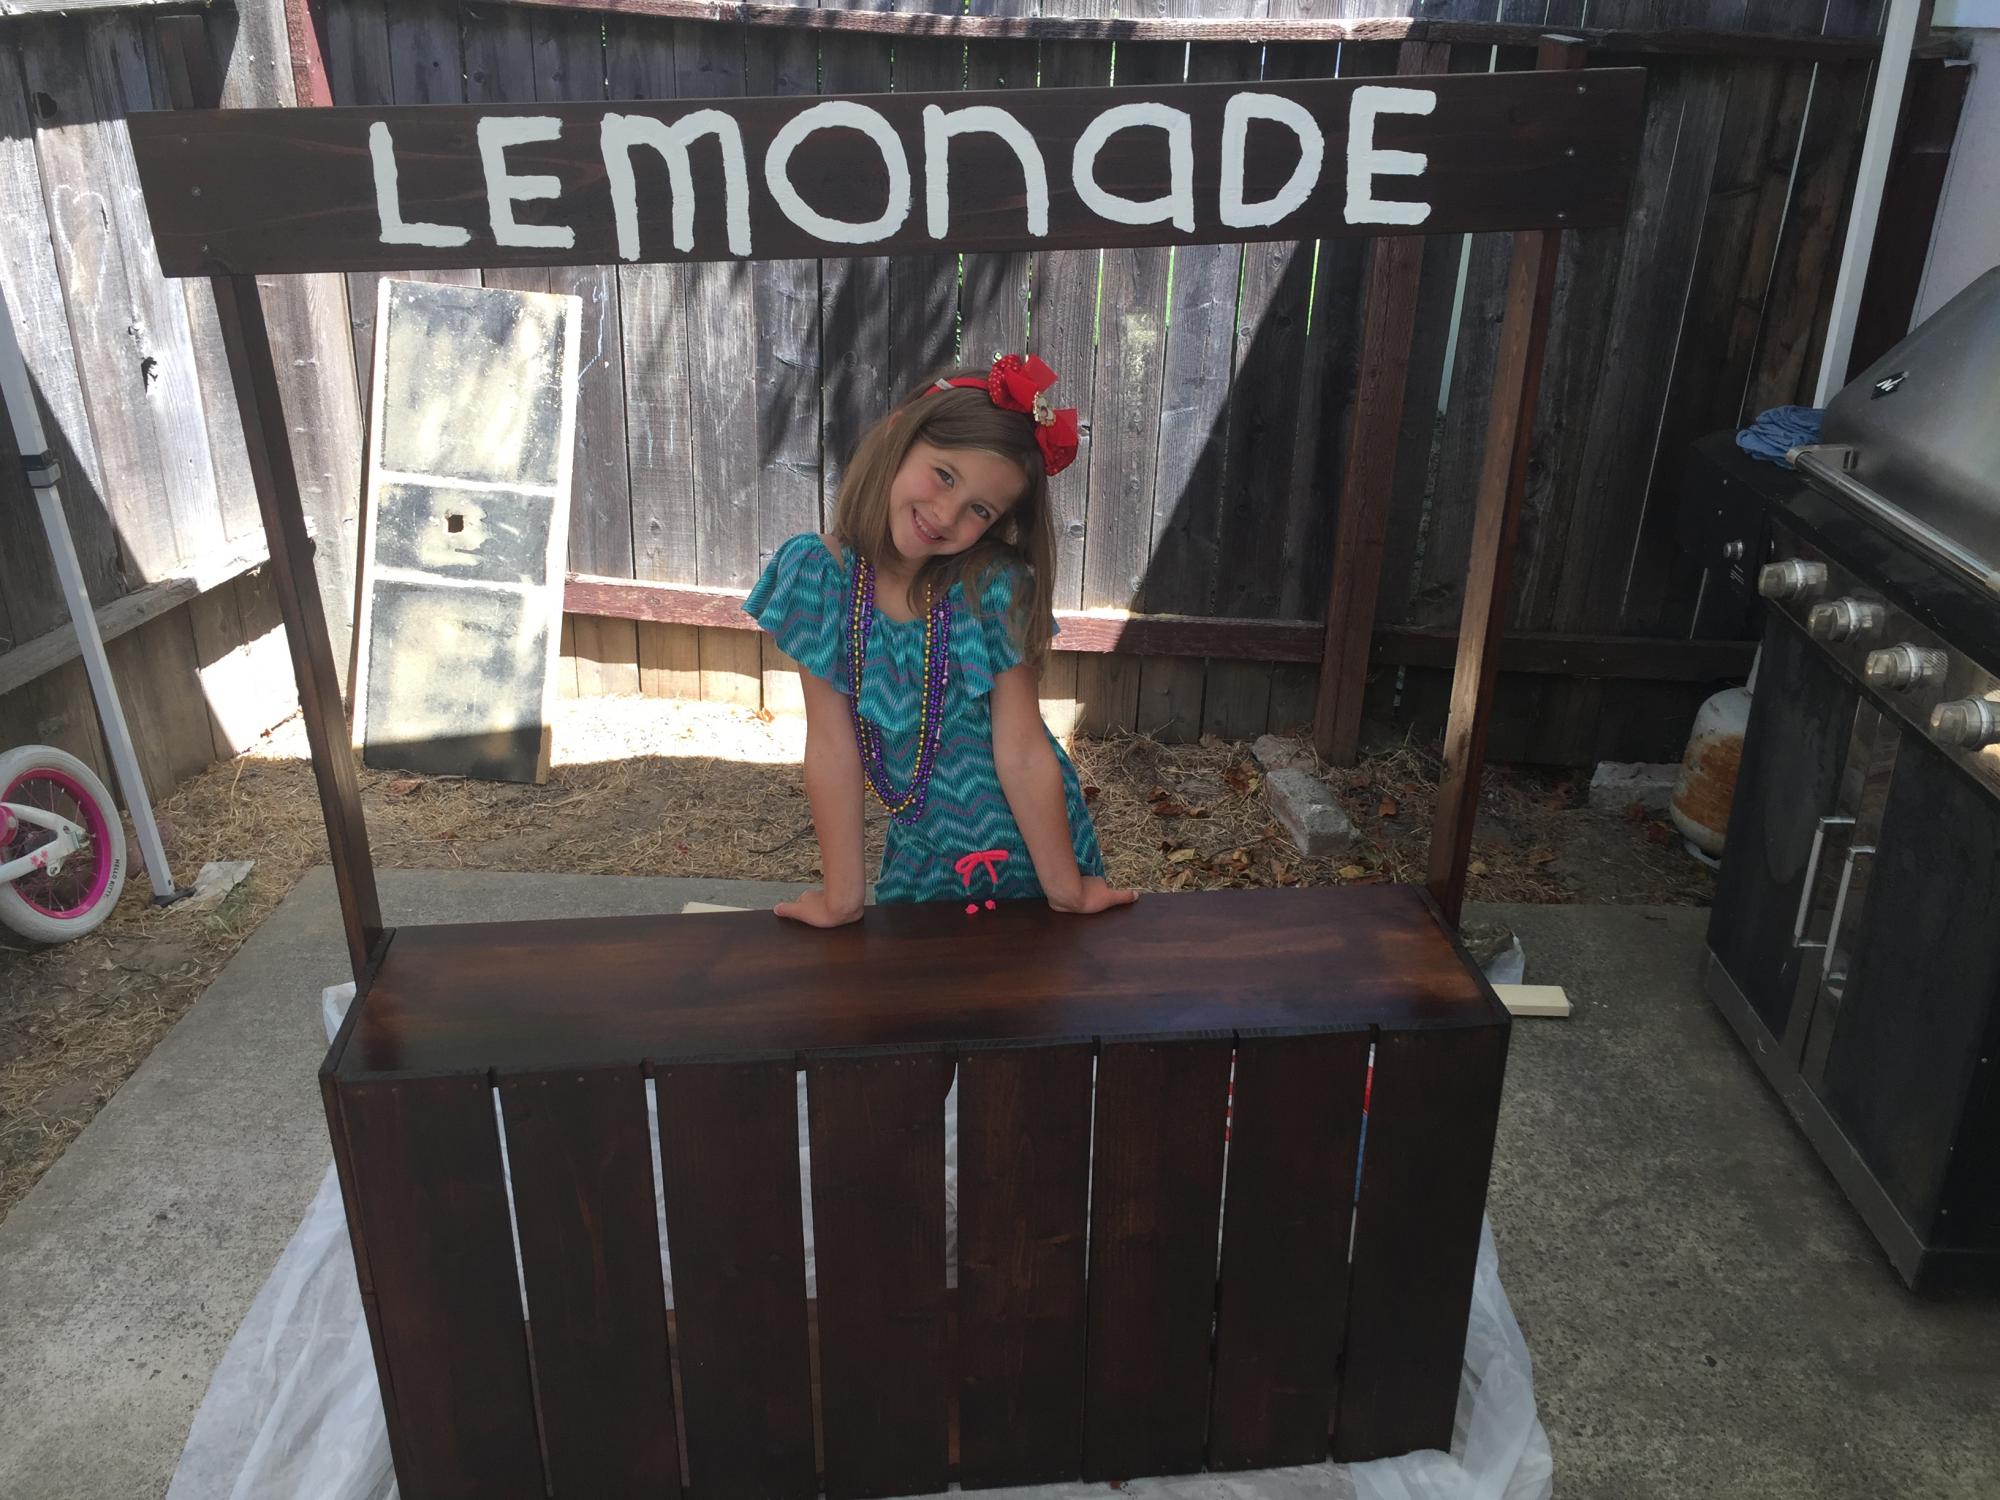
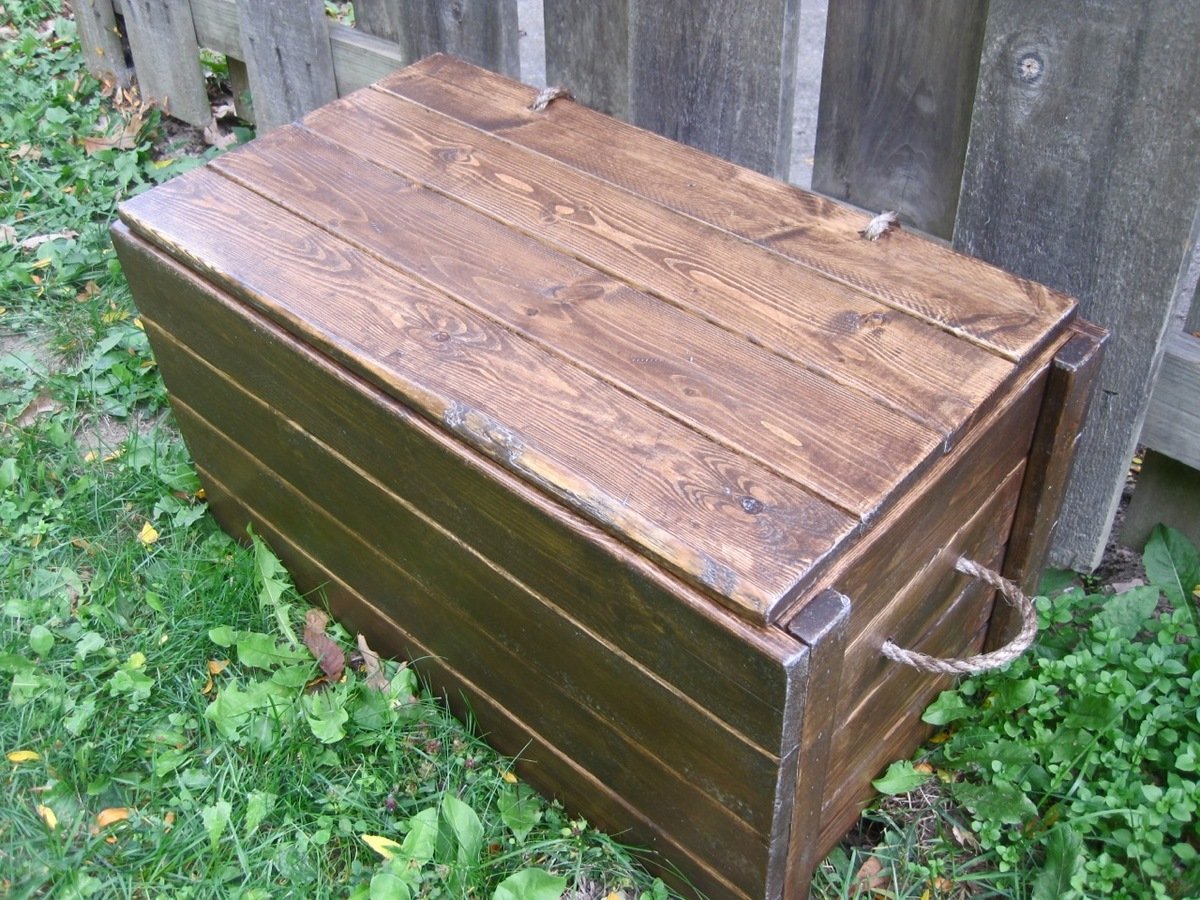
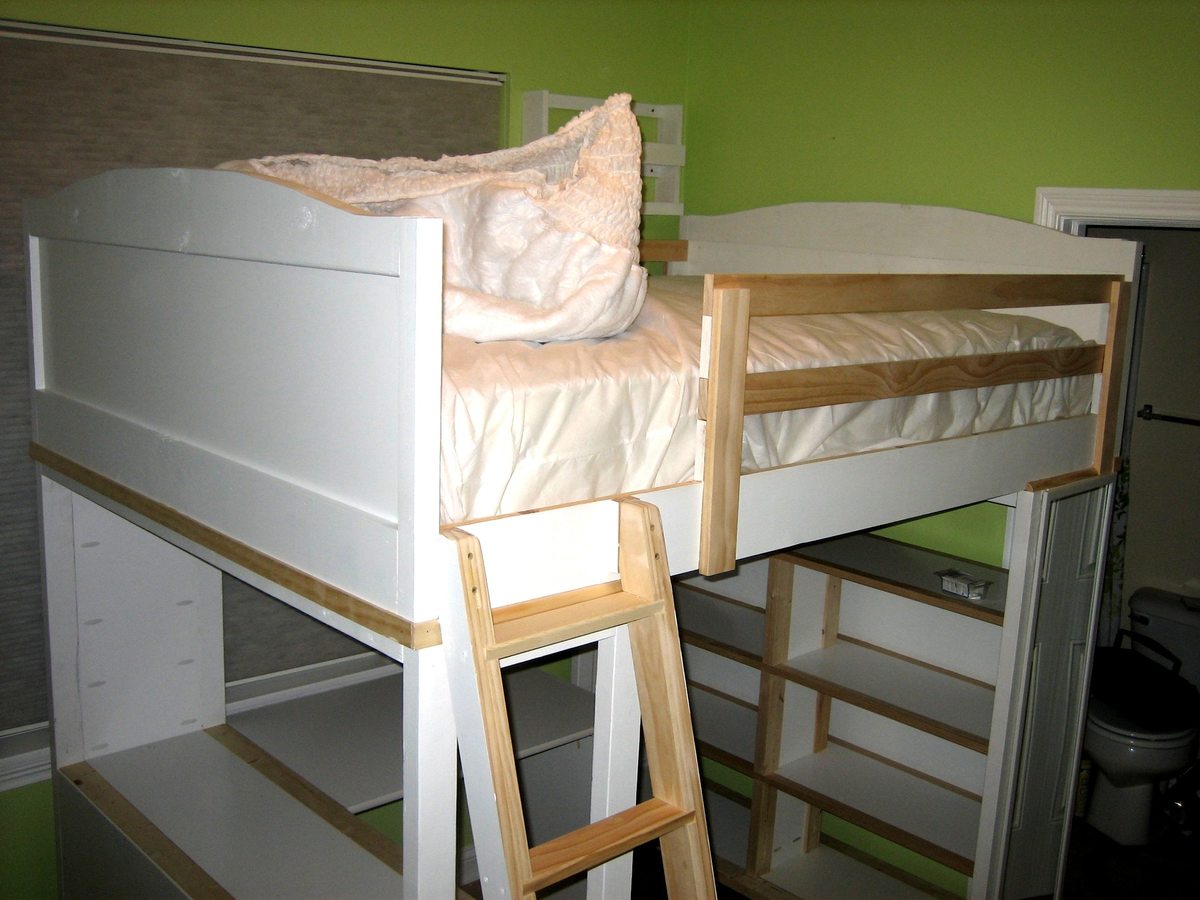
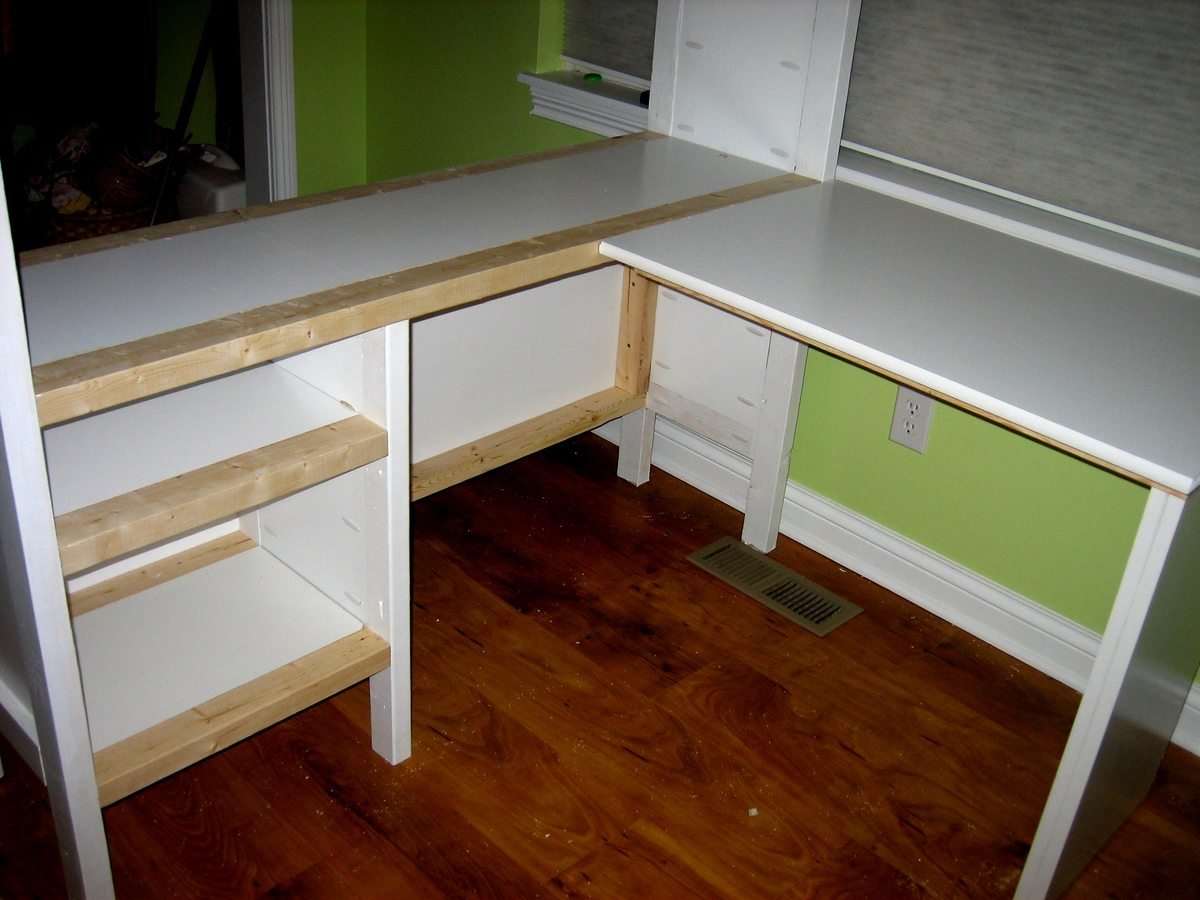
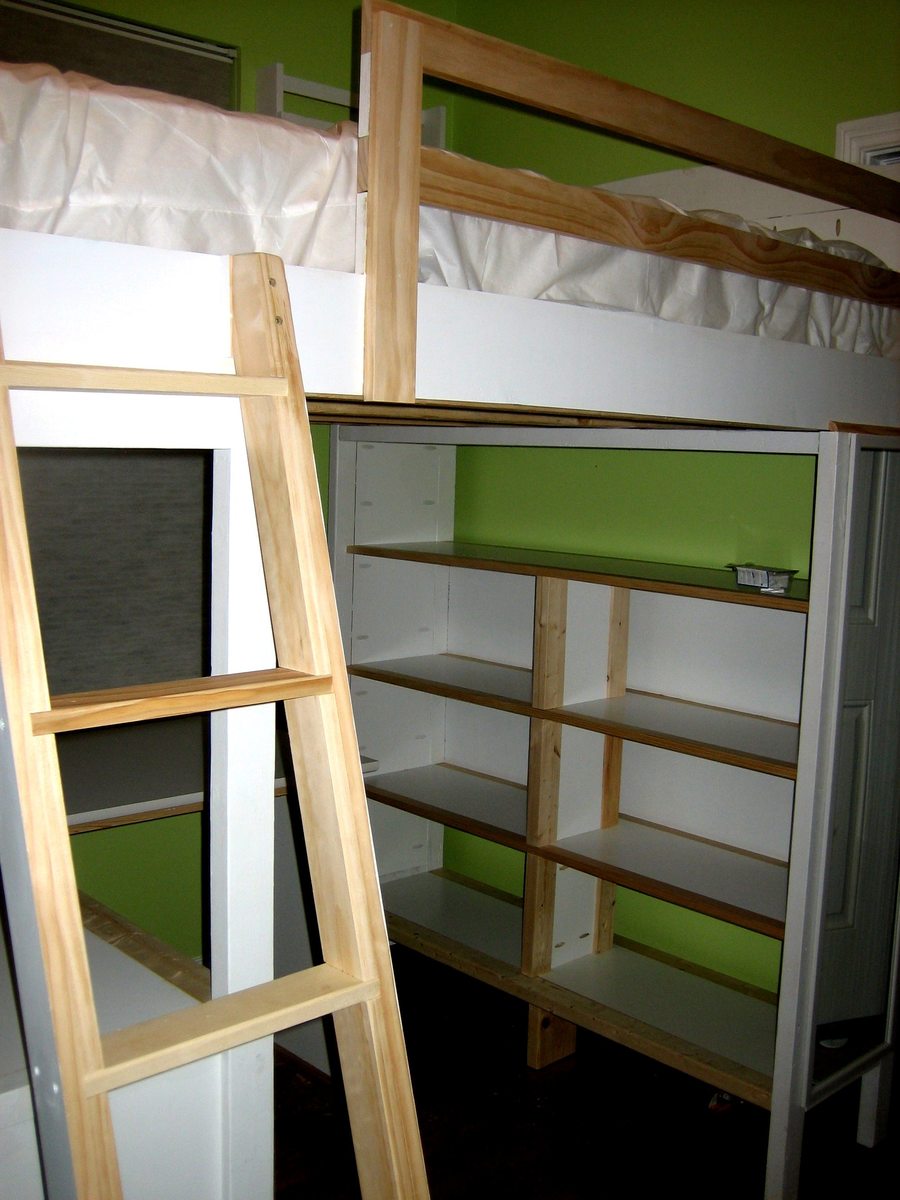
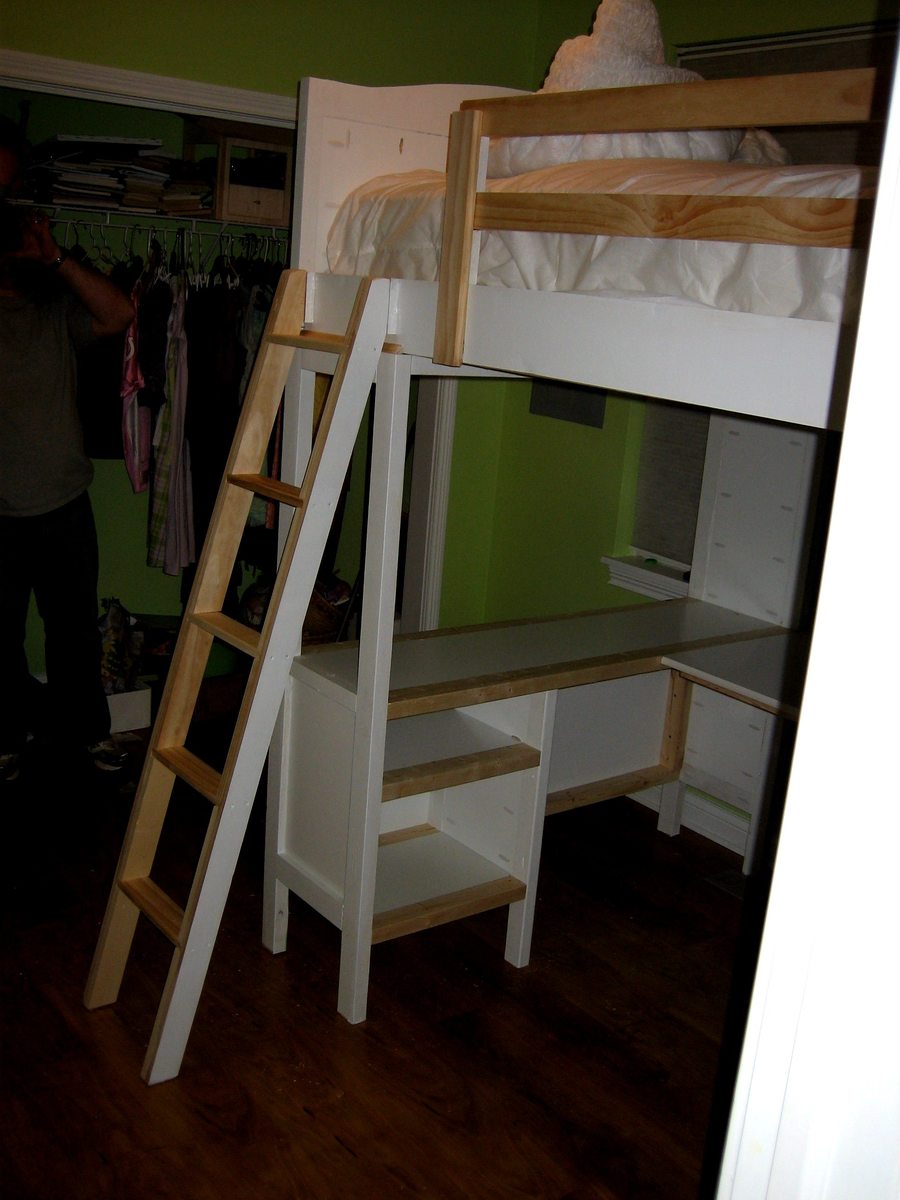
Rustic corner desk
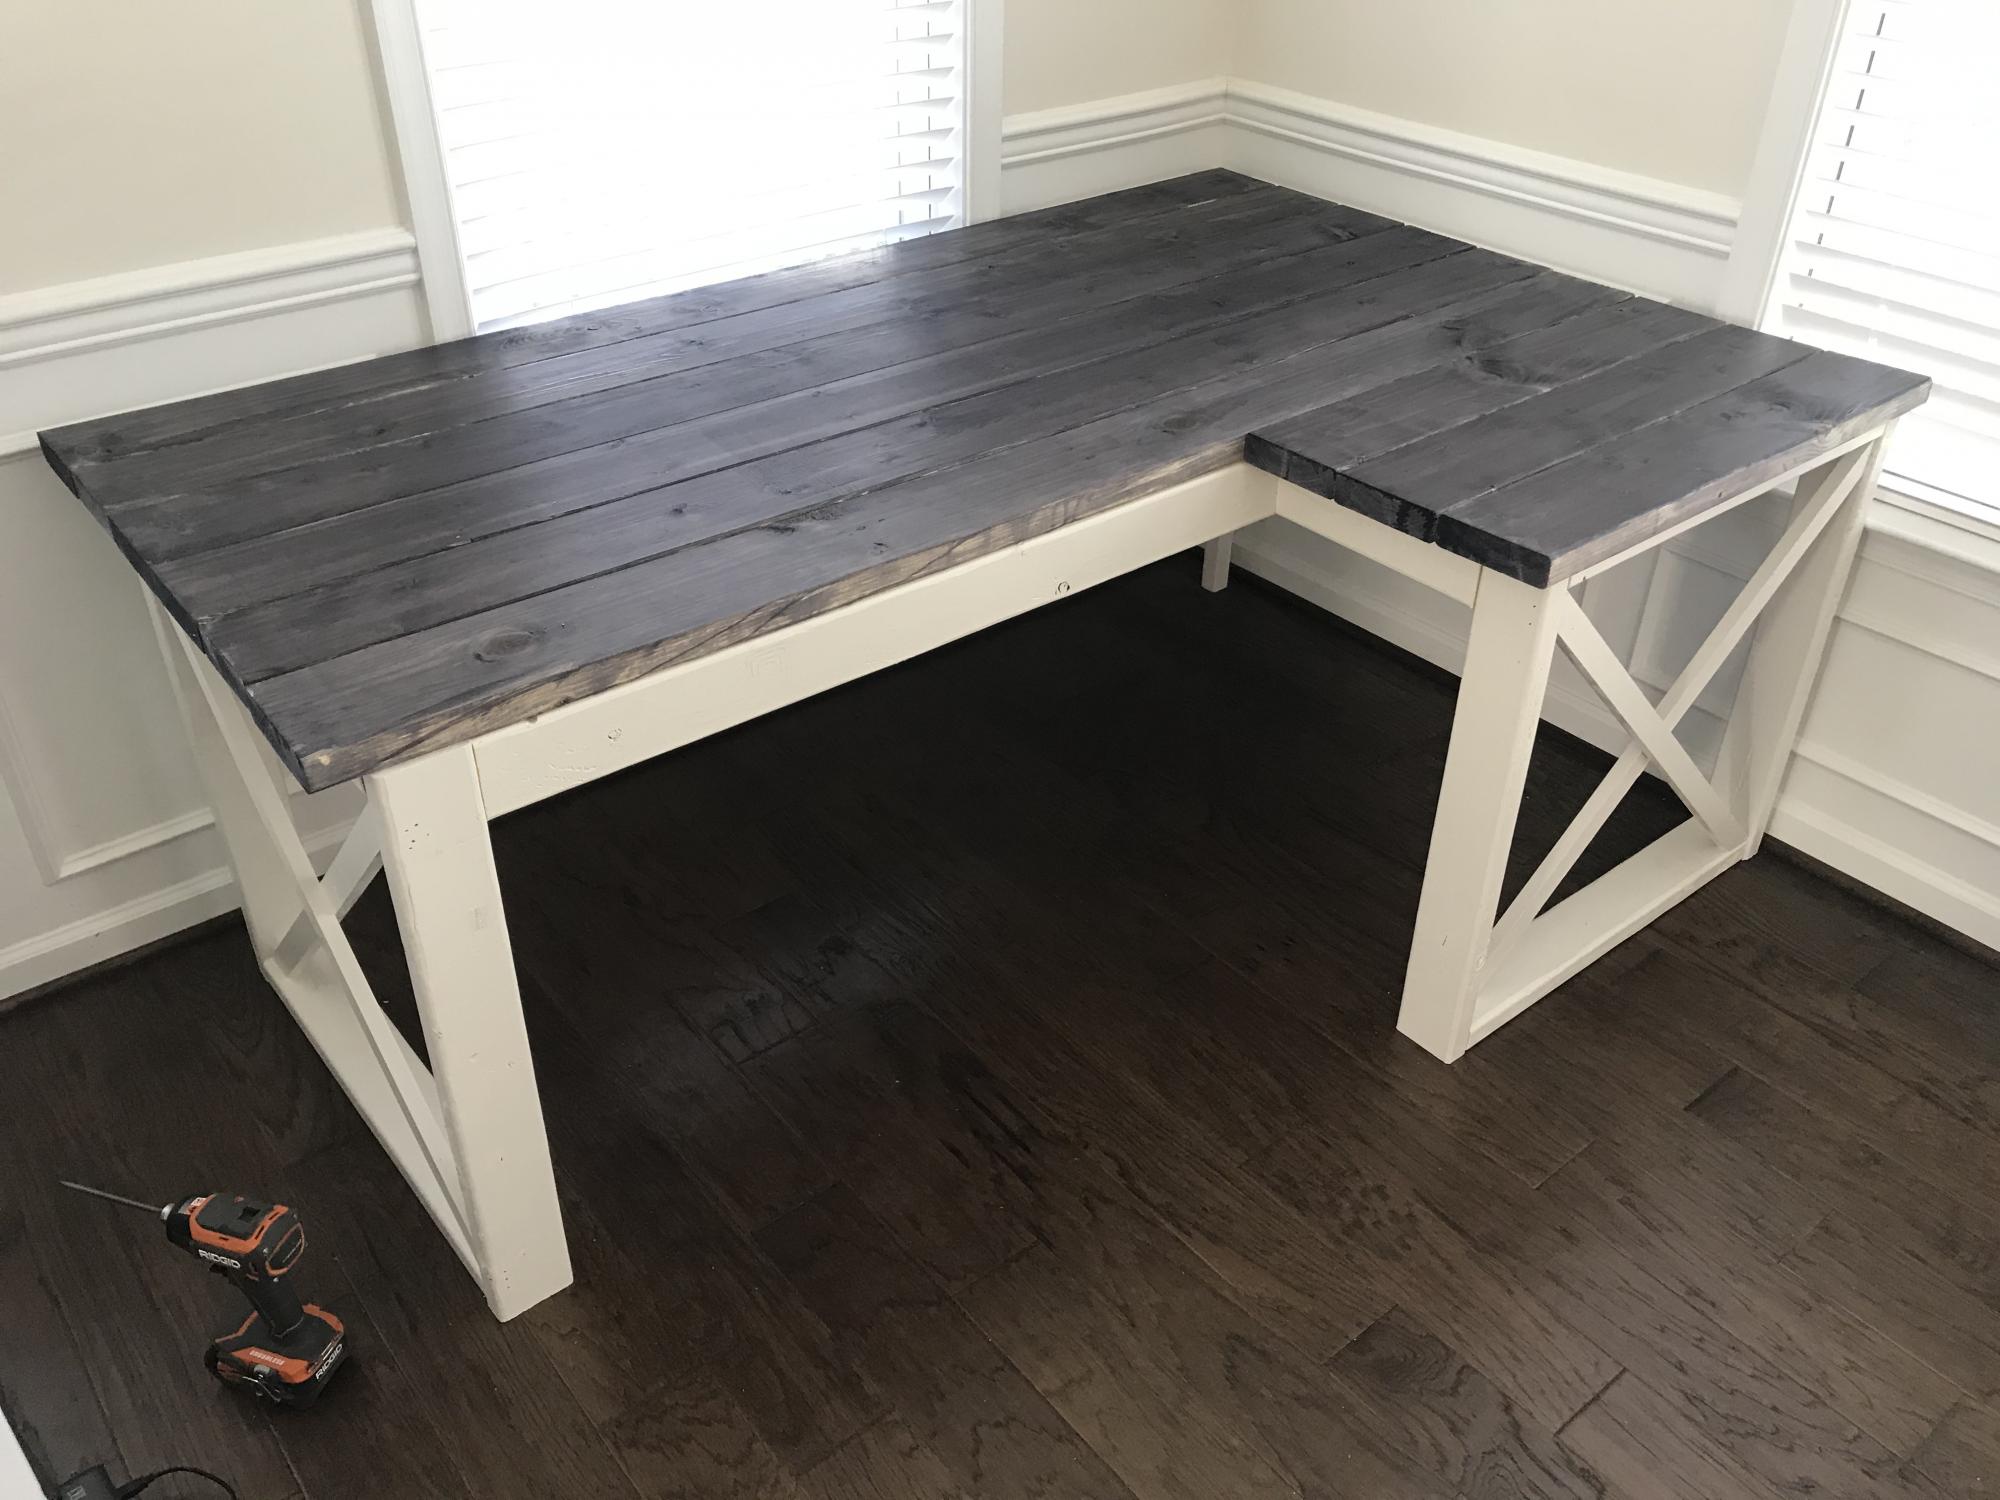
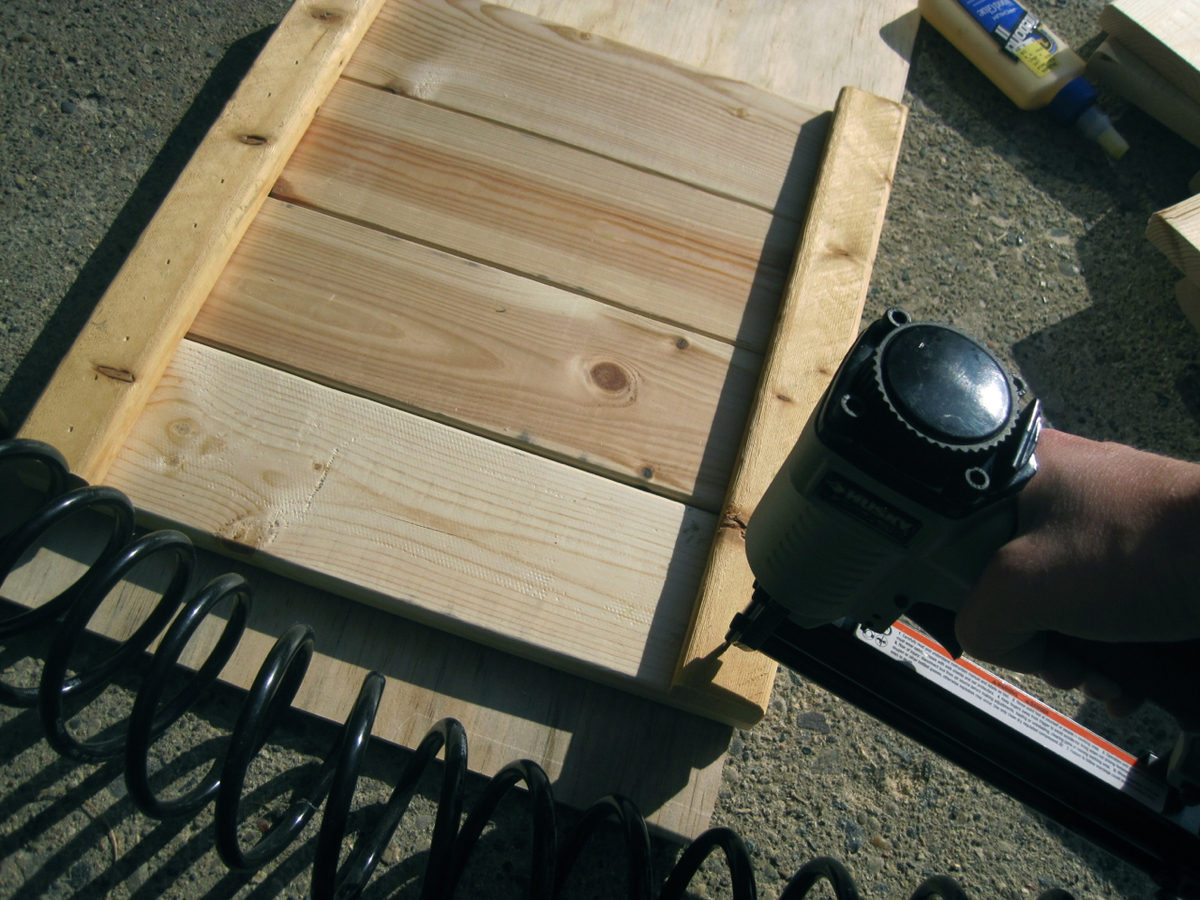
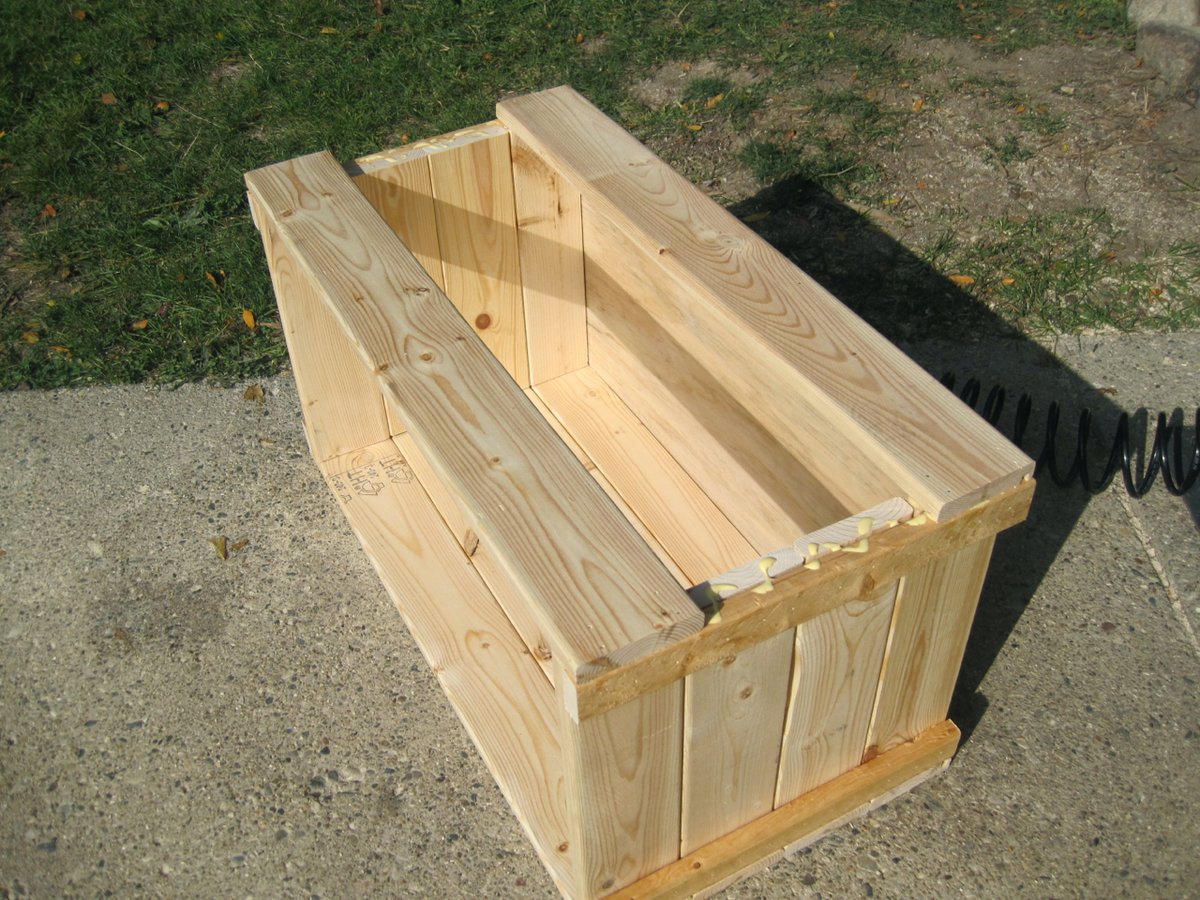
I bought the plan for this desk. Took me a day to put together and I think it came out decently. This is my second project from Anna's website. Very fun. The first went pretty well too...with some hiccups. Gaining more confidence every time I do something myself!
Estimated Cost
$170
Estimated Time Investment
Day Project (6-9 Hours)
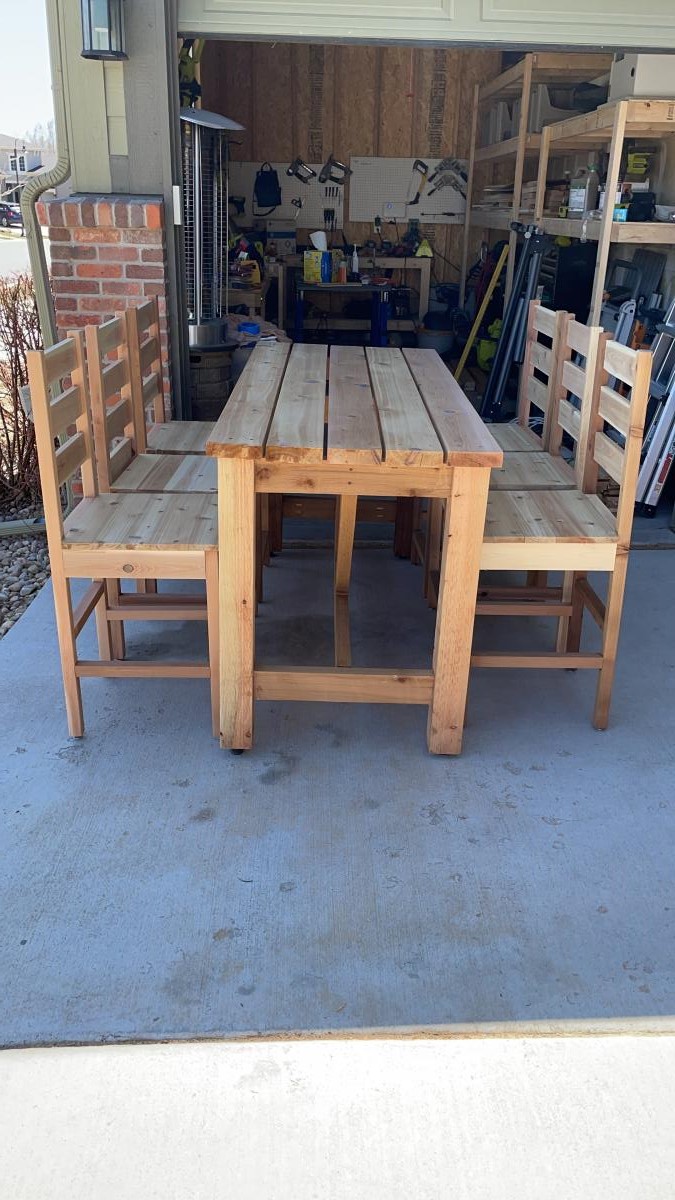
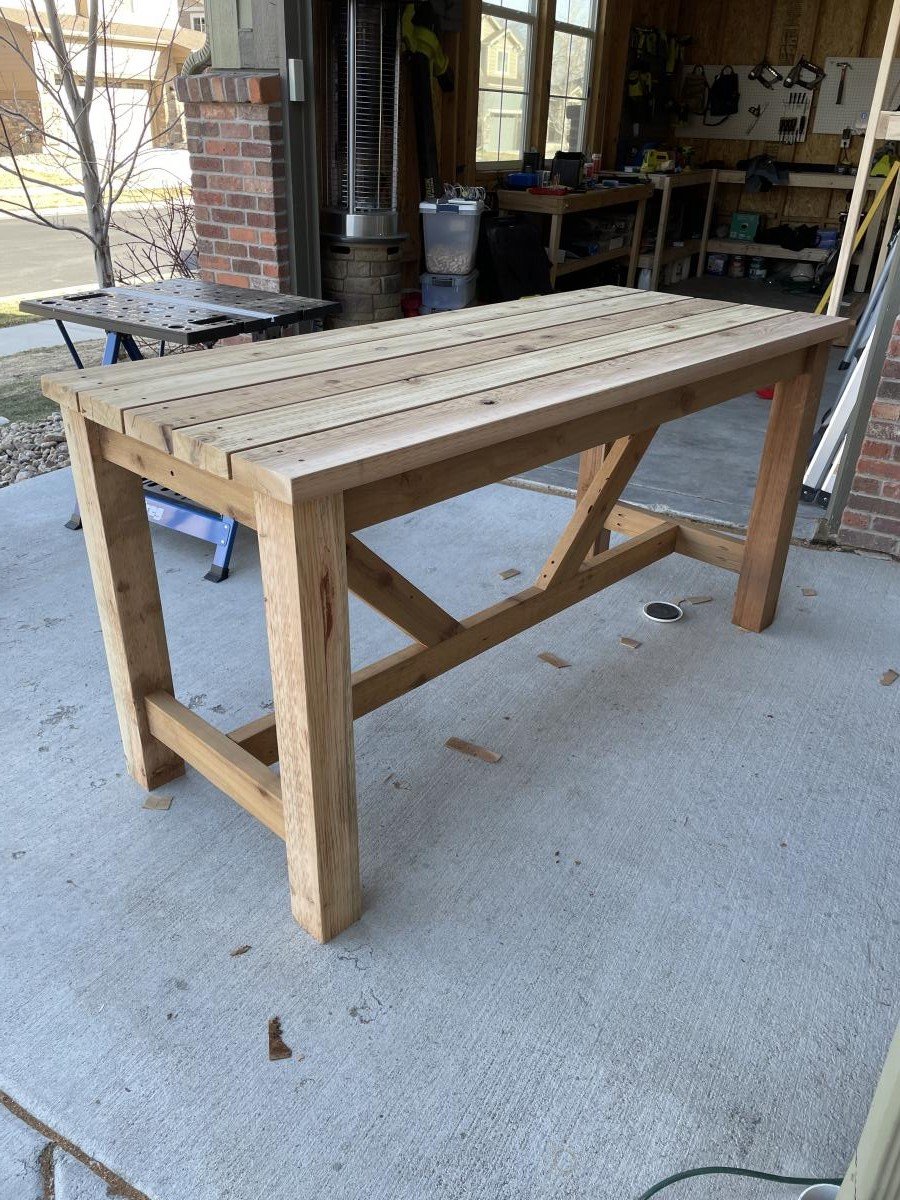
Finish Used
I used Varathane aging accelerator
Recommended Skill Level
Beginner


Comments
Ana White Admin
Thu, 11/05/2020 - 11:23
Ganing confidence!
That's what it's all about! Thanks for sharing, it looks great!