Community Brag Posts

Antique Quartersawn White Oak Dining Table

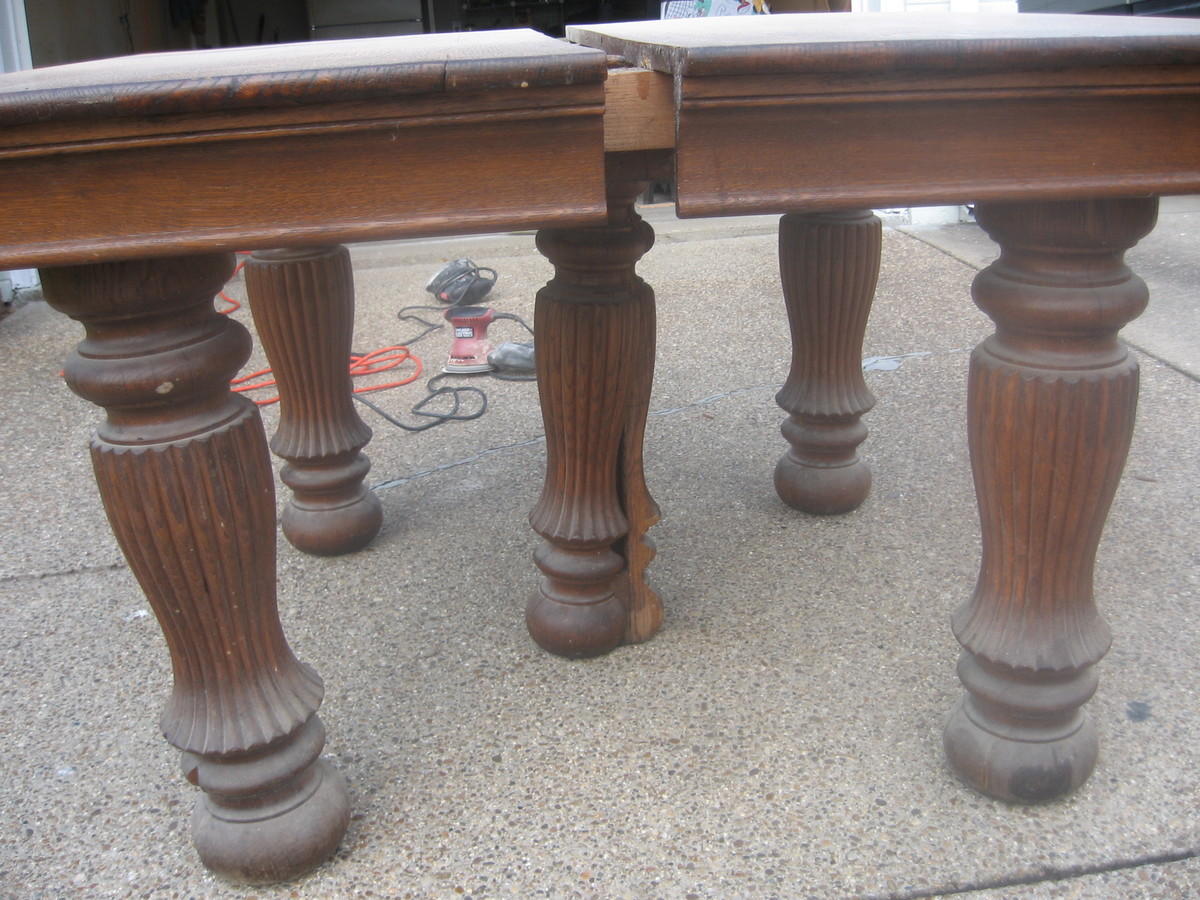
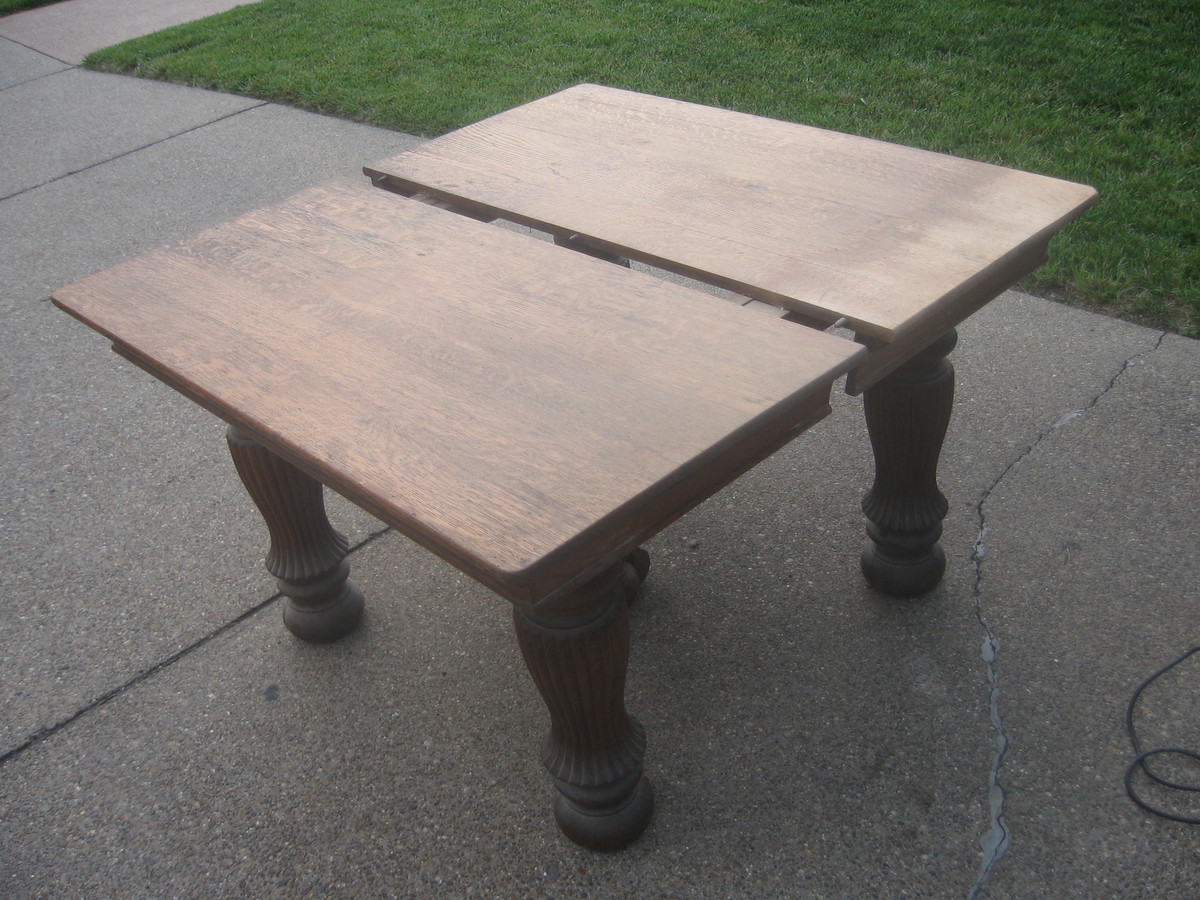
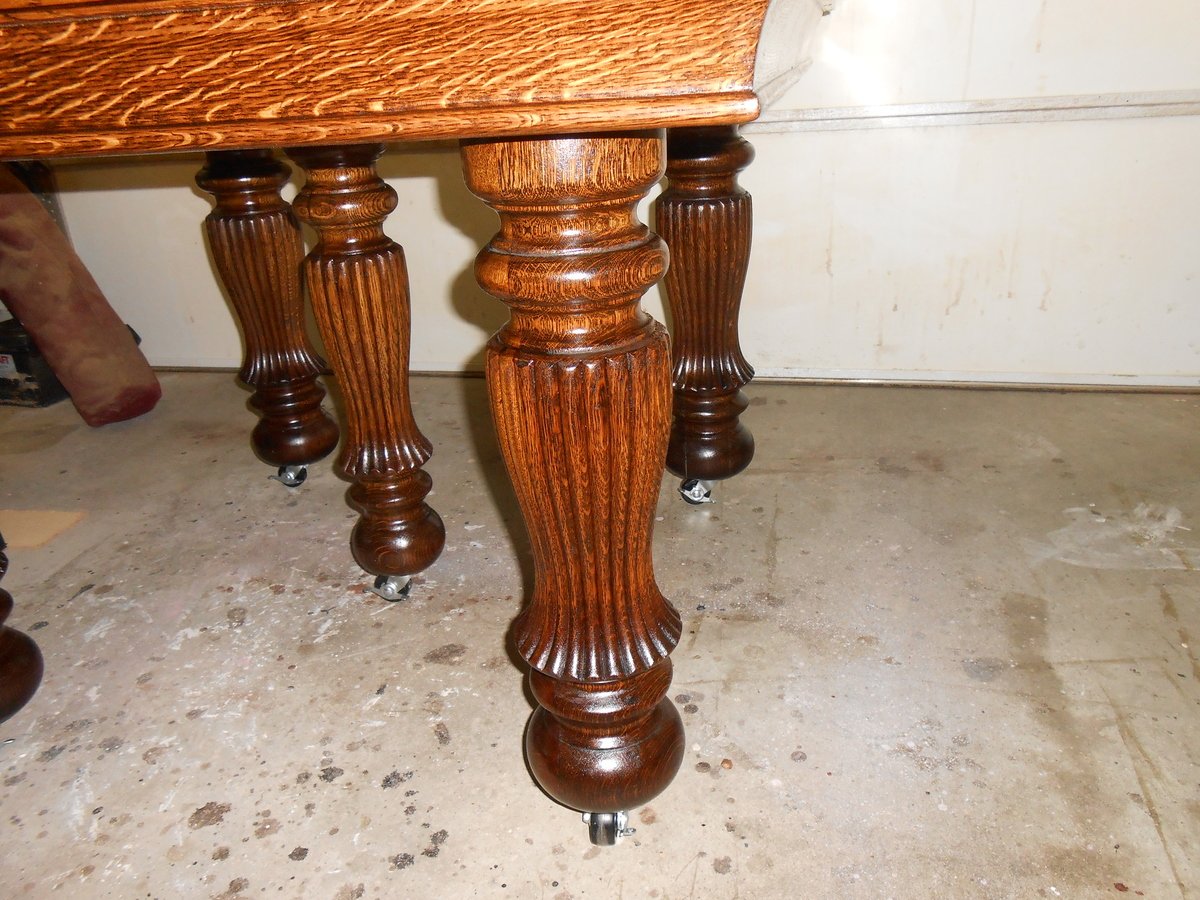
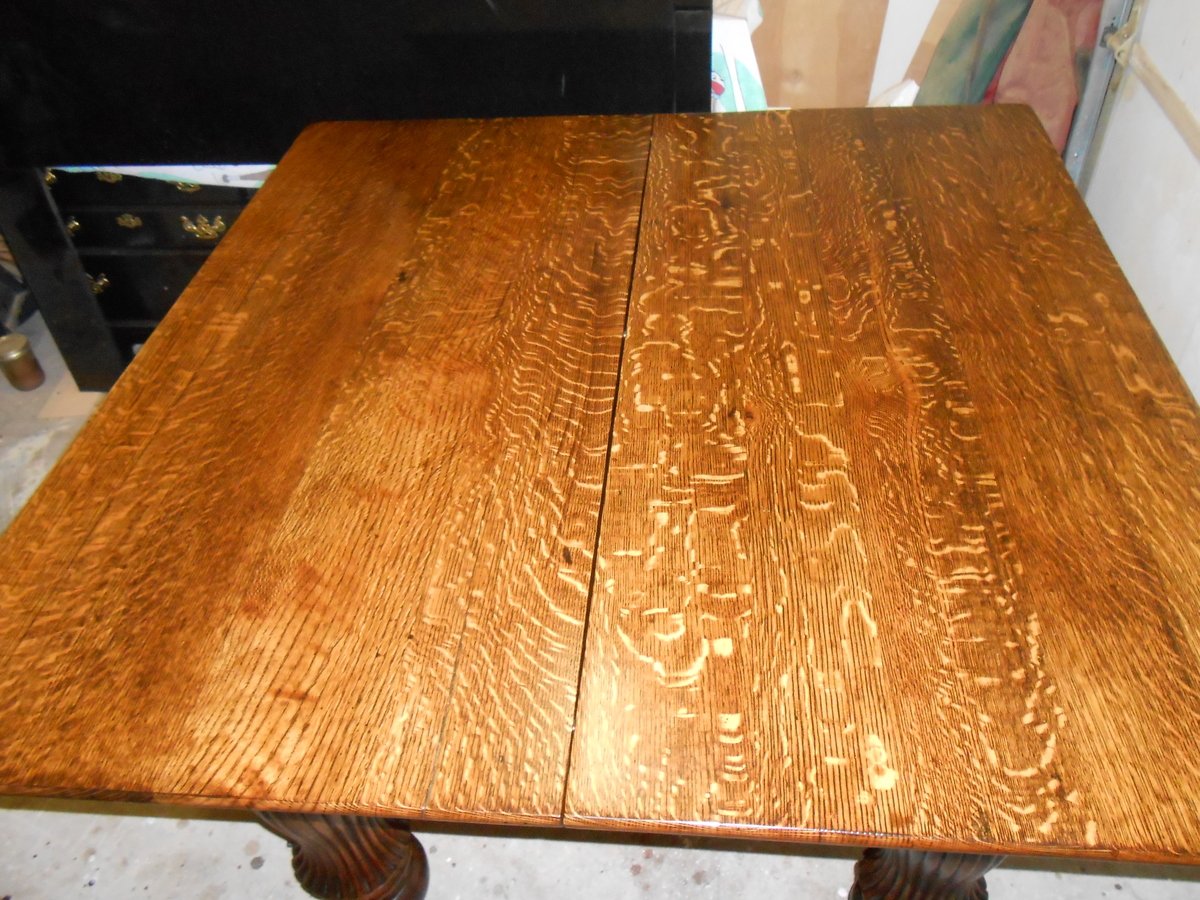
This is a solid, quartersawn white oak 5-legged dining table. It was originally built in the late 19th or early 20th century. The table was in need of a refinish. The massive turned and fluted legs were full of cracks, chips, and splits.

I took the table completely apart and began stripping and sanding. The legs were re-glued where needed and clamped. I filled the cracks, splits, and and chips with wood filler, sanded, and repeated until I was happy with the results. I replaced some bracing and replaced the screws where needed. Heavy duty casters were added. They have brakes/stops that can be locked to keep the table from rolling on a hardwood or tile floor.

Once the final sanding was completed, I applied 2 coats of Minwax Dark Walnut stain with a foam brush. I wiped down after each coat after waiting 10-15 minutes or so. After drying I began applying Minwax Fast Drying (oil based) polyurethane. The table received 3 coats and the top received 6 coats. I hand sanded with 220 grit sandpaper between coats.

After applying the final coat of poly to the top, I allowed it to cure 48 hours. I then hand sanded the top very lightly using 400 grit paper. I did the same using 0000 steel wool. I then added a few drops of dish soap to a cup of water and wet sanded with the 0000 steel wool. I used a circular motion to remove any scratches. I then wiped down the table and buffed out two coats of Johnson Past Wax with an orbital buffer. It resulted in a super smooth finish.

I am very happy with the results. By the way the table if for sale ($600) and is located in Evansville, Indiana.
Estimated Cost
$80
Estimated Time Investment
Week Long Project (20 Hours or More)
Finish Used
Minwax Dark Walnut Stain (2 coats) and Minwax Fast Drying (oil based) polyurethane.
Recommended Skill Level
Beginner

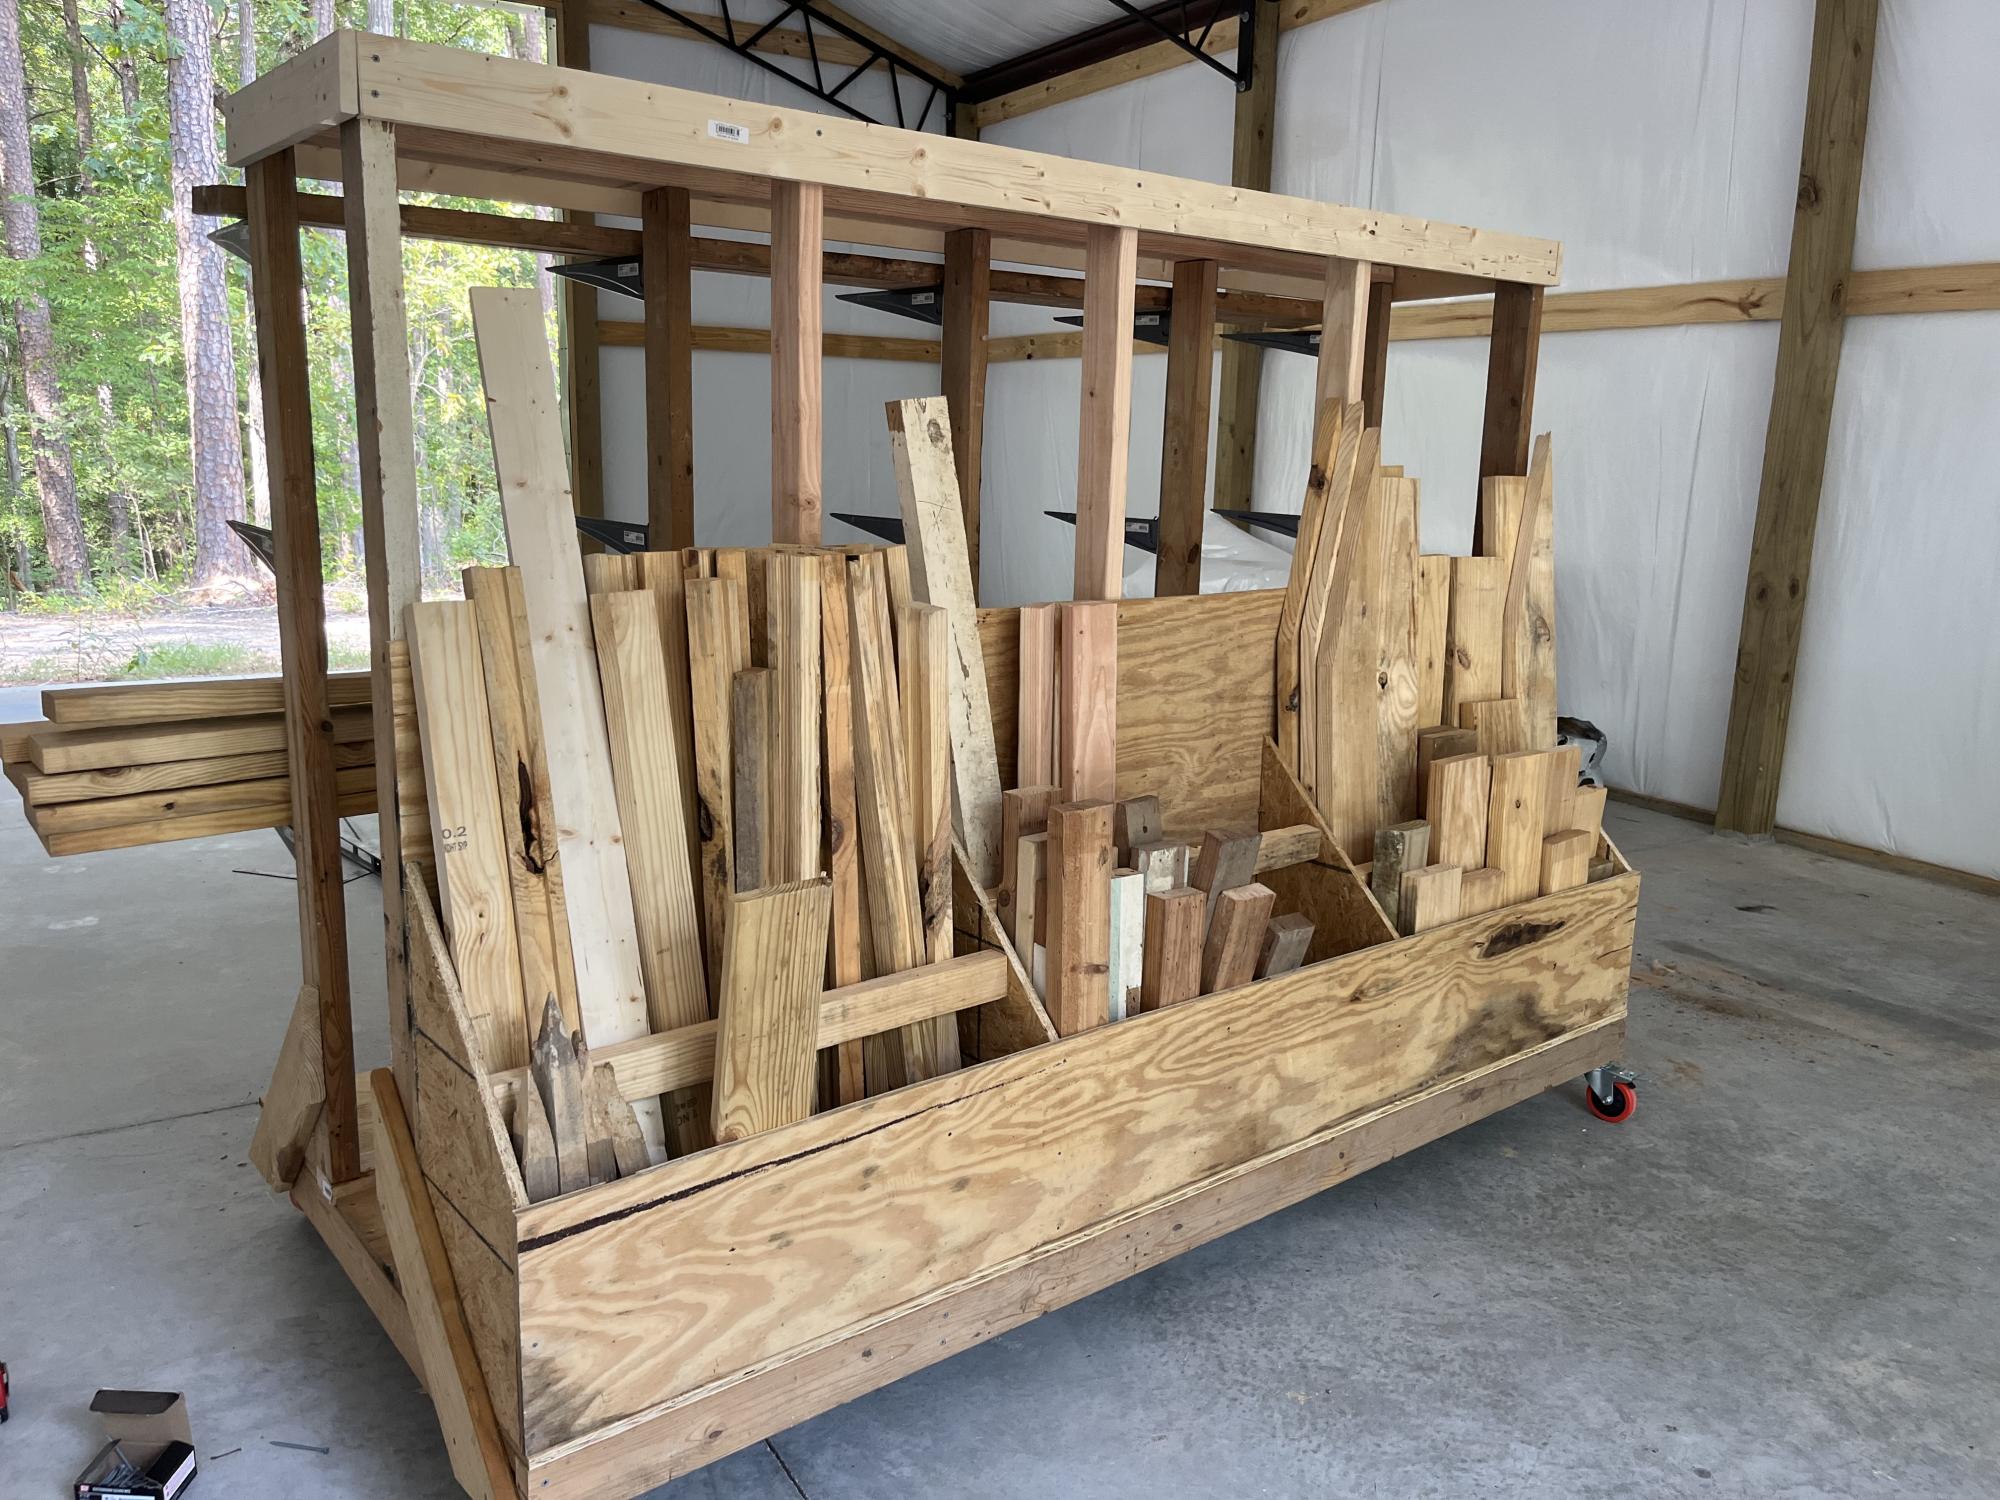
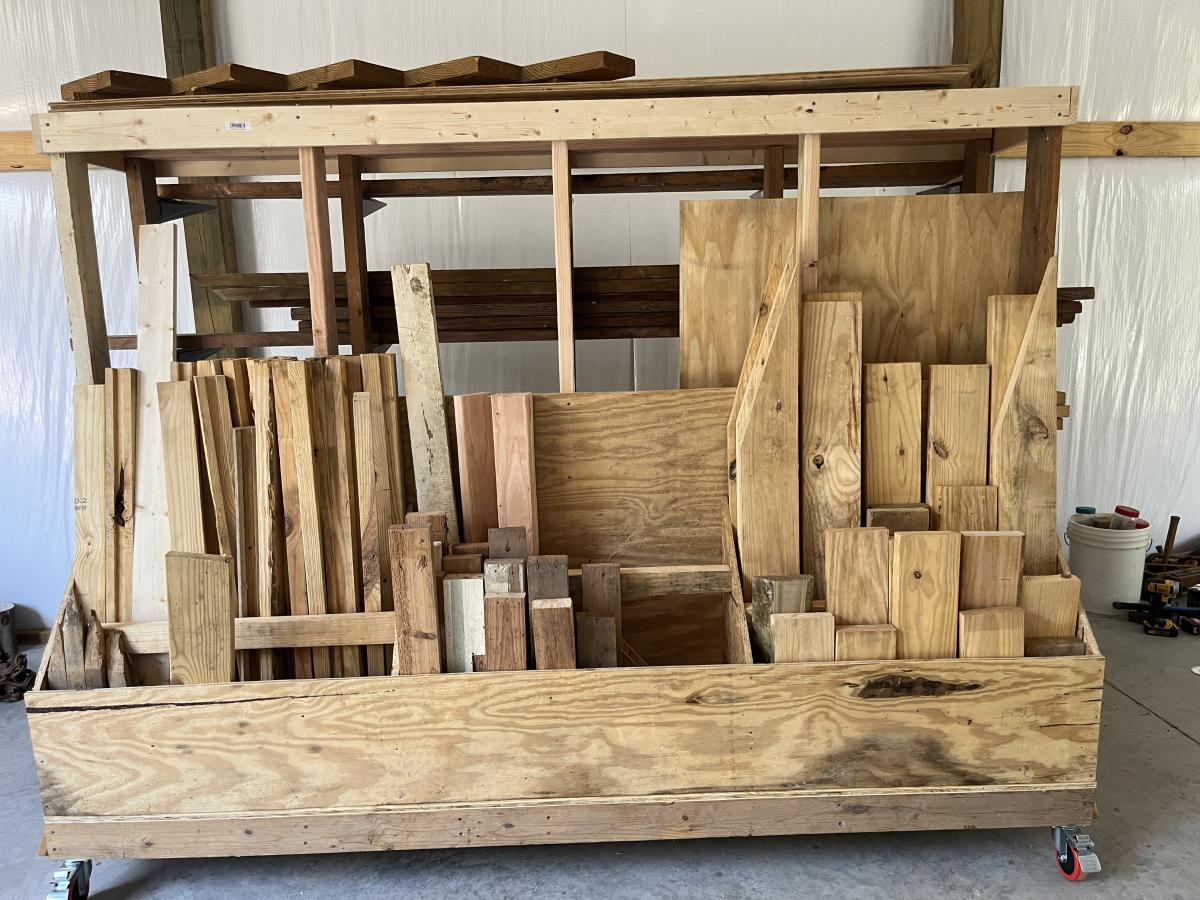
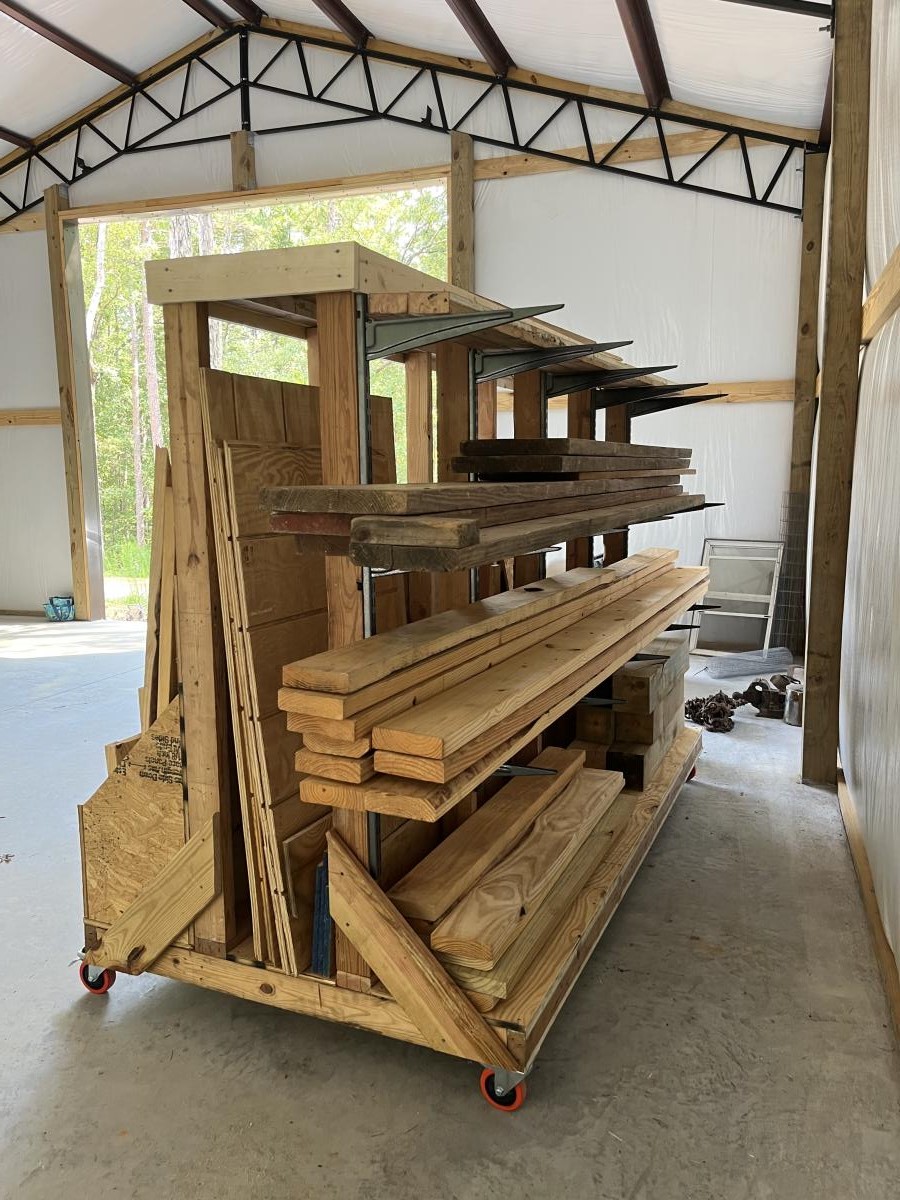
Lumber Storage

Submitted by Anonymous (not verified) on Sat, 08/20/2022 - 15:44

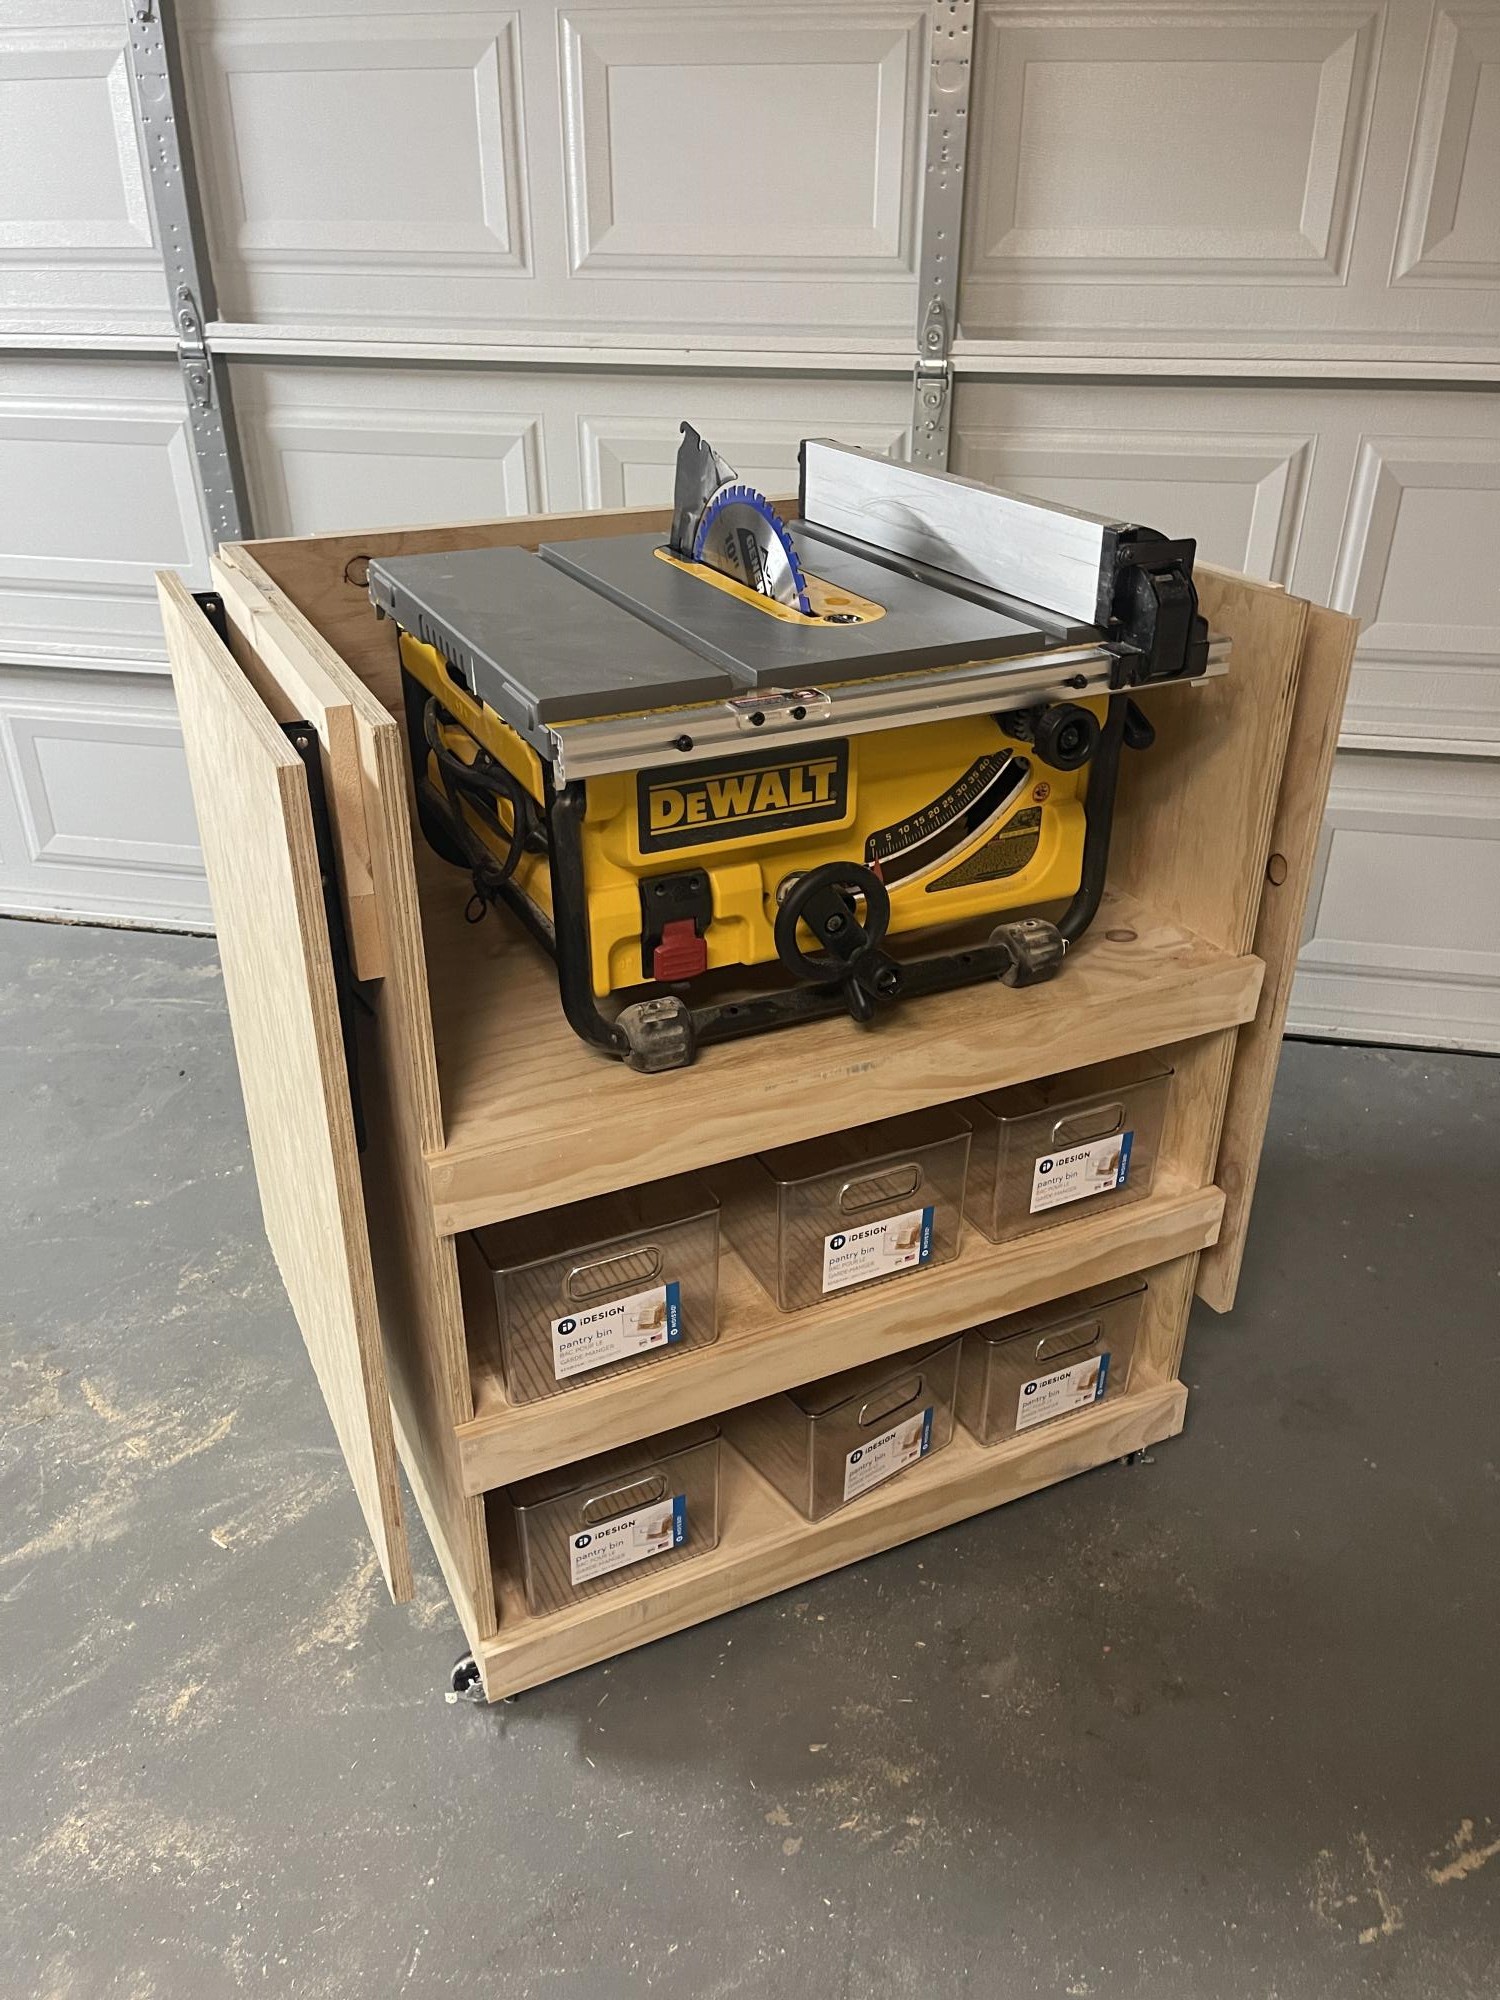
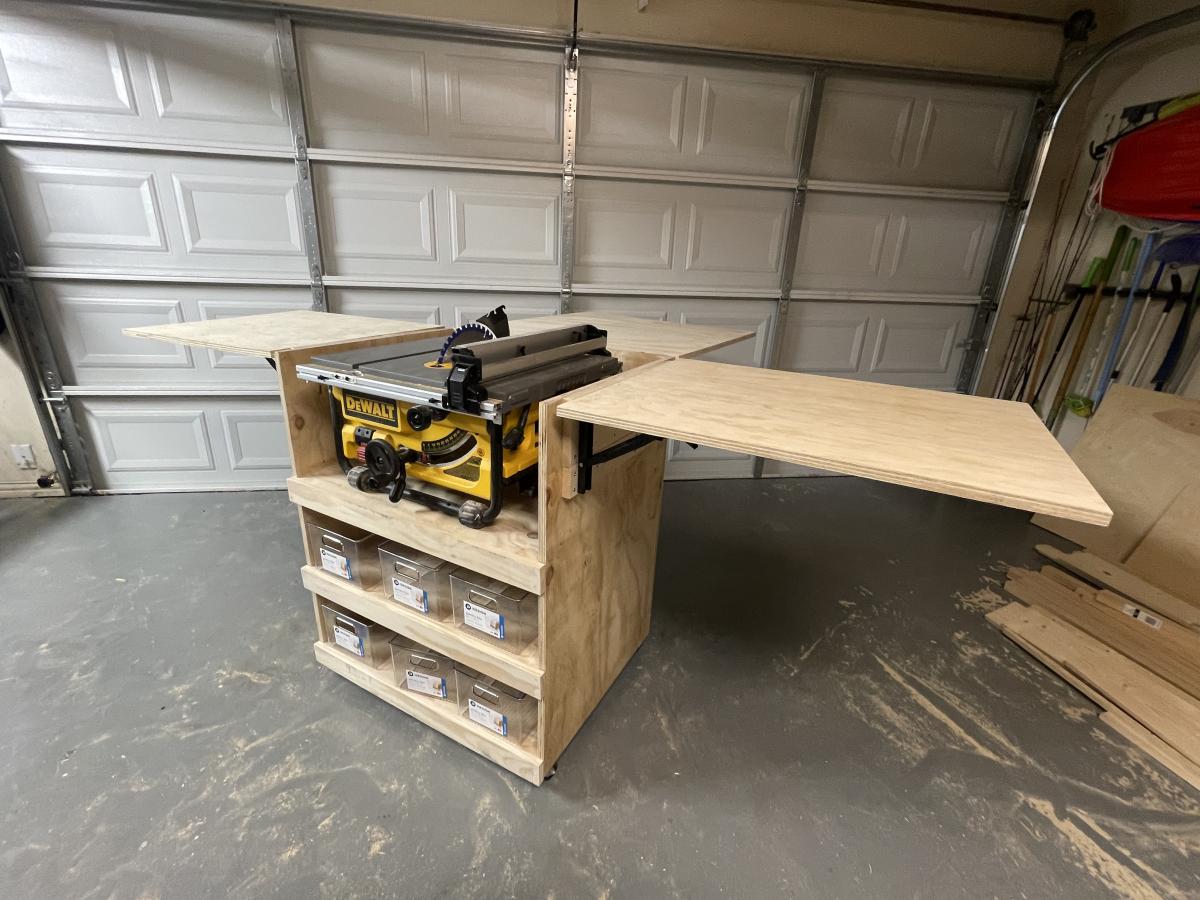
We are so excited about have an organized way to store our lumber and scraps. We only had to purchase 4 2x4’s for this project and were able to use a lot of on-hand scrap pieces. The plans were so clear and easy to follow. Thank you for sharing!!

Comments

Yellow Sewing Table for Small Spaces

Submitted by kjshaw on Thu, 08/18/2011 - 12:25

We used MDF, drop-leaf lockable hinges for the leaves, and piano hinges. I wouldn't recommend MDF because it wasn't strong enough for the screws and we ended up having to add bits of plywood to reinforce the areas for the hinges. We also put pegboard on the back to avoid things popping out the other end, and I'm planning on getting some hooks to hang crafty things like scissors and glue guns.

Despite the modifications we had to make, I love my little sewing table! It fits perfectly under our dining room table and but has tons of workspace when it's folded out. Perfect for a small, cramped house! The finished project isn't quite as bright yellow as the flash made it seem, but it is still bright and happy!

Estimated Cost
$55
Estimated Time Investment
Weekend Project (10-20 Hours)
Finish Used
Sanding, primer and spray paint. I ended up needed four cans of each - that MDF really soaked up the paint!
Recommended Skill Level
Beginner

Comments

rapunzel

Thu, 08/18/2011 - 20:23

Looks great! I agree that plywood just holds together better.

I noticed that there's room to add 2.5" of length (when hanging down) or width (when in table configuration) to the side pieces. If you do, then when you fully open the table, you can open up even 60" fabric completely and cut pieces such as chair backs easily.
I think it might be a modification worth making.

sarydon

Thu, 01/21/2021 - 12:21

Great idea!!!!! If you did this it would require more than 1 piece of plywood though.... I think that's why it's the dimensions it is. I plan on making one soon. So excited!

kjshaw

Wed, 09/05/2012 - 21:24

It is sturdy enough to sew on - I usually put it on a rug we have, which may stabilize it. The table did shake a bit, but it didn't affect the sewing very much. I'm not sure how it would do on the tile - the sewing machine might move it a bit because of the wheels. But, I also don't use it much for my sewing machine and use it more for my cutting mat and measuring since I don't have a large flat table at my house.

Rapunzel - I agree, there is room to make the table bigger. I think if/when we make another, we'll do that. It's surprisingly big now, but there's always room for more table sewing space!

Outdoor sectional couch with reclined back

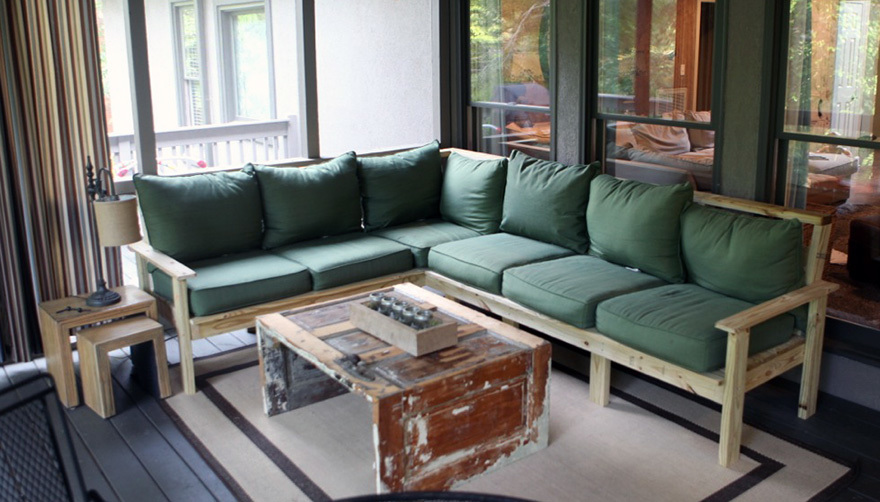
I designed and built this sectional for some friends, and then wrote a how-to about the process! There are free plans for it, and a time-lapse video of it being built at http://www.iliketomakestuff.com/outdoor-sectional/

Estimated Cost
$150 in Lumber
Estimated Time Investment
Day Project (6-9 Hours)
Finish Used
Will be painted once the wood has time to dry out
Recommended Skill Level
Beginner

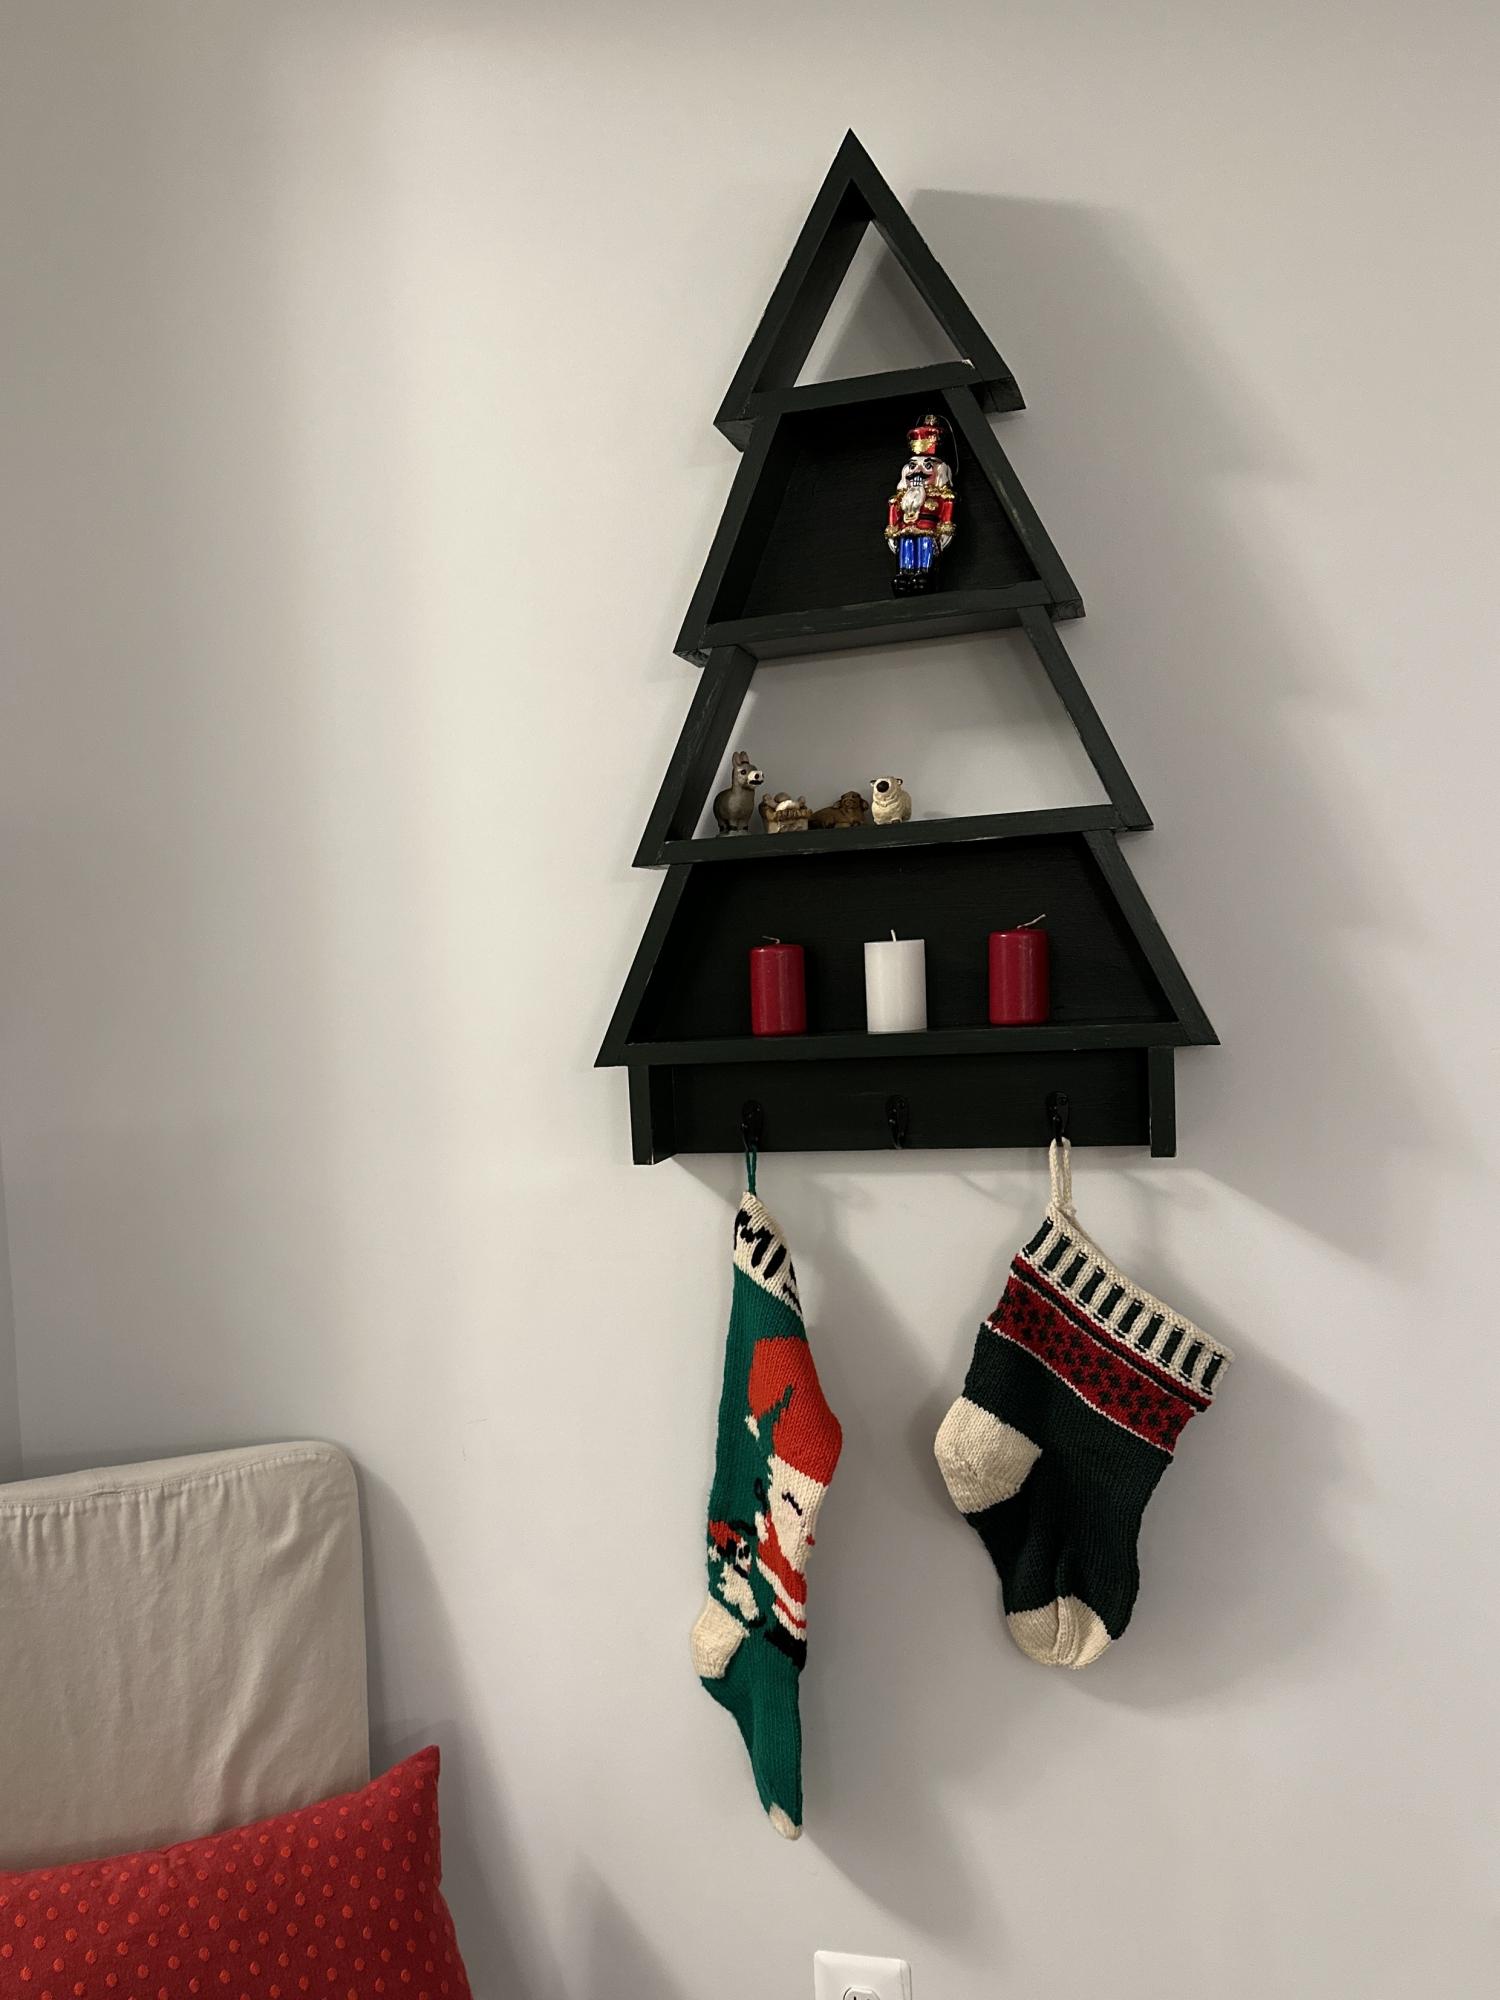
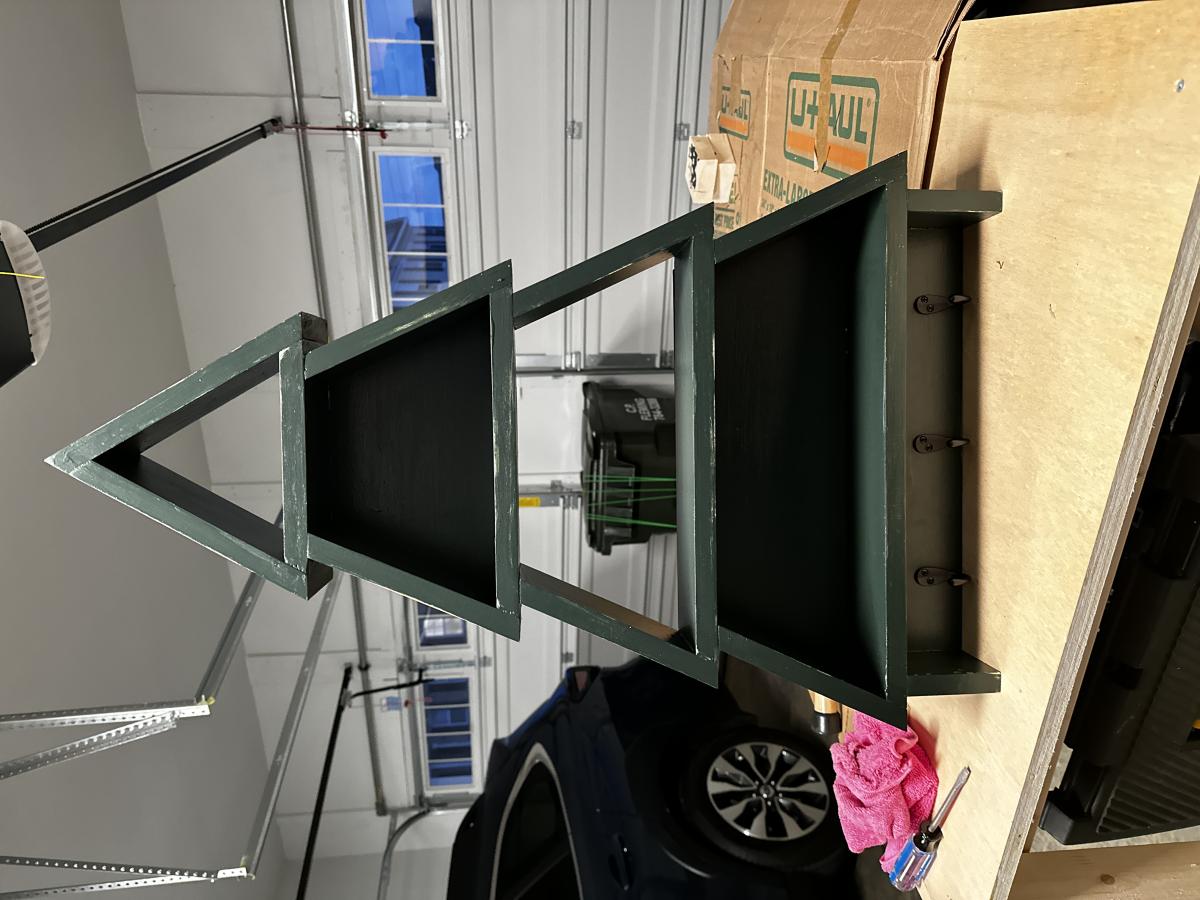
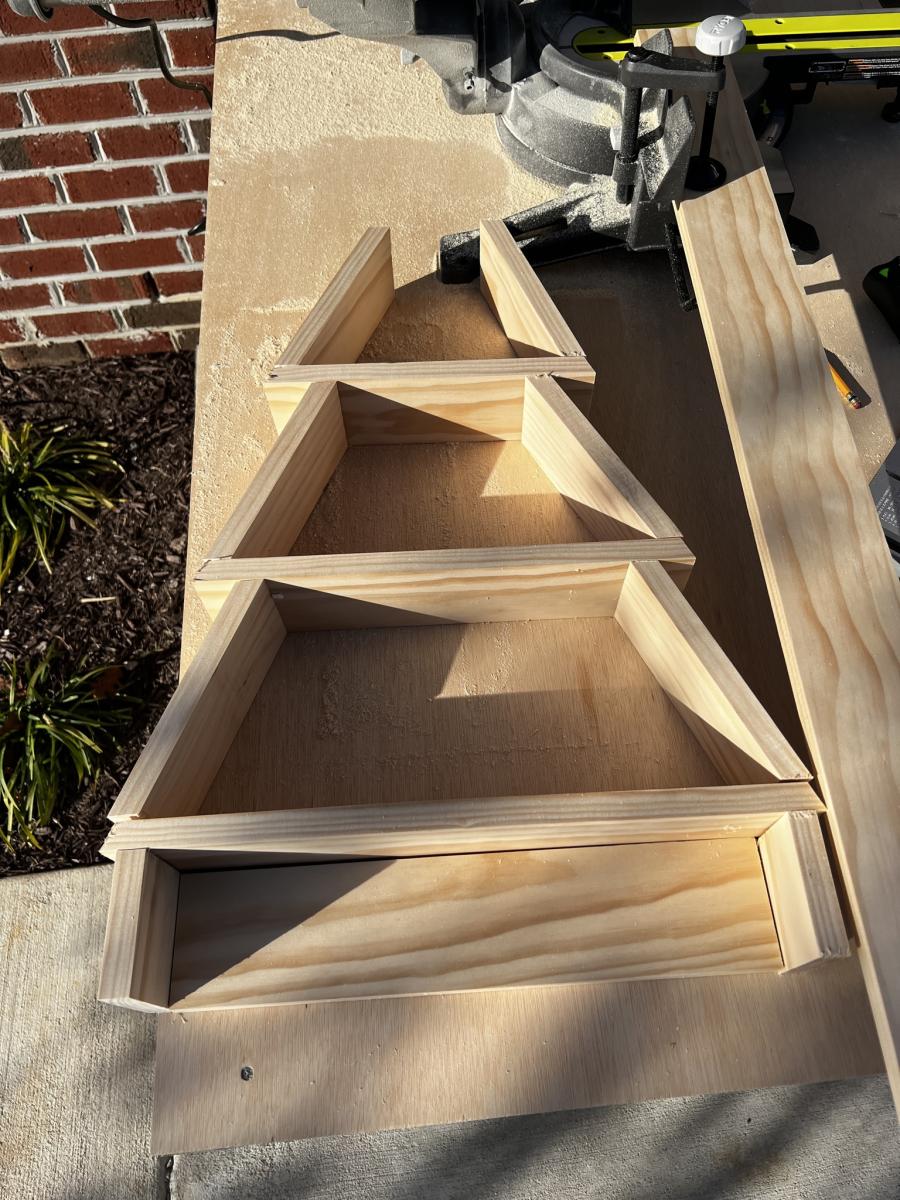
Oh Christmas Tree

Submitted by Rentzm on Sat, 12/17/2022 - 04:13

What a merry addition to my Christmas decor. I was drawn to this project because I wanted to use my new miter saw and to practice cutting angles & piecing together with great precision. It’s a bonus that I needed a place to hang stockings.

The directions were clear and helpful. It is forgiving if you don’t get boards aligned perfectly. That provided a great confidence boost for this newbie.

The stain is Minwax Austin Field solid. It was my first stain experience and it took me a while to get a smooth and consistent finish. But I love the tone.

Built from Plan(s)

Comments

Dog Houses

Our local Habitat for Humanity puts on an annual event where they get folks to restore discarded or worn down furniture and sell them at auction. My wife and I participated last year and this year I was asked to build 4 dog houses and then they were going to let local designers/decorators finish them out.

I figured it would be easy to find a good dog house plan, but I was wrong so I had to come up with my own designs. I did not want to use plywood becauase I wanted them to look good. So I used 1x4's and 1x6's. I built them all just a little bit different, but the same basic design on all 3. Since I am not very good with circular cuts, did not do any fancy 1/2 circle doorways!

There are "after" pictures on the Blog. Thanks for looking!

Estimated Cost
$100 each
Estimated Time Investment
Afternoon Project (3-6 Hours)
Finish Used
I didn't finish them out, but did use screws to attach everything, so filled those in with wood putty and sanded down of course.
Recommended Skill Level
Beginner

Comments

Cindy from Indiana (not verified)

Sun, 11/06/2011 - 16:10

Great job for a great cause!

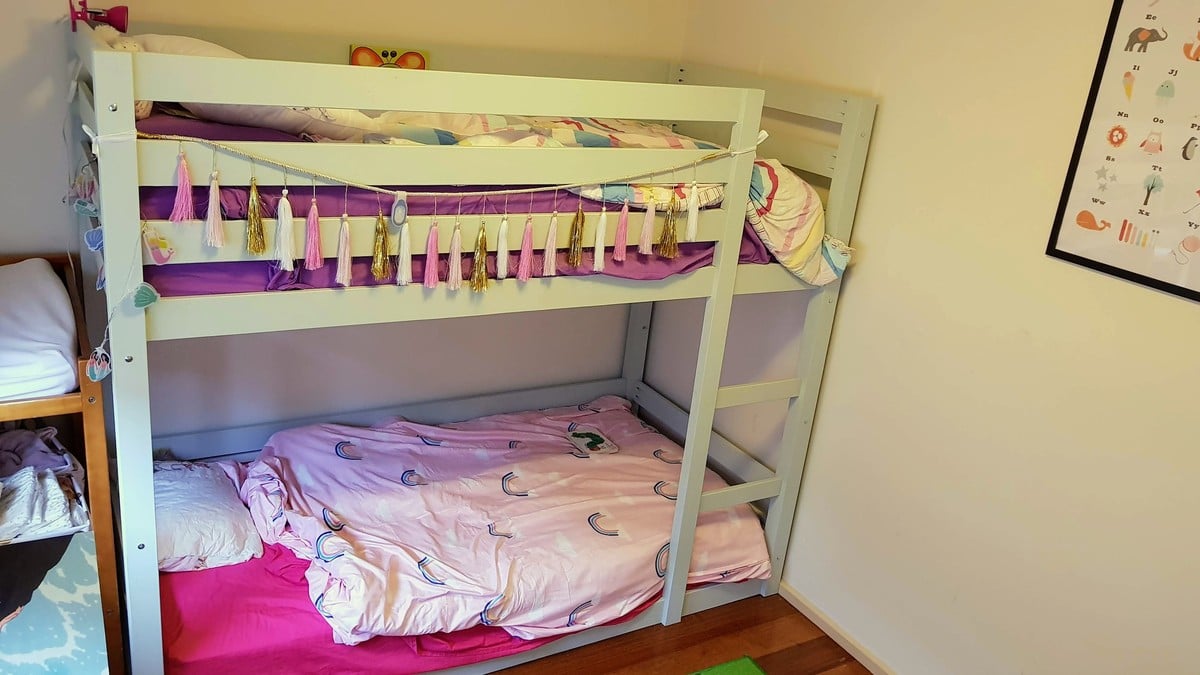
Class bunk bed

Submitted by Anonymous (not verified) on Tue, 03/12/2019 - 17:47

We removed the legs and added an extra piece to the top to bring the mattress height down.

Built from Plan(s)
Estimated Time Investment
Weekend Project (10-20 Hours)
Recommended Skill Level
Intermediate

Crafting Console

Submitted by Anonymous (not verified) on Tue, 02/21/2023 - 17:18

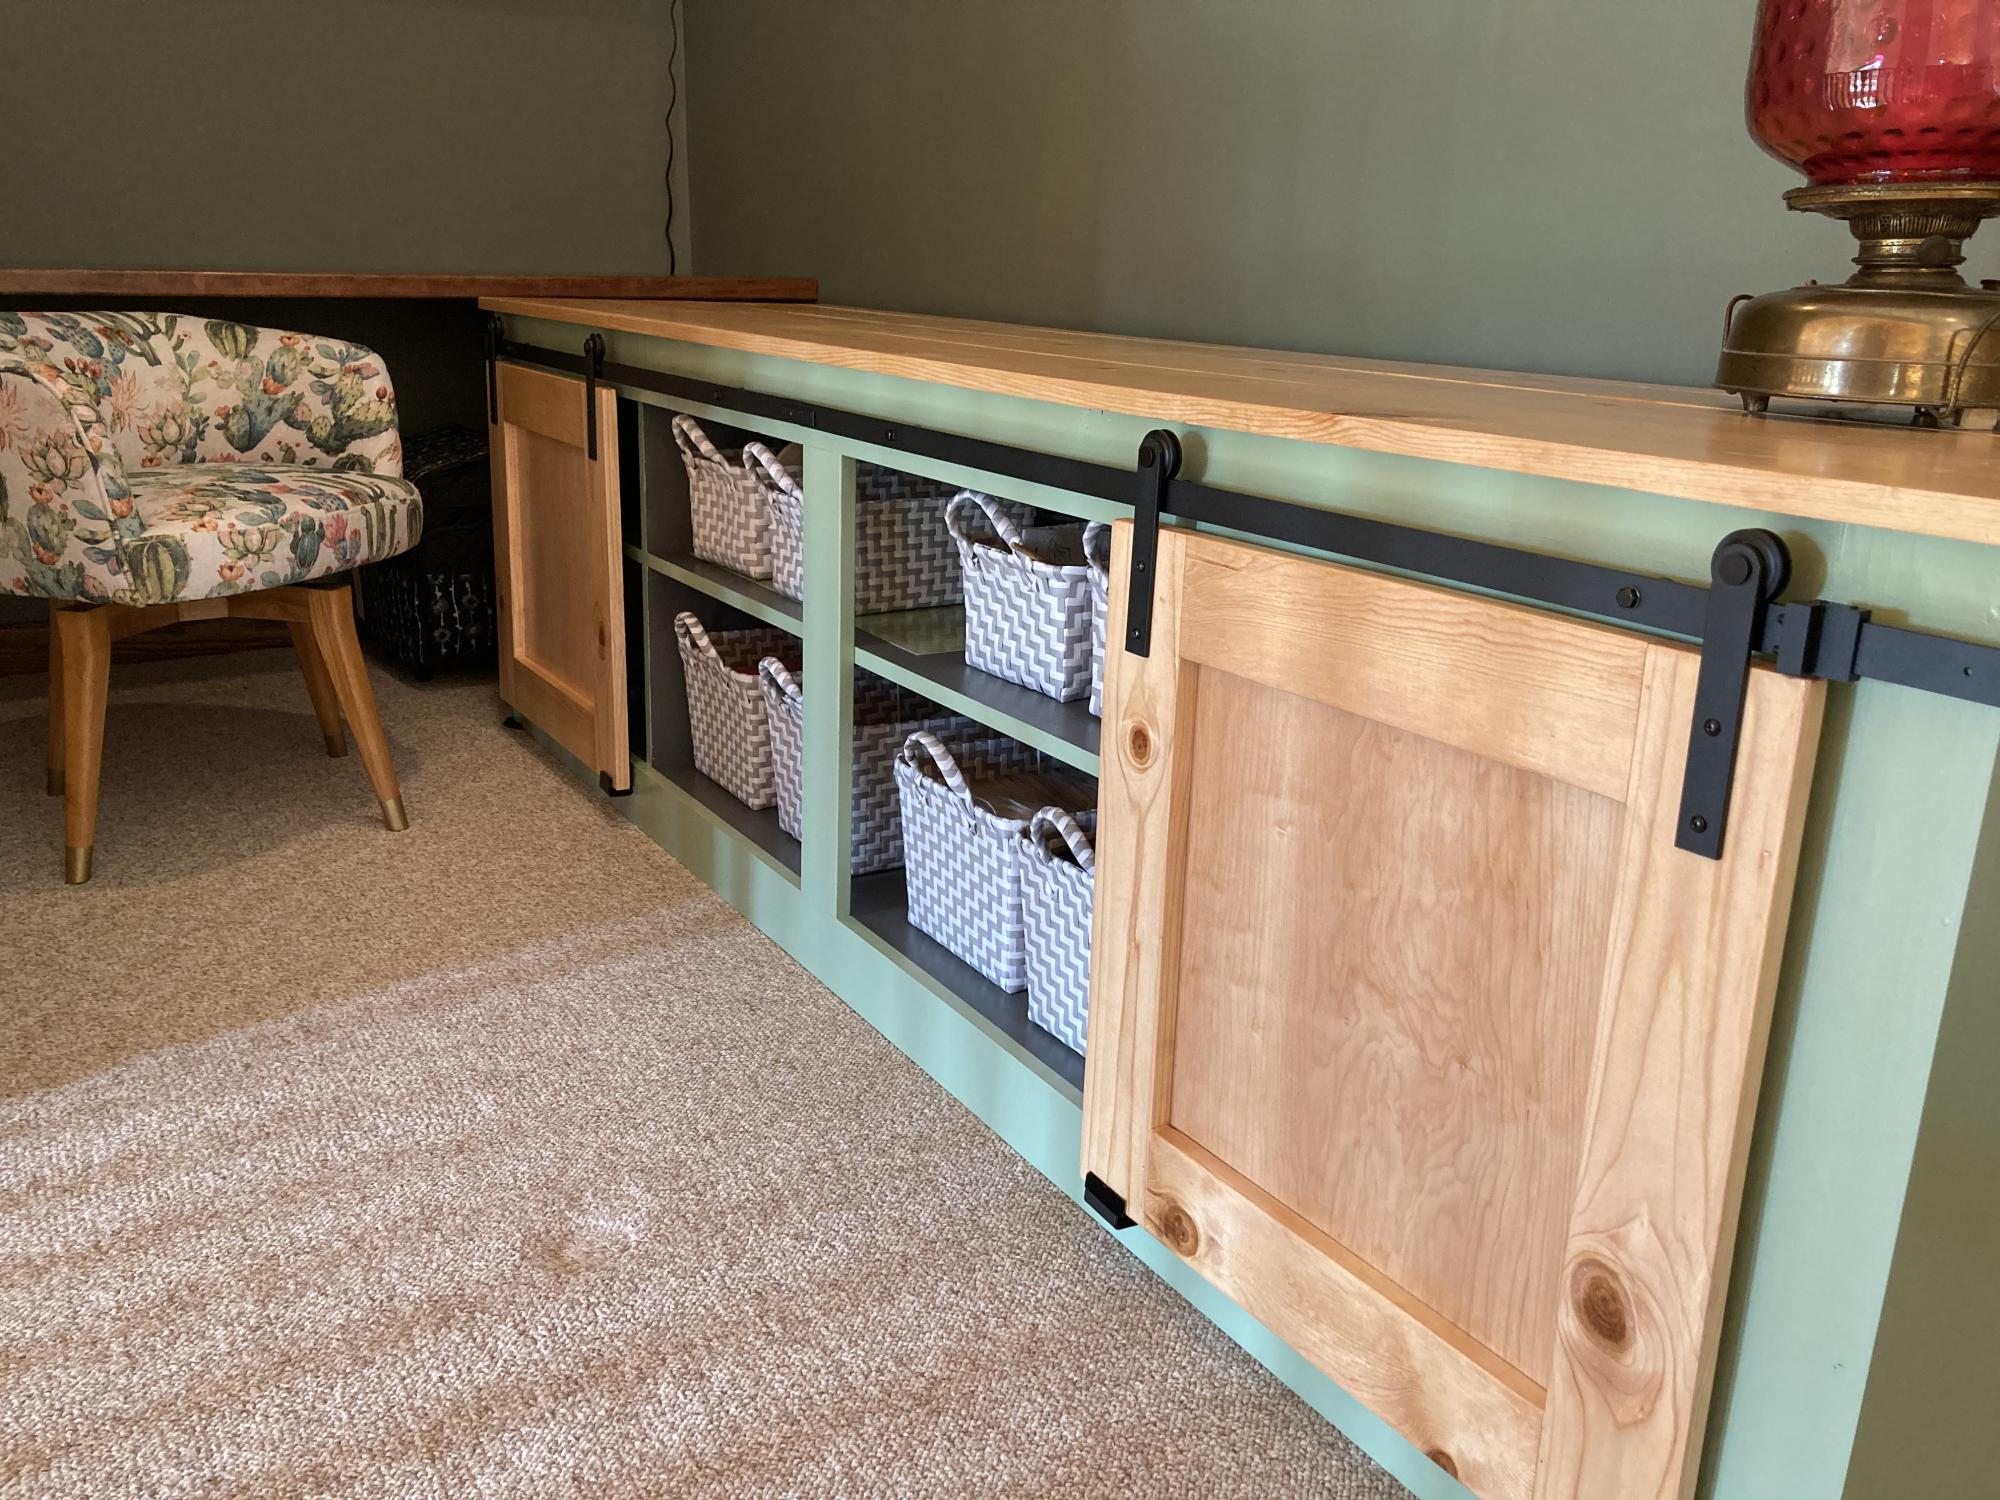
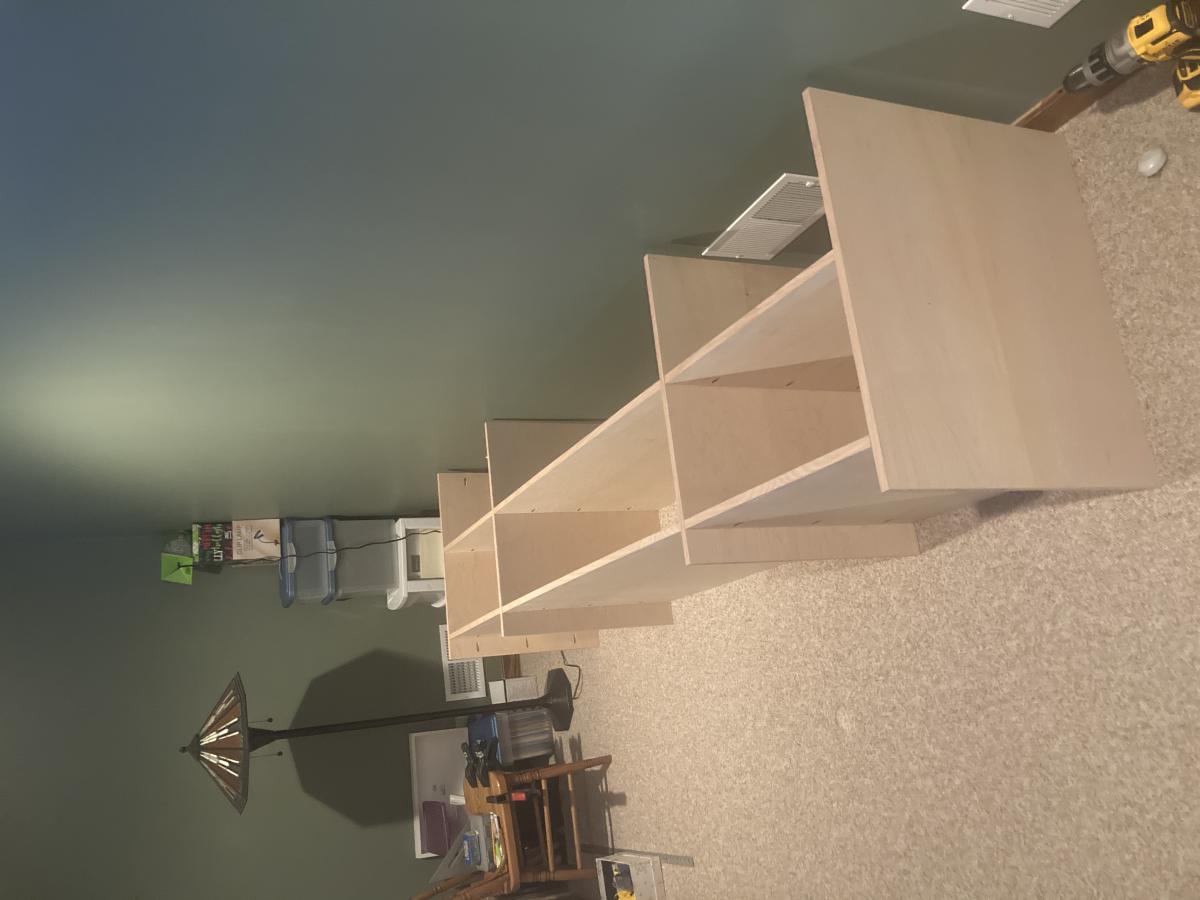
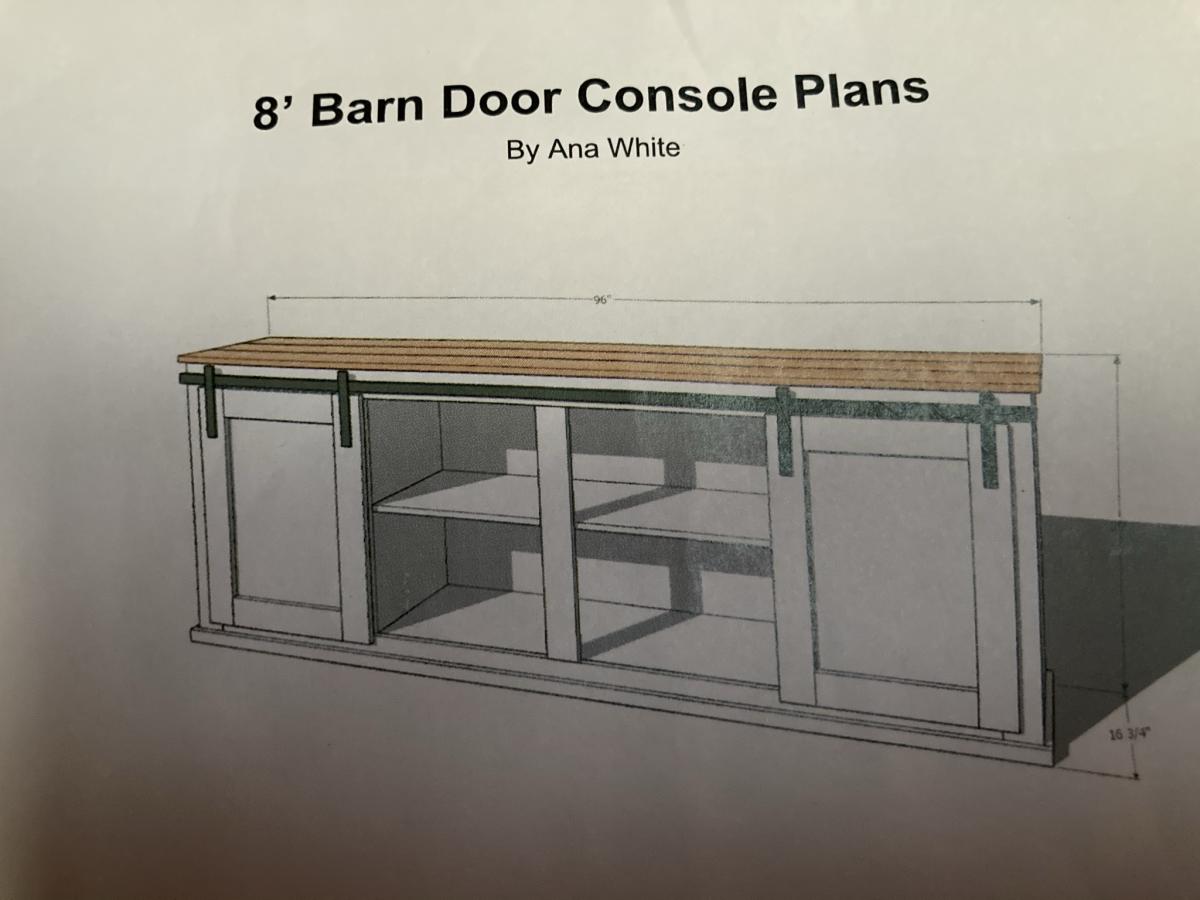
I had a loft space that was not being utilized so I created a crafting space using an Ana White Barn Door Console plan. I just started building furniture 5 years ago using a jigsaw, a miter saw, and a power drill. You are never too old to start

Comments

Handmade by Ken

Submitted by Anonymous (not verified) on Mon, 01/11/2016 - 22:22

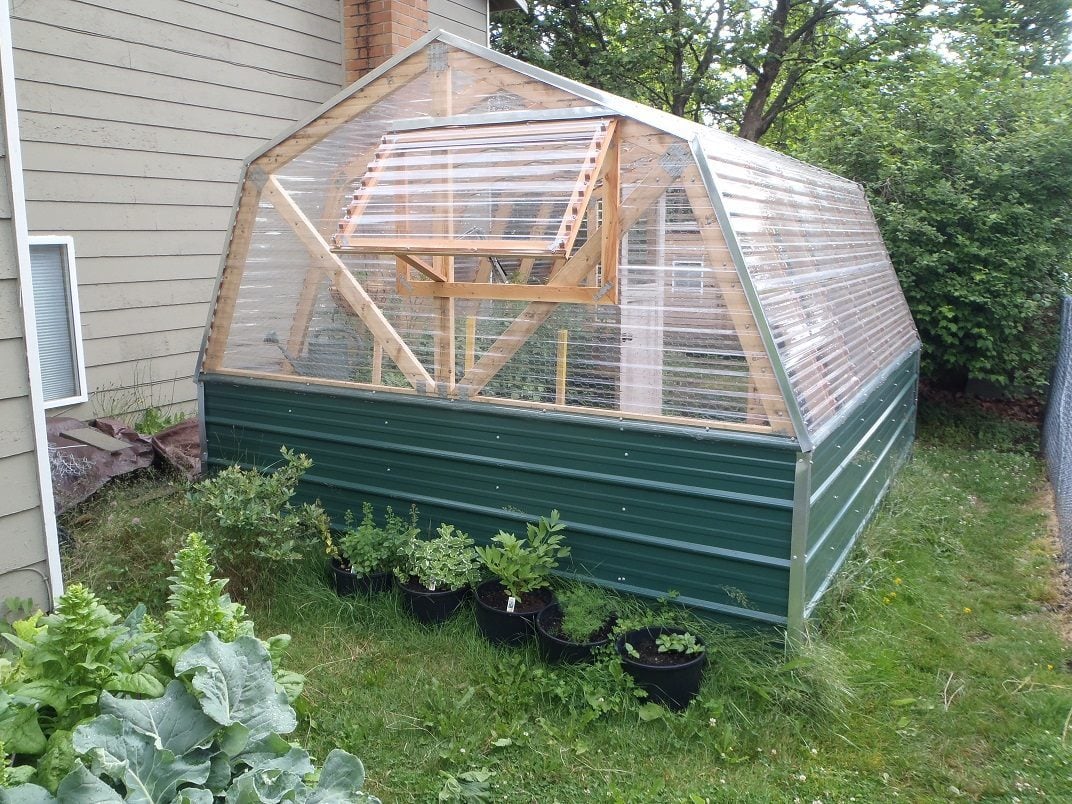
Barn Greenhouse

Built from Plan(s)
Estimated Cost
$600 US
Estimated Time Investment
Week Long Project (20 Hours or More)
Recommended Skill Level
Beginner

American Girl Doll Bunk Beds

Submitted by Anonymous (not verified) on Thu, 01/21/2016 - 19:27

This was easily made from the plans on Ana White's website.  I spent about $20 total on the bed and $7 on the fabric.  I had the foam from another project.  I could have spent less on the wood, but I opted to buy the sanded pine boards for they are much straighter! Thanks for the plans....it saved me about $150 that I can now spend on more projects!

Estimated Cost
$20 for bed and $7 for bedding
Estimated Time Investment
Day Project (6-9 Hours)
Finish Used
Walmart Grotto colored Chalk Paint with pinkish-orange bottom layer to show through on distressed edges. Sealed with Poly-Acrylic.
Recommended Skill Level
Intermediate

Rustic 3 X Hall Tree with 3 Hooks

Submitted by Anonymous (not verified) on Fri, 05/26/2023 - 07:42

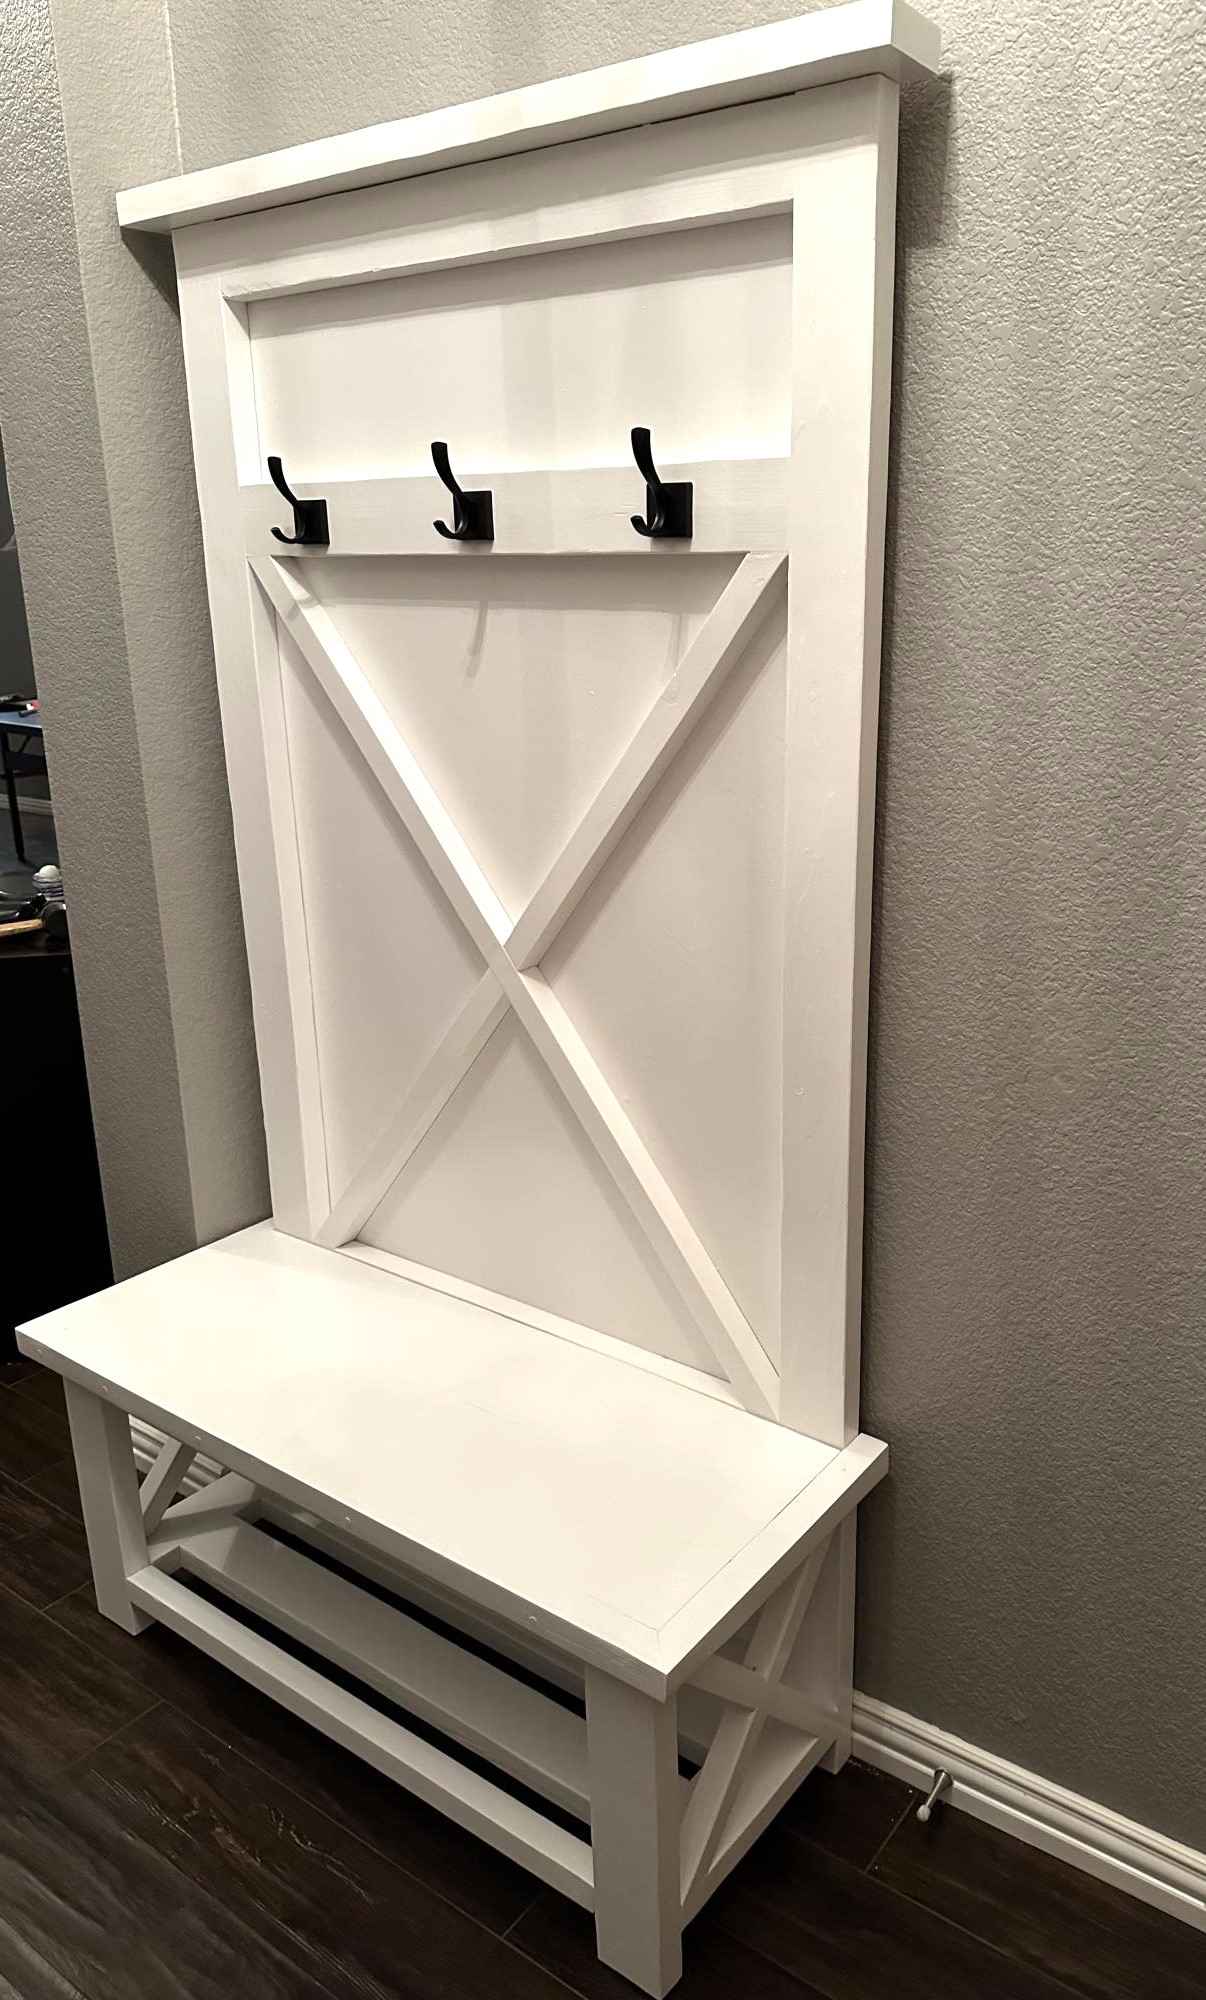
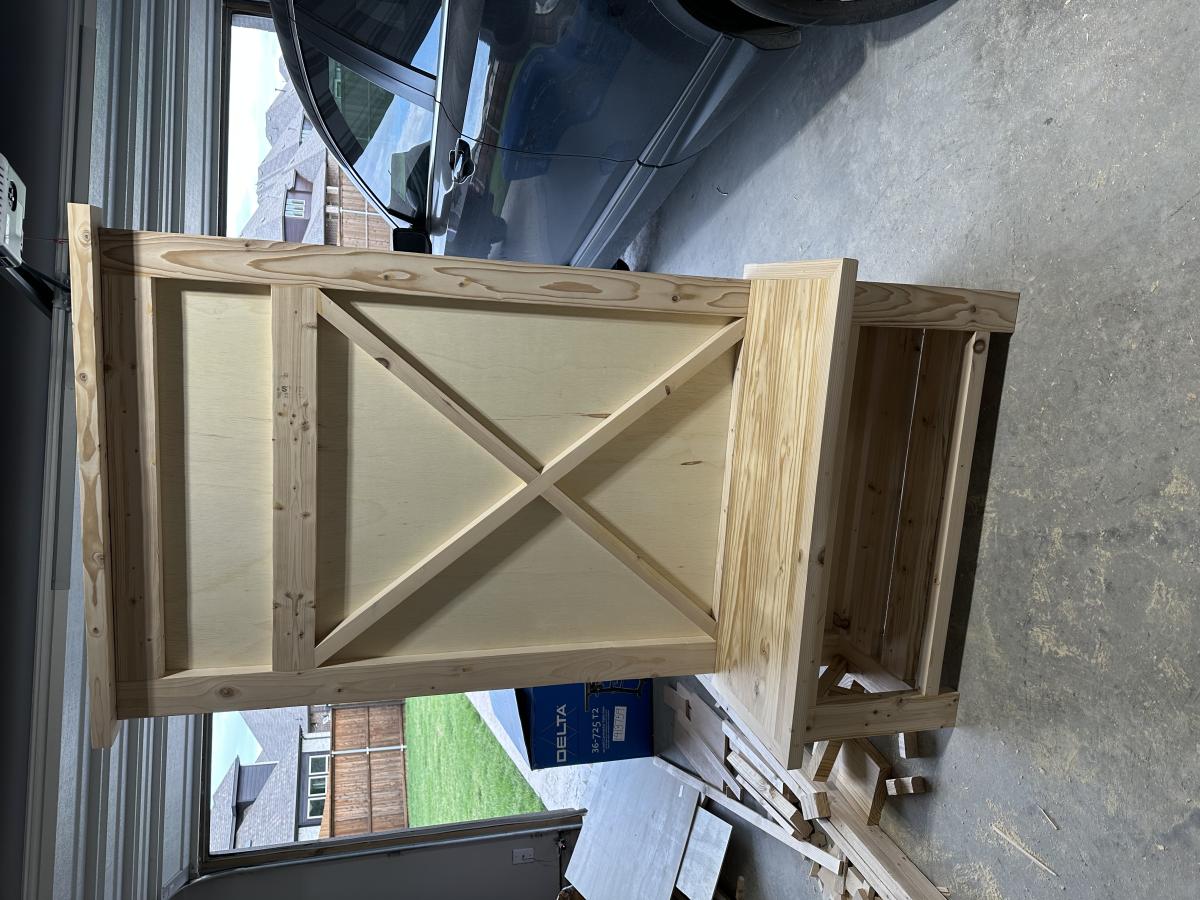
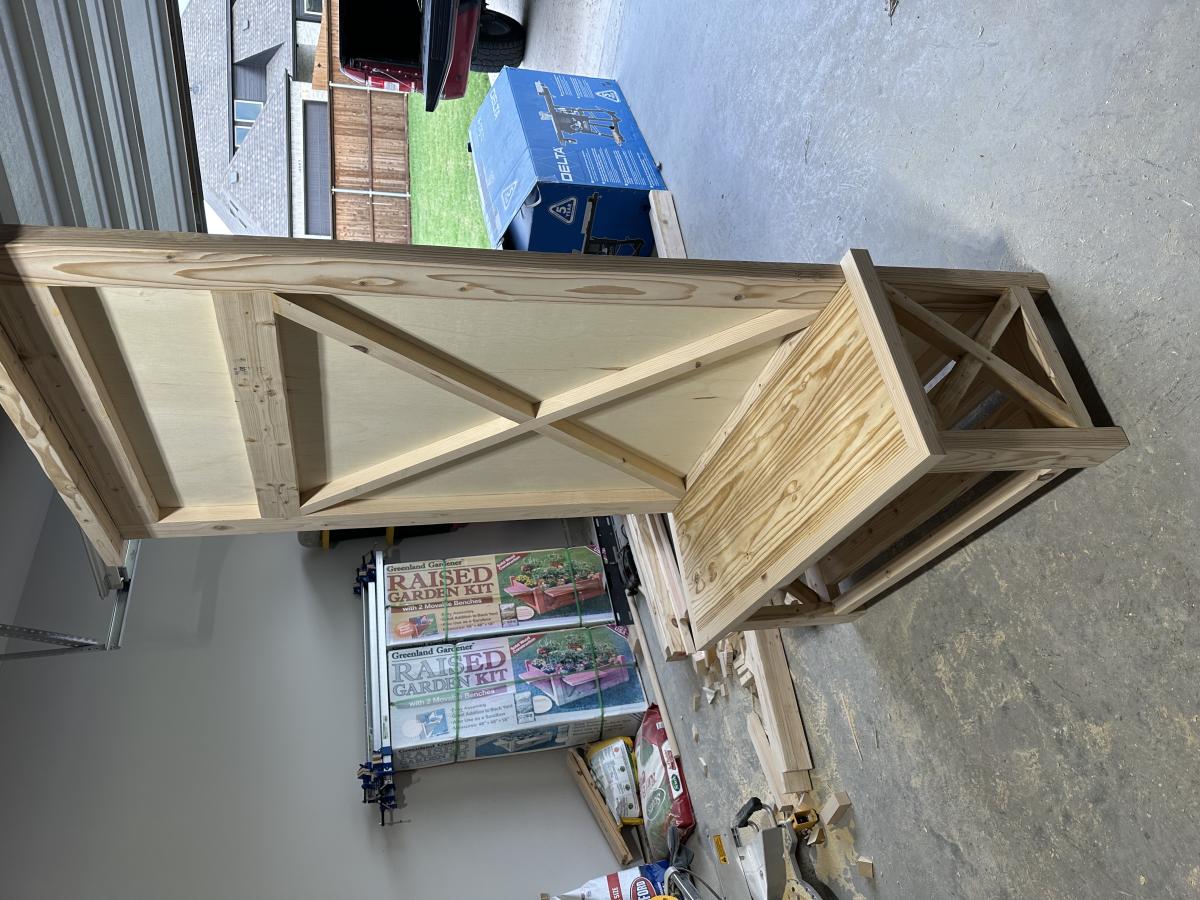
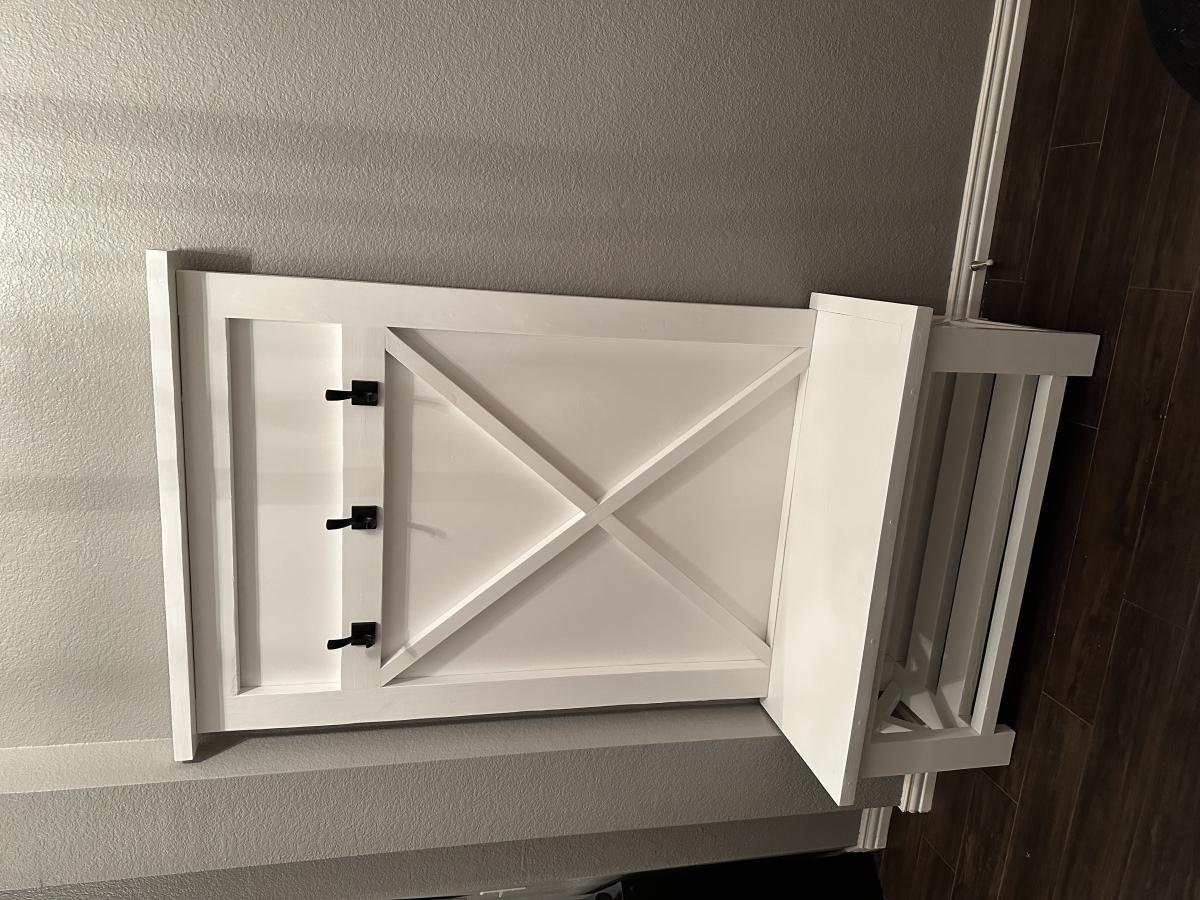
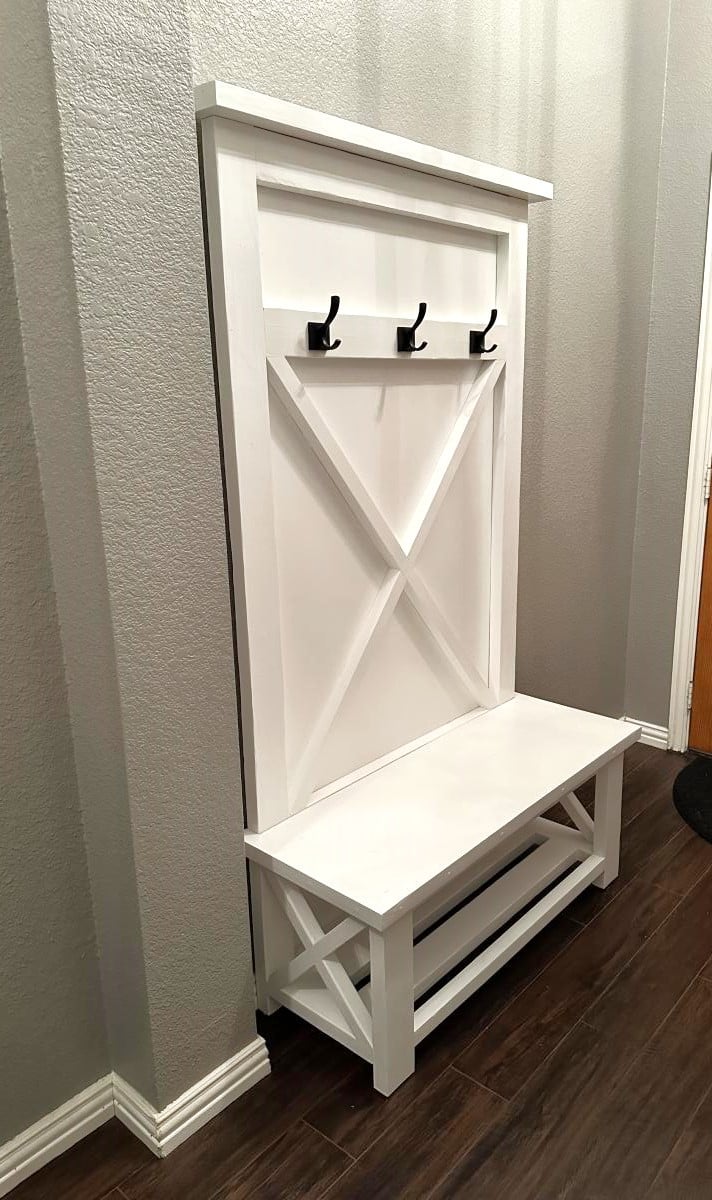
I started with the Rustic X Hall Tree plan and modified it to 43" width to fix the space. All X's are half laps cut on the miter saw.

Built from Plan(s)

Comments

Ana White Admin

Fri, 05/26/2023 - 19:38

Thank you for sharing! If you uploaded a brag post of 2 end tables, I was working on fixing the sideways photo and accidentally deleted it. If that was yours please reupload!:) Sorry!

Complete Full Sized Hailey Bed and Storage System

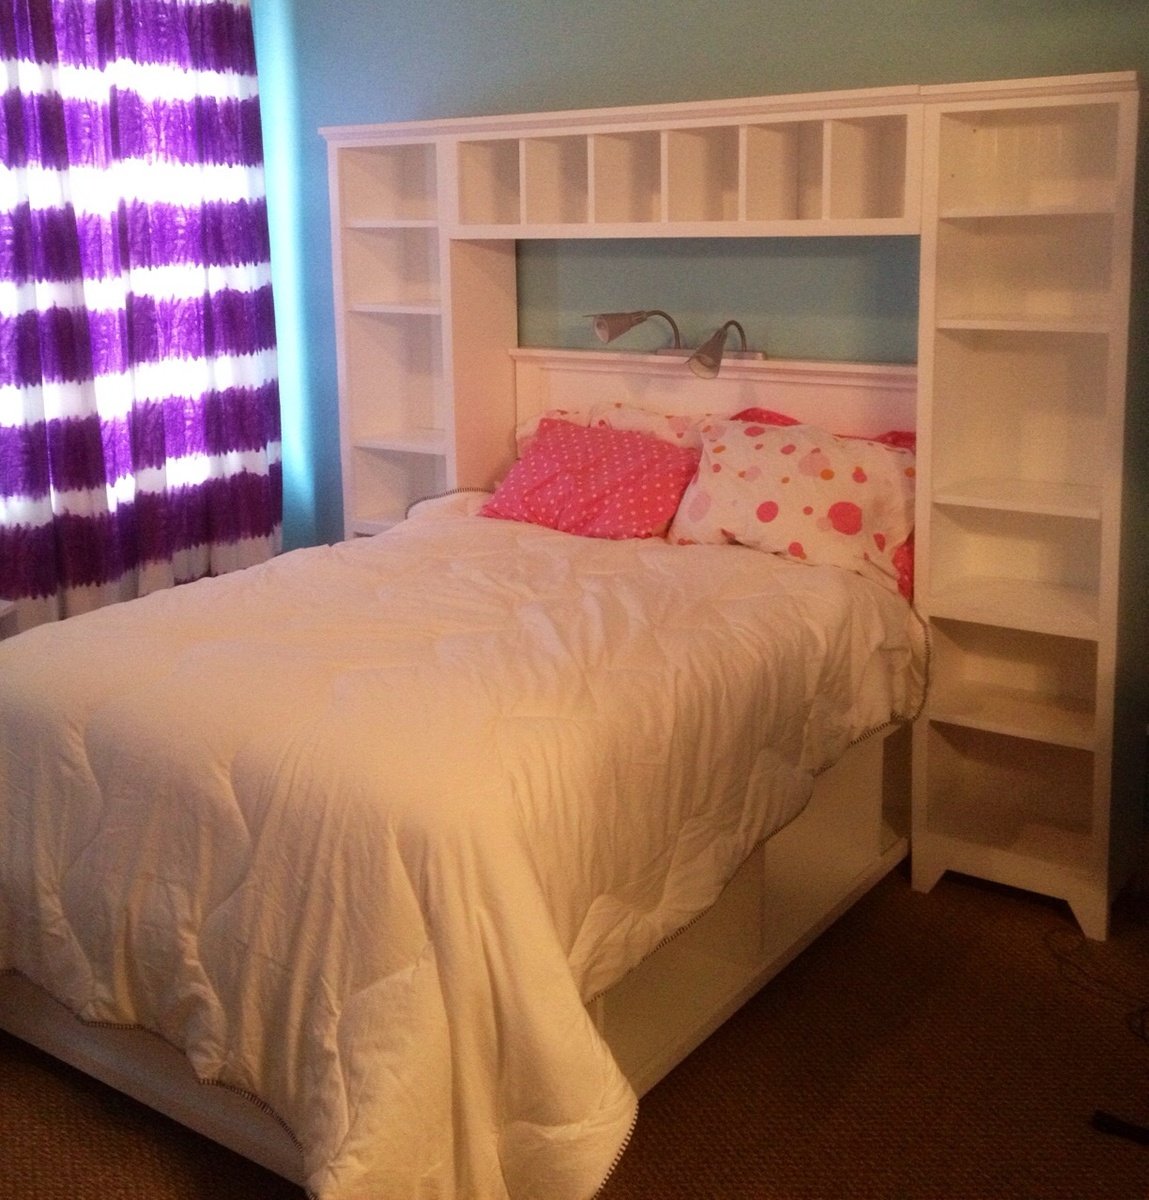
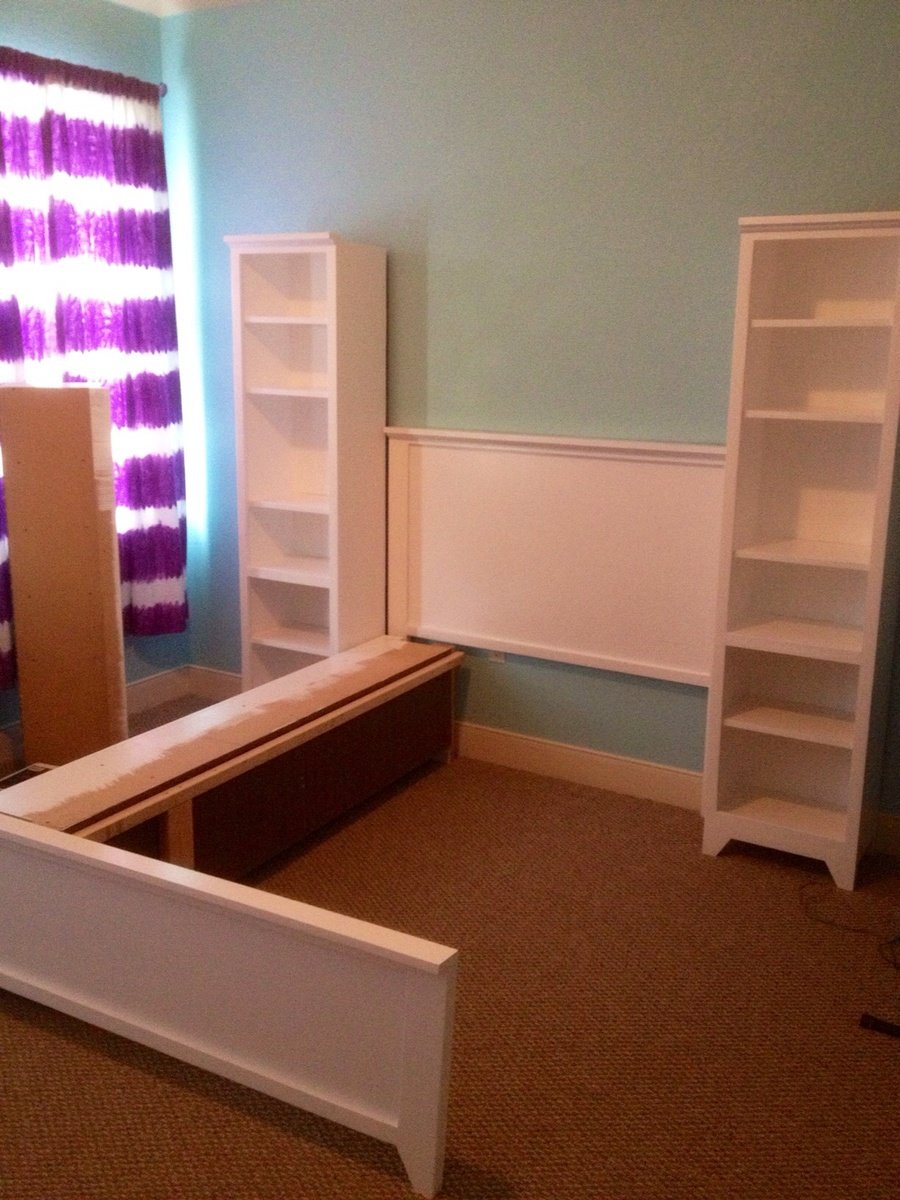
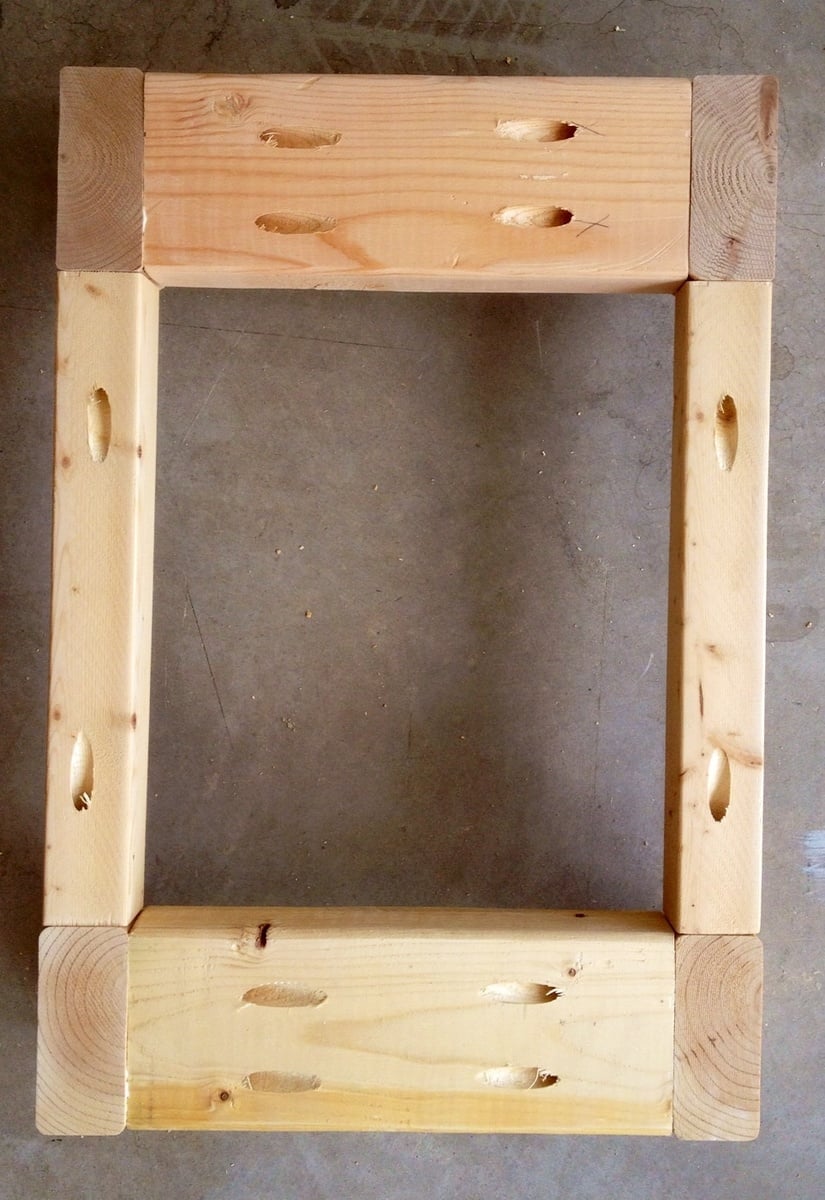
This project was our largest build to date, but the outcome was definitely worth the sweat! The build went relatively fast between my mom and I. I had a little problem assembling the tower bases, but we'll blame the 108 degree heat on my inability to figure out where to place my Kreg holes! I included a picture of how I did the tower base, in case anyone else runs into the same issue.

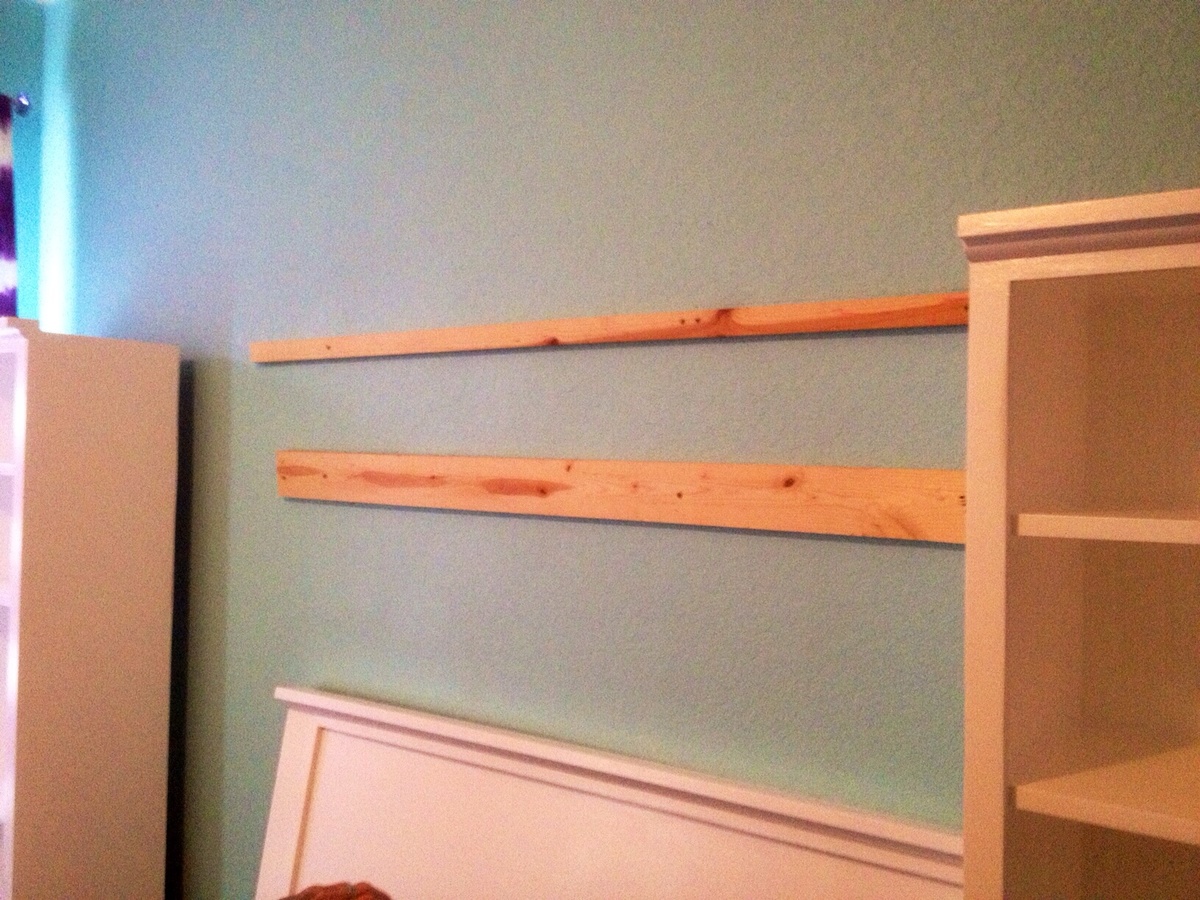
To accommodate for our base boards we added furring strips to the wall to bring all of the pieces flush. The hutch is secured into the studs with multiple L-brackets and so are the towers.

Finishing was very time consuming, but we'll worth the end result and look on my daughter's face! This system provides an incredible amount of storage. Thank you so much for the plans Ana!

Estimated Cost
$350
Estimated Time Investment
Week Long Project (20 Hours or More)
Finish Used
*All visible edges of the MDF were sealed with a mixture of white school glue & water, sanded and repeated until they were smooth.
*3 very light coats of Zinsser oil based primer with a foam roller, sanding between each coat
*2 coats of Behr Hi-Gloss lacquer in off the shelf white. Finishing was definitely the most time consuming part of the project.
Recommended Skill Level
Intermediate

Modified 4x4 Truss Beam Table

Submitted by Anonymous (not verified) on Thu, 10/03/2019 - 05:26

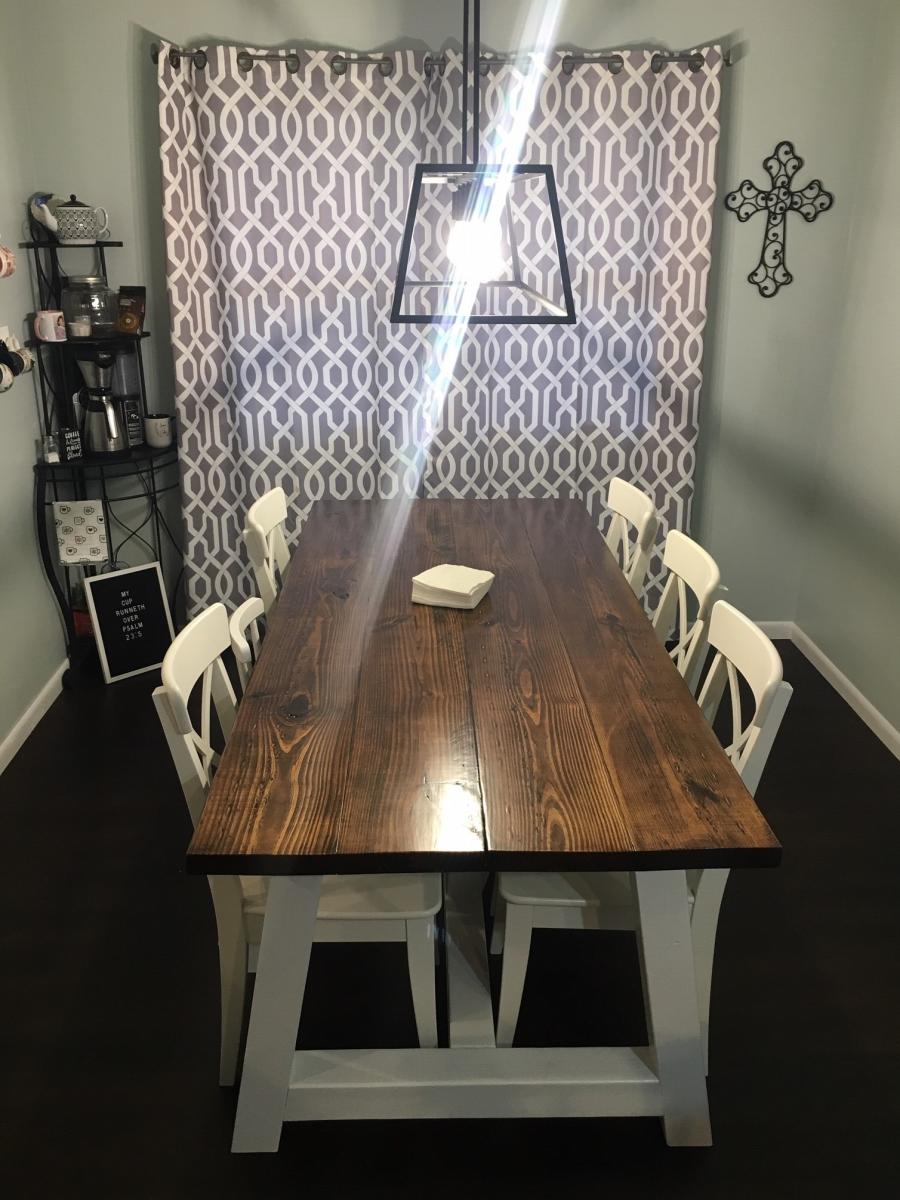
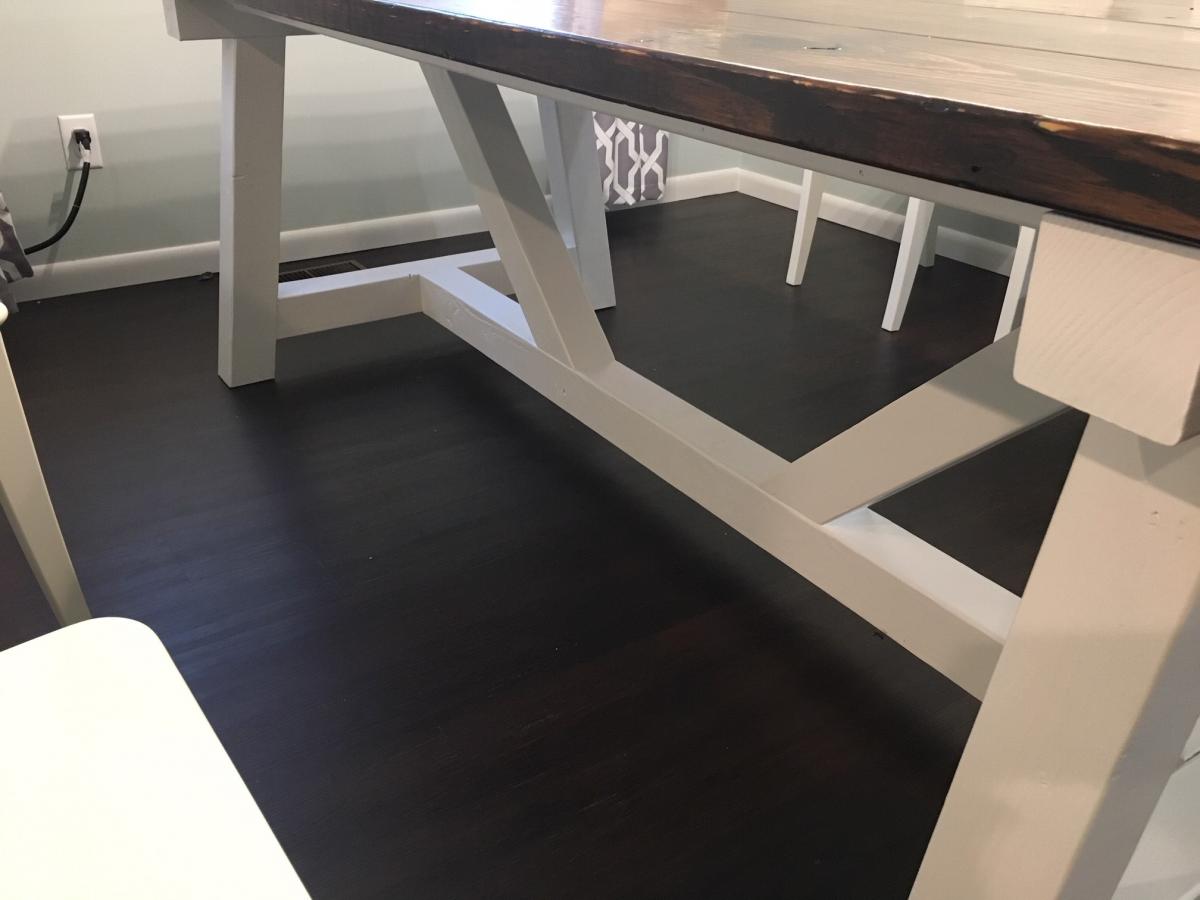
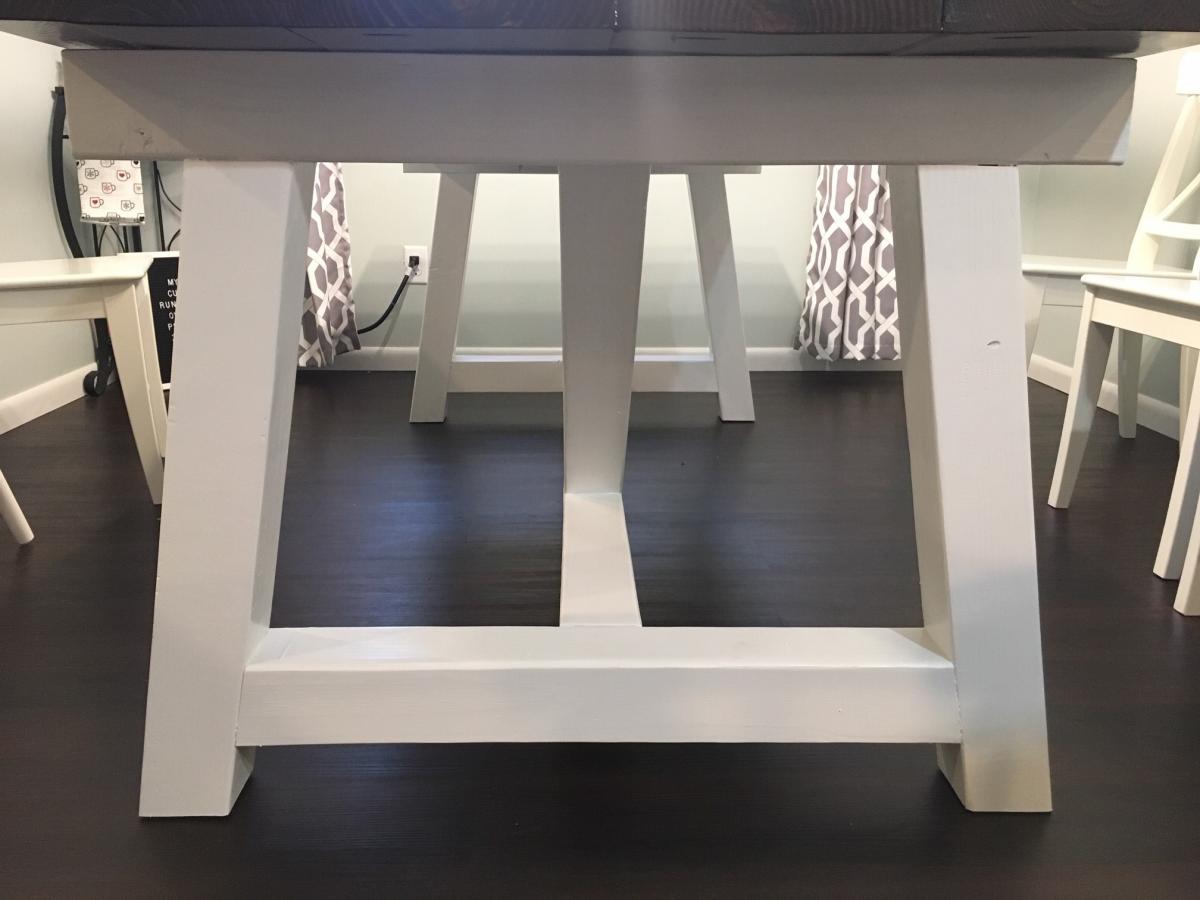
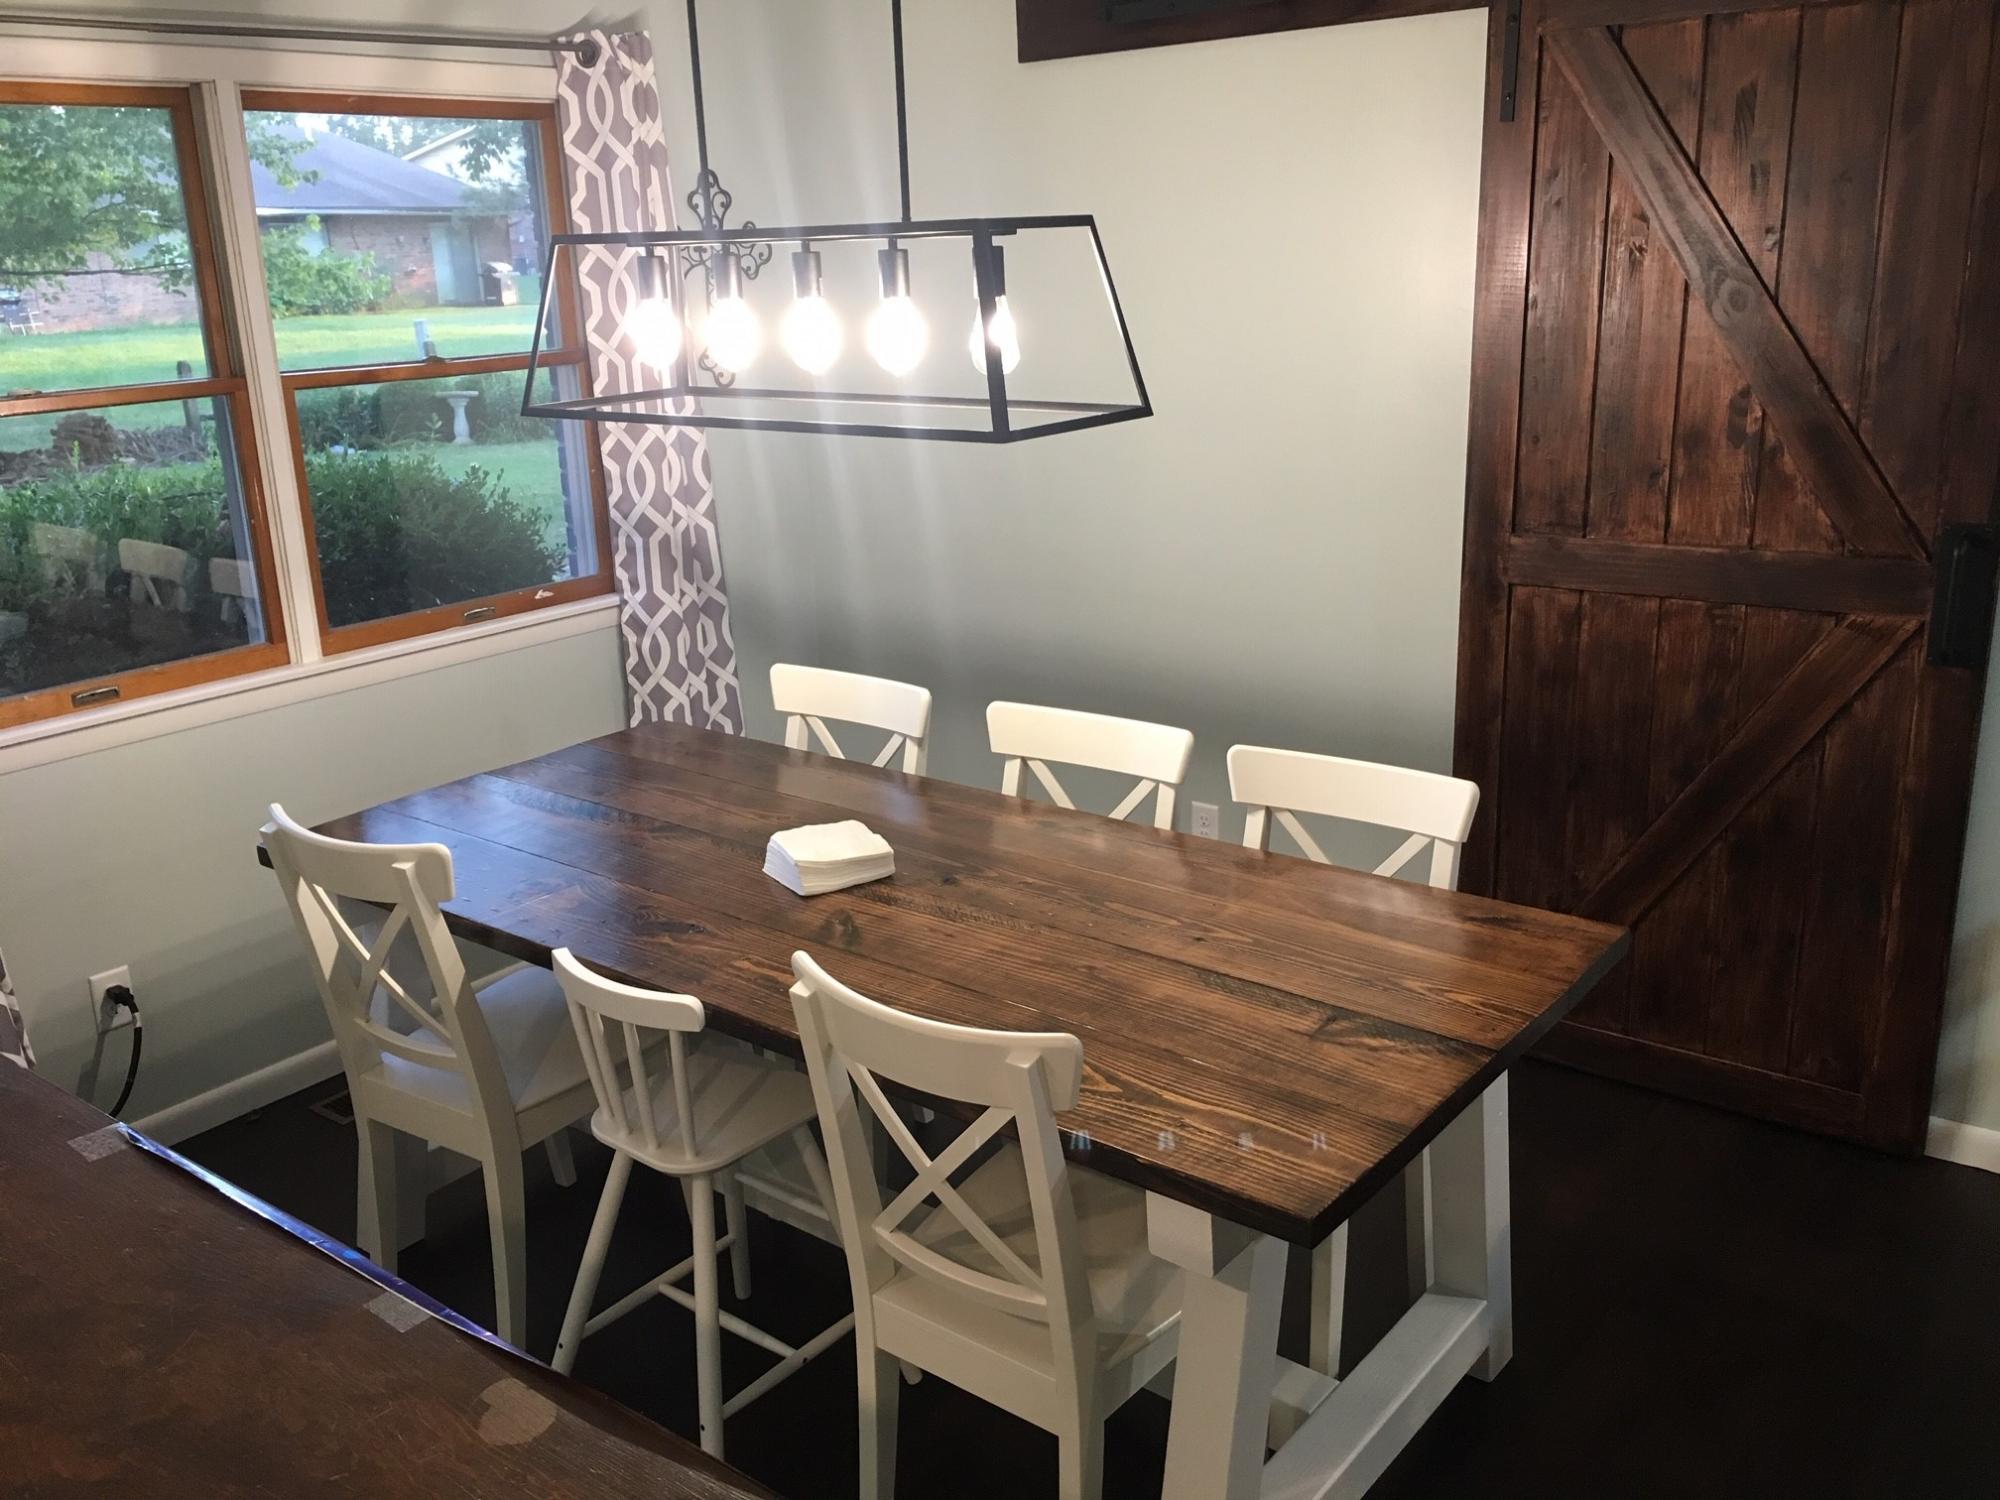
Build the 4x4 Truss Beam Table base with the Fancy X Farmhouse Table top shortened to 7' (84") for my wife's birthday! We love how it looks and can not wait to build the matching benches! Also, this is my first time attempting a building project and Ana-White Plan. The plans are very easy to follow and execute!!

Estimated Time Investment
Week Long Project (20 Hours or More)
Finish Used
Varathane - Kona and Clear Poly
Sherwin Williams - Cotton White
Recommended Skill Level
Beginner

Lemonade stand

Submitted by Anonymous (not verified) on Mon, 06/12/2023 - 17:37

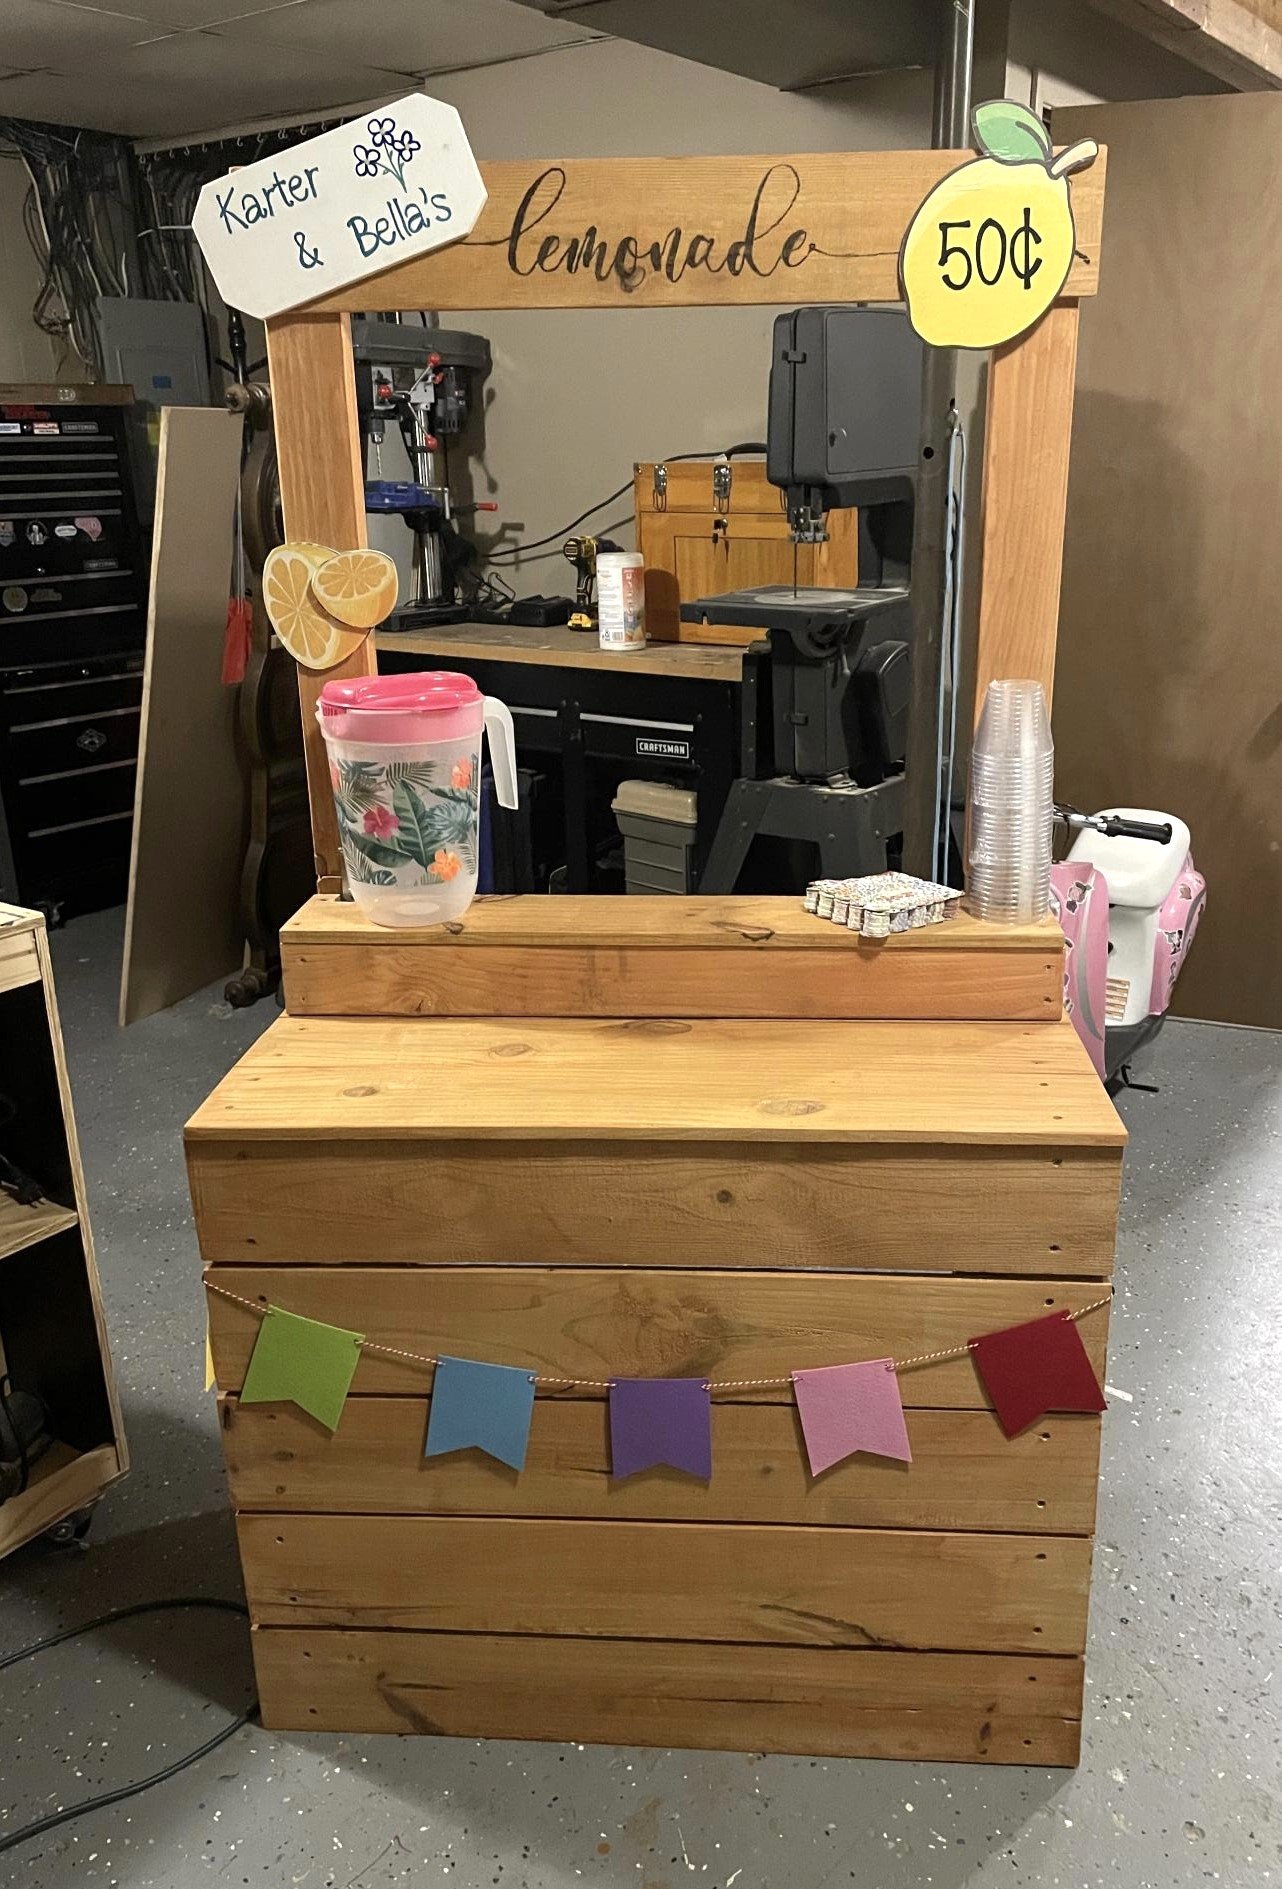
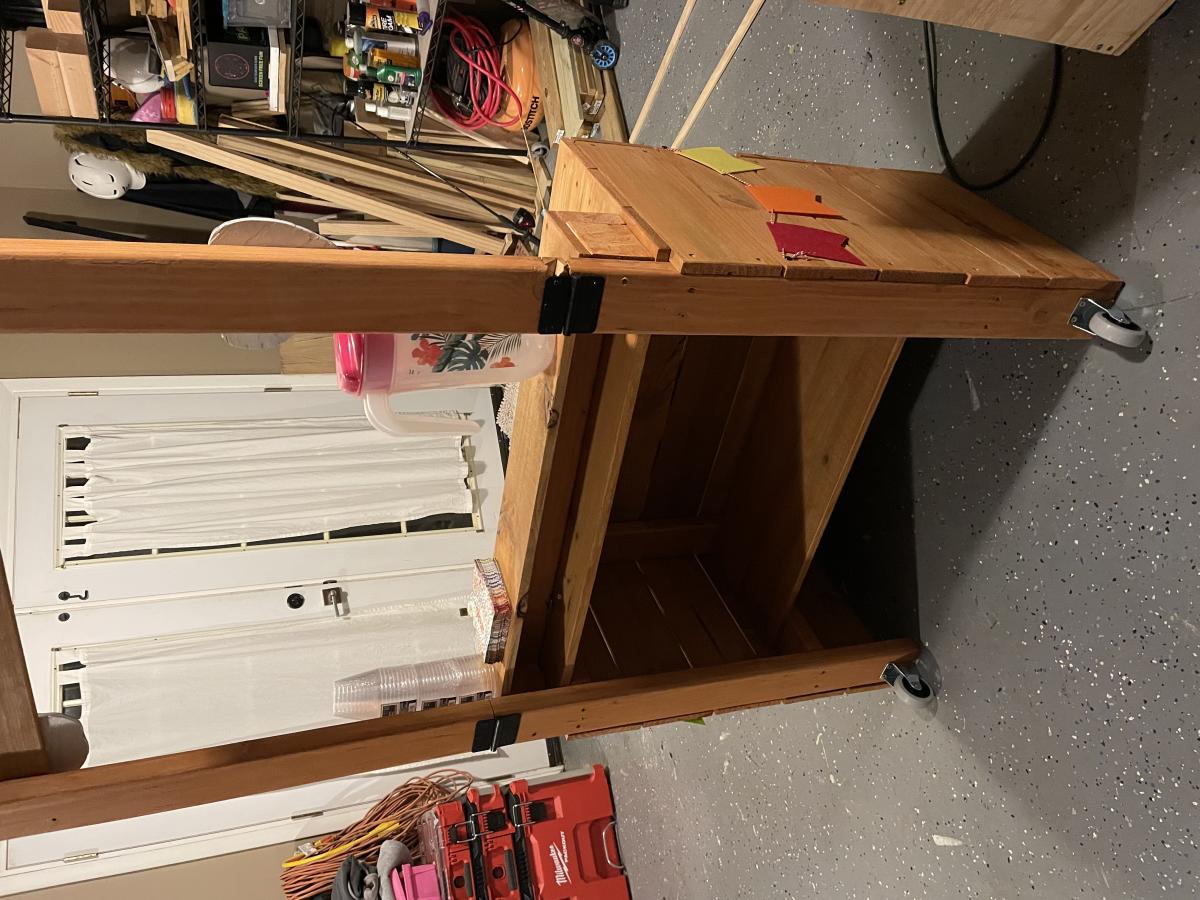
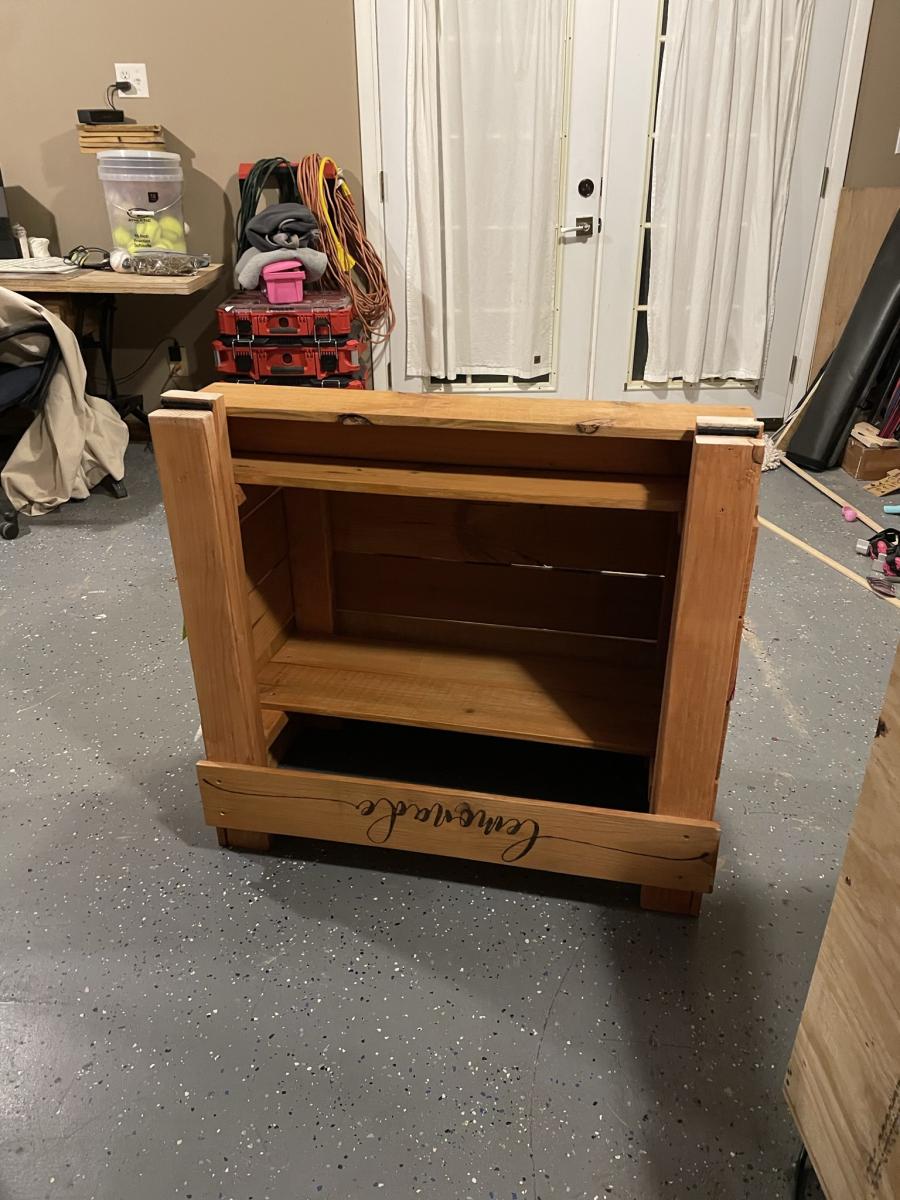
My granddaughter wanted a lemonade stand and it had to be easily portable. I used Ana White’s plans, made it a little taller (30” counter height, 65” total height), added hinges so the top drops down, and wheels on the back side so you can tilt and pull it behind you like a suitcase. Added a hook for a cutting board and hooks for a bungee strap to hold the cooler, pitchers and supplies inside while you haul it. A sign for her and sissy, some painted wood decor and we’re all set. Just add lemons!

Comments

Round Side Tables

Submitted by Anonymous (not verified) on Fri, 06/16/2023 - 18:39

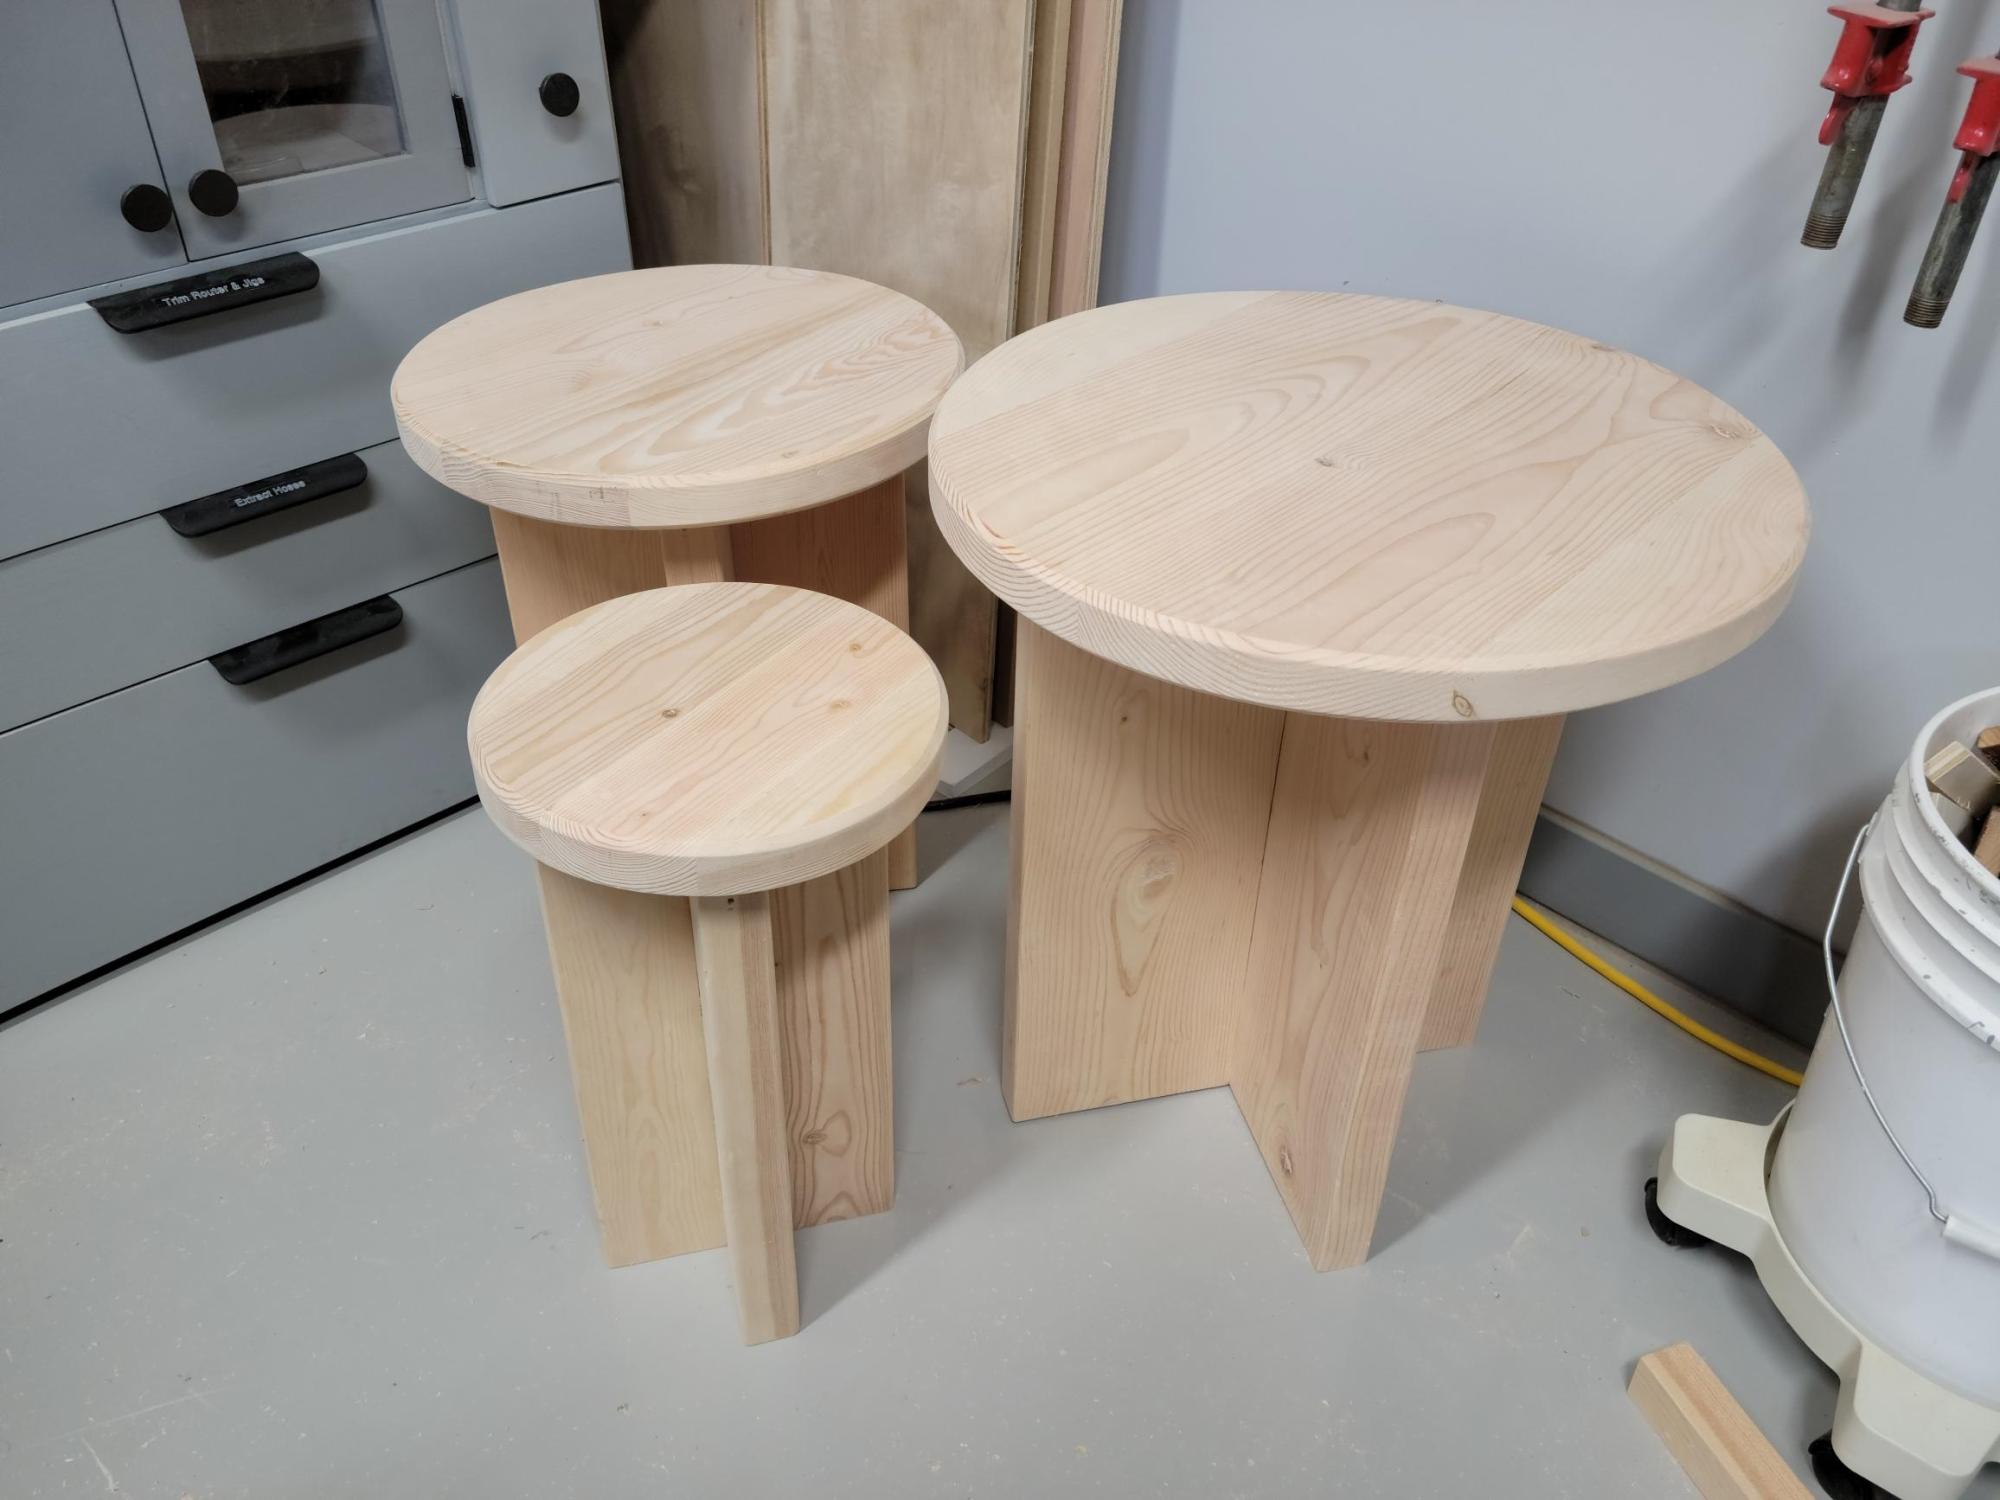
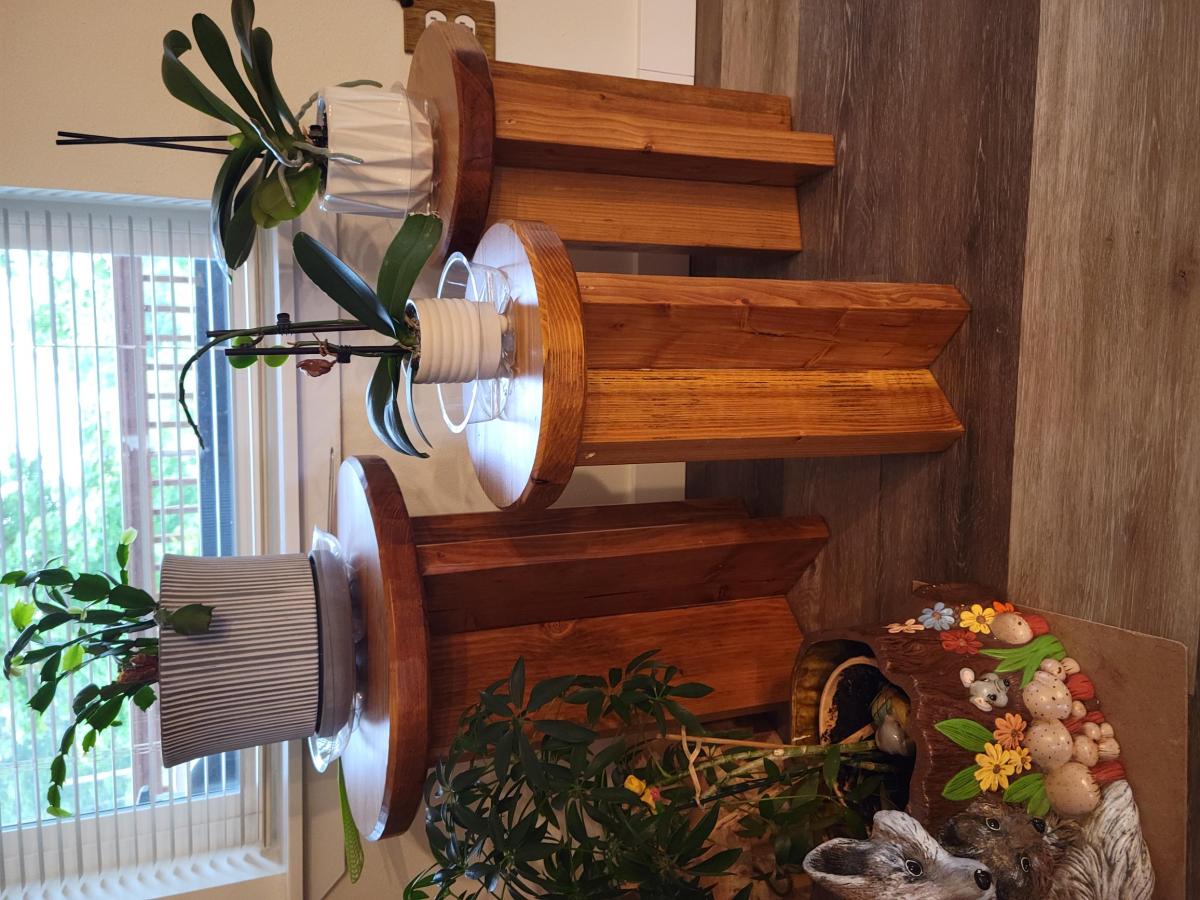
I first made a set of these for my wife to use on the deck. She liked them so much that she's using them in the living room! (Second photo.) These were made from rough lumber left over from a building project so took a fair amount of time to cut and prep. I don't have a planer so the belt sander outside was put to good use. Then, to make them them fit well, I recut the sides, and rather than pocket holes I glued them into a plank before cutting the rounds with my table saw. That also gave me a tight flat top.

Her friend saw them and wanted a set, so here they are. Again I recut the sides and glued them to create a smooth plank. This time I used the router and a circle jig to cut the tops, giving me a much nicer finish. They will be stained mahogany and finished with multiple coats of polyurethane.

The large one I simply upsized from the original plan, roughly scaled. It is 22" tall, made with 2x8 lumber selected and purchased at the box store. My wife's friend is totally delighted with them! Thanks Ana for the inspiration.

Built from Plan(s)

Comments

My Leather Accent King Size Bed

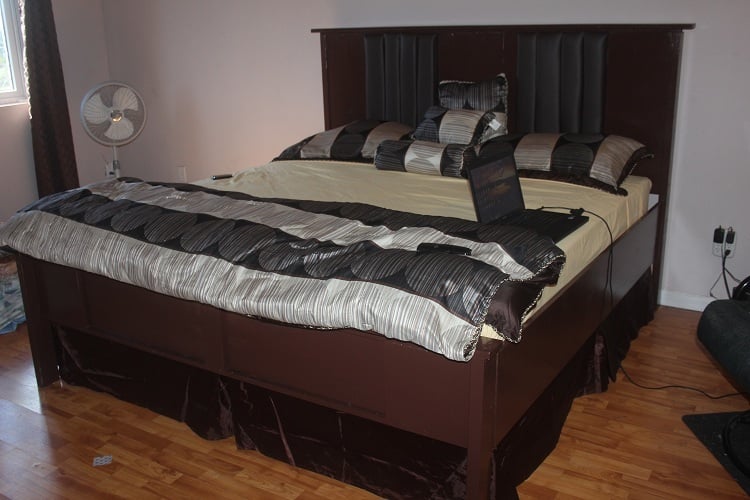
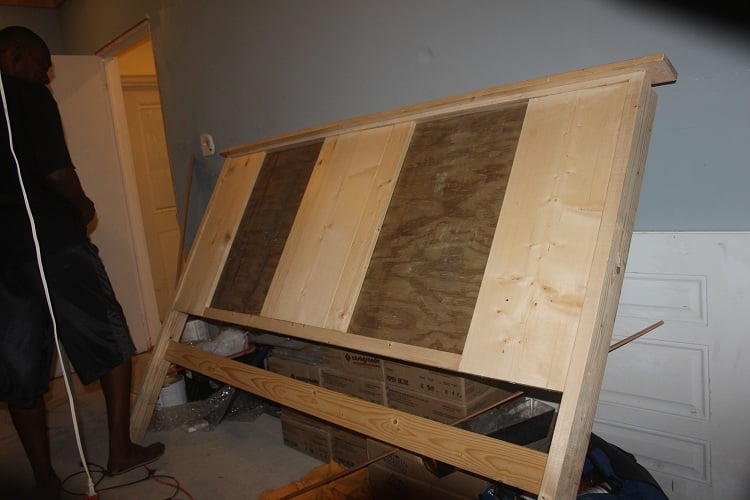
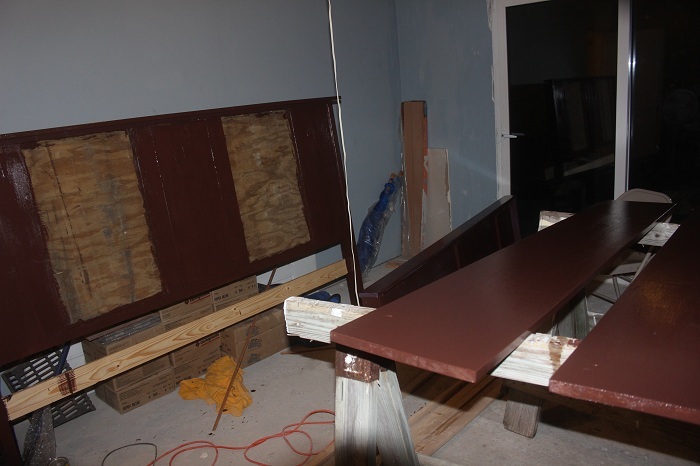
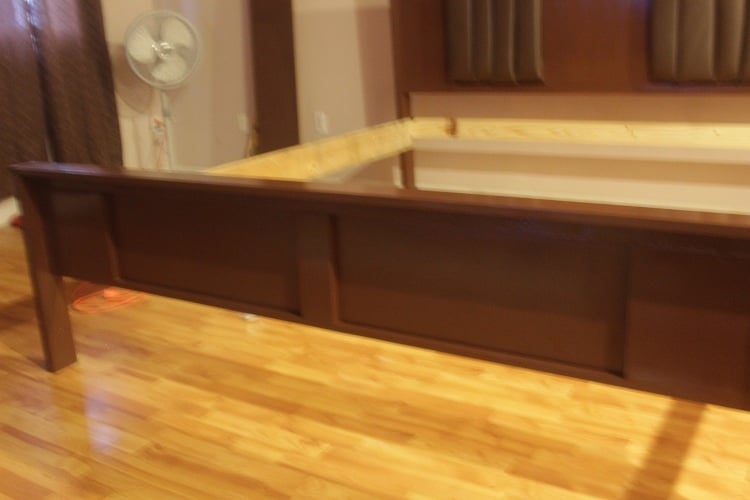
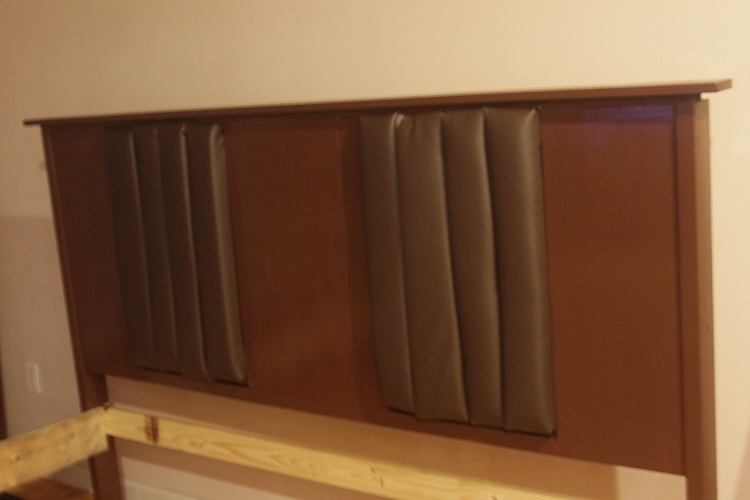
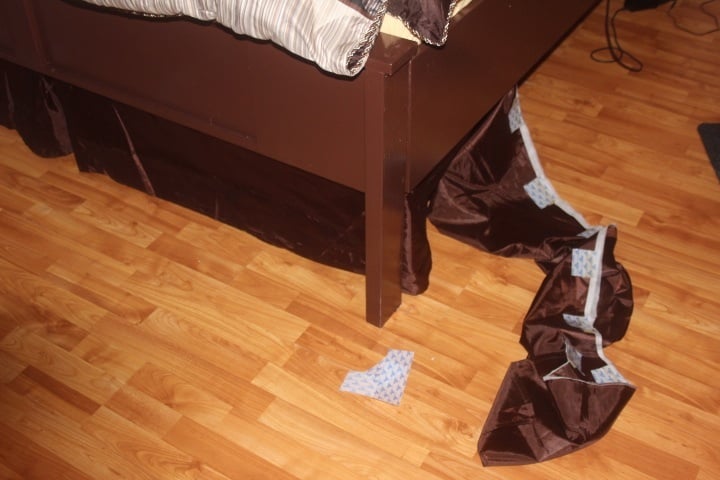
We modified the plans because I had a specific idea of what I wanted and we needed a king size bed. We are so proud. We used left over foam from a previous project and covered it with the faux leather for the back rests. Because I love the look of dust ruffles but couldnt use it because of the slats to support the bed I cut out the material from which the dust ruffle is sewn and attached velcro to it and then to the bed and I got the look I wanted. Ana is awesome!

Estimated Cost
196.00
Estimated Time Investment
Weekend Project (10-20 Hours)
Finish Used
Expresso Paint and waterbased poly urethane to protect it
Recommended Skill Level
Beginner

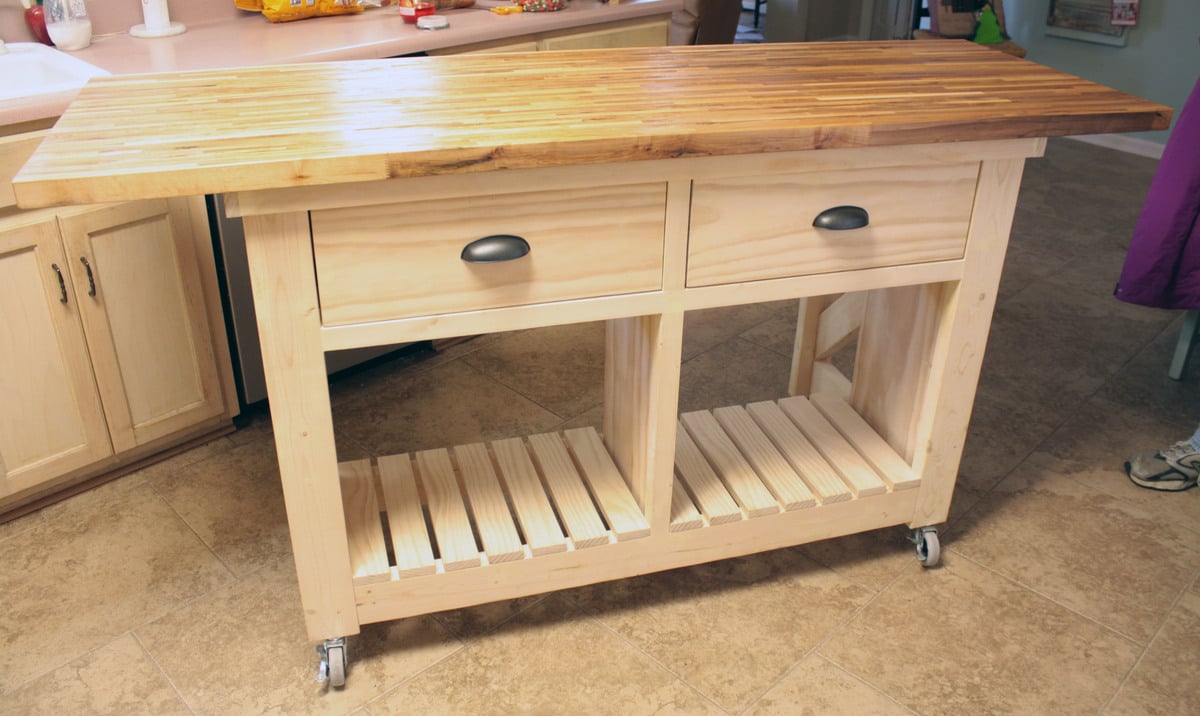
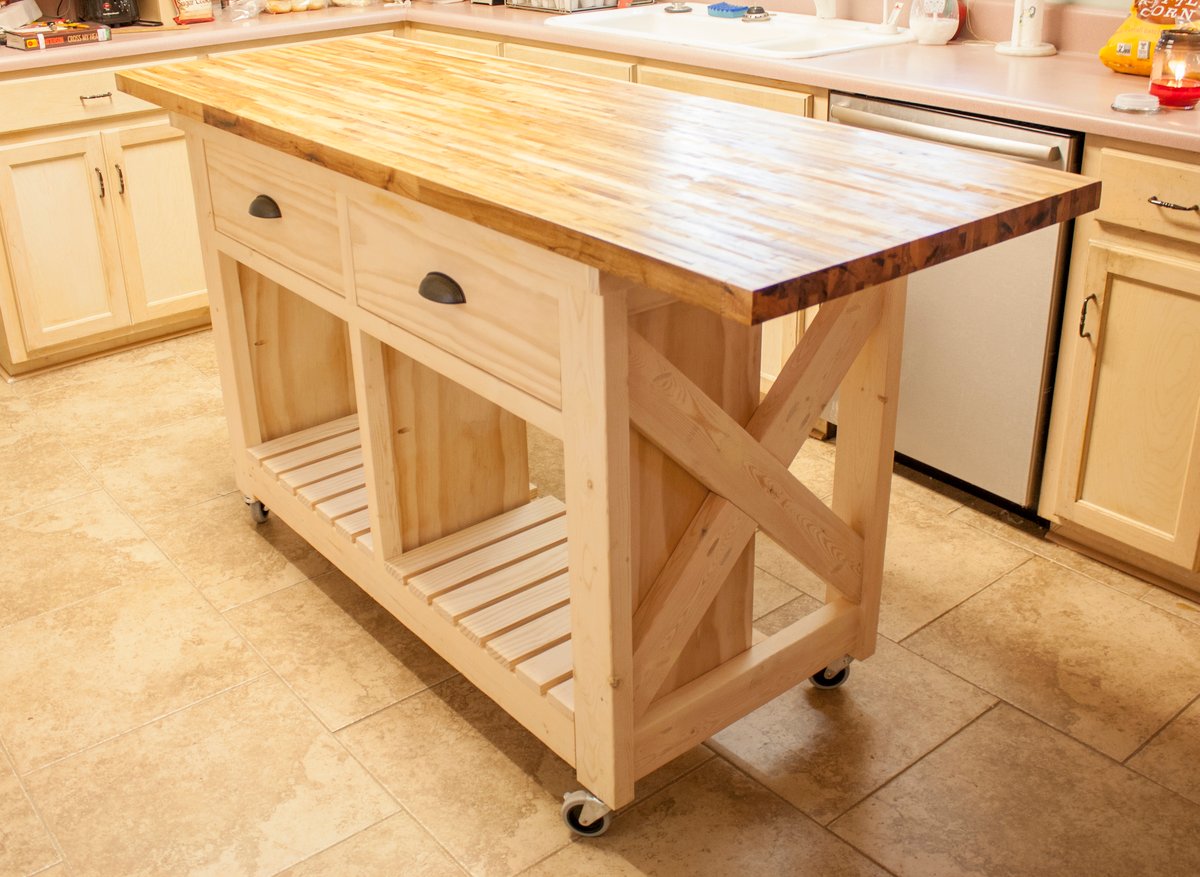
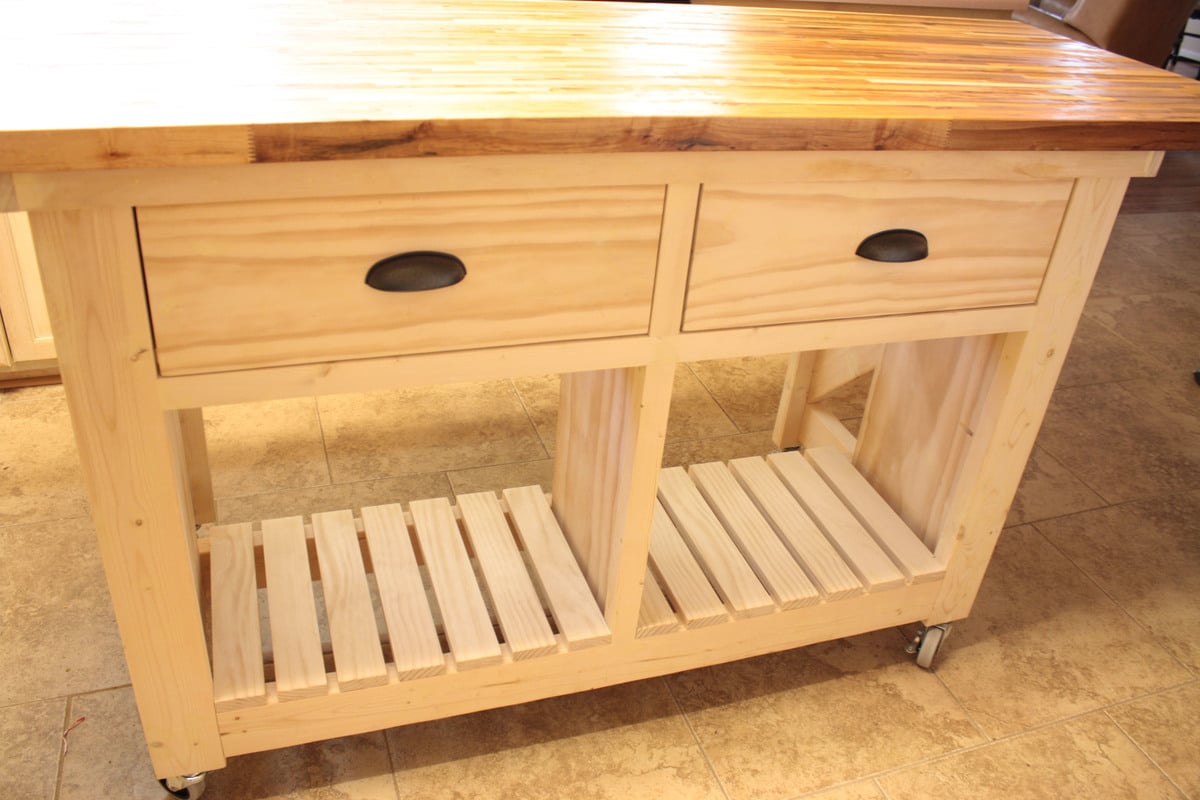
Double kitchen island with butcher block top

Submitted by bhoppy on Wed, 01/01/2014 - 11:58

I started on the project when I went home for Thanksgiving and finished up the drawers when I was home for Christmas. I live about 7 hours from my family. I took a few tools with me (kreg jig and drill) but borrowed a circular saw and miter saw for all the cuts. It was difficult working on it because it was fairly cold and my dad only has a carport. Which is why it took longer. My step-mom says she wants to paint it maybe with some milk paint. She also did not want the center shelf as she wanted a place for taller items.

The butcher block top was $299. It comes from lumber liquidators in 25" by 96". My dad had about 2 feet cut off the length. Ikea also sells butcher block tops for roughly half the price I think, but they were out of stock in both Atlanta and Charlotte.

I also made the small kitchen island before and this one went much more smoothly. Having the extra set of hands was awesome and made for a wonderful memory as I built it with my father:-)

Built from Plan(s)
Estimated Cost
$400
Estimated Time Investment
Week Long Project (20 Hours or More)
Finish Used
None yet
Recommended Skill Level
Intermediate

Comments

Ana White

Thu, 08/15/2019 - 12:14

This is amazing Stephanie!!!!  I can't believe I didn't see this sooner.  

We are going to feature your photo with the plans - thank you so much for sharing a brag post!  Hope you are well!